
LEGO CITY Undercover Guide Walkthrough
Chapter 11: The Proof of the Pudding Is in the Meeting
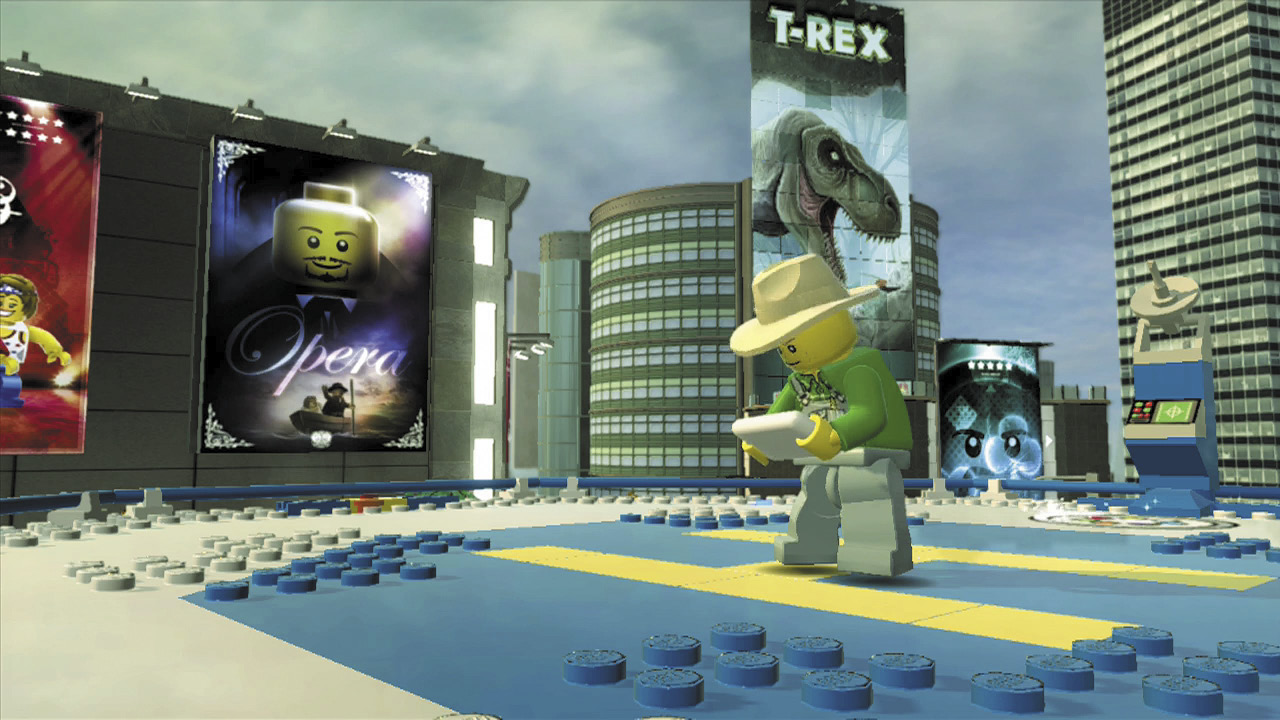
Chase successfully rescued Natalia from mysterious thugs at Mercy Hearts Hospital and now turns his attention back to the Rex Fury case. McCain has also recently won Vinnie Pappalardo’s trust by completing several difficult jobs for the crime boss and is now set to meet with Vinnie. With any luck, our hero will learn something about Rex Fury’s whereabouts!
City Exploration
Objective: Meet with Vinnie at Pappalardo’s
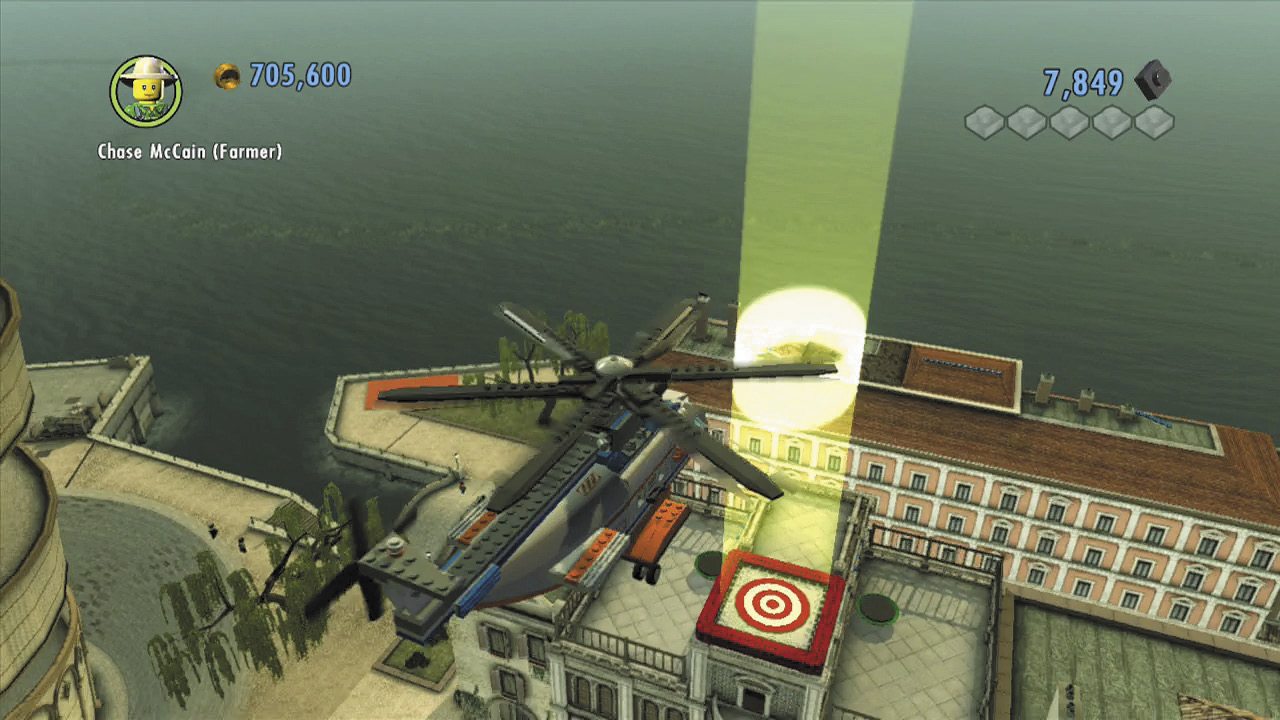
Why drive to Vinnie’s when you can fly? Use the helipad atop Ellie’s apartment to call for a helicopter. Hop aboard and fly to Pappalardo’s—it’s marked with a shield icon on your GamePad map. When you arrive, simply fly over the nearby crash mat and press  to jump out of the chopper, then walk into the objective beacon.
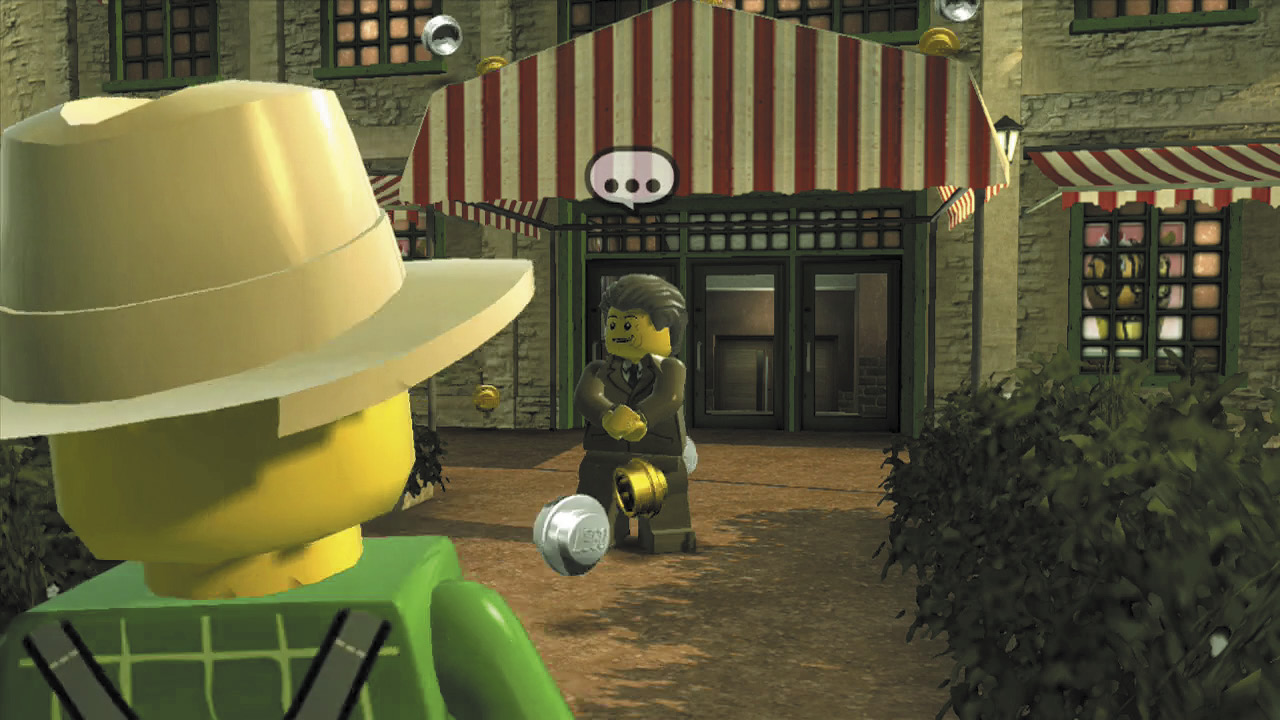
Chase doesn’t find Vinnie at Pappalardo’s—only his trusted associate, Moe DeLuca. Moe informs Chase that Vinnie is at a meeting with his mysterious private buyer and expresses concern that something might have gone wrong. You’d better investigate!
Objective: Find Vinnie in Paradise Sands
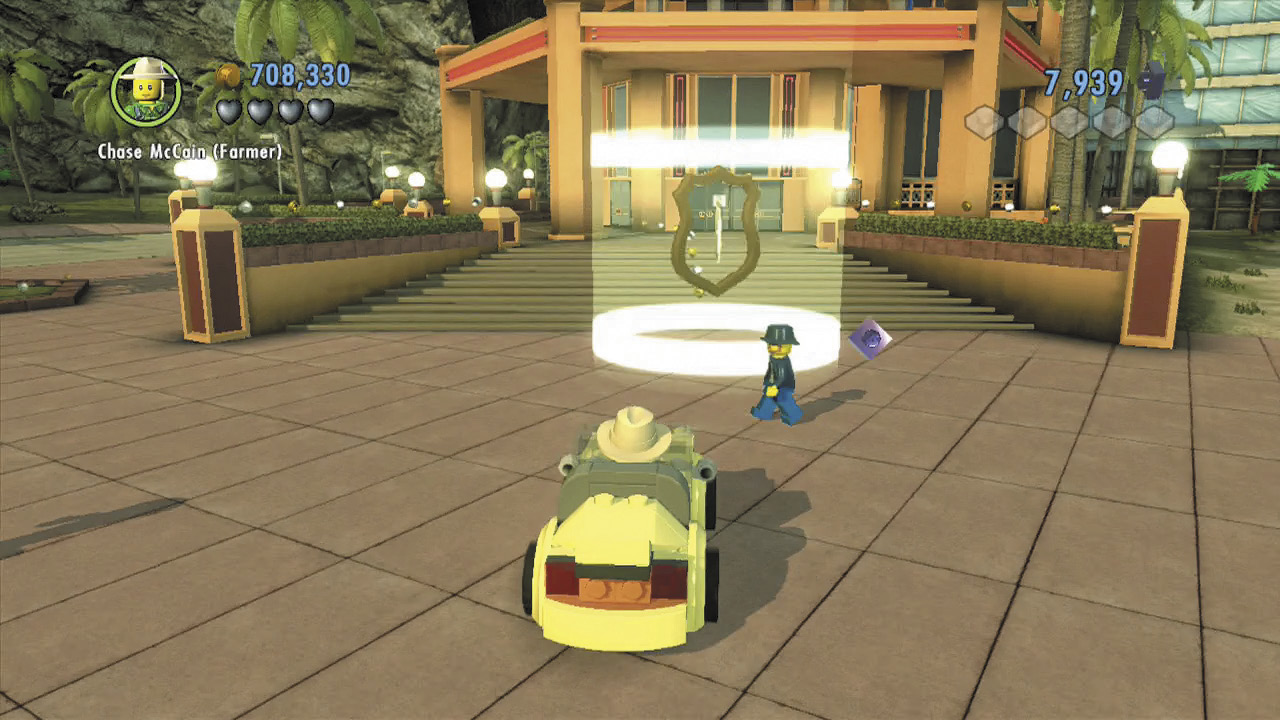
Vinnie’s meeting was set to go down at the Paradise Sands Hotel, so find some wheels and head over there. Step into the objective beacon when you arrive.
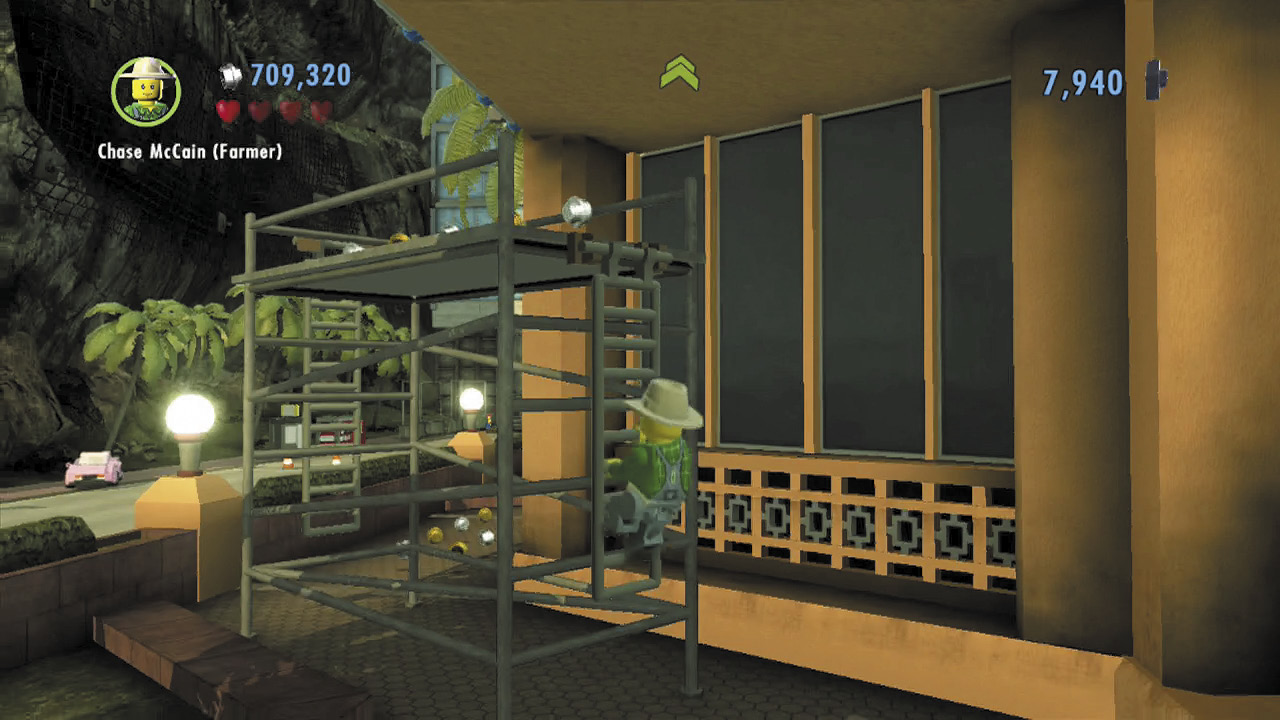
Follow the trail of studs around the back of the hotel to locate some scaffolding. Climb the scaffolding’s ladder to begin your ascent up the building.
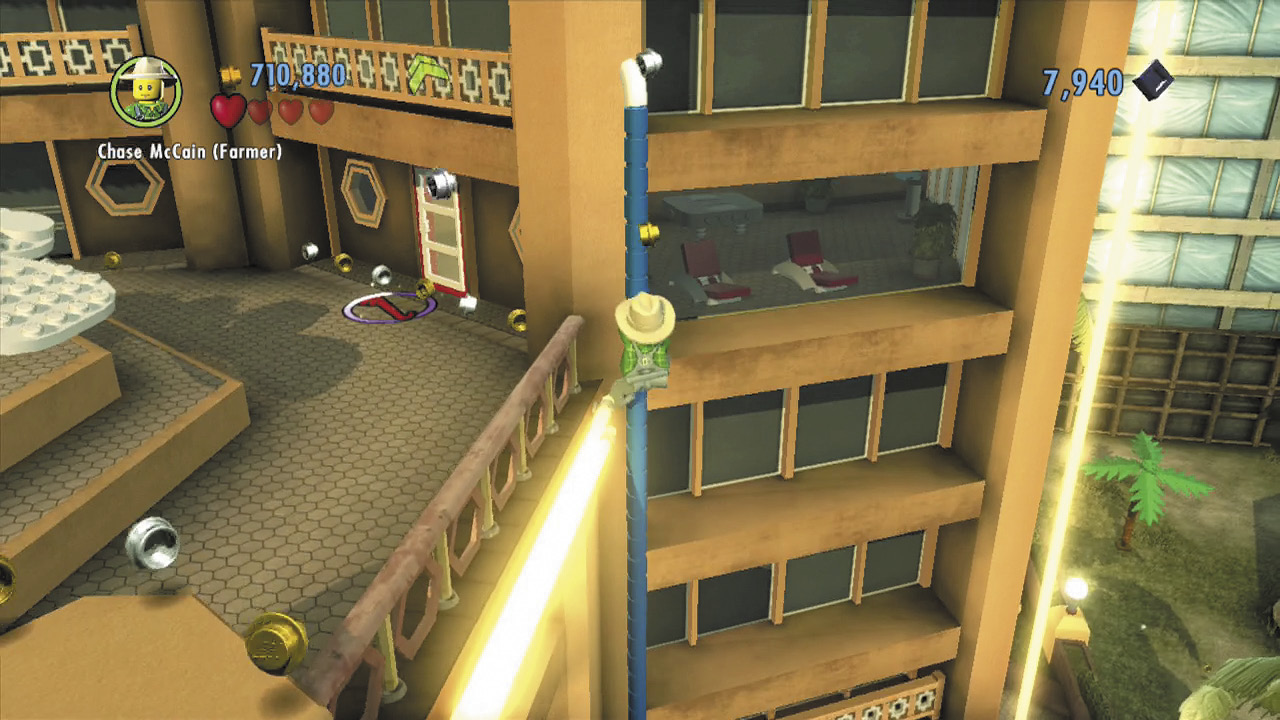
Jump up a few handholds to reach a balcony. Run around the balcony and climb a blue drain pipe.
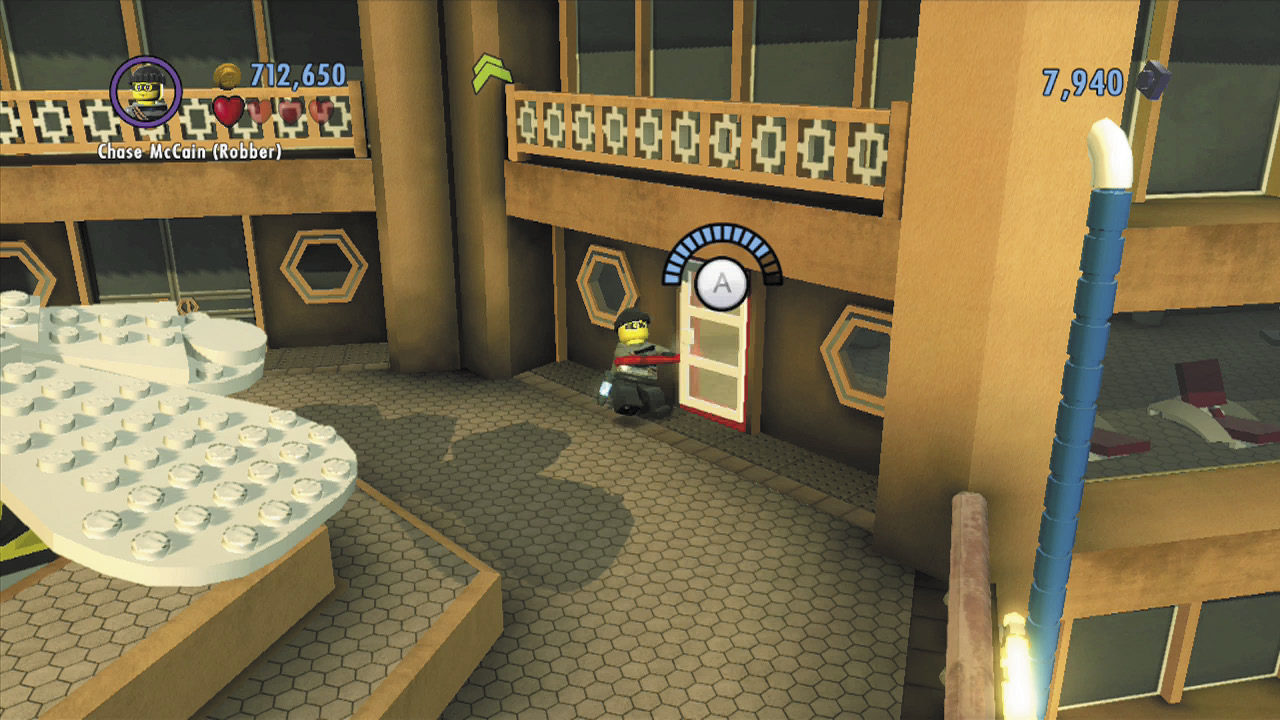
The pipe leads up to a patio with a large mechanical bee. Ignore this curious object for now and pry open the nearby door instead.
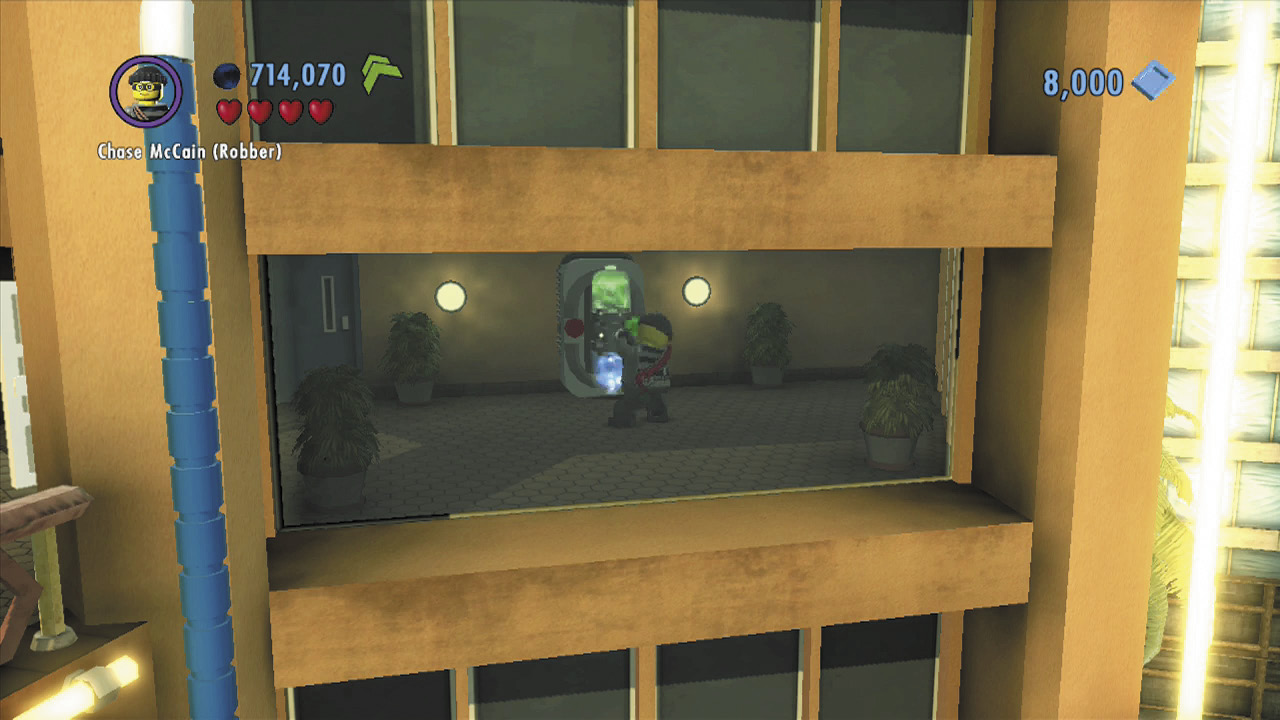
Smash up the furniture in the small room beyond the door to discover some bricks. Build these into a color swapper, then fill your color gun with green energy.
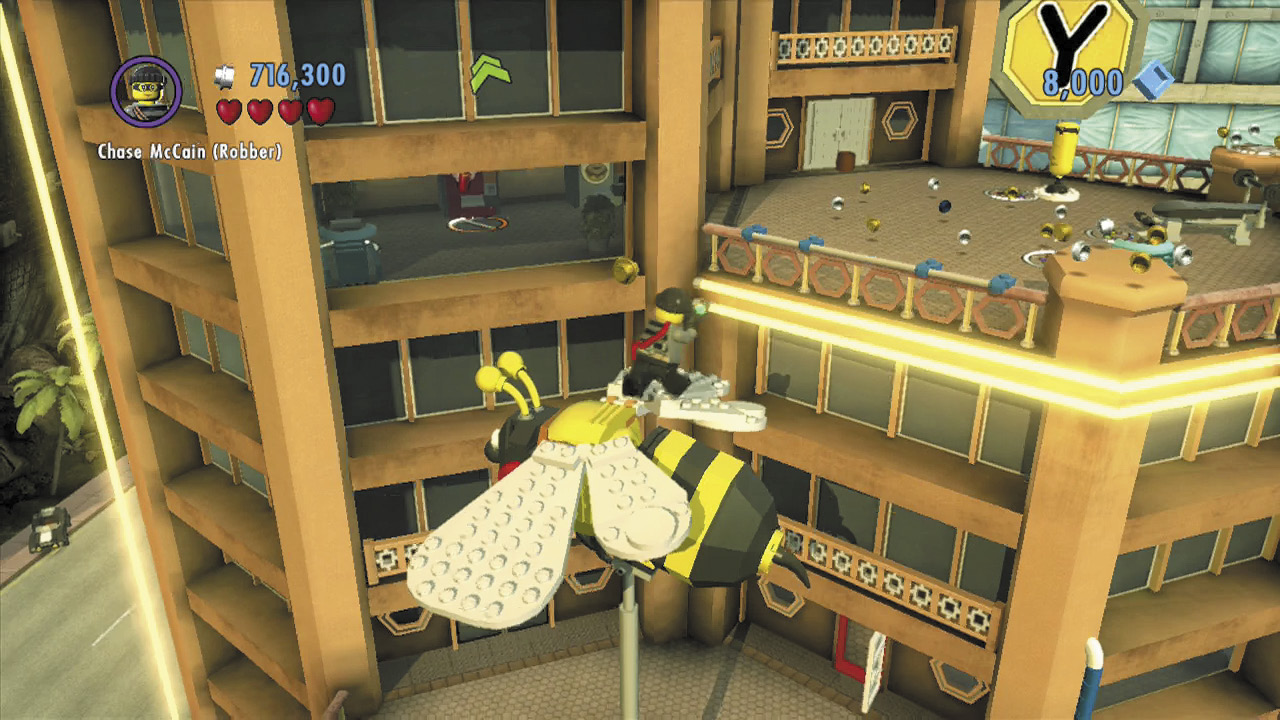
Head back outside and blast the red switch in front of the mechanical bee. The bee begins to move up and down like an elevator. Jump onto the bee and ride up, then leap onto a higher patio.
What a Workout
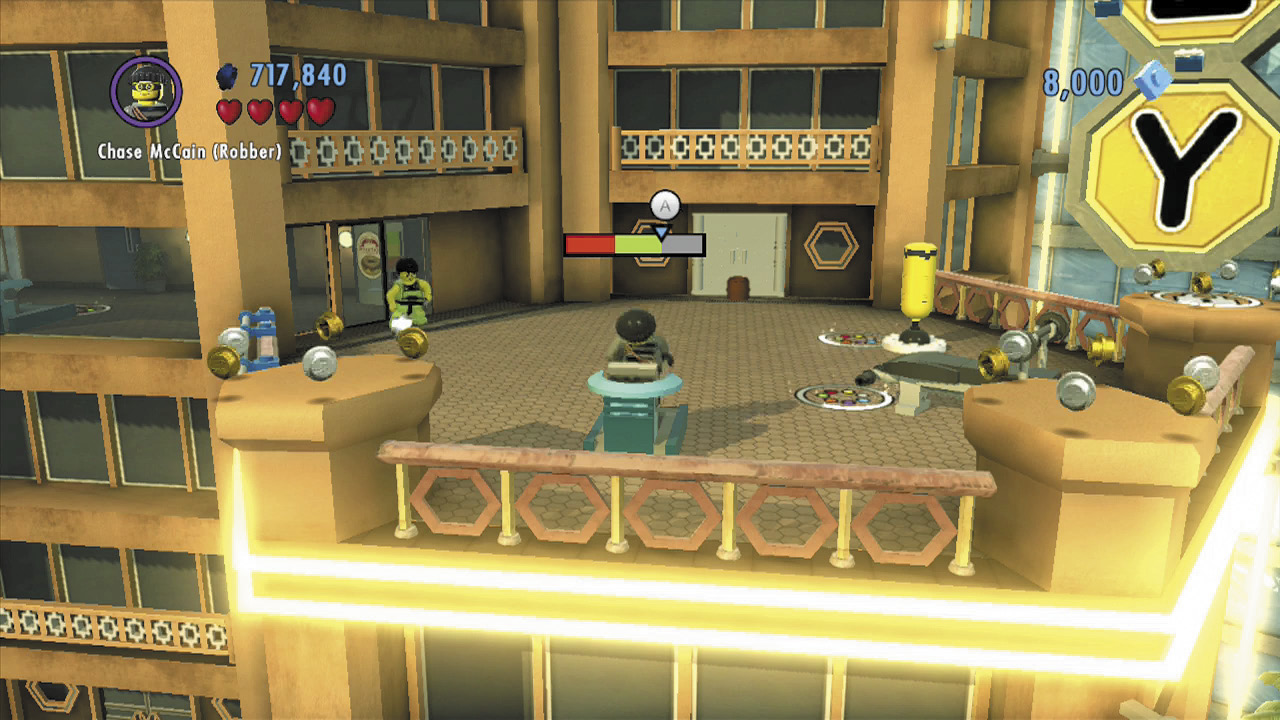
The patio features three different exercise machines. Use all three to “prove” to the nearby gym leader that you’re a gym member—only then will he let you pass.
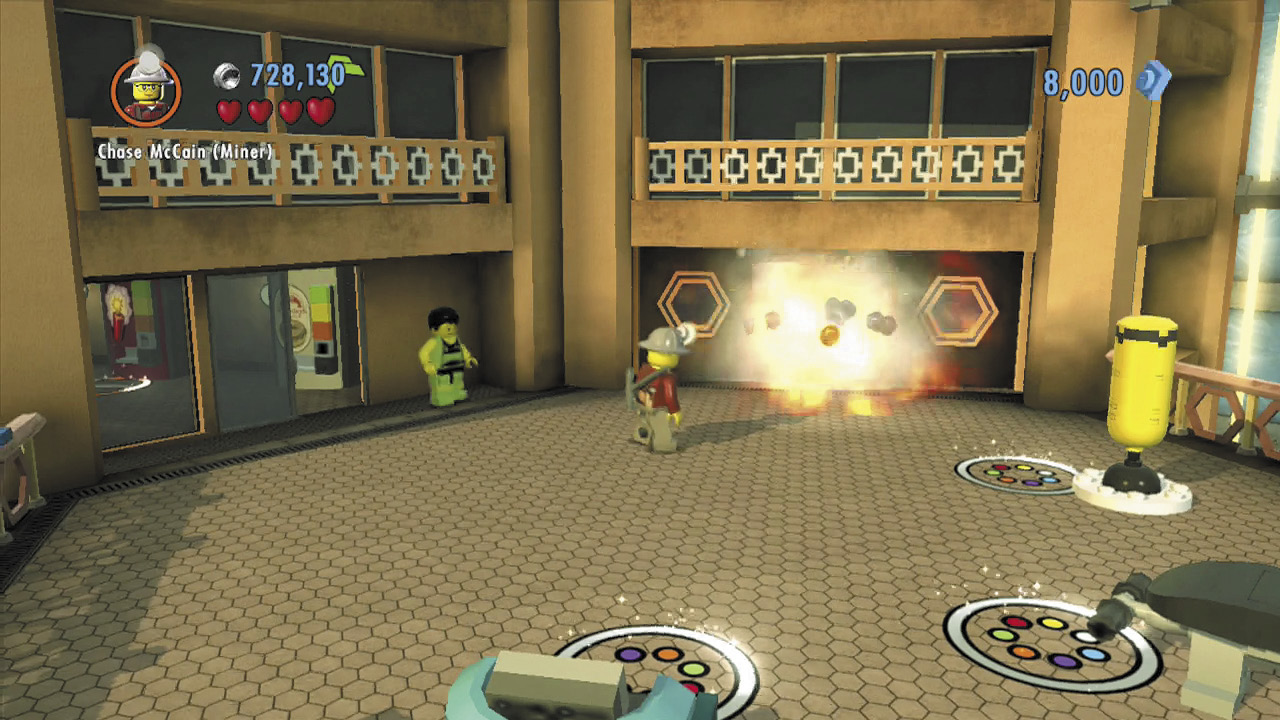
Obtain some dynamite from the dispenser inside the gym, and use it to blast open the patio’s silver door. Enter the elevator beyond the door to ride up to a higher patio with a pool.
Pool Fool
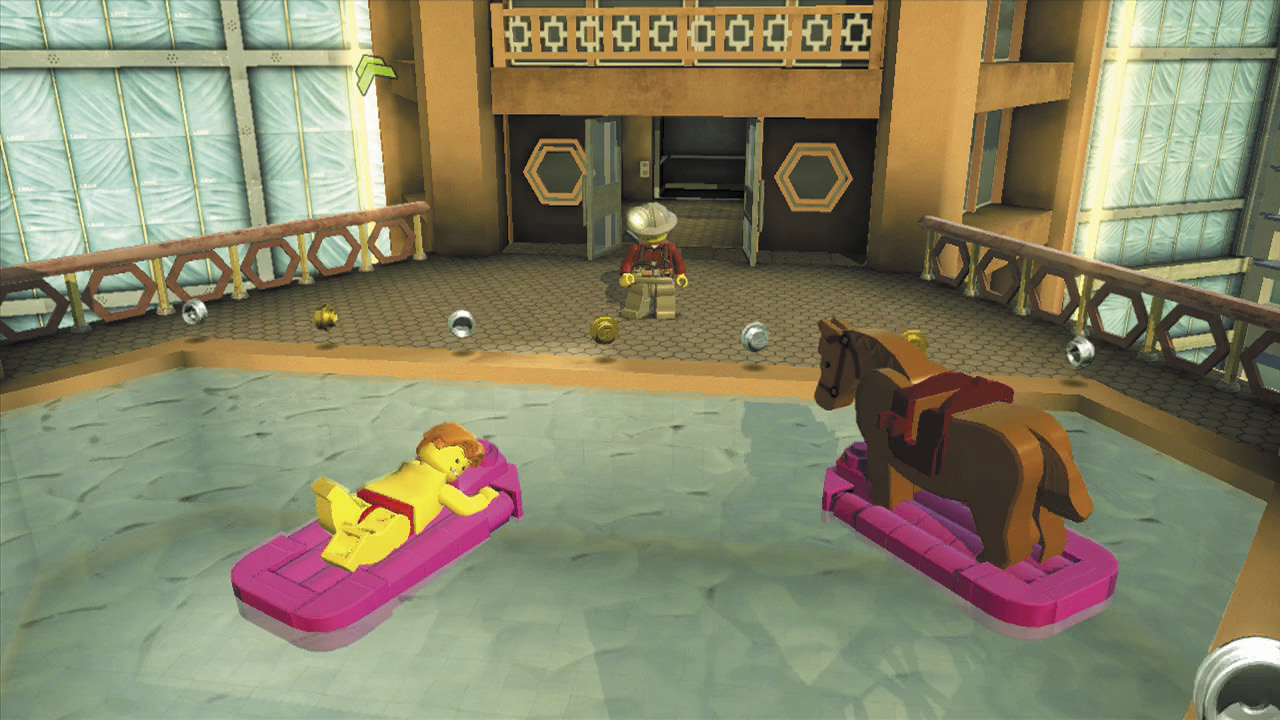
Chase finds none other than Officer Frank Honey lazing about the pool patio—along with his horse! This is Frank’s parents’ hotel, and the well-meaning police officer informs Chase that he saw a sinister-looking helicopter land at the neighboring hotel. That must be where Vinnie has gone!
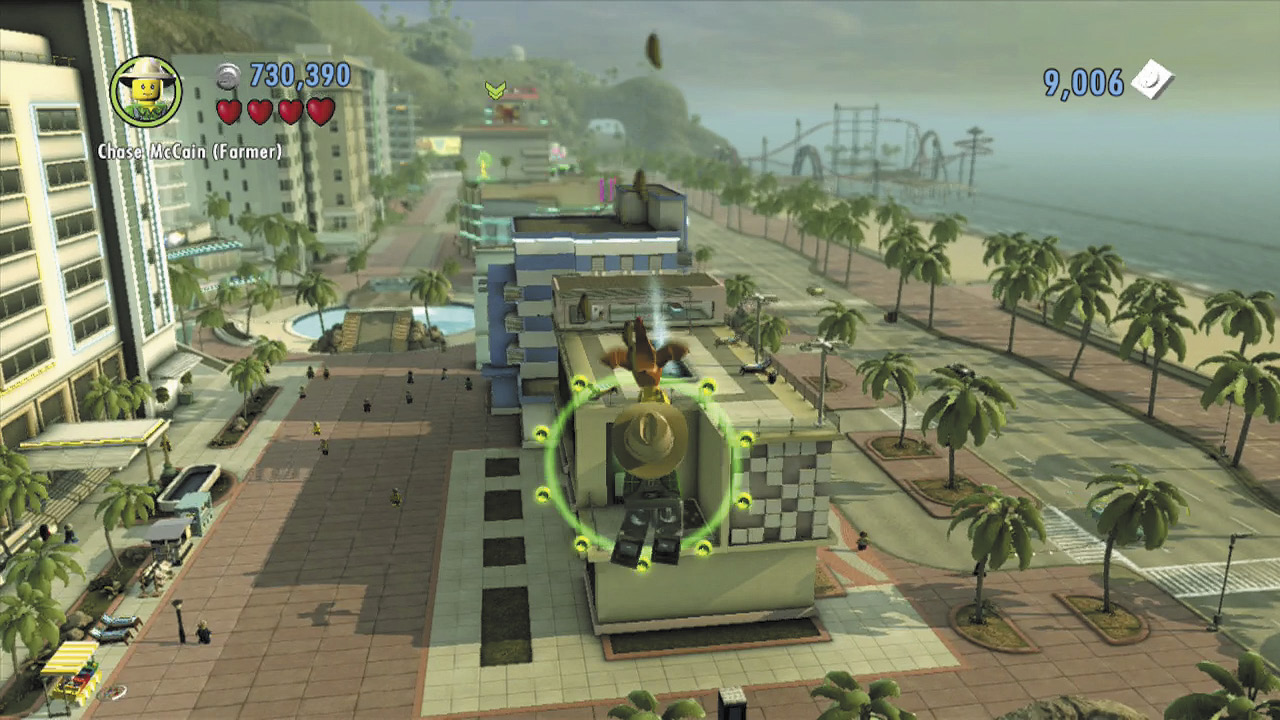
Jump onto the nearby chicken symbol and activate it, then make the long glide over to the building in the distance, passing through several stud rings and snagging a superbrick on your way there.
Water Work
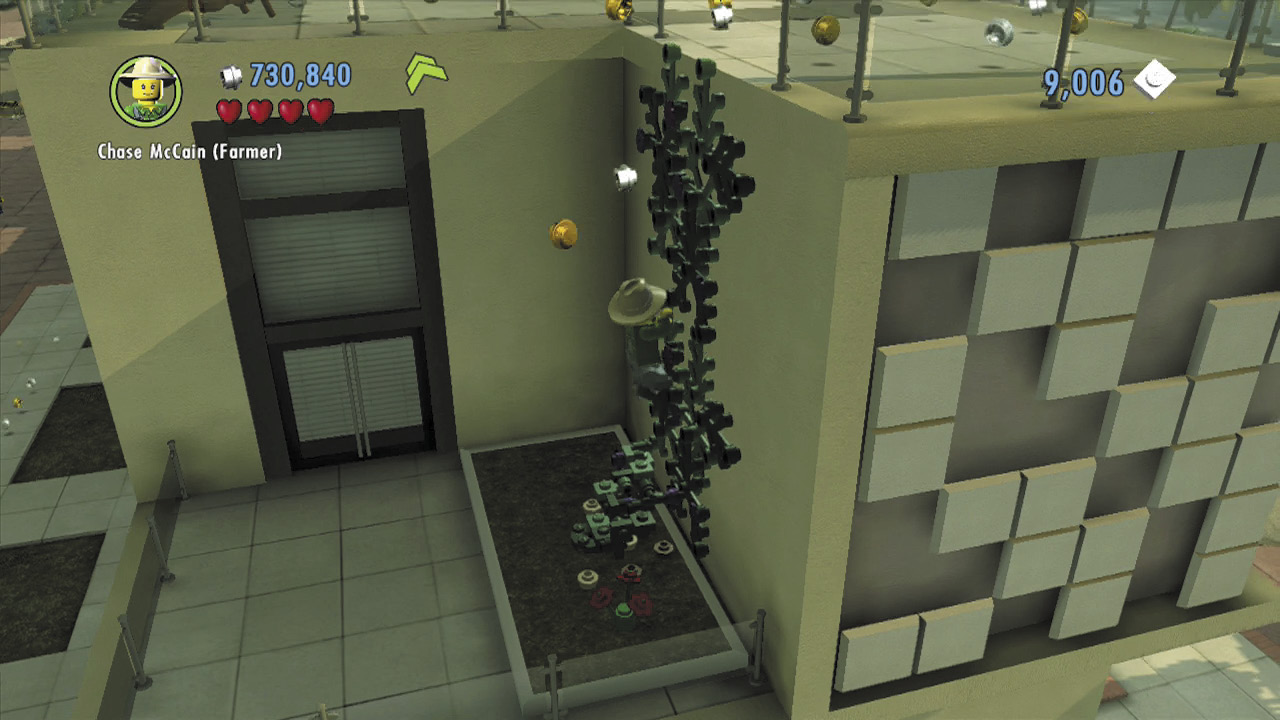
Your long glide lands you near a flower bed. Water the flowers to grow them, and climb up to the building’s roof.
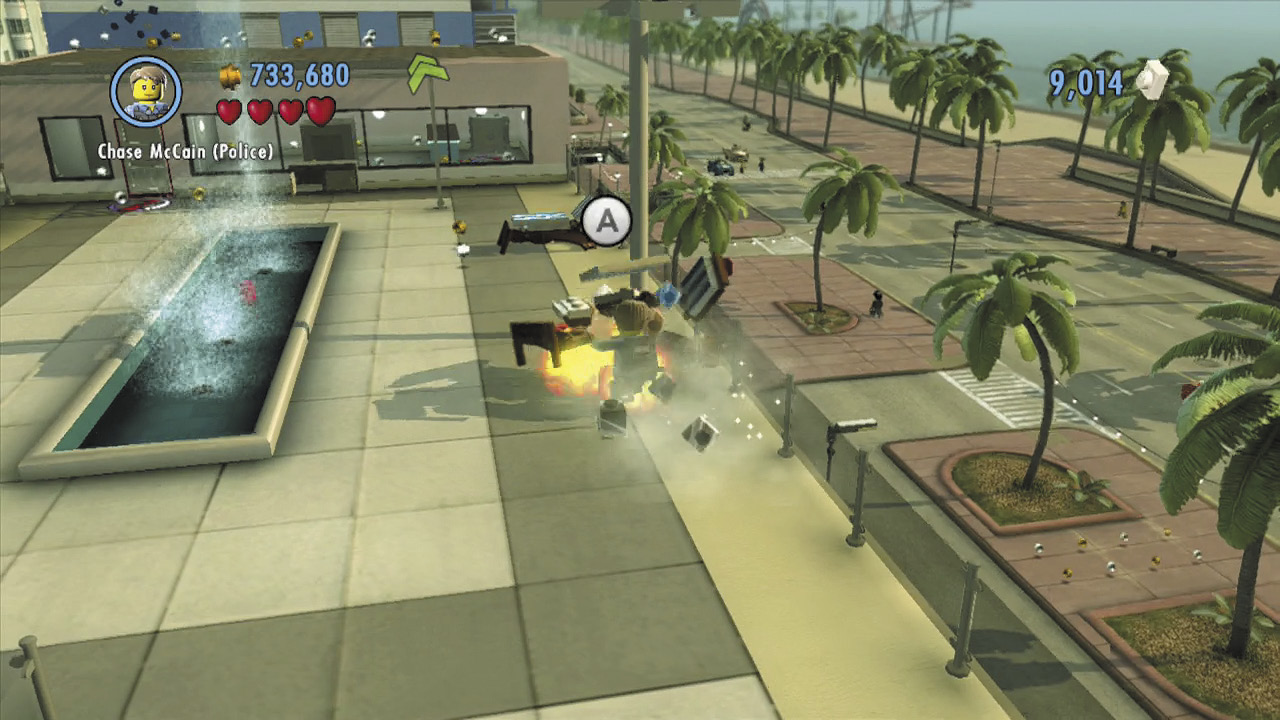
Smash the patio furniture around the roof to discover a red cap. Grab the cap and use it to plug up one of the three spurting geysers in the roof’s central fountain.
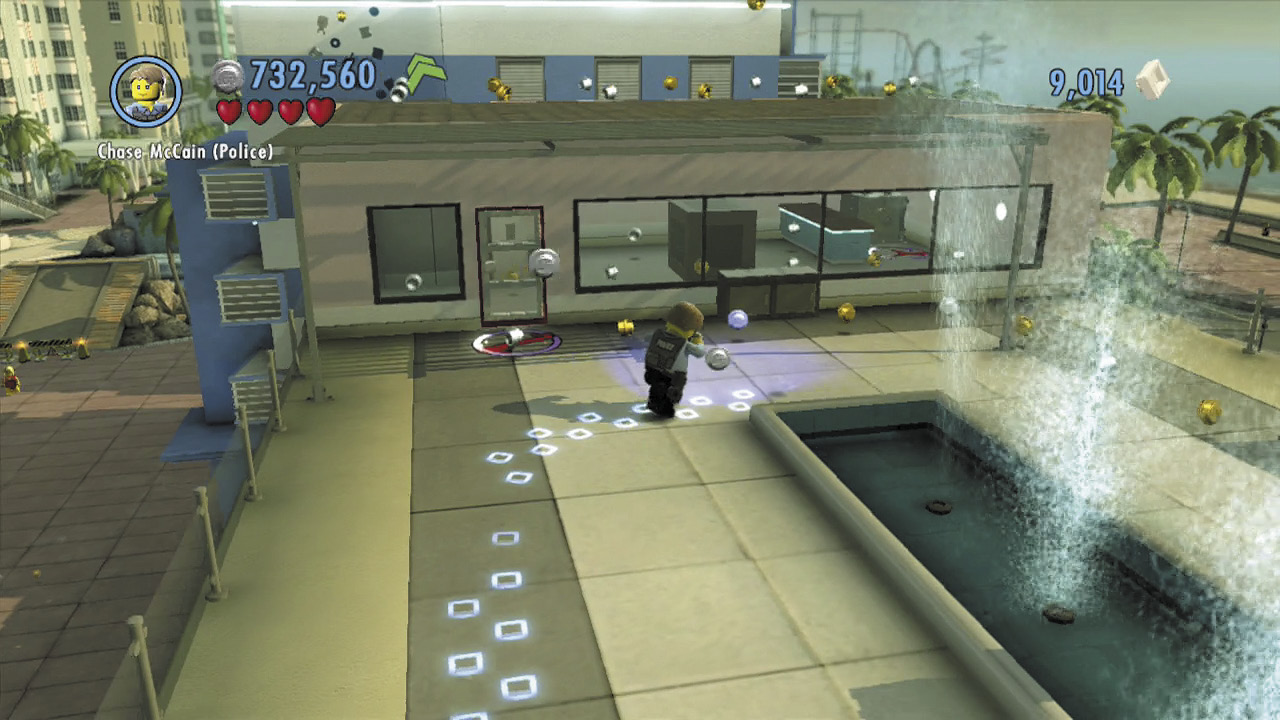
Break more patio furniture to uncover a scan spot. Trace the footprints to a cabinet that contains another red cap. Use this to plug another of the fountain’s geysers.
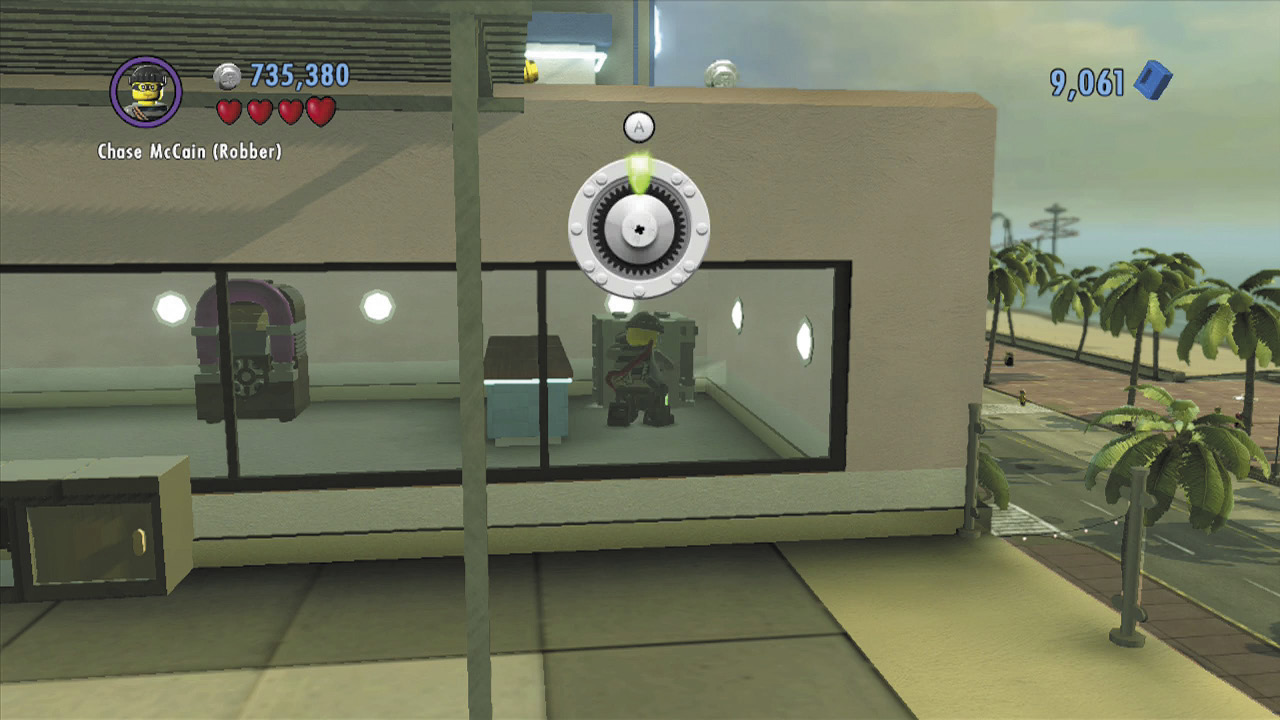
Next, pry open the background door and enter the small room beyond. Crack the safe here to score another red cap, and use this to plug up a third geyser.
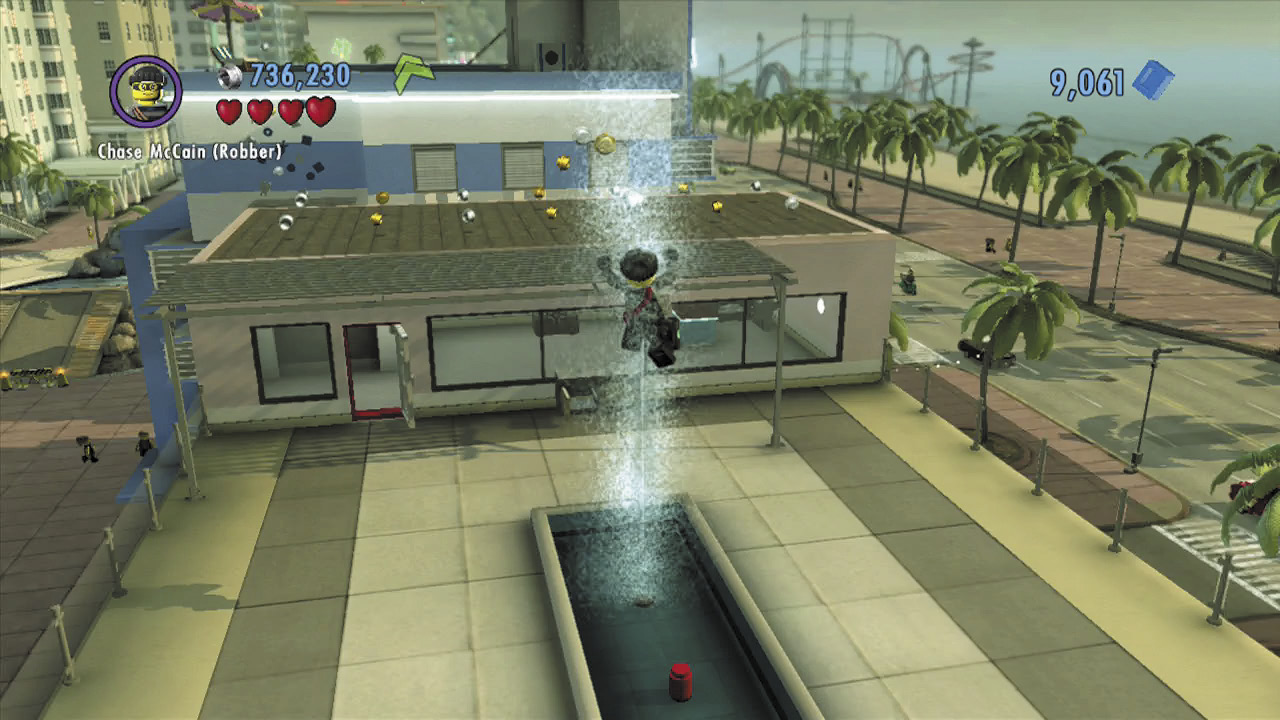
With three of the fountain’s four geysers plugged, the pressure causes the remaining geyser to jet up much higher. Jump into the geyser to float upward, then leap over to the background roof.
Roofs and Ropes
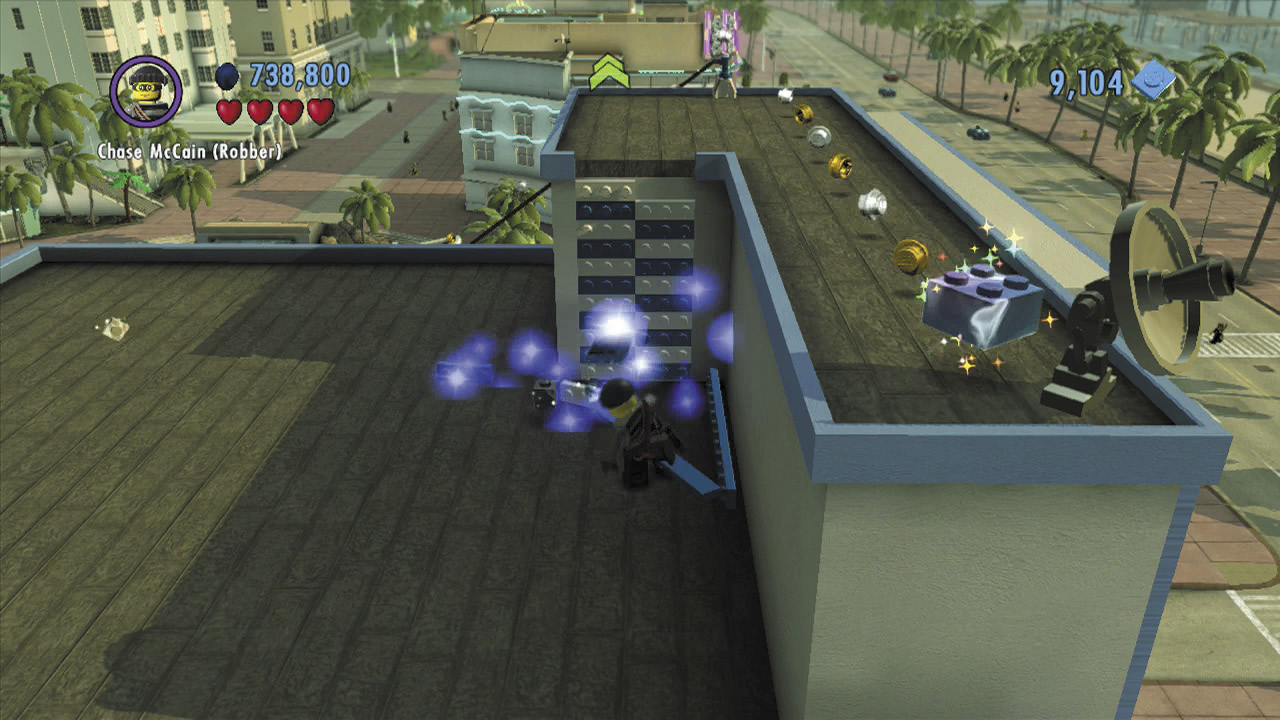
Leap from the higher roof and climb up the patch of blue and white LEGOs on the neighboring building. Smash an air conditioner on the roof to discover some bricks. Build these into a climbable wall, and use it to reach a higher roof with a superbrick.
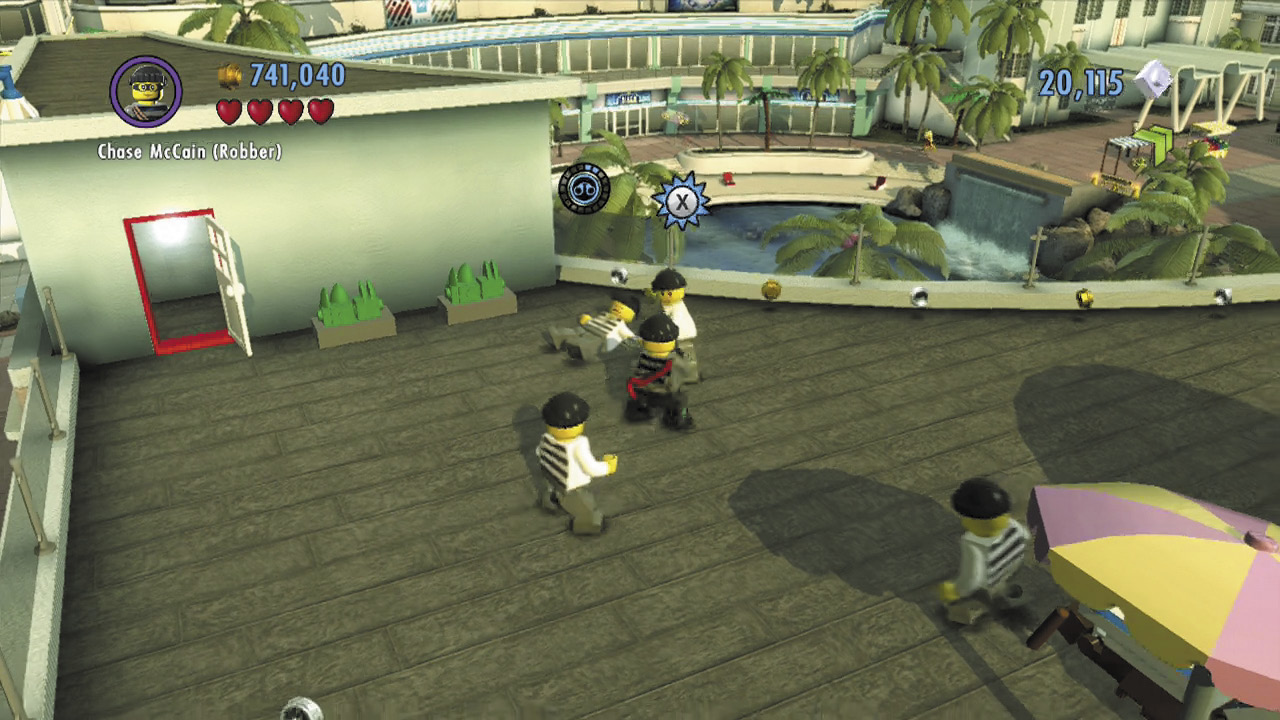
Collect the superbrick on the higher roof, then slide down a tightrope to zip over to the roof of the nearby hotel. Beat up the familiar goons on the rooftop, then pry open a door to score another superbrick. Water two planters afterward to grow a pair of flowers.
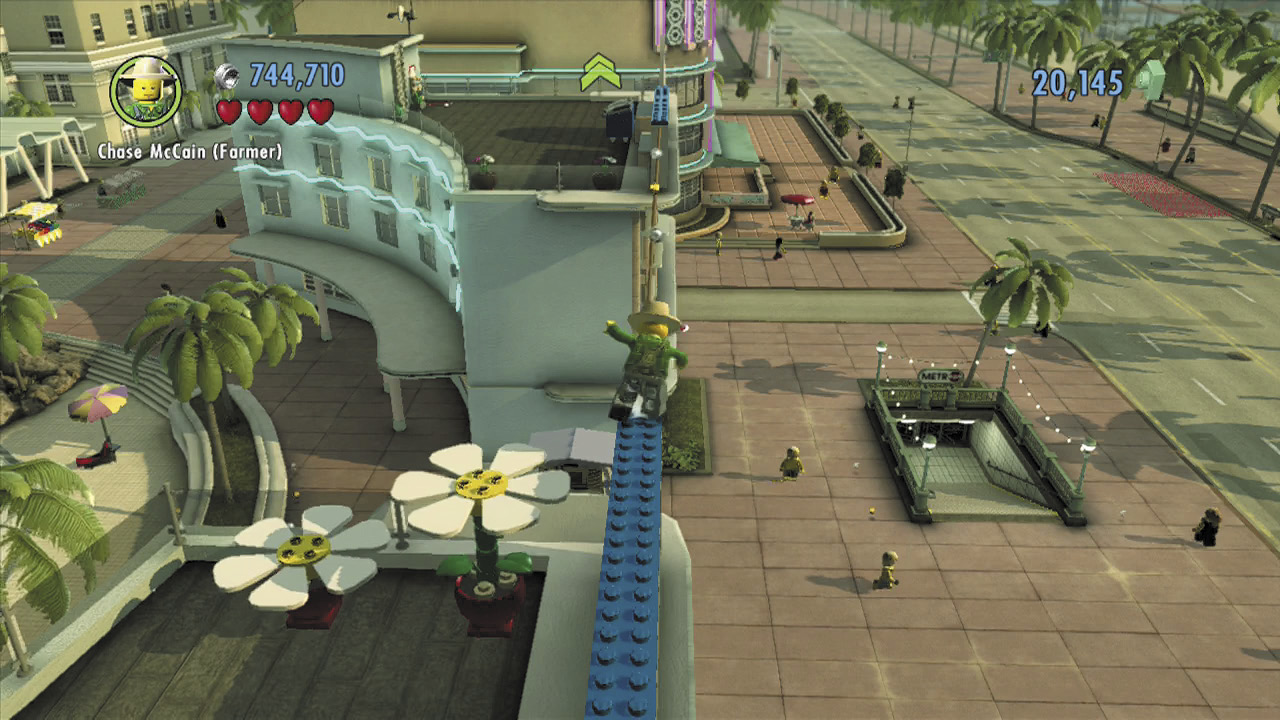
Jump up the flowers to reach the blue balance beam above. Tiptoe across the balance beam and background tightrope to reach another section of the hotel’s roof.
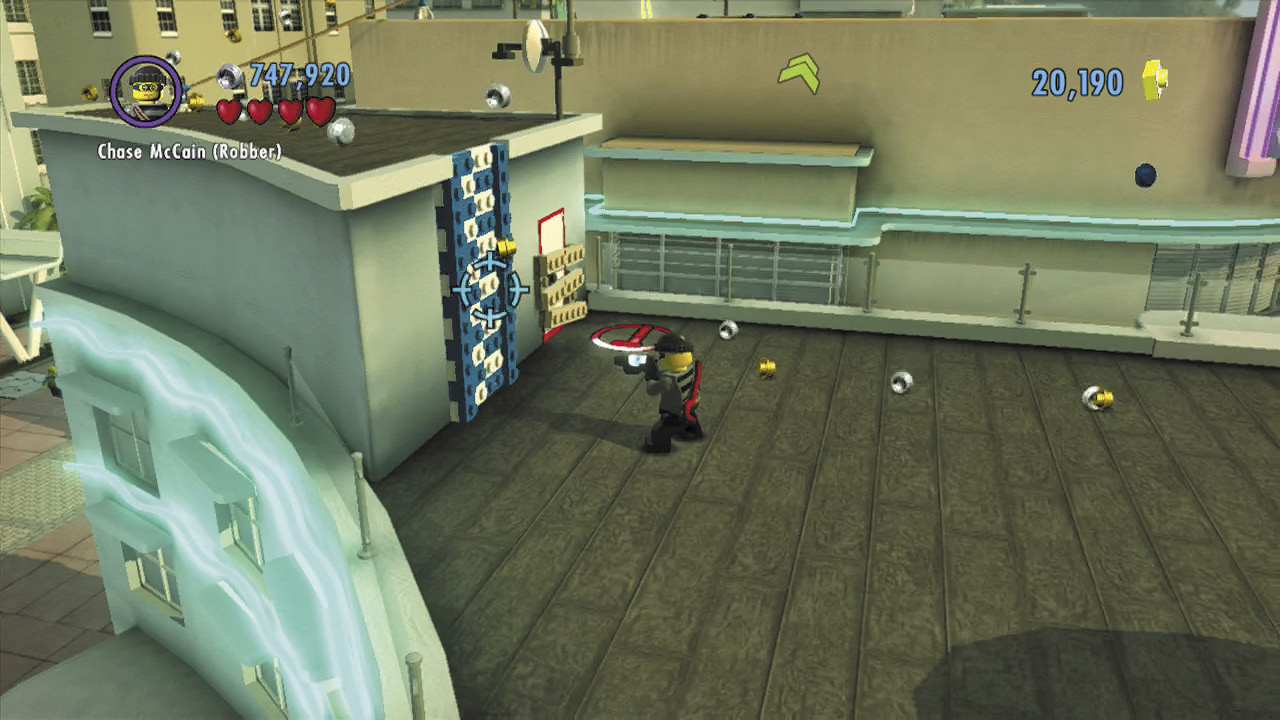
Smash the blue and white bin atop the next roof to find some bricks. Build these into a color swapper, then fill the color gun with blue energy. Blast the white wall on the left with the color gun so you may climb it.
Pool Party
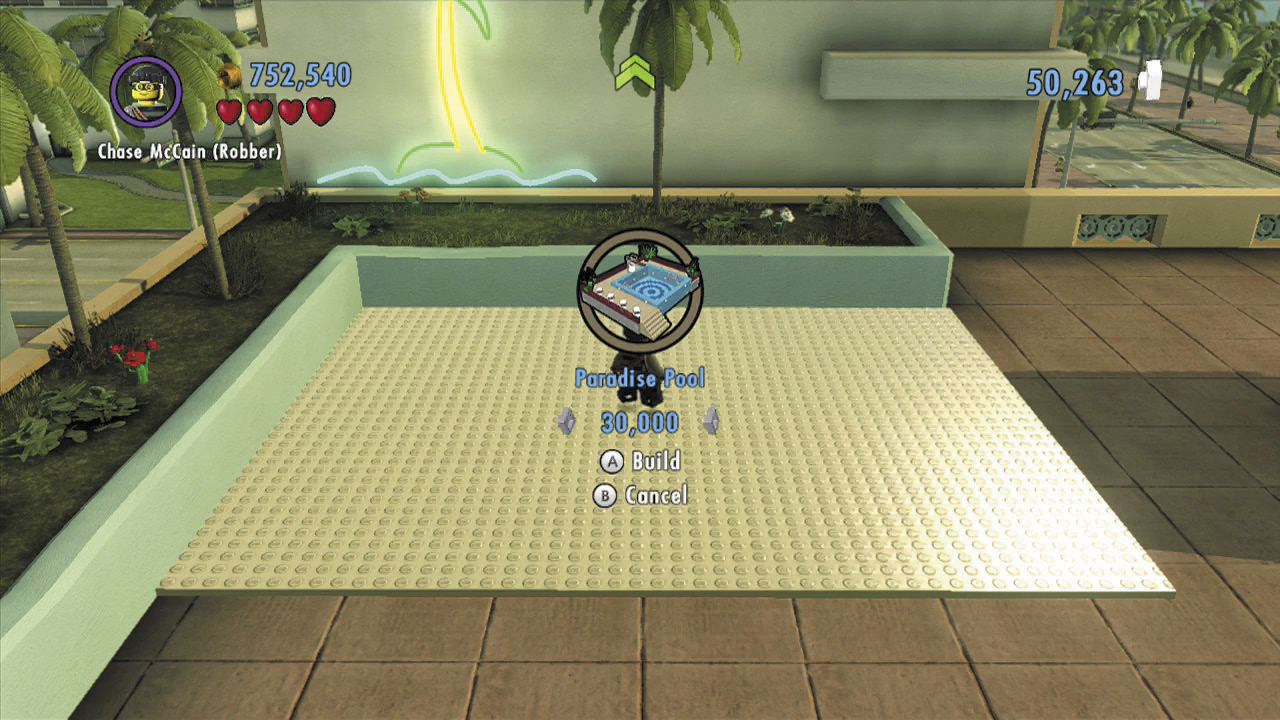
Tiptoe across another tightrope to reach the next building’s roof. Pry open a door here to snag a superbrick from the room beyond. Spend 30,000 bricks to build the Paradise Pool superbuild at the nearby LEGO pad.
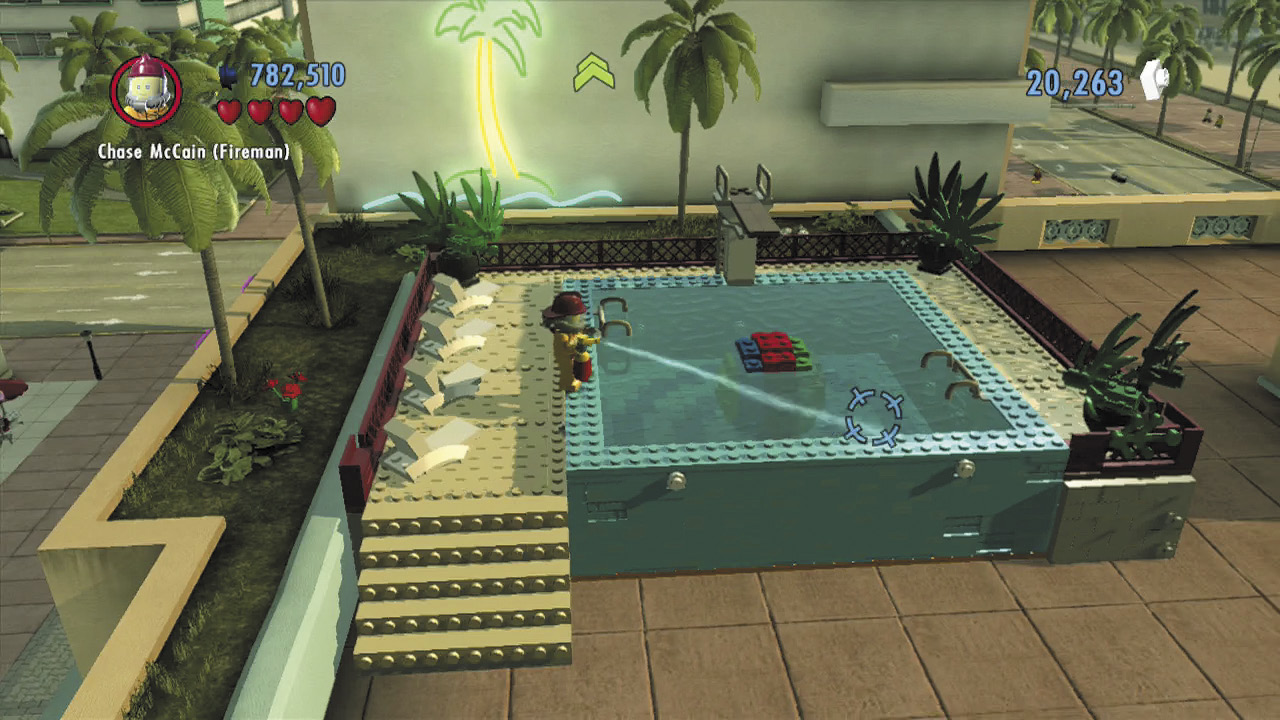
Nice work! Now change into the fireman disguise and use the extinguisher to fill the pool with water. Just keep spraying the pool until it overflows and the giant beach ball rolls out onto the roof.
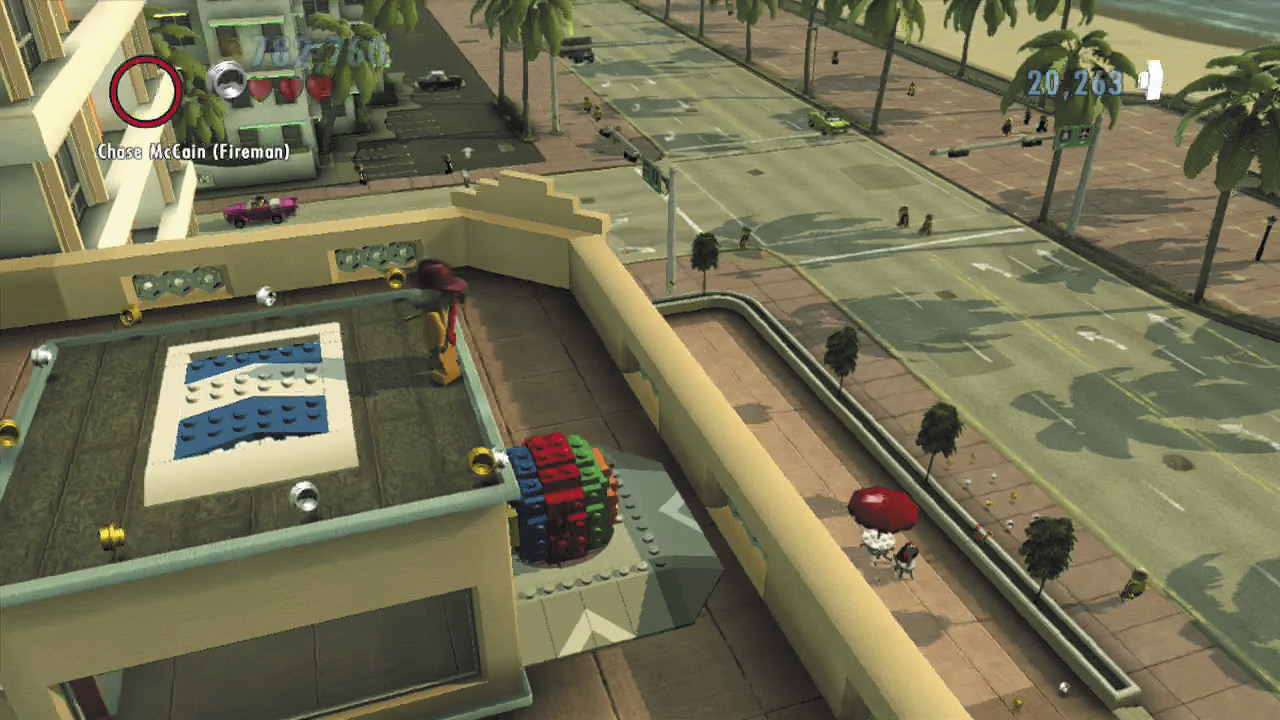
Press  to jump onto the beach ball and ride it around the roof. Roll to the indicated spot on the right, then jump off the beach ball to reach the high catapult pad. Use the pad to rocket over to the next building.
Colorful Puzzle
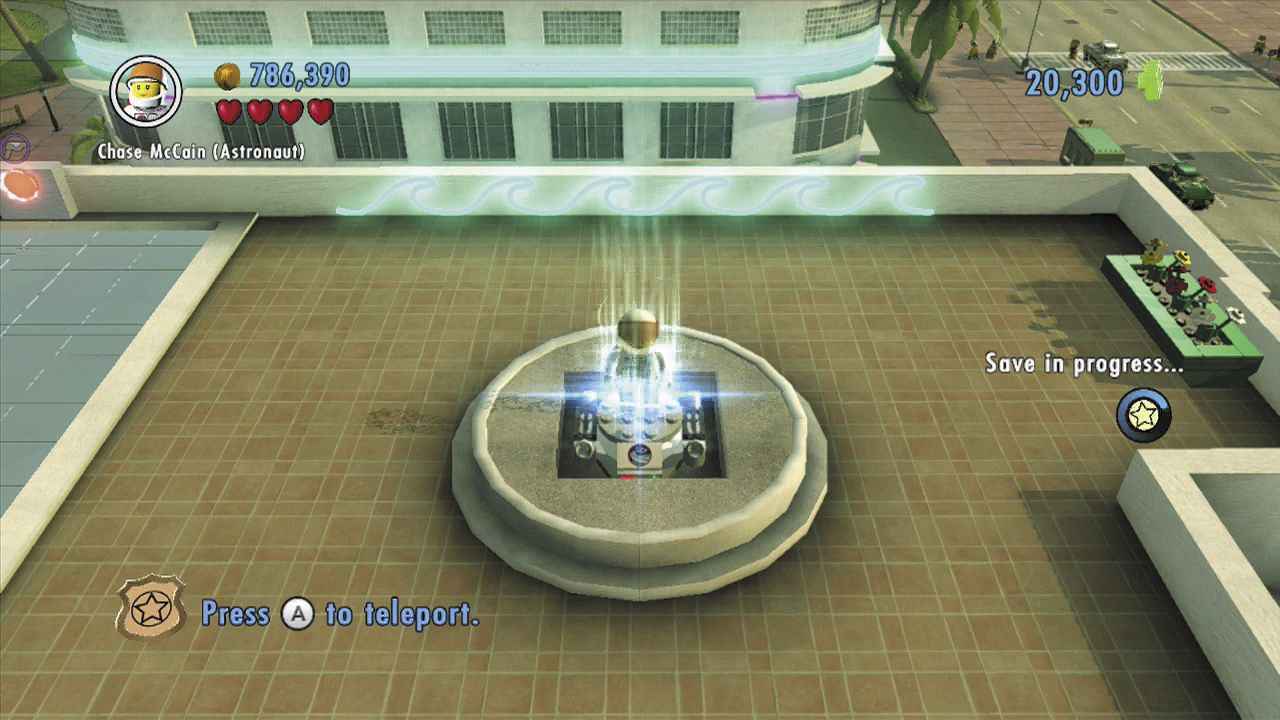
Notice the red switch on this building’s rooftop. You can’t activate it yet, so smash the nearby boulders instead to uncover a transporter pad. Use this to beam over to the neighboring building.
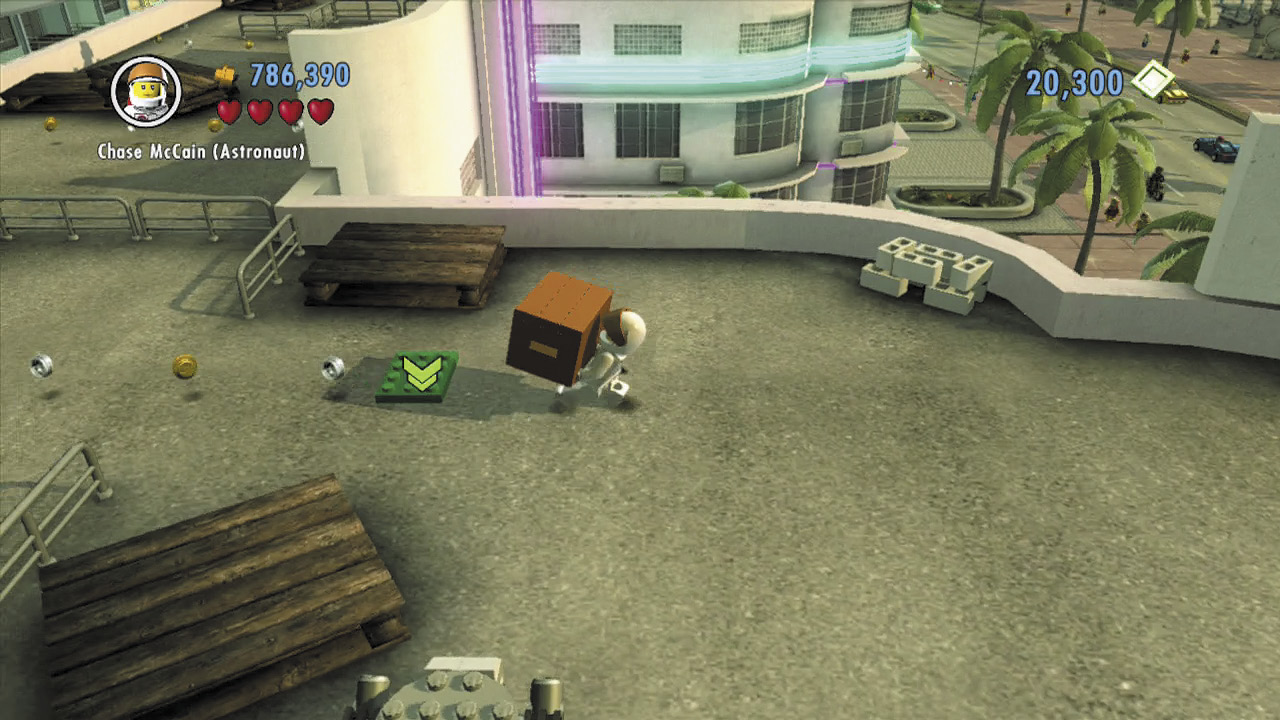
After teleporting, pick up the small box on the right and place it onto the nearby green pad. Some bricks spill out; build them into an RC car that’s loaded with dynamite.
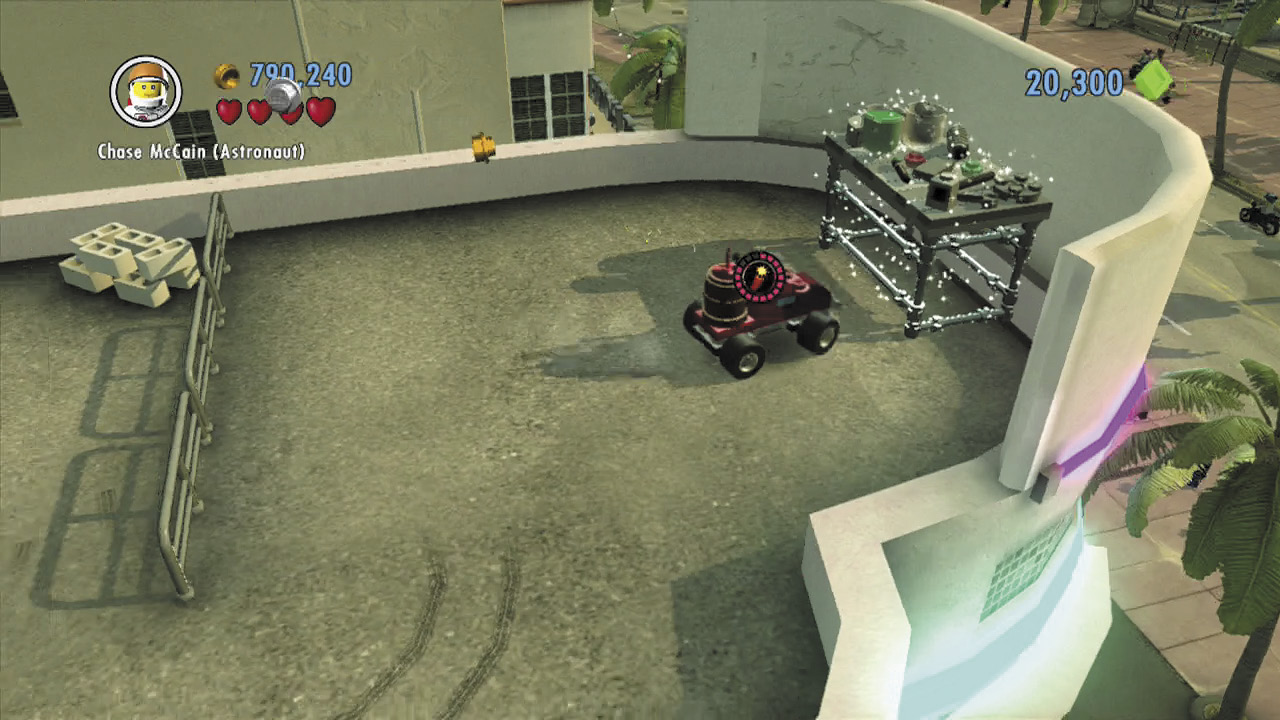
Activate the RC car and drive it through the course on the left, following a trail of studs toward a silver shelf. Ram the shelf with the RC car to destroy it and reduce the shelf to a pile of bricks.
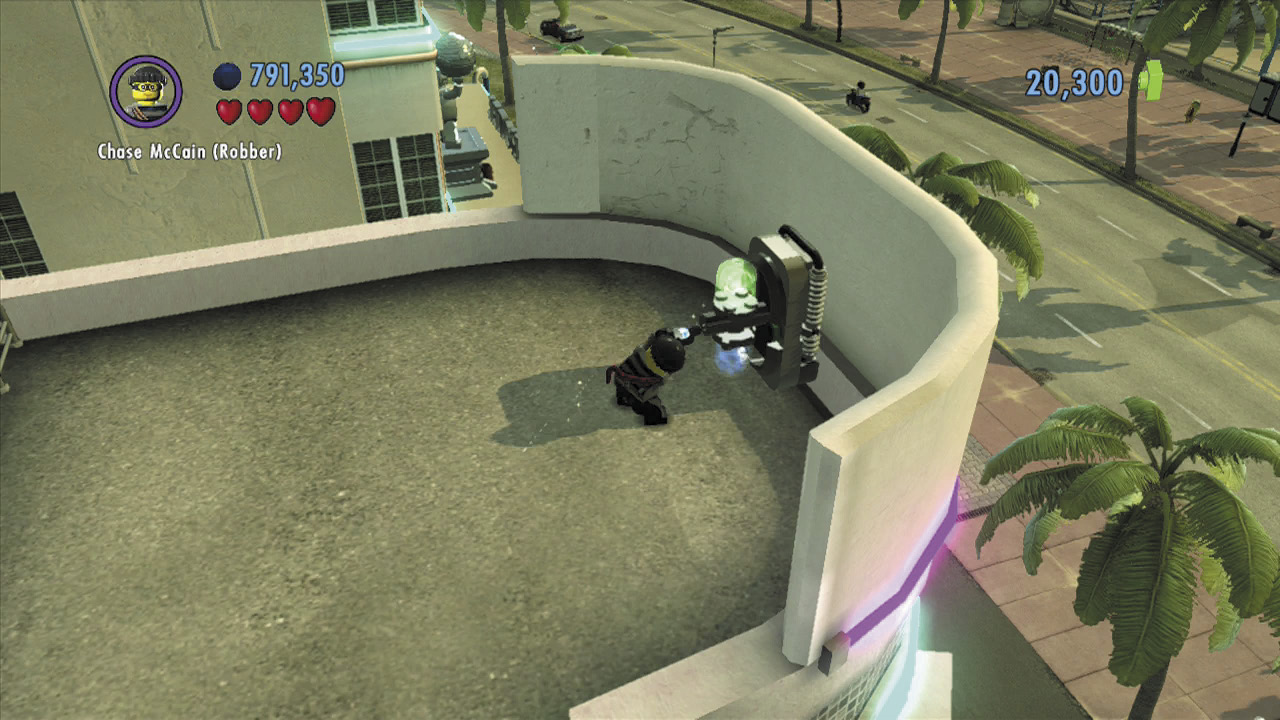
Sprint over to the bricks and build them into a color swapper. Fill your color gun with green energy, then backtrack and beam over to the previous building.
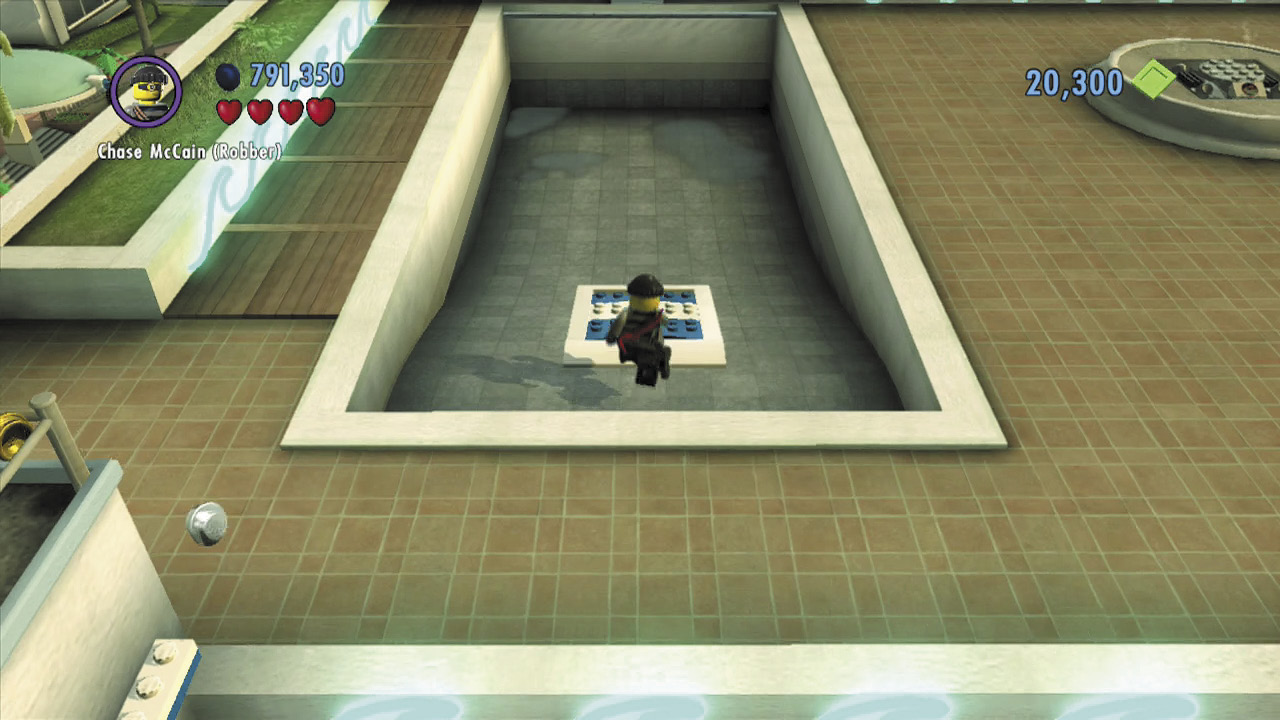
You know what to do! Blast the red switch with the color gun to open the roof and expose a catapult pad. Use the pad to rocket over to yet another building.
Final Climb
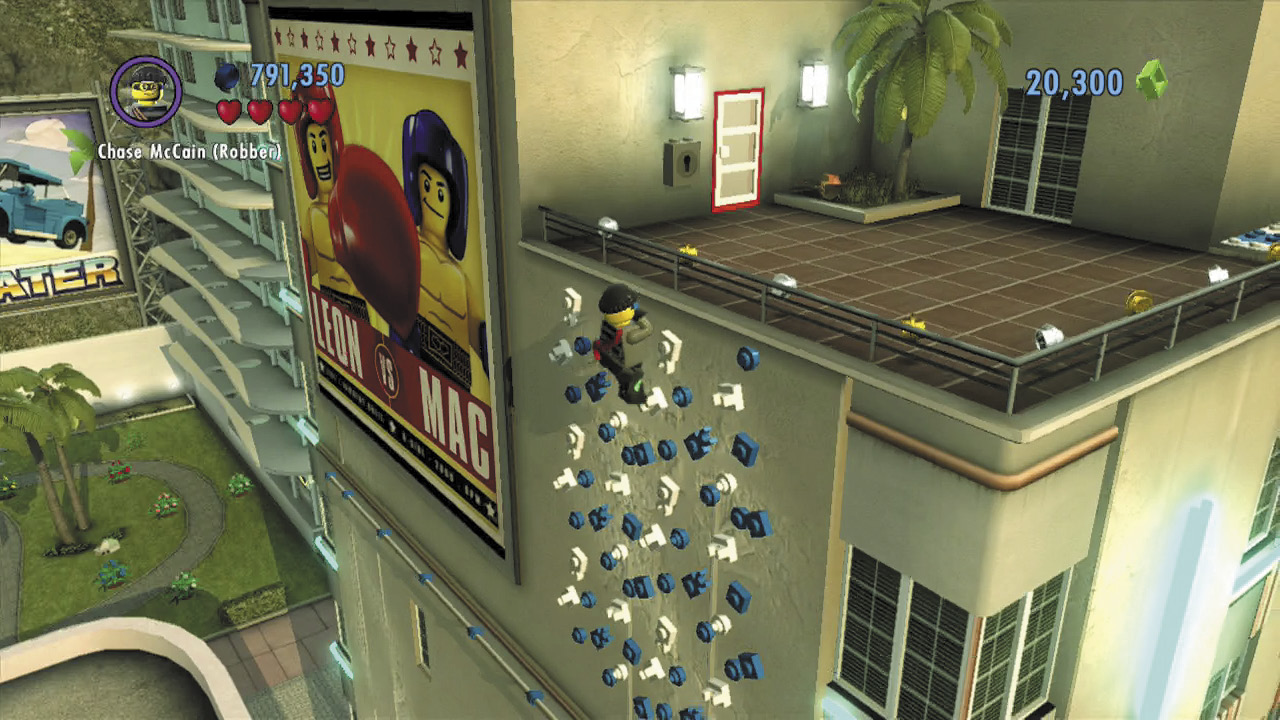
Chase smacks into the side of the building and slides down to a handhold. Shimmy to the right and climb the blue and white LEGO patch on the wall to reach a patio.
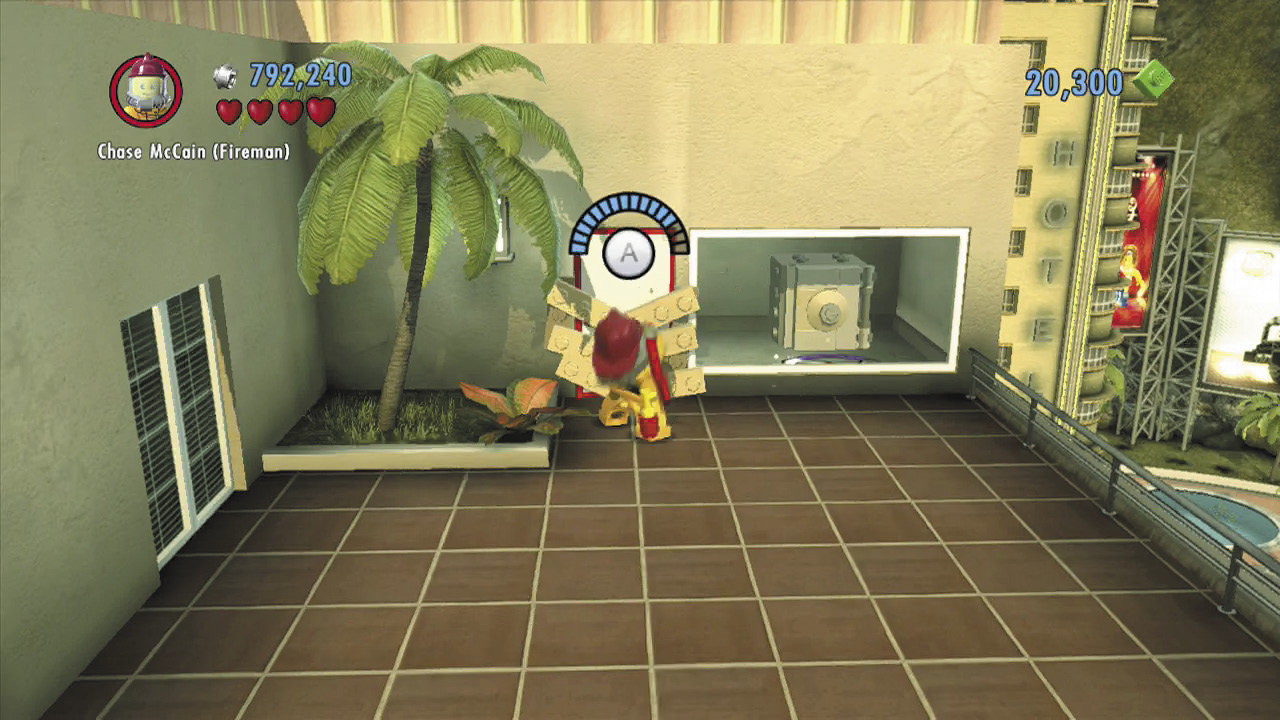
A locked door catches Chase’s eye. Use a wall runway to dash over to the next patio, then chop open a boarded door to access a safe. Crack the safe to claim the key inside.
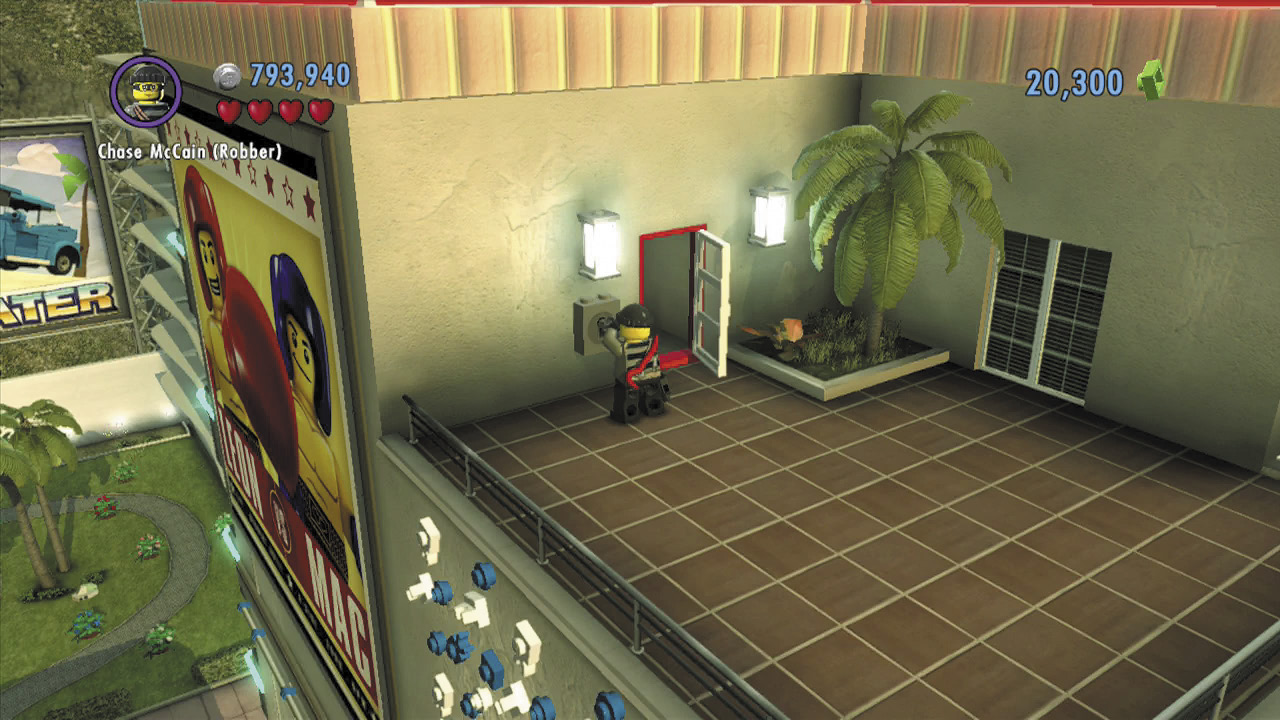
Wall-run back over to the first patio and use the key to open a locked door. Head inside, and Chase will emerge on the building’s roof.
Vinnie and Rex
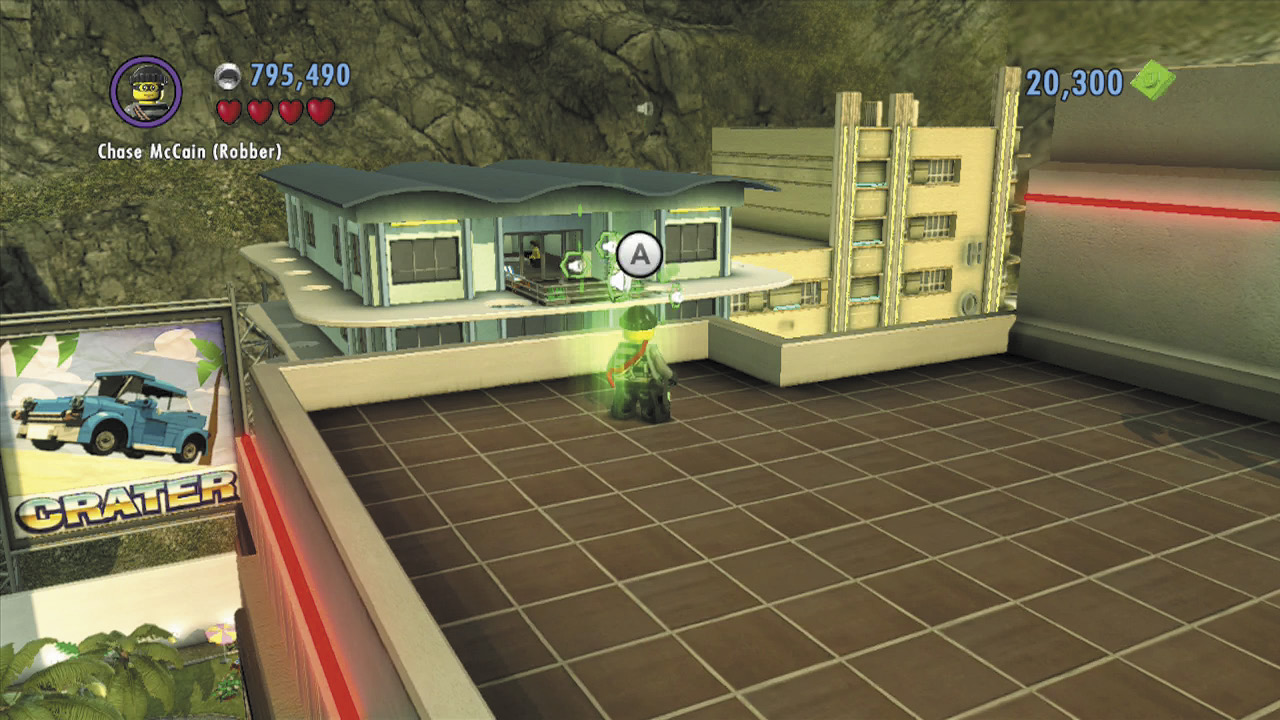
At last, you’ve reached your objective: a scan spot! Stand on the scan spot and use Audio Scan mode to eavesdrop on the meeting between Vinnie and Rex Fury in the building across the street.
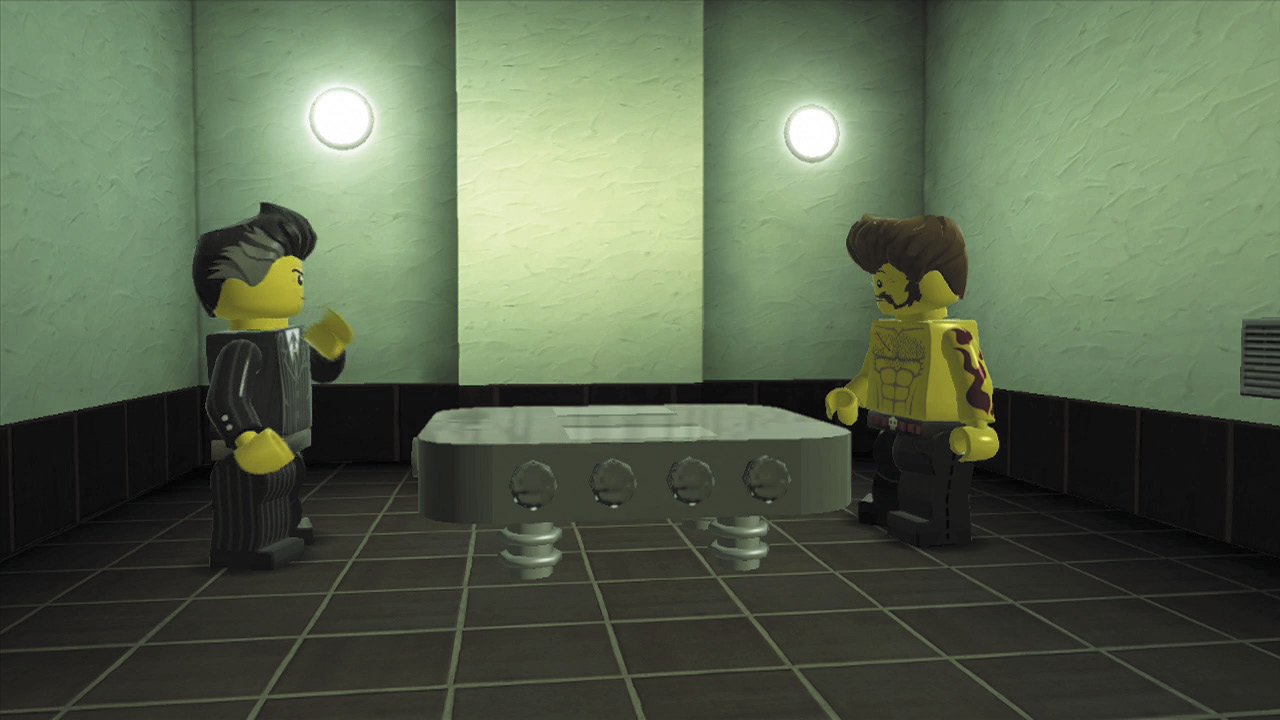
Chase listens as Vinnie is given orders to steal more goods for the private buyer, who Rex seems to also be working for. Shortly thereafter, Vinnie calls Chase to give him another job—one that involves breaking into millionaire Forrest Blackwell’s secret vault!
Objective: Enter Blackwell’s Sea Cave
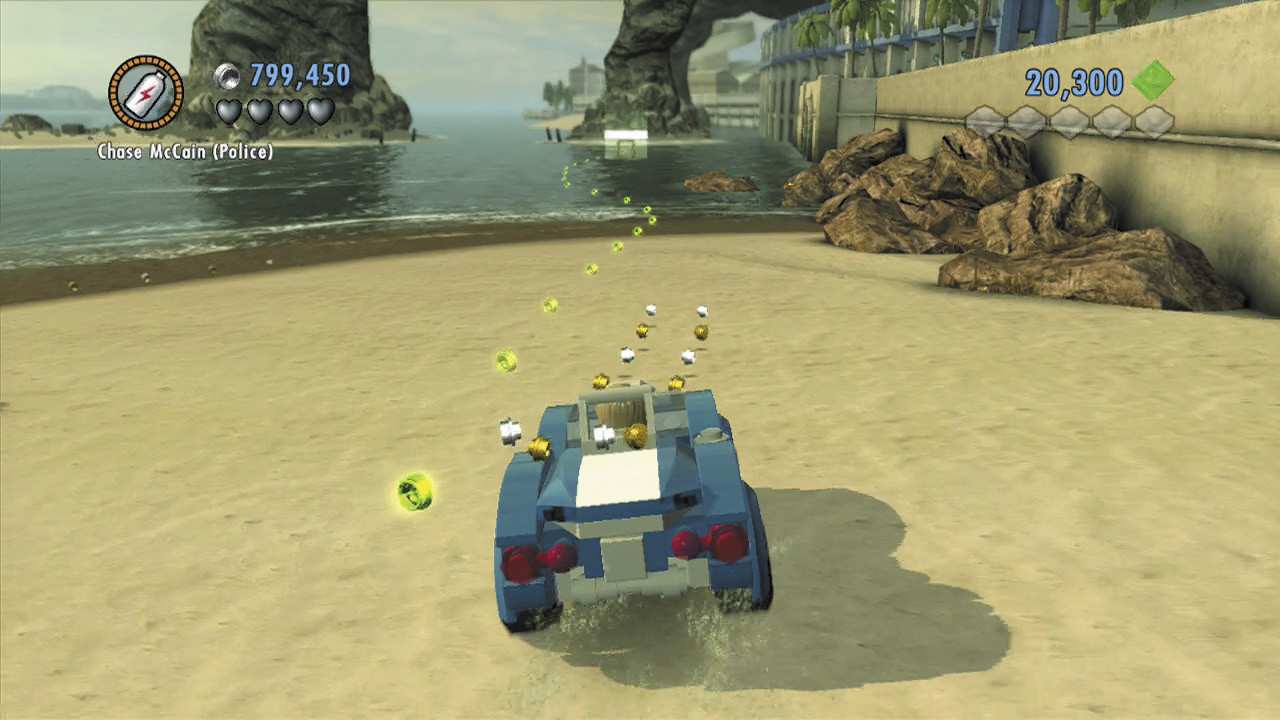
The entrance to Mr. Blackwell’s sea cave isn’t far. Follow the green studs to a nearby beach. Swim over to the objective beacon near the sea cave to begin your next assignment.
Special Assignment 10: Smash ’n’ Grab
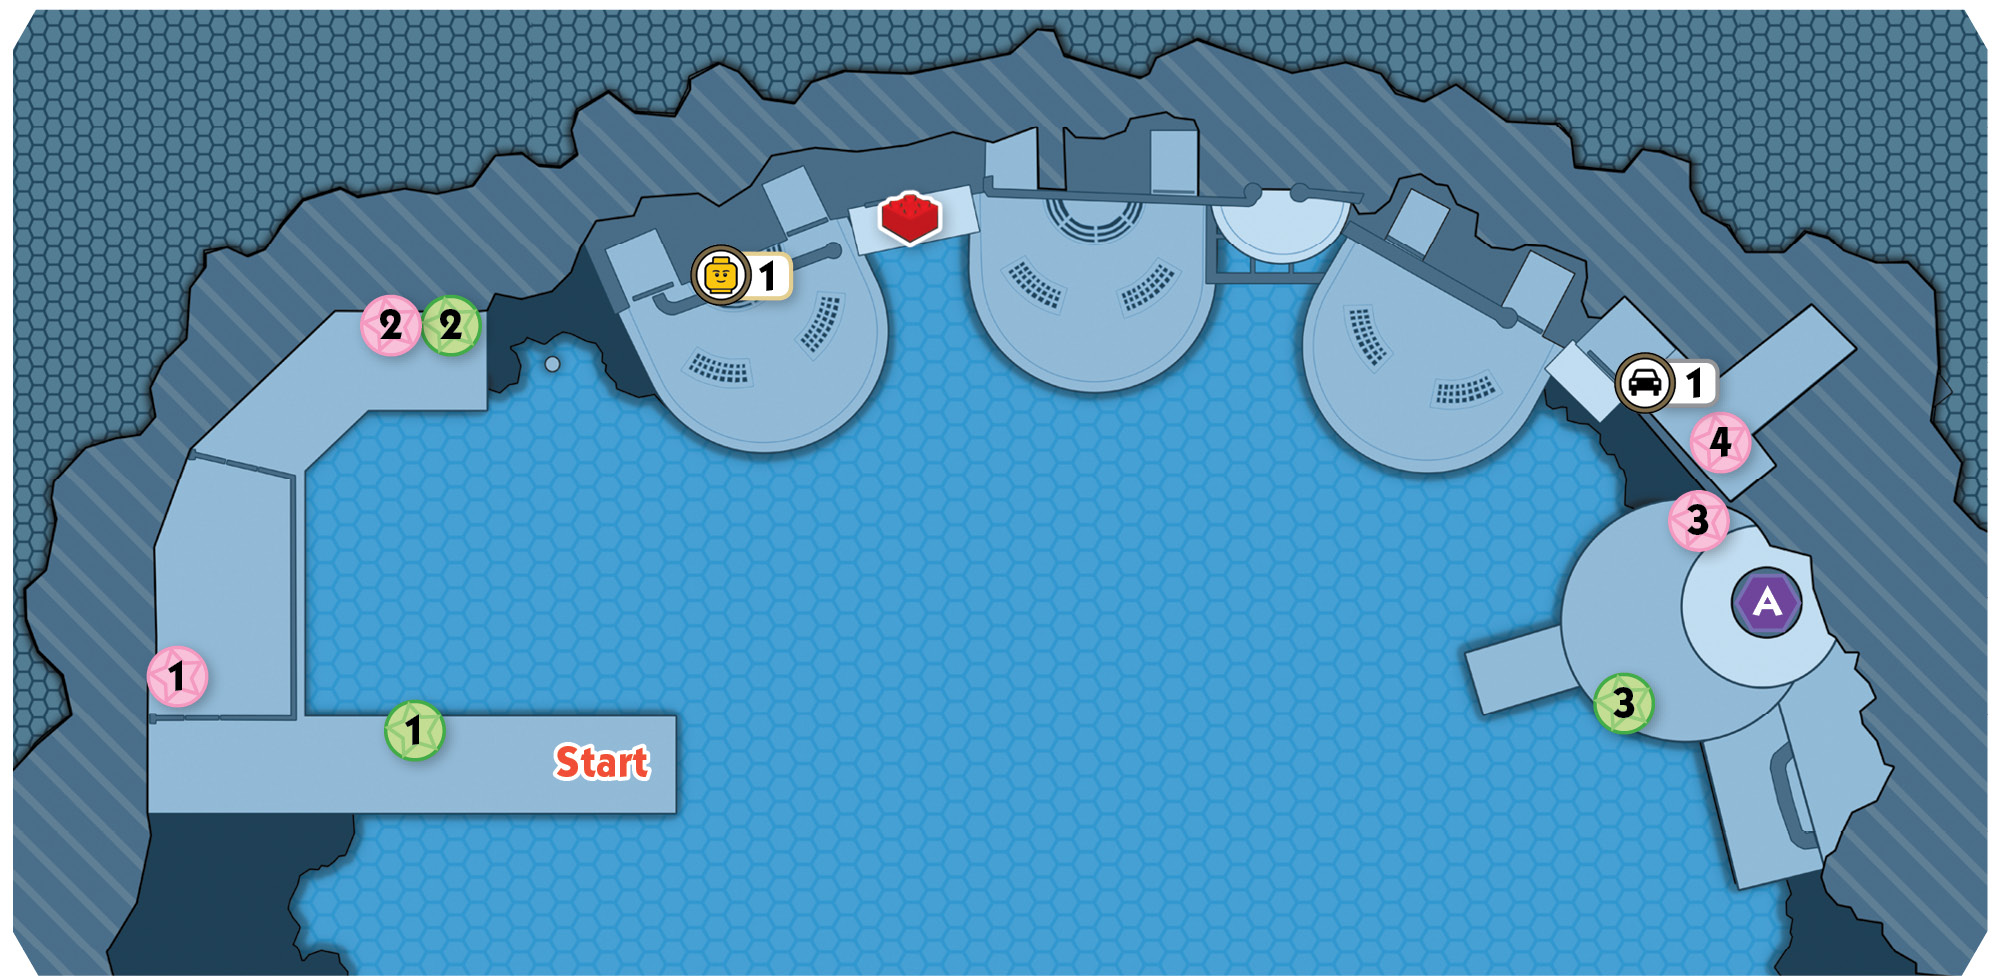
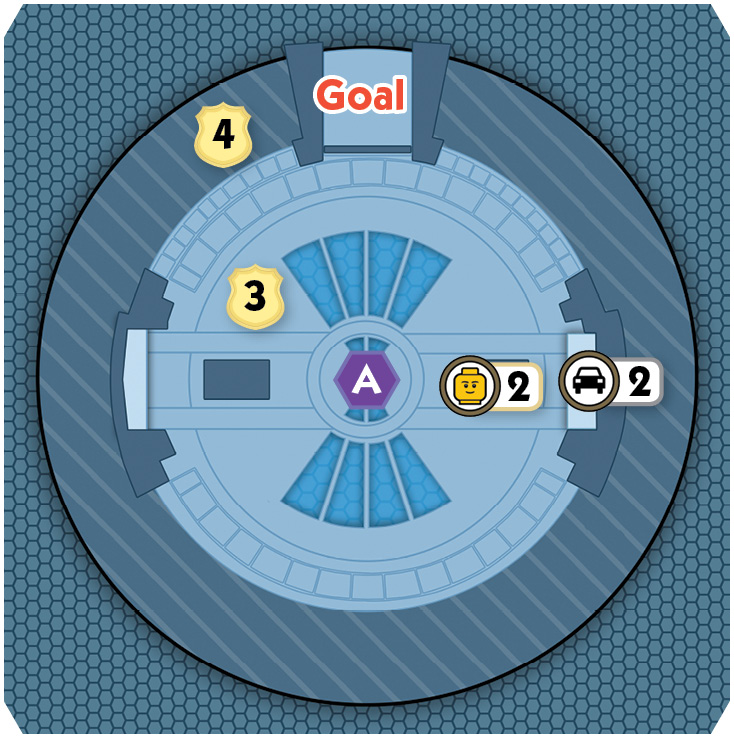
Stage Collectibles: “Smash ’n’ Grab”
| Map Icon(s) | Type | Mode | Notes |
|---|---|---|---|
 |
Police Shield Piece 1 | Story | Smash three life preserver stands around the sea cave. |
 |
Police Shield Piece 2 | Story | Pry open four red lockers around the sea cave. |
 |
“Moe DeLuca” character token | Free Play | Fix the fuse box on the first ledge, pry open the door, and pull the lever. |
 |
“Buzzer” vehicle token | Story | Grow and climb the vines, jump to the thin ledge, chop through a door, and beam into a small background room. |
 |
Red Brick—Attract Studs | Free Play | Flip across the flagpoles above the vines, slide down a tightrope, fix a fuse box, and chop through a boarded door. |
 |
“Scout” vehicle token | Story | Pry open the wall panel on the right side of Blackwell’s lounge. |
 |
Police Shield Piece 3 | Story | Smash the crate in front of the piano, build the bricks to add the piano keys, and play the piano. |
 |
Police Shield Piece 4 | Story | Pry open the lounge’s background grate to enter the gym; use the punching bag. |
 |
“Forrest Blackwell Tuxedo” character token | Free Play | Use Rex Fury to rip apart the boards in the lounge’s right foreground corner, then fix the fuse box. |
LEGO City HeroStud Requirement:  60,000
Objective: Break into Blackwell’s Lounge
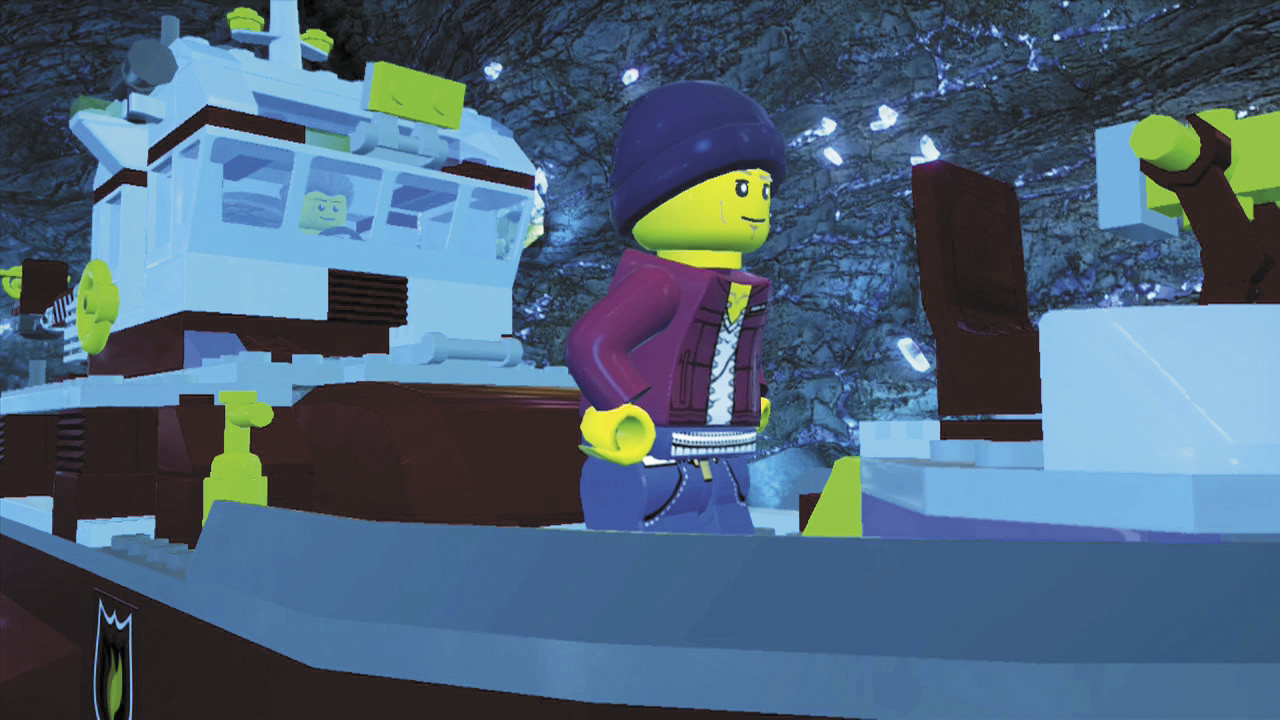
Moe DeLuca awaits Chase within the sea cave and ferries our hero into Mr. Blackwell’s secret boathouse by way of the fire boat that Chase stole from the fire department. Moe will wait here for Chase to return with the goods—the rest of the job is up to McCain!
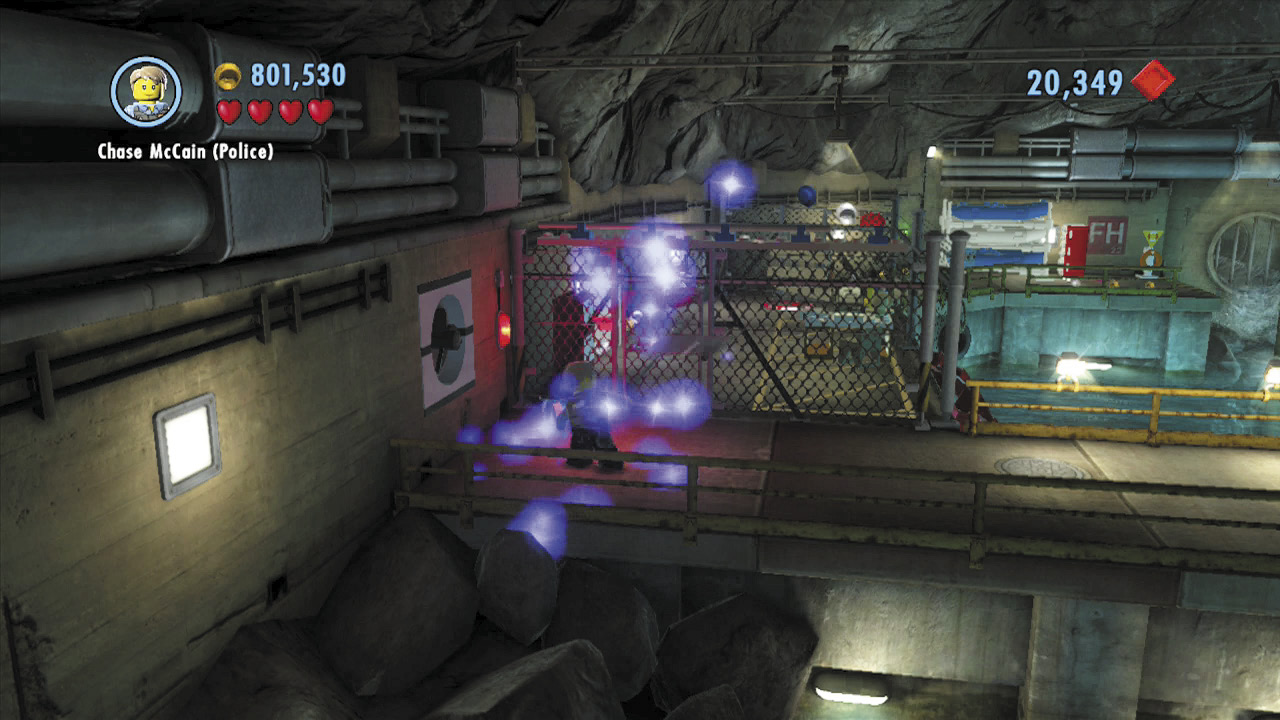
Jump off the fire boat and smash the cabinet on the dock’s left side to discover some bricks. Build these to add a handhold to the top of the nearby fence, then jump over.
Police Shield Piece 1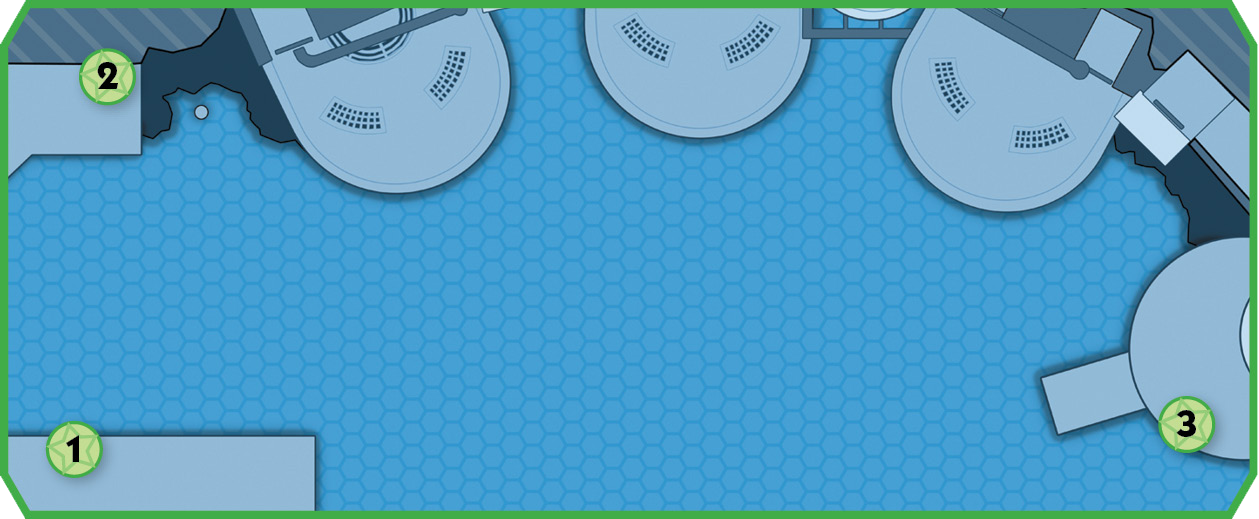 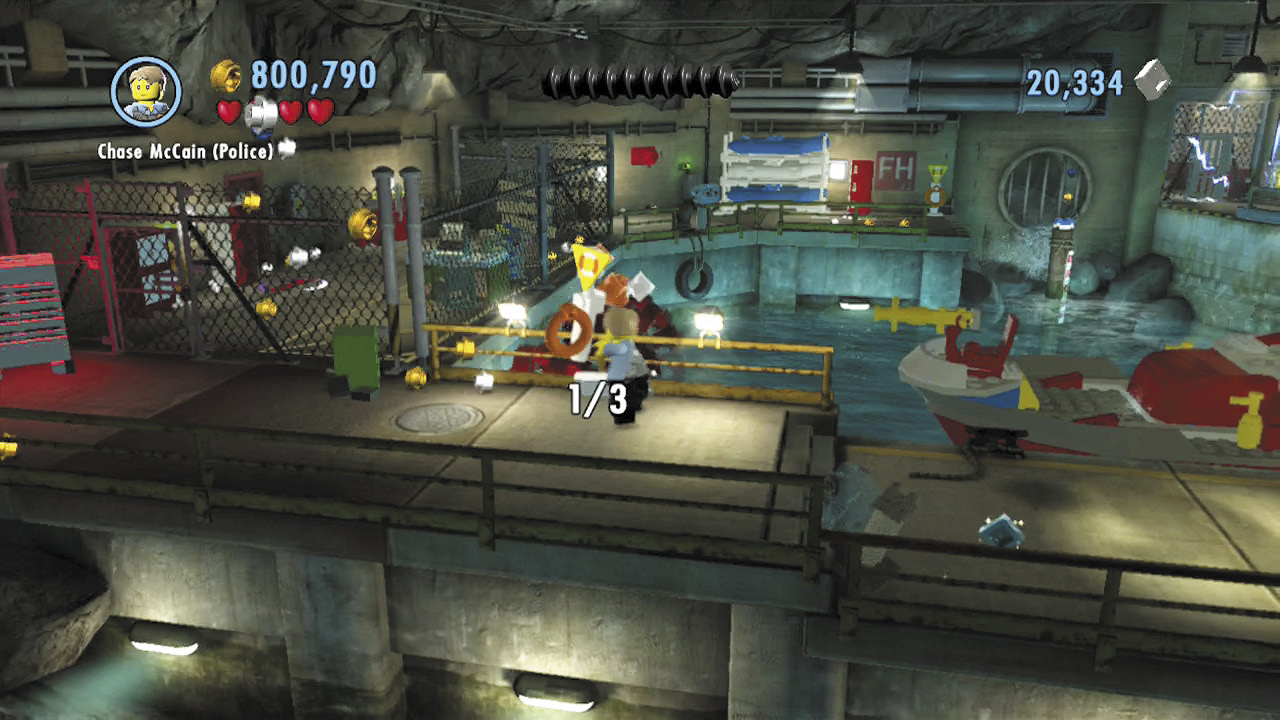 Smash three life-preserver stands around the sea cave to soak up a shield piece. Check the maps to see where these stands are stationed! |
Police Shield Piece 2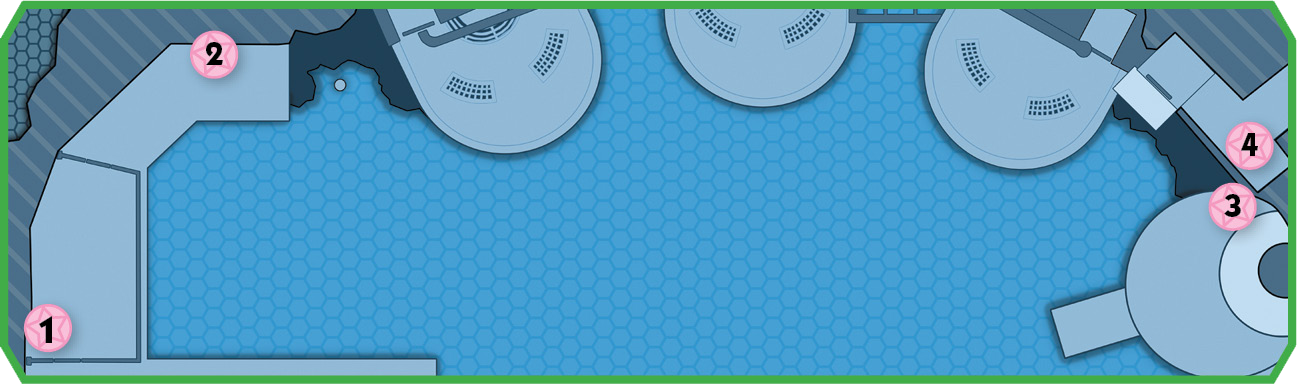 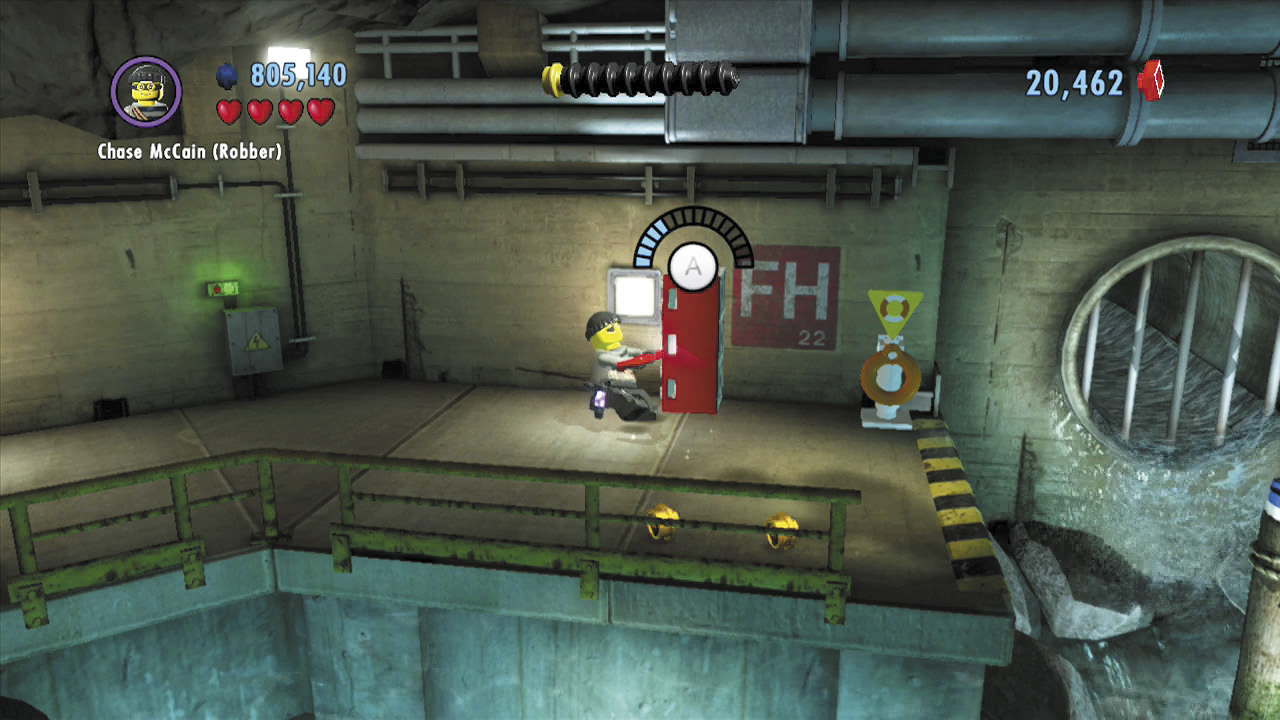 Pry open four red lockers around the sea cave to score another shield piece. The maps reveal the lockers’ locations. |
The First Ledge
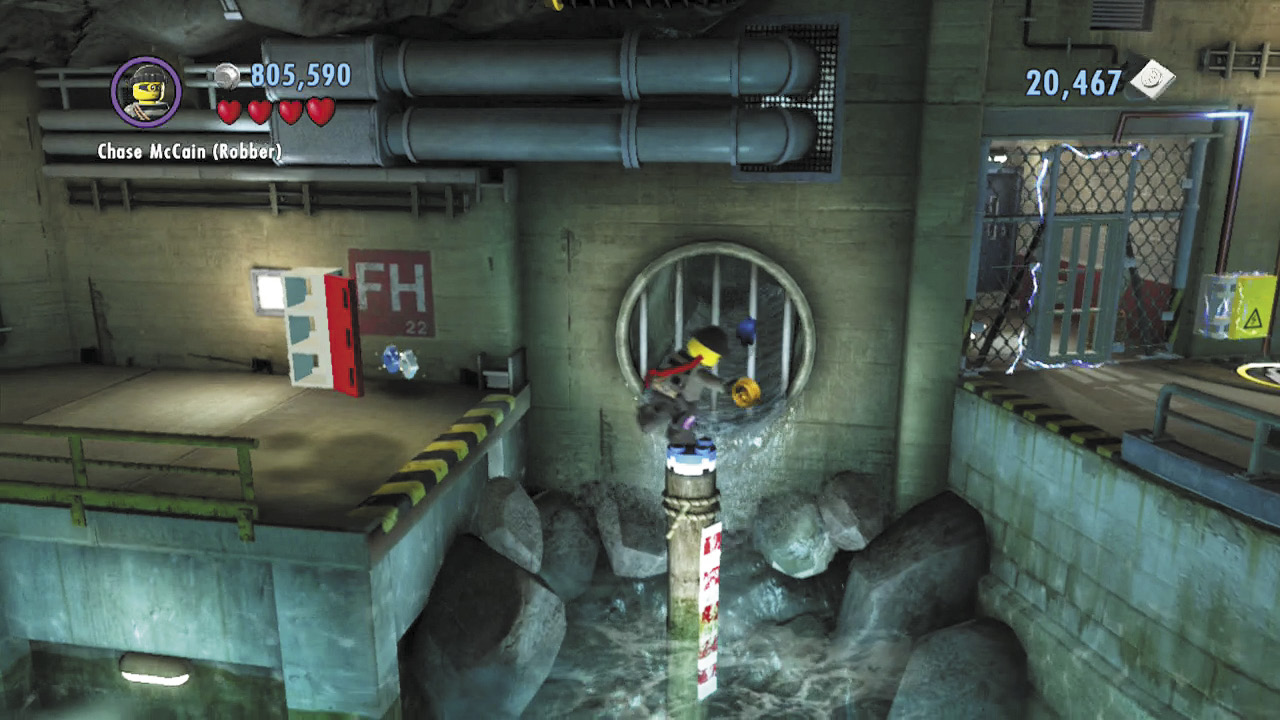
Chop through the boarded door beyond the fence to reach the background ledge. Jump across a thin pole to cross the watery gap that follows.
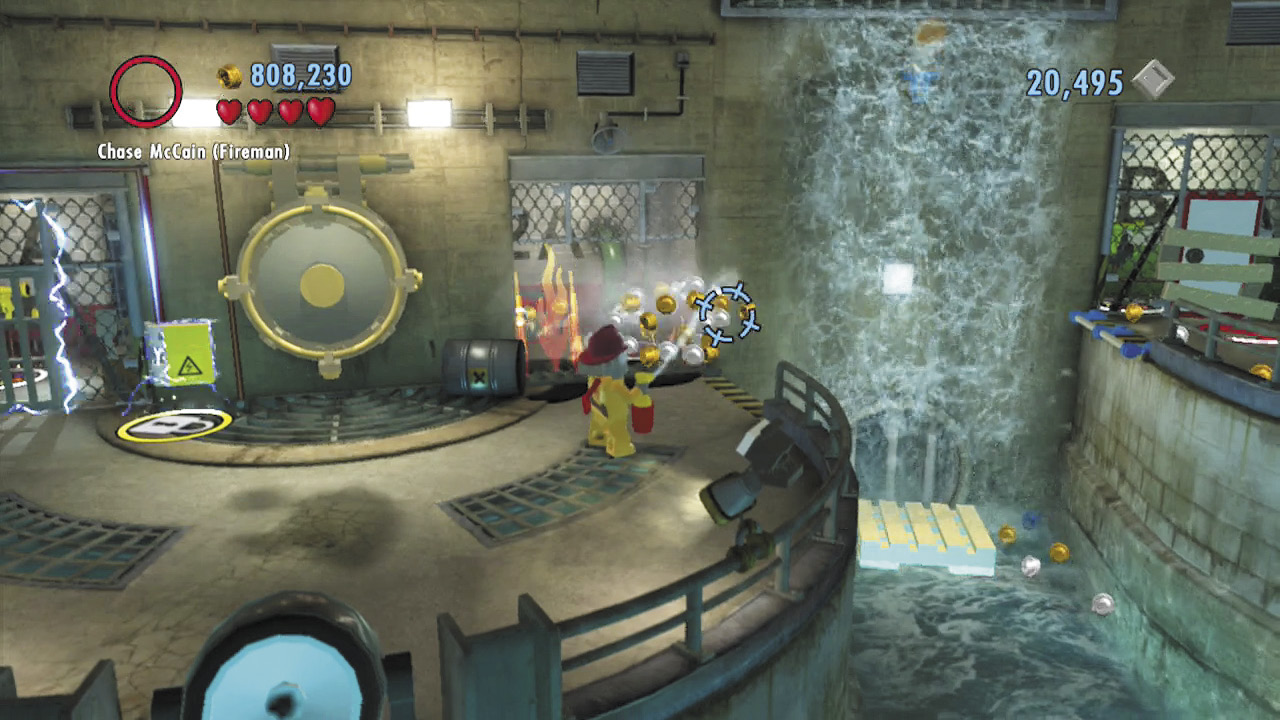
Beat up the Blackwell security guards on the next ledge, then douse some fire to expose a pipe with a valve wheel. Spin the wheel to stem the flow of the waterfall to the right.
Free PlayCharacter Token 1: Moe DeLuca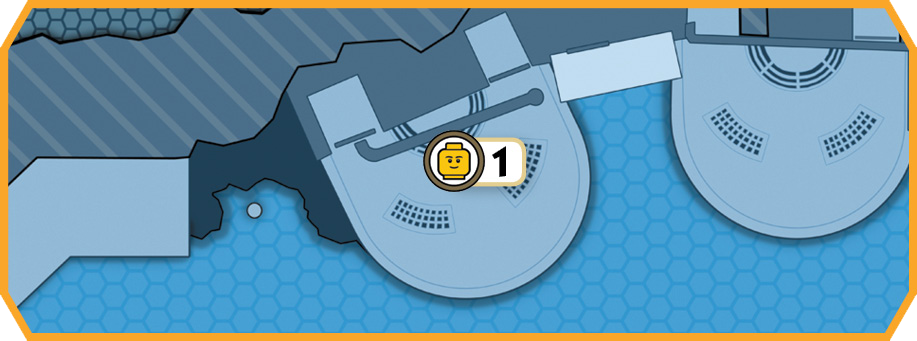 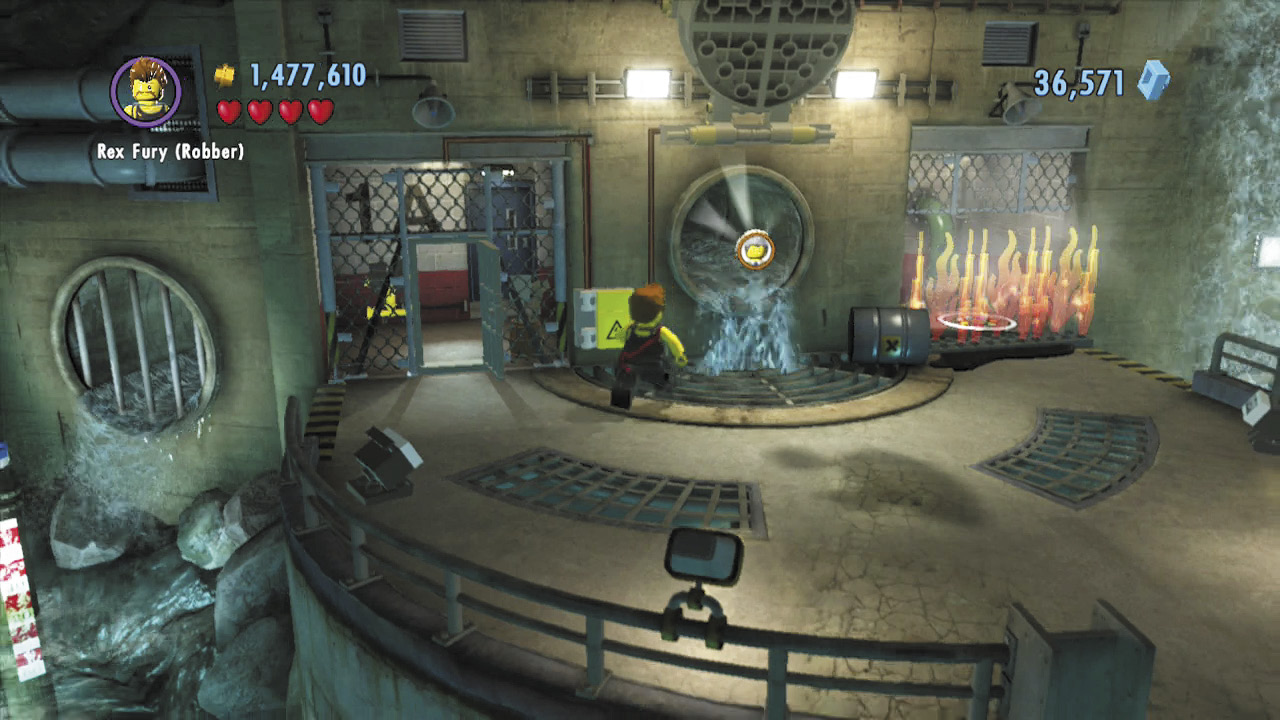 During Free Play, use the construction worker disguise to fix the nearby fuse box after beating up the guards. Pry open the background door afterward and pull a lever in the small room beyond to open a nearby wall hatch. Out pops a character token! |
The Second Ledge
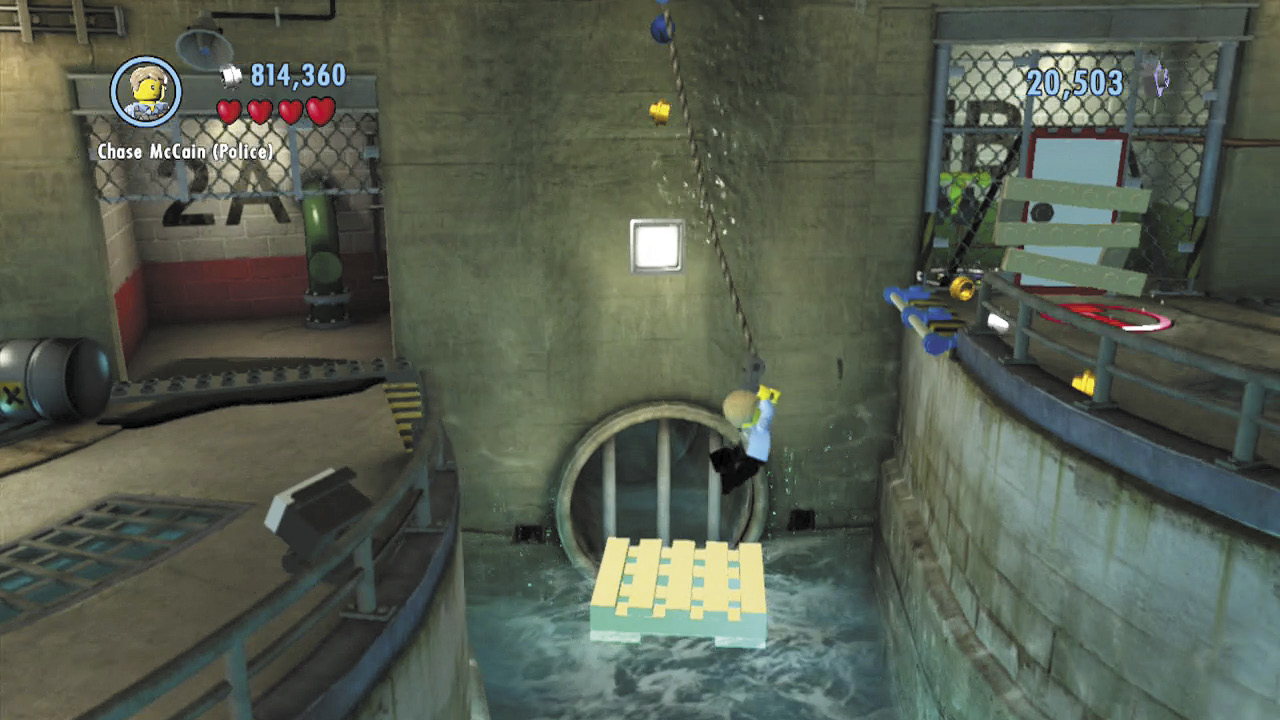
Use the grapple gun to swing across the gap after shutting off the waterfall. Chop through a boarded door on the ledge you land on to access a lever. Pull the lever to make some bricks tumble out of the nearby wall hatch.
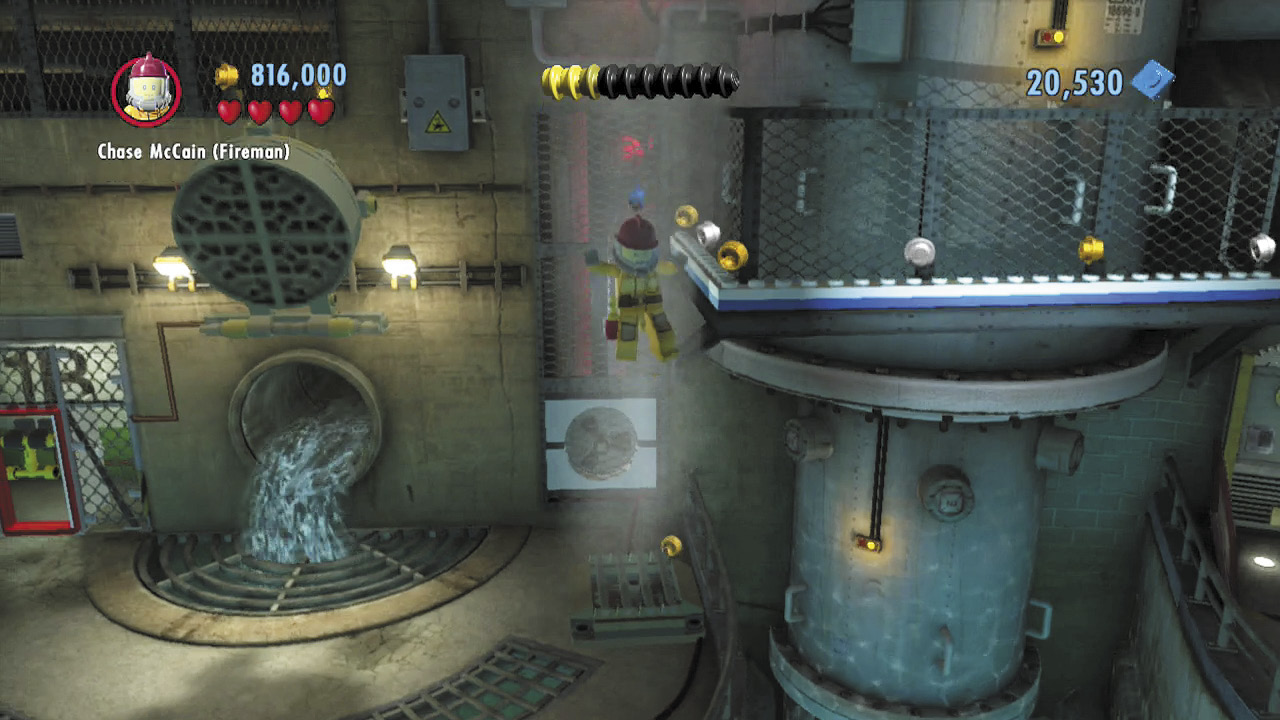
Build the bricks into a fan that creates an updraft. Jump into the updraft to drift up to a thin ledge. Inch around the ledge and drop to the ledge below.
The Third Ledge
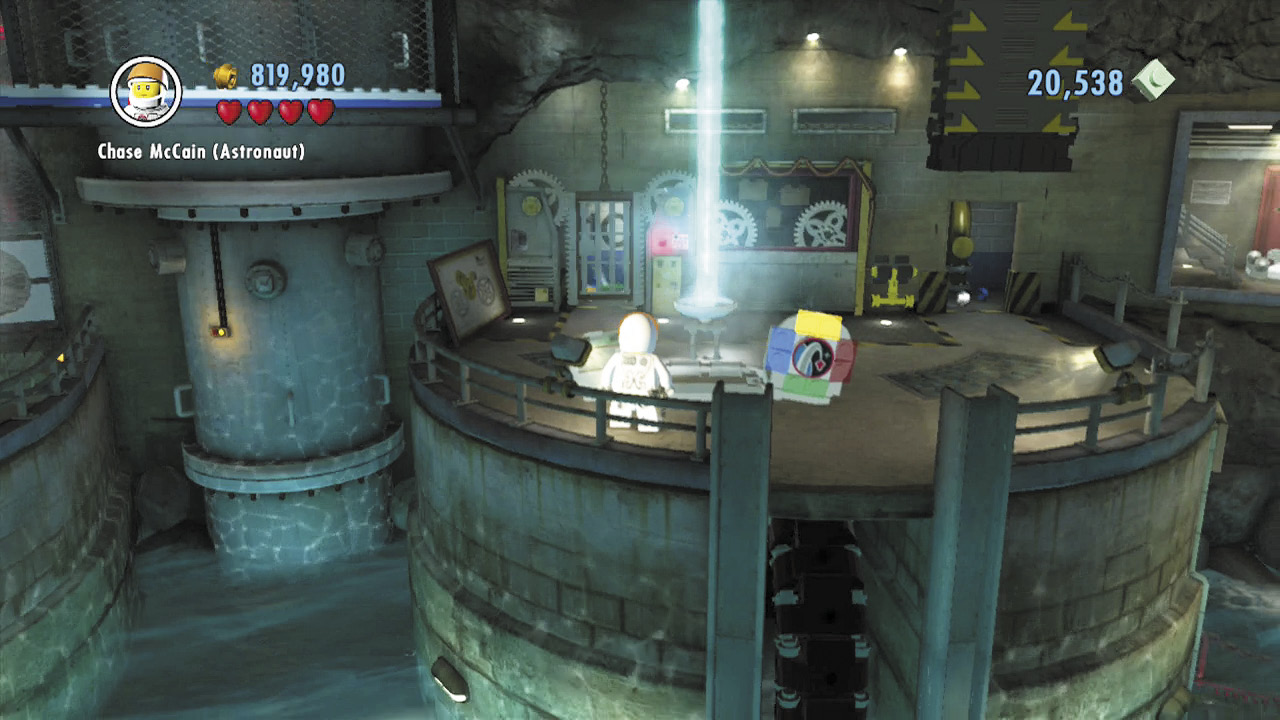
Subdue another group of guards on the third ledge, then smash a giant crate to find more bricks. Build these into a space crate that beams in some bricks when activated. Build the bricks to add a few missing gears to the background machinery.
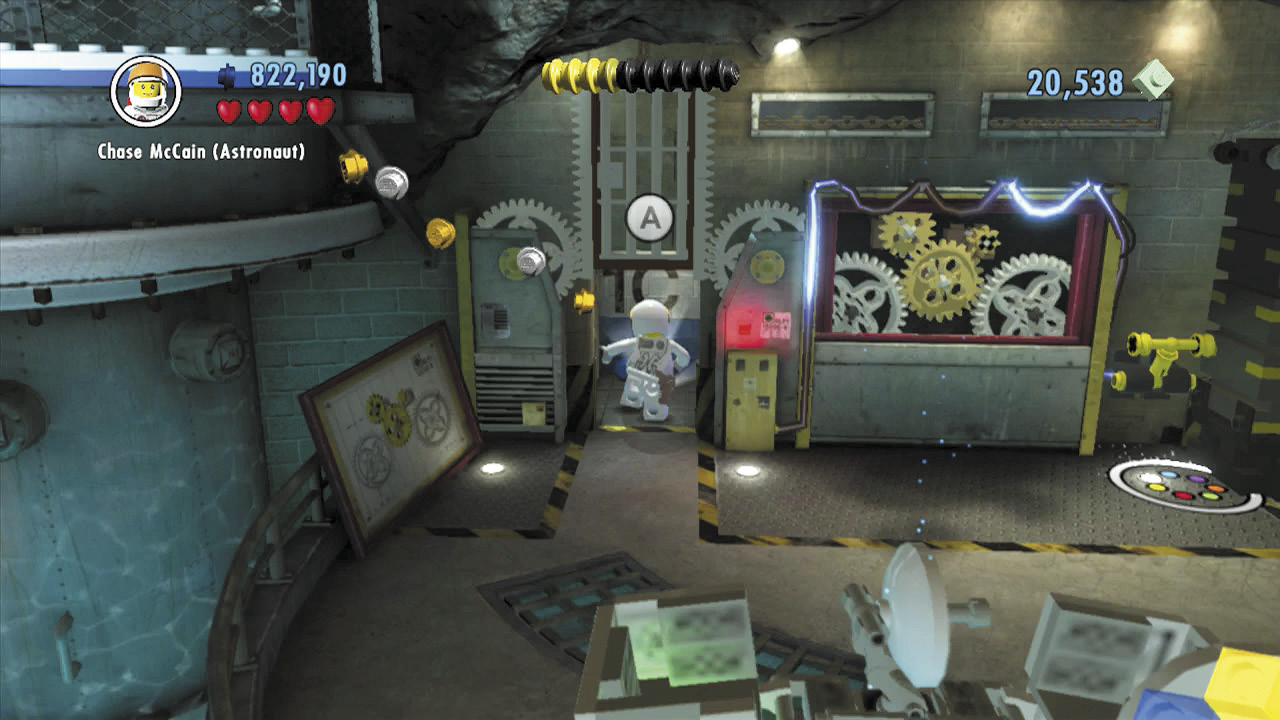
The machinery begins to function after you add the gears. Pull the nearby lever to close the right gate and open the left gate, then collect the valve wheel beyond.
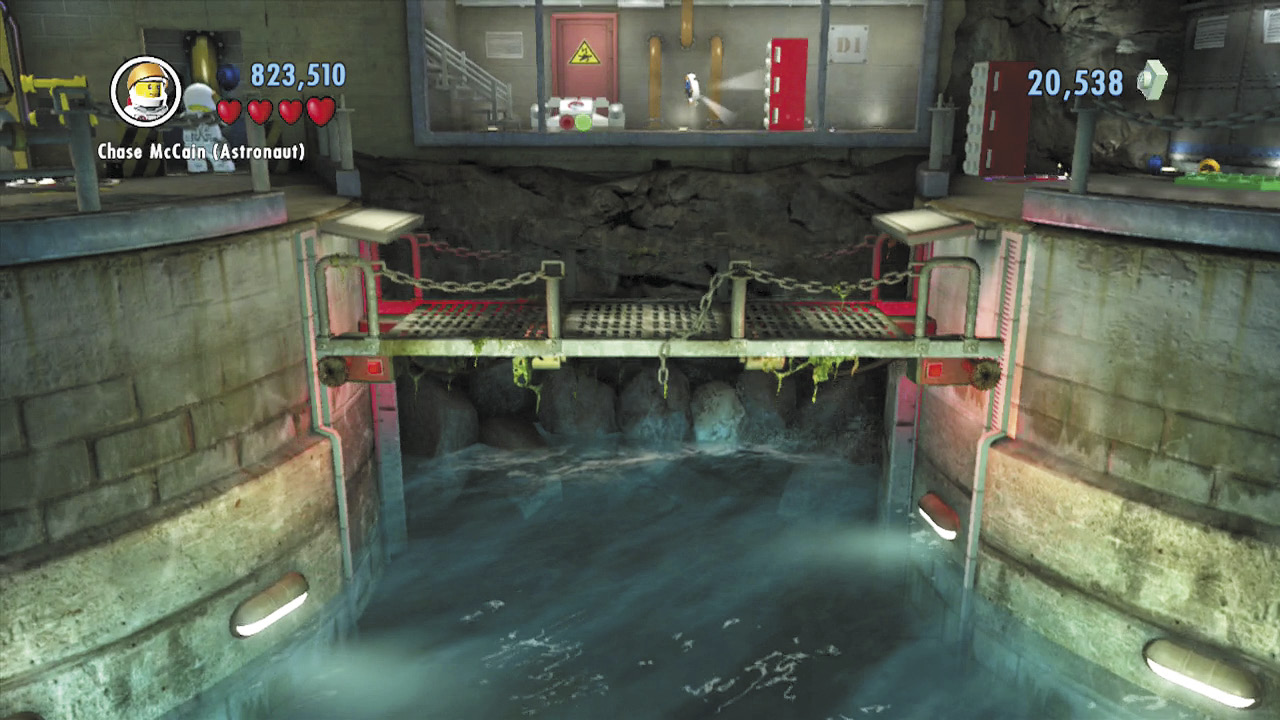
Pull the lever again to close the left gate and open the right gate. Place the valve wheel onto the pipe beyond the right gate, then turn the wheel to raise a footbridge to the right, which leads to the final ledge.
The Fourth Ledge
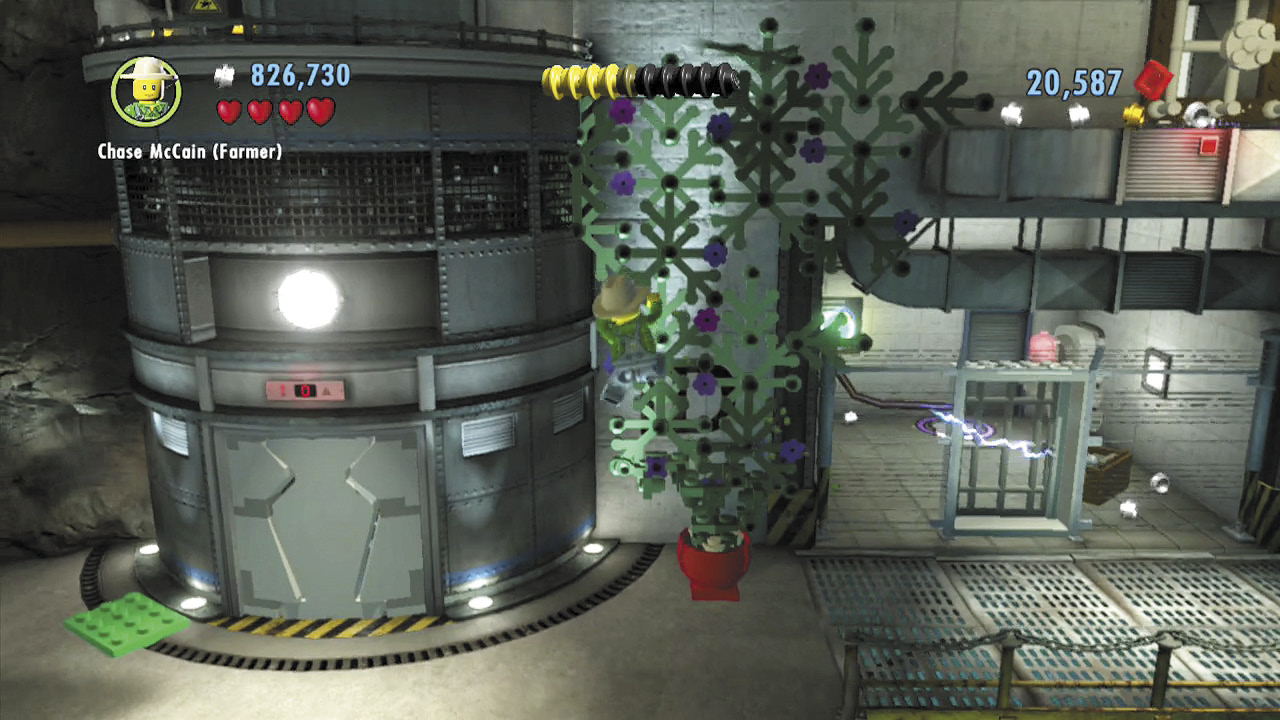
Cross the footbridge and wipe out more security guards. Smash a flower barrel to discover a planter. Water the planter to grow some vines, then climb up to reach a ventilation shaft.
Vehicle Token 1: Buzzer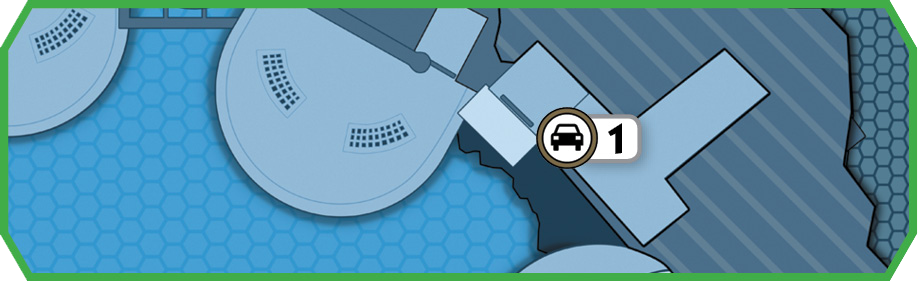 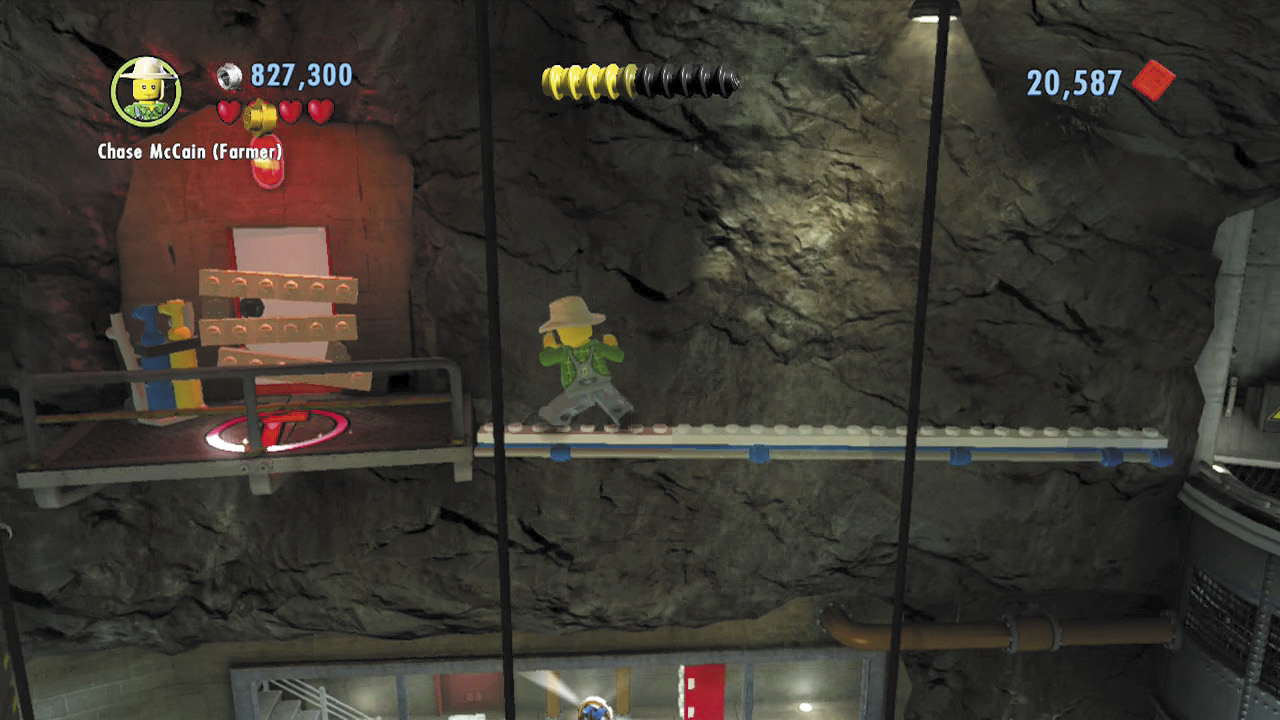 After climbing the vines, jump over to the left to reach a thin ledge, rather than going right to reach the ventilation shaft. Inch along the thin ledge to reach a boarded door. 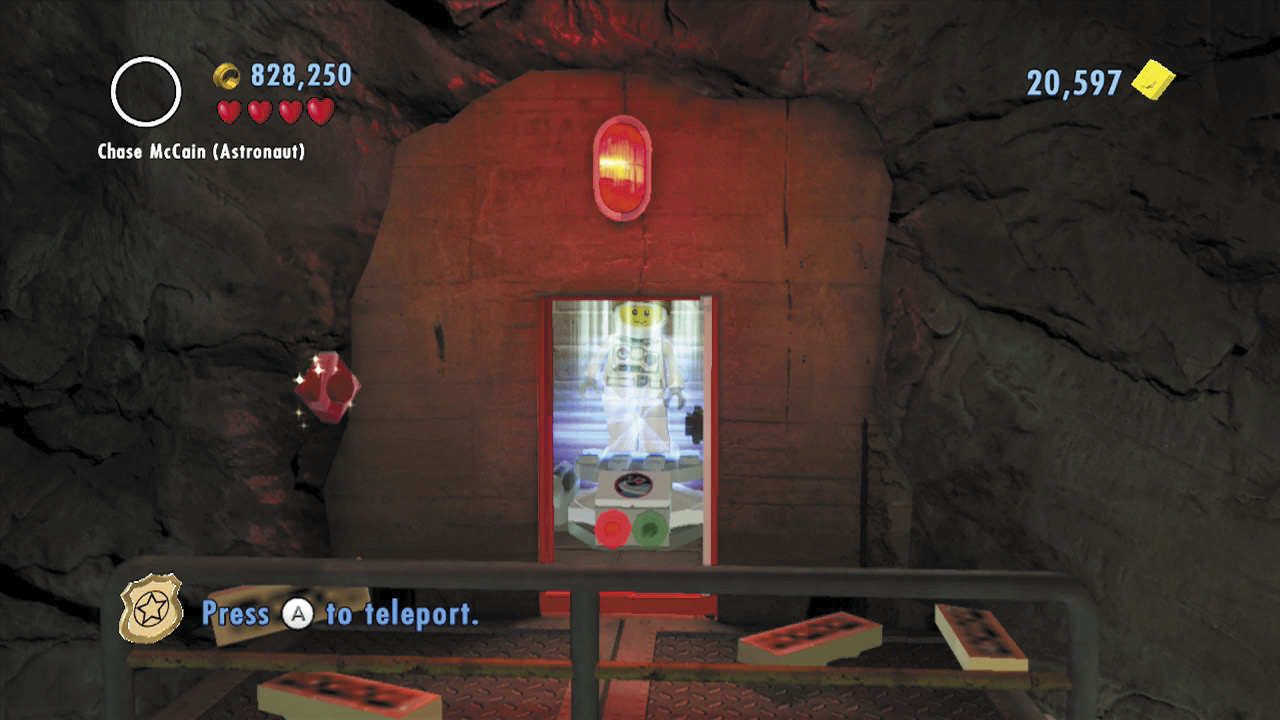 Chop through the door to discover a transporter pad. Use the pad to beam down into a small background room. 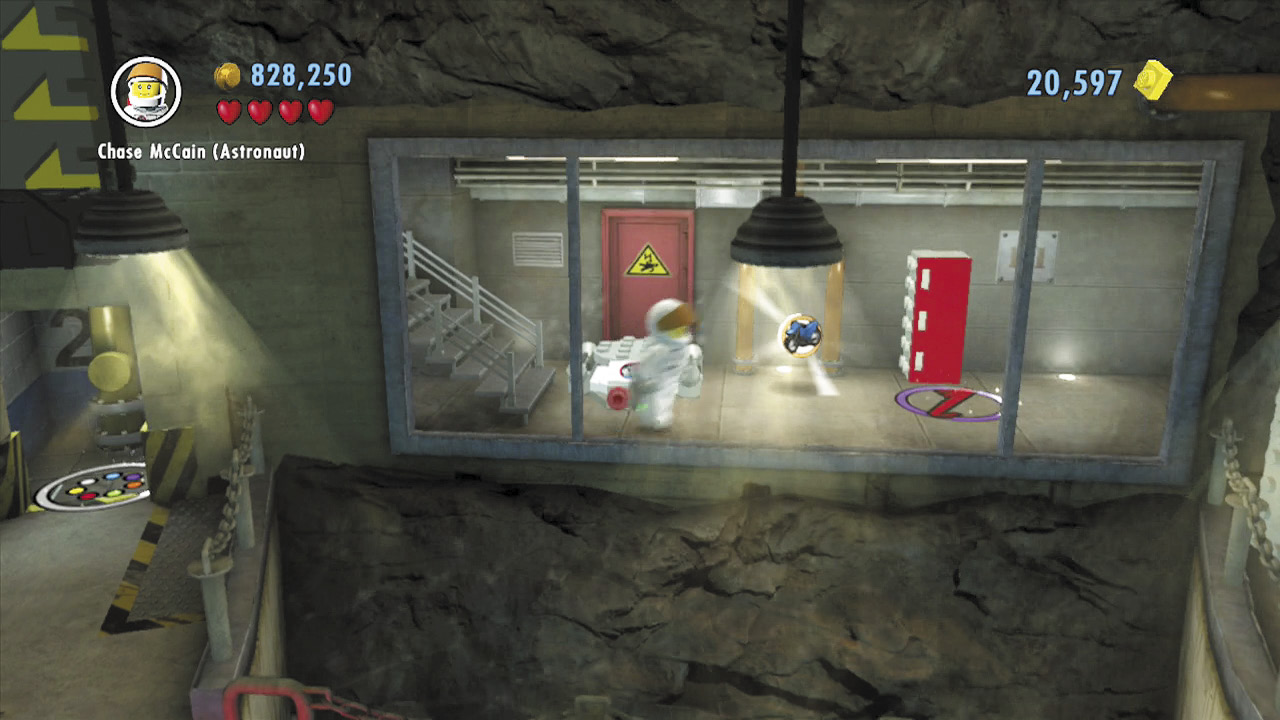 A vehicle token sits inside the room, along with one of the lockers that pertains to Police Shield Piece 2. Very nice! Use the transporter pad again to exit the room after you’ve finished looting the place. |
Free PlayRed Brick: Attract Studs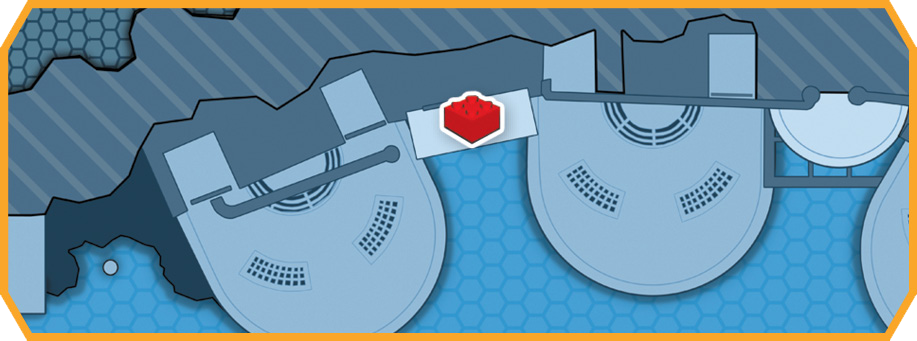 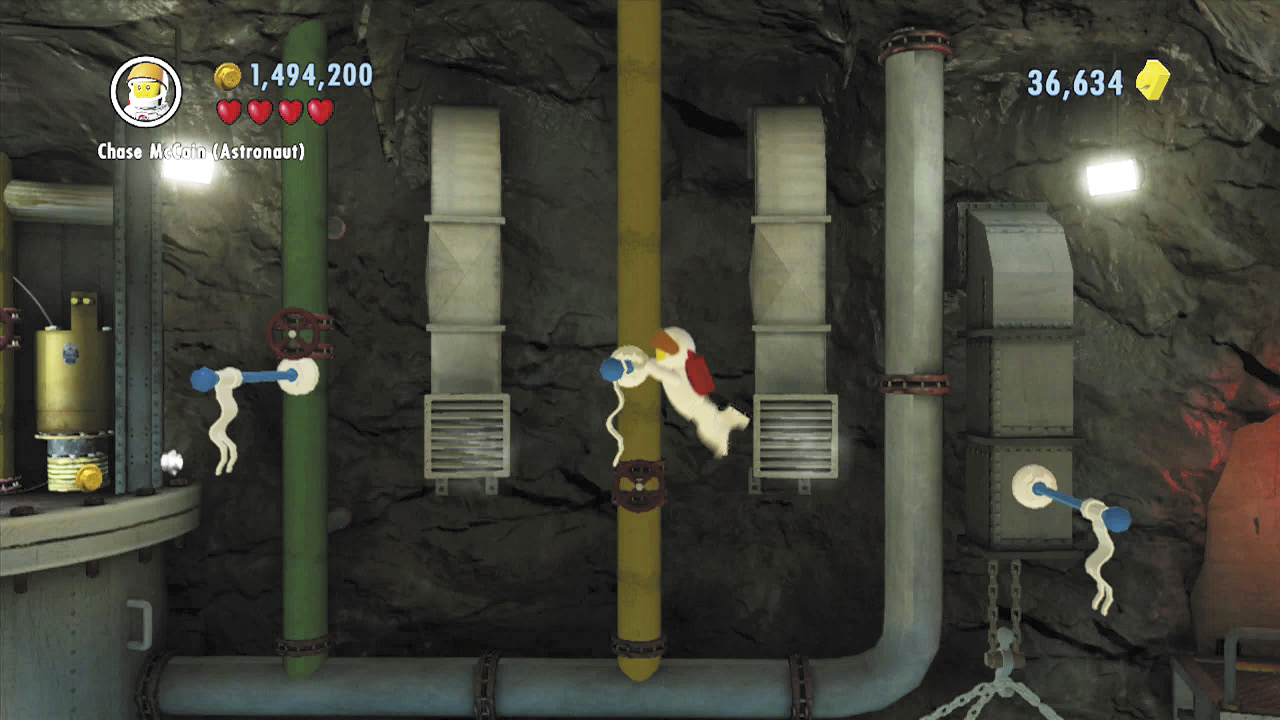 After beaming back out of the small room with the Buzzer vehicle token, flip across the flagpoles to the left to reach a tightrope. Slide down to access another small ledge with a fuse box and a boarded door. 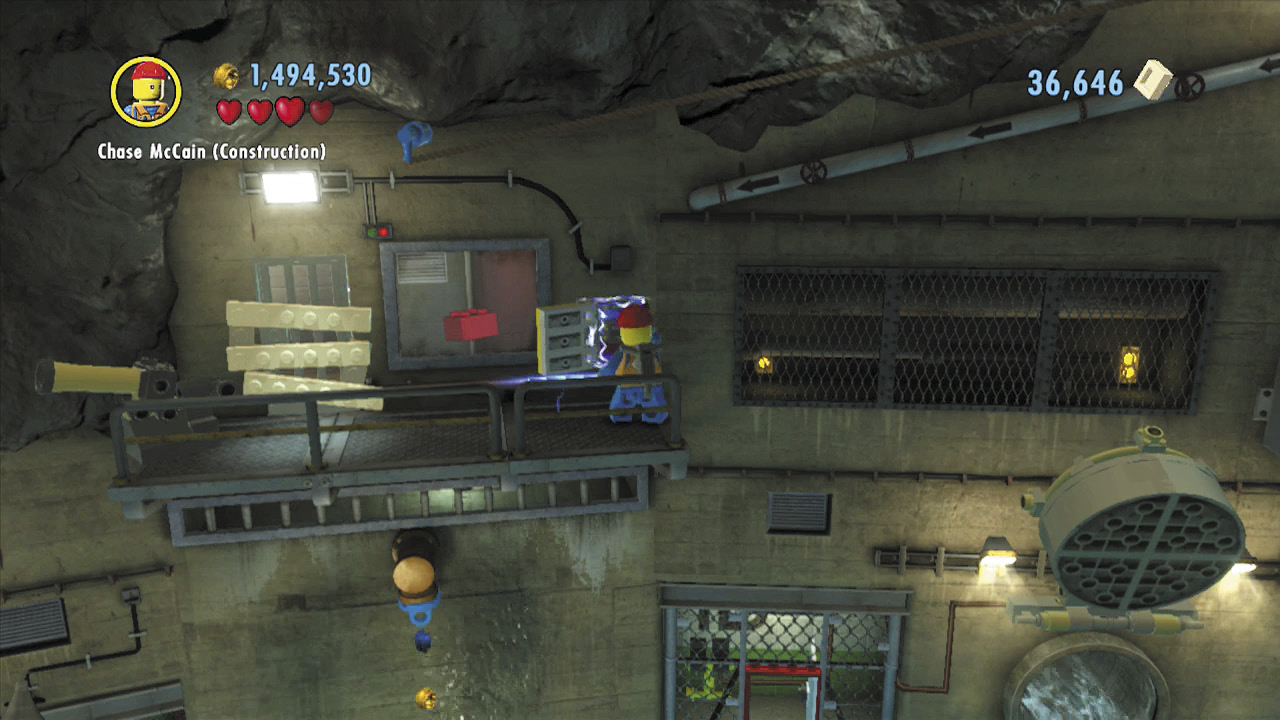 Fix the fuse box to banish the electricity, then chop through the boarded door to enter a small room, where this stage’s red brick is located. |
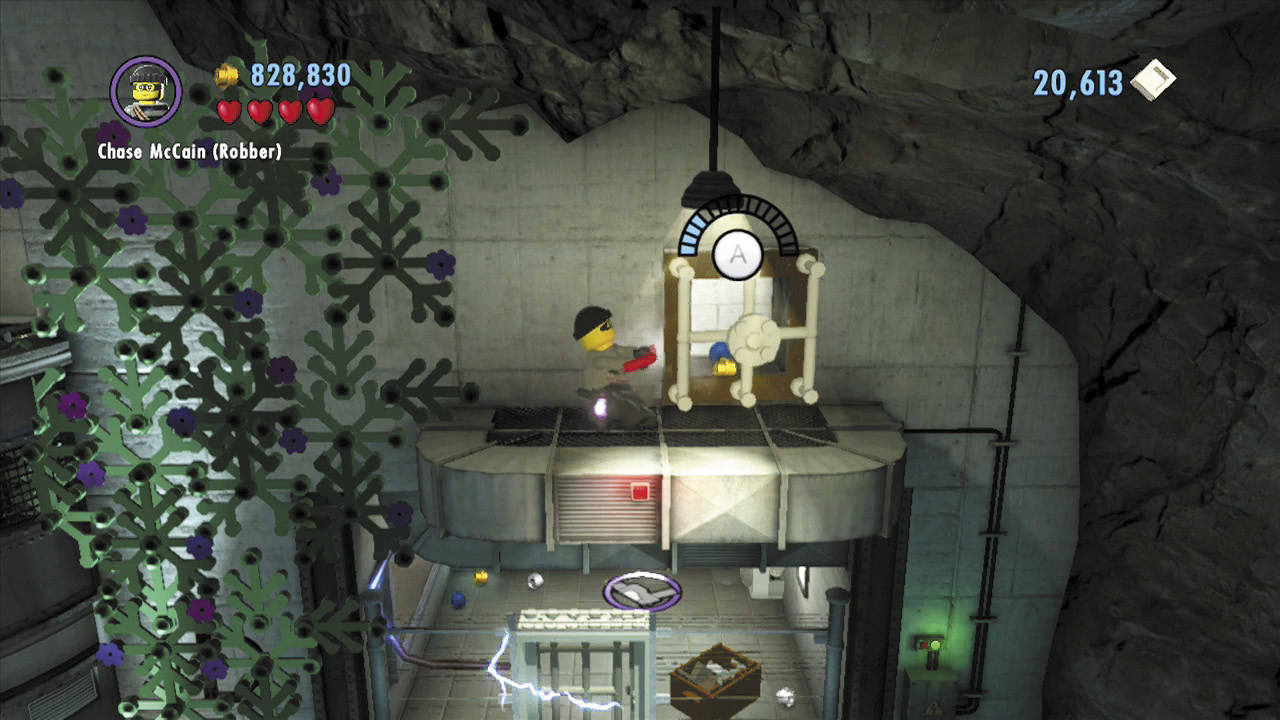
Pry open the vent above the vines and step inside to drop into the small room below. Use the color swapper here to obtain some red energy, then shoot the nearby green switch to shut off the electricity so you may pry open the room’s metal door.
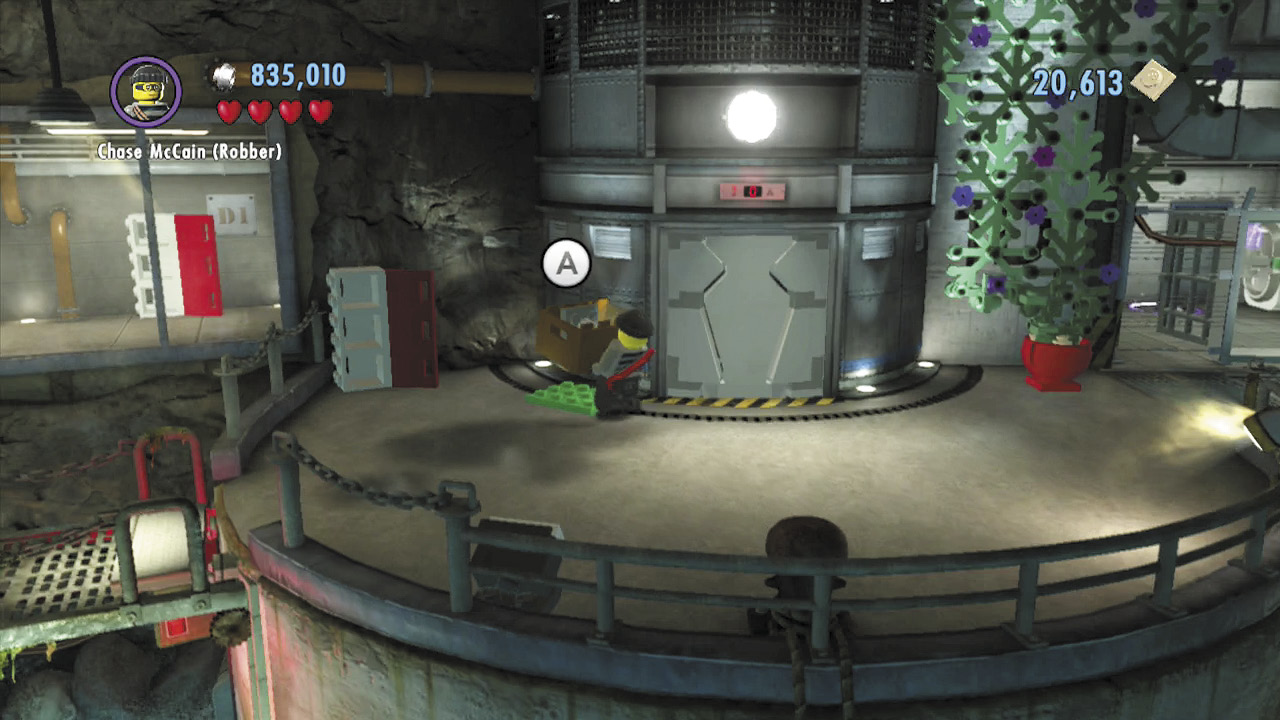
Pick up the box of bricks near the color swapper, and carry it out of the room and over to the nearby green pad. Set the bricks down, and build them into a control panel. Use the control panel to activate the nearby elevator, then ride up to enter Mr. Blackwell’s lavish lounge.
Objective: Open Blackwell’s Treasure Vault
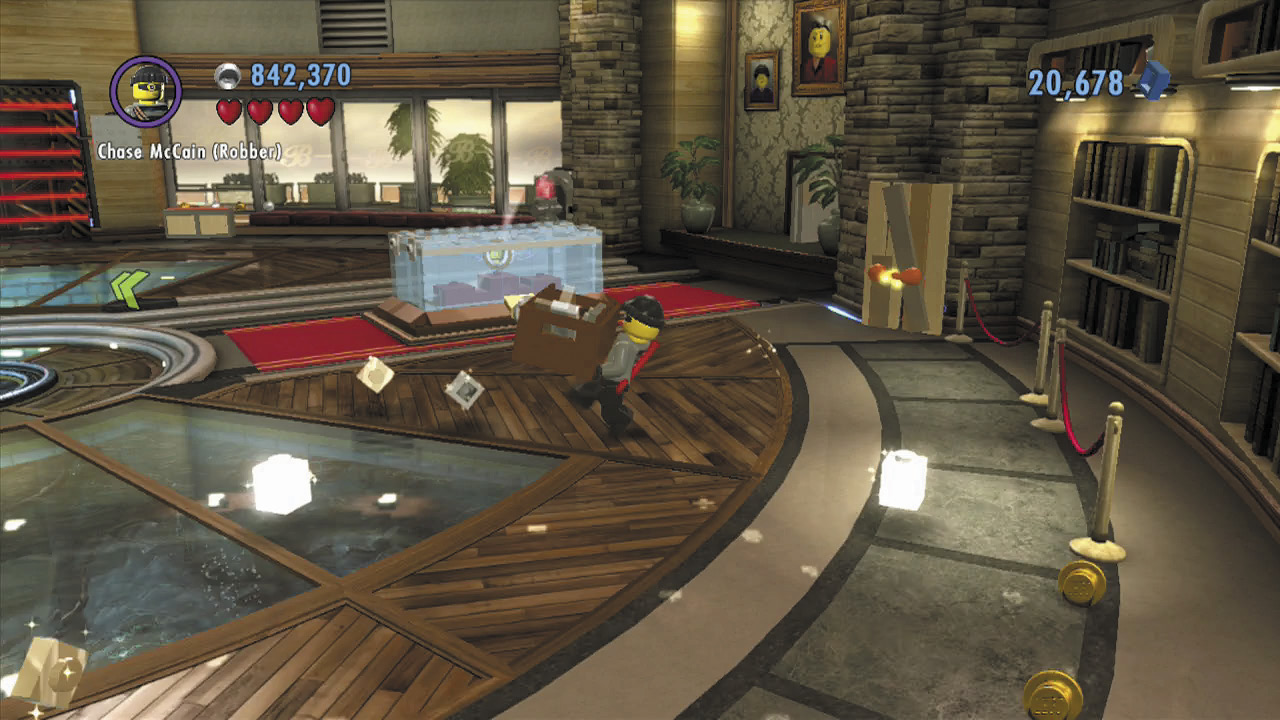
You’ve snuck into Blackwell’s lounge—now you just need to raid his treasure vault! Begin by smashing the right foreground desk to discover a box of bricks. Carry this over to the green pad near the vault.
Vehicle Token 2: Scout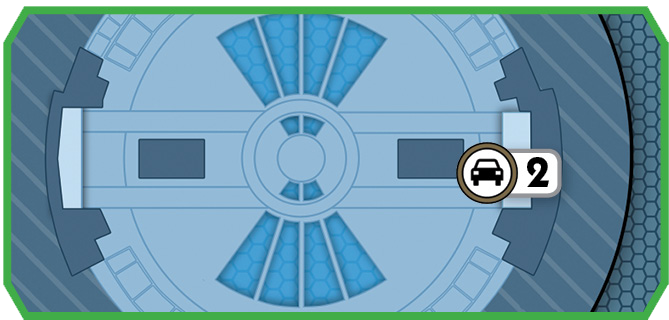 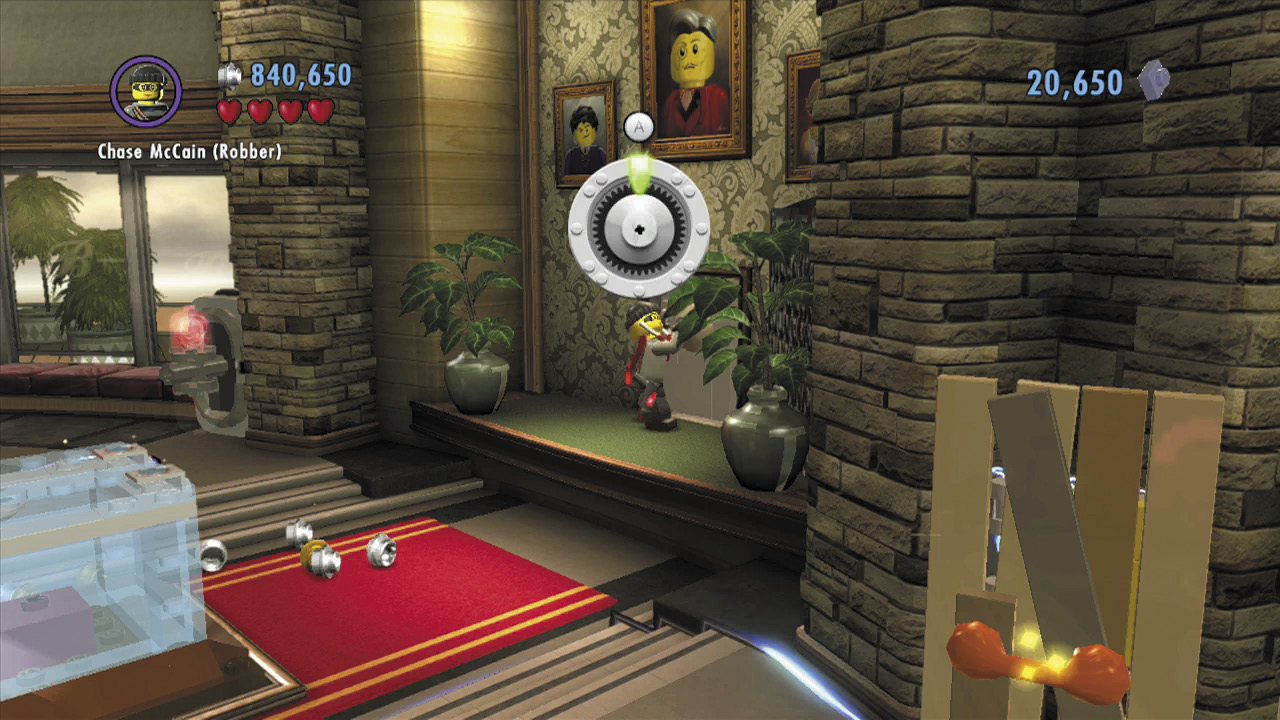 Pry open the wall panel on the right side of Blackwell’s lounge. Crack the secret wall safe you discover to score a bunch of studs—plus a vehicle token! |
Police Shield Piece 3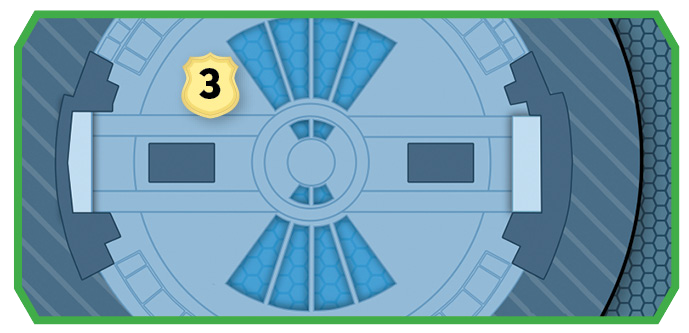 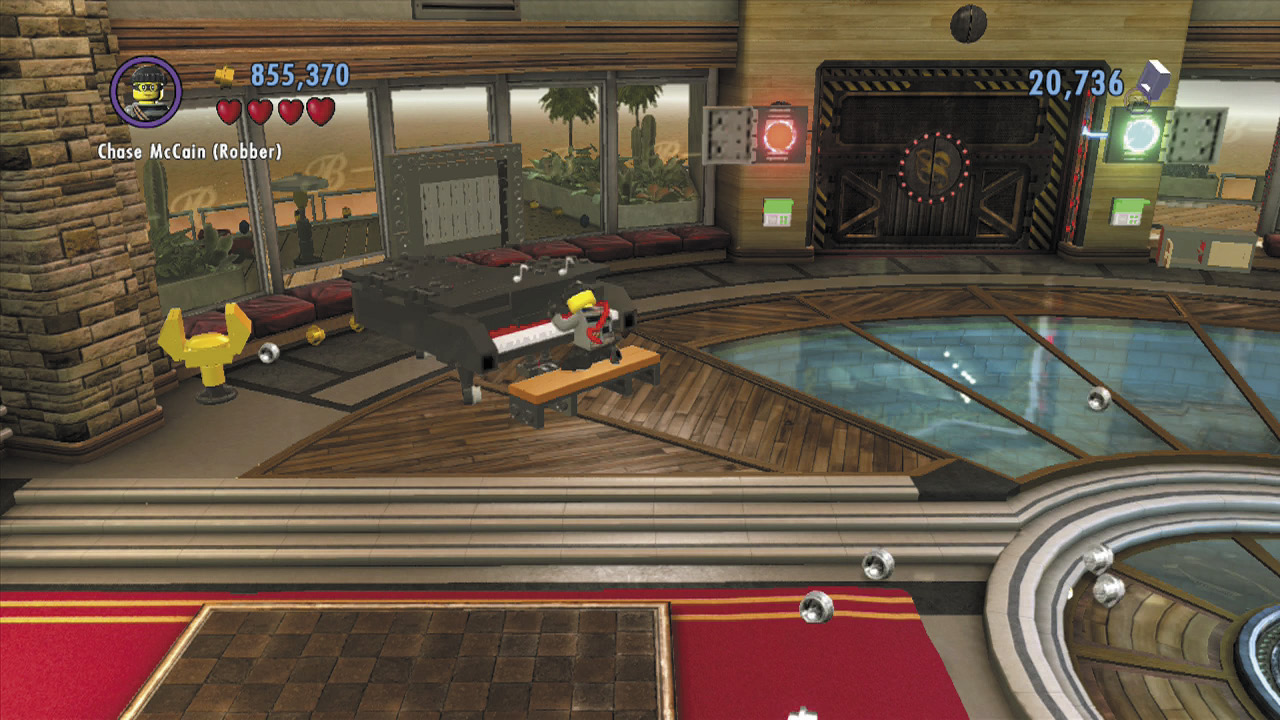 Smash the crate in front of Mr. Blackwell’s piano, then build the remaining bricks to add keys to the piano. Now simply play the piano to waltz away with a shield piece! |
Police Shield Piece 4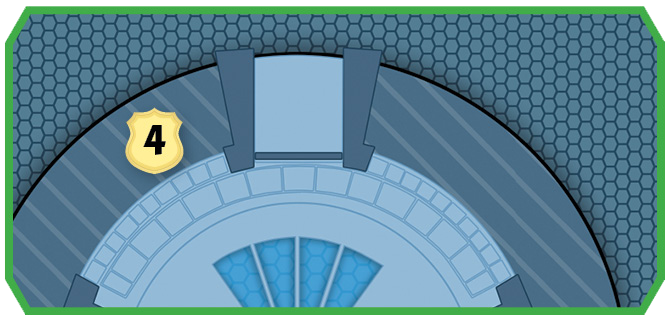 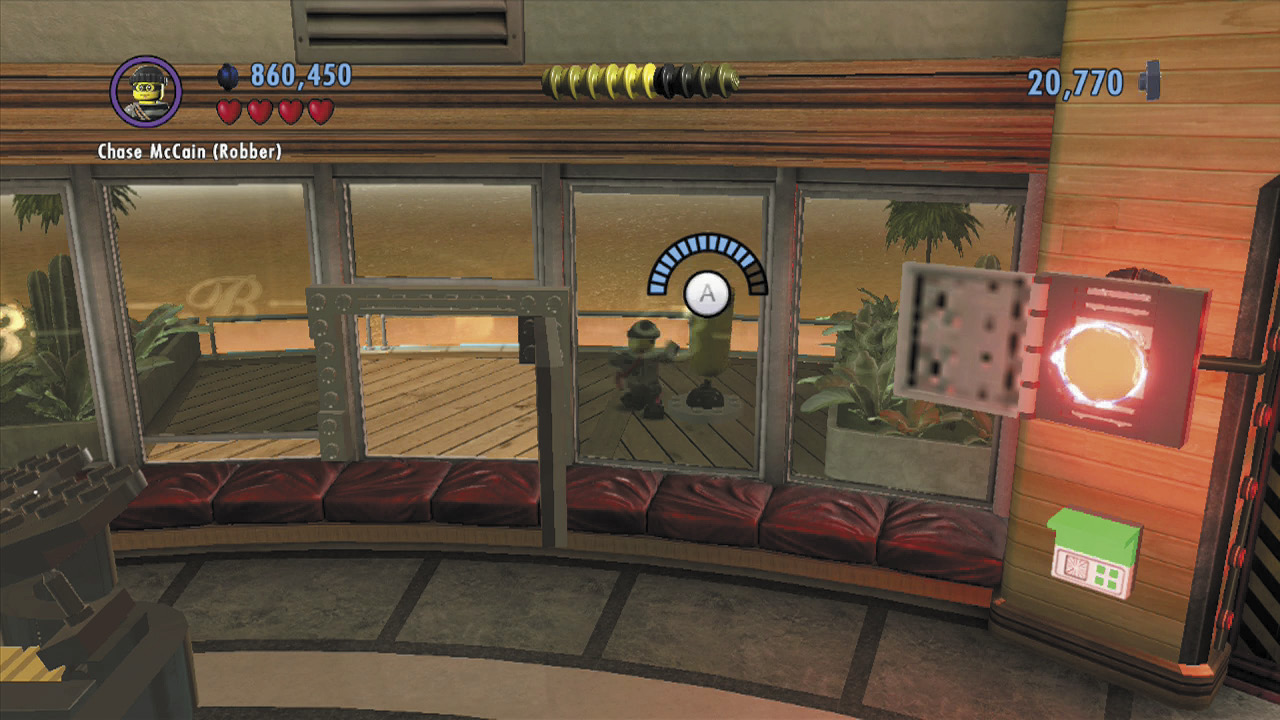 Pry open the sturdy door to the vault’s left and enter Mr. Blackwell’s personal gym. Beat up the punching bag here to work up a sweat—and score another shield piece in the process! |
Free PlayCharacter Token 2:Forrest Blackwell Tuxedo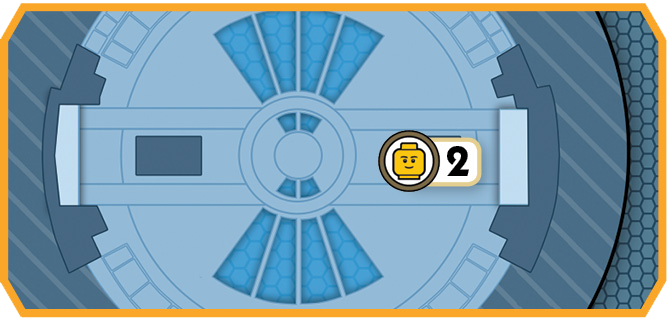 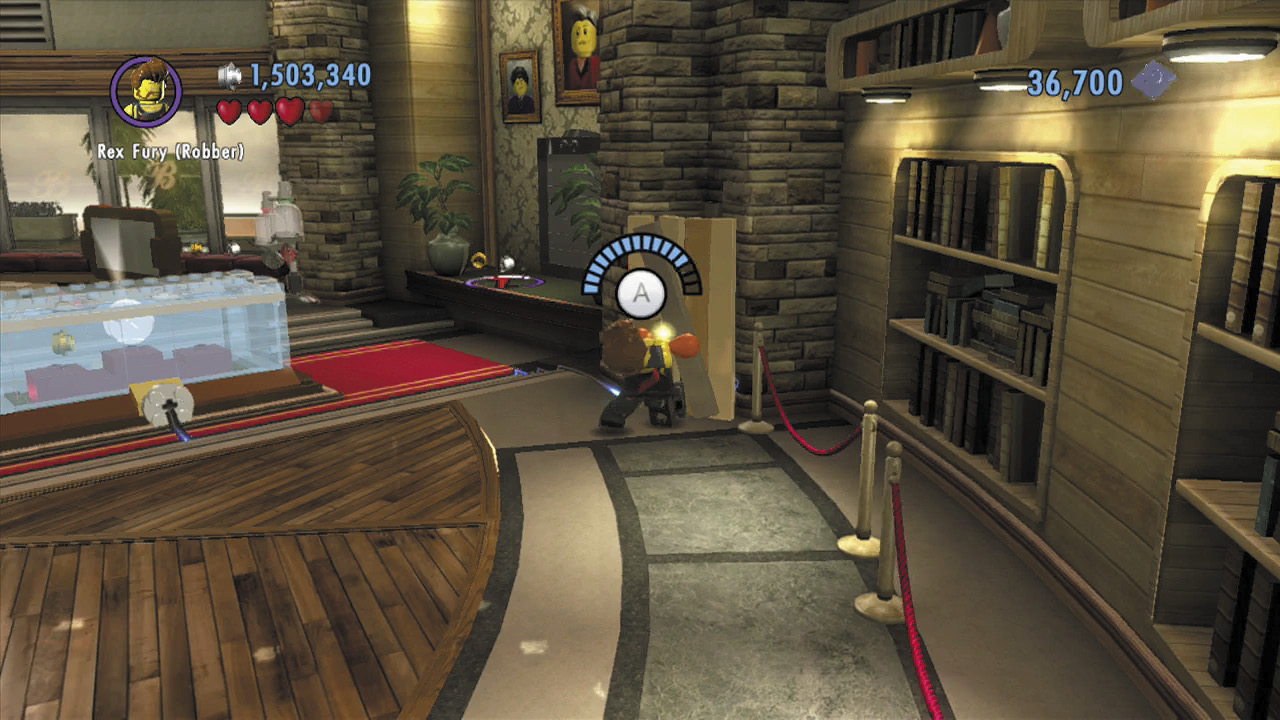 During Free Play, use Rex Fury to rip apart the boards against the wall in the right foreground corner. Fix the fuse box on the wall after destroying the crate, and the nearby display case will shatter, exposing a character token! |
Opening the Vault
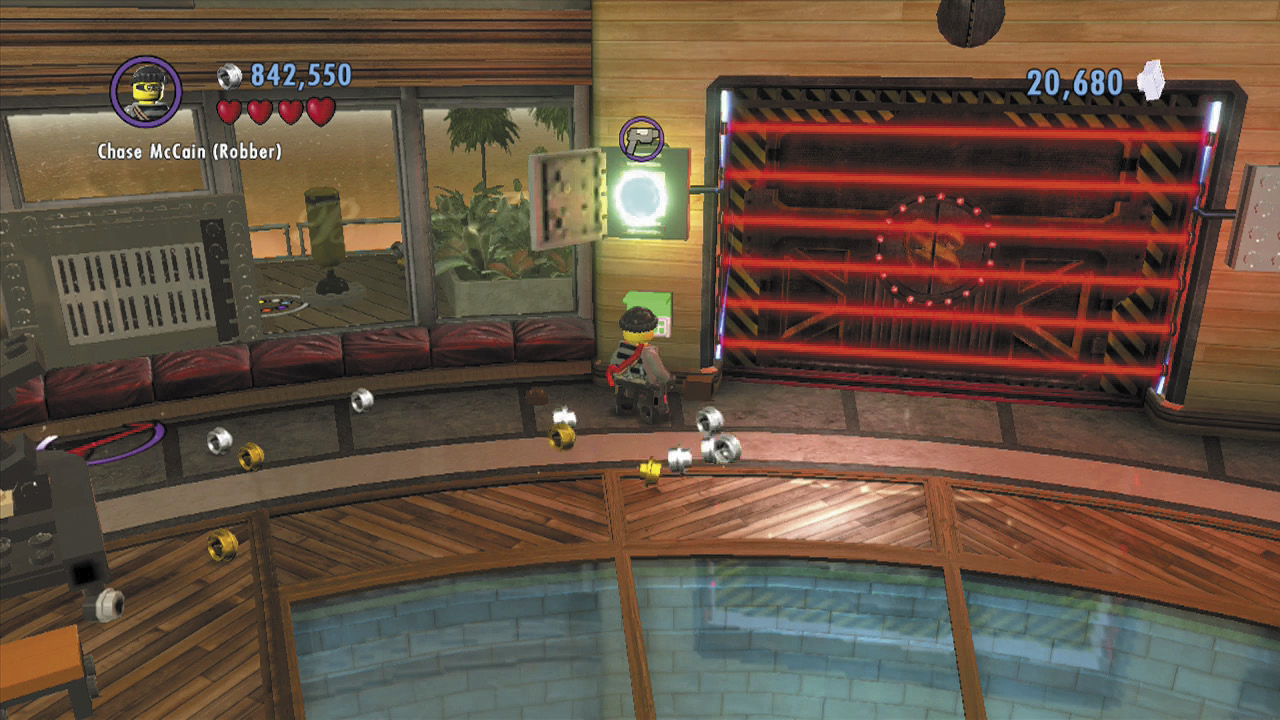
Set down the bricks, and build them into a control panel. Activate the panel to expose a green switch on the wall above. Now you’re getting somewhere!
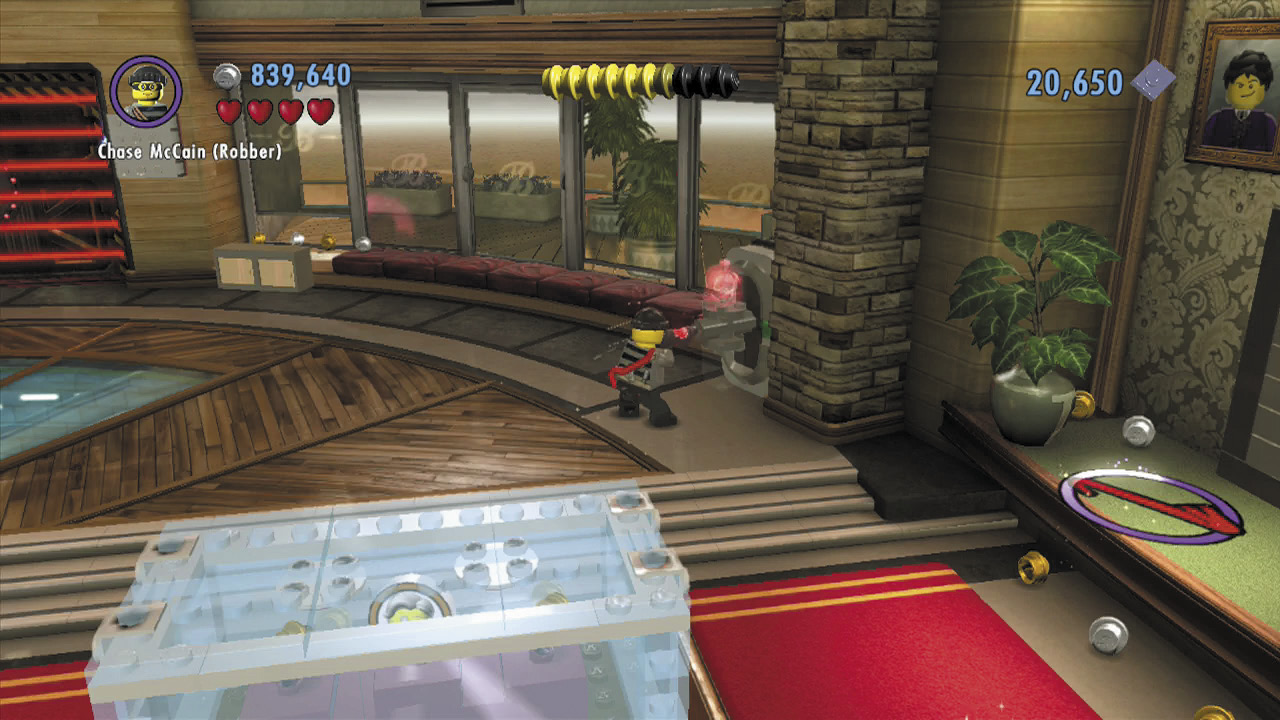
Next, break the birdcage near the television set, then build the remaining bricks into a color swapper. Fill your color gun with red energy.
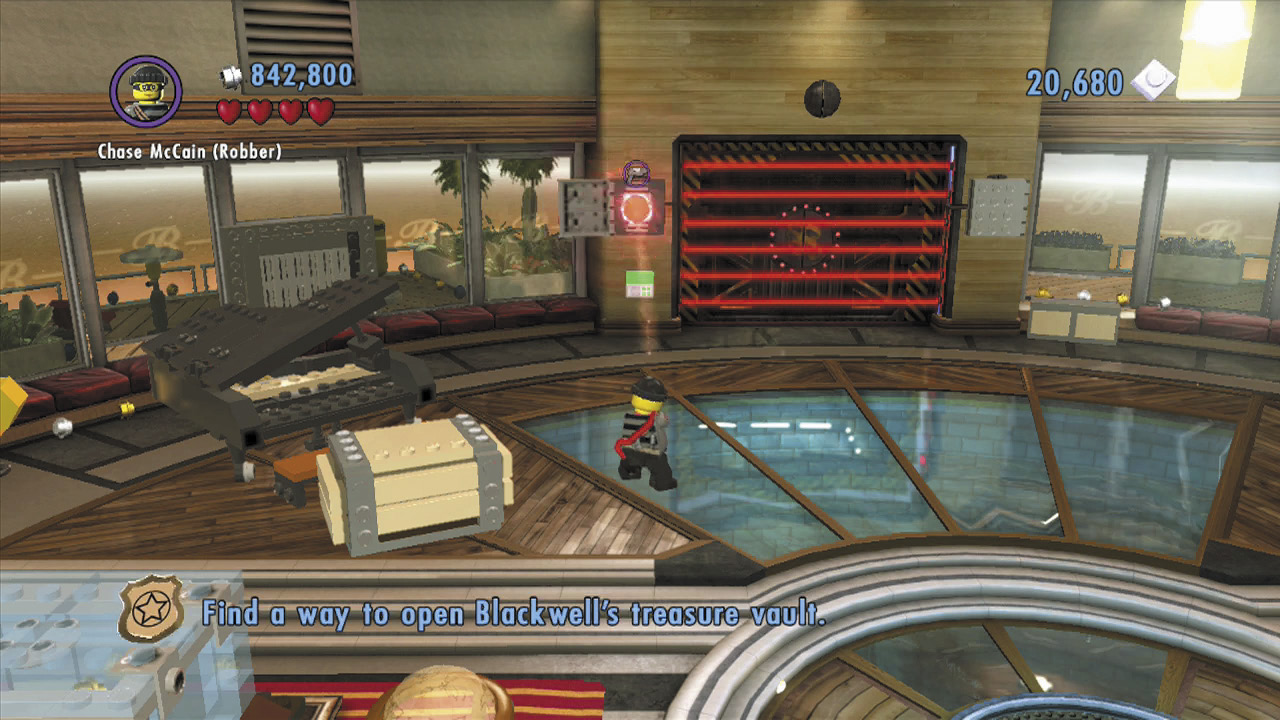
You know the drill! Blast the green switch with red energy from the color gun to activate it. This shuts off the vault’s security lasers, but the door remains locked tight. You’ve got to get that thing open!
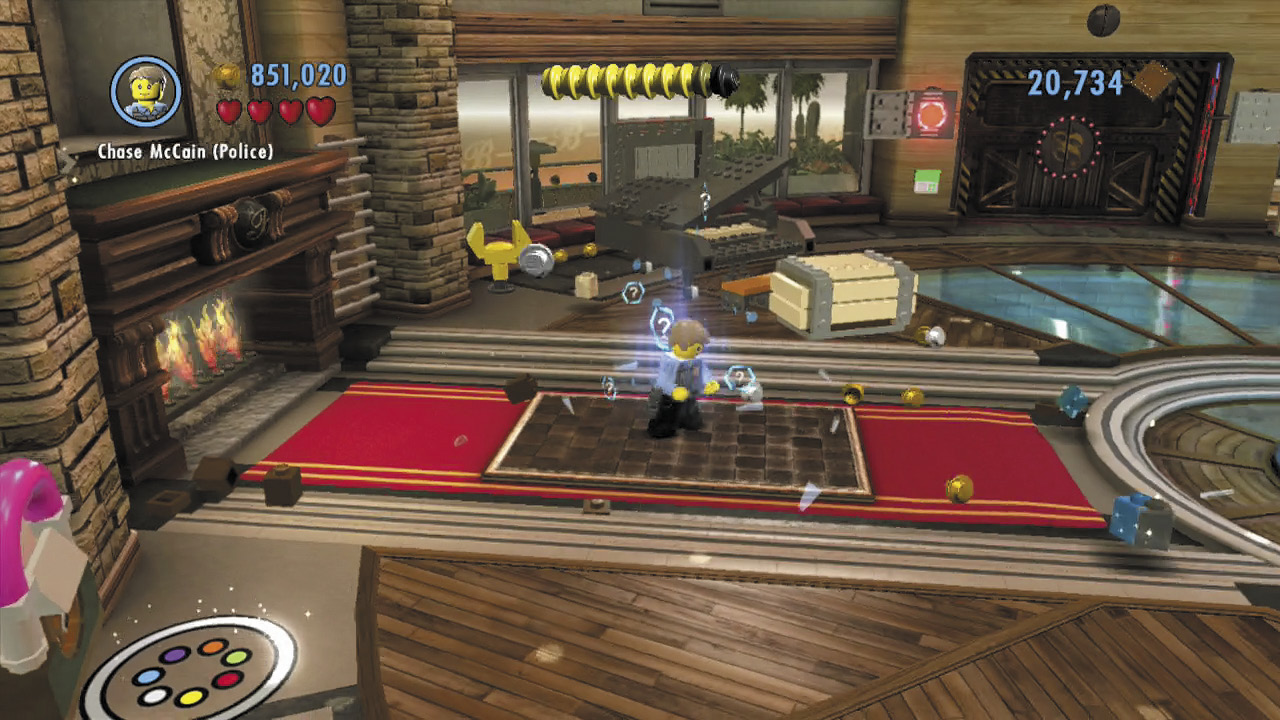
Wipe out the security guards who storm the room, then go left and jump onto the large display case with the studs inside. Use the grapple gun to pull down the painting above the fireplace. The panel smashes the display case you’re standing on, exposing a scan spot.
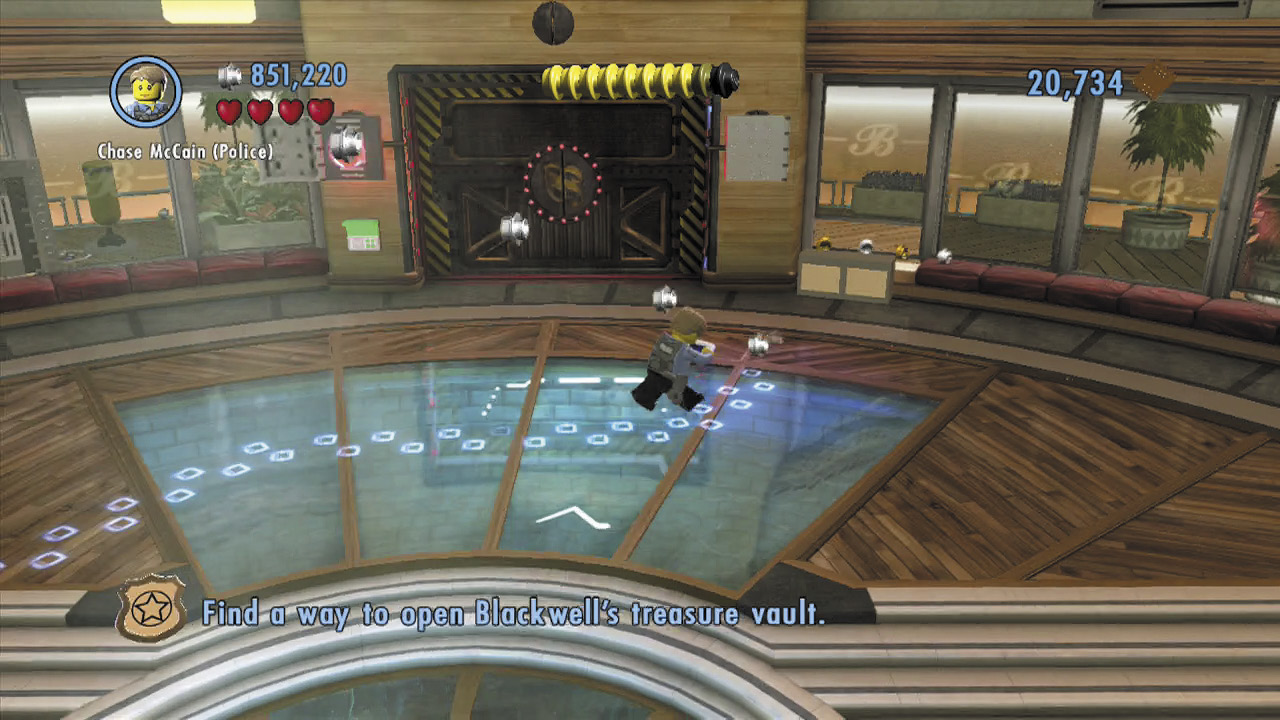
Use the scan spot to trace some footprints over to a cabinet near the vault. Open the cabinet. Bricks tumble out; use them to build a second control panel. Bingo!
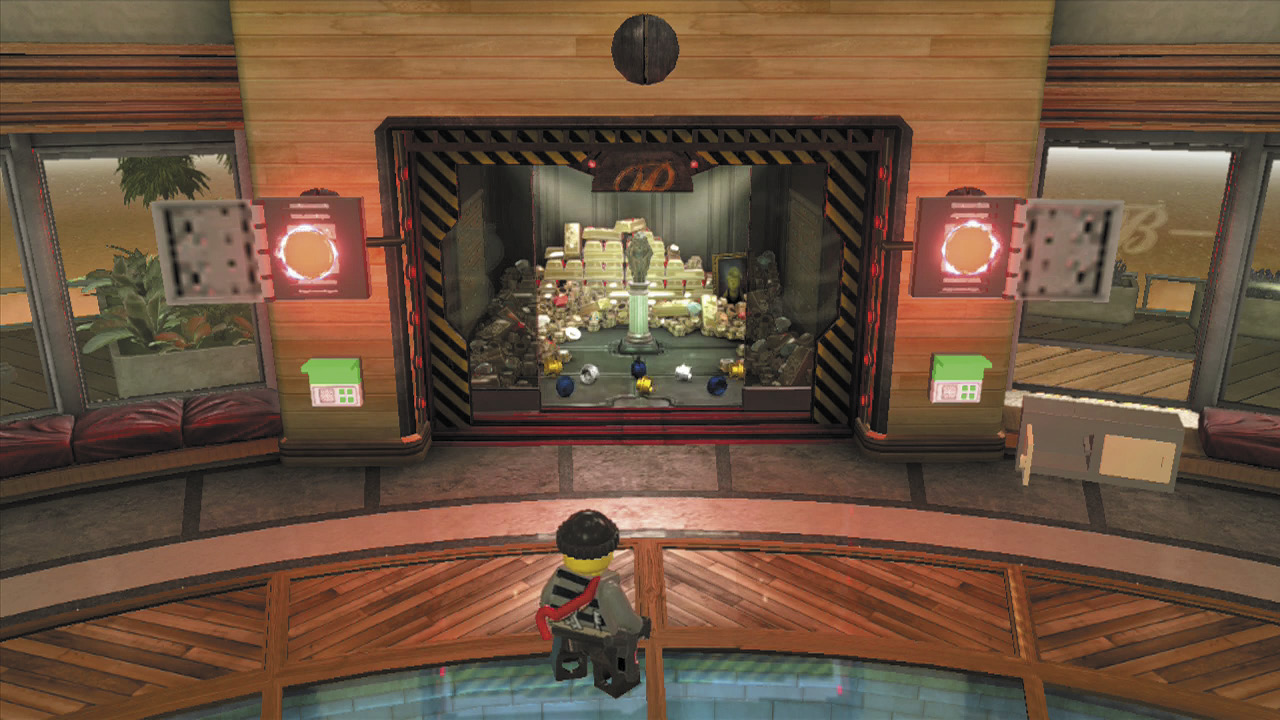
Activate the control panel to expose another green switch. Blast this one with red energy as well to at last open the vault. Now to grab some loot for Vinnie!
City Exploration
Objective: Escape from the Sentinels
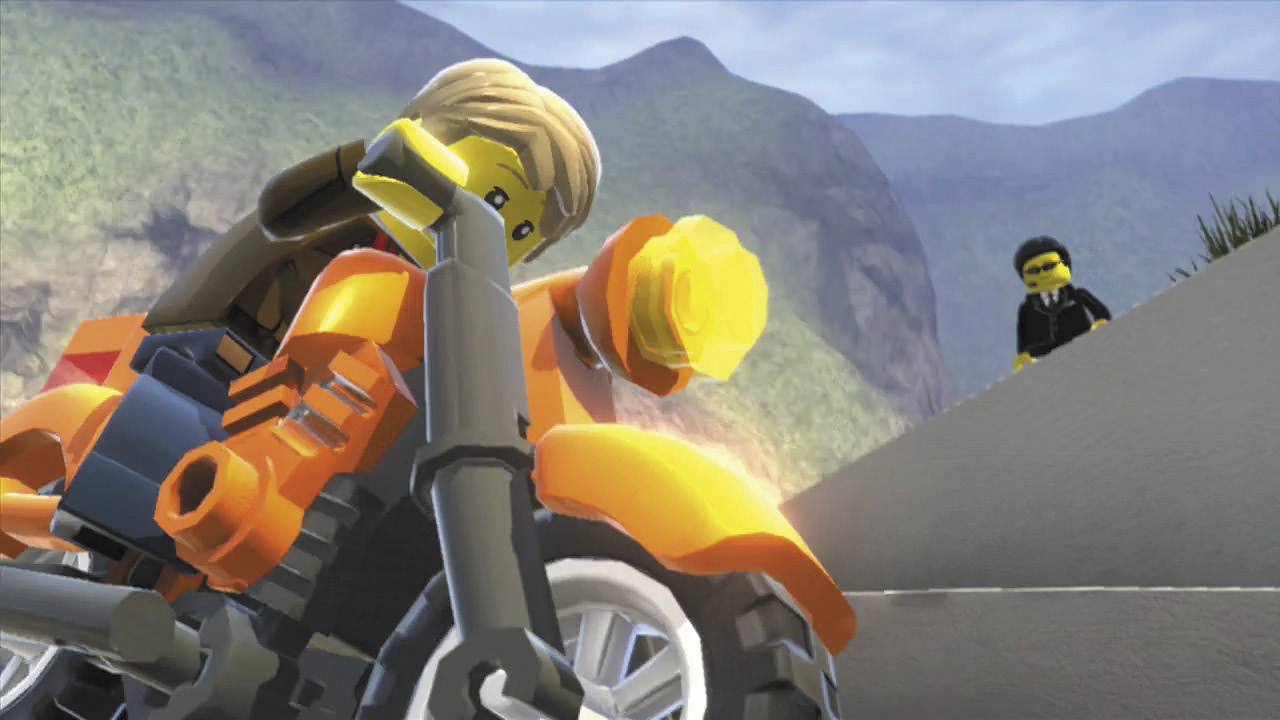
Chase has succeeded in breaking into Blackwell’s vault, but he couldn’t steal anything for Vinnie before a group of suited goons known as sentinels arrived. McCain managed to escape Blackwell’s mansion, but those sentinels are hot on his heels!
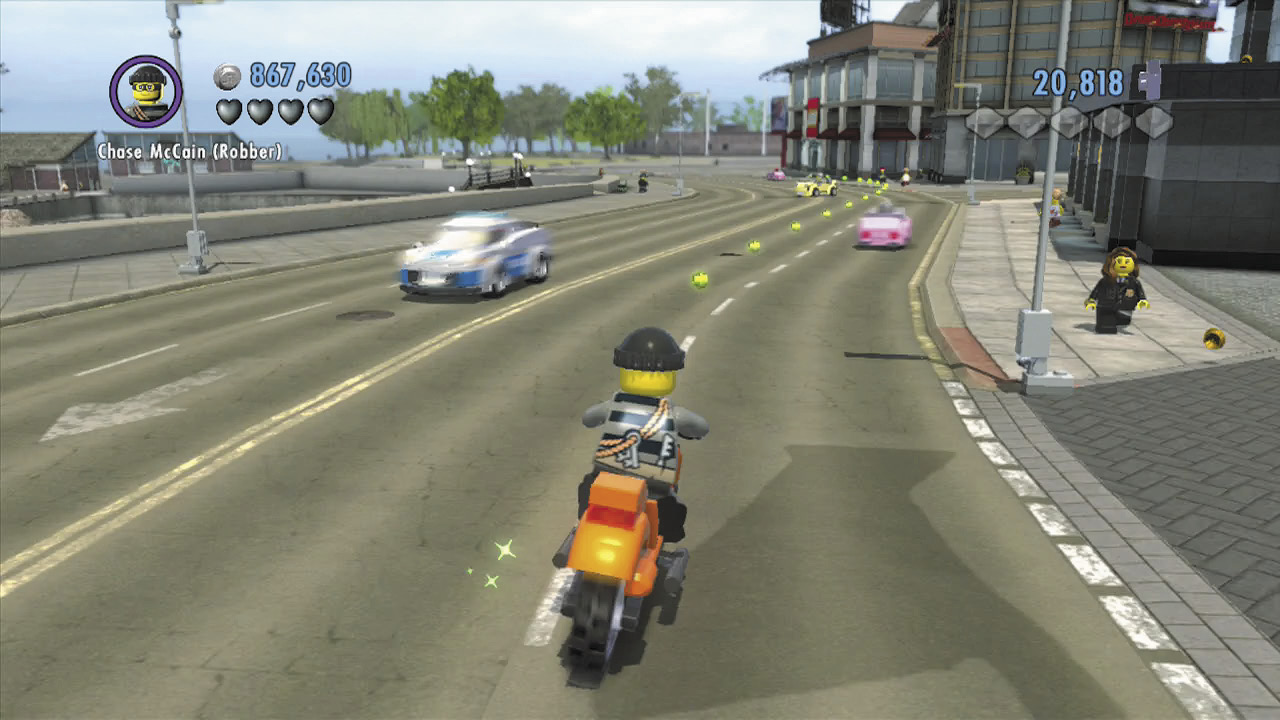
You’ve gotta lose those goons! Hit the gas and speed through the streets on your escape motorcycle. Follow the green studs until you reach an objective beacon.
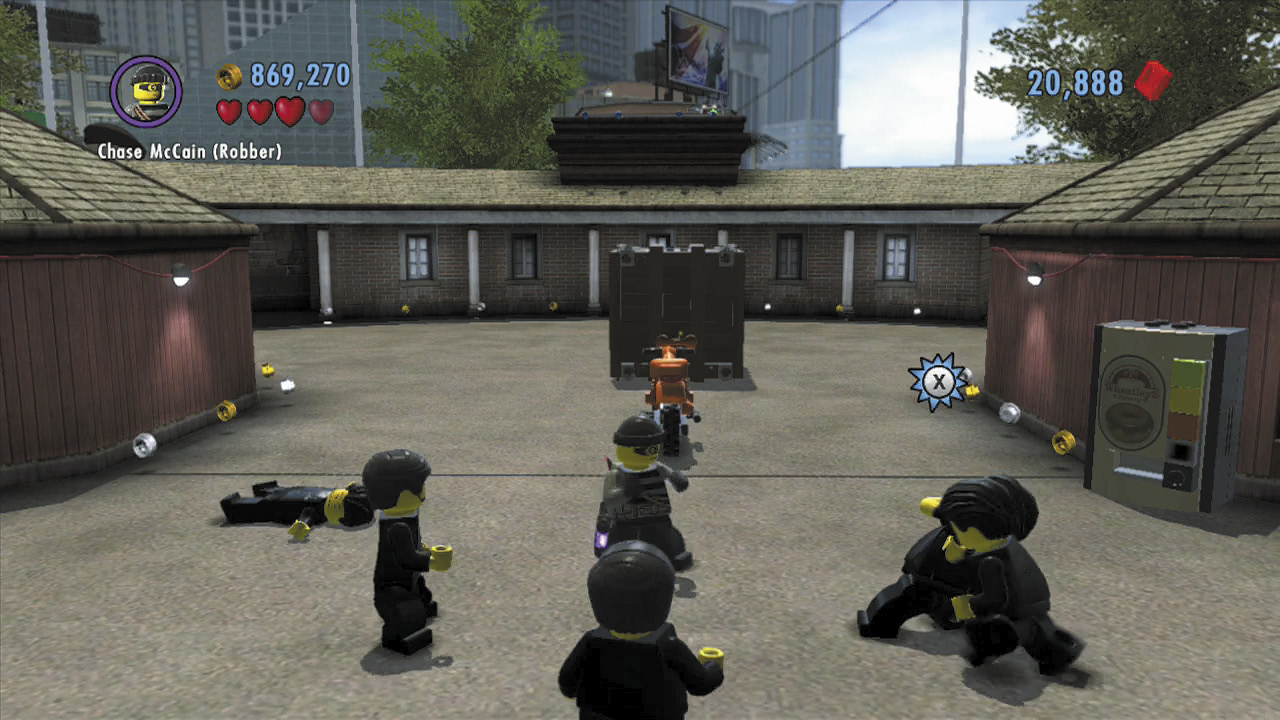
The sentinels catch up with you when you reach the beacon. There’s nothing else for it—you’ve got to take them out!
Objective: Go to Pappalardo’s Ice Cream Parlor
Moe calls after you beat up all of the sentinels. He’s worried about Vinnie and asks you to check on him at Pappalardo’s. Better hurry over there!
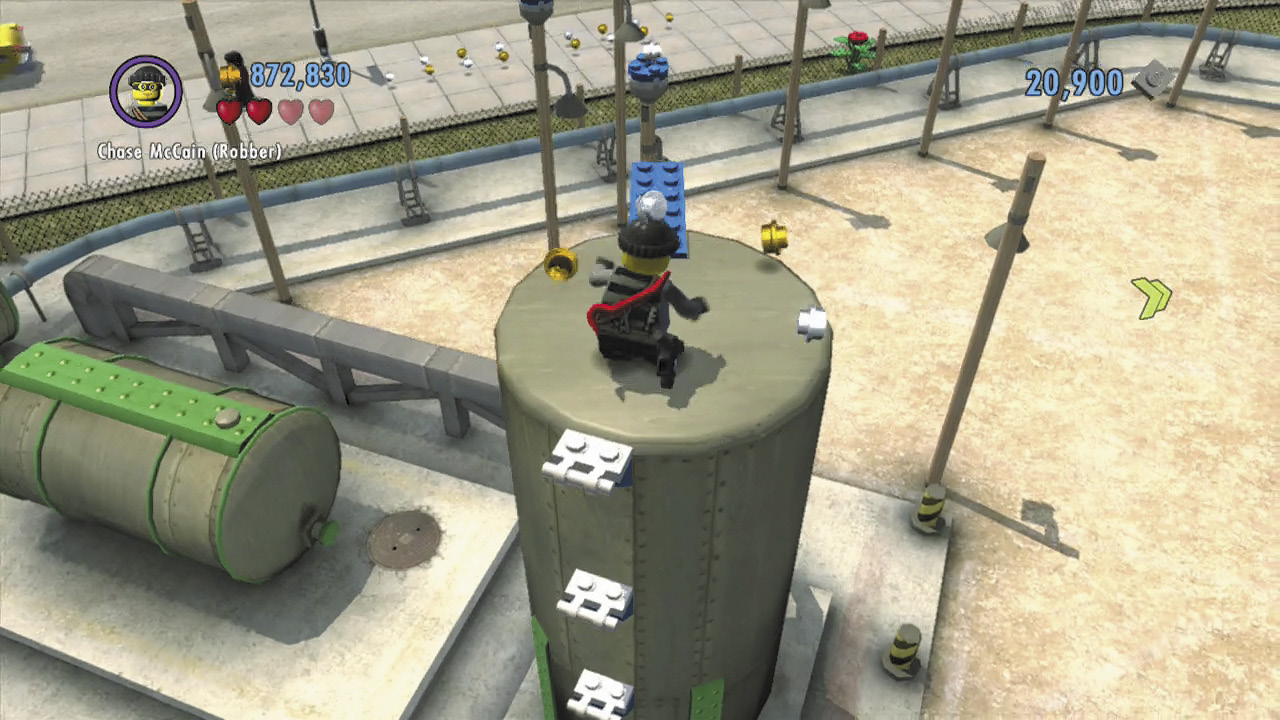
Step into the objective beacon at Pappalardo’s, and the camera will pan around to reveal a skylight on the building’s roof. Jump up the nearby handholds on the large oil drum to reach a long row of thin poles that lead to the roof.
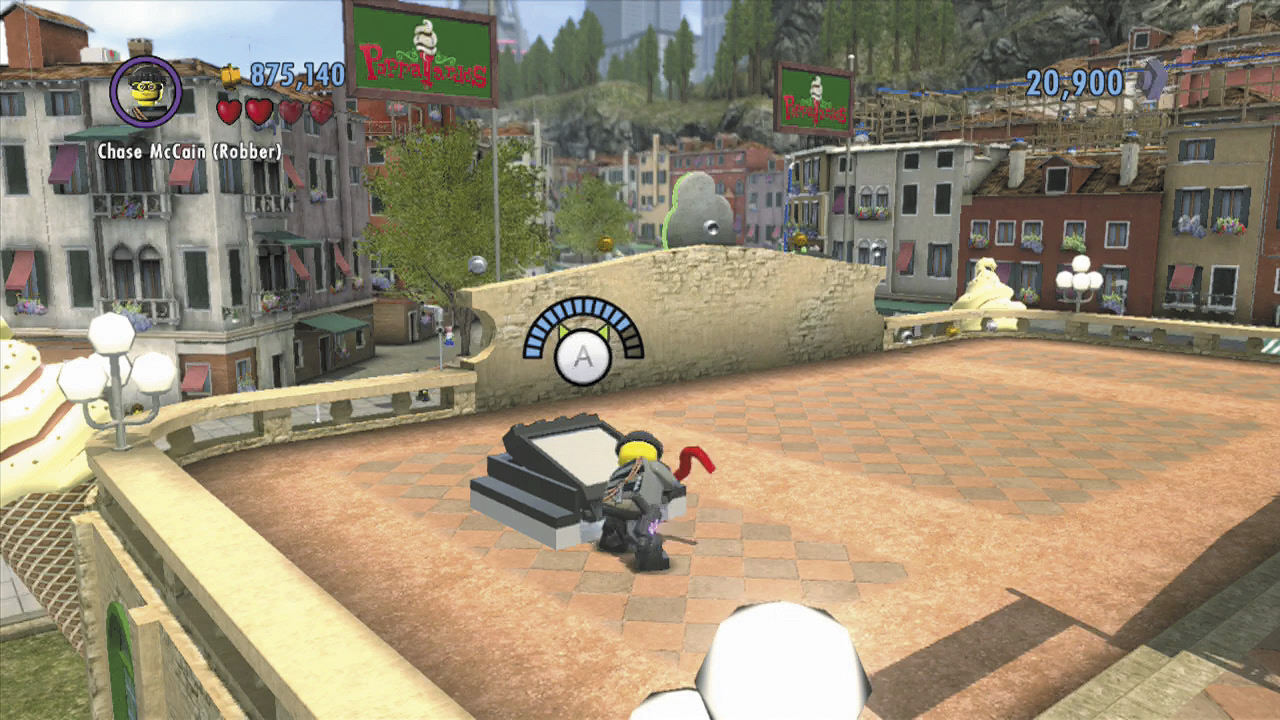
Hop across the thin poles to reach the roof, then pry open the skylight. Drop inside to begin your next assignment.
Special Assignment 11: They All Scream for Ice Cream
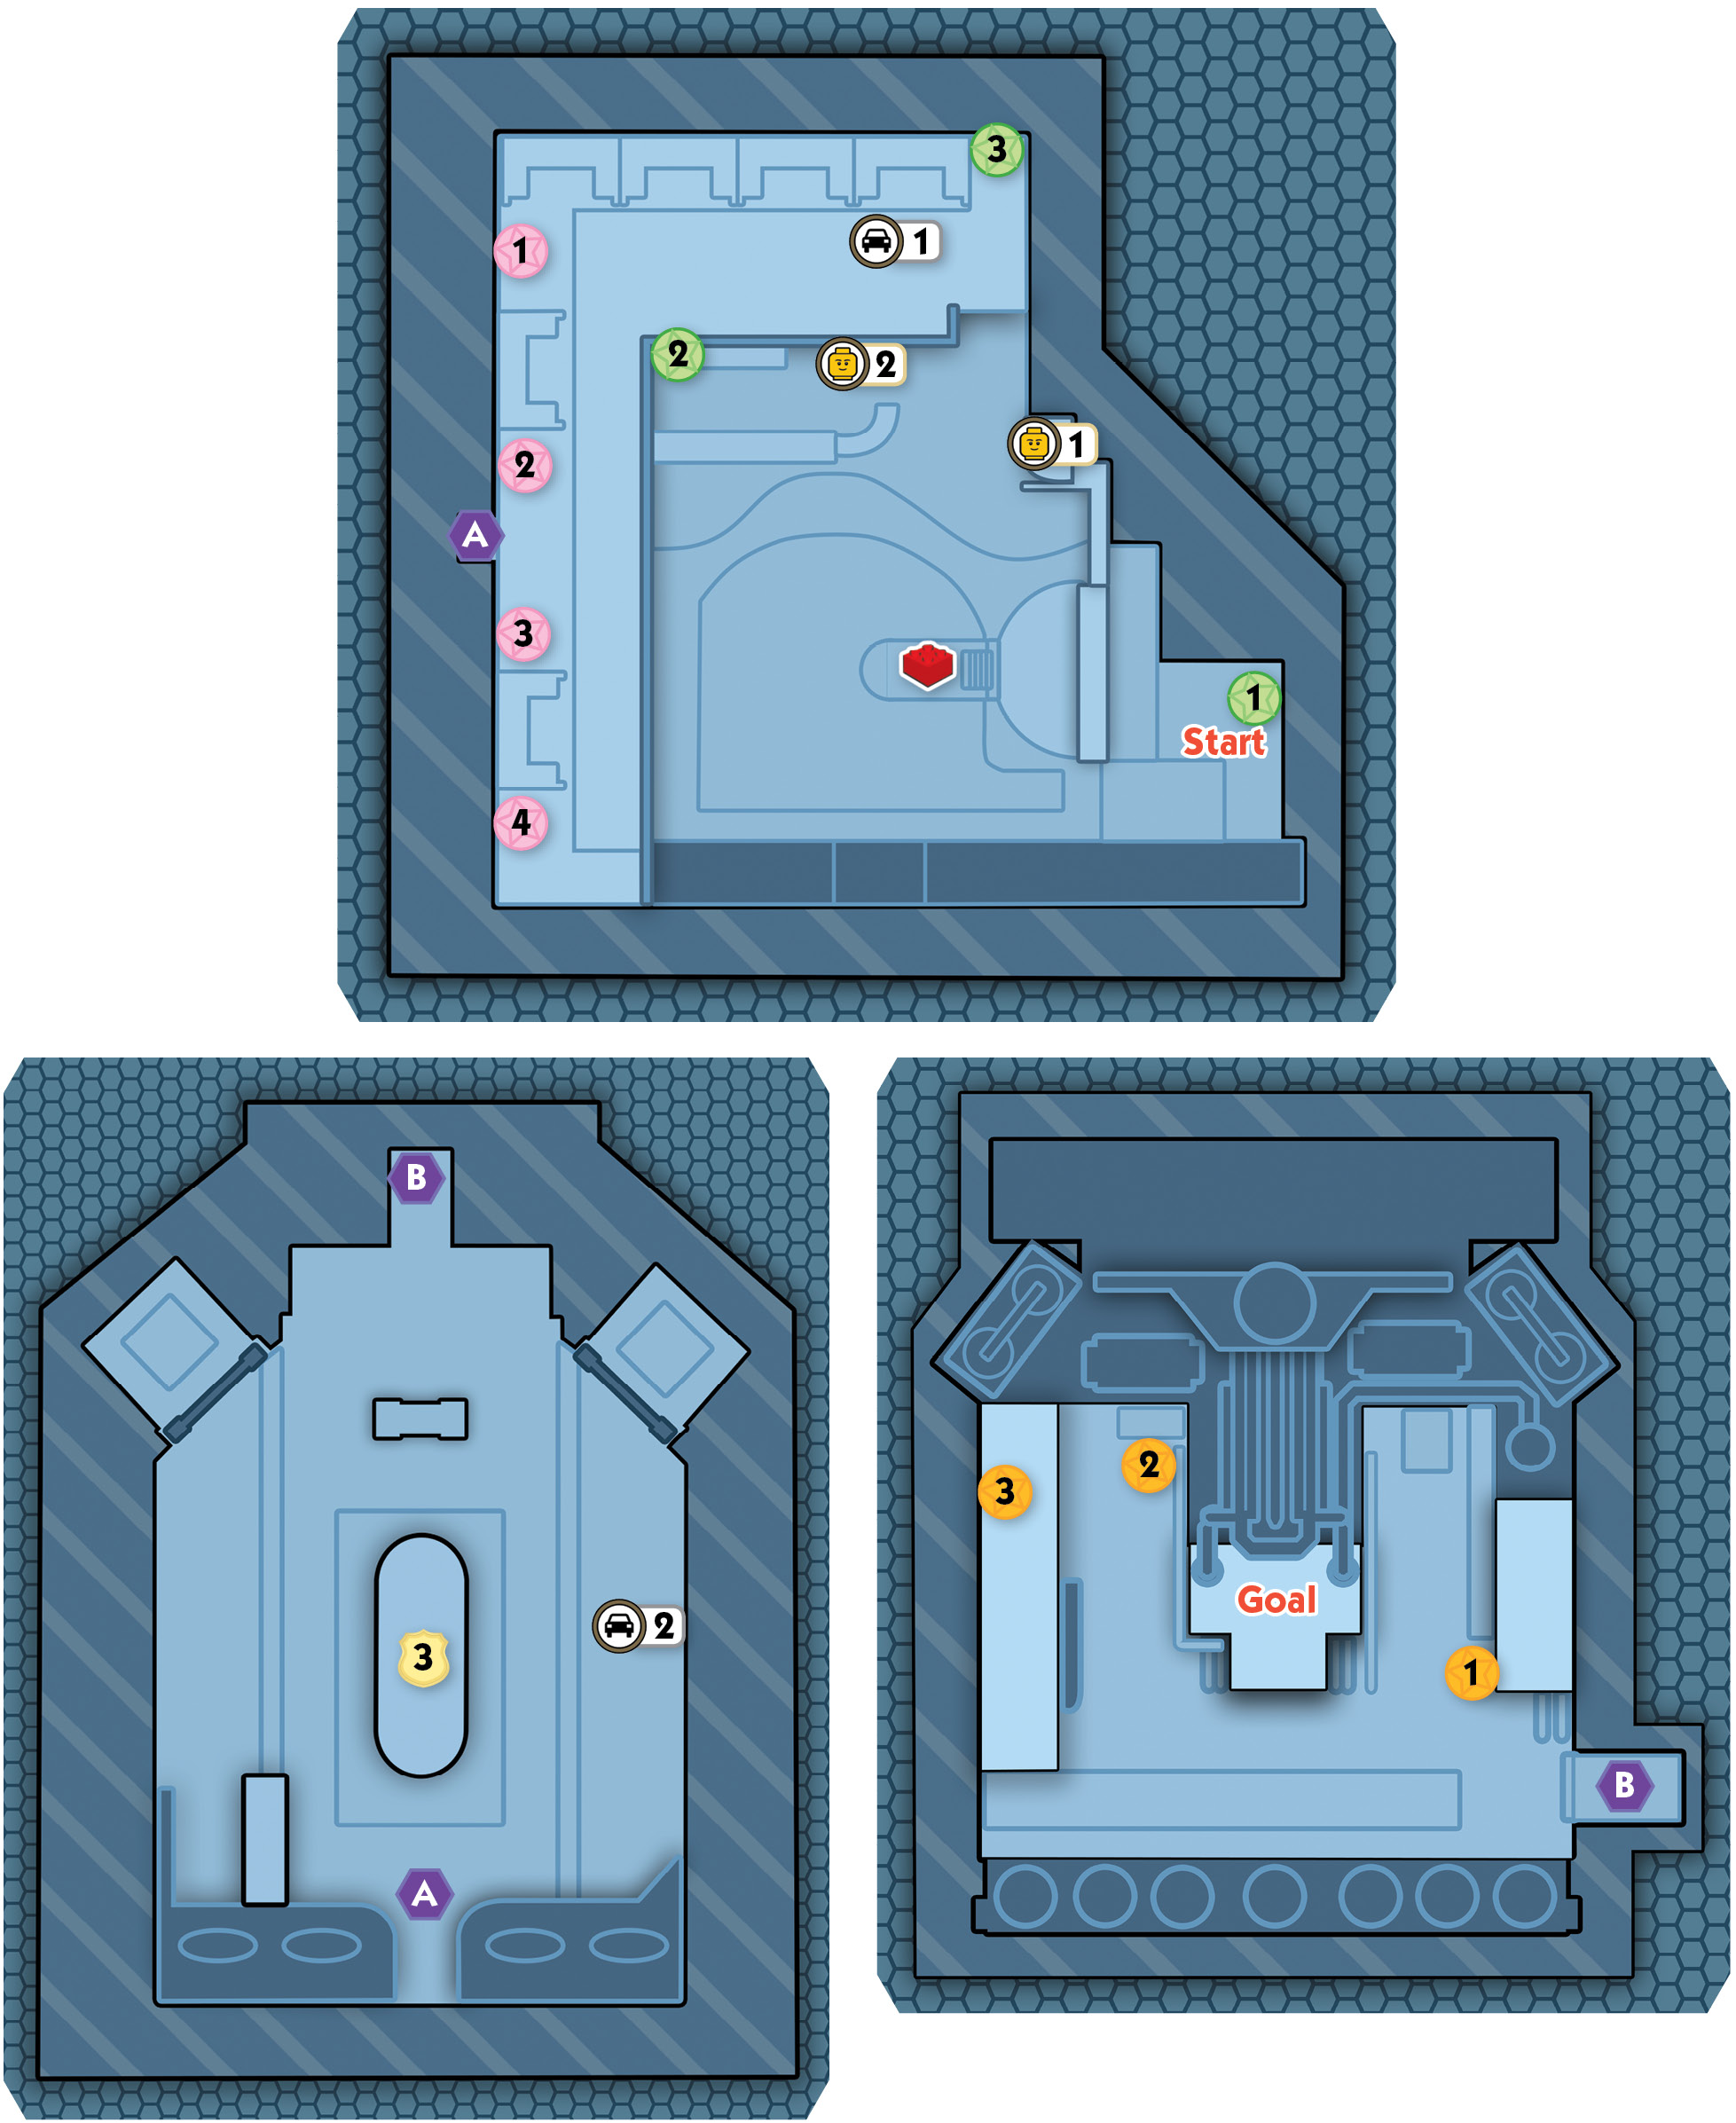
Stage Collectibles: “They All Scream for Ice Cream”
| Map Icon(s) | Type | Mode | Notes |
|---|---|---|---|
 |
Police Shield Piece 1 | Story | Smash three giant sundaes around the ice cream parlor. |
 |
“Jimmy Grossman” character token | Free Play | Fix the fuse box near the piano, build the piano’s bricks into a catapult pad, and launch up to the token. |
 |
“Vinnie Pappalardo” character token | Story | Automatically received when you rescue Vinnie from the freezer and rebuild him. |
 |
Red Brick—Extra Hearts | Free Play | Use astronaut jet pack to jump up to the balcony above the entry door, activate the space crate, build the color swapper, and blast three switch objects around the parlor. |
 |
“Aceso” vehicle token | Story | Smash the cabinet atop the parlor stairs, build the bricks into an ice cream ball, roll over the red switch to the left, and use the transporter to reach the overhead lights. |
 |
Police Shield Piece 2 | Story | Smash four crates around the parlor’s second floor, then build the bricks into four stools. |
 |
“Ironback” vehicle token | Story | Water the planter in Vinnie’s office. |
 |
Police Shield Piece 3 | Story | Smash all eight chairs around the central table in Vinnie’s office. |
 |
Police Shield Piece 4 | Story | Smash three unique machines around the ice cream factory. |
LEGO City HeroStud Requirement:  50,000
Objective: Rescue Vinnie
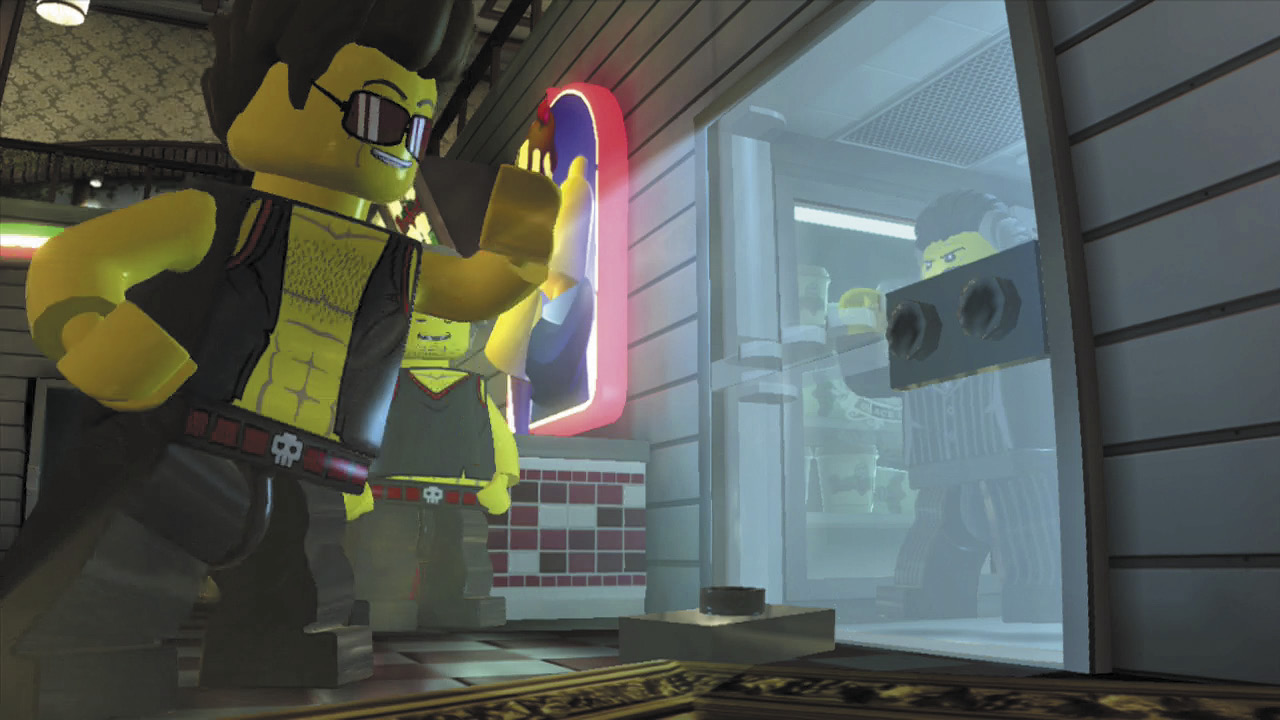
Chase finds Vinnie in dire straits—he’s been locked in a walk-in freezer by Rex Fury’s goons! It won’t be long before Vinnie is frozen solid, so you’d better hurry and rescue him.
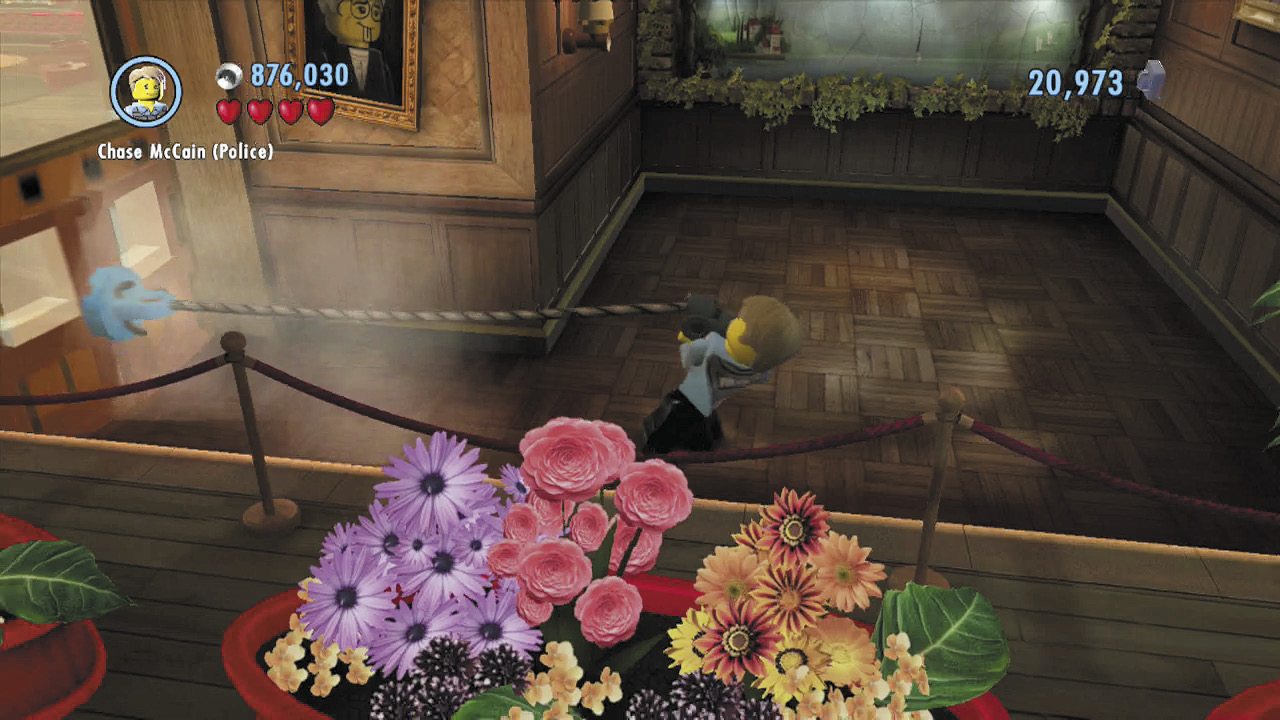
Smash up the entry area if you like, then use the grapple gun to yank open the door to the ice cream parlor.
Police Shield Piece 1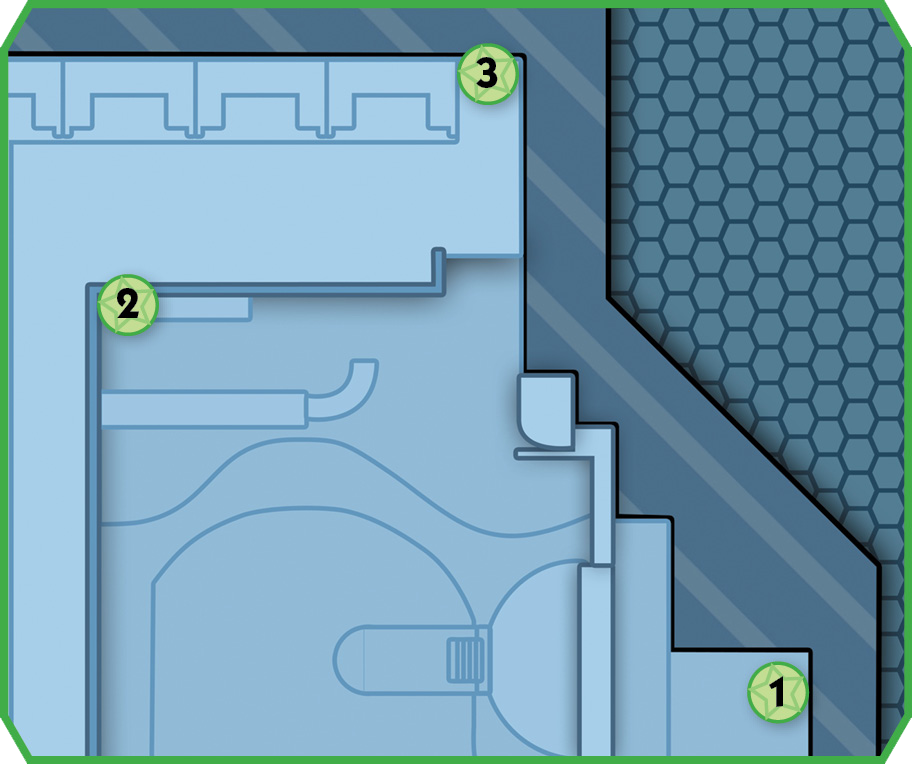 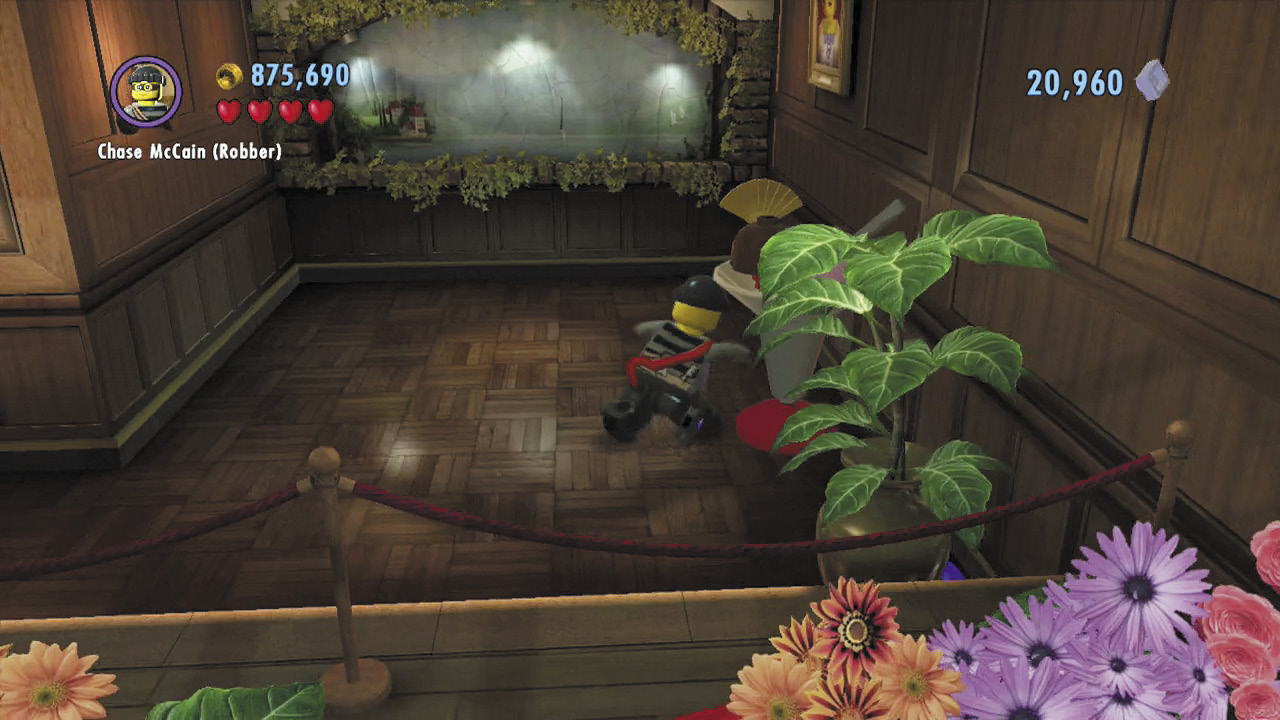 Smash three giant sundaes around the ice cream parlor to receive a tasty shield piece! The sundaes are labeled on the maps to help you find them. |
Free PlayCharacter Token 1: Jimmy Grossman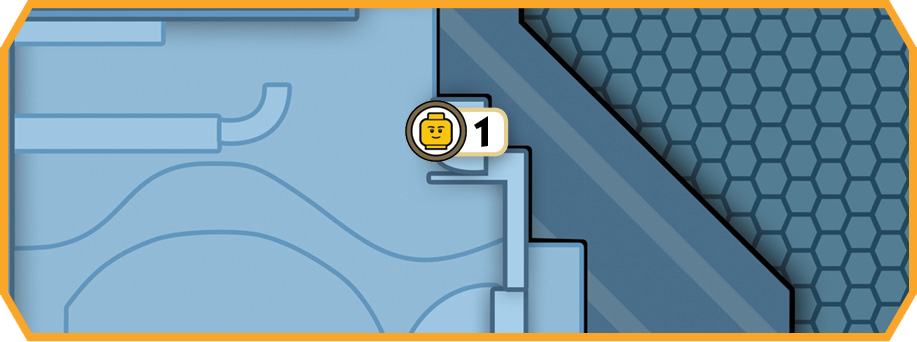 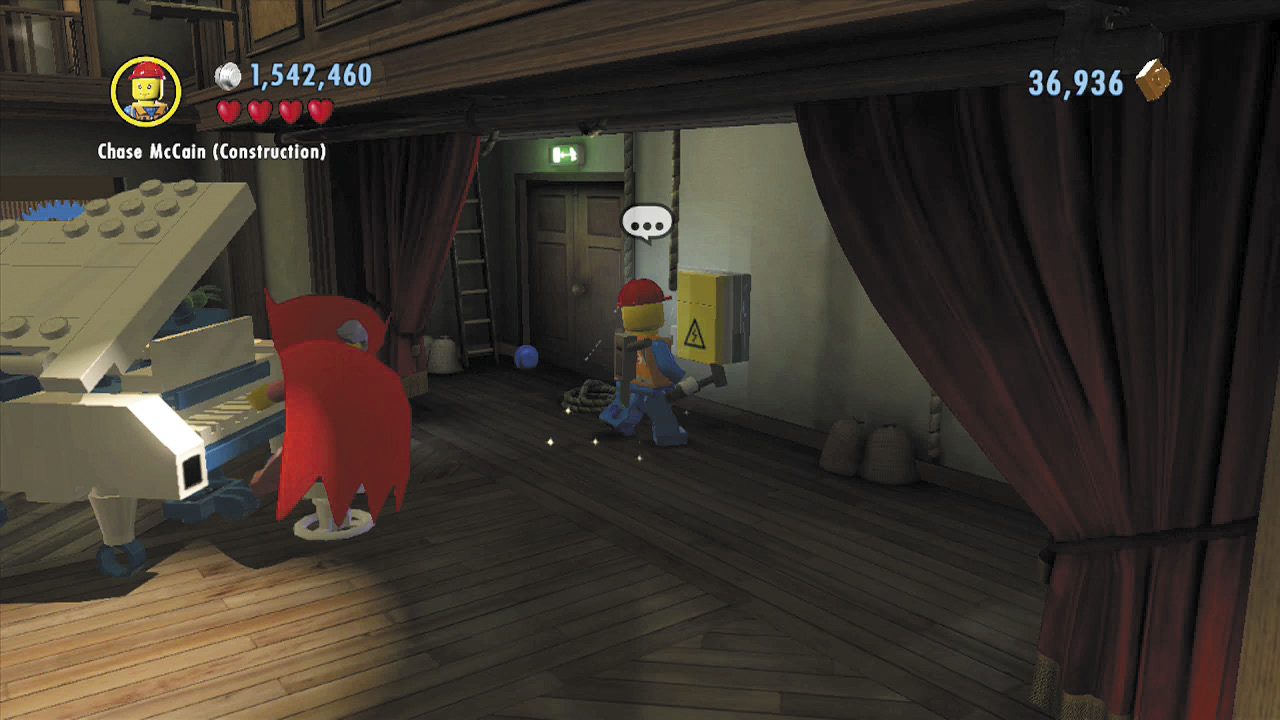 Use the construction worker disguise to fix the fuse box near the piano. This causes a spotlight to fall and smash the piano, leaving behind a pile of bricks. Build the bricks into a catapult pad, then use the pad to soar up to a character token on a high balcony. |
Freeing Vinnie
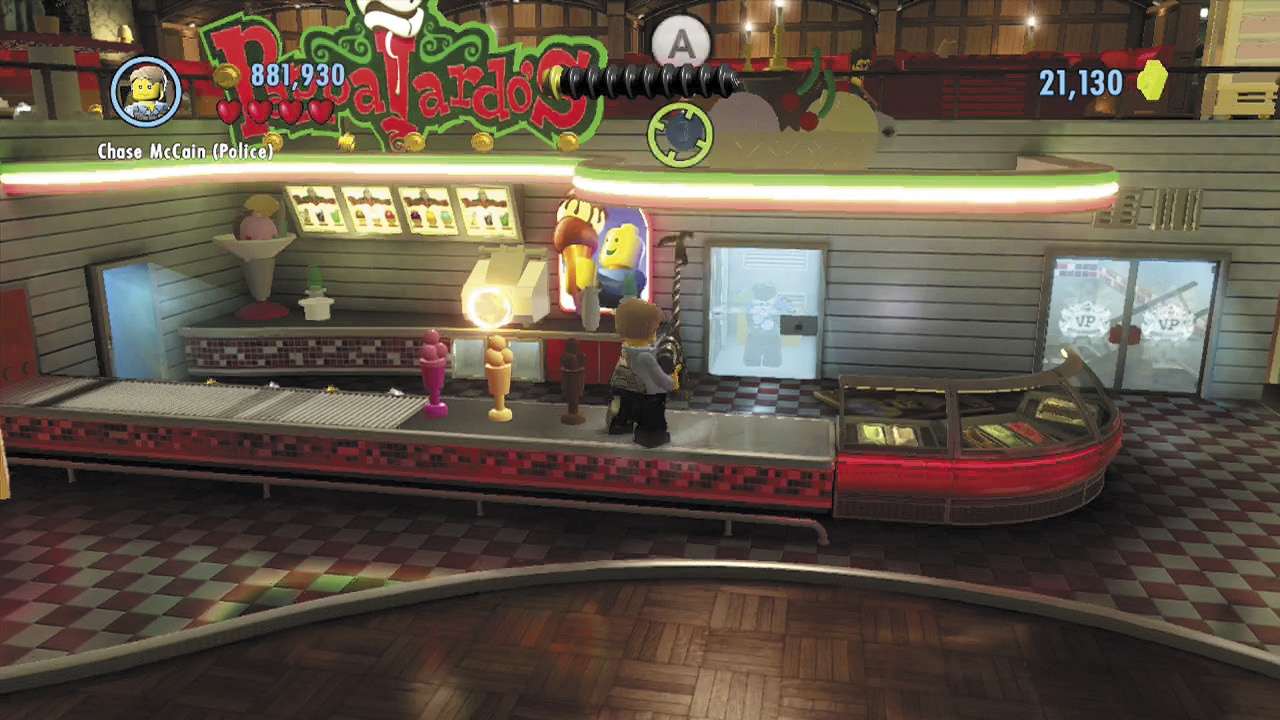
Beat up the thugs around the parlor, then use the grapple gun again to pull down the display above the freezer. The display swings down and breaks the lock on the freezer door, freeing Vinnie.
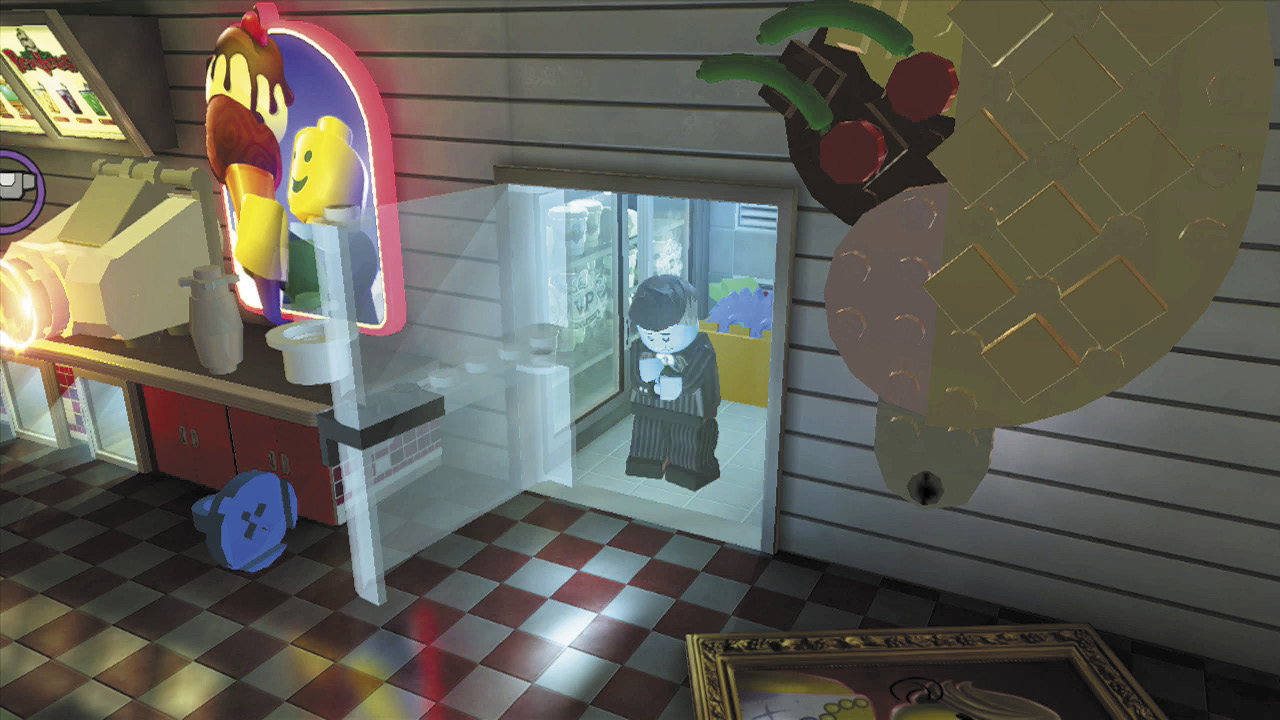
Unfortunately, Vinnie has already frozen solid and breaks into pieces! Subdue the goons who were guarding him, and build Vinnie’s bricks to put him back together.
Character Token 2: Vinnie Pappalardo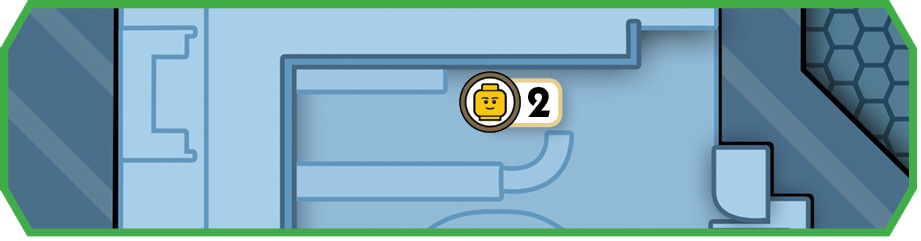 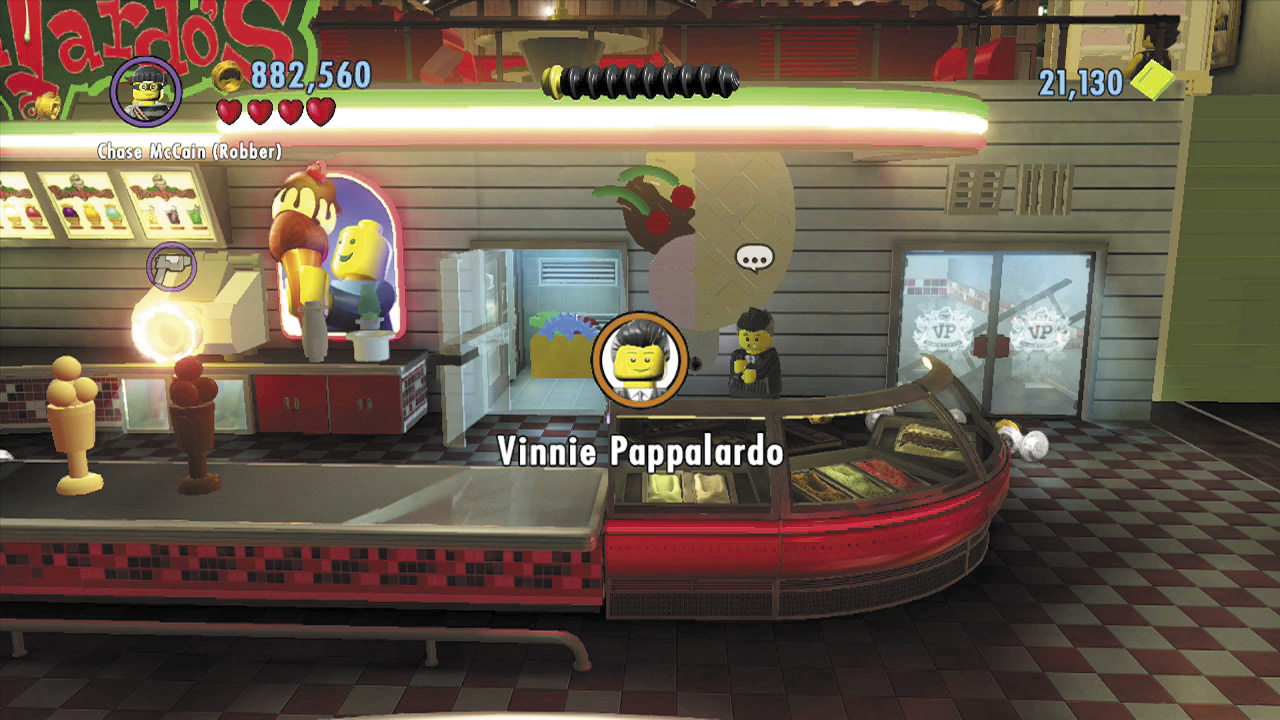 You automatically collect Vinnie’s character token after you rescue him from the freezer and put him back together. Sweet! |
Objective: Enter Vinnie’s Office
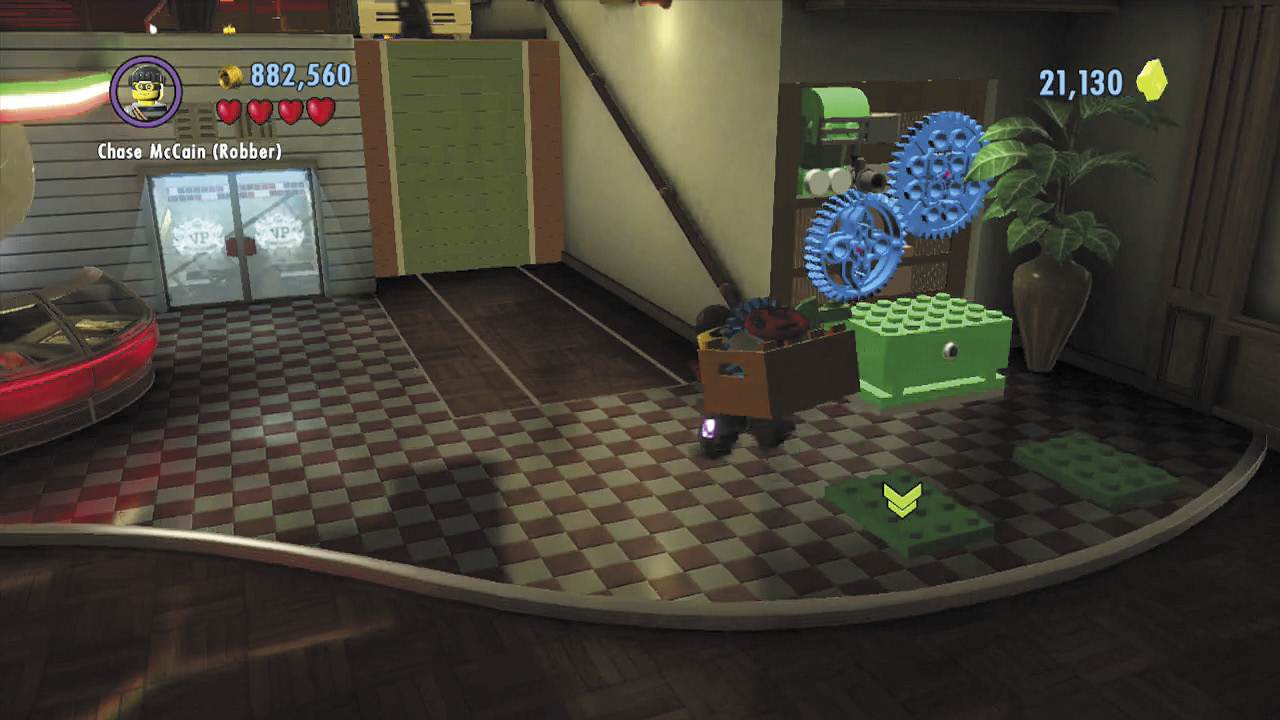
Vinnie thanks you and says that the gang leader has locked himself inside his ice cream factory, which you can reach via a secret passage in Vinnie’s office. Collect the box of bricks in the freezer where Vinnie was trapped, then carry it over to the nearby green pad.
There are two green pads, so you must find more bricks. Go left and smash a small ice cream crate near the counter. Build the remains of the crate into a control panel, and use the panel to make a box of bricks roll out onto the counter.
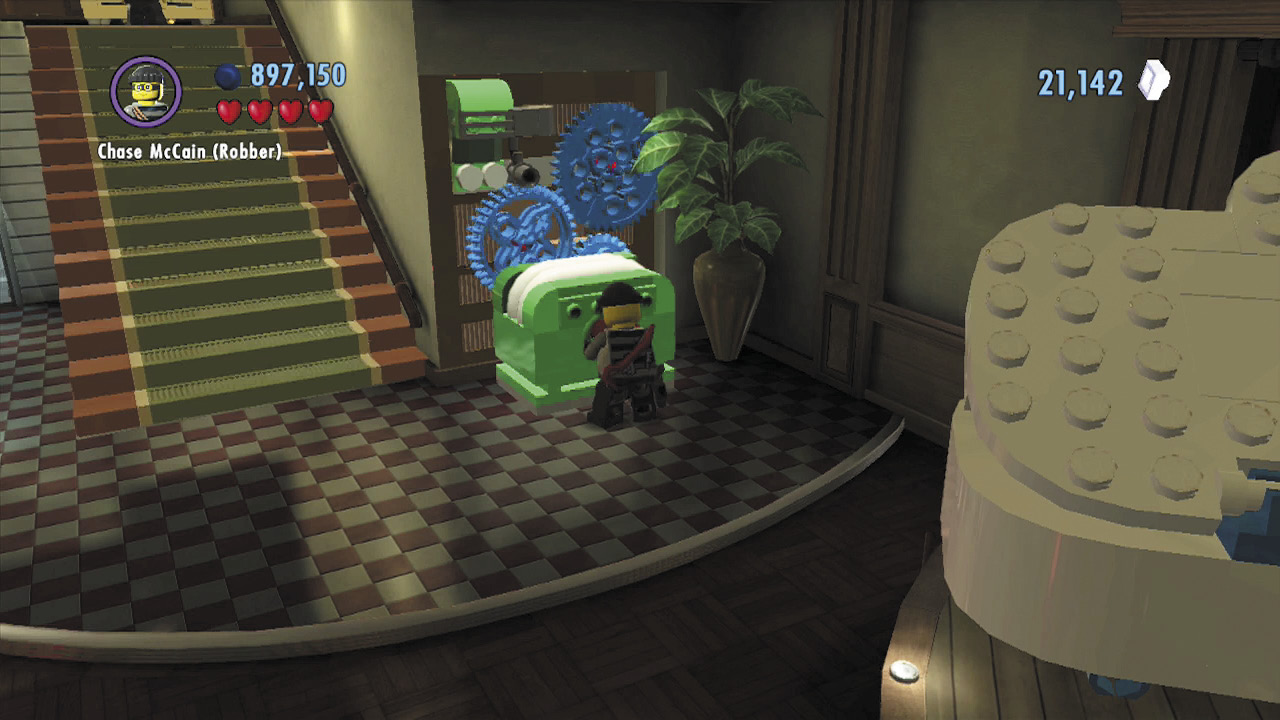
Nice work! Now carry the second box of bricks over to the other green pad, and set it down. Build the bricks to complete the nearby machine, then turn the machine’s wheel to extend some nearby stairs.
Free PlayRed Brick: Extra Hearts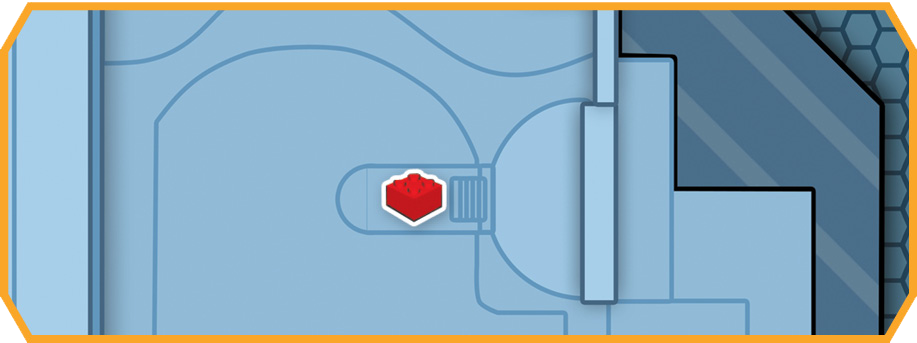 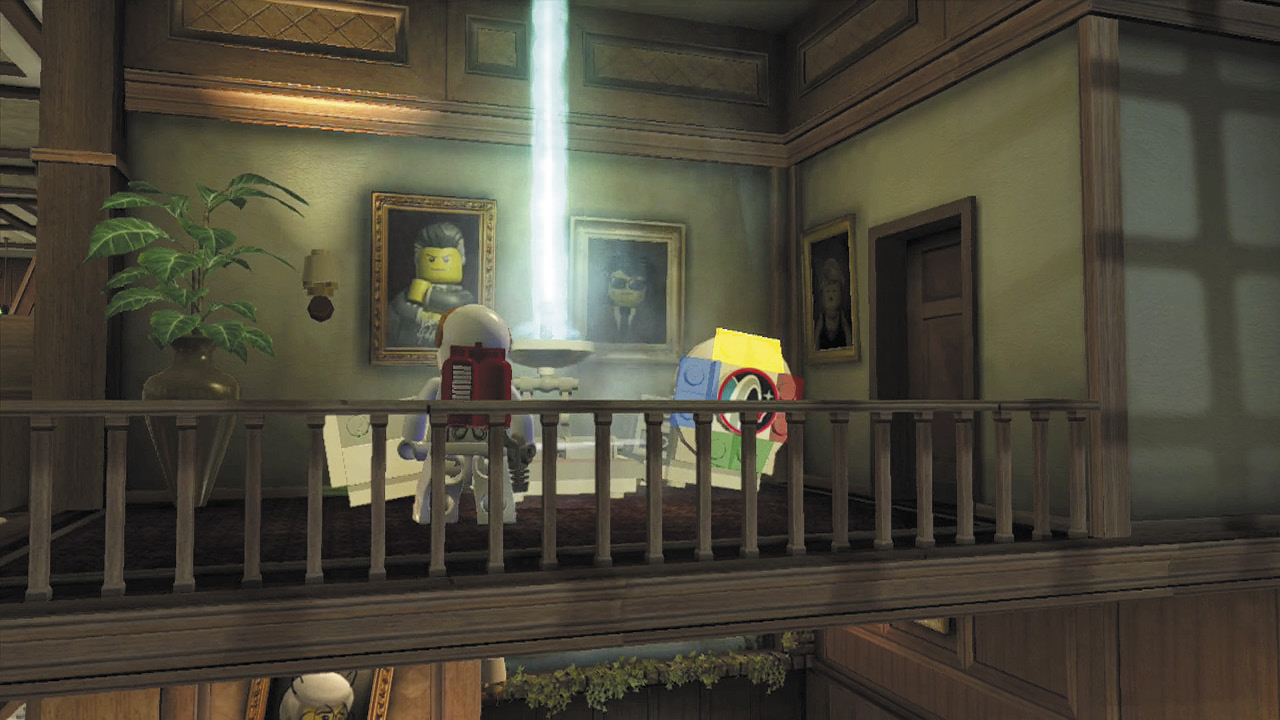 During Free Play, toggle to the astronaut and use a jet pack jump to boost up to the balcony above the ice cream parlor’s entry door. Activate the space crate you discover up here to beam in a pile of bricks onto the parlor’s second floor.  Head upstairs and build the bricks into a color swapper. Fill your color gun with green energy, then run around and blast three objects around the parlor that have red switches: the floor buffer, the cash register, and the jukebox.  After blasting all three objects with the color gun and activating their switches, this mission’s red brick will appear near the piano stage. Head over and collect your prize! |
Second Floor Smashup
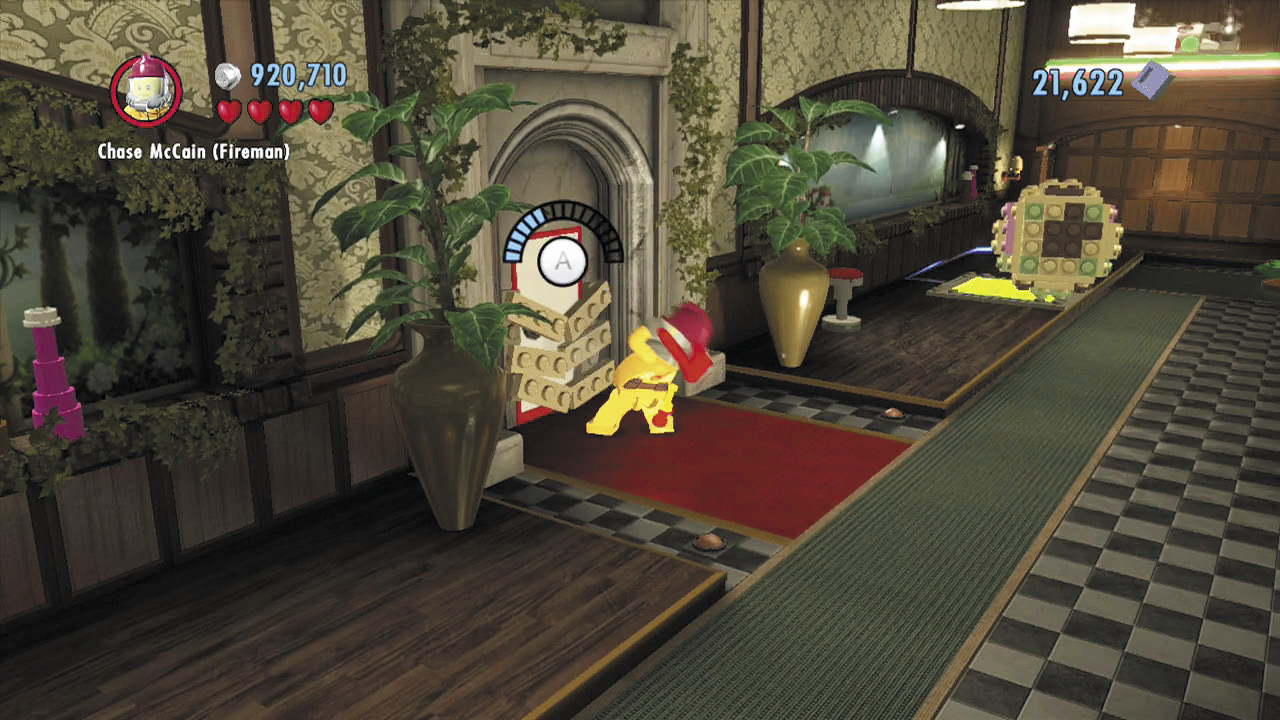
Head upstairs to reach the ice cream parlor’s second floor. Nearly everything up here can be smashed to pieces, but all you really need to do to advance is destroy the boulders near the boarded door, then chop your way through to reach Vinnie’s office.
Vehicle Token 1: Aceso 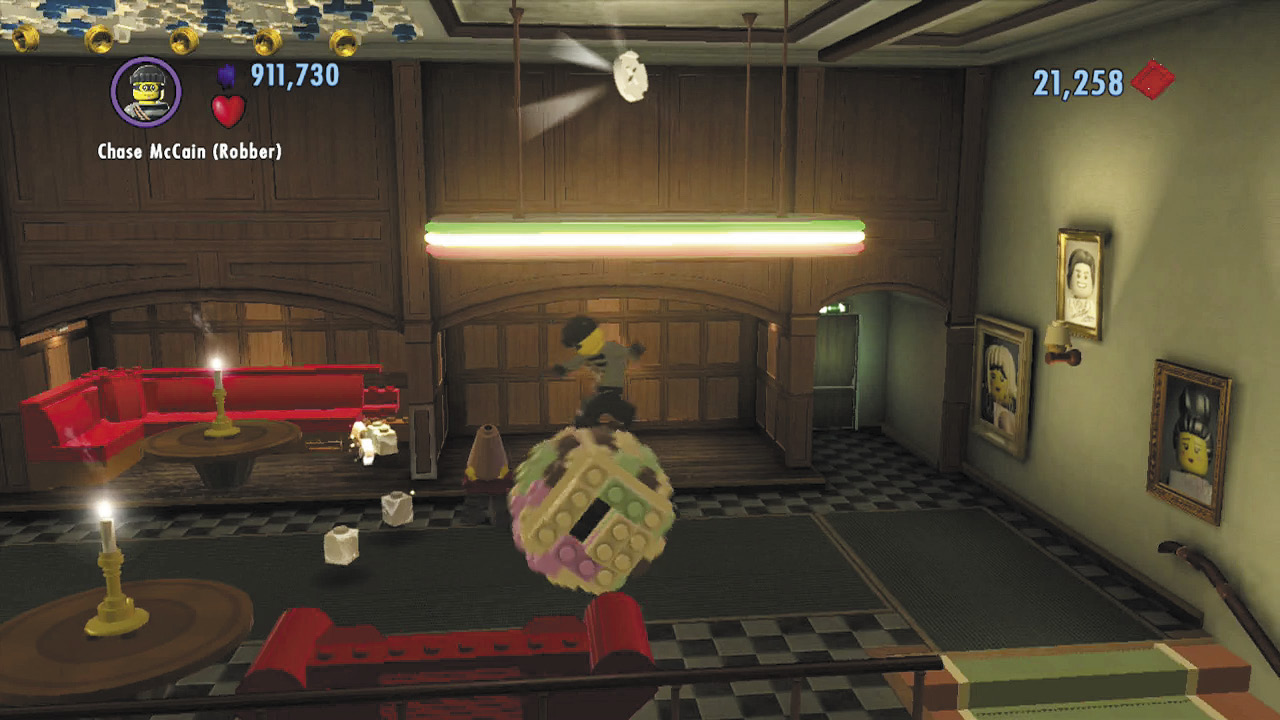 Smash the cabinet atop the stairs, and build its bricks to form a giant ice cream ball. Press 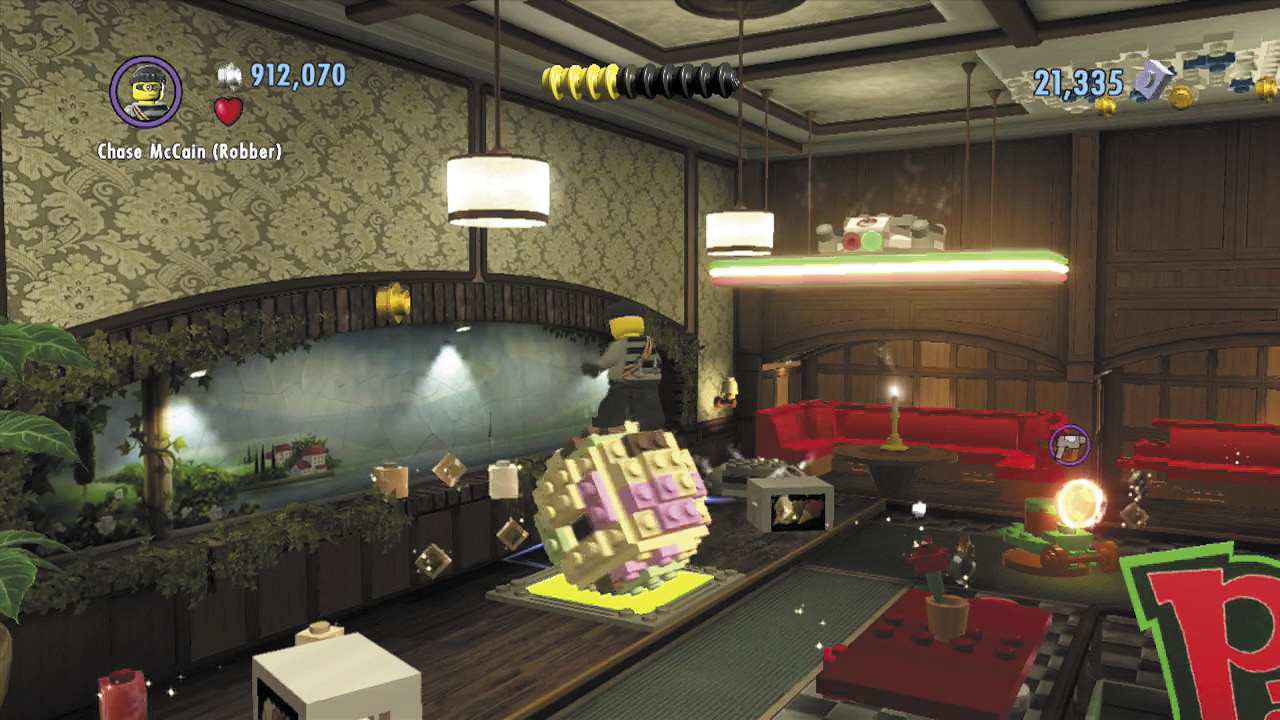 Smash the table near the left wall to discover a red button on the floor. Ride the ice cream ball onto the button to turn it green and activate the nearby transporter pad. 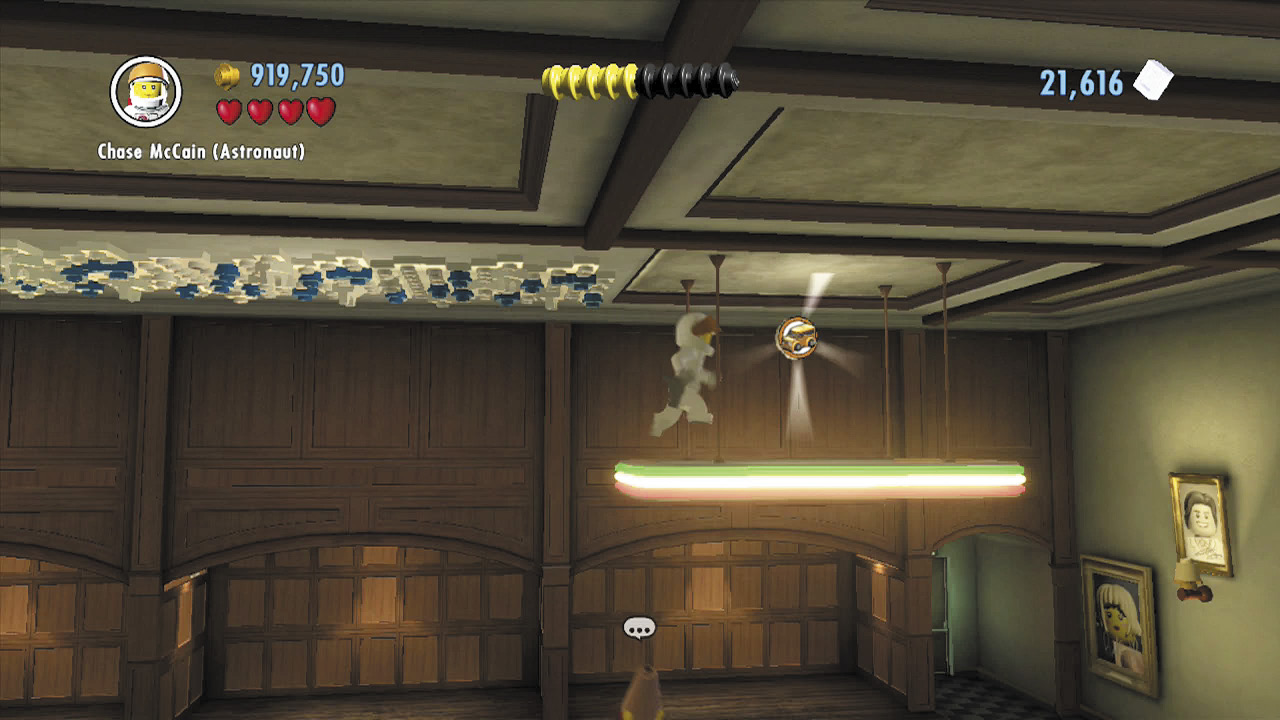 Jump off the ice cream ball and use the transporter pad to beam onto the nearby overhead light. Jump and grab the blue and white LEGO patch on the ceiling, then shimmy over to the next overhead light, where a vehicle token awaits. |
 to hop onto the ice cream ball and roll to the left.
Police Shield Piece 2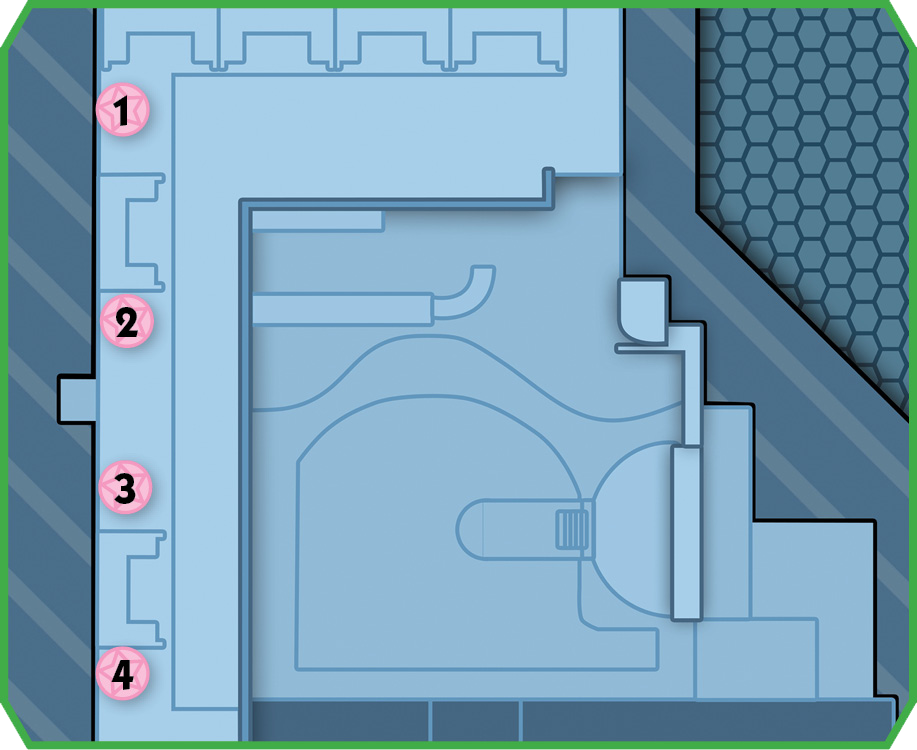 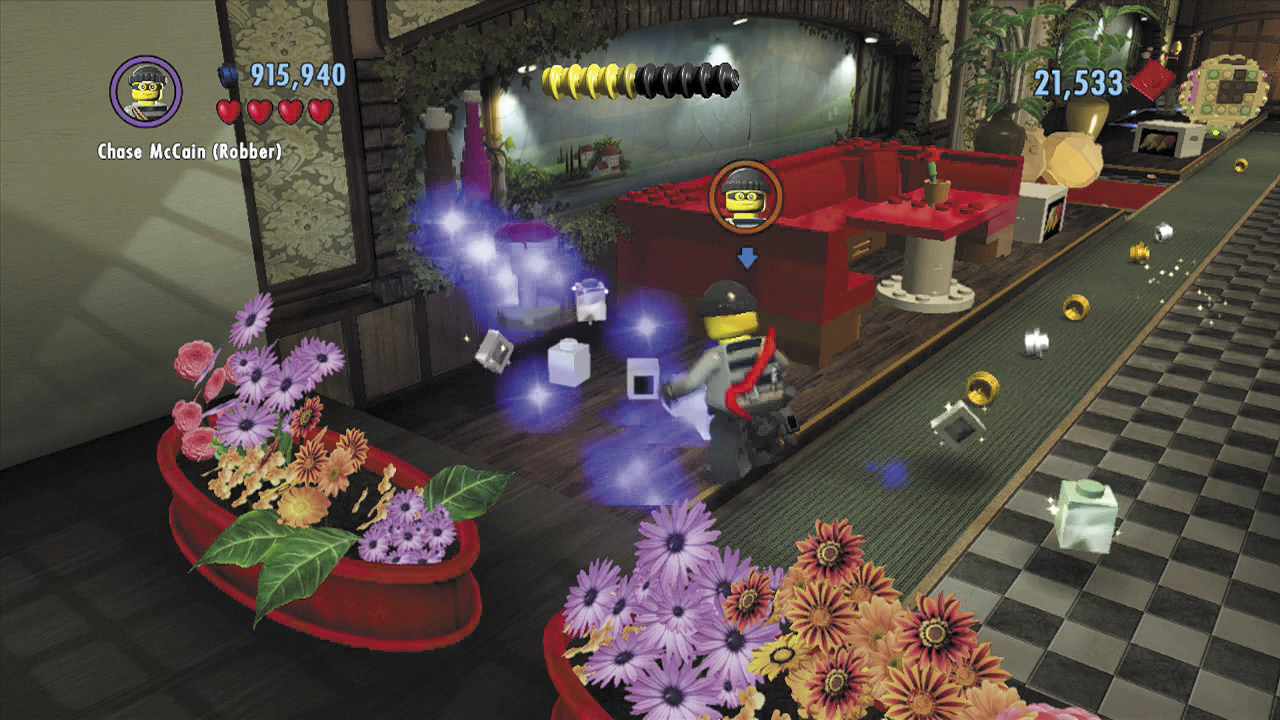 Smash four ice cream crates around the parlor’s second floor. Bricks spill out of each crate; build them into stools. Build all four stools to earn a shield piece! Check the maps for the locations of each stool crate. |
Objective: Find the Secret Passage
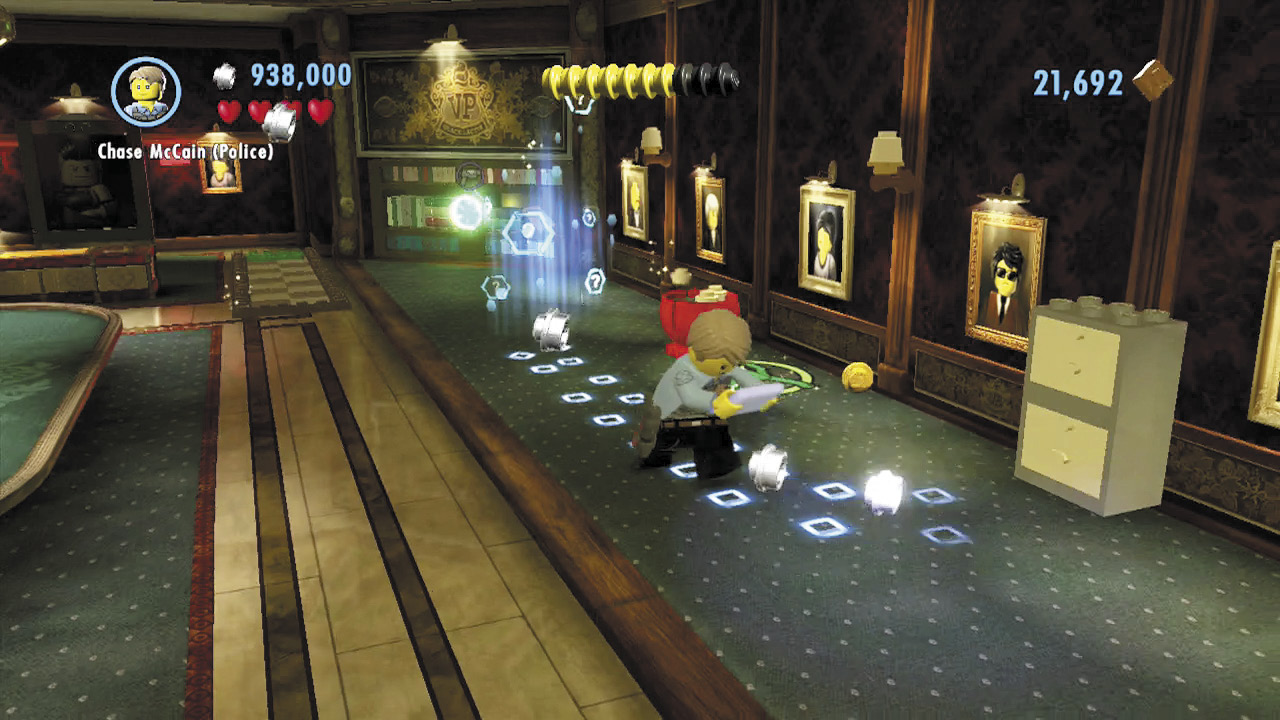
Vinnie’s office is crawling with thugs. Arrest them all, then smash the red chair near the planter on the right to discover a scan spot. Follow the footprints to a nearby cabinet that contains a key.
Vehicle Token 2: Ironback 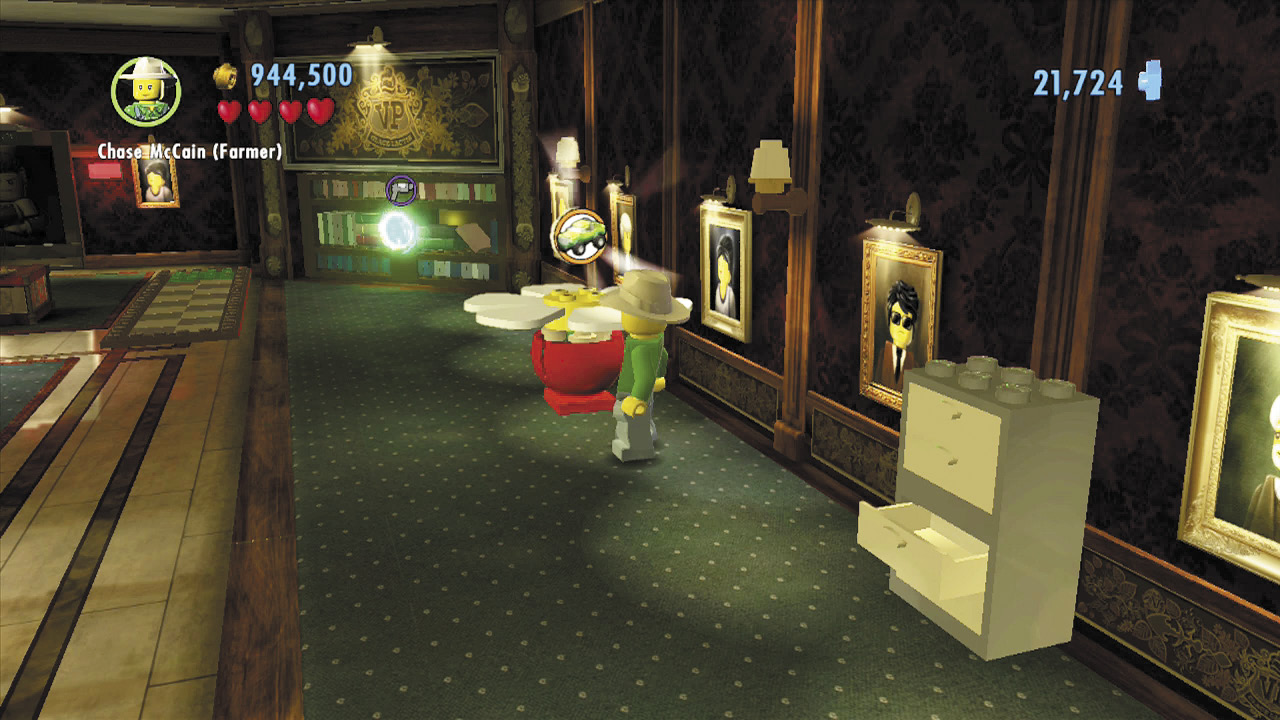 Water the planter on the right side of Vinnie’s office to grow a large flower—along with a hidden vehicle token! |
Police Shield Piece 3 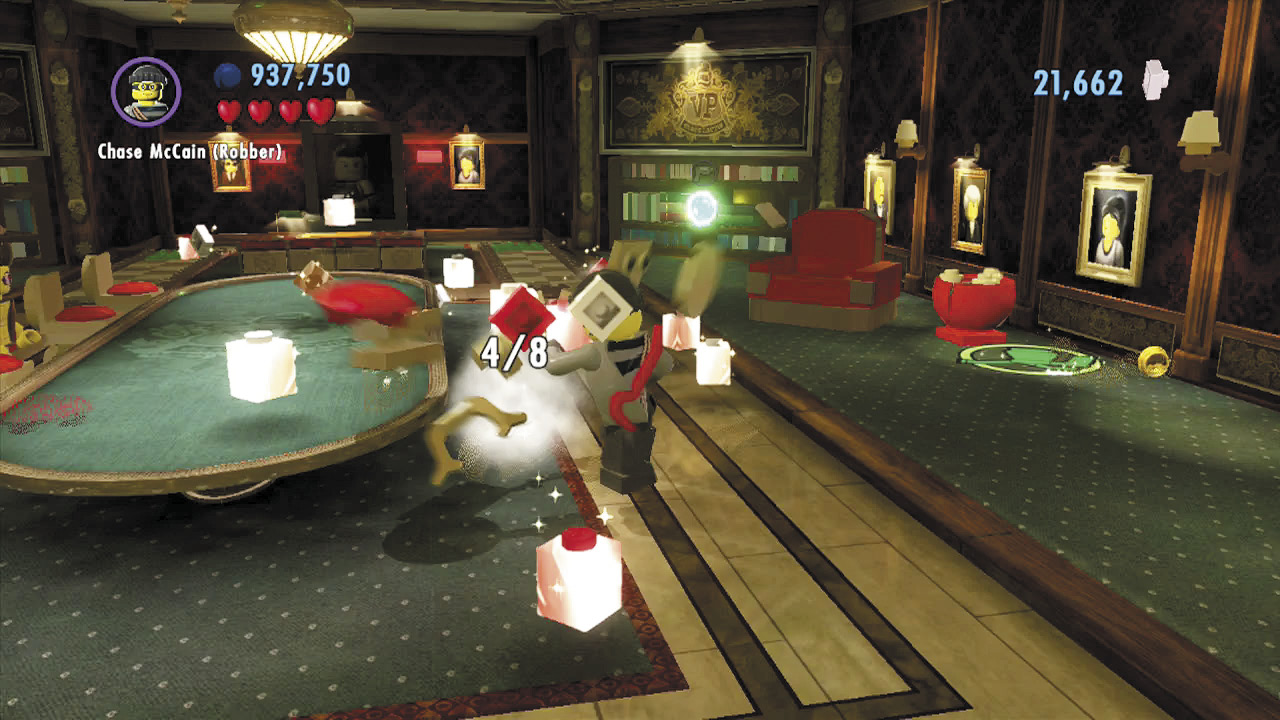 Smash the eight chairs that surround the large table in the middle of Vinnie’s office to earn an easy shield piece. |
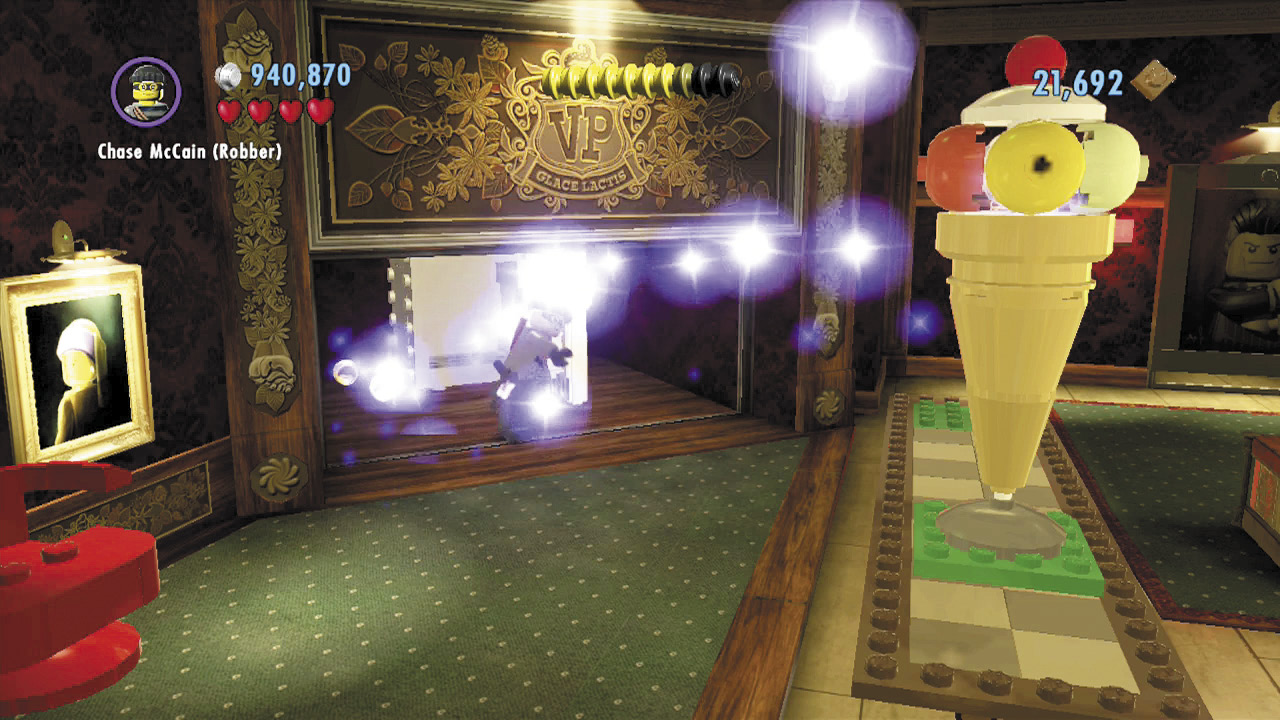
Use the key on the left bookshelf’s lock to discover a hidden safe. Crack the safe to find some bricks; build them into a giant ice cream cone. Gee, Vinnie really likes ice cream!
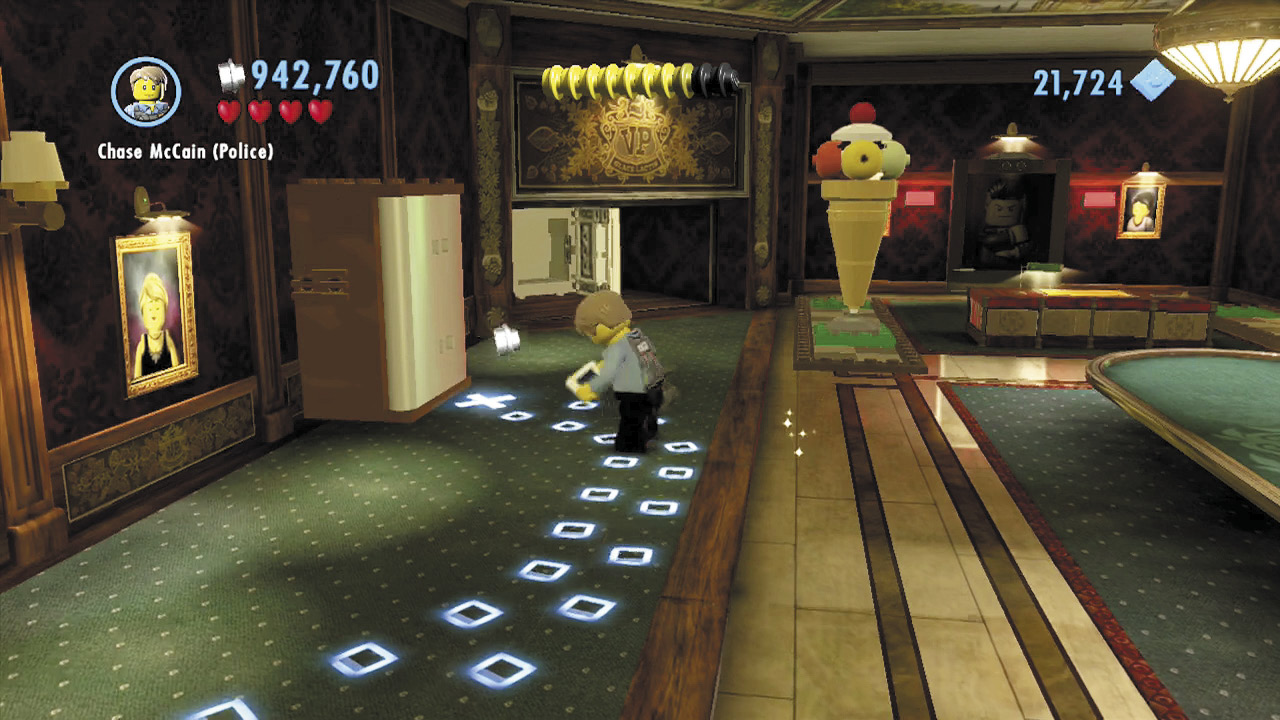
Smash another red chair in the left foreground corner to discover another scan spot. This one’s footprints lead to a tall cabinet—open it to discover some bricks that you can form into a color swapper.
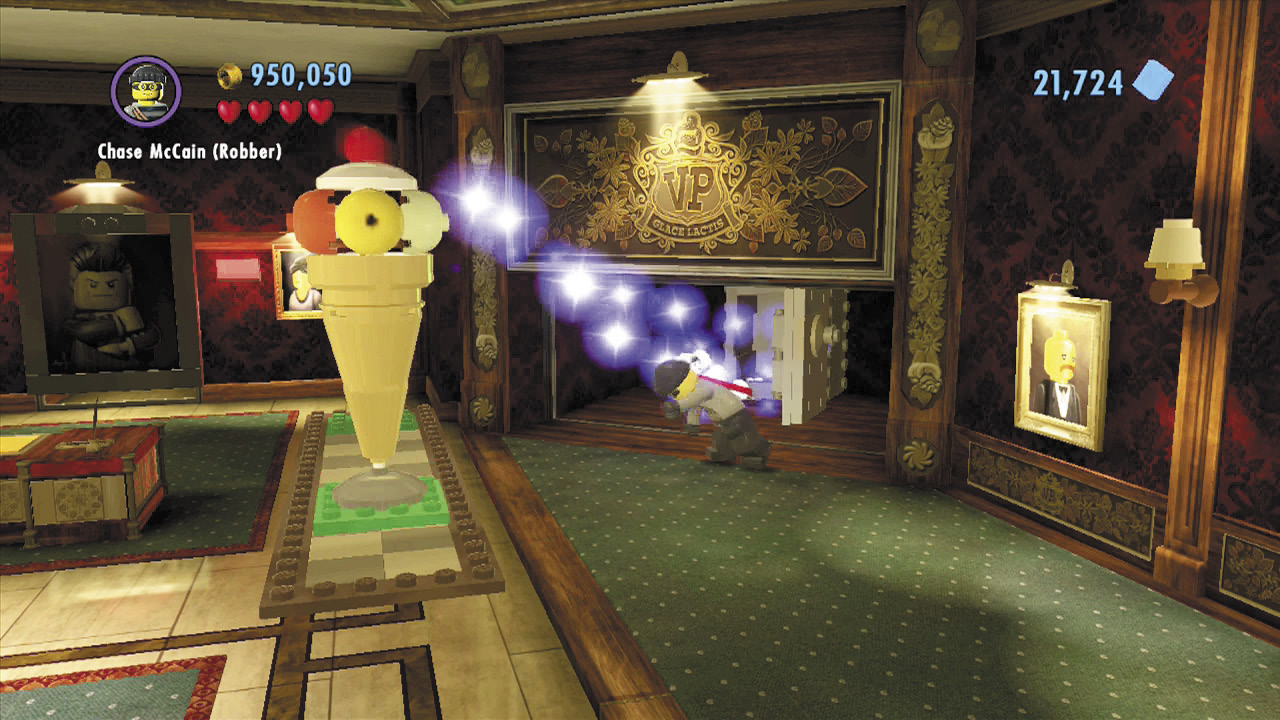
Use the color swapper to fill your color gun with red energy, then blast the green switch on the right bookshelf to find another hidden safe. Crack this one to score more bricks that form another giant ice cream cone.
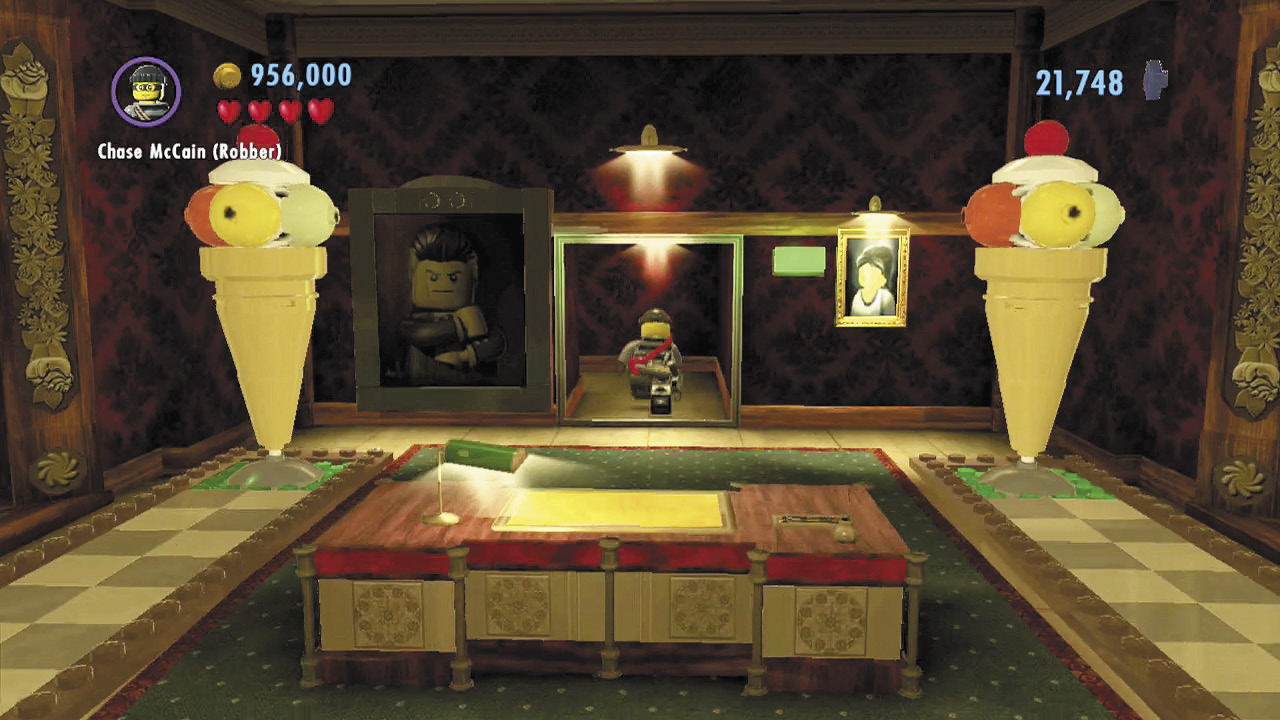
Good work! Now simply shove both of the ice cream cones toward the background until they stop on a pair of green pads. With both green pads depressed, the background portrait of Vinnie shifts, revealing a secret passage to the ice cream factory.
Objective: Subdue the Thug Leader
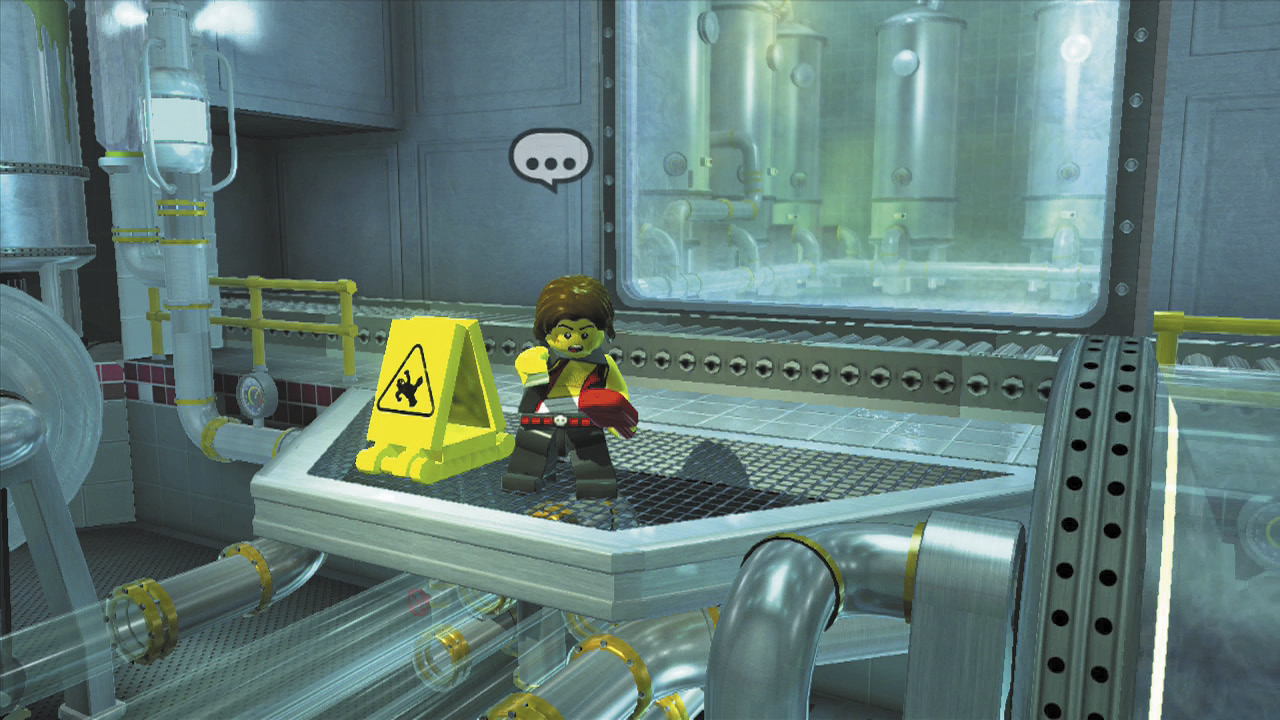
The leader of the thugs who are trashing Pappalardo’s taunts Chase as he enters the factory. The place is a mess, and it will take some effort to reach the chief goon!
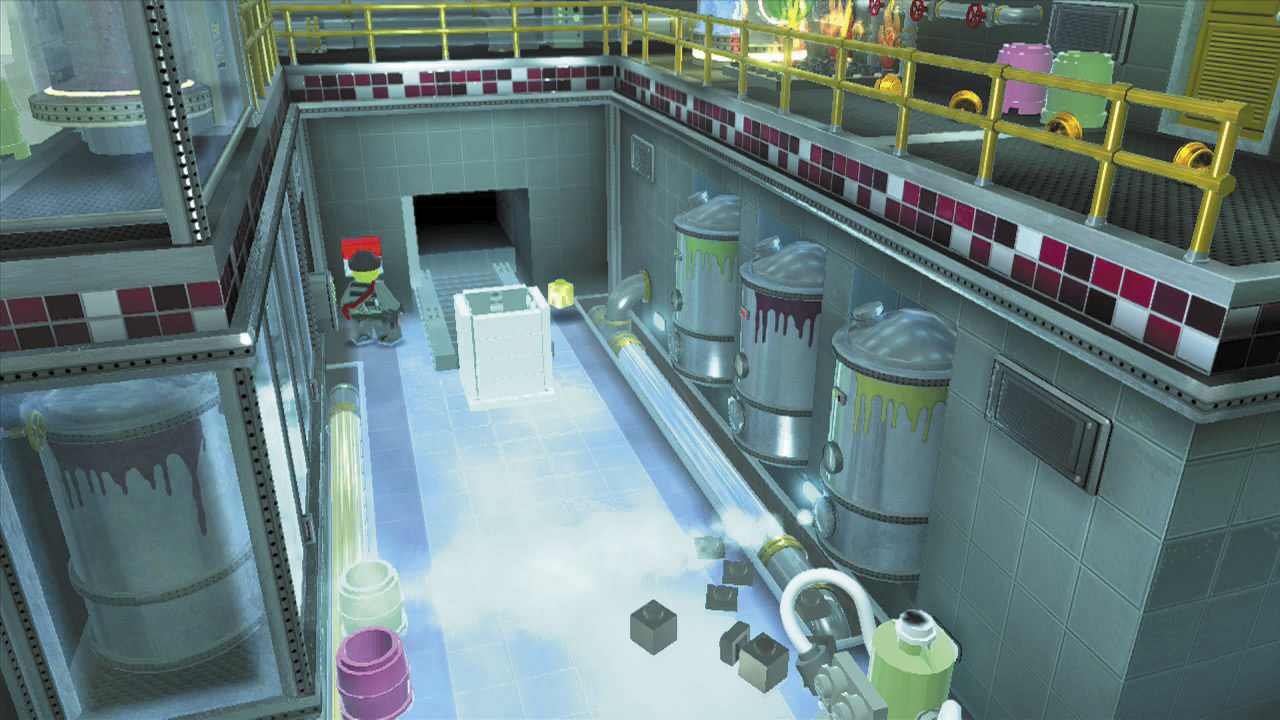
A pair of frosty jets prevents you from exploring the factory’s left side. Head into the background instead and use a control panel to make a large box pop out of the nearby wall.
Police Shield Piece 4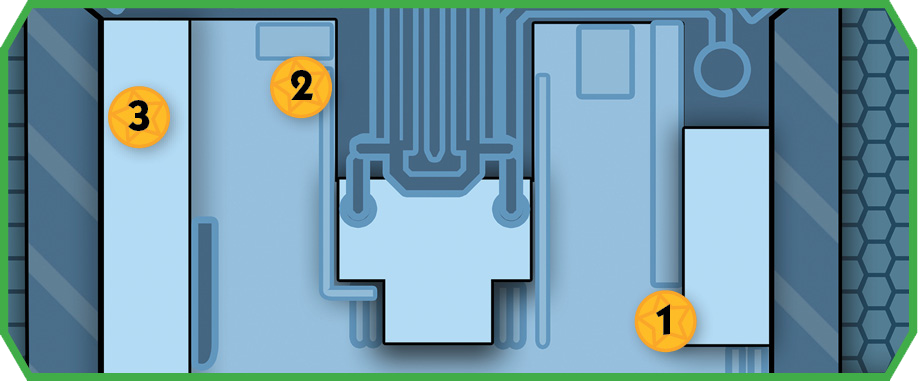 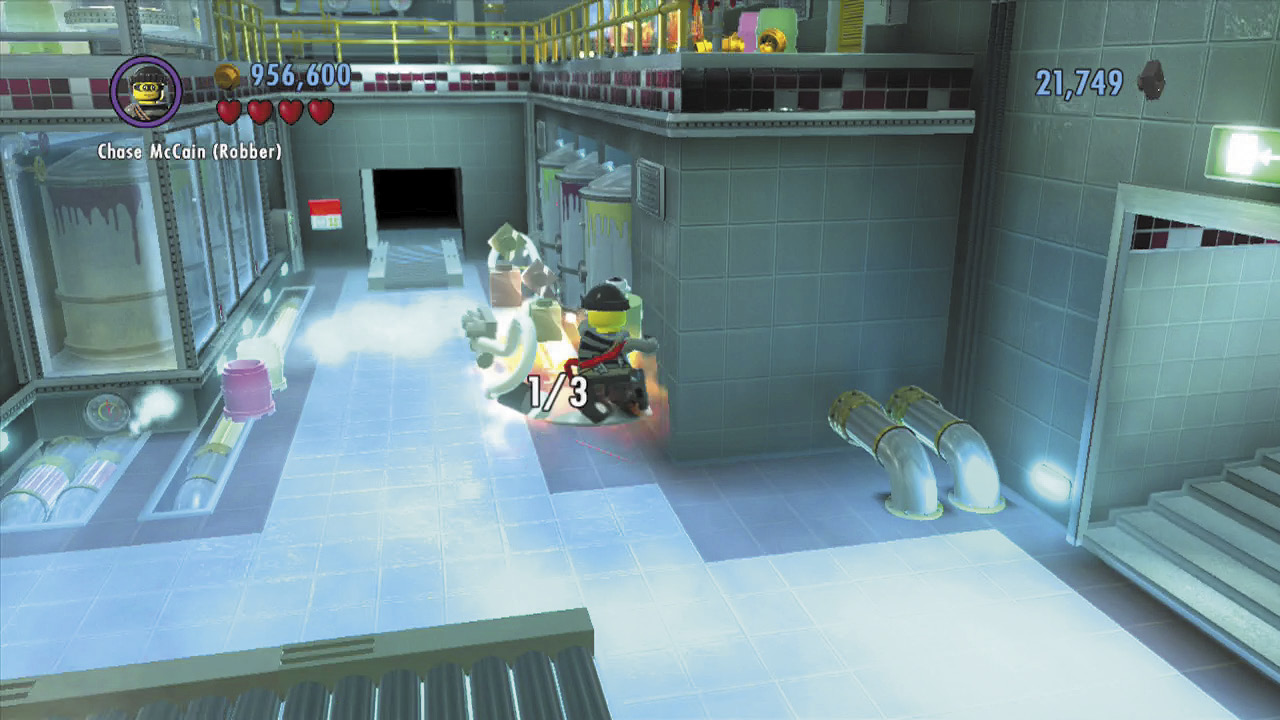 Smash three unique machines around the factory to earn a cool shield piece. Check the maps to see where they’re at! |
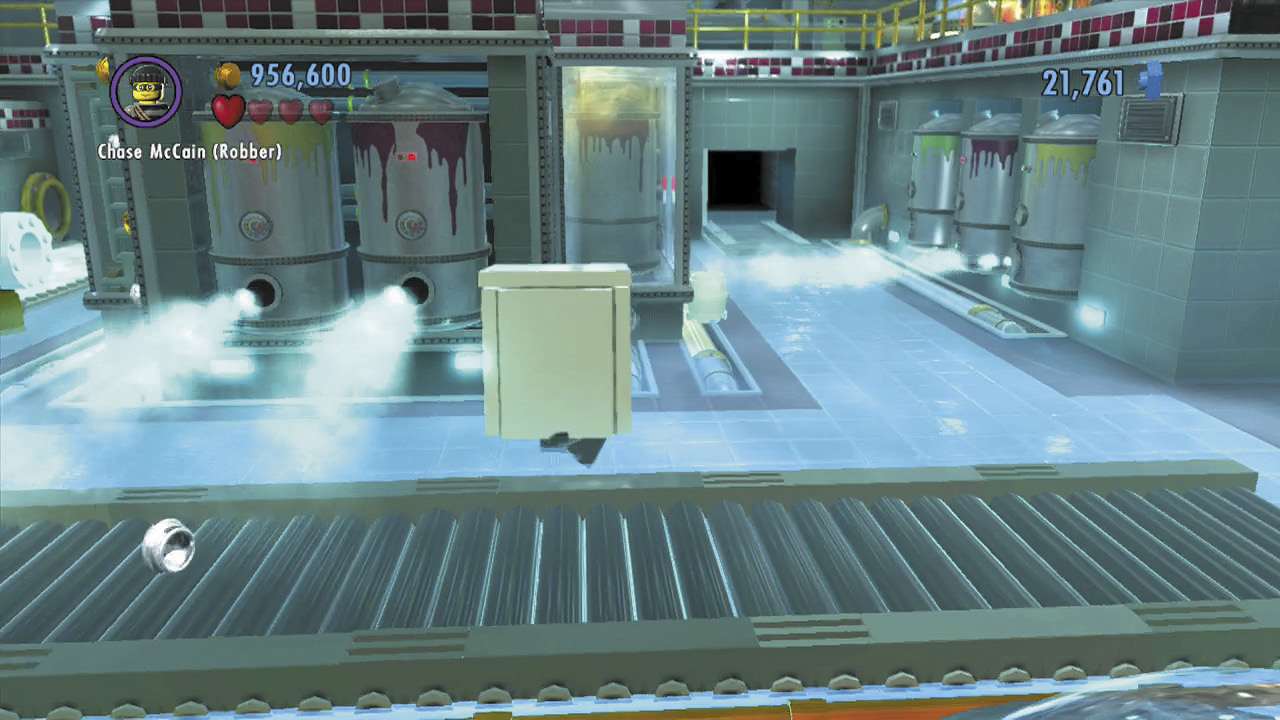
Press  to make Chase “put on” the box. Now you can move through those icy jets without being frozen!
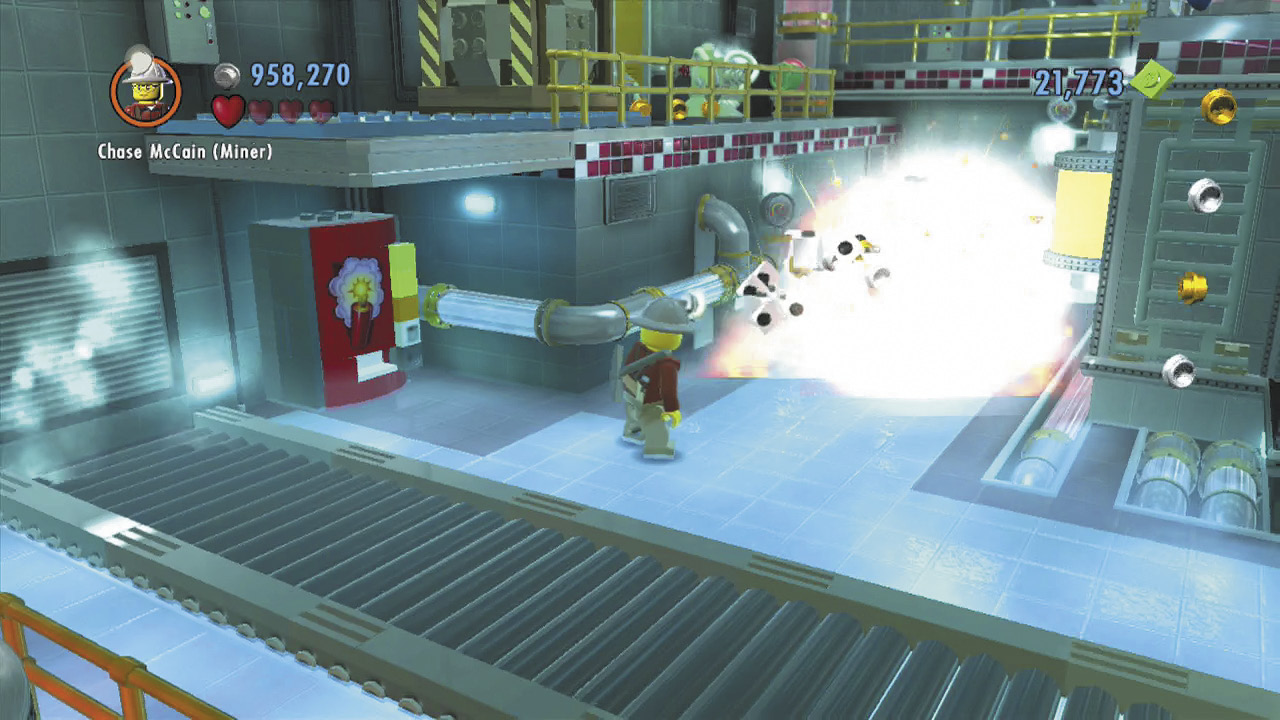
Take off the box and beat up the goons beyond the frost jets, then collect some dynamite from the nearby dispenser. Use the dynamite to blast the nearby pile of blocks and expose a large red button.
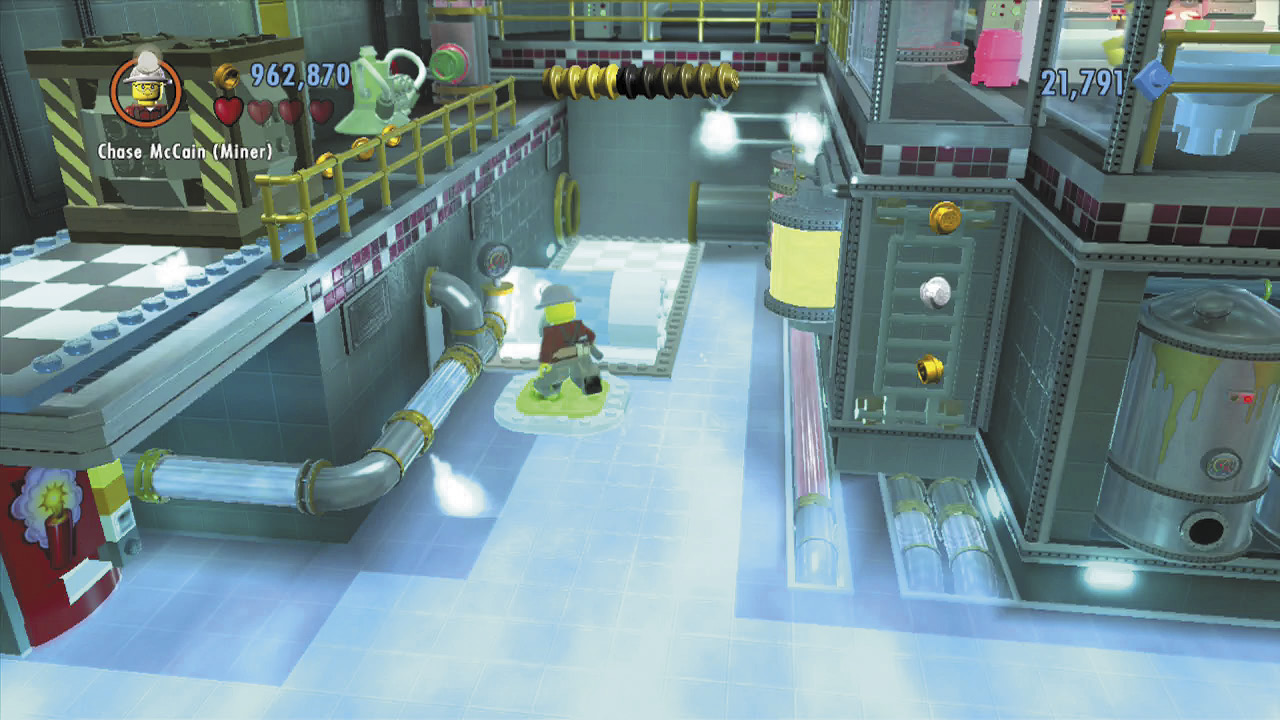
Step on the button to turn it green and shut off those pesky ice jets. Now you’ll have an easier time moving around!
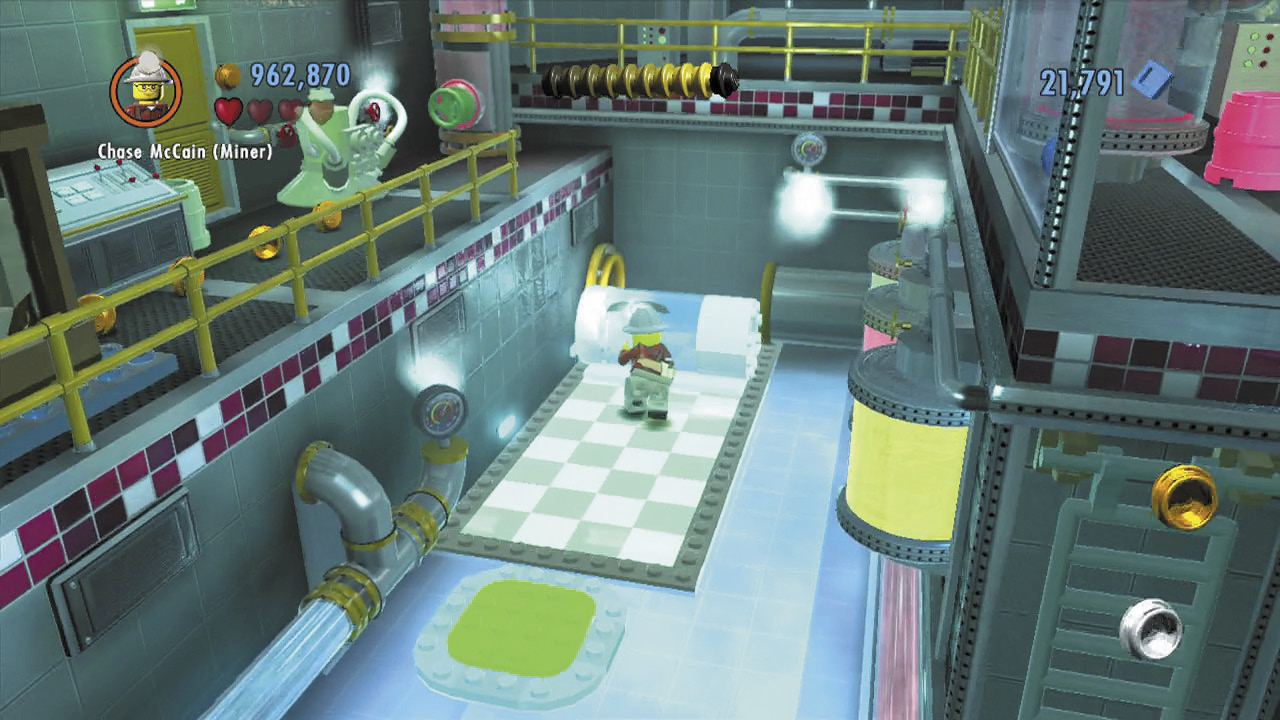
Next, roll a large tube along the checkered floor until it slides into place against the background wall. Jump onto the tube afterward, then hop up onto the factory’s left ledge.
Turn the valve at the end of the left ledge to make some red fluid flow into a tube near the central control station. Now you just need to fill that other tube!
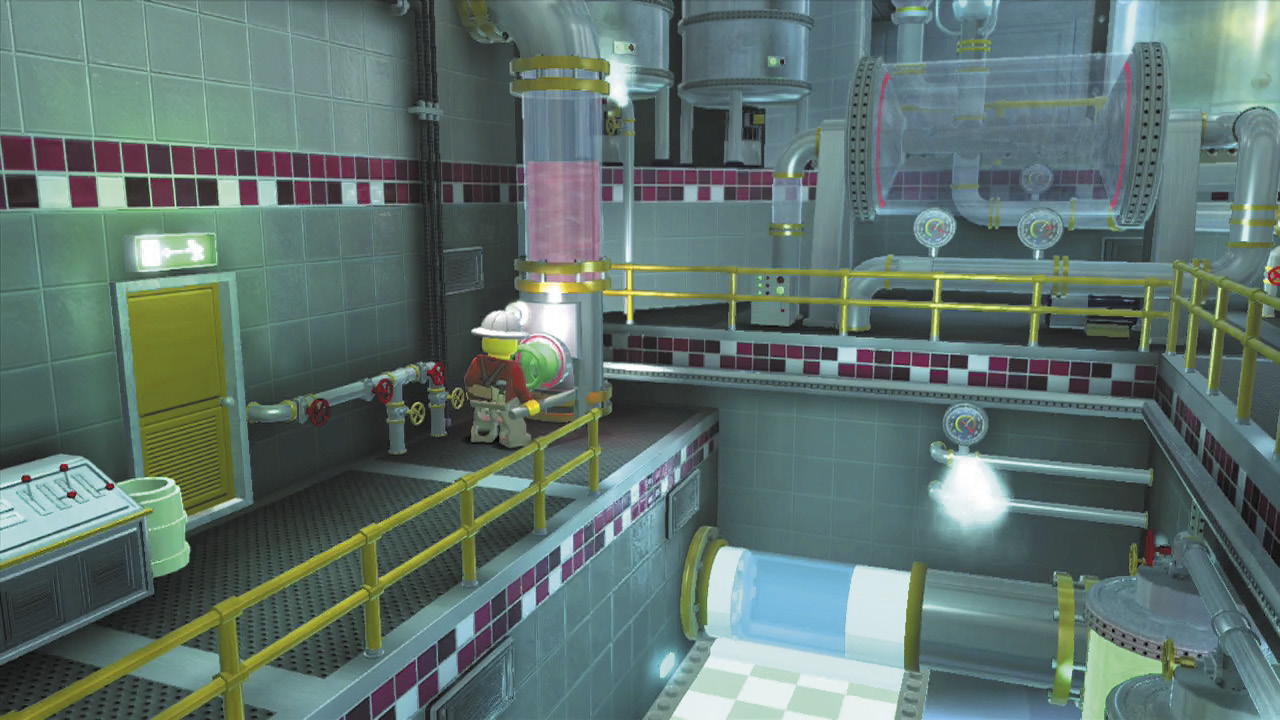
Activating the Central Controls
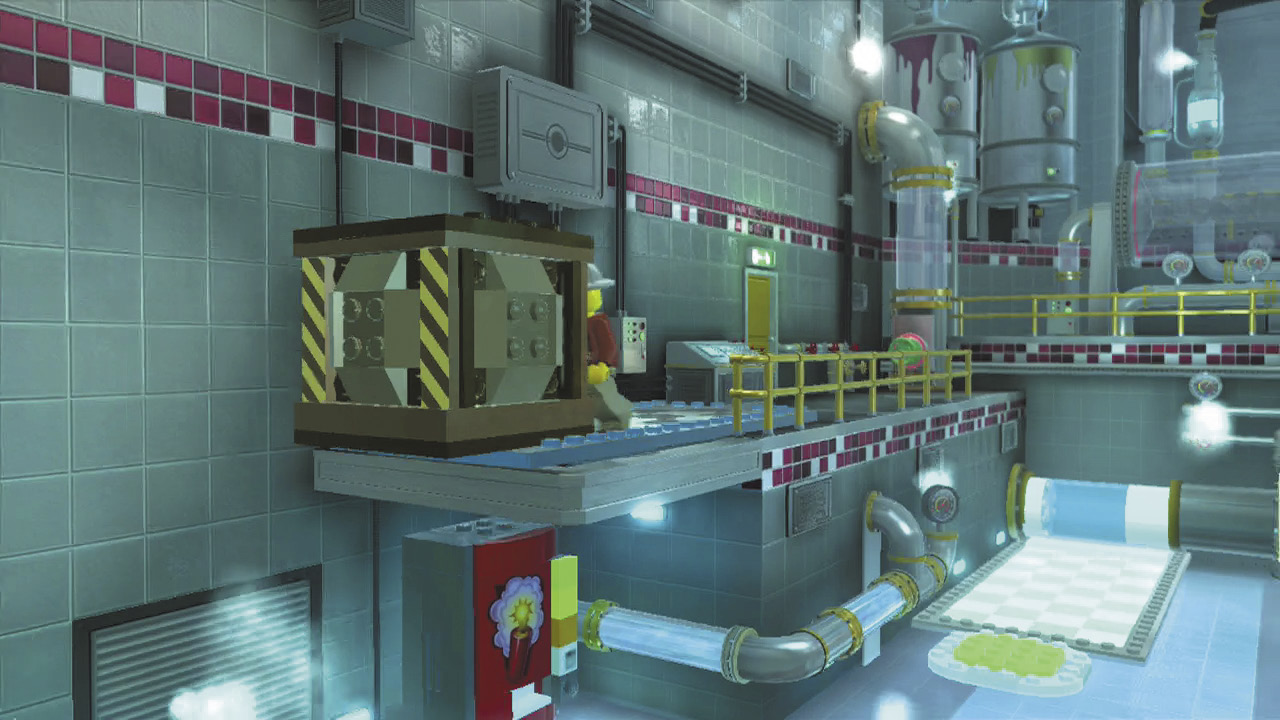
Move toward the foreground and shove a large crate off the ledge, making it fall onto the conveyor belt below. The crate smashes when it hits the belt, and its bricks are delivered to the factory’s right side.
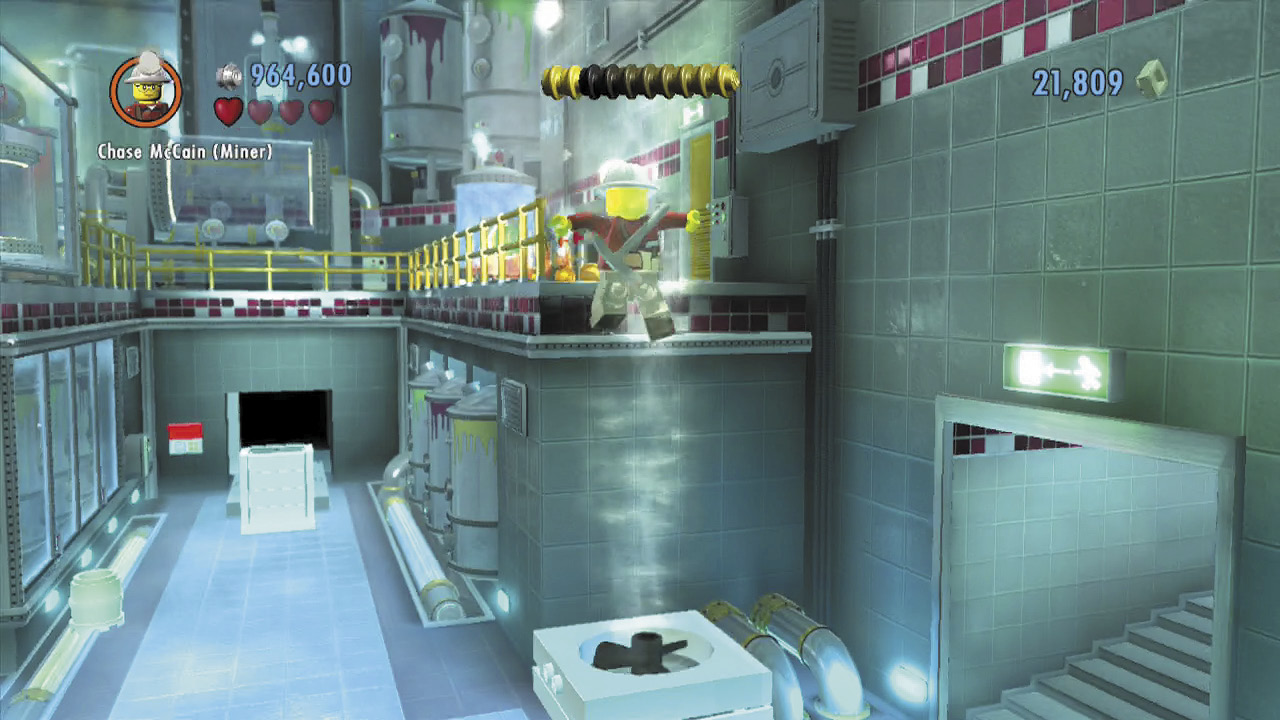
Drop from the ledge and head for those bricks. Build them to create a floor fan, then jump into the updraft to reach the right ledge.
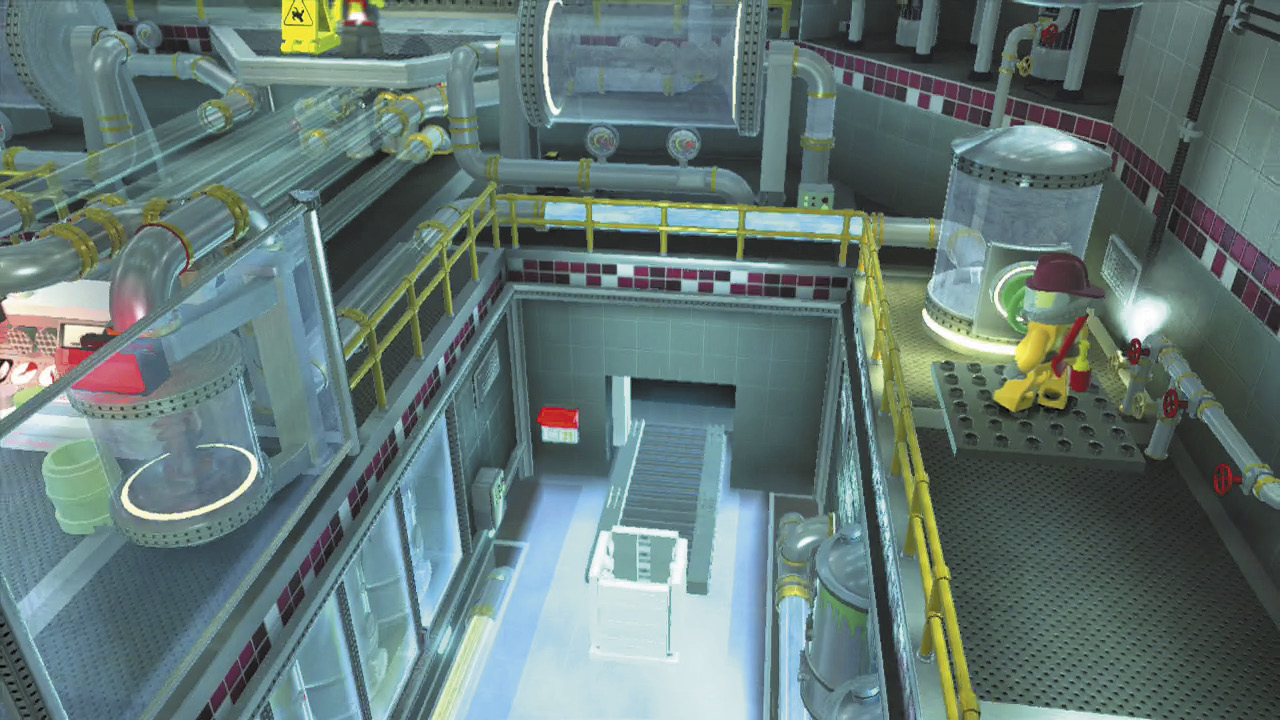
Douse the fire on the right ledge, and turn the valve to fill the central control station’s other tube with blue fluid. With both tubes filled, the central control station comes online.
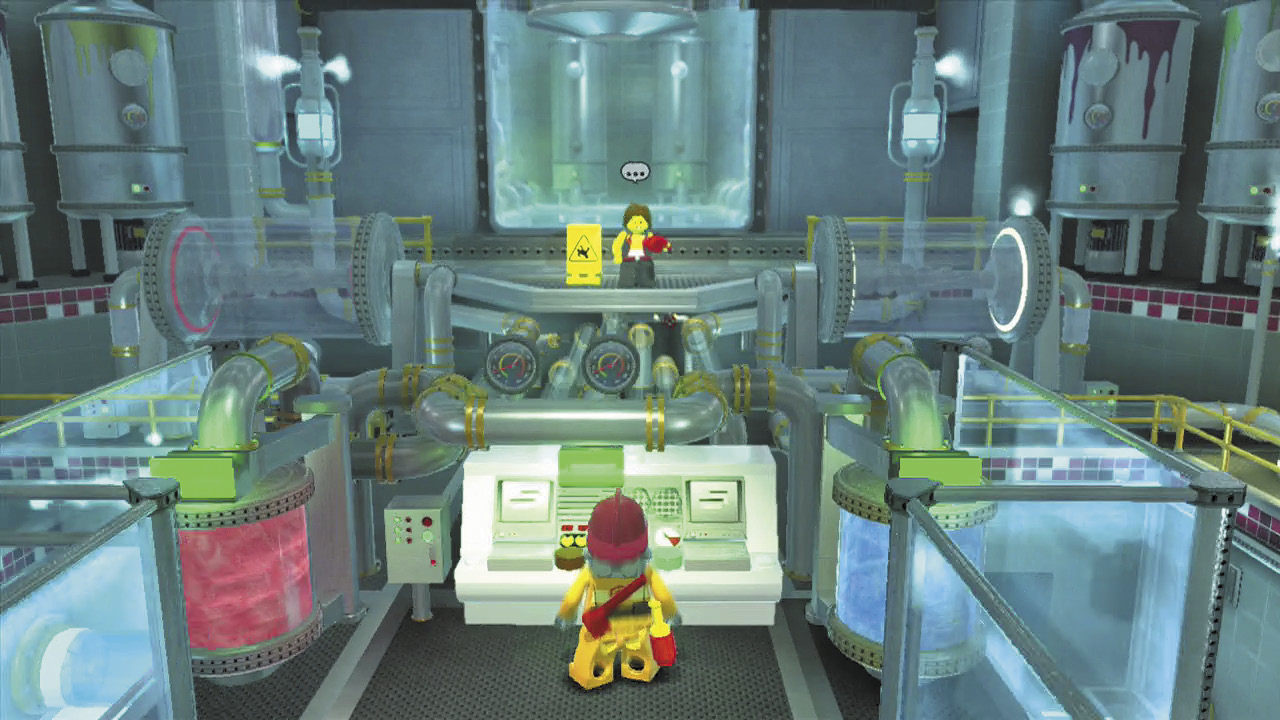
Drop to the ground floor and climb a ladder to reach the central control station. Throw the switch to dump a batch of ice cream on the thug leader, at last putting him on ice!