
LEGO CITY Undercover Guide Walkthrough
Chapter 6: All in the Family
Natalia’s father has been kidnapped and was last seen entering a limousine—one of Chan’s, no doubt. In Natalia’s recent break-in of Chan’s limo company, she found evidence of a link between Chan and Vinnie Pappalardo—one of LEGO City’s most notorious crime bosses. Sounds like it’s time Chase got in good with Vinnie’s gang!
City Exploration
Objective: Borrow a Prison Transfer Truck
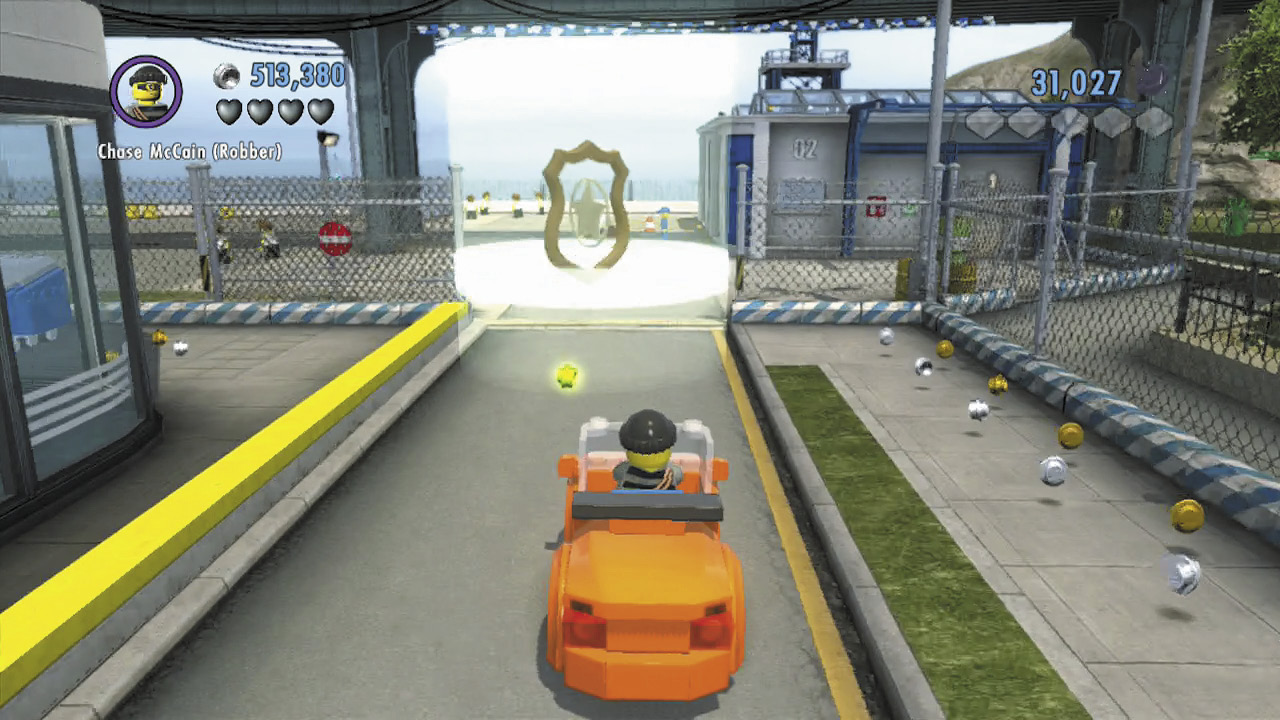
Chase hopes to get on Vinnie’s good side by rescuing his right-hand man, Moe DeLuca, from prison. To do this, Chase will need a prison transfer truck. Find a vehicle and follow the green studs to the police station’s rear compound.
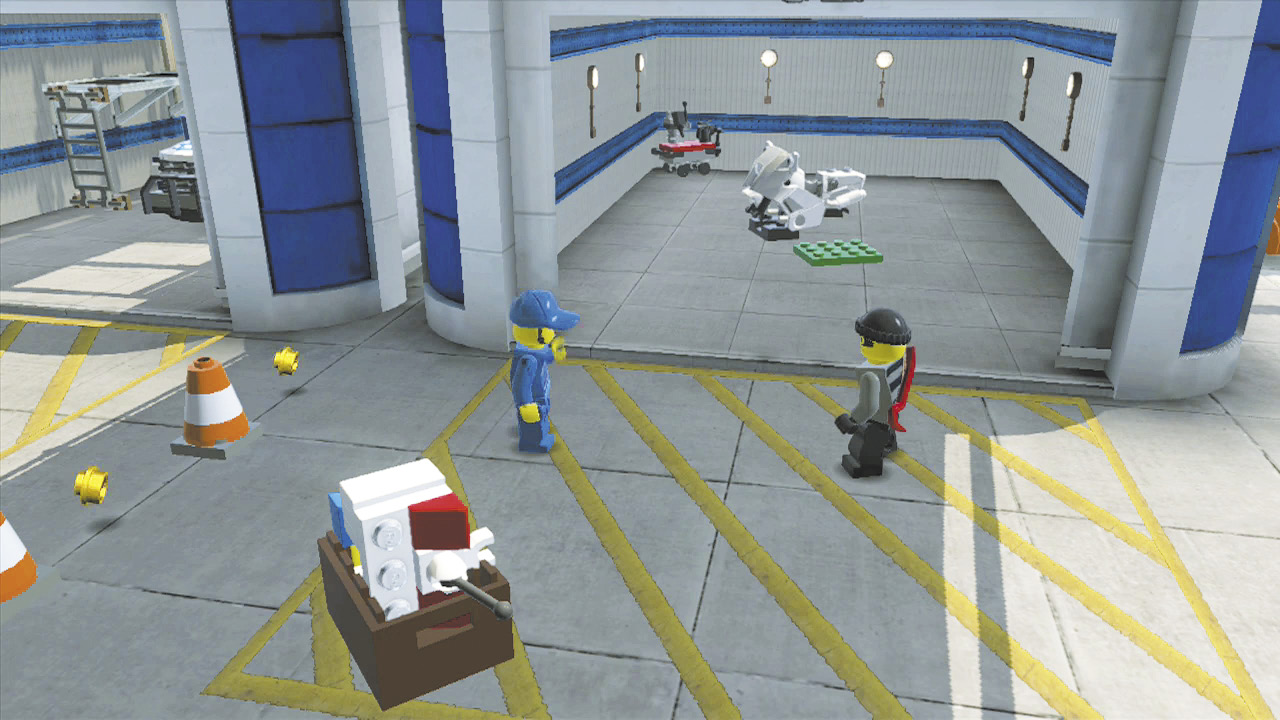
A mechanic named Chuck is expecting you but insists that you do him a few favors before he’ll loan you the truck. Pick up the nearby crate and follow Chuck into the garage.
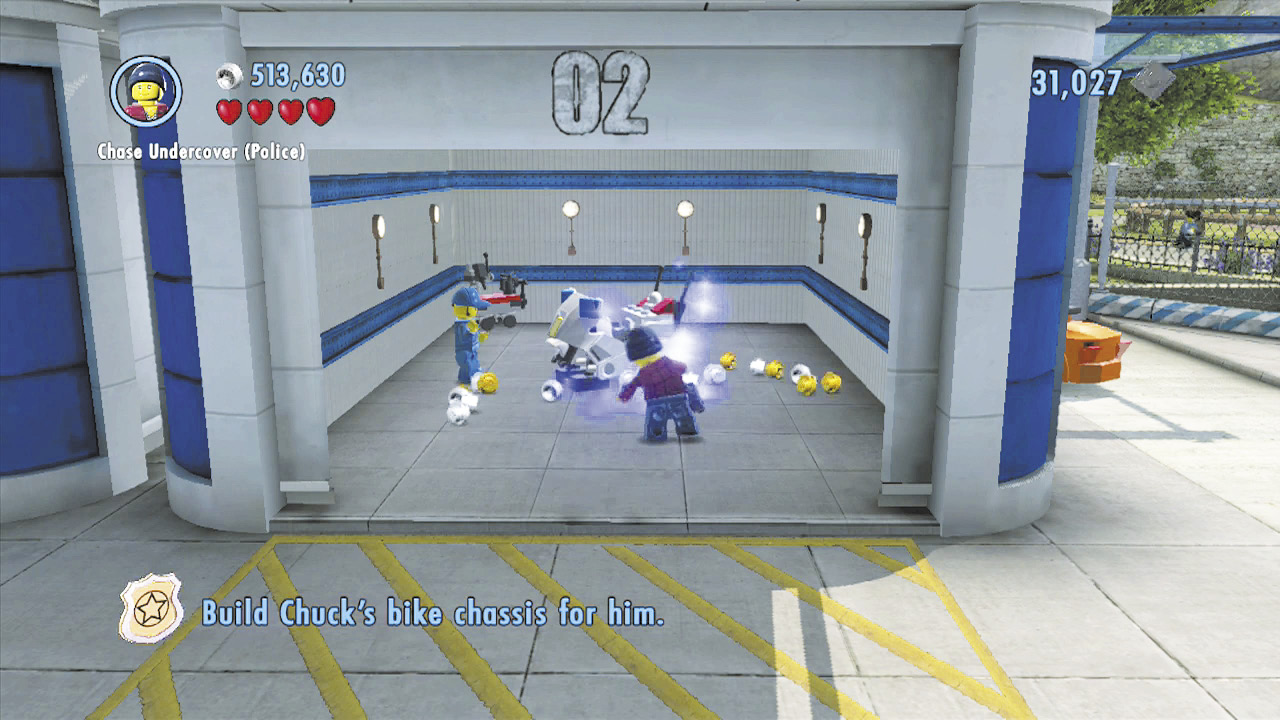
Place the crate on the green pad near Chuck to empty out its bricks. Build these into a motorcycle chassis.
Finding the Tires
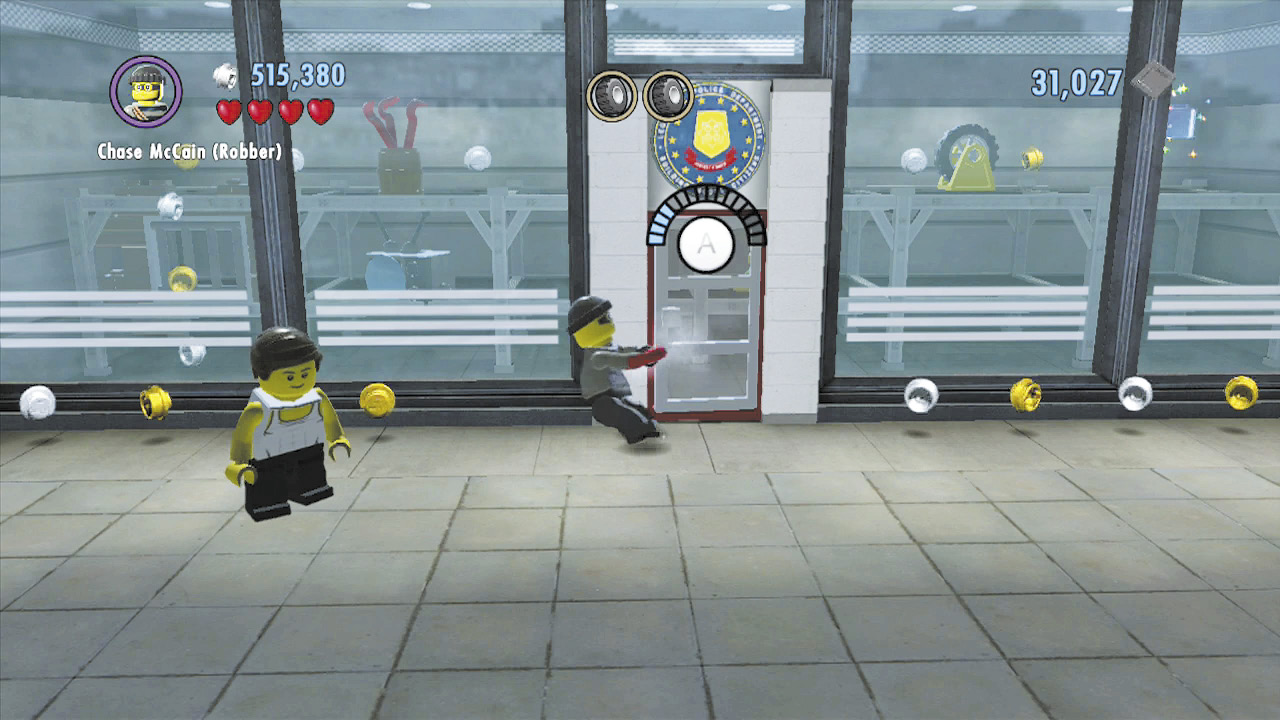
Now you just need to find the tires! The first one isn’t far. Crowbar into the police station’s storage area, then smash the junk to the left to find some bricks. Build the bricks into a ladder, then climb up to the top shelf.
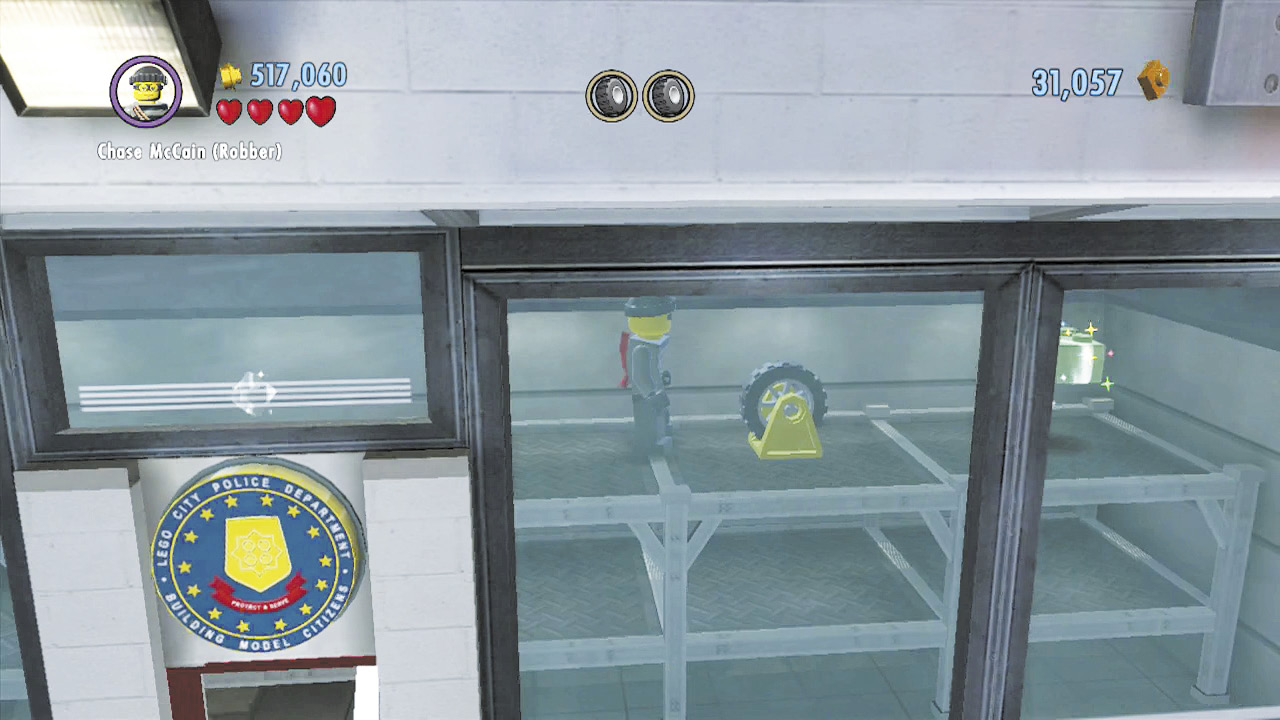
Smash everything on the top shelf as you make your way over to a superbrick. You’ll discover the tire on the top shelf as you go.
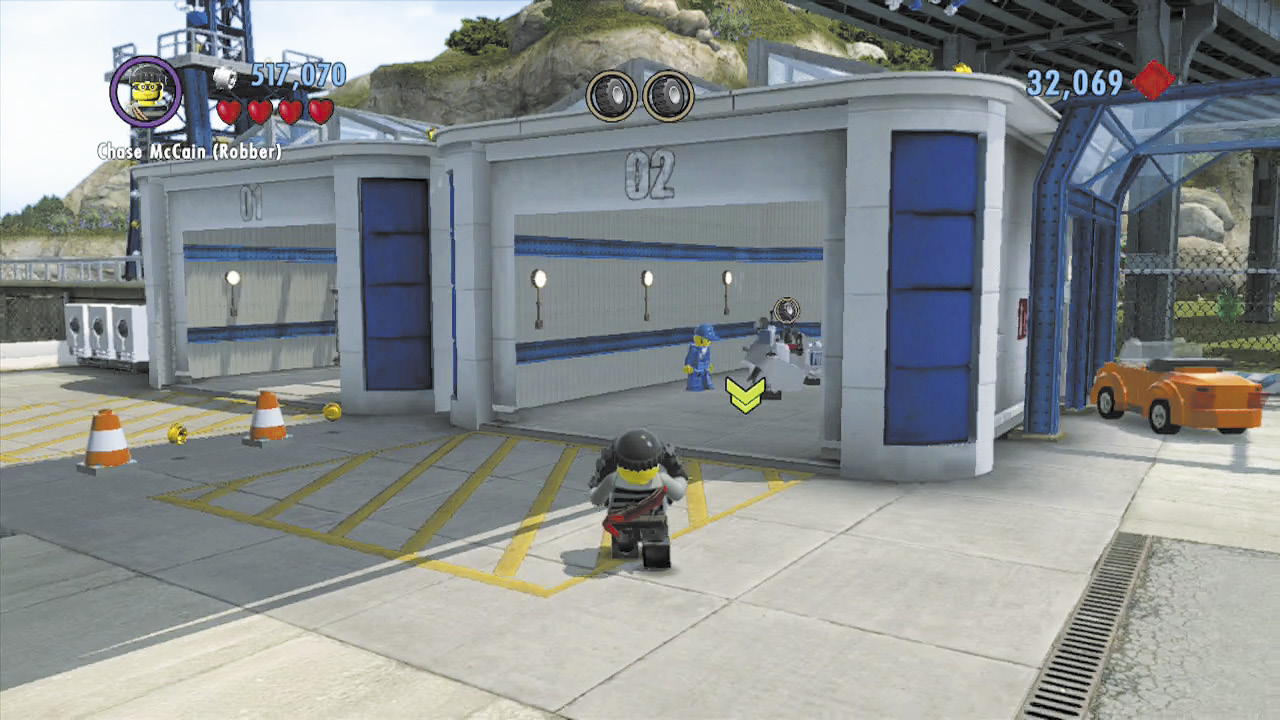
Carry the tire back to Chuck and place it on his bike. One more to go!
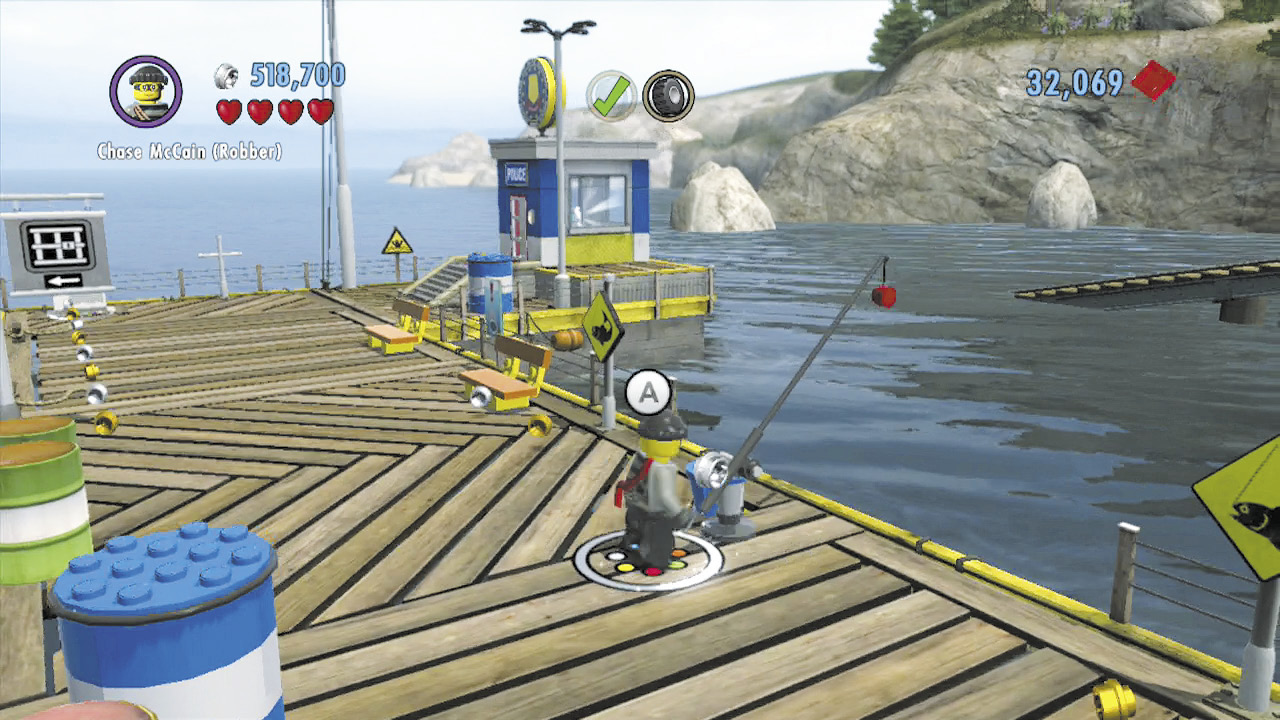
Run down to the nearby pier and look for a fishing pole. Use the pole, and you’ll pull up another tire! Carry this back to Chuck to finish his bike.
Taking a Spin
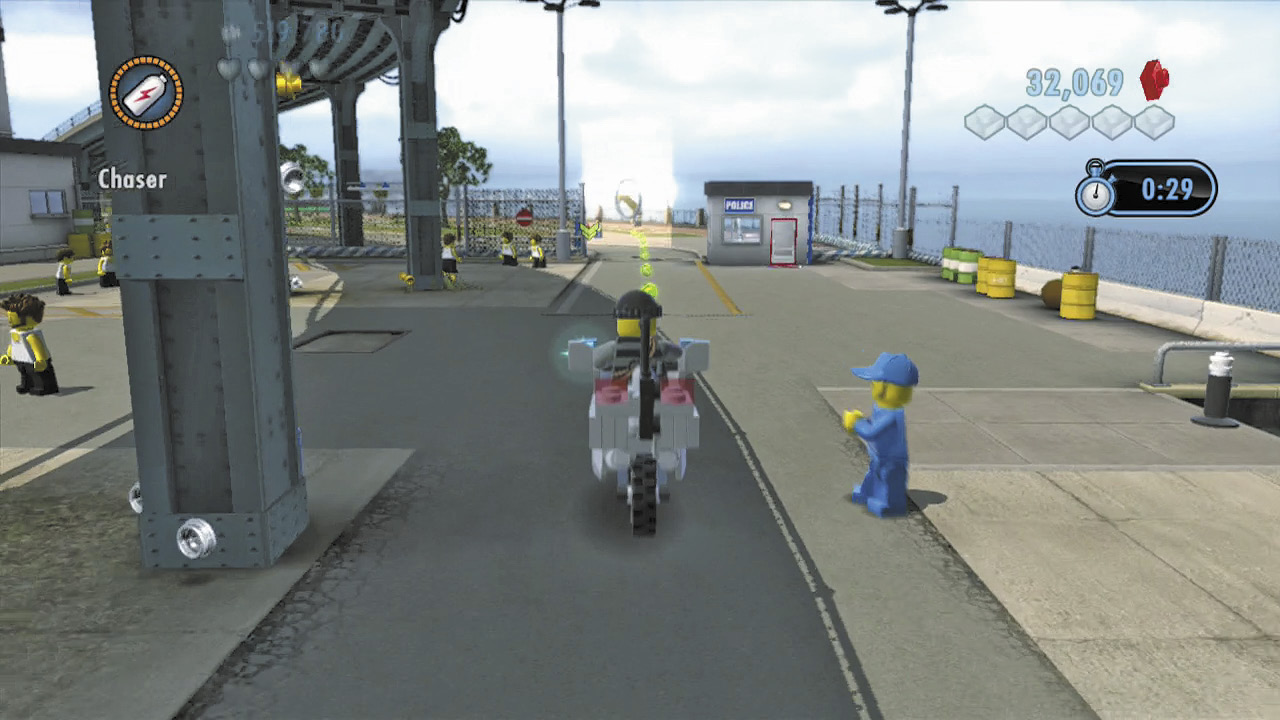
Chuck is thrilled to have his bike built, but he wants you to try it out. Hop onto the bike and complete a simple circuit around Cherry Tree Hills.
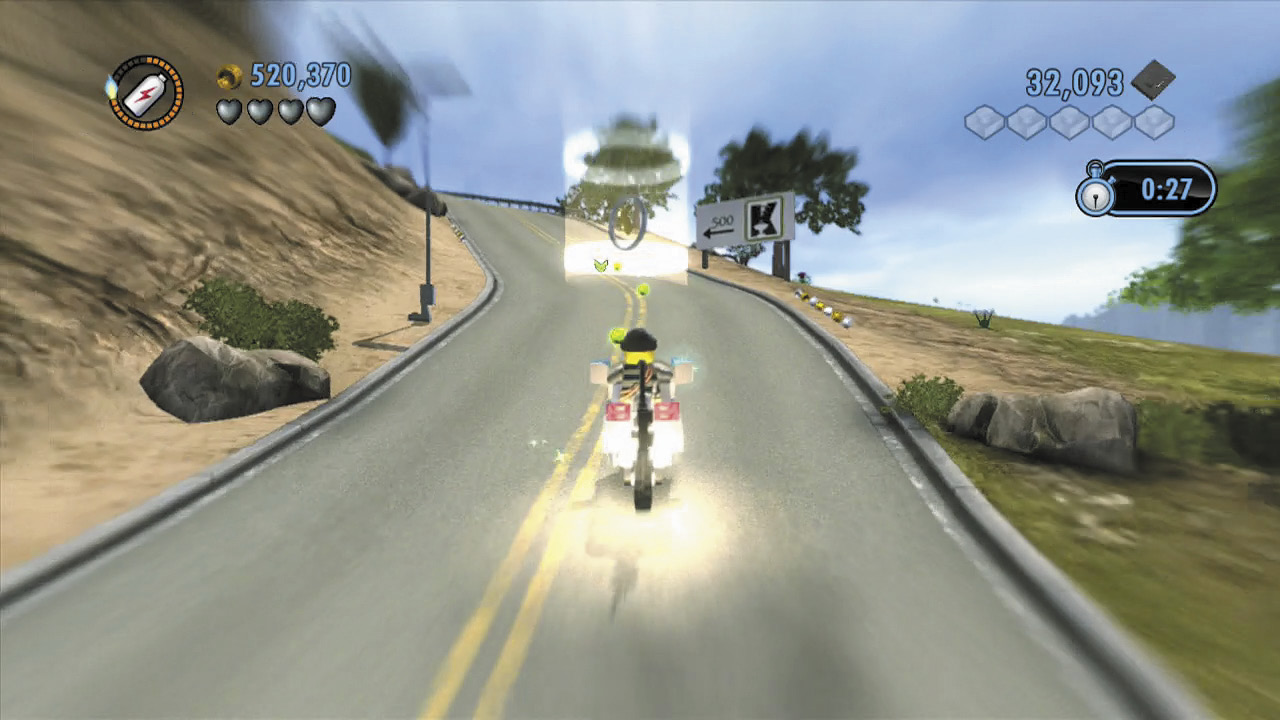
Follow the green studs through each of the checkpoints. You’ll add time to the clock each time you pass through a checkpoint. Keep it up until you reach the police station.
Return to Chuck to prove that his bike is in perfect working order. The mechanic happily lets you borrow the police transfer truck.
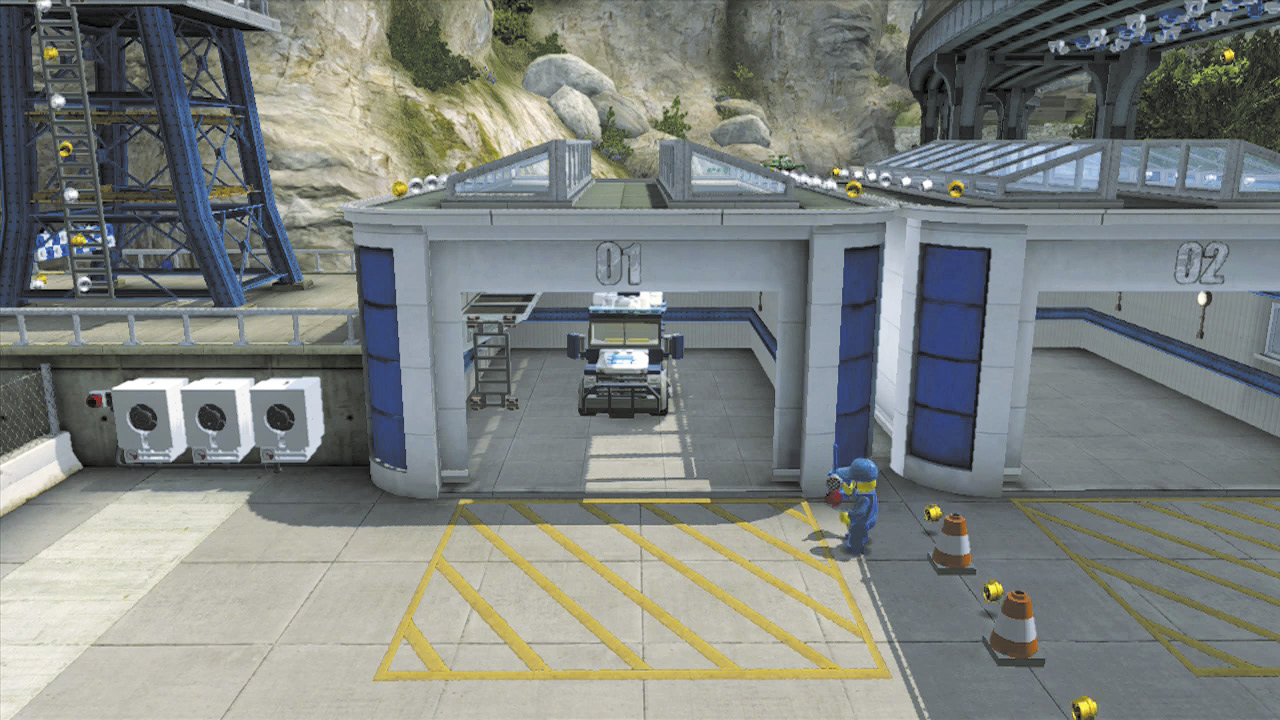
Objective: Go to the Courthouse
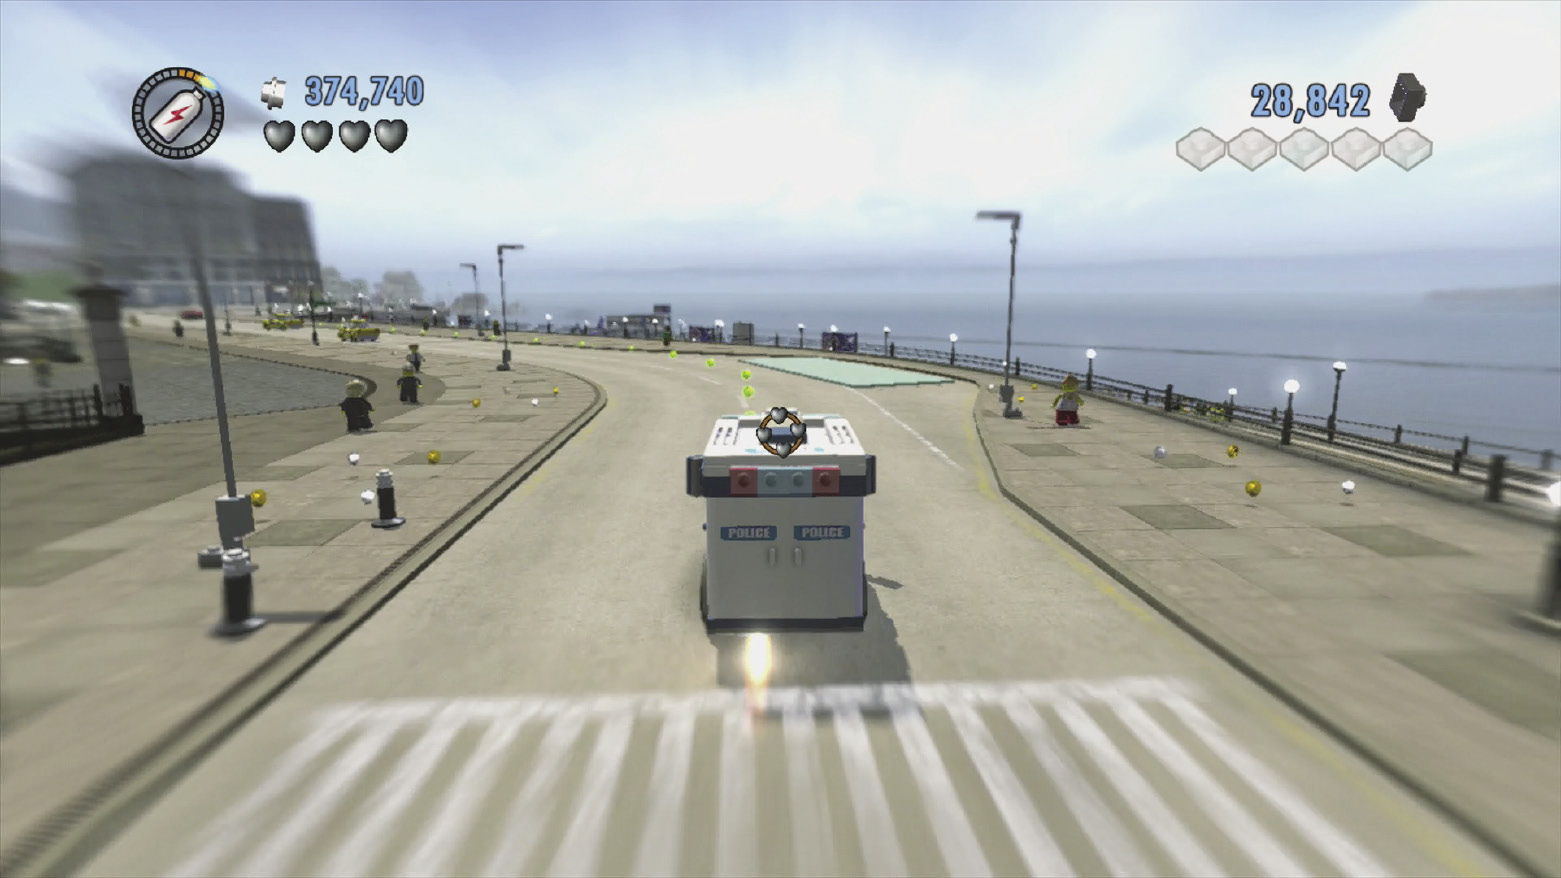
You’ve got the prison transfer truck—now you just need to get to the courthouse. Follow the green studs to get there.
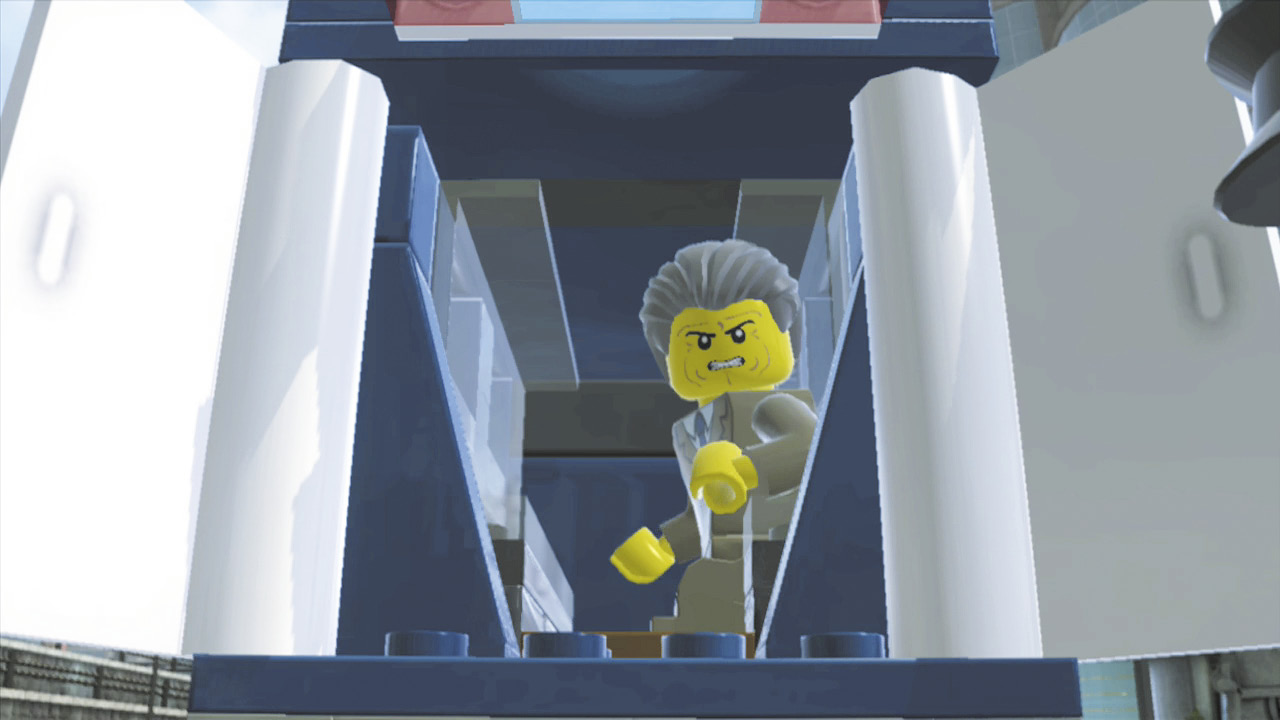
Chase’s ruse works like a charm, and Vinnie’s right-hand man, Moe DeLuca, is promptly stuffed inside of Chase’s transfer truck. Hurry and drive off before anyone notices!
Objective: Lose the Police
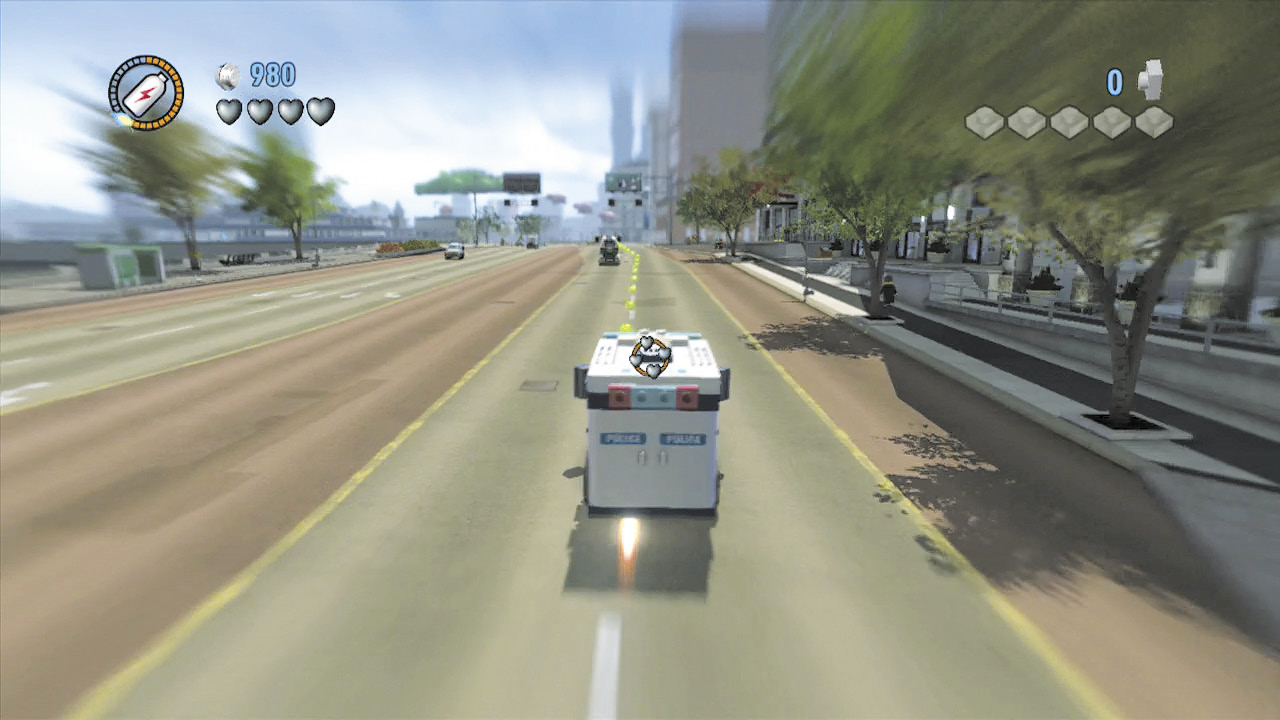
It doesn’t take long for the cops to wise up and chase after you. Drive recklessly to give them the slip, taking sudden turns and using turbos as often as possible. After you lose the police, simply follow the green studs to Moe DeLuca’s hideout.

Moe couldn’t be happier at having his freedom restored, and he promises to be in touch. Way to go!
Objective: Meet Moe at the Airport

It’s not long before you receive a call from Moe. A truck full of high-tech gizmos are on their way in from the airport, and Moe thinks that stealing these will put you in Vinnie’s good graces. Arrange for a means of transportation and head for the airport.
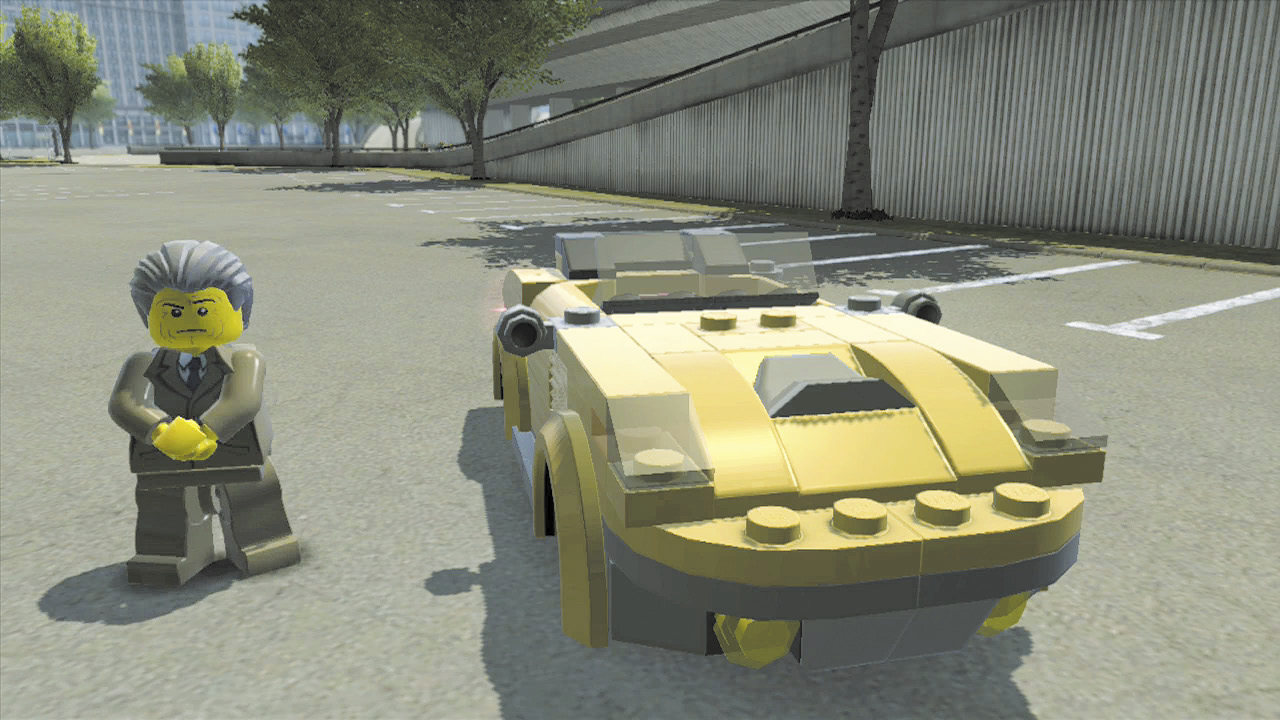
Moe arrives right on time and has a surprise for you: a new car! Actually, it’s his brother’s car, but Moe doesn’t care much about his brother. He gives you permission to smash up the car as much as you like while you attempt to stop the delivery truck, which soon passes by.
Objective: Stop the Delivery Truck
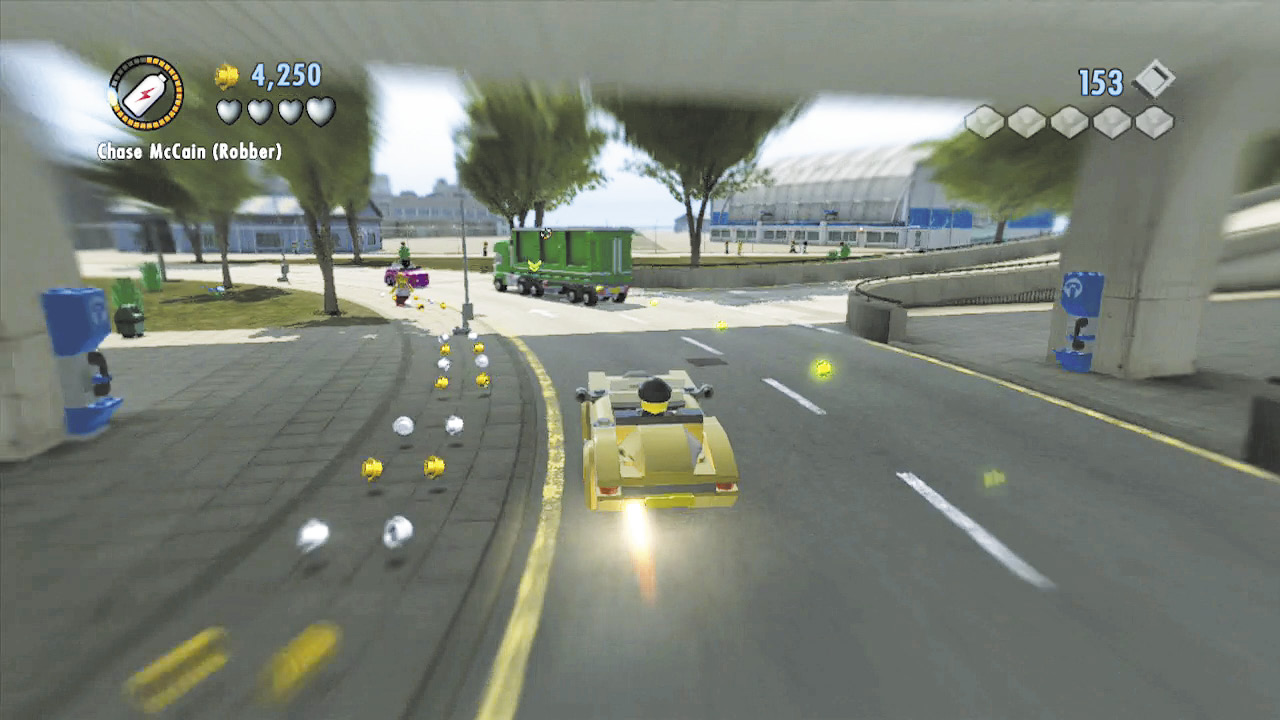
There’s no time to lose! Hop into the car that Moe has provided and race after the delivery truck. You know the drill: ram the truck four times until its driver is forced to flee.
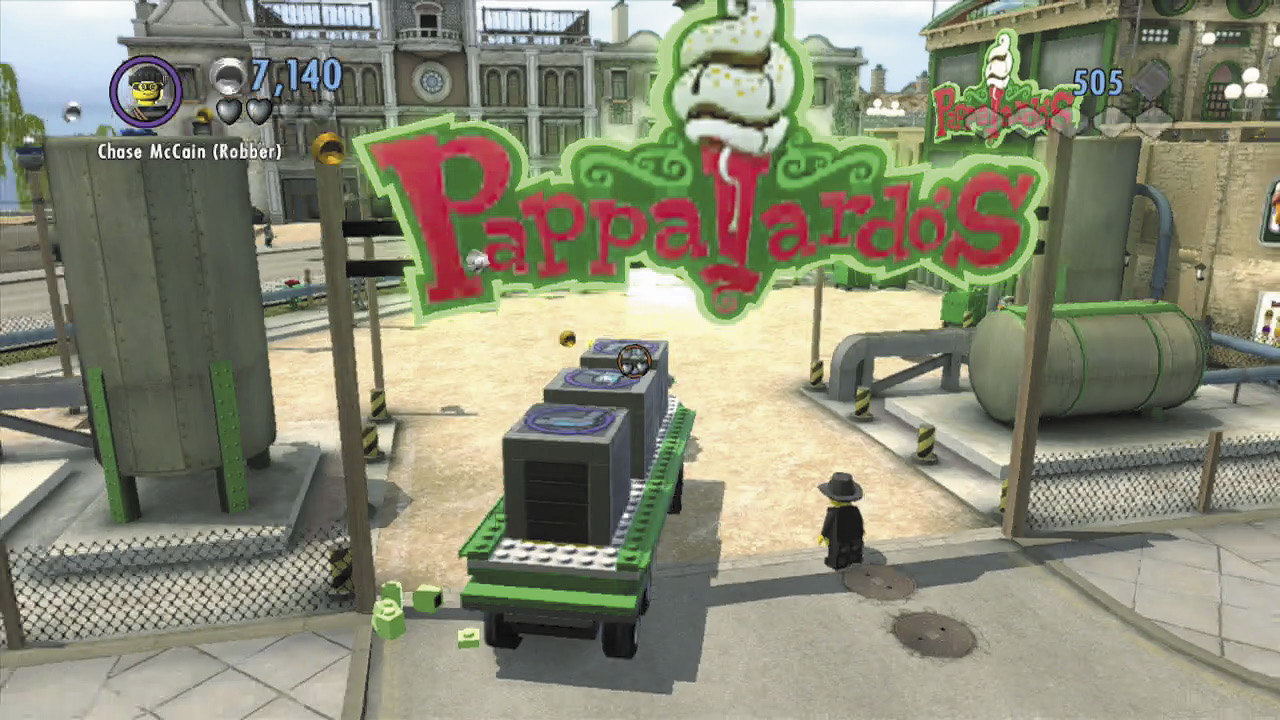
Steal the delivery truck after ramming it off the road, then follow the green studs to find the Pappalardo plant. Park to deliver the truck and at last meet with LEGO City’s most notorious crime lord.
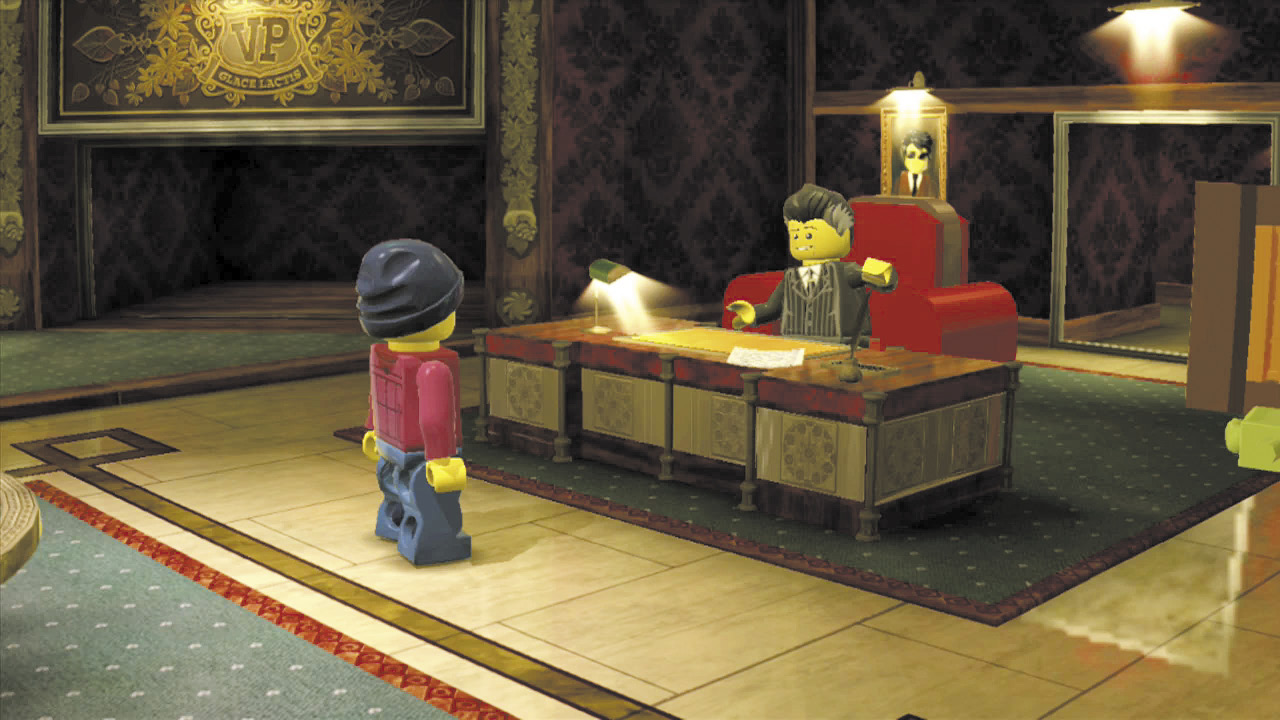
Chase’s meeting with Vinnie Pappalardo goes well. The crime boss asks him to test out a brand-new weapon during a heist at the LEGO City Bank. Sounds like a good way to make a name for yourself with Vinnie!
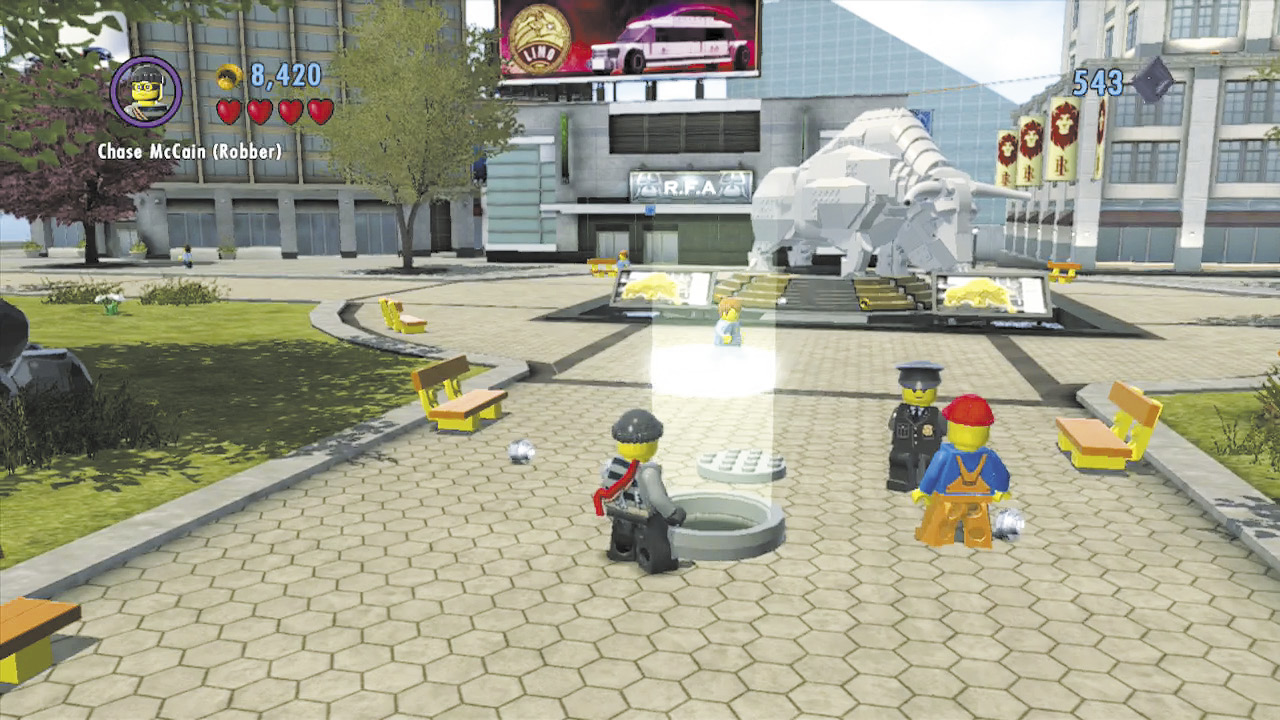
You’ll need to slip into the bank by way of its sewer entrance. Follow your objective marker to locate a sewer cover, then pry open the cover with the crowbar and head inside.
Special Assignment 5: Dirty Work
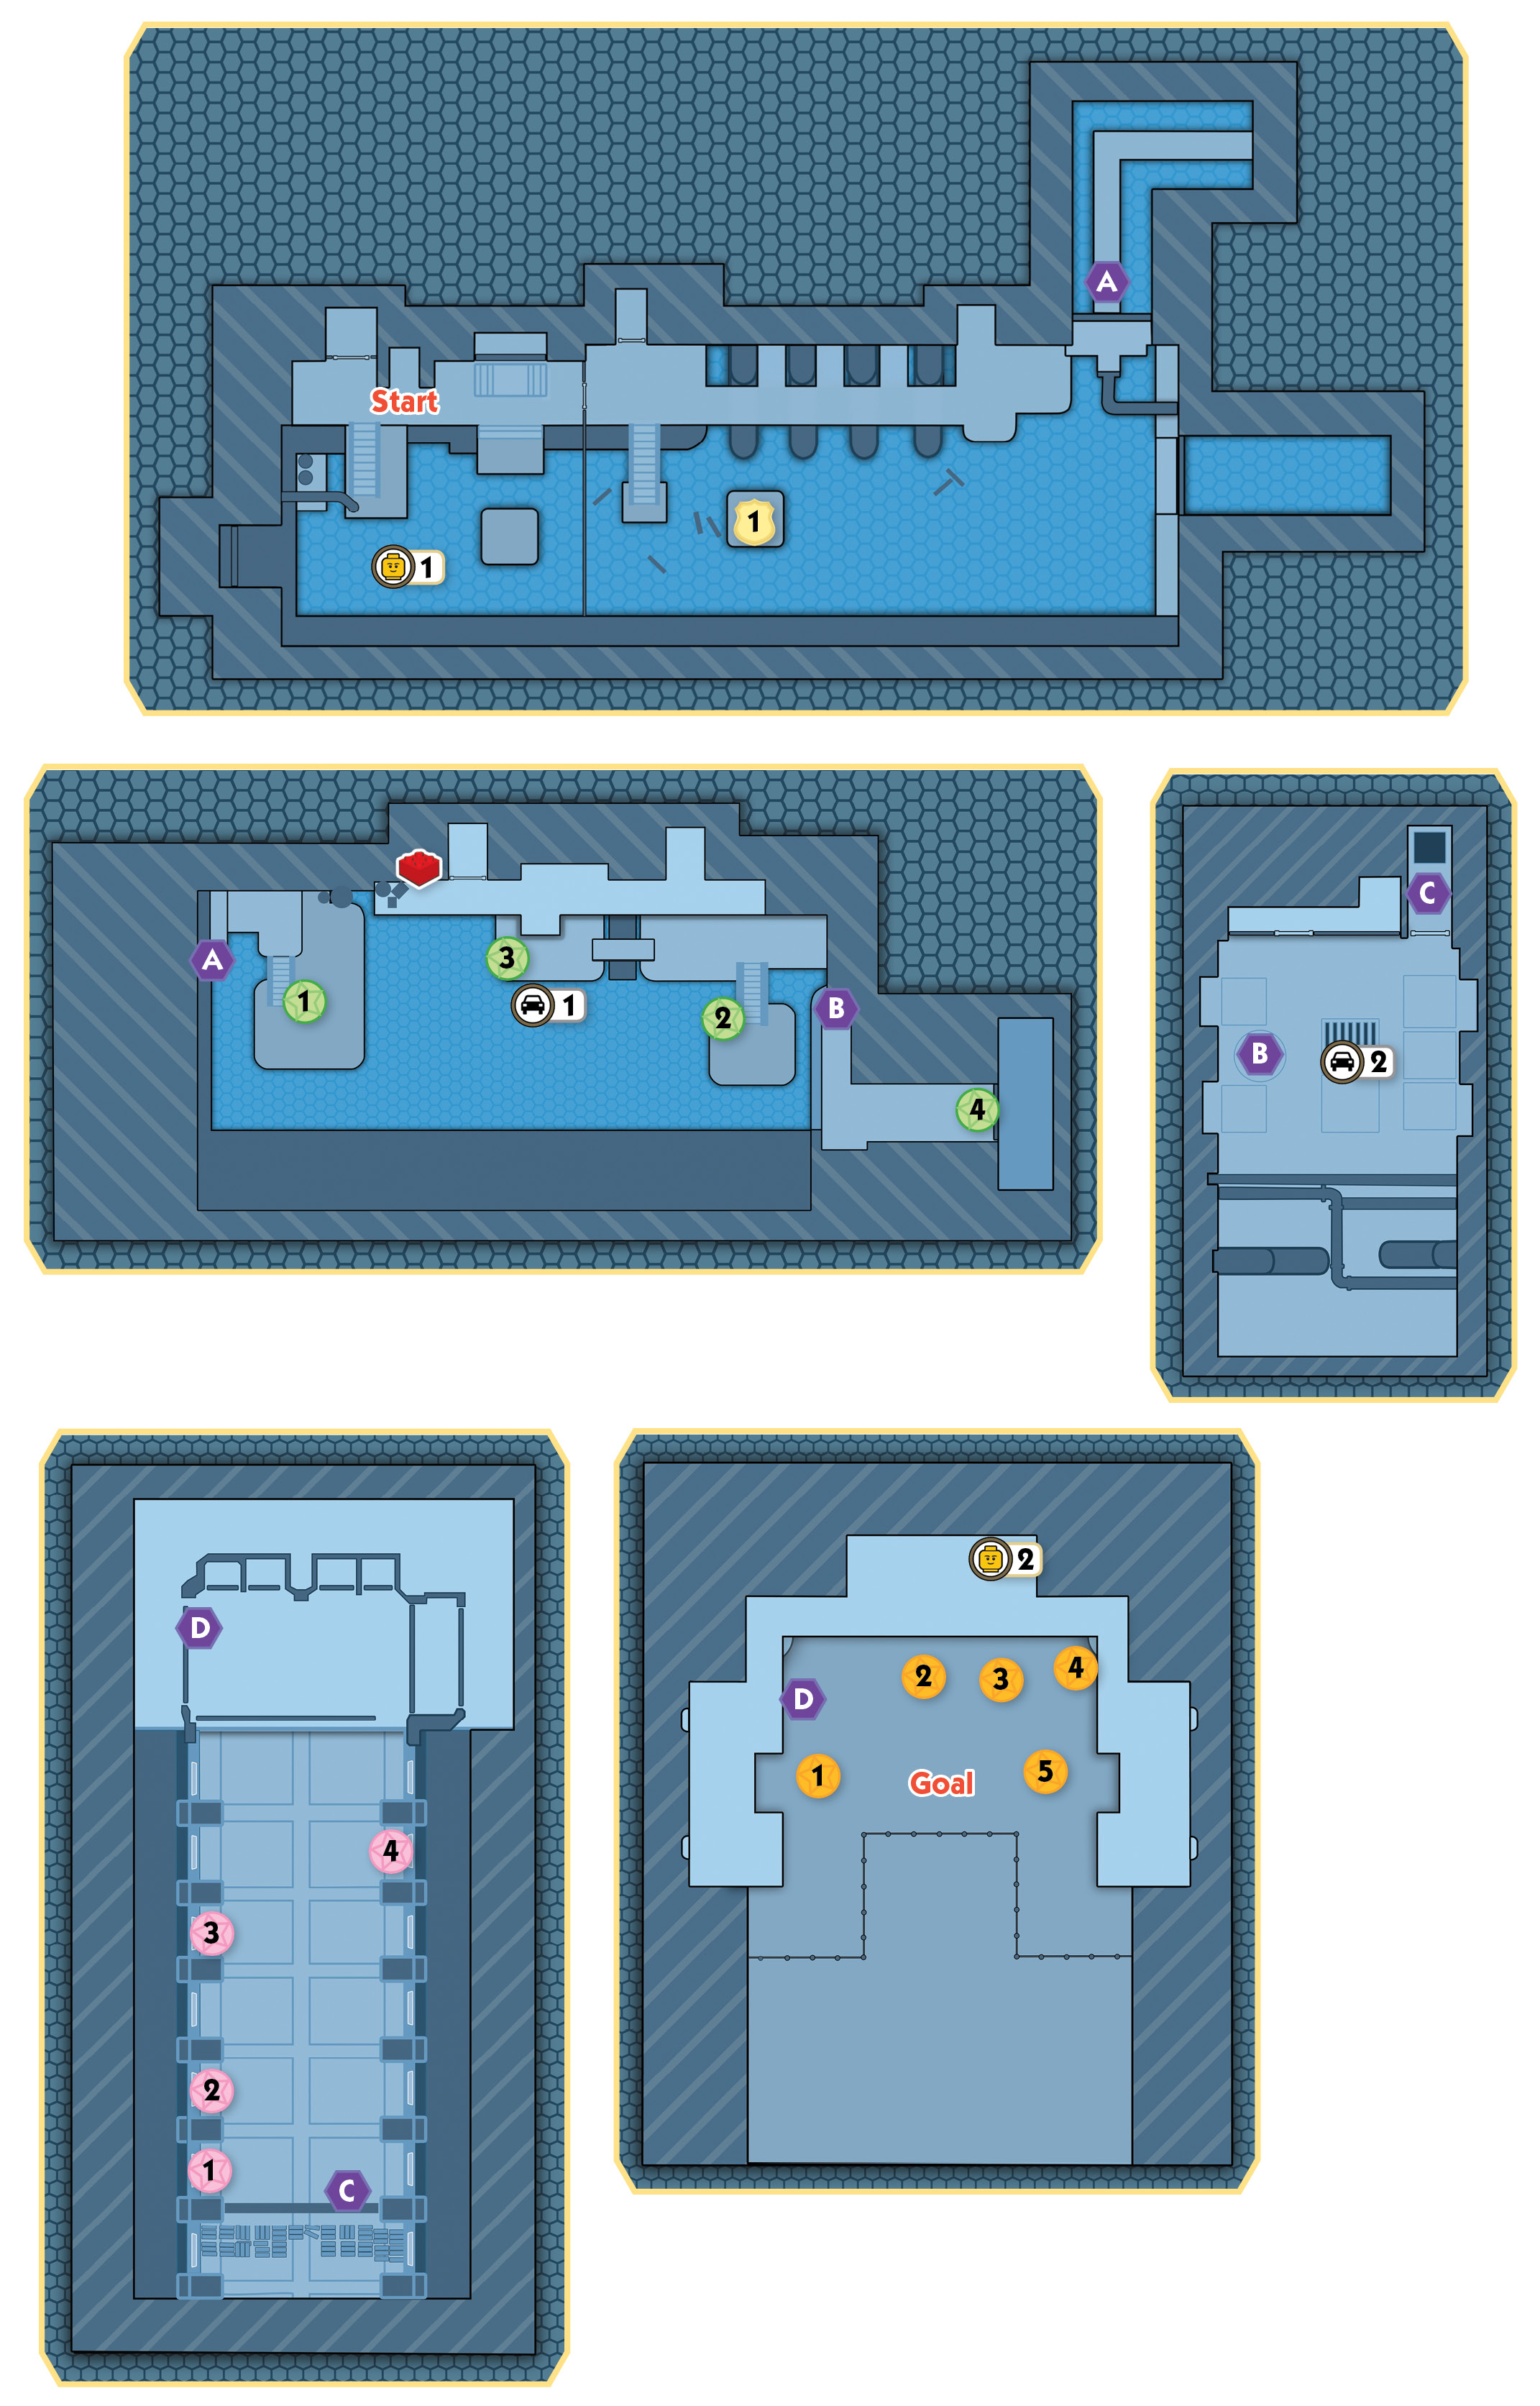
Stage Collectibles: “Dirty Work”
| Map Icon(s) | Type | Mode | Notes |
|---|---|---|---|
 |
“Intergalactic Girl” character token | Free Play | Use the transporter pad in the water near the start. |
 |
Police Shield Piece 1 | Free Play | Rip apart the super-strength crate in the water with Rex Fury, then complete the RC boat race. |
 |
“Gotland” vehicle token | Story | Swim into the background cage before crossing the toxic waste. |
 |
Police Shield Piece 2 | Free Play | Rip apart the super-strength crate on the far right, then fill the color gun with yellow energy and blast the four rubber duckies around the sewer. |
 |
Red Brick—Studs x4 | Story | Pry open the door near the red color swapper. |
 |
Relocator | Free Play | Drill the shaky ground in the final sewer area. |
 |
Police Shield Piece 3 | Story | Crack four wall safes around the vault. |
 |
Police Shield Piece 4 | Story | Use the floor buffer to polish five stains around the bank lobby. |
 |
“Bank Manager” character token | Free Play | Activate the space crate in the bank lobby, beam up to the balcony, color the statue brown and blue, and enter the room on the right. |
LEGO City HeroStud Requirement:
 58,000
Objective: Get Through the Sewer
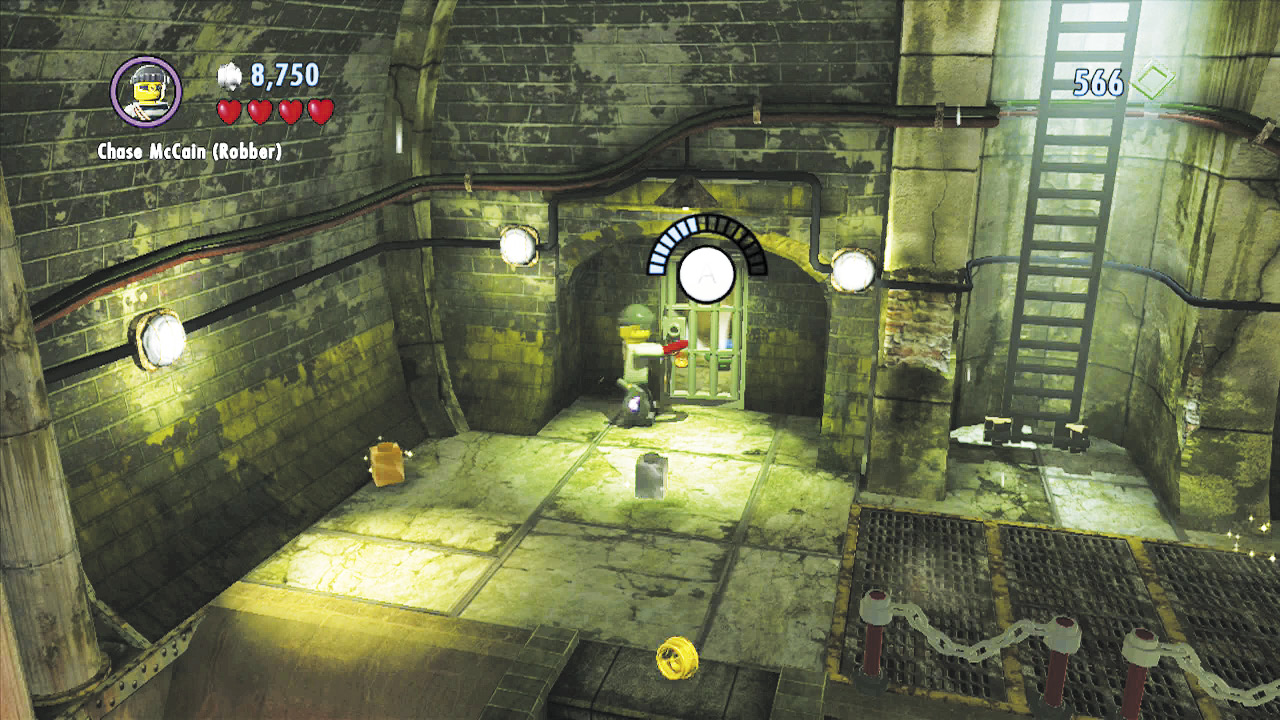
Nice work! Now you just need to pass through the sewer and breach the bank. Smash the green and white drum to the starting point’s left to discover a crowbar symbol. Pry open the nearby metal door to find a valve wheel.
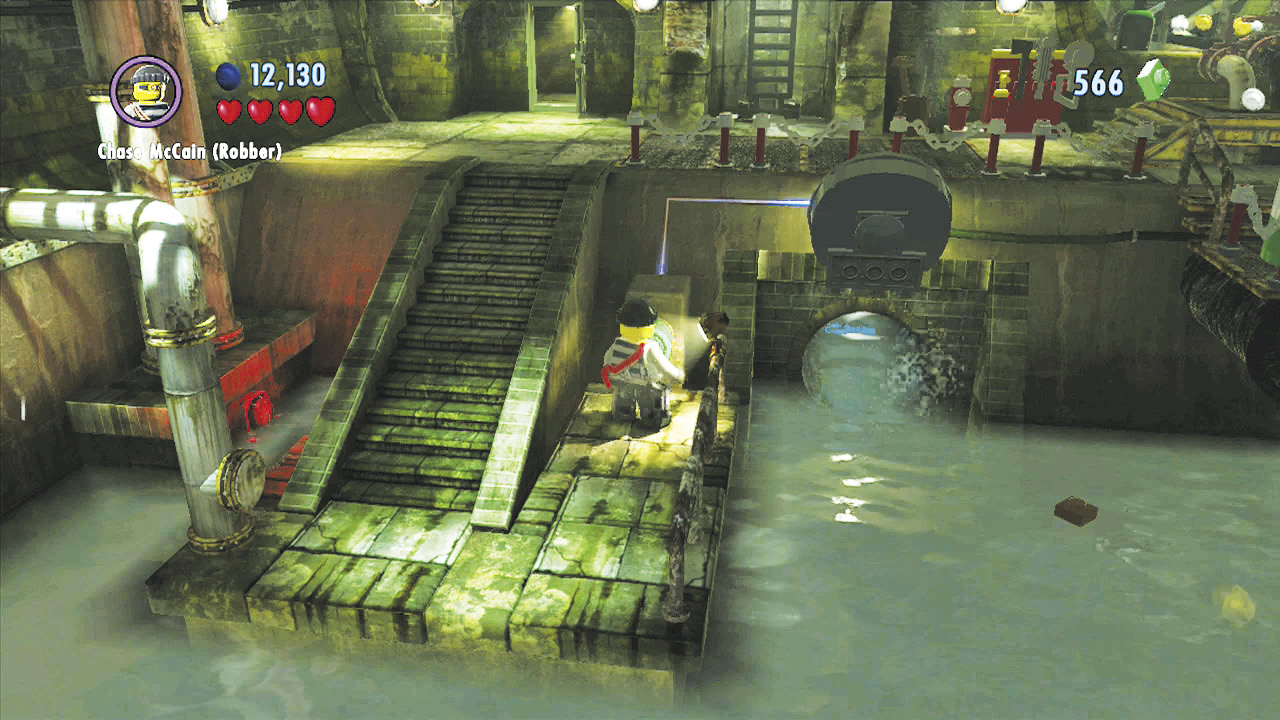
Carry the valve wheel down the stairs and place it on the indicated panel. Turn the wheel to open a nearby hatch, inside which lies a key.
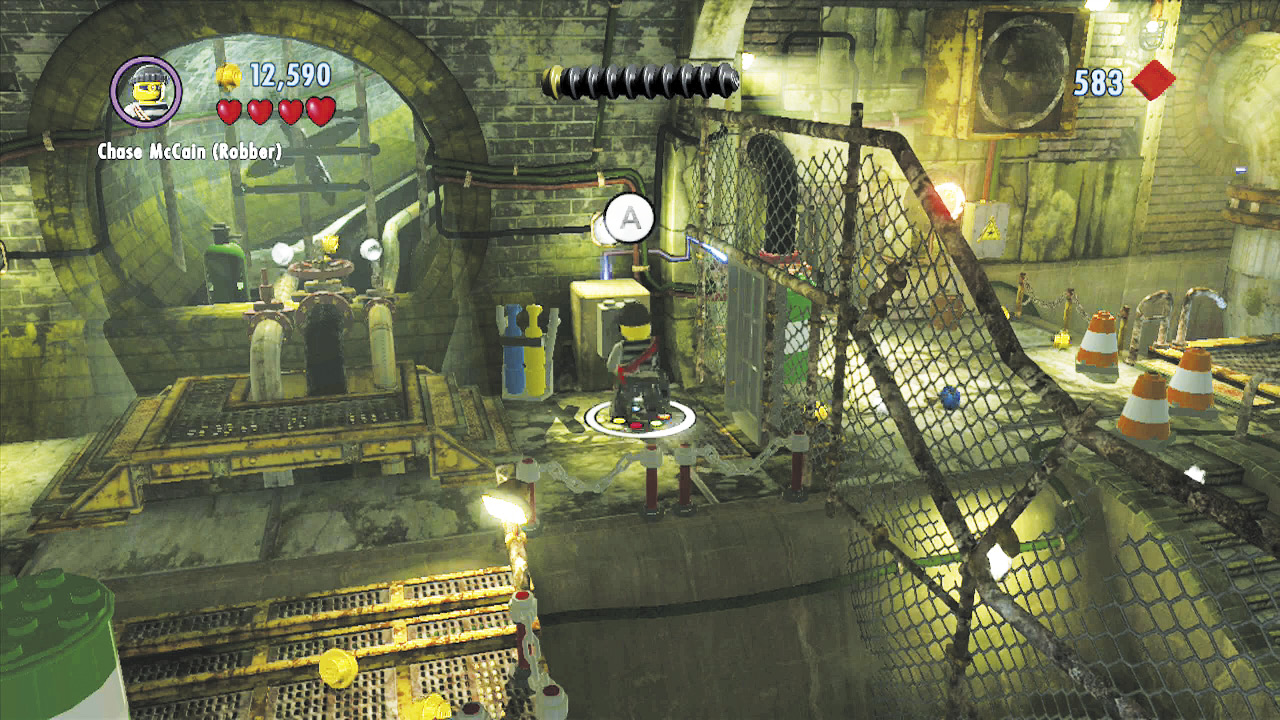
Jump into the water and collect the key. Carry the key upstairs and insert it into the keyhole near the fence on the right. Turn the key to open the fence’s door.
Free PlayCharacter Token 1: Intergalactic Girl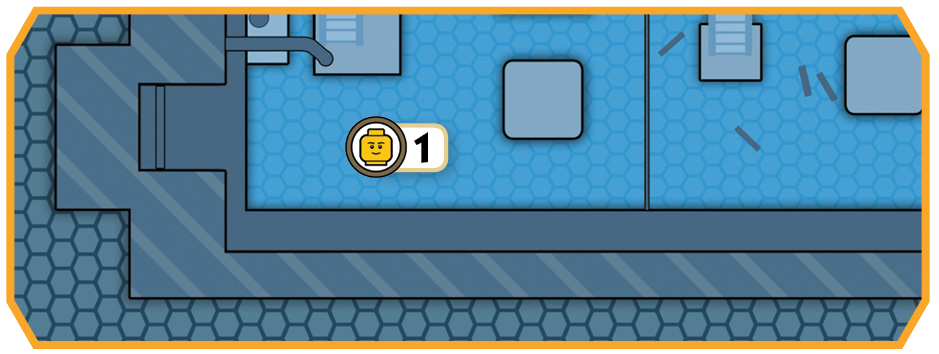 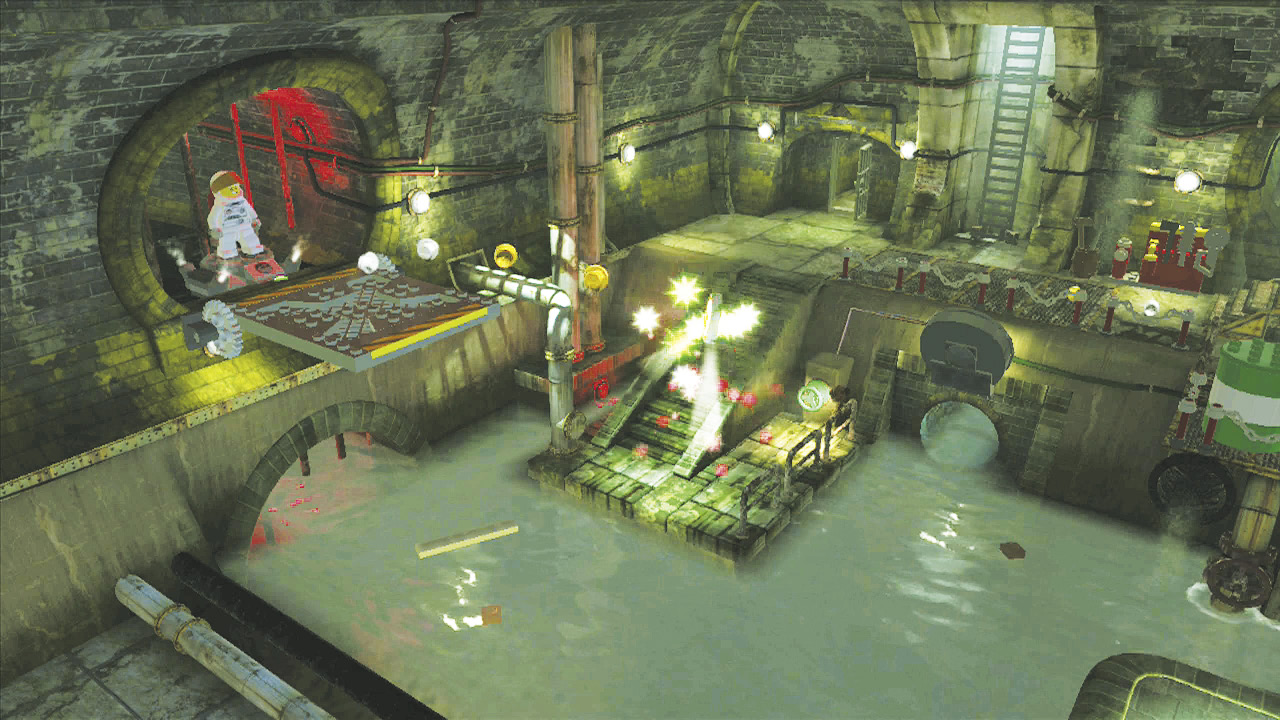 Use the transporter pad near the key hatch to beam up to a nook in the left wall. A platform then extends, and a floating character token appears. Leap from the platform and collect your prize! |
Free PlayPolice Shield Piece 1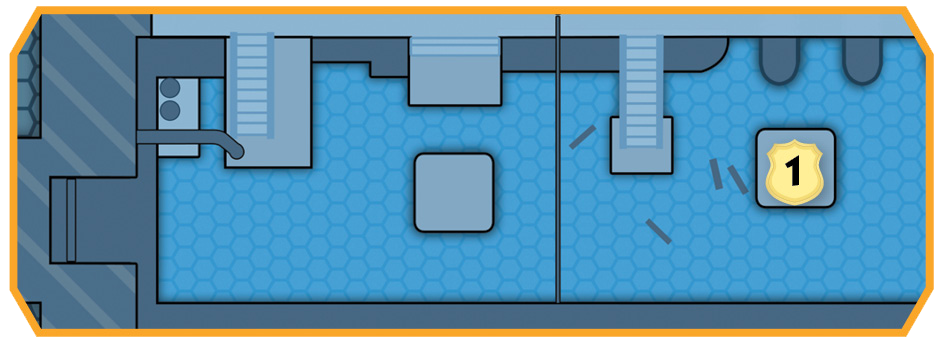 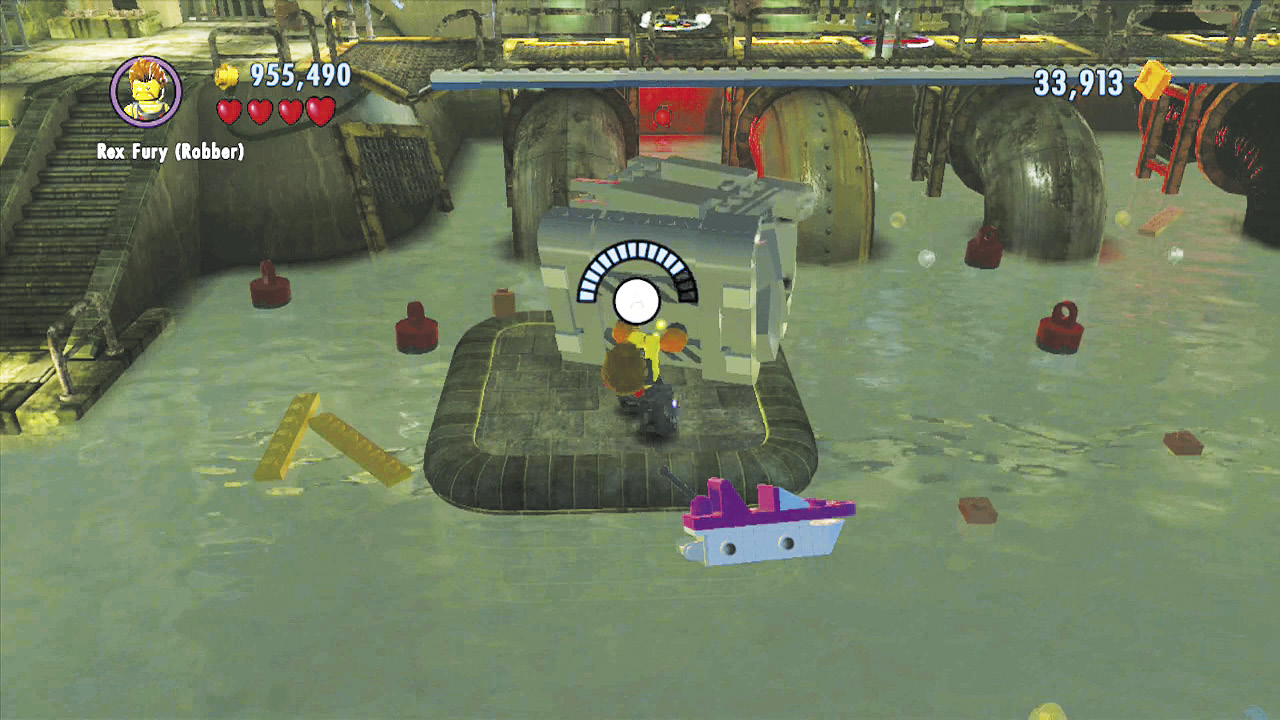 Use Rex Fury to rip apart the super-strength crate in the water beyond the locked fence. After destroying the crate, you’ll discover an action symbol. 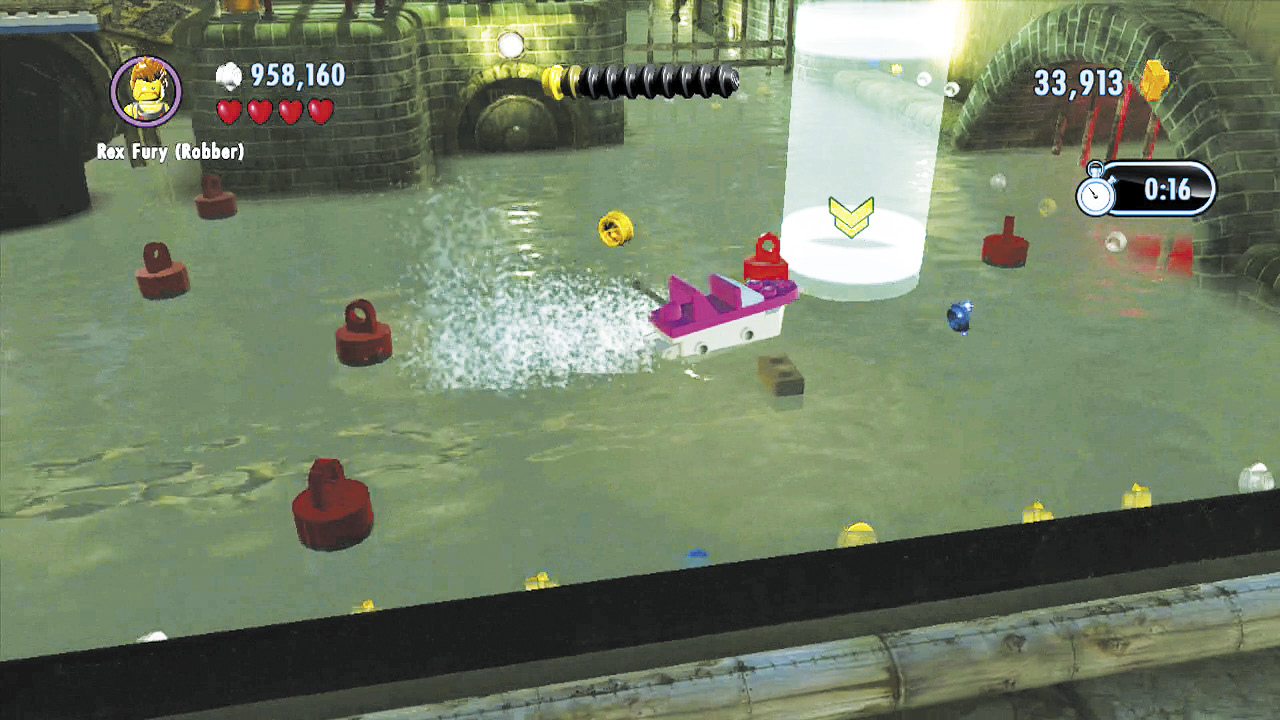 Stand on the action symbol and press # to take control of the nearby RC boat. Race the boat through a series of checkpoints around the water. Reach the final checkpoint before time runs out, and a shield piece will be yours! |
All Steamed Up
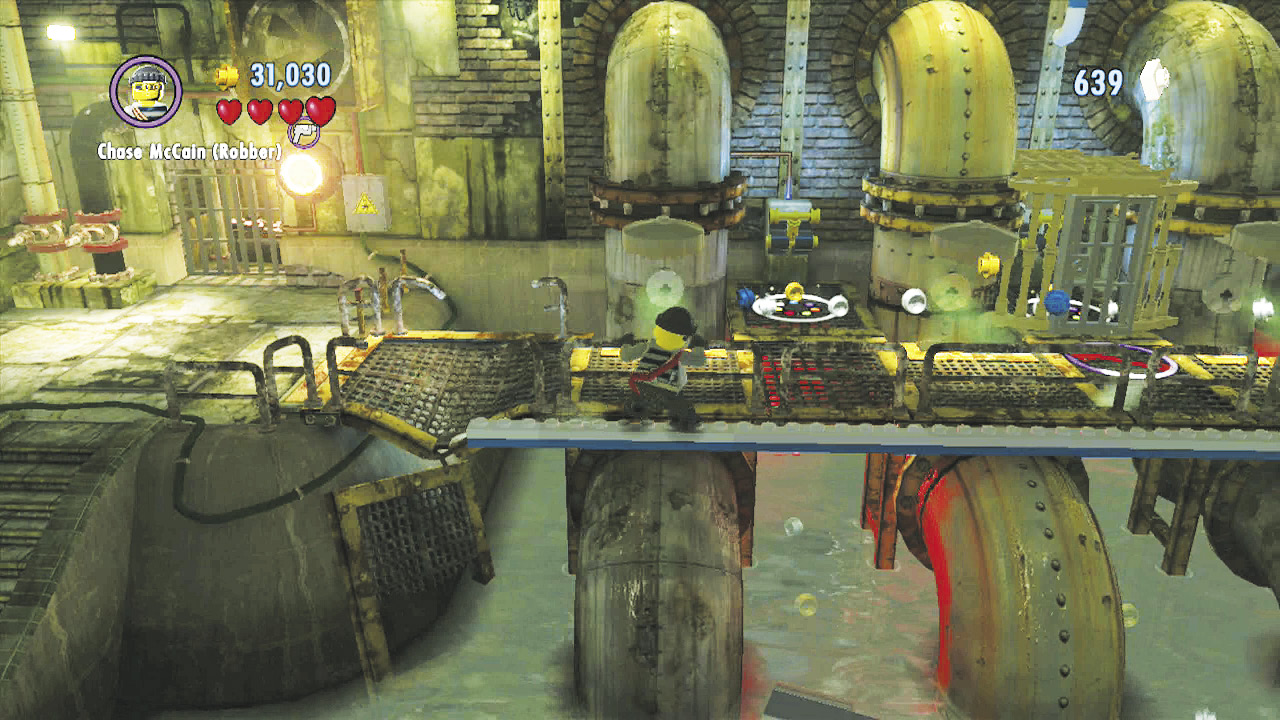
Note the red switch on the wall beyond the locked fence. You’ll soon activate this with your color gun. For now, simply inch down the thin ledge that runs along the walkway to the right. It’s the only way past those pesky steam vents!
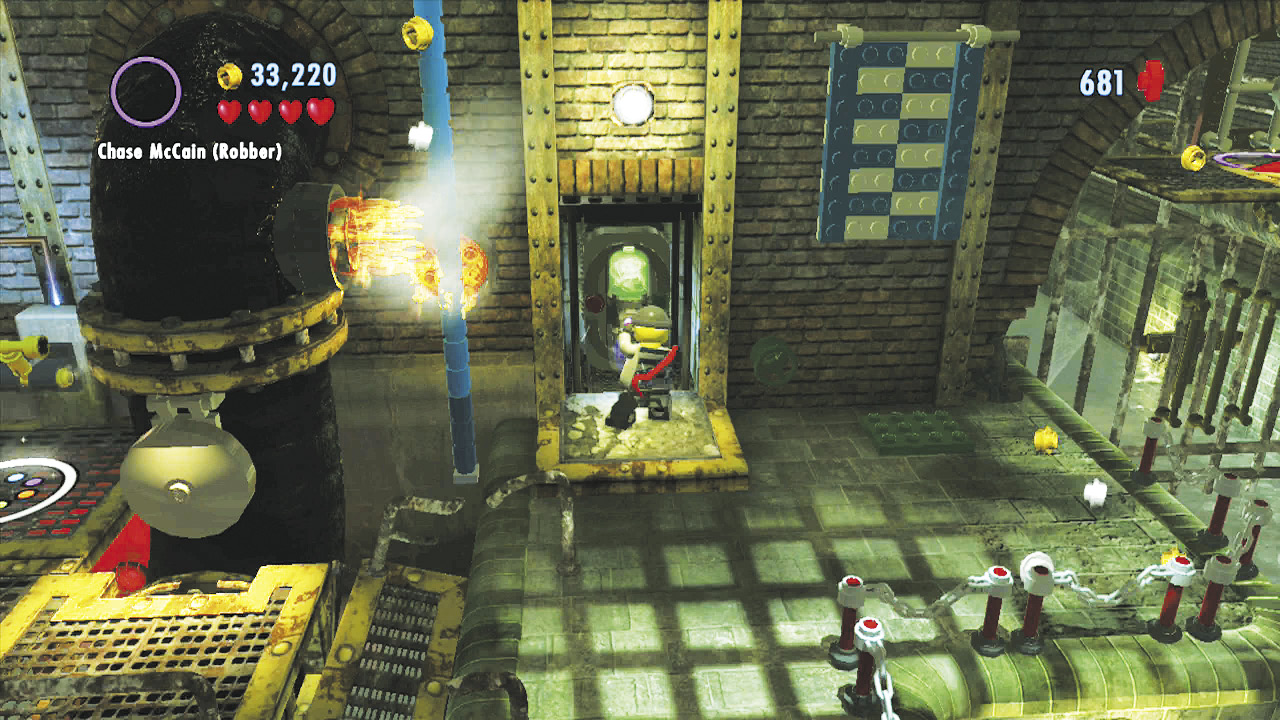
Turn the valve beyond the steam vents to activate a nearby color swapper. Use this station to fill your color gun with green energy.
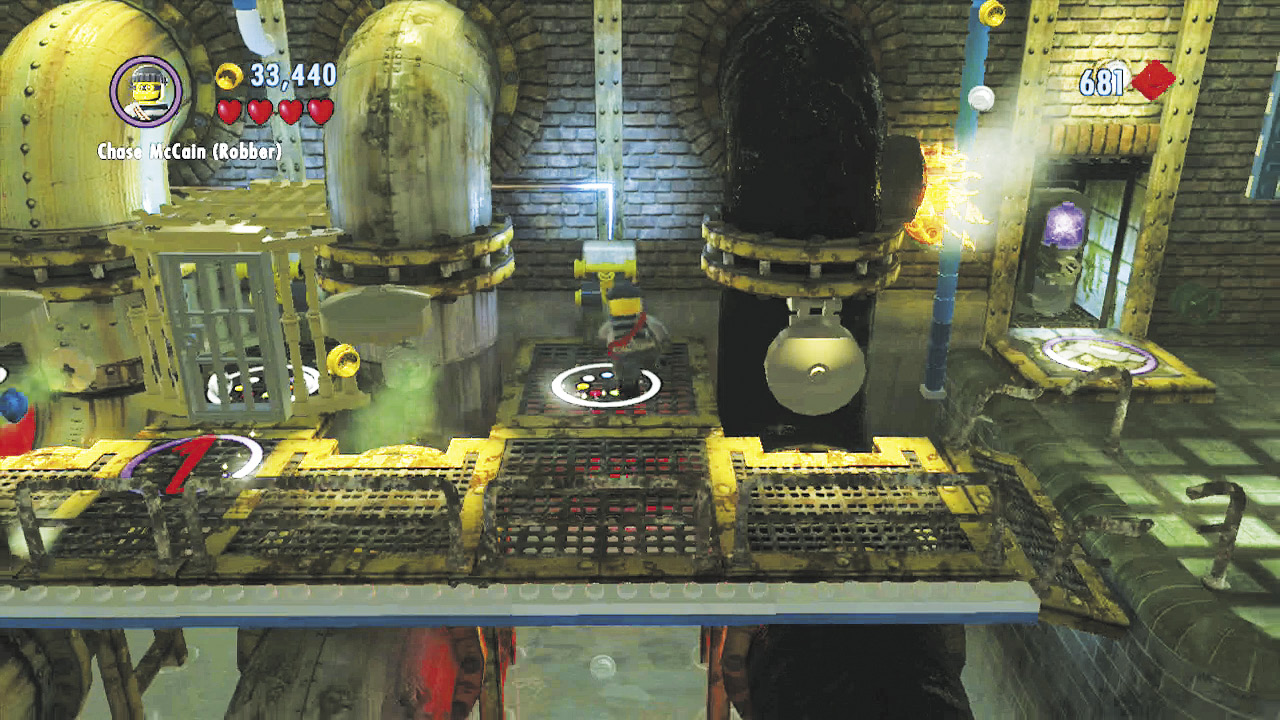
Return to the walkway with the steam vents and smash a pile of boulders with the pickax. Pull the lever you discover behind the boulders to shut off the vent to the left.
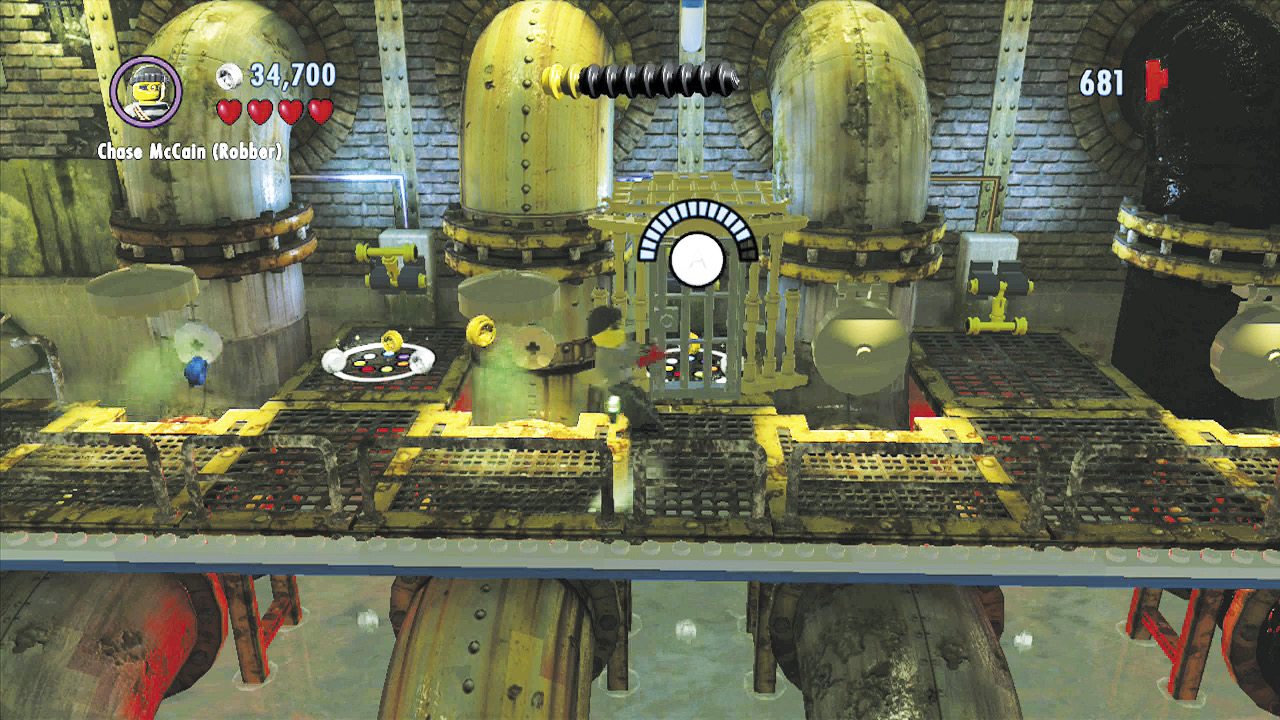
Pry into the cage that follows, then pull the lever inside the cage to shut off the next vent on the left. Pull another nearby lever to shut off the final vent on the far left. Now you can move through unhindered!
Green Means Go
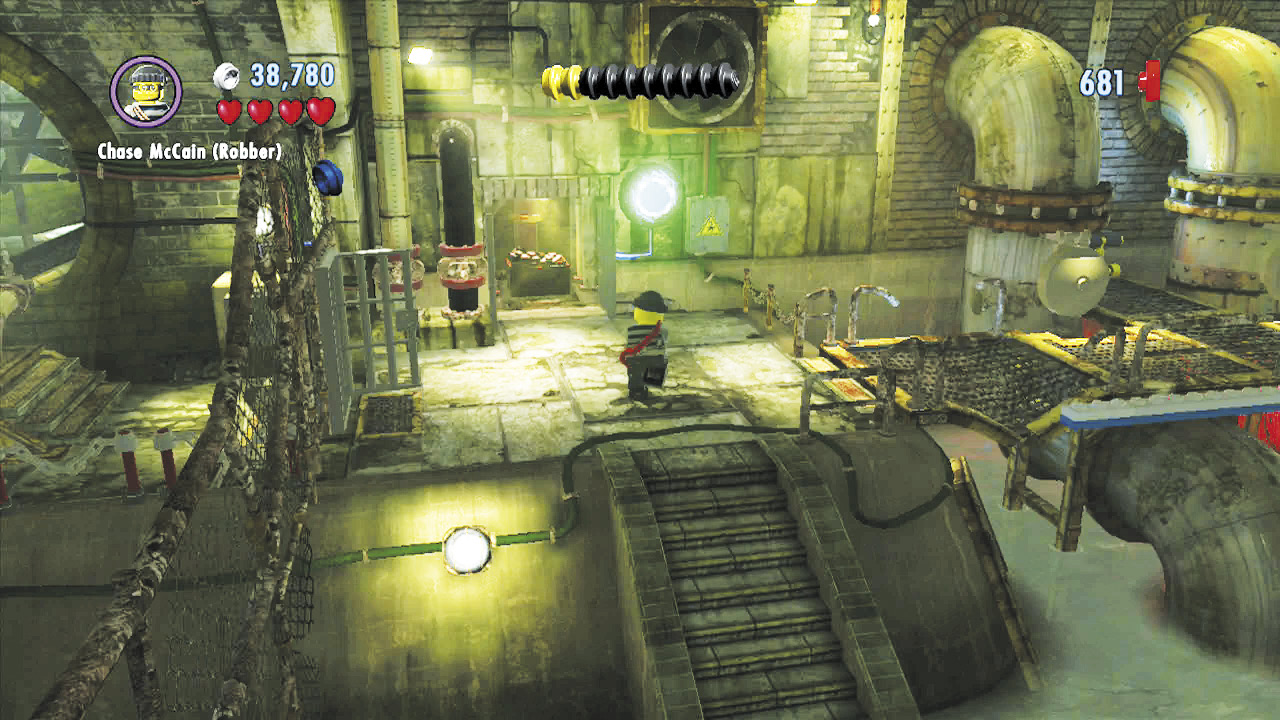
Return to the red switch you noticed earlier. Hold ^ to aim the color gun, and target the switch. Release ^ to fire a gob of green energy at the switch.
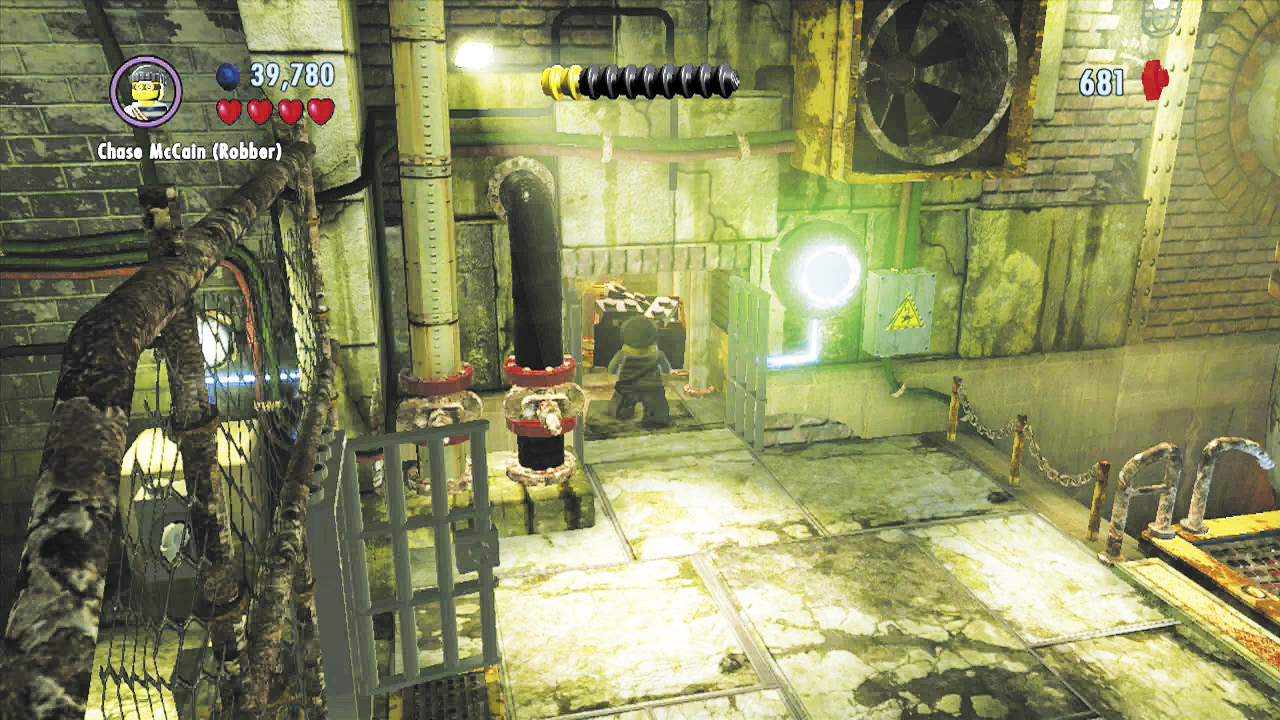
Shooting the switch turns it from red to green and opens the nearby cage. Collect a box of LEGO bricks from within.
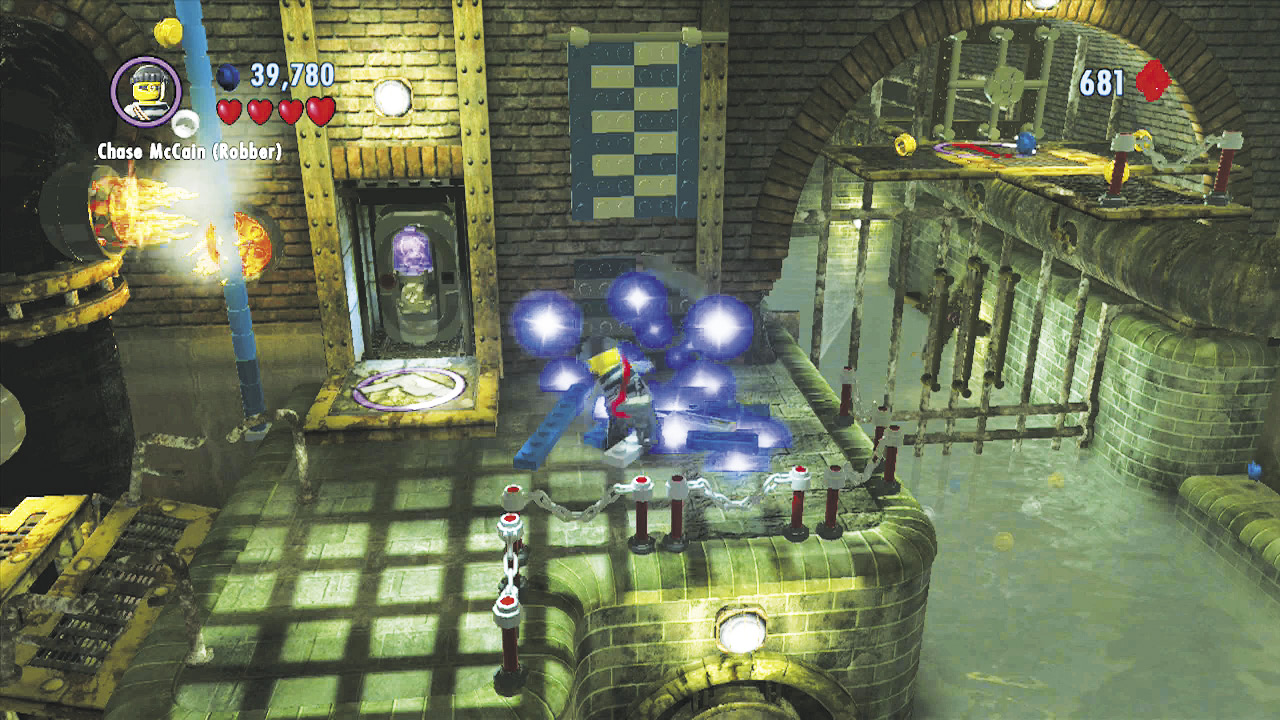
Carry the box of bricks over to the right, past the steam valves you’ve shut off. Place the bricks on the green LEGO pad near the blue and white wall, then build the bricks to restore the wall so you may climb up to a high handhold.
Shimmy to the right along the handhold, then drop onto a walkway. Pry open a door and head through to the next section of the sewer.
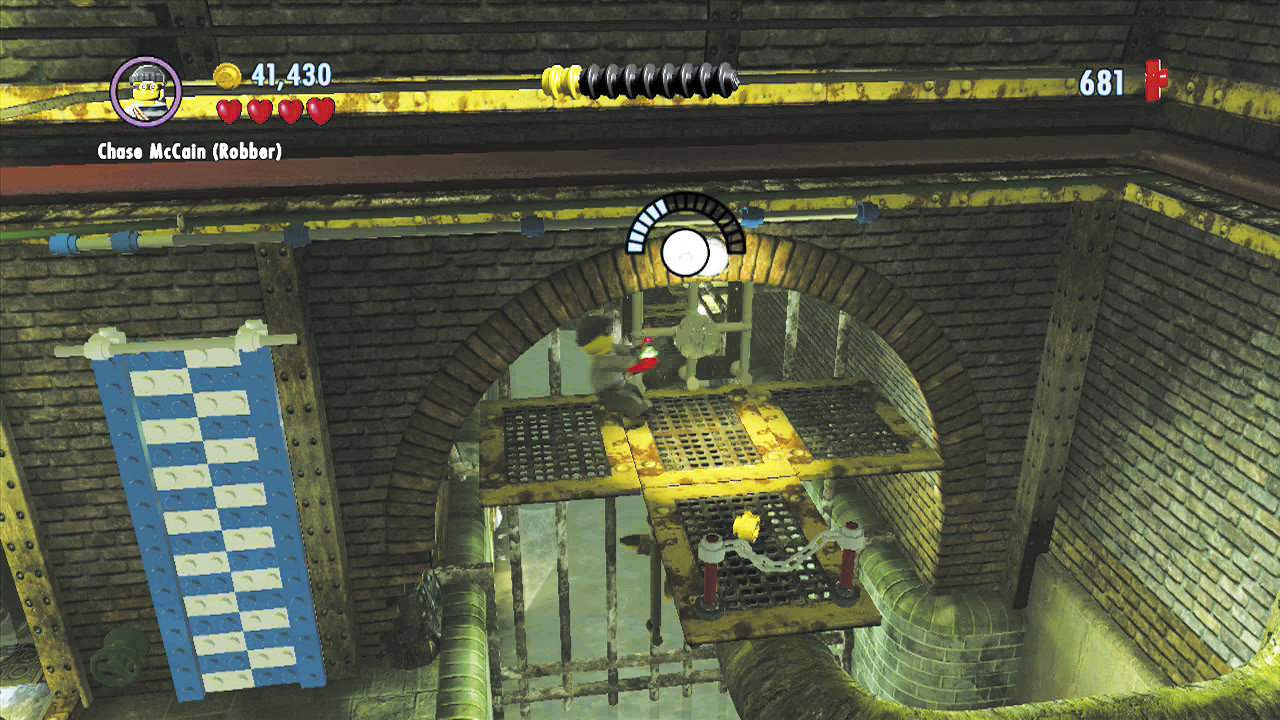
Objective: Exit the Sewer
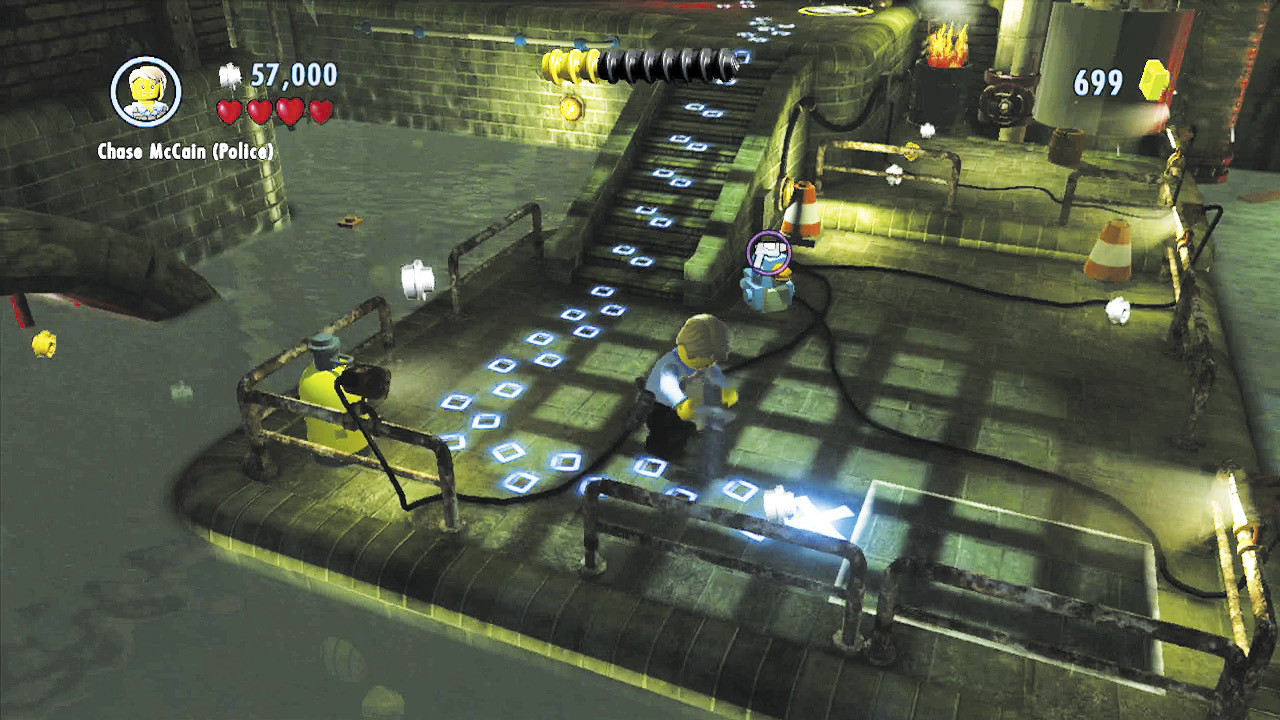
You’re getting there! Smash a barrel in the sewer’s second section to discover a scan spot. Follow the footprints down to a panel, then search the panel to find some dynamite.
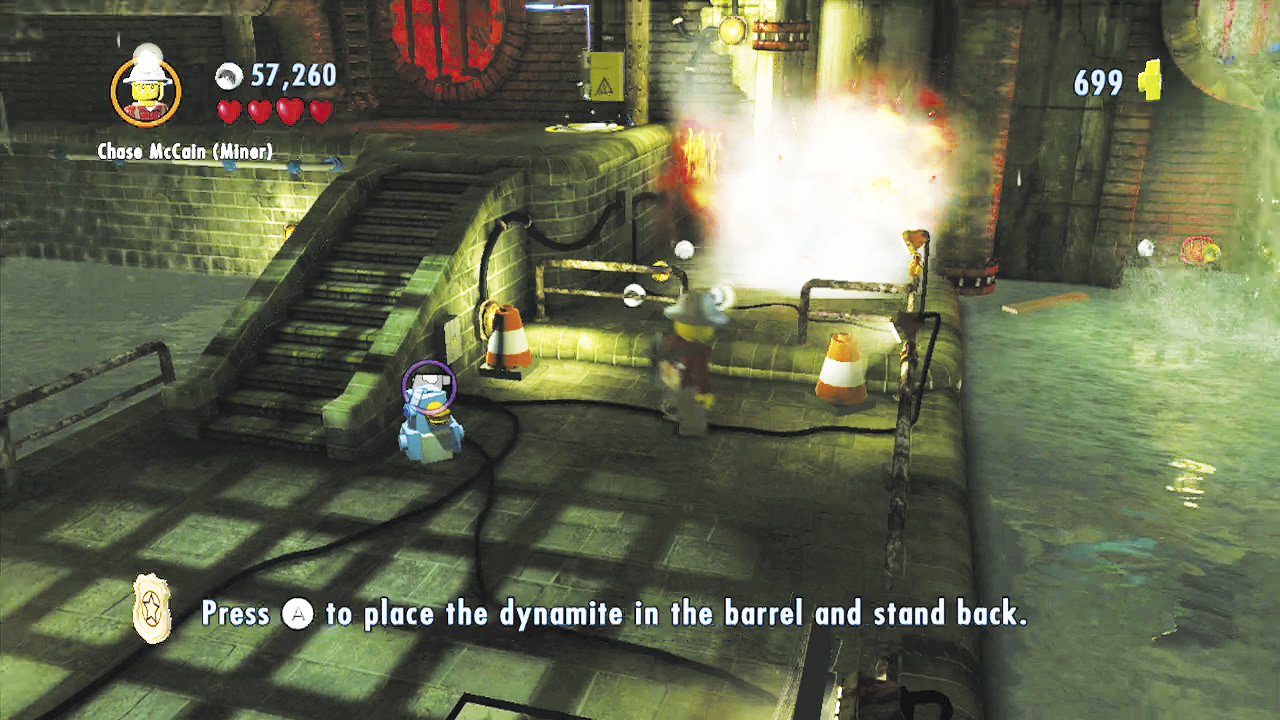
Change into the miner outfit, then pick up the dynamite and place it in the small barrel near a large silver pipe. The explosion bursts the pipe, causing some bricks to spill out.
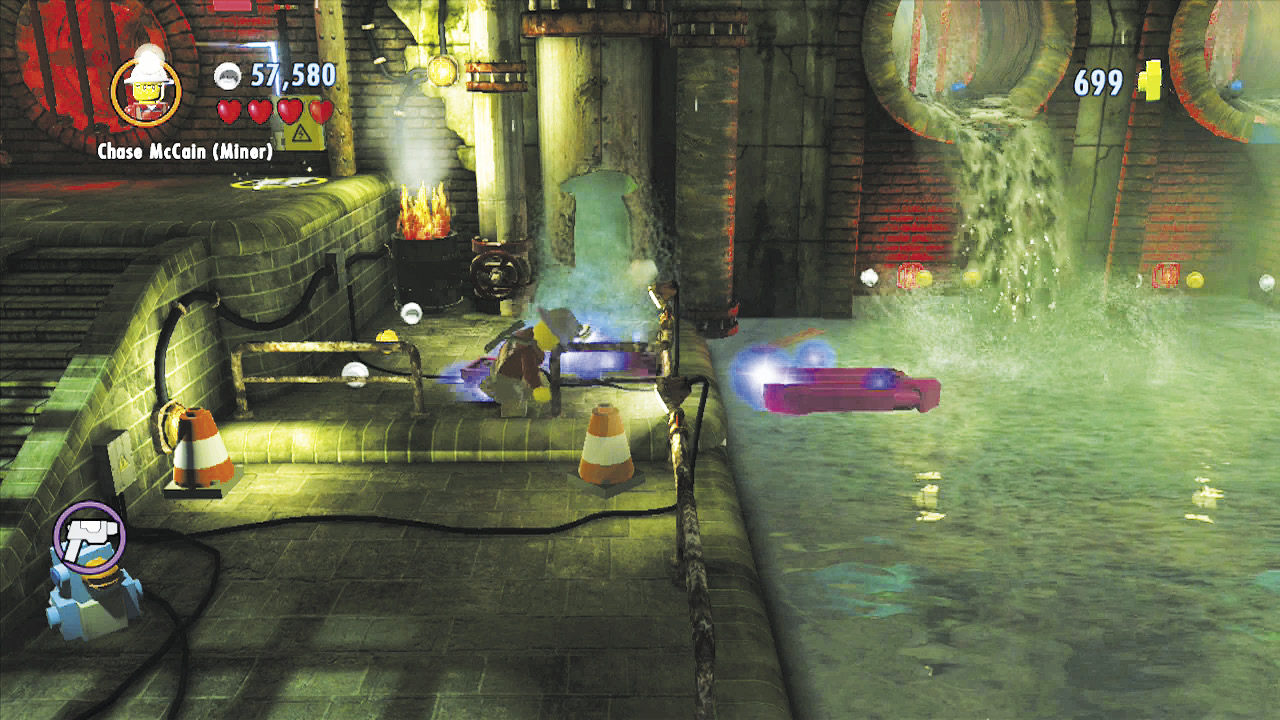
Build the bricks into an air mattress. Now you can safely explore the sewer’s right side!
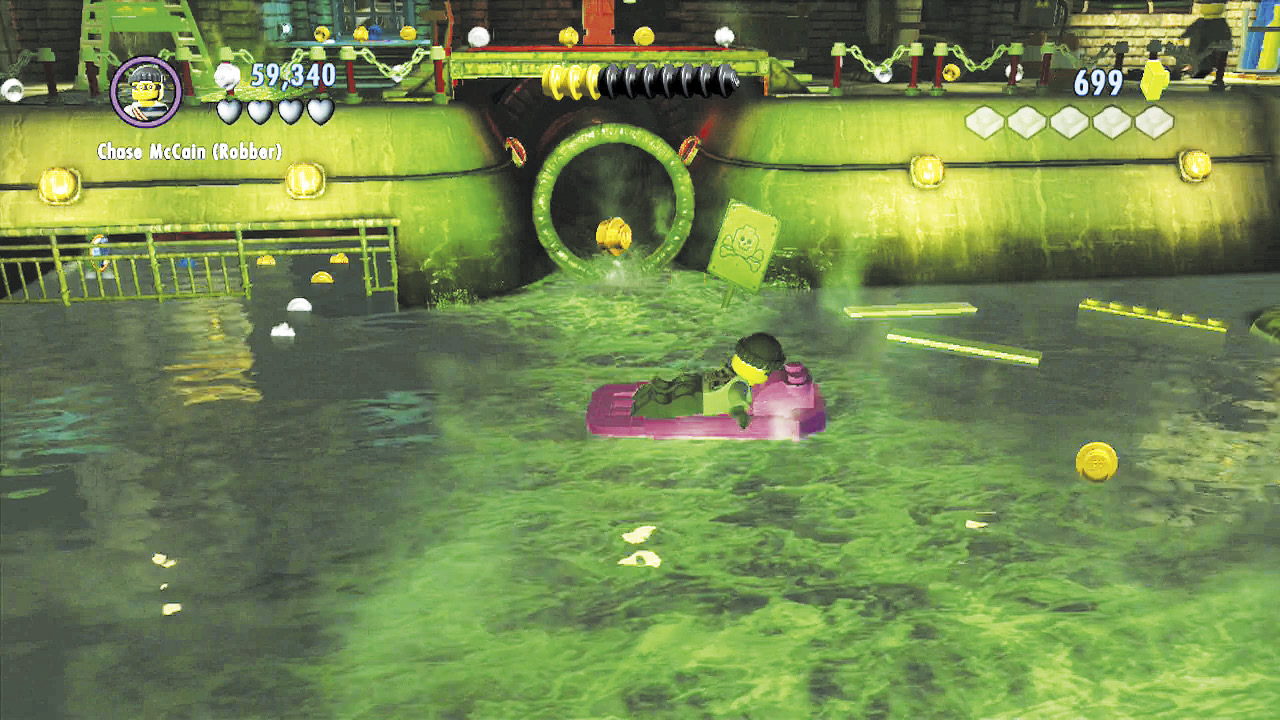
Jump onto the air mattress and swim to the right. Only the air mattress can safely ferry you across the toxic waste in the water.
Vehicle Token 1: Gotland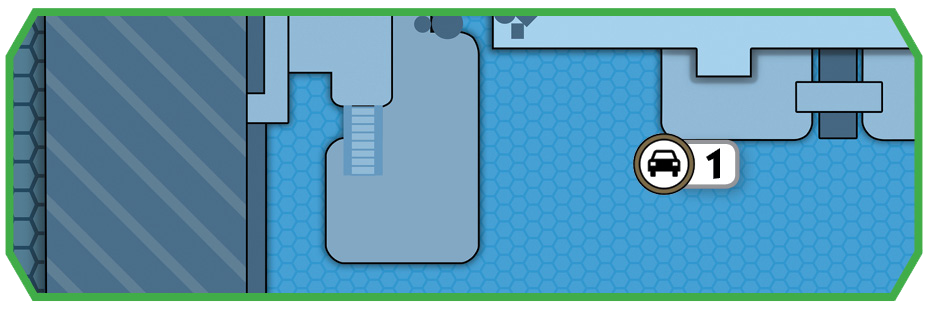 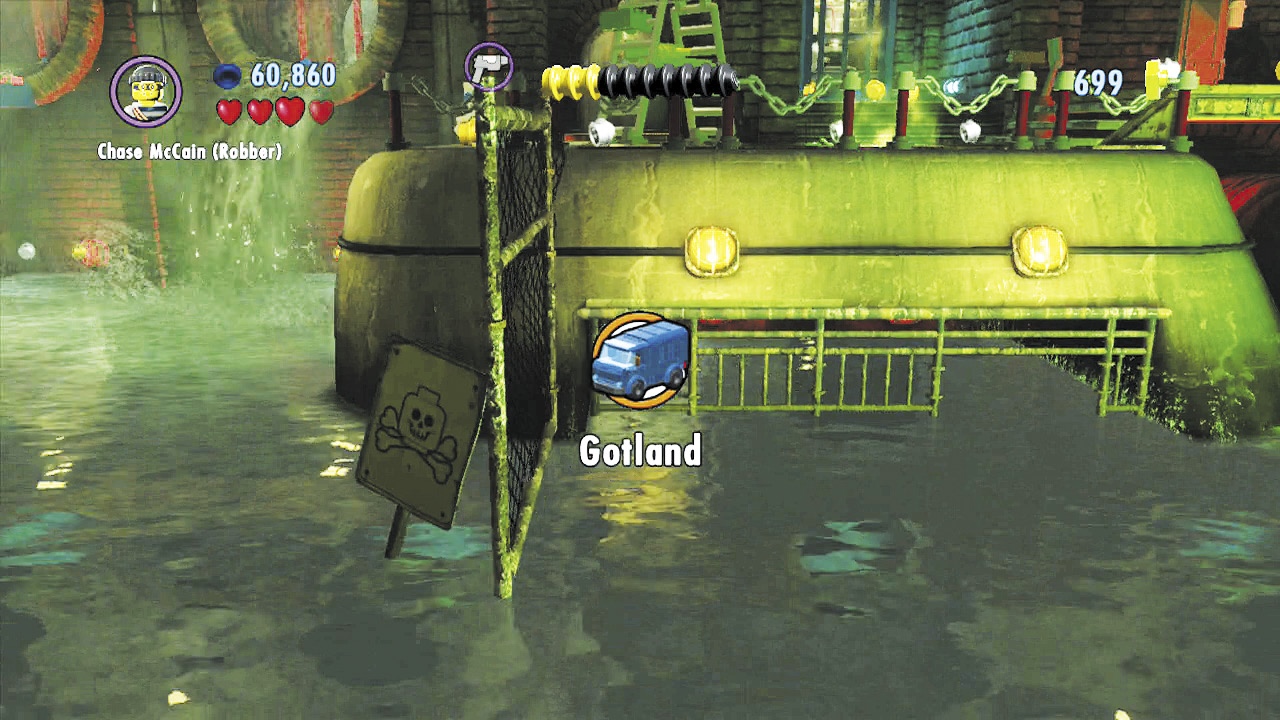 Just before you reach the toxic waste, hop off the air mattress and swim into the hole in the background gate to claim a vehicle token. |
Free PlayPolice Shield Piece 2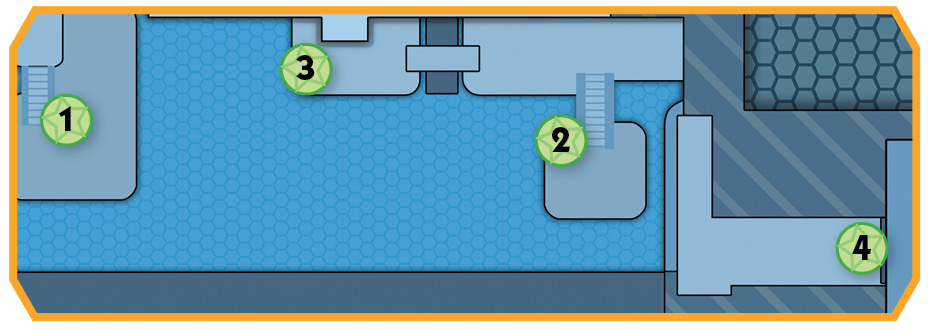 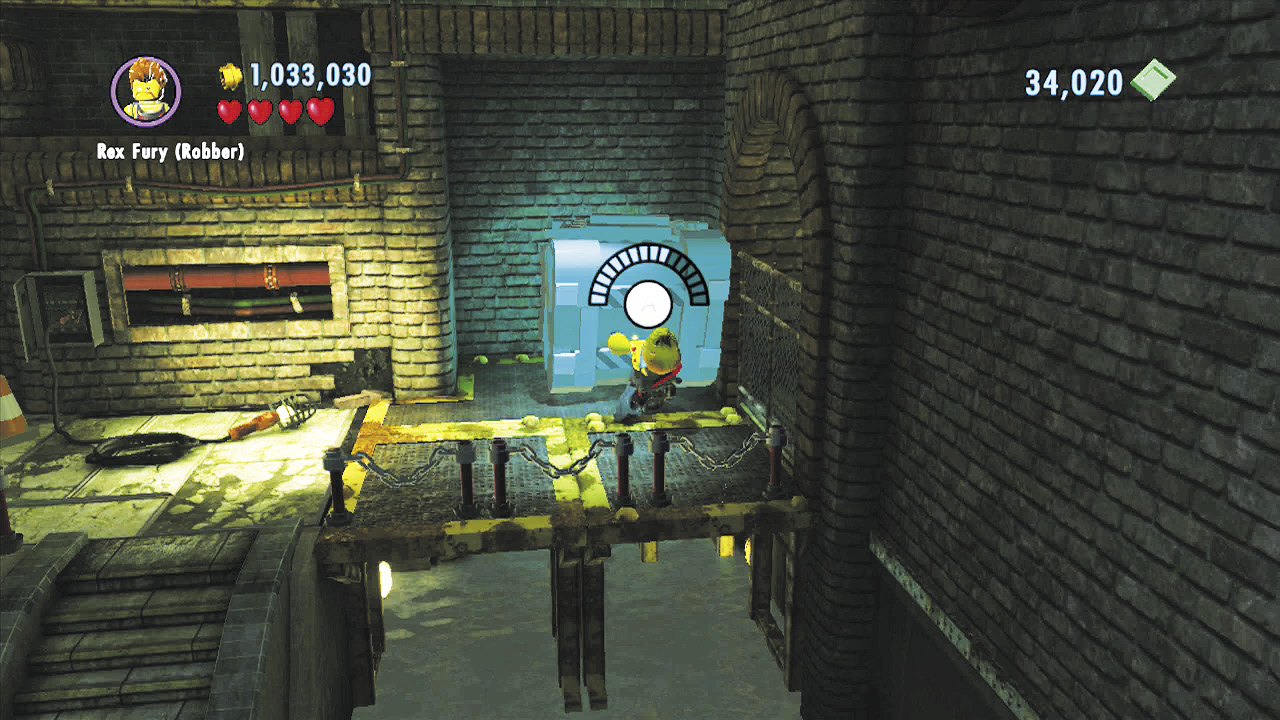 After swimming past the toxic waste and going upstairs, rip apart another super-strength crate with Rex Fury to discover a yellow color swapper. 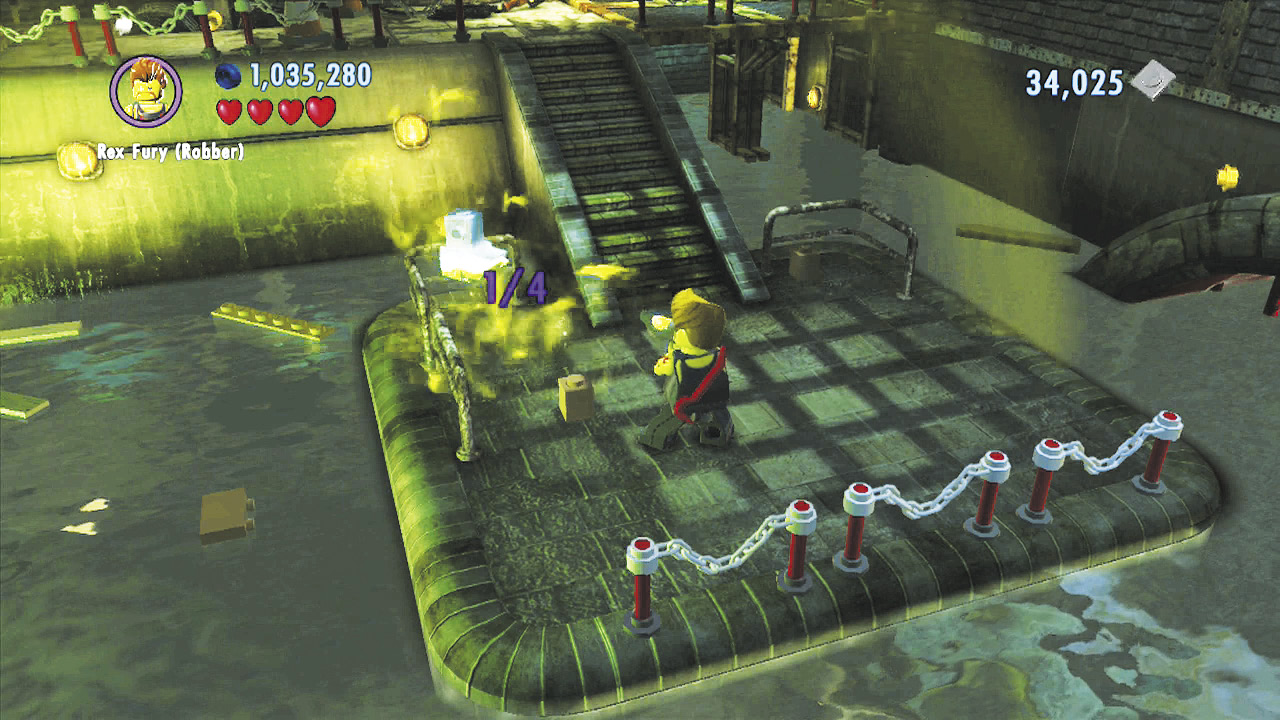 Fill your color gun with yellow energy, then backtrack and blast two rubber duckies to paint them yellow. Find two more duckies in this section of the sewer and paint them yellow as well to earn a shield piece! Check the maps to see where the four rubber duckies are located. |
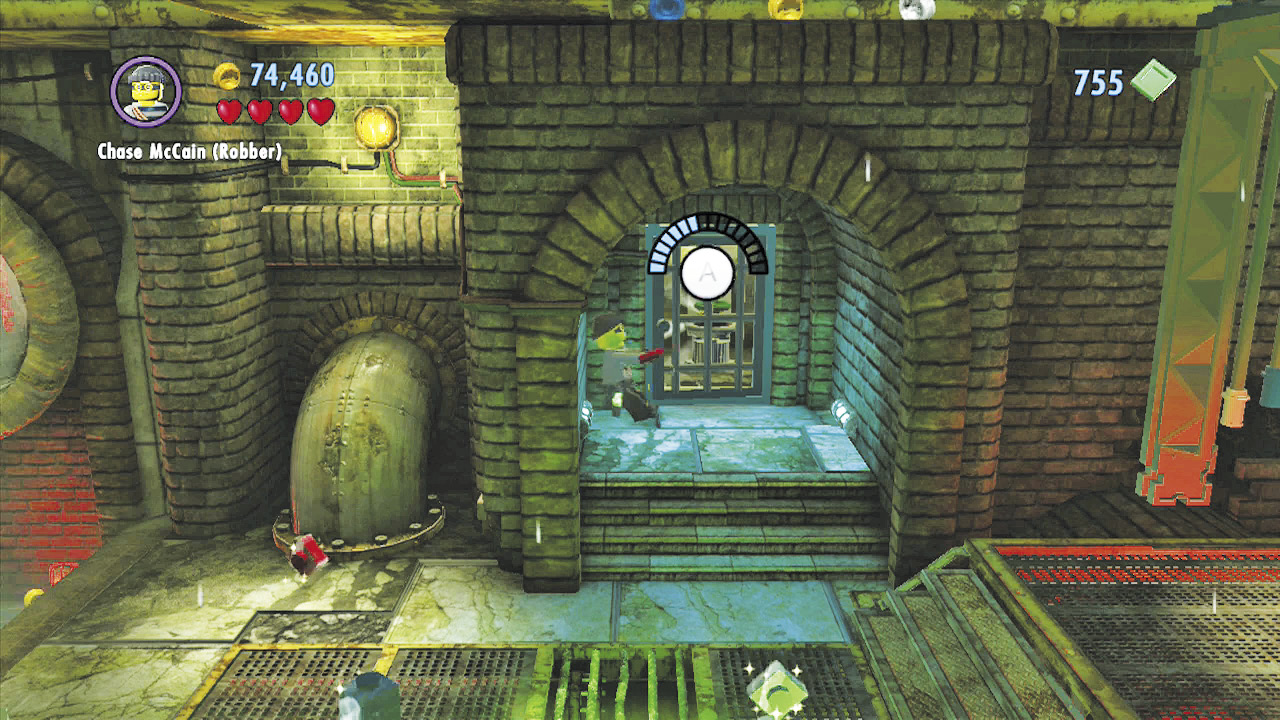
After swimming past the toxic waste, head upstairs and run to the left. Slide under some pipes and pry open a metal door to discover a valve wheel.
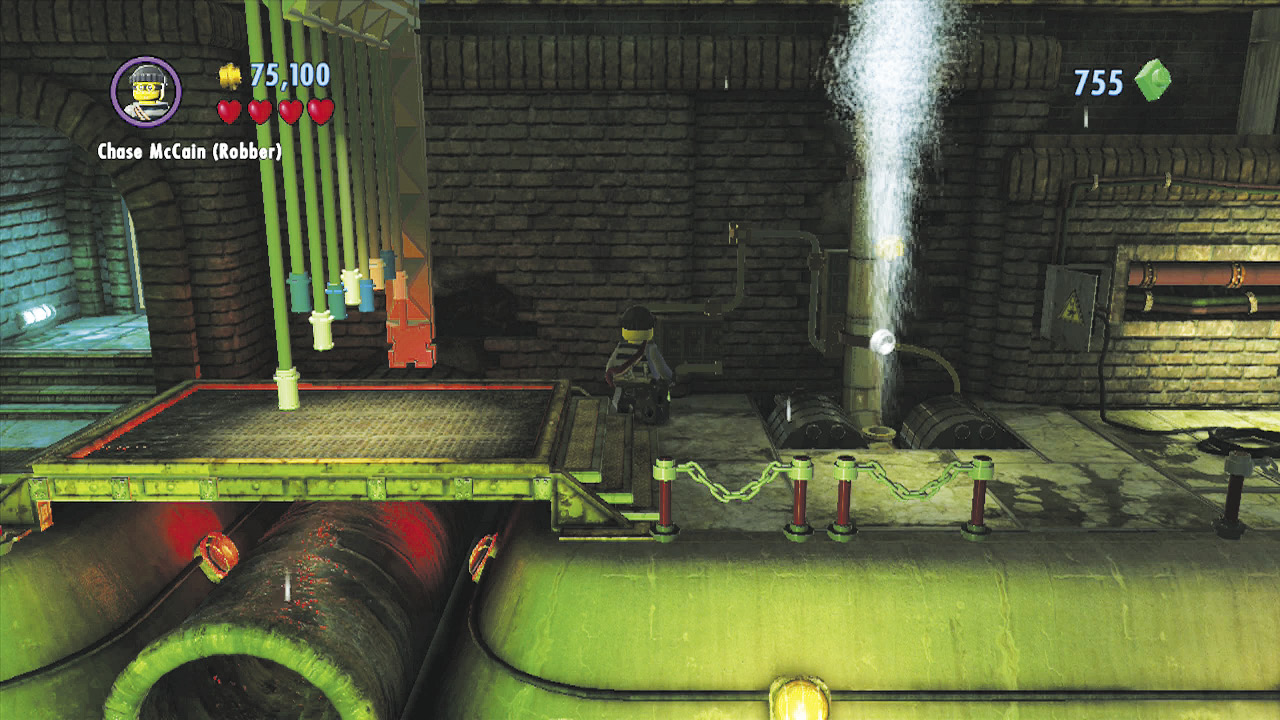
Carry the valve wheel over to the right and insert it into a panel. Turn the valve to make a water geyser gush up nearby.
Let the water geyser lift you up, then smash some boulders to discover a green switch. Looks like you need to find a red color swapper!
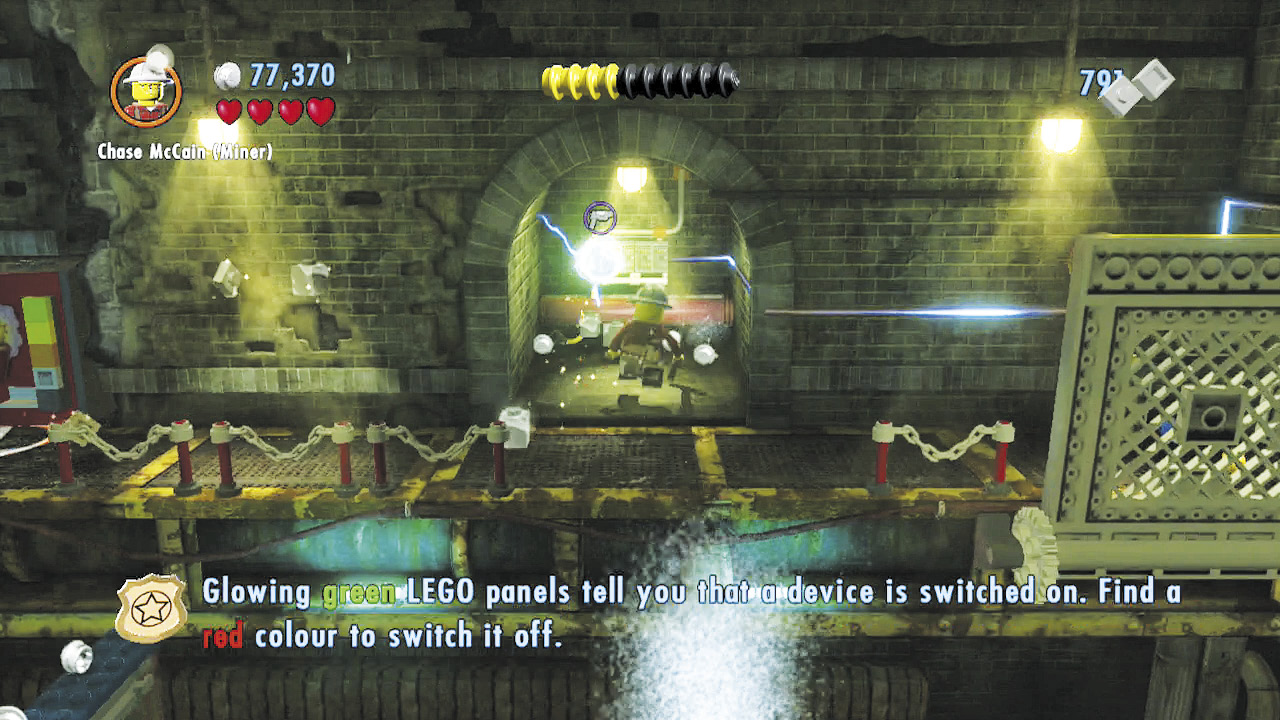
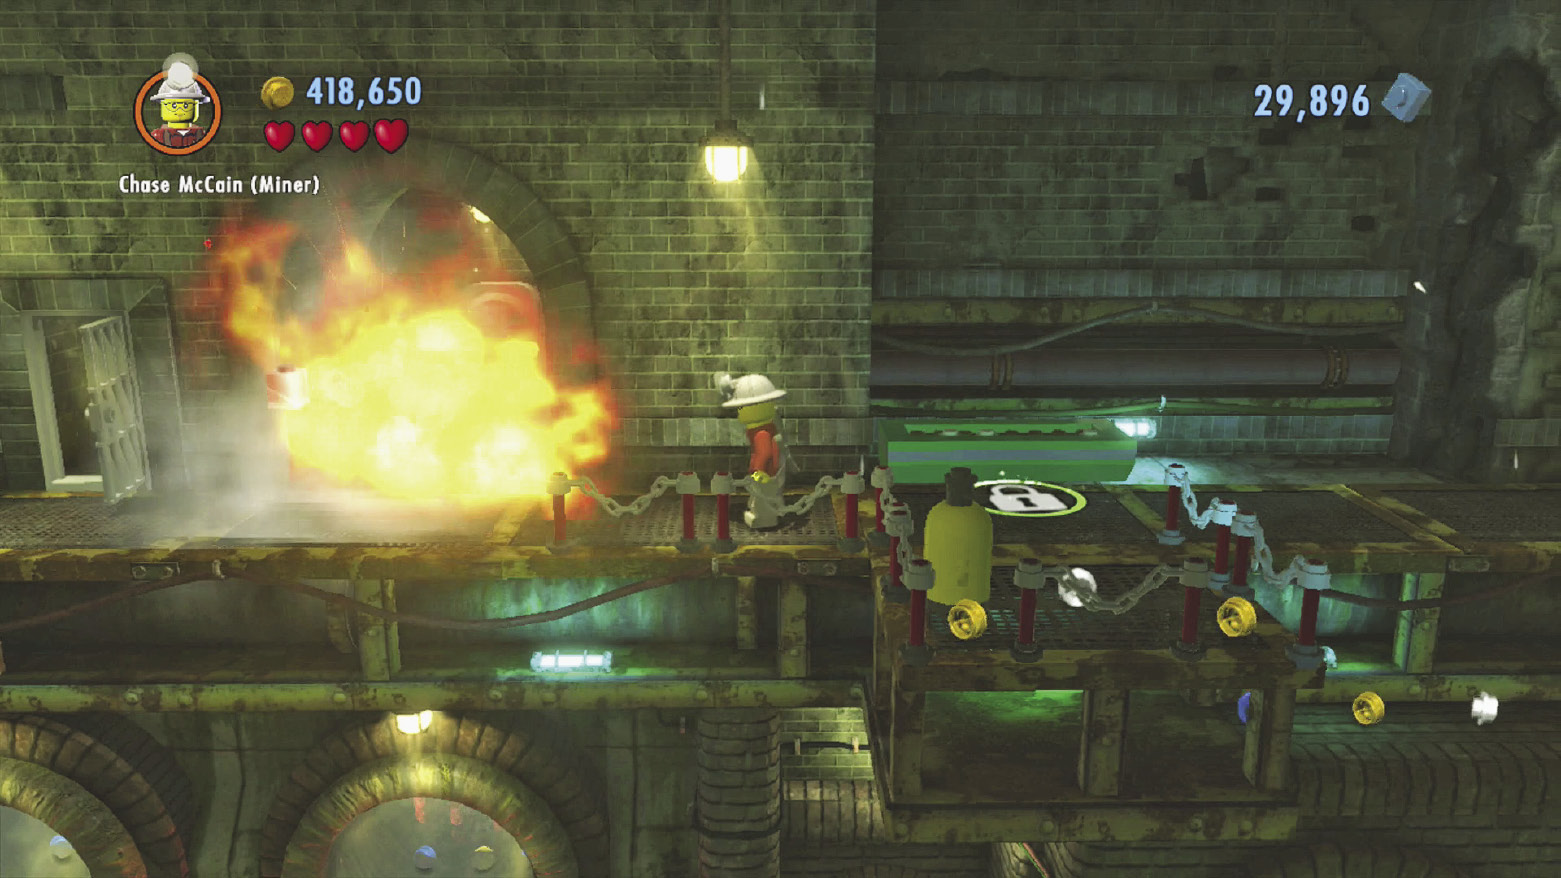
Continue to the left and obtain some dynamite from the dispenser. Use this to destroy the silver gate to the left, exposing a red color swapper.
Red Brick: Studs x4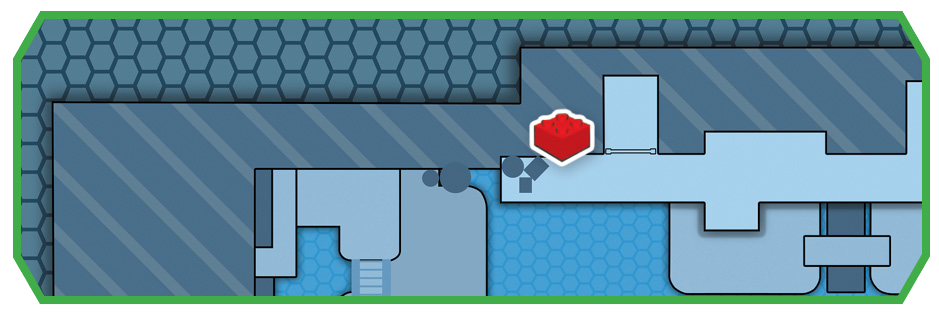 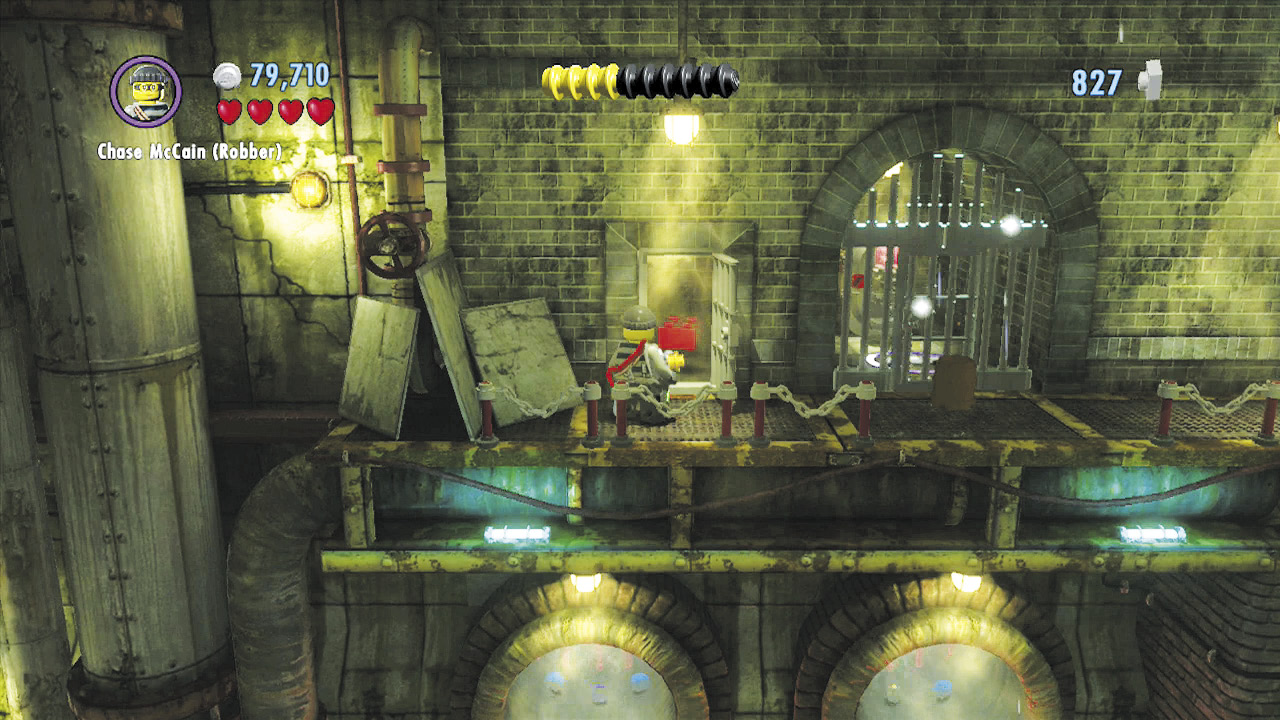 This red brick is an easy grab—just pry open the door near the red color swapper and claim it! |
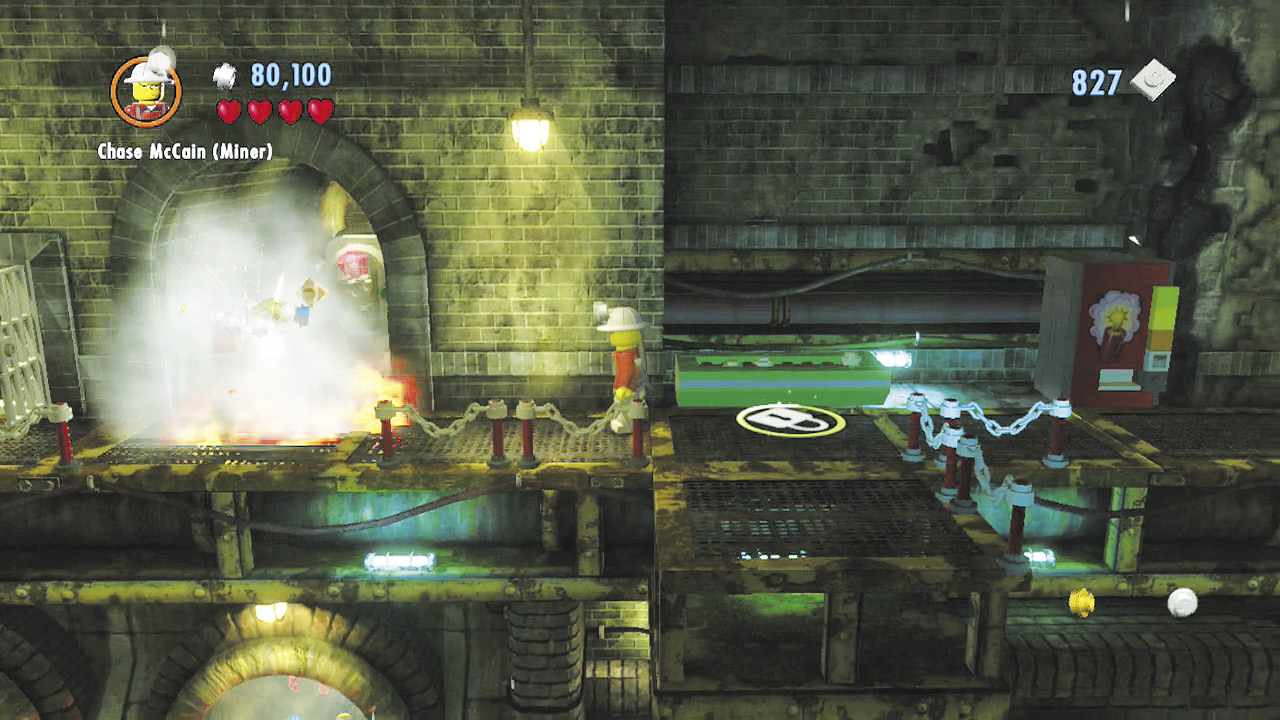
You know what to do! Use the color swapper to change your color gun’s ammo to red, then run back to the right and fire a gob of red energy at the green switch.
The green switch turns red, and a nearby platform lowers. Step onto the platform and jump onto a blue pipe. Climb the pipe to reach a ledge with a long ladder. The ladder leads up to the next area.
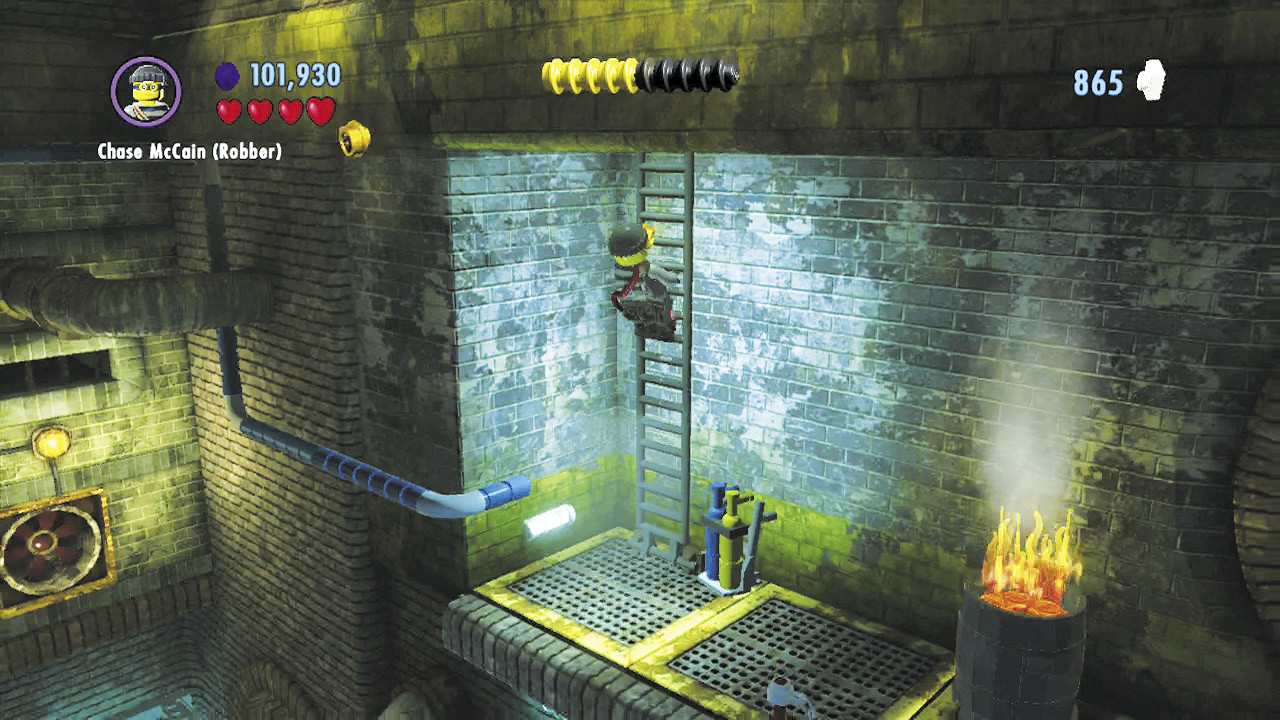
Objective: Sneak into the Bank
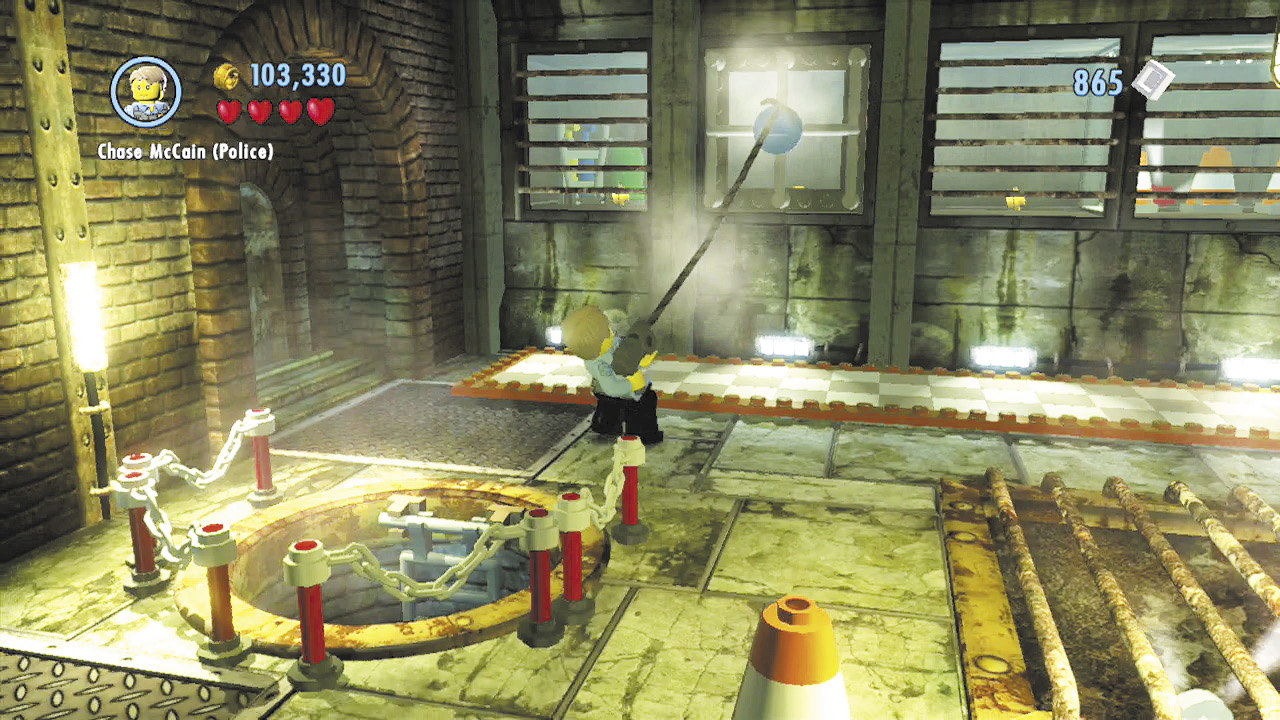
You’re almost inside! Use the grapple gun to pull down a metal grate, exposing a ventilation shaft. That’s your ticket into the bank!
Free PlayVehicle Token 2: Relocator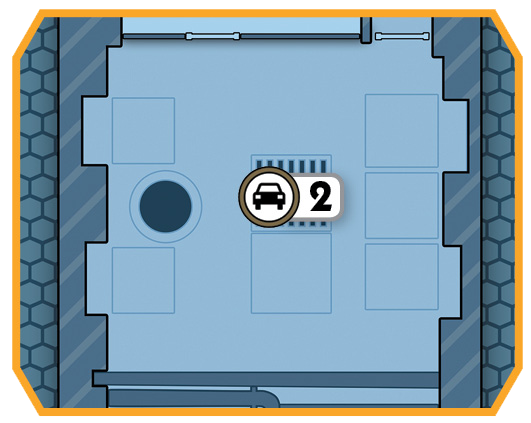 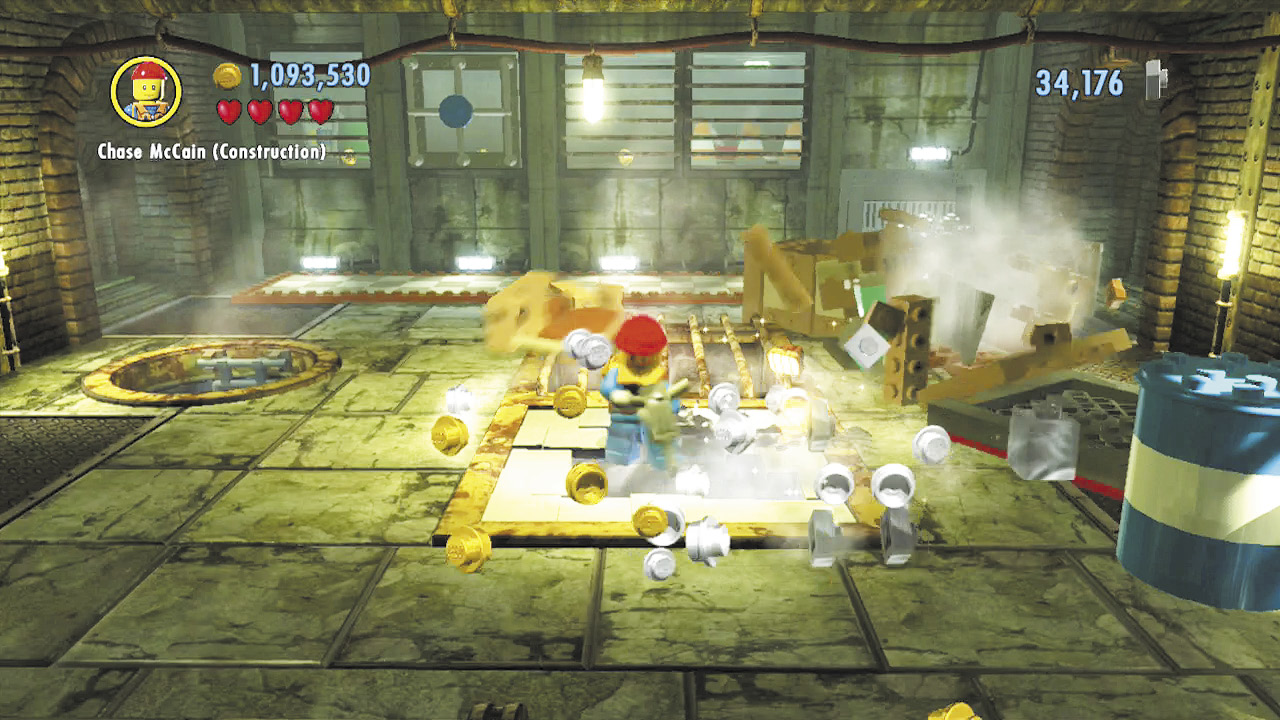 In the sewer’s final area, drill the shaky ground with the construction worker to break into a secret tunnel. Run into the foreground to collect a hidden vehicle token that’s stashed down here. |
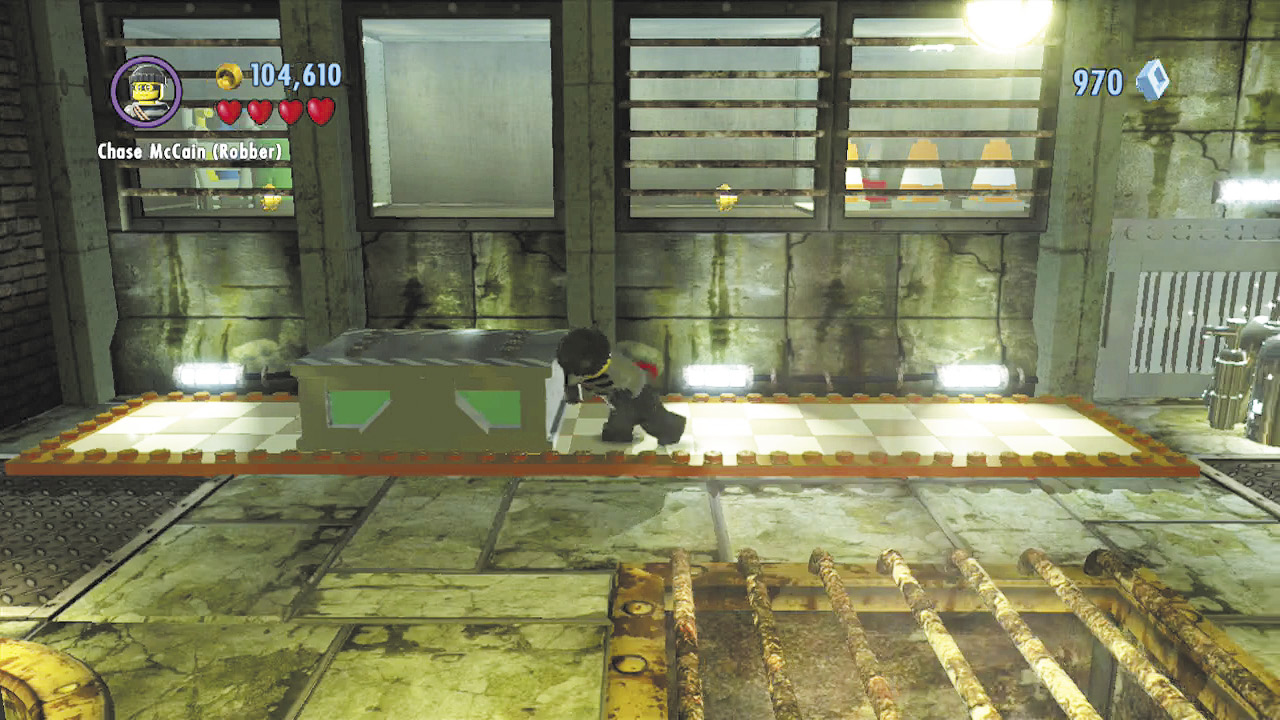
Smash the crates in the corner, then build the remaining bricks into another crate. Shove this one along the checkered floor until it lines up with the opening in the ventilation shaft.
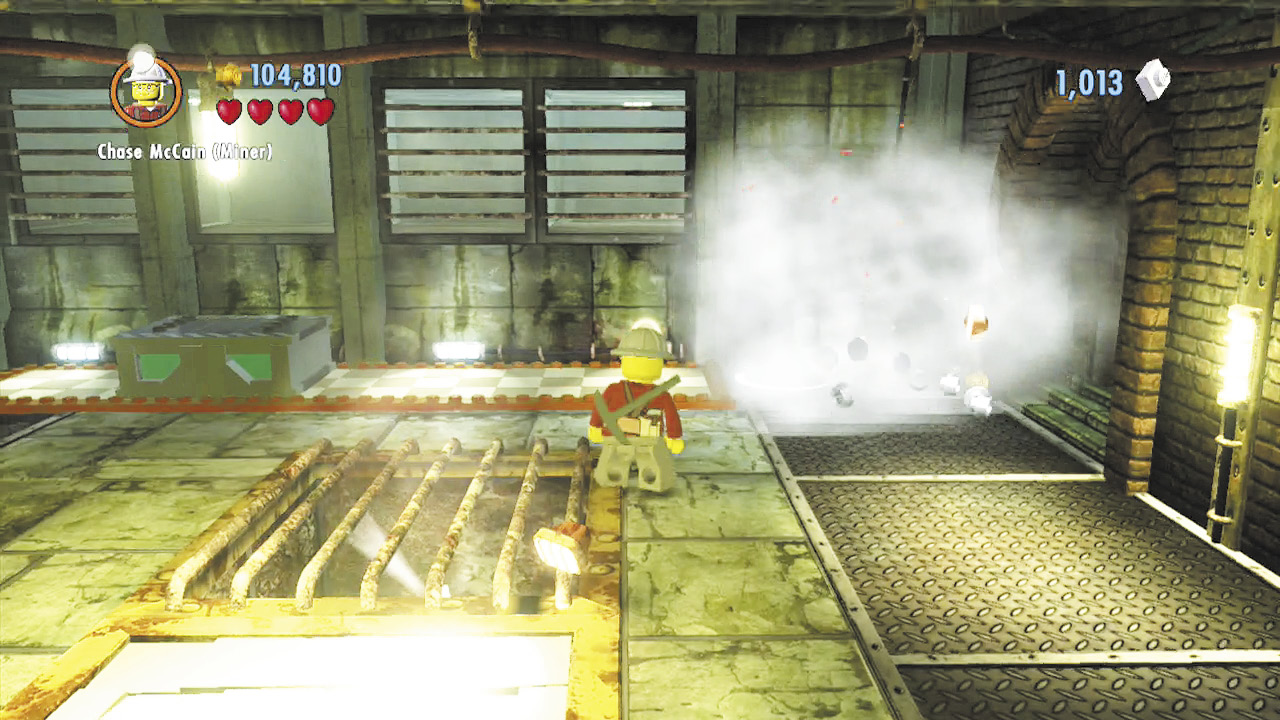
Jump into the shaft, then collect some dynamite from its right side. Exit the shaft and use the dynamite to destroy some nearby silver piping.
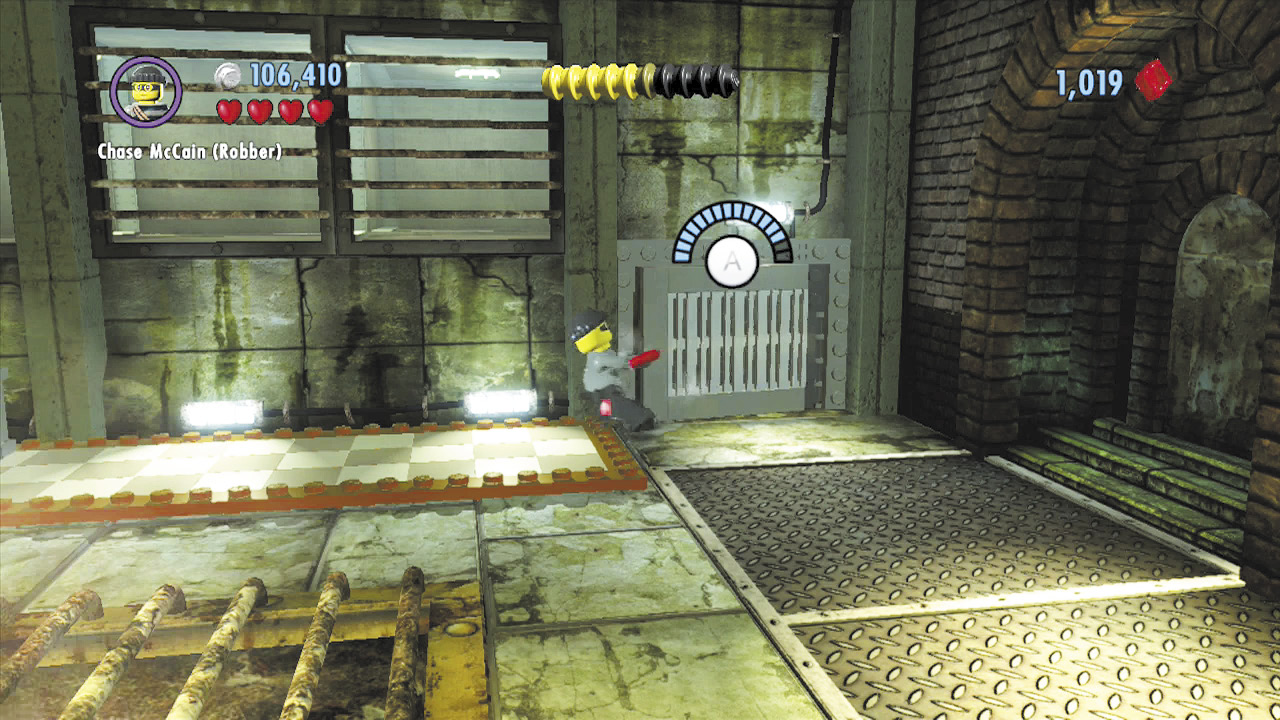
Hey, there’s another vent behind that piping! Pry it open and head inside.
Objective: Steal the Emerald
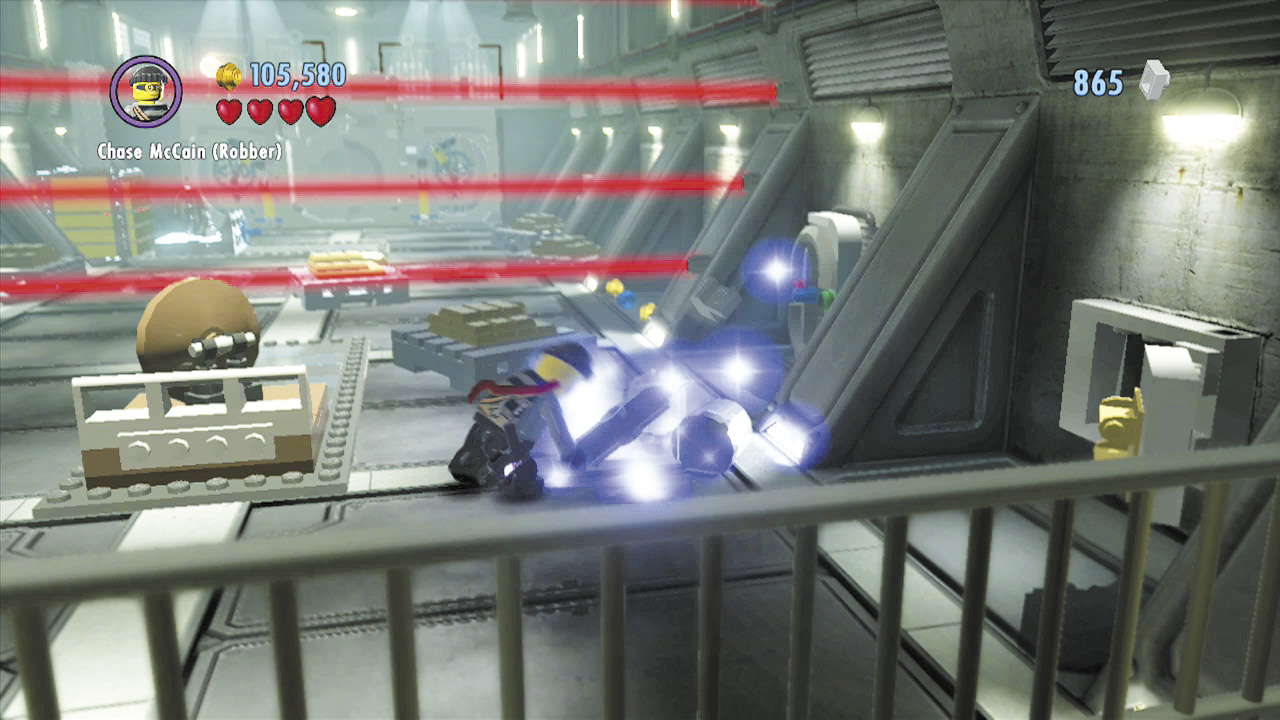
At last, you’ve snuck into the bank vault. Now you just need to disable the security system and steal the Bell Pepper Emerald for Vinnie. Begin by prying open a couple of wall safes and building the bricks that tumble out into a silver color swapper.
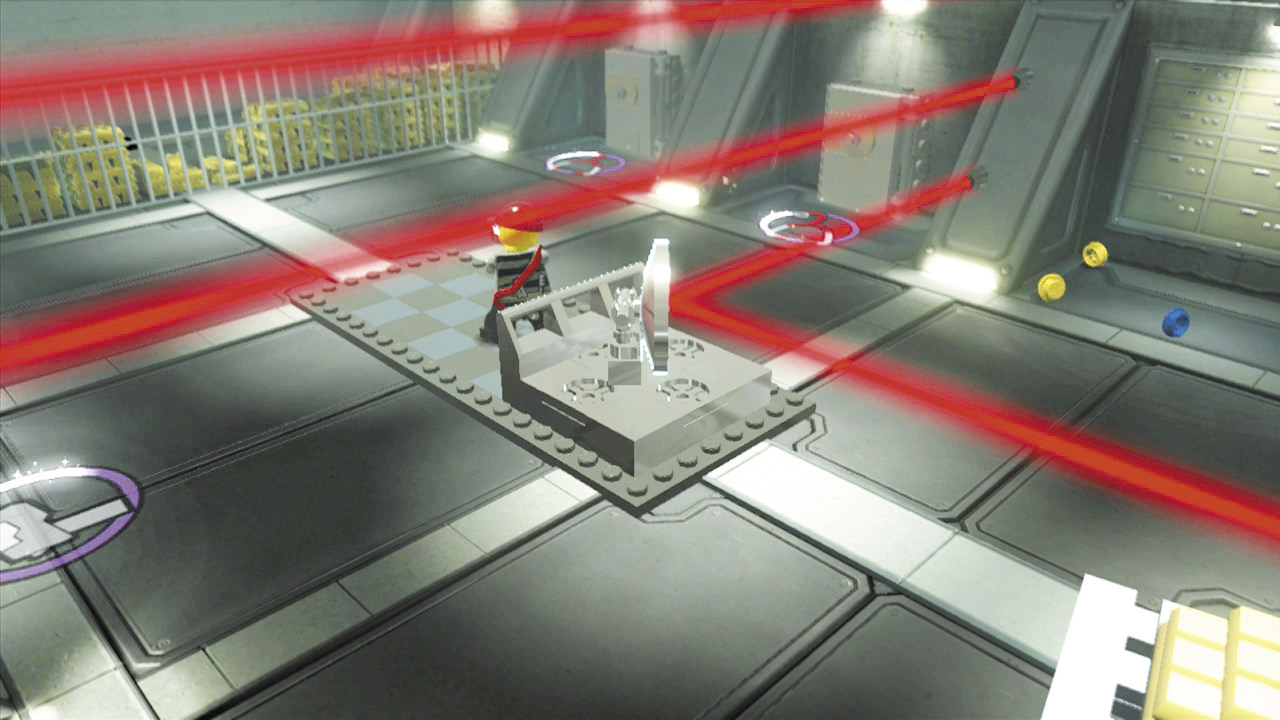
Fill your color gun with silver energy, then blast the nearby radar dish to paint it silver. Now shove the dish along the checkered track in the floor so that it redirects the lowest security laser, letting you slip past on the right.
Police Shield Piece 3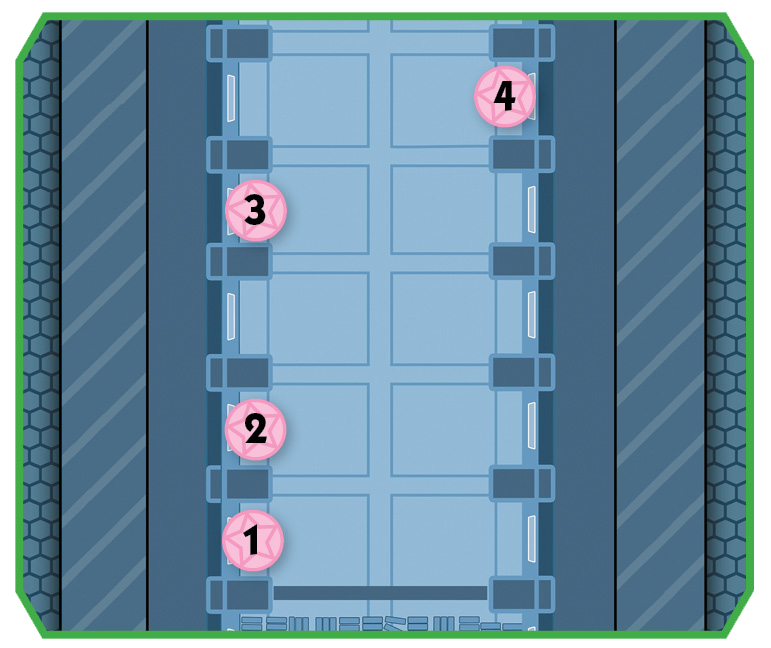 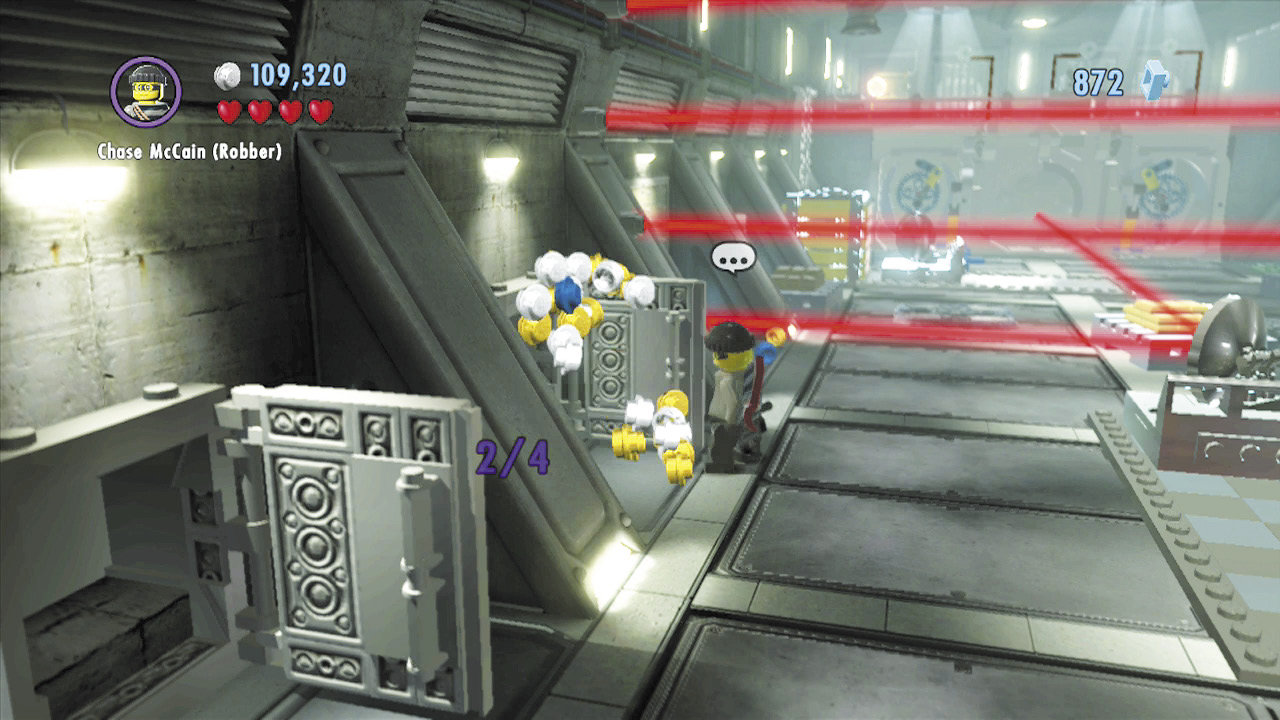 Crack four wall safes in the vault, and you’ll snag a shield piece! Check the map for the three safes’ locations (they’re all near the security lasers). |
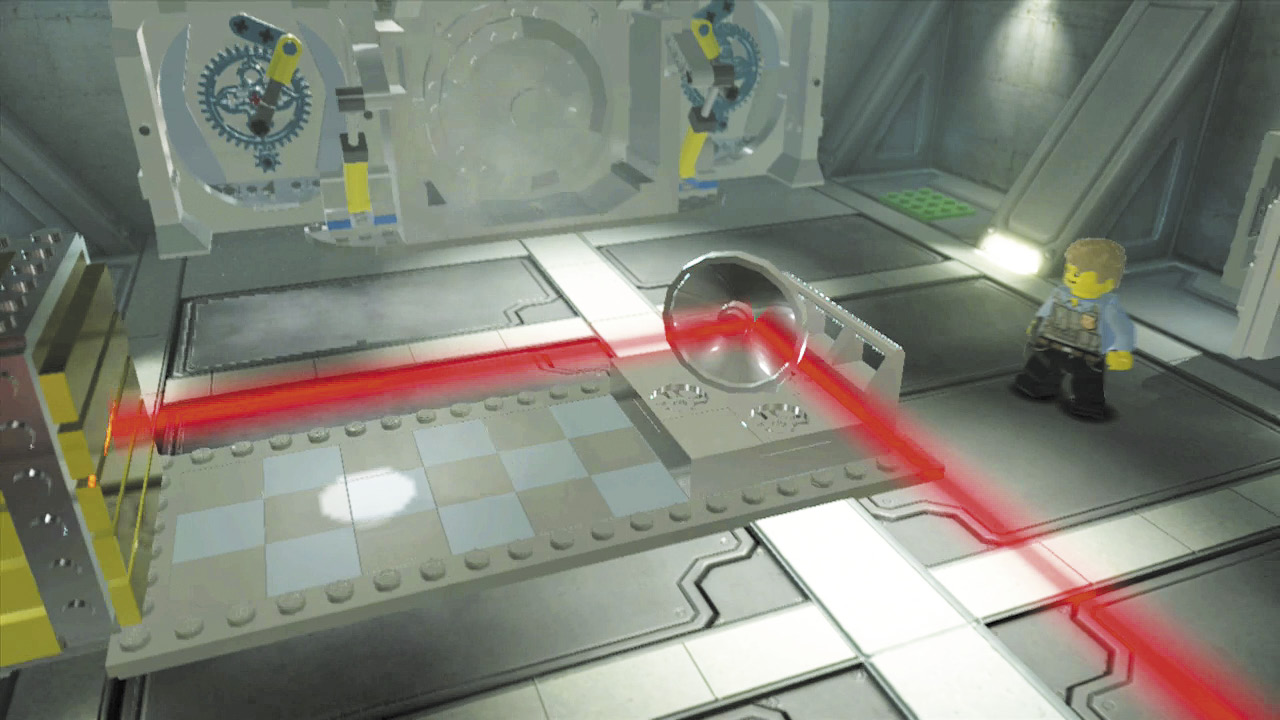
Next, use the grapple gun to pull another radar dish along a checkered track. The dish will redirect the security laser into a crate, causing an explosion that shuts off the lasers.
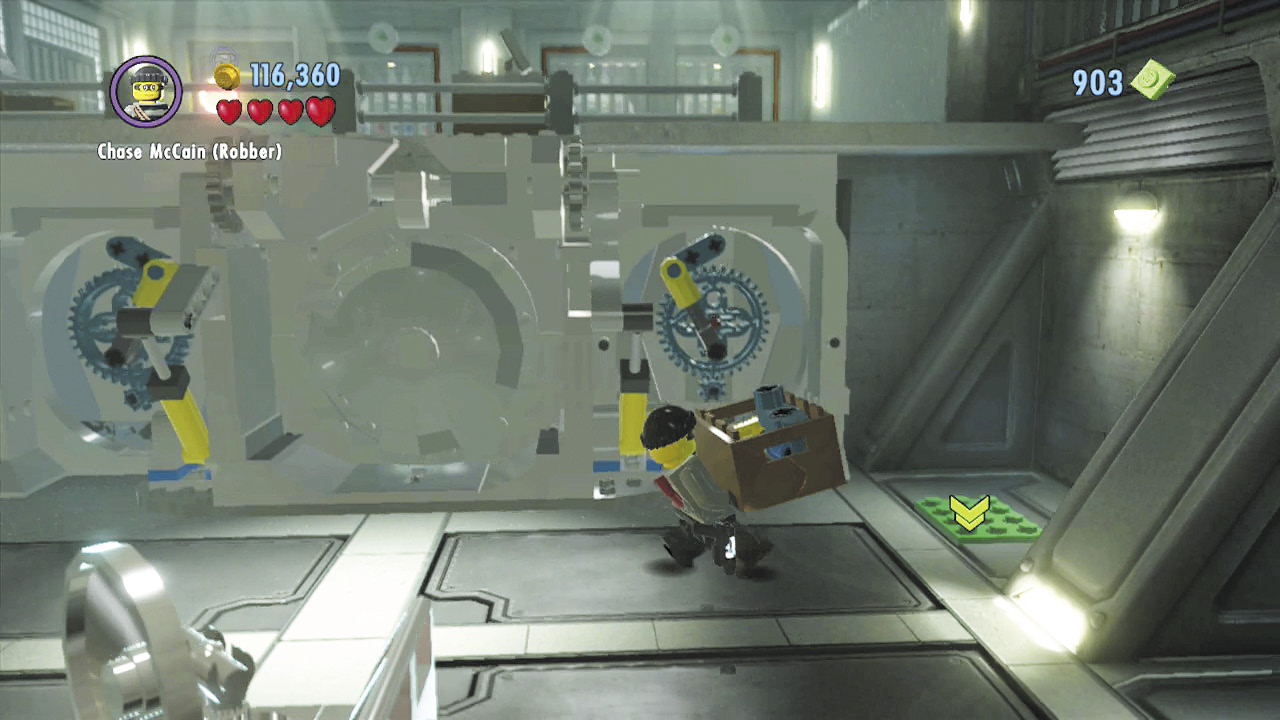
Sift through the remains of the crate to discover a box of bricks. Bring these over to the pad on the right, then set them down and build a blue color swapper.
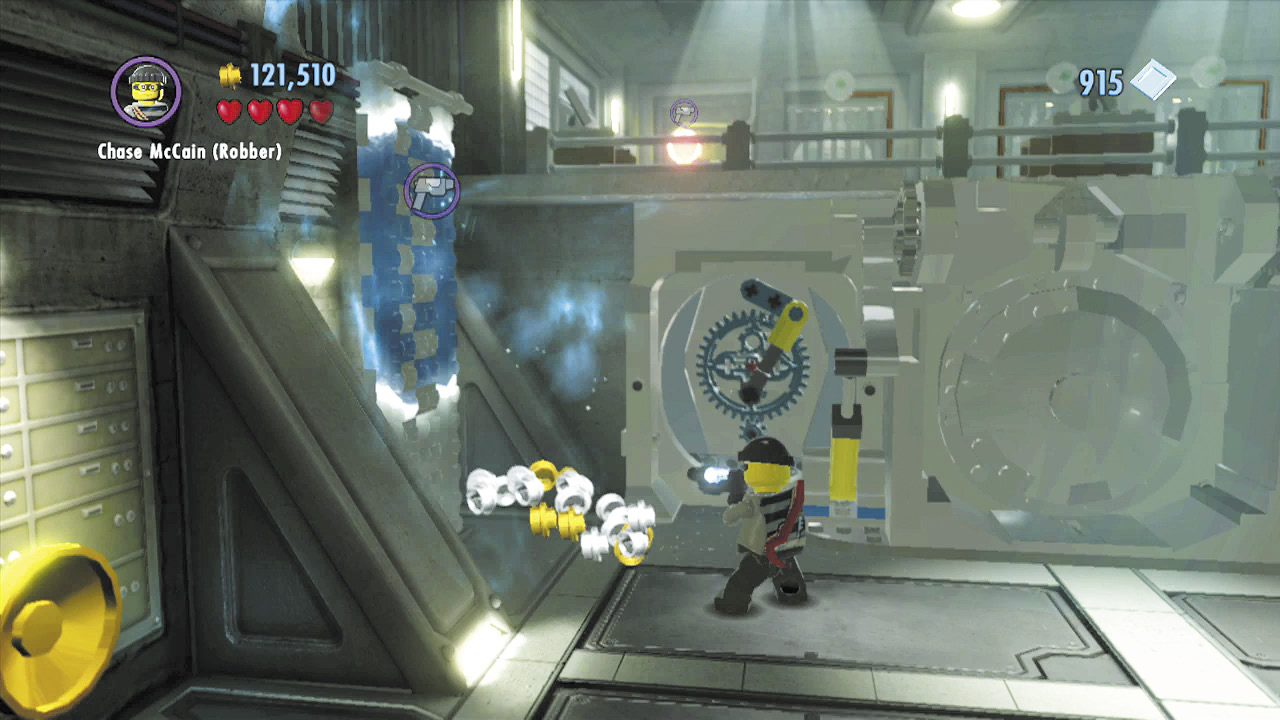
Fill your color gun with blue energy, and blast the white LEGO wall on the left. With the wall colored blue and white, you can now climb to the vault’s upper level.
Safe Crackin’
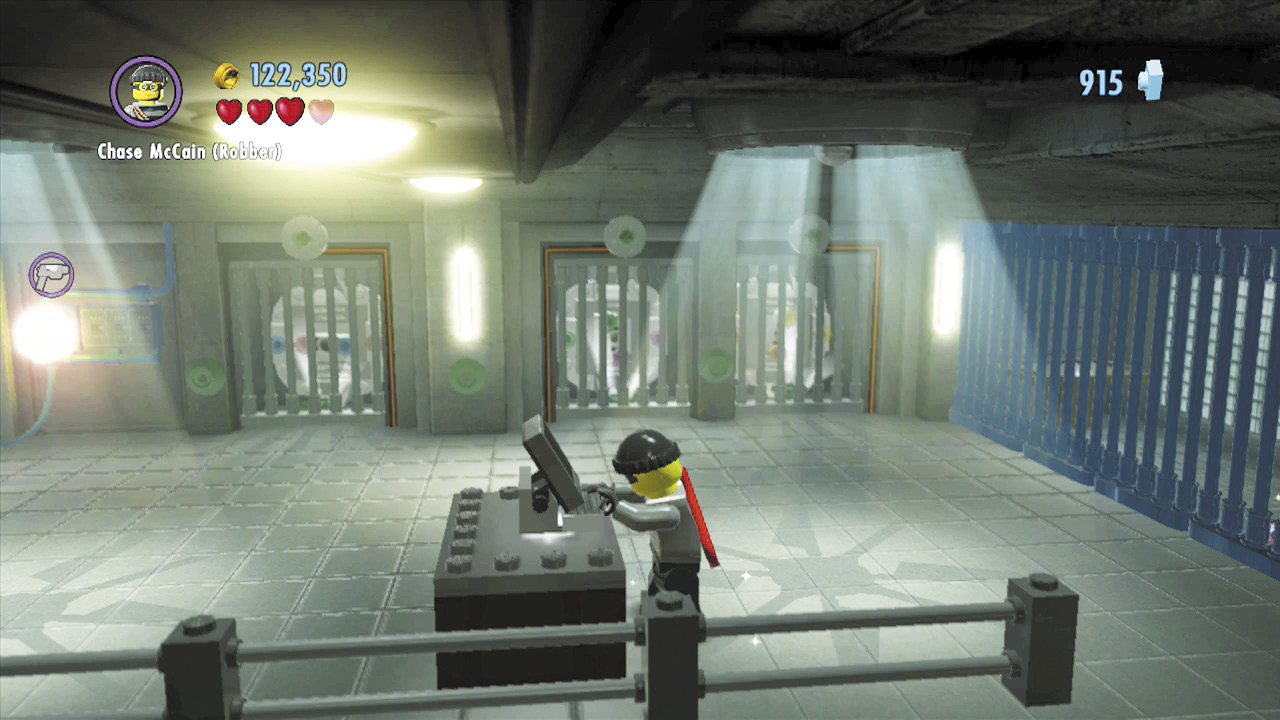
On the vault’s second floor, use a computer to open a nearby gated area, exposing a tall safe.
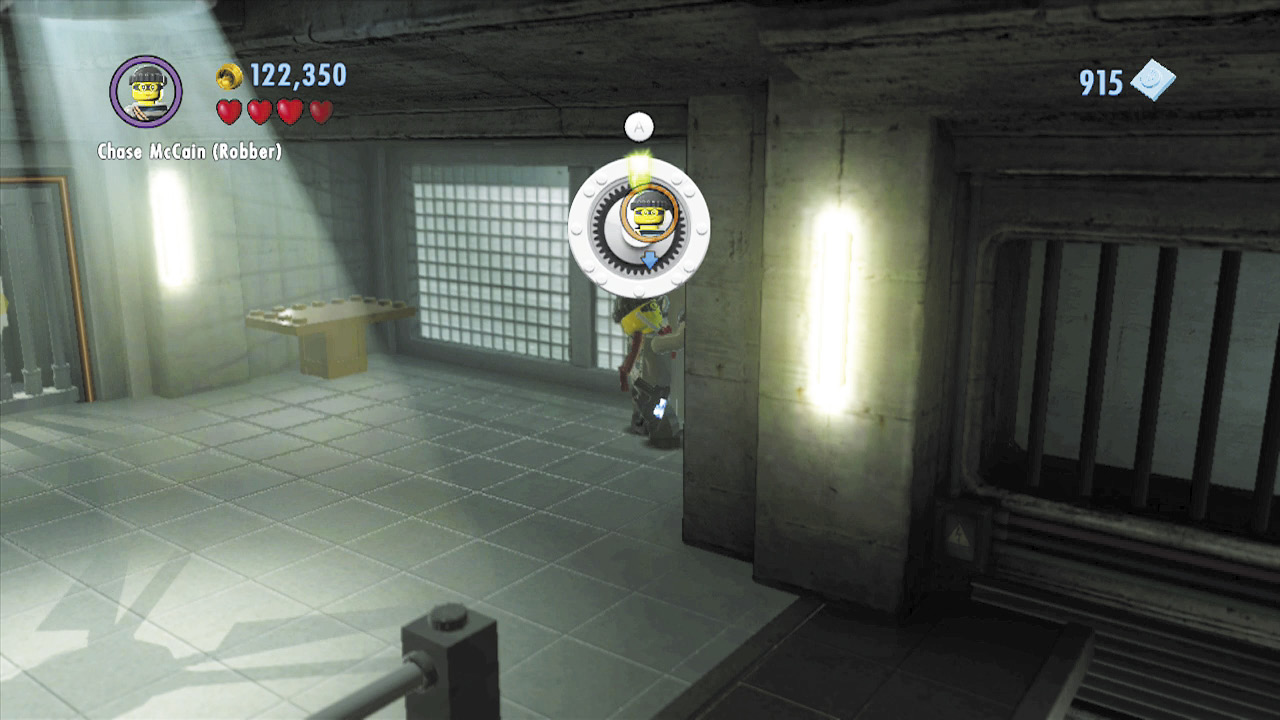
Use the stethoscope to crack a tall safe and discover a bunch of bricks. Build these into a green color swapper.
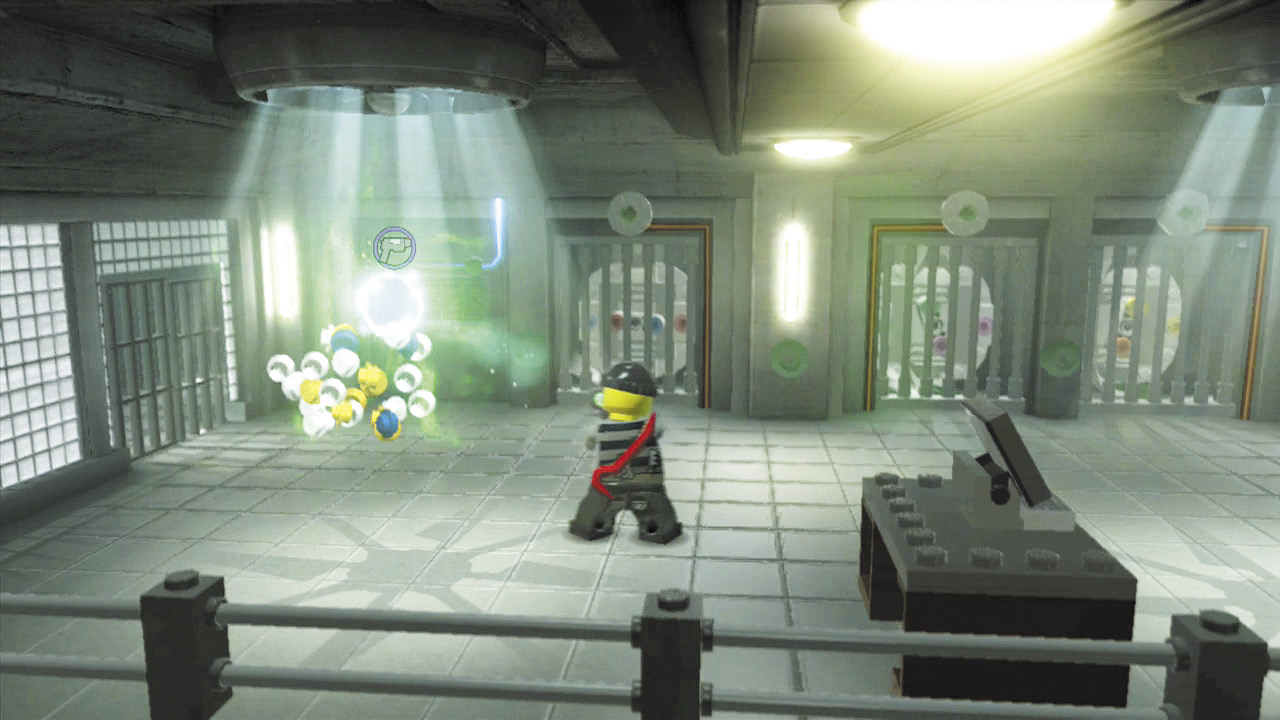
Fill your color gun with green energy, then aim and fire a gob at the red switch on the left. This raises more gates, exposing three control stations.
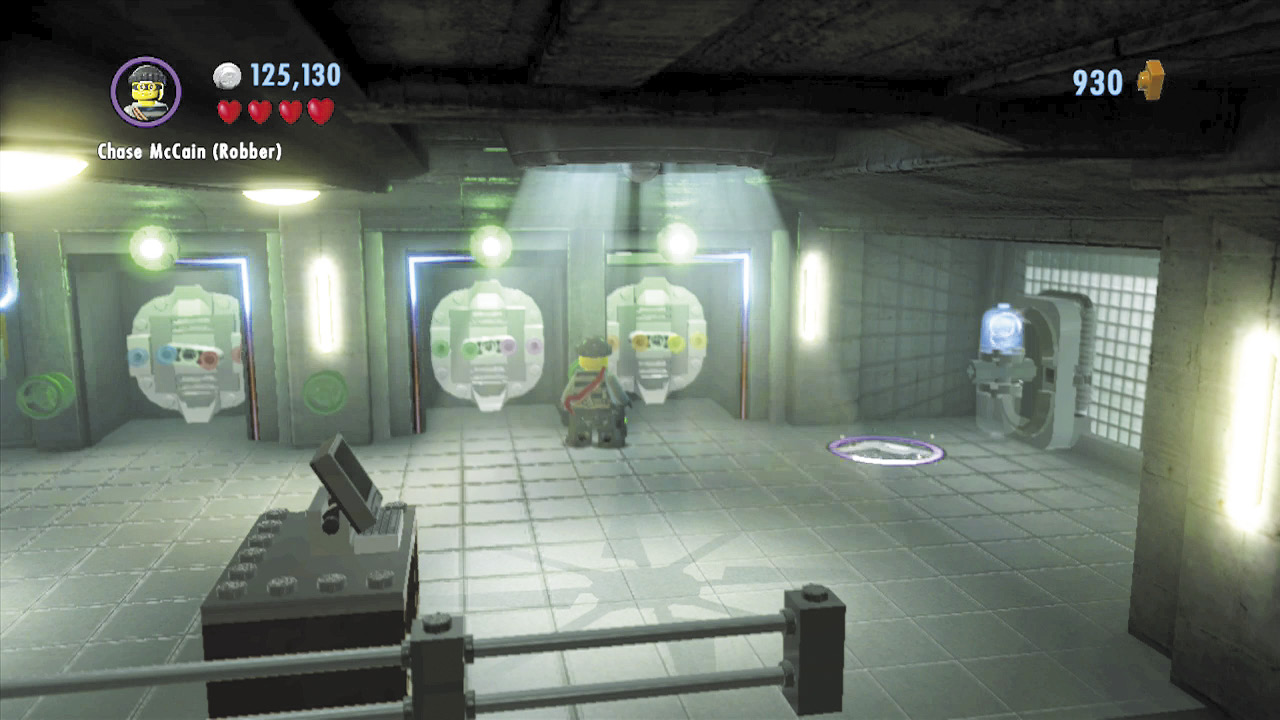
Collect the valve wheels that lie on the ground in front of each control station, and place the valves into the nearby slots. Turn each valve wheel to make the control station’s central handle spin. Match the handles’ colors with the colored dots on the outside of each control station. A green light blinks on above each station when you’ve successfully matched the handles with the dots.
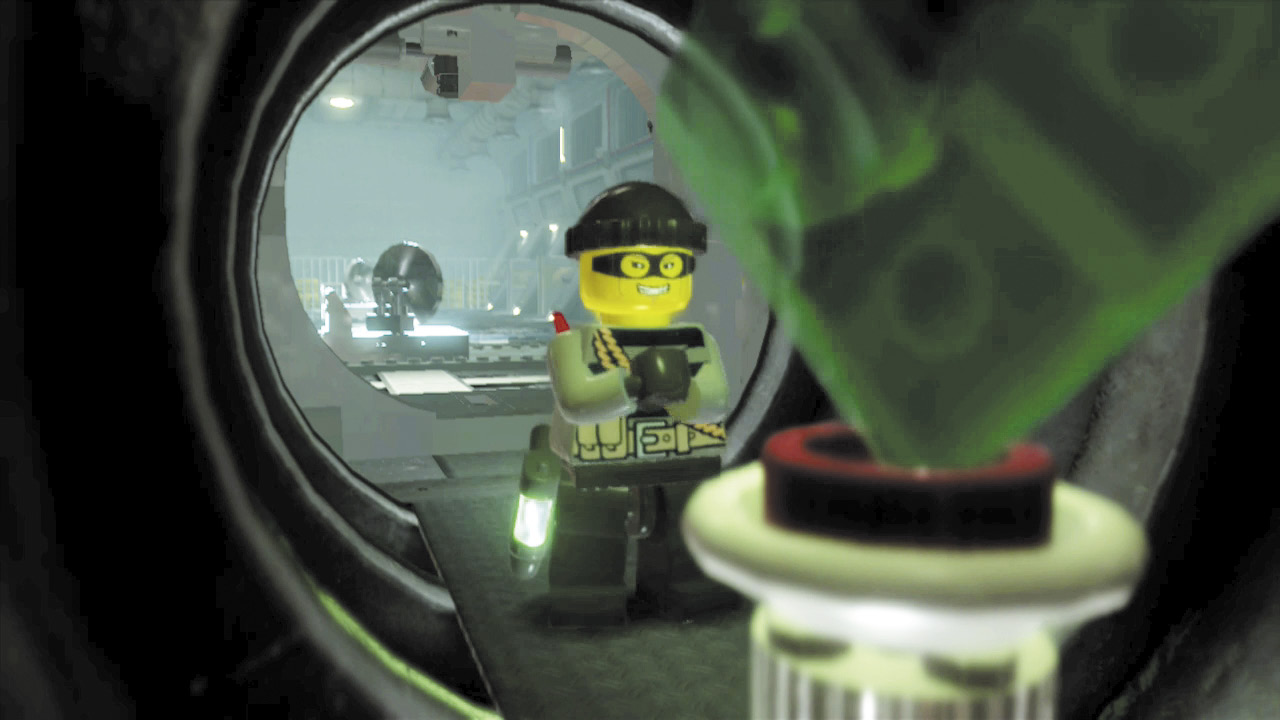
The main safe opens after you successfully activate all three stations. Hurry down there and swipe that giant emerald!
Great Escape
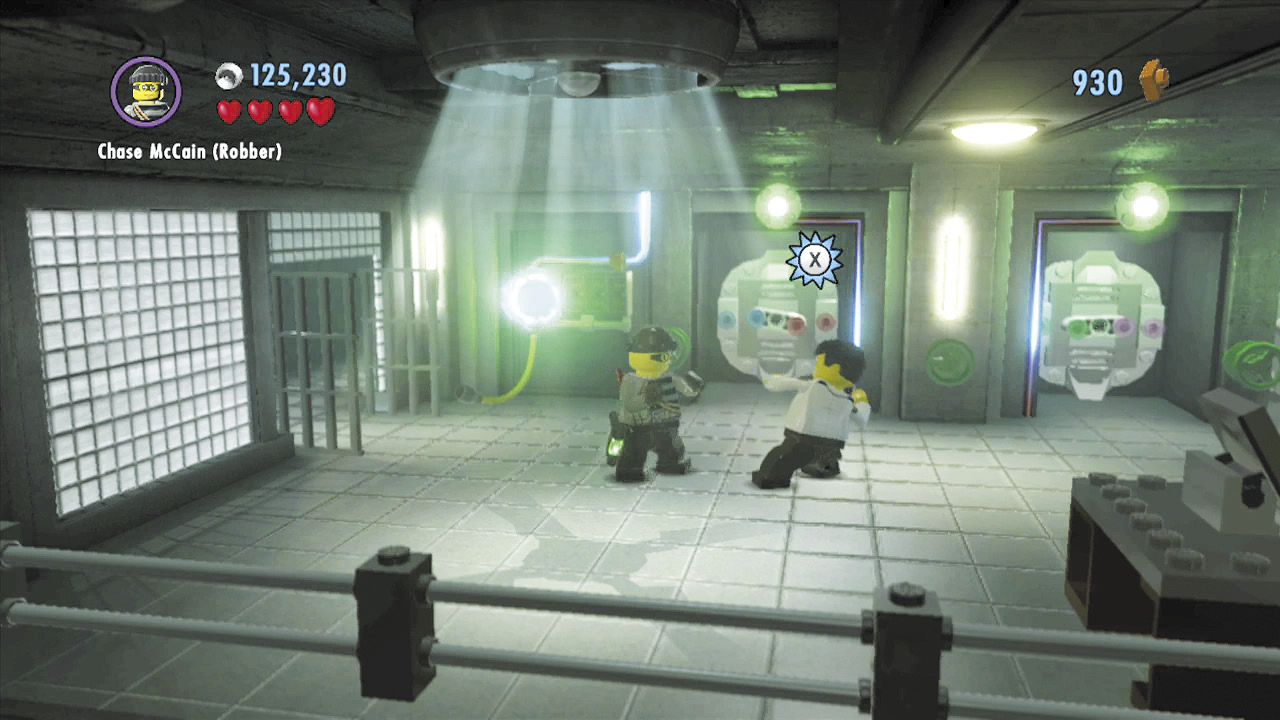
You’ve stolen the Bell Pepper Emerald for Vinnie. Now you need to make yourself scarce! Climb back up the ladder to return to the vault’s second floor, then beat up the security guards who have arrived. Hurry through the now-open left door to reach the lobby.
Objective: Escape the Bank
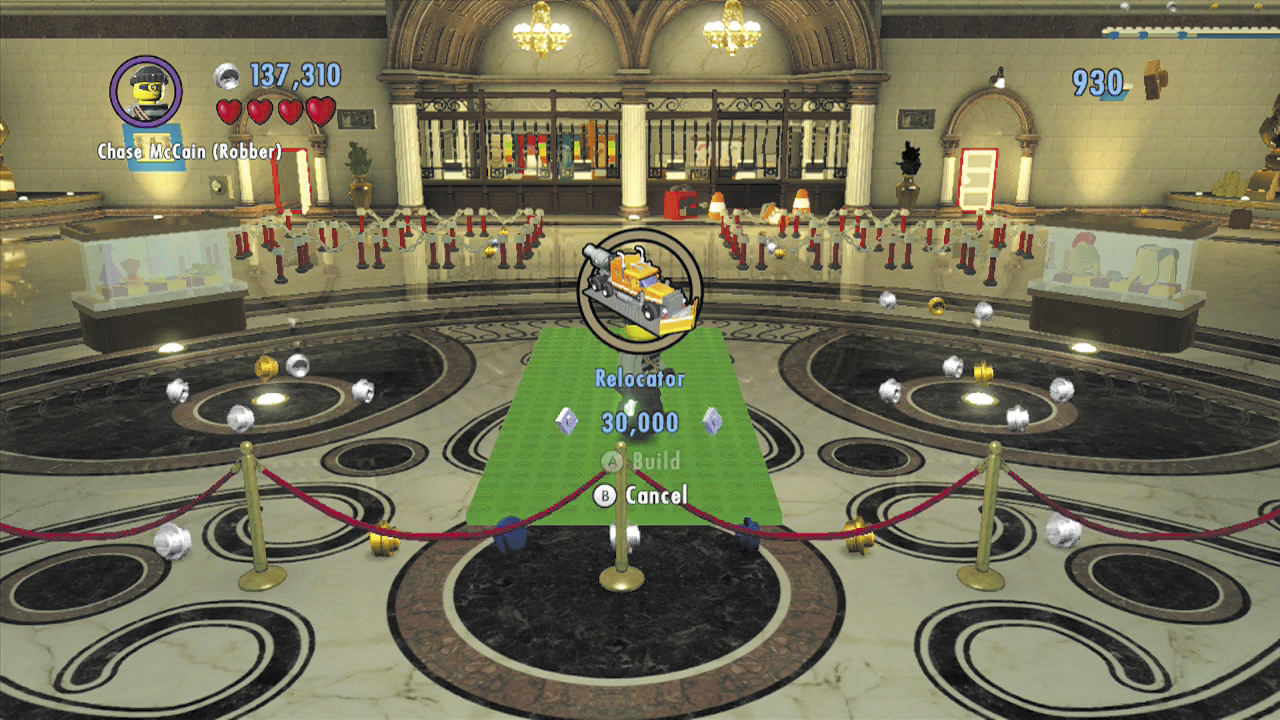
The bank’s luxurious lobby is filled with security guards on high alert. Knock them all for a loop, and notice the central superbuild. You need 30,000 bricks to build the Relocator—your ticket out of here! As luck would have it, there just happens to be several superbricks hidden around the lobby.
Police Shield Piece 4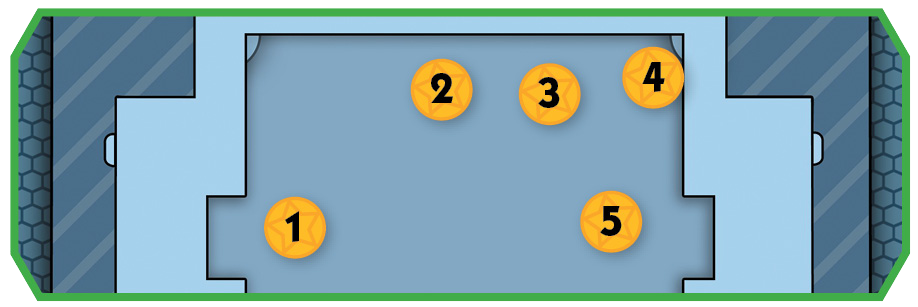 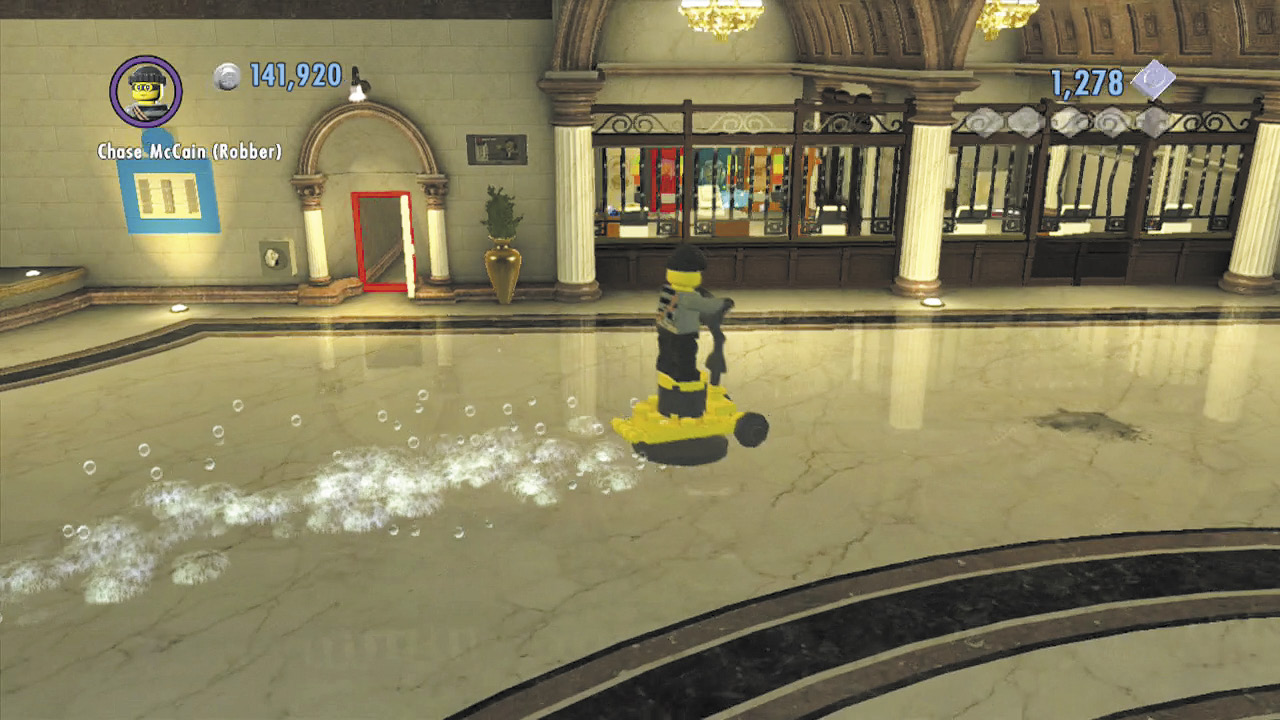 Hop onto the floor buffer in the lobby’s left foreground corner, then drive around and look for five stains that need to be buffed out of the marble. Clean all five stains to score a shield piece! |
Superbrick 1
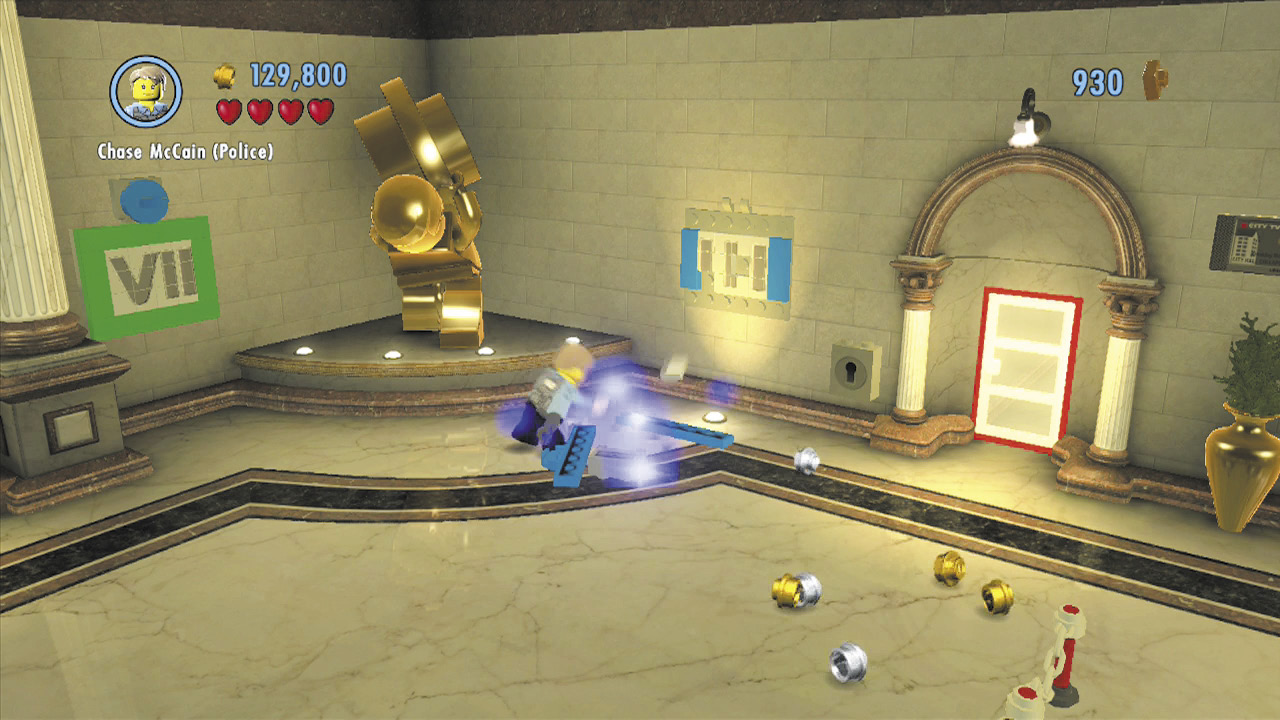
Use the grapple gun to pull down a pair of paintings near the statue in the lobby’s left background corner. Build the remains of the paintings into two signs: a blue “III” and a green “VII.”
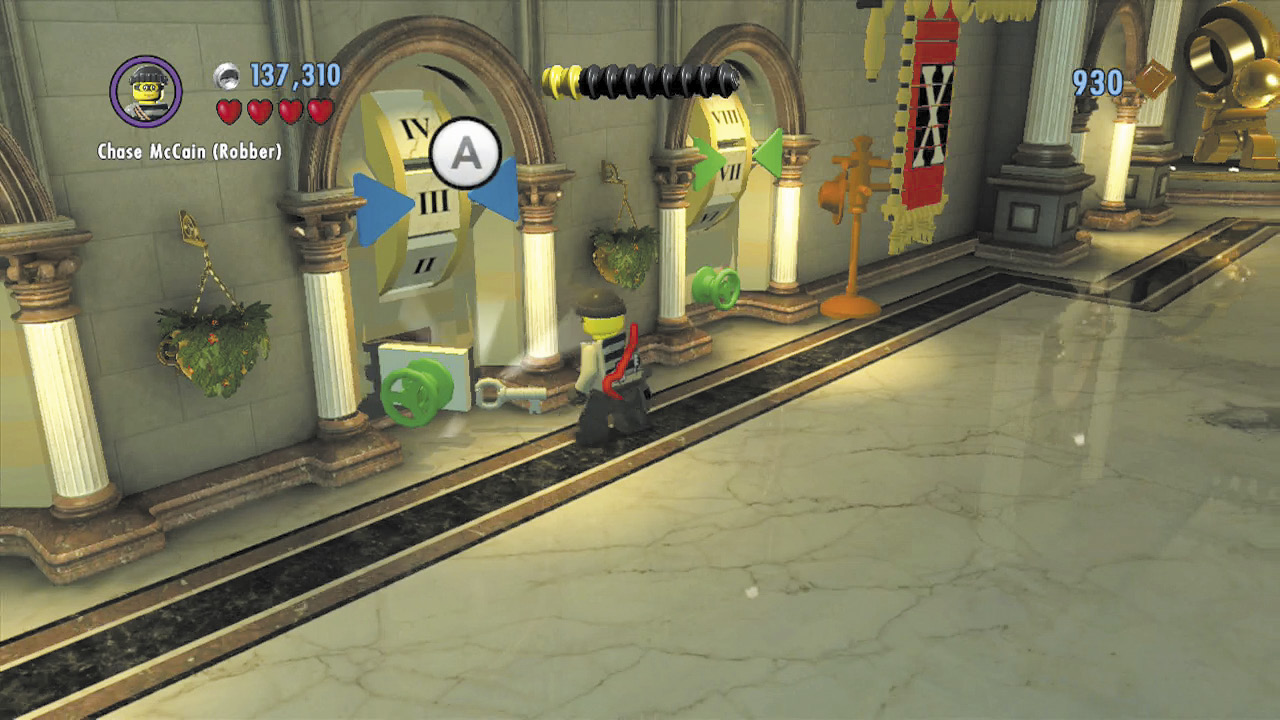
Run to the foreground and notice a trio of giant slots. Spin the valve wheels so that the blue slot comes up “III” and the green slot comes up “VII.” Now simply spin the red slot to make it read “X.”
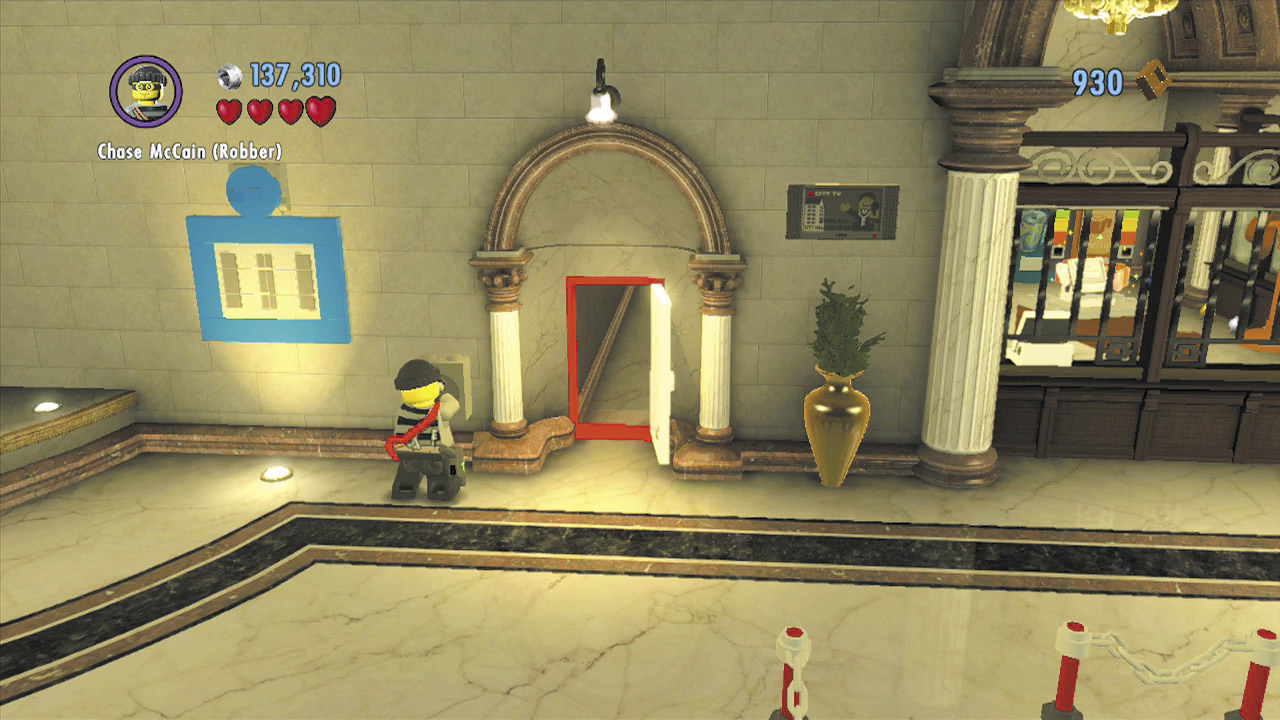
Solving the slots puzzle scores you a key. Carry the key into the background and use it to unlock a door that leads behind the left tellers’ counter. Head inside and collect the superbrick that sits out in the open.
Superbricks 2 and 3
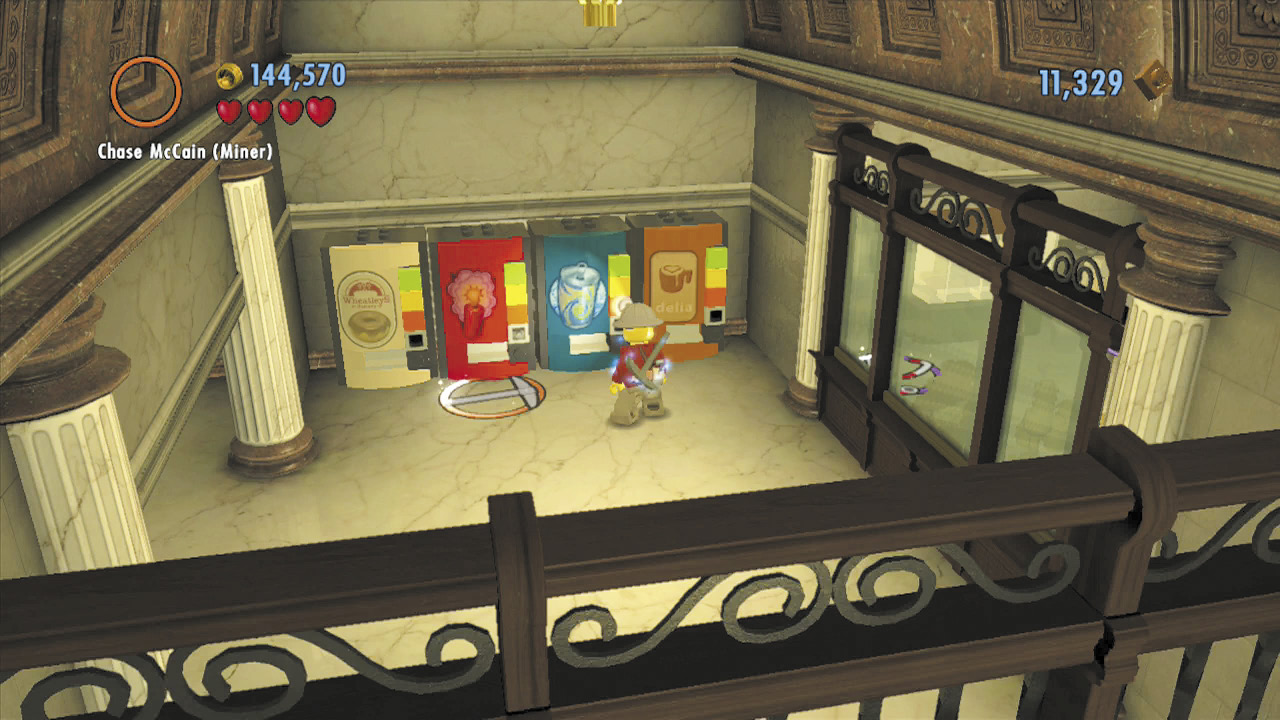
Collect some dynamite from the dispenser behind the left tellers’ counter. There’s probably a good reason why this is here!
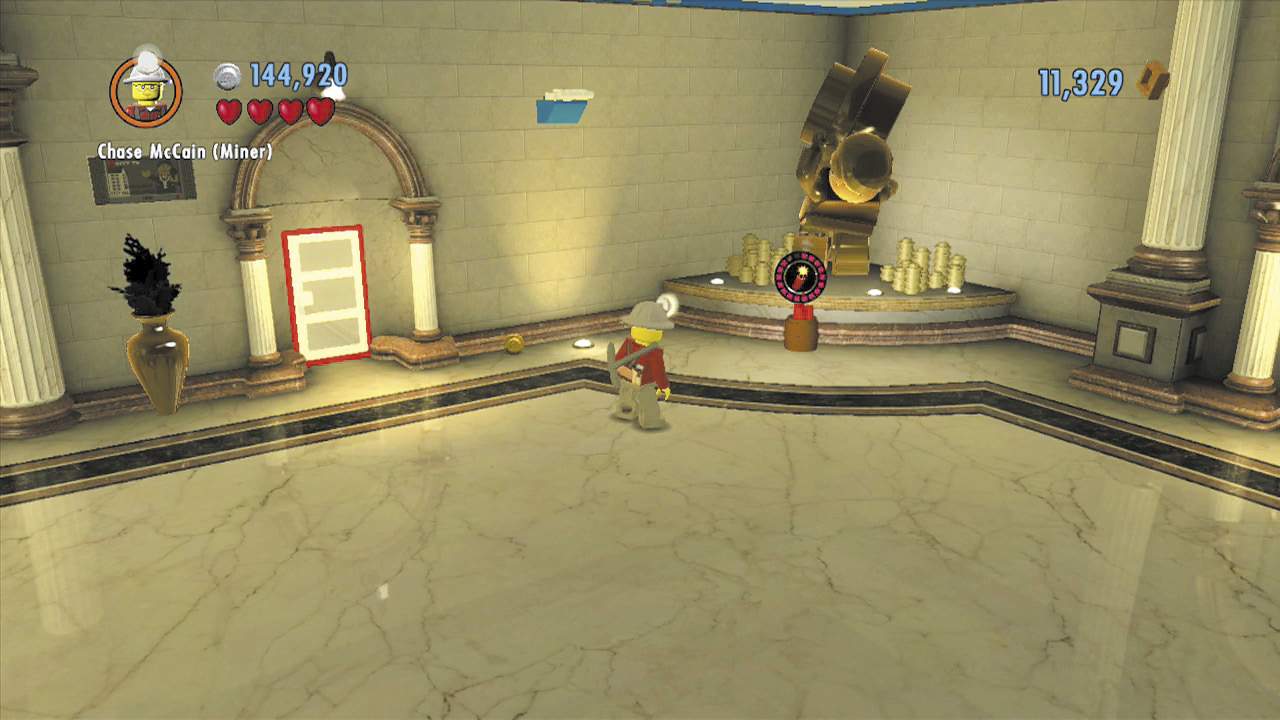
Carry the dynamite out of the back area and over to the lobby’s right background statue. The explosion sends part of the statue rolling through the right half of the bank tellers’ counter!
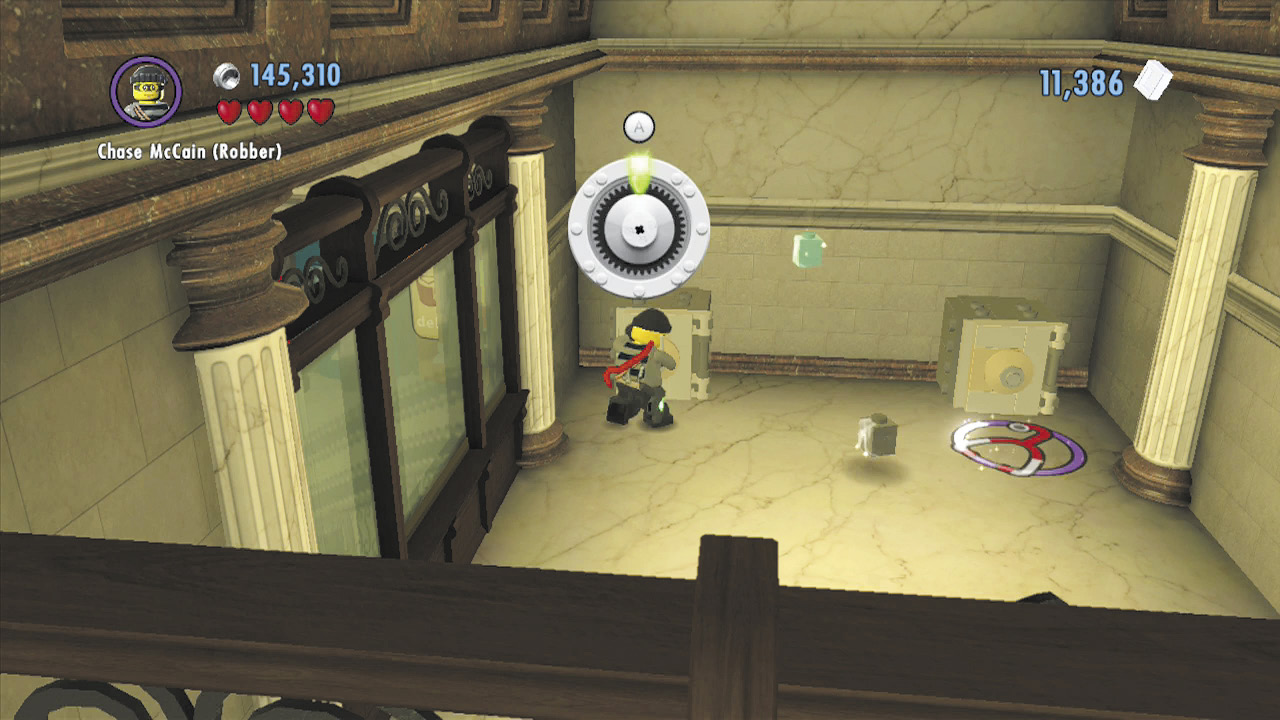
Pass through the hole you’ve created and crack open the two safes you can now reach. Each one contains a superbrick!
Free PlayCharacter Token 2: Bank Manager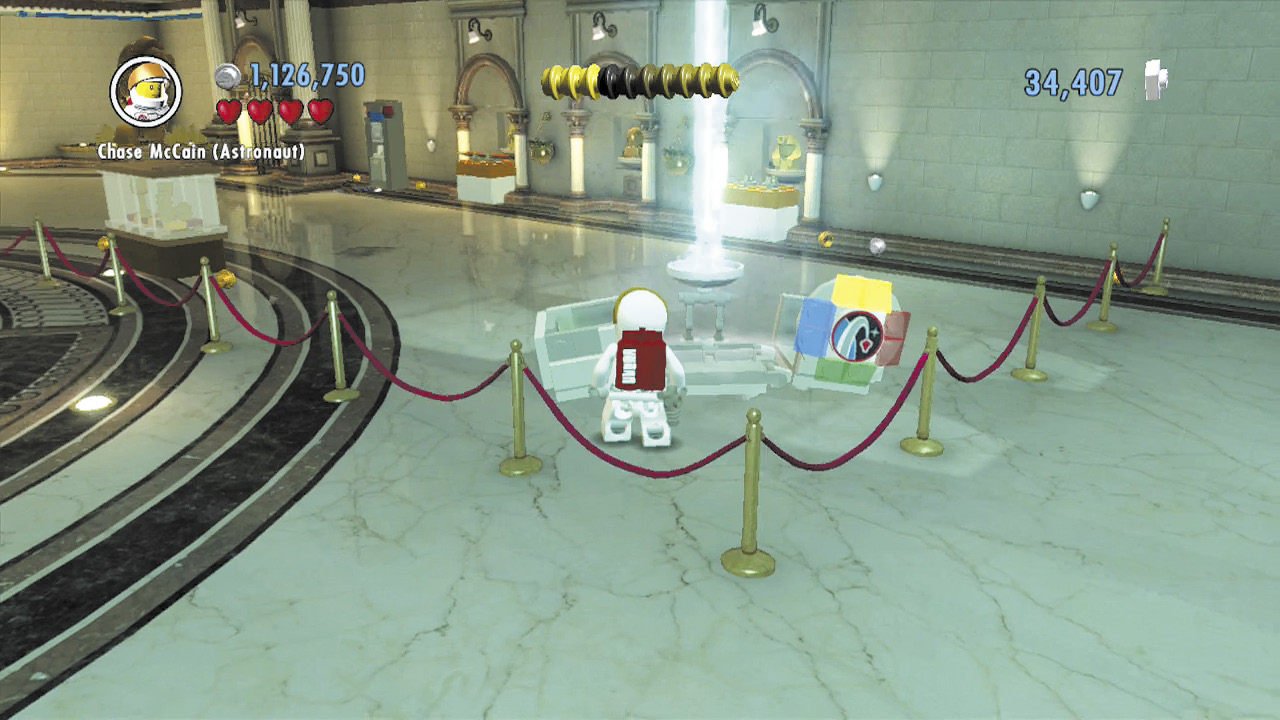 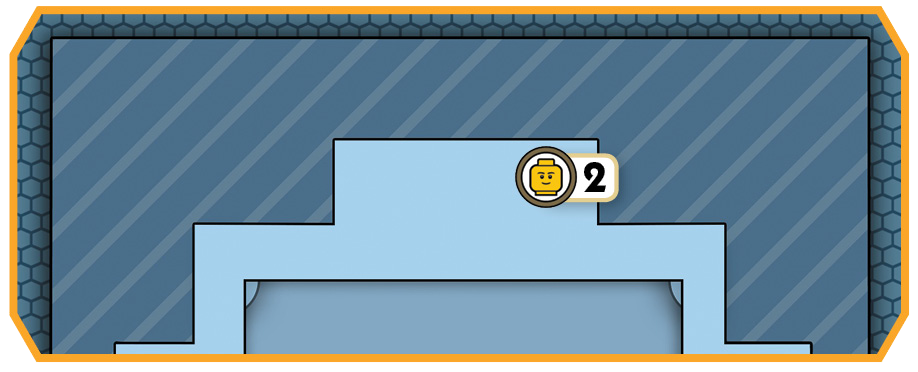 Activate the space crate in the lobby’s right foreground corner to make a transporter pad materialize nearby. Use the pad to beam up to the lobby’s balcony. 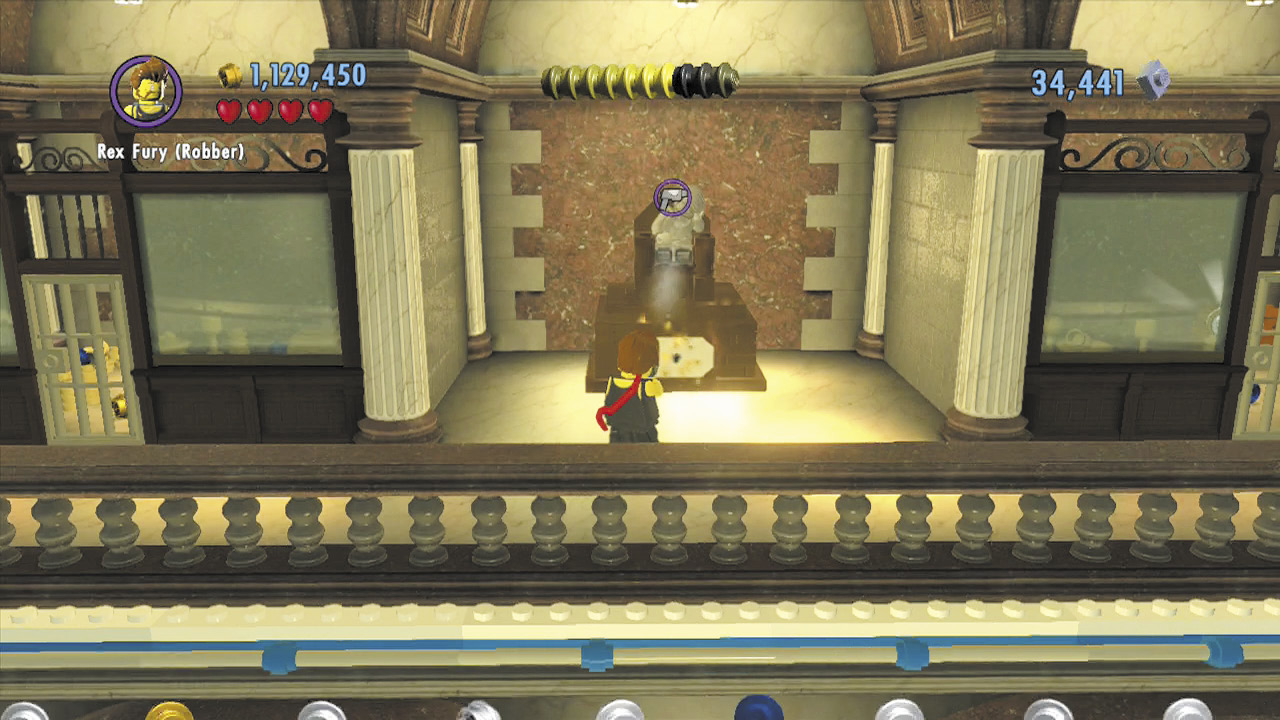 Step off the transport pad and fill your color gun with brown energy at the nearby swapper. Run to the left and blast the chair of the statue to paint it brown. 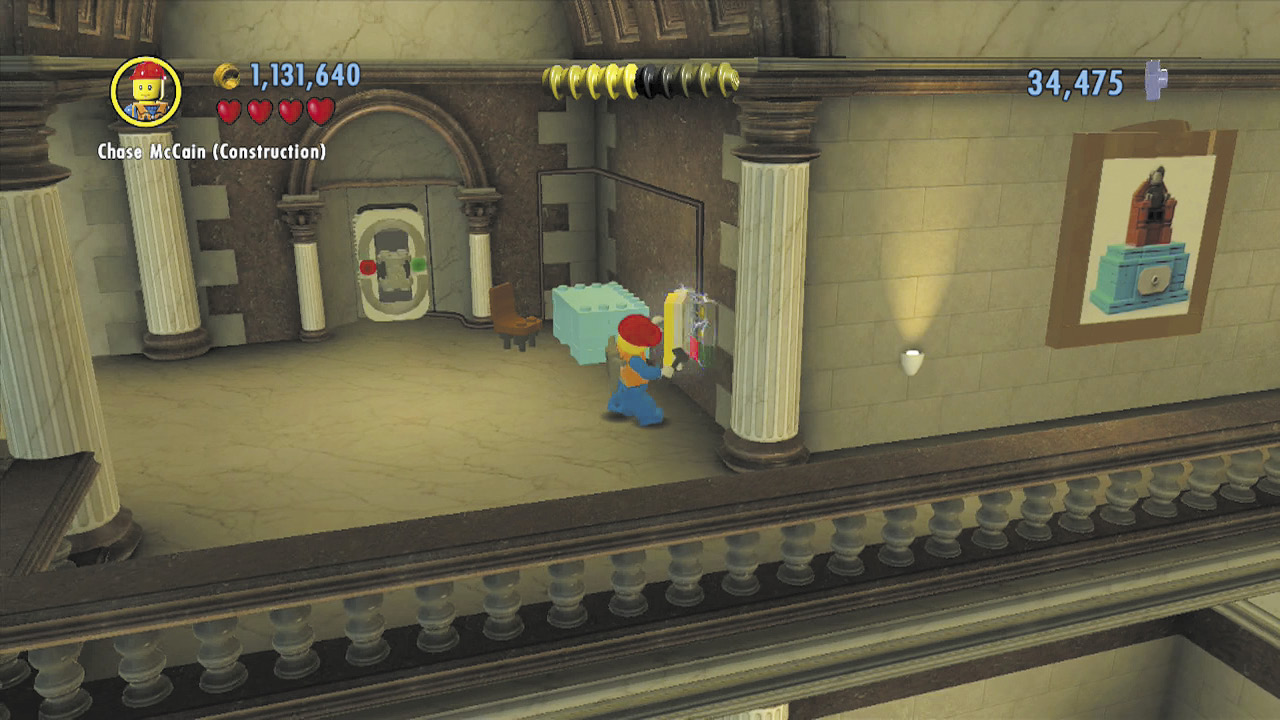 The statue isn’t quite finished yet. Keep going left to find another color swapper. This one isn’t working. Fix the nearby fuse box to power it. 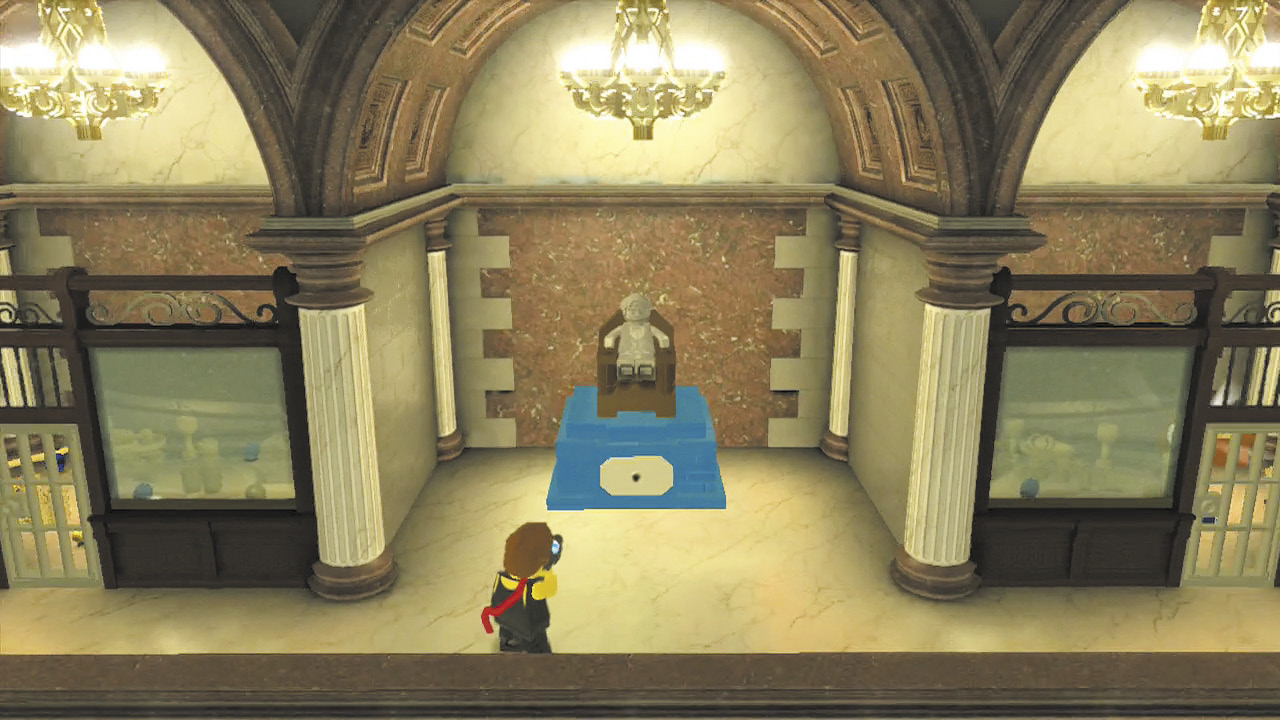 Now use the color swapper to fill your gun with blue energy. Return to the statue and blast its base to paint it blue. 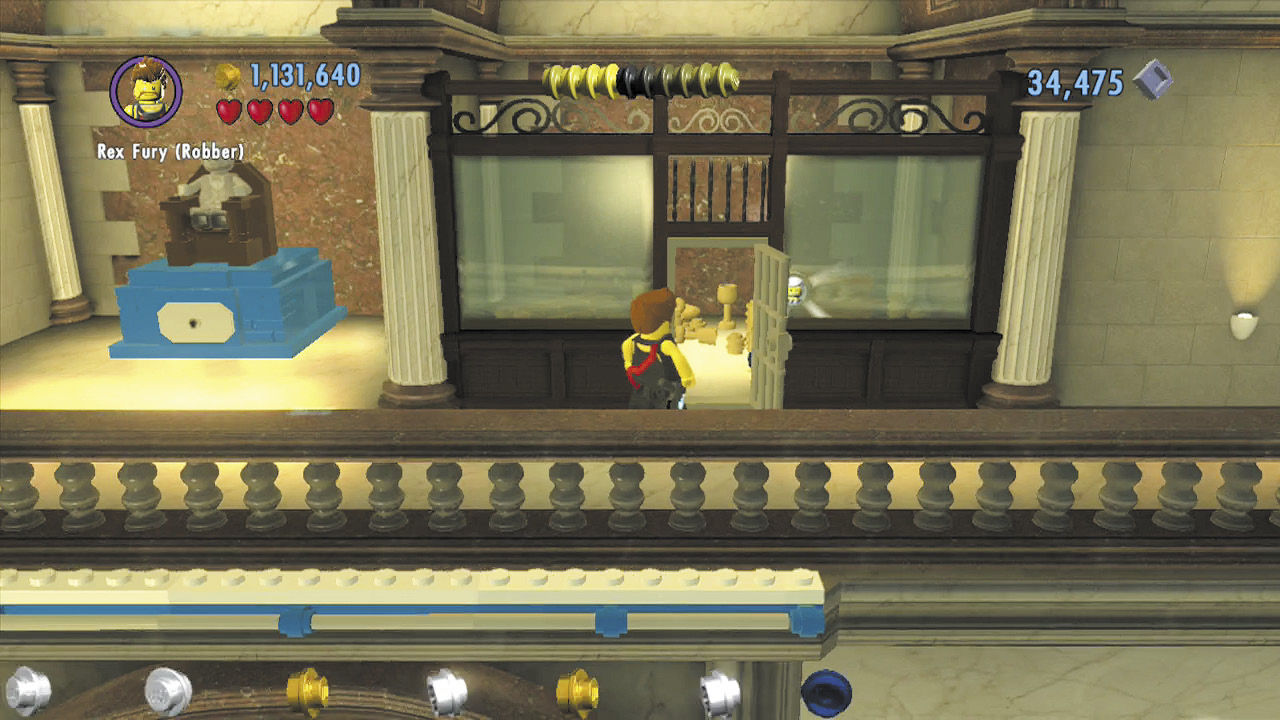 With the statue’s chair painted brown and its base blue, the nearby doors swing open. Enter the door on the right to snag this stage’s final collectible—a character token! |
Time to Relocate
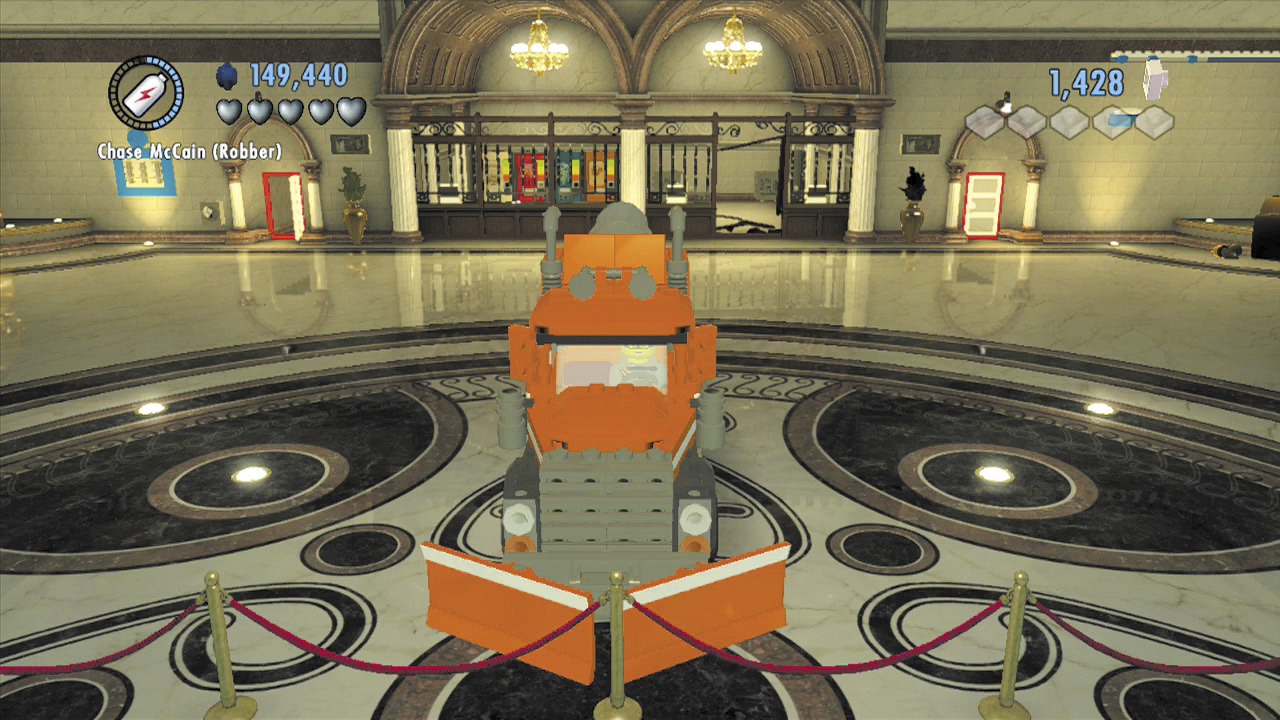
You’ve found plenty of bricks, so go ahead and build the Relocator at the lobby’s central superbuild pad. Chase makes his epic escape, smashing out of the bank in style!
City Exploration
Objective: Take the Emerald to Vinnie

Excellent work! You’ve stolen the Bell Pepper Emerald. Now you need to bring it to the drop-off point. Do your best to avoid the police on your way, and use the Relocator’s turbos to smash through barricades.
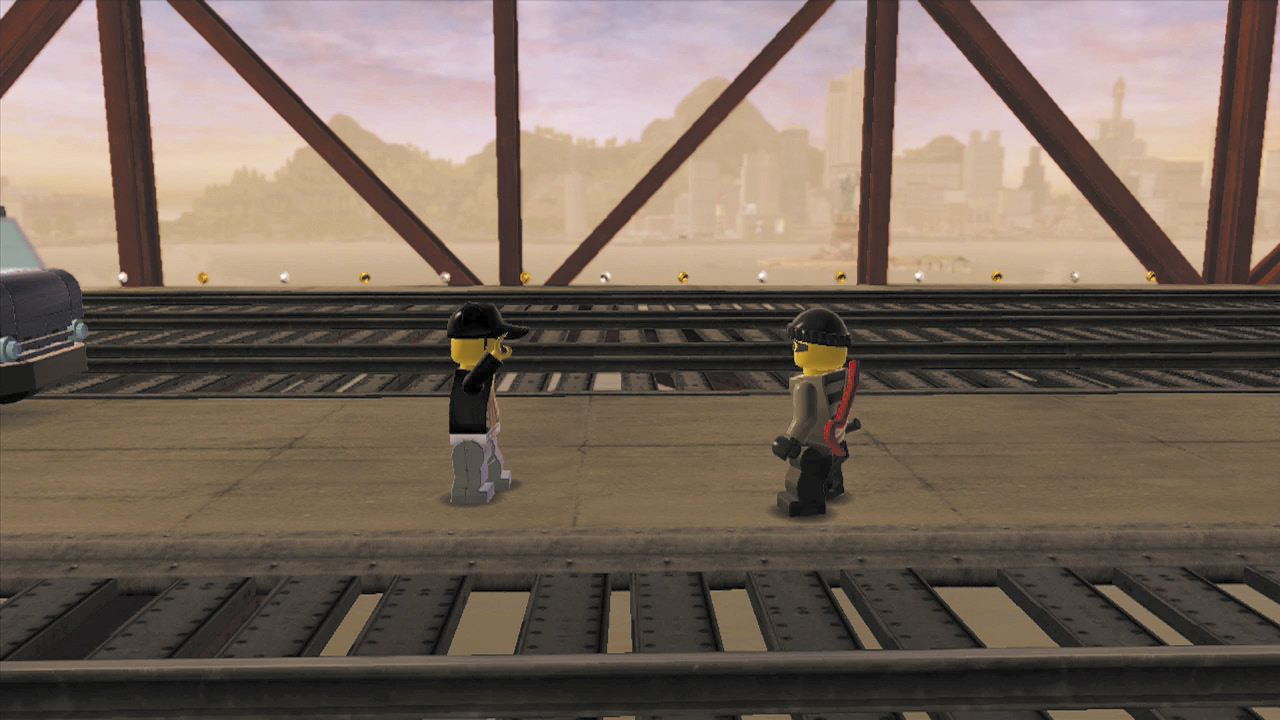
Vinnie’s contact awaits you beneath one of the city’s bridges. Just keep following the green studs until you drive down a ramp and make the drop.
Objective: Gather Evidence Against Chan’s Men
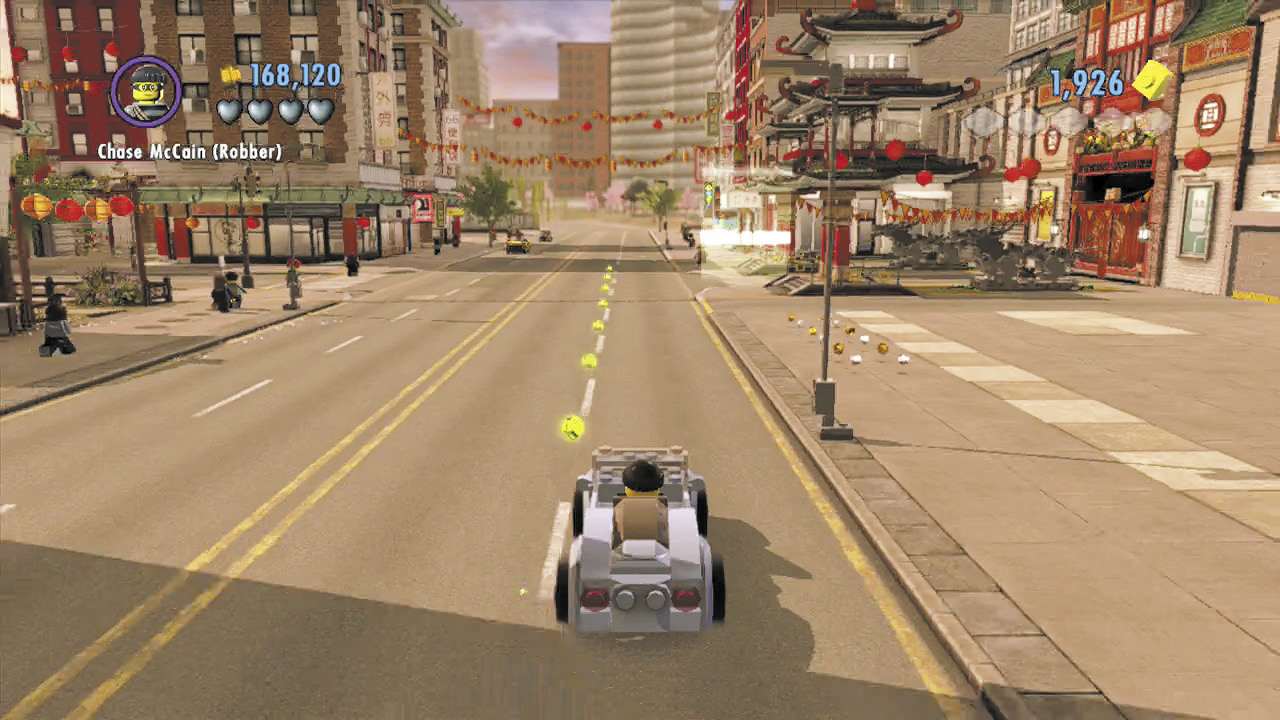
Chase’s success with Vinnie means he’s finished working with Chan’s gang. Chief Dunby therefore orders Chase to gather photographic evidence against Chan’s men. Commandeer a vehicle and follow the green studs to a favorite hangout of Chan’s.
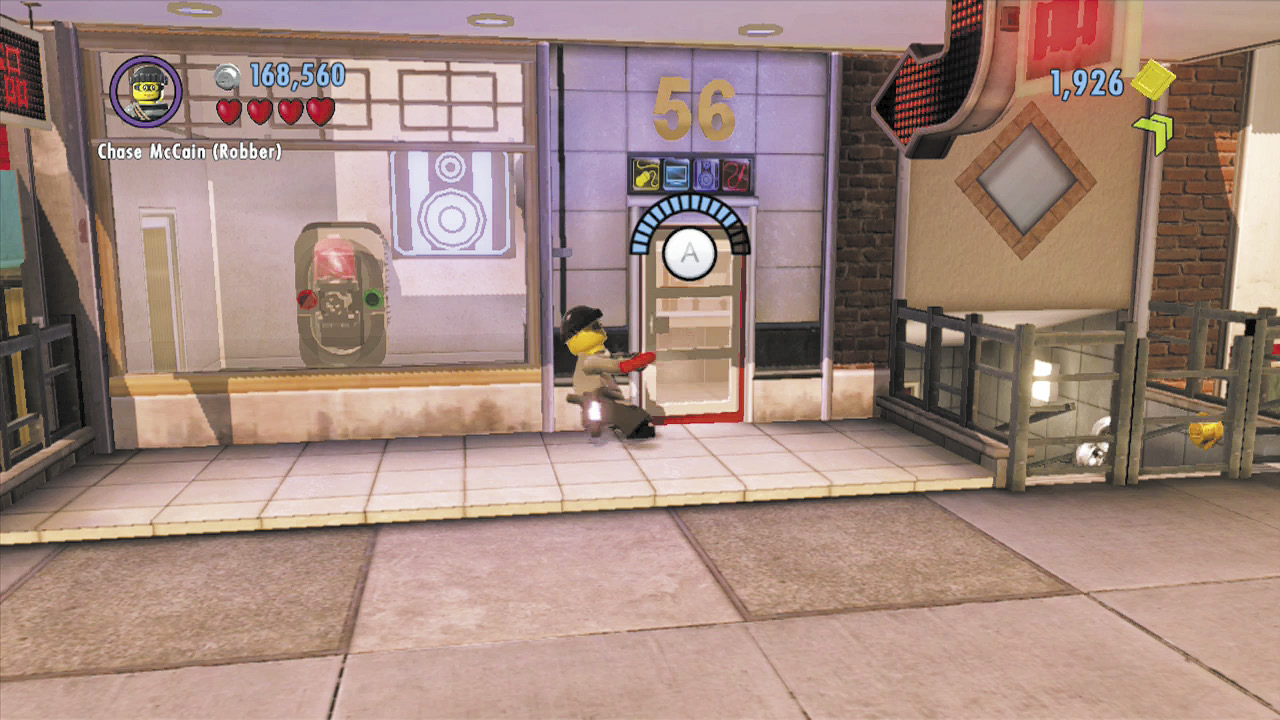
You soon reach your objective: a noodle restaurant that Chan enjoys. This is a perfect place to eavesdrop on his gang’s activity. Break into a nearby building to access a red color swapper.
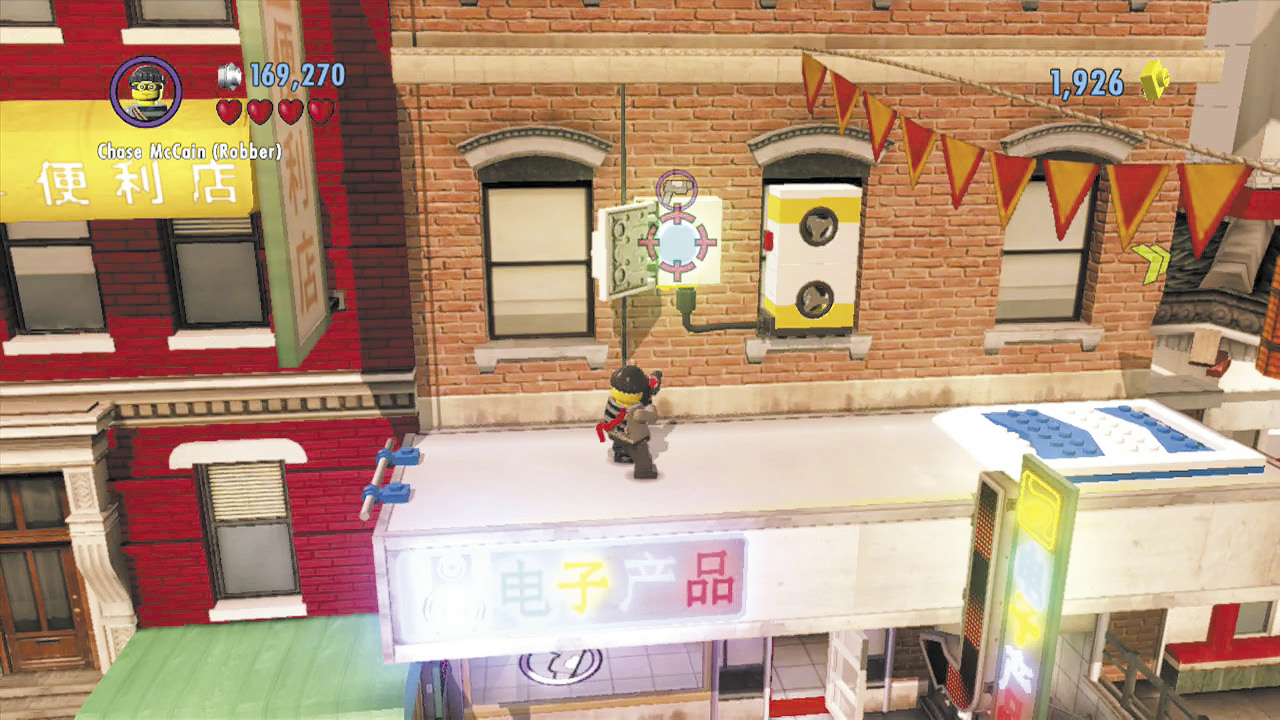
Take the stairs outside the color swapper shop and climb up the handhold to reach a green switch. Blast this with red energy to shut off the nearby fans.
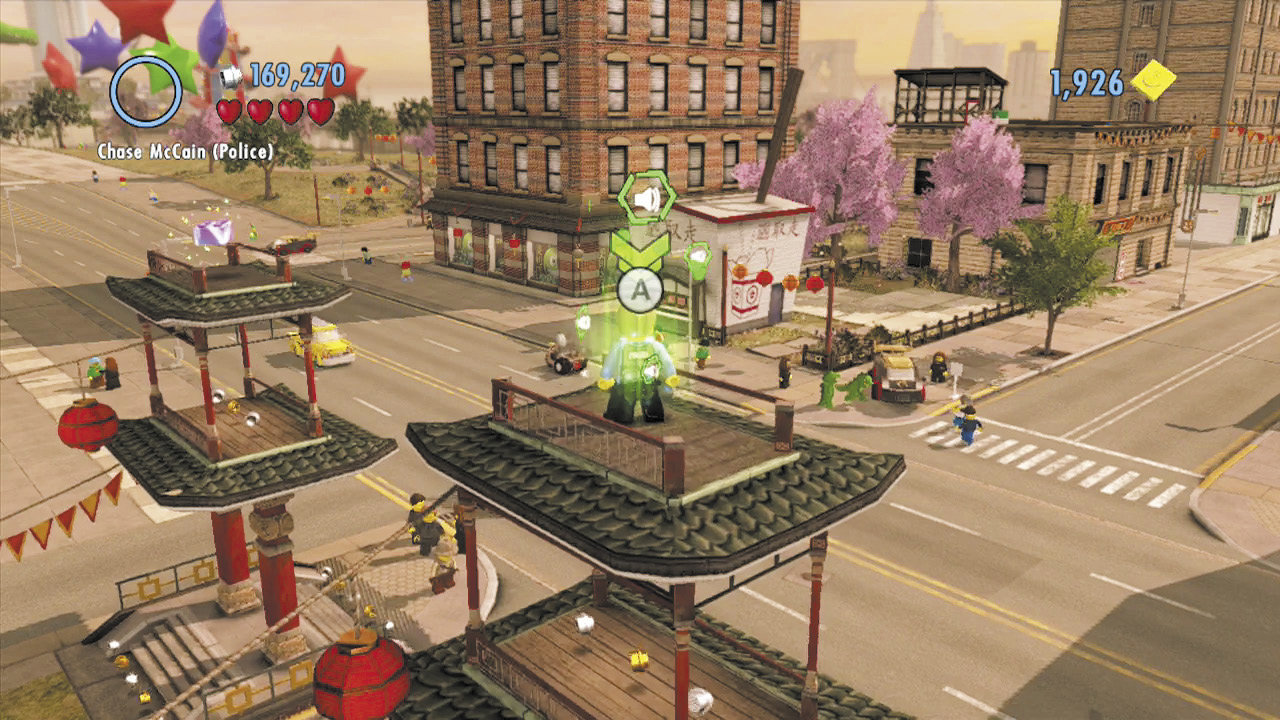
With the fans powered down, you can use a catapult pad to rocket over to the scan spot that overlooks the noodle restaurant. Now you’re in a perfect spot to eavesdrop!
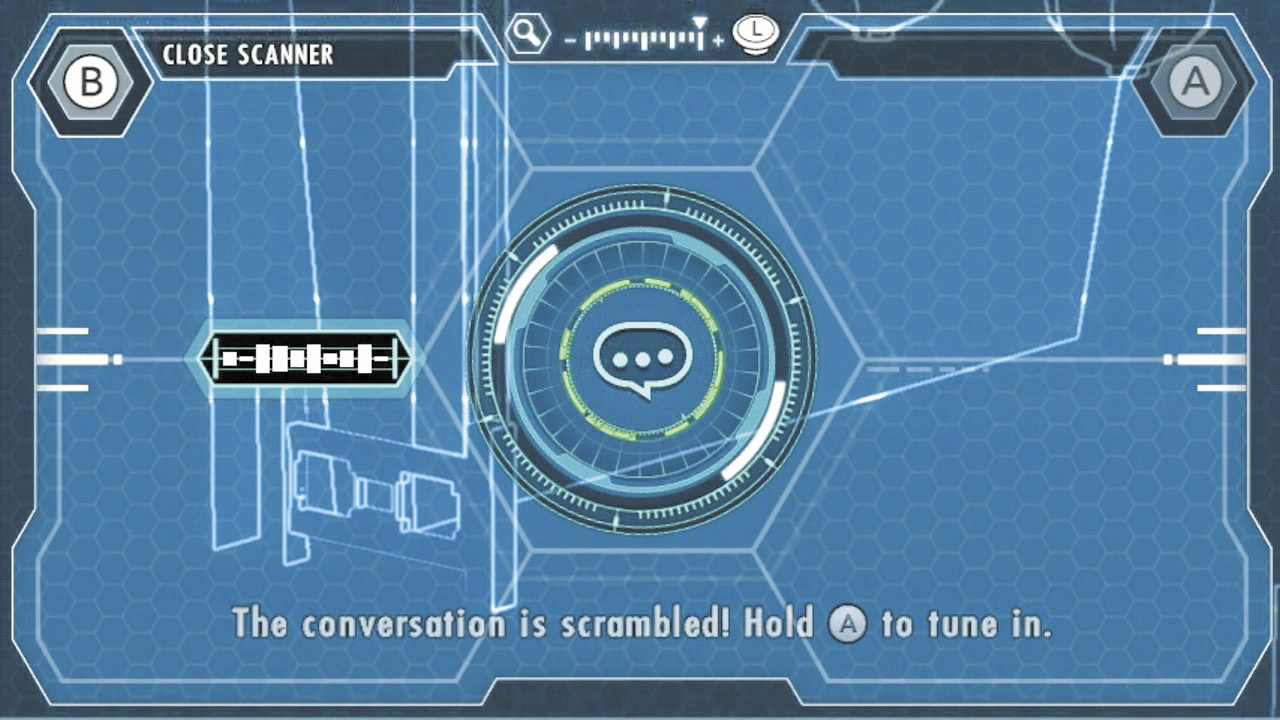
Chan’s men soon arrive. Use Audio Scan mode to listen in on their conversation inside the noodle restaurant.
Pagoda Pics
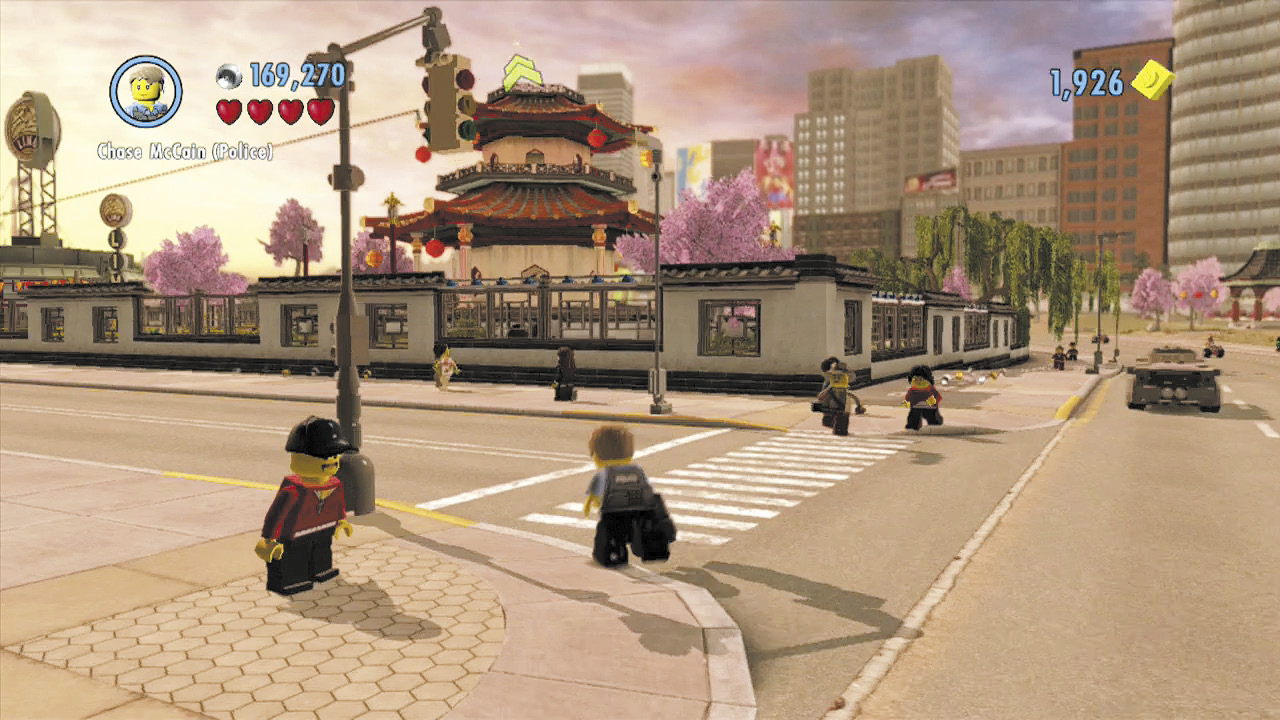
Your eavesdropping proves fruitful. Chan’s men are set to perform several crimes around a nearby park. If you can reach the top of the park’s central pagoda, you can snap photos of all of Chan’s goons in the act! Drop from your perch and sprint over to the pagoda.
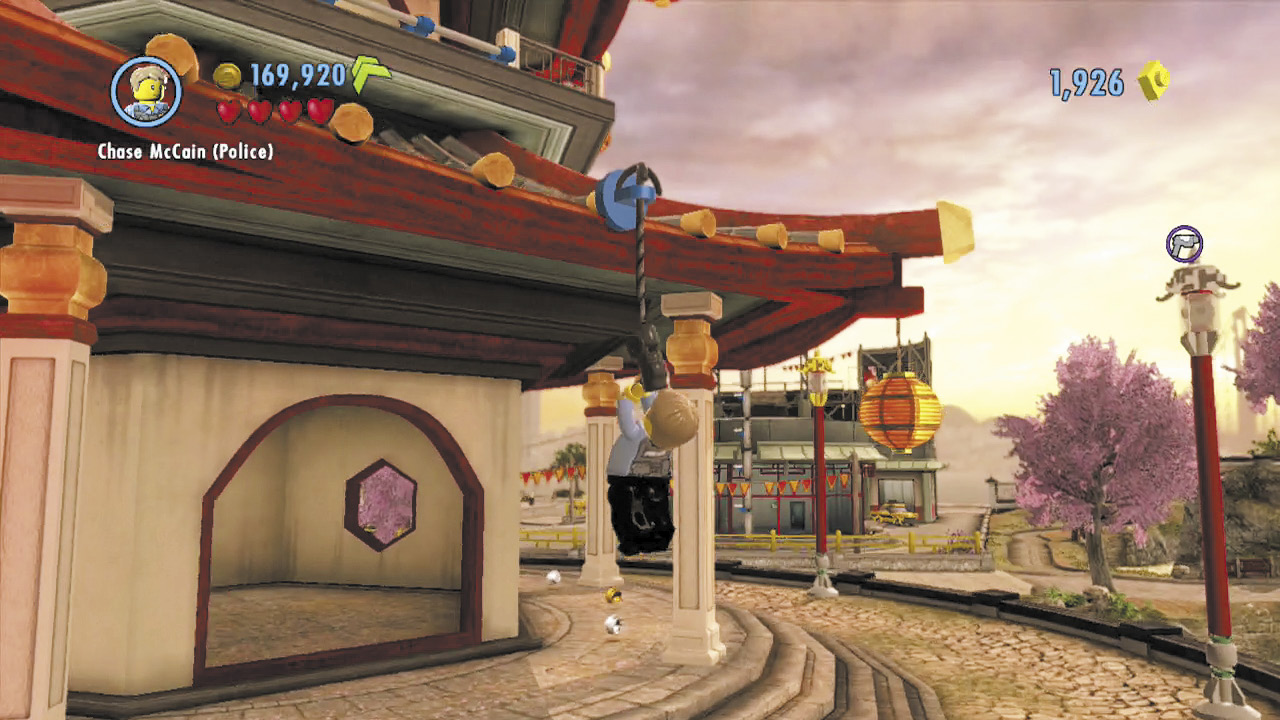
Enter the park and run around the pagoda until you find a grapple point. Zip up and then climb an interior ladder to reach the pagoda’s roof.
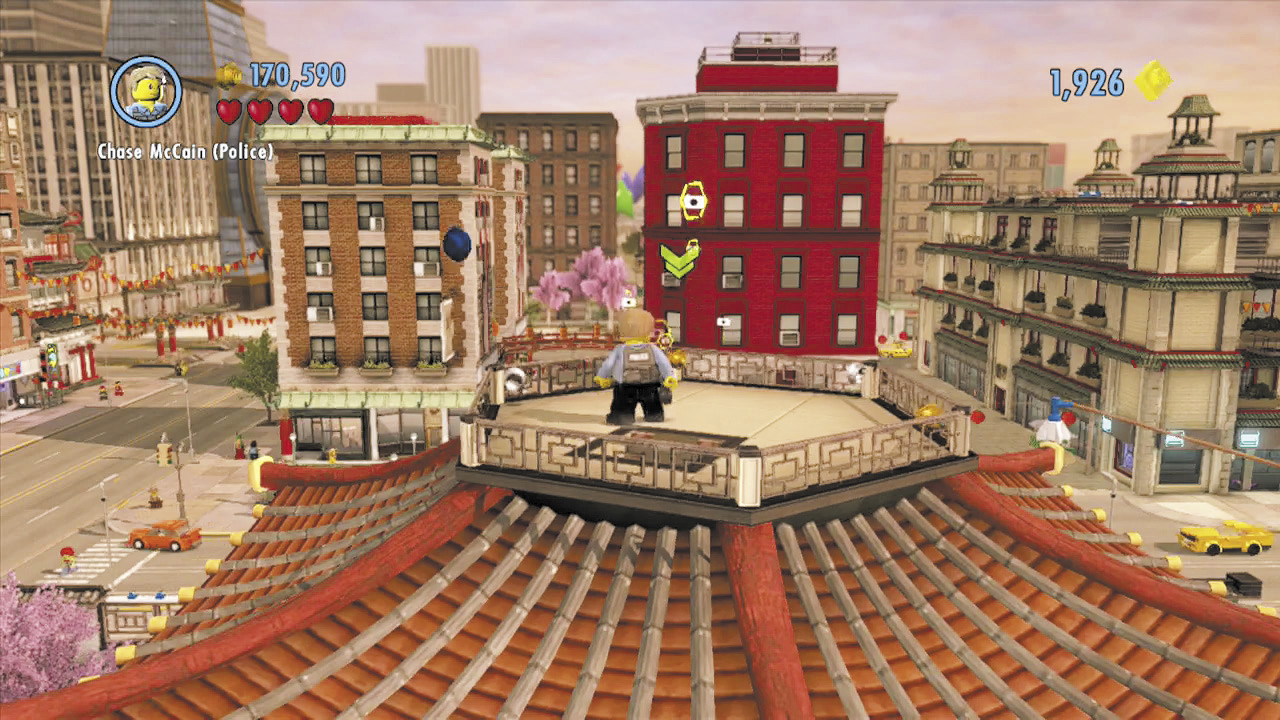
Excellent! Now use your newfound Camera mode to take pictures of the three gang members. The Wii U GamePad becomes the center of the action while using Camera mode!
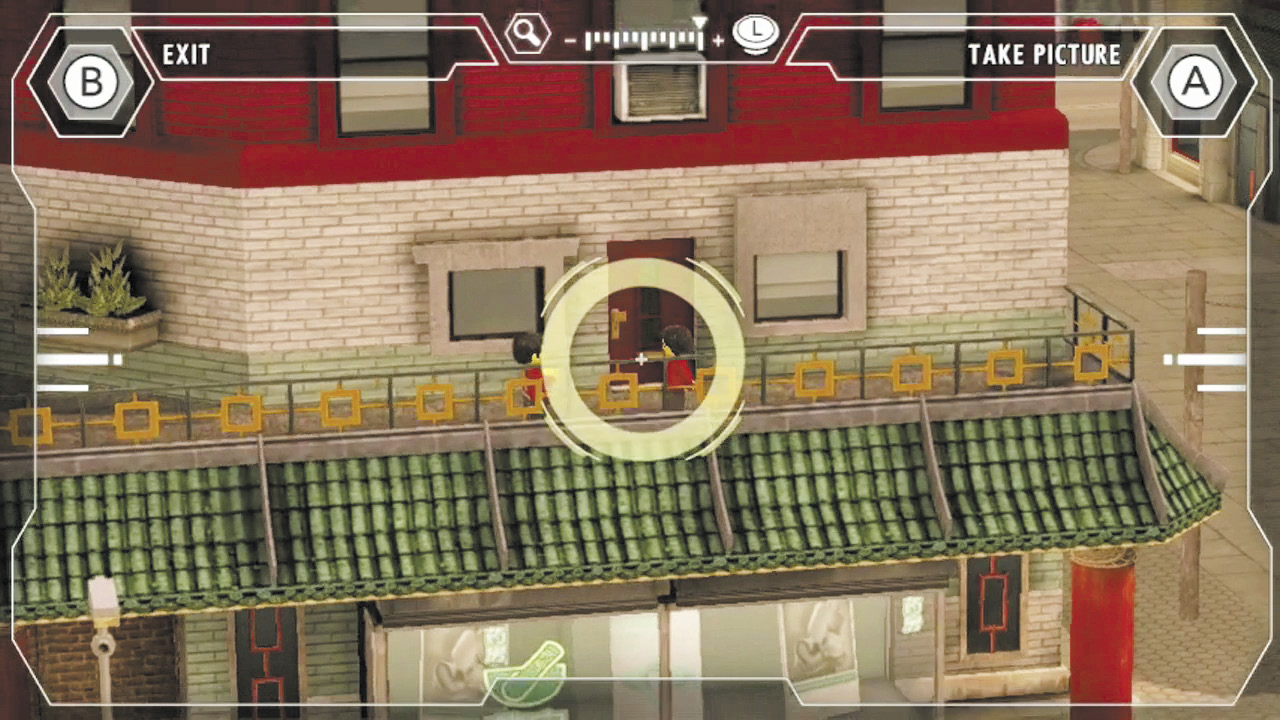
First, find the gang members who are breaking into the pharmacy (red building). Zoom in and snap a picture of them in the act!
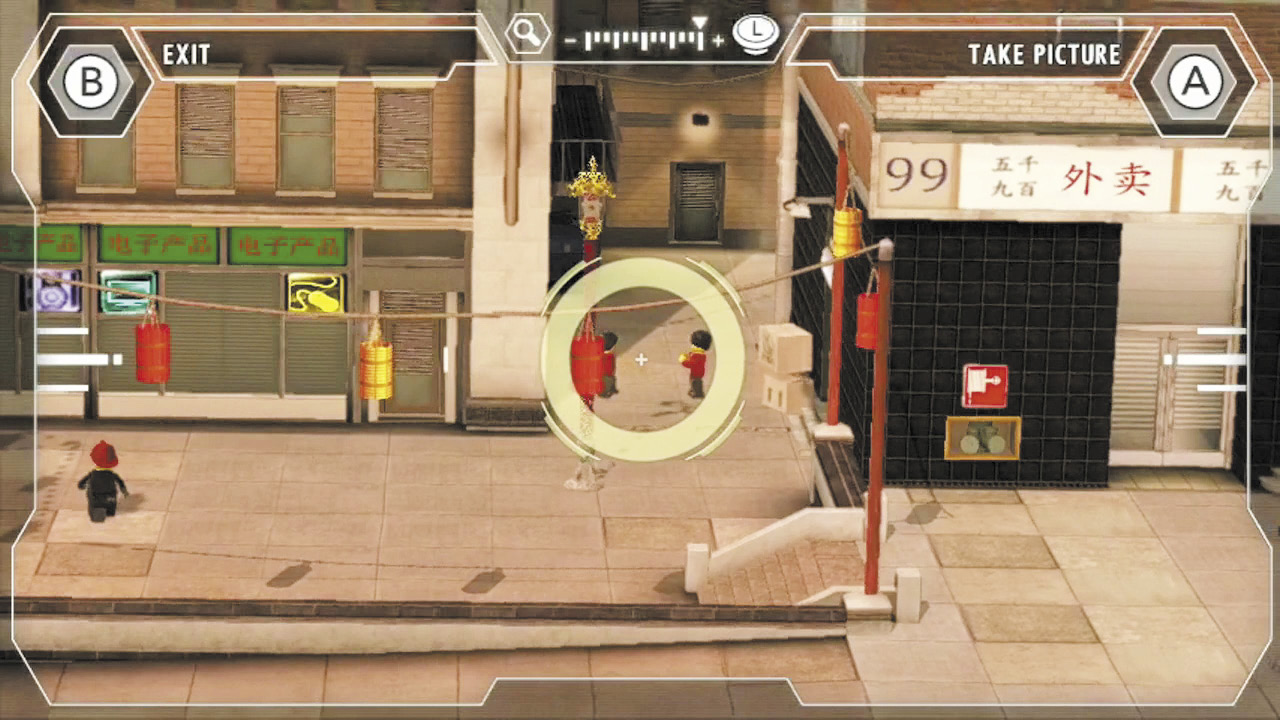
Next, look to the left from the pharmacy to find a couple of gang members chatting in an alley. Zoom in again for an incriminating close-up!
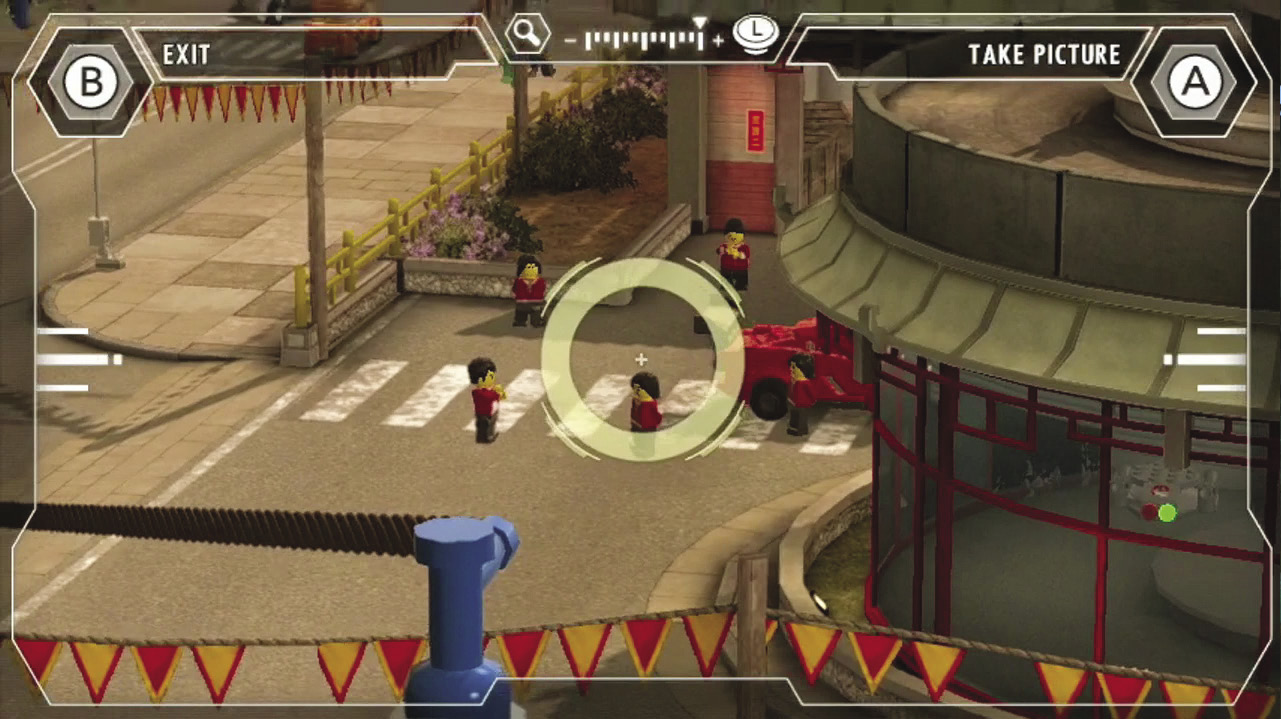
Finally, look to the pharmacy’s right to find several gang members guarding a yellow sports car near Chang’s limo service. The sports car is partially obscured, but take your best picture of the goons.
One Last Shot
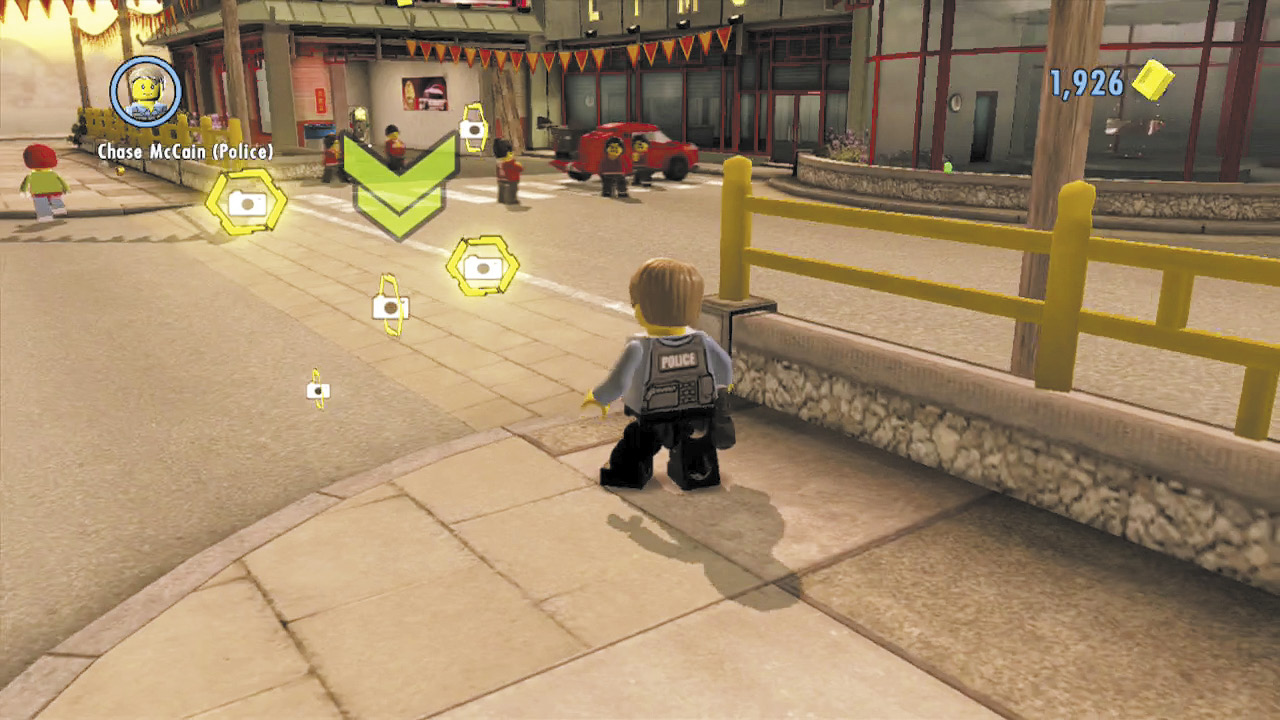
You’ll need to get closer and grab a picture that shows the stolen car. Chase automatically moves to the ideal spot. Fire up your camera again.
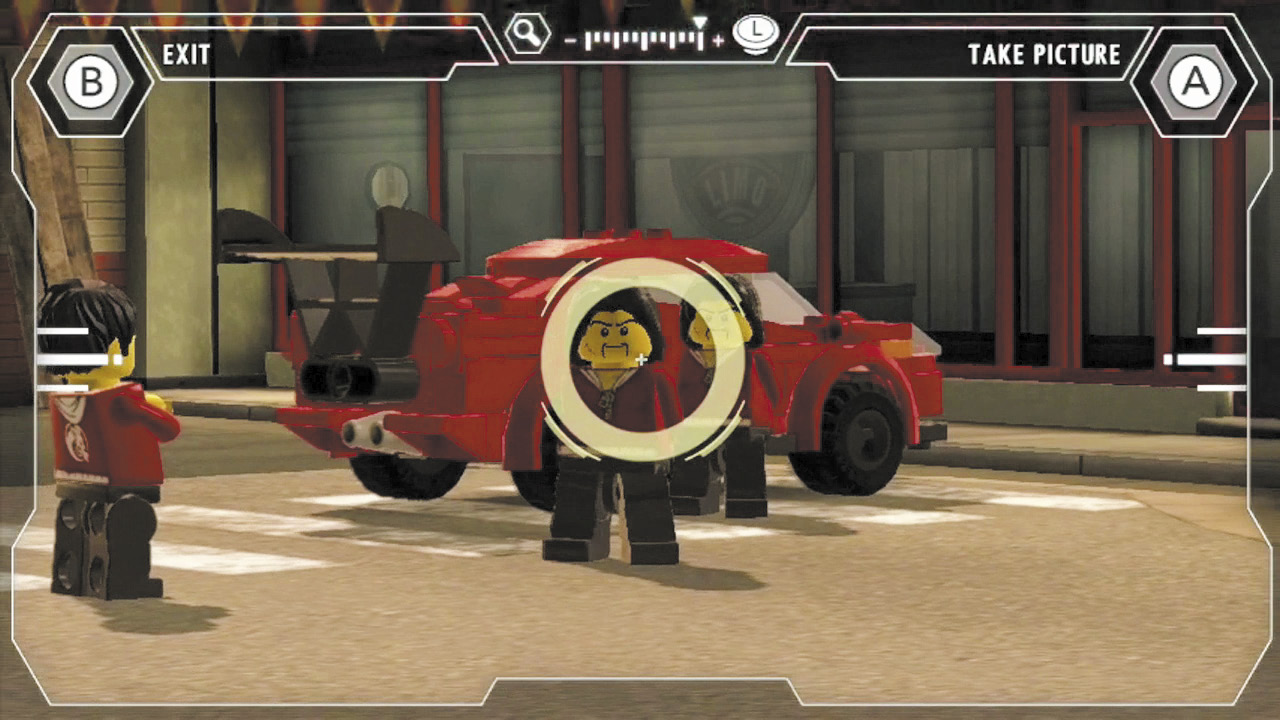
This time, zoom in and take a picture that shows the entire car, along with some of the gang members. Brilliant!
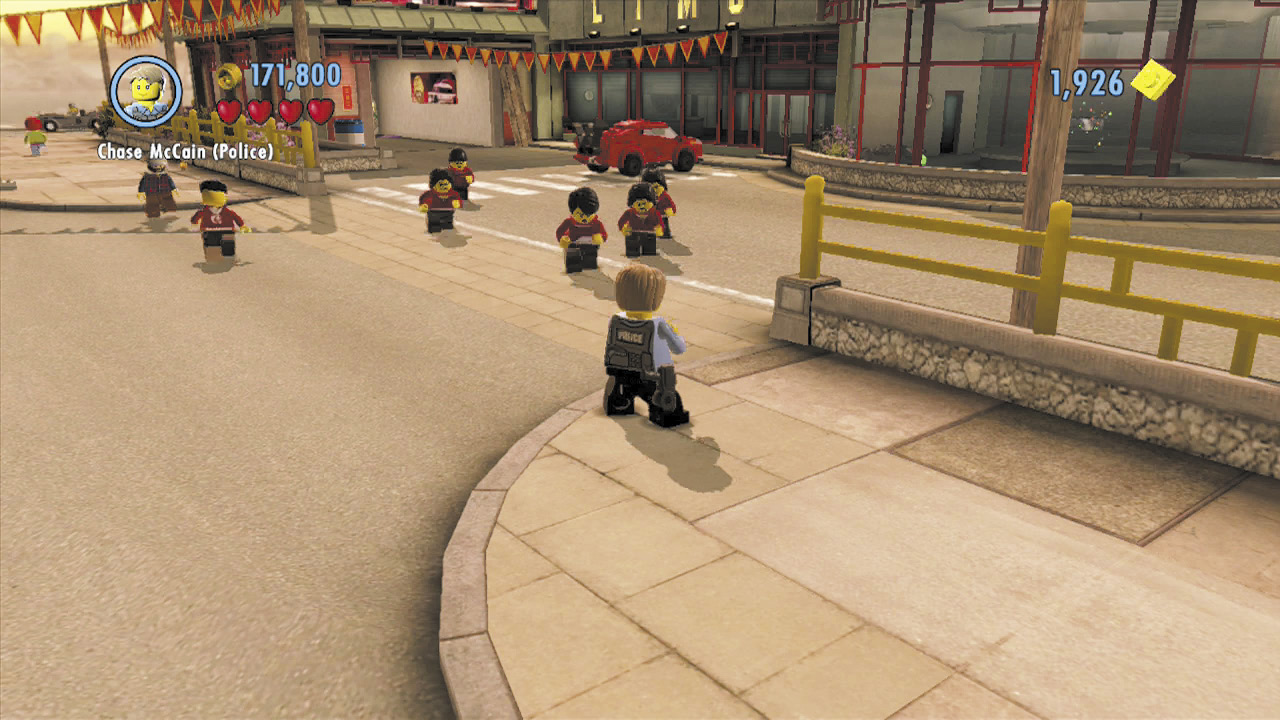
The goons don’t take kindly to being photographed and quickly swarm Chase. Use counters and throws to defeat the more powerful thugs as you fight the good fight.