
Harvest Moon: Light of Hope A 20th Anniversary Celebration Guide Restoring the Lighthouse
Chapter 3: Light of the Wind
Once you’ve met Tabitha and Gareth, it’s time to head to the Harvest Goddess Spring in the north of the mountains. Make your way to where the bobcat resides and enter the cave near the four blue columns. This is the Harvest Goddess Spring.
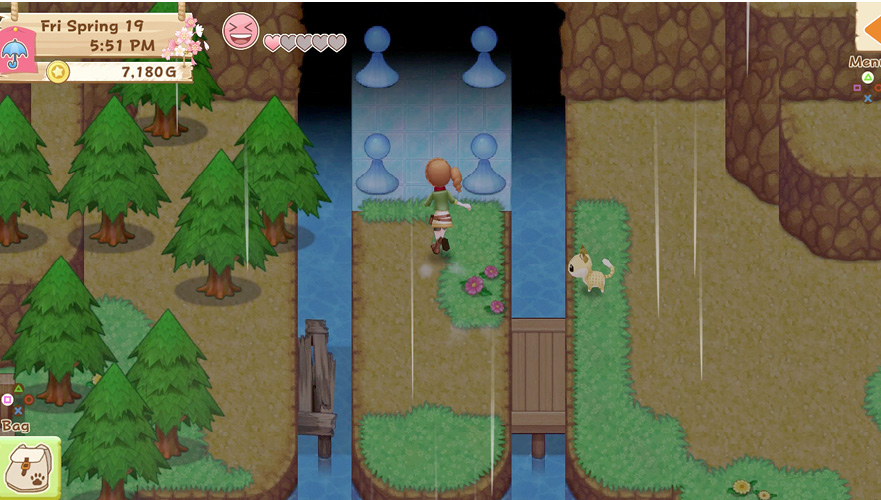
Edmond combines forces with Tabitha and Gareth to divine the locations of the two remaining Stone Tablets. One is being held by the Harvest Goddess herself, while the other remains hidden. Edmond wants you to focus on finding the Harvest Goddess first and asks you to let him know if you find any clues.
Blue Bird of the Night
The beach south of town is now open. There isn’t much for you to do just yet, but take a minute to go have a look. Forageable flowers grow there—including Tulips—and you can dig in the sand for Seashells and Pretty Seashells, both of which make great gifts. Though you can cast for fish off the beach, it’s only possible to catch fish from the stone bridge (fishing pier).
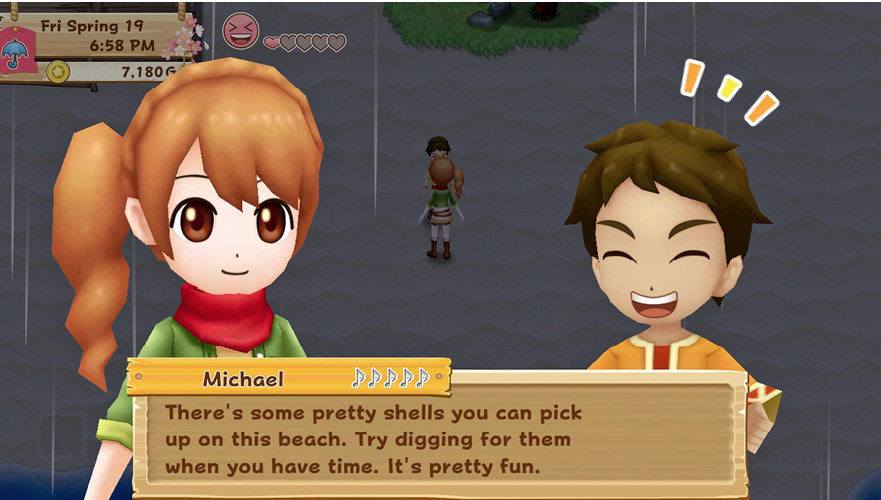
Use the map to monitor the whereabouts of the townsfolk, and head to Beacon Town when you see Sam and Michael both at the town square. Together with Sally and Melanie, they tell you about the Blue Bird that visited Azure Rock on the beach. Legend has it that the Blue Bird only comes out at night after a sunny day. If it’s raining or you end up going to bed early, don’t worry. Blossom greets you in the morning on the next sunny day to remind you to stay awake and visit the beach at night.
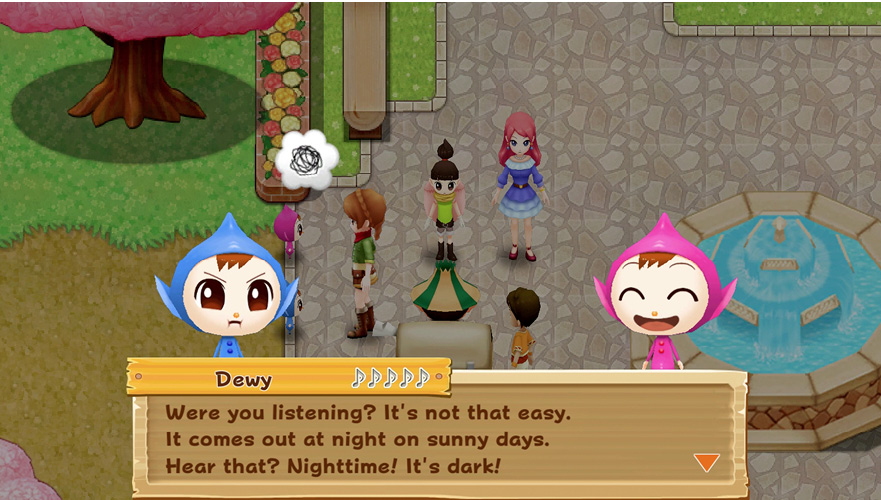
Busy yourself by planting crops, fishing, mining, or digging up Seashells until 6:00 p.m. rolls around. As soon as it does, you automatically stop what you’re doing and travel to the beach near Azure Rock. The Blue Bird doesn’t show up, but Blossom suggests you talk to someone who knows more about animals.
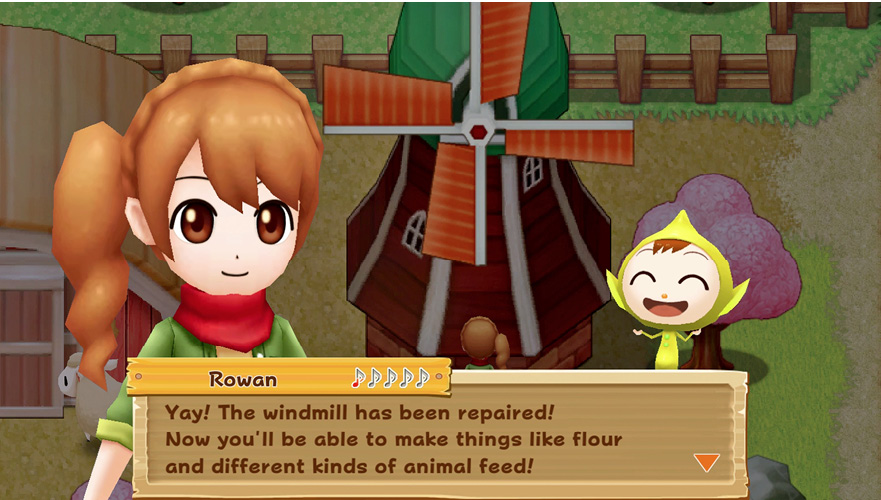
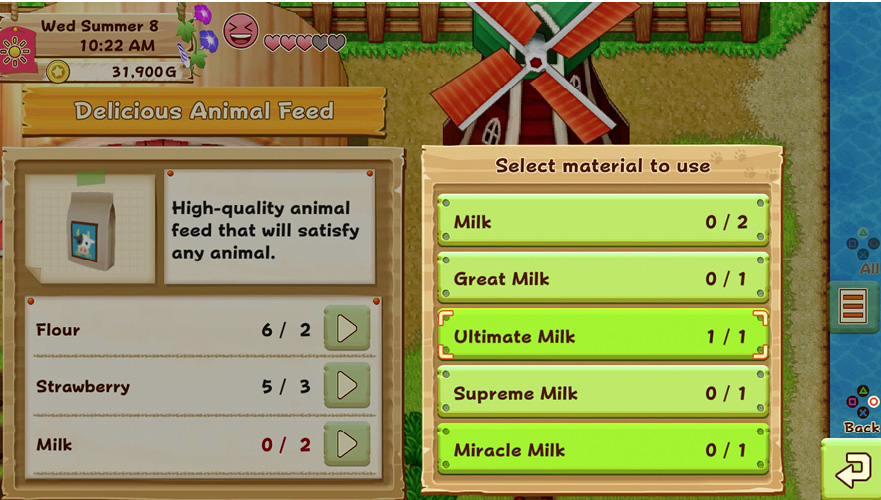
The next morning, head to the mountain and speak to Gabriel near Sofia’s Livestock. Gabriel gives you the Delicious Animal Feed Recipe, which can be made at the Windmill. If you haven’t repaired the Windmill to the right of the Animal Barn yet, this is the time to do so. It costs 20x Softwood Lumber, 2x Iron, and 1000G. Delicious Animal Feed requires Flour, Strawberries, and Milk. Hopefully you’ve already purchased a calf that is on its way to becoming an adult, Milk-producing cow.
Gabriel stands outside your house until you’re ready to encounter the Blue Bird. Speak to him as soon as you manage to procure the Delicious Animal Feed. You only need a single batch.
Chances are, you’re going to have some downtime as you wait for a cow to produce Milk. Take this time to dig deeper into the mine, and use the profits to purchase upgraded tools (focus on obtaining the Expert Axe, Expert Hoe, and Expert Hammer first), and to acquire the money needed to upgrade your house. Plant at least twenty Sunflowers and Cosmos, and mine the ore in Levels 21-31 repeatedly for Mithril and Orichalcum. The Expert Axe allows you to cut Hardwood trees, which makes numerous repairs possible. Consider repairing the Hot Spring next, as a soak in the thermal pool replenishes Stamina for free!
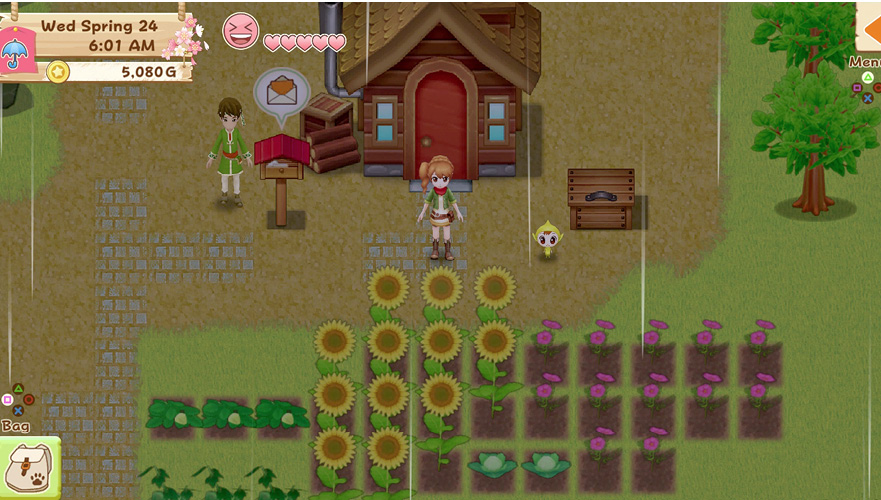
Once you collect the Expert-level tools, use them to expand your planting fields in the farm and mountain areas. Summer should be around the corner, so plant an abundance of Corn and Hot Peppers, both of which continue to provide you with harvestable crops through the summer and fall. With the seeds sown, head to the mine and plumb the depths down to Level 61 with the Expert Hammer and Expert Hoe. This should net you the riches needed to upgrade the house and also the fishing pier on the beach. This is also a good time to purchase a donkey if you haven’t yet done so.
Don’t fret if your cow yields a higher-quality Milk the first time you milk it, as Delicious Animal Feed only requires one unit of higher-quality Milk as opposed to two units of standard grade. Activate the button in the material list to select the Milk you have. Bring the Delicious Animal Feed to Gabriel.
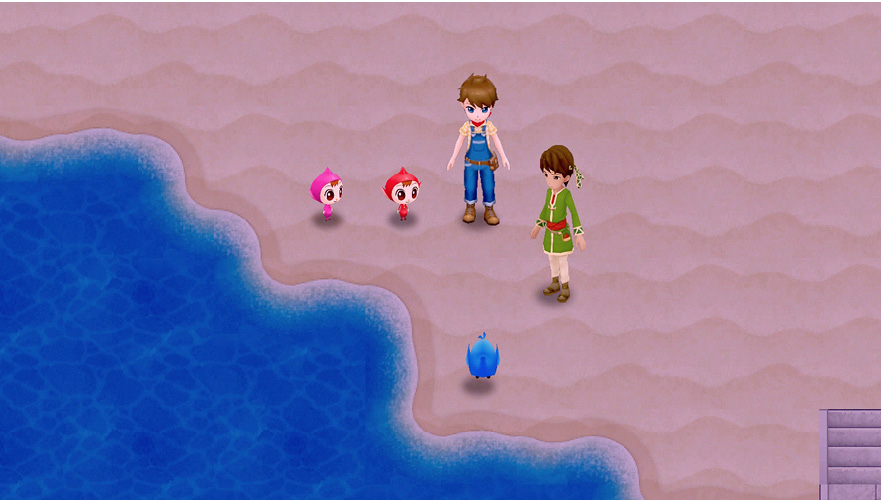
Gabriel continues to stand near your mailbox, but he would like to accompany you to Azure Rock. Wait until after 6:00 p.m., then head to the beach area to meet the Blue Bird. The Blue Bird retrieves the apple from Azure Rock, which turns out to be Woody, the Harvest Sprite of Wood. And Woody has an idea.
A Craving for Strawberry Jam
Woody instructs you to bring Strawberry Jam to the Harvest Goddess Spring. The first step in accomplishing this is to learn the recipe for Strawberry Jam. Fortunately, Elise is forthcoming with her cooking knowledge. Head to Bastian’s Restaurant to learn the recipe from Elise and Bastian.
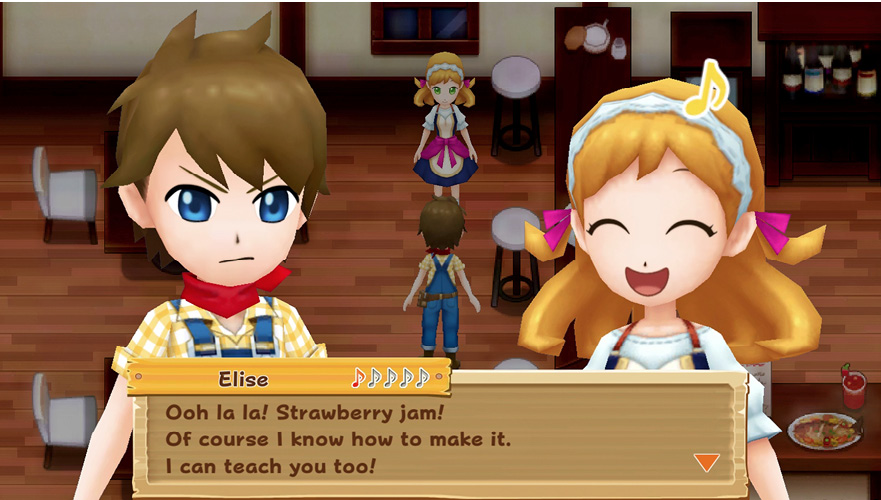
Strawberry Jam requires a single Strawberry and one unit of Sugar. Go home and use the kitchen stove to cook the Strawberry Jam Recipe. Once done, head to the mountain and enter the Harvest Goddess Spring north of the waterfall. The Harvest Sprites commences praying with the Strawberry Jam, thereby returning the Harvest Goddess to the island. The Harvest Goddess then explains why she turned into a Blue Bird, among other things. She also presents you with the Fourth Stone Tablet.
Hurry to the lighthouse and place the Stone Tablet in the panel amongst the others. Thanks to the powers of the Harvest Sprites, the lighthouse gains its fourth light. Woody has an idea where the final Stone Tablet is being held. Follow Woody through the shimmering arch to meet the Harvest God. After some discussion of Gorgan and the storms that have ravaged the island, the Harvest God presents you with the Fifth Stone Tablet.