
Disney Infinity: Marvel Super Heroes Guide Toy Box
Game Creation
There is still one more Toy Box host in Disney Infinity: Marvel Super Heroes (2.0 Edition). Quorra, from Tron: Legacy is the Gameplay Host. If you drop down the side of the cliff near Merlin to a lower area in the Toy Box, you can find Quorra near a door.
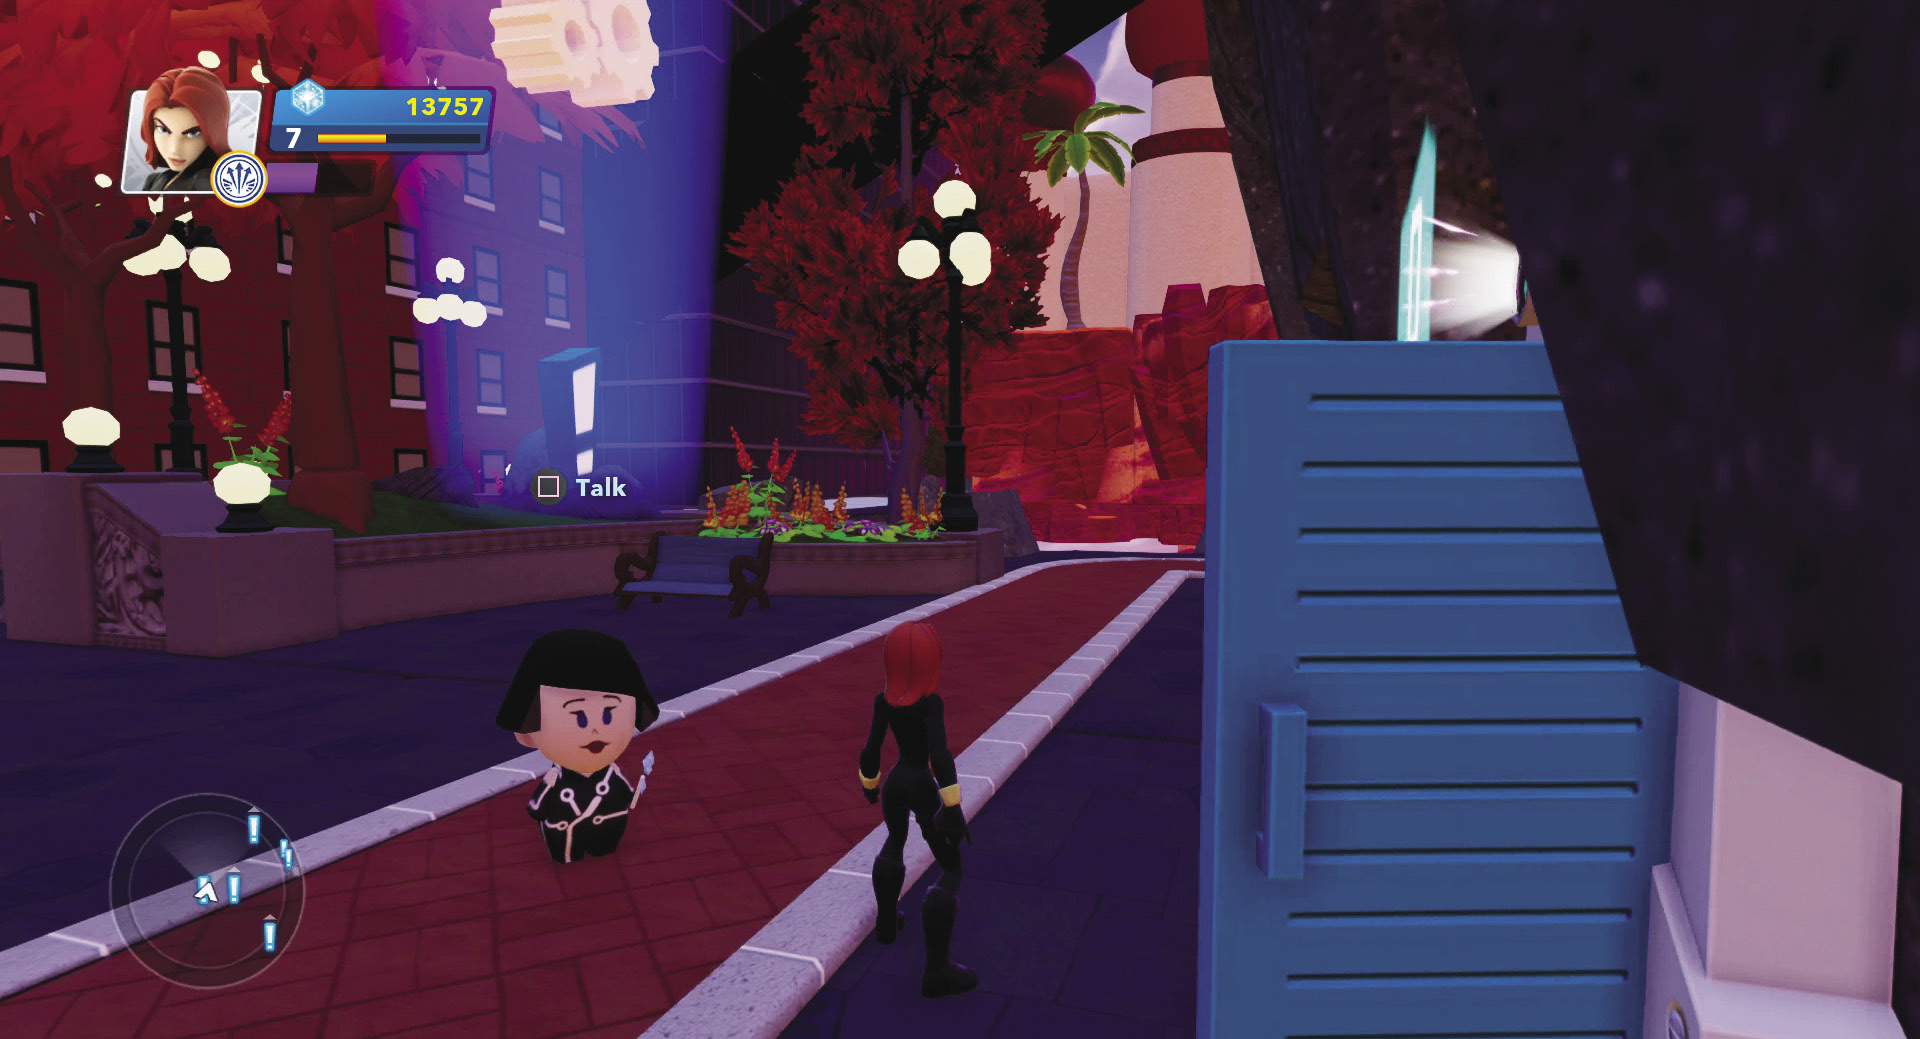
Quorra will teach you all about game creation.
The Toy Box Door is your first lesson with Quorra. This one has already been placed in the Toy Box for you. However, you can go into the Toy Box Editor and place these doors anywhere you want. Toy Box Doors are very powerful. They allow you to essentially connect different Toy Box worlds. For this lesson, you are going to set up this Toy Box Door. First, you will need to take out the magic wand. Then use it to select the Toy Box Door and choose the connections icon.
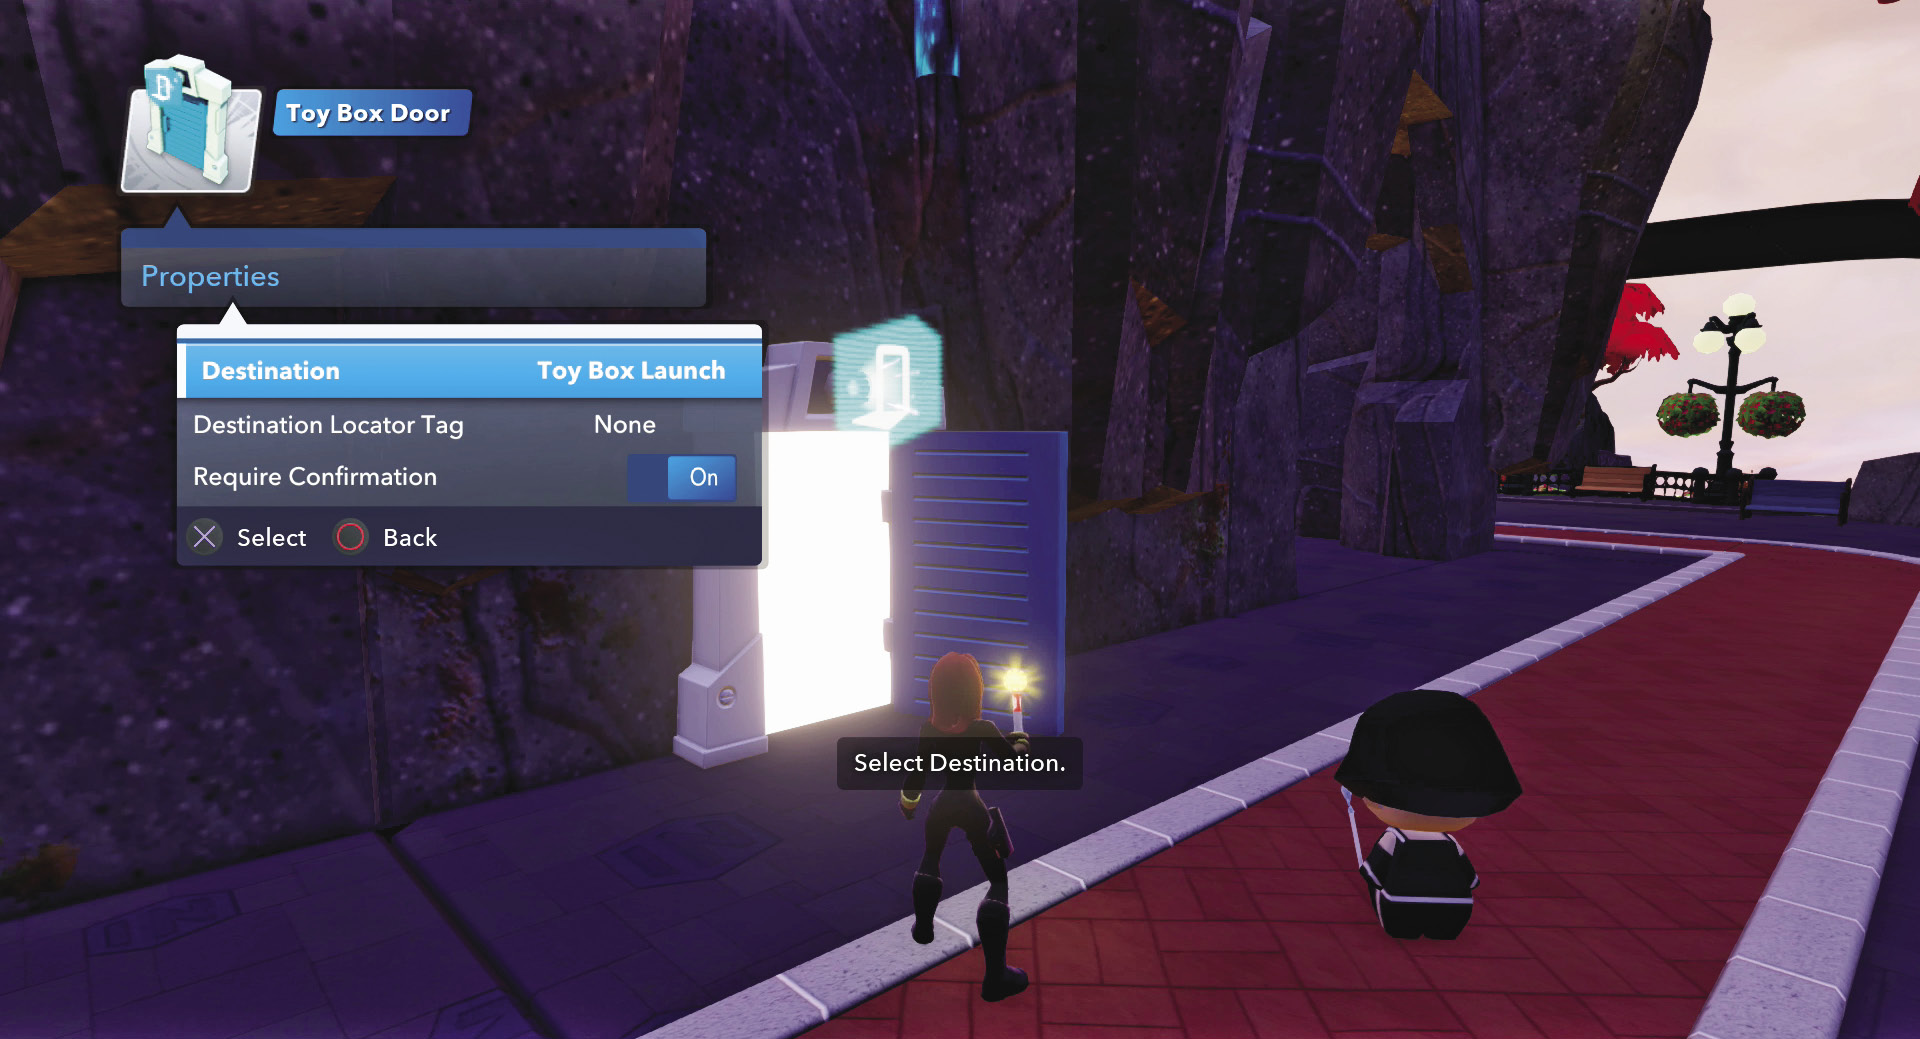
Edit the properties of the Toy Box Door so you can use it to get to other Toy Boxes.
Once in the connections menu, select Properties. Now you can select the destination where the door will take you. You can choose to have the door lead to a new Toy Box, import a Toy Box, or link to an existing Toy Box. You can also select a destination locator tag and even decide whether the door will automatically take players who open it to the next destination or require a confirmation before travel. While you can link the door to any destination, test it out by selecting an existing Toy Box and choosing Toy Box Launch. Then when you go through the door, it will take you to the main level of your current Toy Box where you entered at the very start.
After connecting the Toy Box Door to another Toy Box—even the one you are currently in—Quorra disappears. However, don’t worry, she still has some missions for you. Follow the brick walkway leading from the Toy Box Door you just connected to another Toy Box Door that will take you to the Game Creation Toy Box.
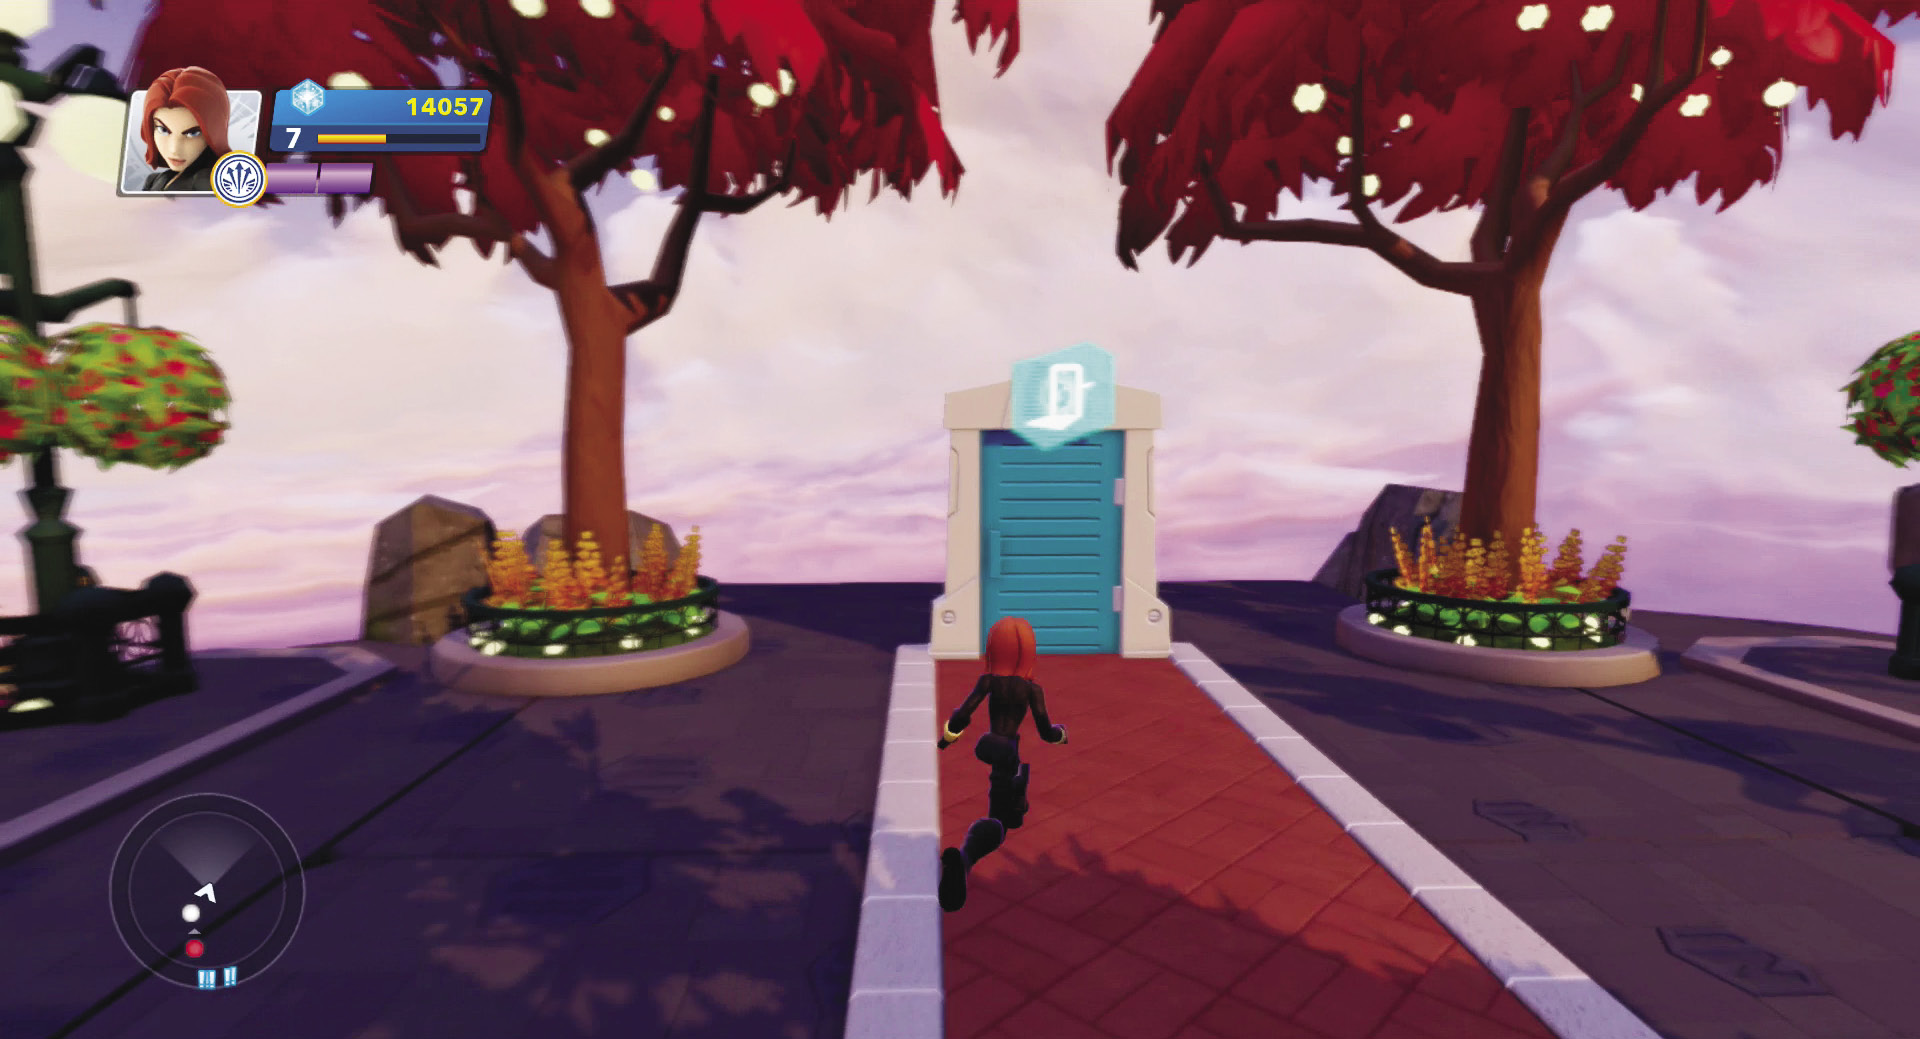
This second Toy Box Door takes you to Quorra and some lessons on creating your own games.
Learning about Game Creation
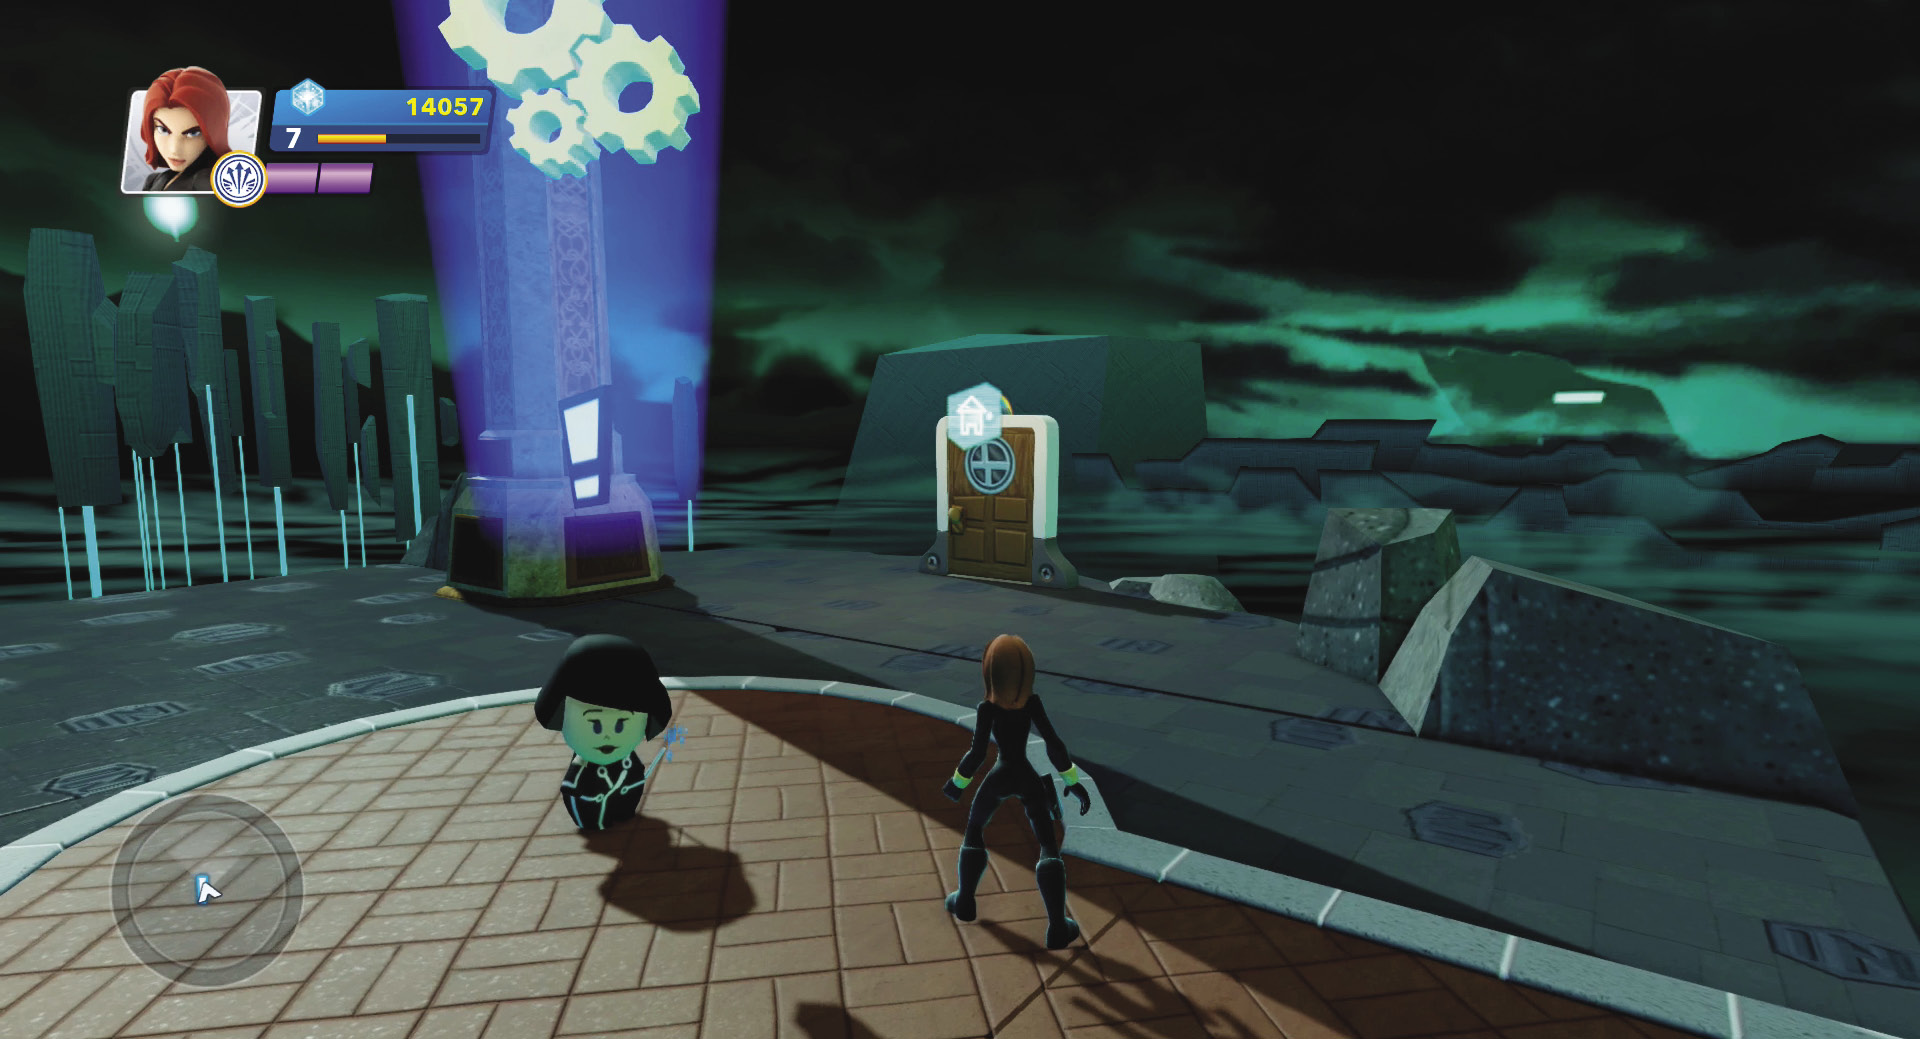
Quorra is waiting for you in the Game Creation Toy Box.
Upon arriving in the Game Creation Toy Box, you find Quorra waiting. Walk up to and talk to her. She is here to teach you how to make toys communicate with one another and work together. You can search for hidden treasure, which is a tutorial to the basics of connecting and programming toys. You can also choose to learn about five different types of kits or templates, which are mini-games that have already been set up for you. Exploring these kits is a great way to learn about creating games. However, start off with the search for hidden treasure to get your feet wet in game creation.
Treasure Mountain
Once you select to search for hidden treasure, a mountain appears with a treasure at the top. To get to the treasure, you will need to learn how to make toys communicate with one another. To start off, Quorra reveals a switch that serves as a trigger for the replayer toy. When you step on the switch, it sends a signal to the replayer toy to build a bridge so you can get across the gap to the other side where your mission continues. The replayer toy has recorded a bridge being built across the gap. When you step on the switch, the replayer “plays” the building process and the bridge appears in the Toy Box.
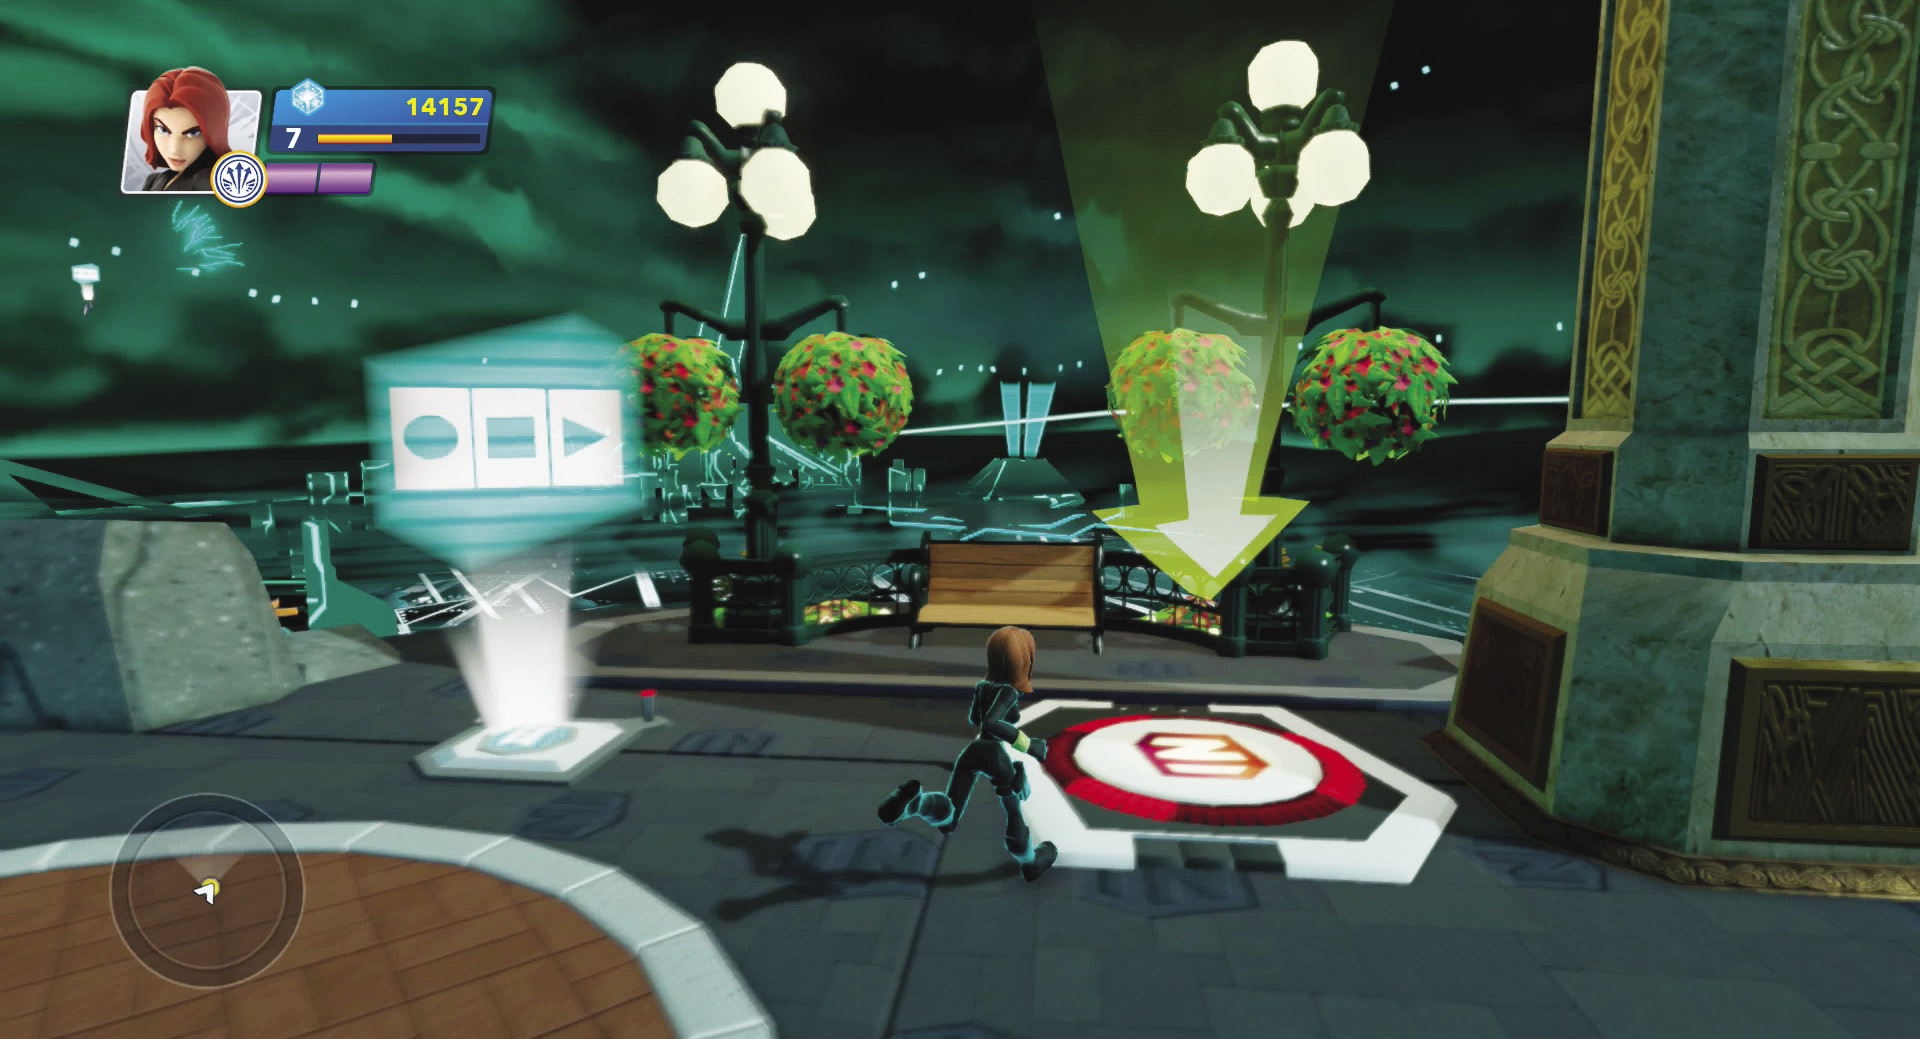
Step on the switch to make a bridge appear.
Follow Quorra across the bridge to the other side and then continue up a path to a locked door. In order to get the door to open, you need to connect it to the switch. To connect toys, you need to use your magic wand, so select it from the Packs and Tools menu. Select the switch by aiming at it with the magic wand and then pressing the connection button.
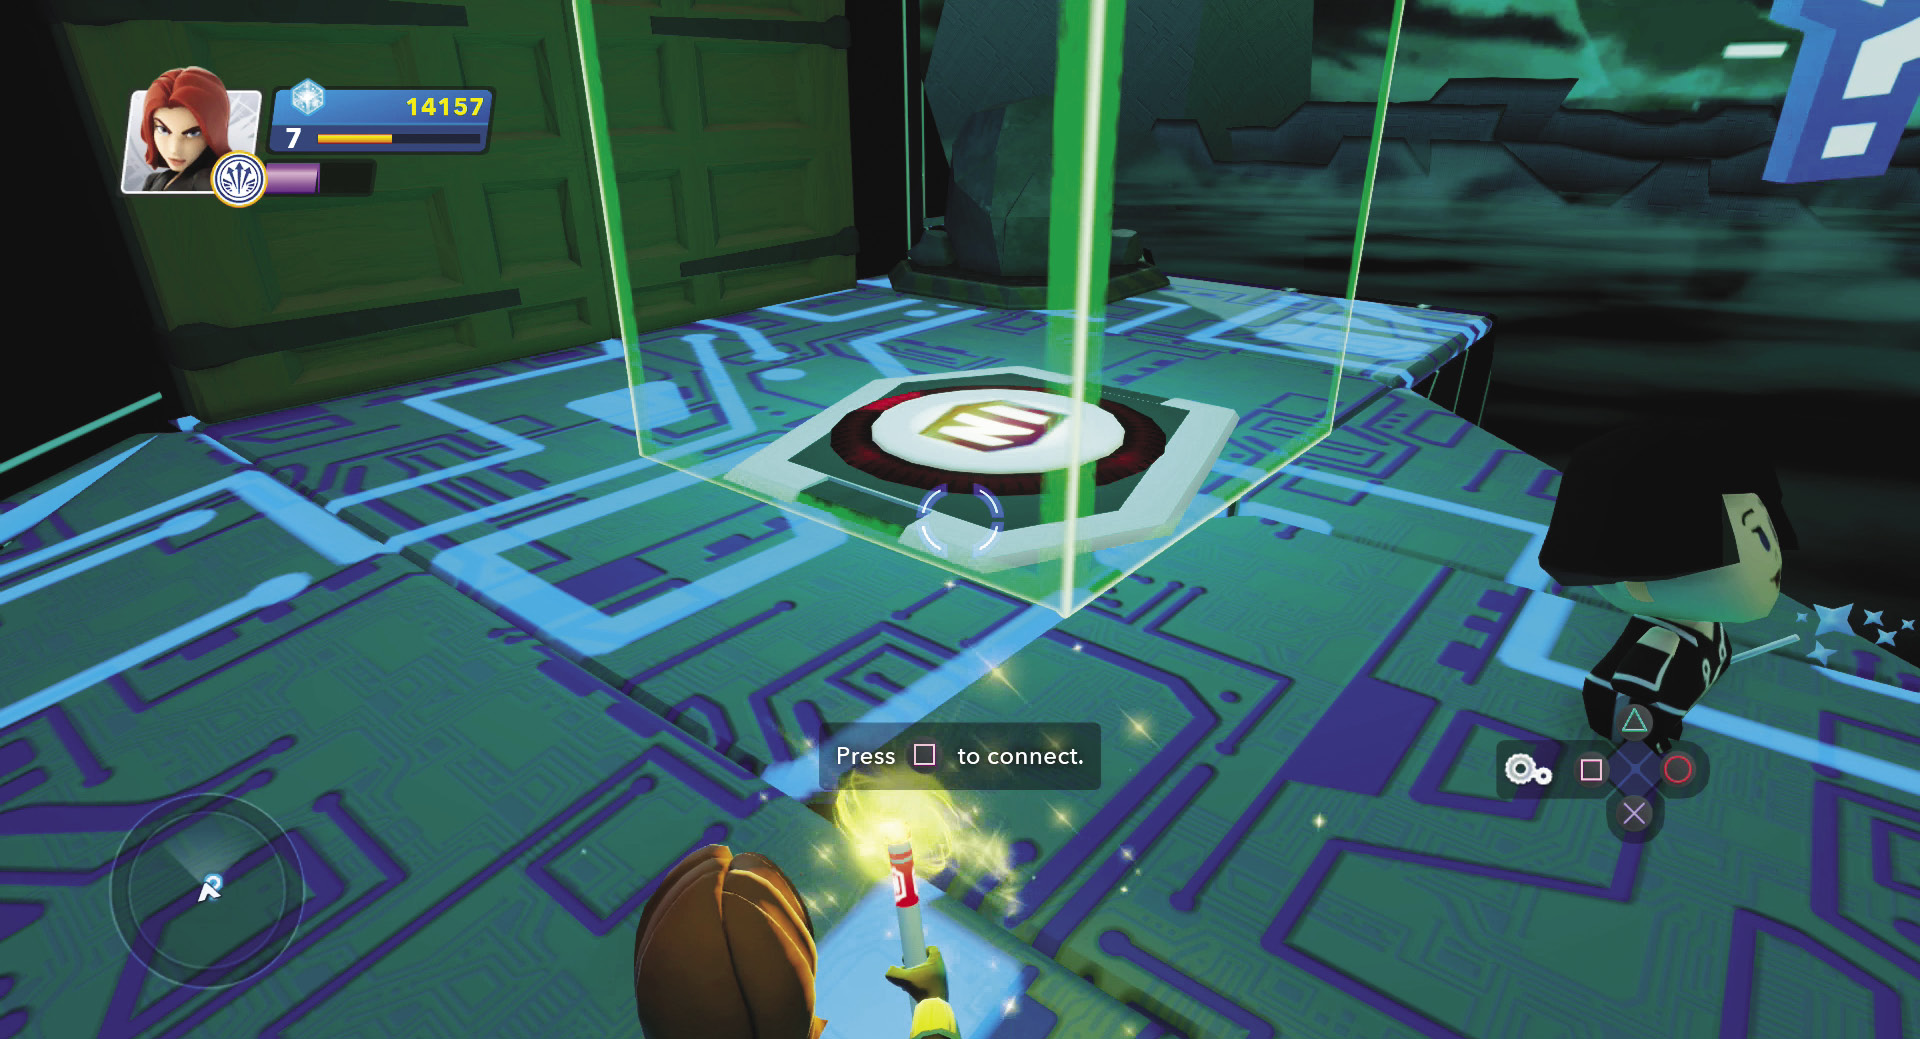
The switch is your trigger for this connection. When you step on it, the switch will send a signal to the door.
In the connection menu, select New Logic Connection and then Stepped On and finally Any. When you, or any character or AI step on the switch, it will send a signal or trigger to another toy.
Now you need to select the behavior or action caused by the trigger. Select the door by using your magic wand. Now you decide what happens when the door receives the message or trigger. Select Open. The two toys are now connected. Walk over to the switch and step on it. The door will then open. Walk into a cave and collect some orange Sparks in a capsule and then continue to the next door, which opens as you approach it.
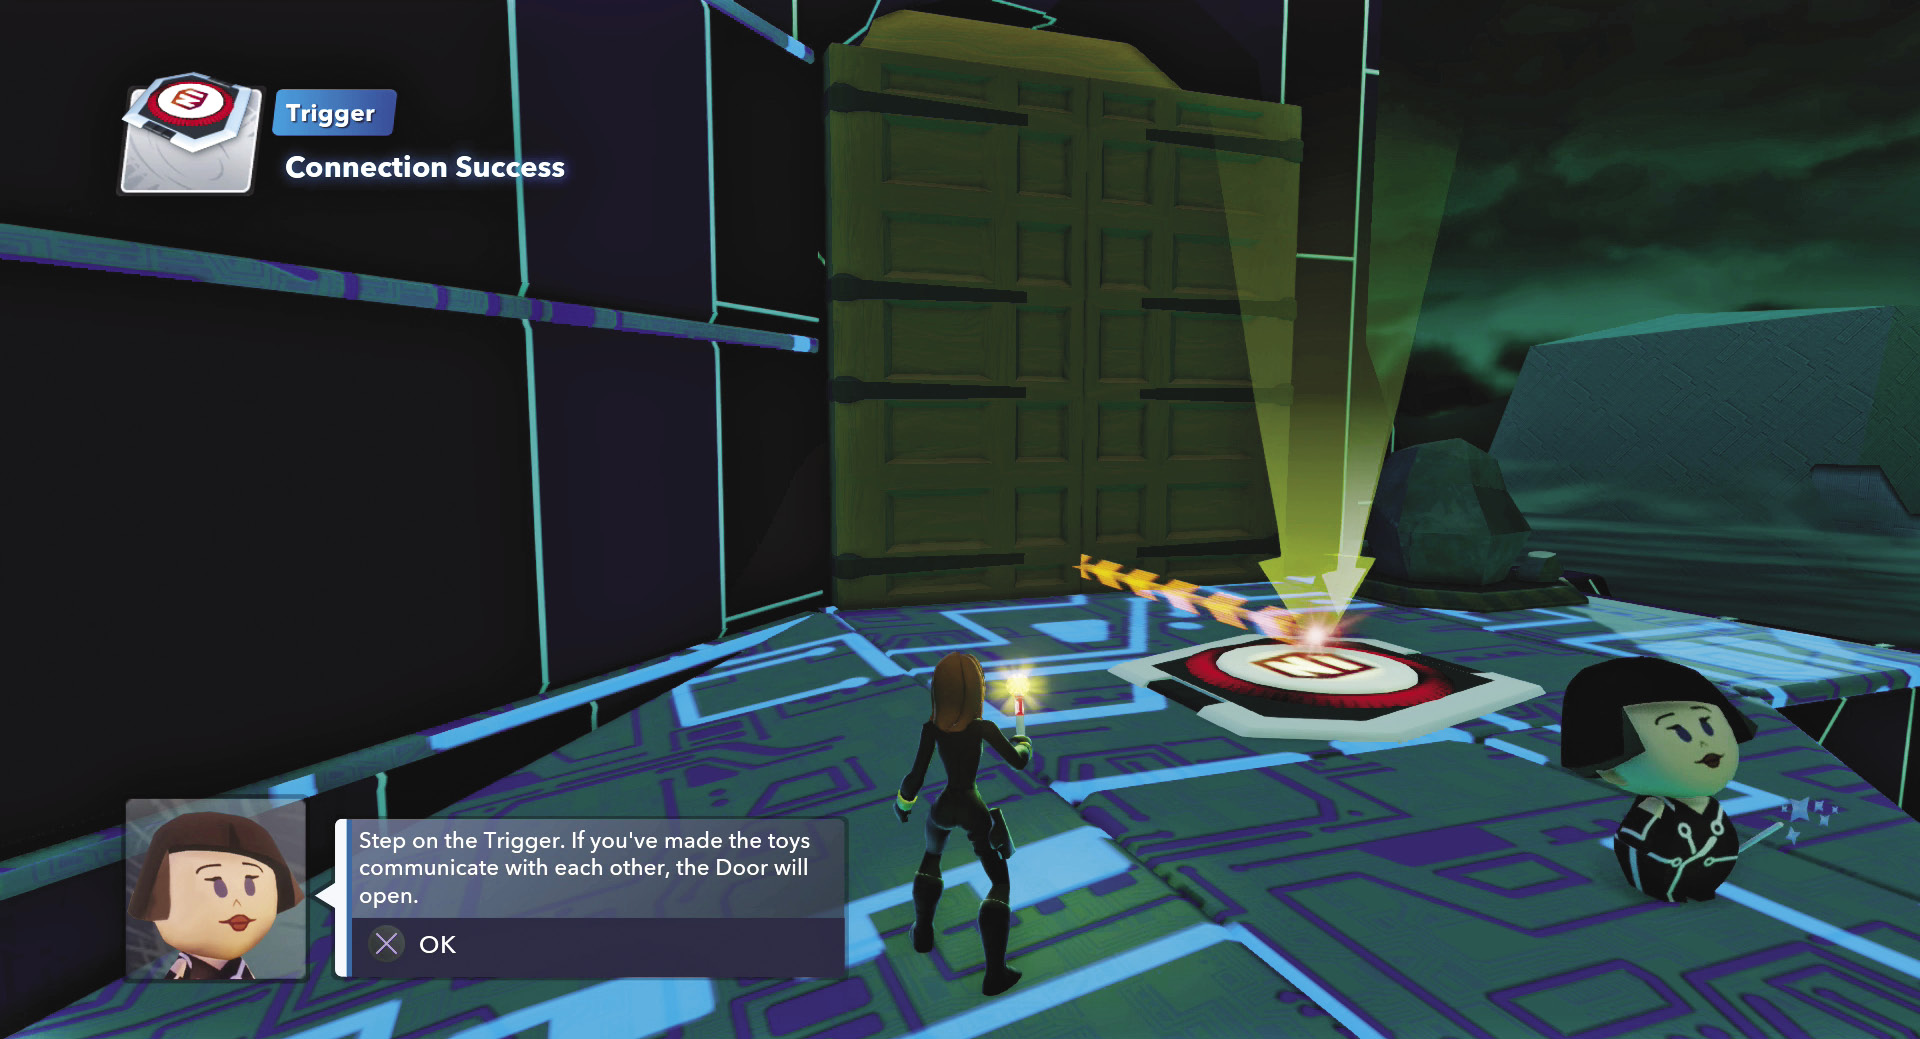
Once you have connected the switch to the door, you can continue to the next task—after opening the door by stepping on the switch.
On the other side of the door, you find a checkpoint toy. This toy can save your progress. If your character dies, then he or she will return to the last checkpoint toy stepped on. You don’t know what dangers await you, so be sure to save your progress by stepping on the checkpoint.
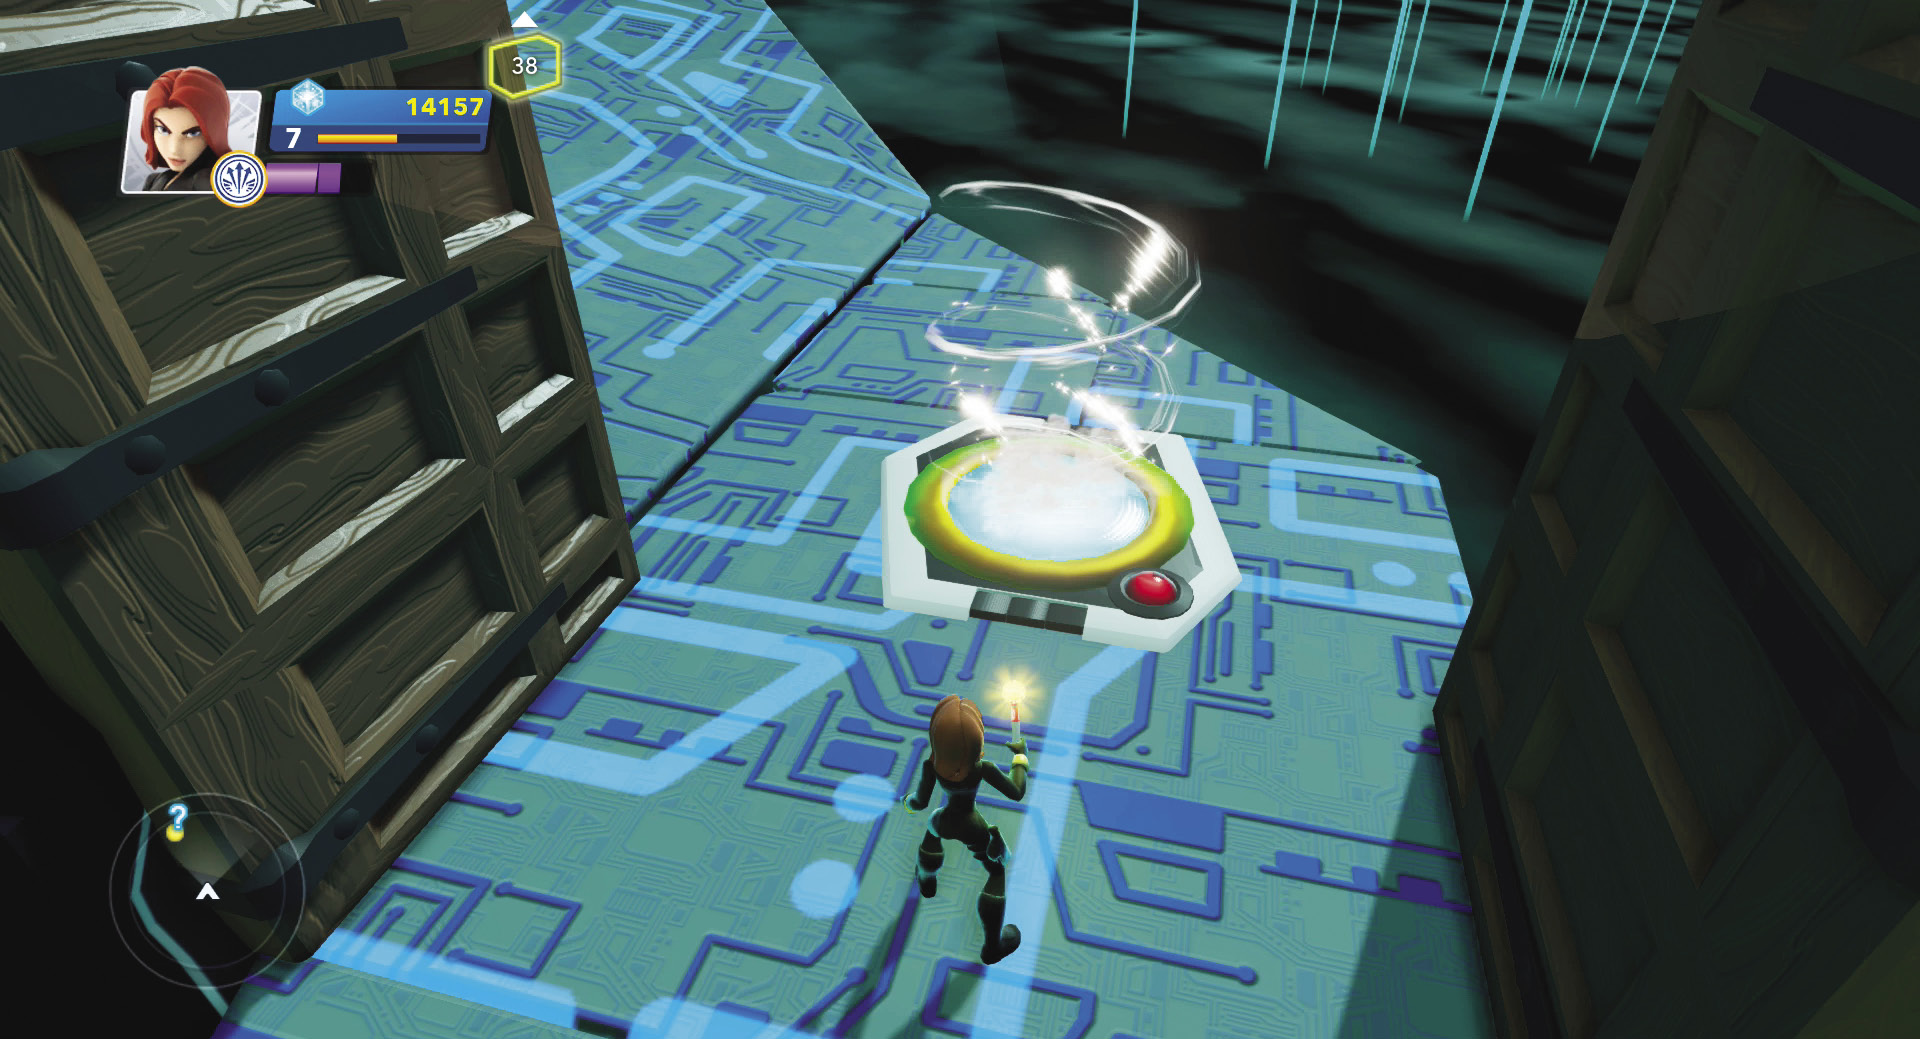
Checkpoint toys save your progress within a game. If you are making a large game, be sure to put a few in your Toy Box.
As you continue following Quorra up the side of the mountain, you come across a pool of lava that you must get across. To help you do this, you have a super cannon and an Action Button. You need to connect them. Whip out your magic wand and select the Action Button. Select New Logic Connection and then Pressed. When you press the Action Button, this sends a message. Now connect it to the Super Cannon and decide what you want the action to be. Select Tilt to 45 degrees to complete the connection. Finally, press the Action Button to tilt the Super Cannon and then walk into it and soar up and across the pool of lava.
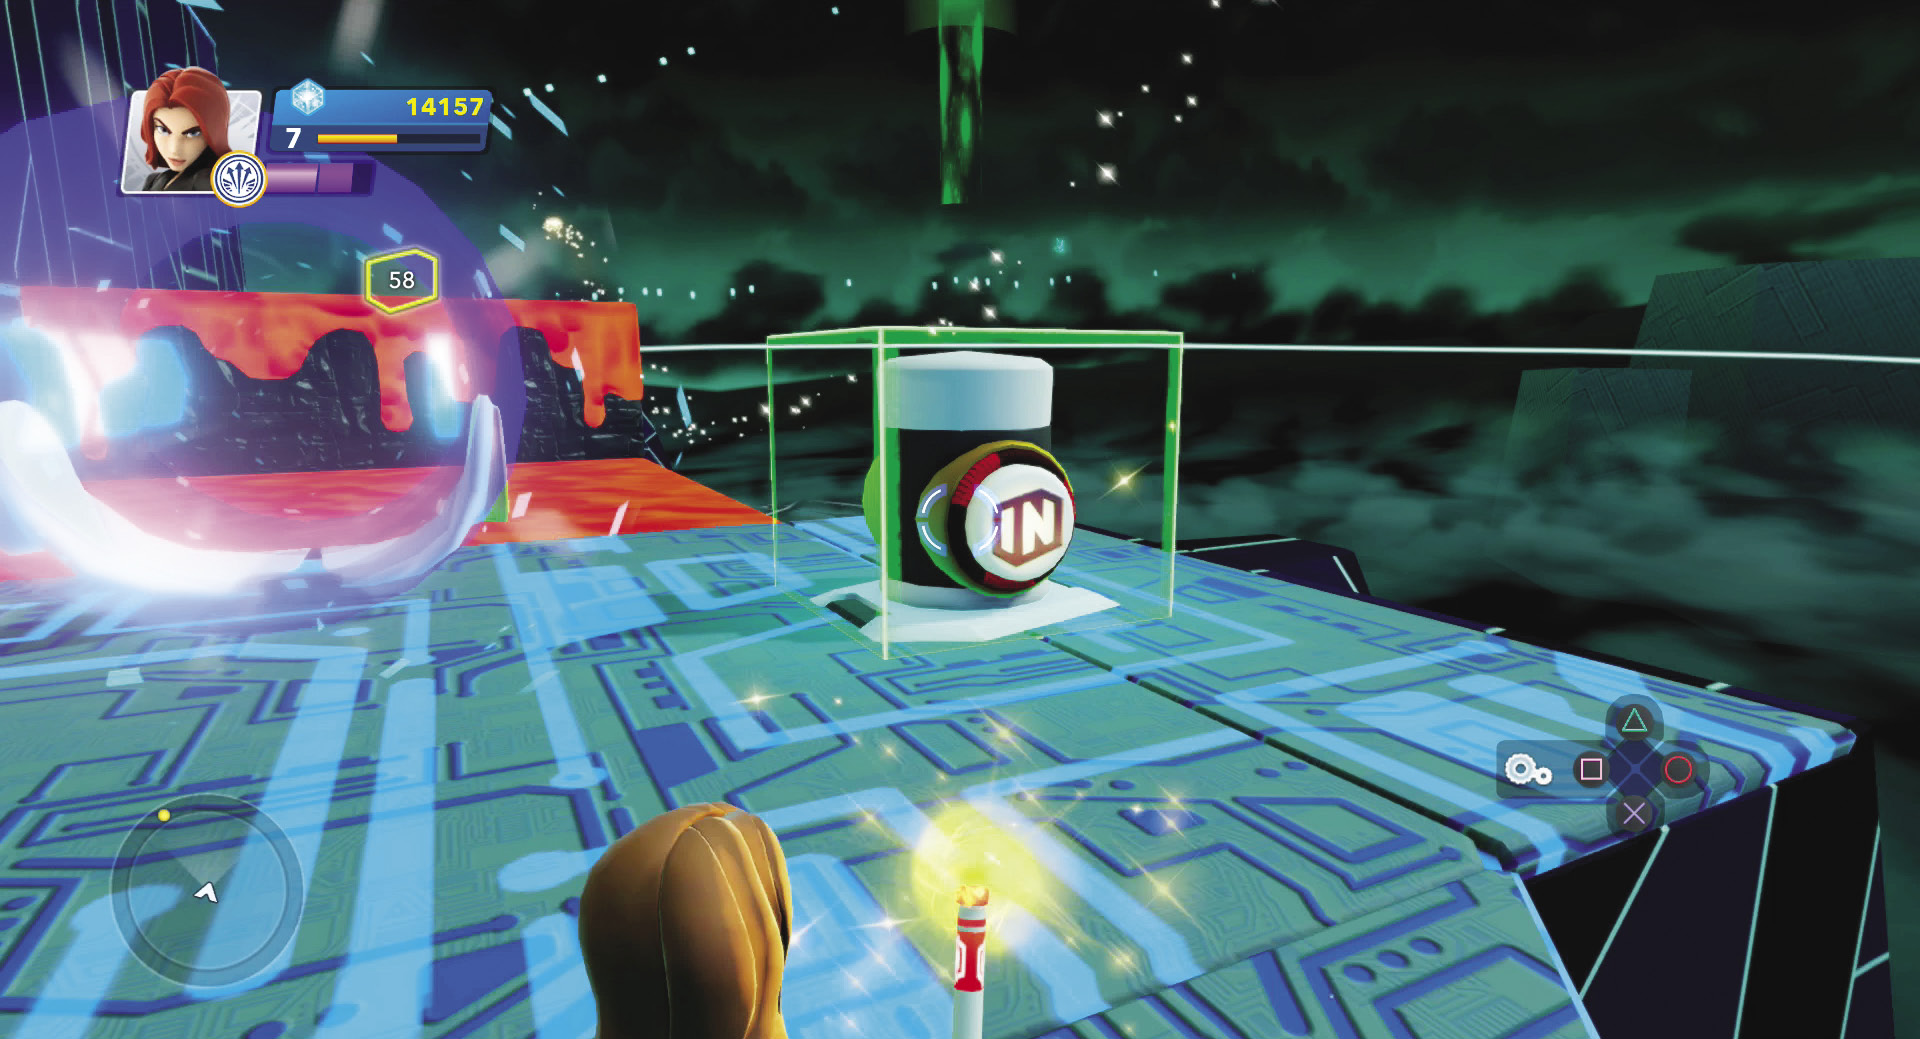
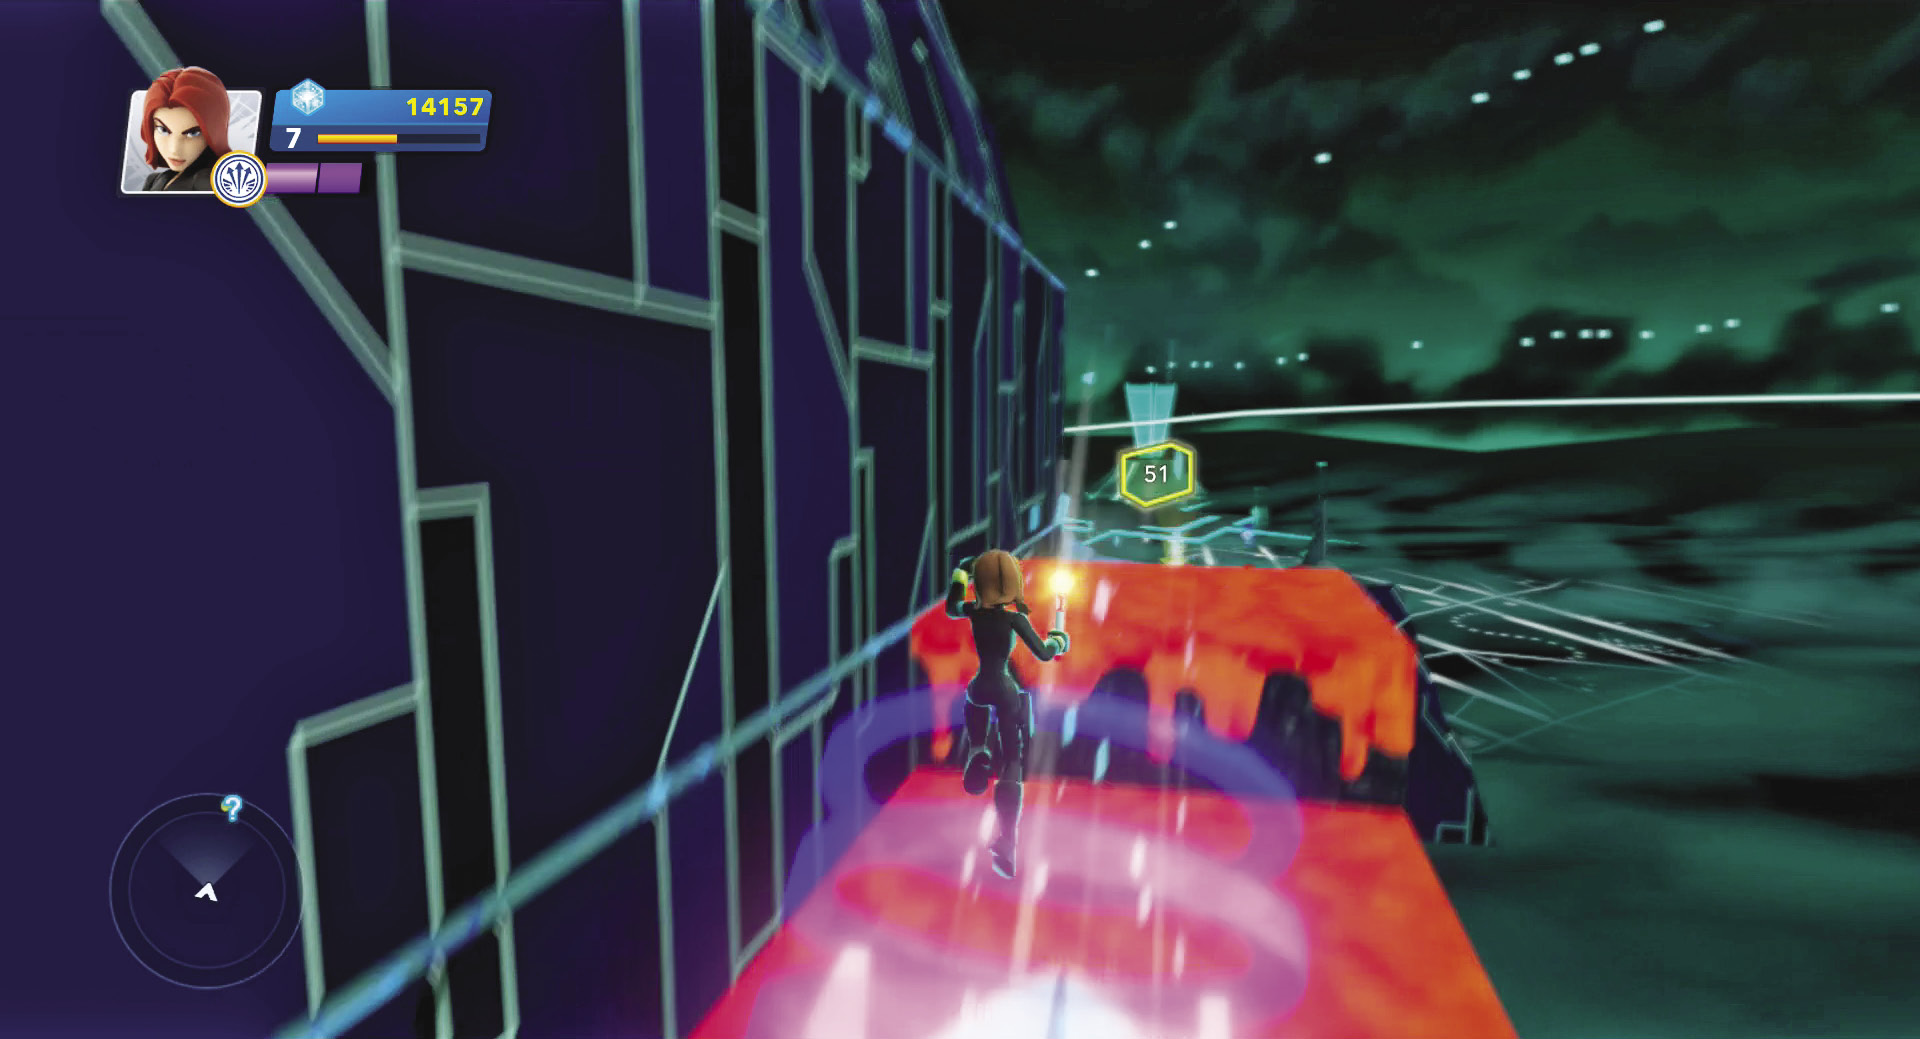
The Action Button serves as a trigger. Then connect it to the super cannon to tilt it up 45 degrees so you can launch yourself over the lava.
Quorra leads you farther up the mountain. You finally come to a large yellow cube. This is a trigger area. It acts like the trigger you stepped on to open the door. However, all you have to do to activate the trigger area is enter it. Plus, it is normally invisible unless you are editing. Try putting away your magic wand and the trigger area becomes invisible. There is also a checkpoint, so be sure to step on it.
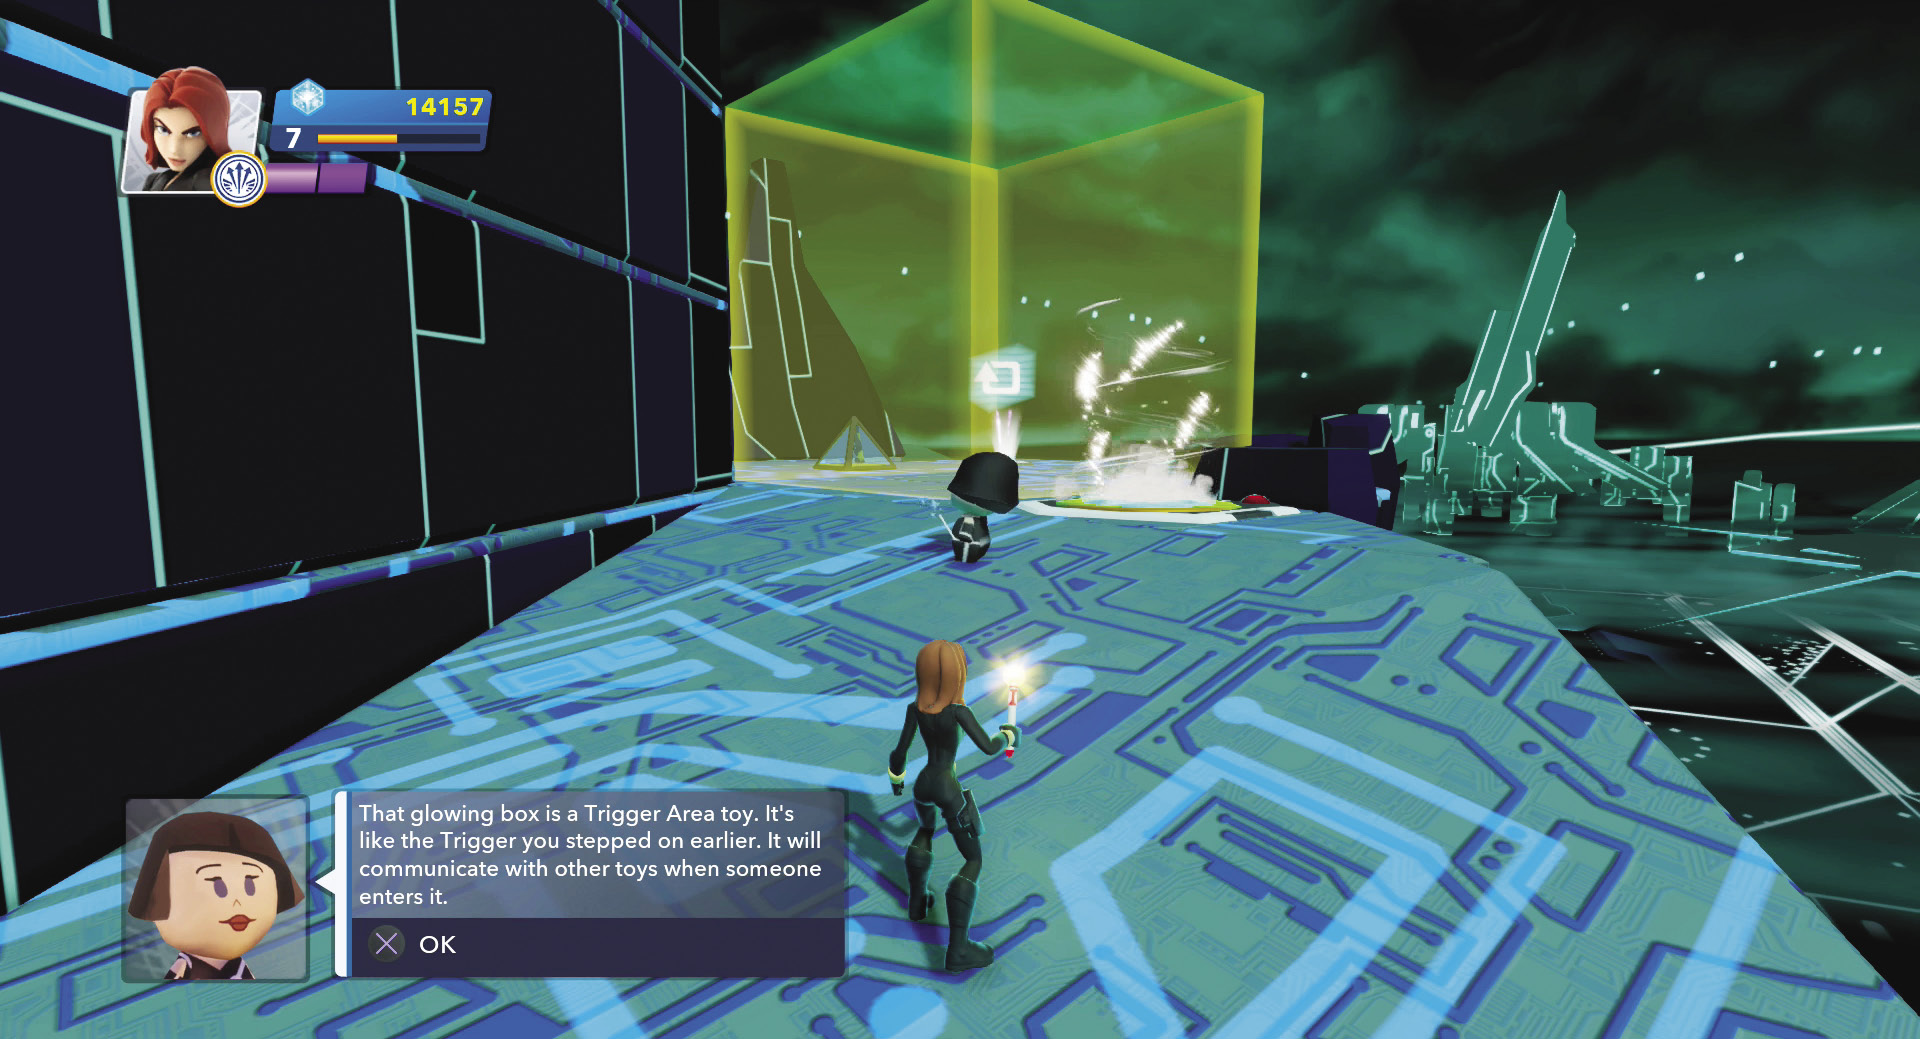
Trigger areas are a great way to activate an action during a game without the players knowing it or having them step on a trigger.
The pathway leading farther up the mountain is blocked. A falling object generator is spawning mine toys that roll down the path until they hit a Kill Switch and blow up. If you try to go up the path, you will be destroyed by the mine toys. Therefore, you need to break the logic connections between some toys.
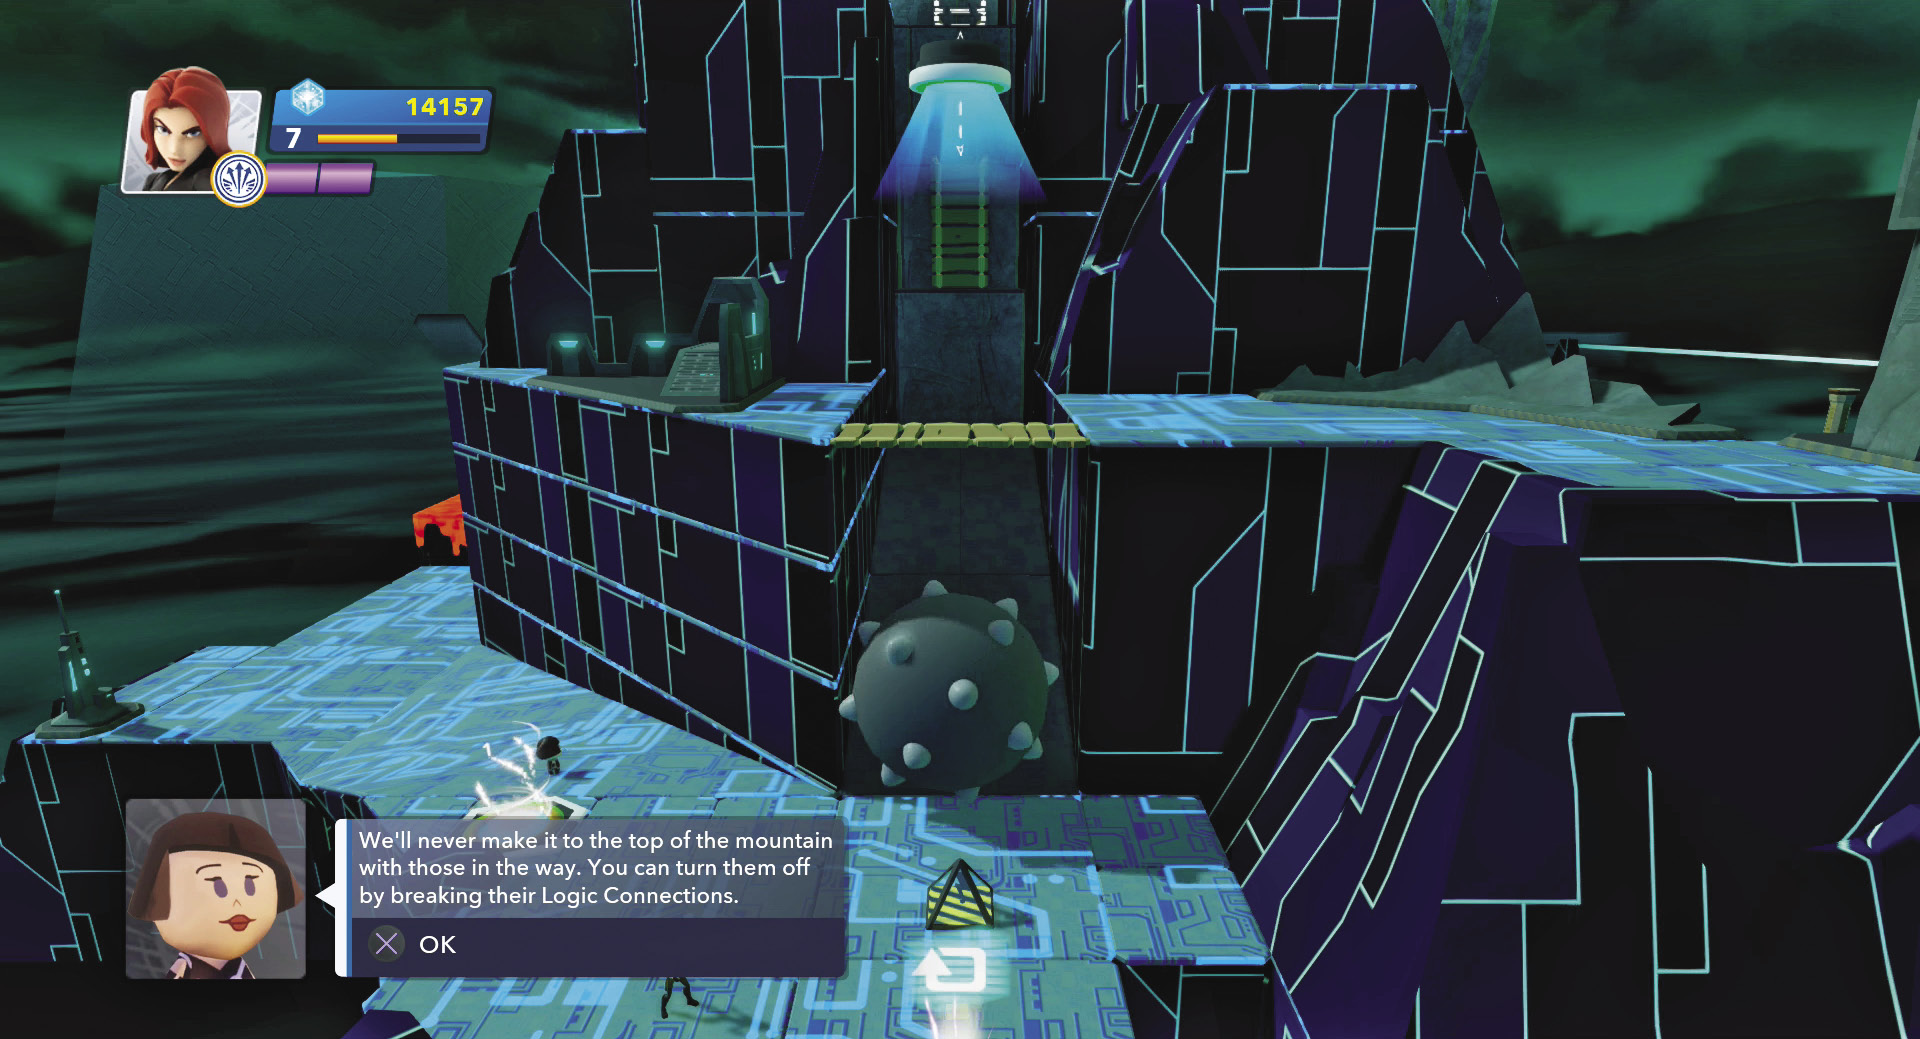
Falling mine toys are preventing you from advancing. You need to stop that falling object generator from dropping mine toys.
Something is sending a message to the falling object generator to tell it to drop mine toys. Look around and find the Repeater toy. Aim at it and then use the magic wand to select it. In the menu, scroll down to the connection with the falling object generator and delete the link. The mine toys stop dropping and now you can get up the ramp. Just be careful not to touch the Kill Switch or your character will be destroyed instead of the mine toy.
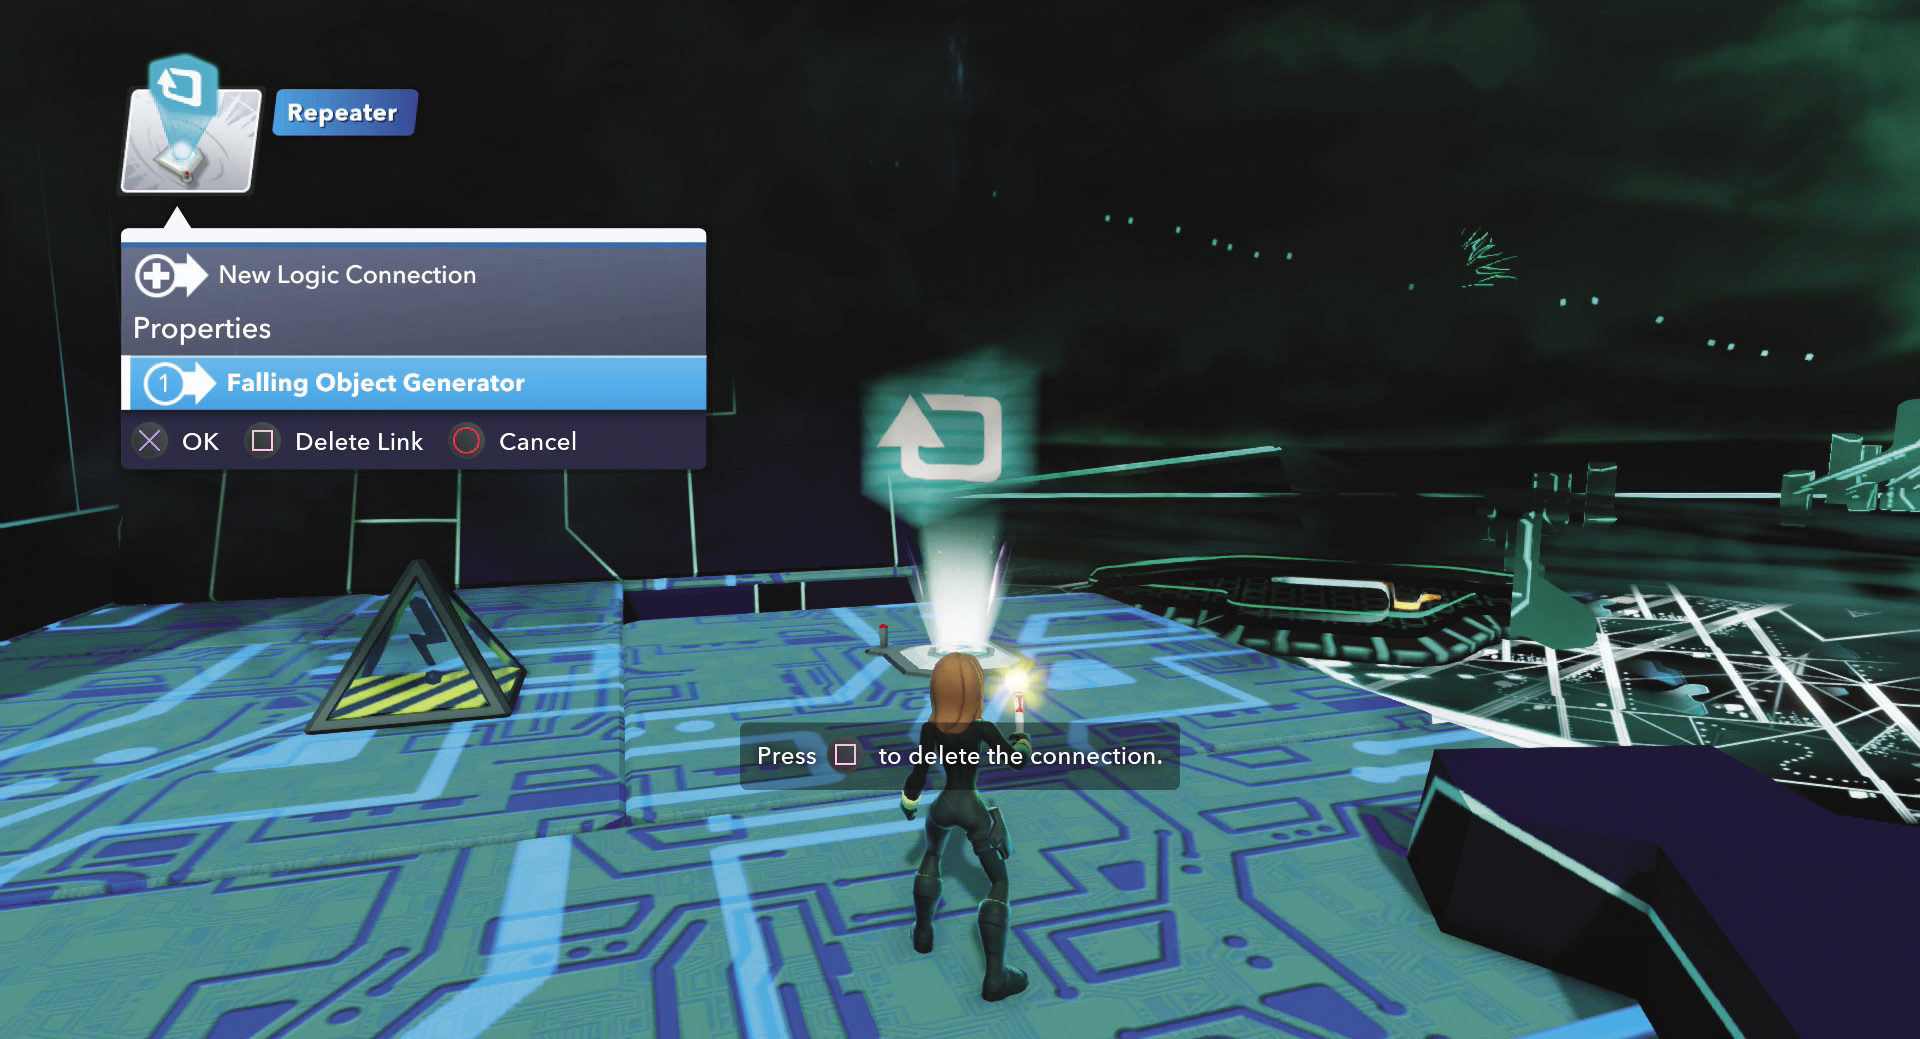
This time you are breaking a connection between toys.
Move up the ramp to the ledge. Step onto the manhole cover and it will launch you up to the top of the ledge. Then climb up the ladder to the top of another ledge to find Quorra waiting for you. She is next to an elevator. However it is not working. It needs a trigger to activate it. Open up the Toy Box Editor and from the Creativi-Toys category, select the trigger. Place it on the ground.
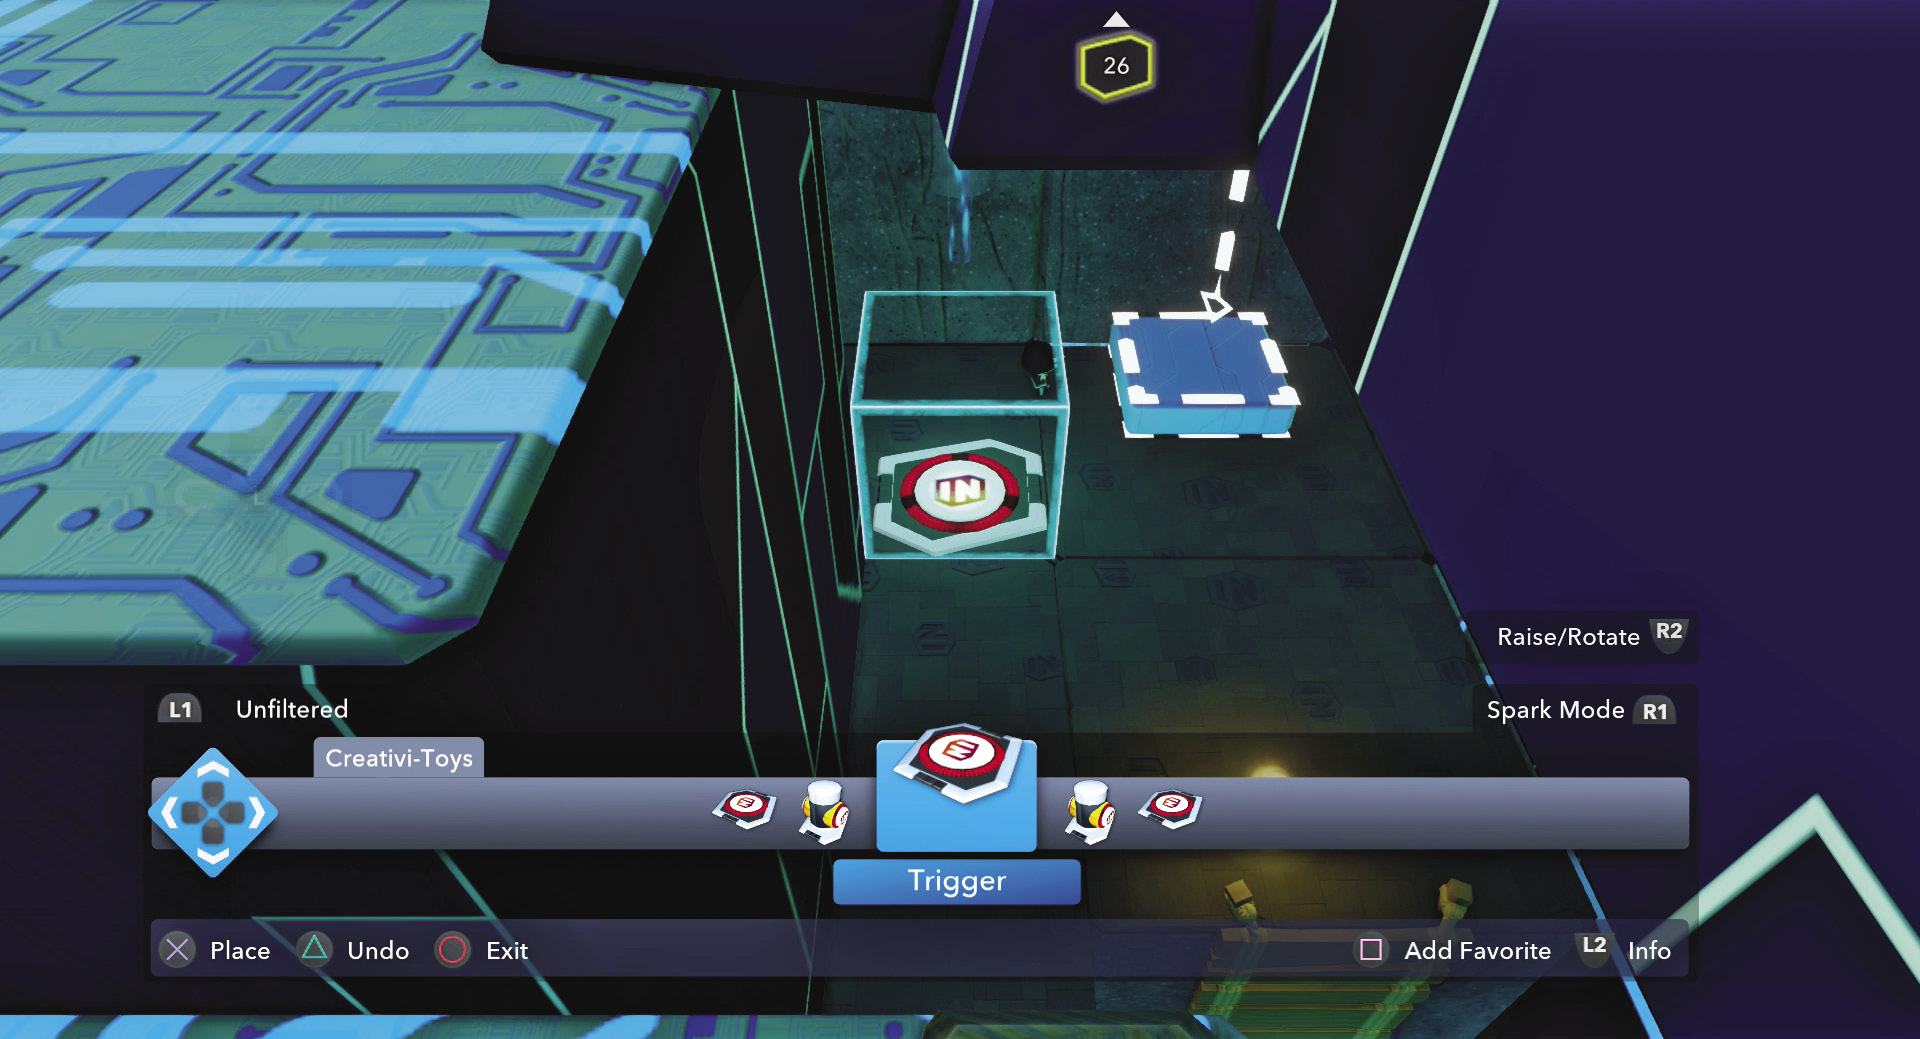
This time you need to select a toy to use as a trigger and place it in the Toy Box.
Now select the trigger using the magic wand and create a new logic connection so that it sends a message when it is stepped on by anyone. Next, connect it to the elevator platform and select the On choice so that when the message is received, the elevator will start going up and down. Once it is all connected, step on the trigger and ride the elevator to a higher ledge.
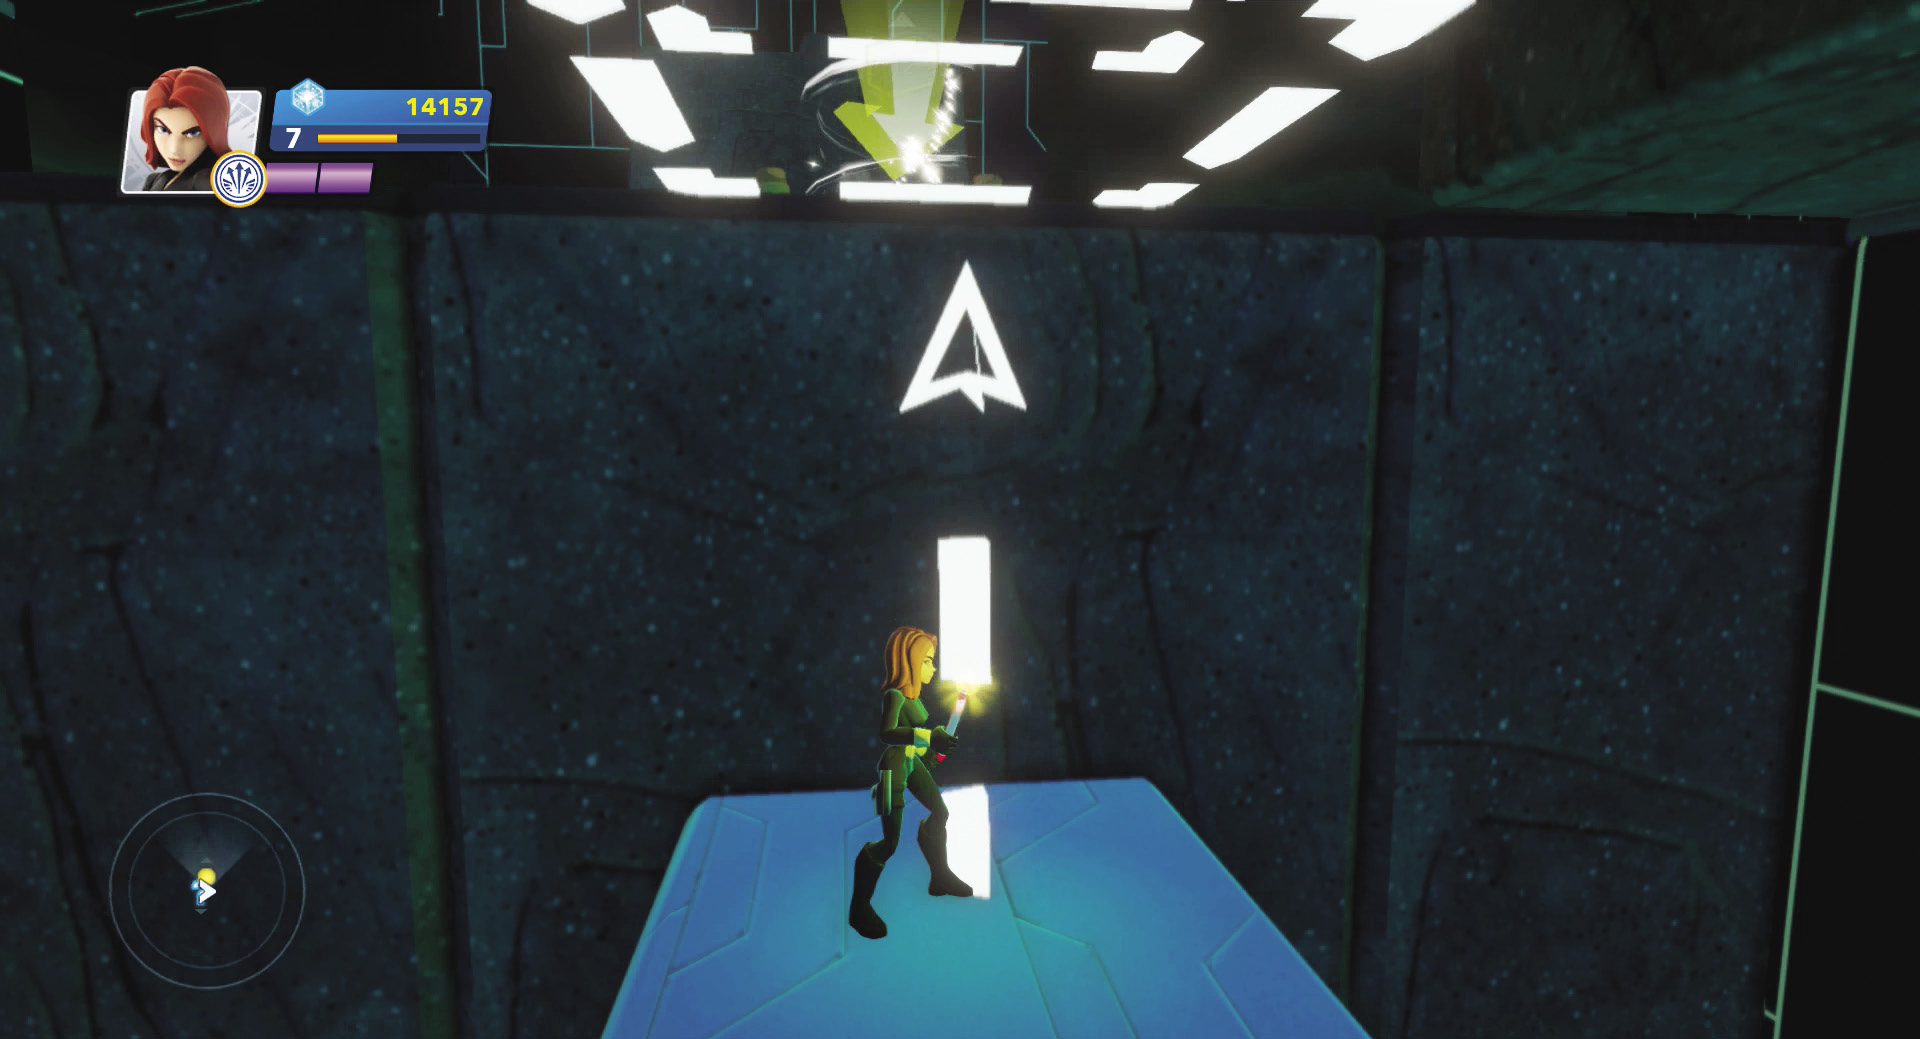
Notice that when you have your magic wand out, some toys (such as the elevator platform) have dashed lines showing the extent of their movement. However, if you put the wand away, those lines disappear. They are there to help you in editing the Toy Box.
At the top of the ledge, walk onto the checkpoint to save your progress. Now you have to deal with some enemies. Notice that they have an orange color around them. They have been created by the enemy generator and set to the orange team. They will attack anyone who is not on the orange team—since you have not been assigned to the orange team, they will attack you.
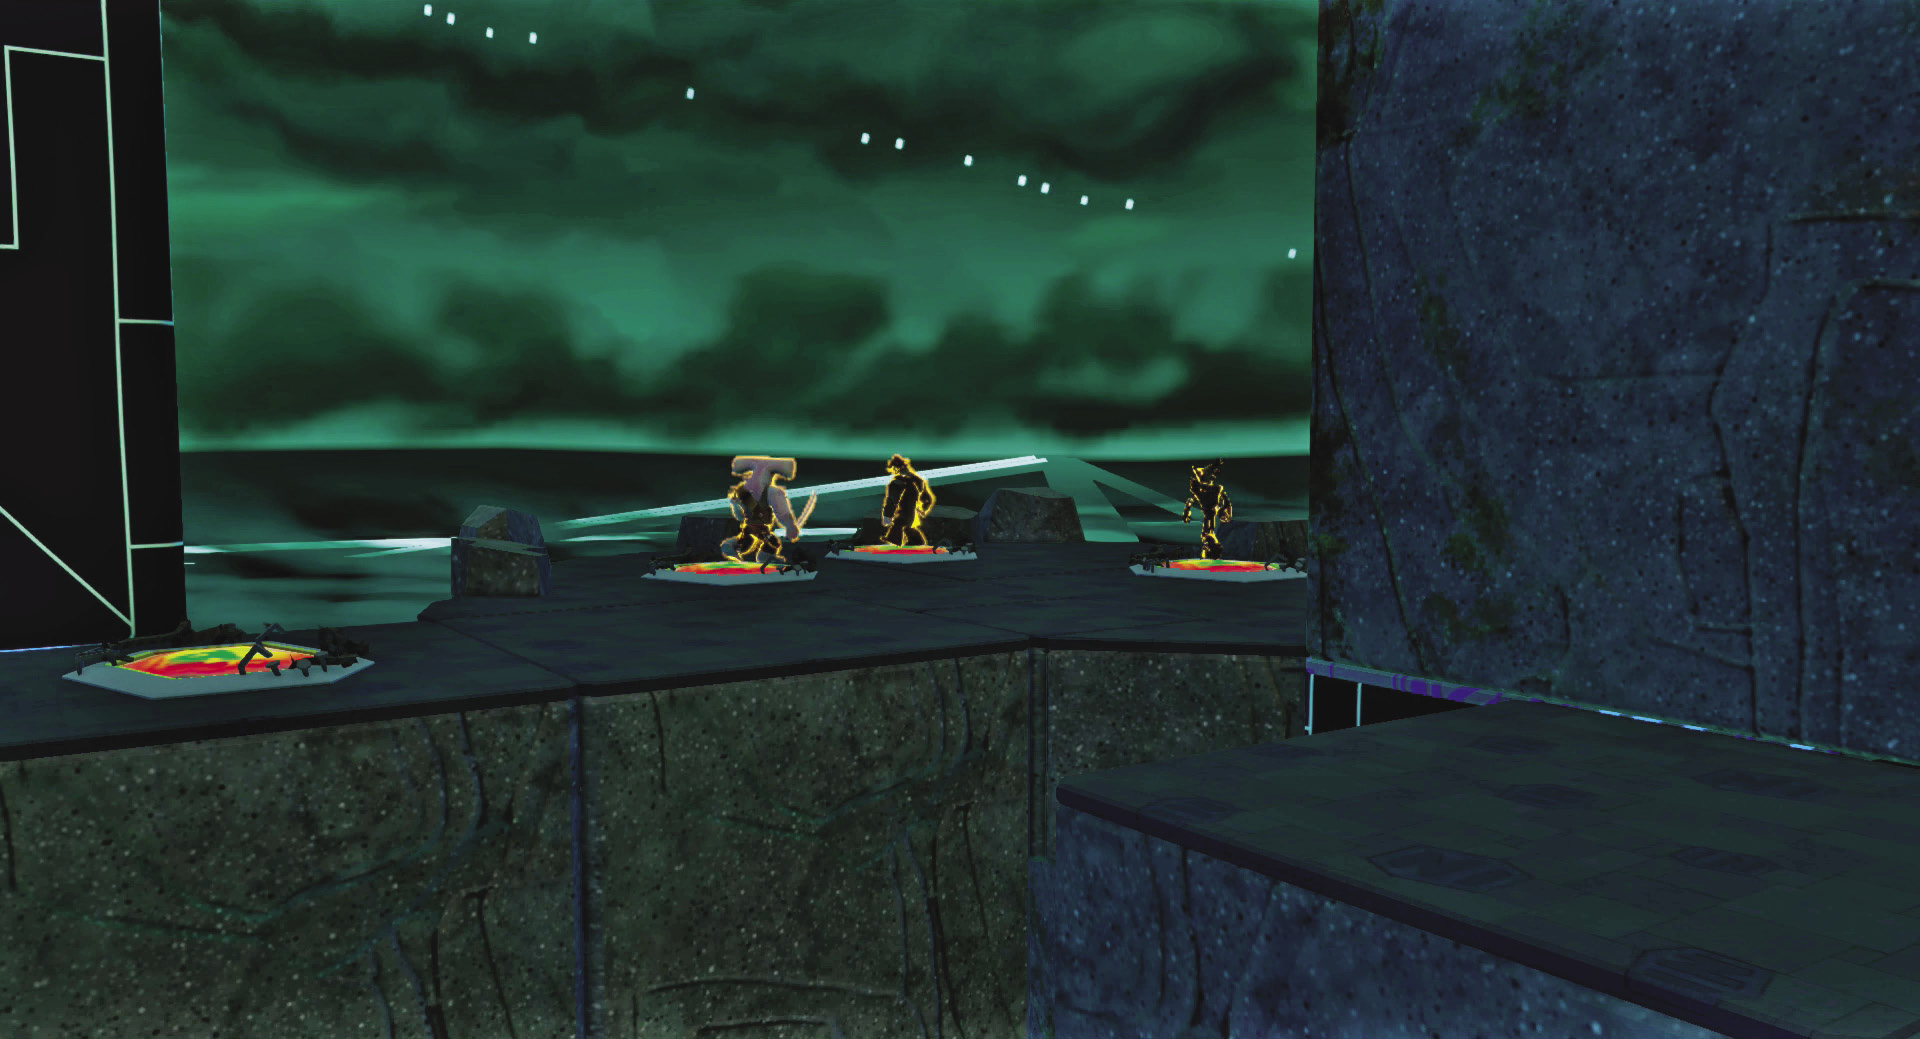
Those enemies are on the orange team. You need to get some help for your team.
Use the magic wand to select the enemy generator on the far left side, which is not activated. Select Properties, and from the Team menu, select Blue Team and then exit. When you do, a couple small bridges and a team assigner appear. Move across the bridges and touch the team assigner. This causes a Tank Omnidroid to appear and be assigned to the blue team. Since you touched the team assigner, you are on the blue team. Watch as your new teammate goes after the orange enemies.
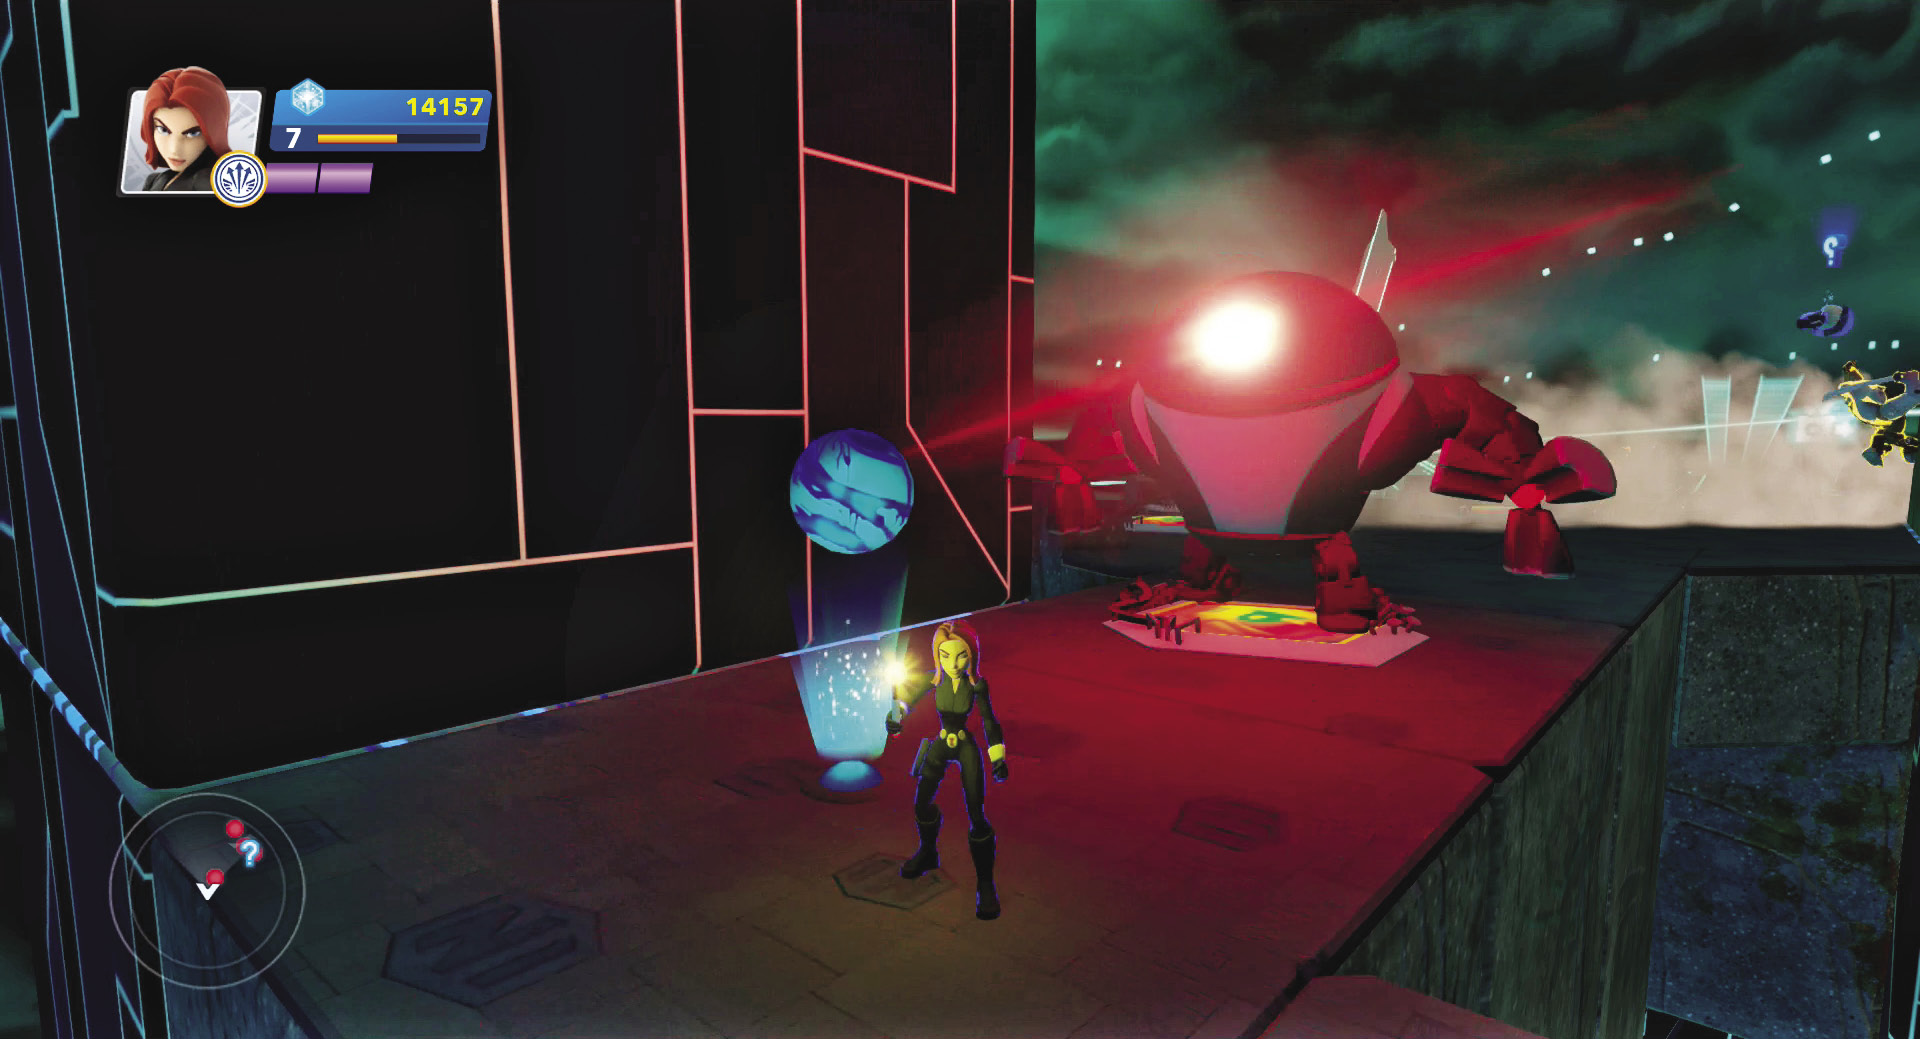
It is nice to have big friends to help you defeat your enemies.
Climb up the ladder and follow Quorra the rest of the way to the top of the mountain. Here is your final challenge you must complete in order to get the treasure. The treasure is locked in a chamber behind a gate. The only way to open the gate is to drop something from the falling object generator into the basketball hoop. You will need to use Creativi-Toys to do this. There is no one way to complete this. You can make a simple way to get the ball into the hoop, or create a complex method—the choice is yours.
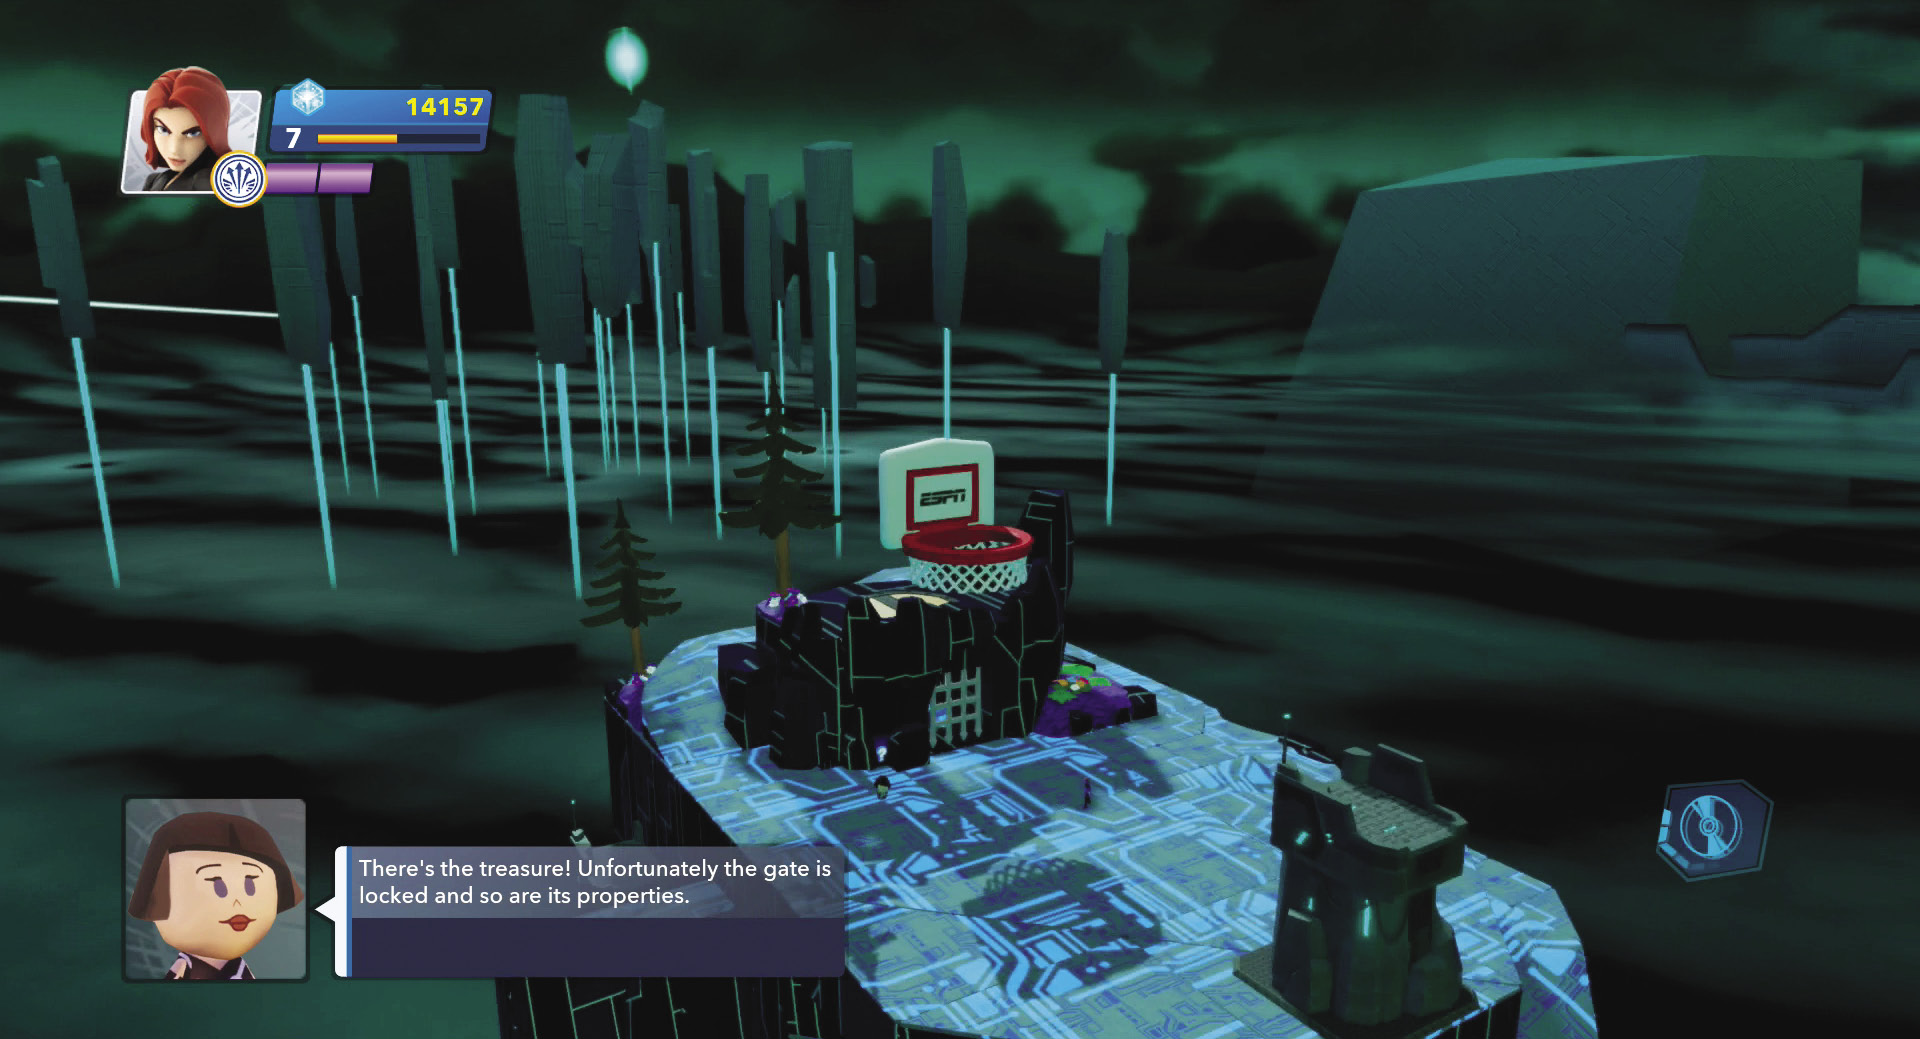
You have to get a ball into the hoop to score the treasure.
The first thing you need to do is put a trigger or other toy that you can connect to the falling object generator to get it to start dropping balls. Open the Toy Box Editor, go to the Creativi-Toys category, and select the trigger or the Action Button. Place it on the ground. Now select it with the magic wand, create a trigger event, and then connect it to the falling object generator. Select an ESPN basketball or other ball to drop when the trigger is activated.
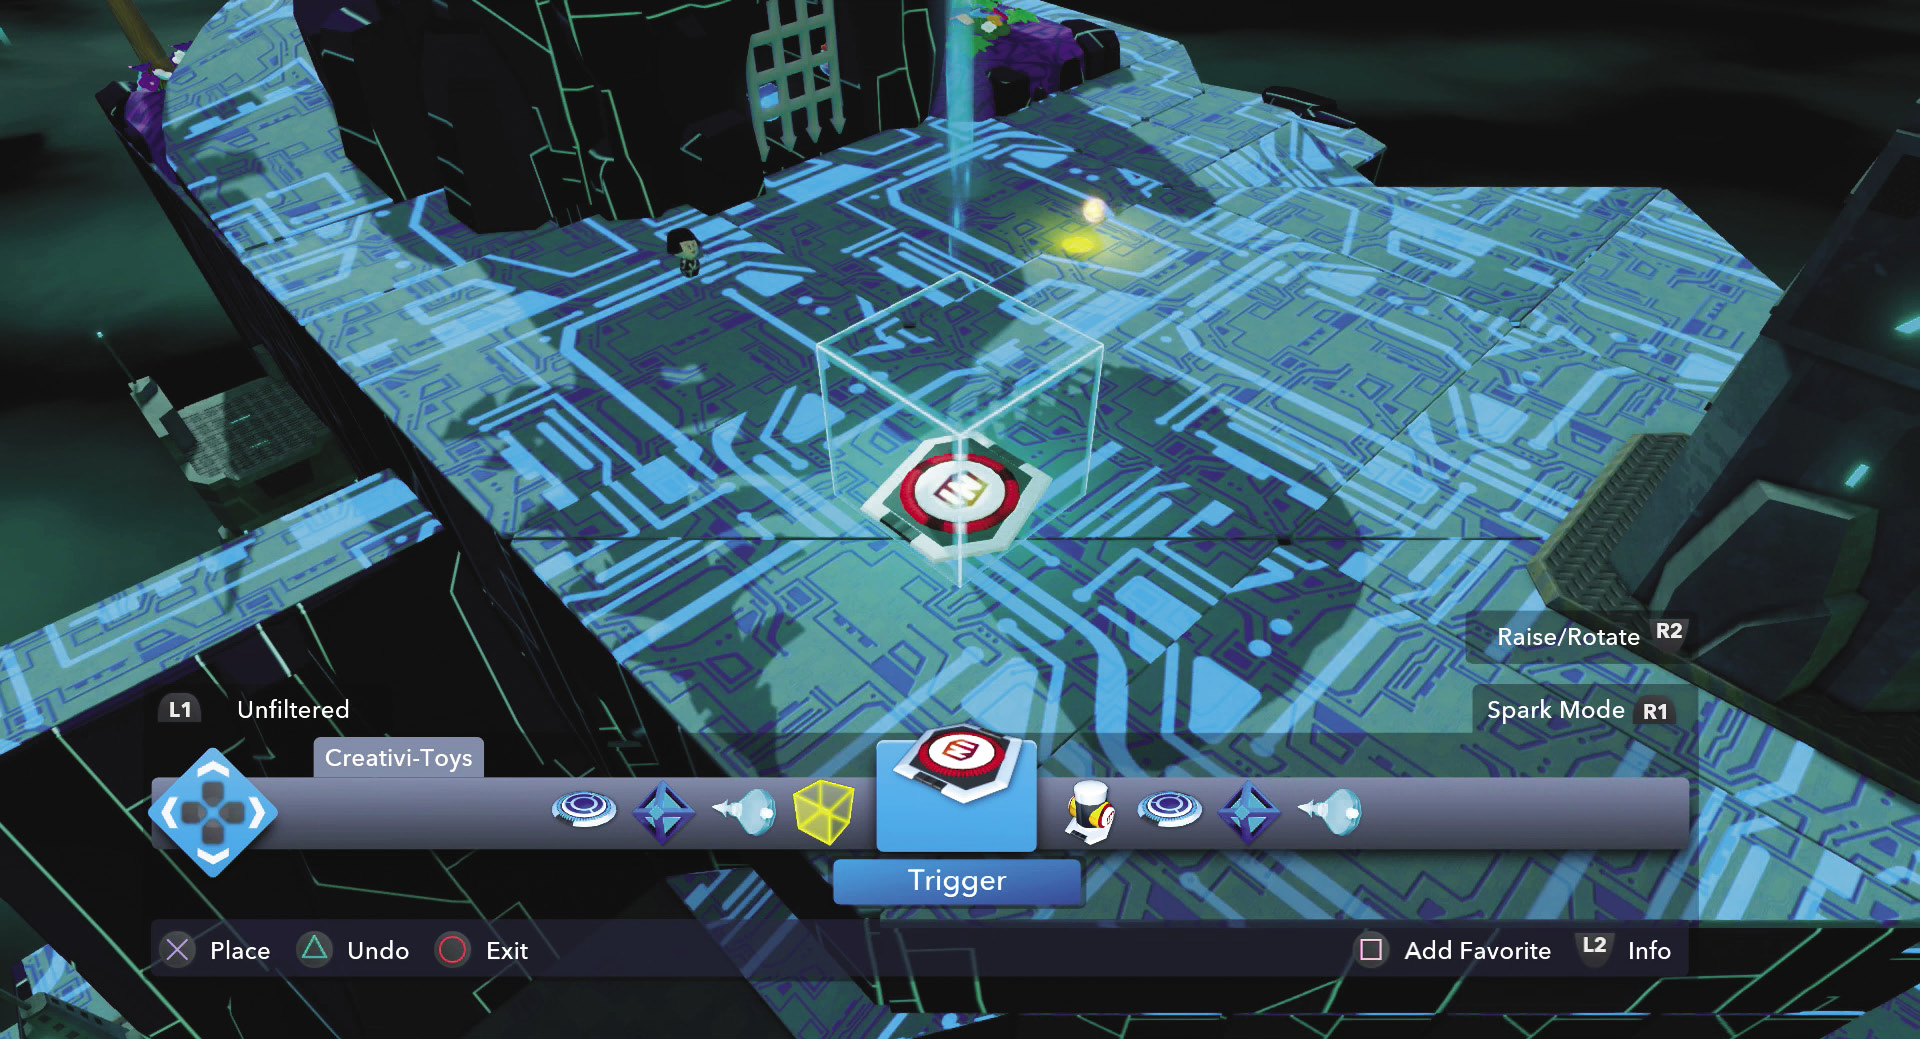
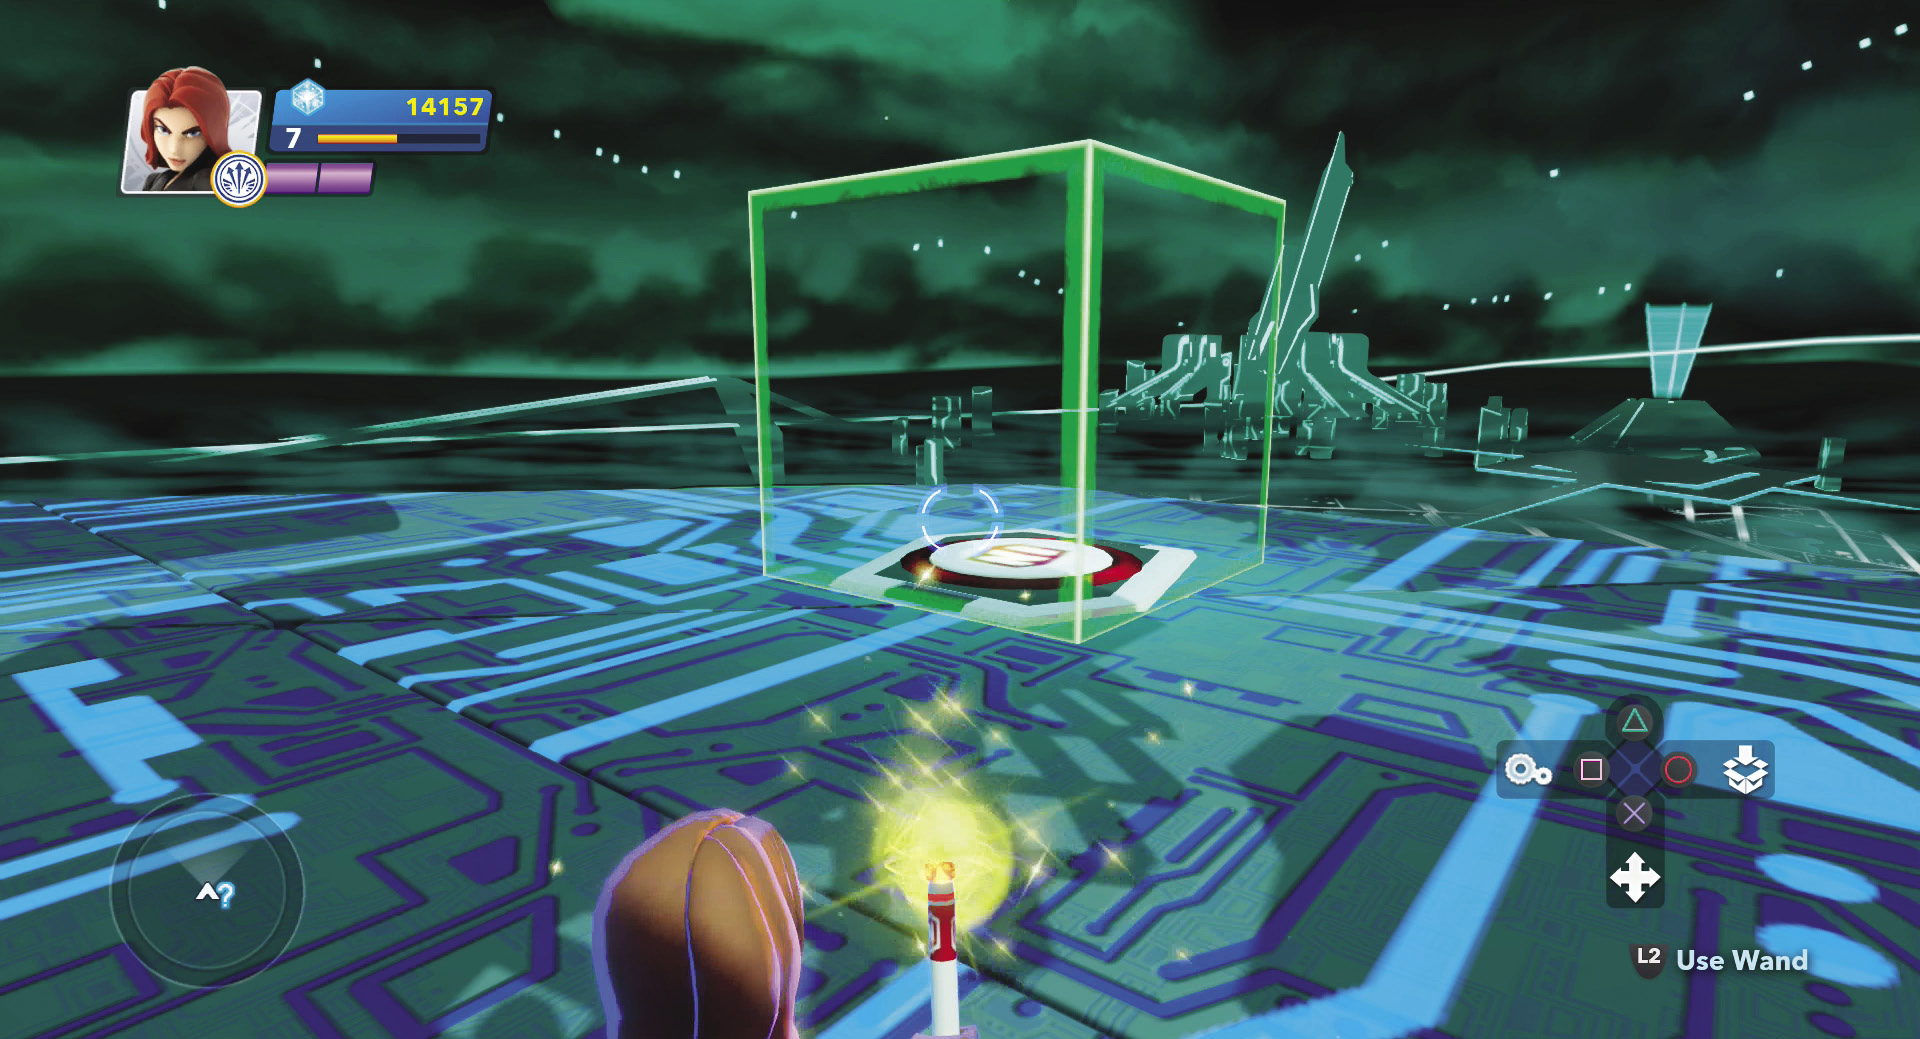
Start off with a trigger to activate the falling object generator. Make the connection between the two.
Now you have to figure out a way to get the ball from the generator to the hoop. A simple way is to use conveyor belts from the Platforming Toys category. Place one under the generator and then a couple more in a line all the way to the hoop. Now when a ball drops, it should be carried by the conveyor belts all the way to the hoop.
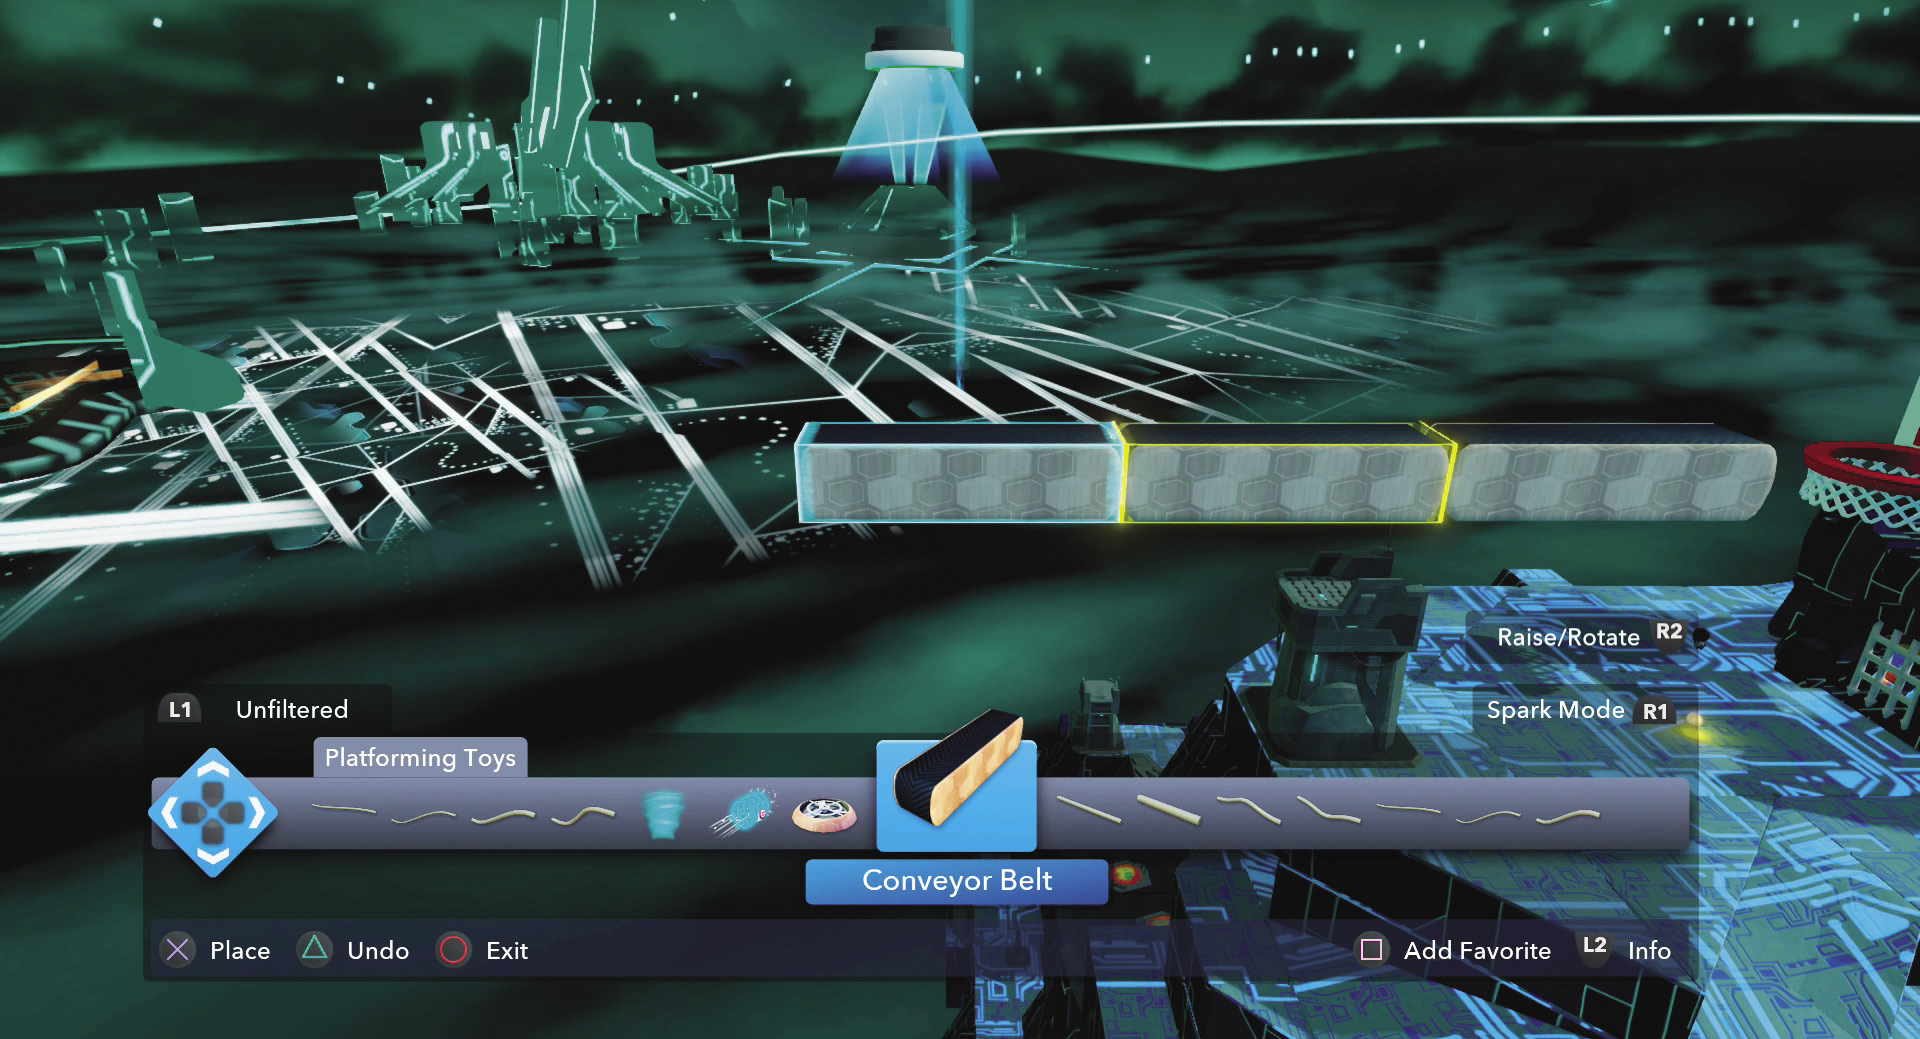
Conveyor belts can carry the ball to the hoop. Make sure they are all going in the same direction—towards the hoop.
Once you get your connections made, step on the trigger to drop a ball. Then watch to see if it goes in. You may need to use the magic wand to move toys around to get it just right. There are several different types of toys you can use to complete this. Once a ball goes into the hoop, the gate opens and you can enter to collect several capsules of orange and blue Sparks.
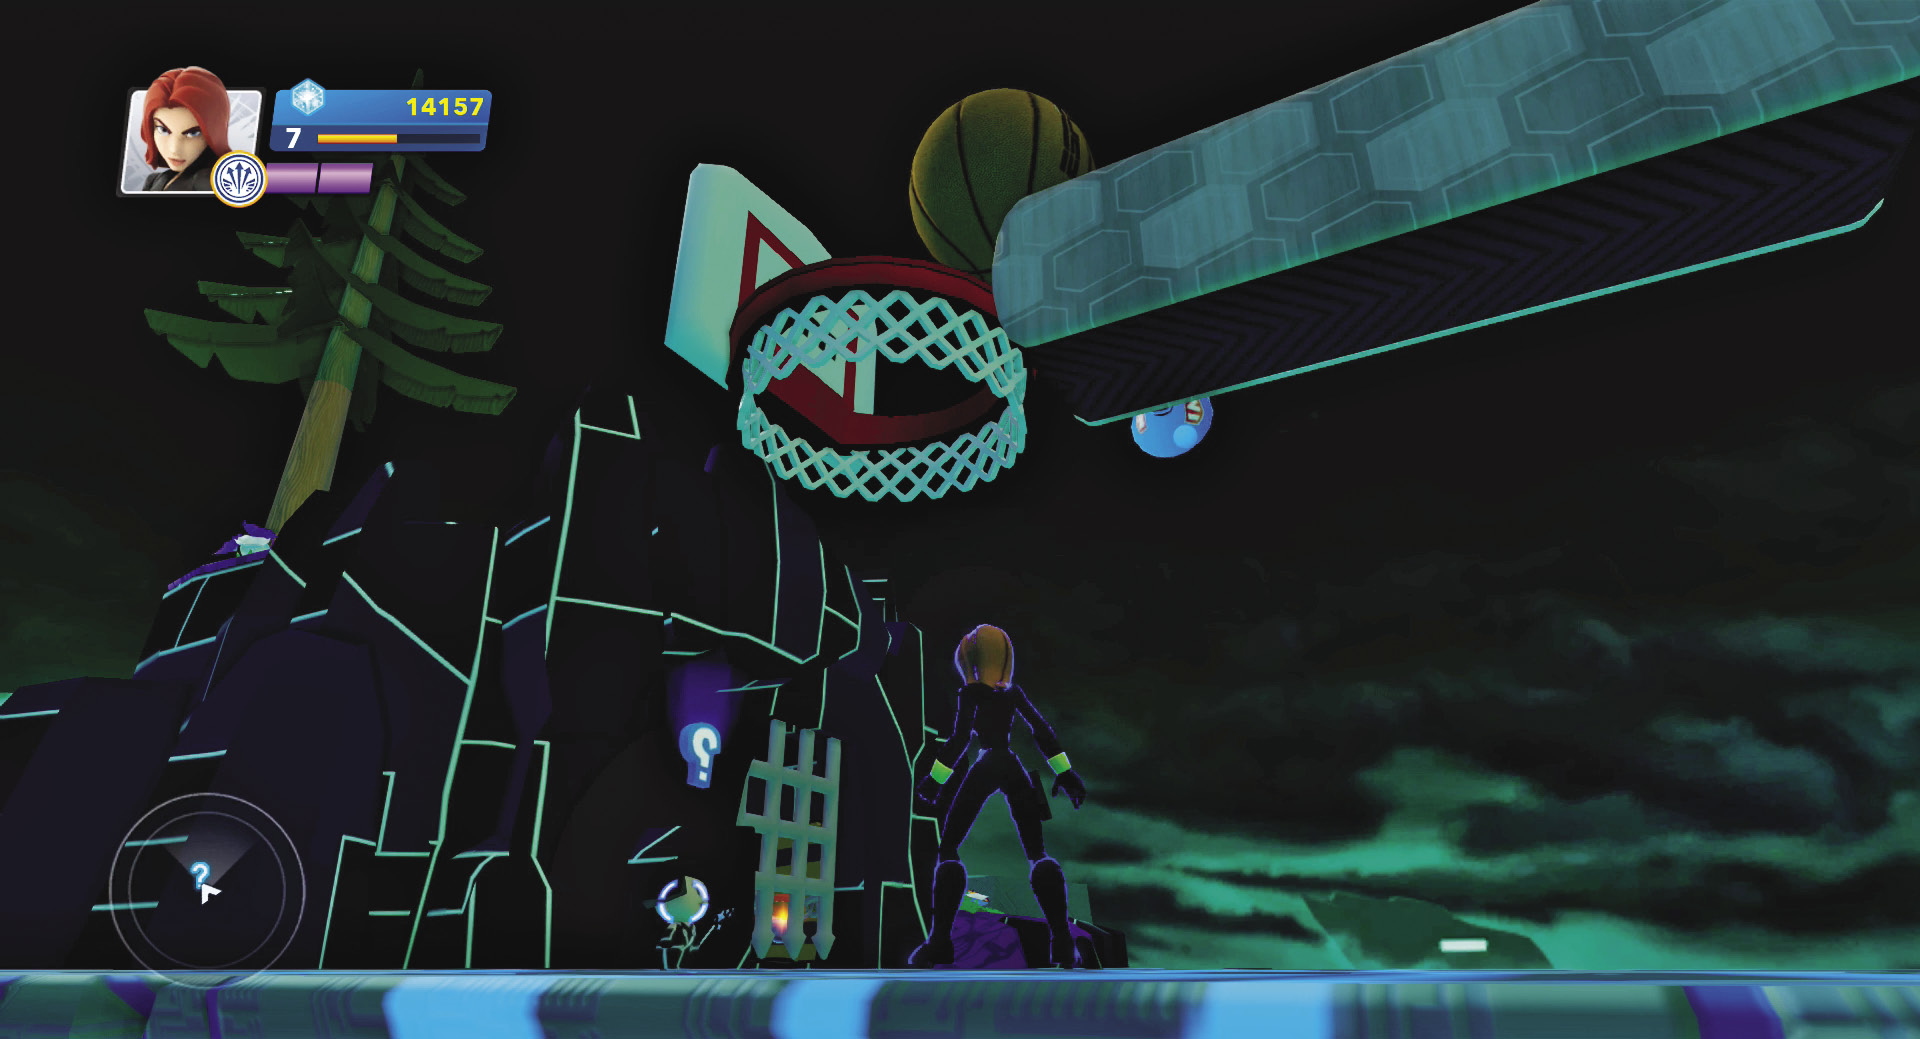
Watch the ball go into the hoop.
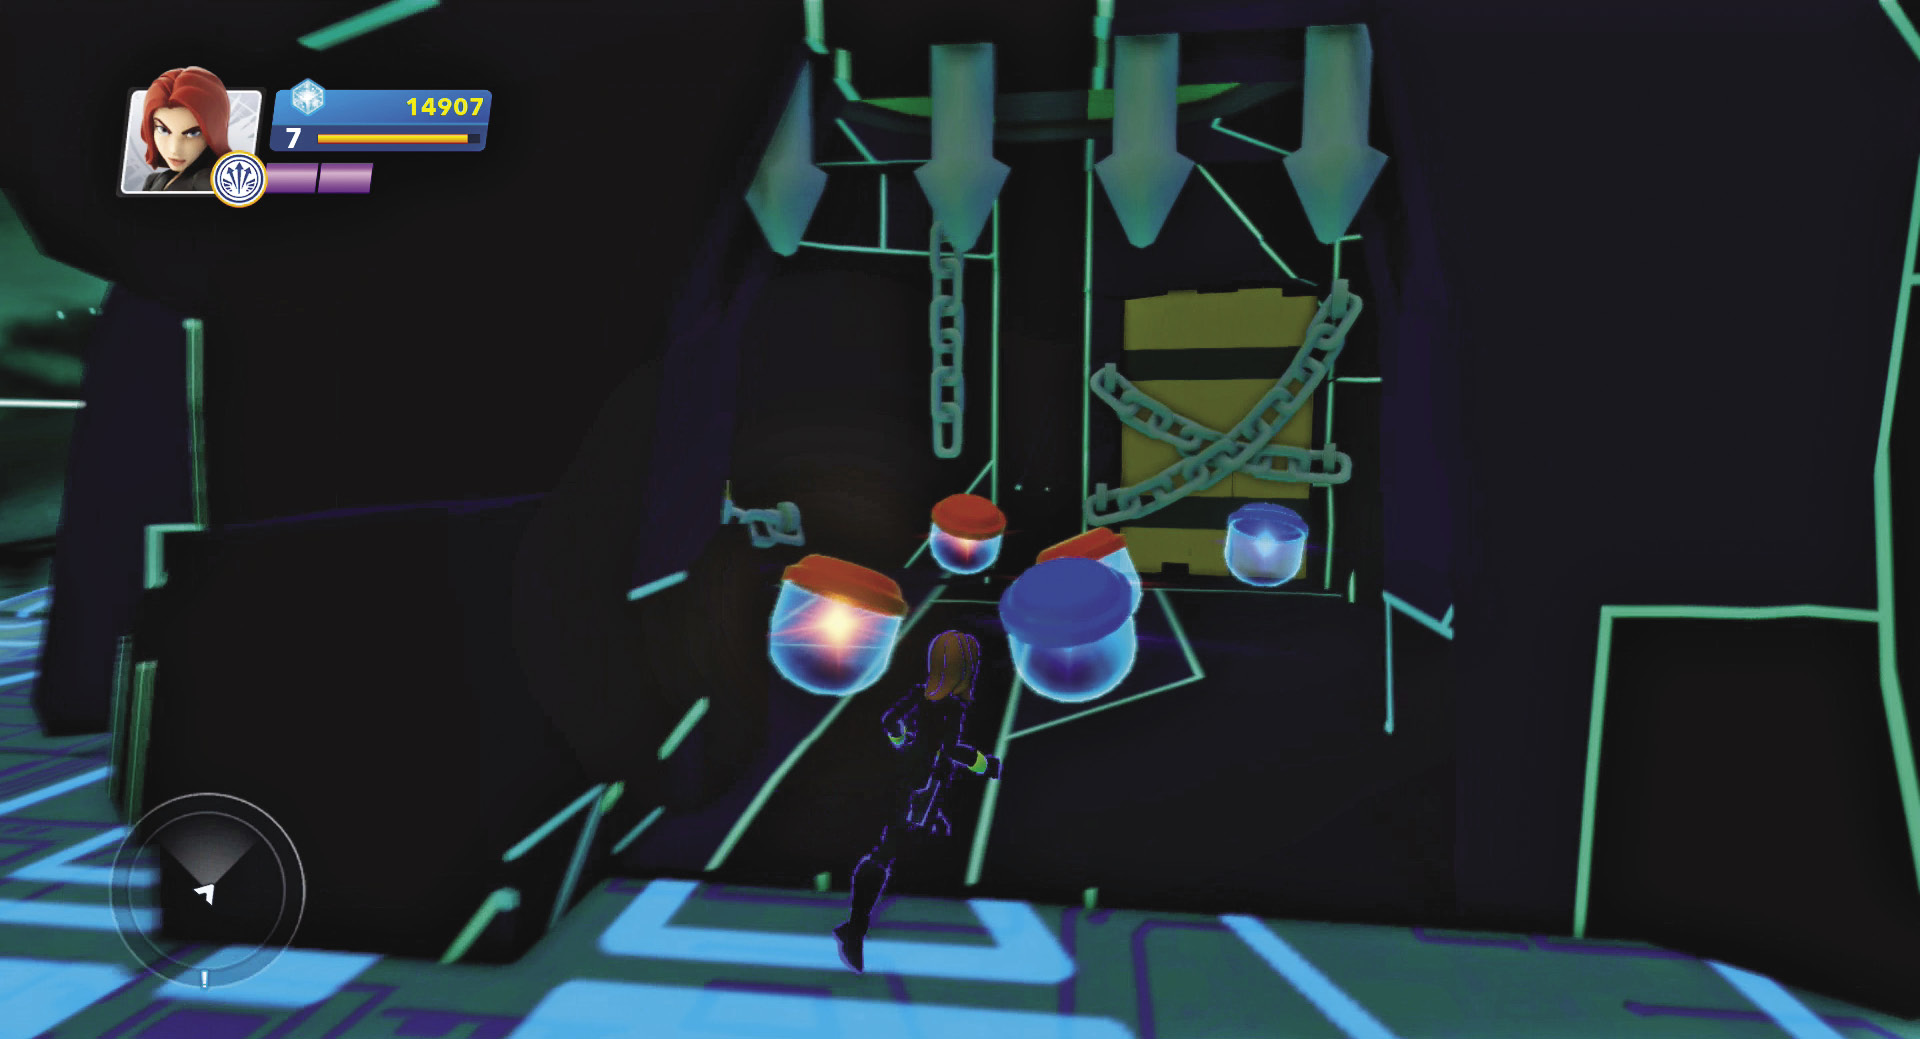
Then go collect the treasure!
Treasure Defense Kit
Games consist of several toys that are connected together. One of the games Quorra can show you is the treasure defense. In this, you have money to spend on some defenses and then must protect an object from waves of enemies. While the game kit that Quorra provides is fairly simple compared to the Toy Box Games you can play, this kit shows the basics and the vital connections. In addition to placing the kit in the Toy Box World, Quorra also explains several of the key toys and how they are connected to each other.
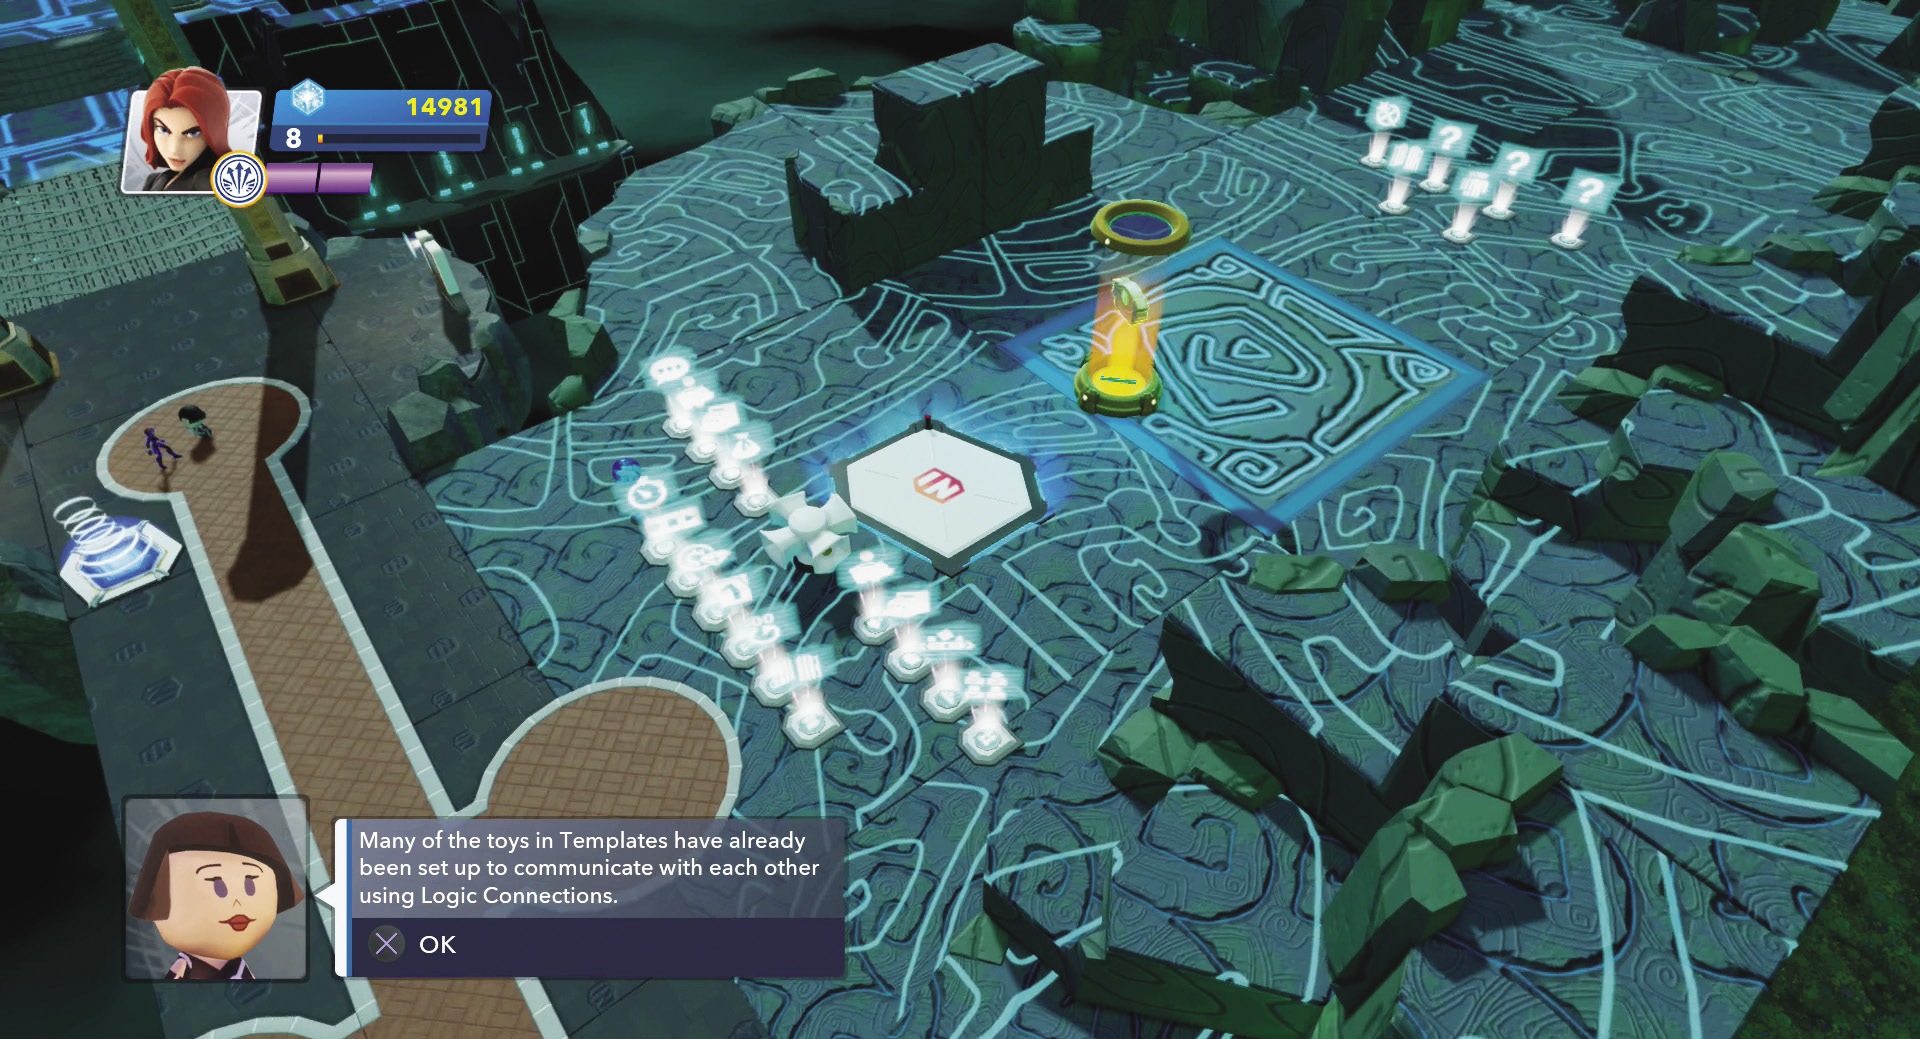
This is the treasure defense kit. All of the toys are grouped together. However, in a real game, you could move many of them out of sight, such as behind terrain or objects.
The first toy that Quorra introduces is the inventory manager. It is used in this game to limit the choices of toys that players can select in the editor. By setting the properties of this toy, you can choose exactly what toys are available. Next she discusses the storefront. This toy has two menus. One is used to organize a shop of items for sale. The other menu is for players to actually purchase those items during the game.
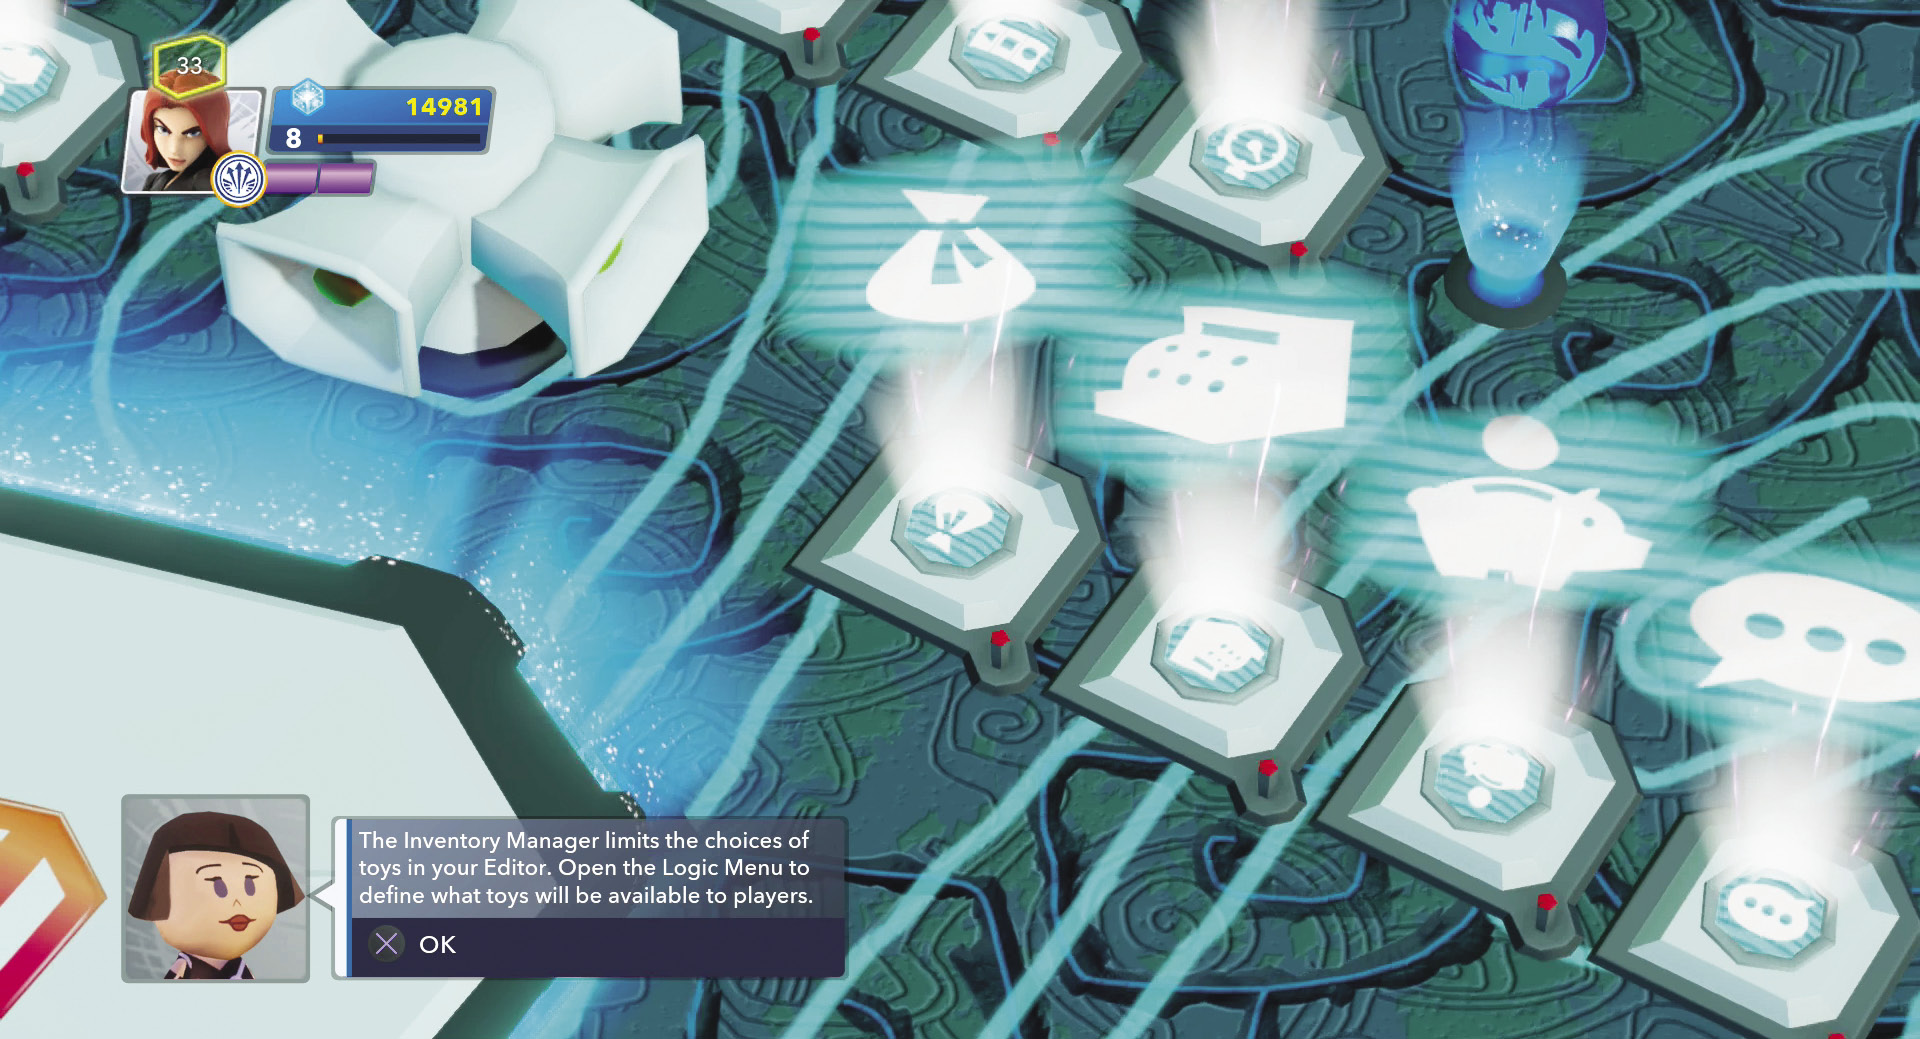
The inventory manager and storefront toys allow you to set up the ability for players to purchase toys during a game. You can customize when and what items are available as well as how much they will cost.
Because this game involves money, the money manager toy is a must. It lets you choose the type of currency you want to use as well as how it appears in the game, such as when you defeat enemies or break items. This money can then be spent in the storefront. The amount of money dropped by these things can be set using the loot drop manager toy. As you can see, if you want to use money and be able to buy things in the game, you need several different toys connected together.
While Quorra explains how some of the toys create an economy to introduce you to the importance of connecting toys to complete a function, where a game really starts is with the challenge maker. In order to begin a game, a player must first step on the challenge maker. For this game, the challenge maker is connected to the text displayer. This provides instructions to the player that have been written within these toys. After the text is displayed and the player presses a button to remove the instructions to start the game, the text displayer sends a signal to other toys to get the game going.
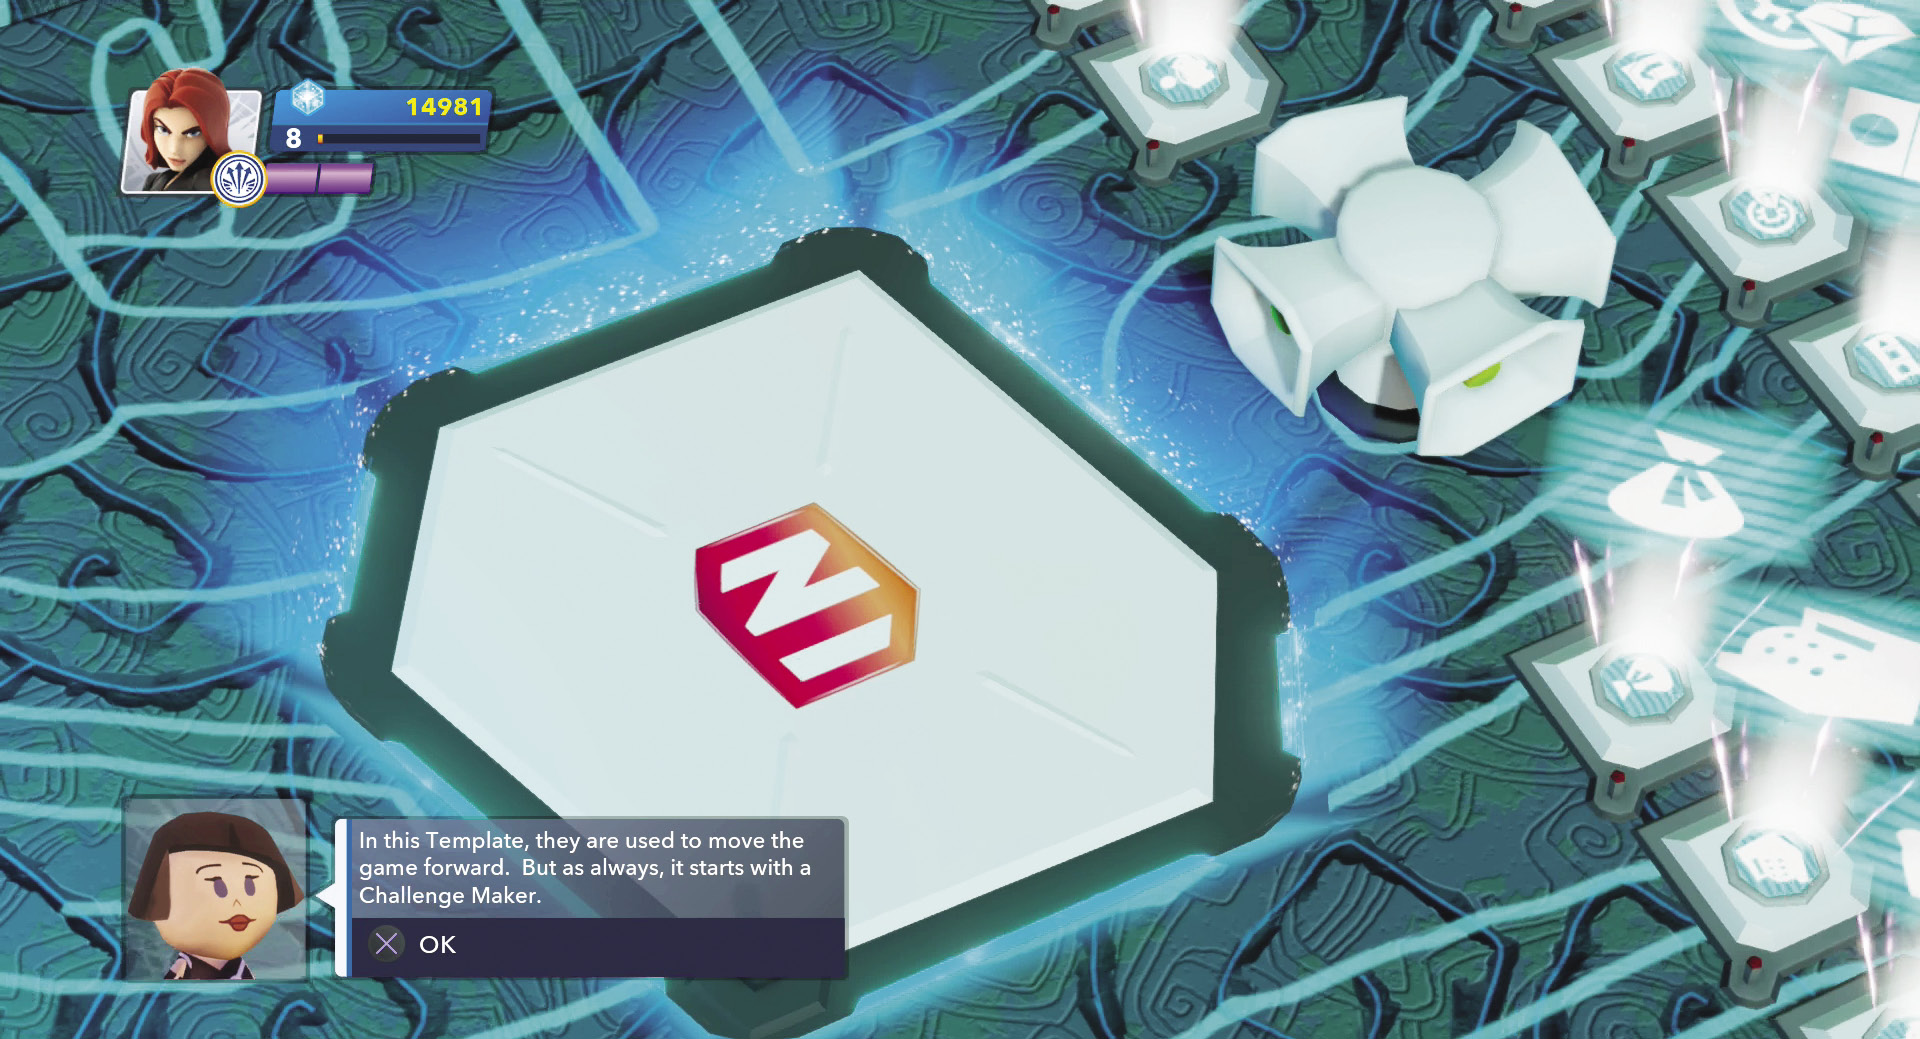
Each game needs a challenge maker as the interface players use to access and start a game. This is a feature new to the game.
For example, in this game, the text displayer gives instructions to pick items to use in the game. Then it sends a message to the storefront to open and let the players start picking. It also activates the money manager, which provides money for the players to spend. When the players close the storefront after picking items, the storefront sends a message to the text displayer to give the next set of instructions—in this case, to place items to help defend the treasure. This opens another storefront toy and another money manager toy are activated so that players can access the storefront—by pressing the Toy Box Editor button—to purchase more items with the money they collect by defeating enemies. The editor manager then opens and lets the players place as many objects as desired until the money runs out.
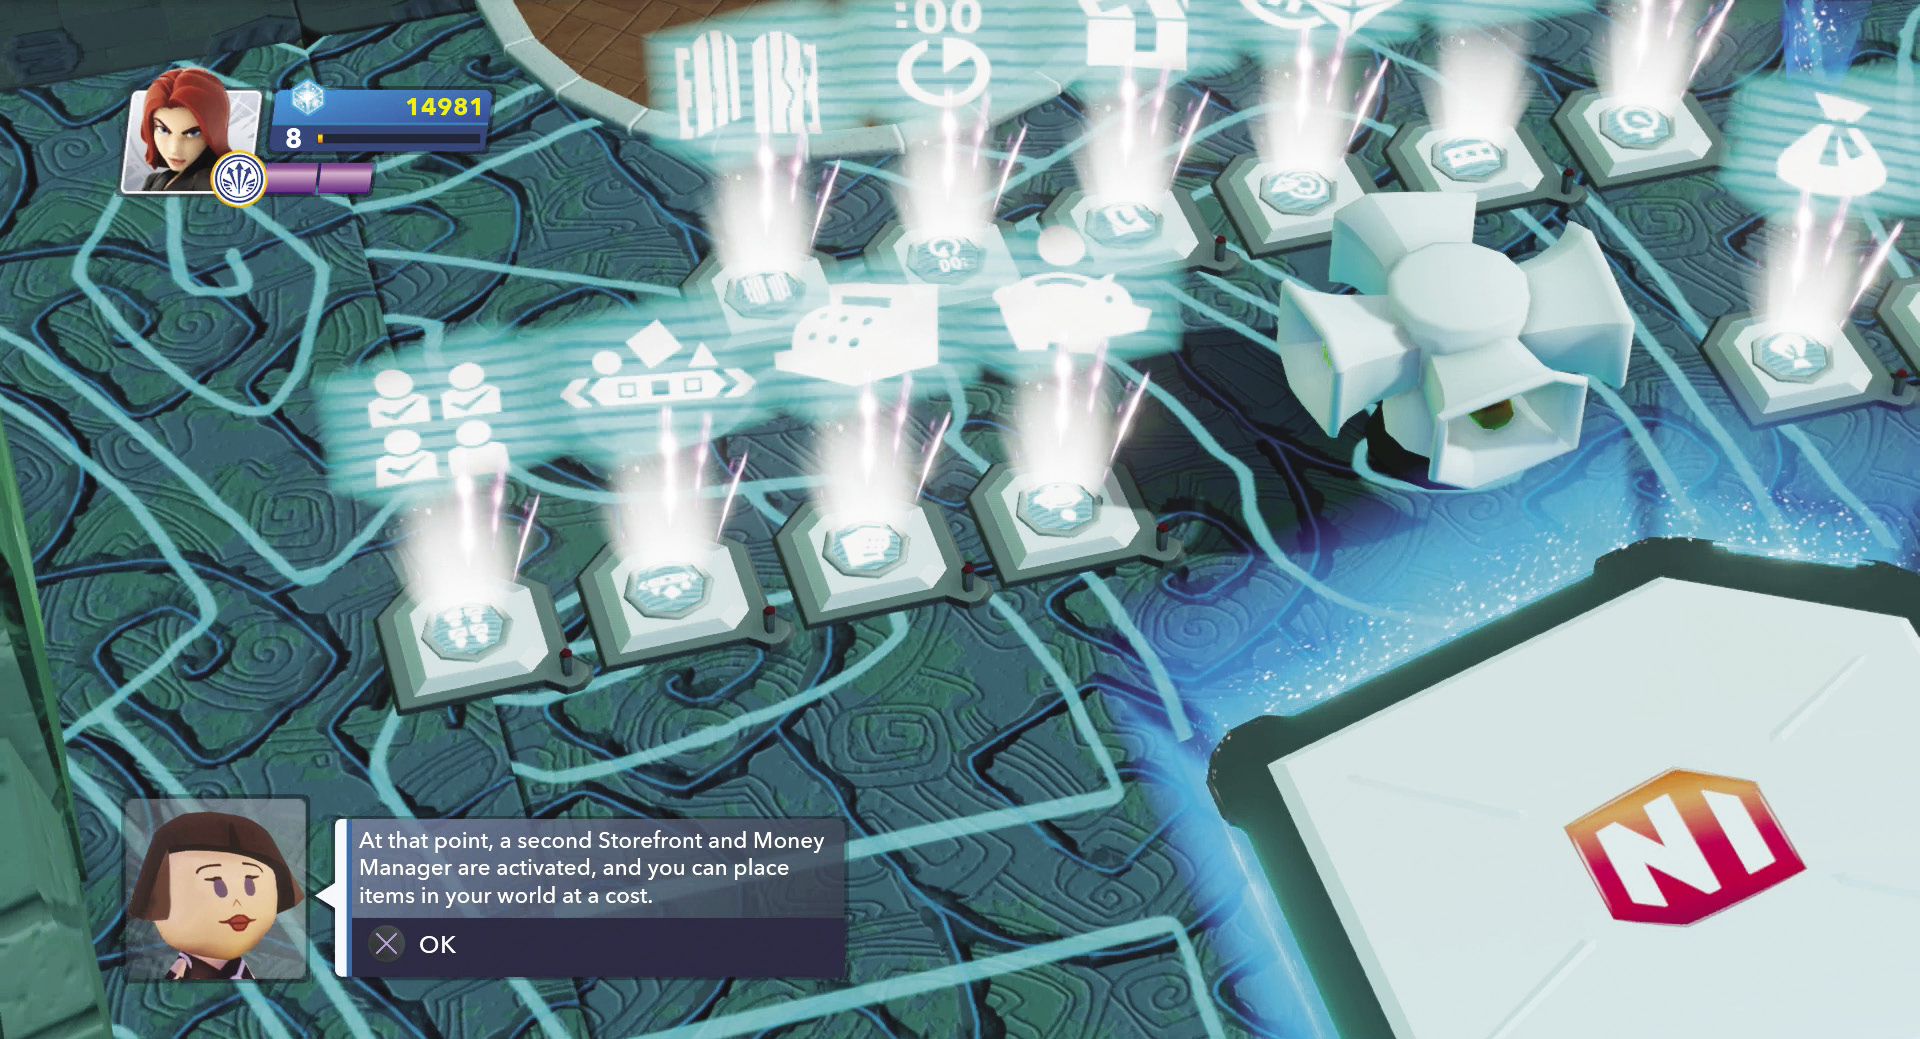
Because this game has two different purposes for the storefront—setting up and during the game—you need two sets of storefronts and money managers. This allows you to also have different prices for the two storefronts.
When the player is finished placing items and closes the storefront, the enemy wave generator begins creating groups of enemies to charge and attack Odin’s treasure. In the enemy wave generator, you can choose the types of enemies and how many appear in each wave. For this game, there is only one wave. If the enemies destroy the treasure, then the game is over. However, if the player defeats all the enemies with the treasure intact, then the result is a victory.
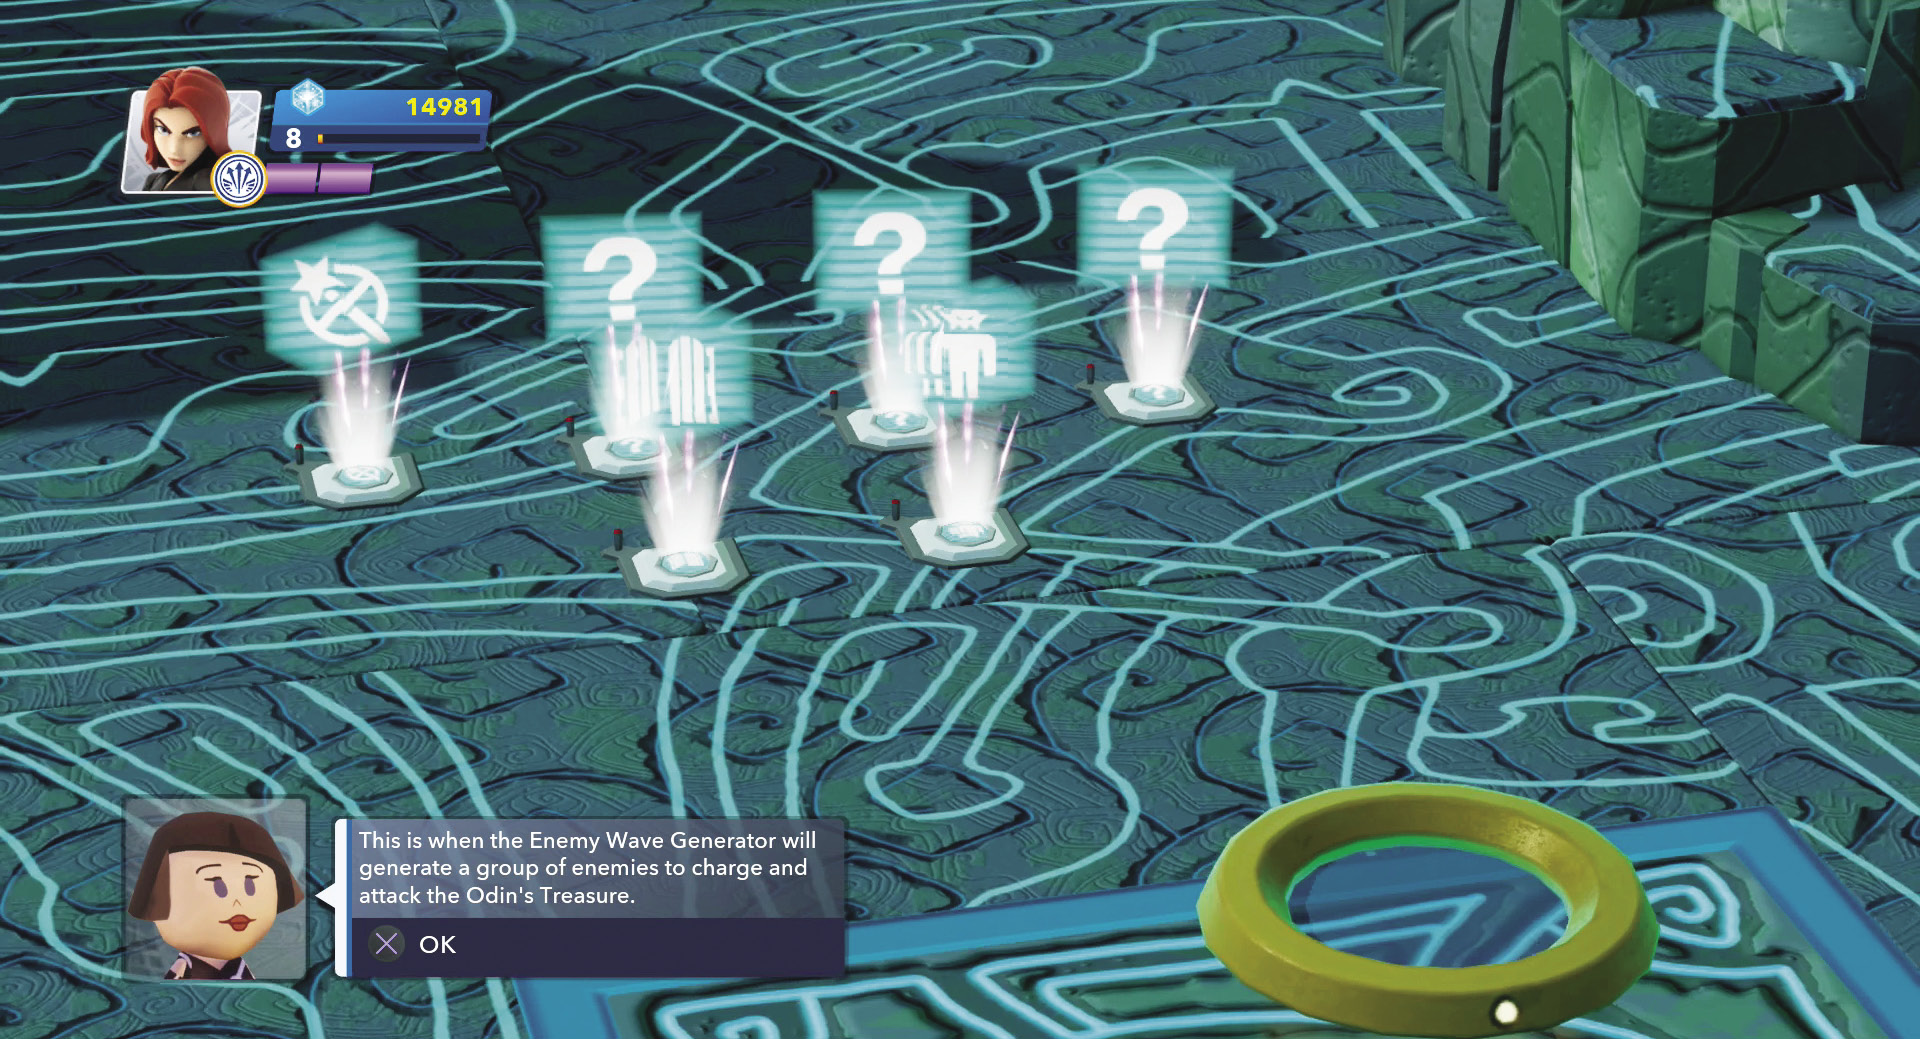
Use the enemy wave generator to configure the types and numbers of enemies. If you connect this toy to locator toys, you can specify where you want the enemies to appear.
Try playing the game to see how everything works within the game. Then take some time to select each toy with the magic wand and look at all the properties and connections with other toys. The designers have left a note for you with descriptions about the game. Just walk over the toys with a “?” over them.
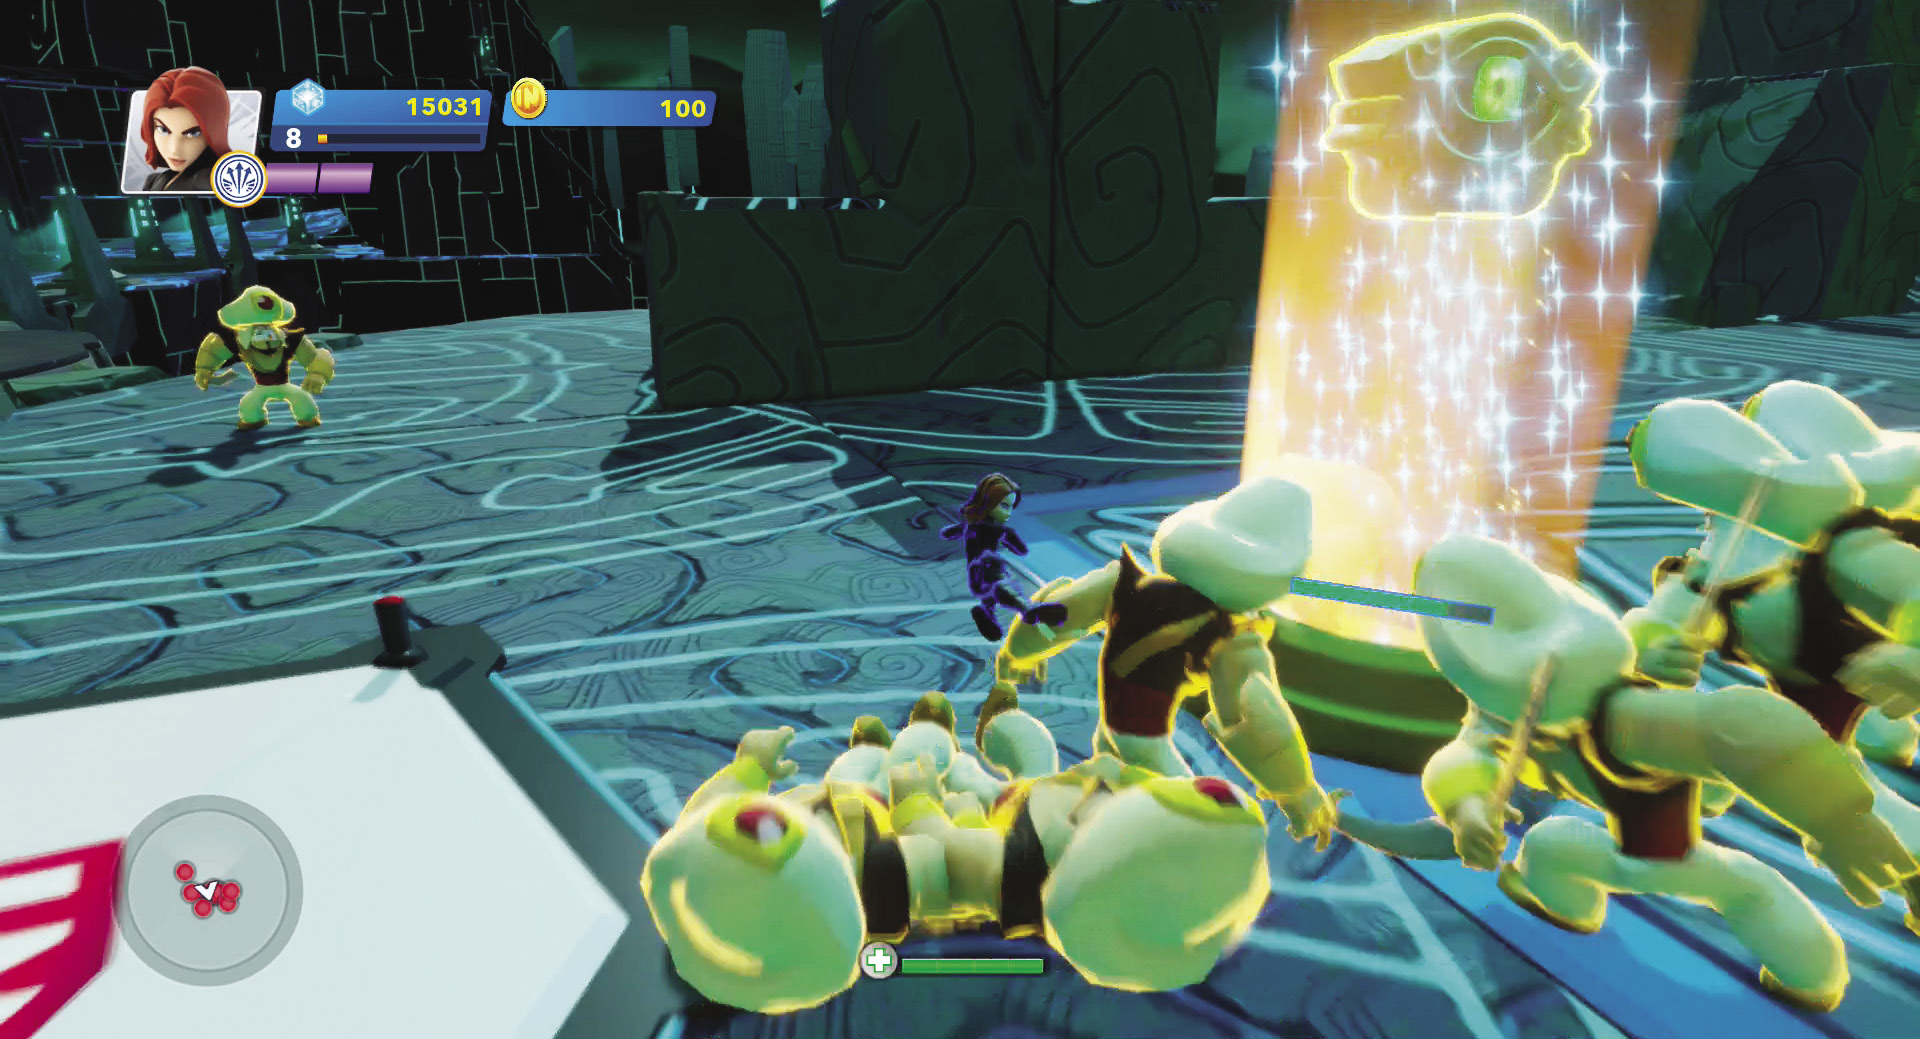
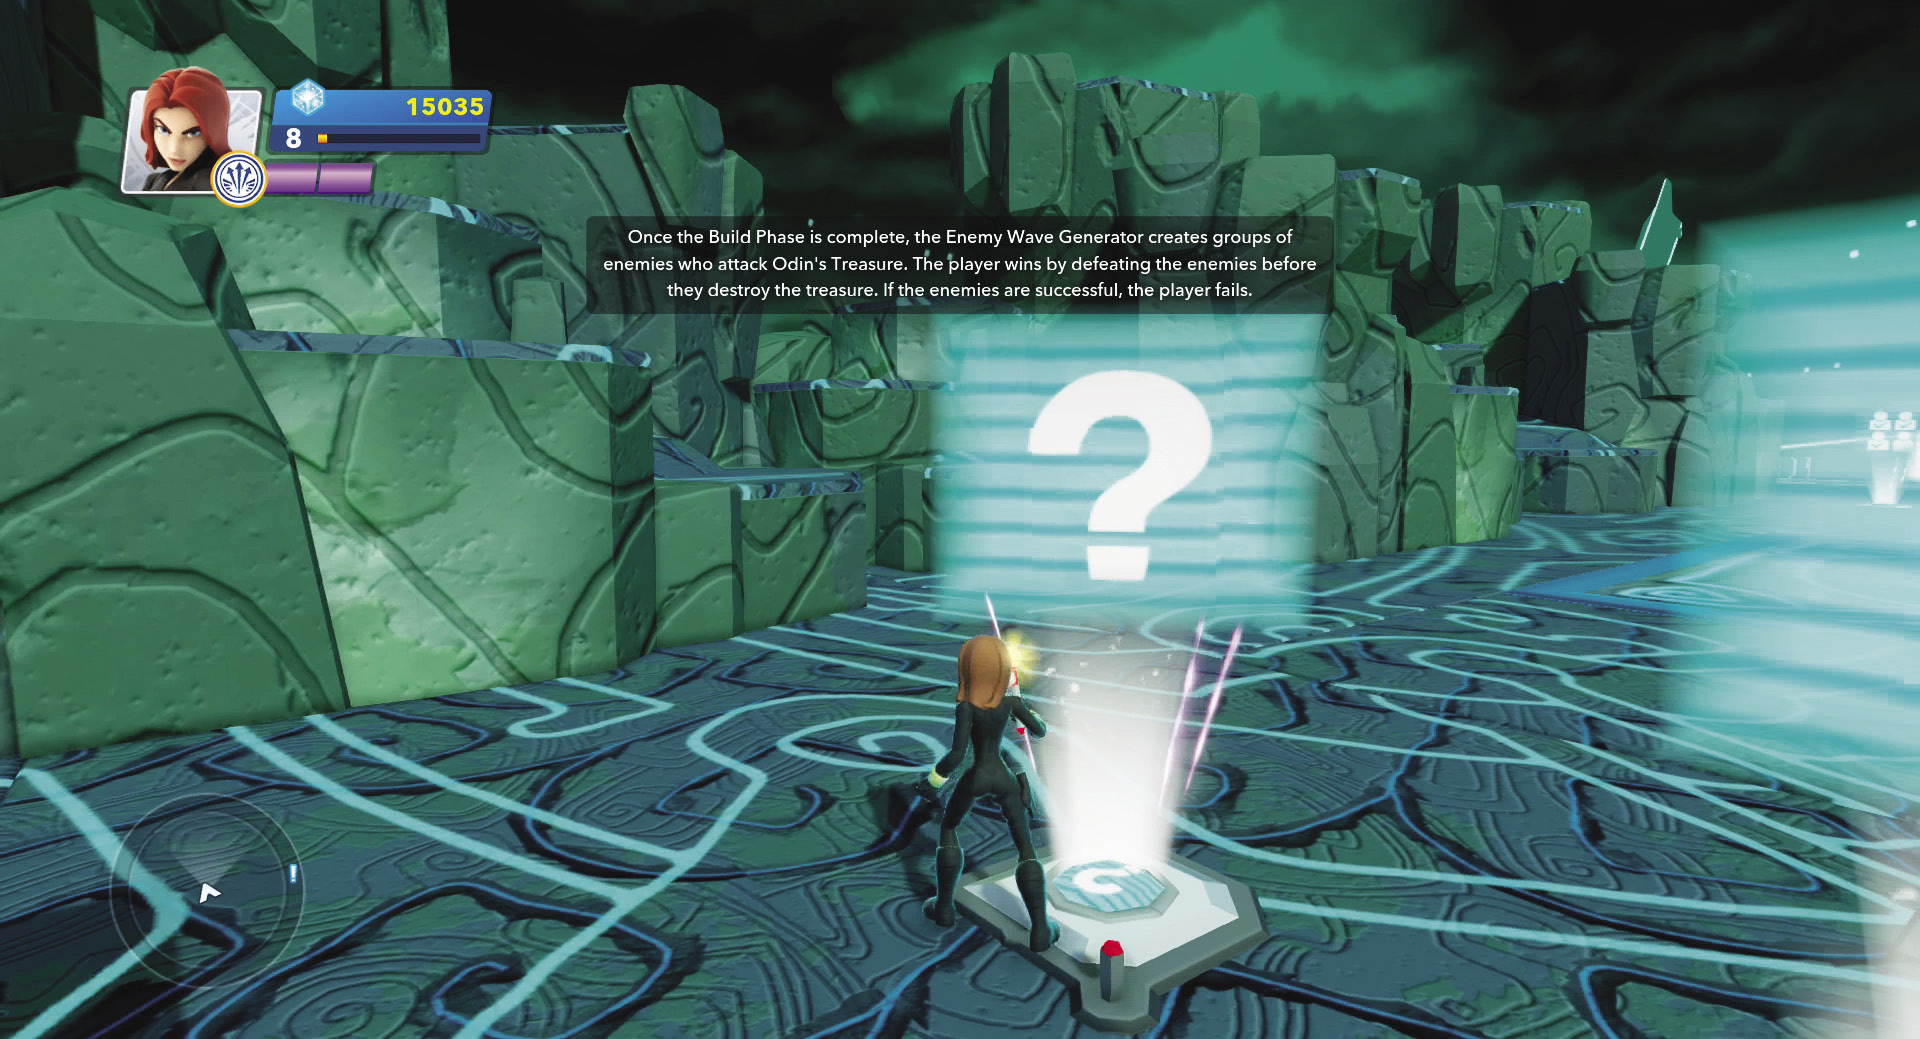
Try out the game to see how it works. These toys with the “?” on them contain information about how the game was made. Walk over them to access their text.
Collector Challenge Kit
The collector challenge kit is another template that is a complete game. This type of game requires players to collect objects within a certain amount of time. Quorra walks you through the basics of this type of game.
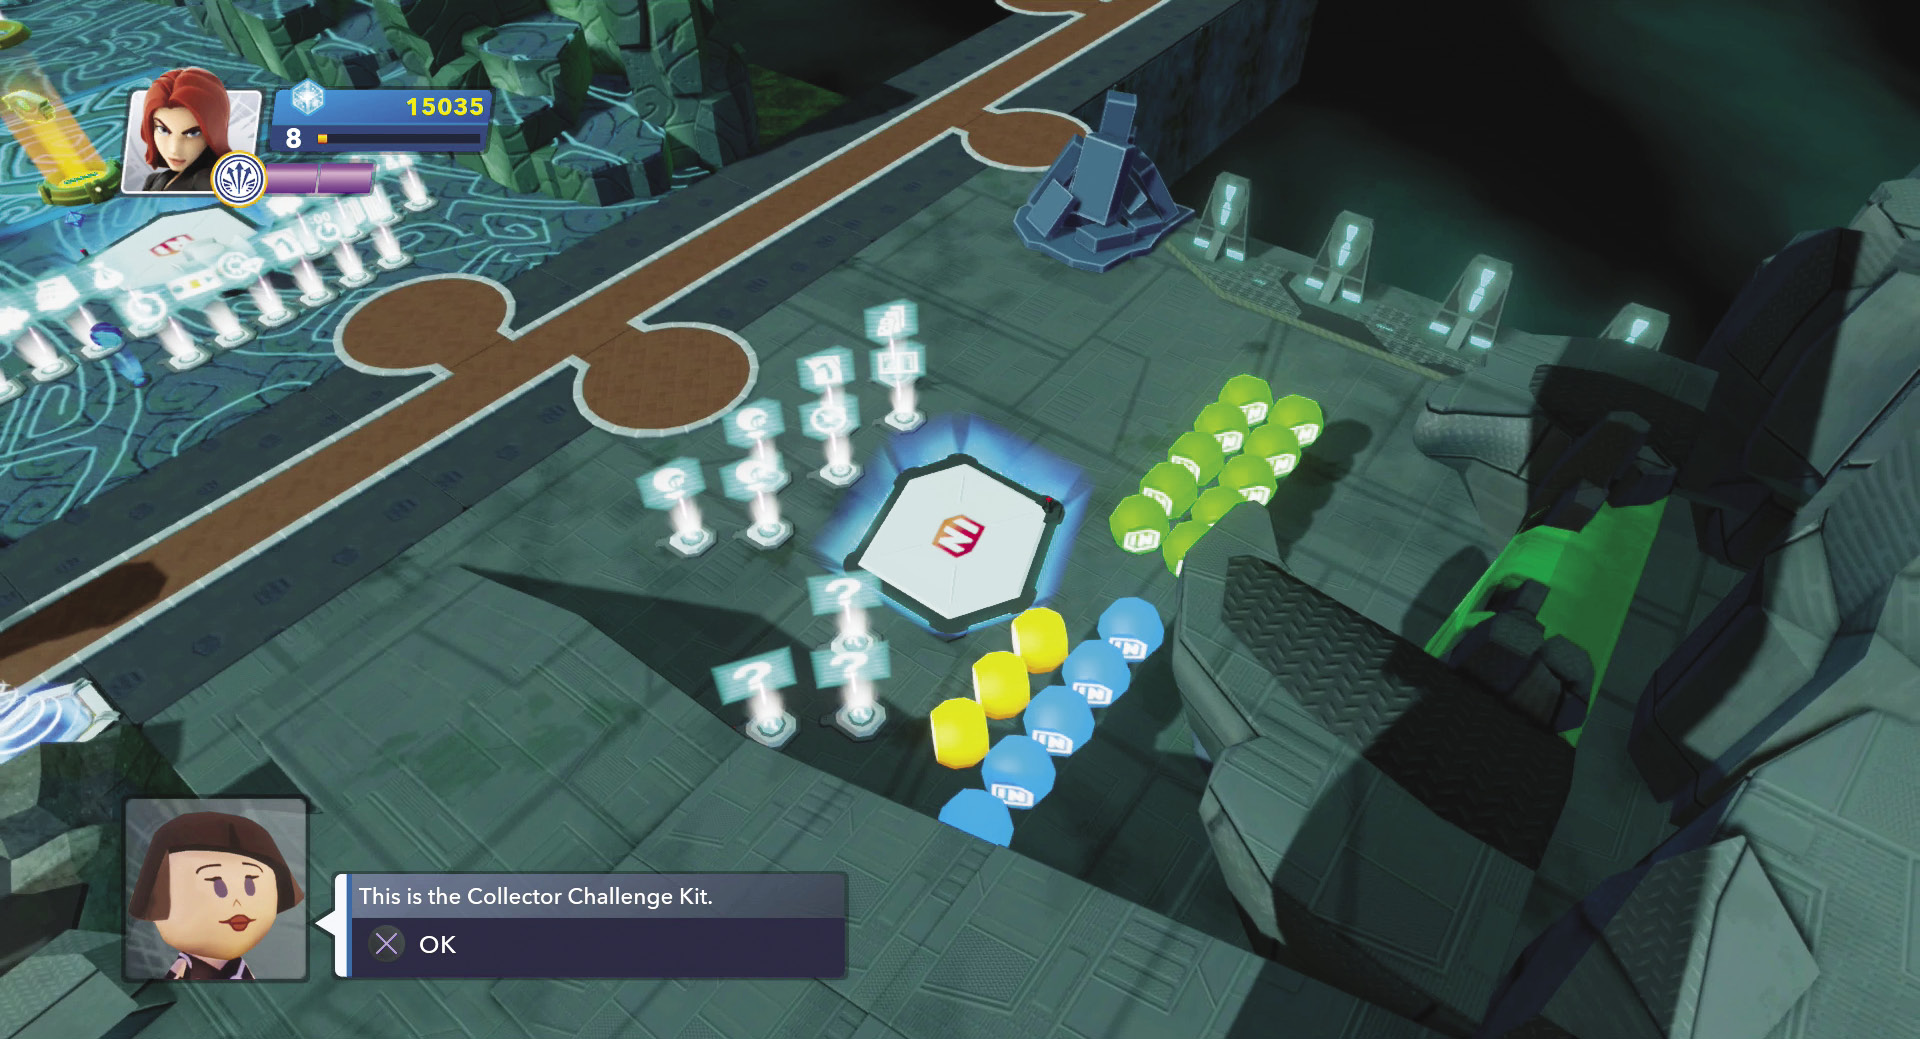
The collector challenge kit has everything you need to create a collection game. Of course, when making your own game, you will want to move those colored orbs around to make it more difficult to collect them. However, they are already connected to the other toys when you use a kit or template.
As with all games, you start with a challenge maker. It usually has more connections than any other toy. For a collection game, you need a collectible tracker. It can keep track of orbs, rings, and other collectible items. As you can see, there are three of these toys—one for each color of orb. The collectible trackers have a couple different functions. For this game, when all of the assigned color of orb are collected, the collectible tracker sends a message to the counter. Also, whenever a player collects one of the orbs, it sends a message to the scoreboard. You can set each collectible tracker to a different score value so that each color of orb is worth different amounts of points.
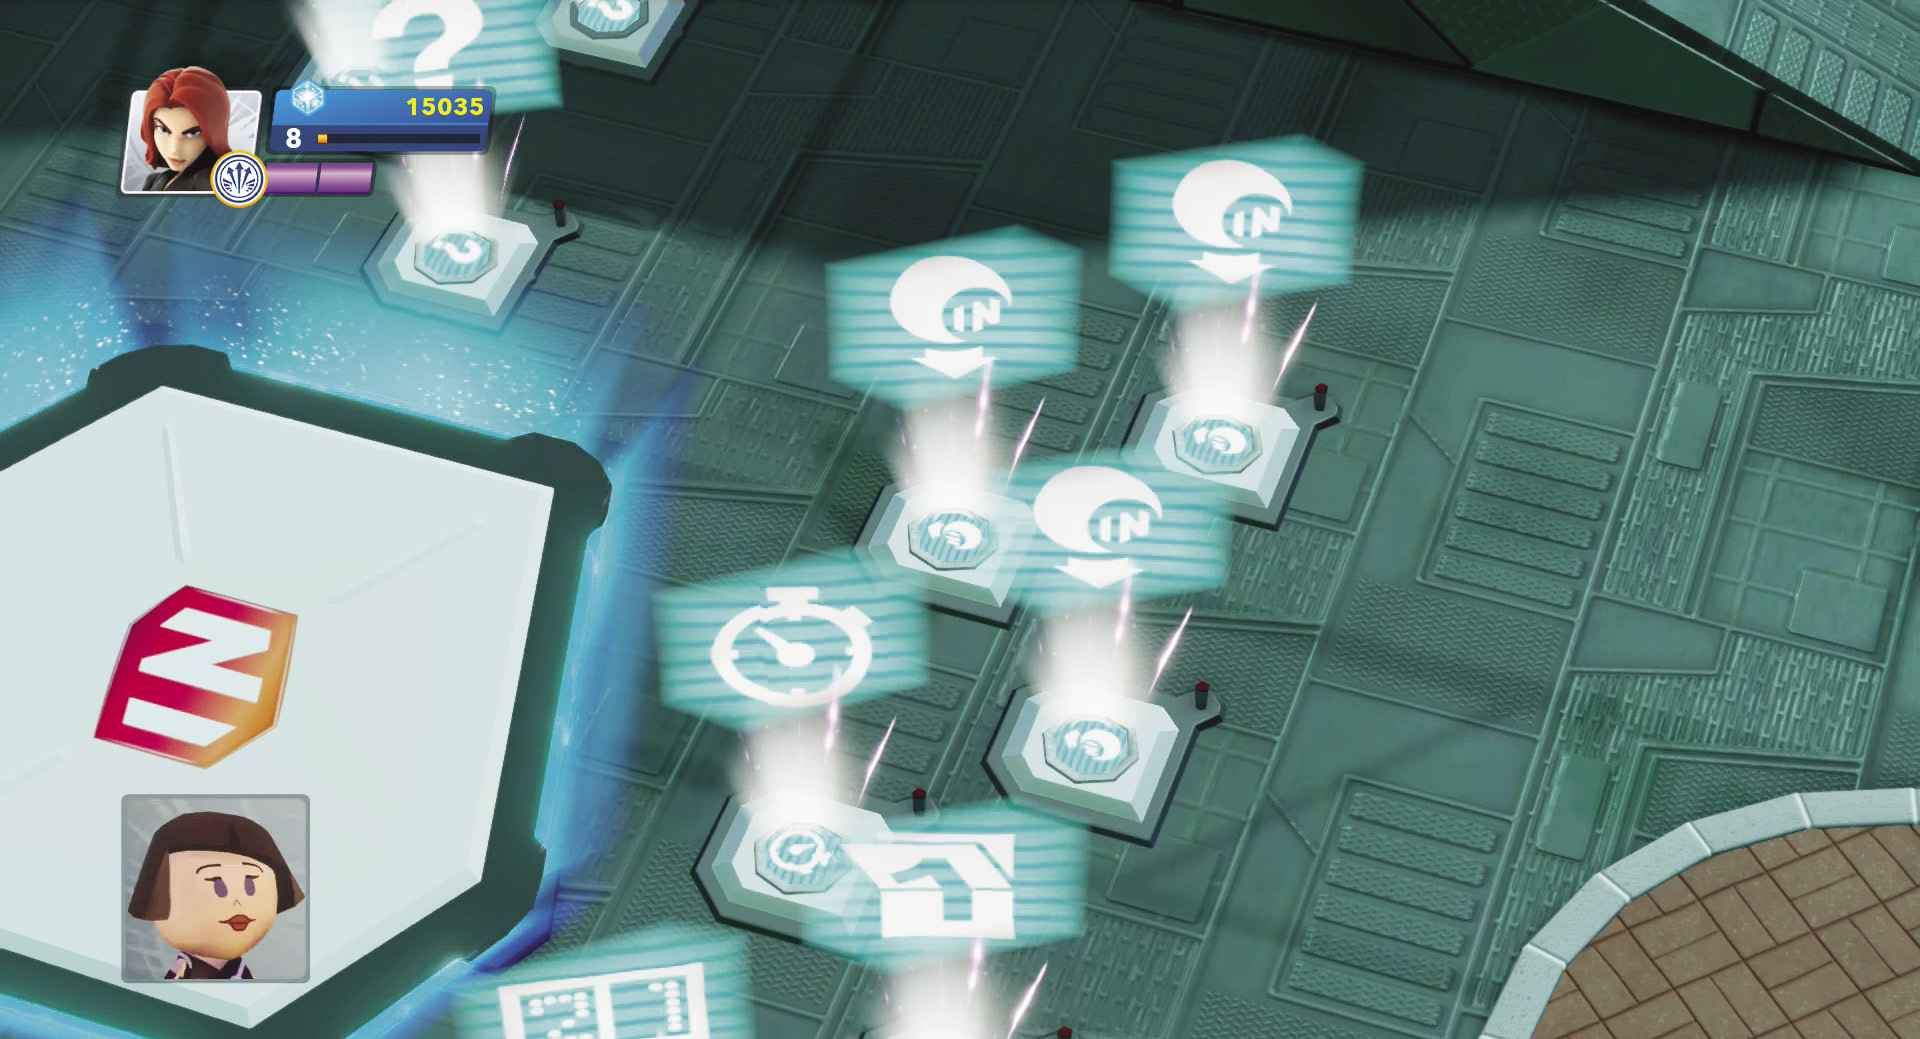
The collectible trackers keep track of the various collectibles in the game and send a message when all of a certain type is collected.
The counter is busy in this game. It receives messages from each of the collectible trackers. When it receives one from each, it send a message back to the collectible trackers to reset and place the orbs back into the game area. It also resets itself so that it is ready to begin receiving messages again. The other main controlling toy is the timer. It begins counting down when the challenge maker sends a message to it and the game starts and, when time runs out, it sends a message to the challenge maker that the game has ended. When using a timer, you need to set the amount of time you want the game to last in its properties.
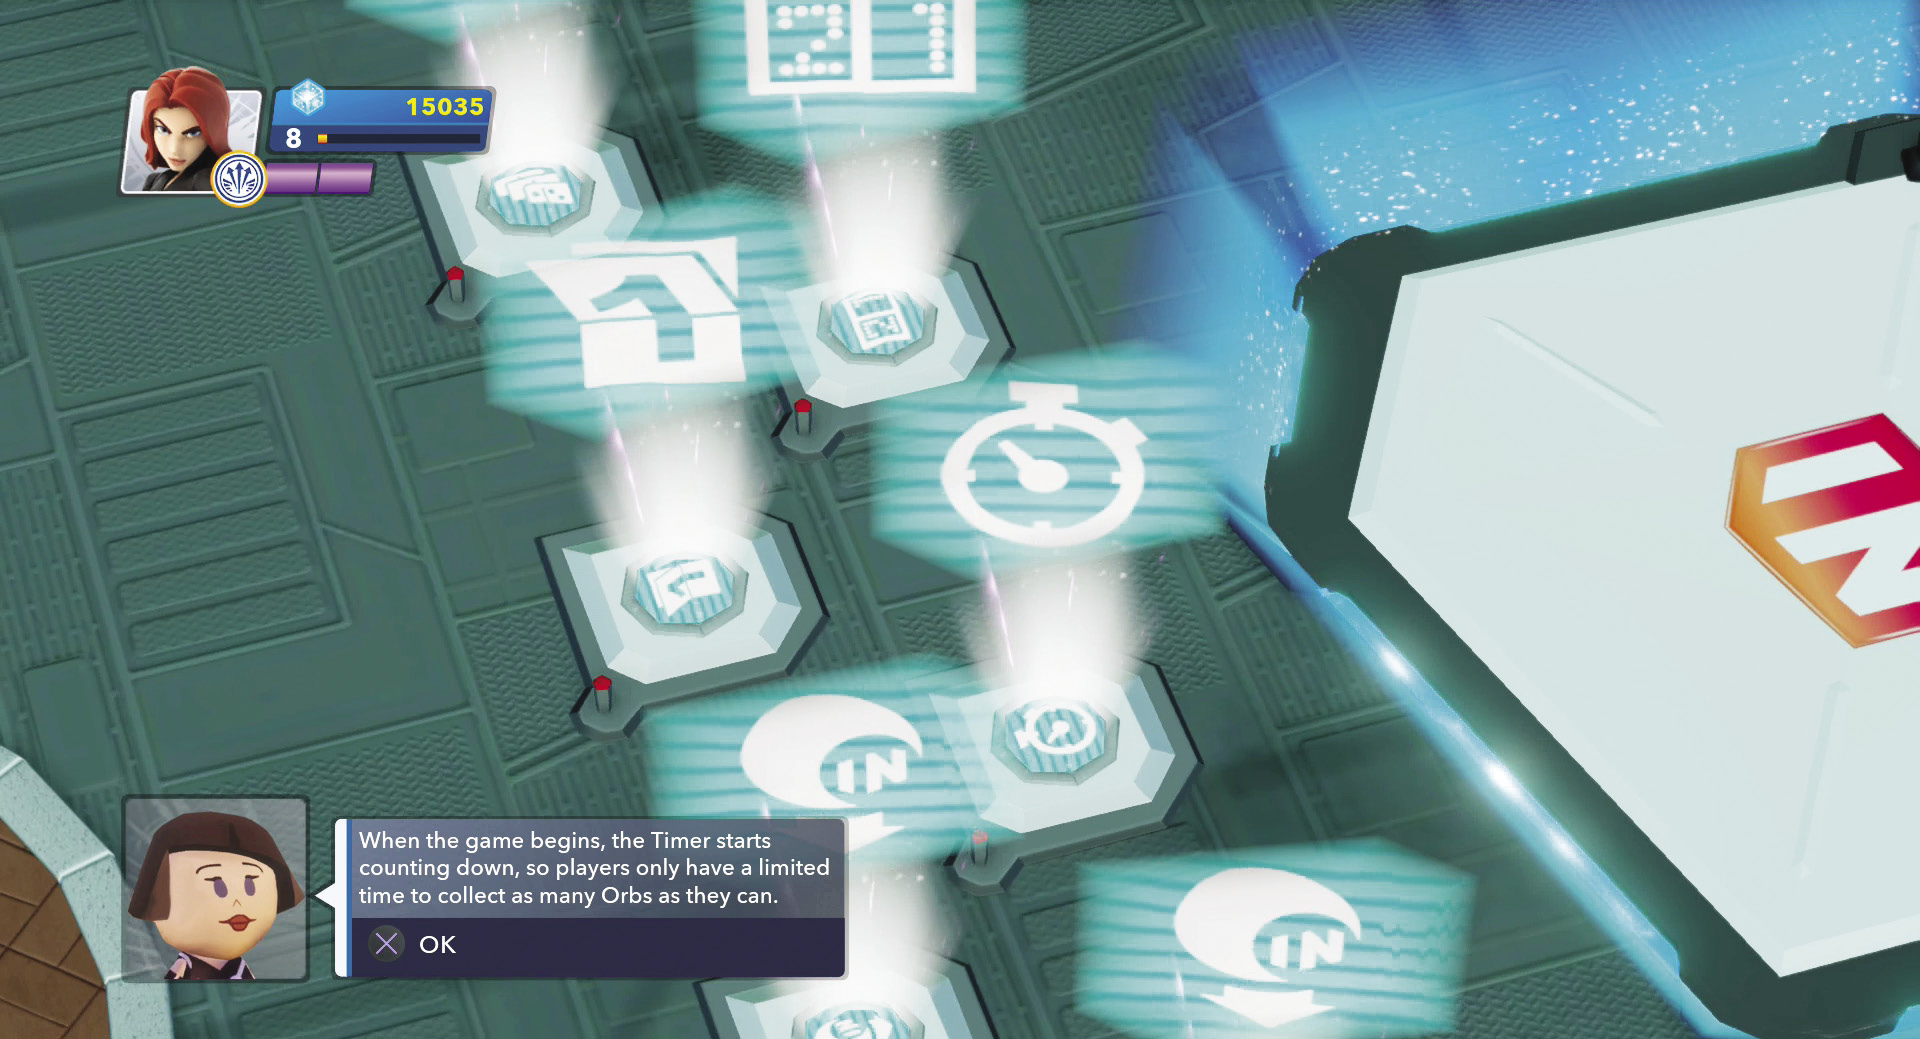
The counter and timer help keep this game running by providing points and limiting the time players have to get as many collectibles as they can.
The scoreboard keeps track of how many points the players have earned and displays it on the screen. This also provides the scores for the challenge maker at the end of the game for the final tally. Then when the game is over, the level starter toy sends a message to the collectible trackers to hide the orbs and to the scoreboard to reset so that the game is all ready for the next time it is played. Think of this as cleaning up.
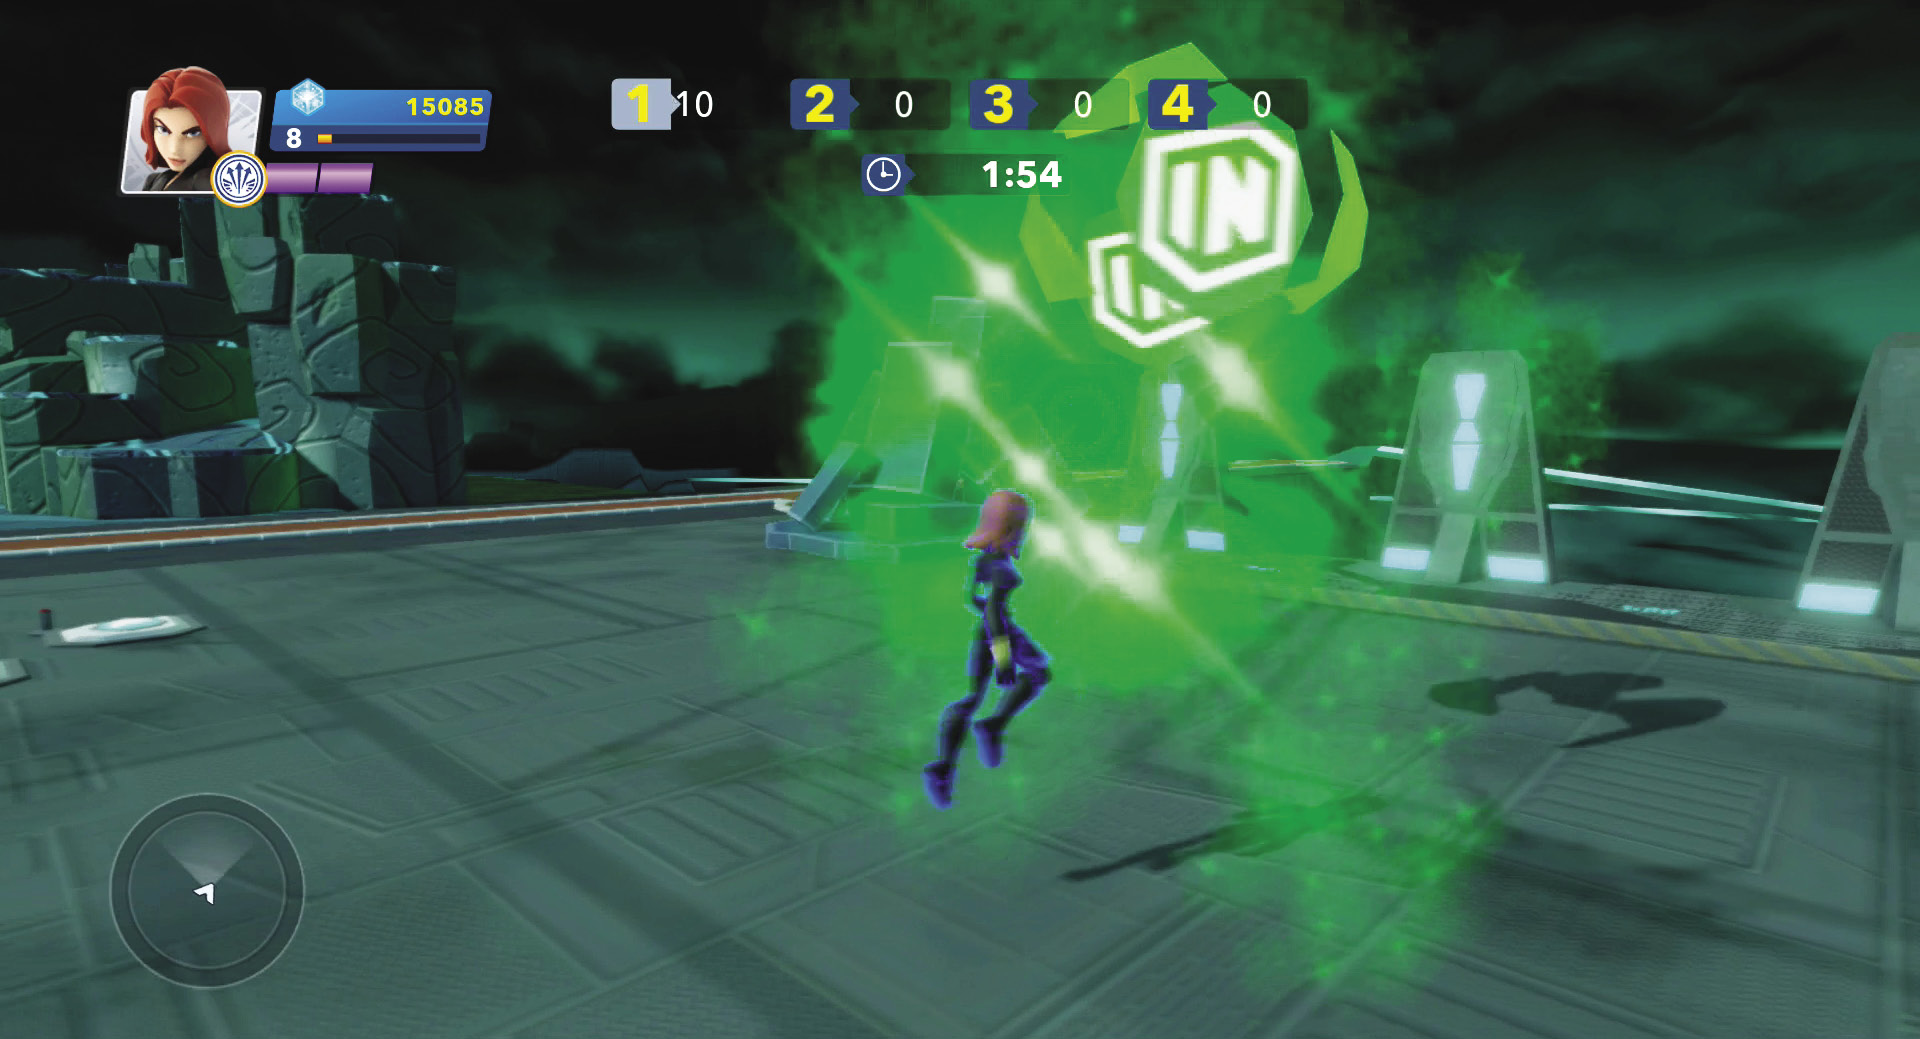
Try out the game to see how it works now that you know how all the toys work together. Try making changes such as the points for each orb or the amount of time you have. Use the magic wand to move the orbs around as well.
Soccer Kit
There are a number of different types of sports games you can create in the Toy Box. However, most are similar in the way they function. Quorra provides a soccer kit for you to try out and explore. However, you can easily use the same concept to make a hockey game or, with a few more modifications, create a basketball game. The Toy Box offers several different sports toys to help you create these types of games. However, let’s start with soccer.
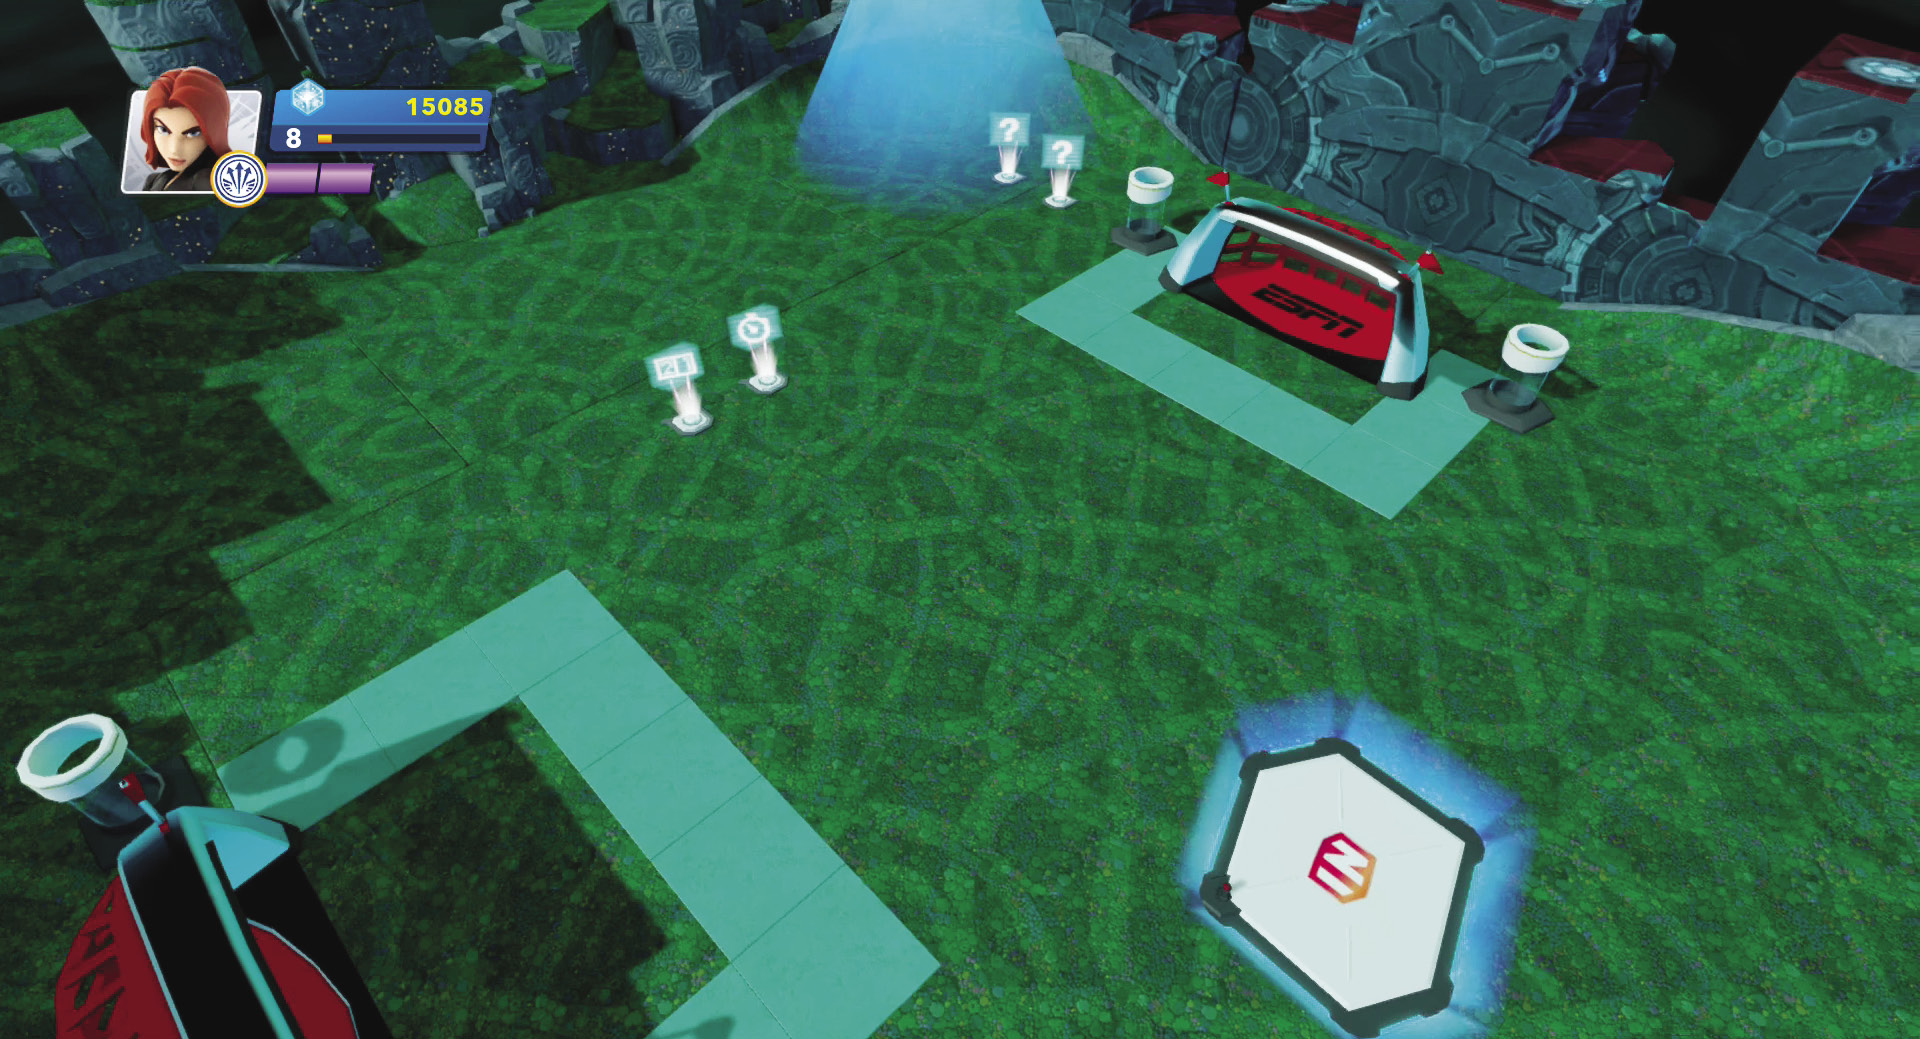
The soccer kit is another simple template. However, it can teach you a lot about scoring.
The central toy for the soccer kit is the challenge maker. Players step on it to start a game. When the game begins, the challenge maker sends messages to the timer and the scoreboard telling them to reset back to their initial values.
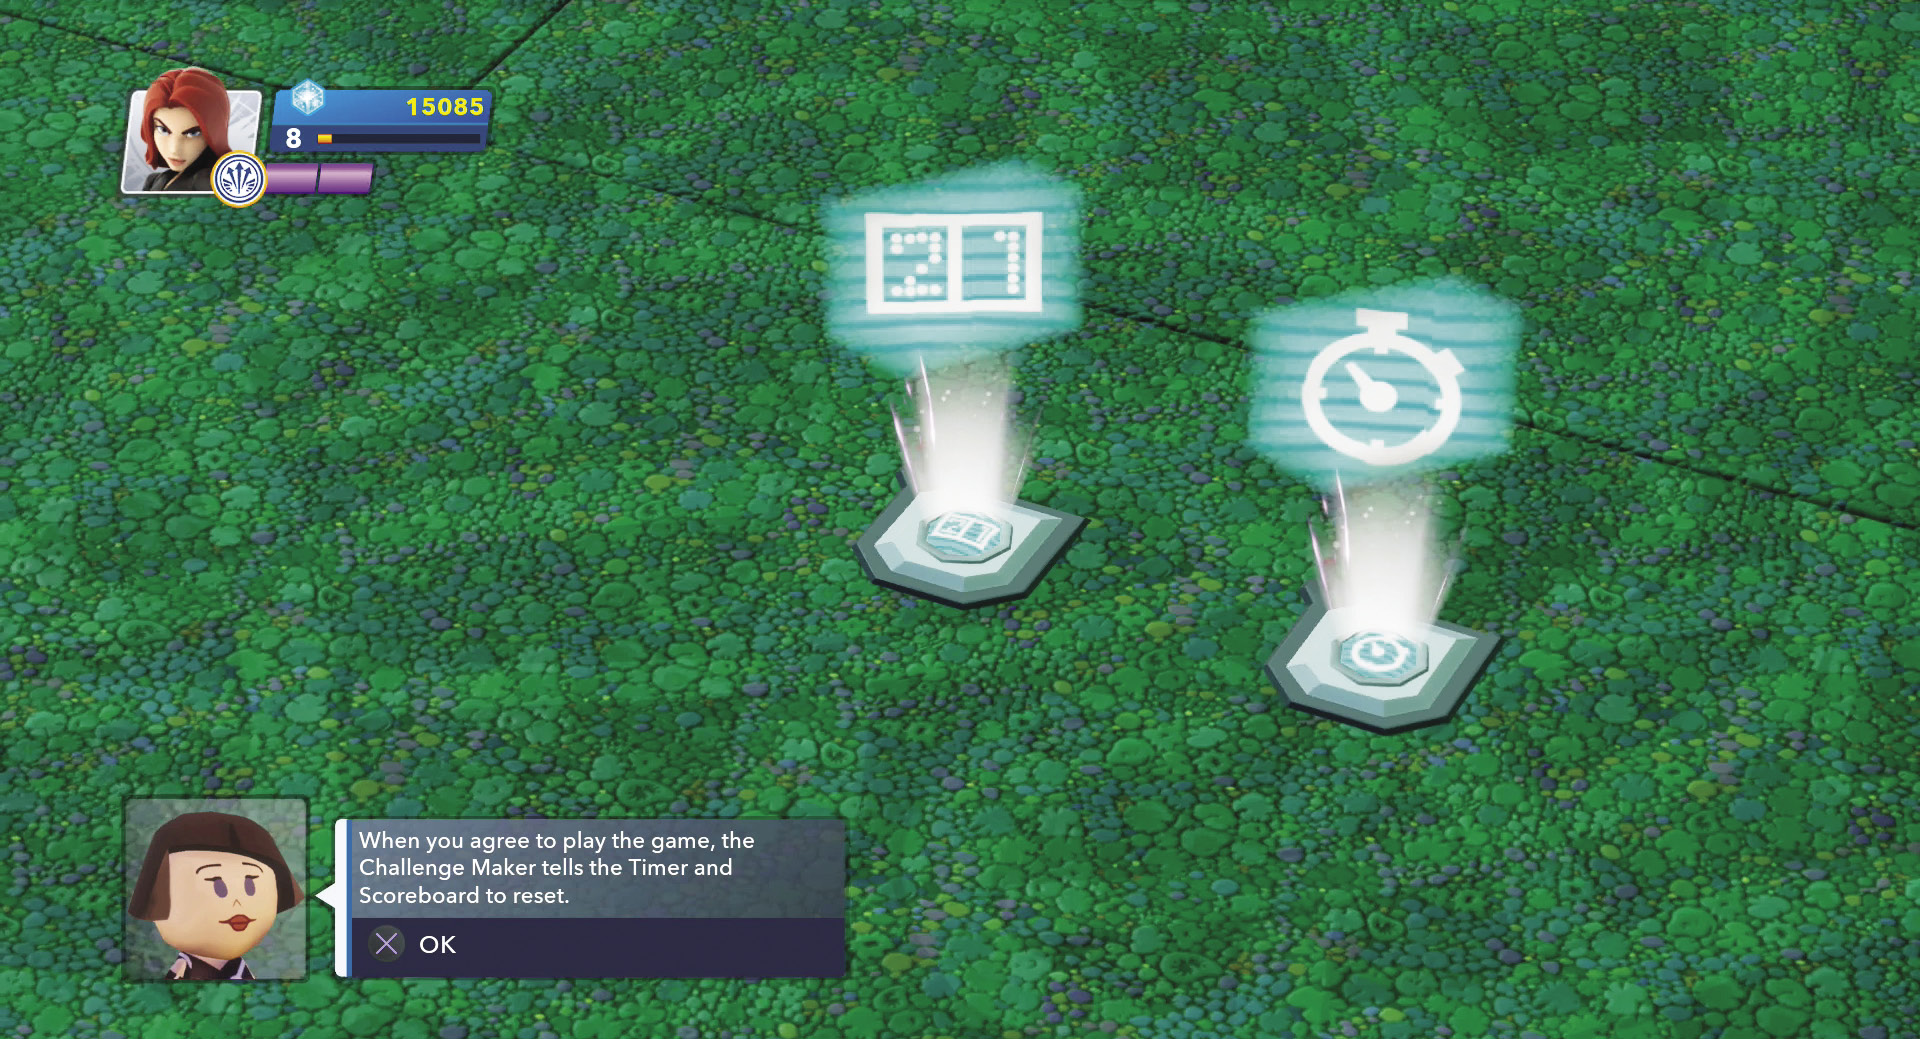
At the start of the game, the timer and scoreboard reset. Then, during the game, the timer counts down and the scoreboard counts up as goals are scored.
A soccer game needs a soccer ball. So when the game begins, the challenge maker sends a message to the falling object generator to drop a soccer ball onto the field. Then, when the game is over, it sends another message to remove the ball from the Toy Box World.
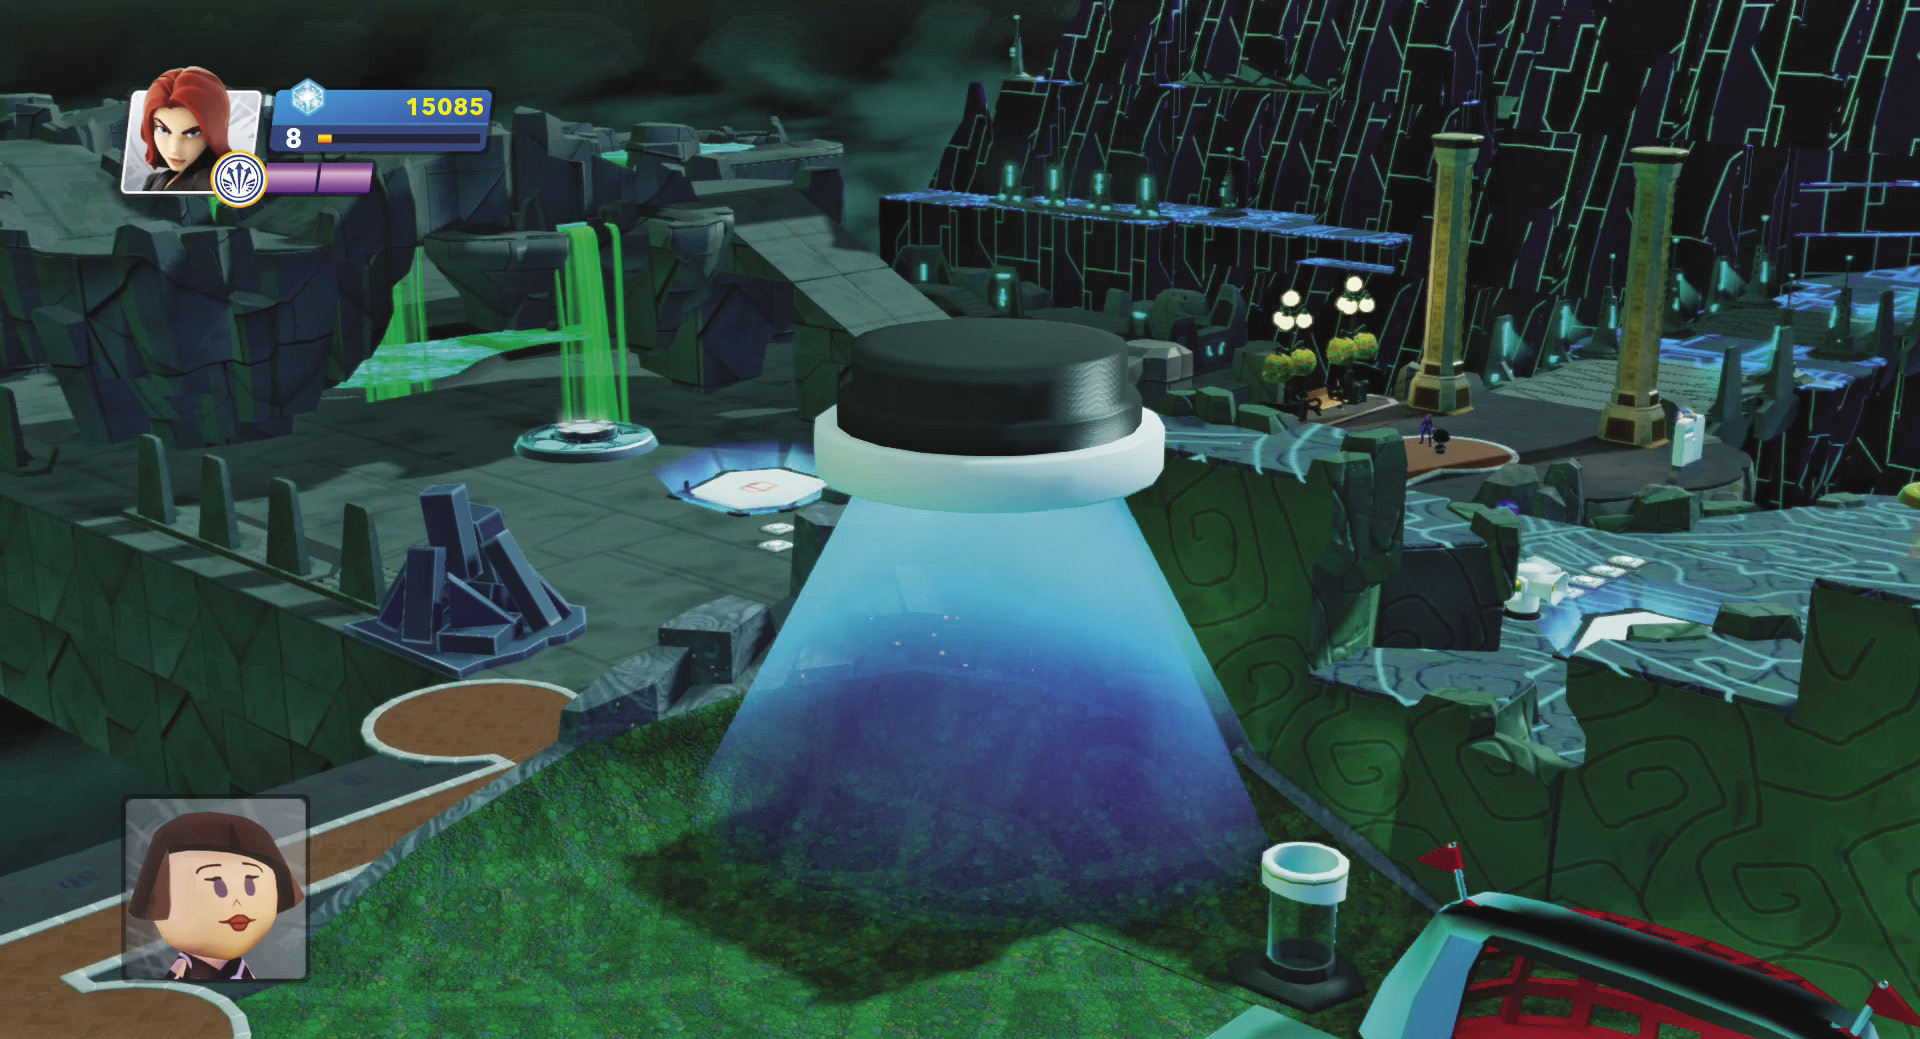
The falling object generator drops a soccer ball onto the field at the start of the game.
The goals in this game are also connected to other toys. When the soccer ball goes into the game, it causes several things. The ball resets to a position in the middle of the field. If you look while you have your magic wand out, you can see a locator there. The goal also sends a message to the scoreboard to advance the score by one. Finally, messages are sent to the two party cannons on either side of the goal so they launch confetti into the air.
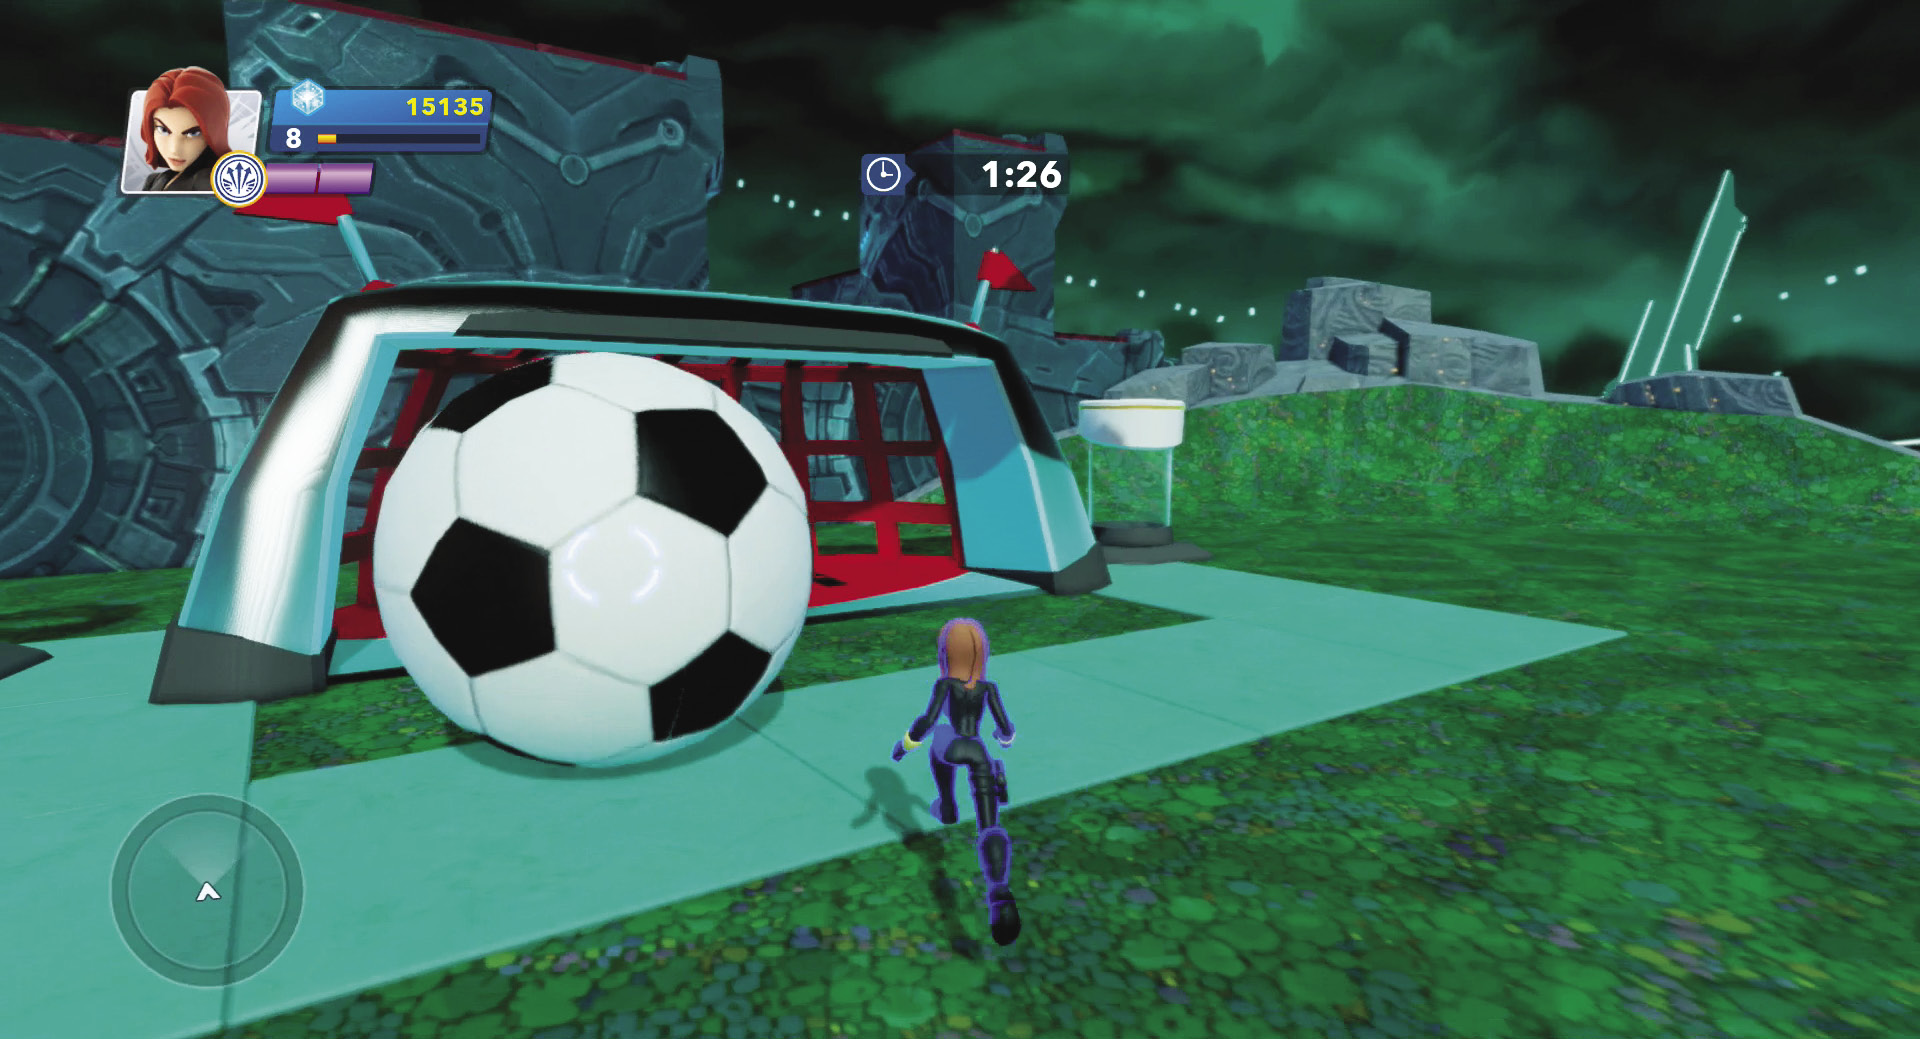
When a ball goes into a goal, it triggers several actions that are caused by messages sent from the goal to other toys such as the party cannons and the scoreboard.
The soccer game ends when the timer reaches zero. The timer sends a message to the challenge maker to end the game. The challenge maker then sends messages to the falling object generator to remove the soccer ball and to the party cannons to do a grand finale.
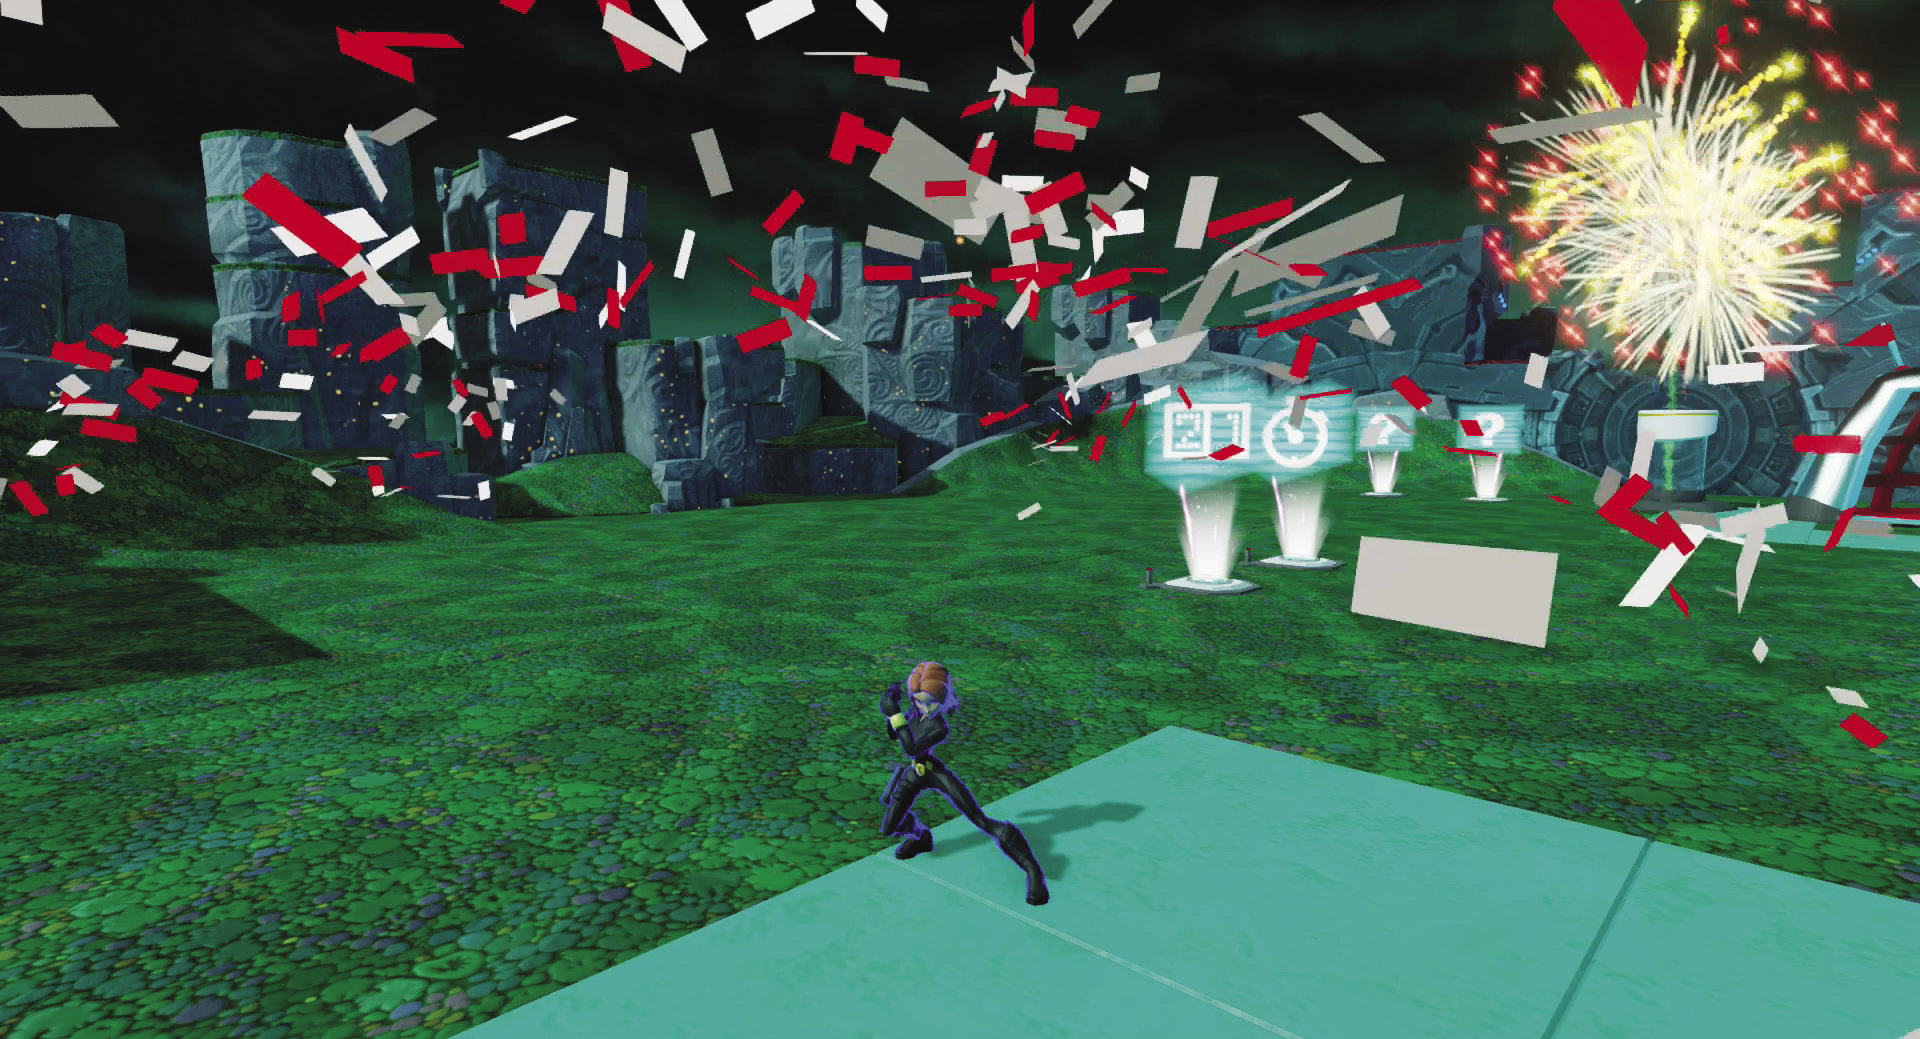
The soccer game ends with a bang of fireworks and the final score. You can add some more toys to this kit so you can have sound effects and other actions.
Easy Pinball Kit
Pinball games are a lot of fun to play in the Toy Box, but can be tough to make. Therefore, Quorra has a kit all ready for you to explore. She also explains some of the tricks you can use to help create some physics such as gravity.
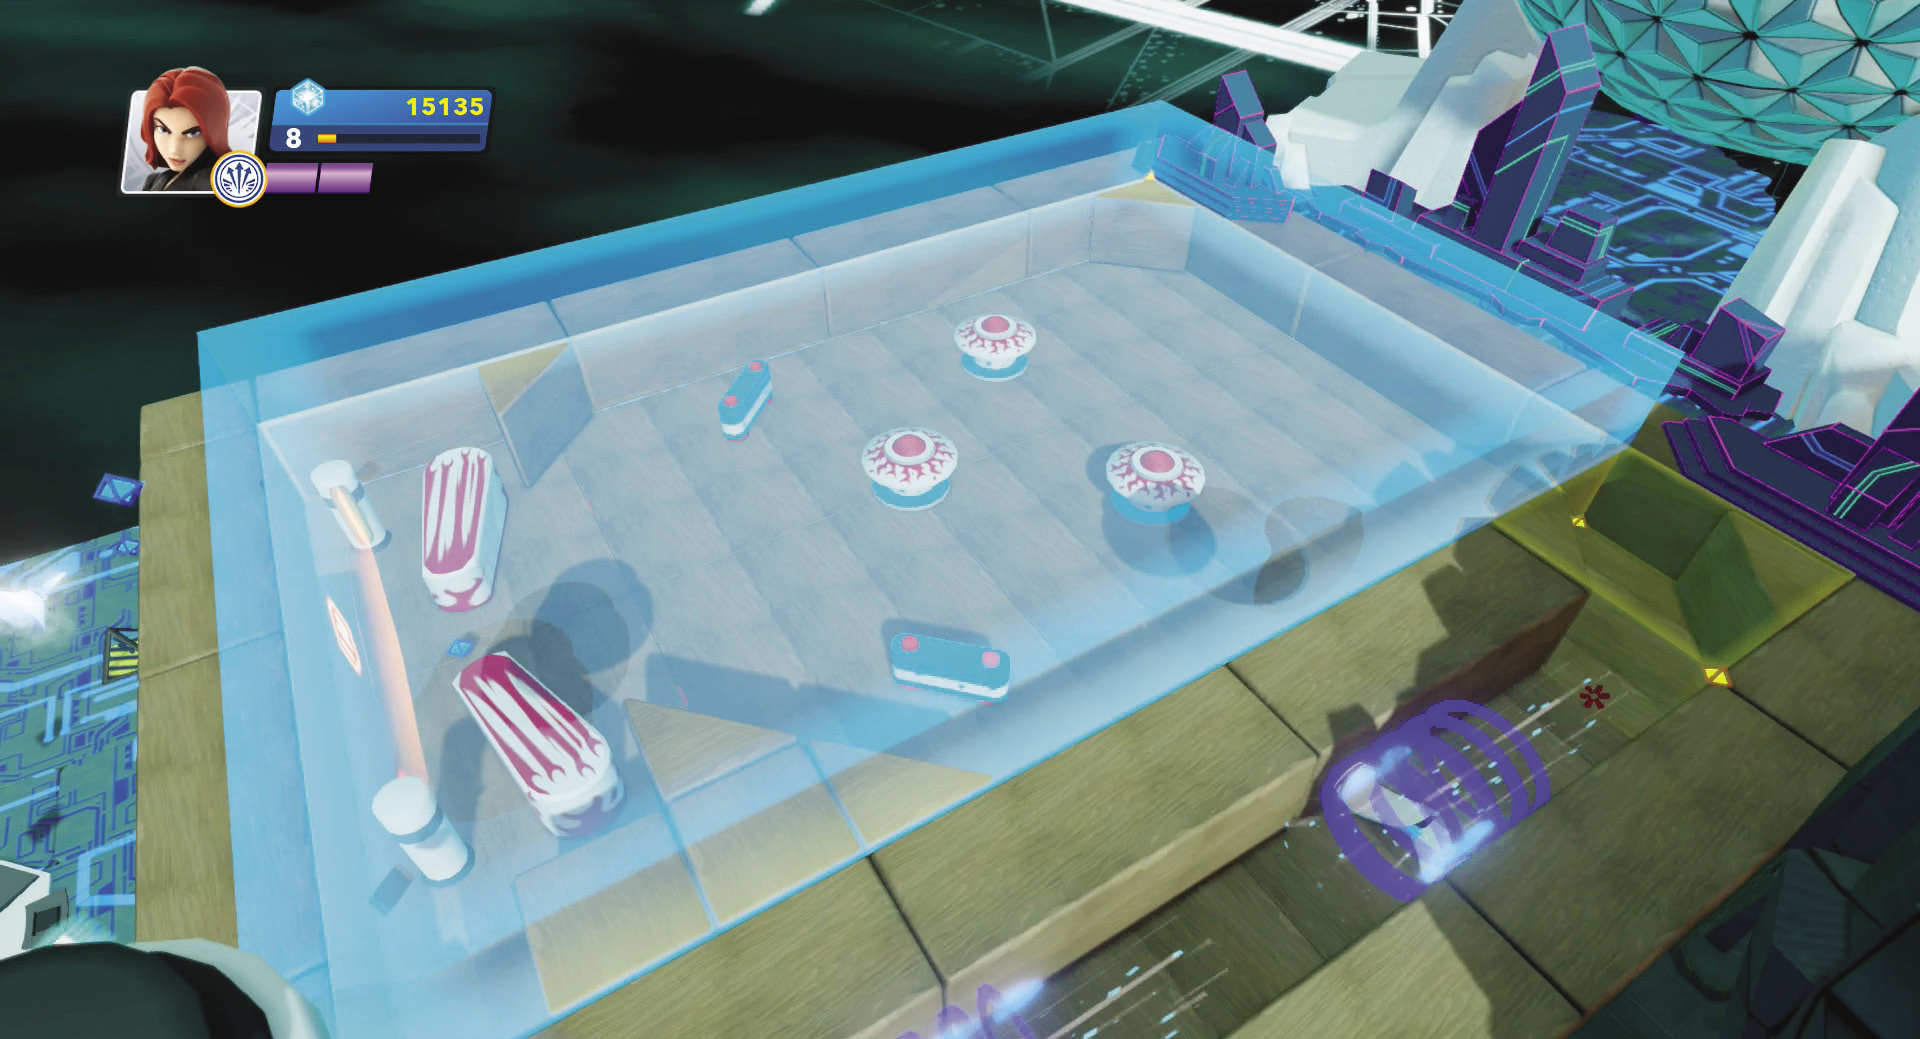
The pinball kit is a complete game that is ready to play. However, you can still modify it once you learn how it works.
As with all games, the challenge maker is where you start the game. It also connects several of the key components and ties them together to make the game work. Quorra also introduces a new toy that is very important to this game—the remote controller. This actually lets you assign controller inputs for game play. The remote controller only works when a character steps onto it. Then the character is temporarily removed from play and the player gains control of specific Creativi-Toys in the game rather than controlling the character.
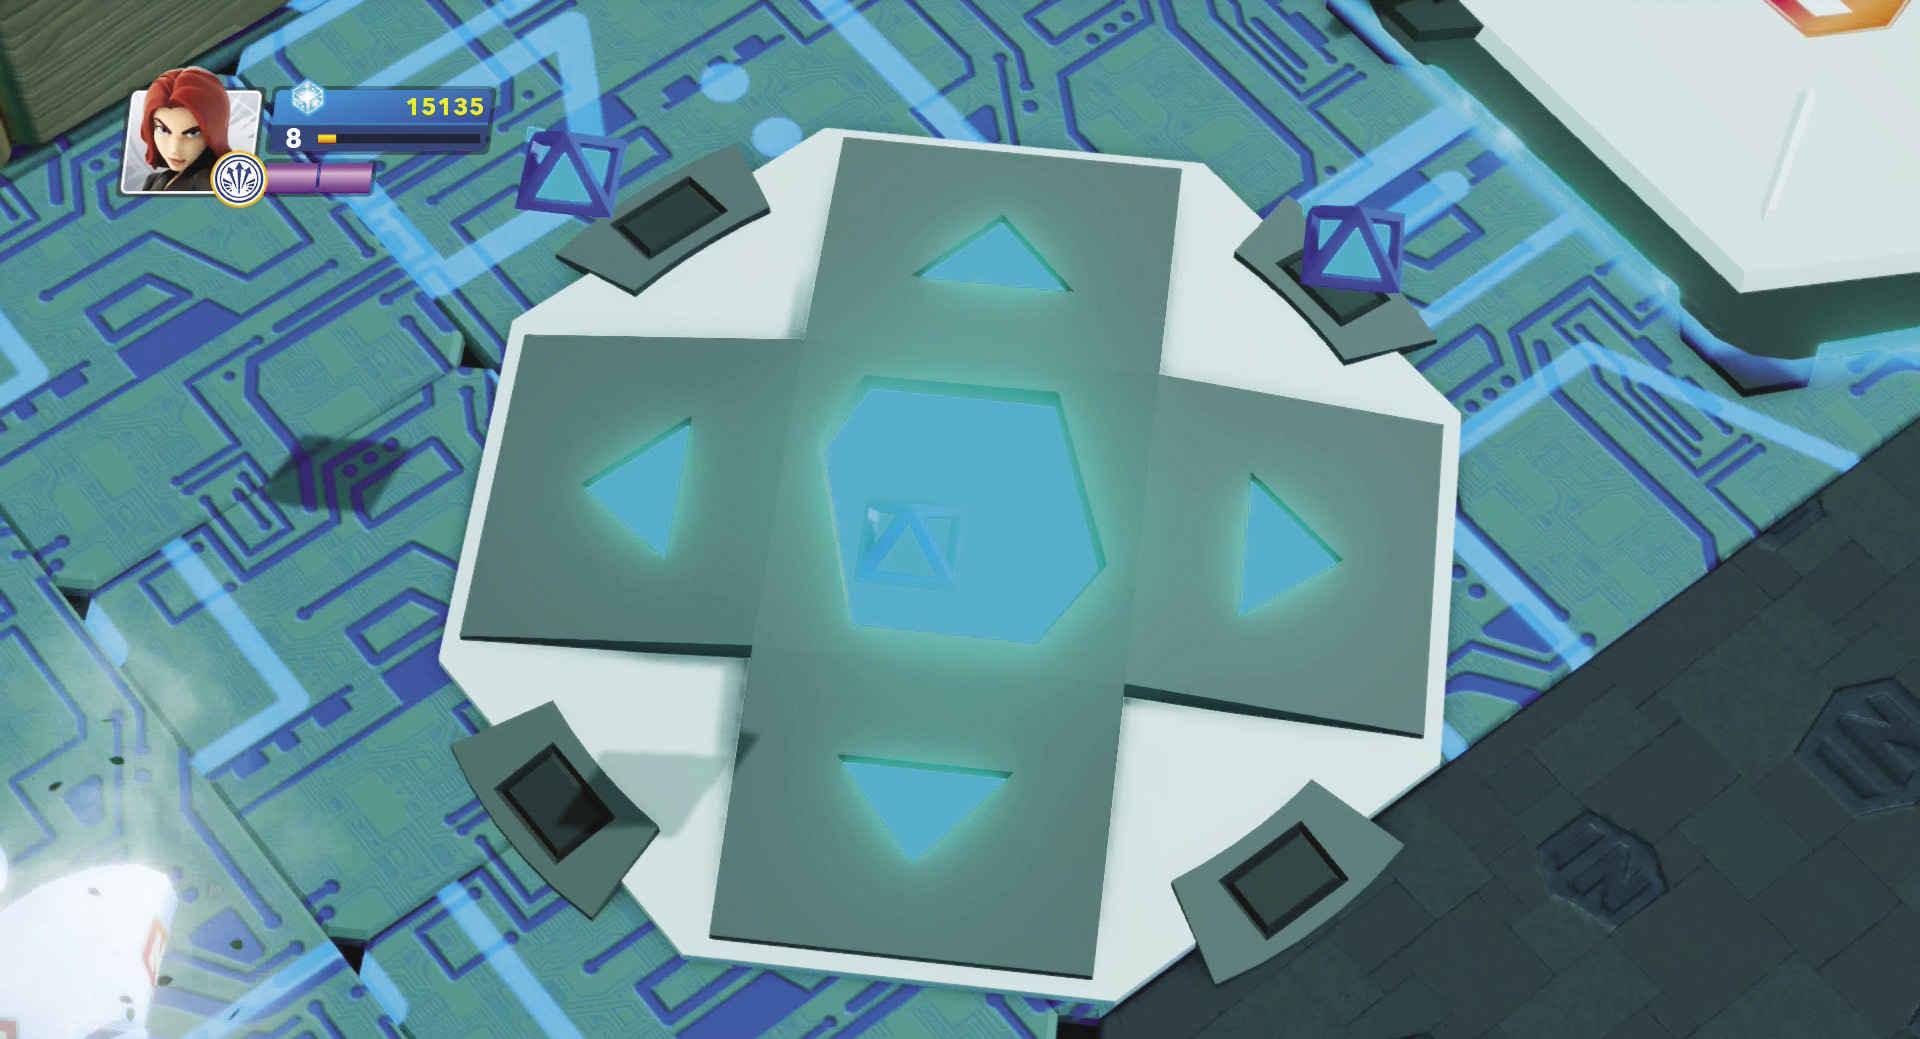
The remote controller is a powerful tool that gives the player control over different elements in a game.
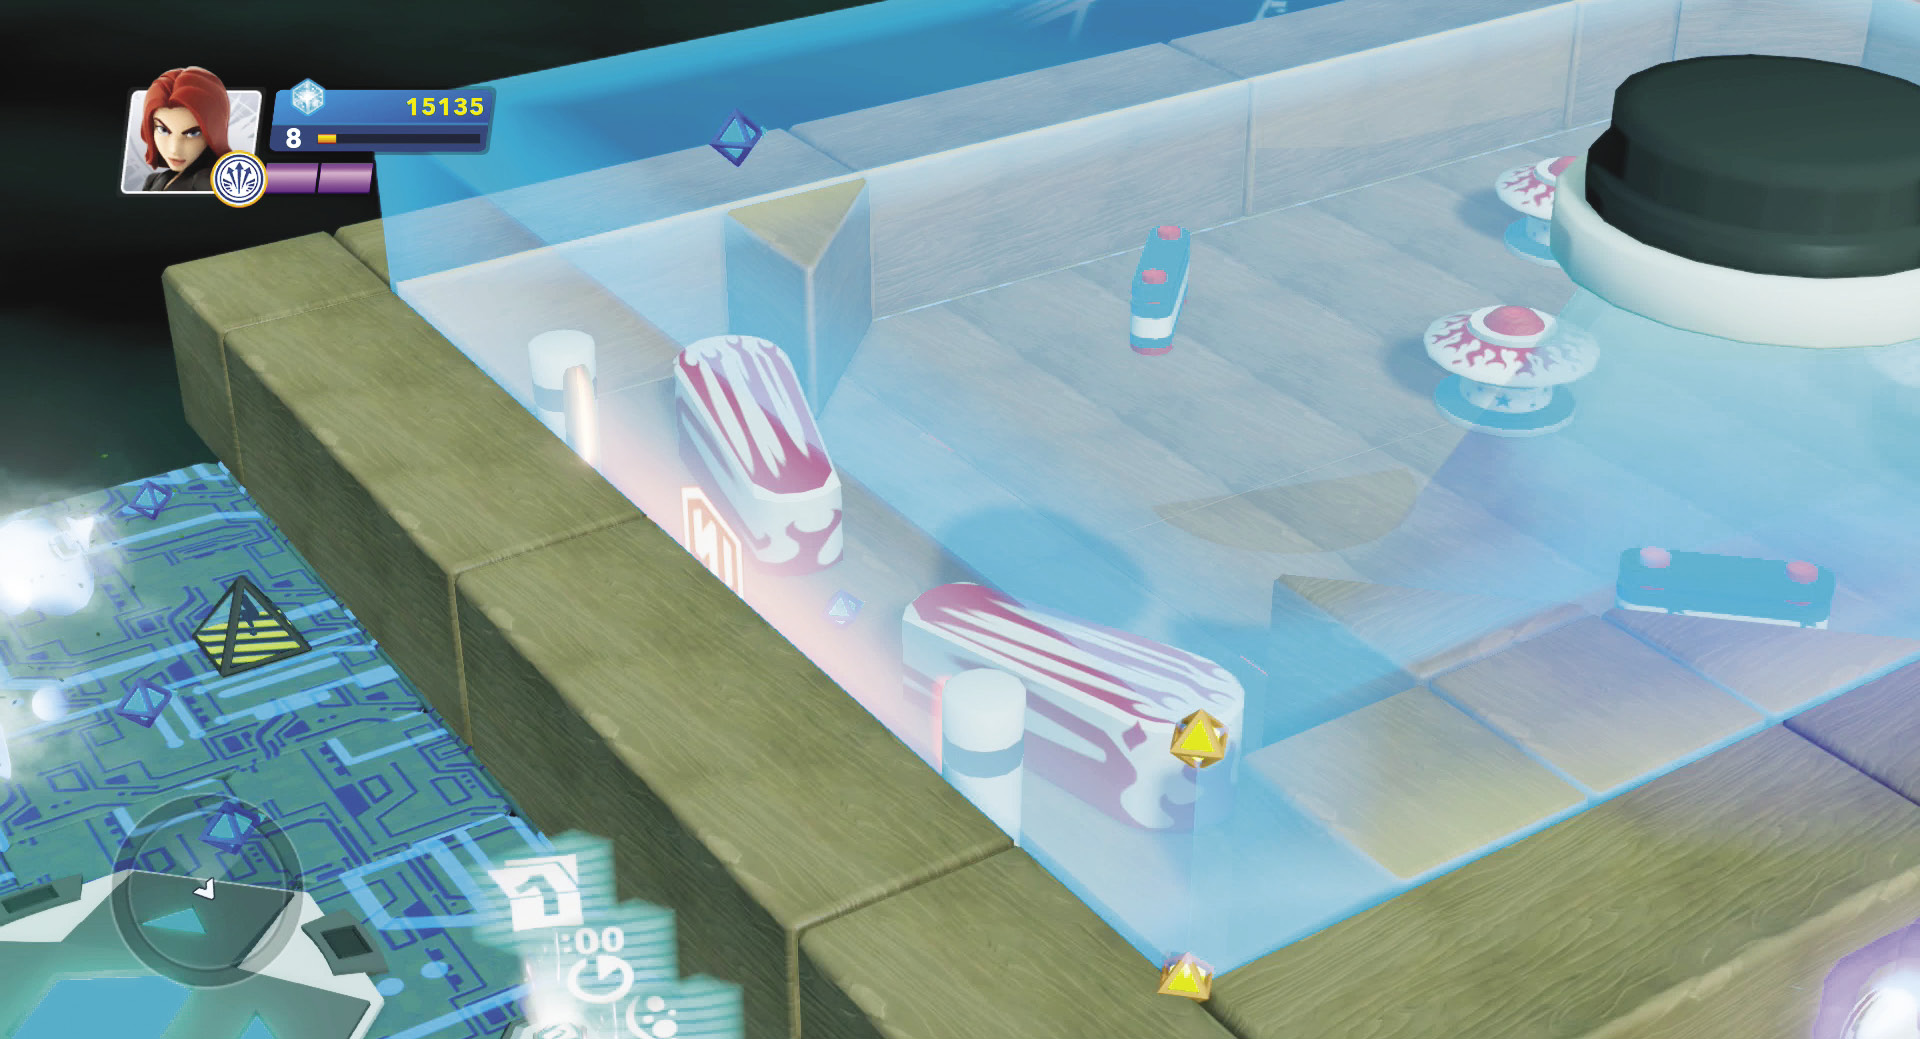
The remote controller in the pinball game lets you control the left and right pinball flippers.
The previous kits and templates have all used the default camera view, which is focused on the character. However, in this game, a target camera is used. This lets you set the view of the game the player will see when playing. Once the target camera is placed, then a locator is used to show where you want the camera to look.
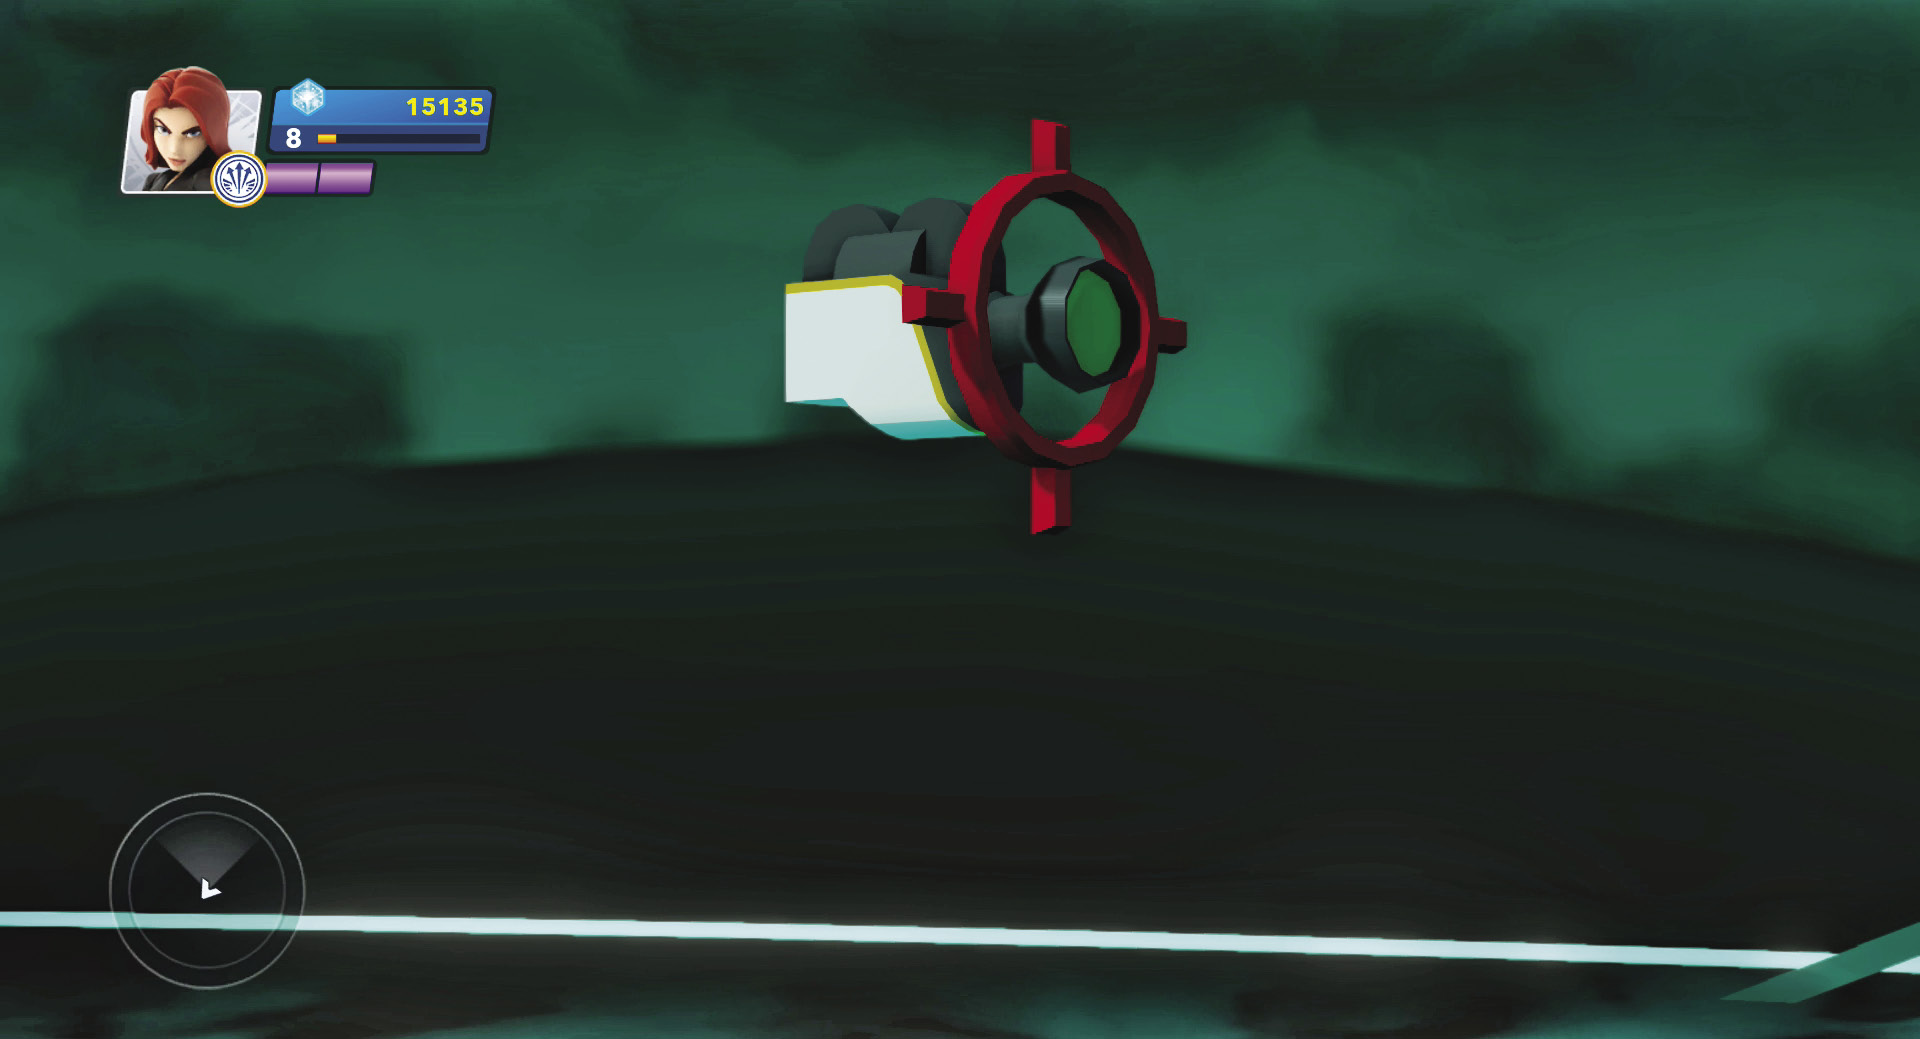
The target camera lets you set the perfect angle of view for the game.
One of the challenges of a pinball game is gravity. The Toy Box Worlds are flat while pinball games are set on an angle. Therefore, the game needs a way to simulate gravity so that the balls will move towards the flippers just like they would in real life. To accomplish this, the game uses weather vanes. These weather vanes are then connected to locators to choose the direction of the force they use to move the ball. You can even adjust how hard the forces push the ball by adjusting the properties of the weather vanes.
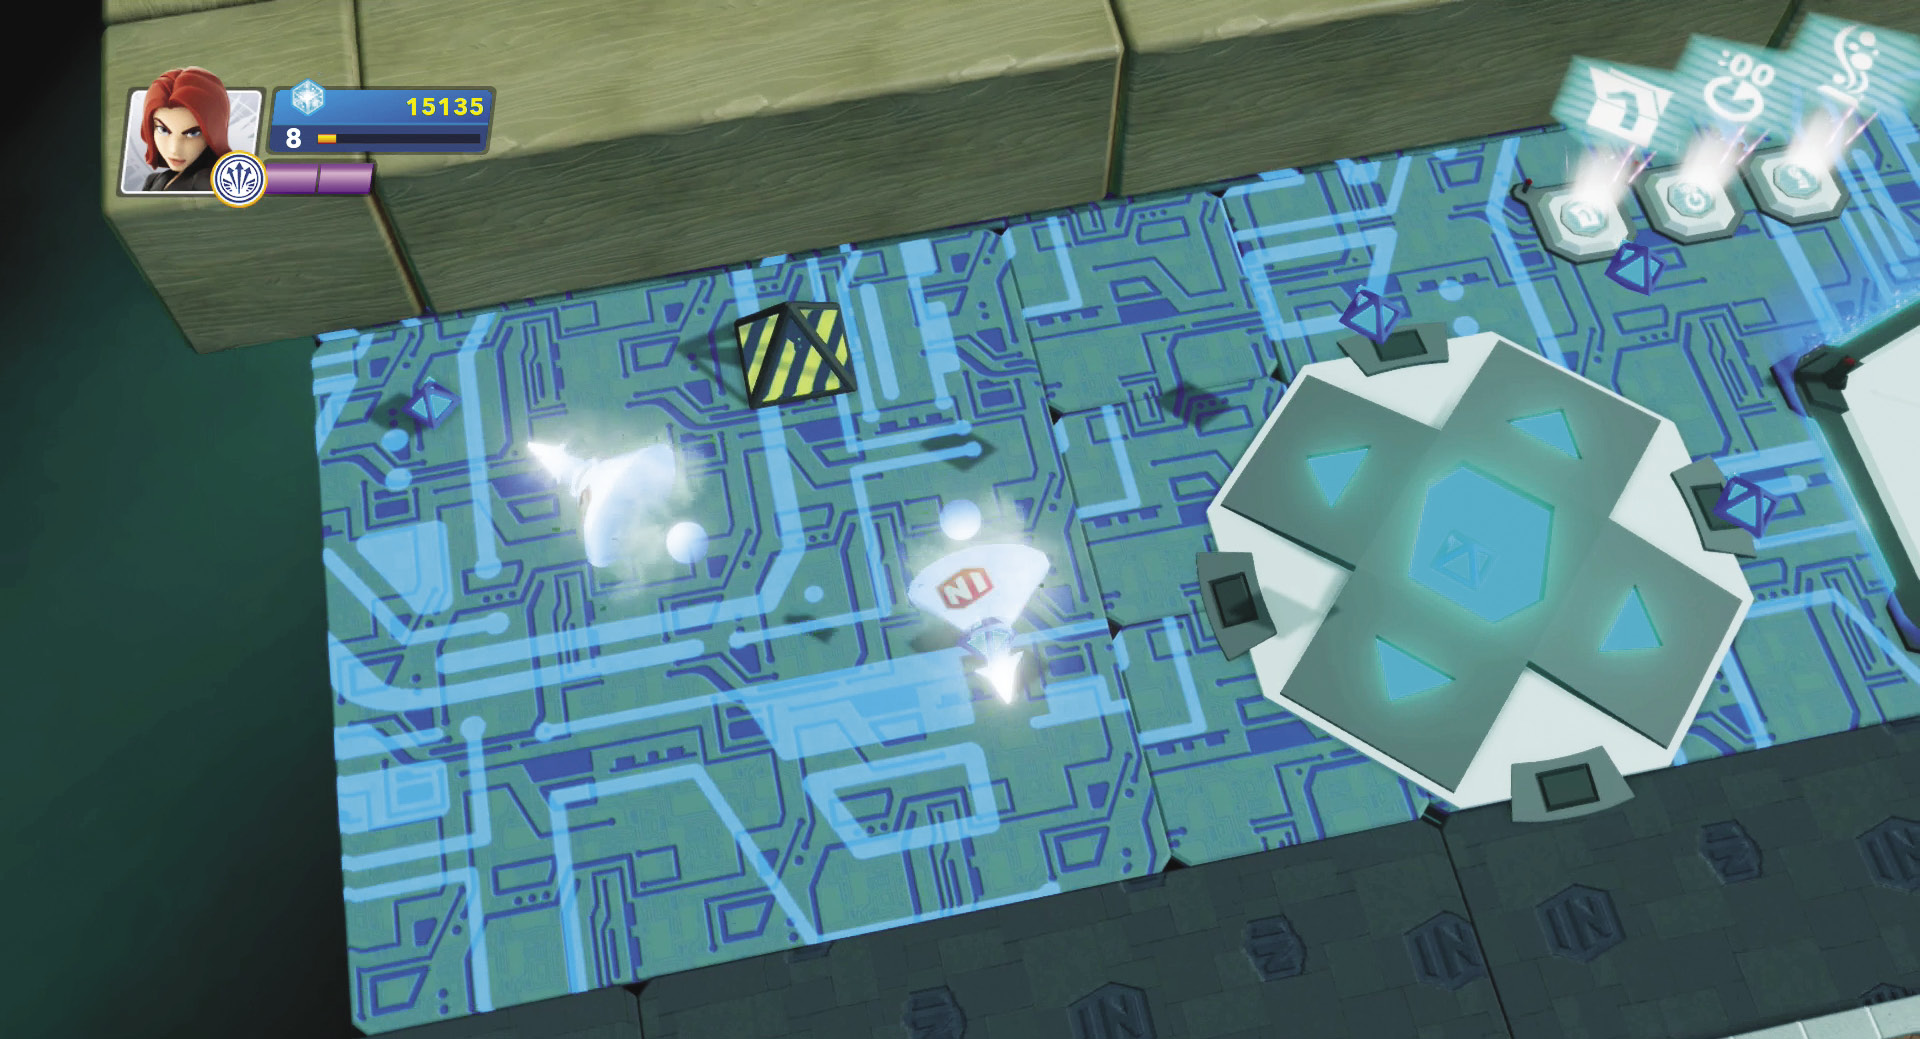
Weather vanes are used to simulate gravity by pushing the ball in specific directions. In this case, towards the flippers.
There are several other toys that help make the game work. When a player steps on the challenge maker to begin the game, the character is automatically dropped right onto the remote controller. When the player presses the button to use the remote controller, this sends a message to activate the target camera. The remote controller also tells the falling object generator to drop a ball via the logic gate toy.
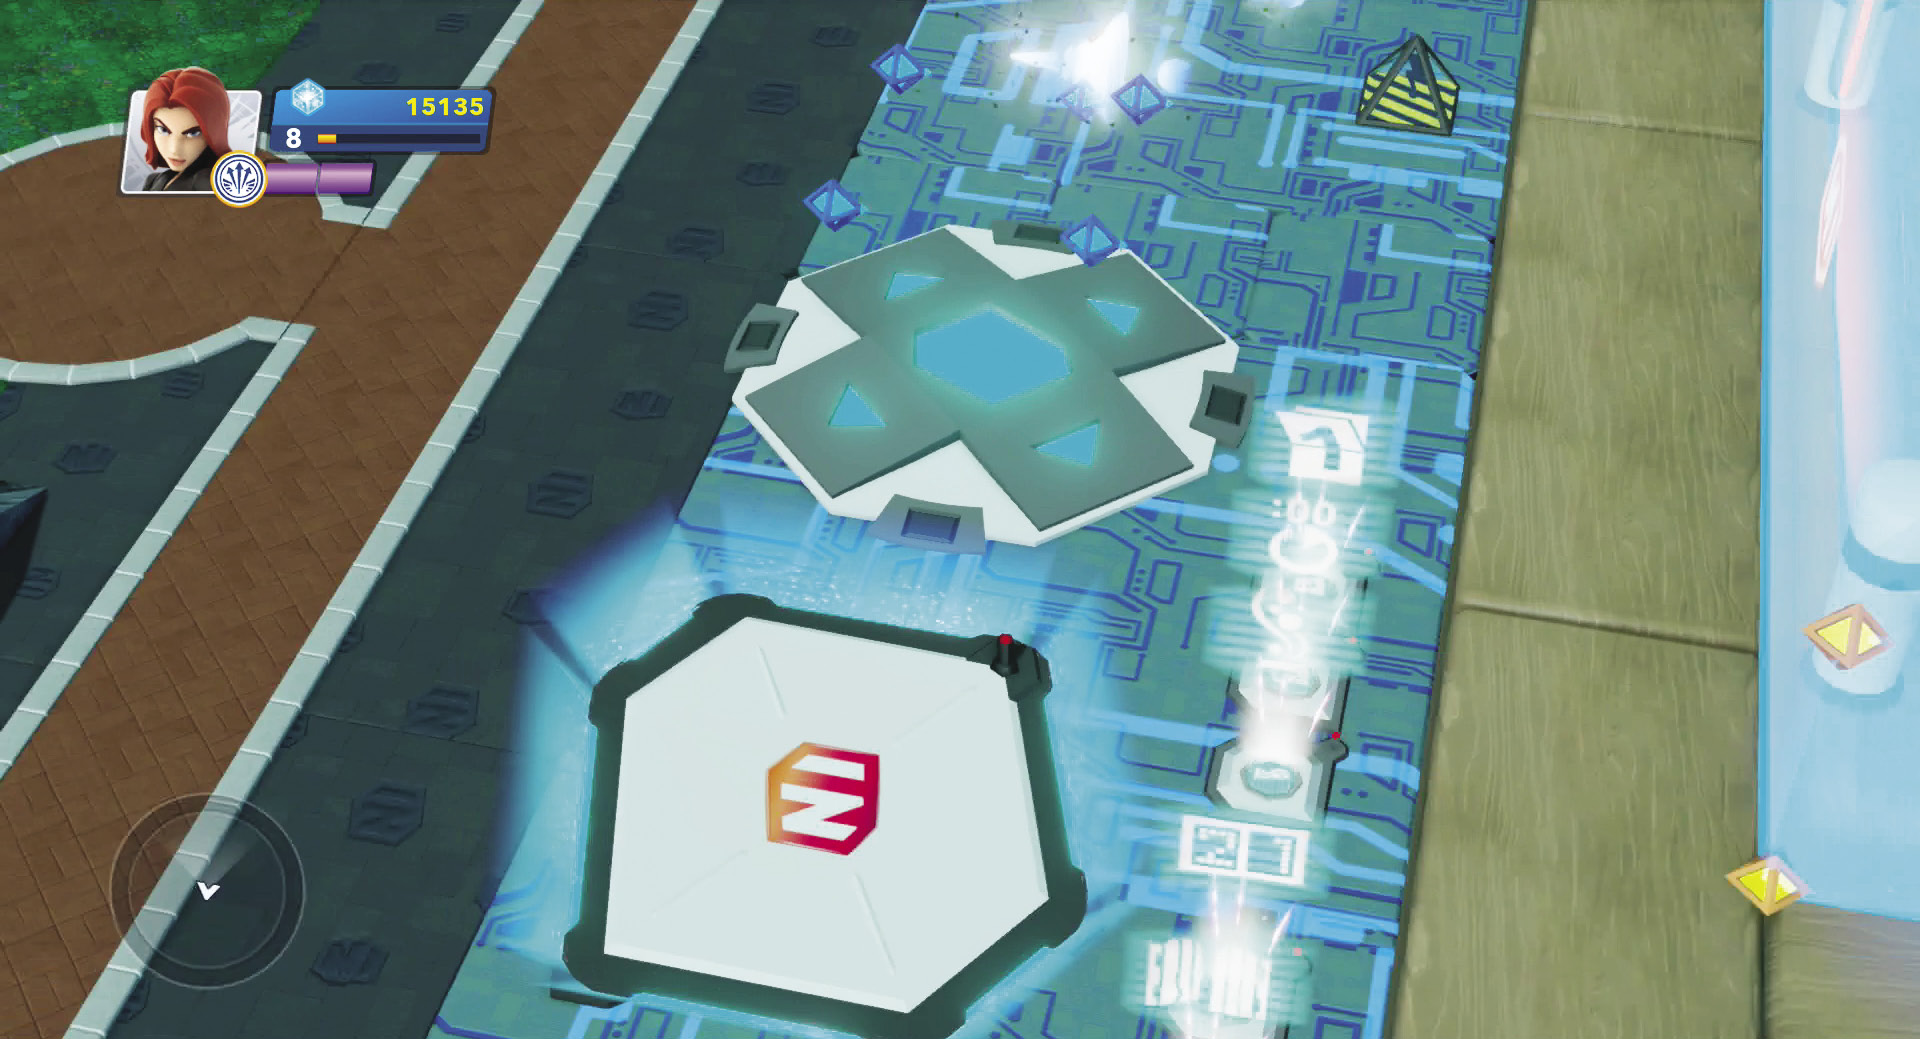
All of these toys work together to create the game.
When the ball is released, super cannons propel it up the chute. At the corner, the ball enters a trigger area. When this happens, a second weather vane is activated and blows the ball into the pinball table area. It deactivates as soon as the ball exits this small trigger area. The table area is another trigger area that activates the first weather vane that blows the ball towards the flippers. Every time the ball hits a pinball bumper or pinball bouncer, it sends a message to the scoreboard to increase the score. A racing gate is positioned behind the flippers. The racing gate is connected to a kill switch. If the ball hits this gate, the ball is destroyed and disappears. This then sends a message to the counter toy to reduce the number by one. The counter toy keeps track of how many balls the player has. When the counter reaches zero, a message is sent to the challenge maker to end the game. If the counter is not yet zero, it sends a message to the logic gate which then sends another message to the falling object generator to drop another ball.
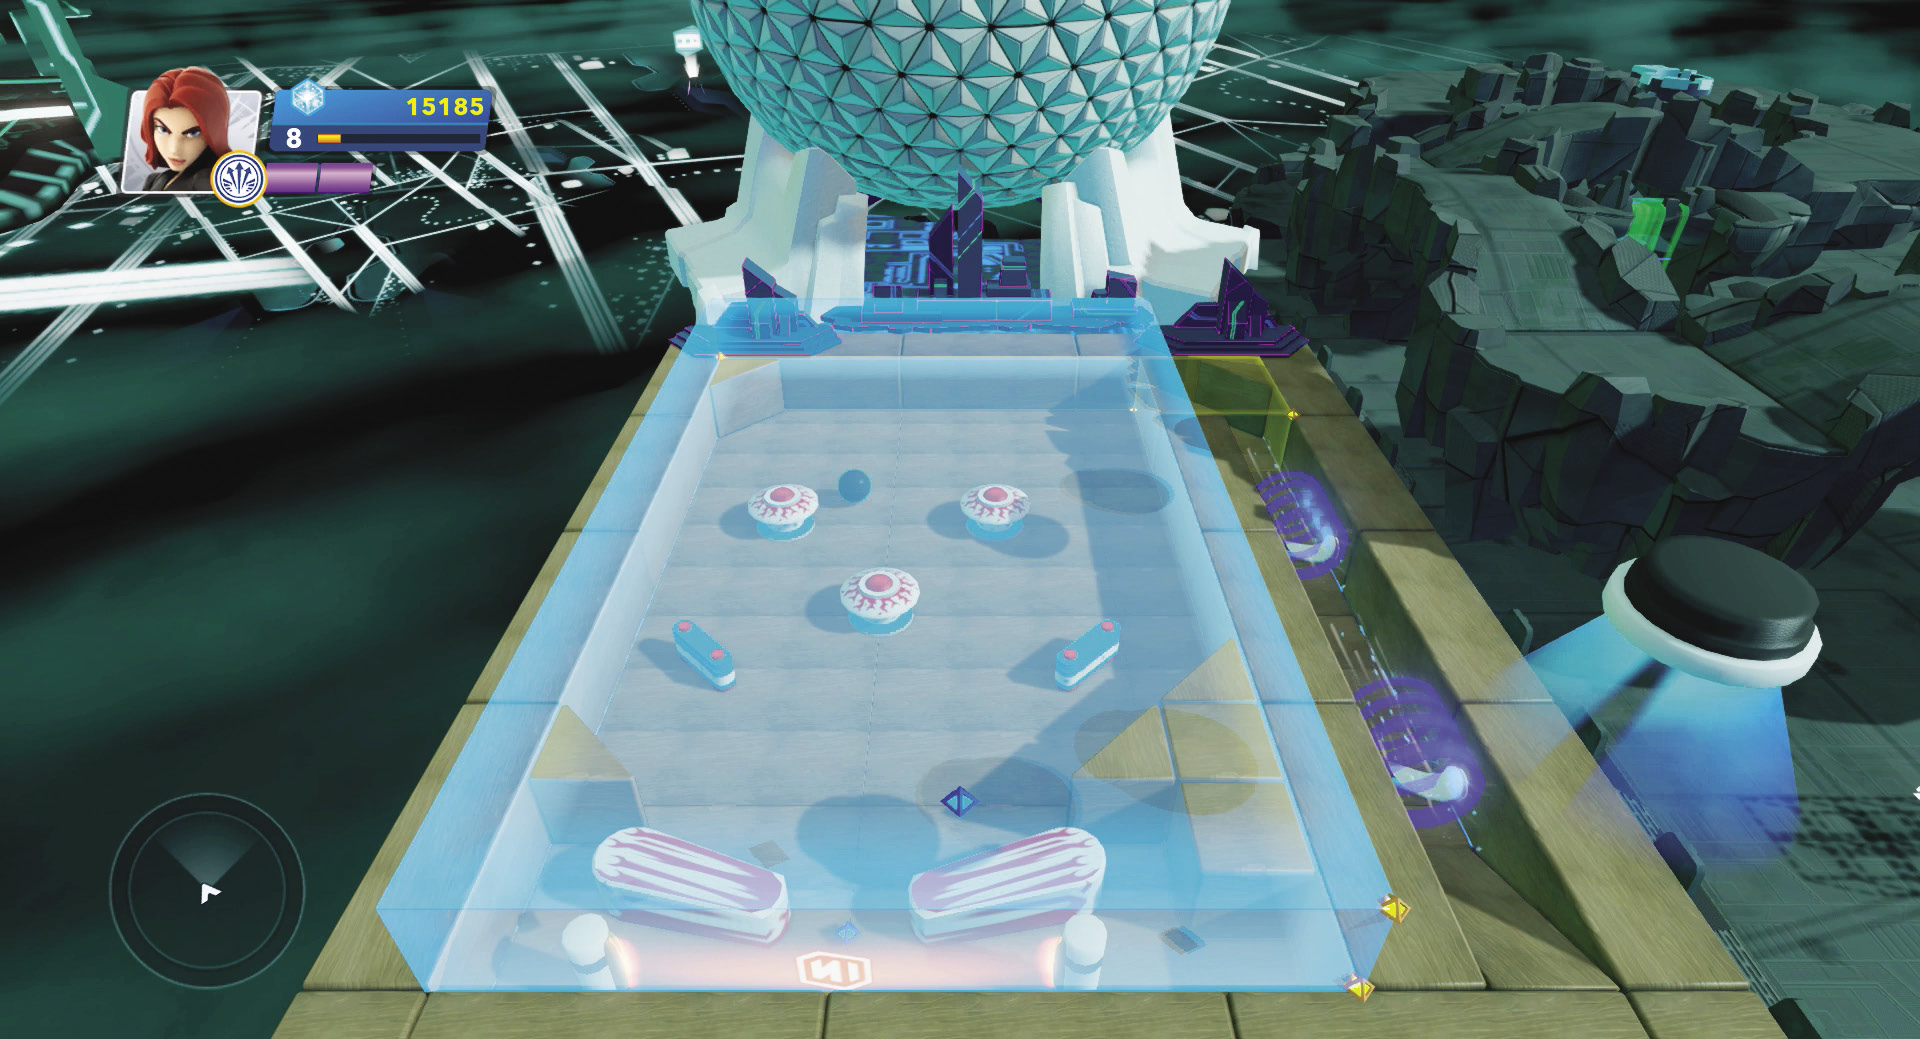
There are two trigger areas that activate and deactivate the weather vanes. This is important since you only want them moving the ball in specific directions at certain places in the game.
You may have noticed a large, bluish, transparent object over the top of the pinball table area. This is a scalable barrier block. This is a new feature to the Toy Box. For the pinball game, it prevents the ball from leaving the table area. In other games, it can help keep characters in the game area without being a visible barrier. When you put your magic wand away, the barrier becomes invisible. If you are doing a side-scroller game, you can use a vertical barrier to keep characters from falling off edges. Remove the barrier from the pinball game and see what happens. The ball may hit a bumper or bouncer and get flipped out of the table area. Then the game does not work anymore.
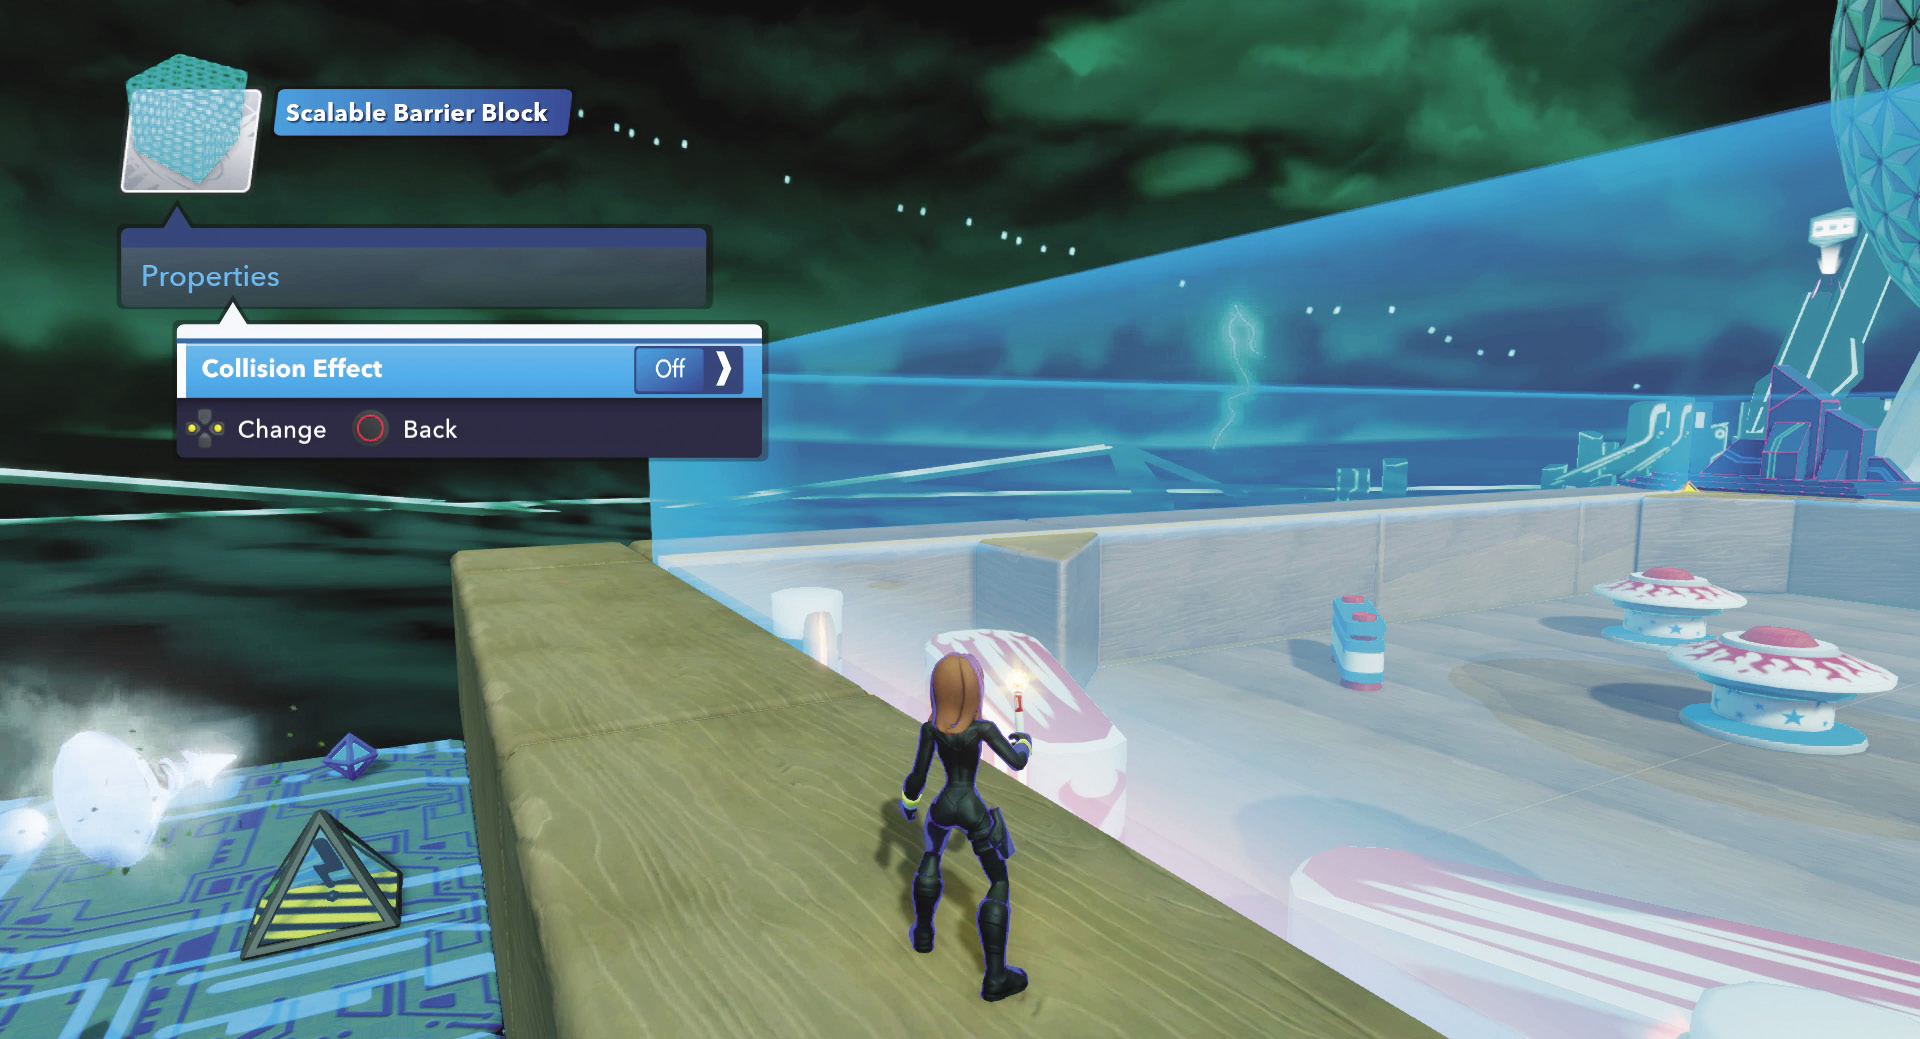
The scalable barrier block is used to keep the balls in play for the pinball game.
Racing Gate Kit
The last kit that Quorra shows you is the racing gate kit. When you ask her about it, not only does the kit appear in the Toy Box World, but also a large area where you can set up a race.
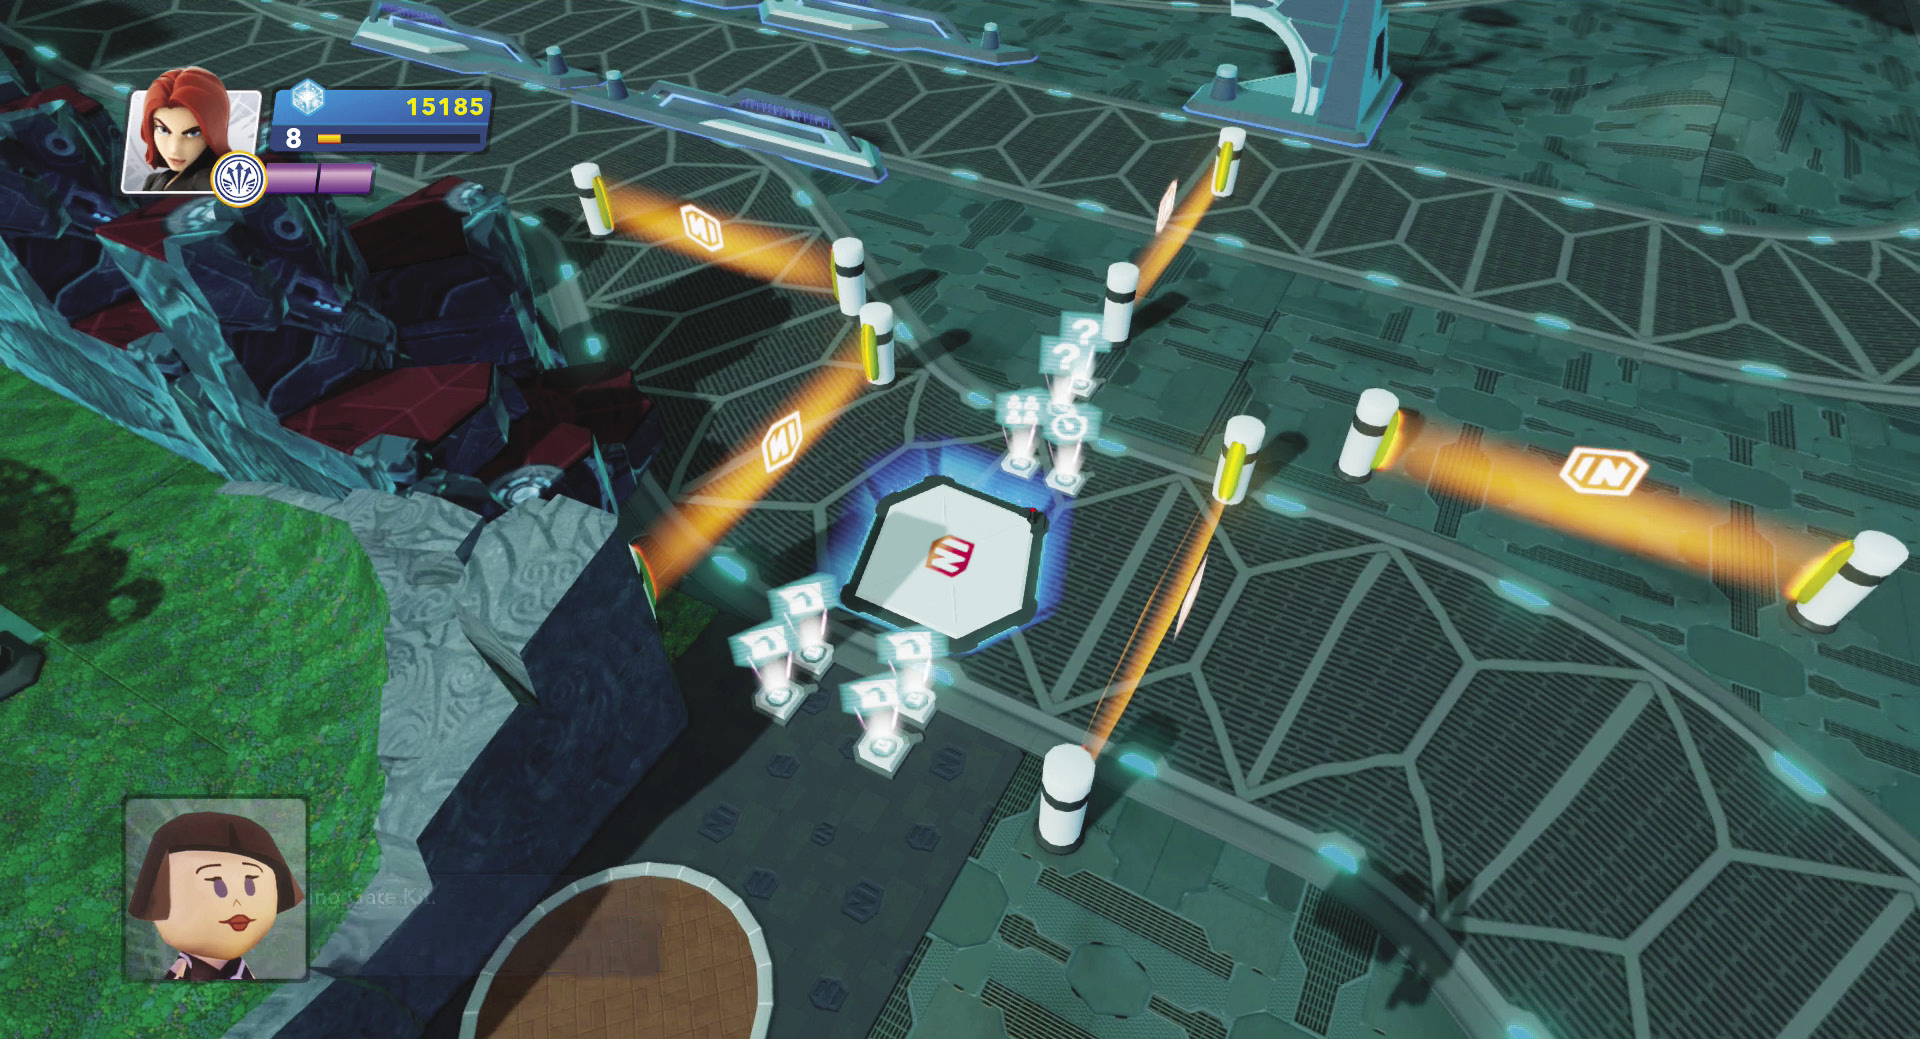
The racing gate kit lets you create a race game without the limitations of the race track creator or using race track pieces. In fact, you can make a race anywhere.
The challenge maker is the starting place for this game. When a player steps on it, this begins the game. The ready up checker toy waits for all the players in the Toy Box World to join the game before the race starts. Because up to four players can play this game, there are four counters—one for each player. These keep track of the number of laps the players complete. In this case, when a player has completed three laps and moves through the last racing gate, the counter sends a message to the challenge maker to record the player’s time and finish the race for that player. It also sends a message to the ready up checker to hold the player at the end of the race until all of the other players finish.
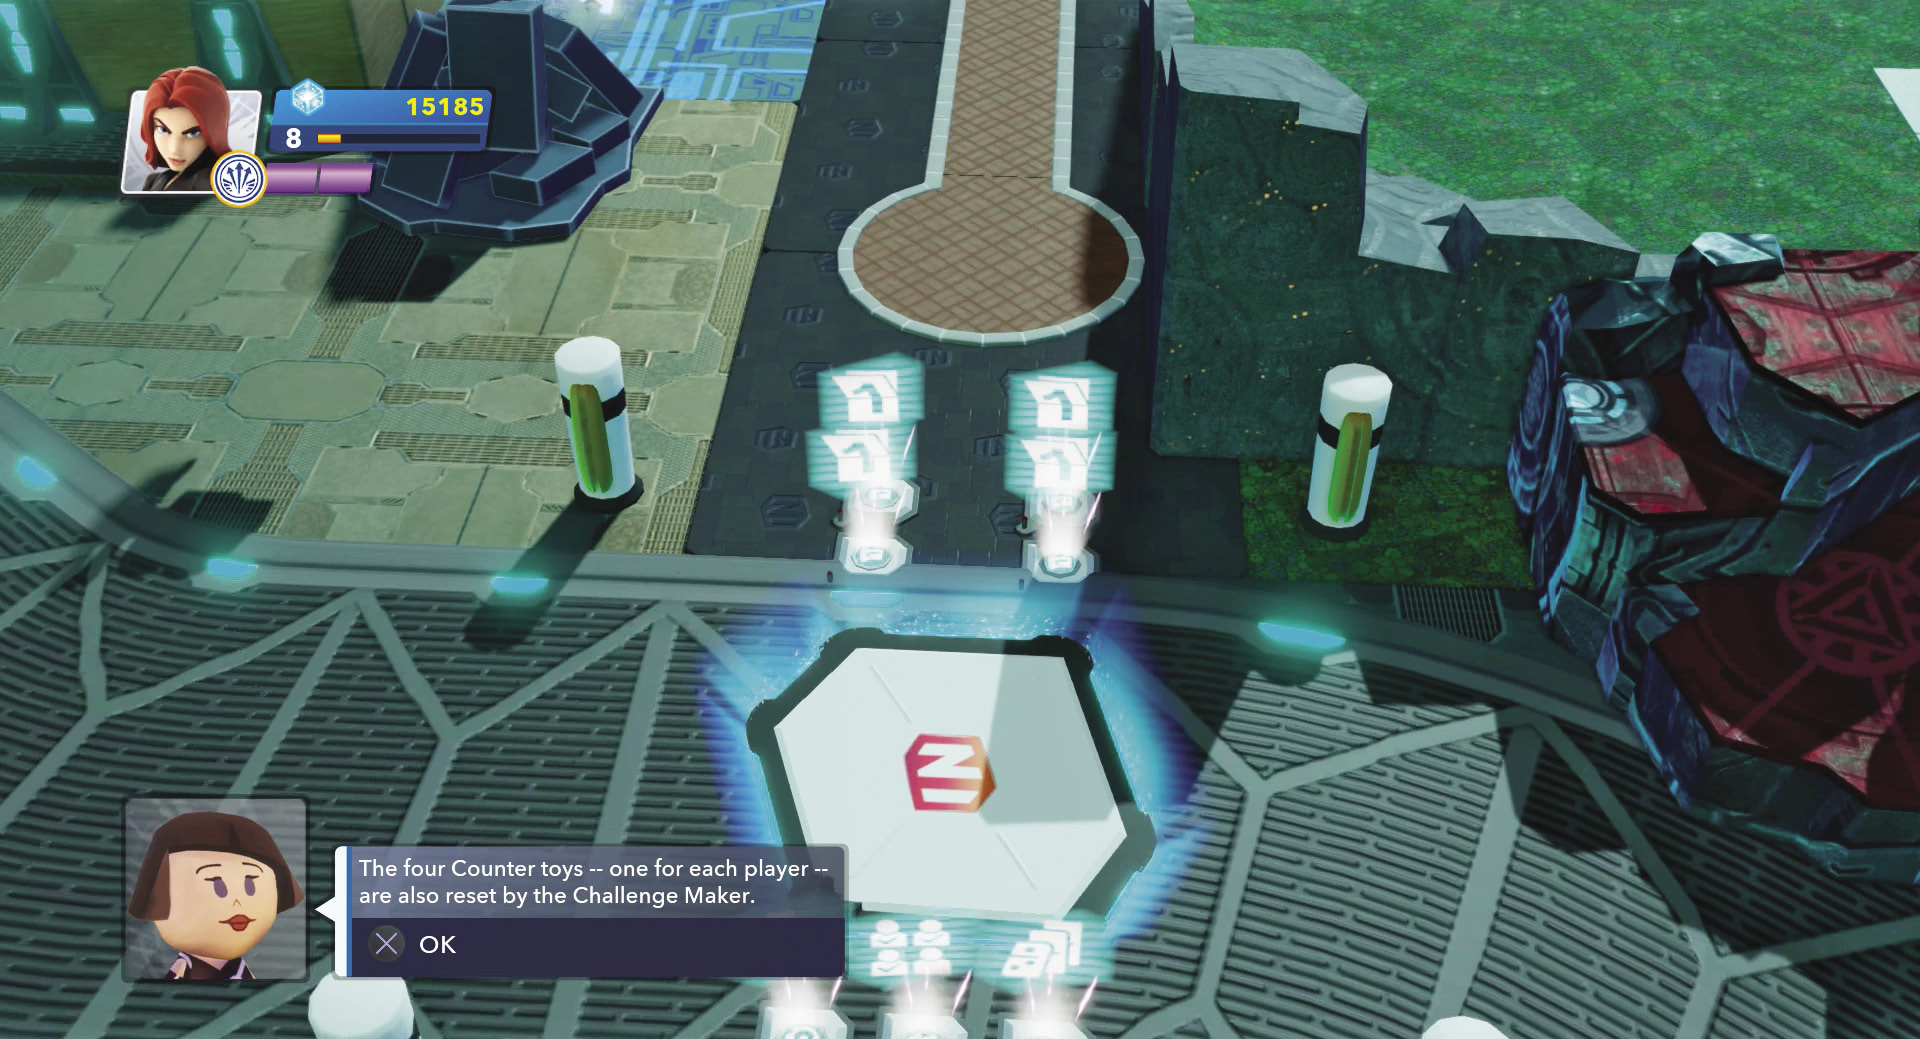
Because up to four players can participate in this game, the kit includes four counter toys to keep track of laps in the race.
When the race begins, the challenge maker deactivates all of the racing gates except for the first racing gate. The challenge maker also sends a message to the timer to start timing. As each player moves through the first racing gate, it deactivates—just for that player—and then sends a message to the next racing gate to activate—once again just for that player. This ensures that each player has to go through all of the racing gates in order so no one can cheat.
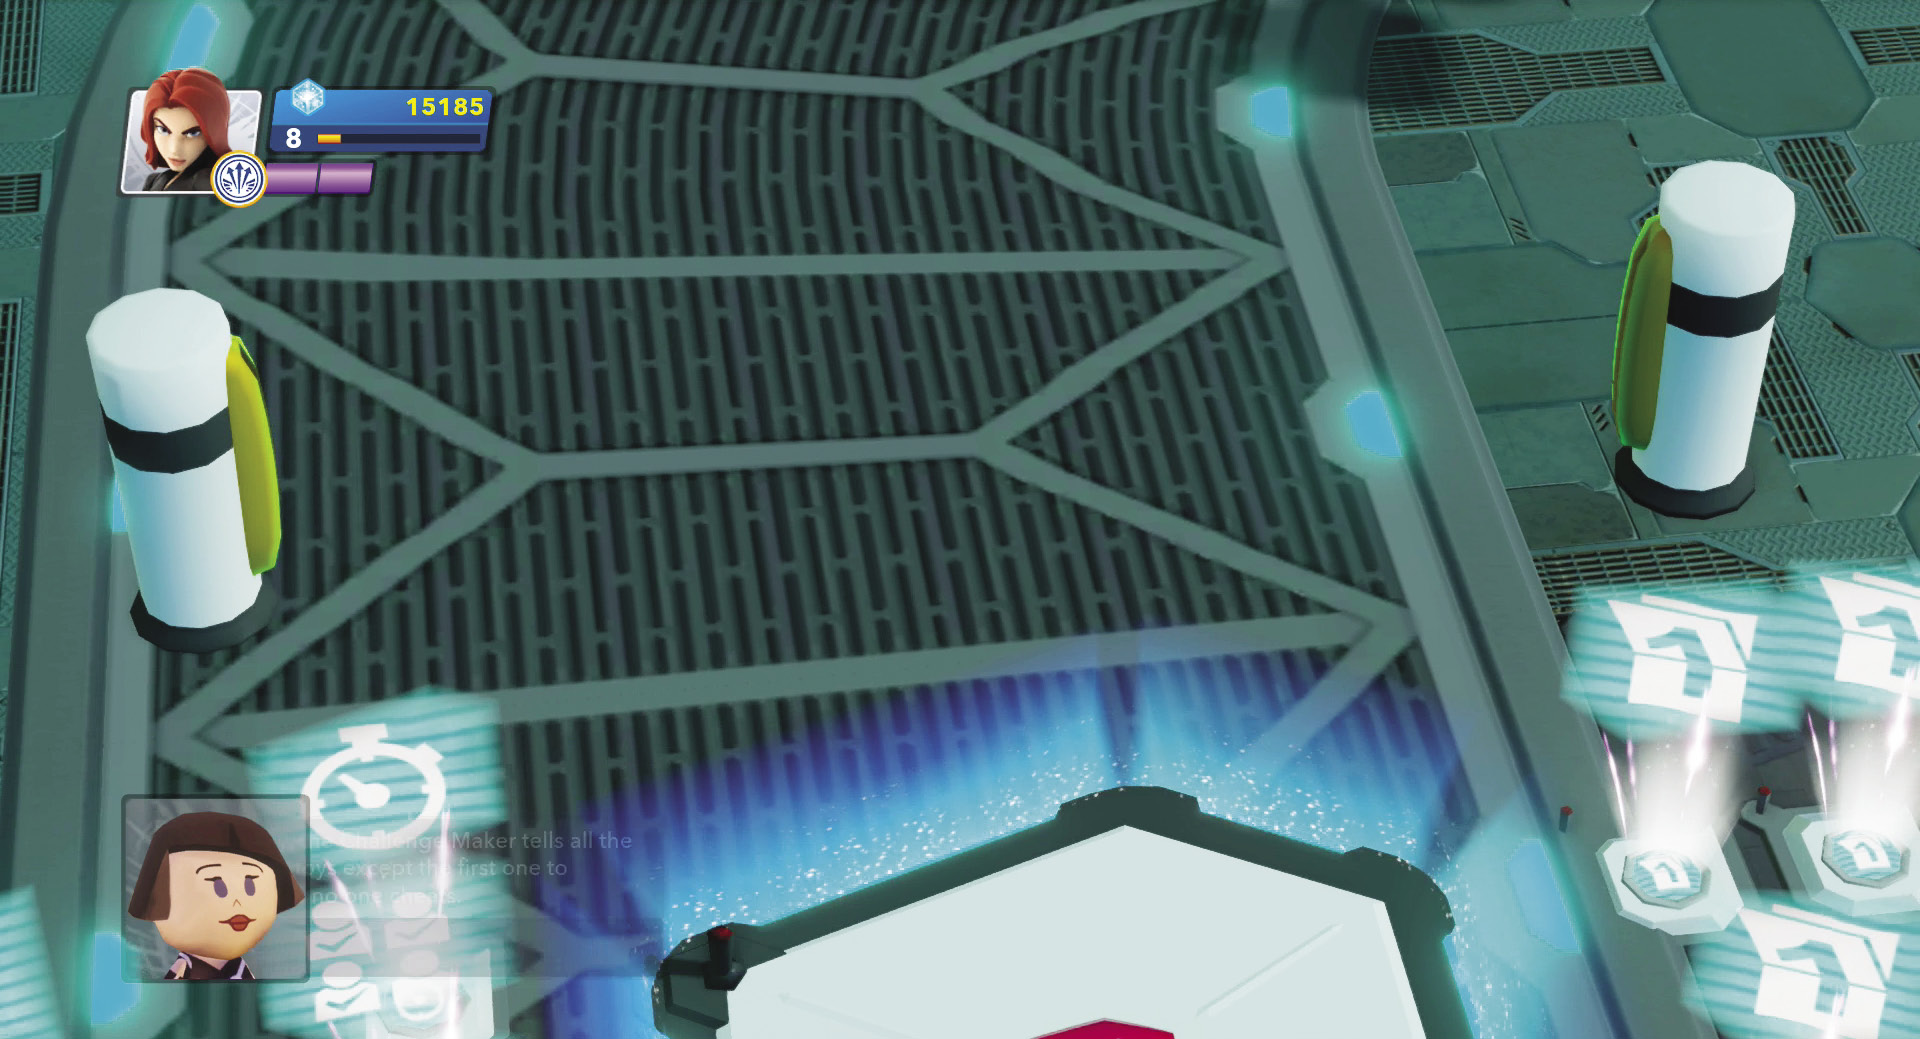
The racing gates are connected to each other so as one deactivates, the next activates. Each player has only one active racing gate at a time.
The counters keep track of the laps. Once all players have completed the race, and the counters have all sent a finished message to the challenge maker, this toy then ends the race and displays the results. It also sends messages to the other toys to reset so they are ready for the next game.
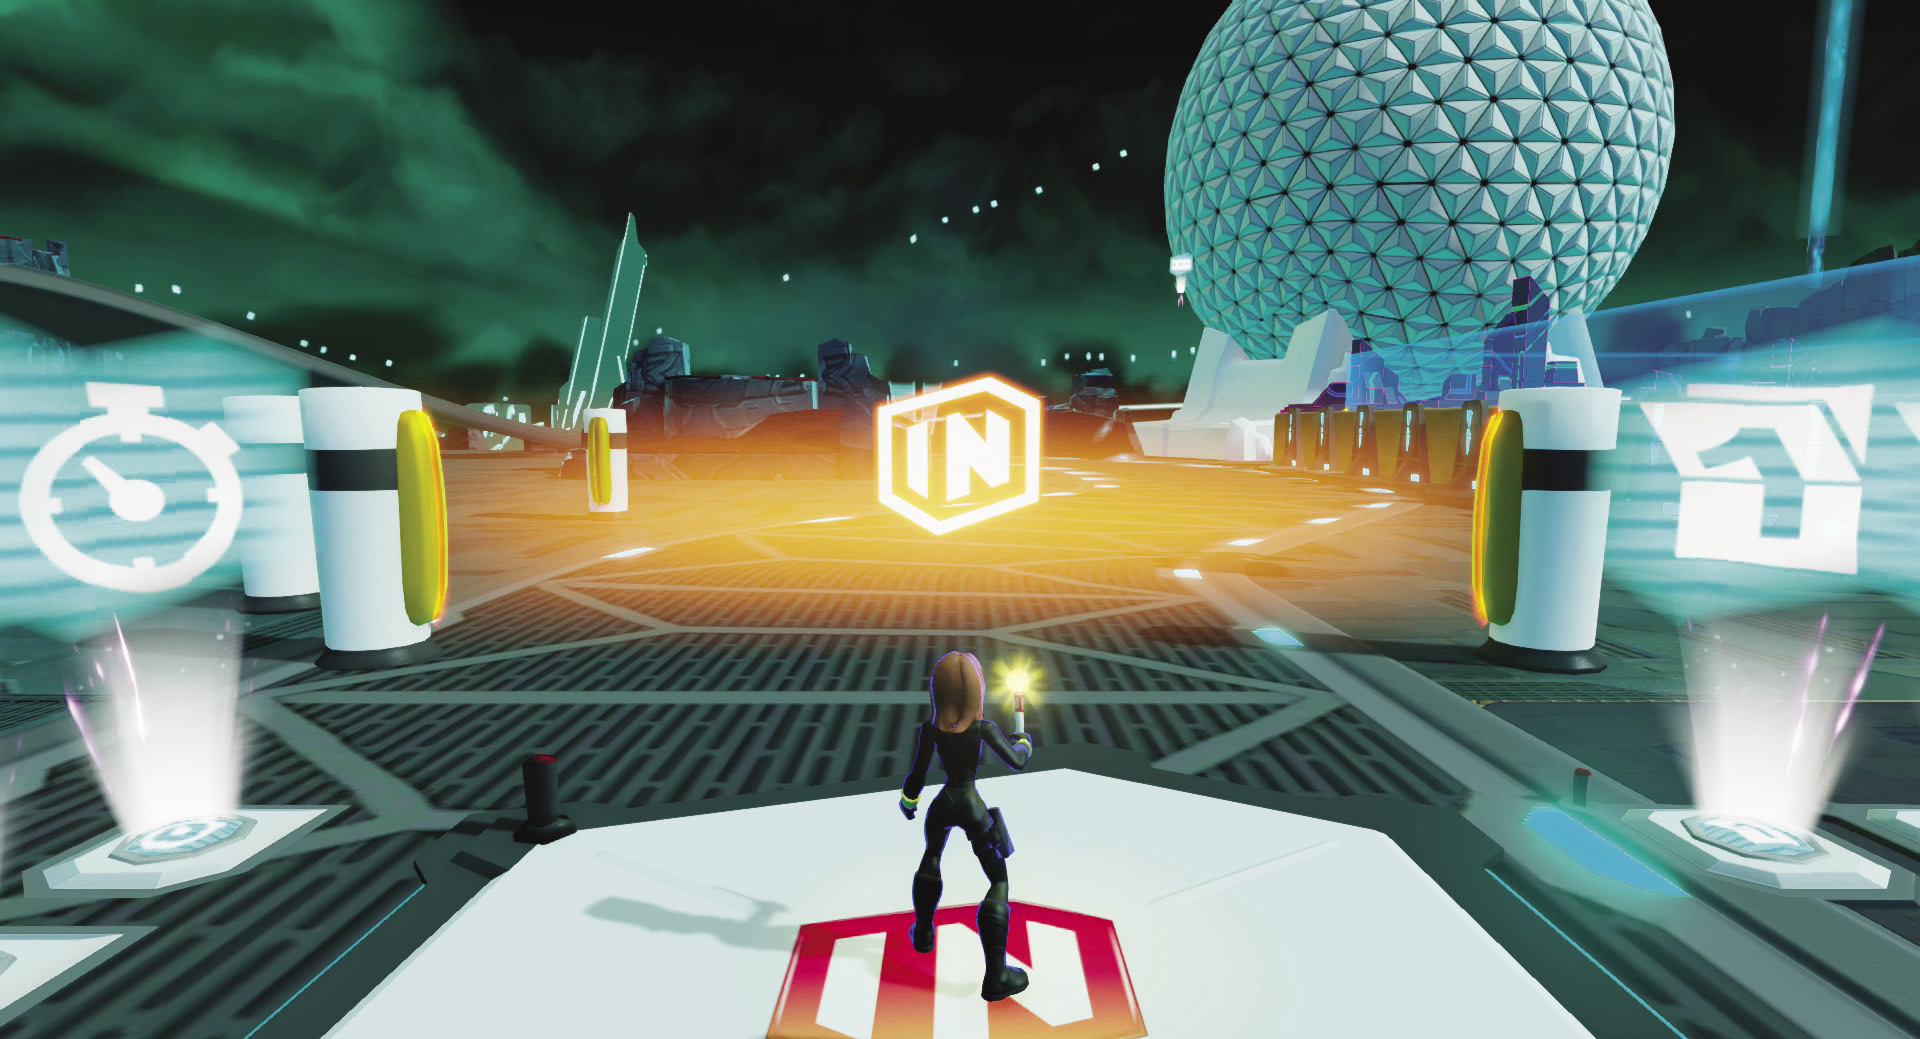
When the game begins, just the first racing gate is activated. After you run through it, the next racing gate activates and this one deactivates.
Try out this game with just your one character to see how it works. The racing gates are all positioned close by. When designing such a game, keep all the toys close by while you make connections. Test it out to make sure it works. Then you can move the racing gates around the course. Otherwise it is difficult to connect all the gates if they are scattered about the Toy Box World.
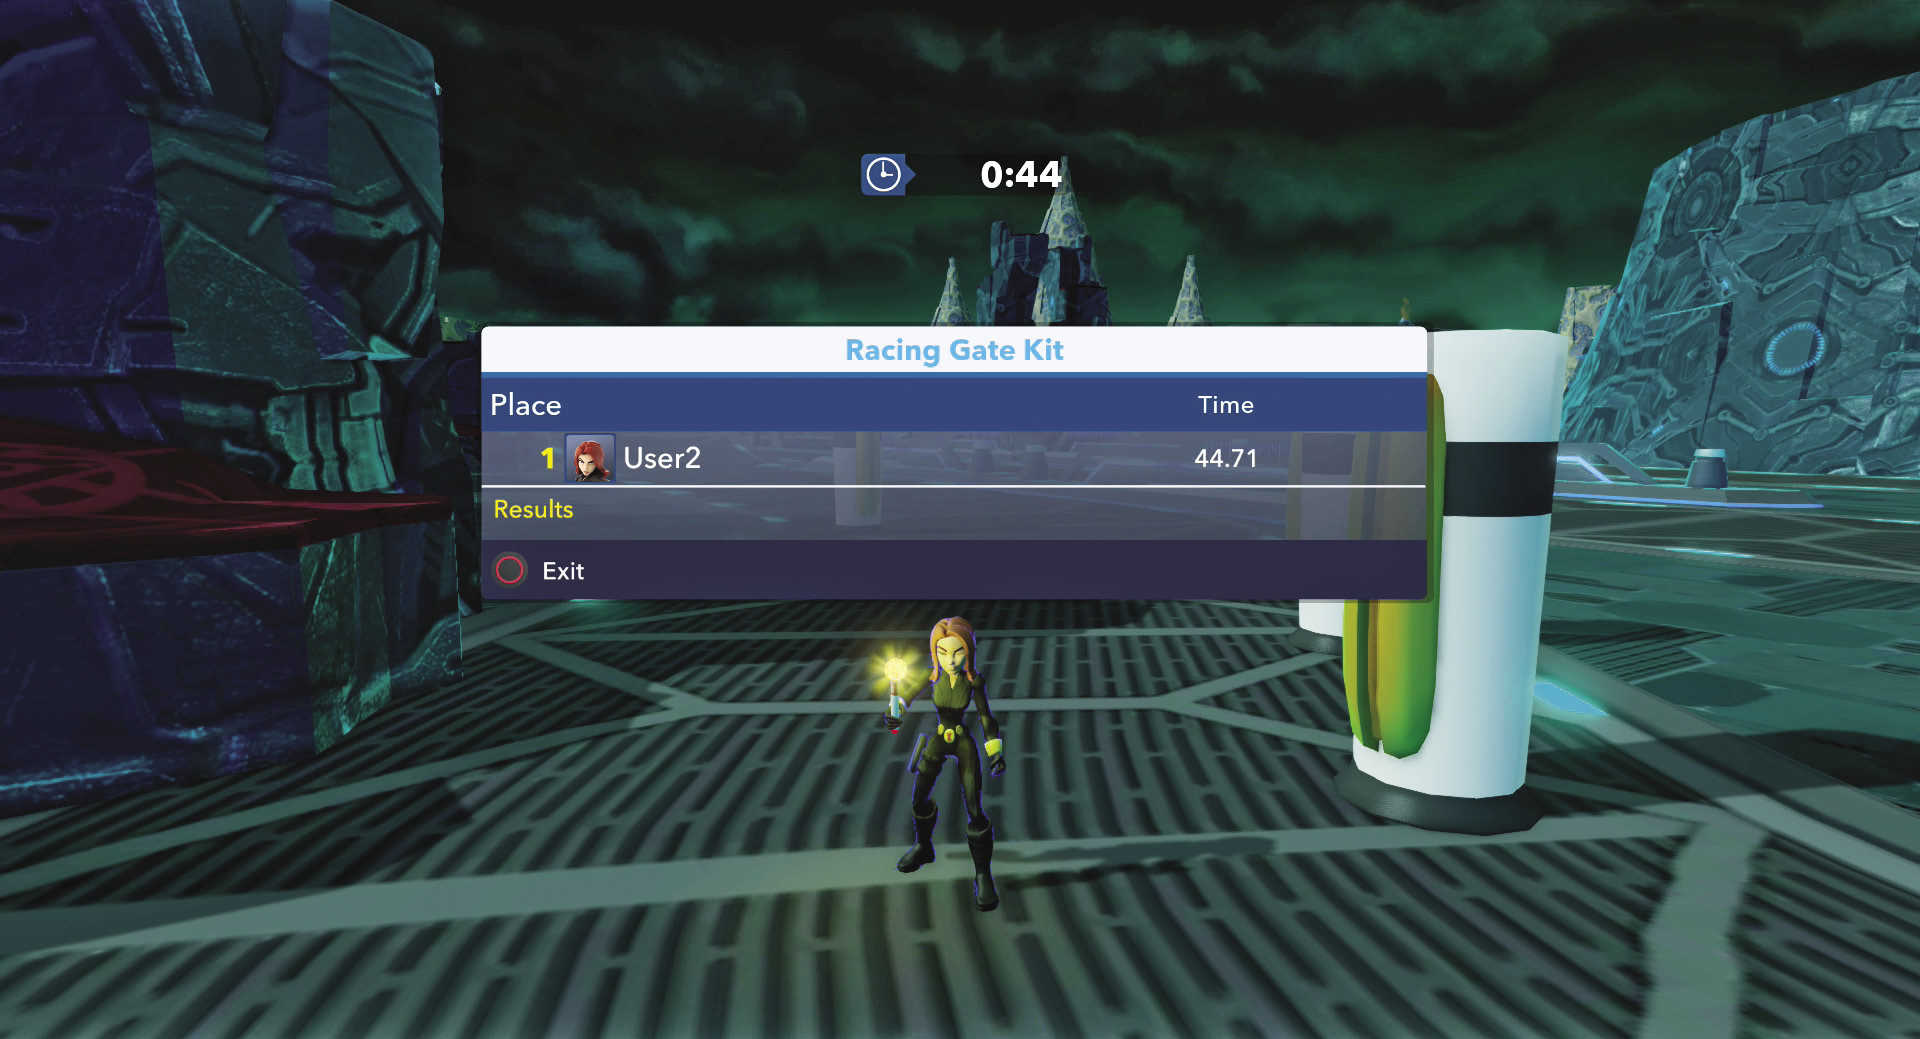
At the end of the race, the challenge maker displays your time.