
Disney Infinity: Marvel Super Heroes Guide Marvels Guardians of the Galaxy Play Set
To the Dark Aster
Cool Miners Fodder
Pod Garage
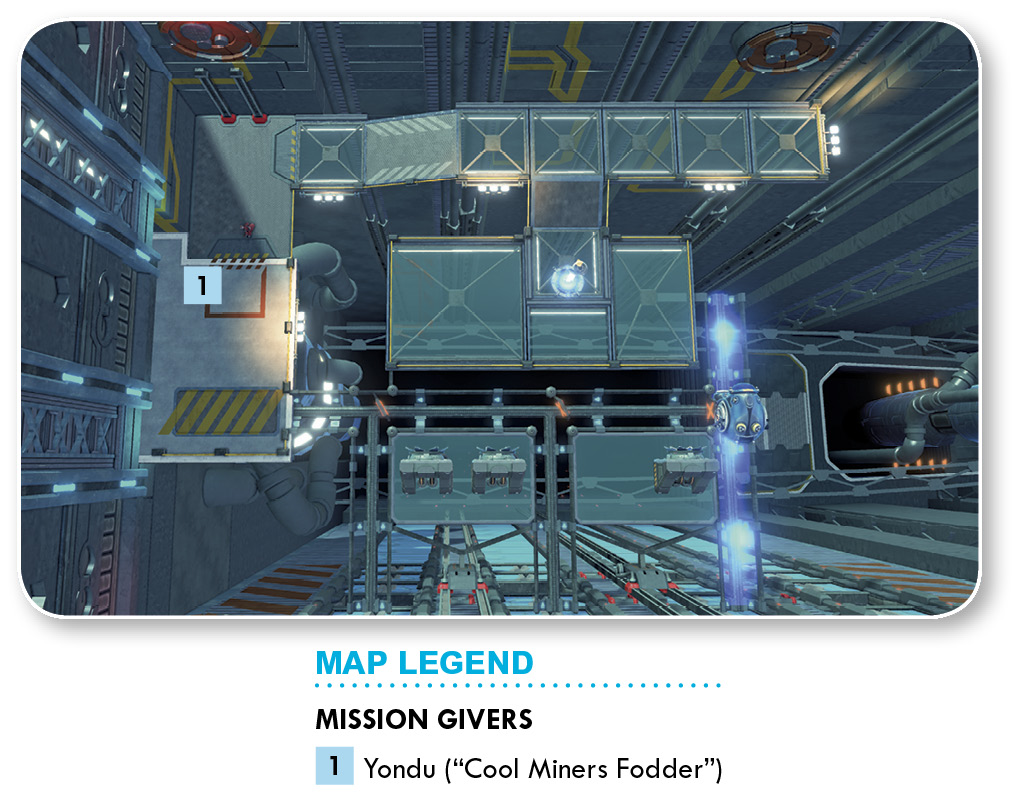

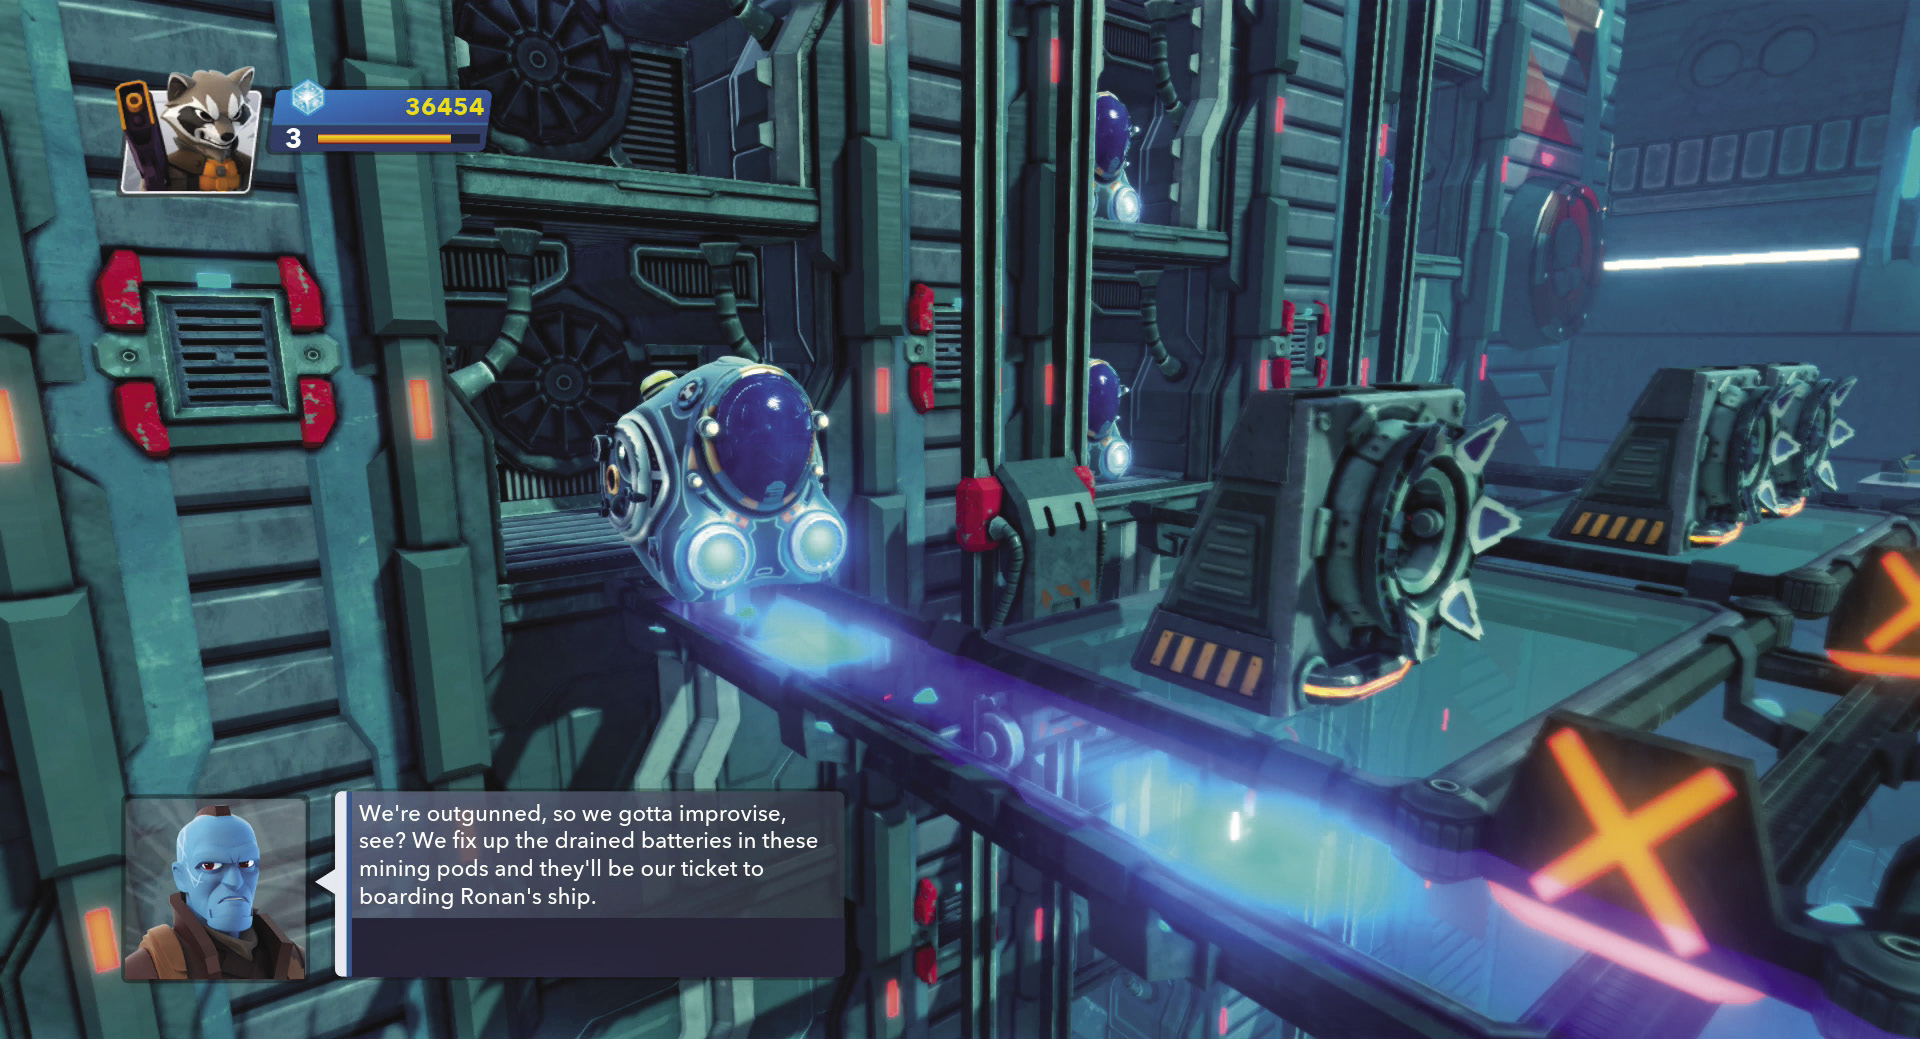
Yondu explains his plan to you: Ronan’s ship is vulnerable, and the only way to defeat your foe is to fly a mining pod to the Dark Aster. Yondu needs a mining pod powered up, and you can do this with fuel cells, sockets, and nimble hairy feet.
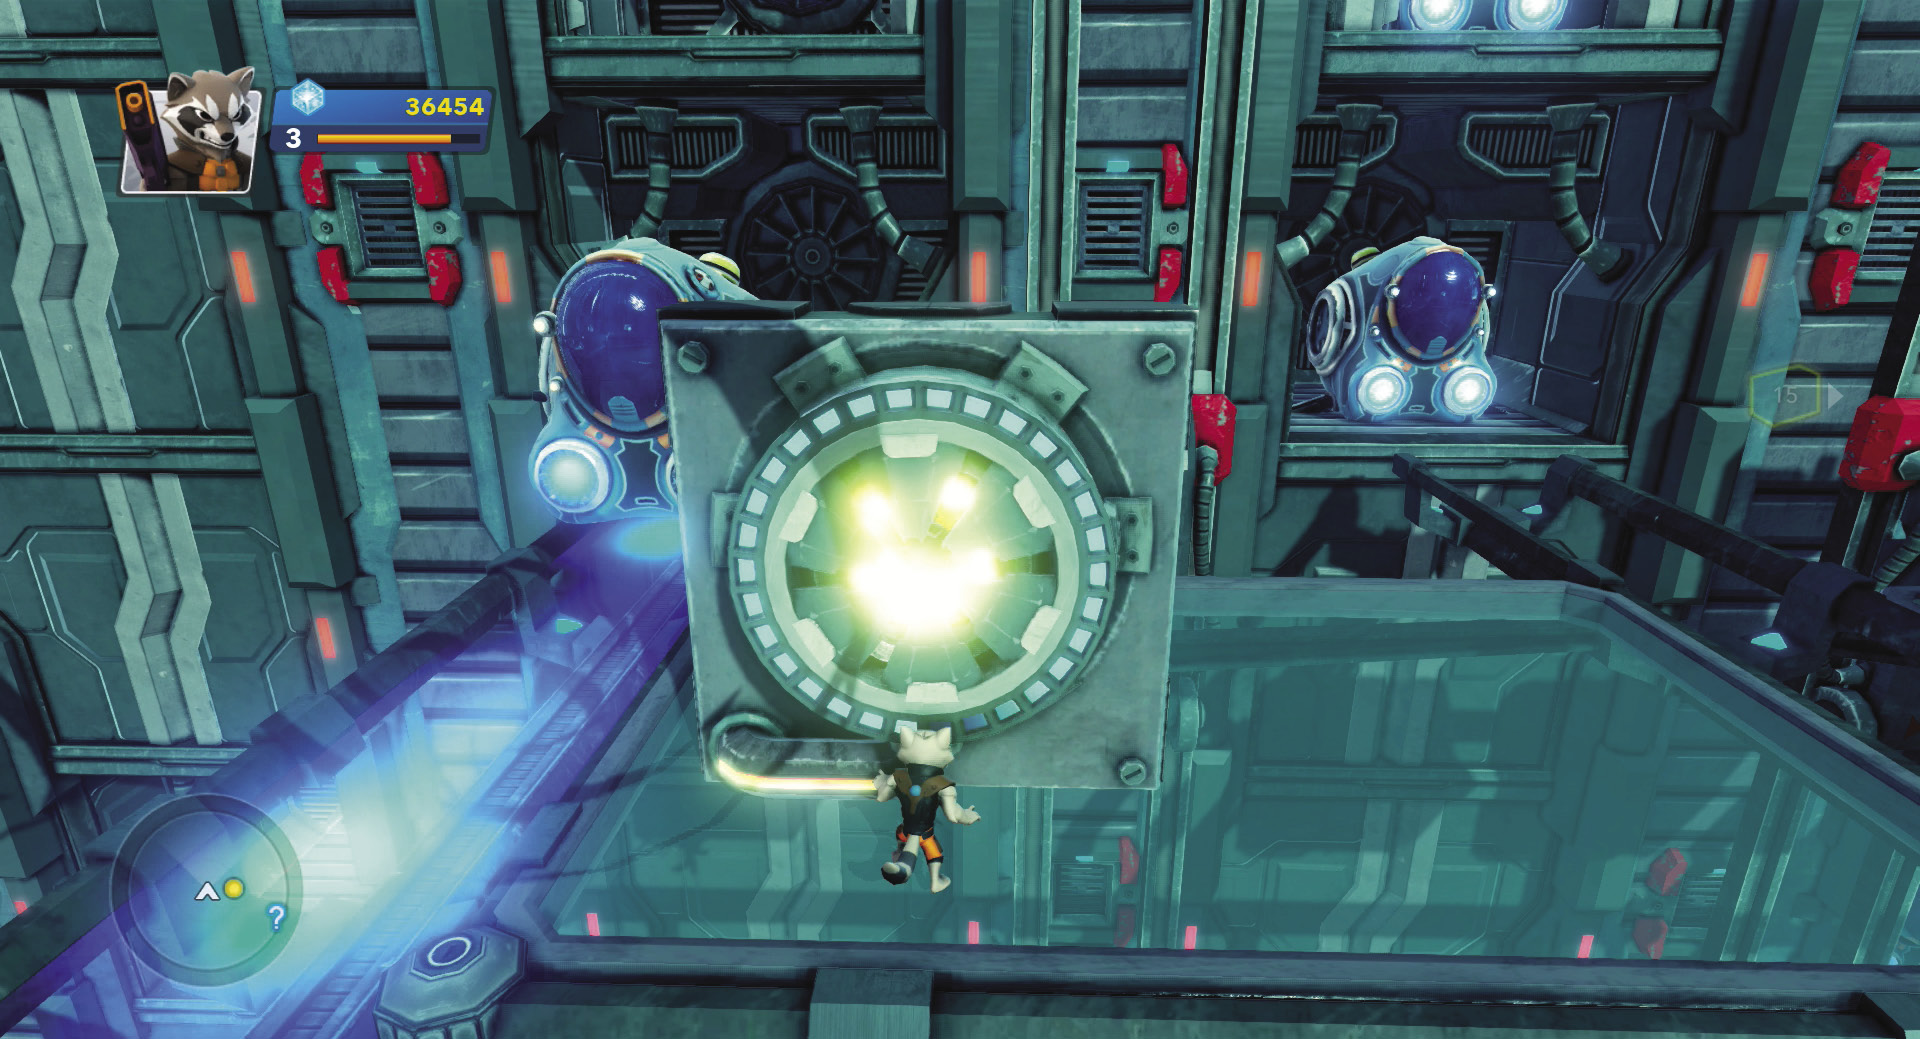
The mining pod moves along the glowing blue track in the Pod Garage. However, you want to corral it to the far platform where Yondu can access it. Open the first gate by picking up the fuel cell and stuffing it in the socket next to the first “X” blockade. When you do, the blockade drops and a new track opens.
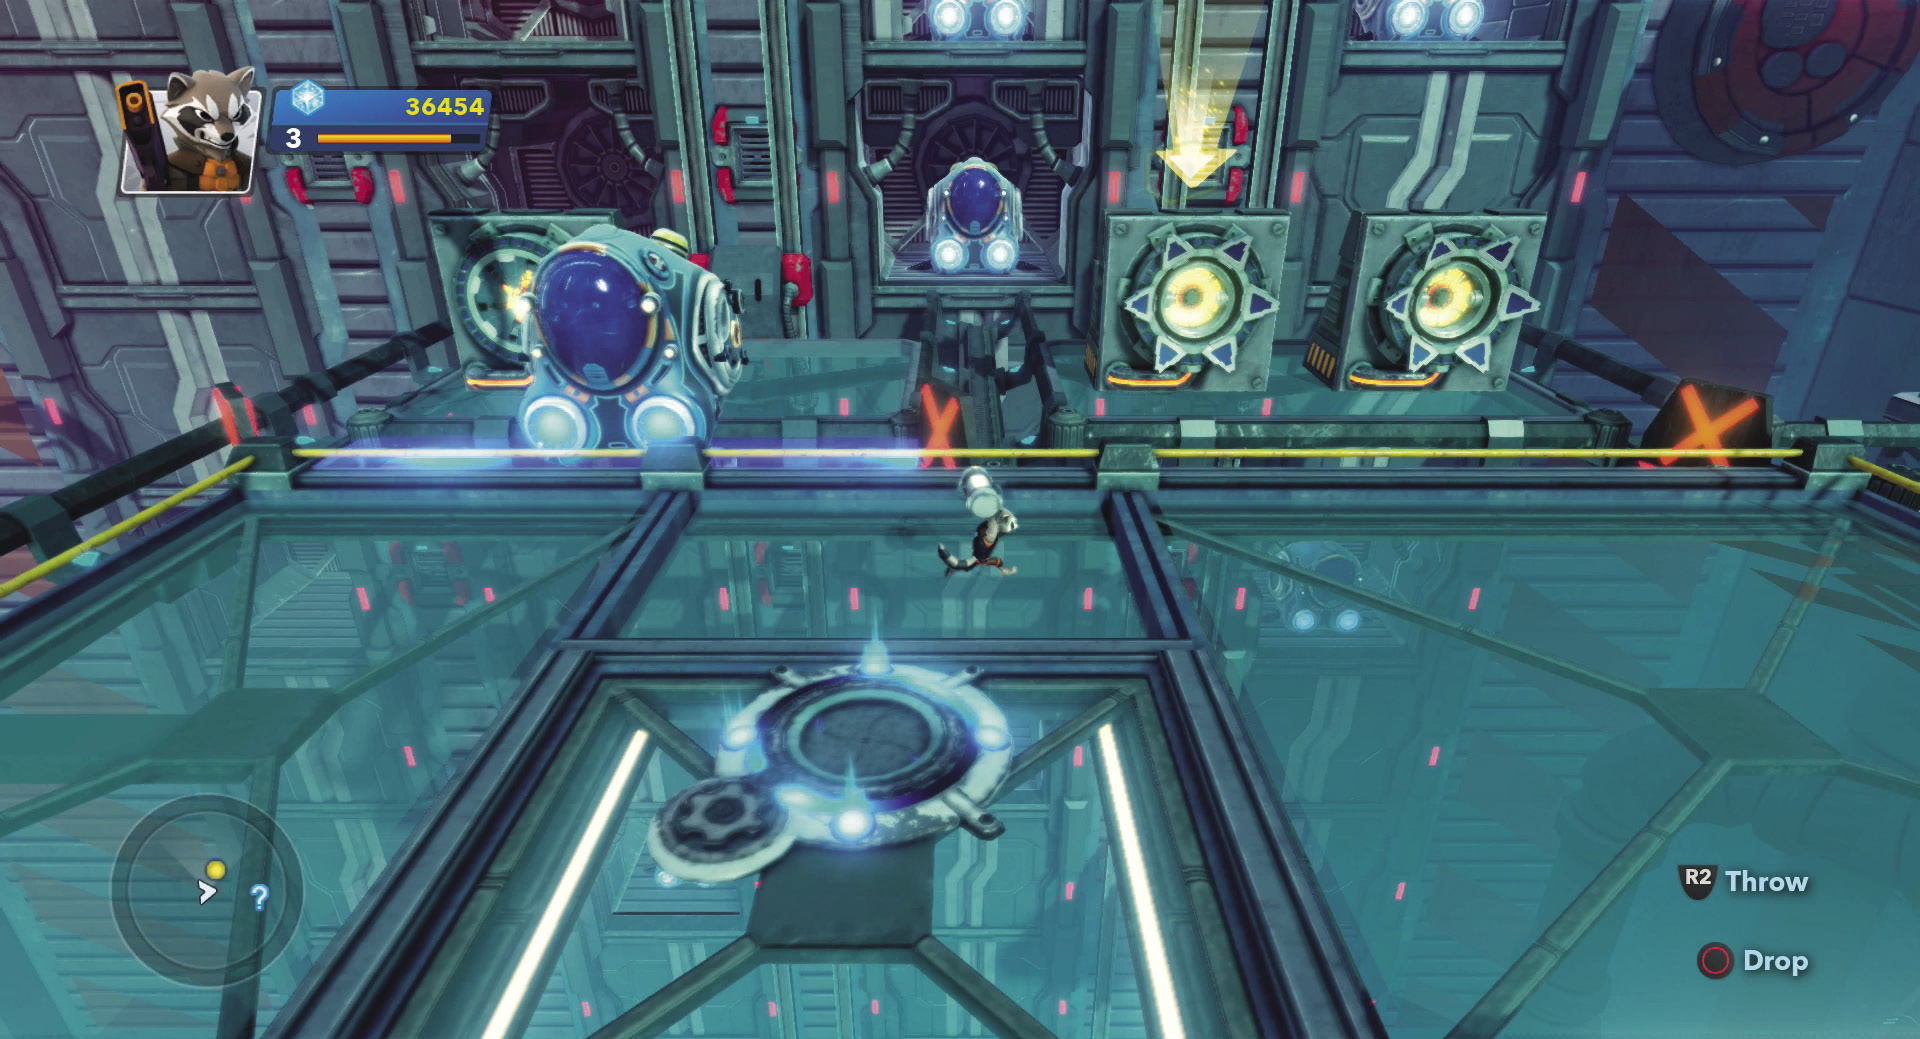
Jump back to the fuel cell dispenser and pick up your second fuel cell. Jump back over the track and stick the fuel cell in the second socket; the track extends further. Return to the dispenser and get your third fuel cell. Jump back to the third socket and stick in the fuel cell to drop the final blockade.
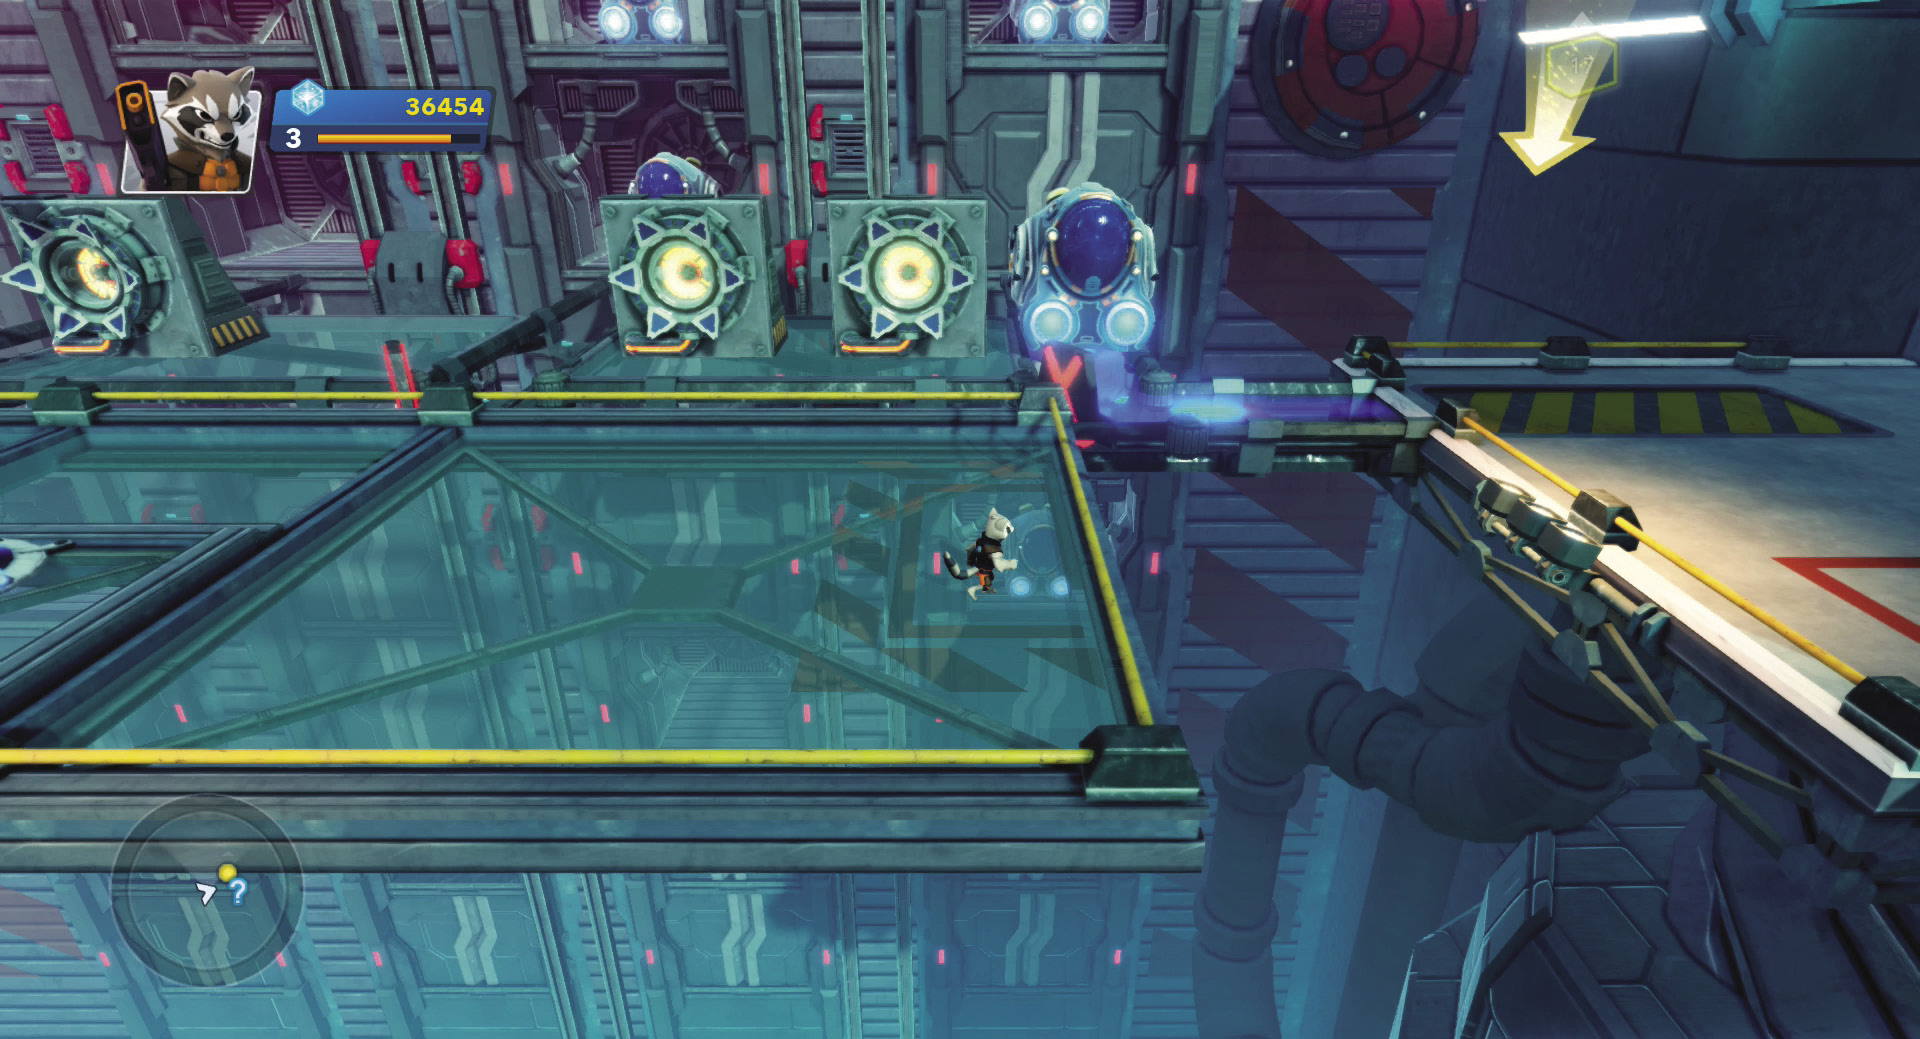
Wait for the mining pod to follow the blue track to the end. Once it moves over to the far platform, Yondu gets in and sets up a series of missions to protect the pod.
To Peace in a Pod

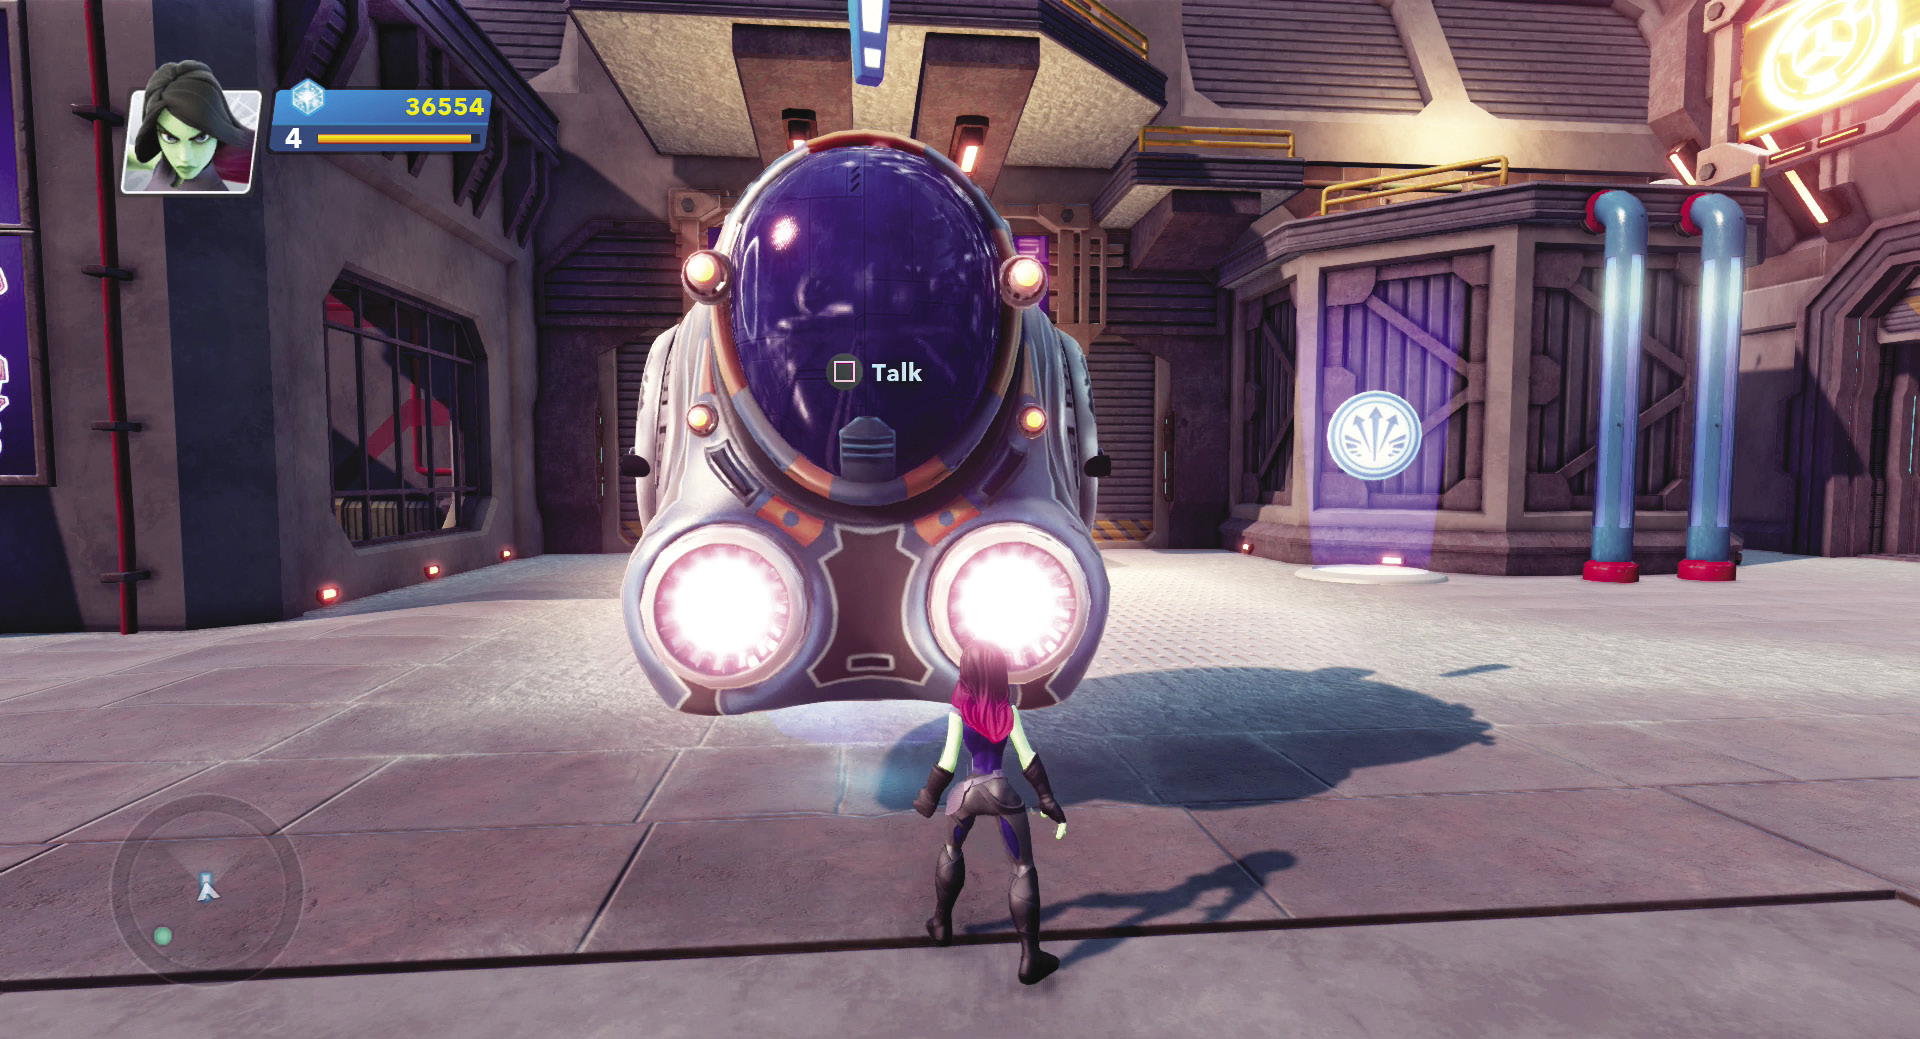
Yondu has the mining pod, and the Sakaarans know it. They send an assault team to destroy the pod, and it’s up to you to stop the massacre. After you speak with Yondu in the pod, you immediately man the Anti-Air Gun and the enemies starting dropping in.
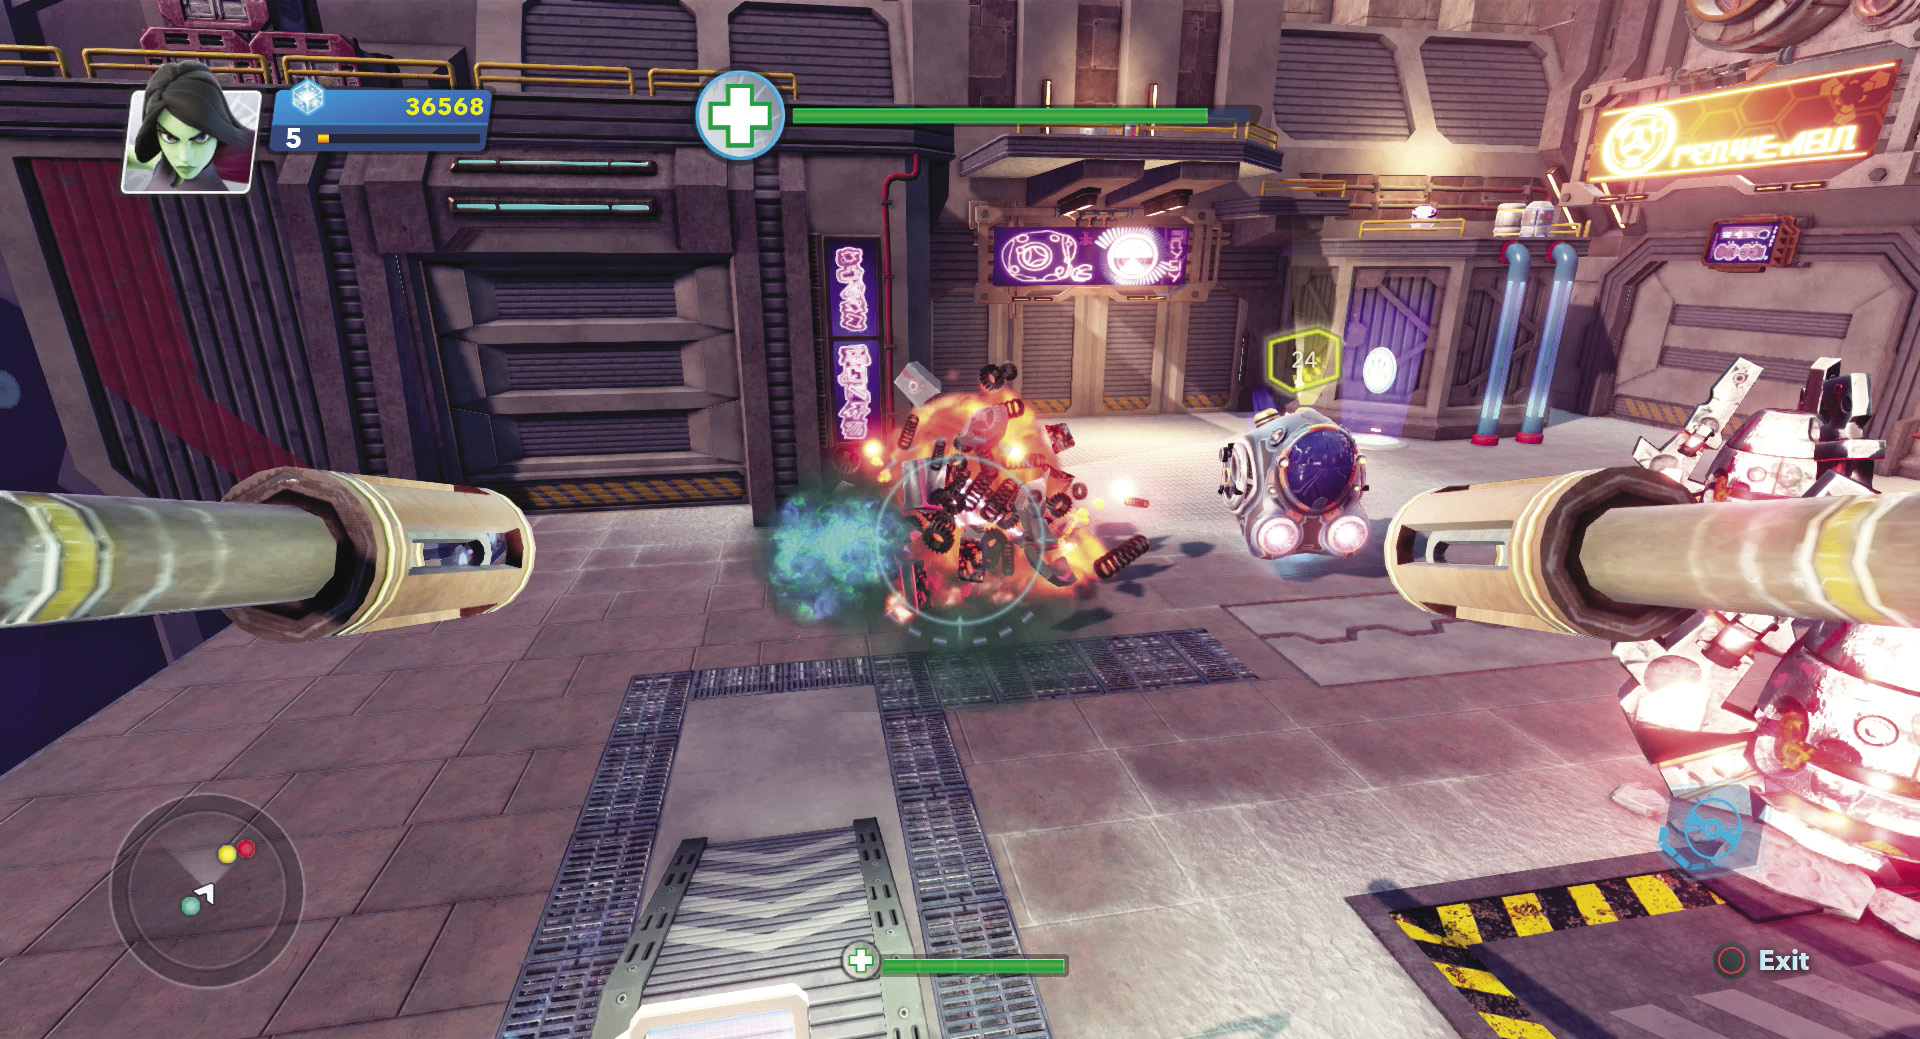
Try to blow up the drop pods as soon as they appear to prevent Sakaarans from exiting and attacking Yondu’s mining pods. Sweep over the platform and rain down heavy laser fire on any enemies that escape drop pods.
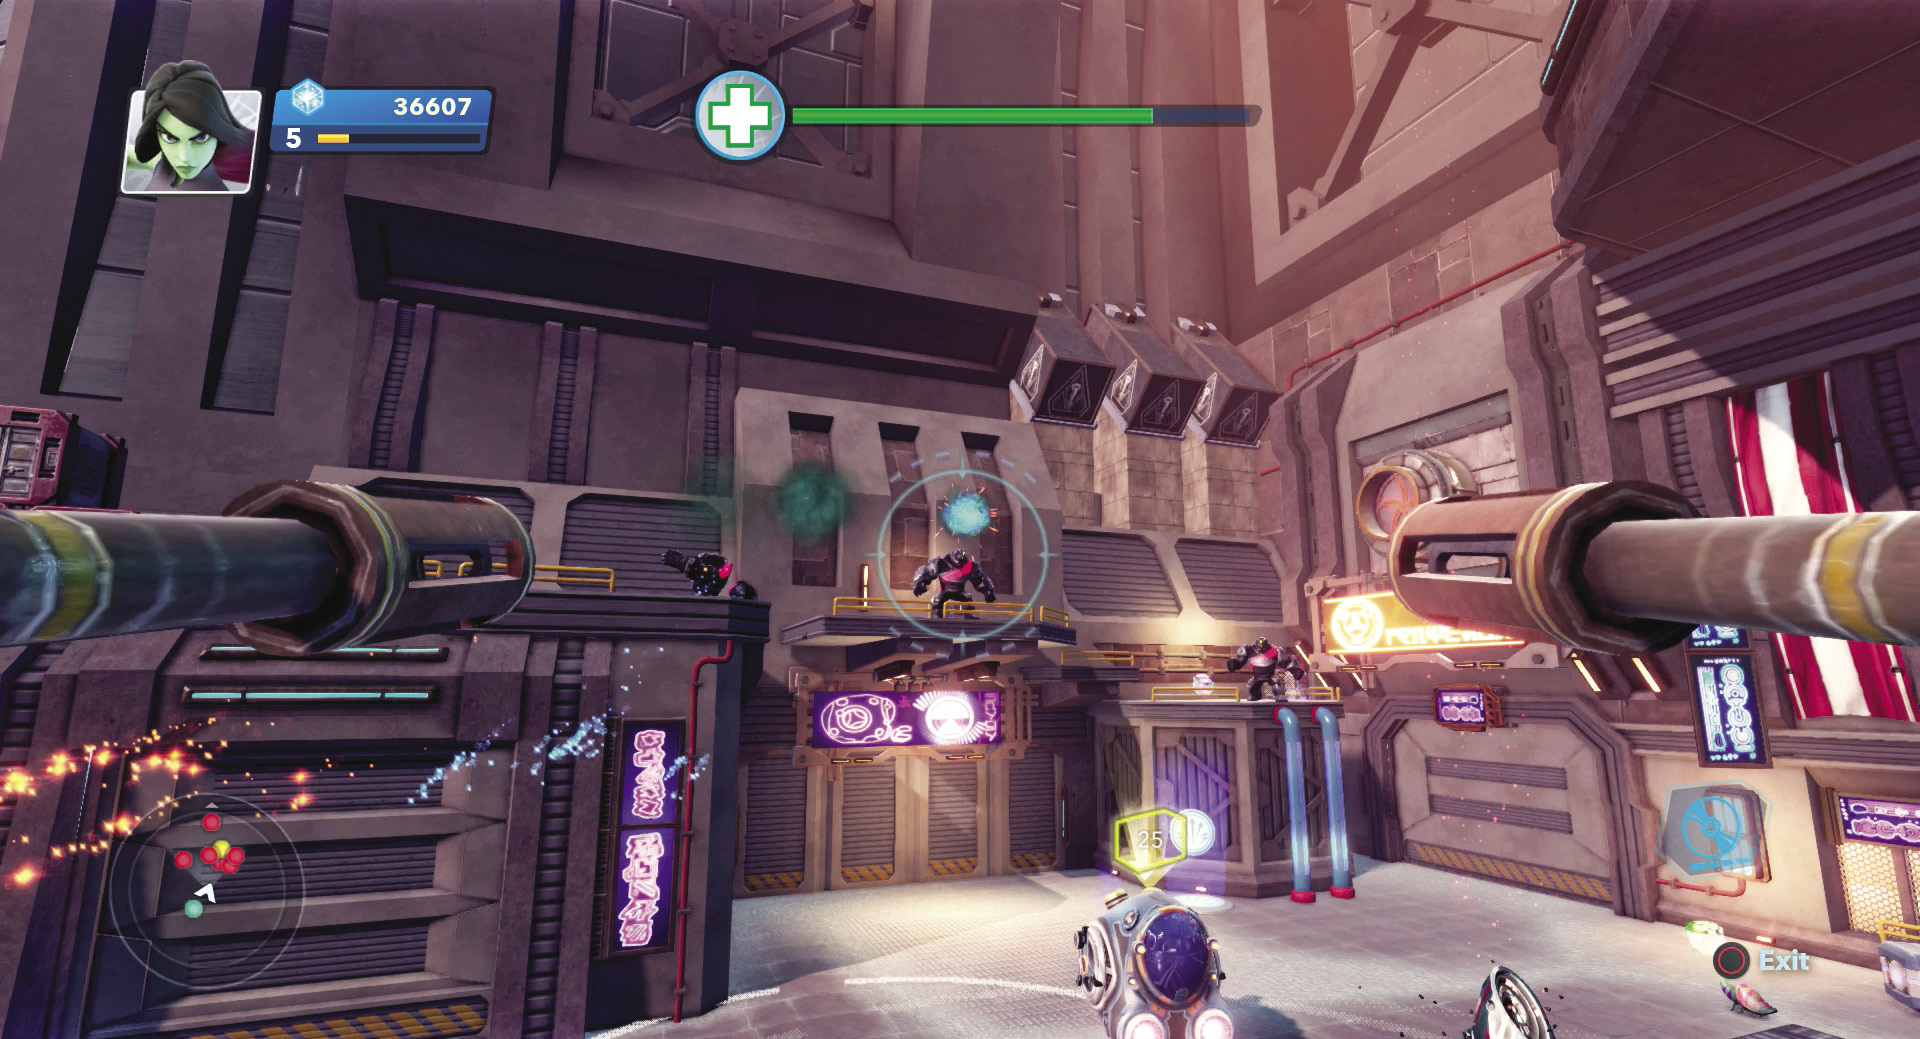
Large Sakaarans will appear on the ledges above the mining pod. Continue hammering each one with laser fire until it explodes. Don’t let the Large Sakaarans concentrate their laser beams on the mining pod or it will take heavy damage. After defeating the Large Sakaarans, return to the main platform and eliminate the Sakaarans and omni-blaster turrets that spawn.

Feat Complete: Tanked
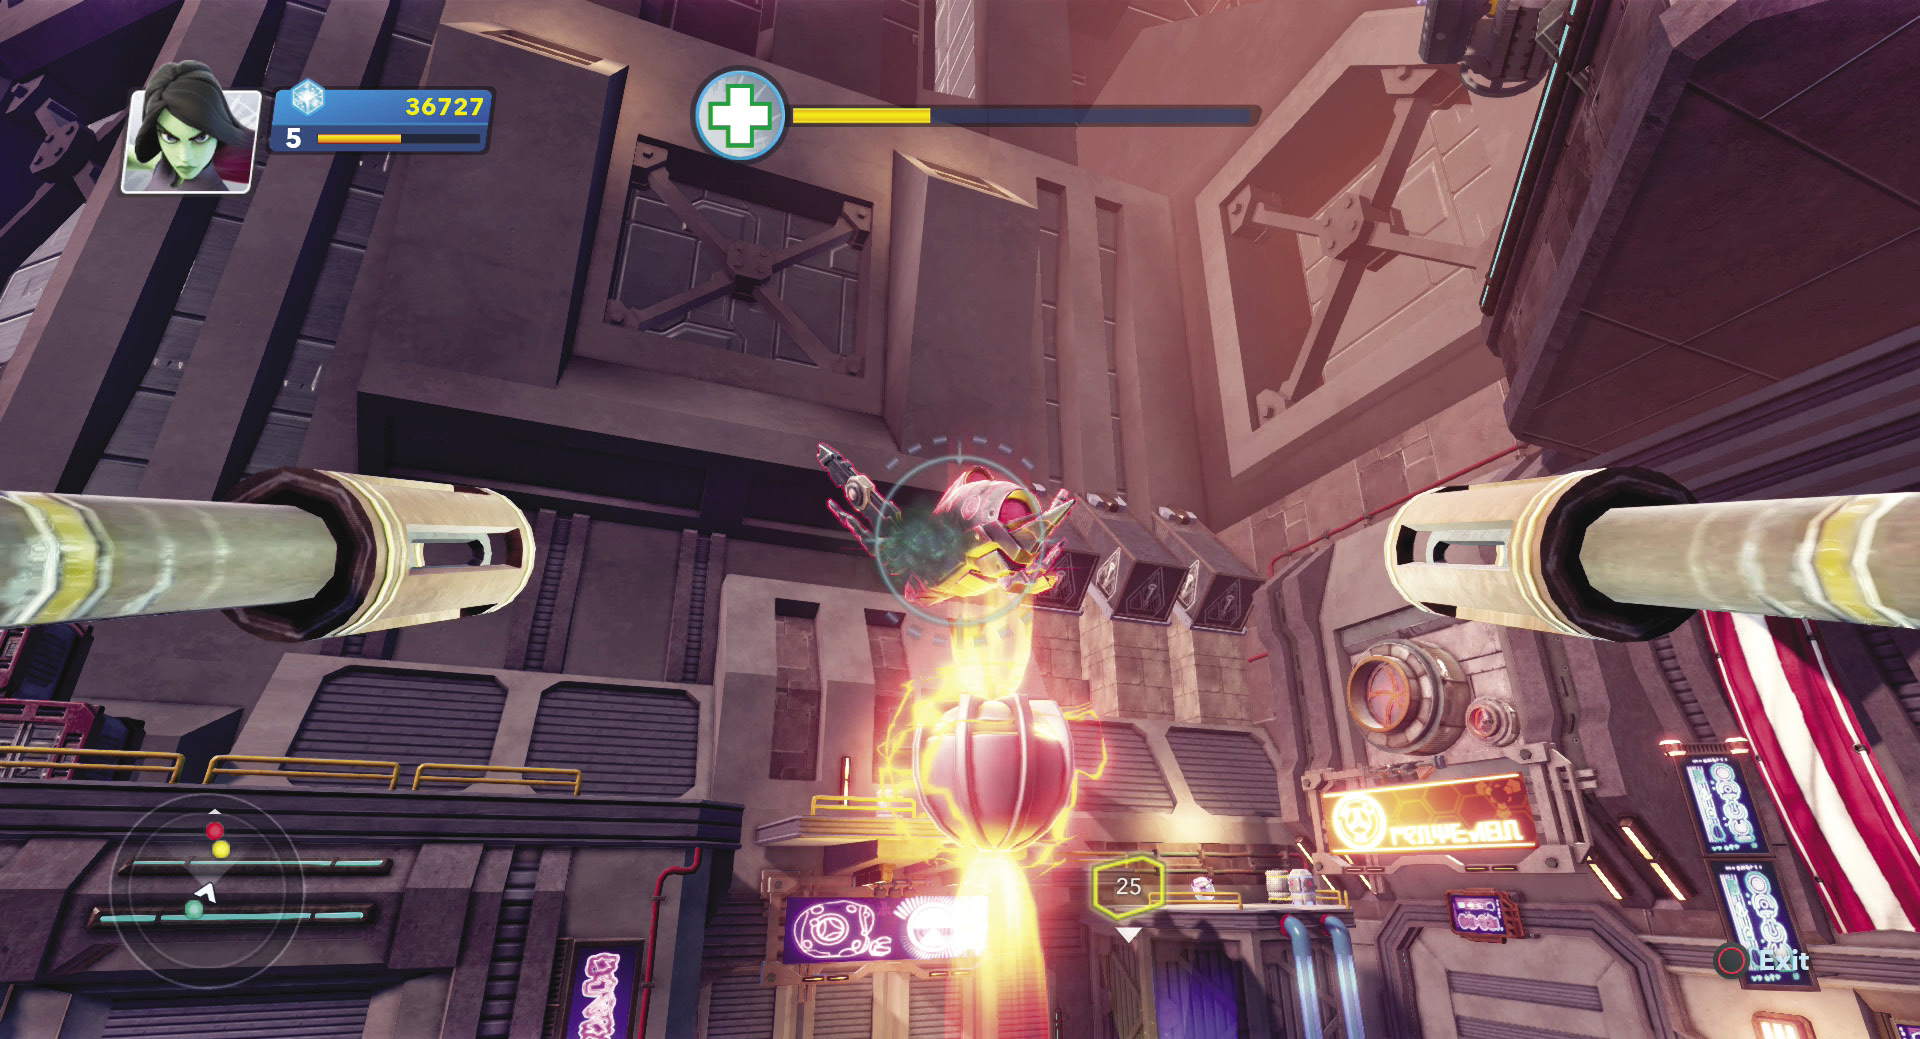
A Sakaaran ship shows up last. It will drop energy balls down on the mining pod to try and finish it off. Protect the mining pod by shooting the energy balls before they land. Once you’ve destroyed an energy ball, rotate up to the ship and get off some laser strikes on it. Continue repeating this process until the ship explodes and you complete the mission.
Up and Running

Recommended Hero: Drax
- Mission Giver: Yondu
- Type: Escort
- Rewards: 200 Blue Sparks, Short Ranged Drone
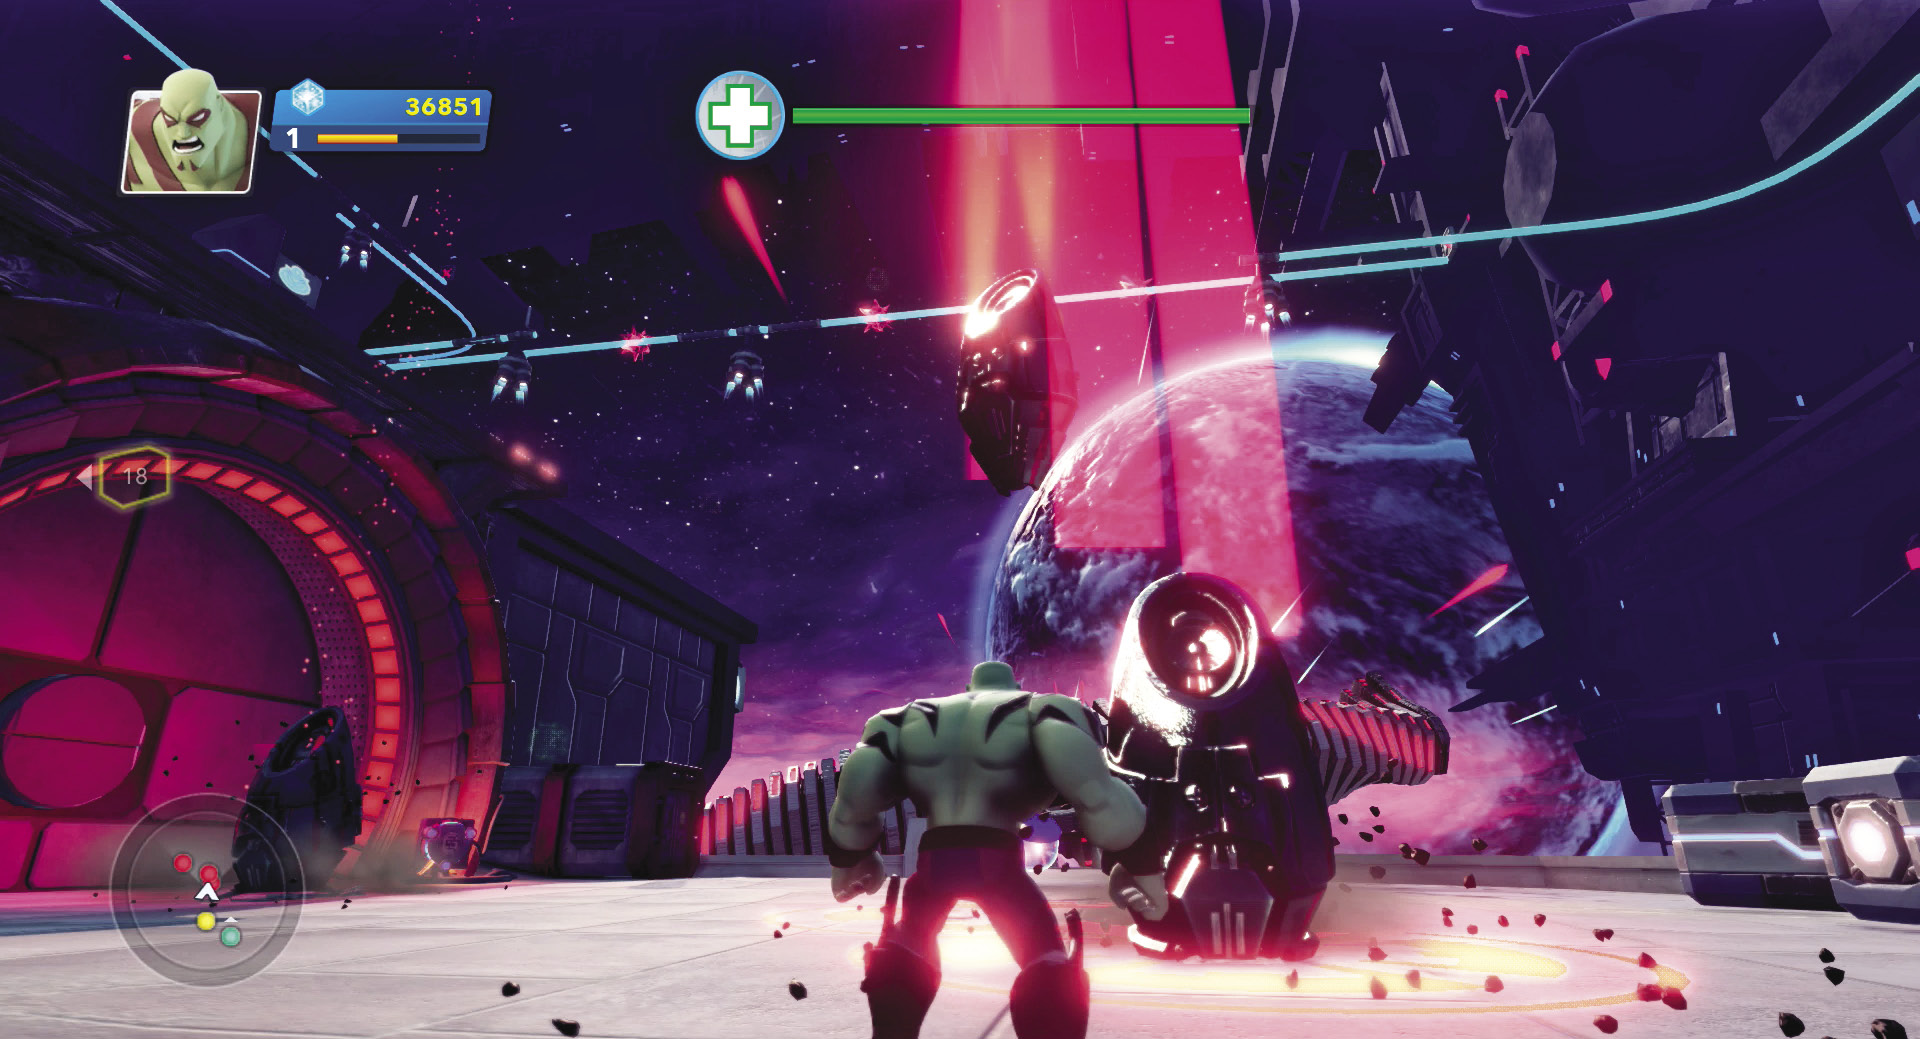
Yondu needs to drive the mining pods across the facility. The Sakaarans want to prevent that at all costs. Escort Yondu’s mining pod as it drives slowly through the various access gates. Open each gate and then defend the mining pod in the following area from Sakaaran troops arriving in drop pods.
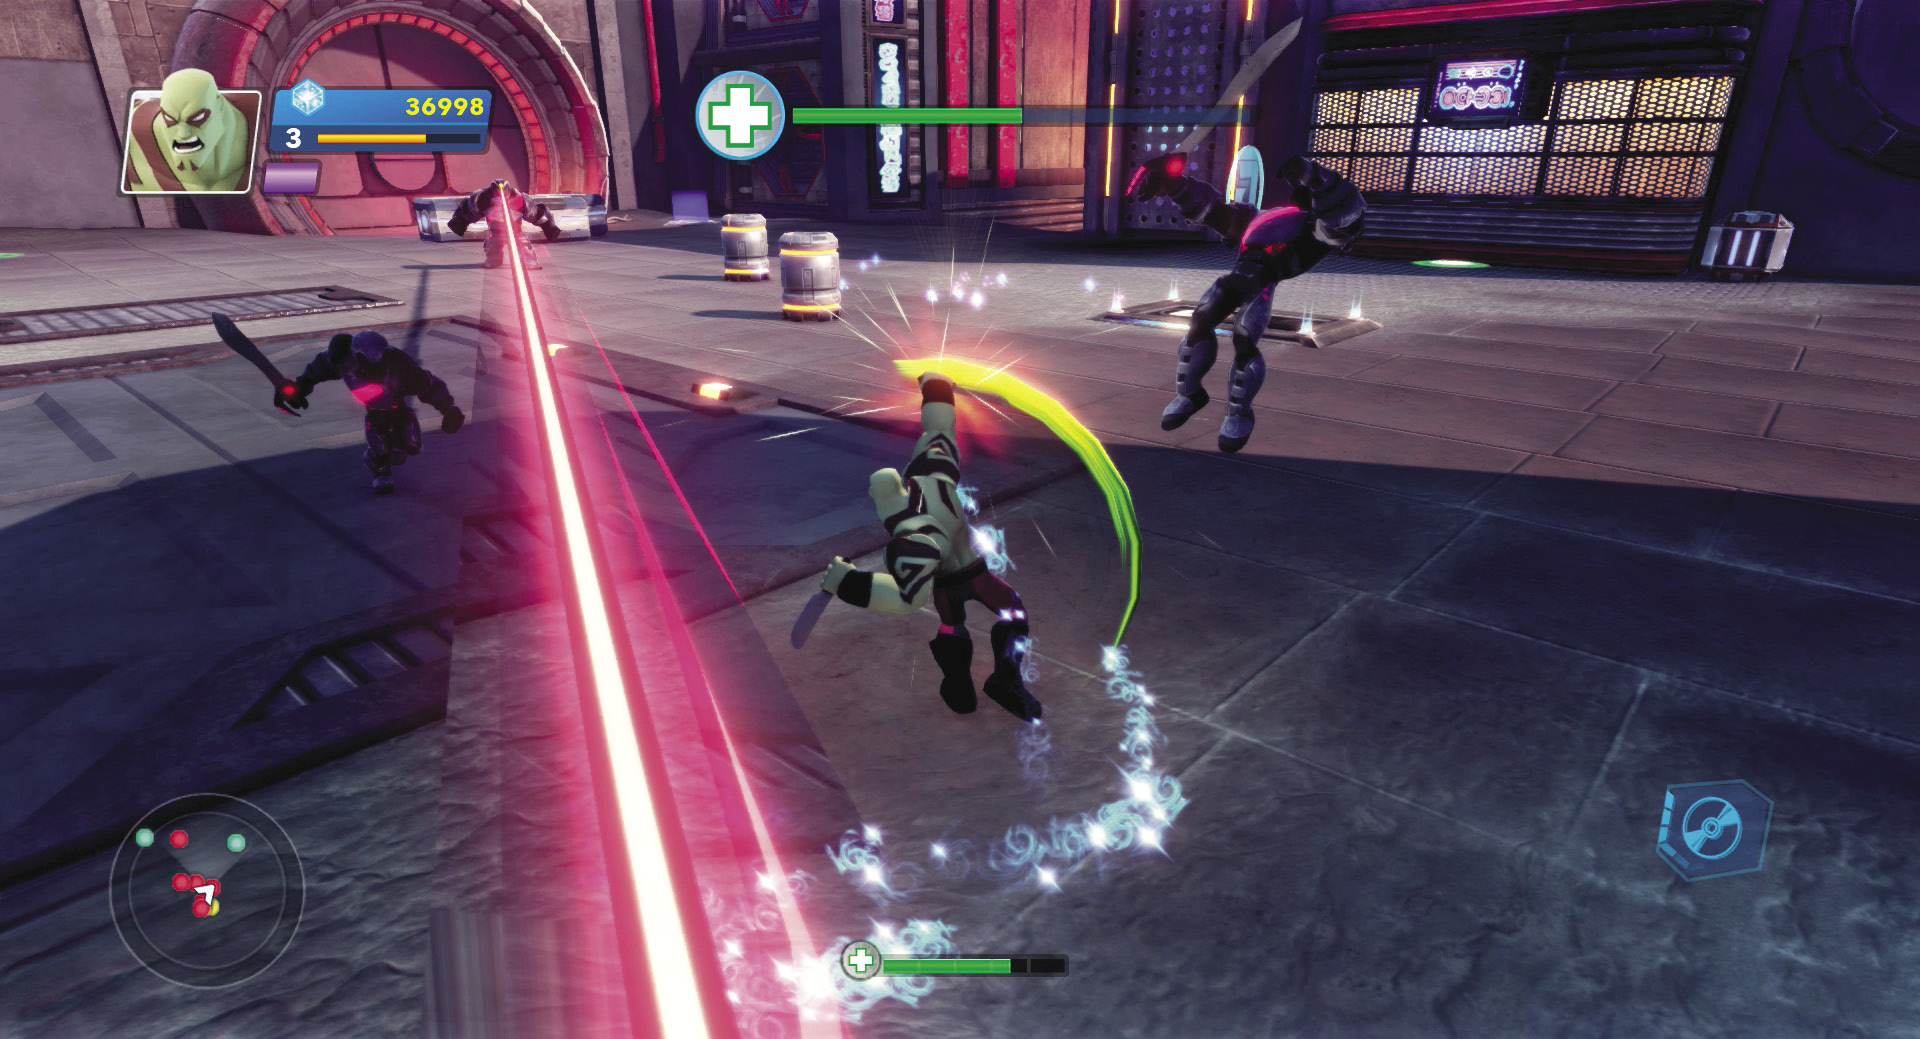
The fights will be intense. The Sakaaran groups will contain a mix of troops, from Foot Soldiers up to Large Sakaarans. Rely on Drax’s blades to rip apart most foes, and when you need a boost, tap into his Drax the Destroyer special ability to soup up his strength and attack speed.


Co-op Combo: Drax and Gamora
Defending the mining pod is hard work, and it’s much easier with two. Drax stays close to the pod, while Gamora can stray and strafe any ranged foes with her pistol shots.
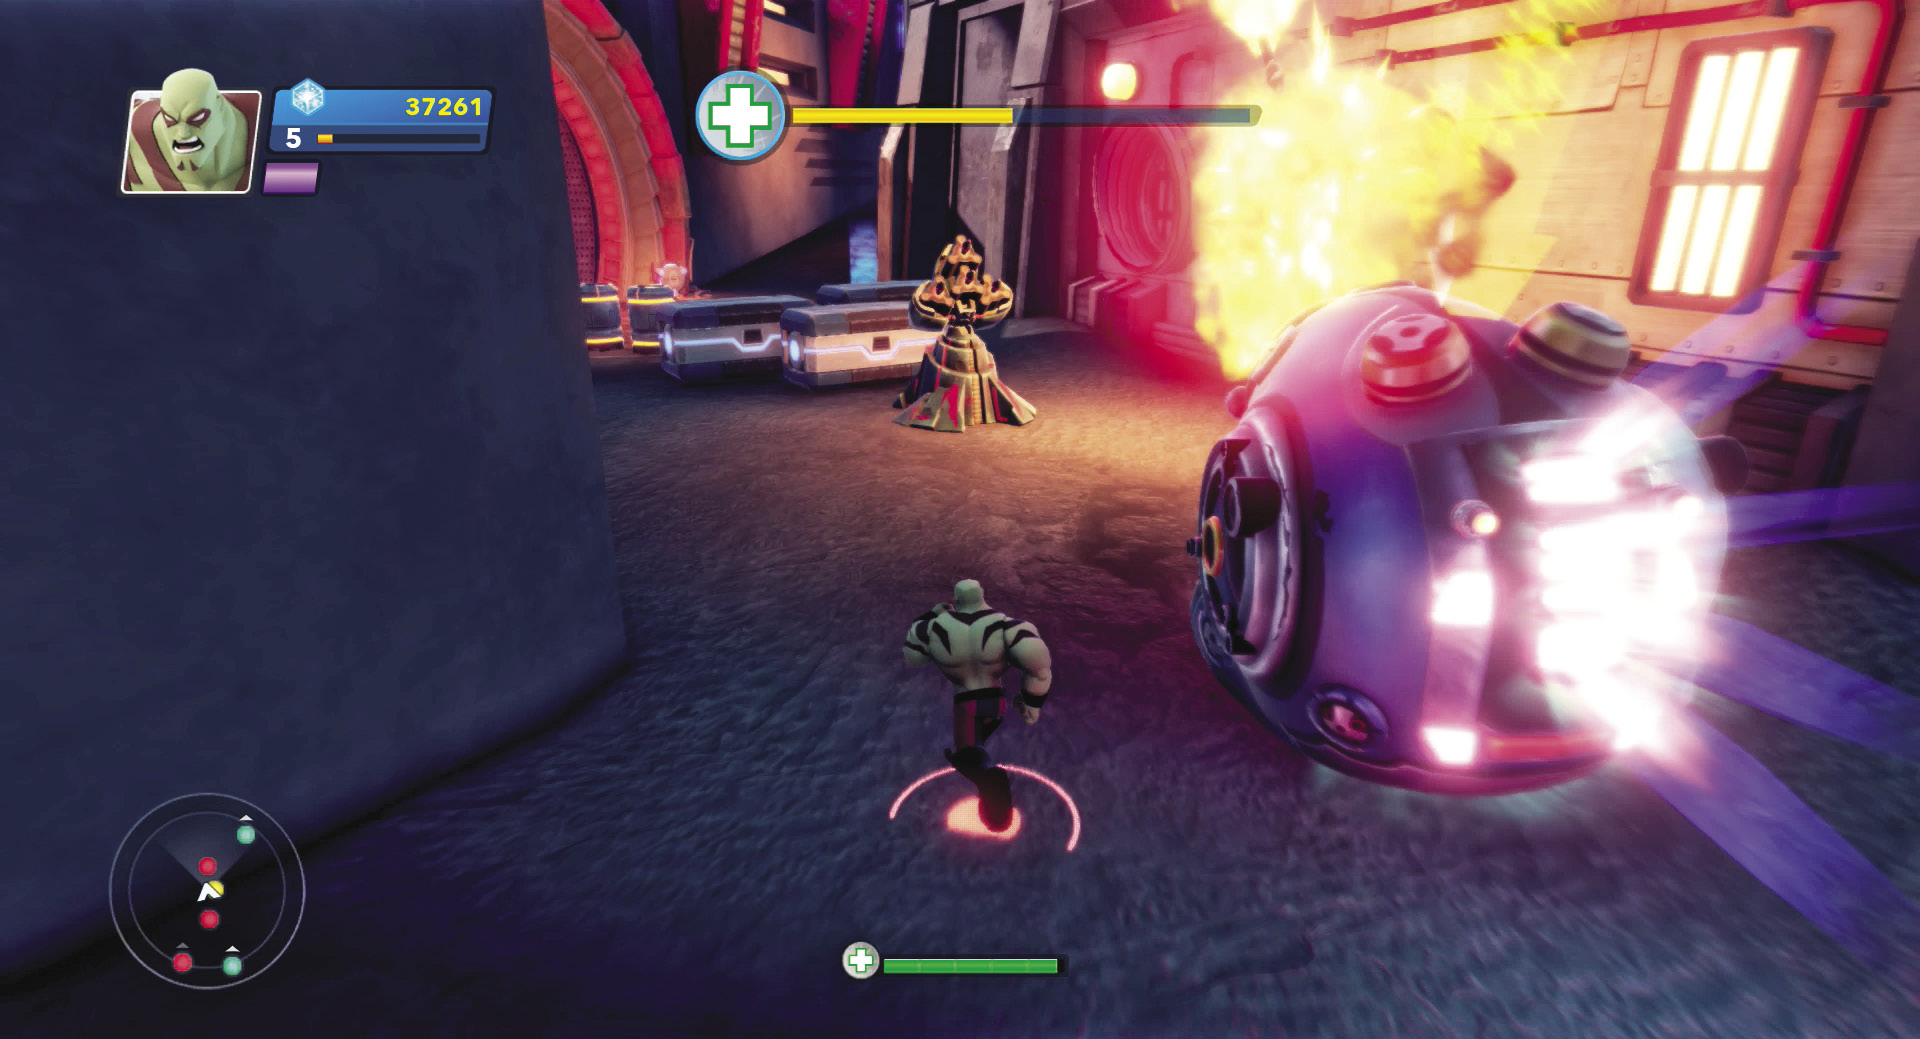
Obstructions will stop the mining pod. Clear them, but only after you’ve defeated the enemies in the area first. It matters little if Yondu gets ahead of you if the Sakaarans continue to assault him.
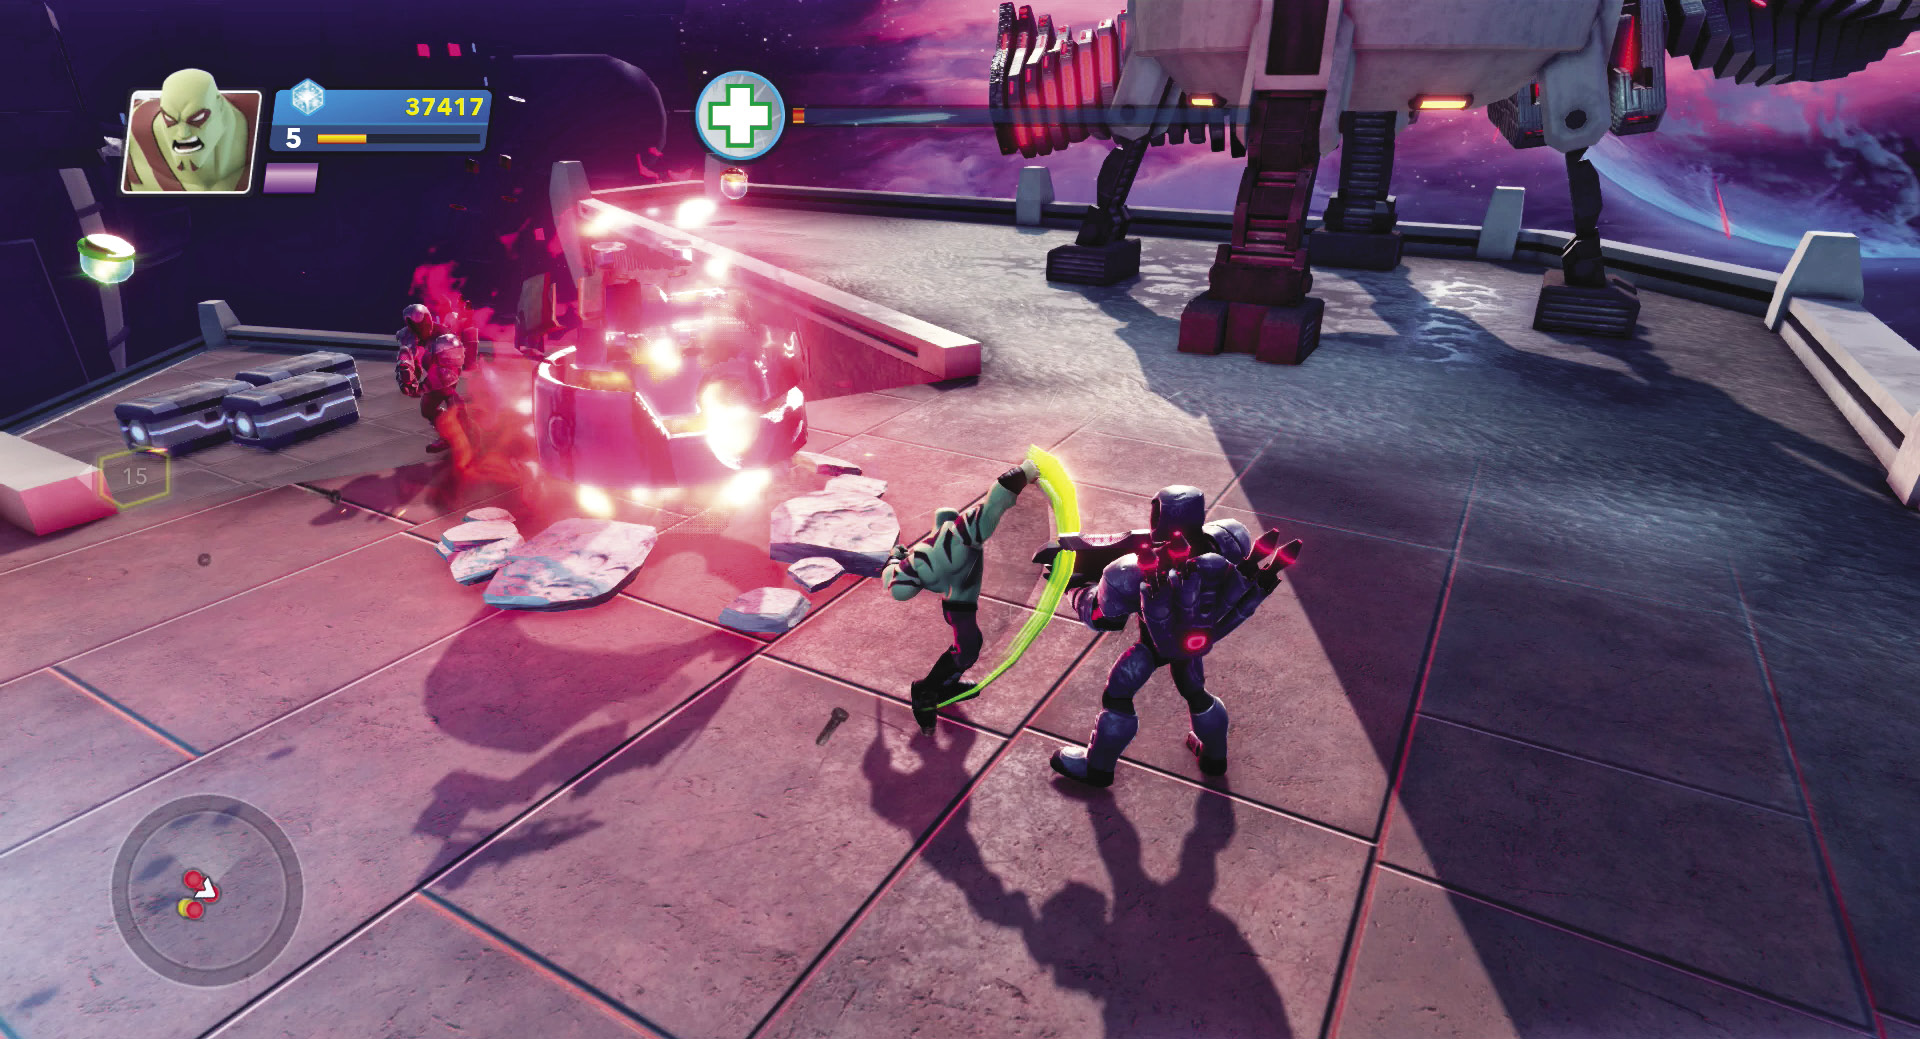
Continue defending the mining pod as you near the Central Observation Tower. When you finally beat the final group and the last Large Sakaaran explodes in a burst of Sparks, guide the mining pod through the blue gate and into safety.
Launch Time

Recommended Hero: Groot
- Mission Giver: Yondu
- Type: Escort
- Rewards: 250 Blue Sparks, Sakaaran Omni-Missile Turret
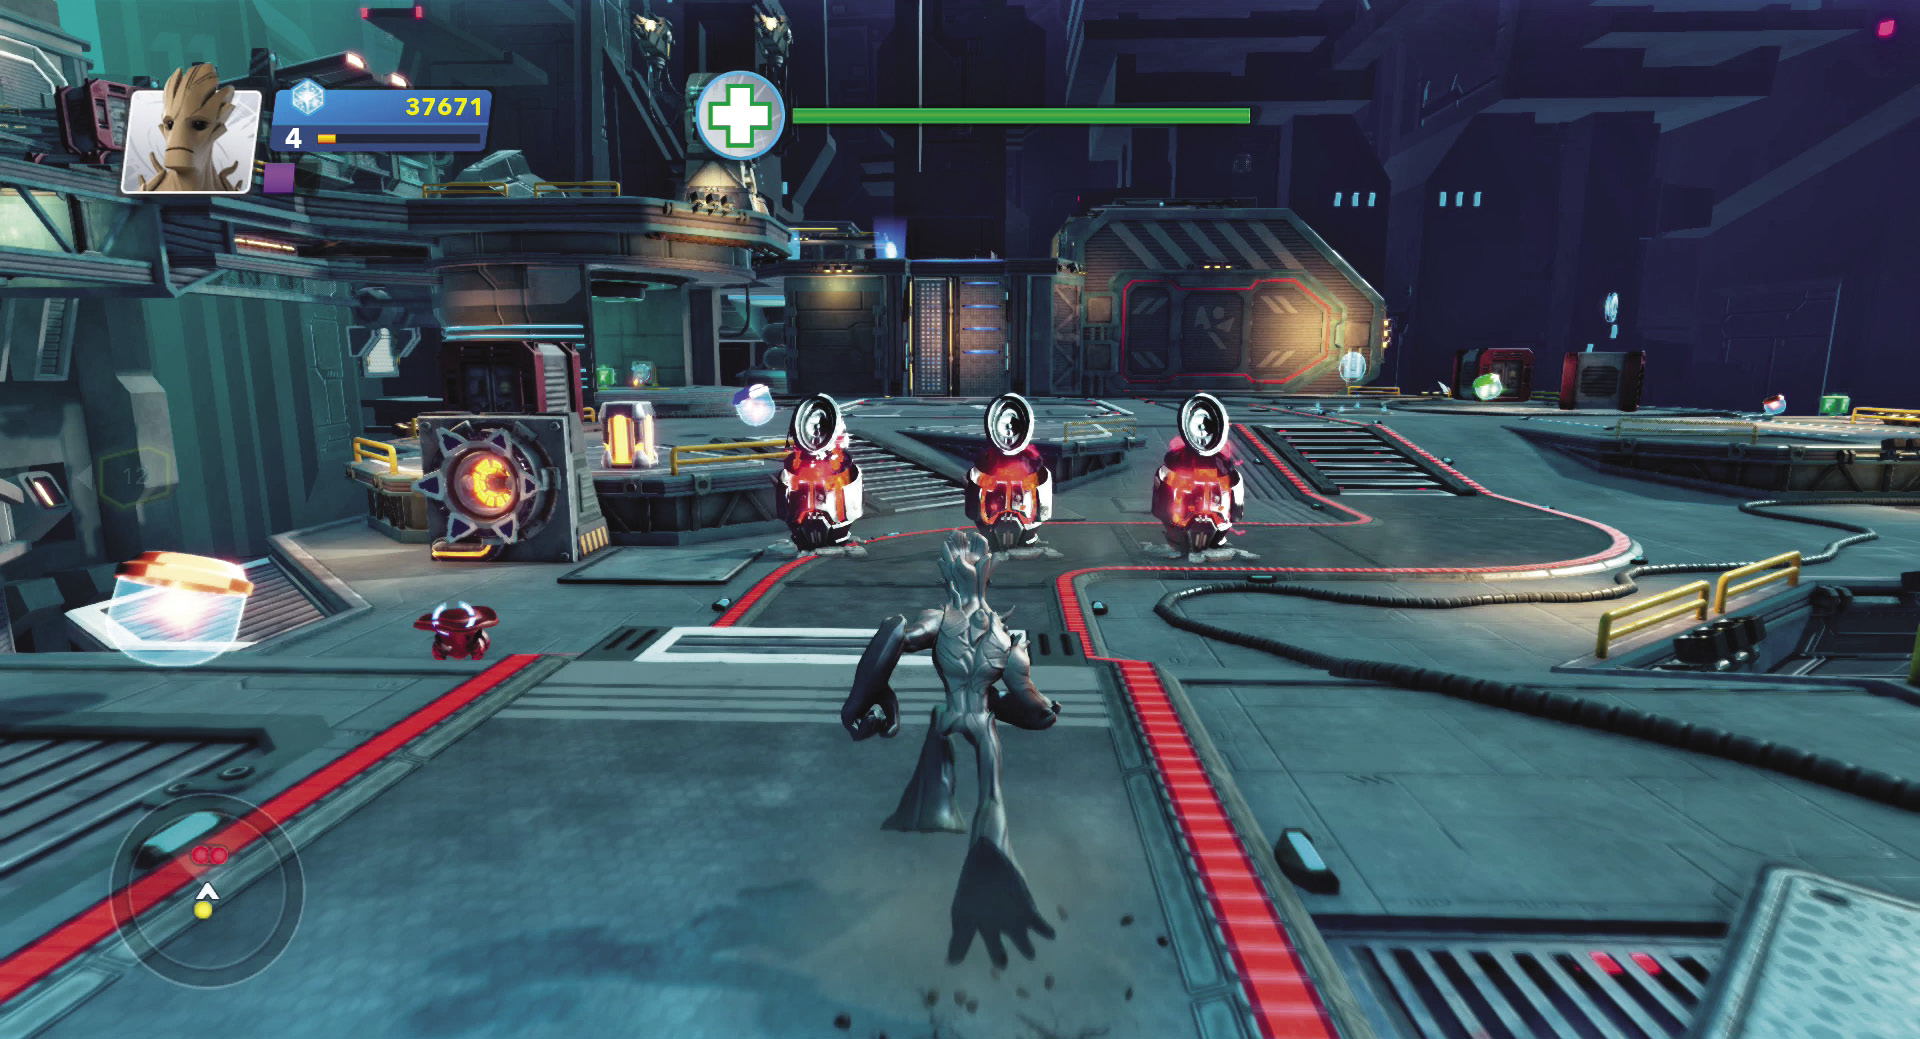
Much like the last mission you must escort Yondu, but this time it’s through the Docking Bay toward the launch pad. Groot’s long reach will be a big plus as you sweep aside any foes that try to storm the mining pod. Race ahead of the mining pod and engage the first set of Sakaarans outside the access gate.
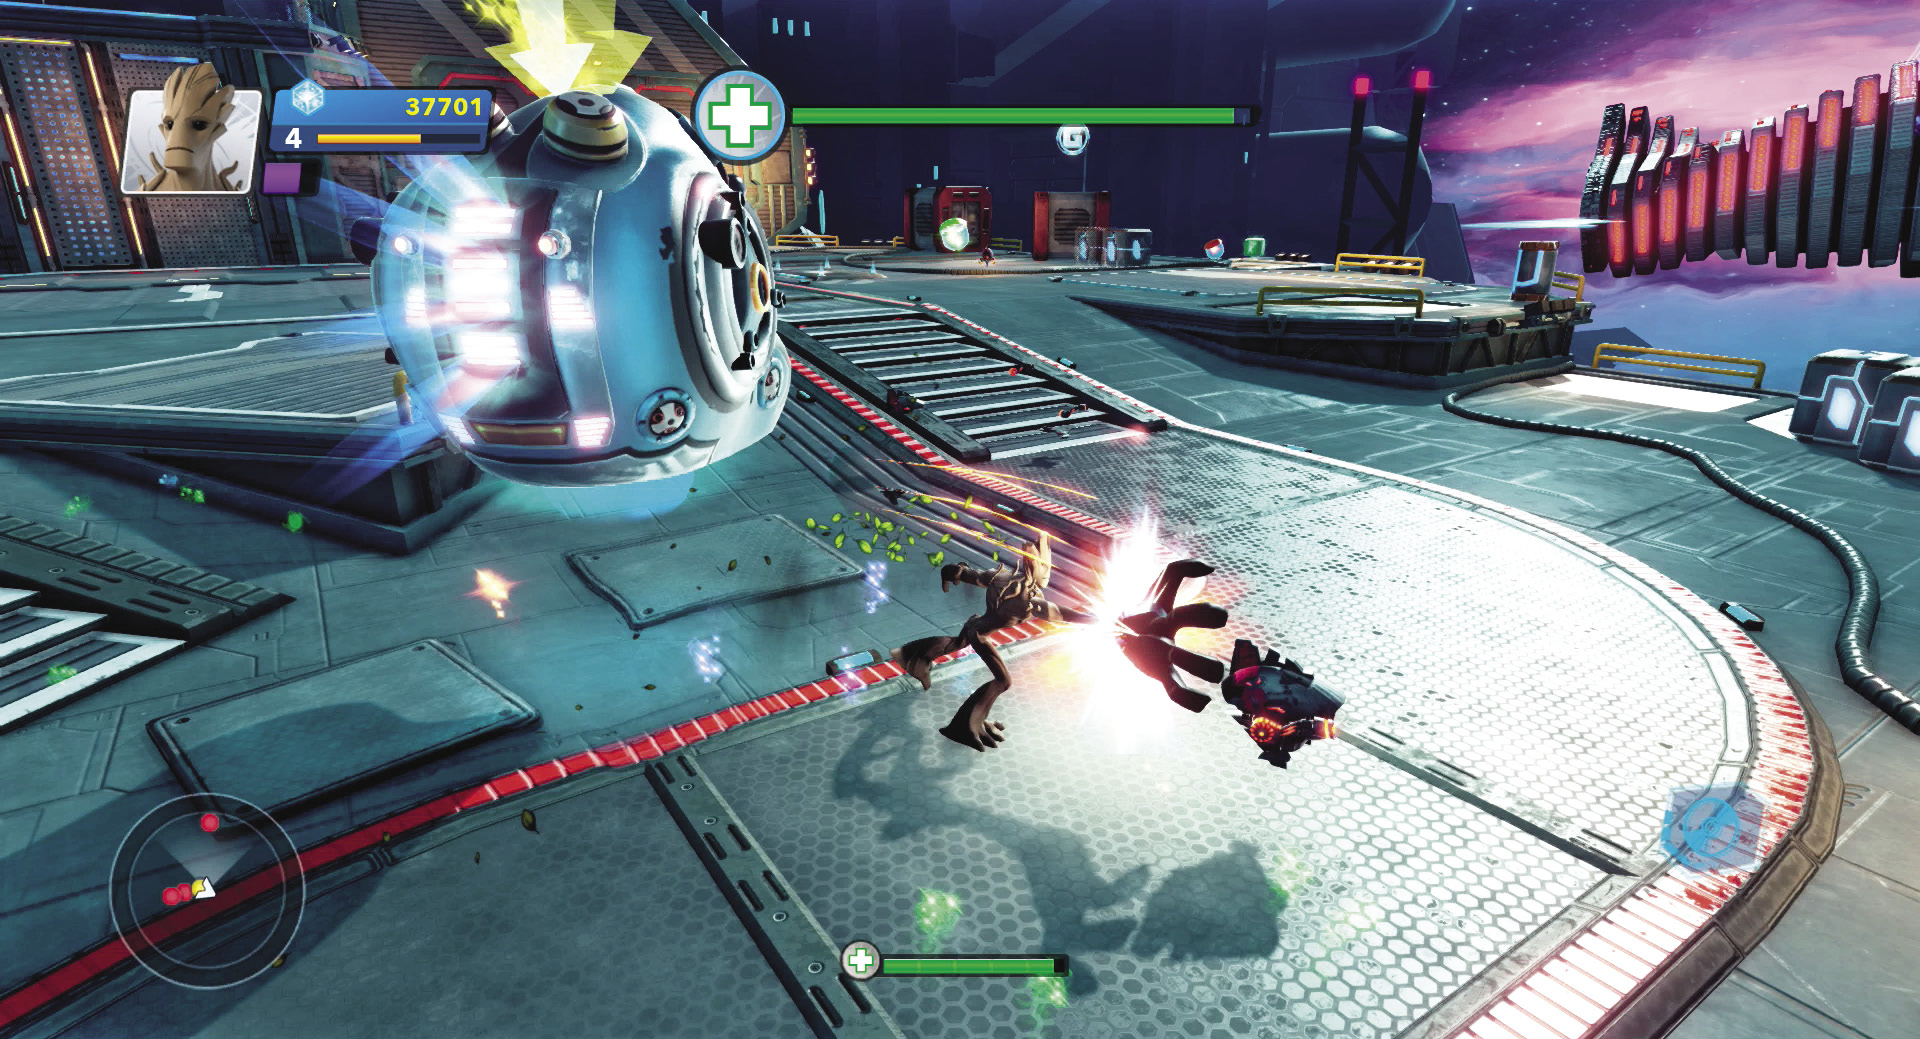
Follow the mining pod as it hovers along the path toward the far end of the Docking Bay. Use Groot’s melee attacks to guard against the near foes, and send out his Burrowing Arm to strike targets at range.
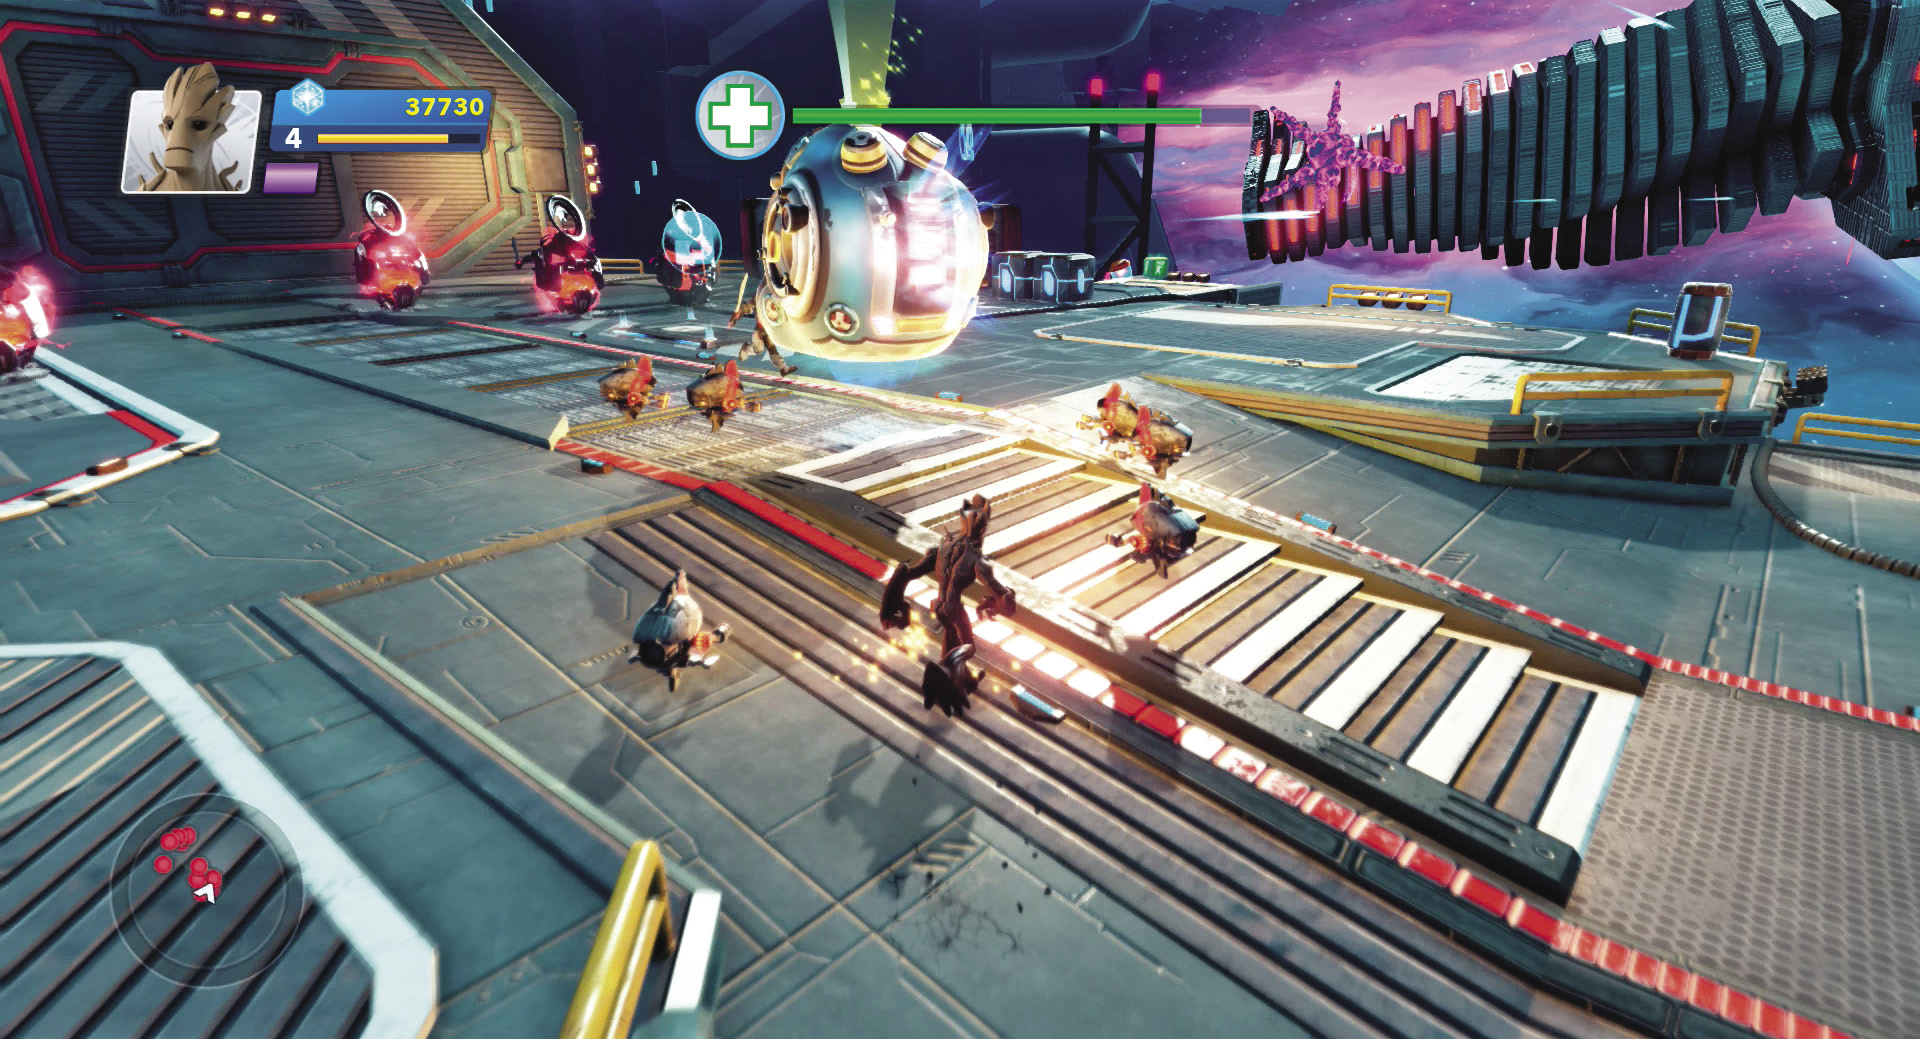
When enemies surround the pod, use Groot’s I Am Groot! special ability to grow and let loose a series of close-range attacks that will destroy all weaker foes and severely damage tougher foes. Wade into the remaining foes with your melee combo attacks to finish enemies still standing.
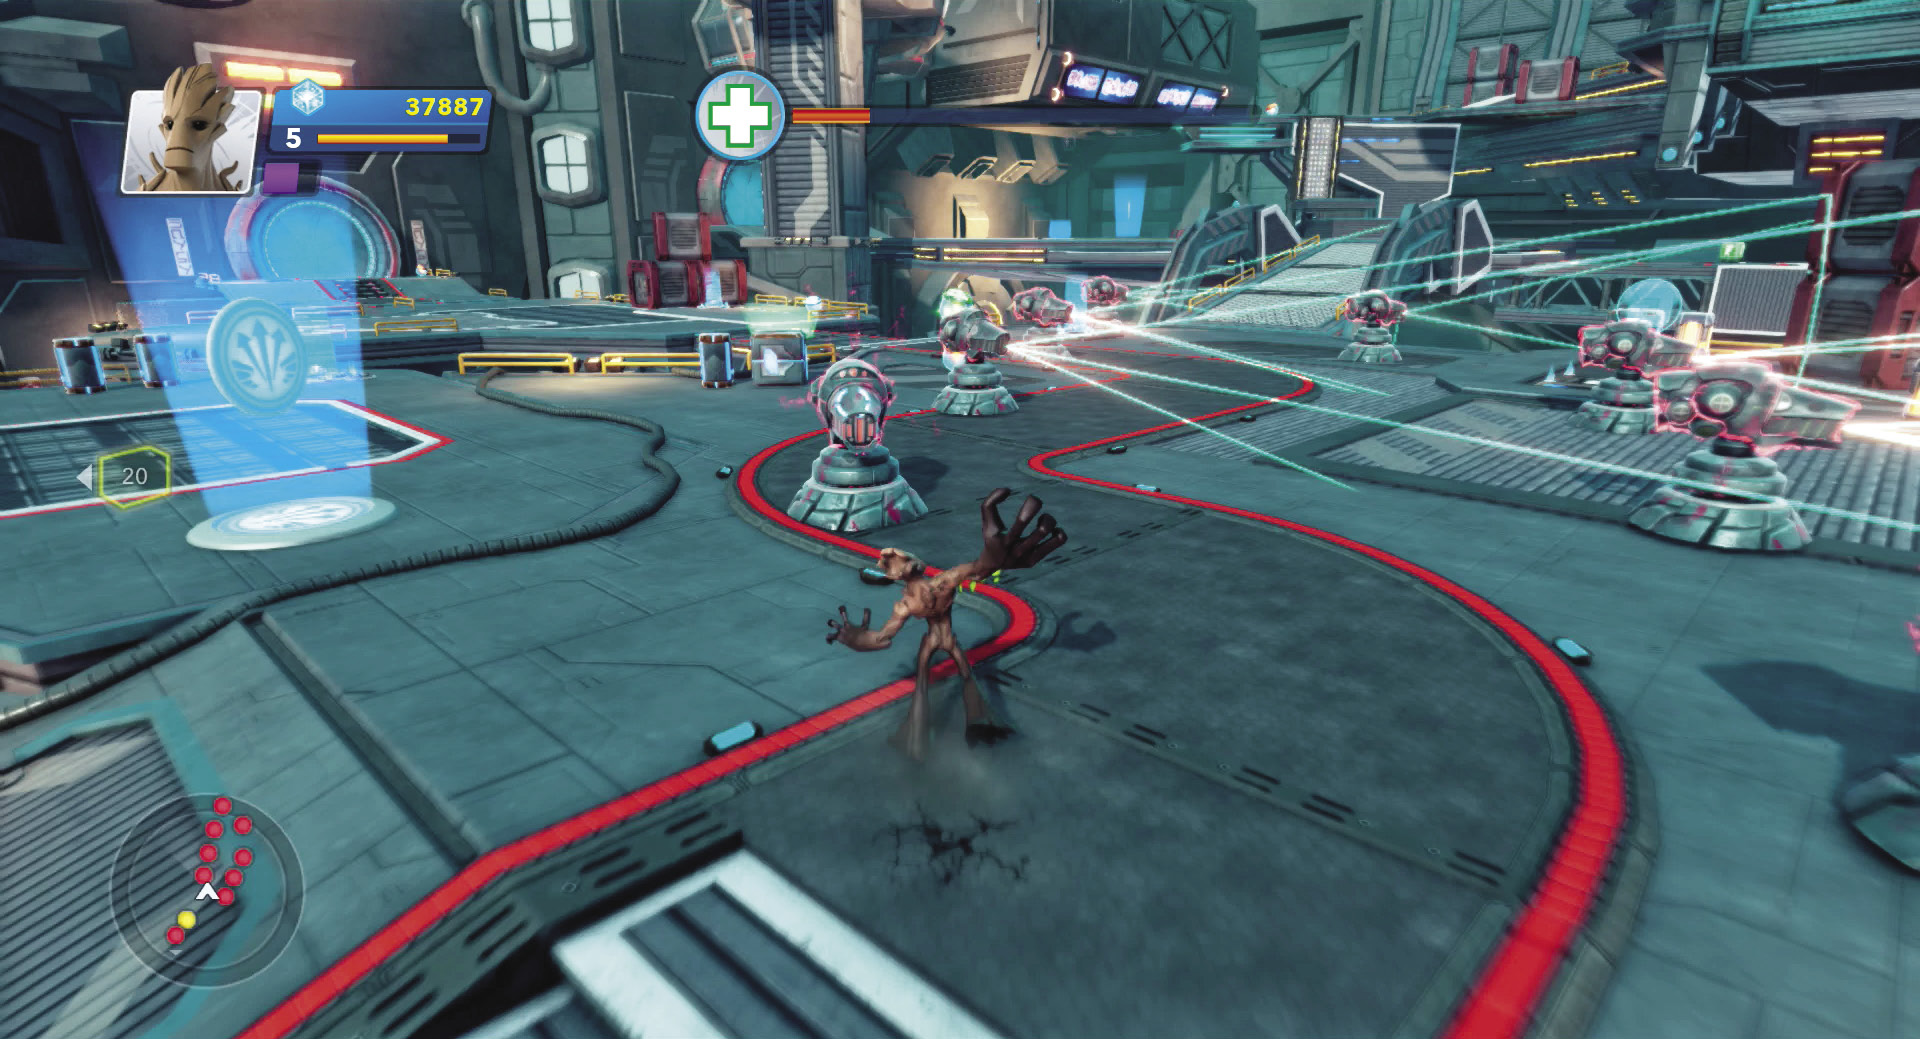
Once the gate opens, follow the mining pod up the ramp to the upper level. Scatter the Scarabs on the ramp, then stomp up to the top and crush the laser turrets one by one. Groot will take some hits here, but it’s best to let the turrets focus on him rather than the mining pod. Clear the laser turrets quickly before turning your attention to the last group of Sakaarans.
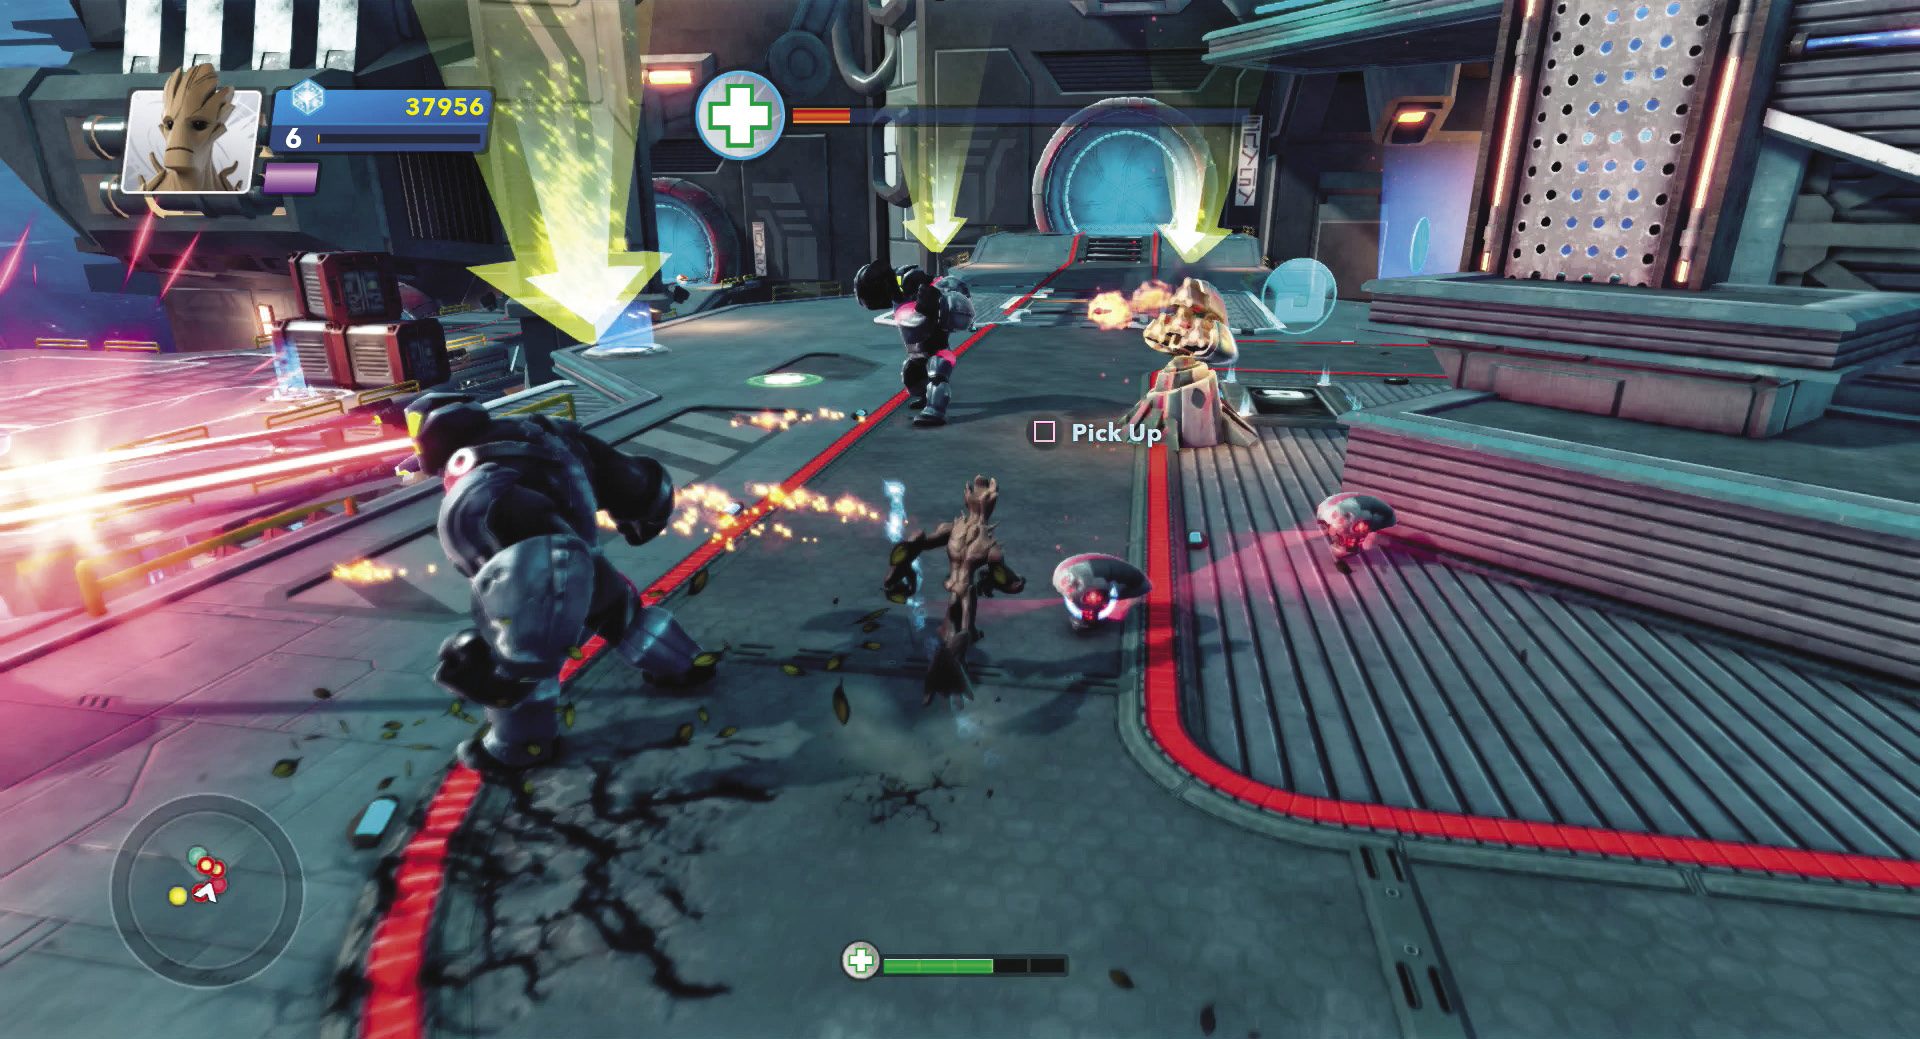
Keep the Large Sakaarans off the mining pods. If you strike a Large Sakaaran enough, it will concentrate on you. Dodge often and use your I Am Groot! ability if you have enough purple Sparks to trigger it. You don’t have to beat all the Sakaarans to complete the mission; as soon as Yondu pilots the mining pod to the launch pad area, the mission ends and all remaining enemies are destroyed.
Out of the Frying Pan...

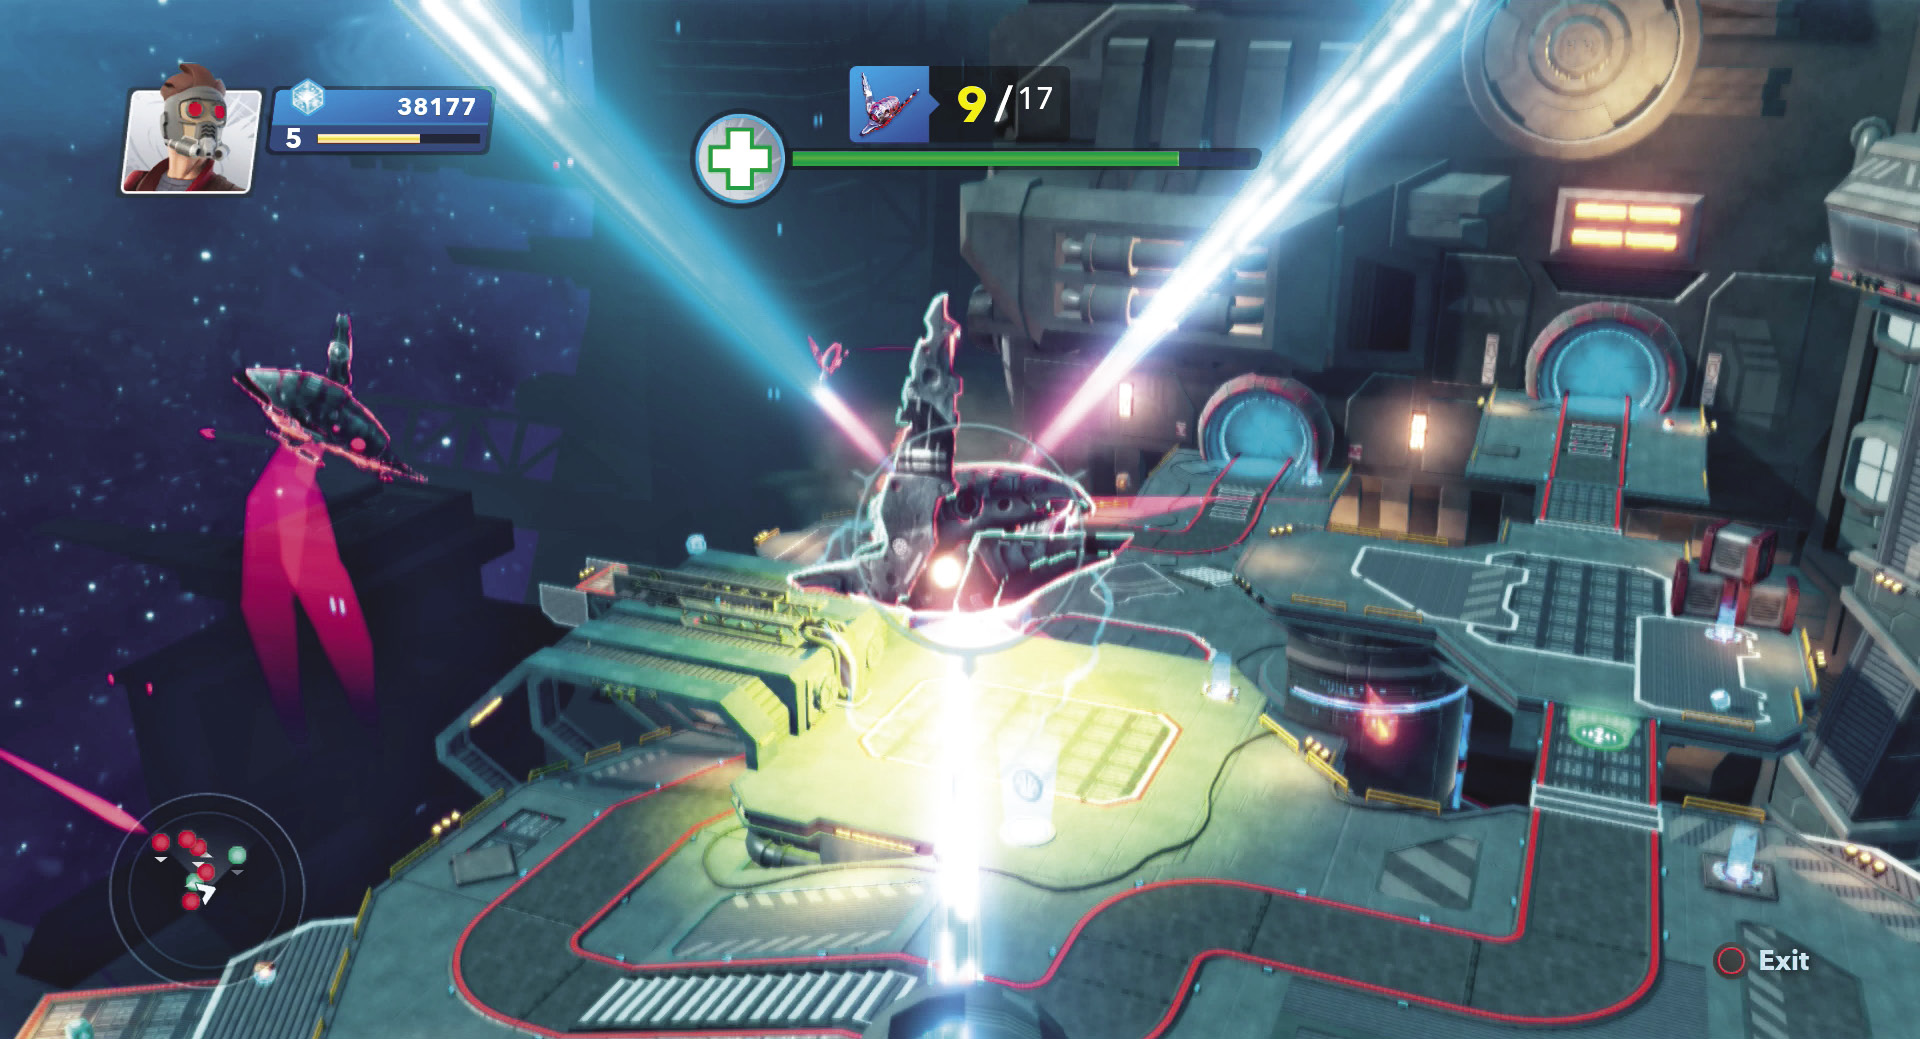
You get to play with the biggest gun on Knowhere in this mission to defend Yondu’s mining pod. Like the previous Anti-Air Gun missions, you must shoot down waves of Sakaaran ships as they drop bombs and drain energy from the mining pod. However, your gun this time causes larger explosions and you can catch multiple enemy ships in the blasts much easier. Hit one enemy ship in a group and they all go up in flames!
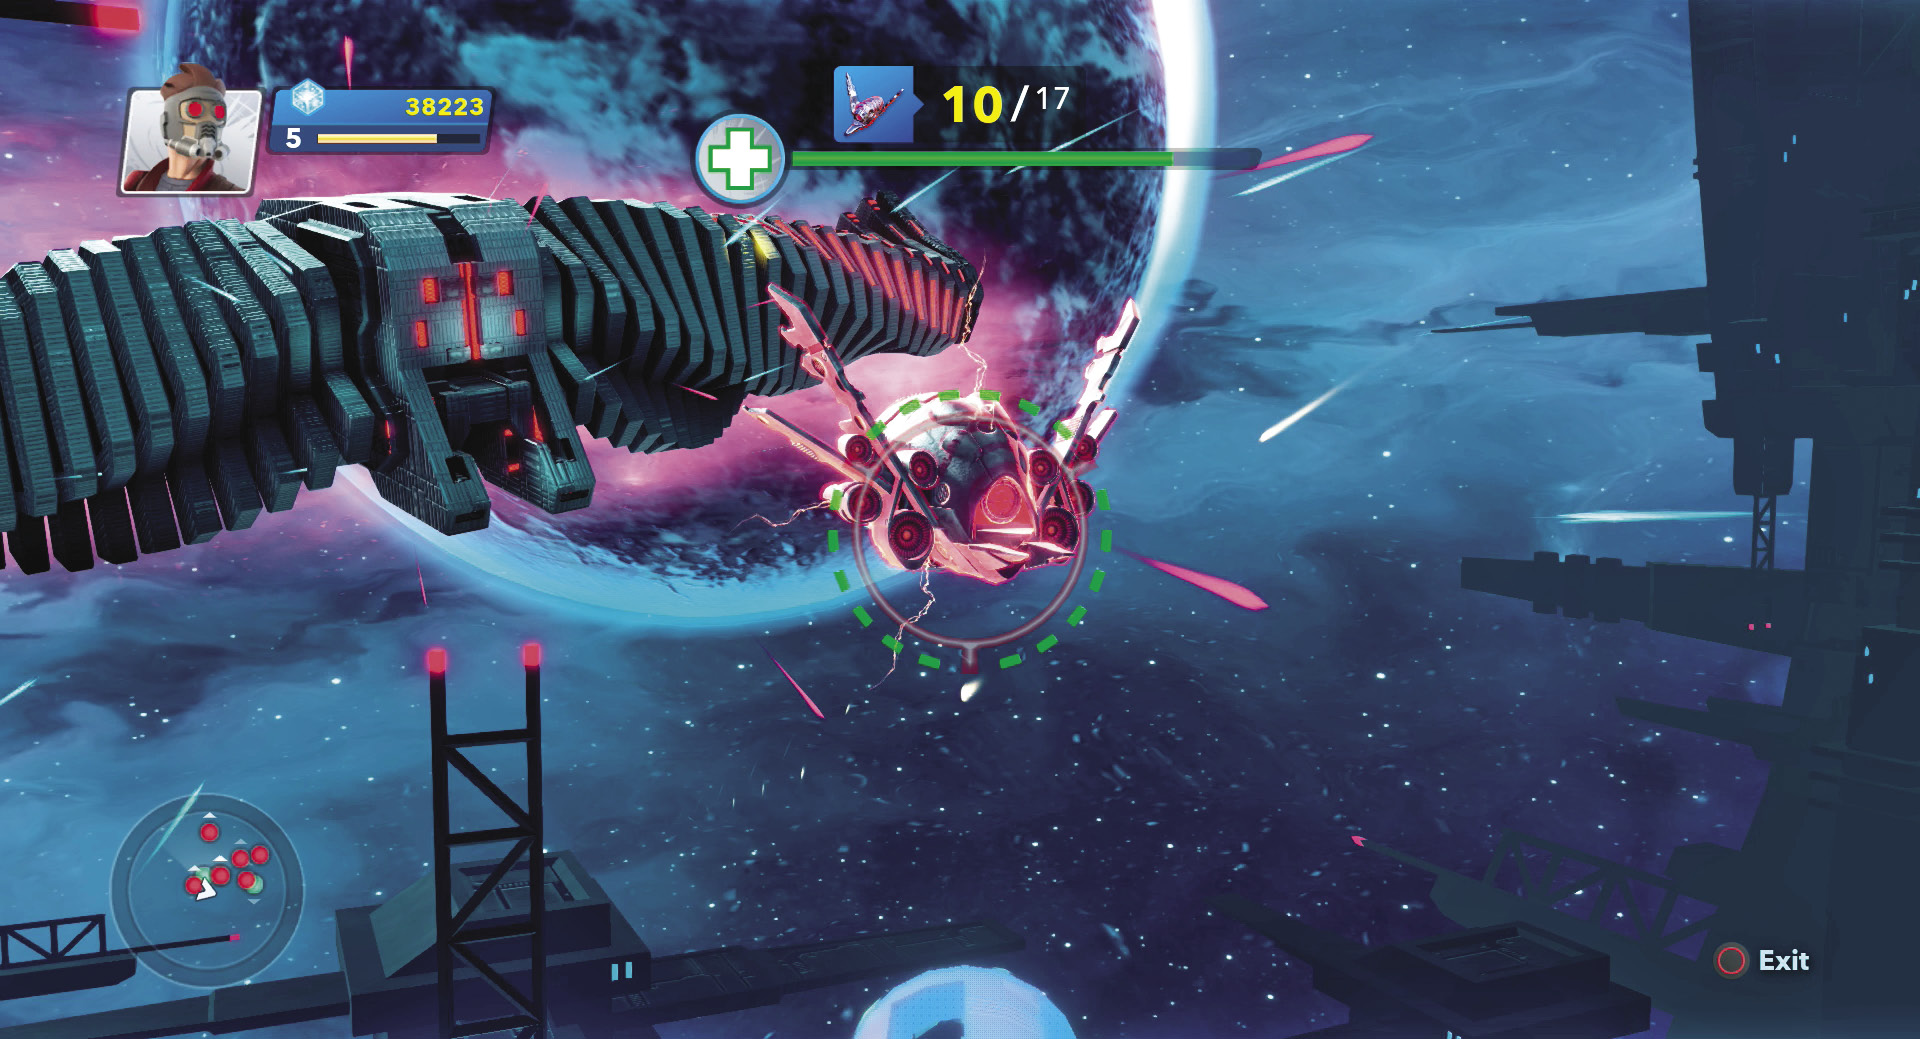
As the first wave appears, watch the flight patterns and hold the trigger of your gun to warm it up. When the entire targeting circle is green, it’s ready to fire a charged blast that destroys most ships in a single hit and causes big explosions. Track an enemy ship and zap it when you’re at full energy.
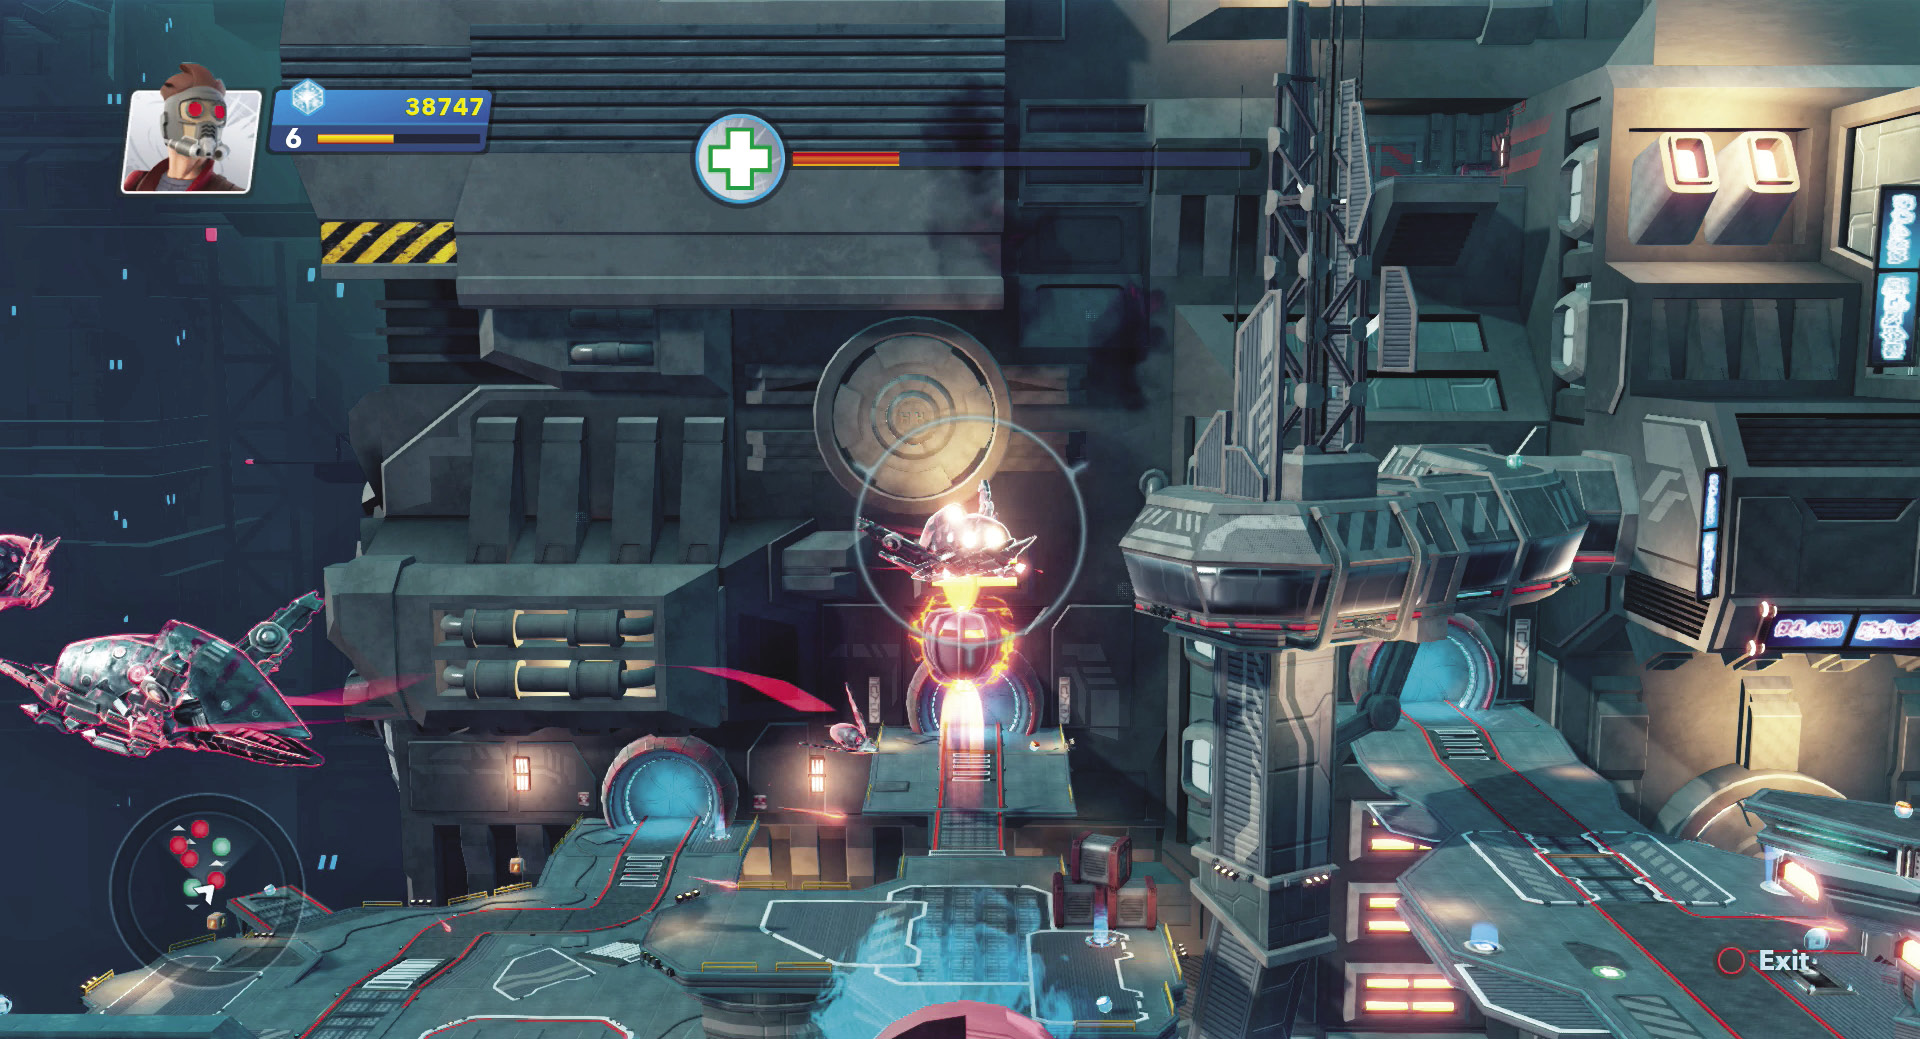
A second wave appears after you defeat the first wave. Be careful not to let any ships drop energy bombs on the deck. The bombs explode and deplete the mining pod’s shields. Continue blasting away at the circling Sakaaran ships until the second wave ends.
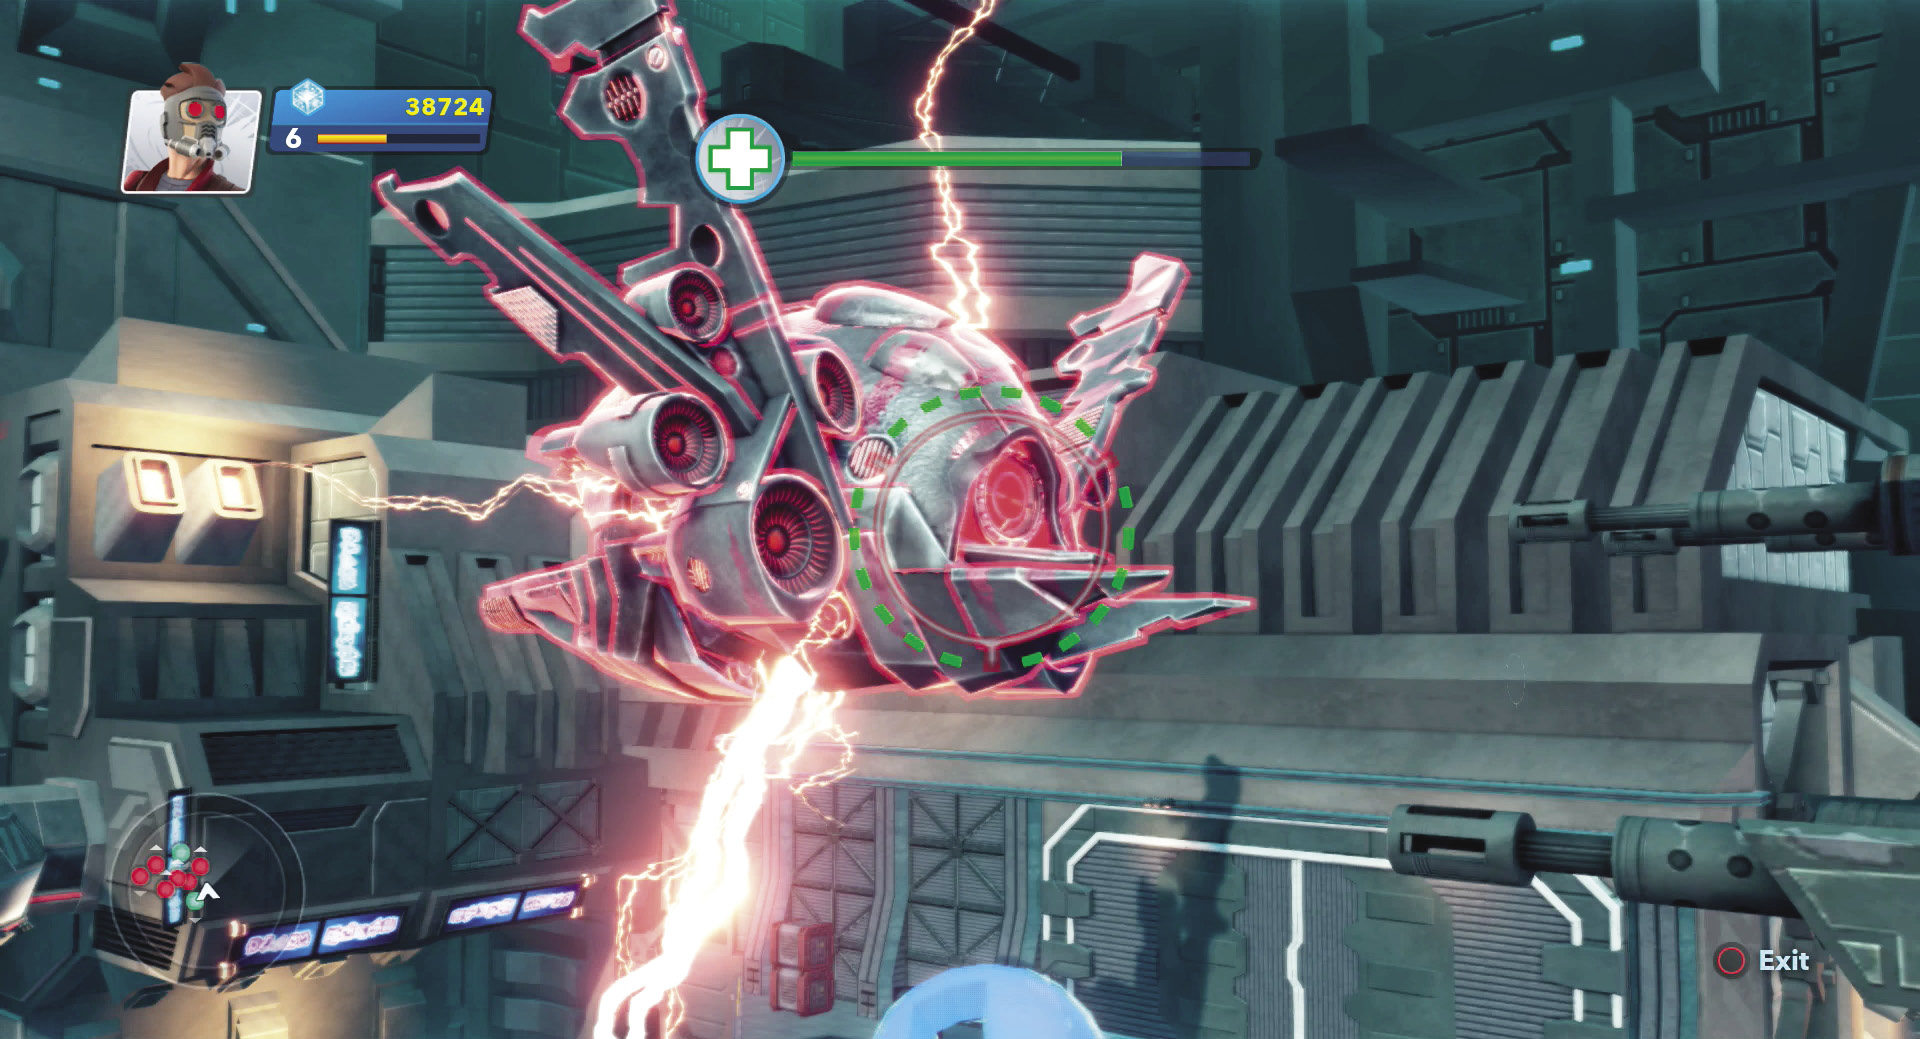
The final wave begins much like the first two. Track ships and destroy them, hopefully chaining multiple explosions and eliminating multiple ships at once. The final enemy ship will be a large Sakaaran vessel, and it drains energy from the mining pod’s shields very quickly. Charge up your weapon, aim at the ship, and when the targeting circle is green, let loose. Two hits will down the enemy ship and keep Yondu alive to finally take off for the Dark Aster.
Feat Complete: Man the Guns!

New Challenge Available:Knowhere Fast
...Into the Fire

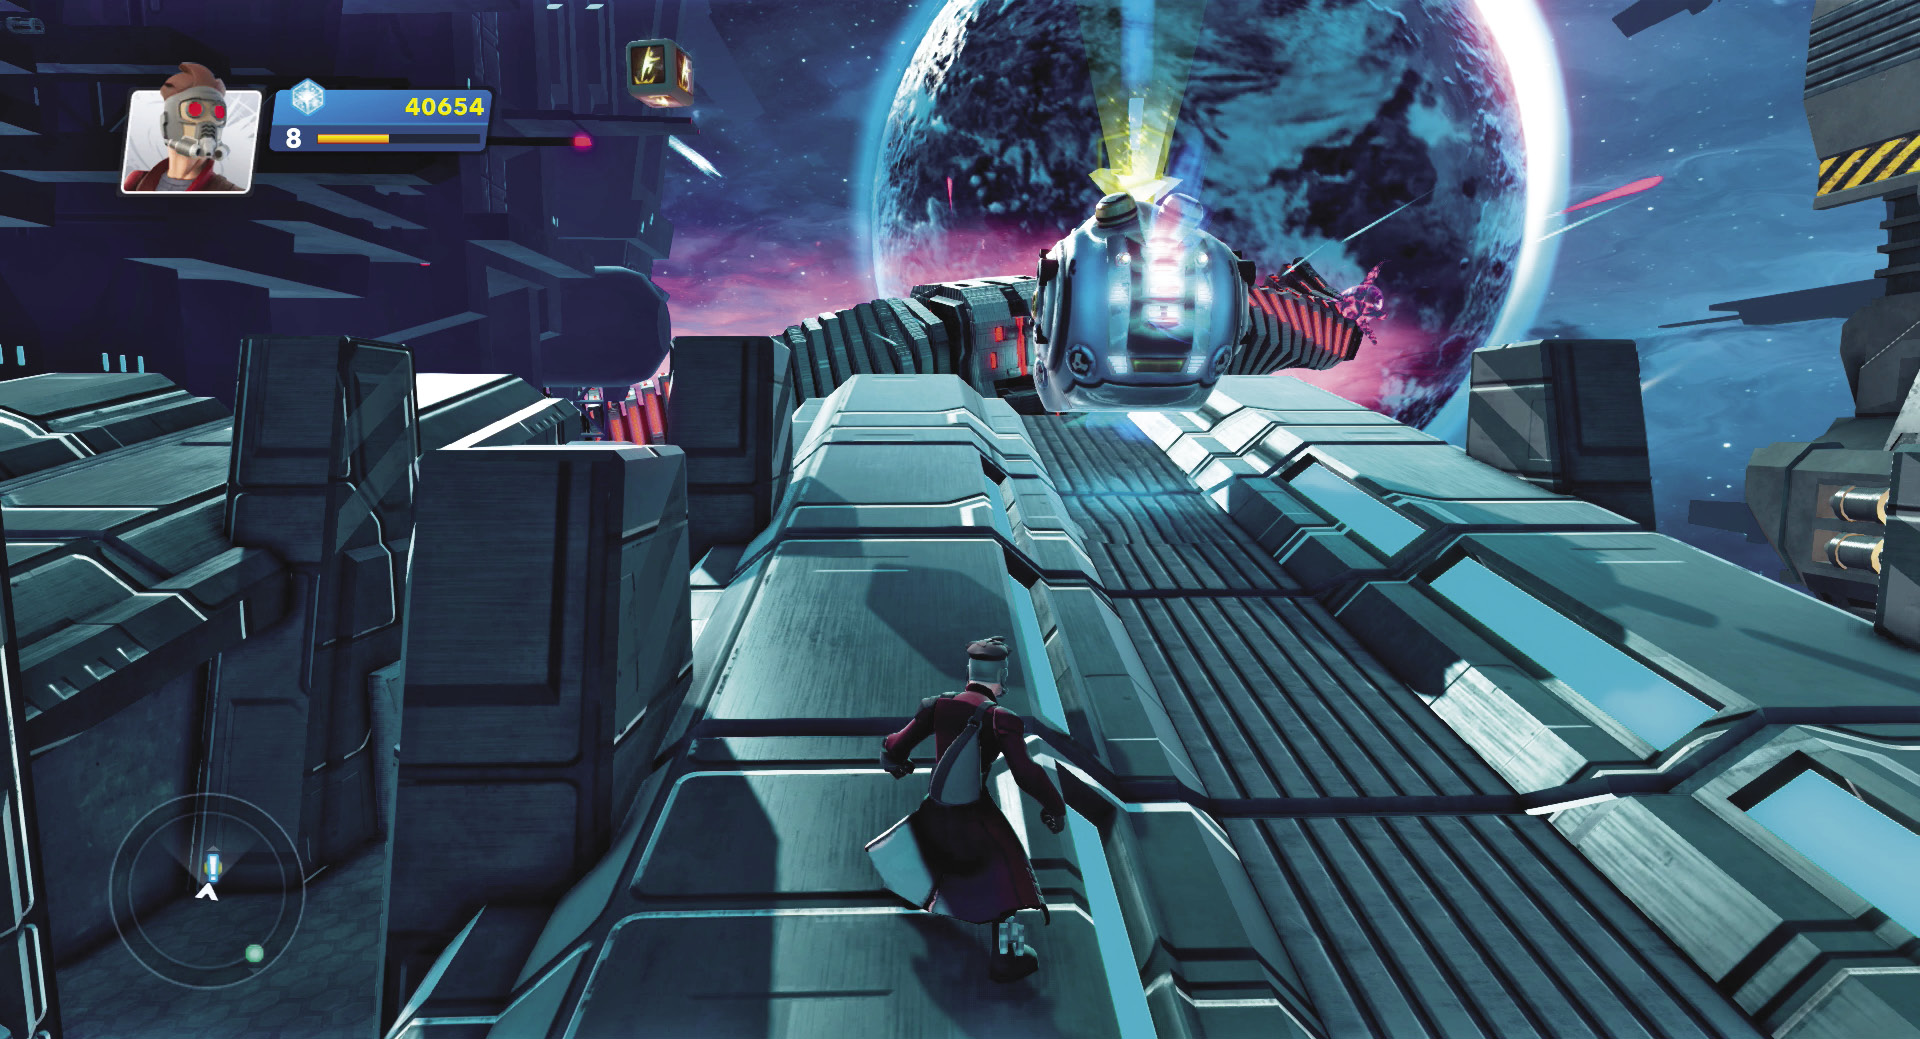
Yondu and the mining pod are a short trip up on the top of the launch pad. Climb the stairs and walk up the long launch pad to speak with Yondu. He asks you if you’re ready to take the fight to Ronan and head off to the Dark Aster.
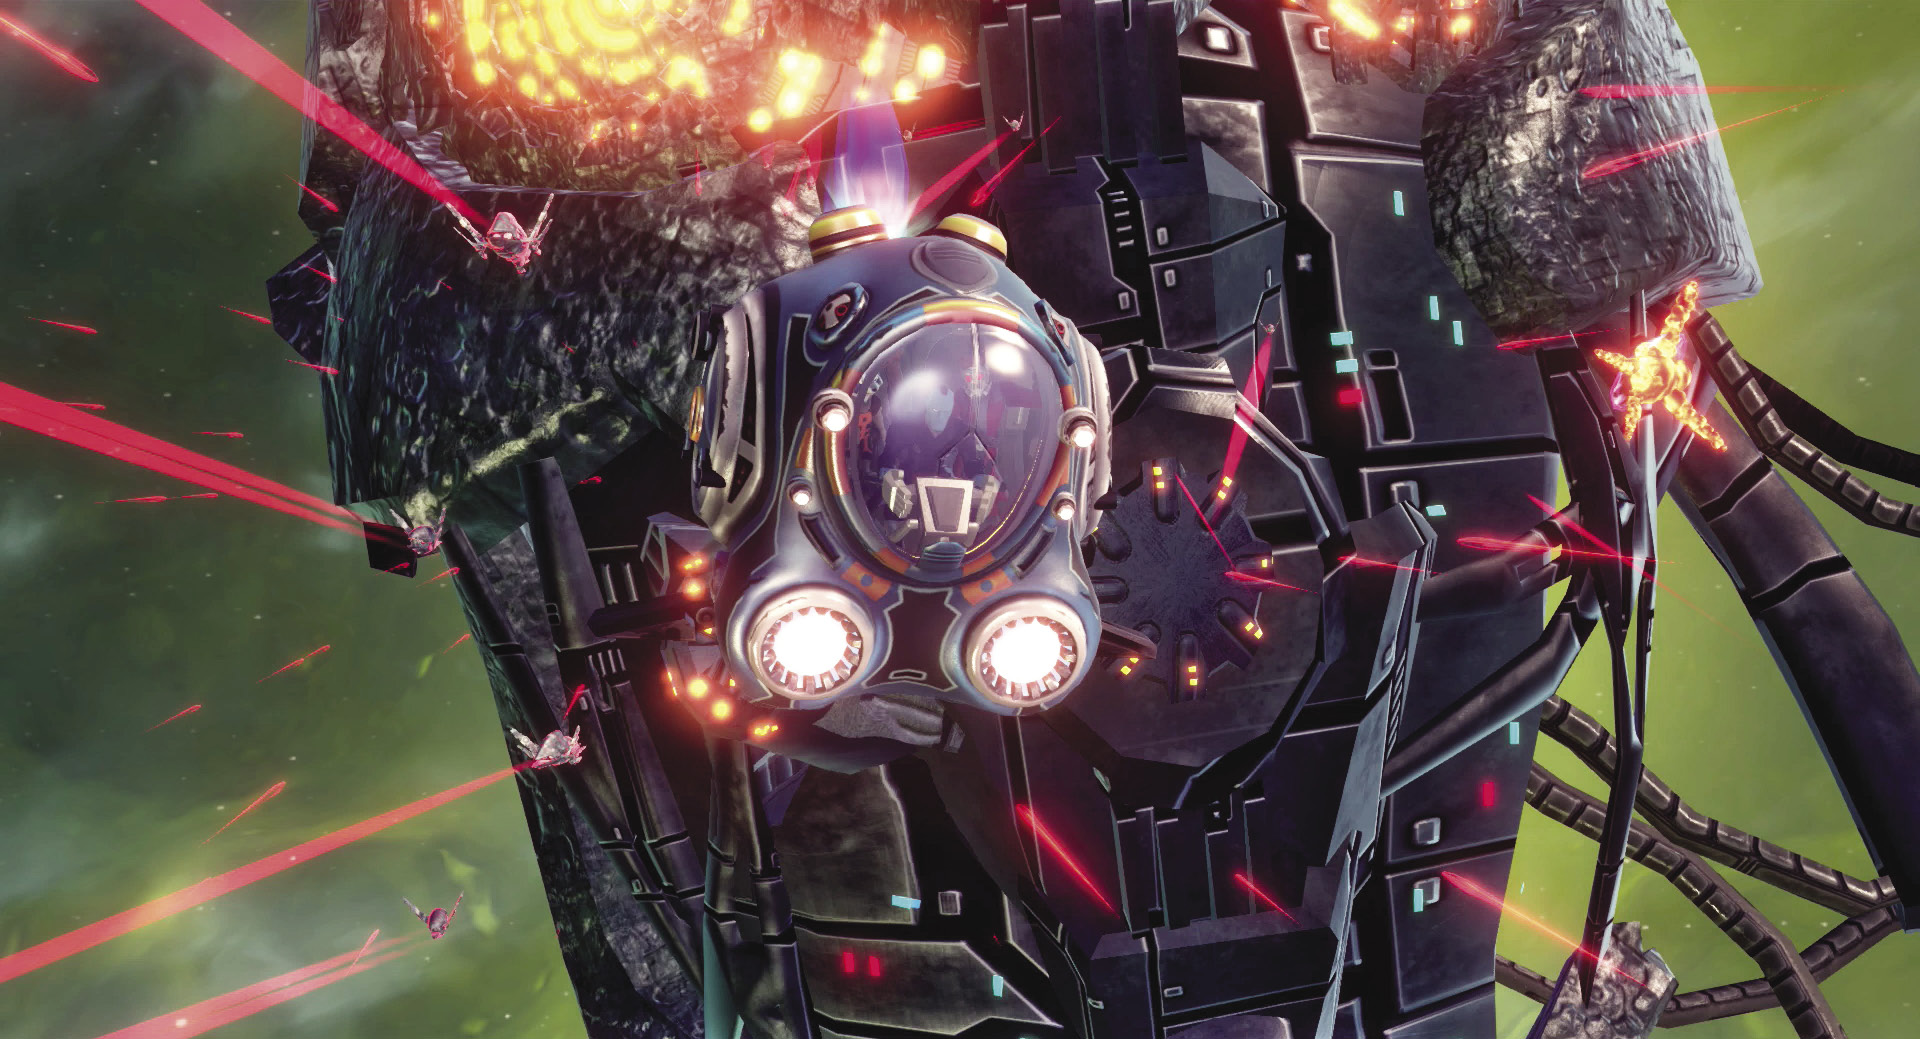
Jump in the mining pod and you fly straight through the space combat between Sakaaran ships and Knowhere defenses. Yondu pilots you through the battle, finds a hole in the Dark Aster’s hull, and crash-lands you on one of the Dark Aster’s abandoned decks. With your mining pod smoking, you might want to explore the Dark Aster and give the pod time to cool down before returning to Knowhere.