
Disney Infinity: Marvel Super Heroes Guide Marvels Guardians of the Galaxy Play Set
Major Problems in the Miner Zone
Miner Catastrophe
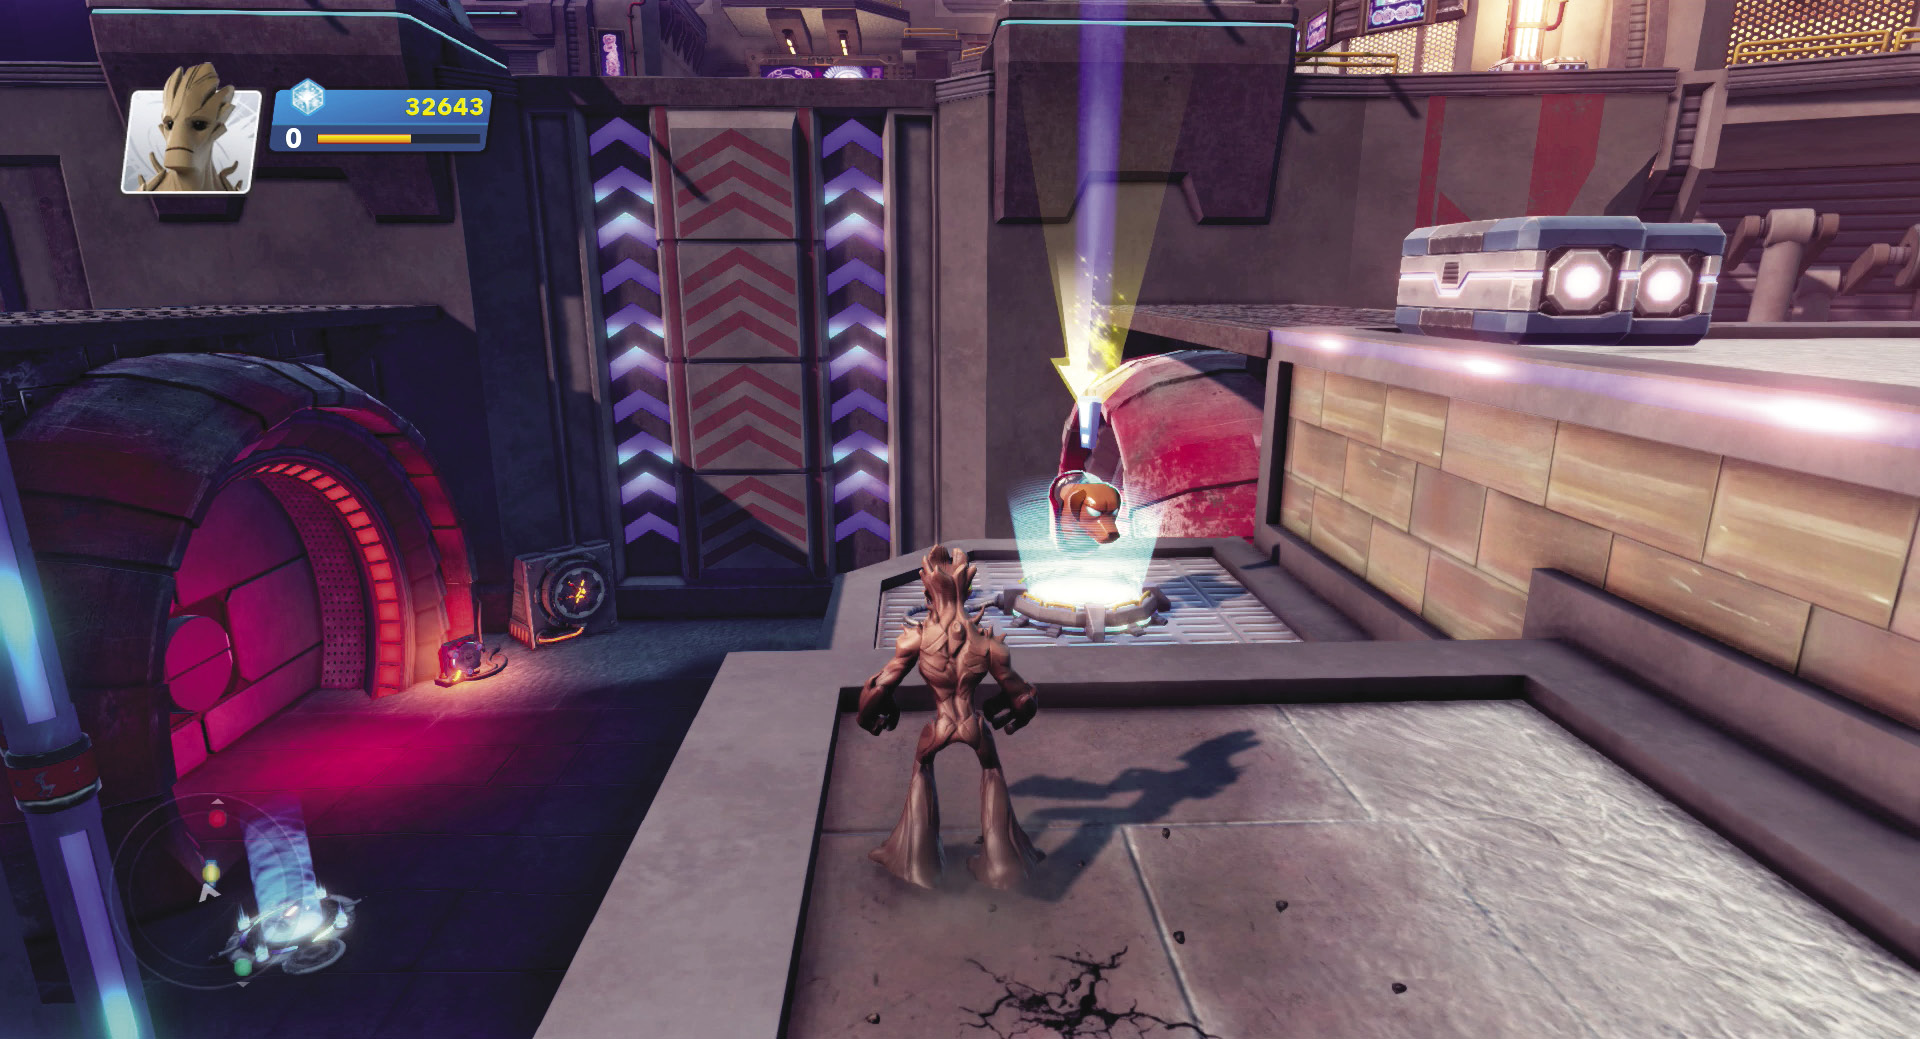
Seek out Cosmo for your next main mission to stop the Sakaarans from overrunning the new Anti-Air Gun he just installed. His mission giver hologram is on the platform above the Mining Zone access gate. After you receive the mission, drop down and pick up a fuel cell from the nearby dispenser. Toss the fuel cell into the socket on the other side of the gate to activate the elevator.
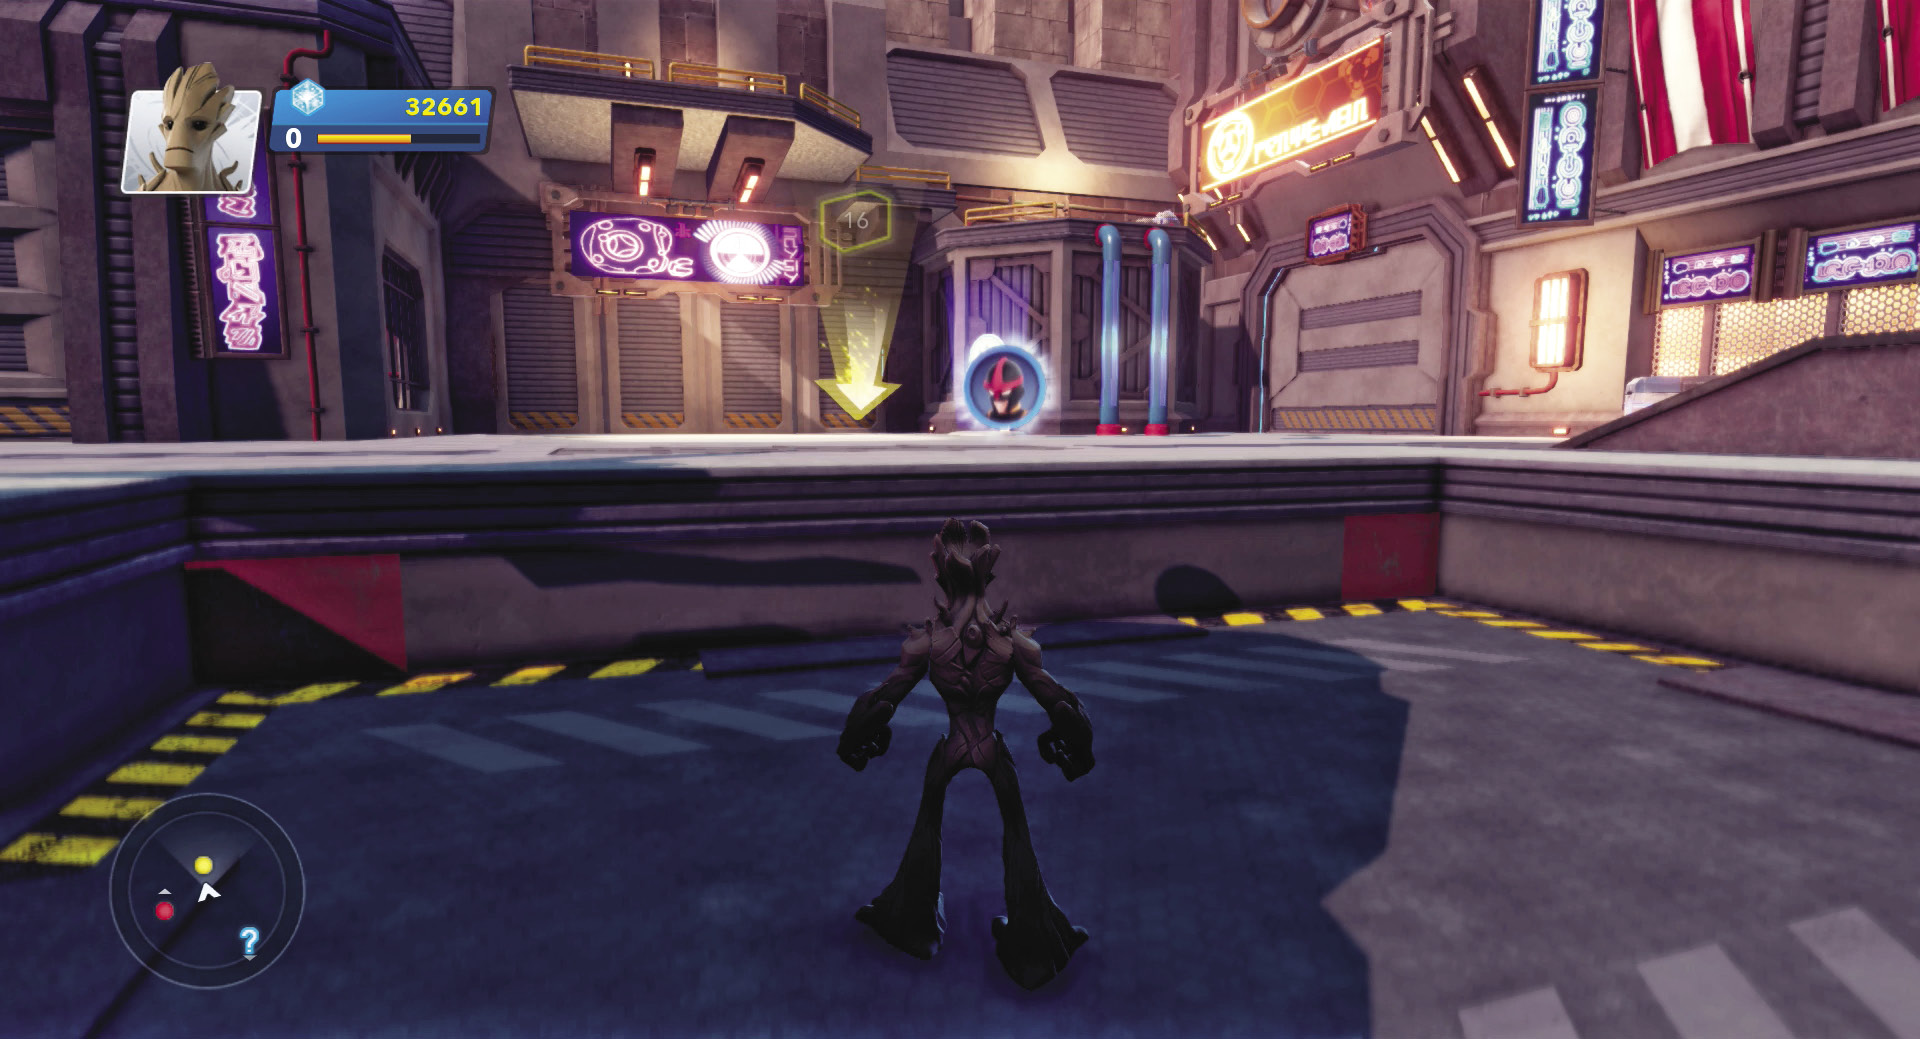
Ride the elevator up to the platform above. Step out in the middle of the platform and you complete the mission. However, this is only the prelude to the harder mission ahead.
Drop Everything!
Recommended Hero: Star-Lord
- Mission Giver: Cosmo
- Type: Defend
- Rewards: 150 Blue Sparks, The Mini Milano
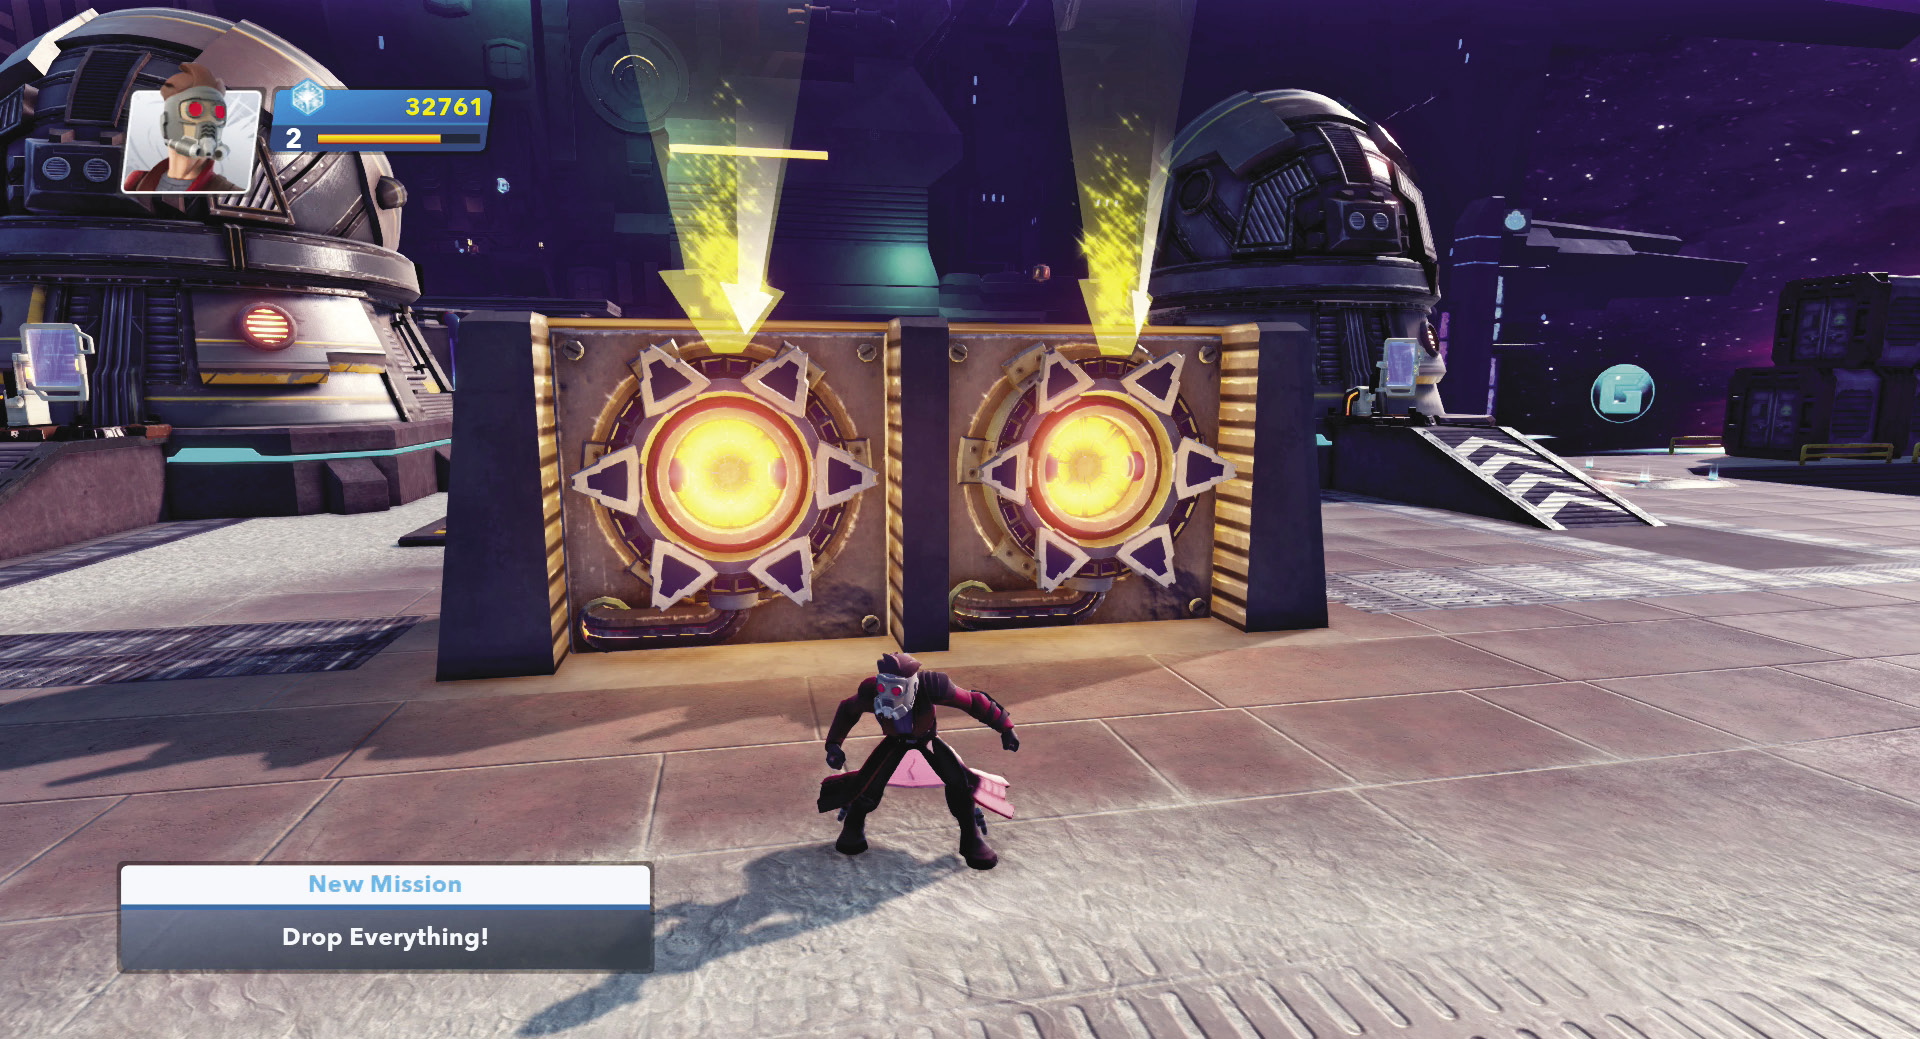
Now it’s time to defend Knowhere with Cosmo’s giant Anti-Air Gun. If you can power it up, that is. Glancing around quickly, there appear to be no fuel cells in the area.
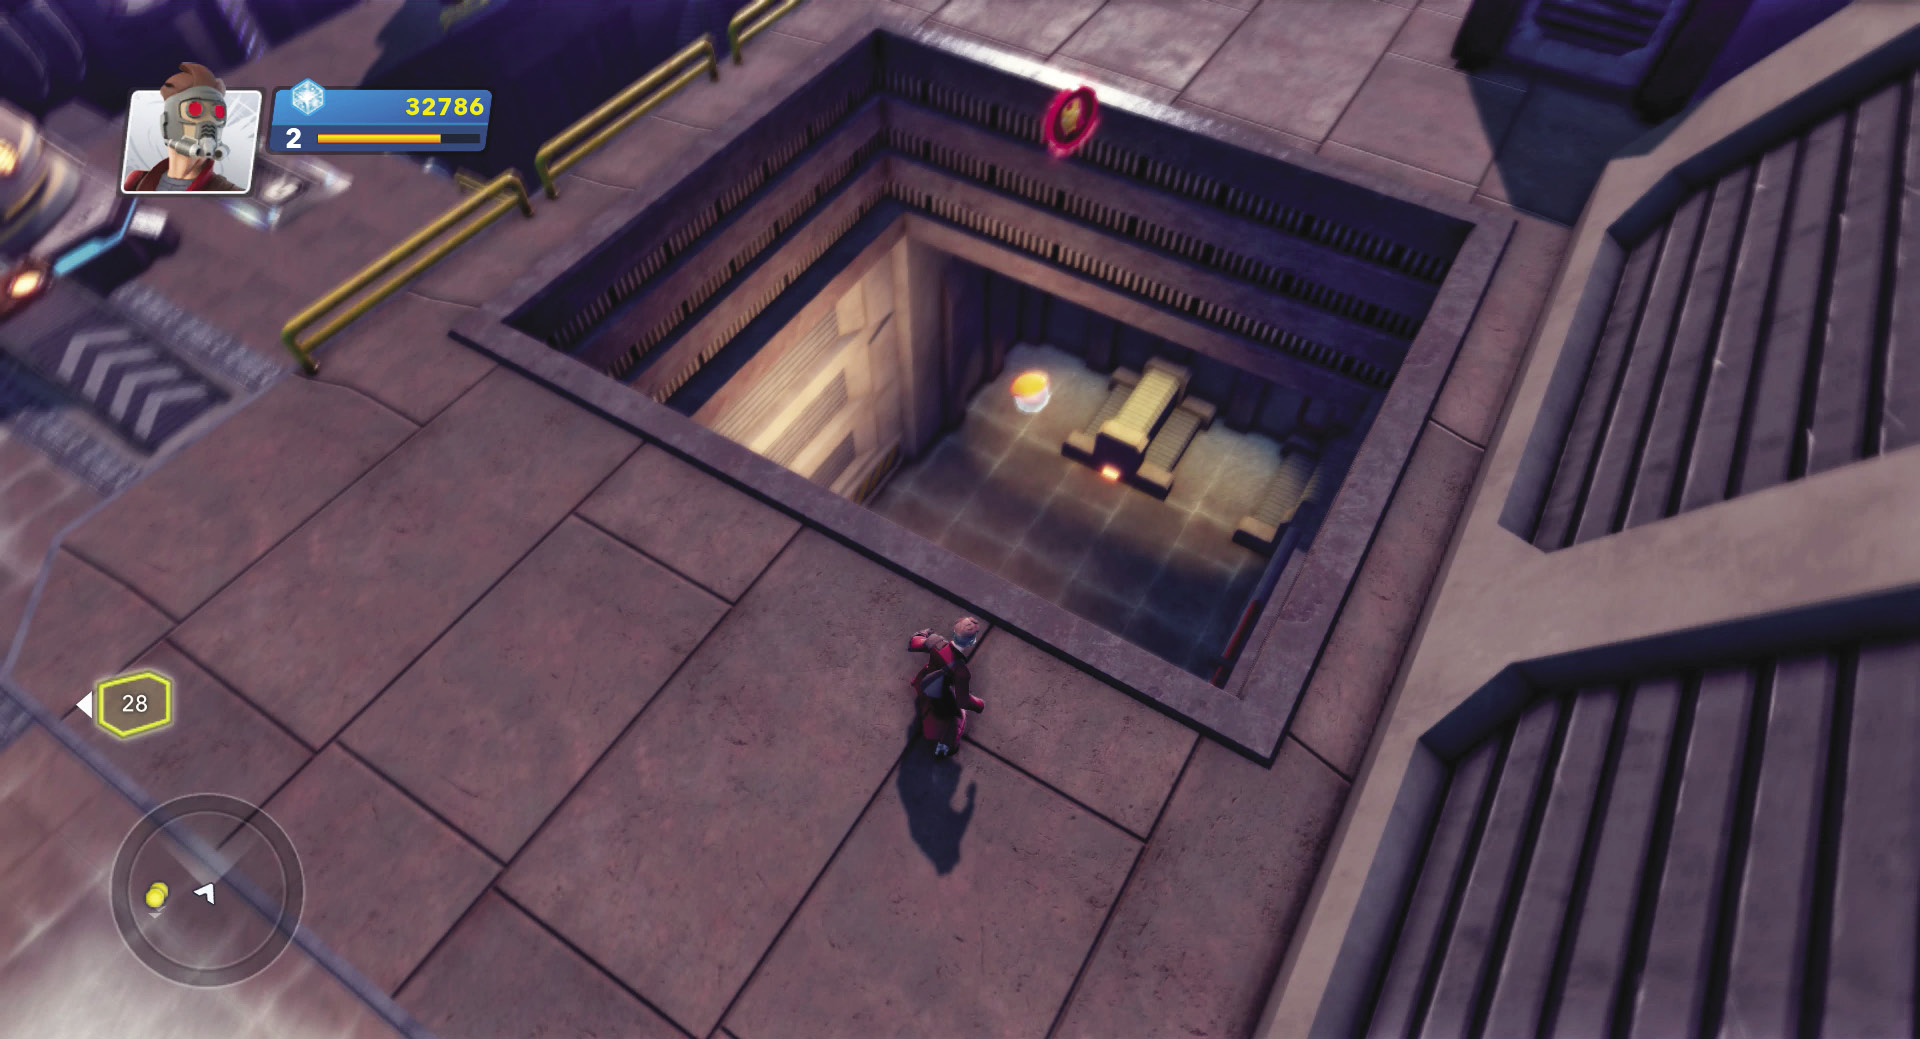
Use the blue poles behind Cosmo to climb up to the series of platforms that lead to the roof of a sealed room. Jump through the hole in the roof to enter the sealed room, only to discover a fuel cell dispenser. Assuming you’ve been running around all the areas, exploring this hidden area might also complete the “All Access Pass” feat for you.

Feat Complete: All Access Pass
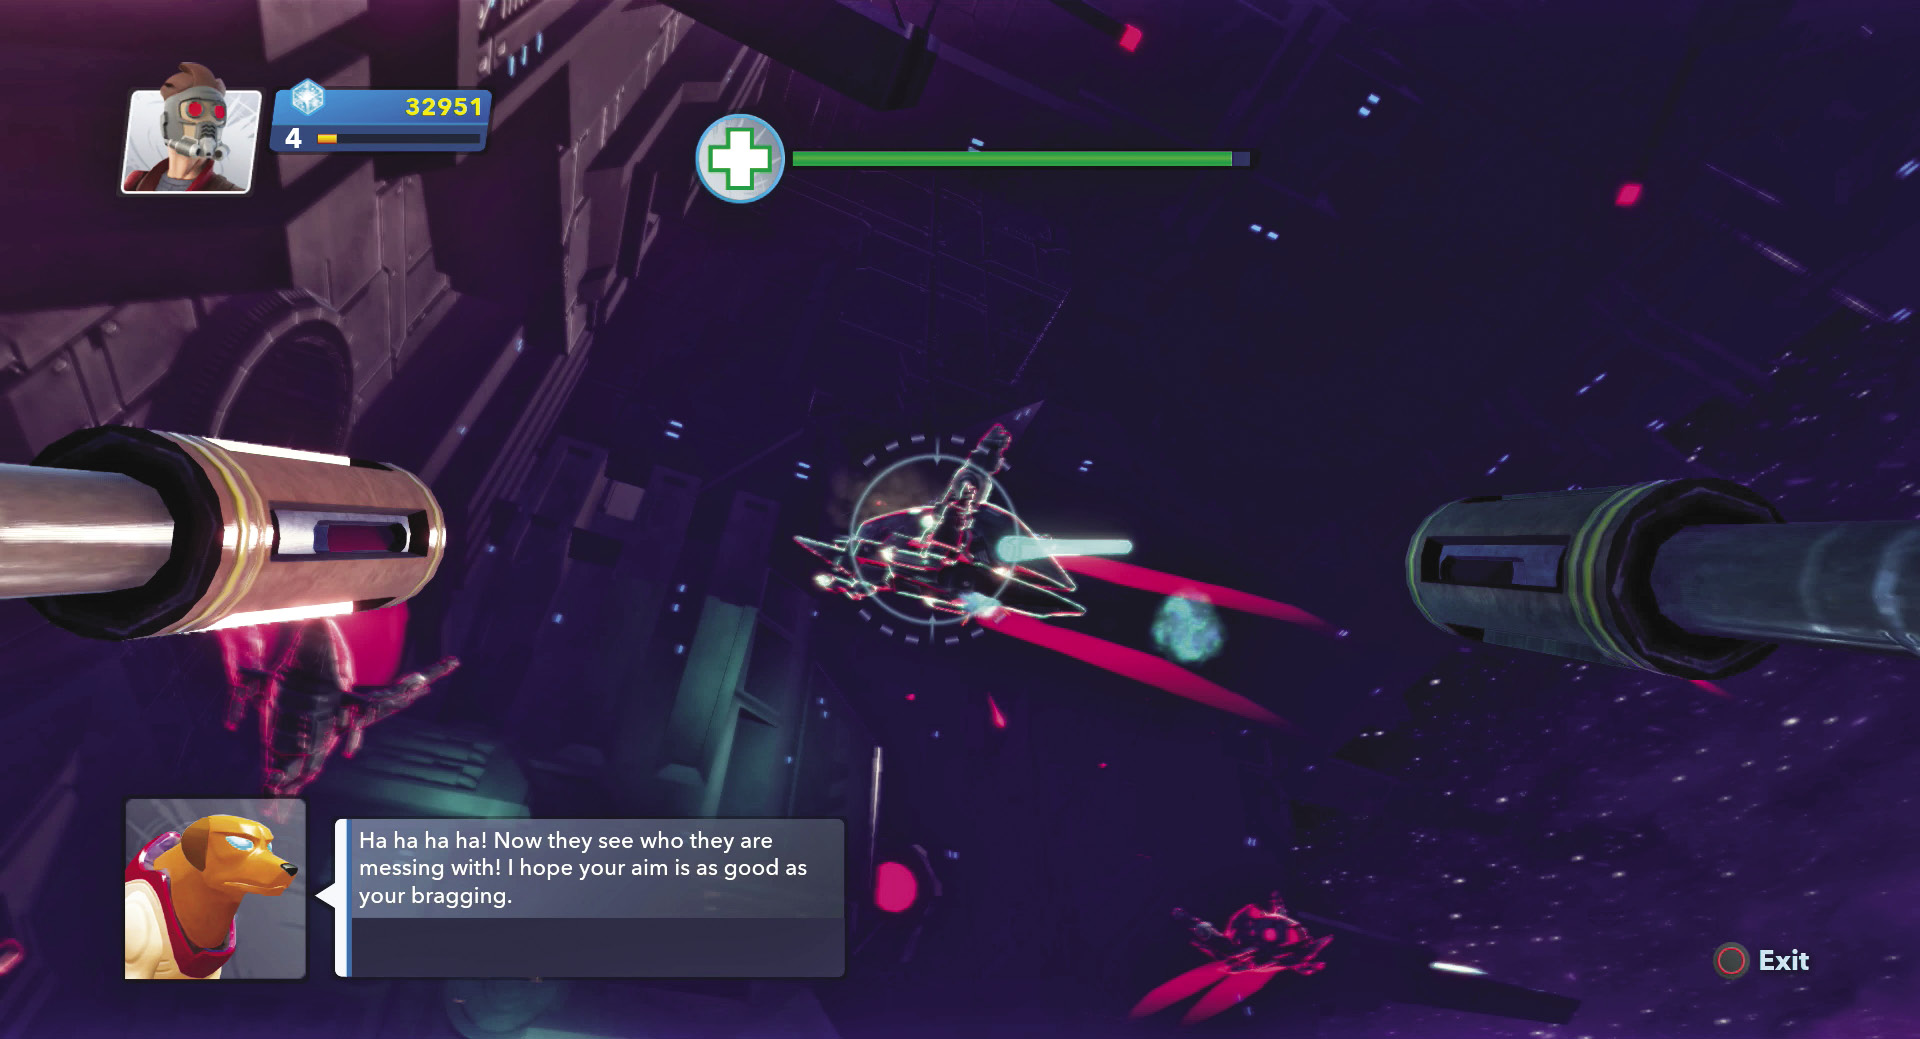
Carry two fuel cells back to the Anti-Air Gun and shove them in the sockets to get the big weapon started. As soon as you do, the first wave of Sakaaran ships begins the attack. Hold the trigger to bombard the skies with laser fire and target Sakaaran ships as they fly by. Once you get one in your sights, don’t pull away until you’ve brought the ship down.
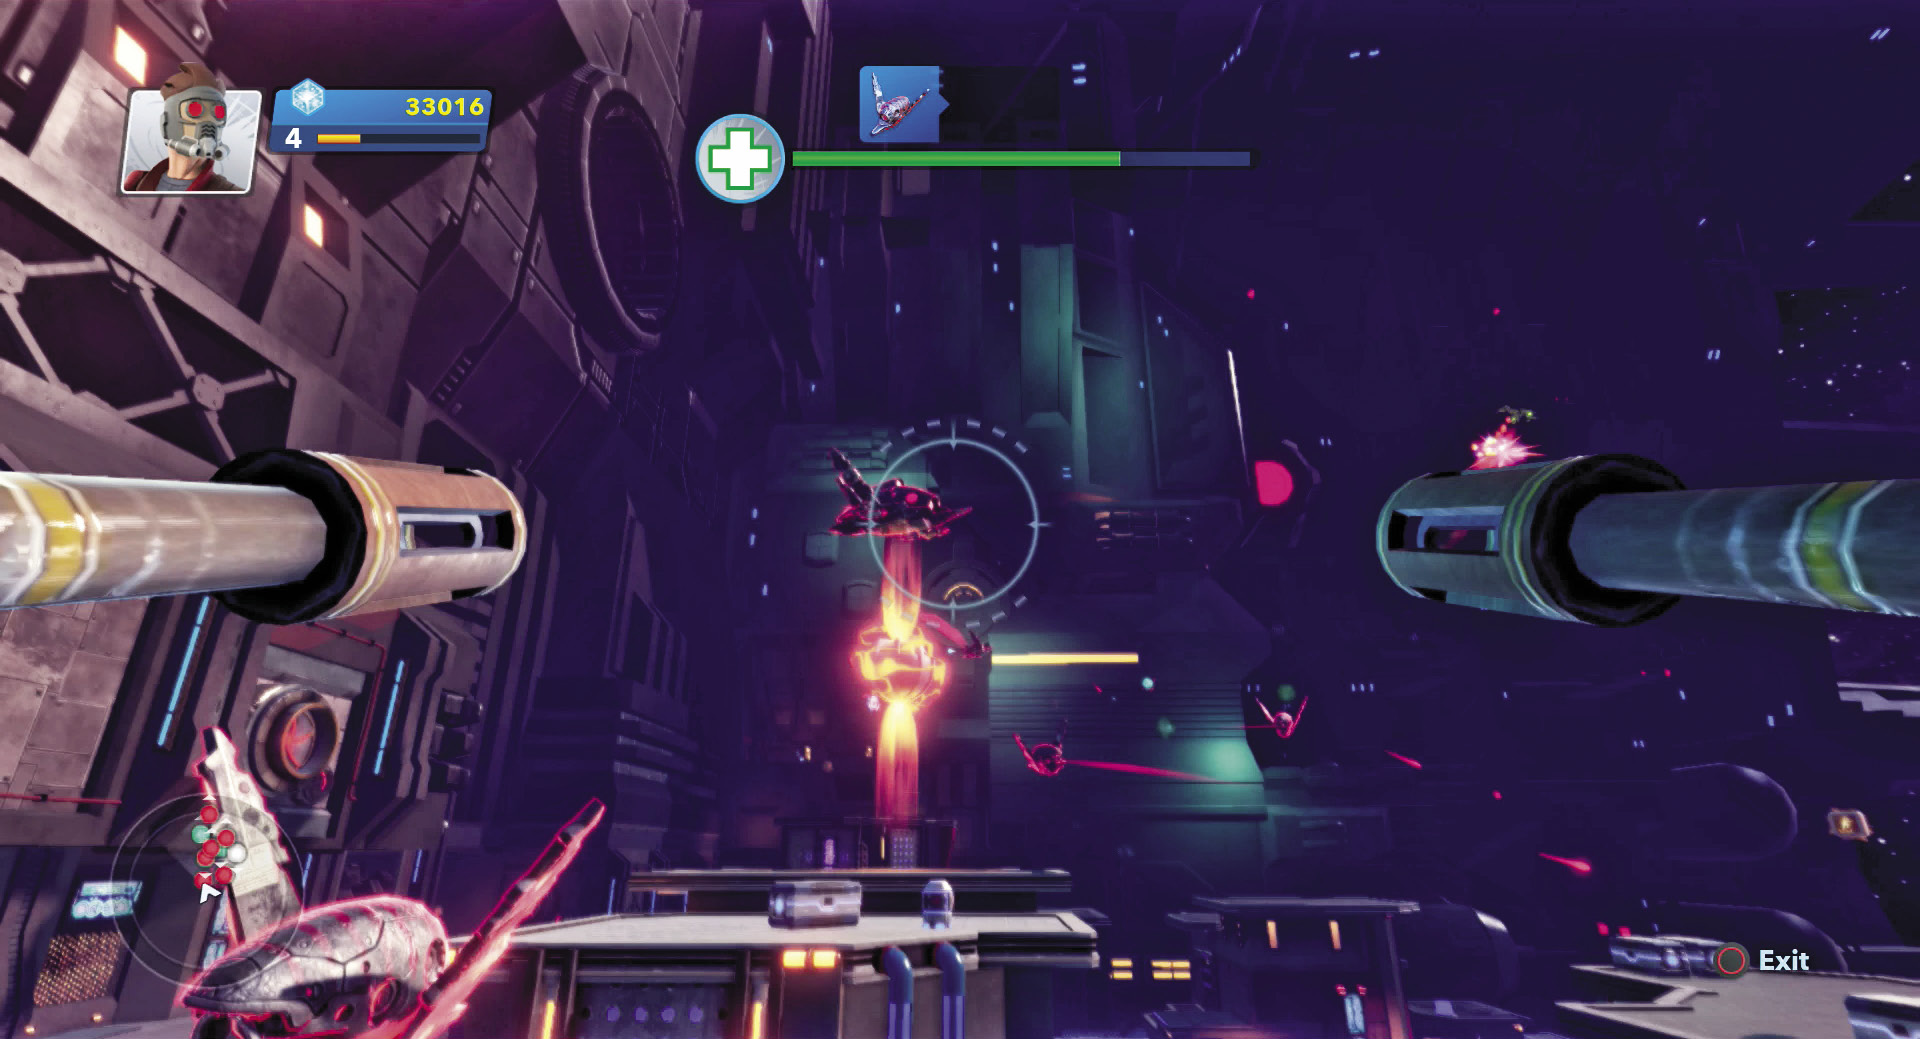
The Sakaarans will damage you by releasing energy balls that float down to the base. If the energy ball strikes a platform, the resulting explosion deals heavy damage to your Anti-Air Gun. Four such explosions will do you in. You can, however, shoot the energy ball as it’s descending to eliminate the threat.
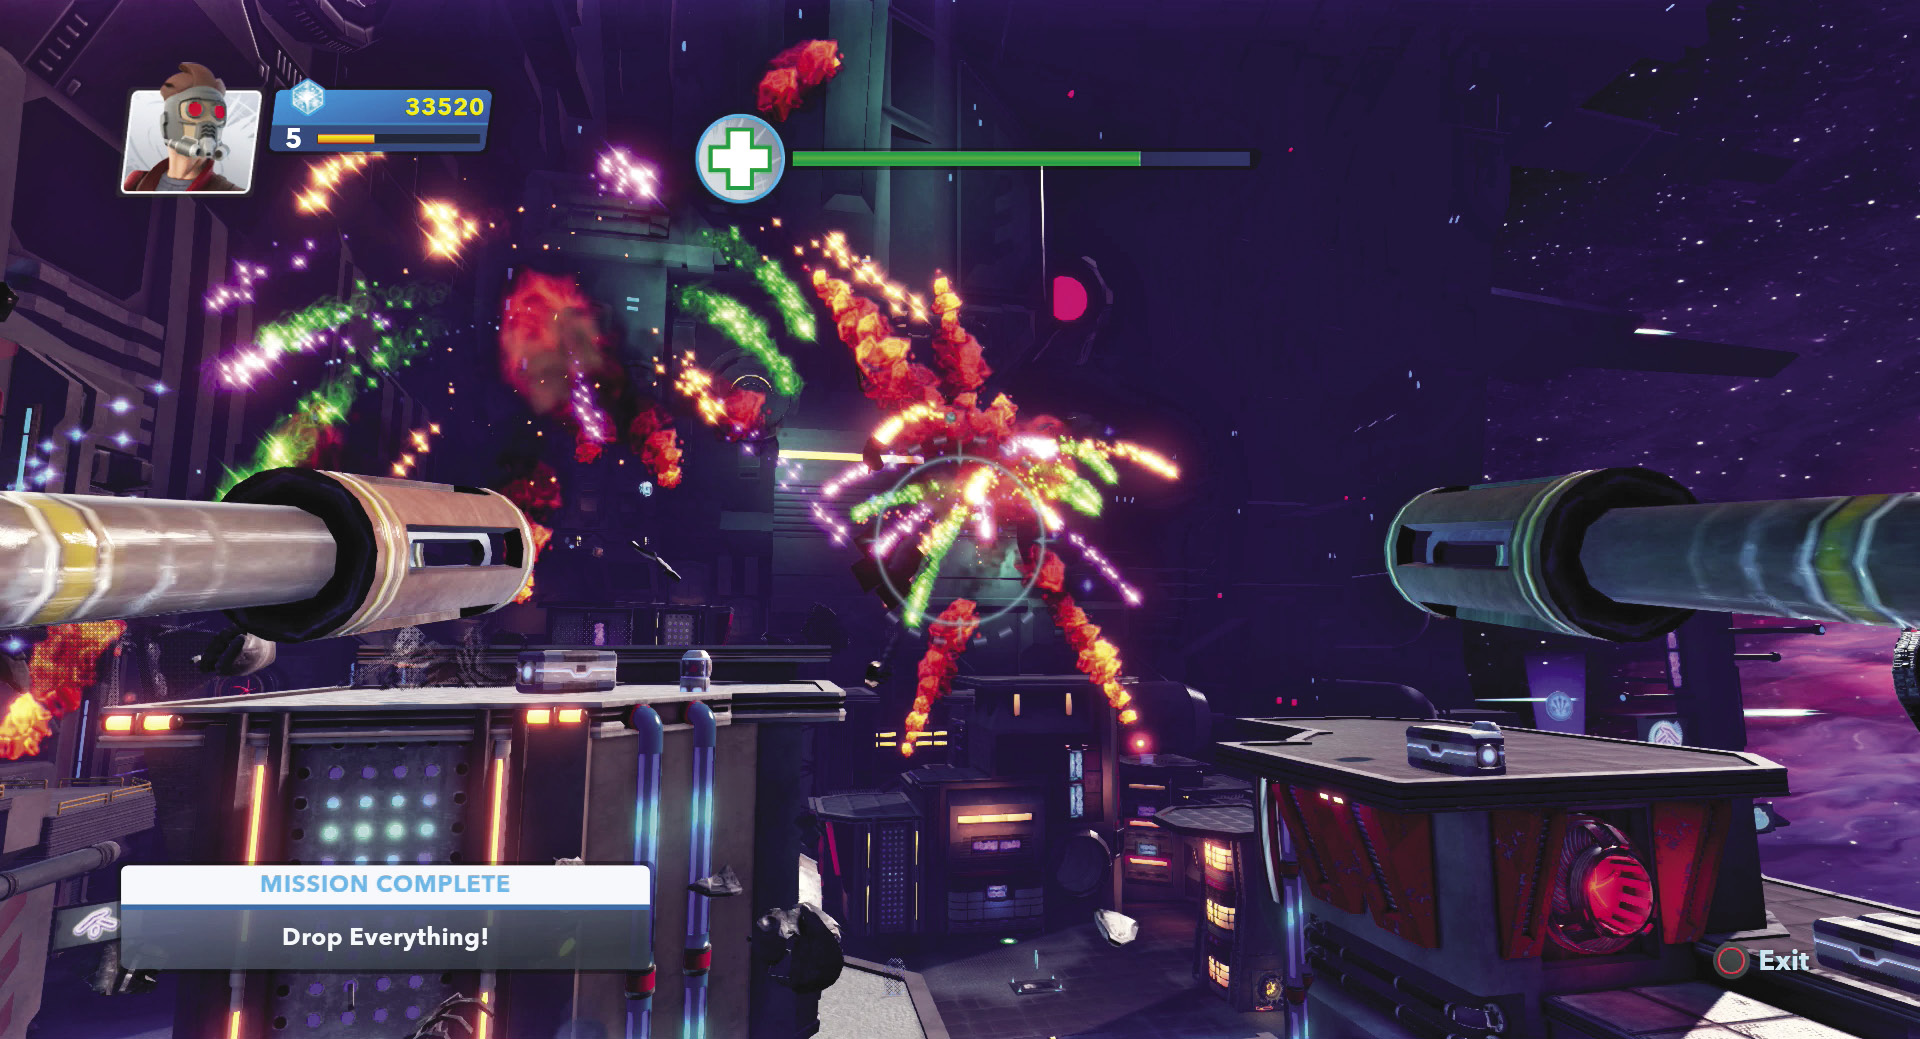
After you vanquish the first wave, a second wave of Sakaaran ships attacks. Midway through this wave you should complete the “Enemy Down!” feat on your way toward victory. Blast the last Sakaaran ship out of your restricted air space and you save the Mining Zone. Plus, you show off Star-Lord’s expertise with weapons of any size!
Feat Complete: Enemy Down!

New Challenge Available:Munitions Expert
Time For Paws
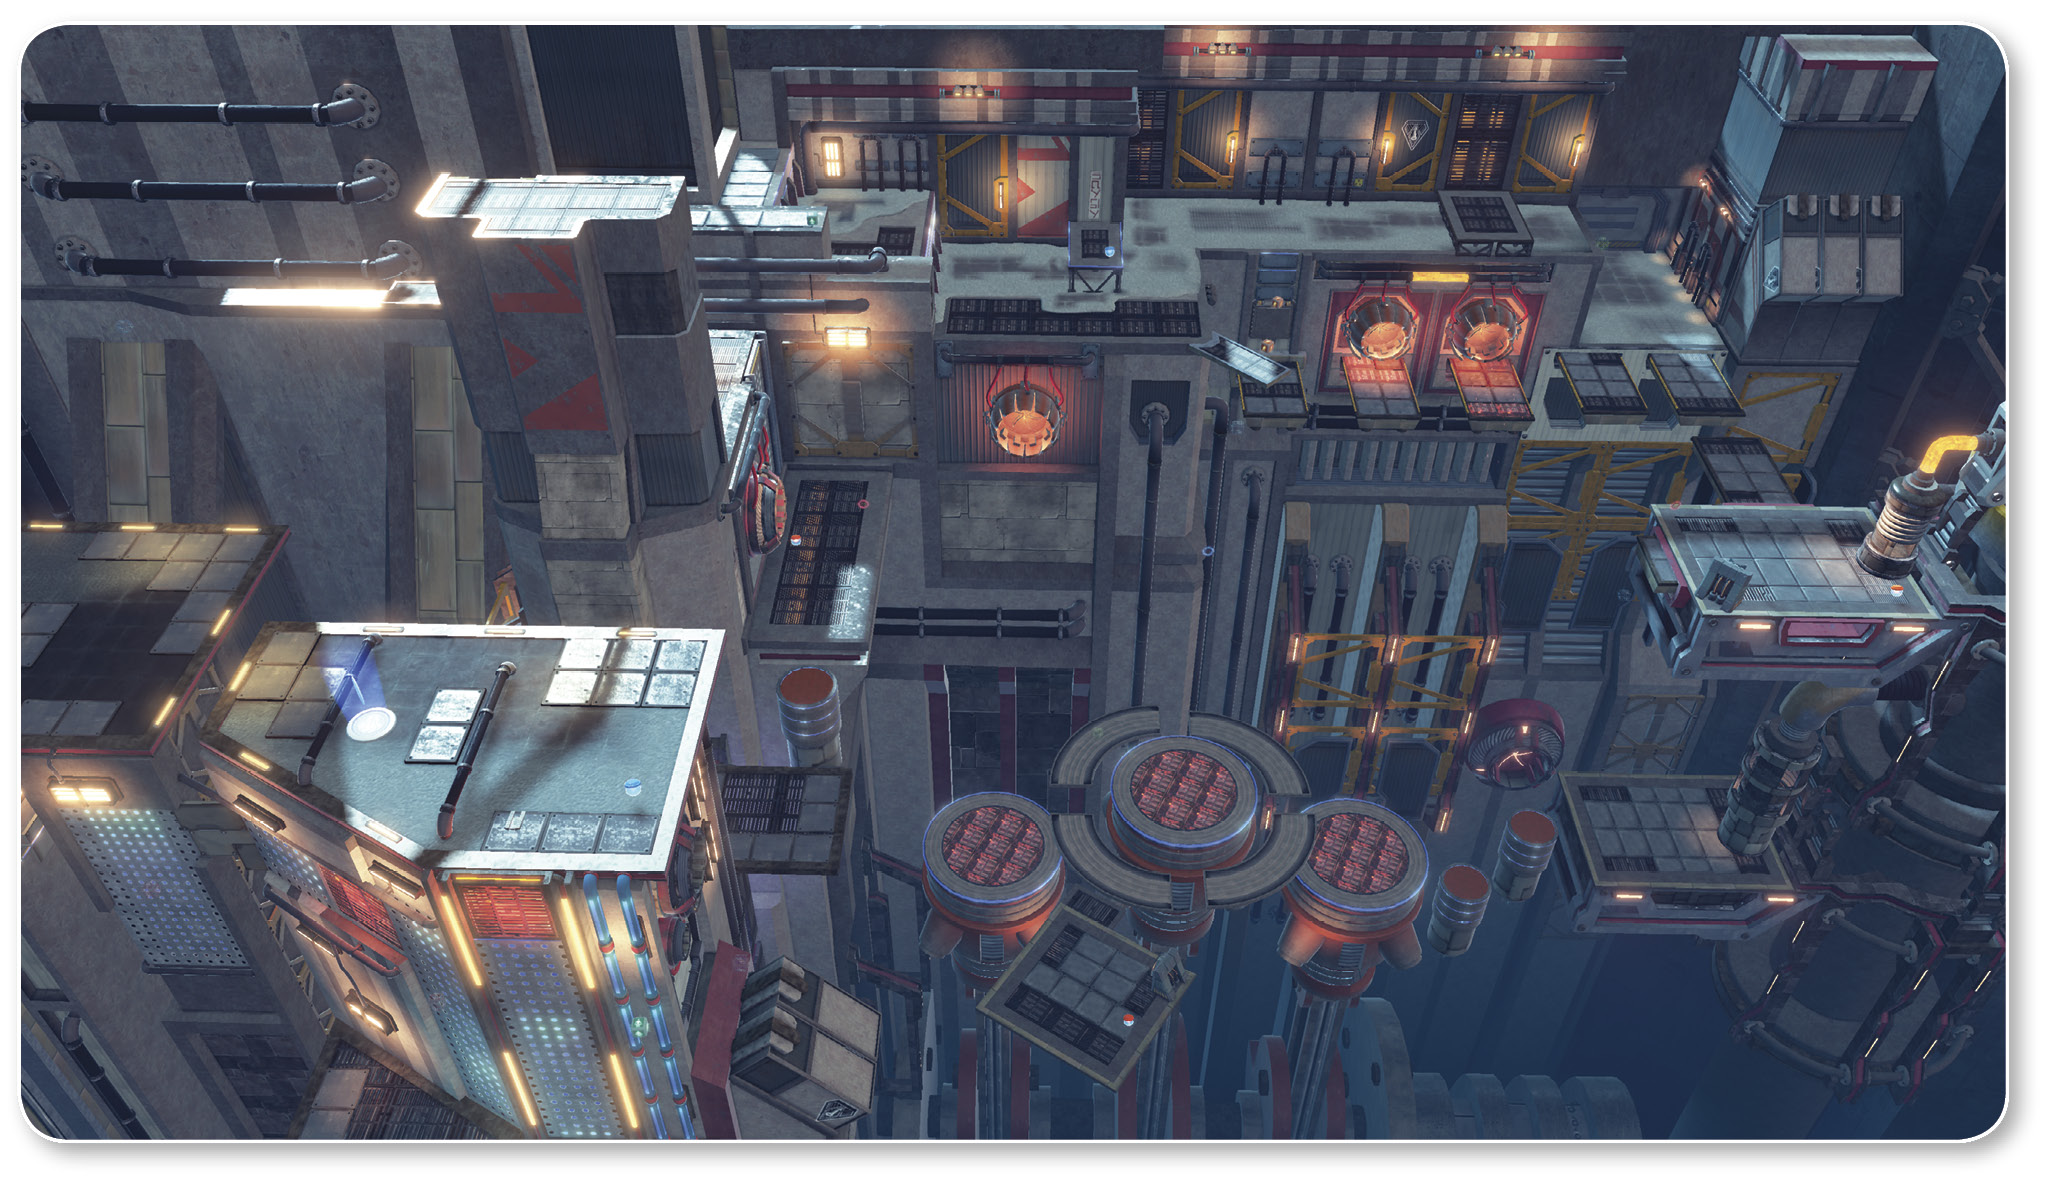
Mining Zone
Recommended Hero: Gamora
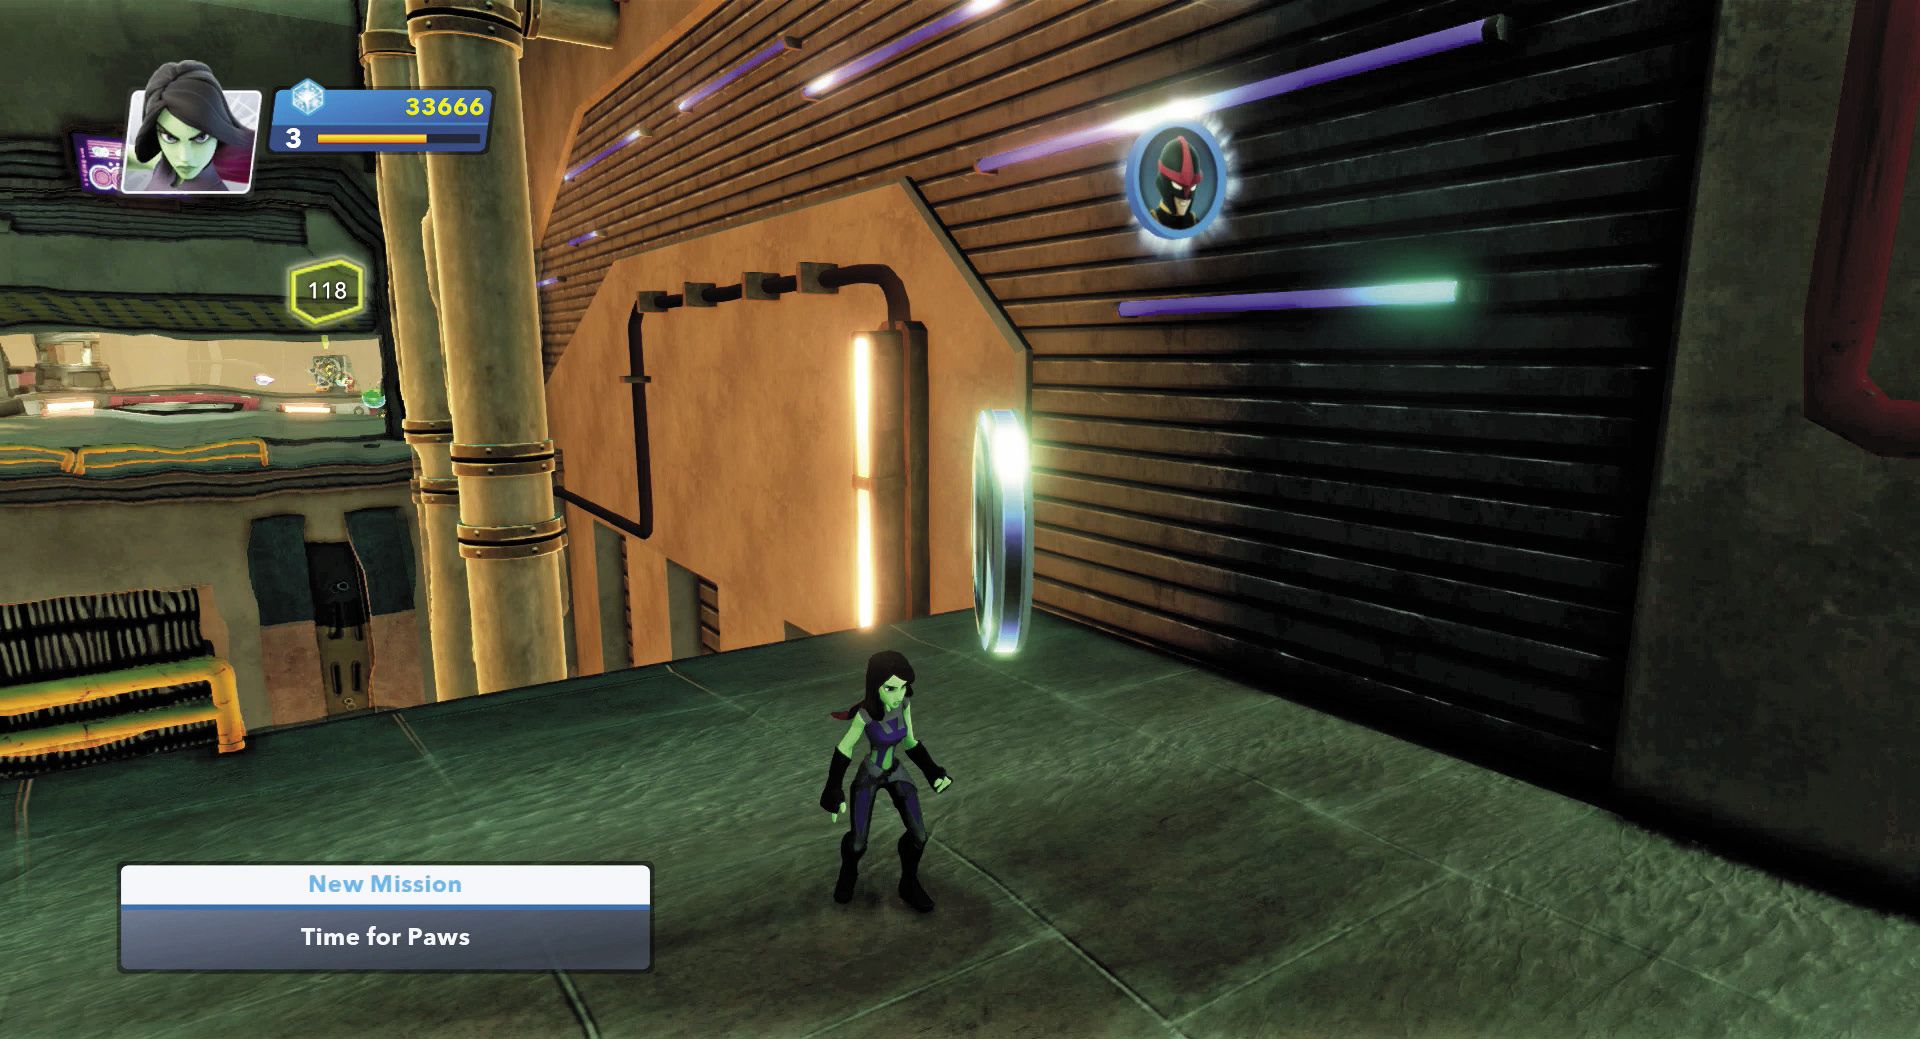
Bring in the agile Gamora to explore the new Mining Zone that Cosmo unlocks at the start of this mission. Look to the right of Cosmo for a floating Guardians token that gives you the Scarab Toy Box item and a floating Nova Crossover Coin near the wall. Use the blue rails on the wall to cross the gap and enter the main section of the Mining Zone.
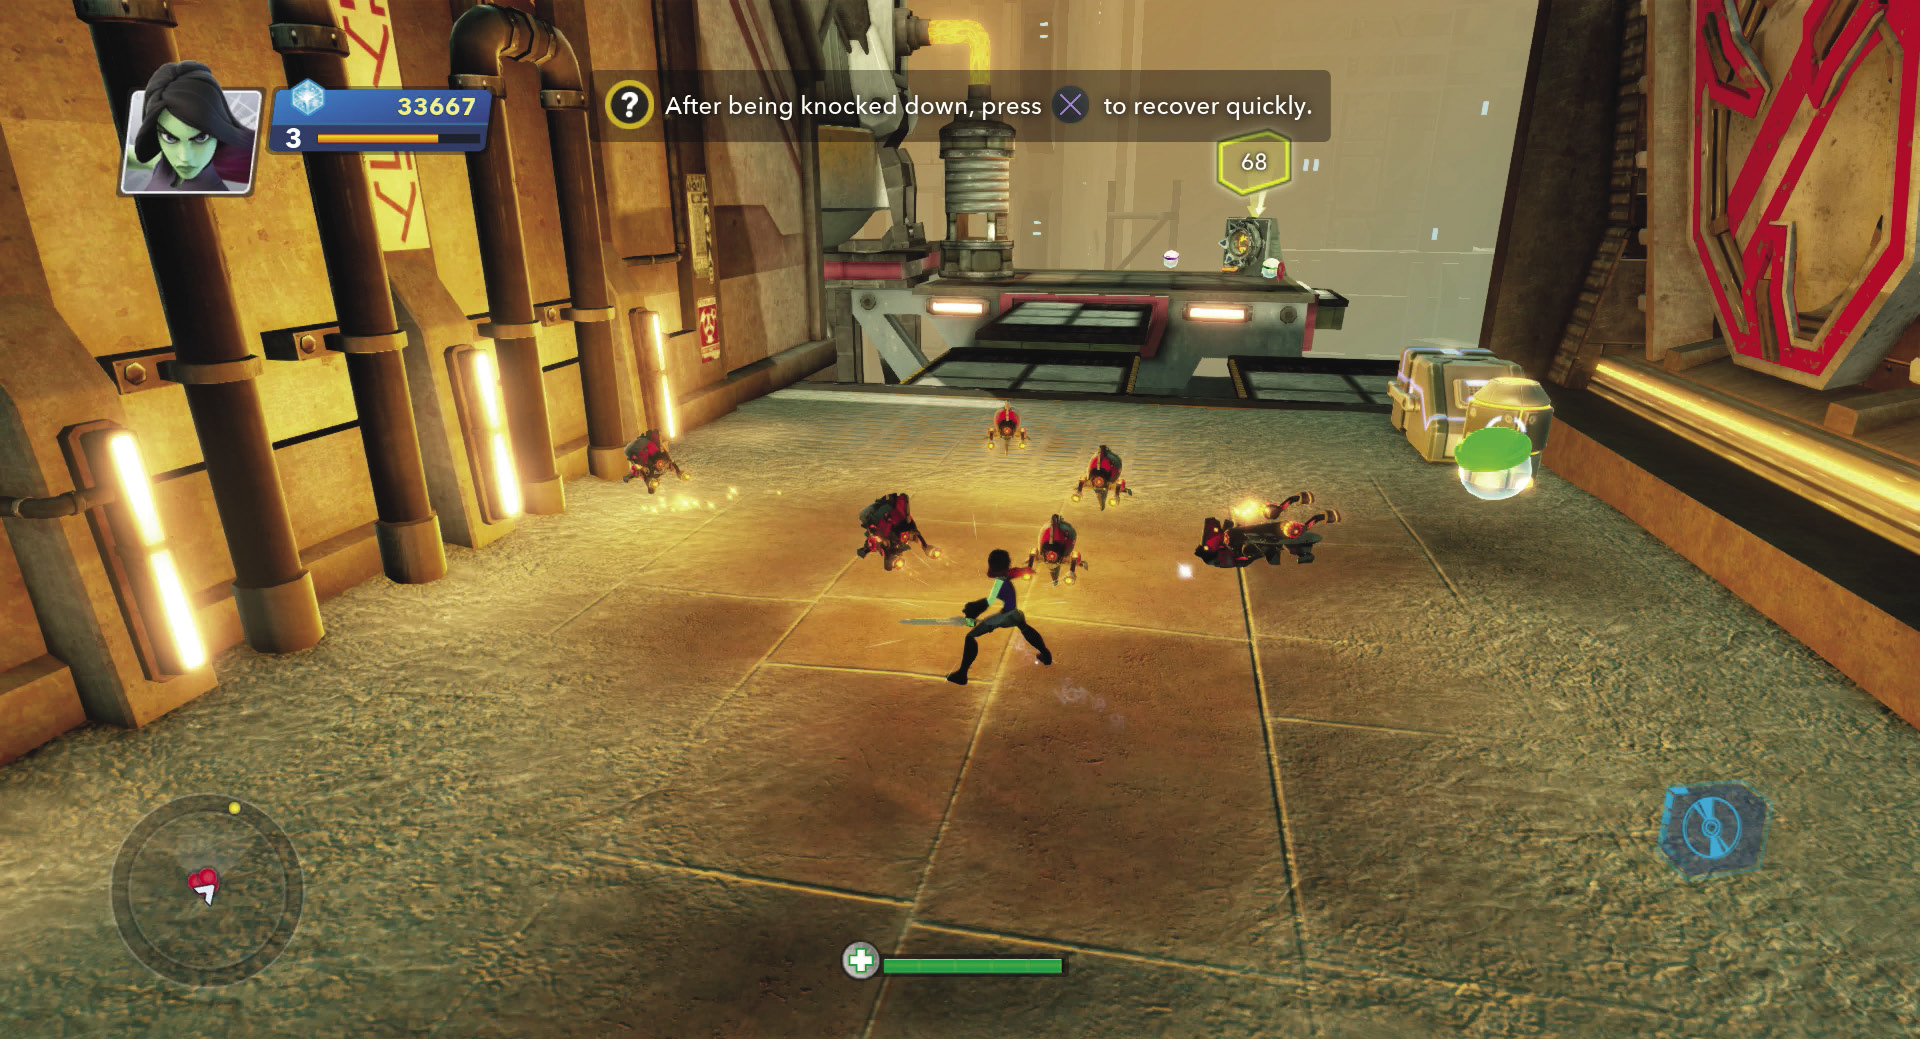
As you land on the first platform in the main Mining Zone, a new enemy type—Scarabs—drops in and surrounds you. Keep the Scarabs away with a sweep of your sword and cut them down one by one as you dodge back and forth.
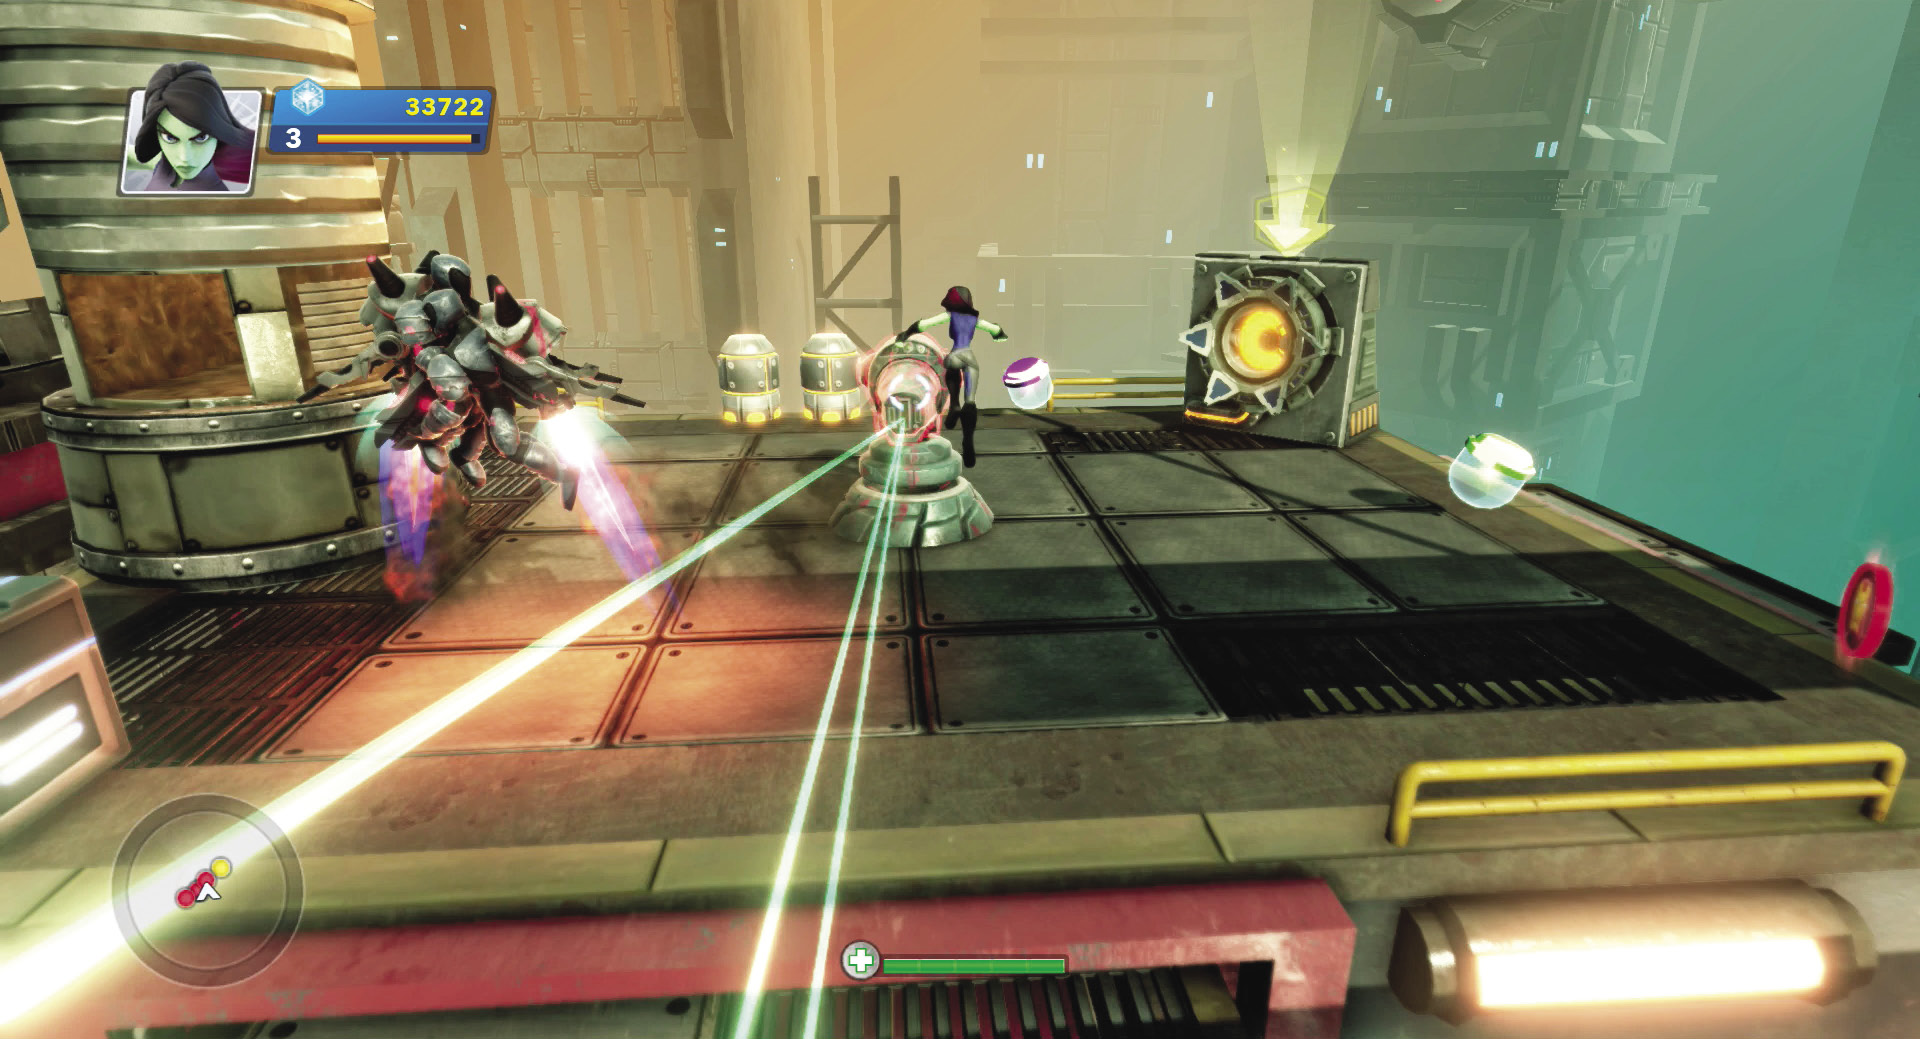
Perform a double-jump over the gap ahead and charge toward the omni-blaster turret in the center of the next platform. Take that out first, then engage the Flying Sakaarans. Use an Air Attack to knock them to the ground and then penetrate their defenses with melee strikes, or whip out your blaster and hit them at range. Just be careful because they can do the same to you. Once you defeat the Flying Sakaarans, collect the Iron Man Crossover Coin in the corner.
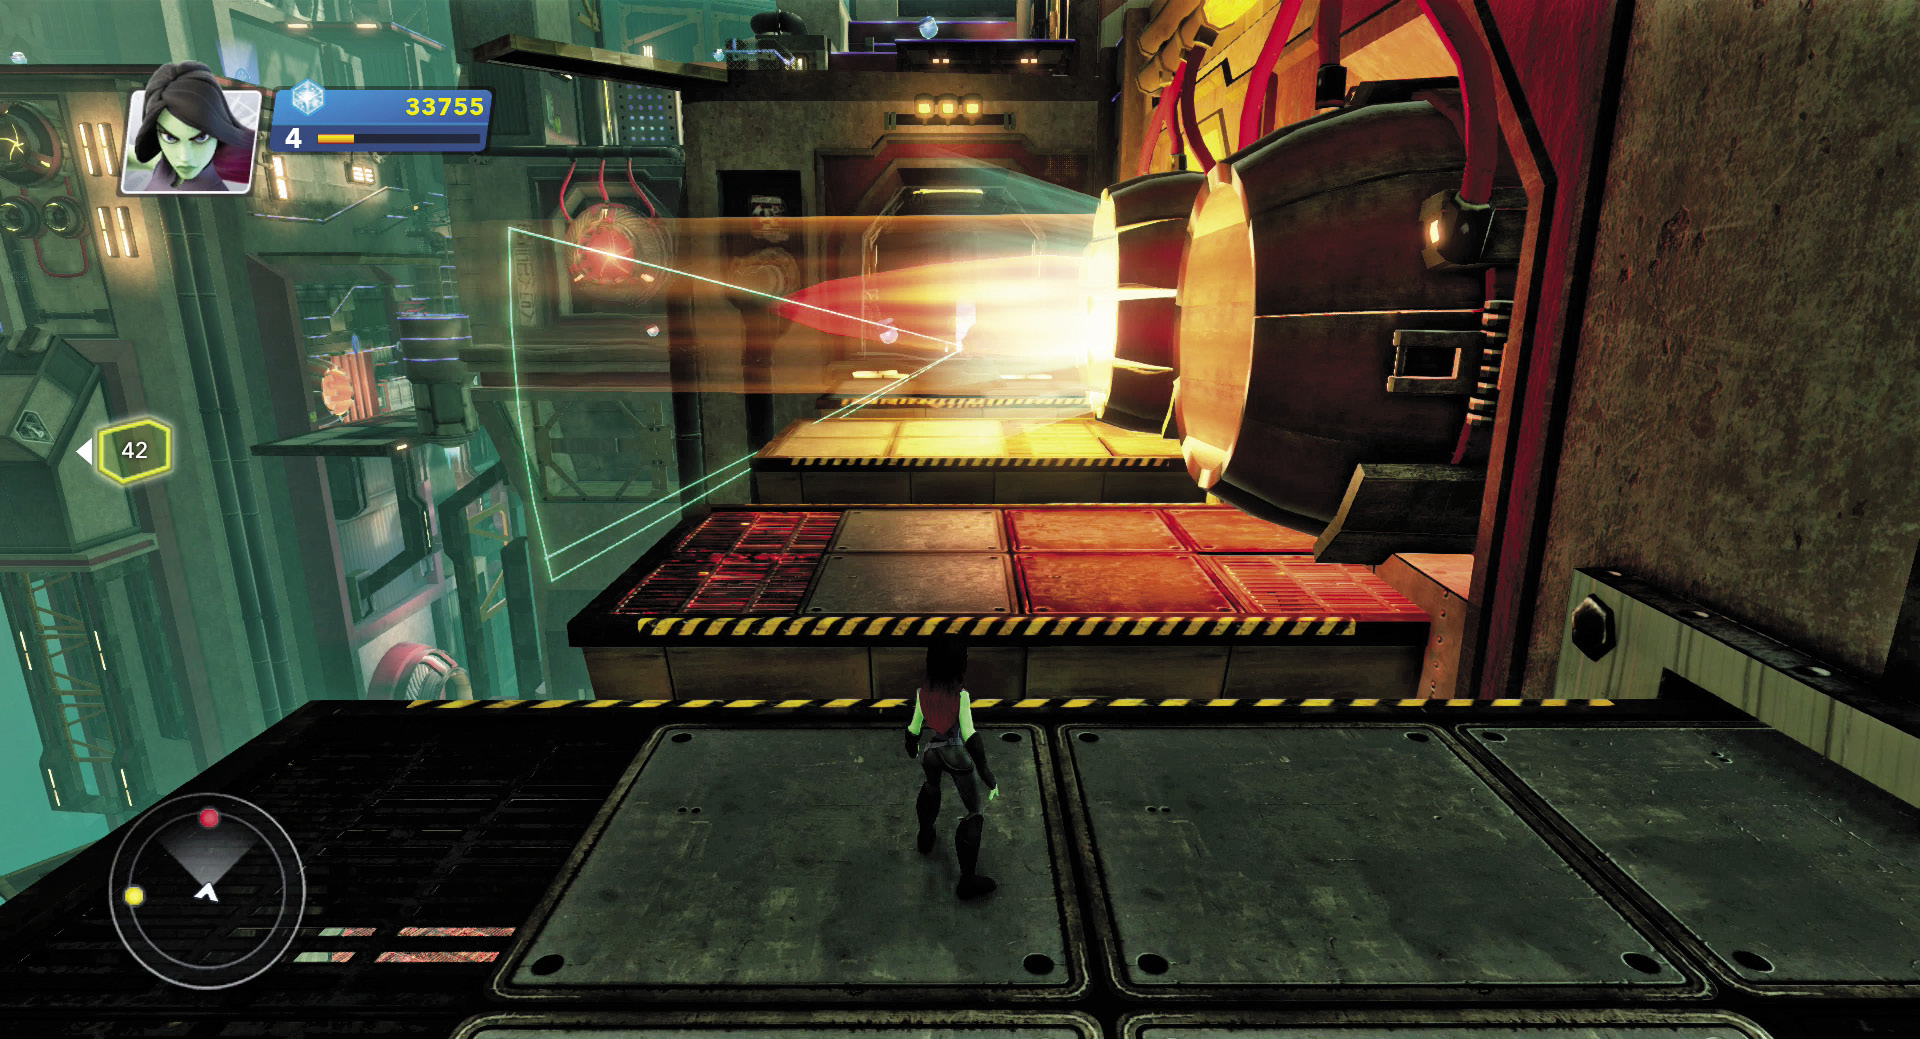
Return to the platform that held the Scarabs and look for a set of side platforms that stretch under active incinerators. Time your double-jumps across the platforms to avoid both incinerators and an omni-blaster turret on the third platform. Wait for the turret’s scan to move away from the platforms, then watch as the first incinerator’s exhaust flames die down. Quickly double-jump to the platform in front of the first incinerator and wait for the second incinerator’s flames to die down. Move quickly again before the first incinerator’s flames start back up. Then double-jump again and smash the omni-blaster turret.
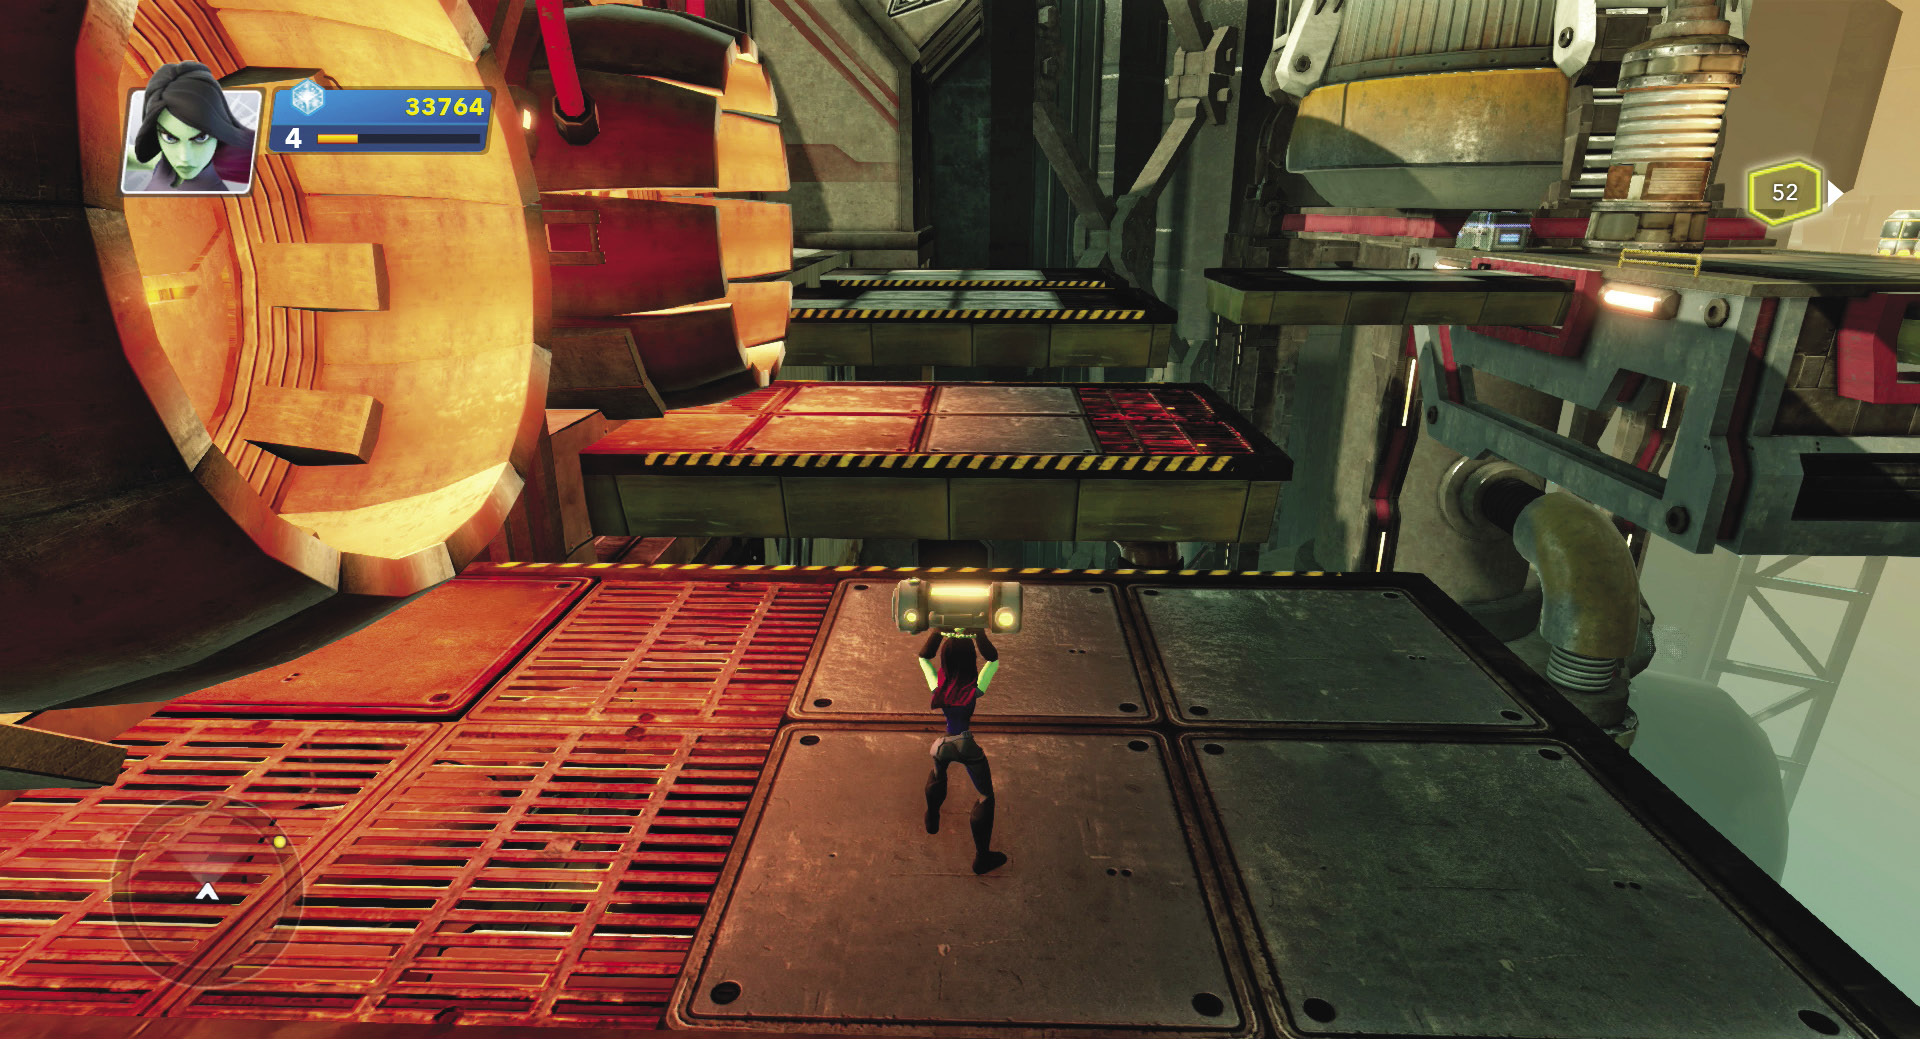
Pick up the Iron Man Crossover Coin in the back of the far alcove and grab the fuel cell from its dispenser. Return to the main platform and shove the fuel cell in the lone socket there. This activates more machinery in the Mining Zone, and you can use the rising and falling platforms to reach deeper regions inside the zone.
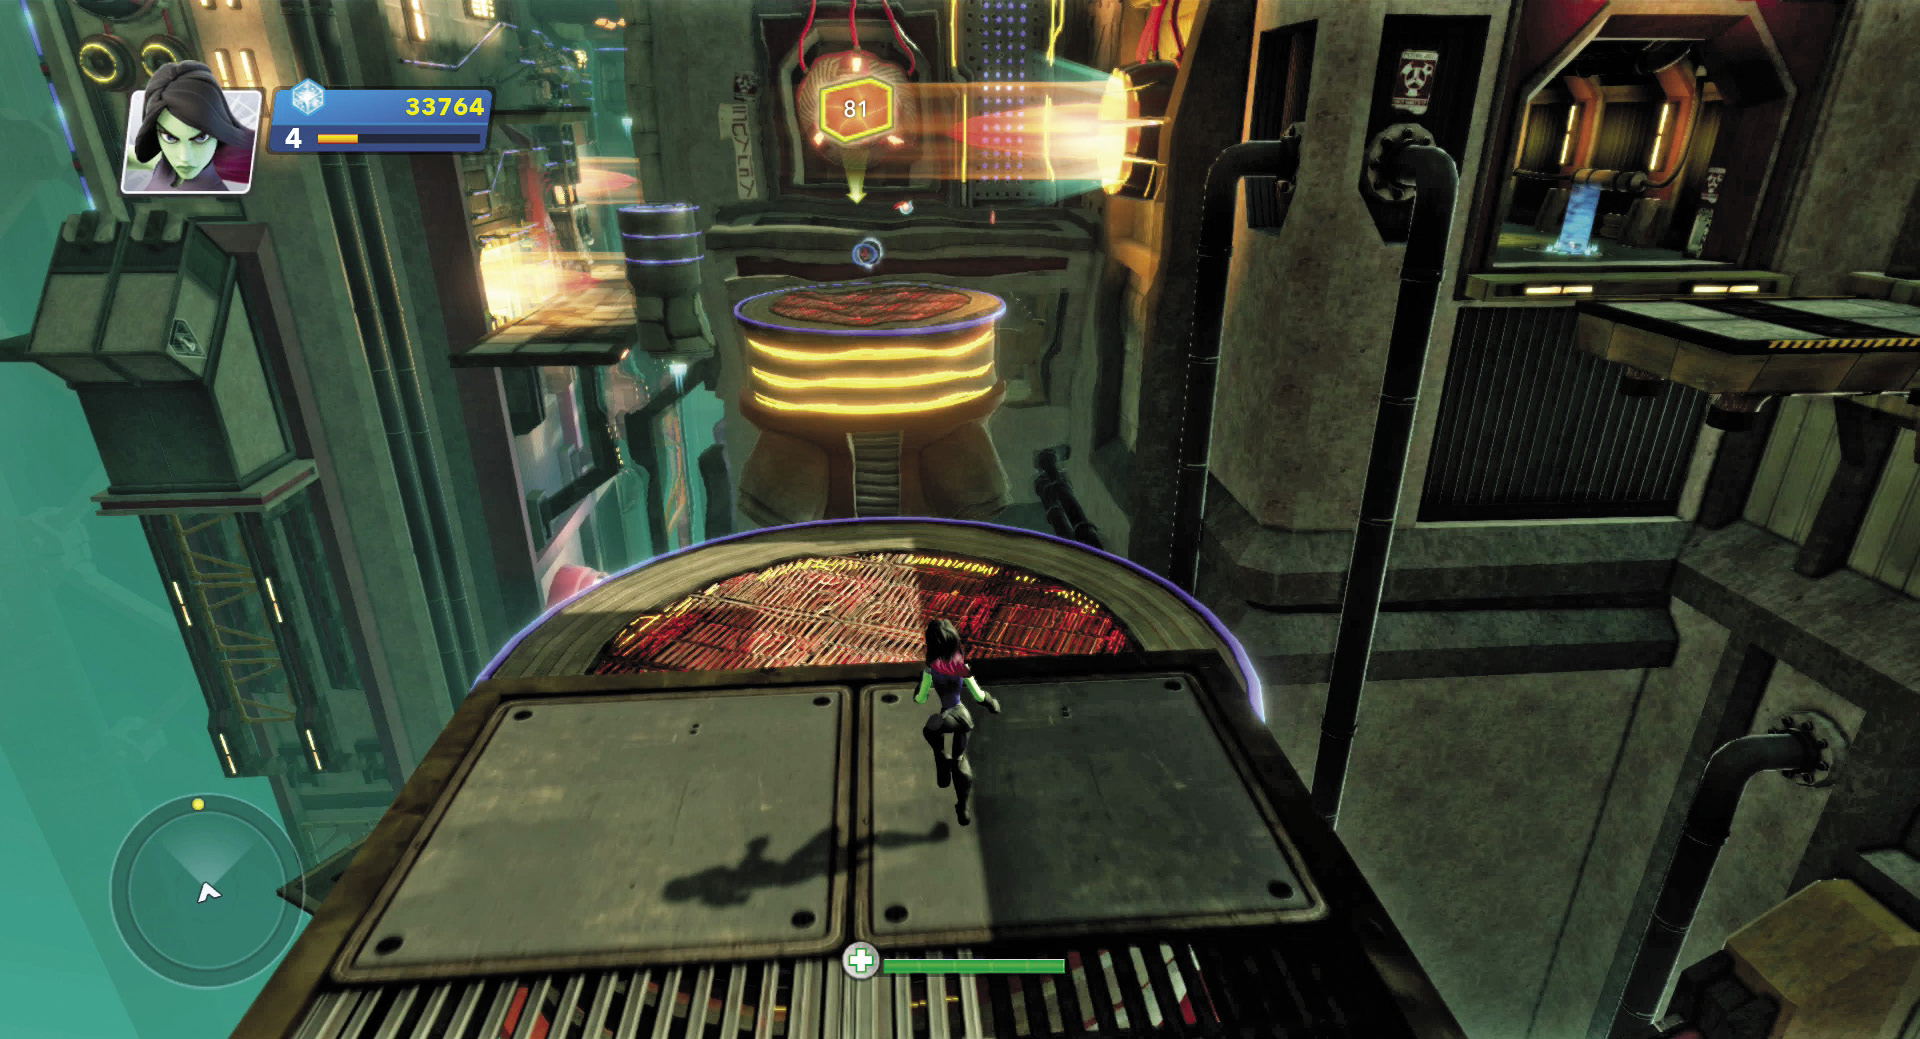
Hop across the three circular platforms to the far ledge and pick up another Iron Man Crossover Coin. Turn to your left and jump onto a smaller circular platform that descends to a lower catwalk.
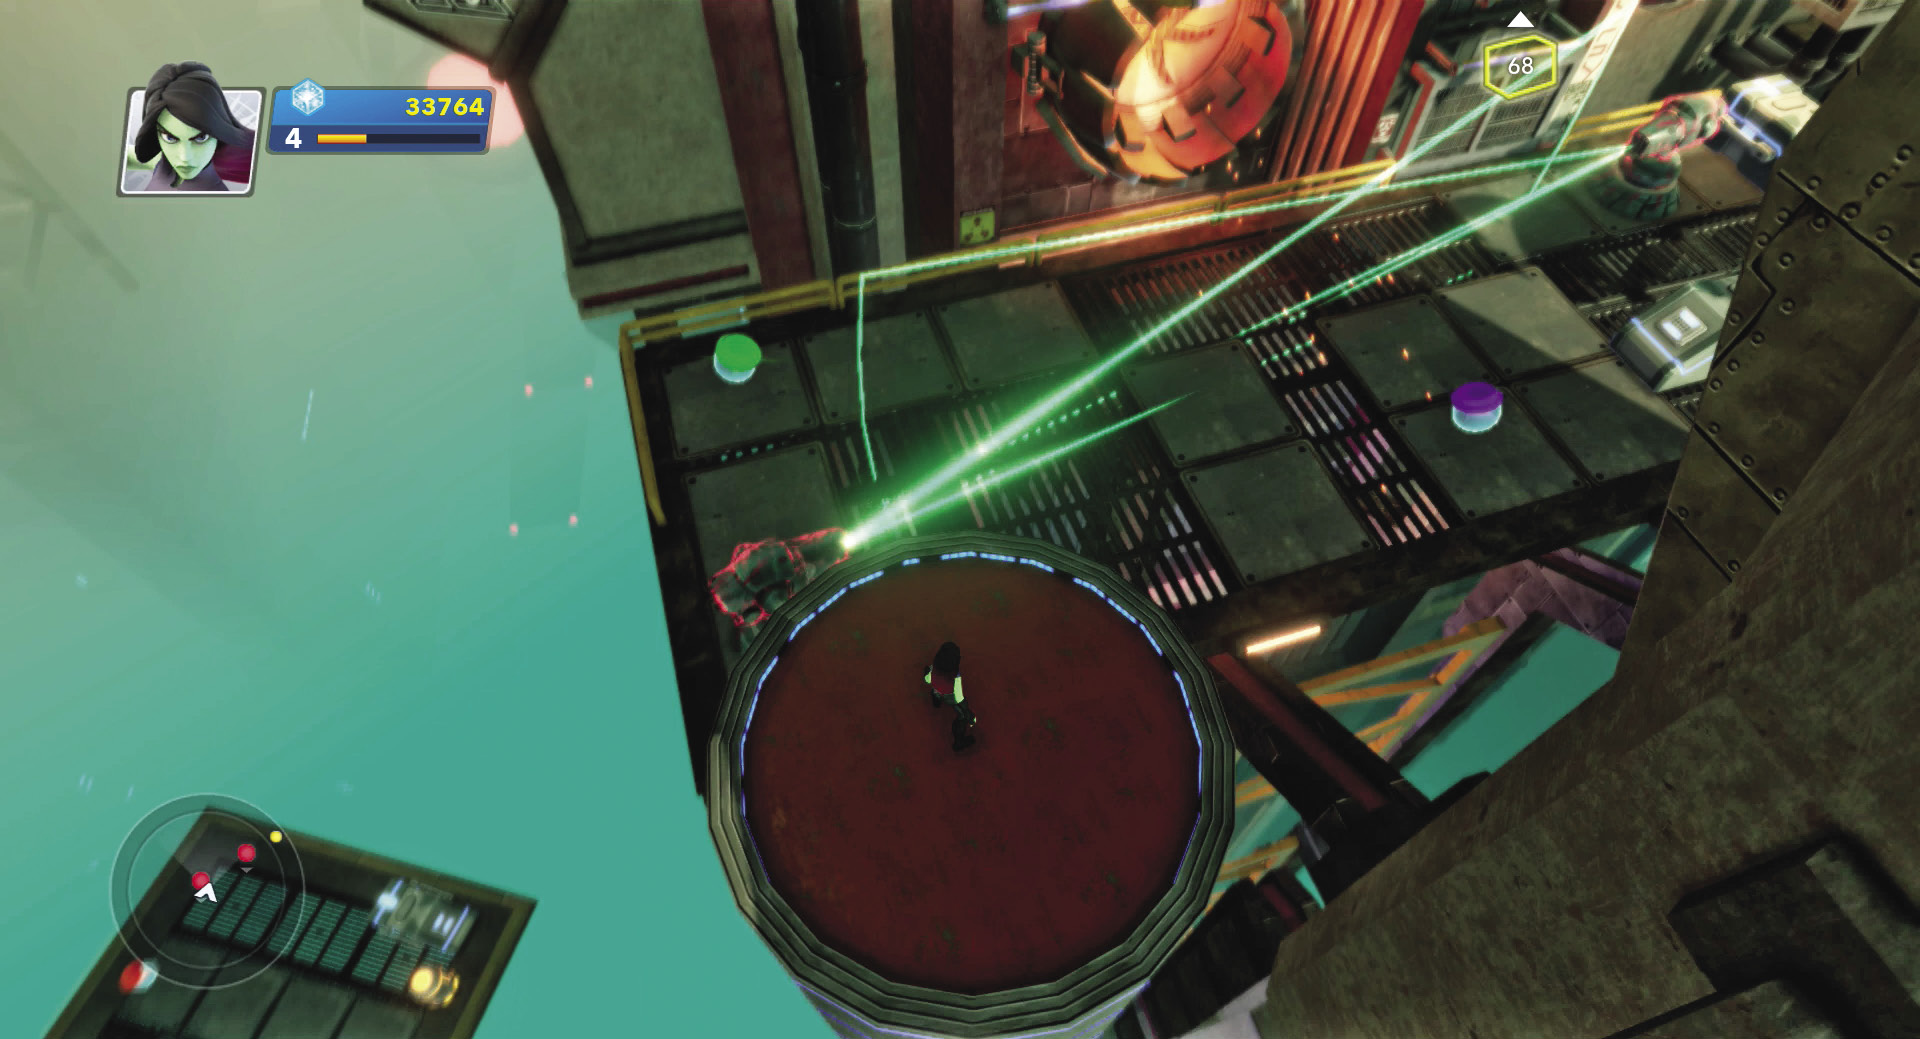
Creep to the edge and watch below. Two omni-blaster’s scans trace the area. If you drop off and land right next to the closest turret, you can destroy it quickly and remain just out of reach from the second turret’s scan. Once that scan passes, charge over to the second omni-blaster turret and blow it apart before it returns fire.
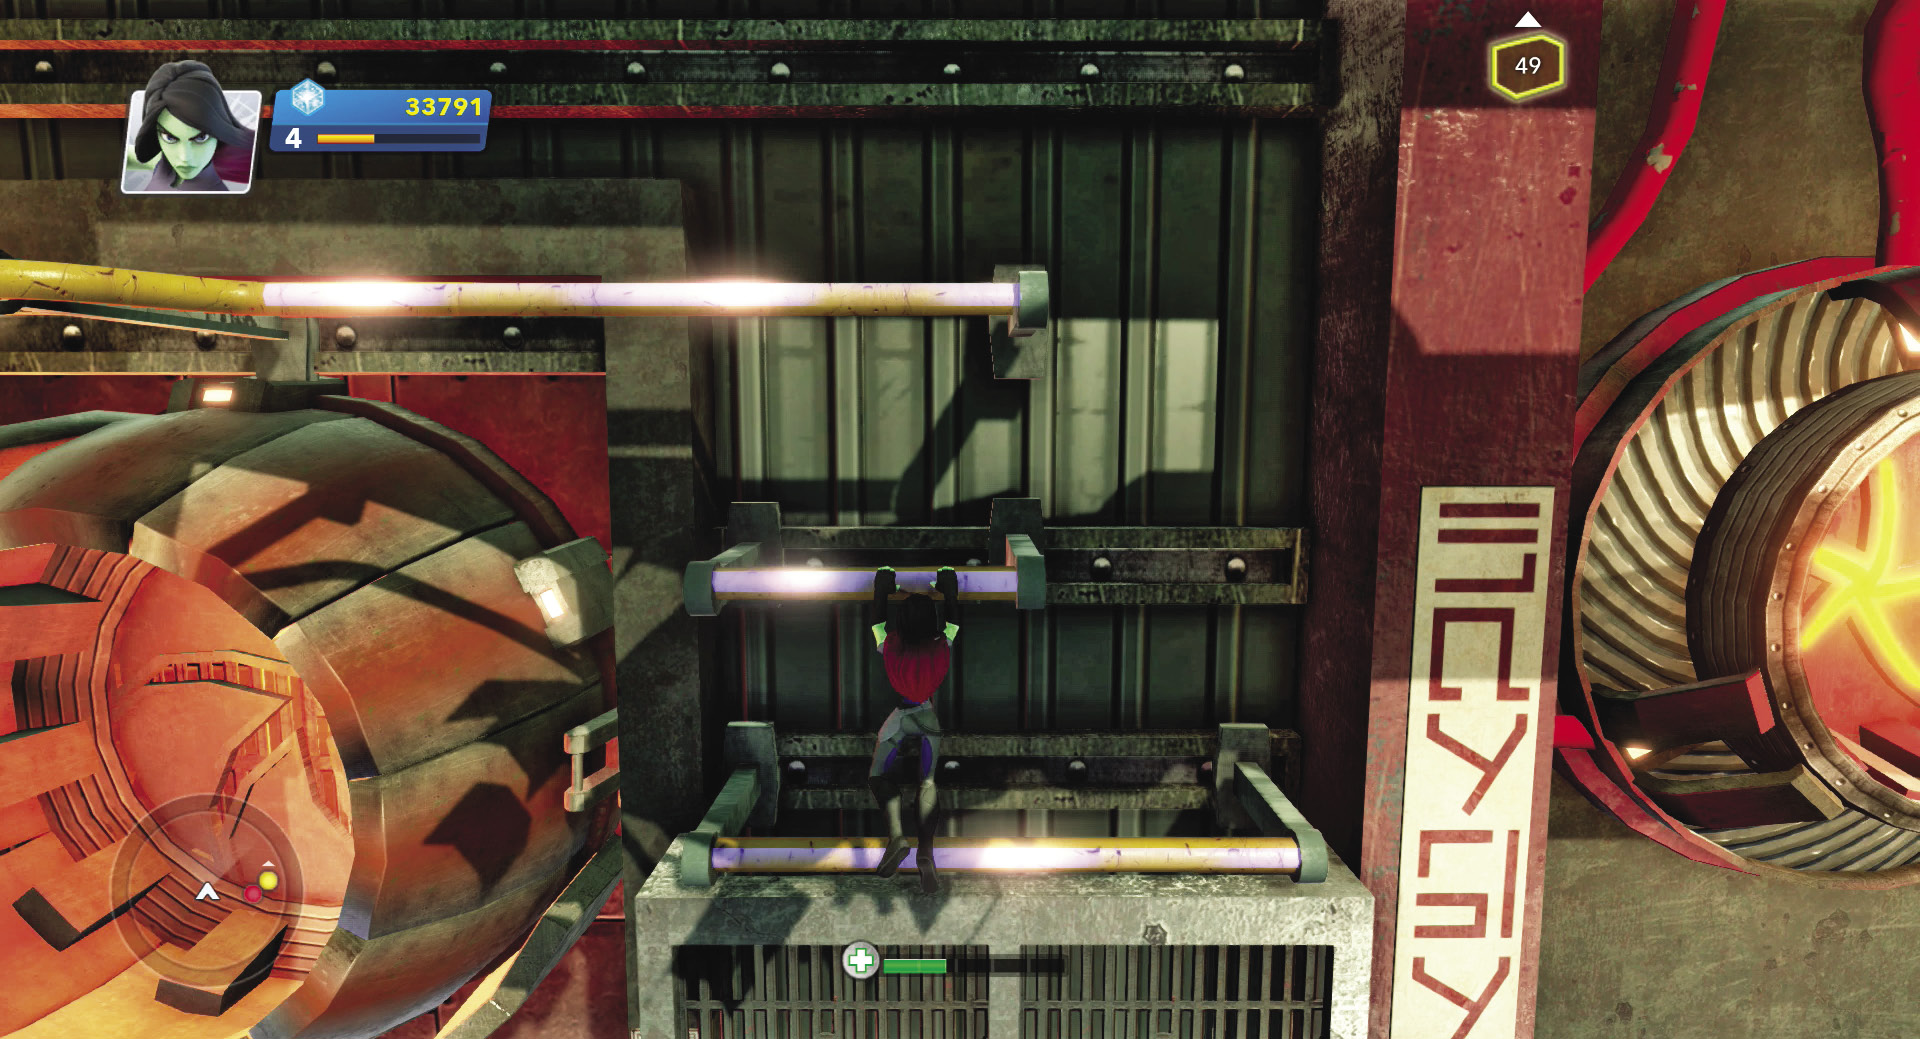
Spring over to the last platform to destroy one final omni-blaster turret. Once you do this, you can freely climb around the area without getting pelted by enemy laser fire. Return to the blue rails next to the incinerator and collect a Nova Crossover Coin as you climb the rails to the upper levels. Navigate the rail system until you reach a glowing blue pole that takes you up to the top of a square platform.
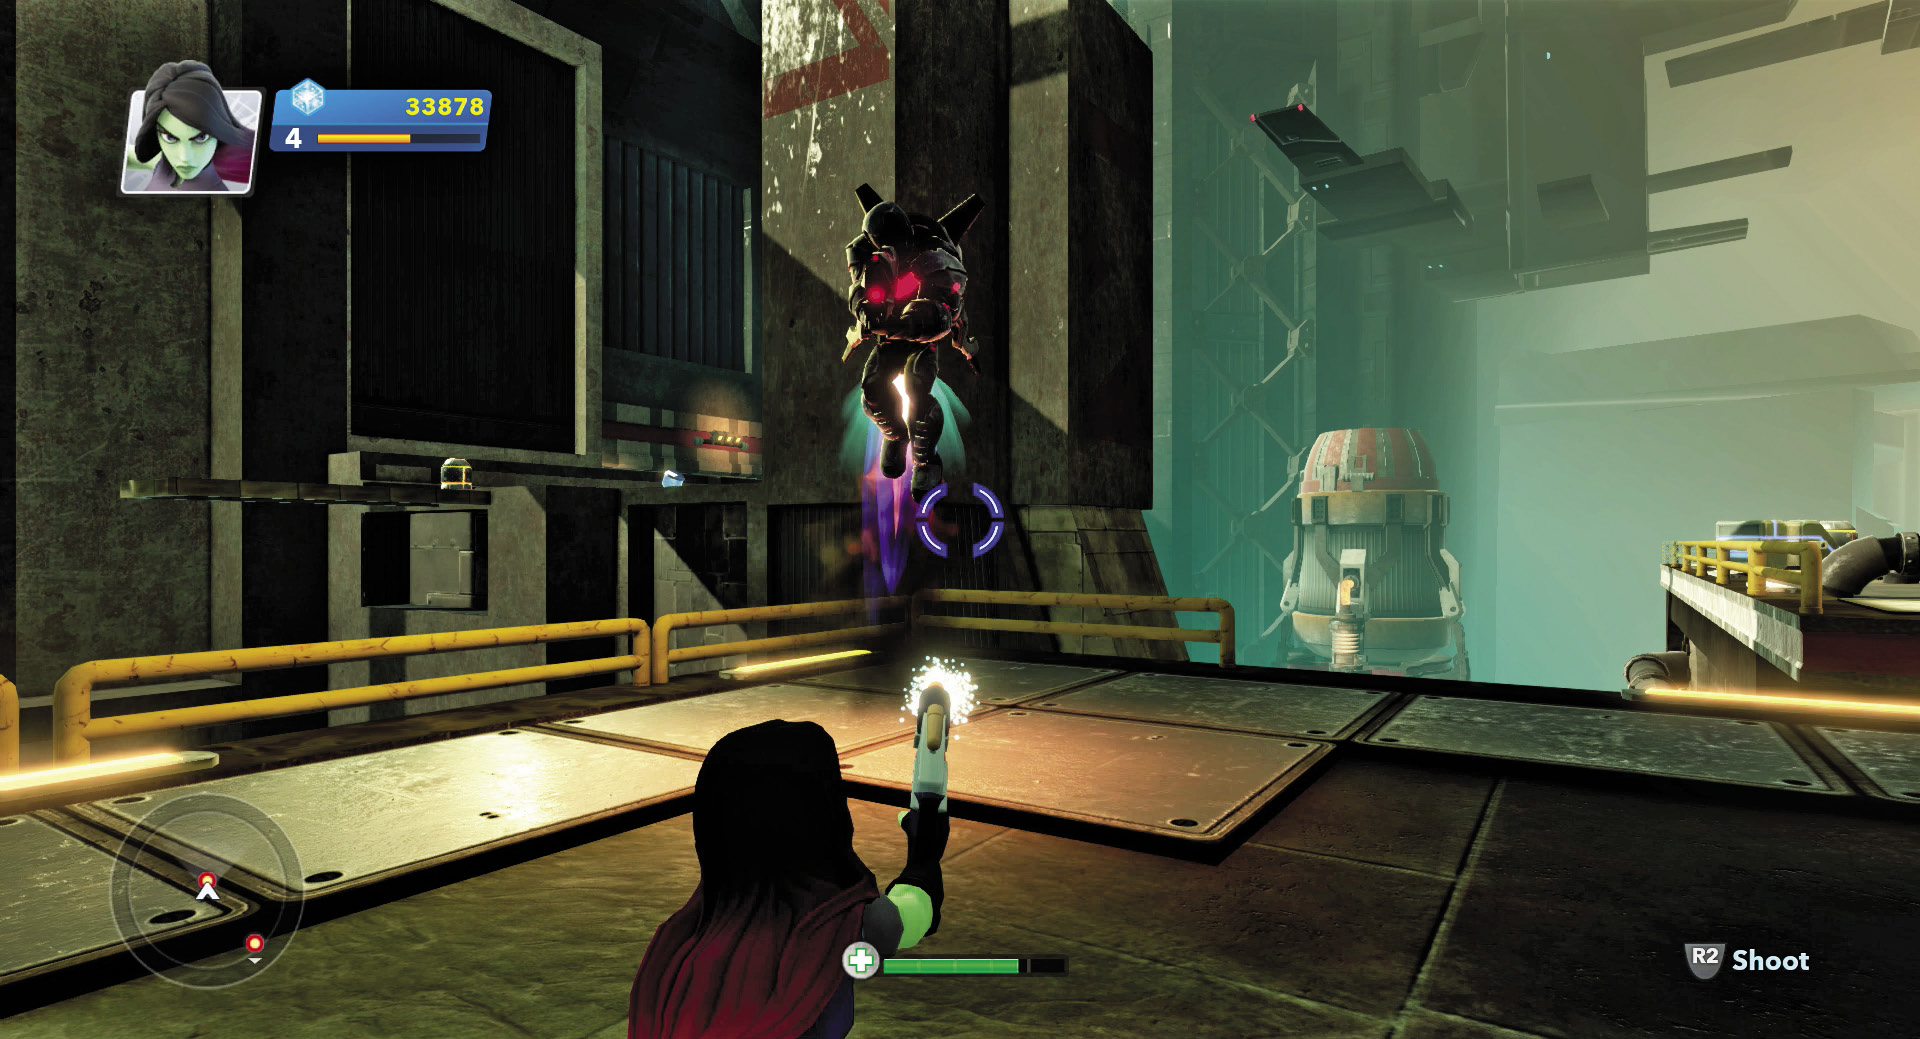
Cut through the two omni-blaster turrets that appear atop the platform, then go after the Flying Sakaarans. Rely on your blaster as you circle around the platform, avoiding the Sakaaran laser fire while providing accurate laser fire of your own. When you have no more targets, leap off the platform to the two small, circular platforms that rise and fall slowly.
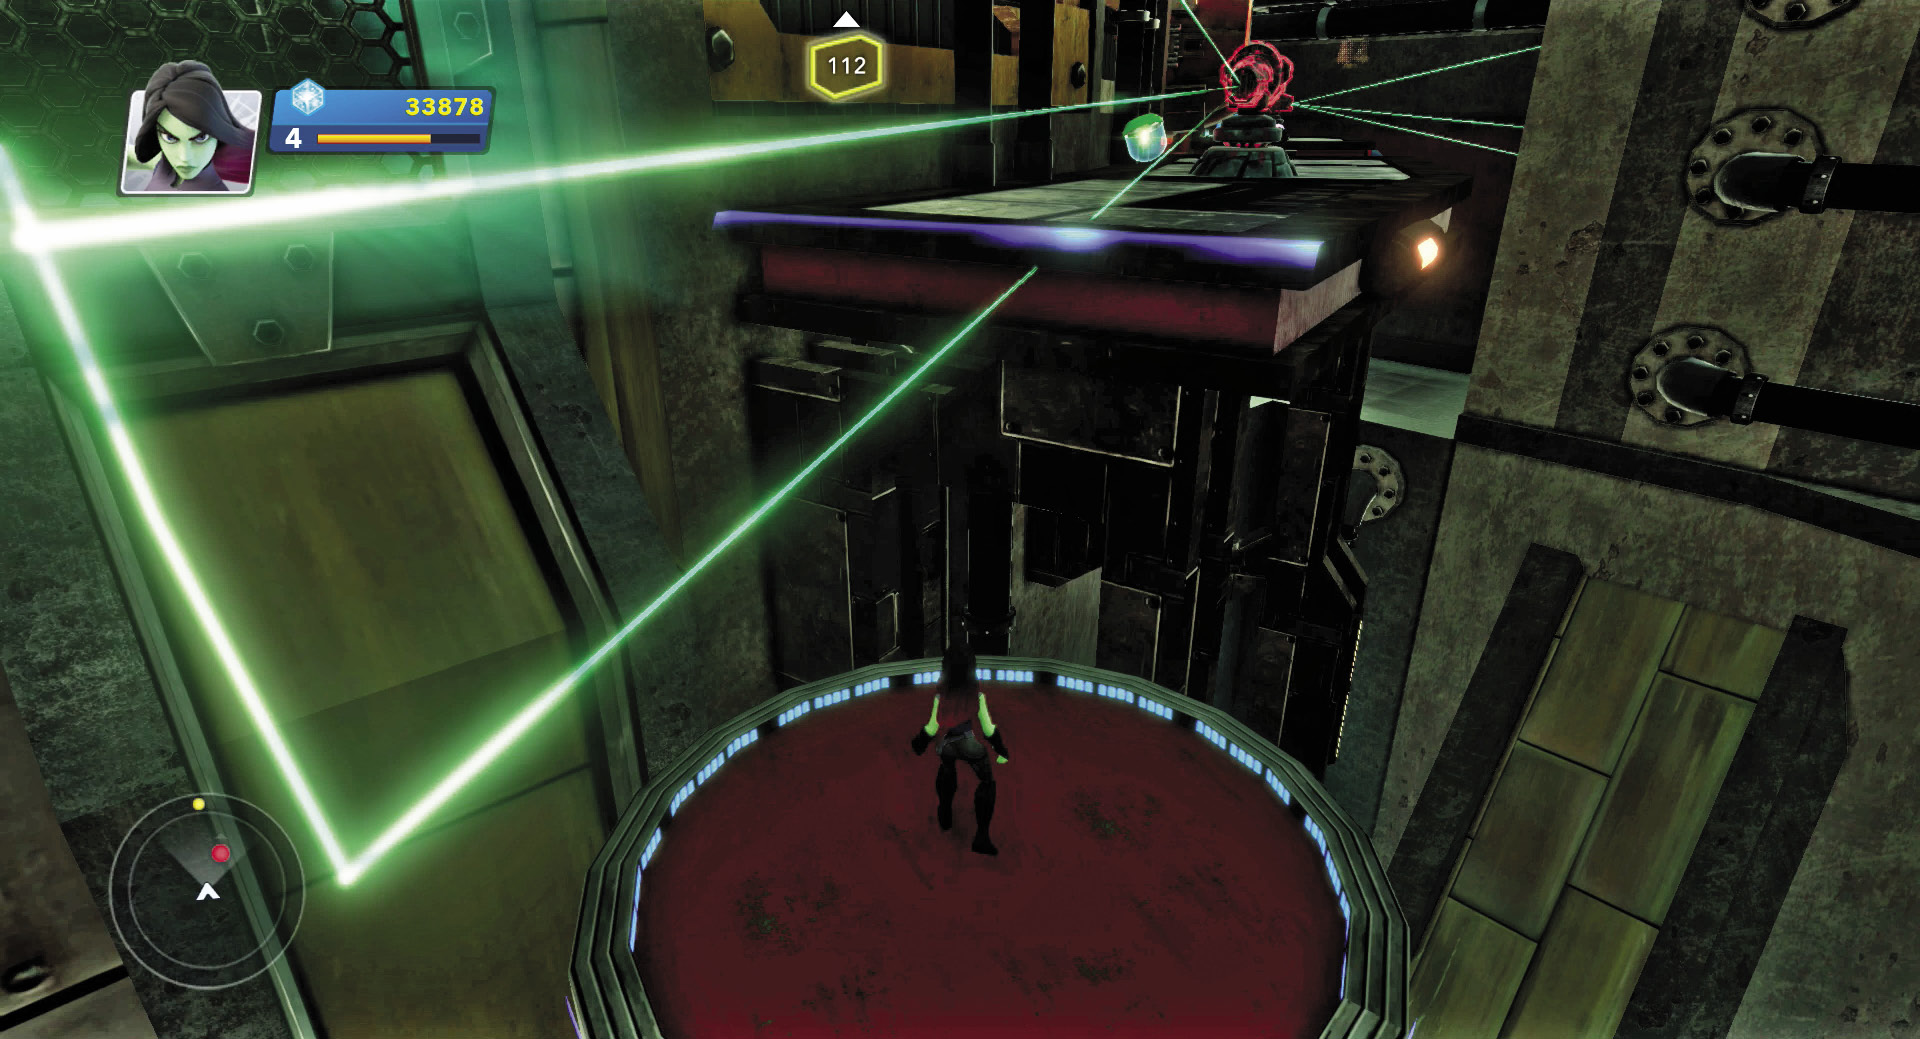
Ride the second of the circular platforms up to a new level with an omni-blaster turret. Wait for the turret’s scan to pass overhead, then jump up to the platform and quickly dispatch the turret. A second turret guards the next area. Jump on the horizontal blue rail and slide down to the turret before it can lock on to you. Rip the turret apart, then turn the corner and jump past two more incinerators. Climb up the final ledge and cut up the last omni-blaster turret that guards the entrance to Cosmo’s control room corridor.
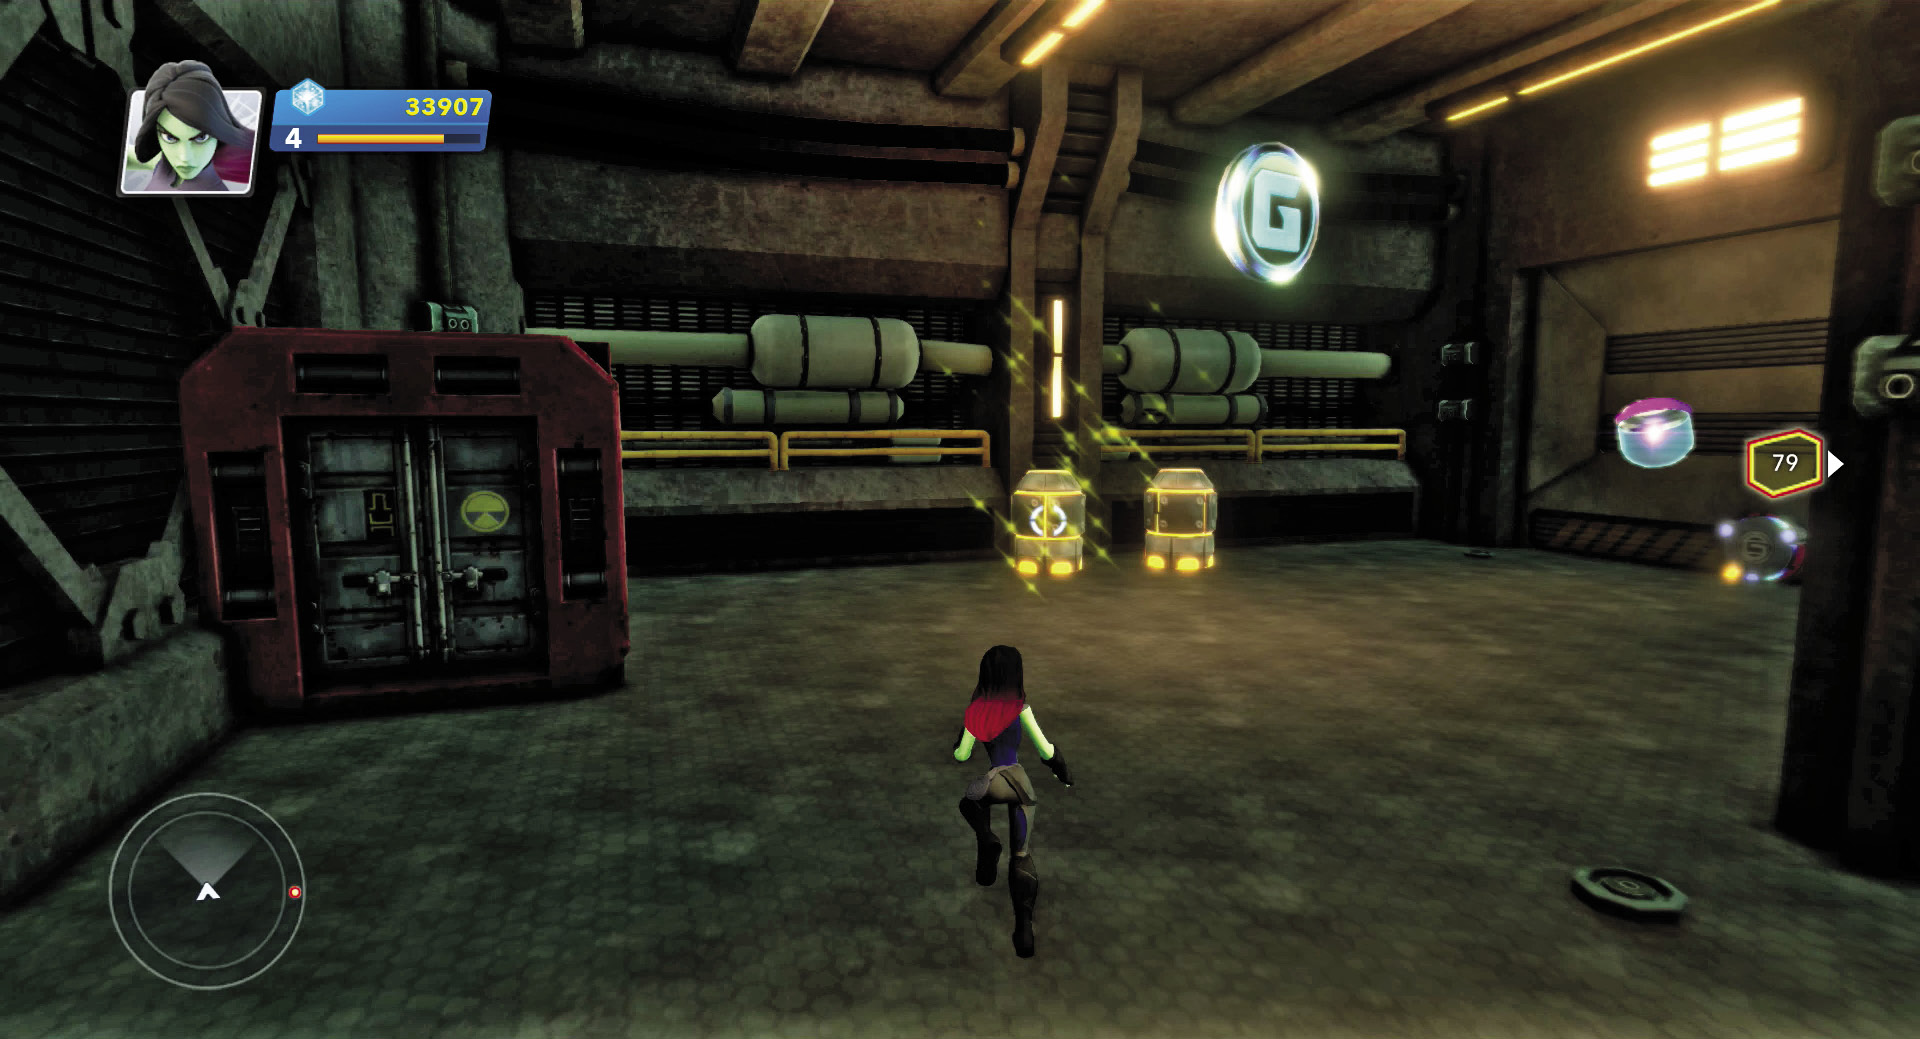
Grab the Guardians token that unlocks the Starblaster and earns you the “Ticket to Ride” feat. Now that you have access to the flying Starblaster, it’s much easier to reach the higher platforms and balconies around Knowhere. Punch the access panel to the gate that opens into Cosmos’ control room corridor.
Feat Complete: Ticket to Ride
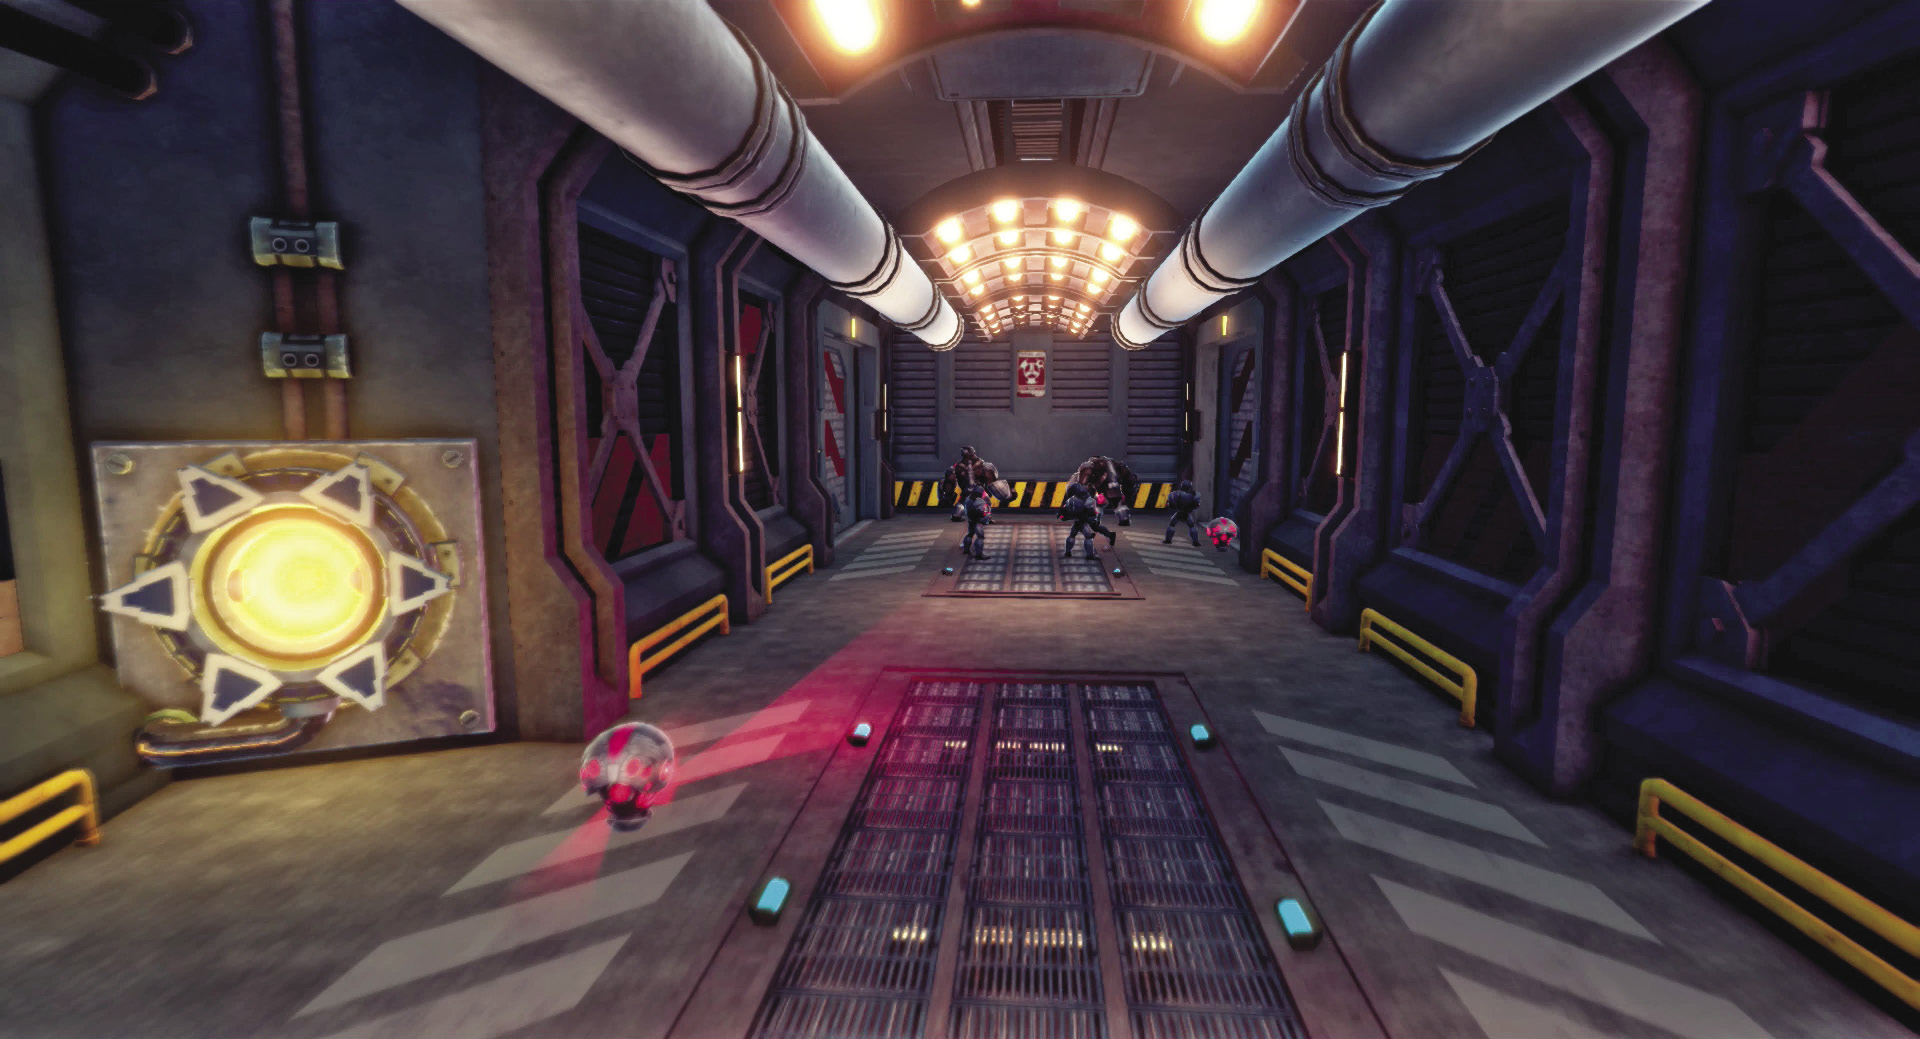
Sakaarans line up at the control room gate trying to get in. They won’t see you coming, so avoid the Scarabs that skitter down the corridor at you and pick up a fuel cell from the dispenser on the left side. Carry the fuel cell ahead to the socket on the left wall and jam it in. Knowhere omni-blaster turrets spring out of the corridor and unload on the backs of the Sakaarans. Before they can figure out what is happening, the defenses take out all the Sakaarans.
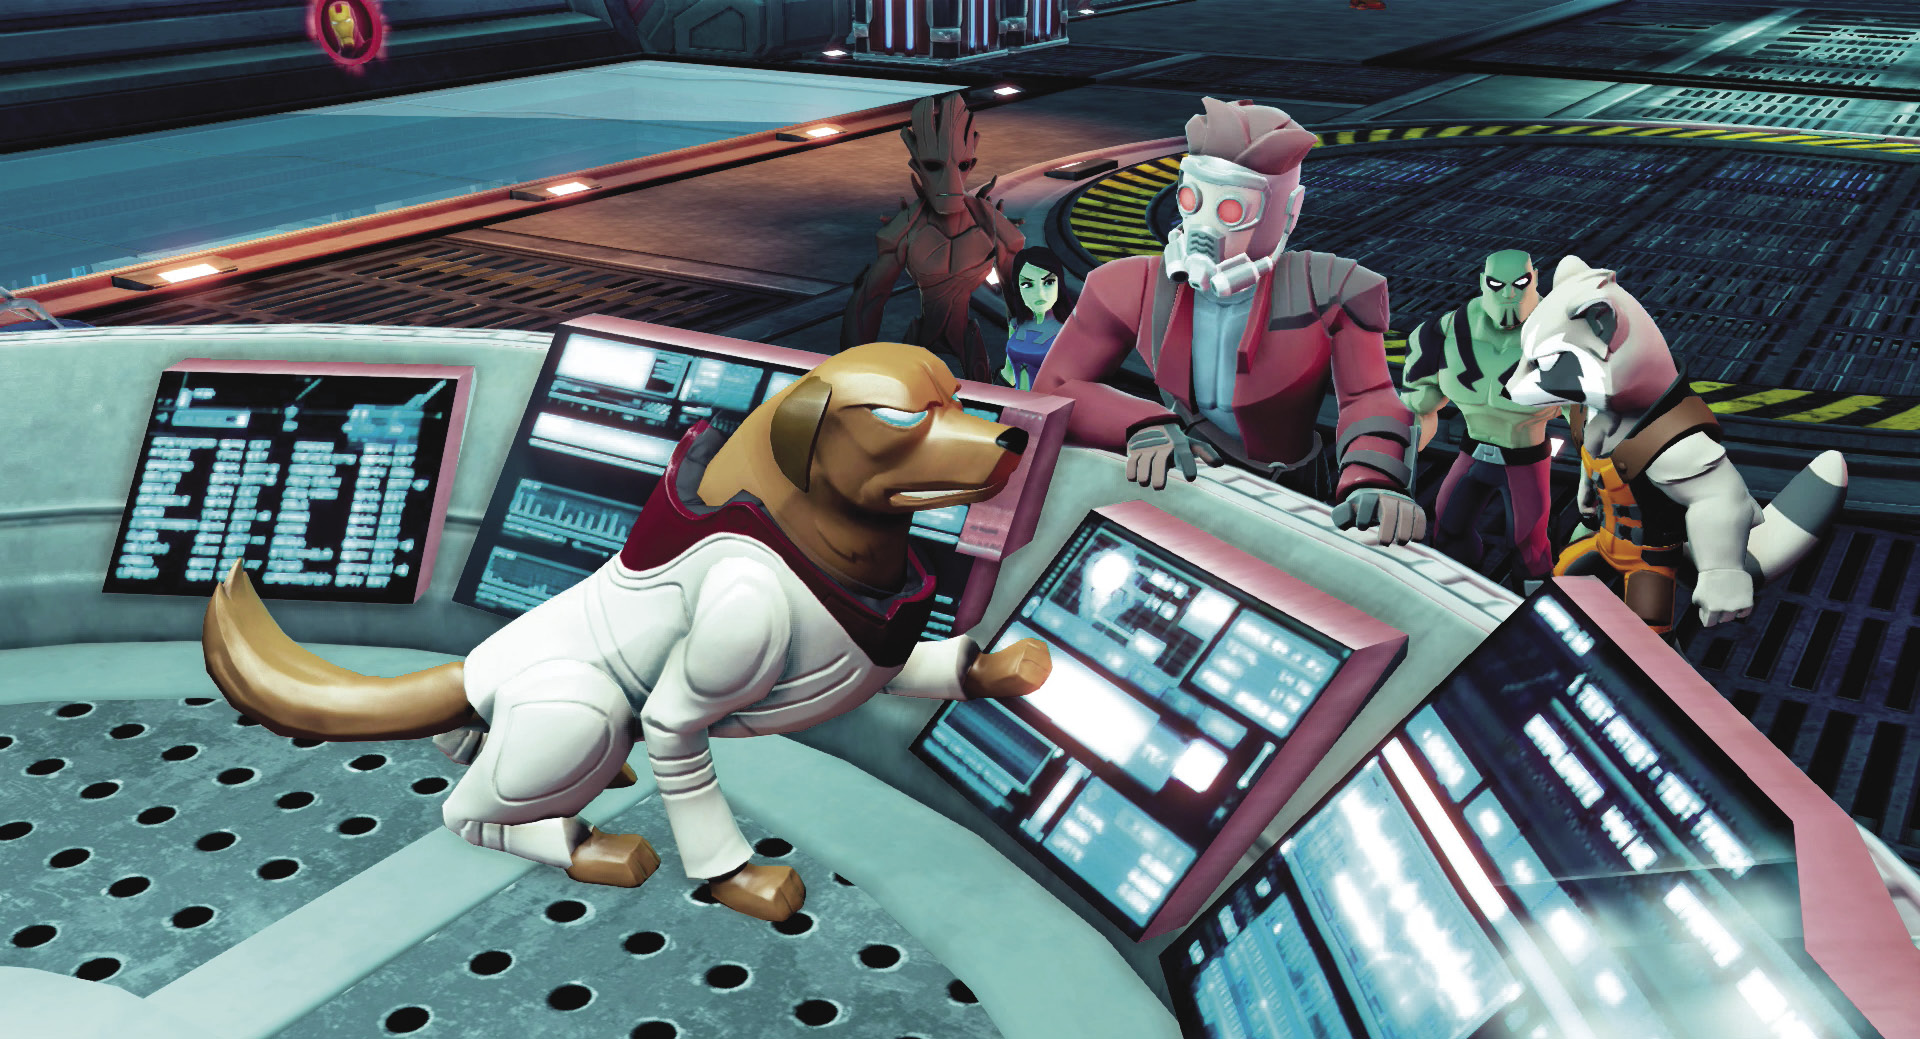
You finally get to meet Cosmo and discover he’s a telepathic astronaut dog! Since you have a genetically engineered talking raccoon in your group, maybe that’s not so weird after all. Cosmo is appreciative of your efforts to help him against the Sakaarans and introduces you to Yondu, who will be your main mission giver from here on out.
Feat Complete: Canine Encounter

New Challenge Available:Intruder Alert
Wild Blue Yondu
Living Quarters (Rail Slide View)
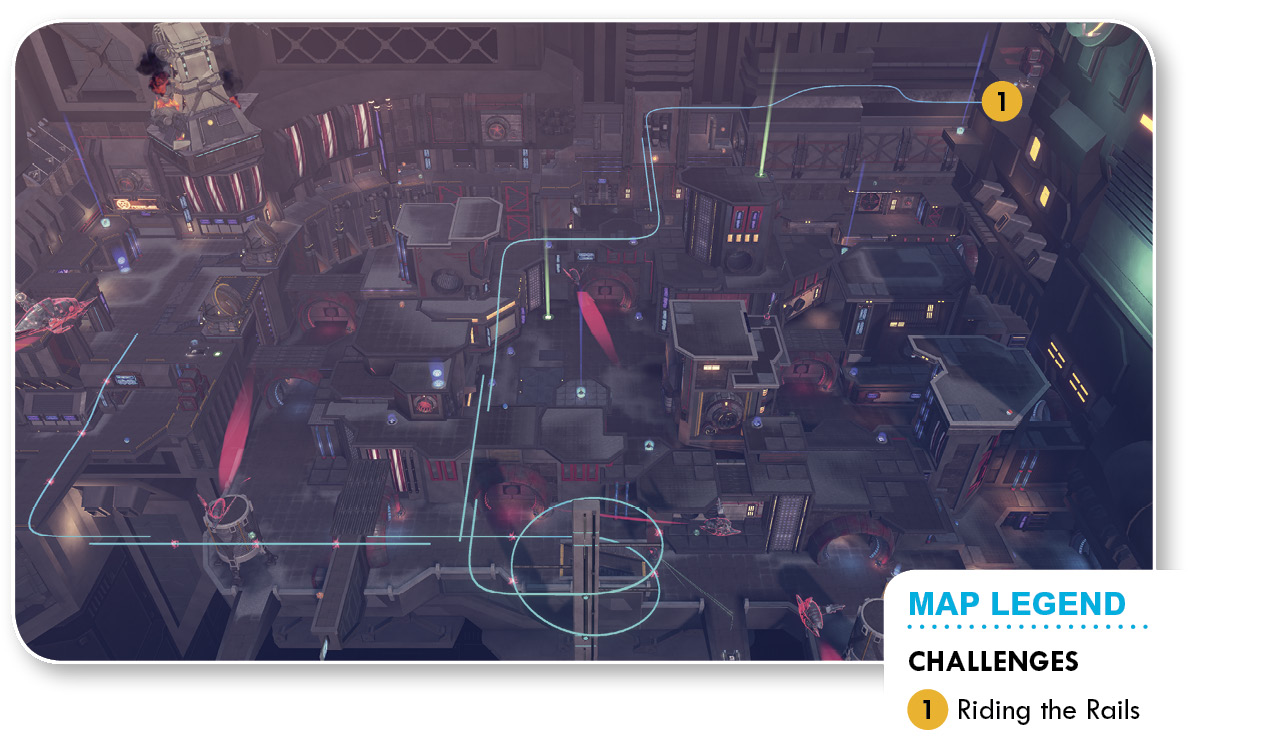
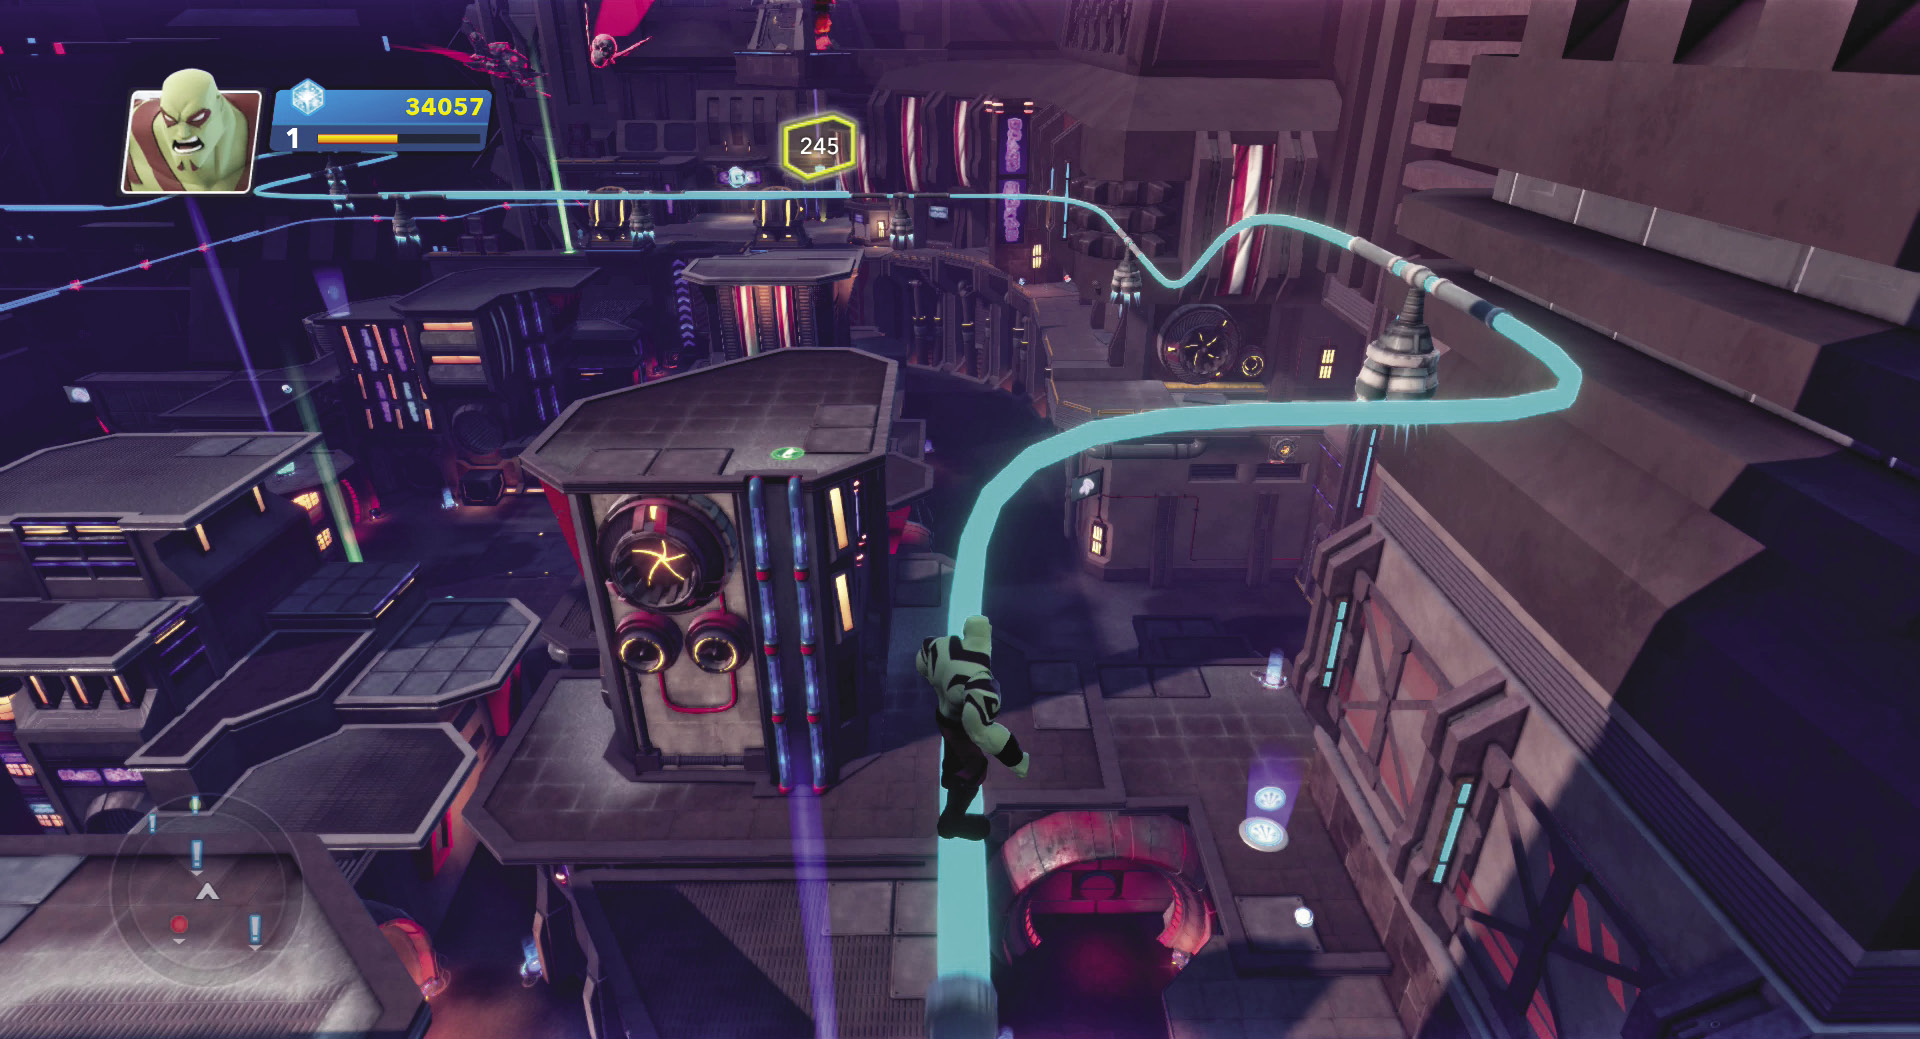
Yondu immediately gives you this mission after you complete Cosmo’s “Time For Paws.” Enter the upper balcony of the Living Quarters and jump up on the green rail system that runs high above the main platforms below. Ride the green rail as it curves out to the right and then back to the left.
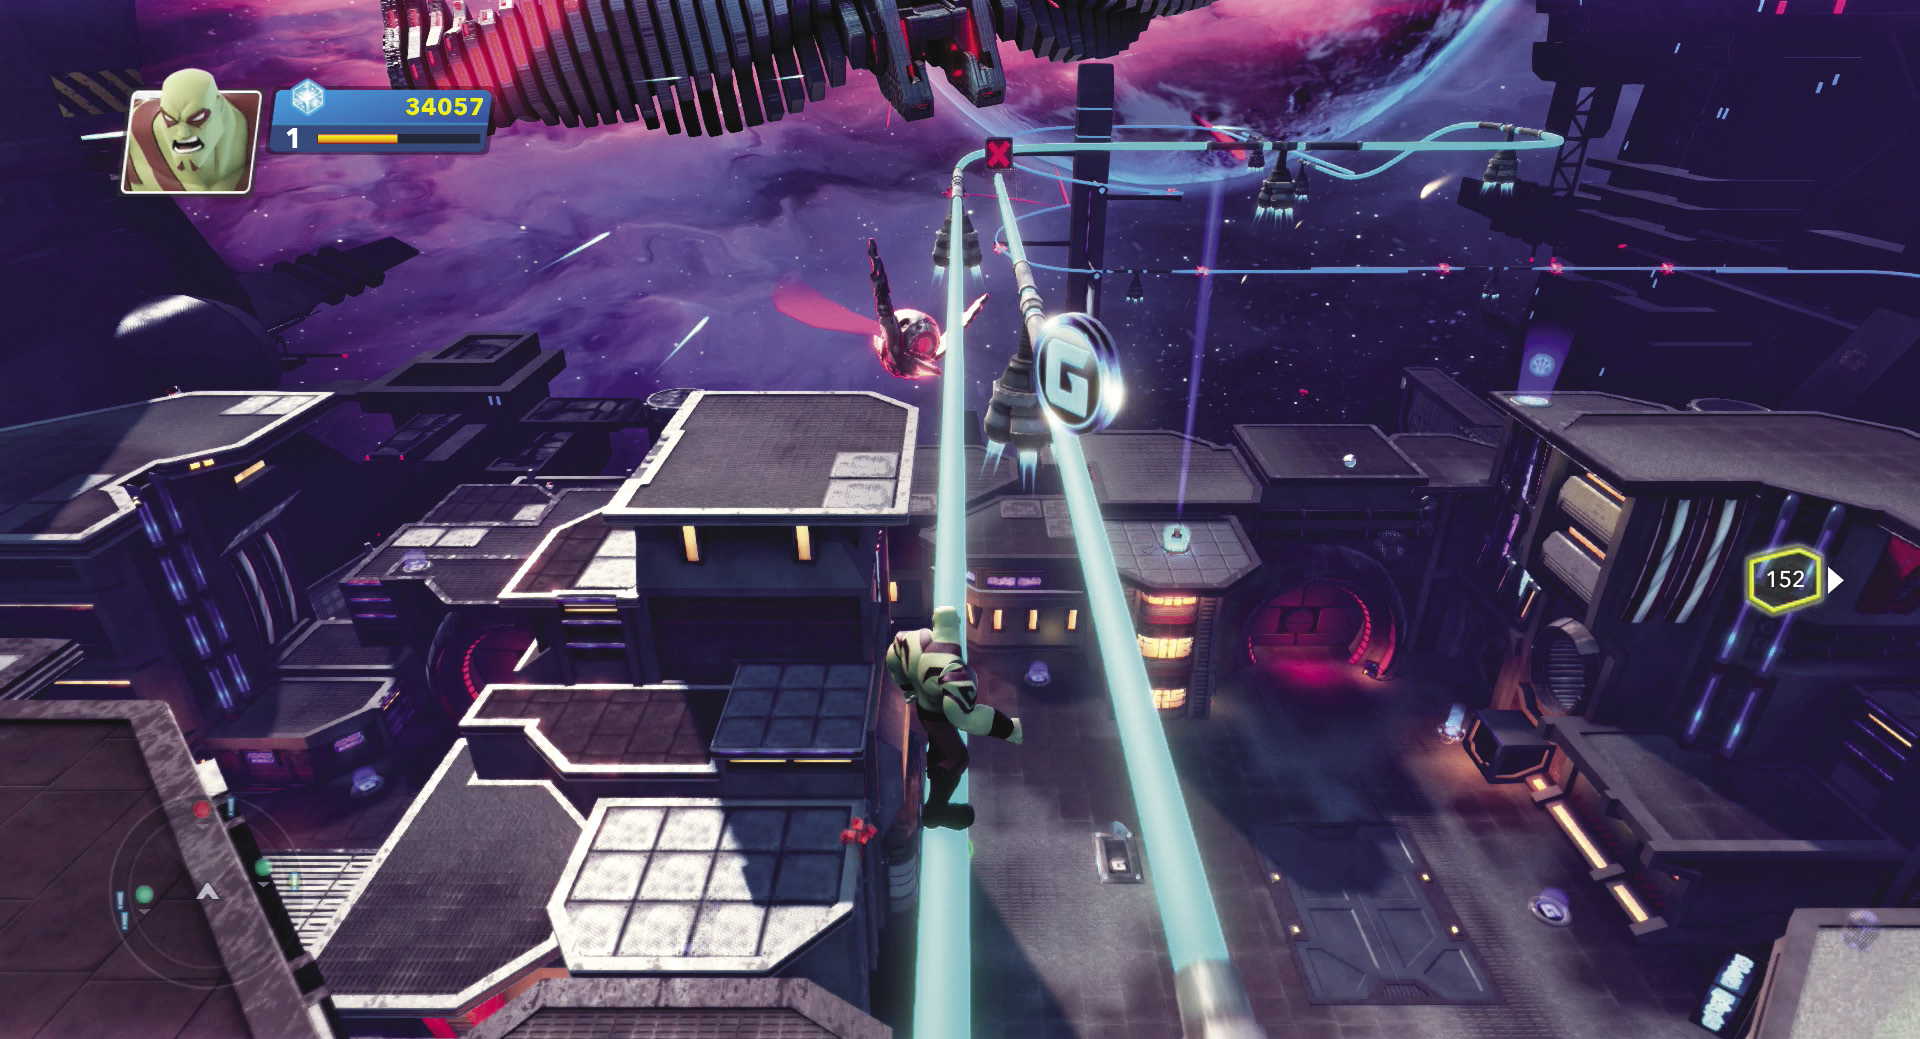
On the next stretch, look to jump on a short rail to the right if you need the Guardians token that unlocks the Starfoil. Jump over to that rail, grab the coin, and immediately jump back to the main rail before you crash into the end post.
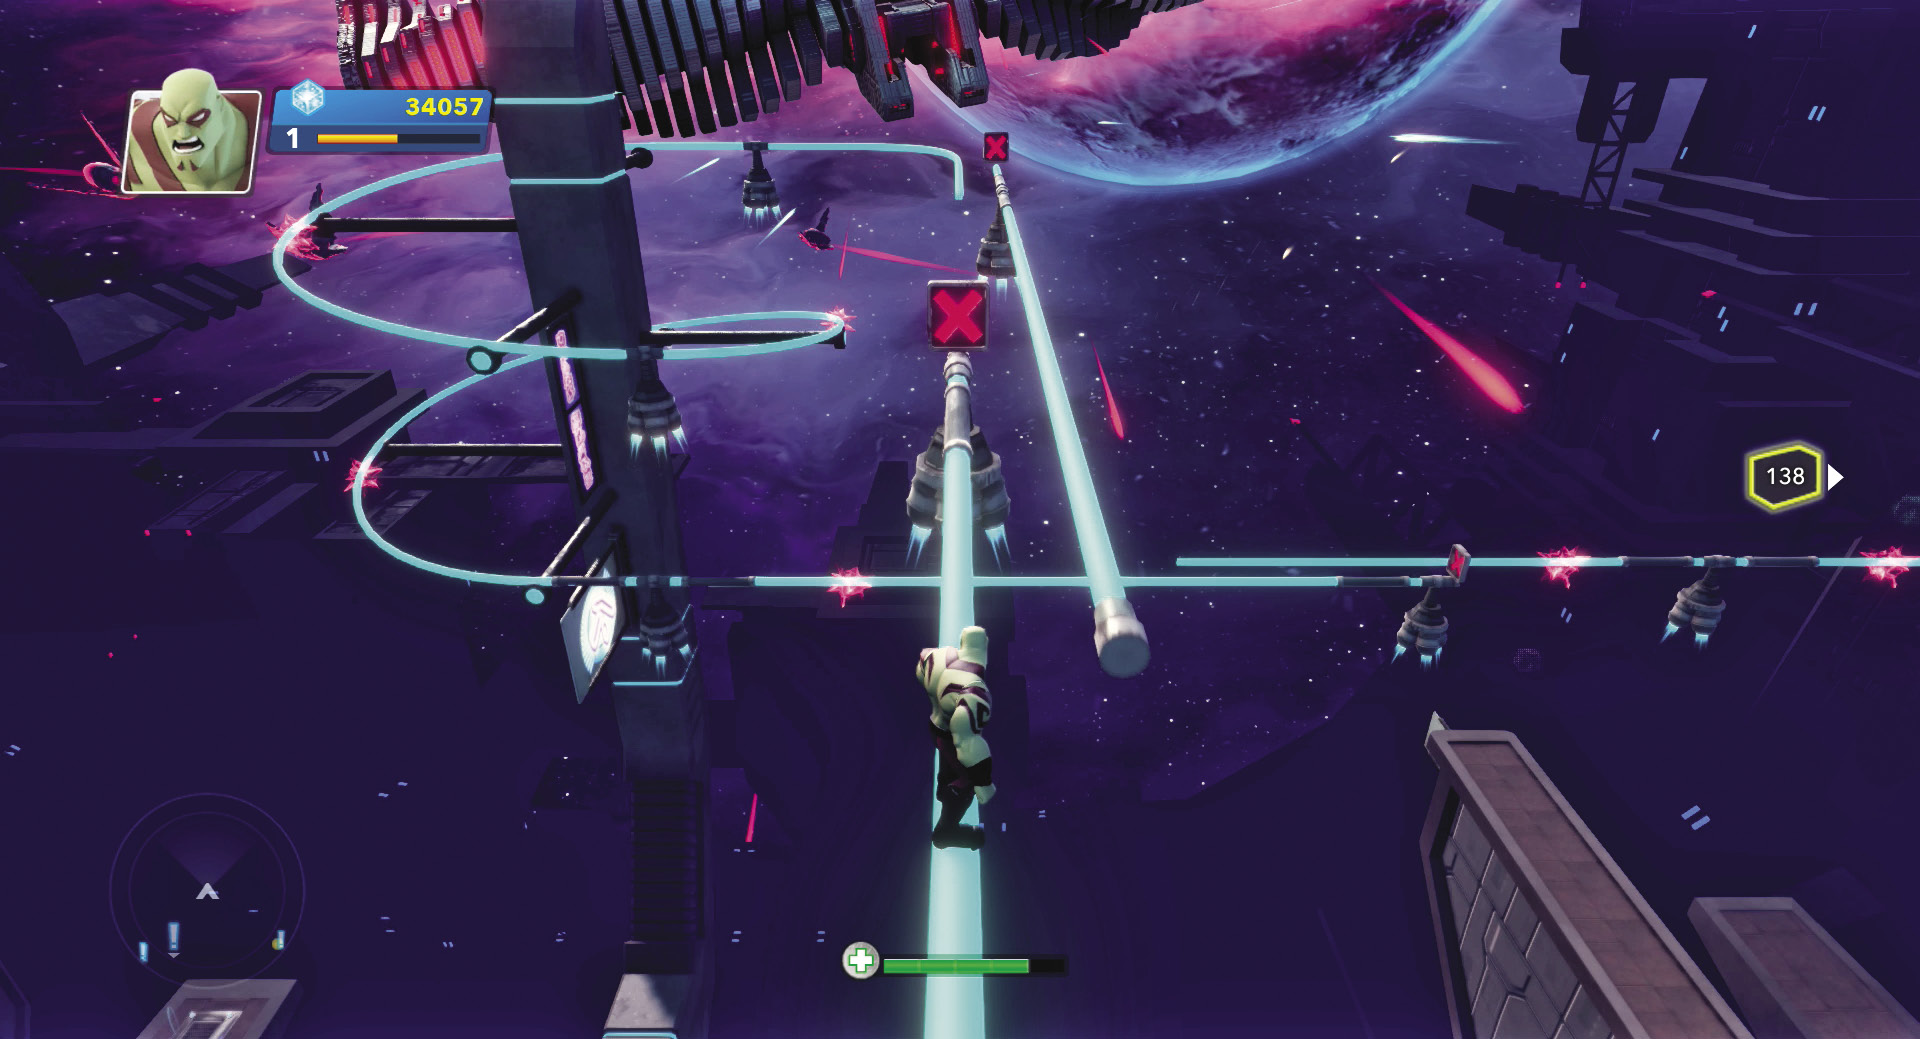
Back on the main rail, wait until you reach the end of the first rail. Jump off to a short rail on the right, ride that to the end, then jump back to the left onto the main rail system again as it corkscrews down around a support post.
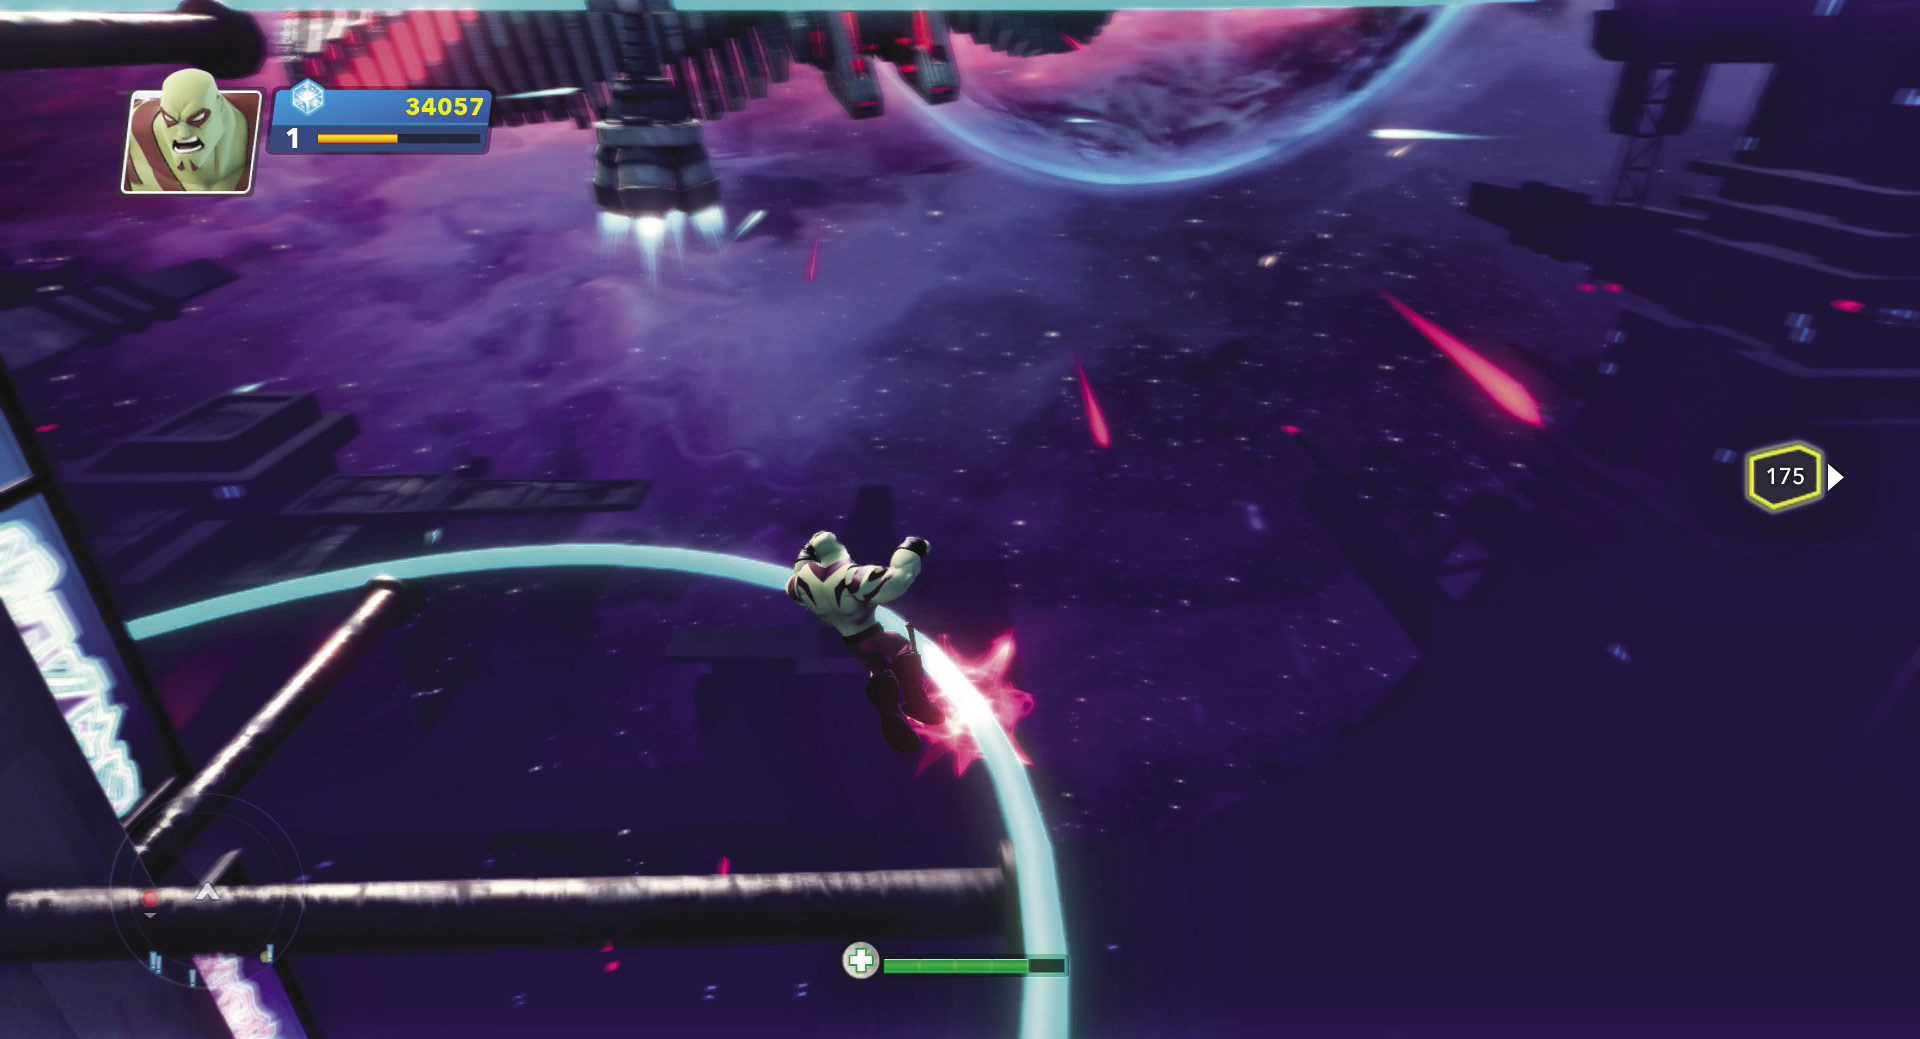
As you descend, jump over the red energy spikes in the rail. These will derail you if you run into them. Leap over three energy spikes as you wind down to the next straightaway.
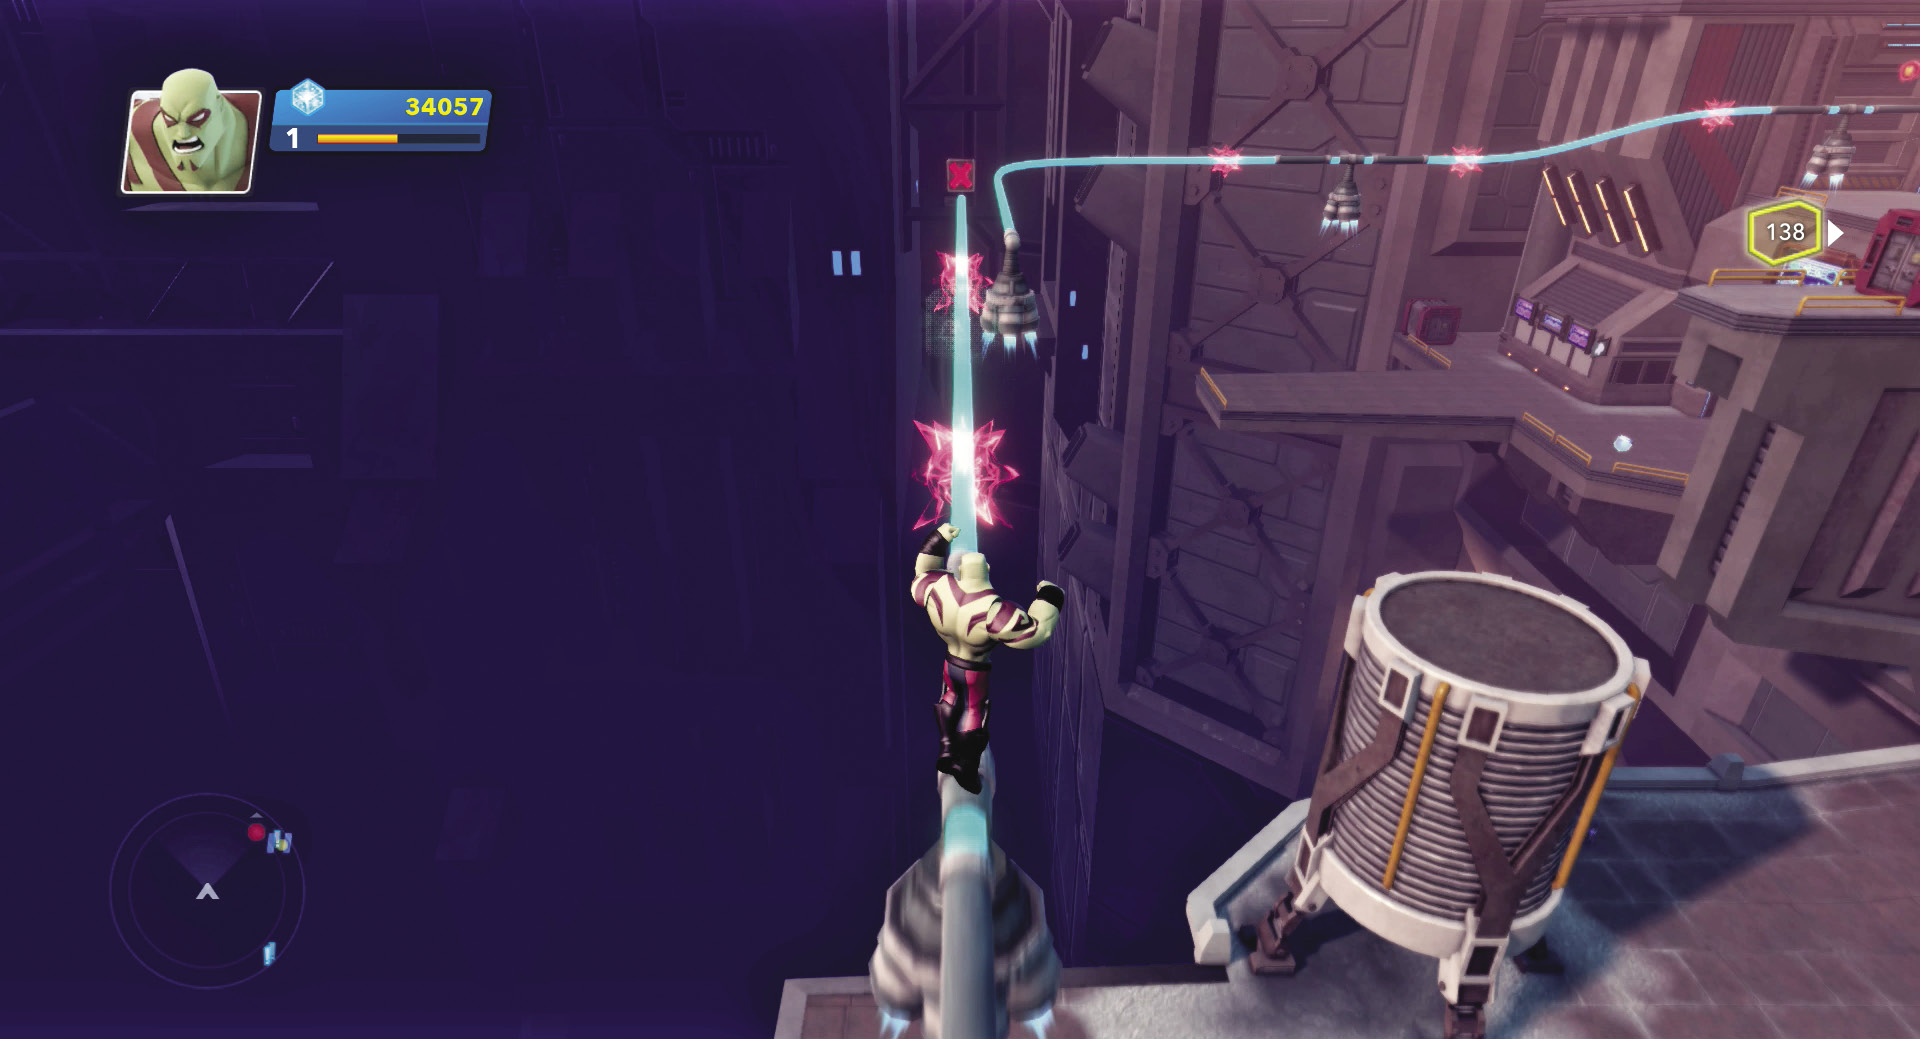
Now comes the hardest part. Jump over a final energy spike and then jump to the left off the current rail before it ends and land on the new rail. Execute a series of rapid jumps to clear the rest of the energy spikes, including one more rail-to-rail jump, and reach the deck near the Mining Zone entrance.
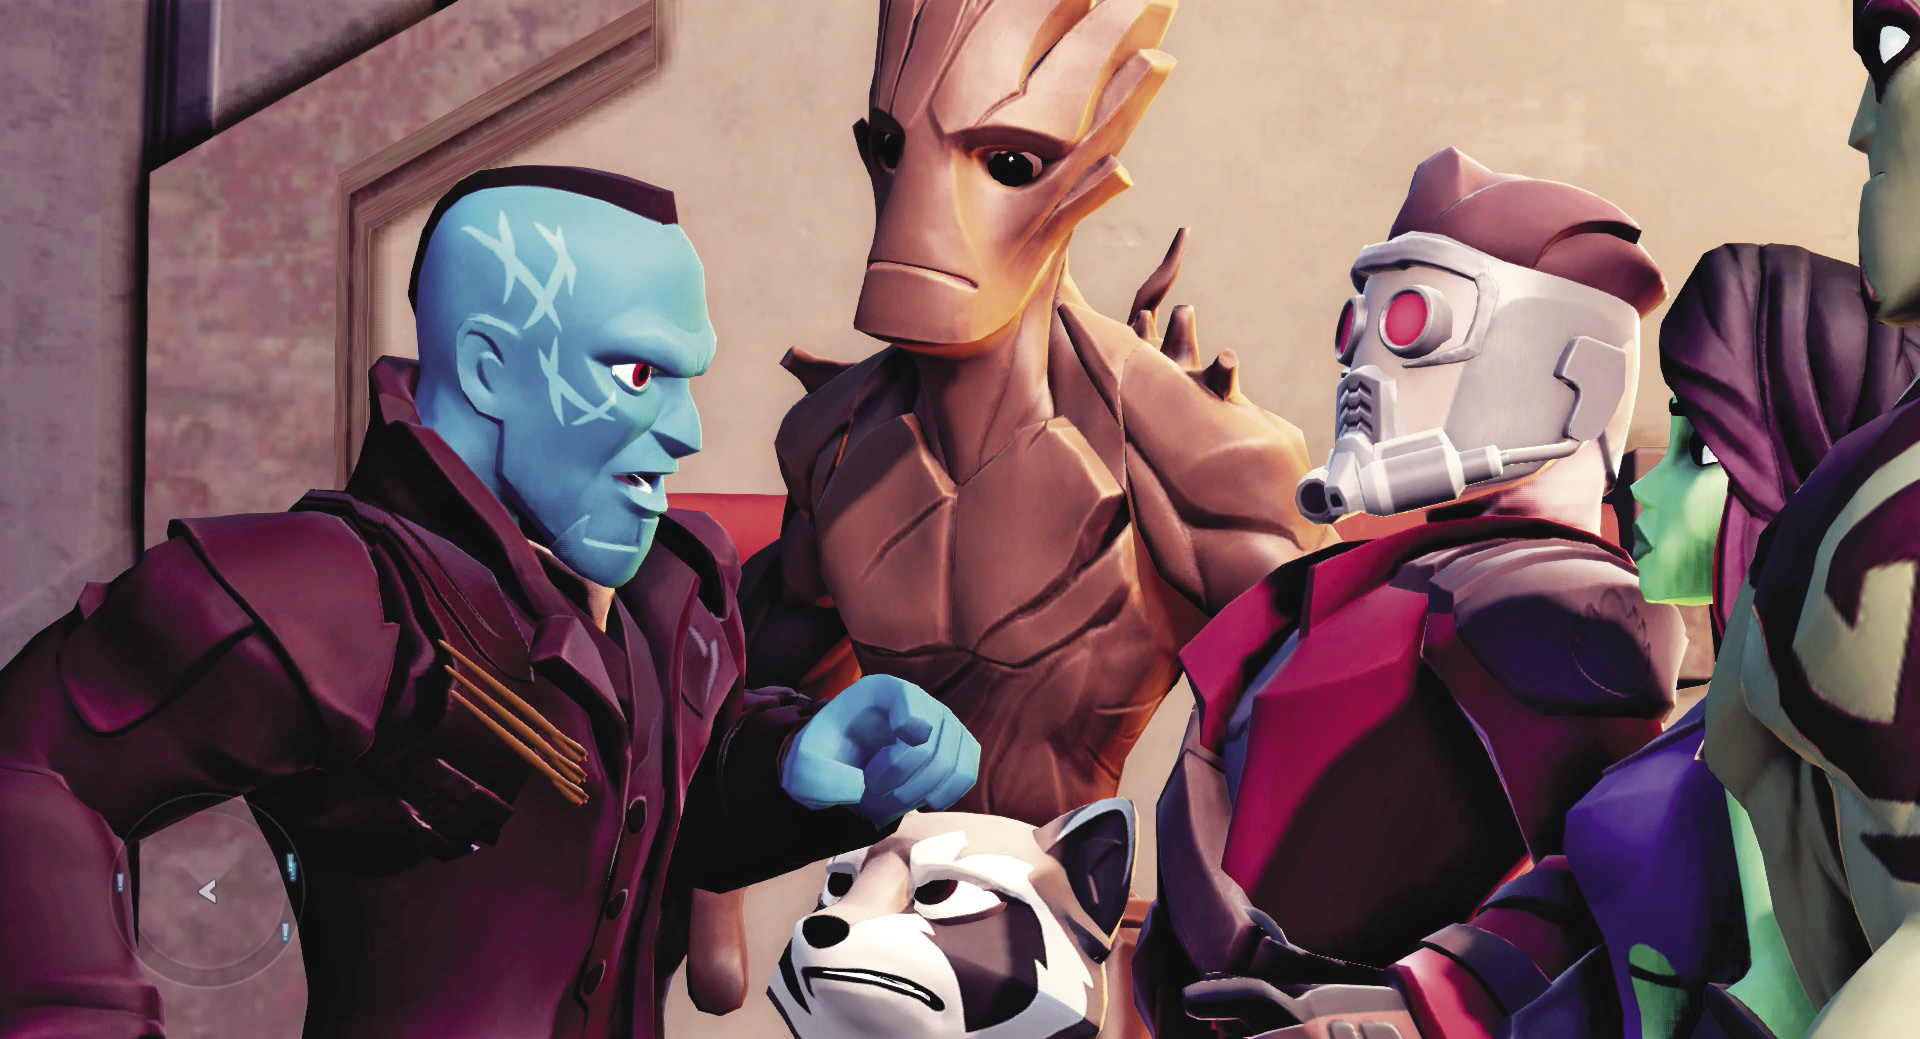
Yondu makes an explosive entrance near the Mining Zone gate. He tells you that Ronan’s weakness is his ship, the Dark Aster, and Yondu has a plan to take out Ronan once and for all.

New Challenge Available:Riding the Rails