
Disney Infinity: Marvel Super Heroes Guide Marvels Ultimate Spider-Man Play Set
Going After the Goblin
Mysterio’s Hideaway

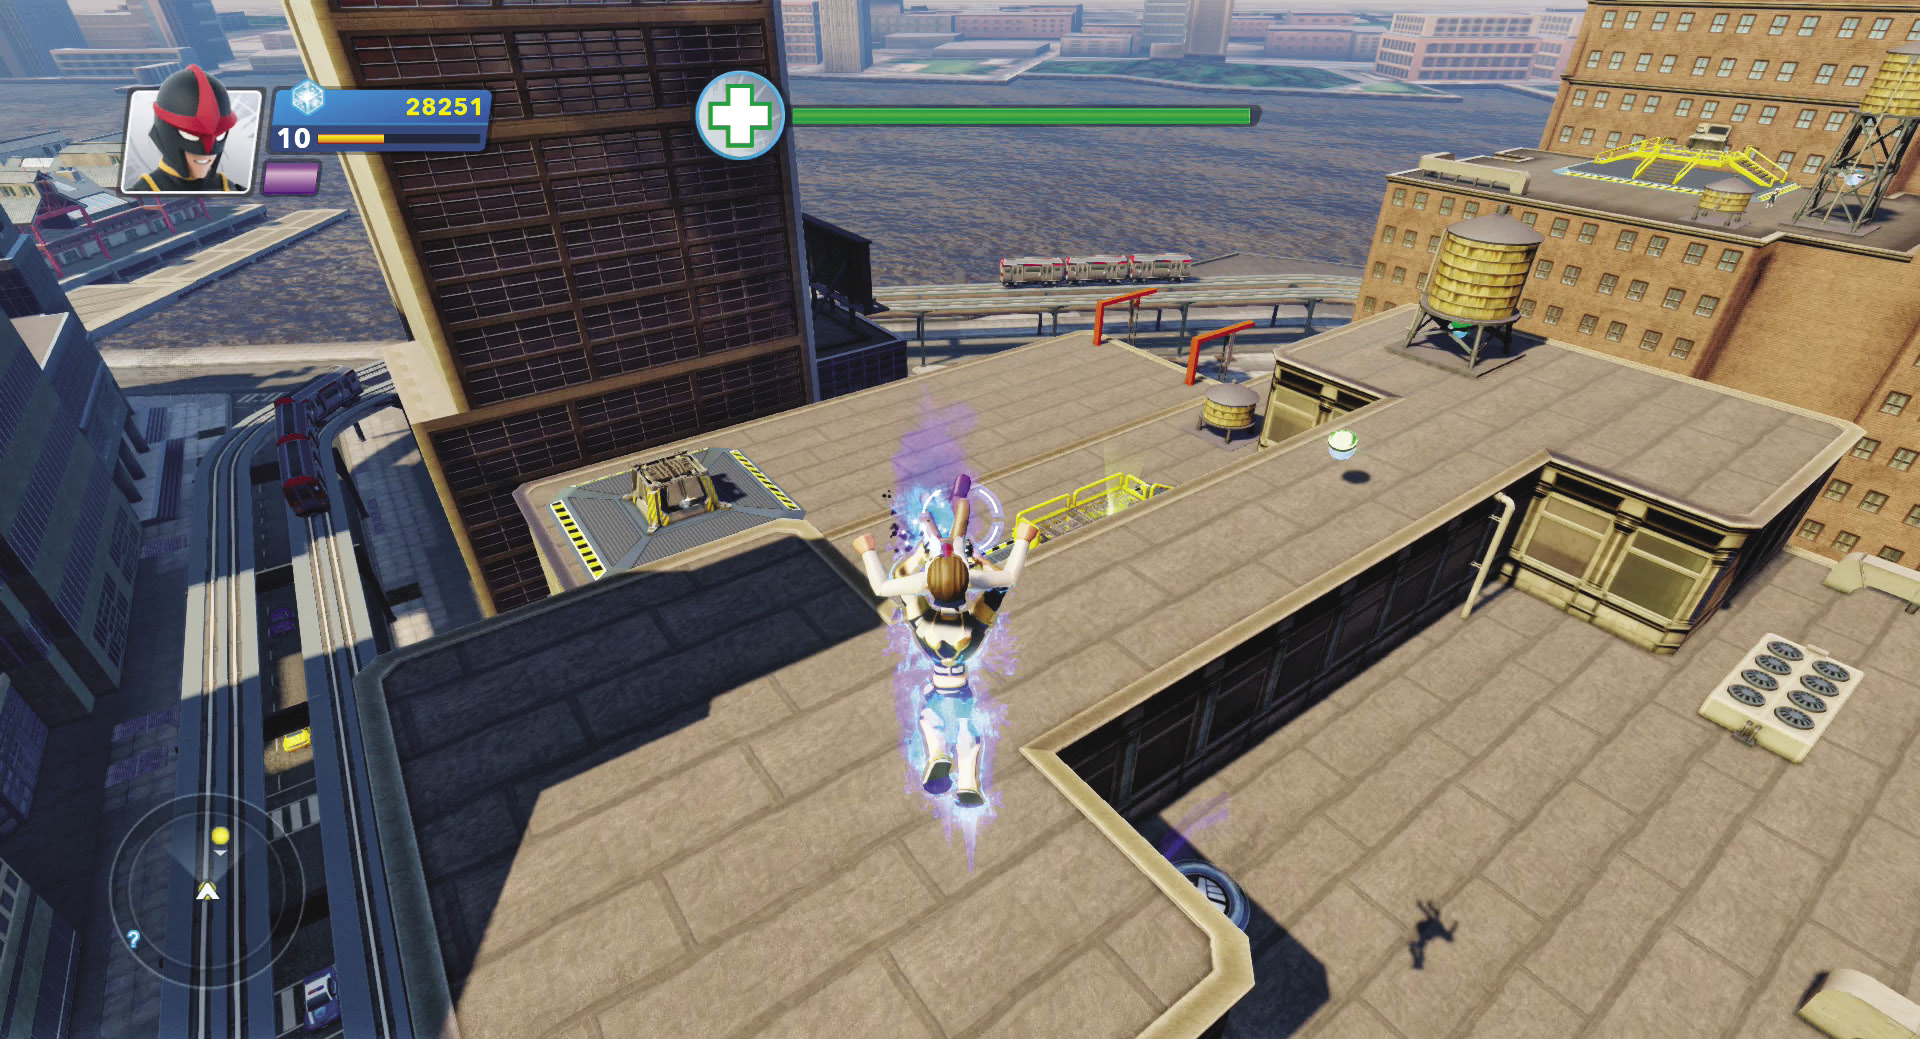
Well, good news—the scientists you helped escort to safety out of Manhattan have given S.H.I.E.L.D. the location of Mysterio’s lair. All you need to do is help some S.H.I.E.L.D. techs set up three radar stations. Pick up the first tech in the street and fly him up to the first control center.
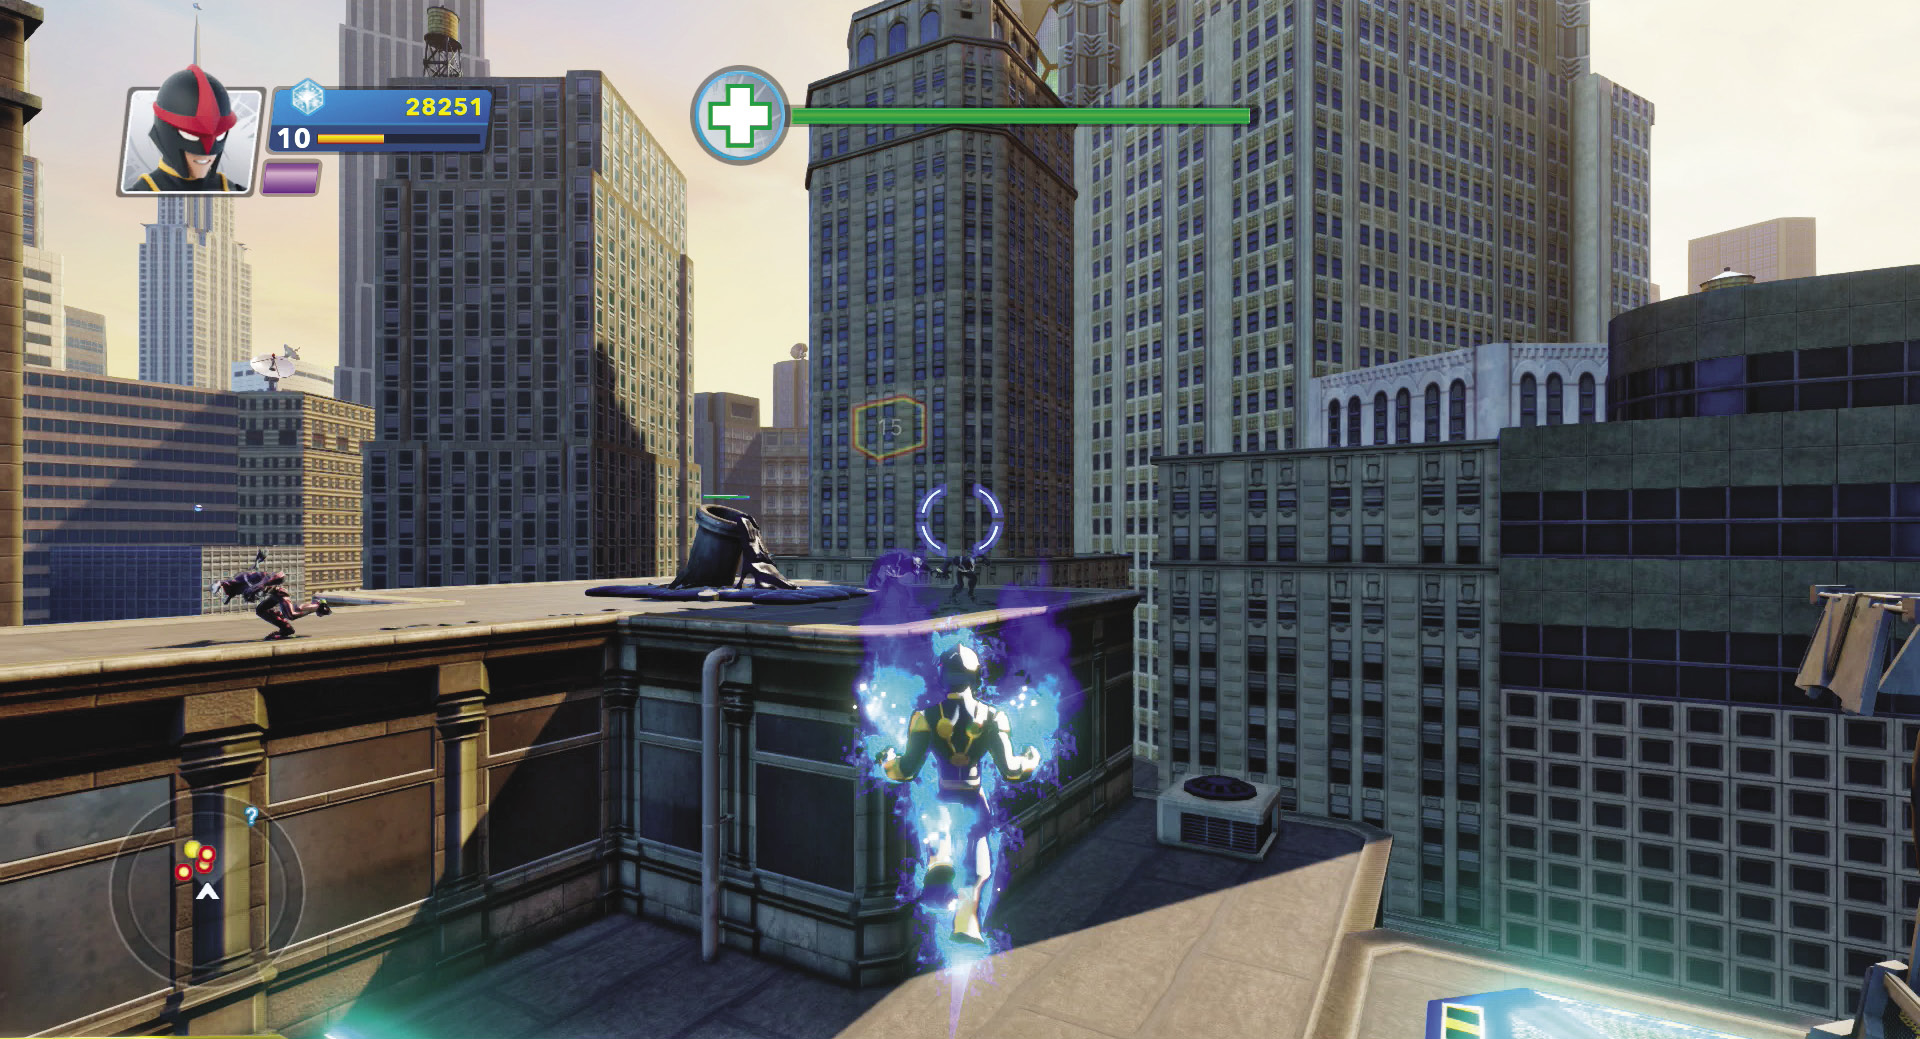
The tech will begin configuring the radar station. While it boots up, you must defend both the tech and the radar station from Symbiotes. Your top priority, however, is the radar station. If that goes boom, the mission fails. If the tech gets harassed by Symbiotes, the boot-up sequence will pause, but the Symbiotes can’t hurt the tech.
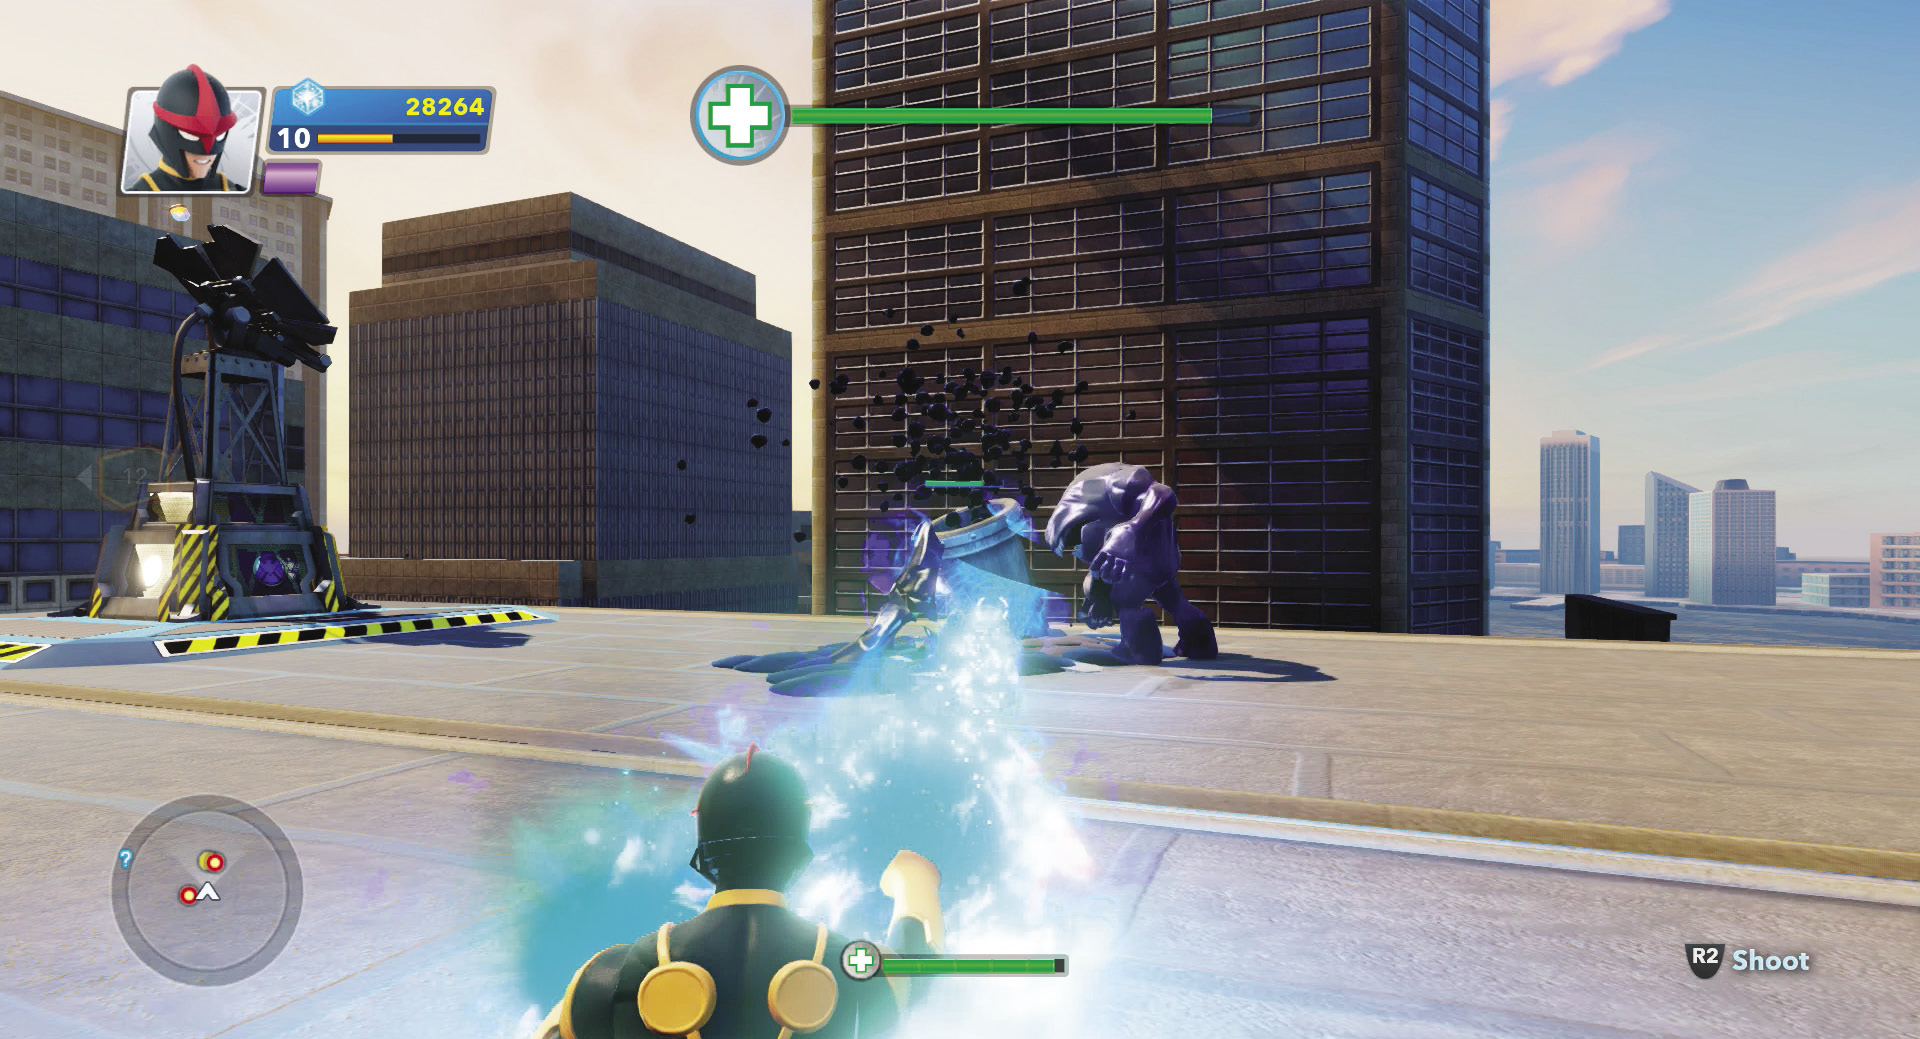
When a goo pipe appears to spawn more Symbiotes, destroy that as quickly as possible. Don’t leave the radar station to take damage, but if the station is safe, the goo pipes should be wrecked next. After the boot-up sequence is complete, the goo pipes are all eliminated, and you vanquish the last Symbiote enemy, the radar station activates.
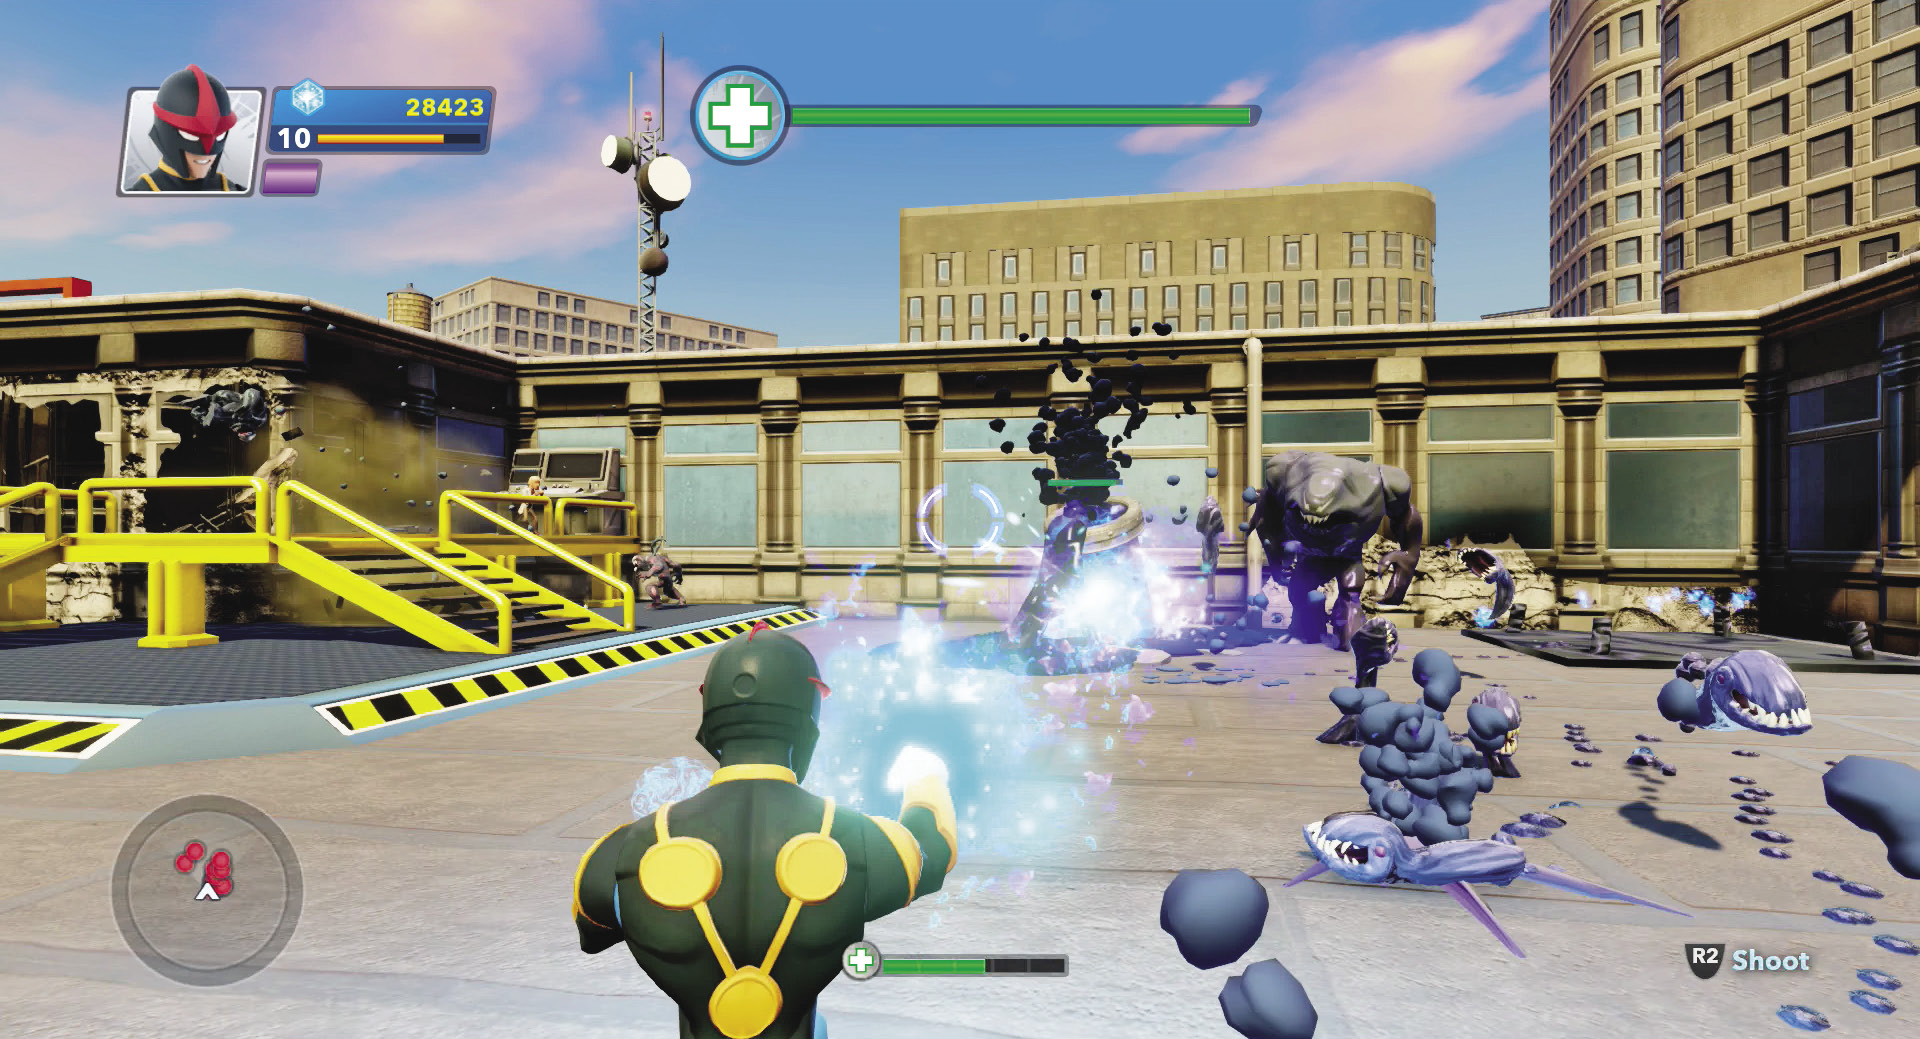
For the second radar station, you need two techs. Fly your first tech to the first of two control centers, and a second tech will join him to operate a separate set of controls. As they start working on the boot-up sequence, the Symbiotes arrive. As before, destroy goo pipes early to avoid too many enemy reinforcements. Defend the radar station at all costs, and if a tech gets knocked off his control center, scoop him back up and put him back at the controls. After a long battle, you will secure the second radar station.
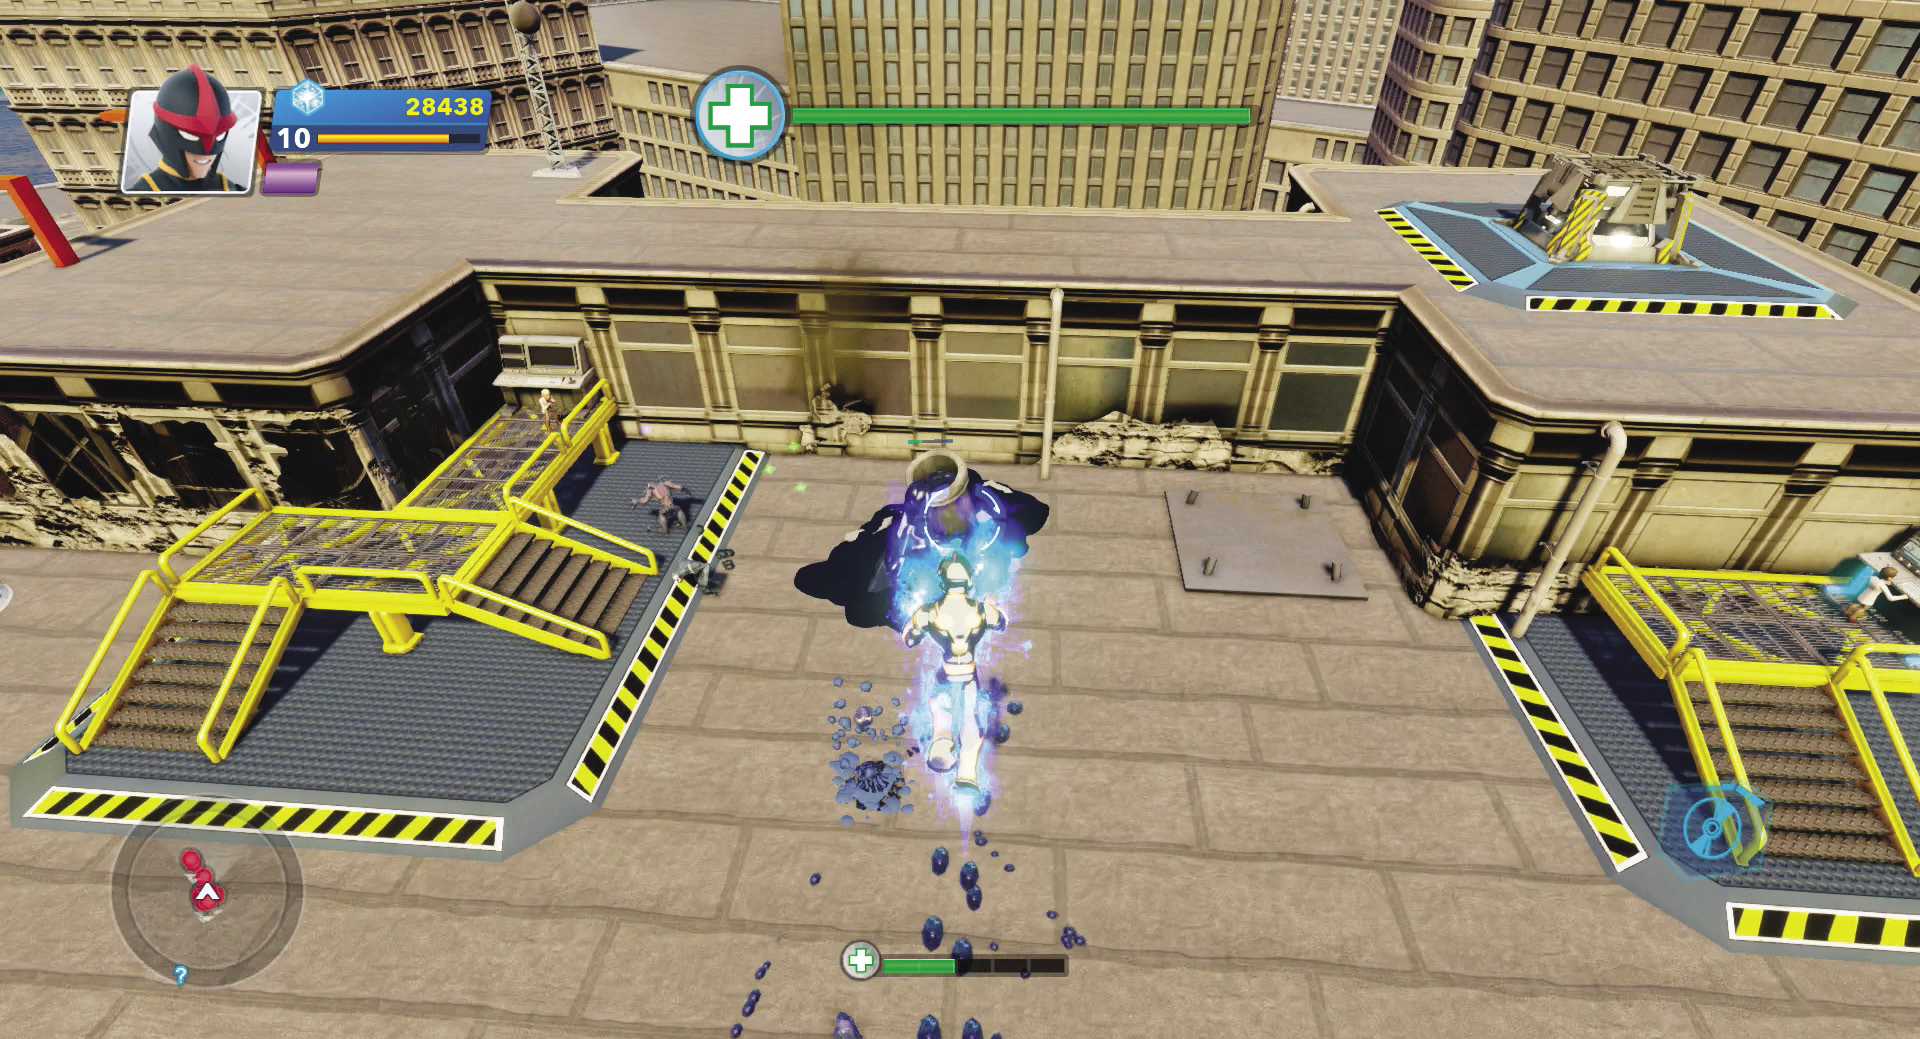
If you’re having trouble at any point, take to the air. You can nuke goo pipes from above and blast enemies without worrying about getting swarmed. Just watch out for the ranged goo attacks that can knock you to the ground.
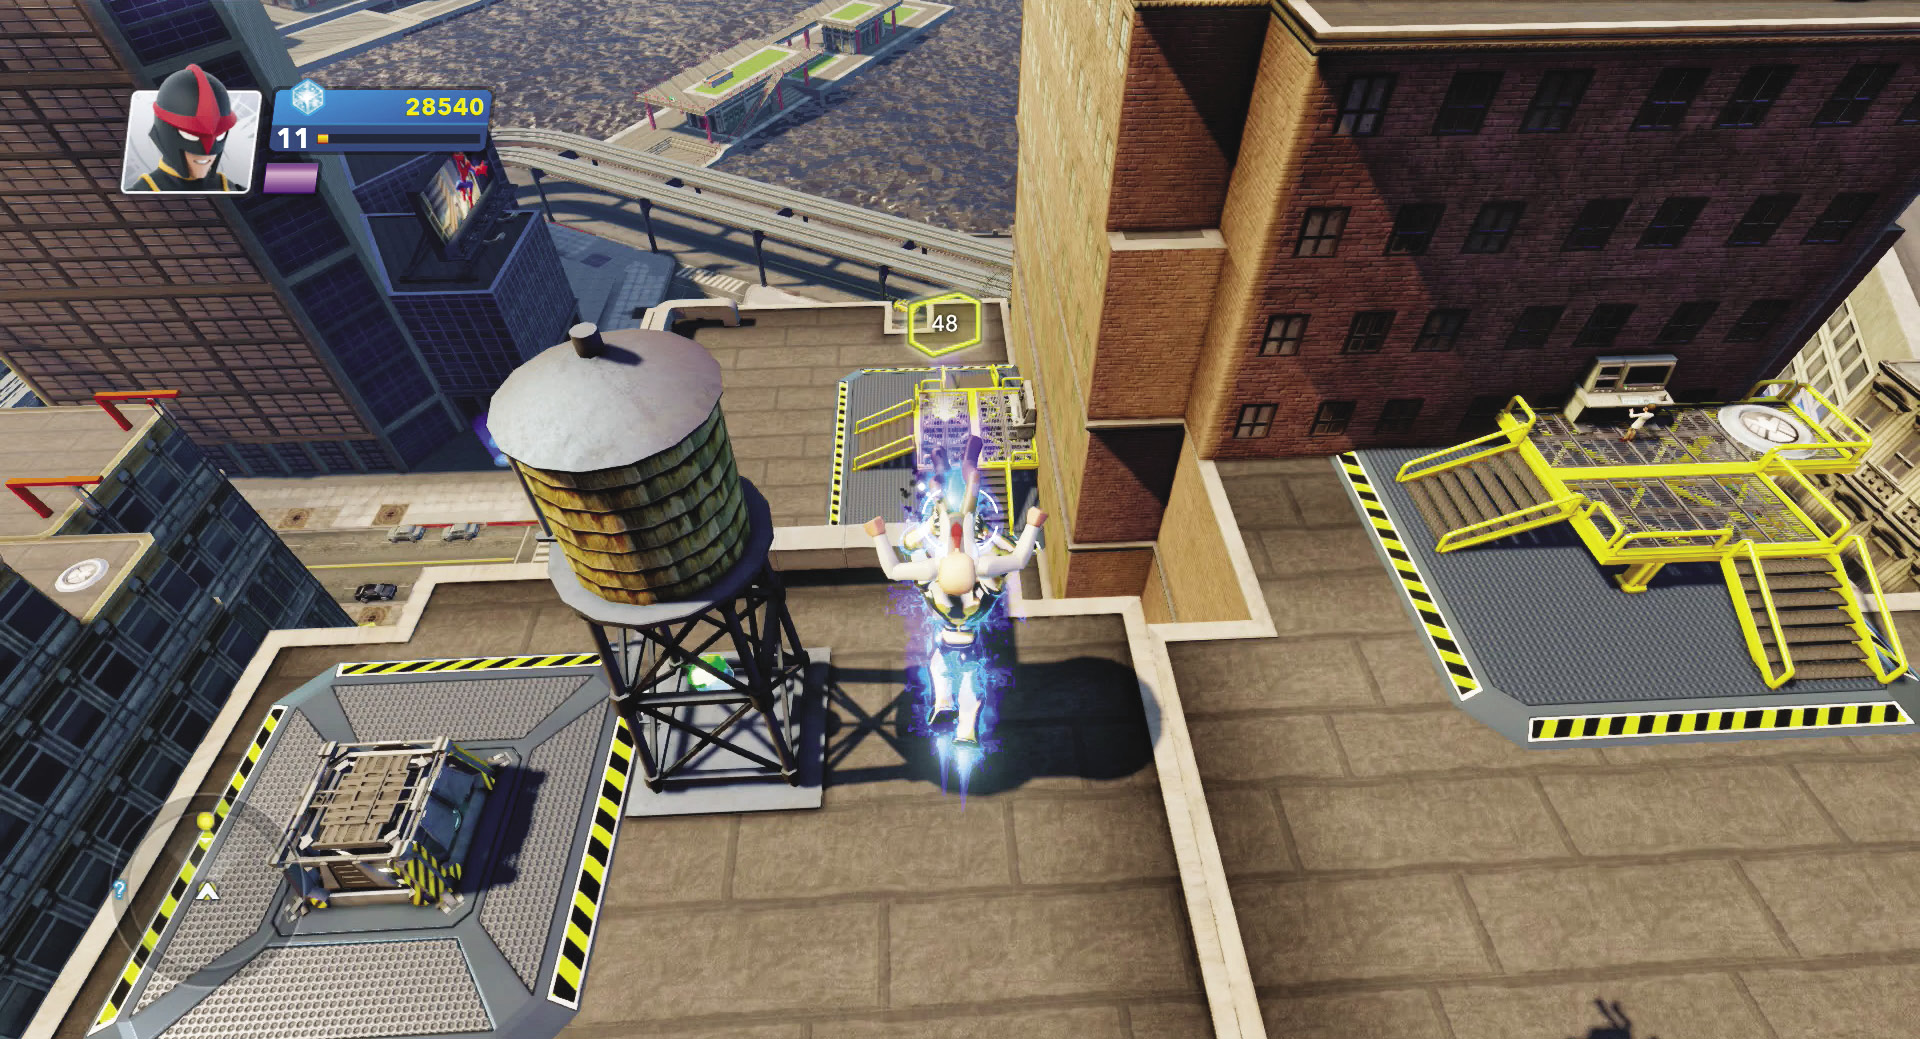
Carry both techs over to the adjacent rooftop and get them started on the third radar station’s boot-up sequence. This setup has one control center and the radar station up on a higher rooftop; the second control center rests on a lower rooftop. Hover up in the air to watch both control centers and the radar station and fly to whichever area needs your assistance.
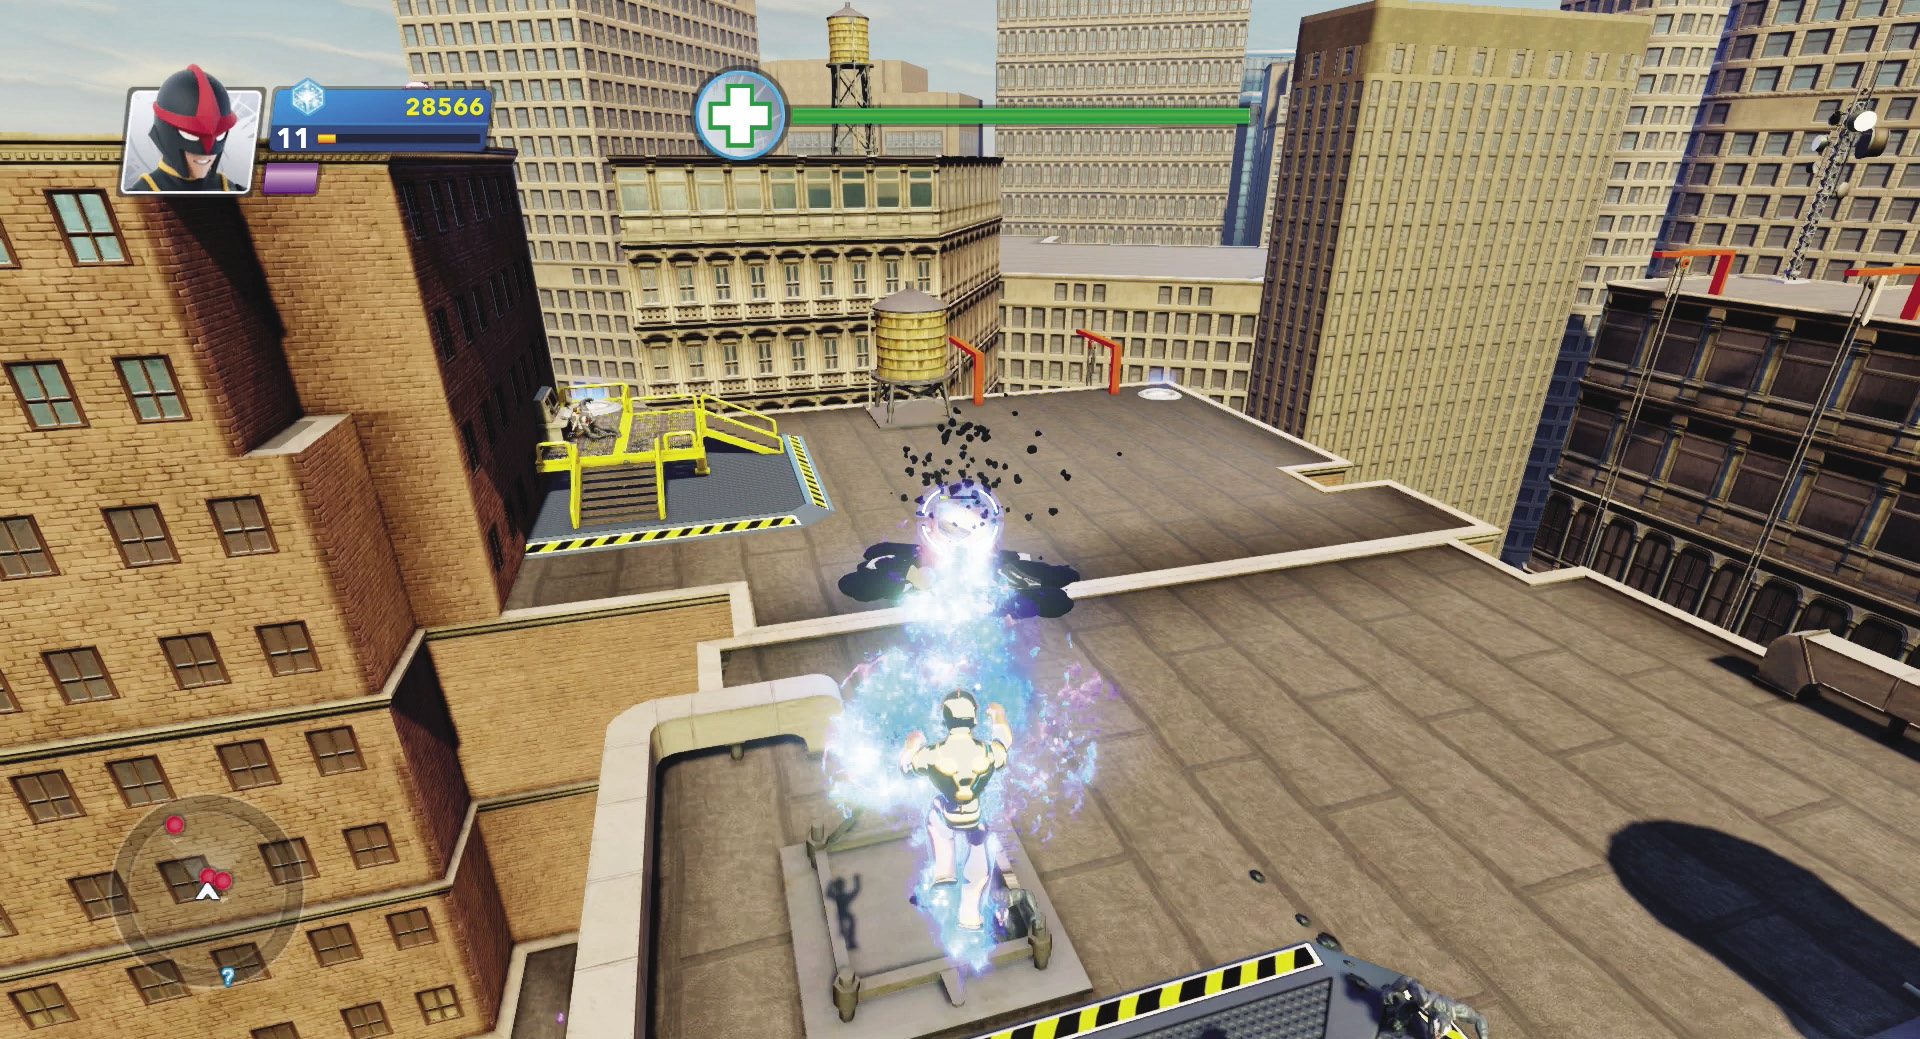
Continue to destroy goo pipes, clear Symbiotes off the rooftops, and return techs to their control centers if they are forced to leave. This is a long fight, so unless you have a teammate helping you out, be patient.


Co-op Combo: Nova and Nick Fury
Nick Fury’s fearsome pistols can help with support at the radar station. If Nova has the air covered, Fury can sit at the radar station and blow apart any Symbiotes foolish enough to approach.
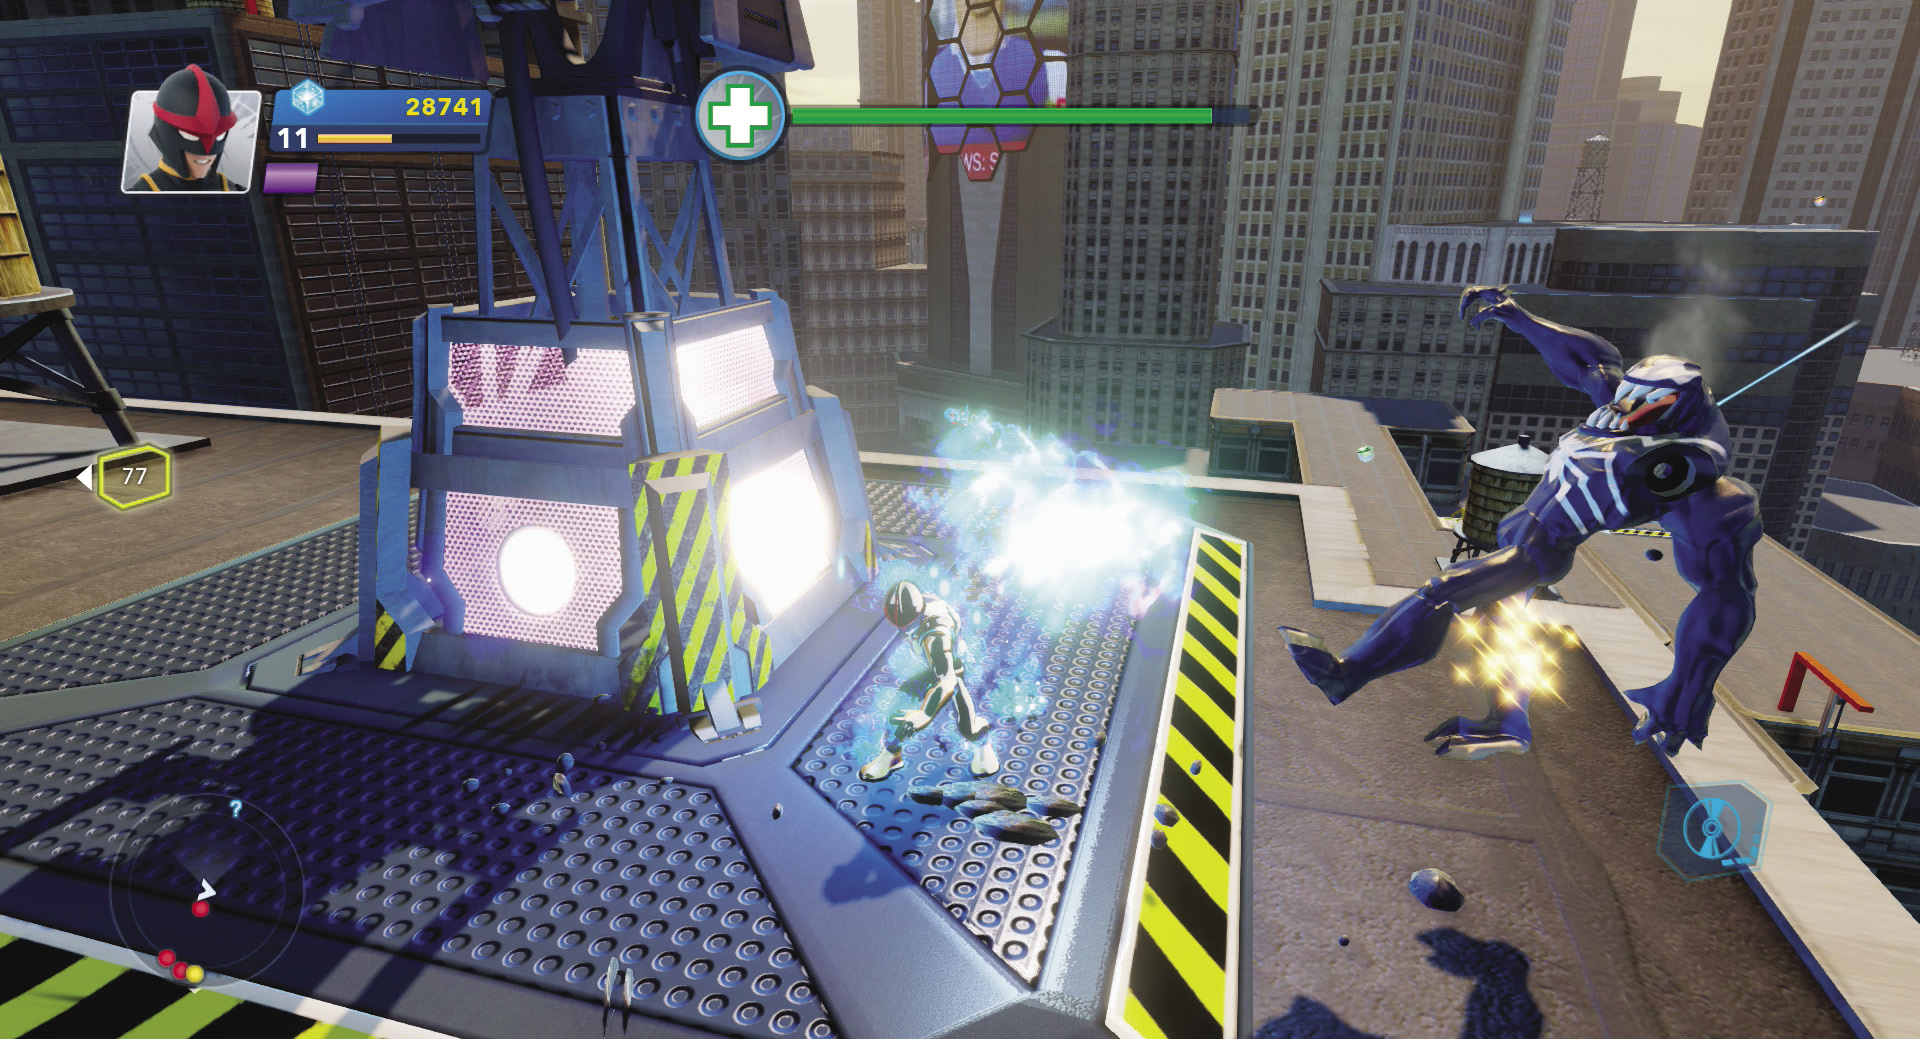
Swat the Symbiotes away from the radar station as it completes its final programming. As soon as the third radar station comes online, it reveals Mysterio’s secret location and your next mission begins.
Illusions of Grandeur
Mysterio’s Hideaway
Recommended Hero: Nick Fury
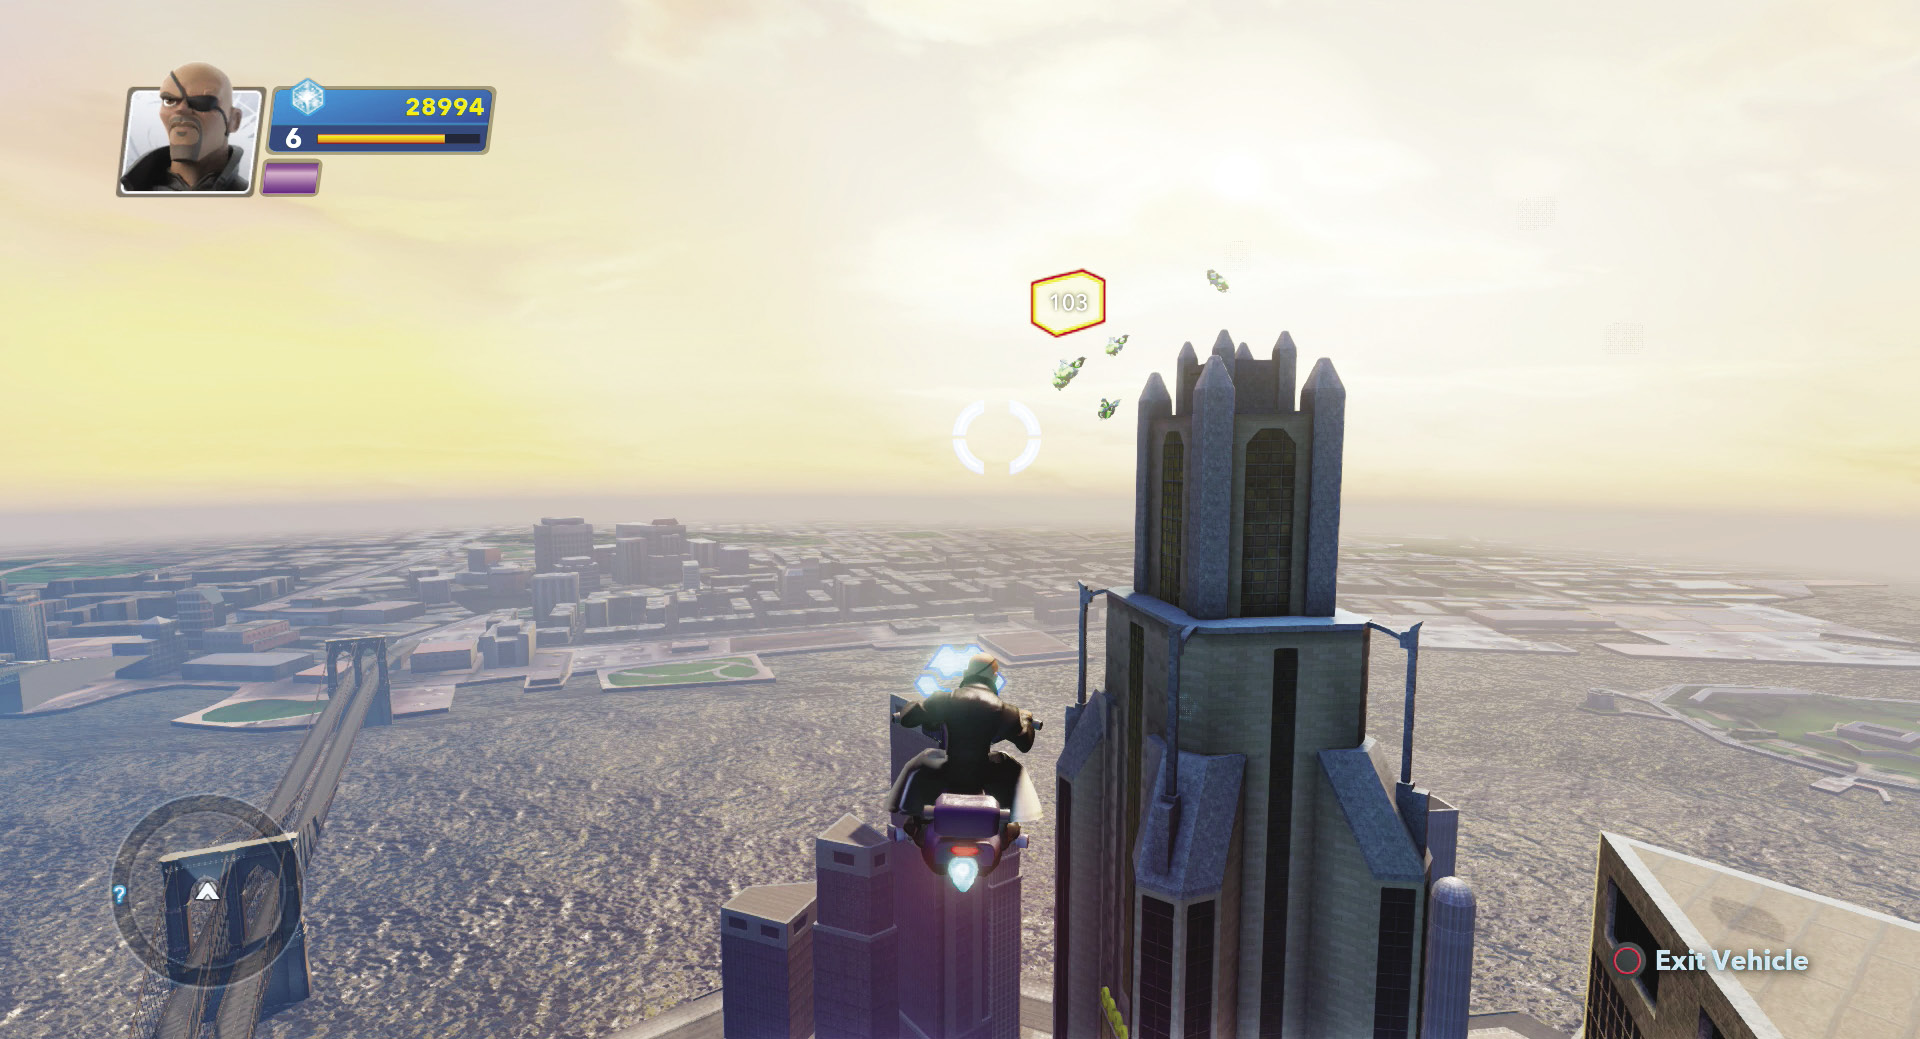
Send Fury on the Sky-Cycle to Mysterio’s Hideaway in the tall building on the edge of the city. Goblin Drones circle the building like angry hornets around a disturbed hive. Stay at a distance and pick them off one by one until you can land on the roof and enter the Hideaway rooftop door one level down.
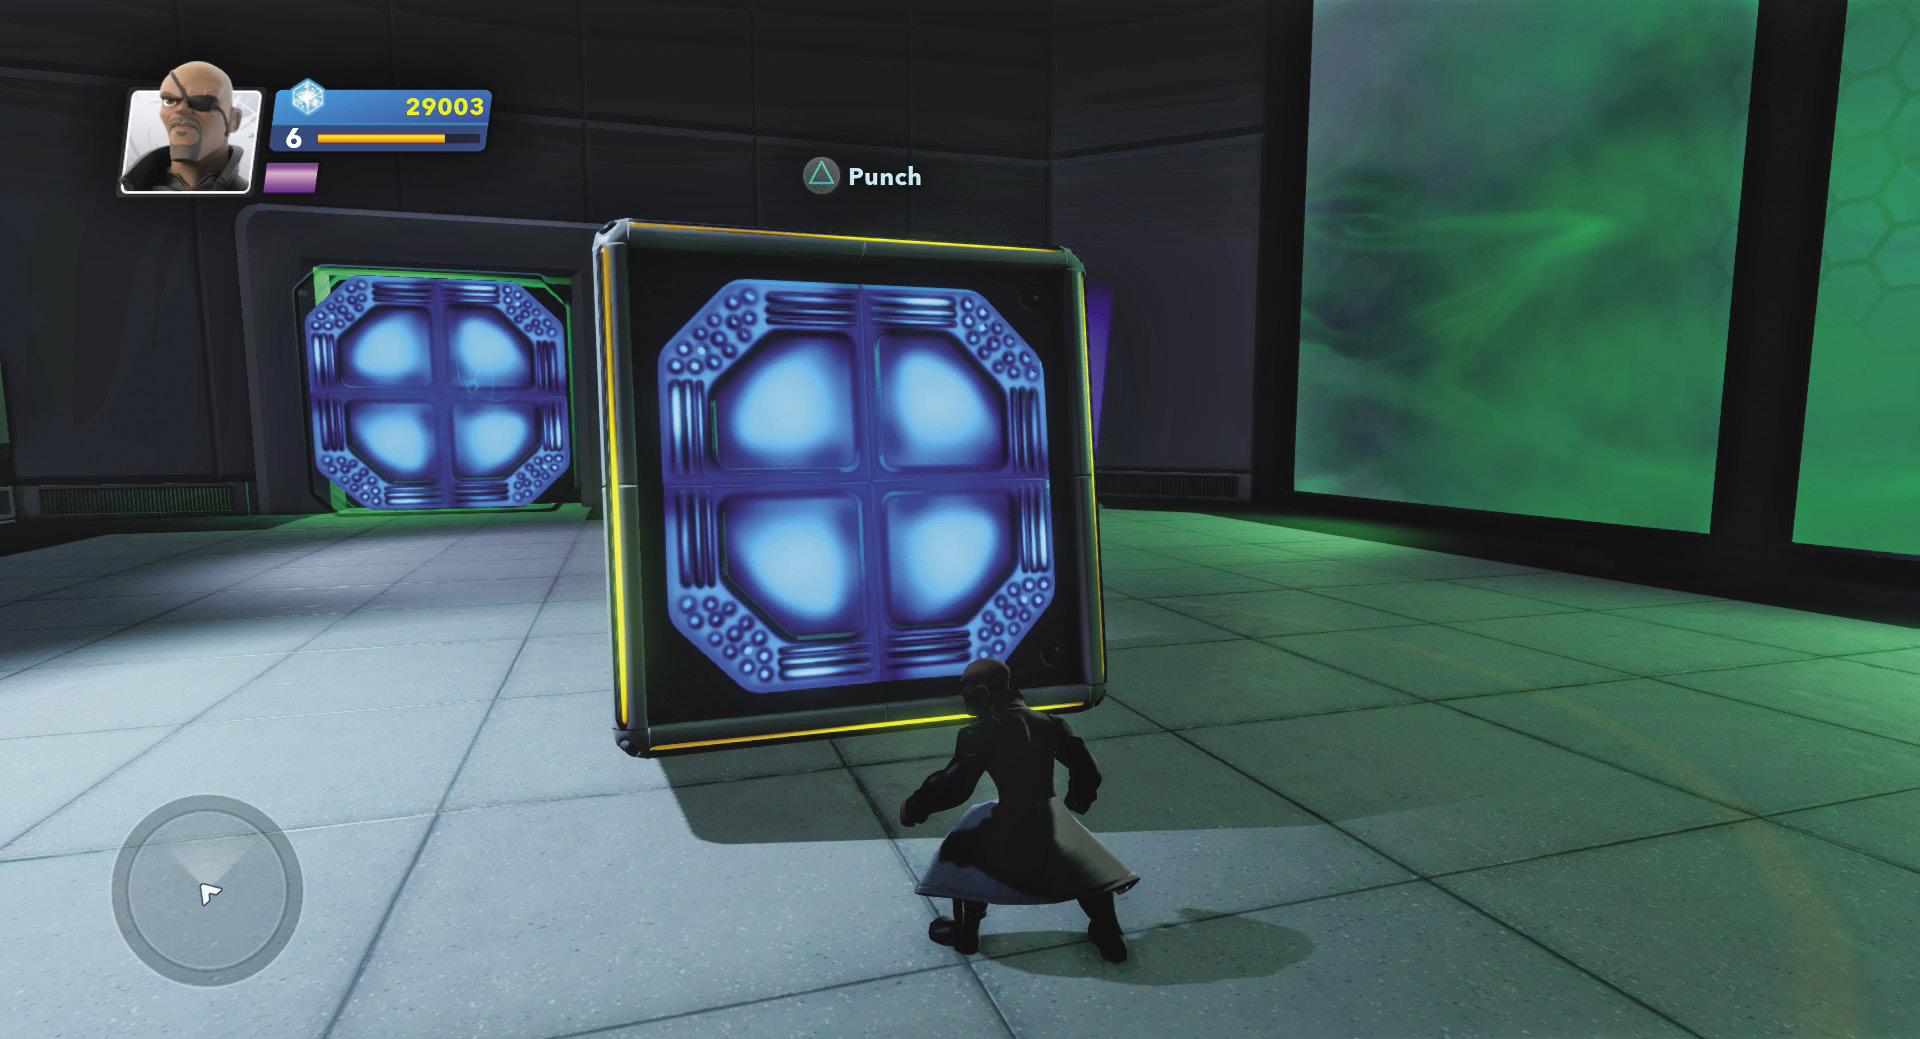
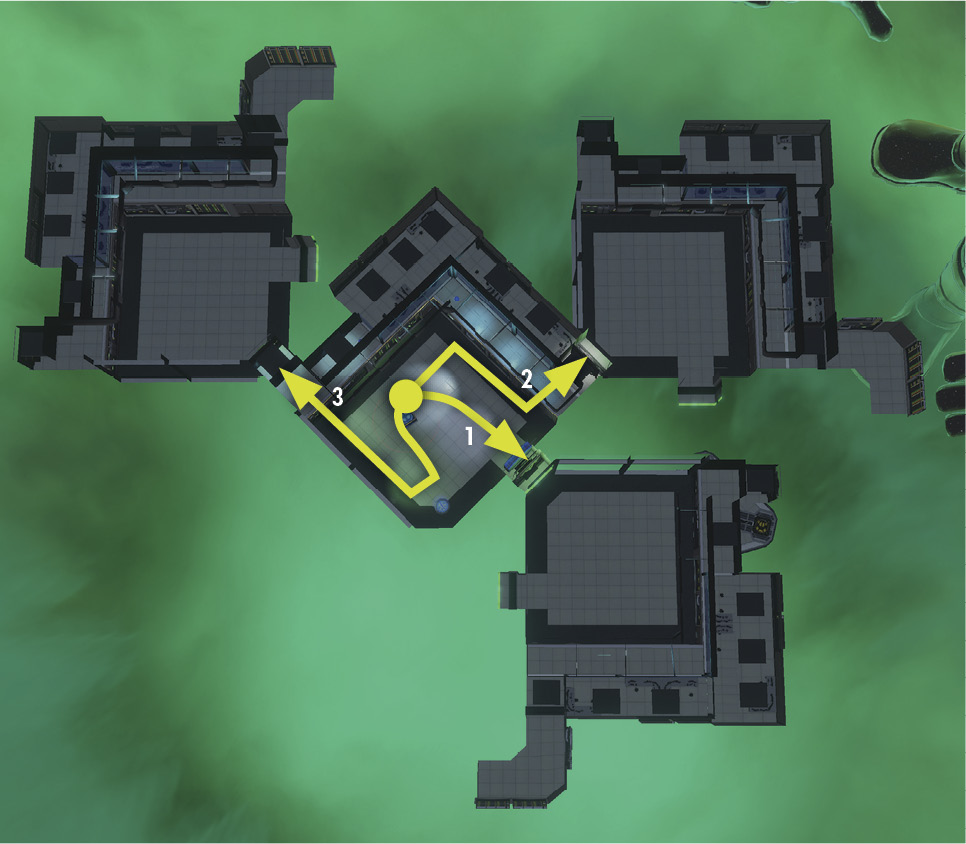
You run across the cube in the first room. Mysterio has locked himself in a fortress of puzzles. The key to unlocking the puzzles is manipulating the cube to expose its sides to matching colors and shapes. For example, in the first room, the door is locked by a blue square. Let the cube roll toward you to expose the blue side and punch it. The door unlocks and opens for you.
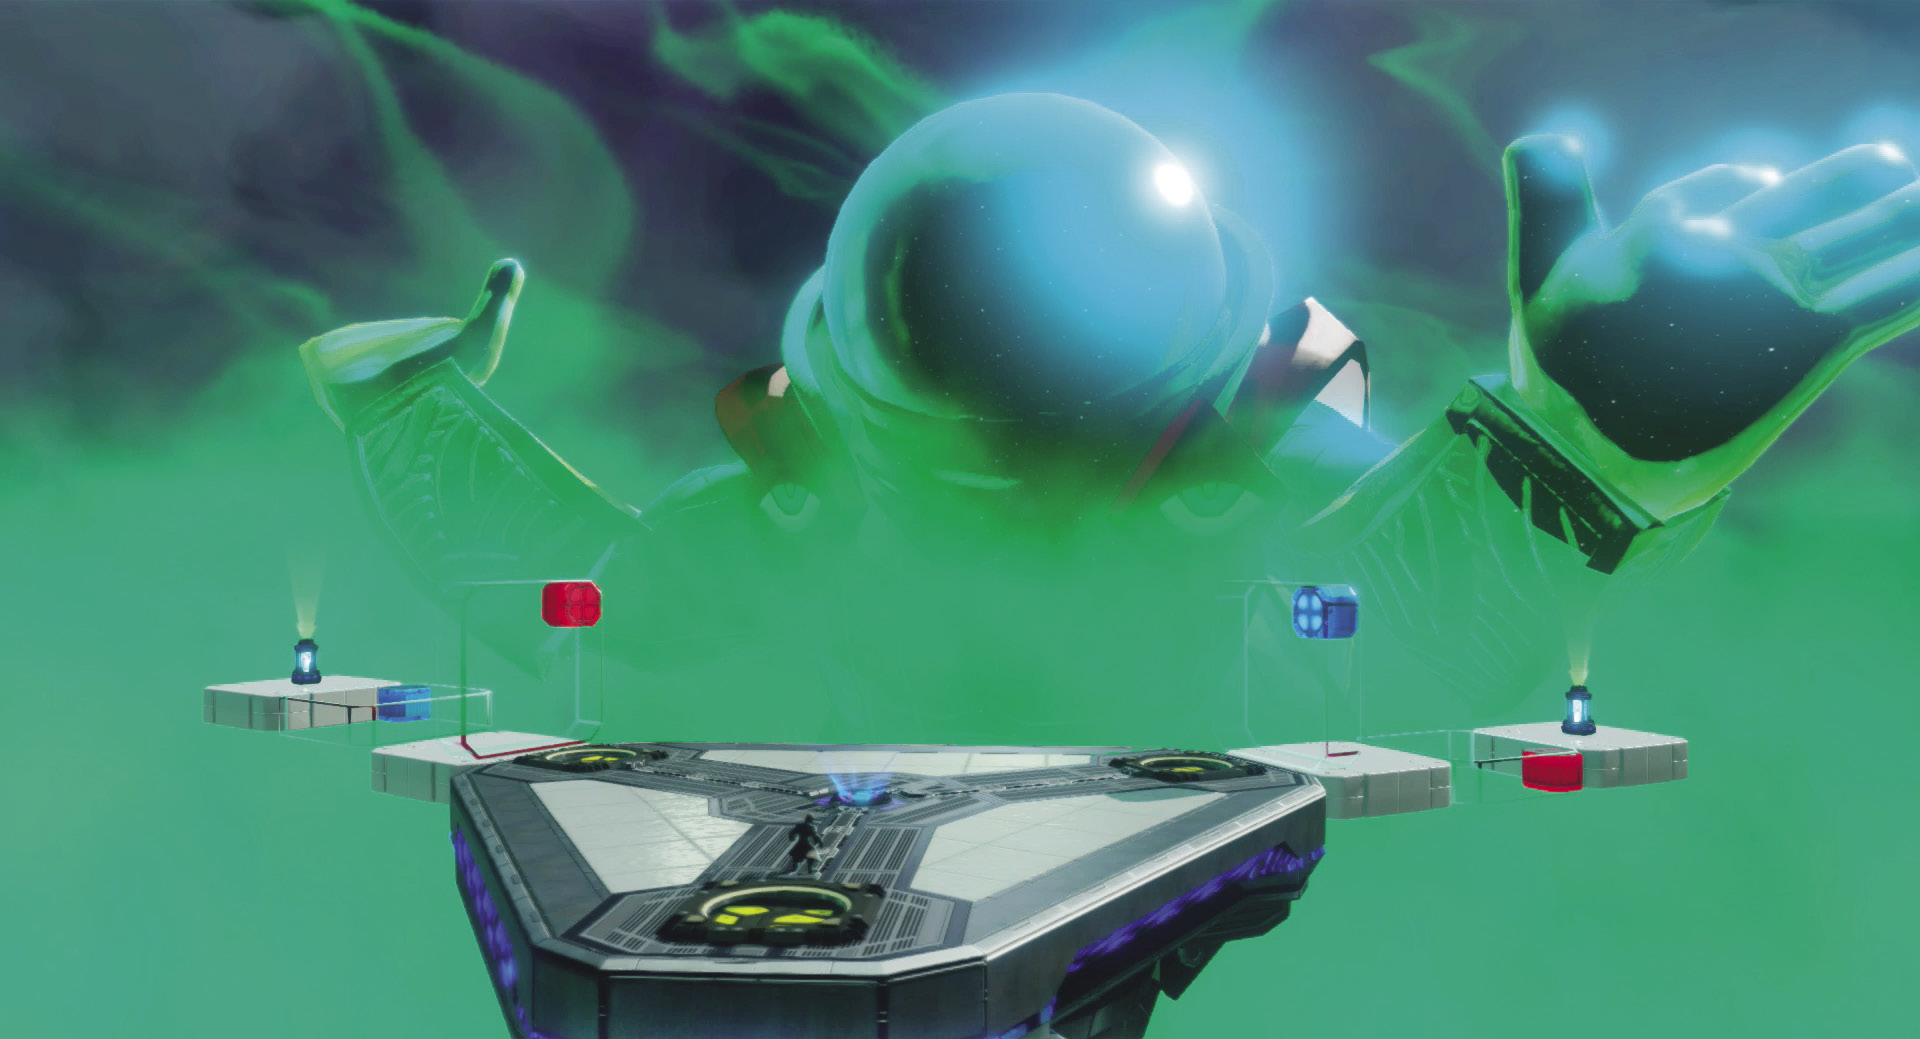
The doorway transports you to Mysterio’s puzzle platform. Its simplest version has two wings: one with a blue door and a missing red square, and one with a red door and a missing blue square. Punch the blue cube side to close the blue door, but fill in the missing blue square. You can now pass through the open red door, hop up on the blue square, and retrieve the power cell on the end square.
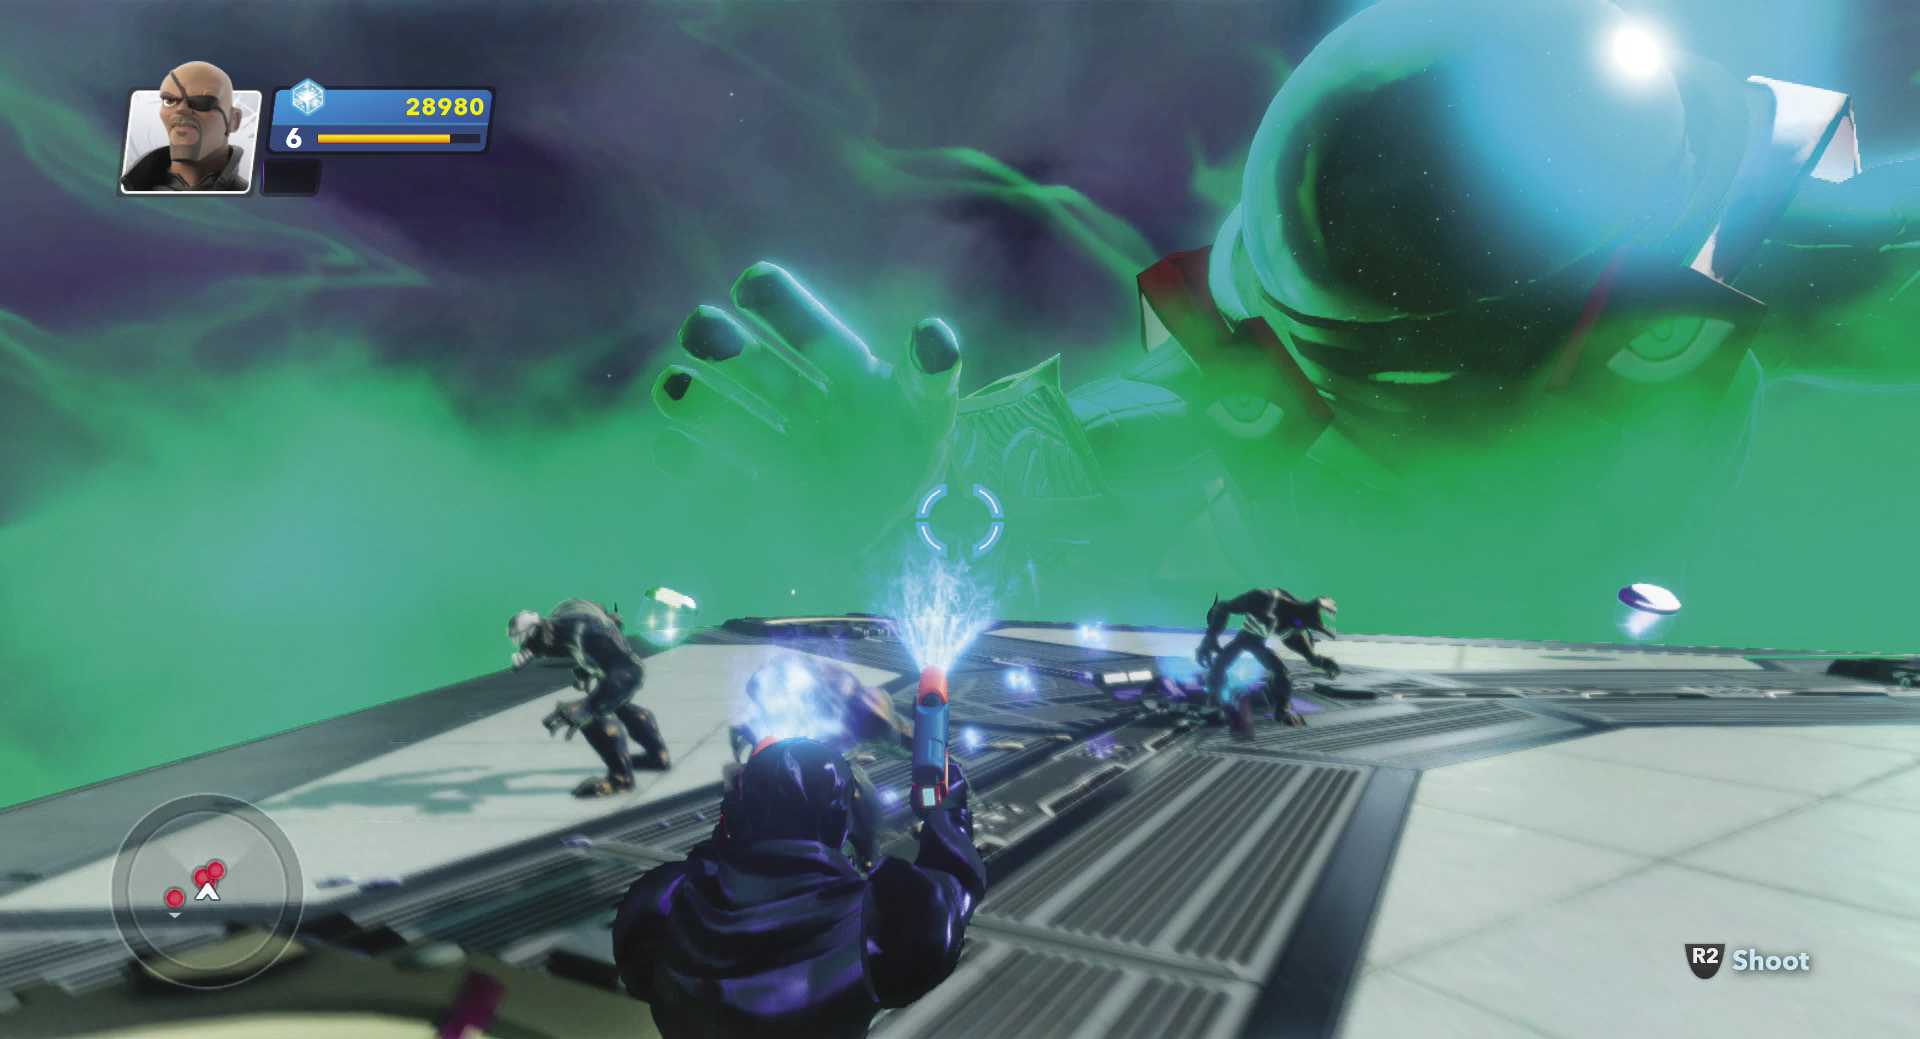
Carry the power cell back to the central power conduit and drop it in. The wings temporarily disappear as you fight to stay alive on the central platform. Fight off the wave of Symbiotes until the wings appear again. Punch the red cube side to fill in the missing red square and retrieve the second power cell. As soon as you drop in the power conduit, you’re transported back to the first room.
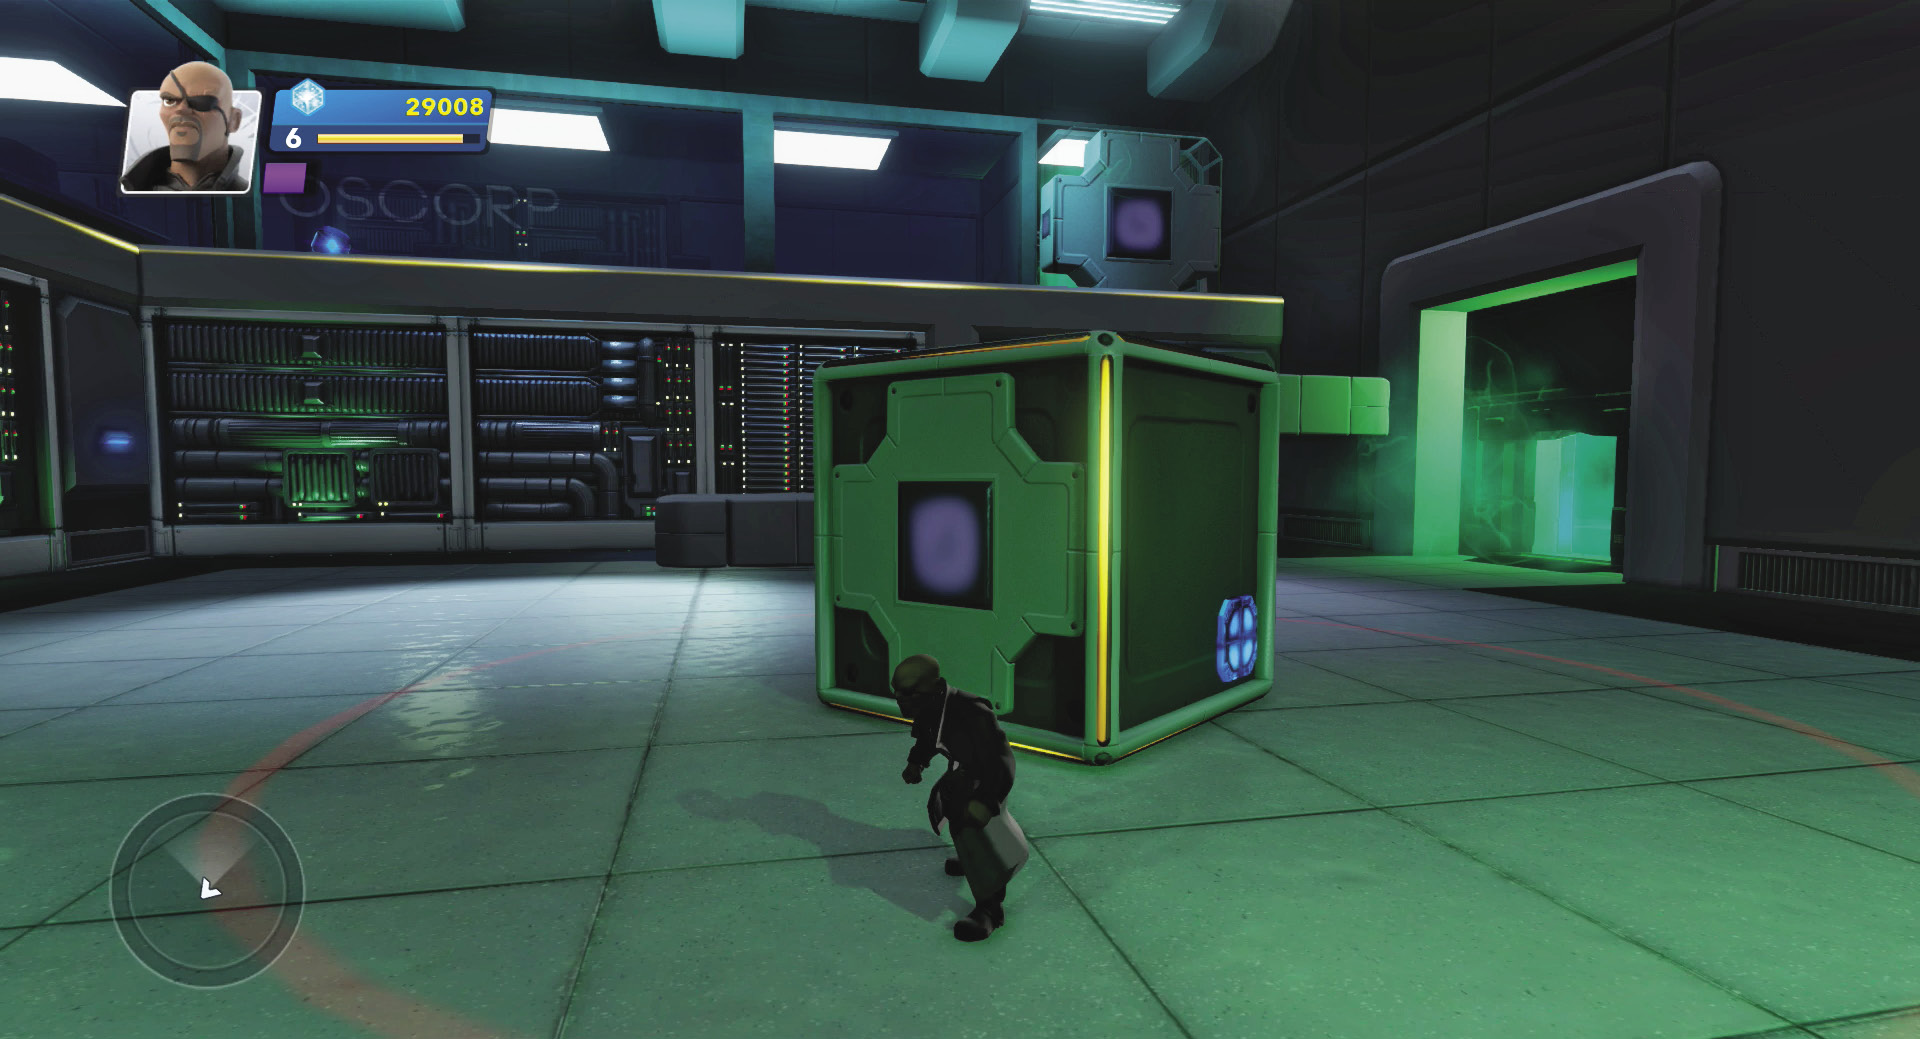
A new door has appeared in the first room on the upper level. Punch the blue side to fill in a missing square of the staircase, then punch the circle shape on the cube side and enter the door to proceed to the next level of the puzzle platform.
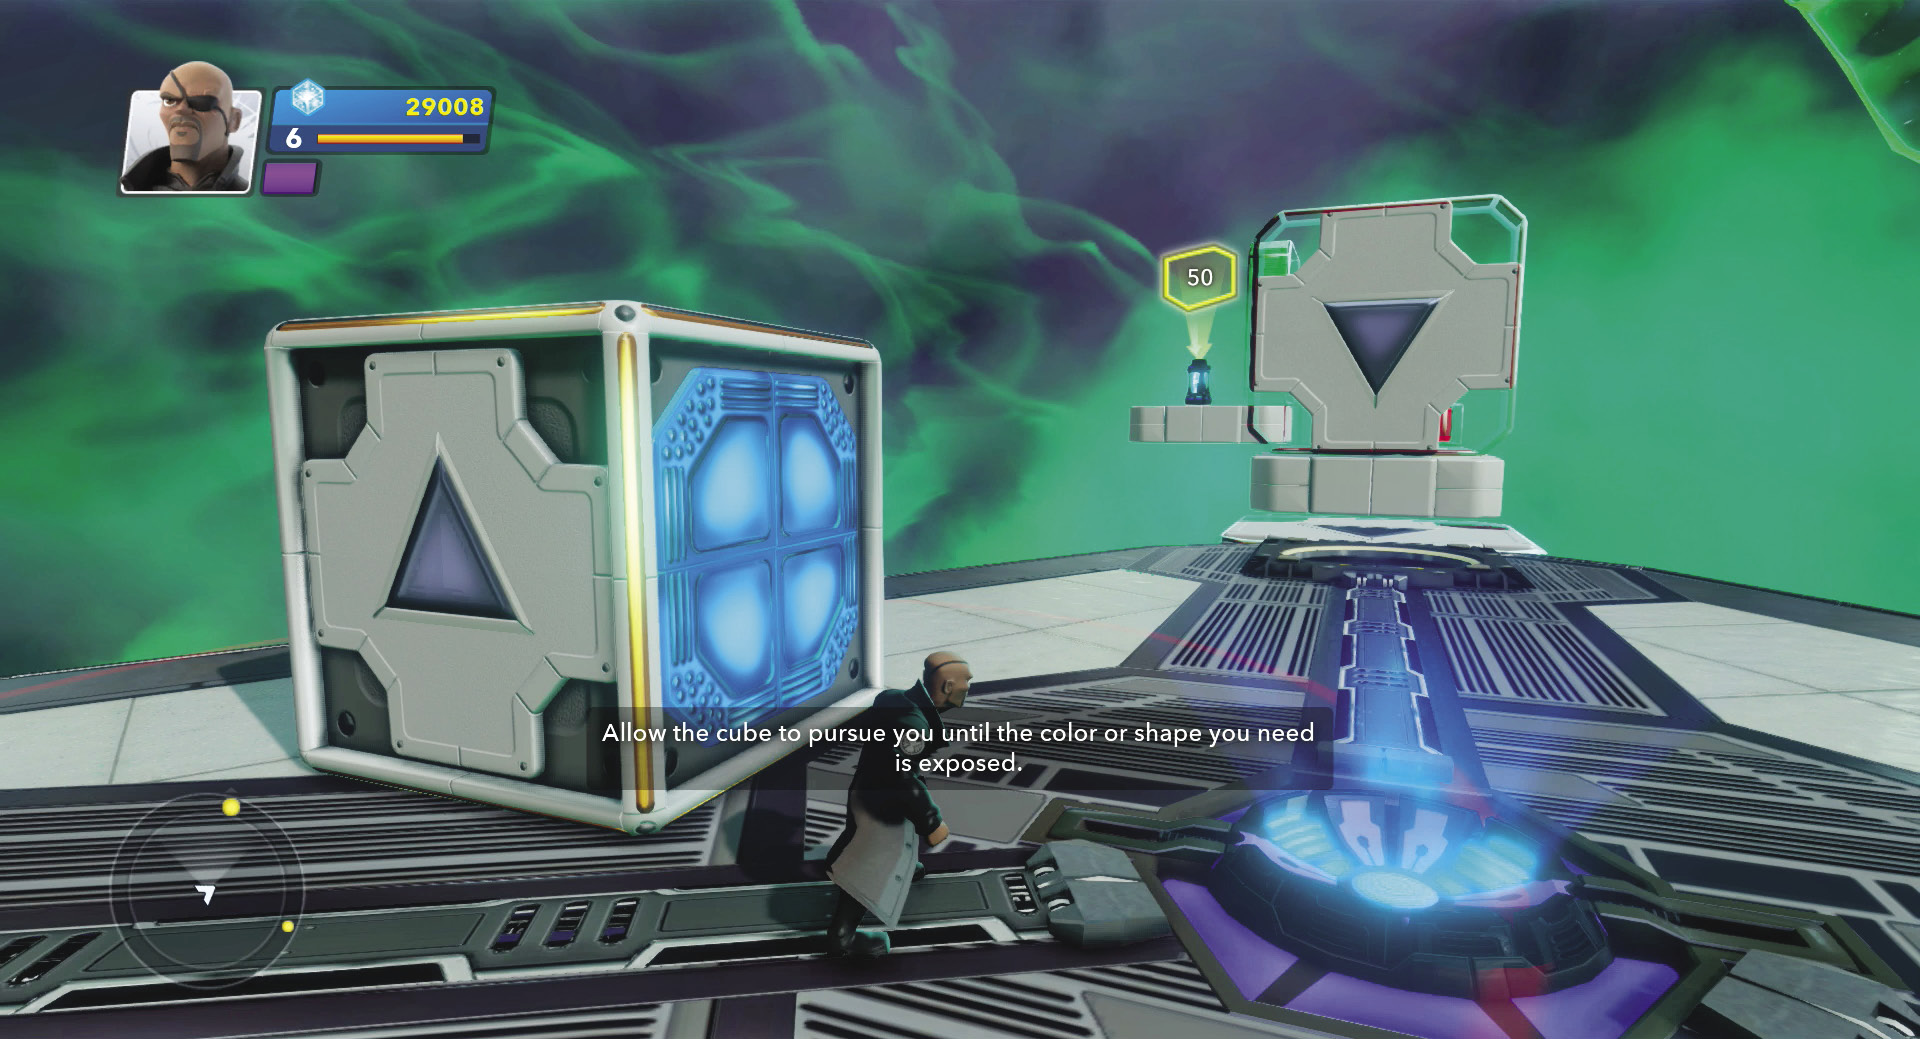
The second puzzle platform gets harder. Punch the triangle cube side to open one of the closed doors.
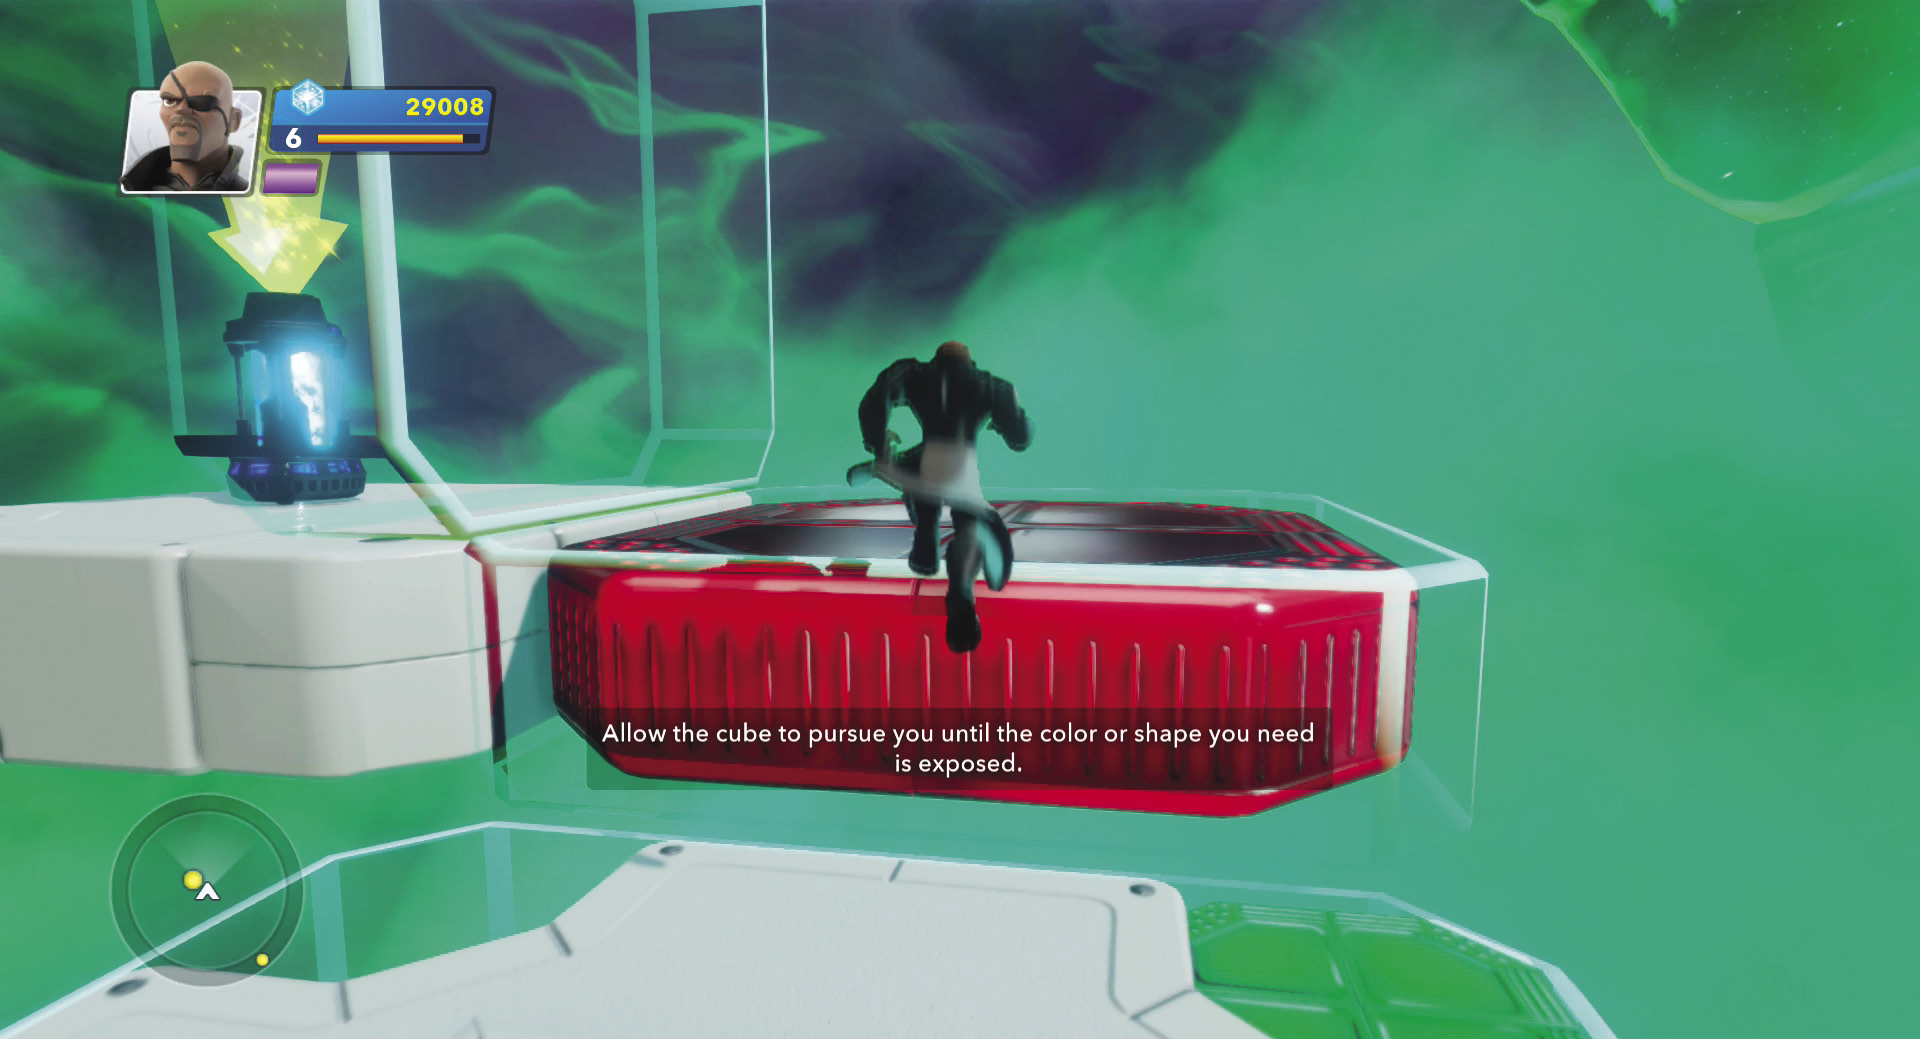
Punch the red cube side to fill in a missing square to reach the first power cell. Pick up the cell and deposit it in the central power conduit. Battle the Symbiotes until you’ve destroyed enough to reset the platform and call back the second wing.
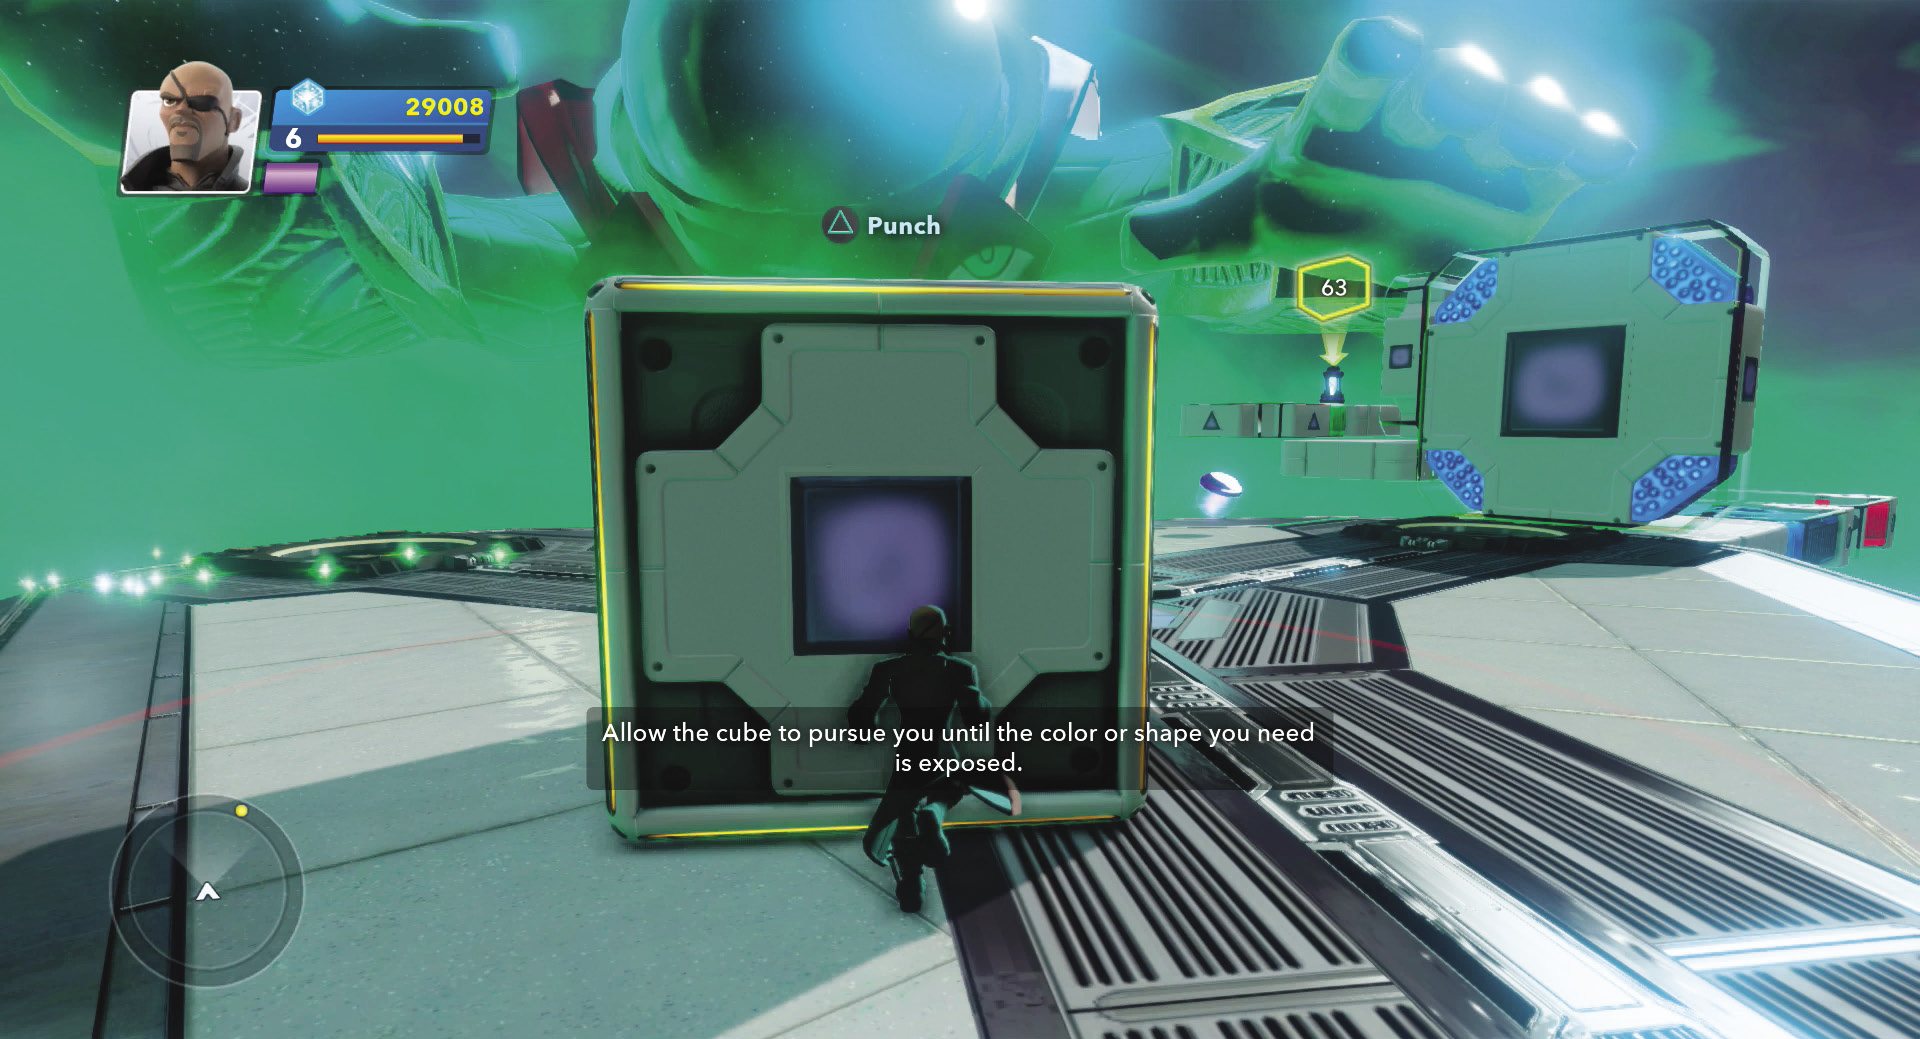
Open the second wing by punching the circle-inside-square symbol on the cube and then punching the blue side to unlock the double-locked door. Now punch the circle symbol on the cube to fill in the missing squares on the lower level.
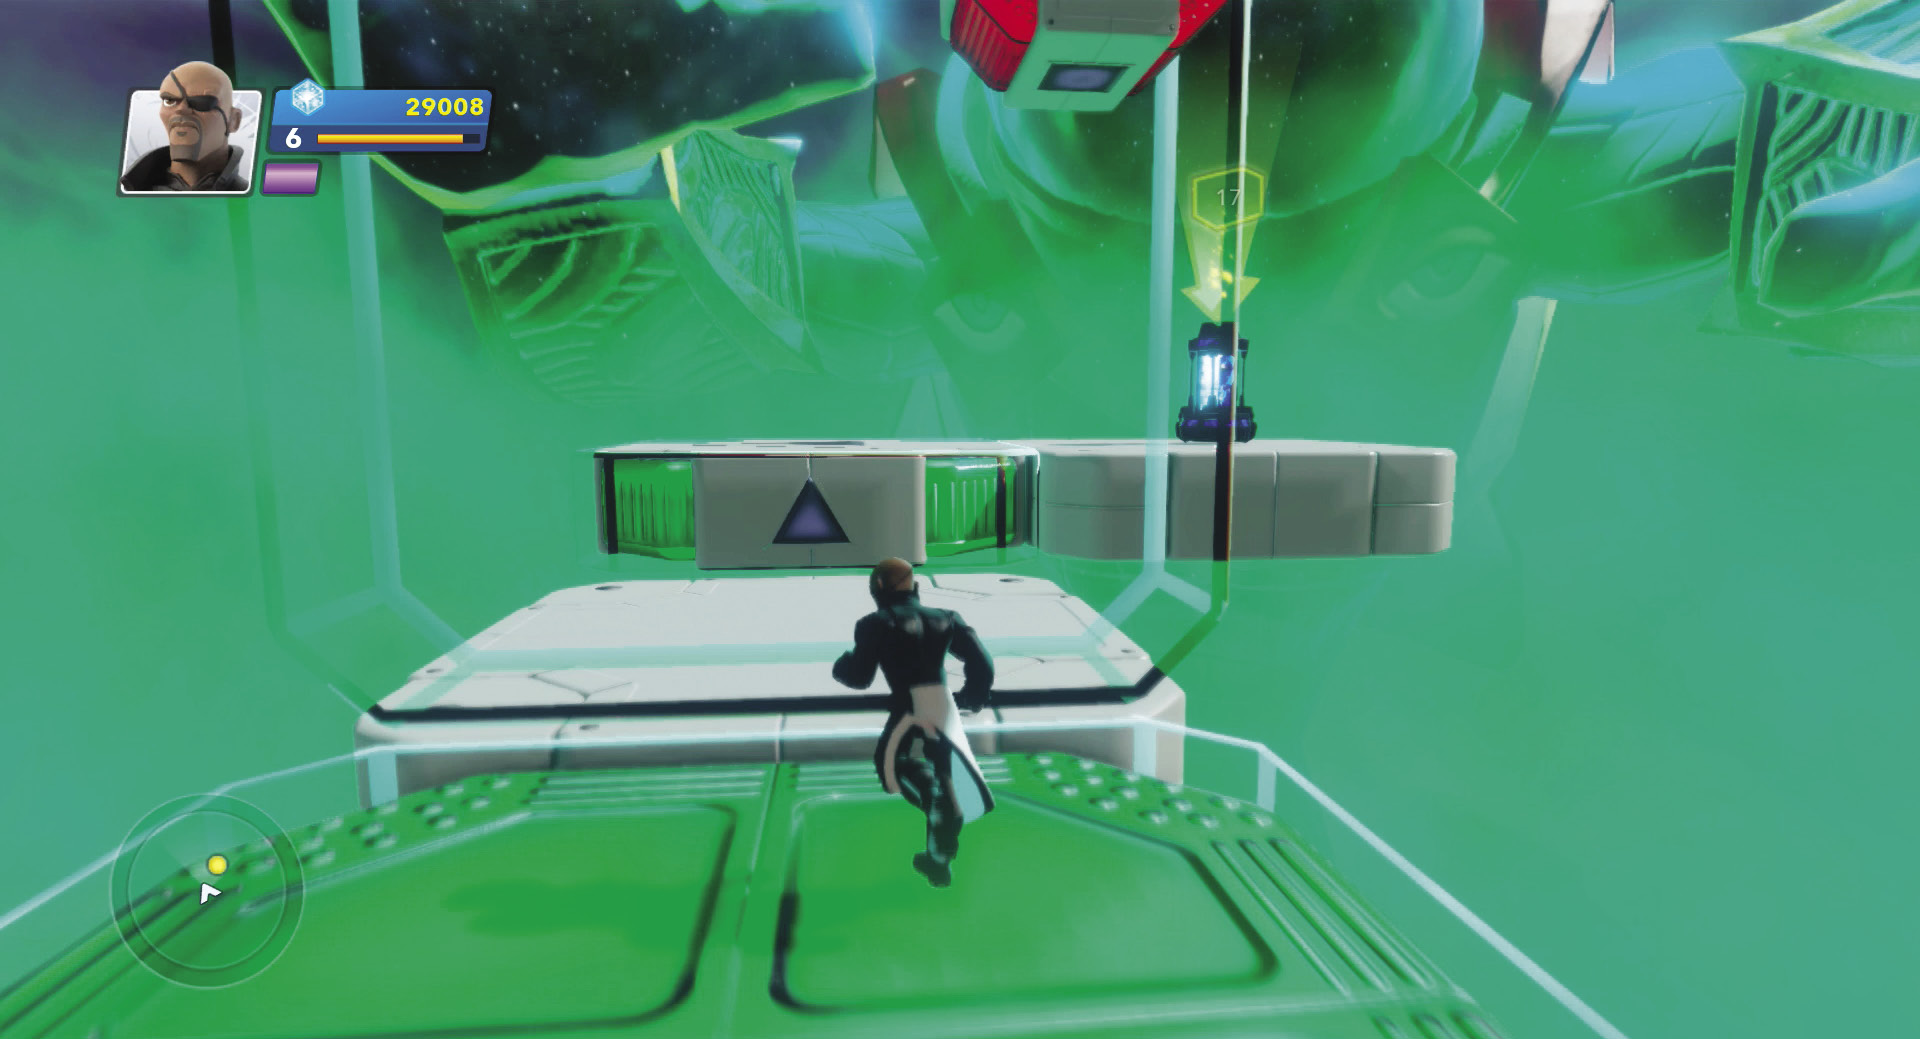
Punch the green cube side to fill in the green square next. Now, run up, grab the power cell, and drop it in the conduit to finish the puzzle.
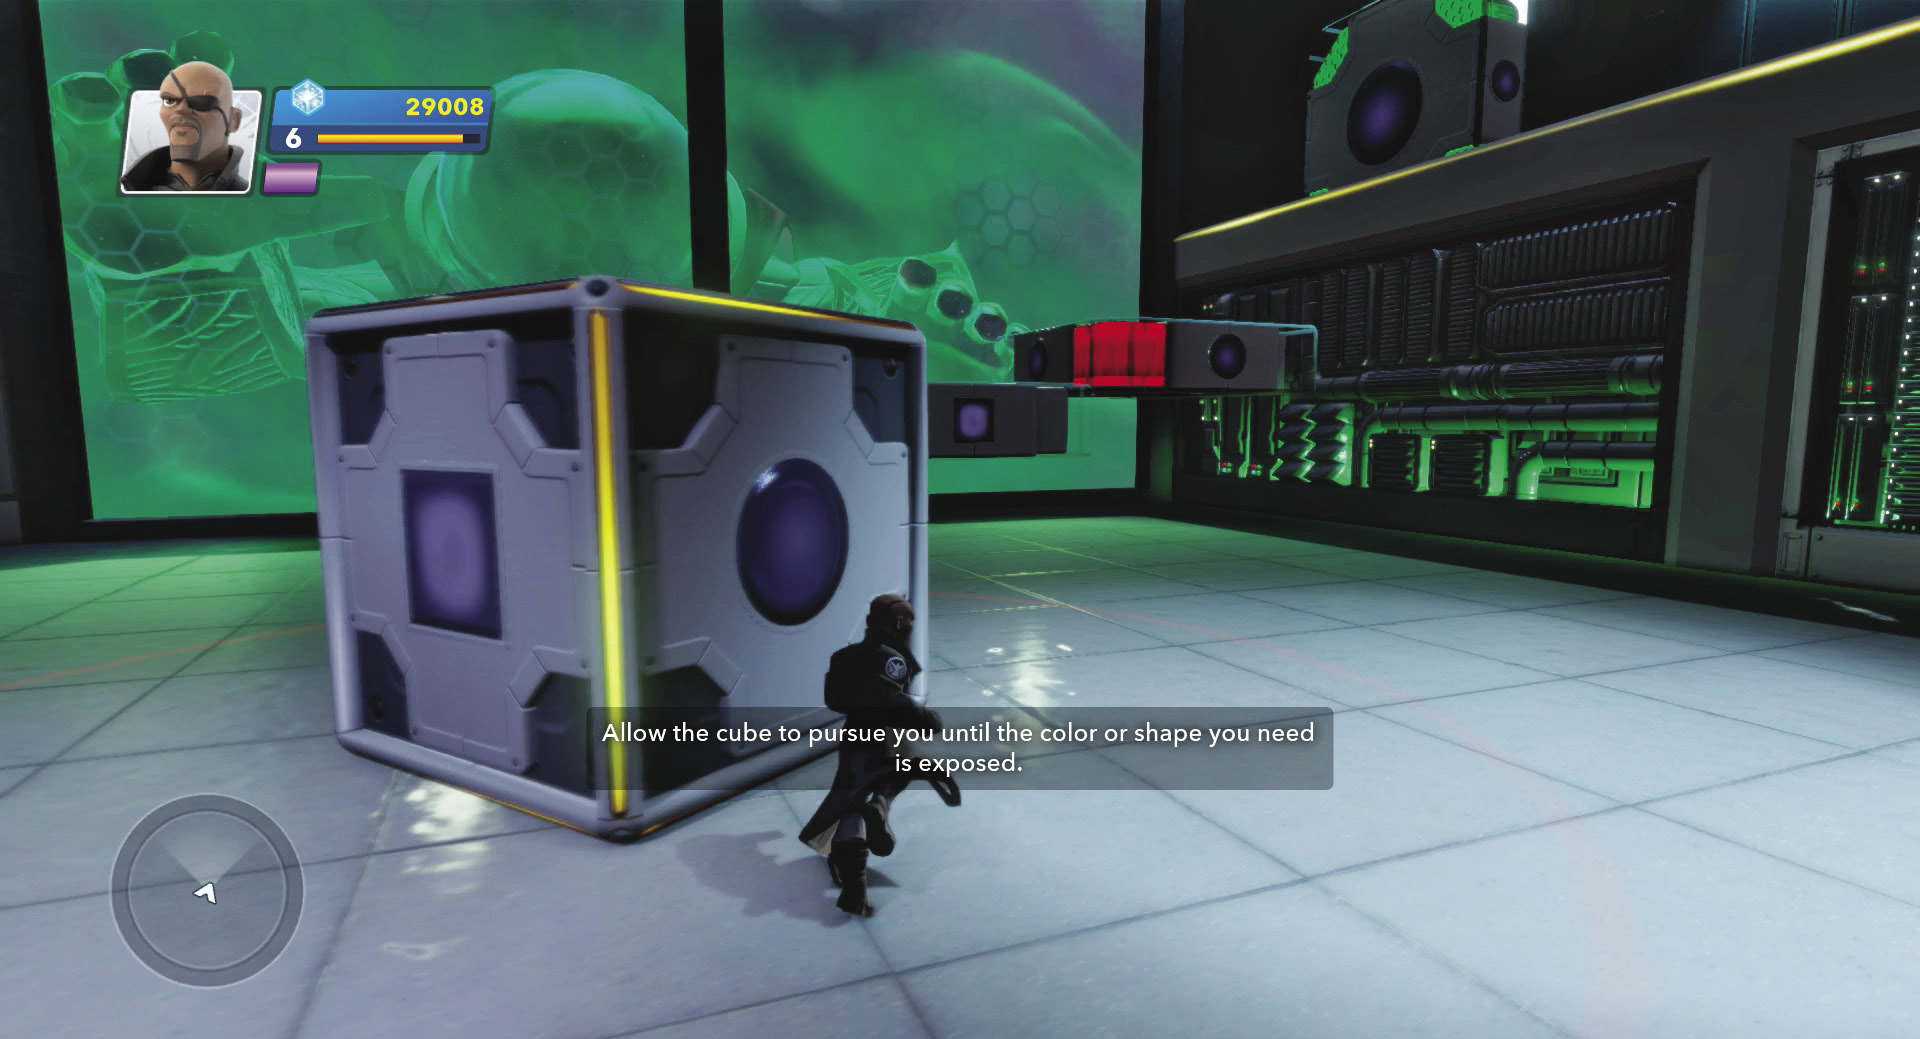
Back in the first room, punch the circle cube side and the green cube side to open the double-locked door on the upper level. Punch the red cube side to fill in the missing step in the stairs. Enter the new doorway to transport back to the puzzle platform.
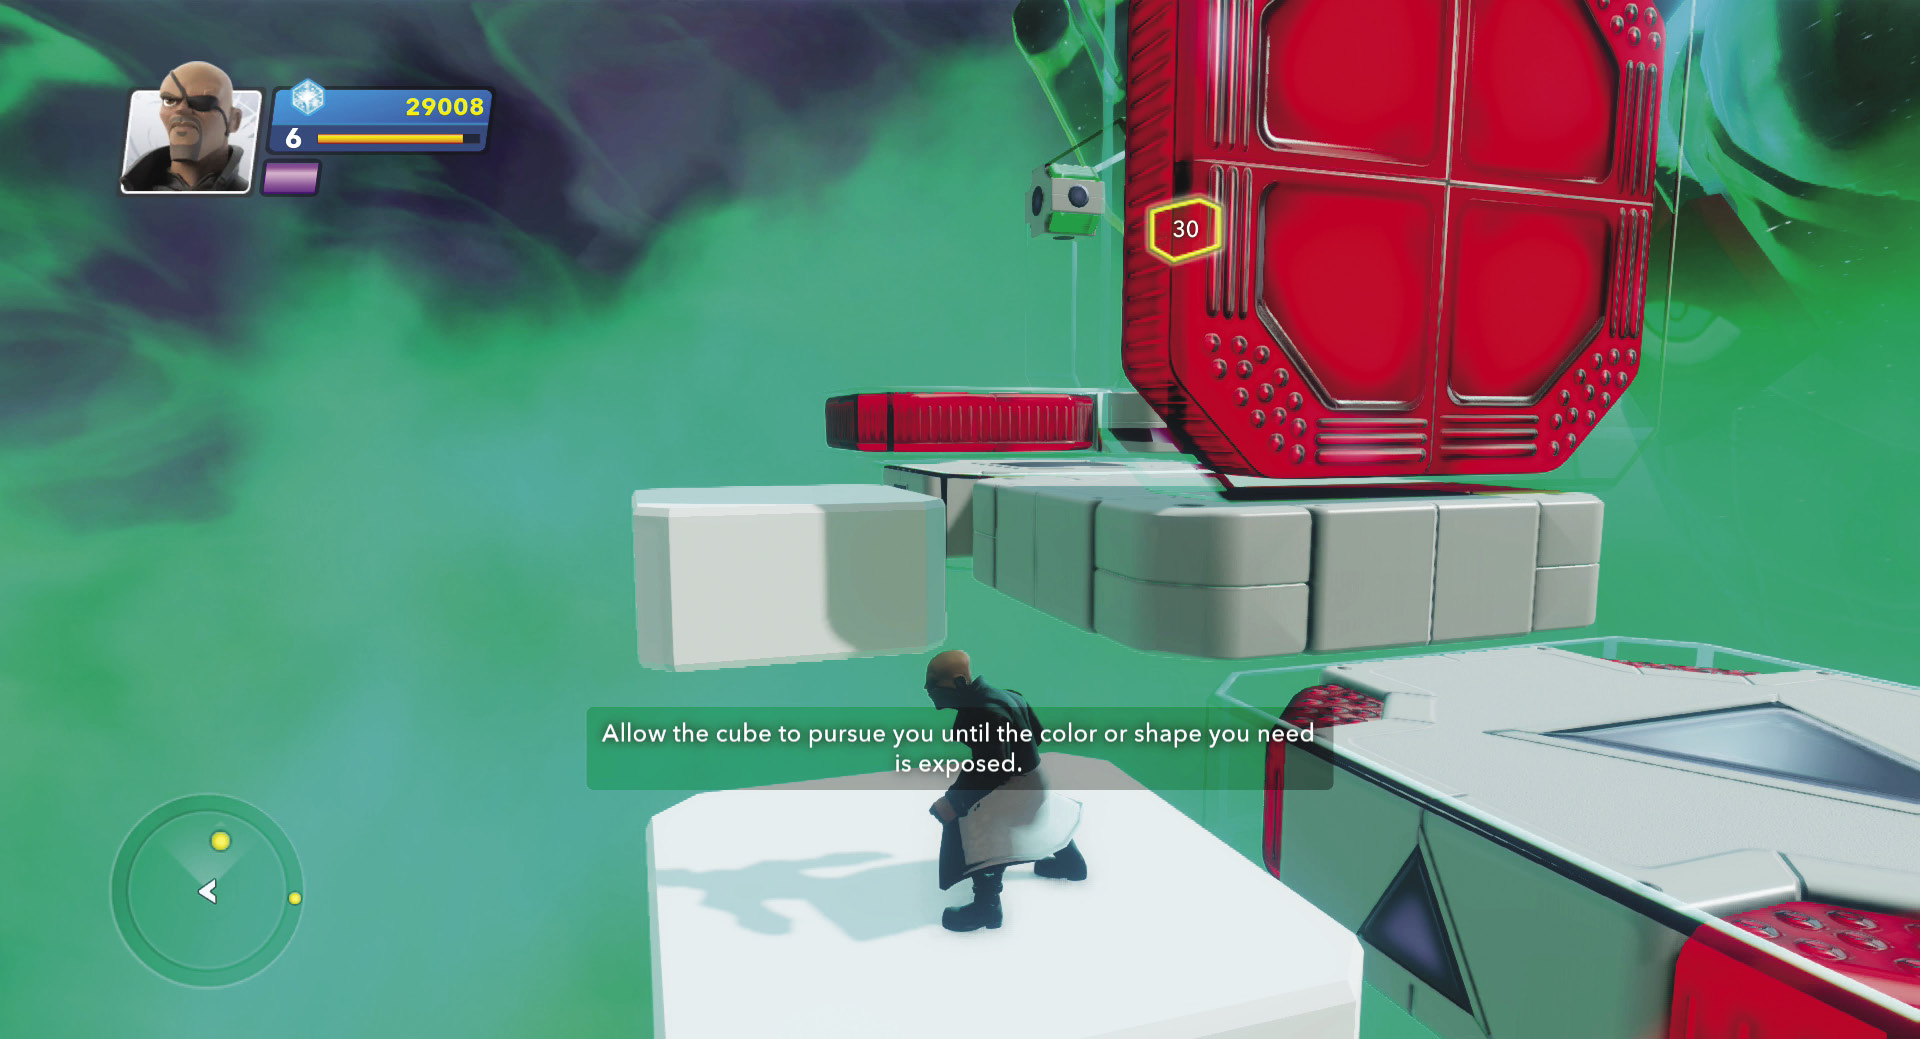
Back on the puzzle platform, punch the red cube side and go to the now-closed red door. Double-jump to the floating white square to the left of the red door, then double-jump to the next floating square, and finally back to the main platform behind the red door. With the red door closed, the red square on the floor is filled in and you can cross. Pick up the power cell and drop it off back at the closed red door. Return to the central platform via the floating side squares, punch the red side on the cube, cross through the open door, pick up the power cell, and drop it on the power conduit.
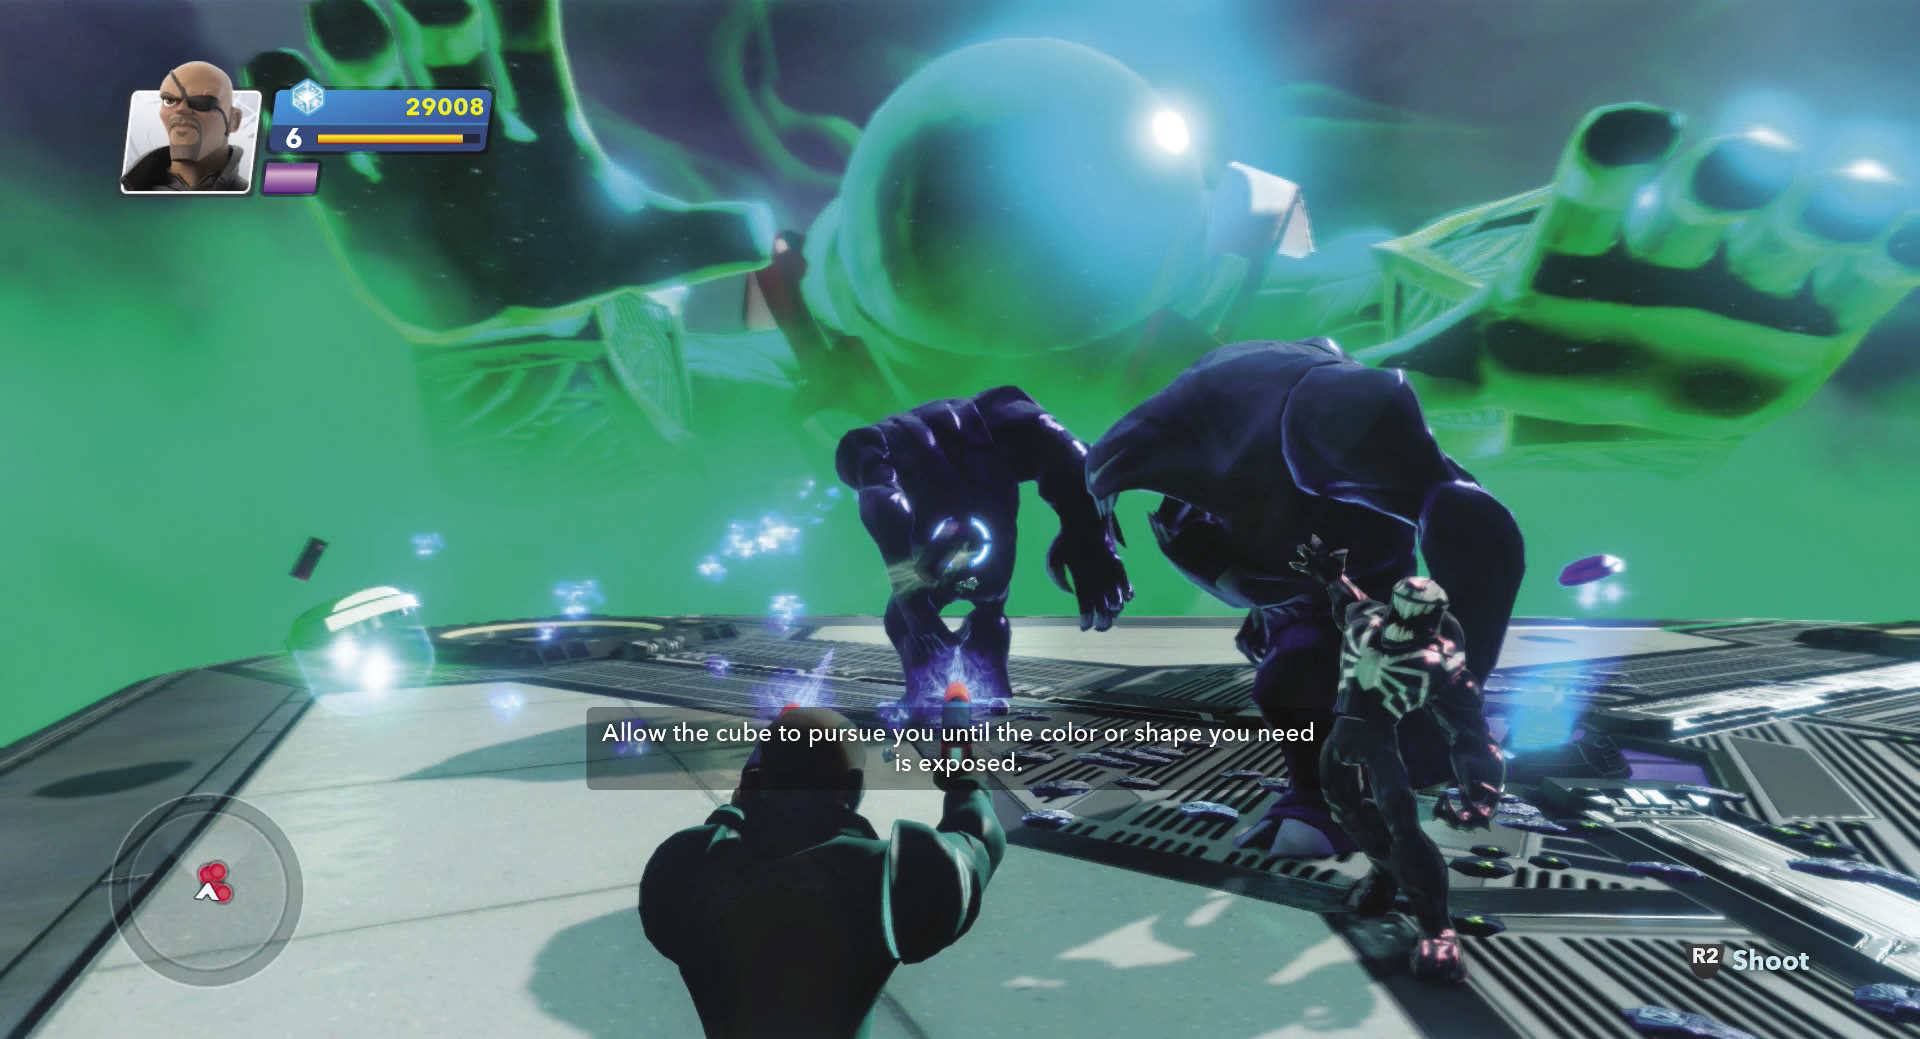
Mysterio sends the largest Symbiote horde yet at you. Constantly stay on the move, circling the central platform (without falling off) and strafing the enemies with Fury’s high-octane pistols. If you try to go toe-to-toe with these foes, you’re likely to get crushed by multiple attacks.
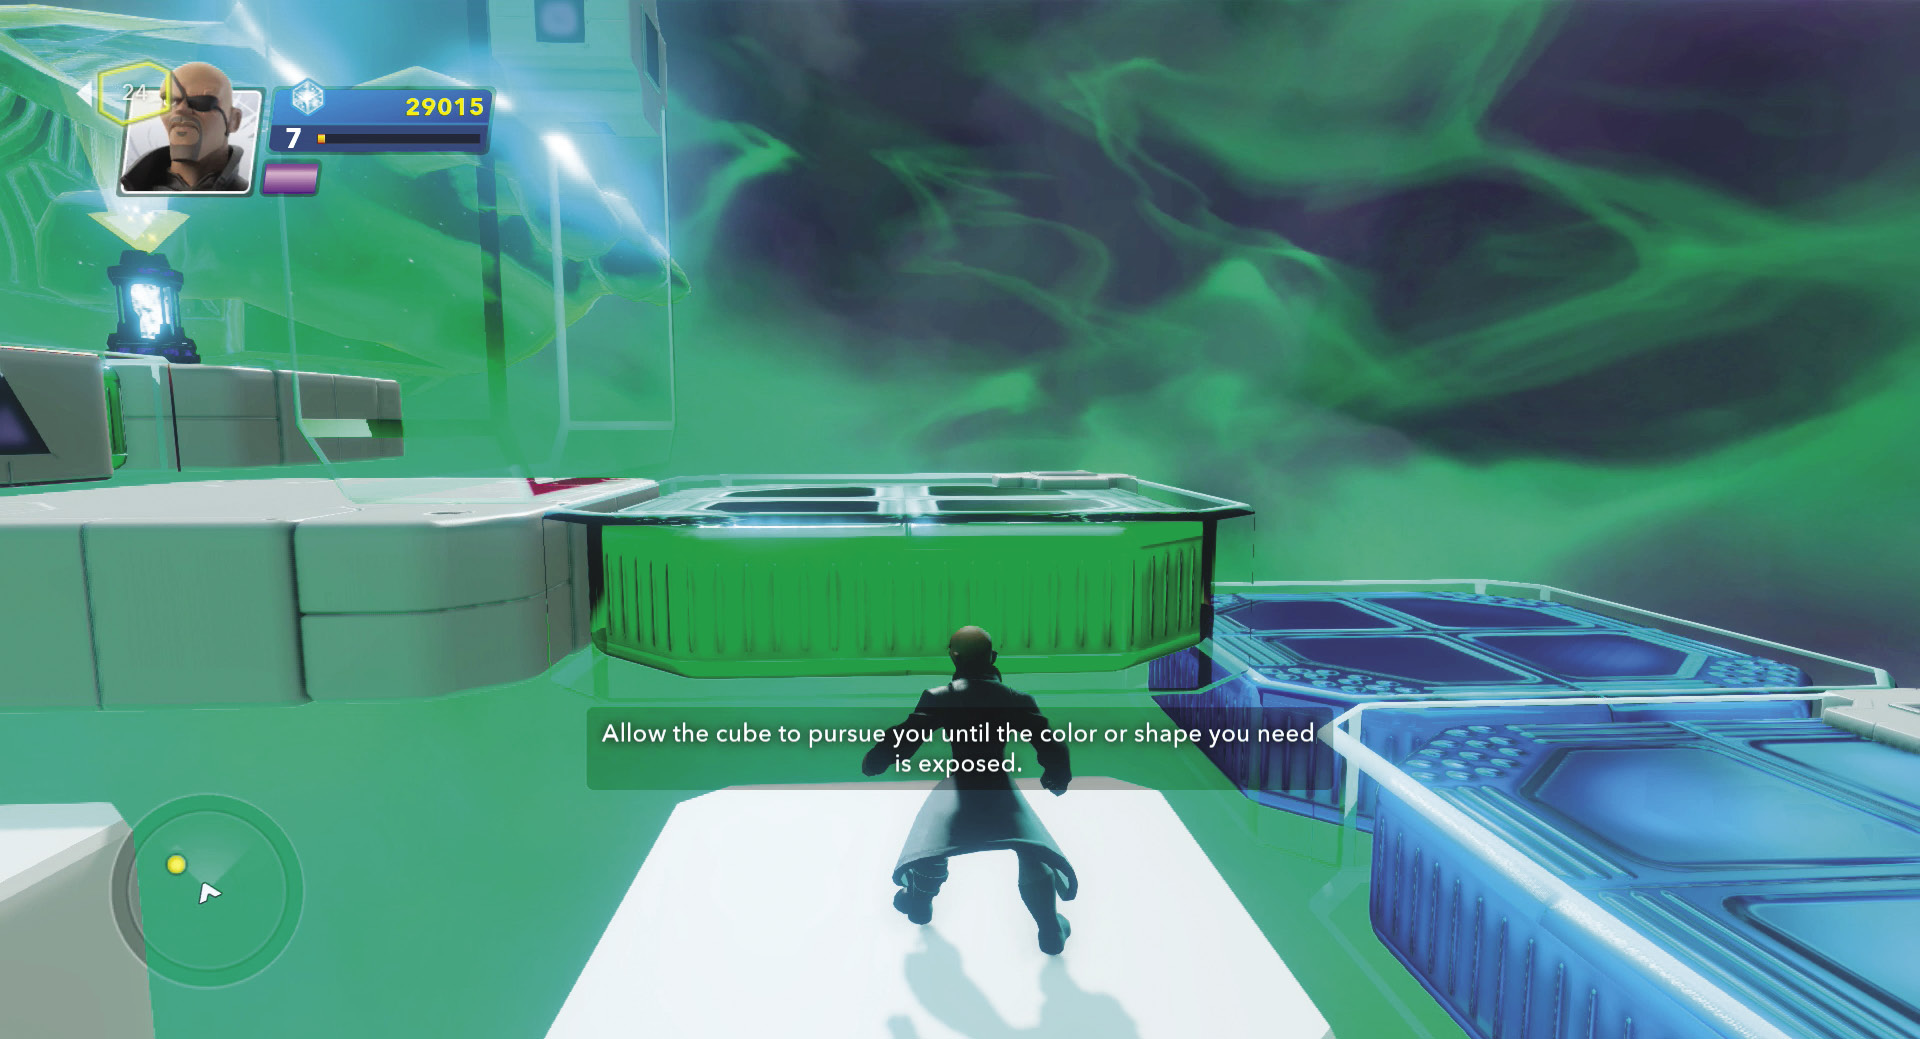
After fighting through the Symbiotes and seeing the second wing return, leave the blue door closed and punch the green cube side to fill in one of the green squares in that wing. As you did with the other side, use the floating white squares off to the side to bypass the blue door and climb up the main path to reach the power cell.
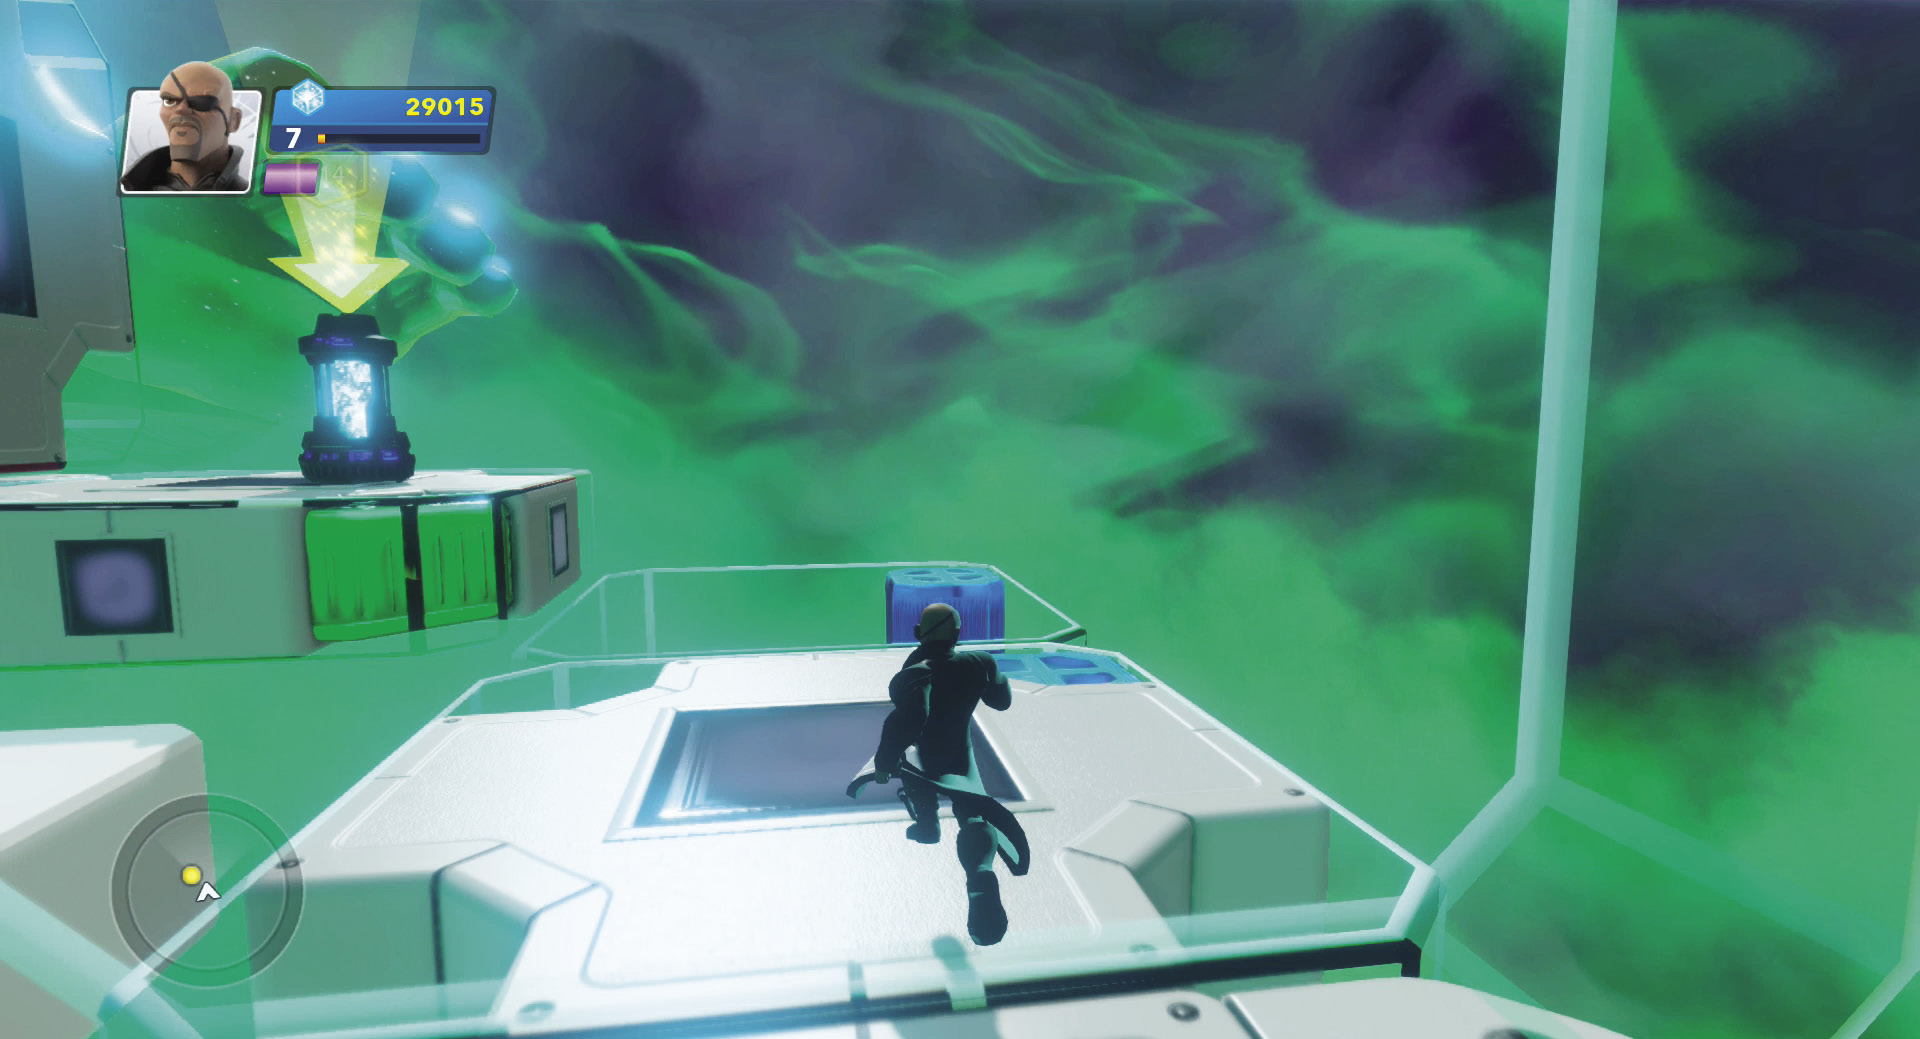
Pick up the power cell and bring it back to the green square. Leave it for now and return to the cube to punch the blue side, then punch the square symbol on the cube to fill in that missing square in the wing, and then punch the blue cube side again to fill in the final square. Return to the power cell and get it back to the square in front of the now-closed blue door. Skirt around the blue door using the floating white squares and punch blue on the cube for the last time.
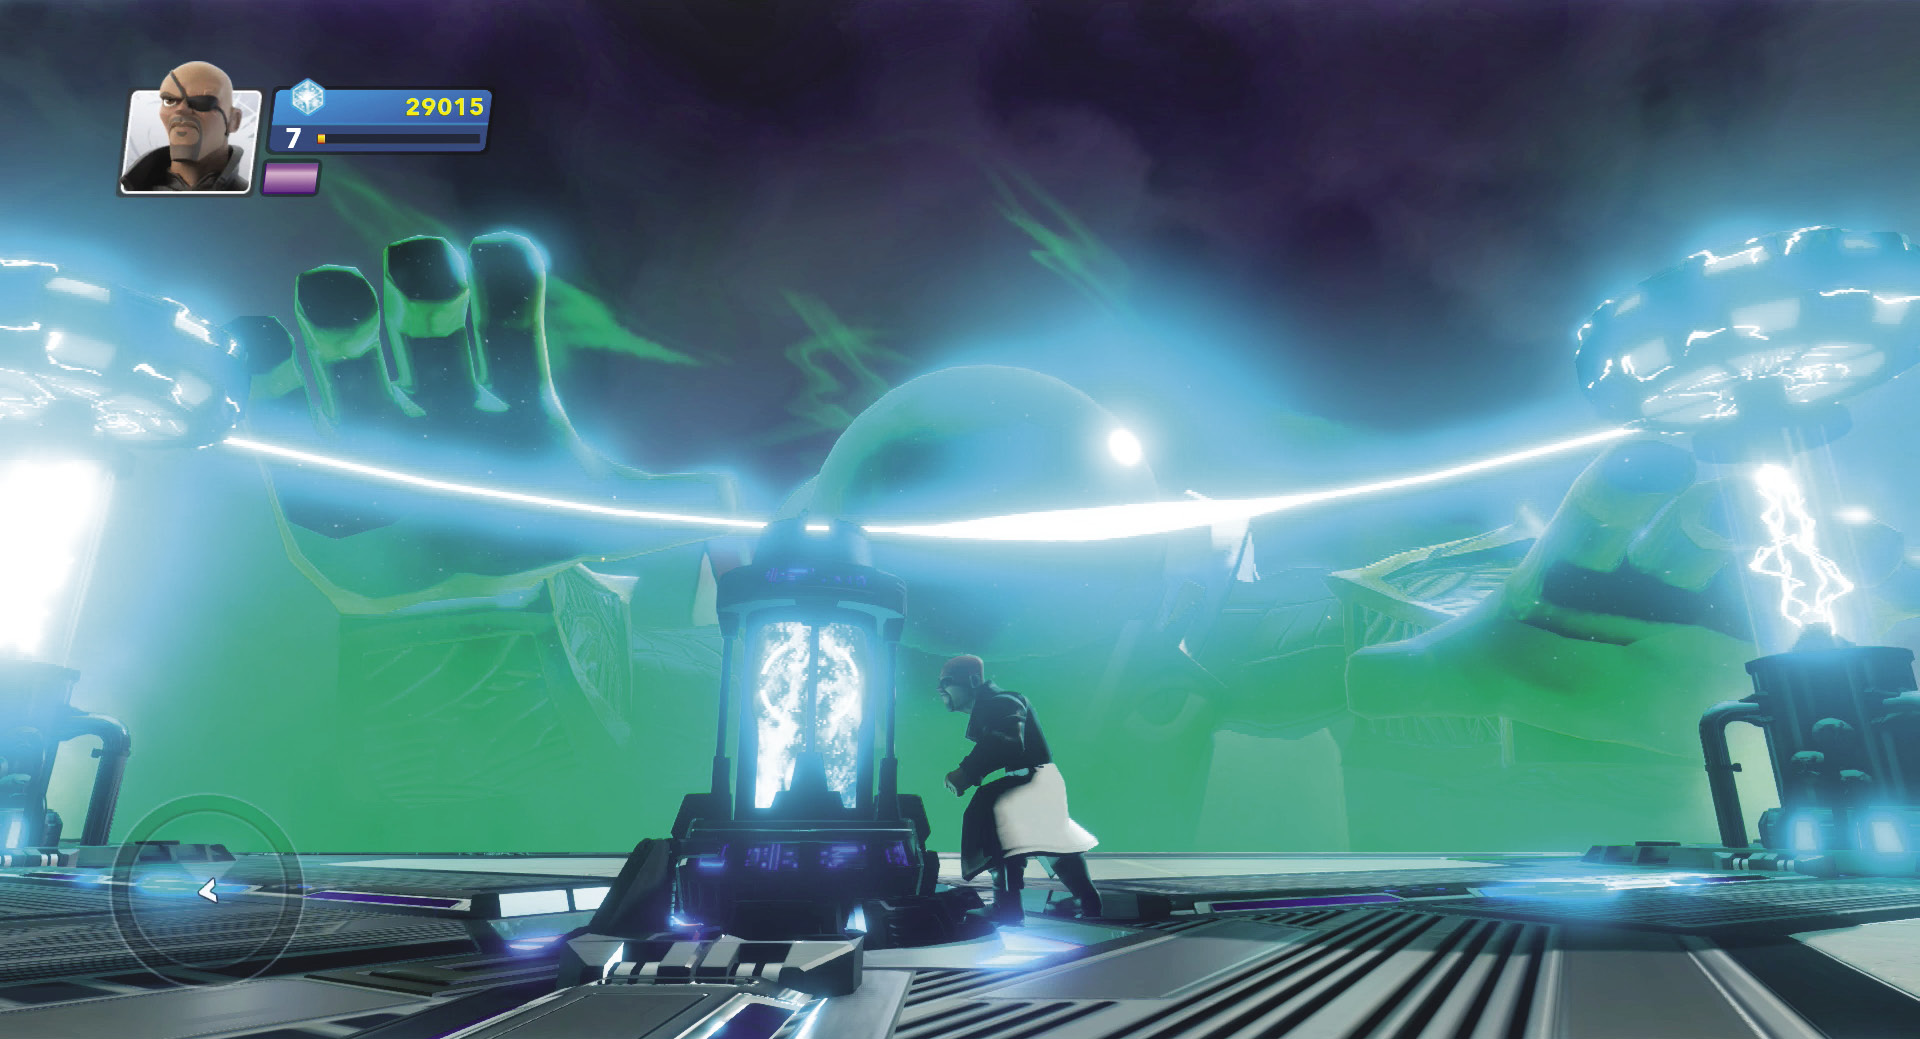
Drop the power cell into the power conduit and it is light’s out Mysterio. The energy backfires on Mysterio and the illusions fade. S.H.I.E.L.D. swoops in to capture the villain and leave you with only the Green Goblin to apprehend.

Feat Complete: Dispelled Illusions
Green Goblin’s Grim Gauntlet

Recommended Hero: Spider-Man
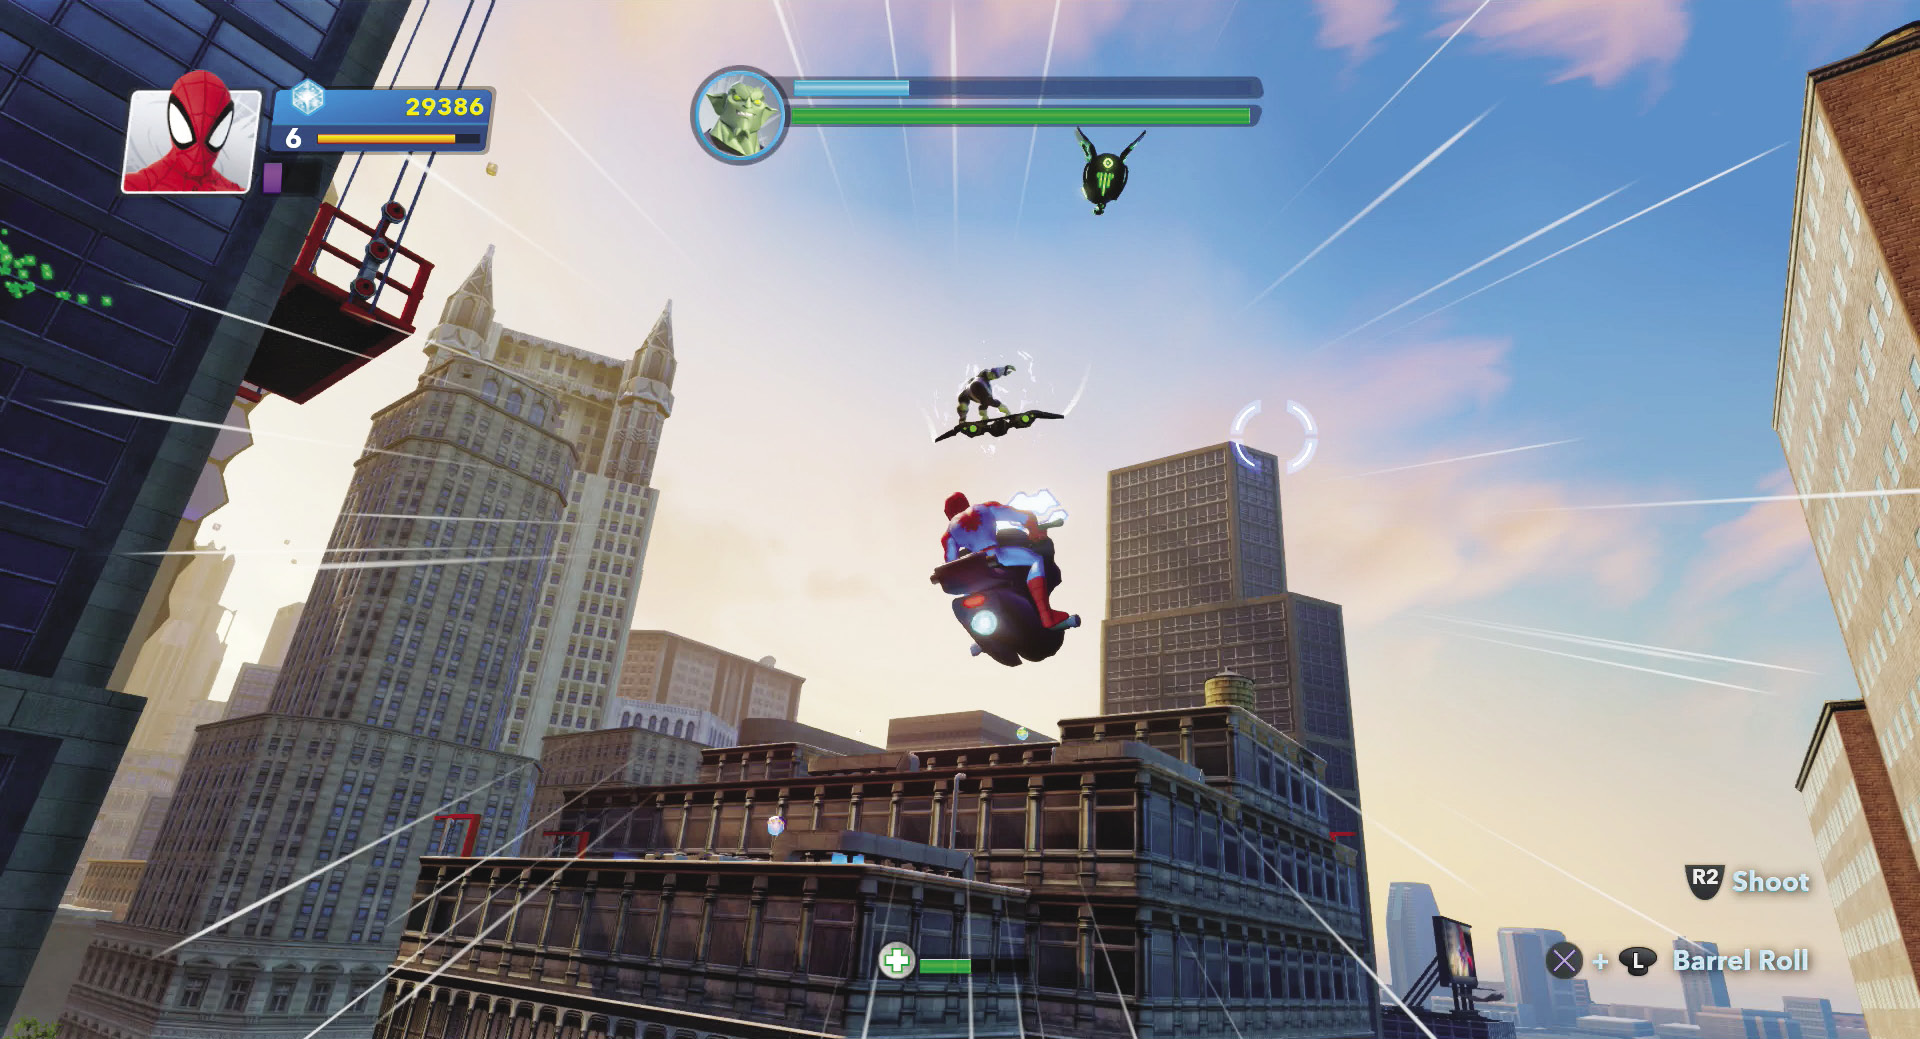
The final battle against the Green Goblin is a flying chase through Manhattan. To bring him to justice, you must continually pick off his four Goblin Drones to drop his shield and then deal damage directly to the glider before the shields come back up and four more Drones appear. It’s going to take multiple loops around Manhattan and dozens of Drone detonations to punch through Green Goblin’s defenses.
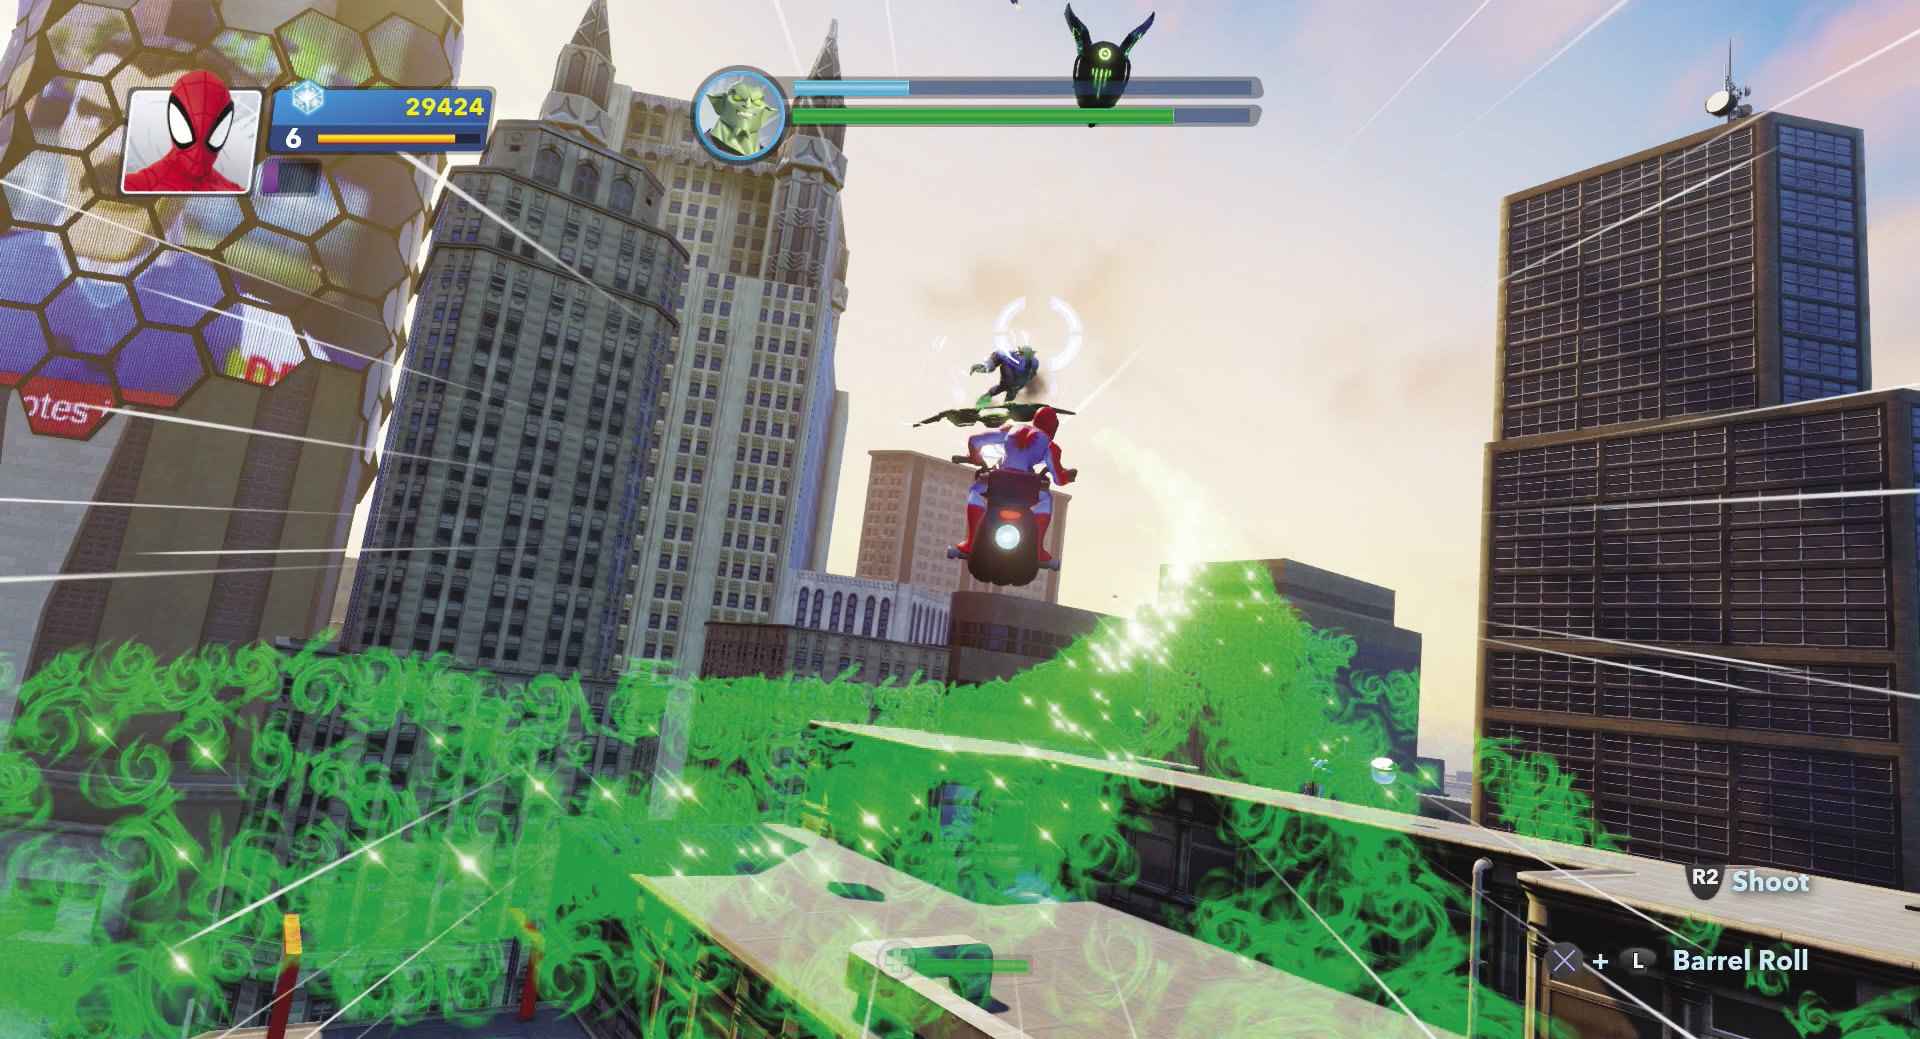
Run into any green capsules floating above the streets. The green Sparks will trail after you and eventually give you health back. You will stay alive much longer if you capture as many green Sparks as you can along the race.
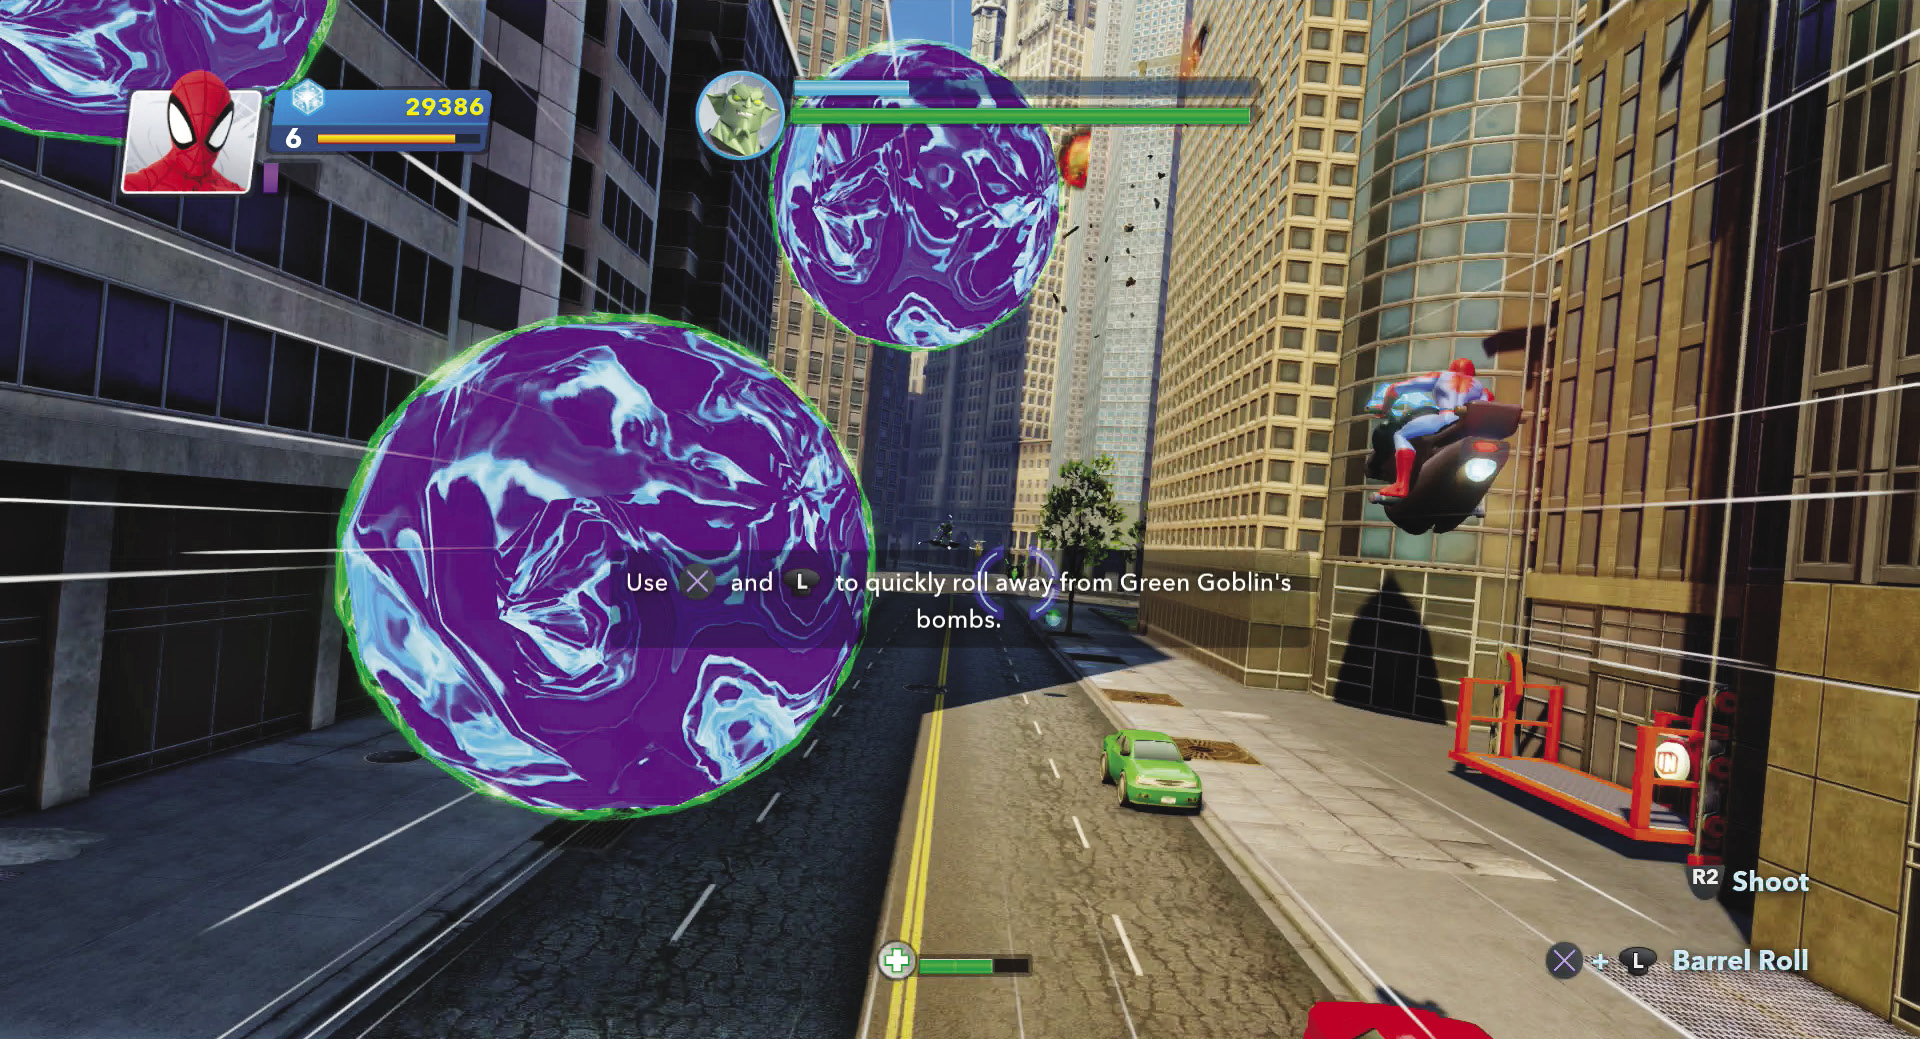
Green Goblin is not without his tricks. His first big defense comes in the form of giant, blue energy Goblin Bombs. Hit one and you’ll spin out of control. Three knocks you out of the chase for sure.
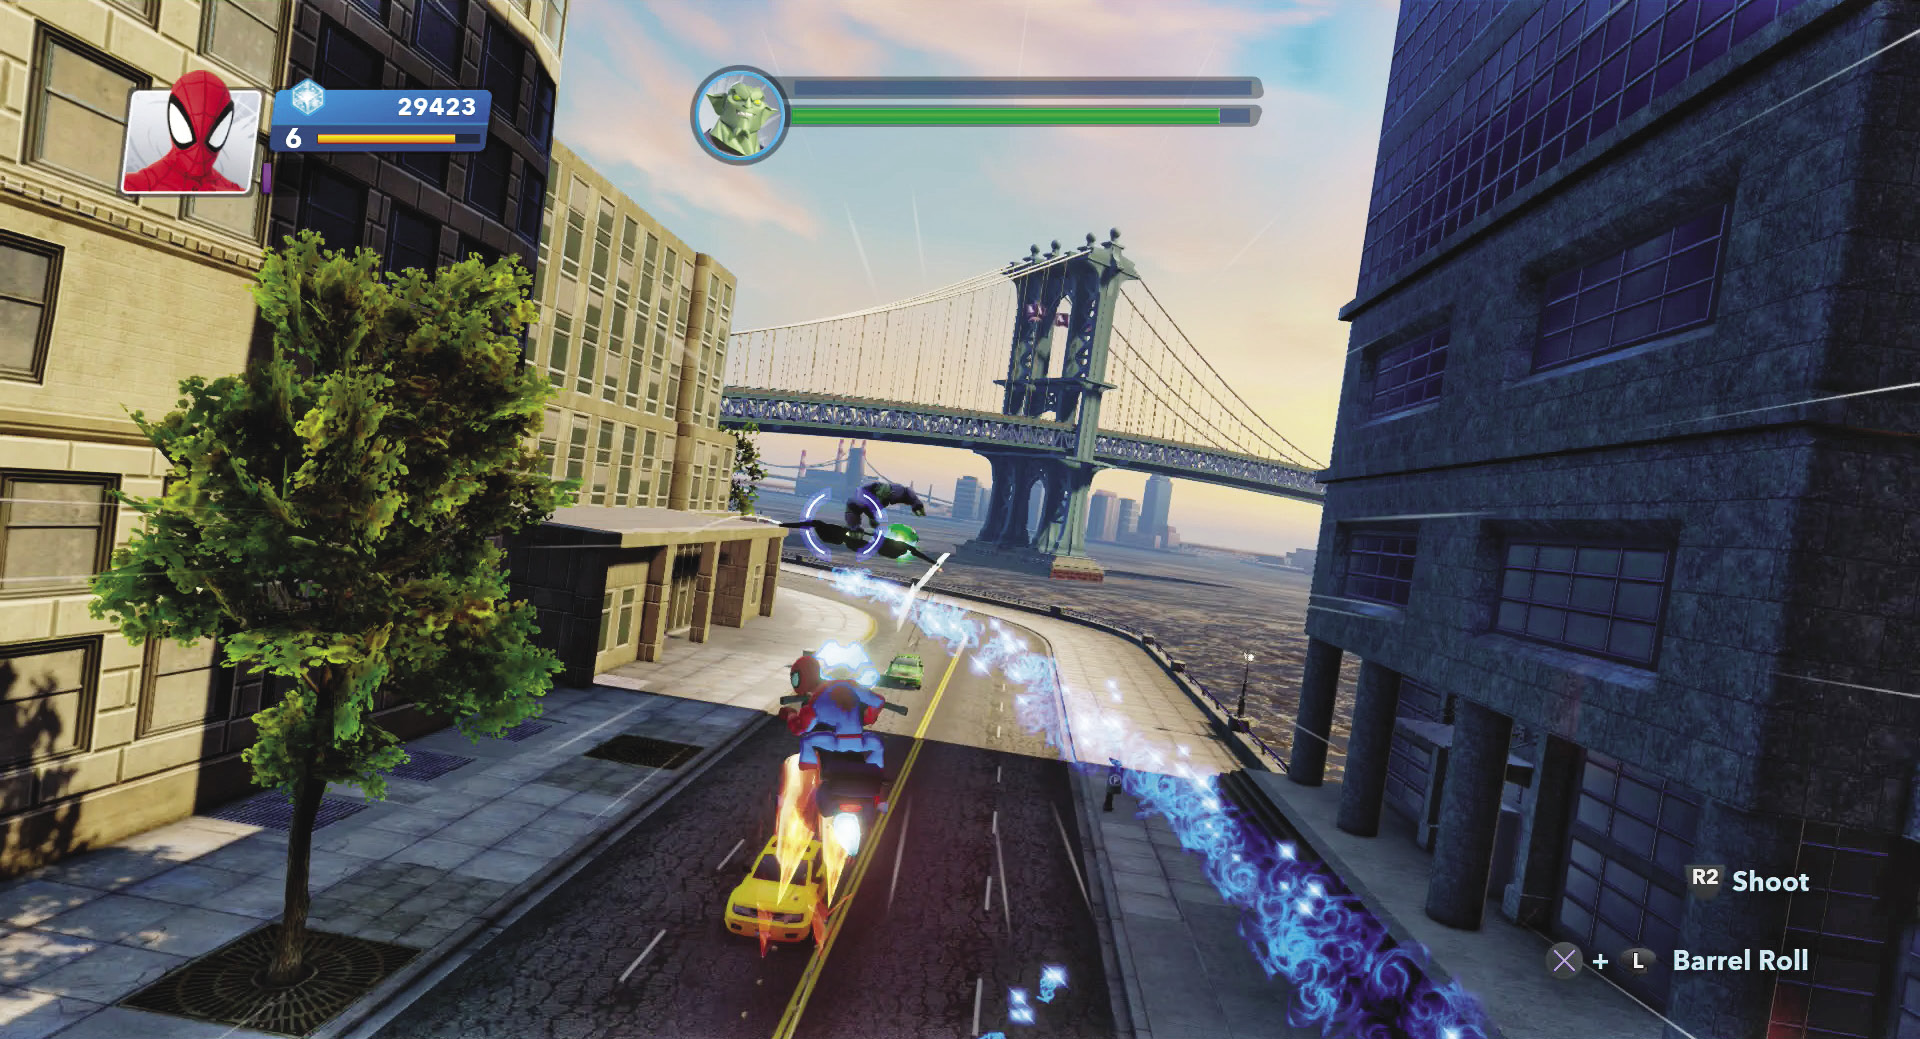
Once you drop the Goblin’s shields, pelt him with as many missiles as you can from your Sky-Cycle. You only have a few seconds before the shields return, so make those shots count.
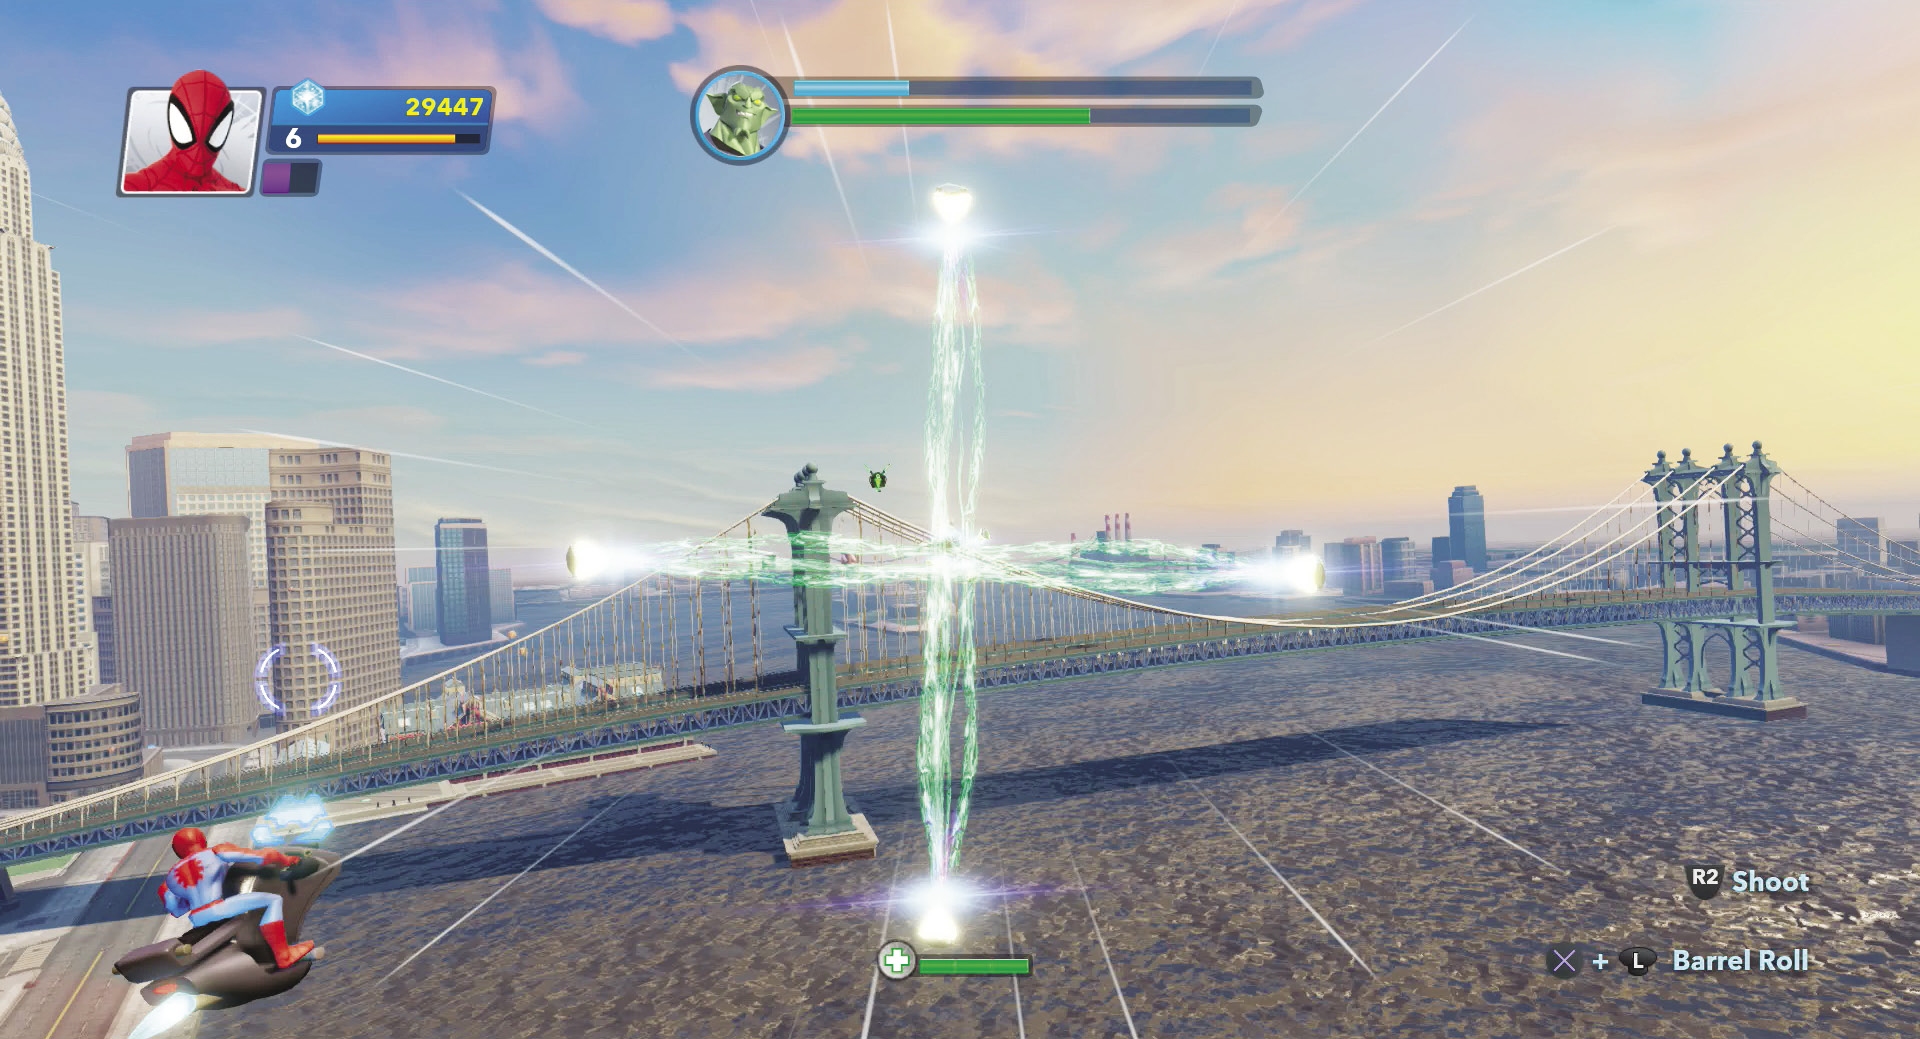
Out by the bridge, Goblin launches his second big defense—Goblin Drones in the form of an energy “X.” This “X” rolls through the sky, and if any part strikes the Sky-Cycle, it electrocutes you and spins you out of control. Speed through the gaps and stay on the same path through the multiple “X”s if you make it through the first one.
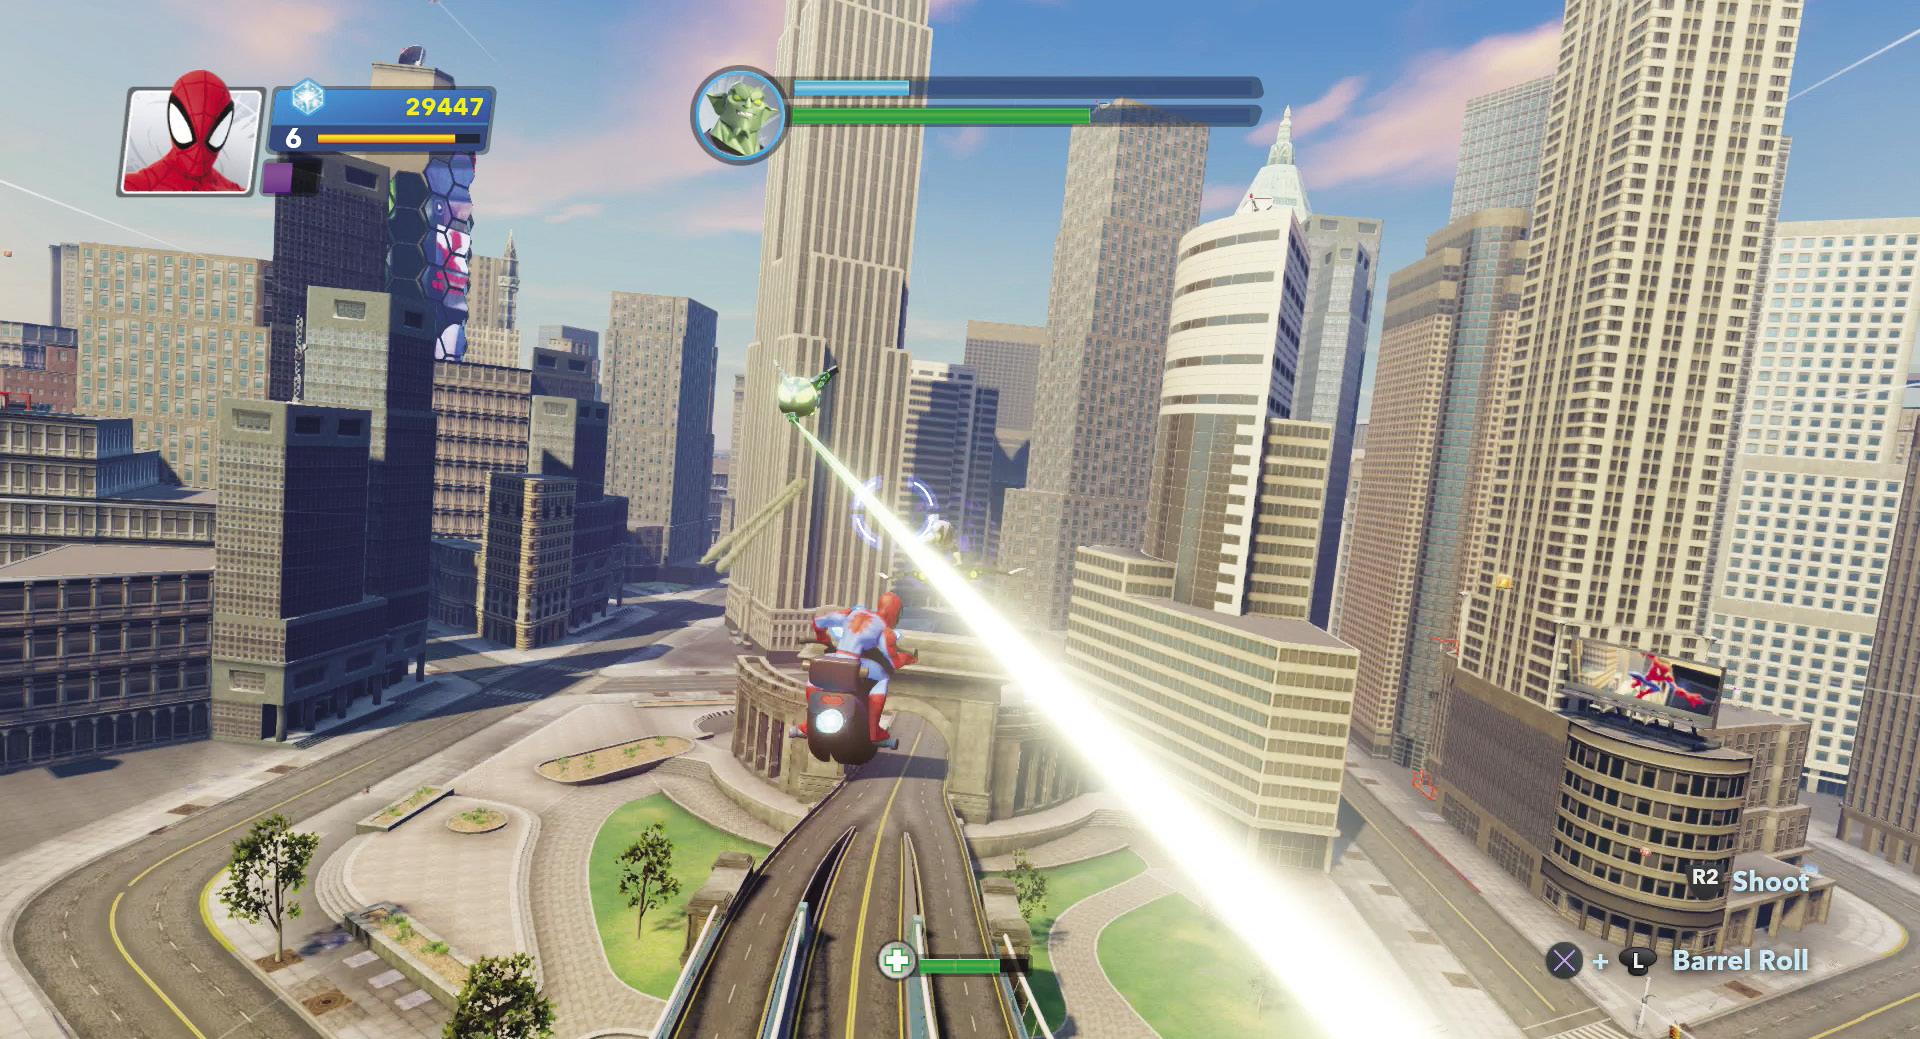
After the bridge, Green Goblin’s Drones develop laser fire. Dodge the green beams as they cut through the air. It’s important now more than ever to eliminate Goblin’s Drones quickly.
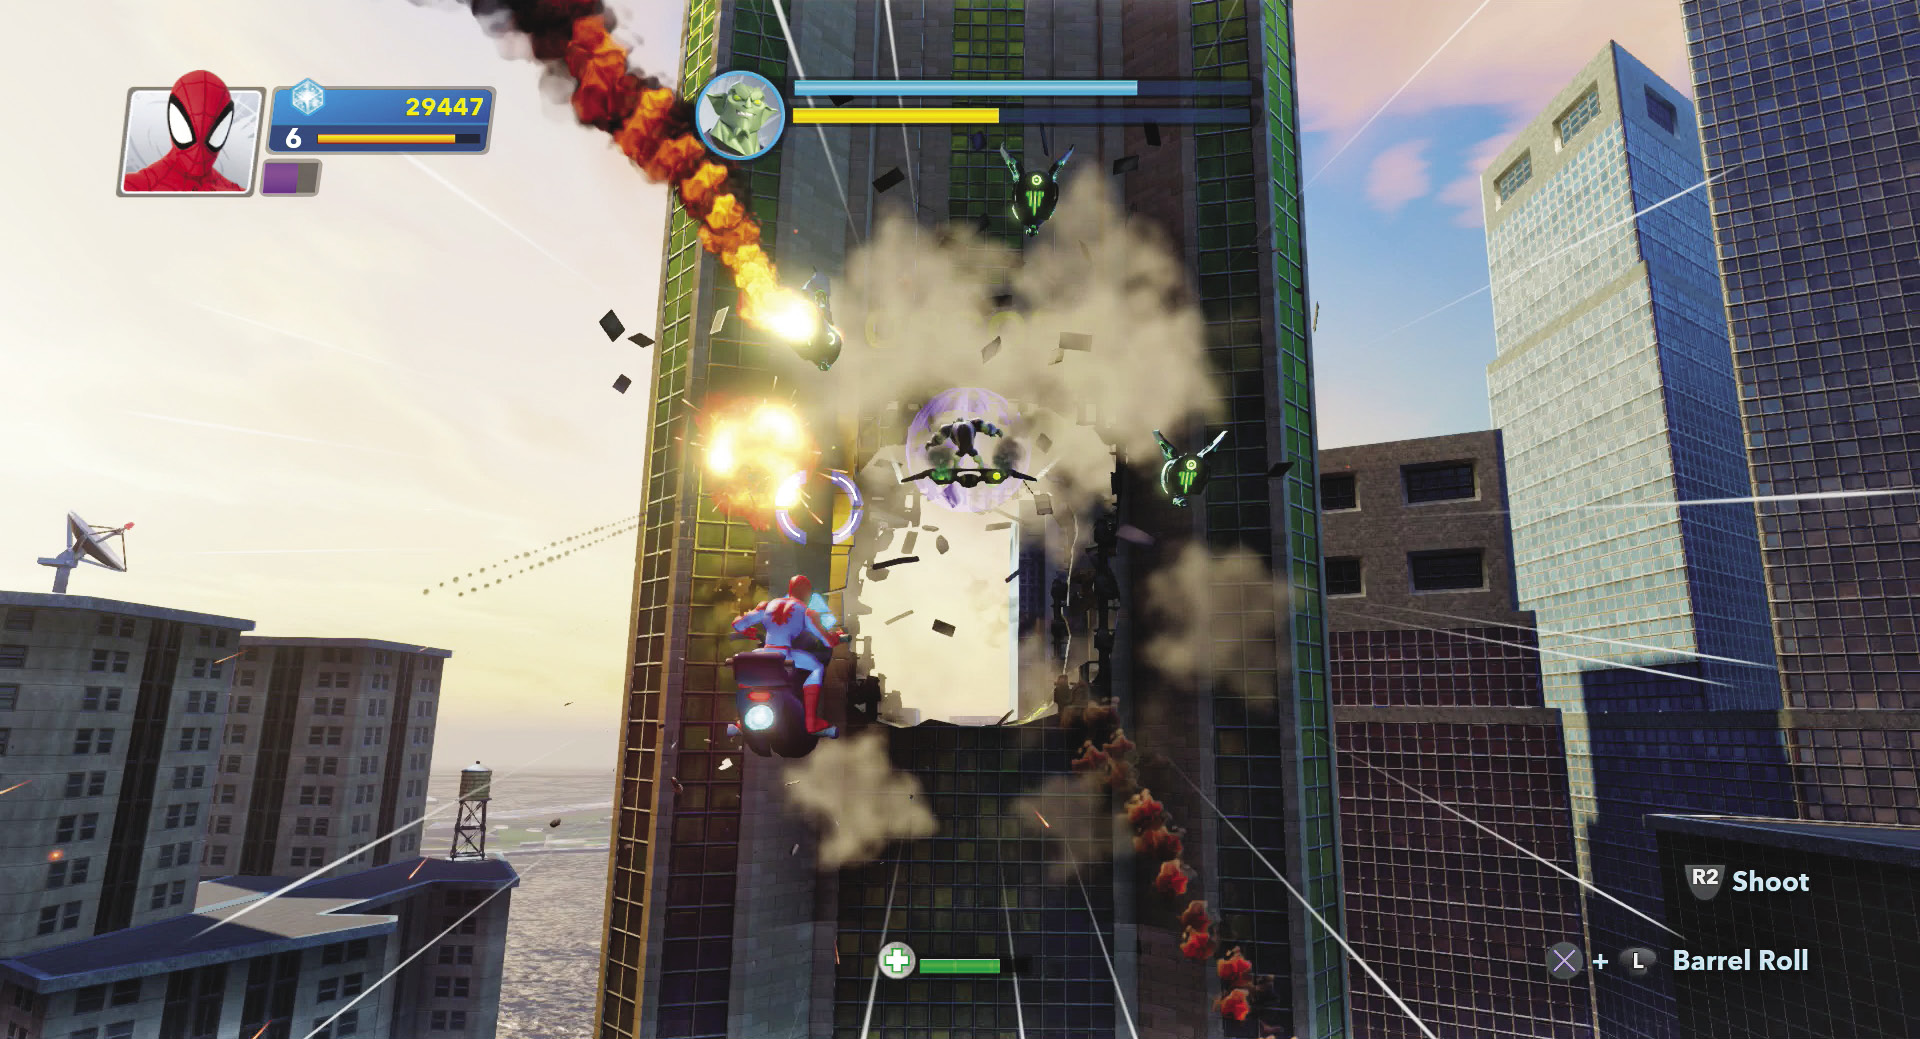
As you wear Goblin down, he will blow a hole through a skyscraper. Follow him and his Drones through the skyscraper and pursue them down into the streets below.
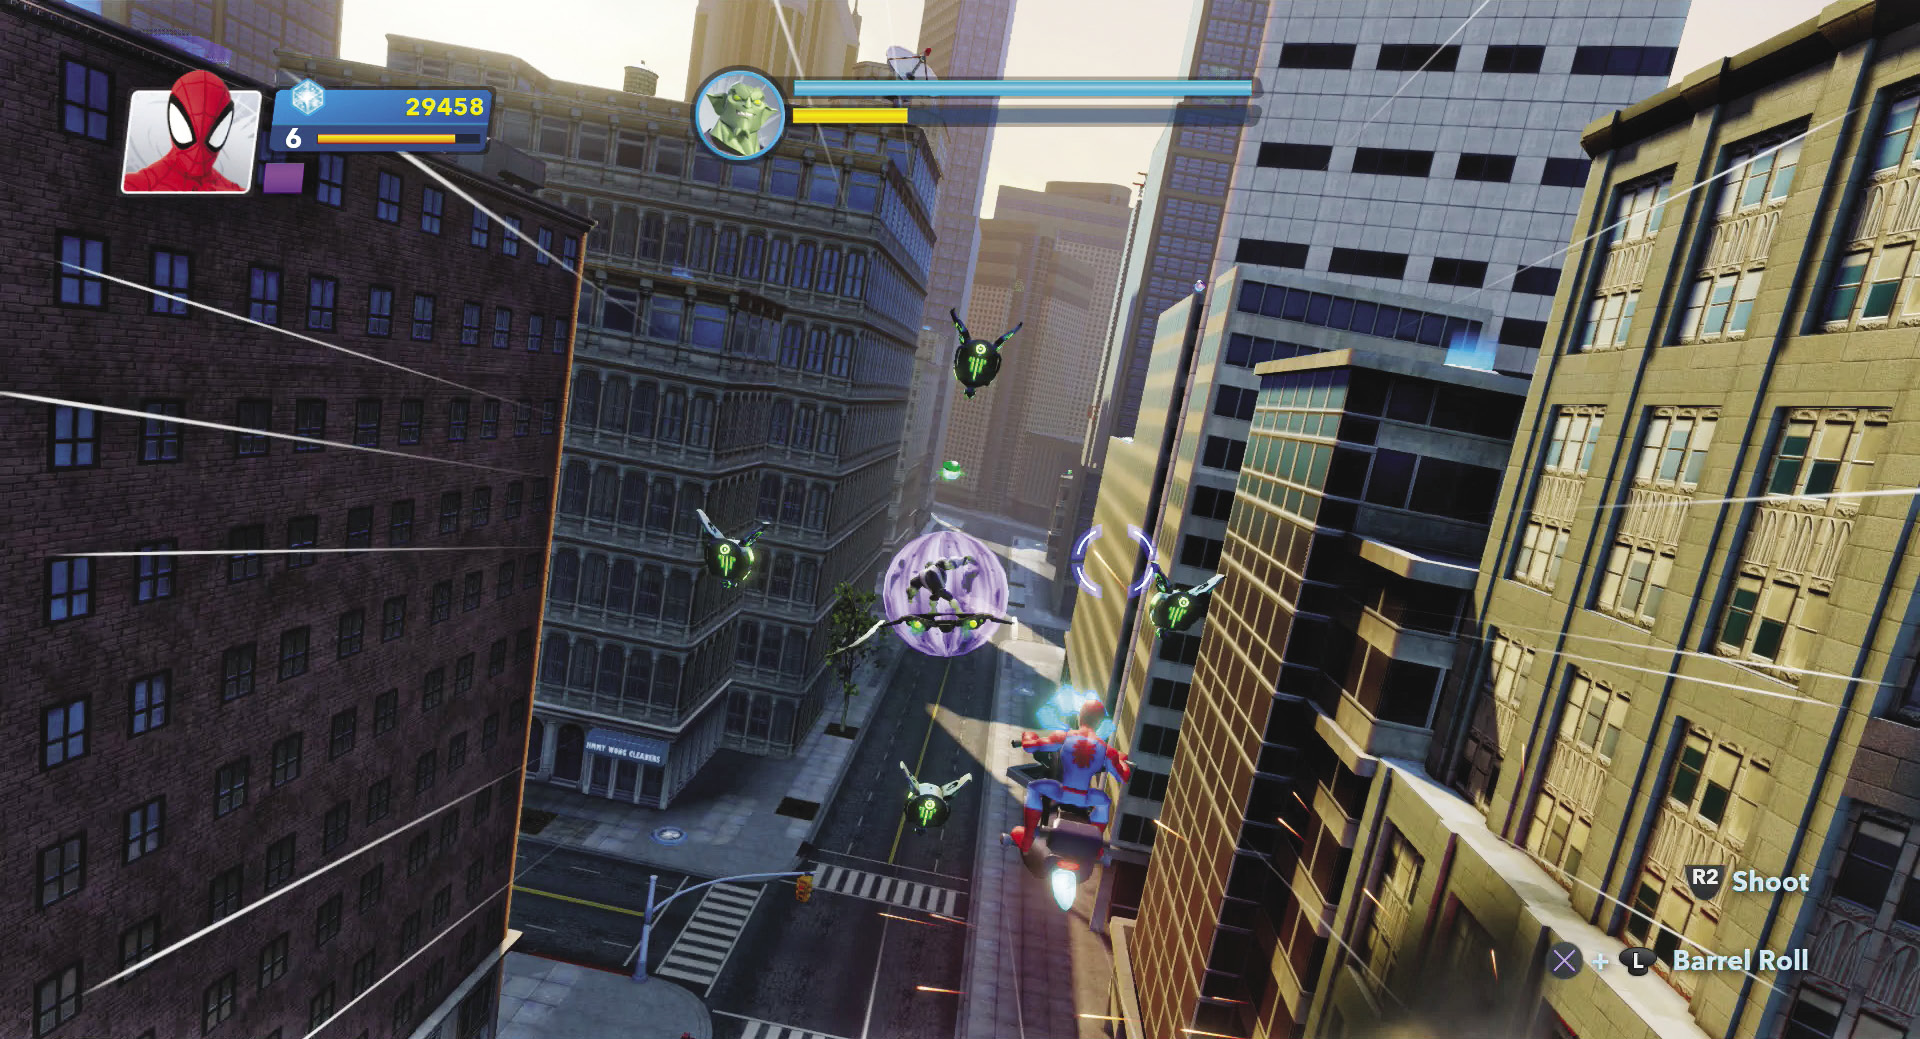
Take your time and steady your shot when you want to pick off the Goblin Drones or smack the glider. When Goblin throws out his Goblin Bombs or lets loose his electrifying “X”s, hang back to give yourself more room to maneuver.
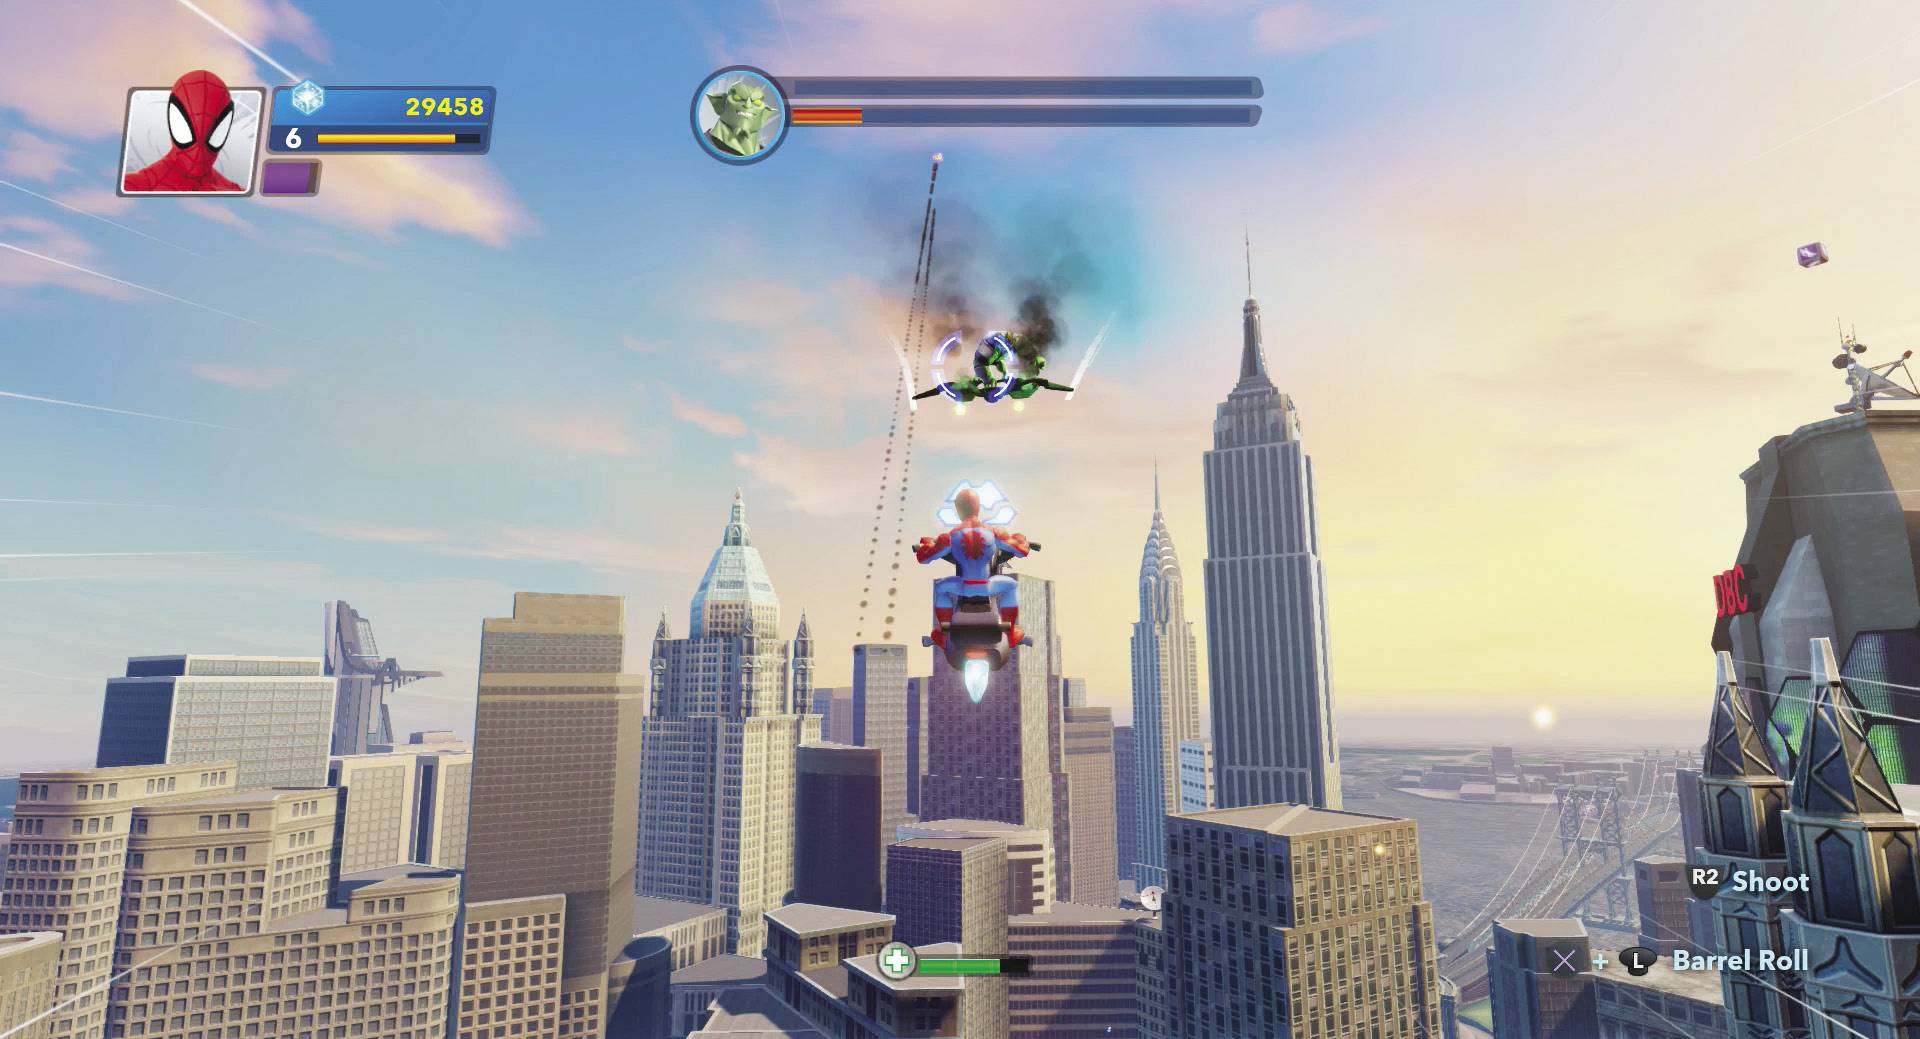
Eventually, you will drop Goblin’s shields for the final time. Pepper him with the last few missiles and bring him down.
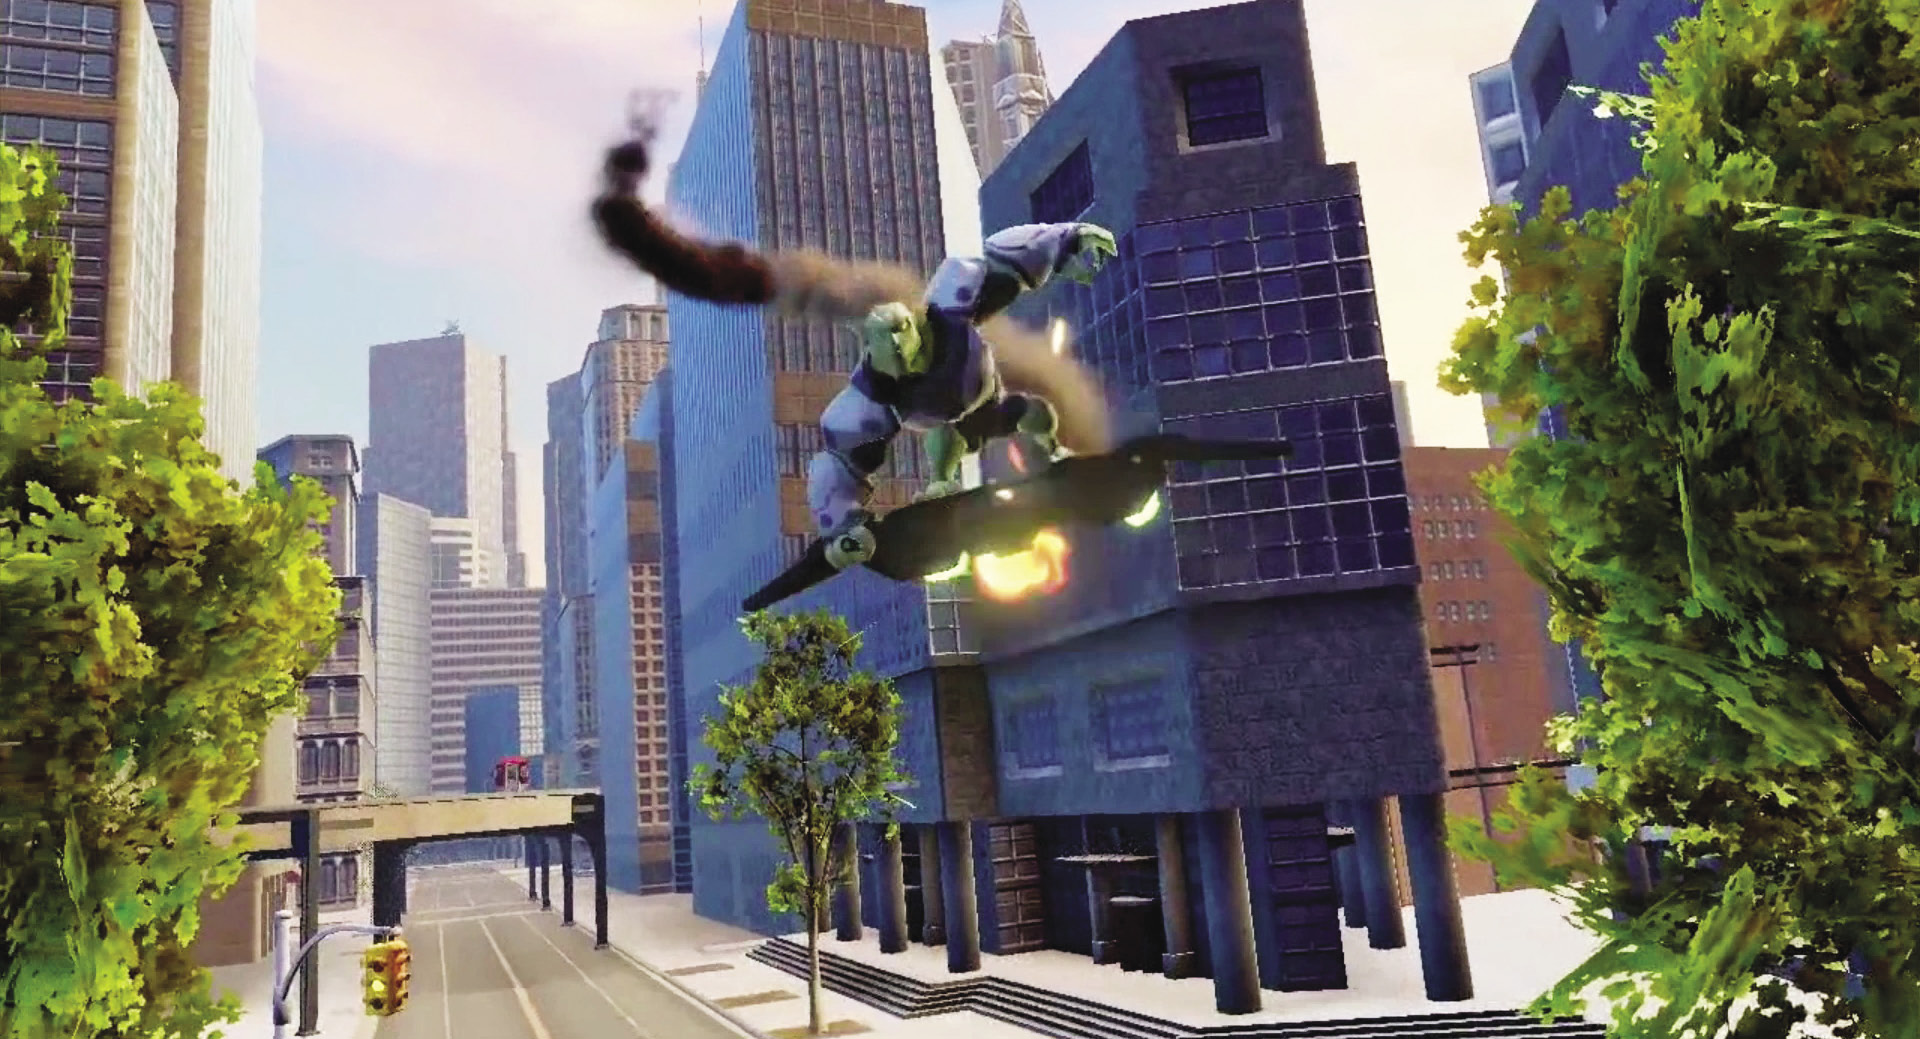
Green Goblin’s glider plummets out of control and ends up in the Hudson River. S.H.I.E.L.D. fishes him out and takes him away. The whole crew meets up to pal around after nabbing another nefarious villain, but there are plenty of Symbiotes running around town for those still itching for a fight.
Feat Complete: High and Mighty