
Disney Infinity: Marvel Super Heroes Guide Marvels Guardians of the Galaxy Play Set
Defeating Ronan the Accuser
Unwelcome Wagon
Dark Aster
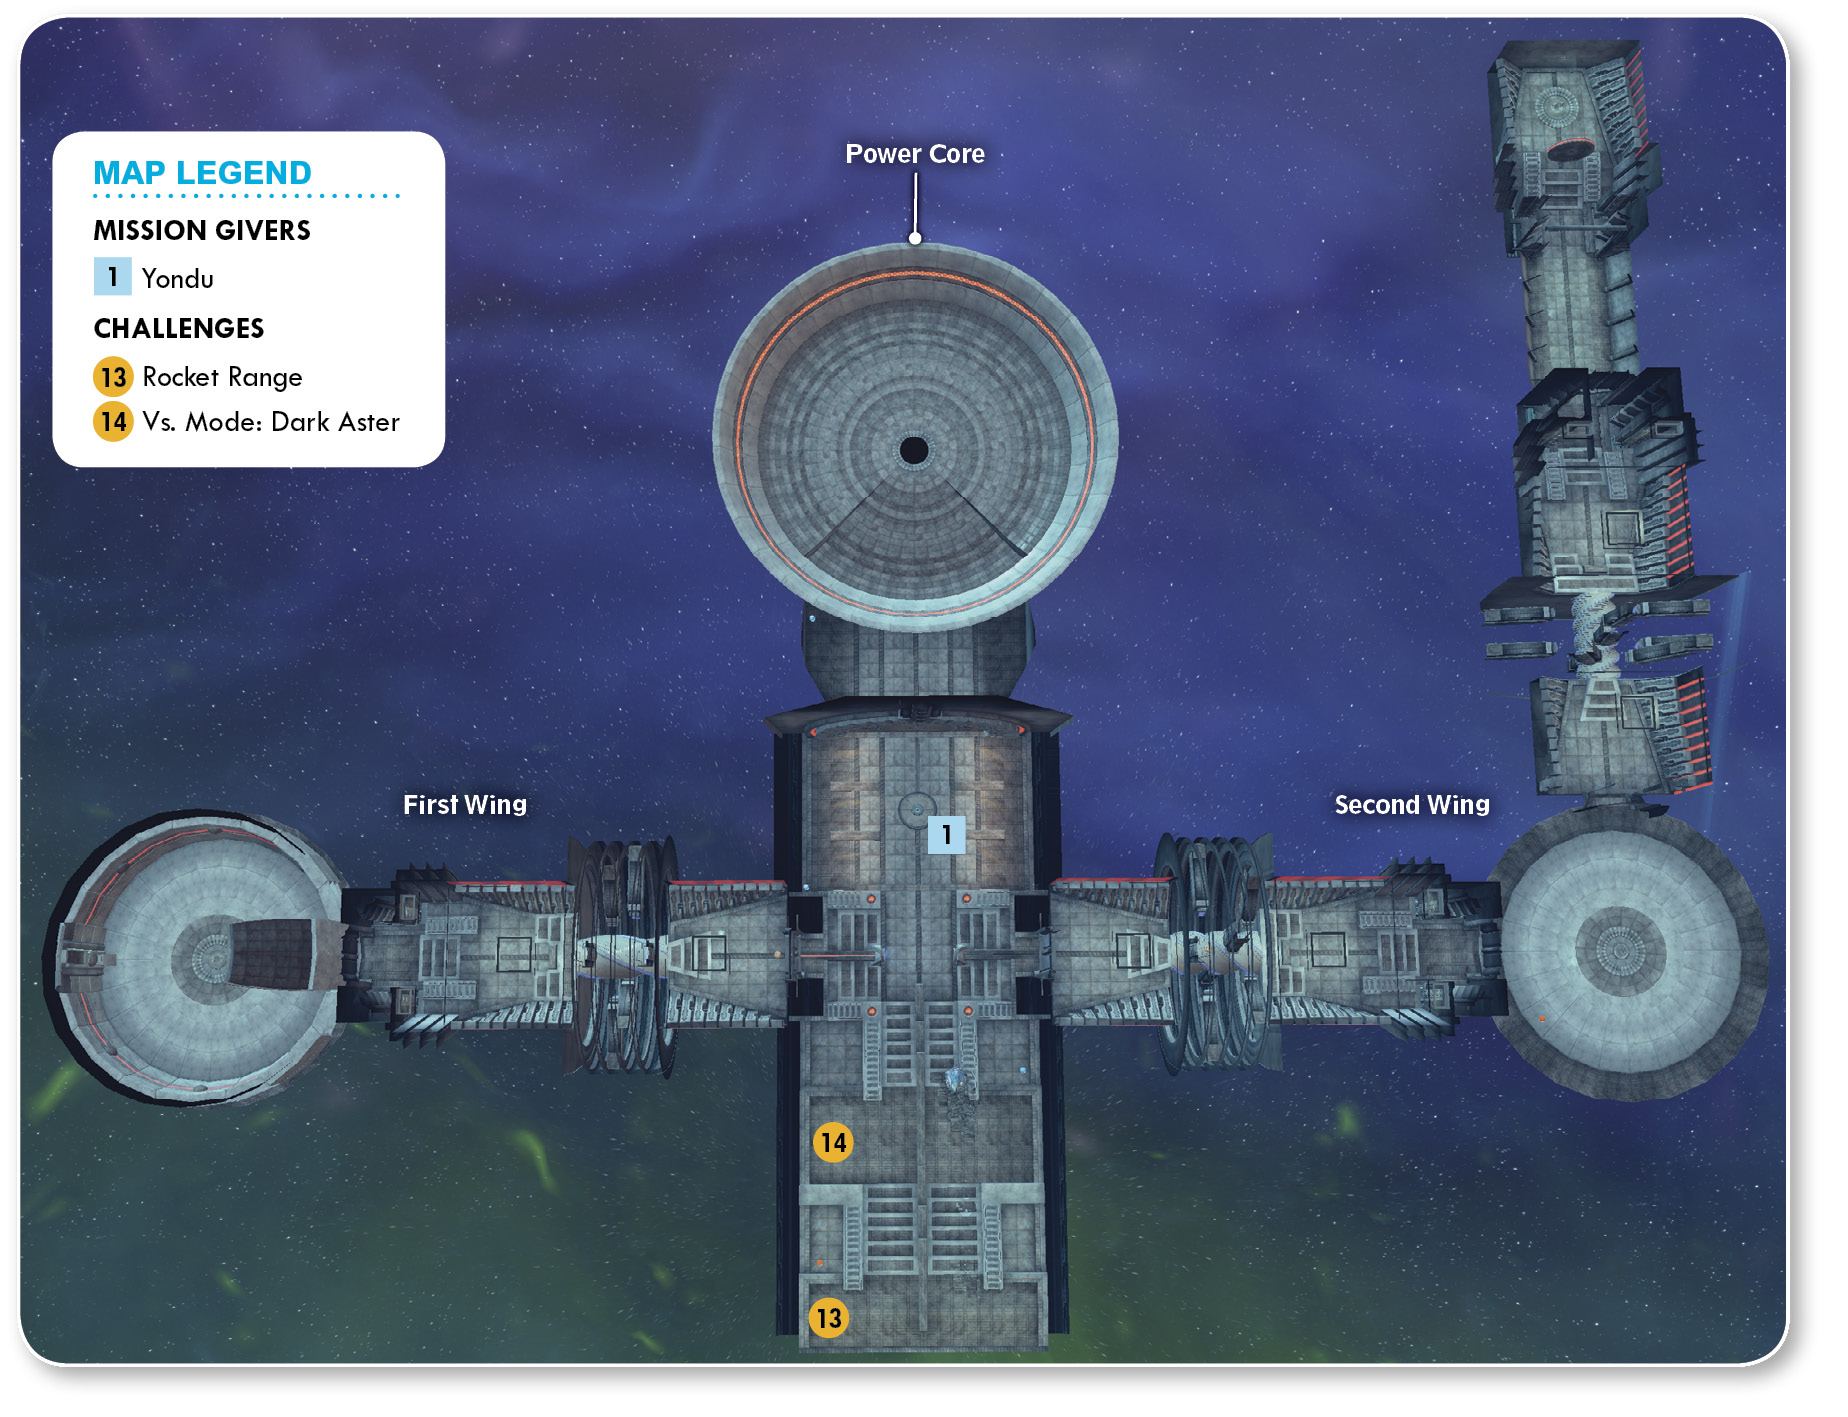
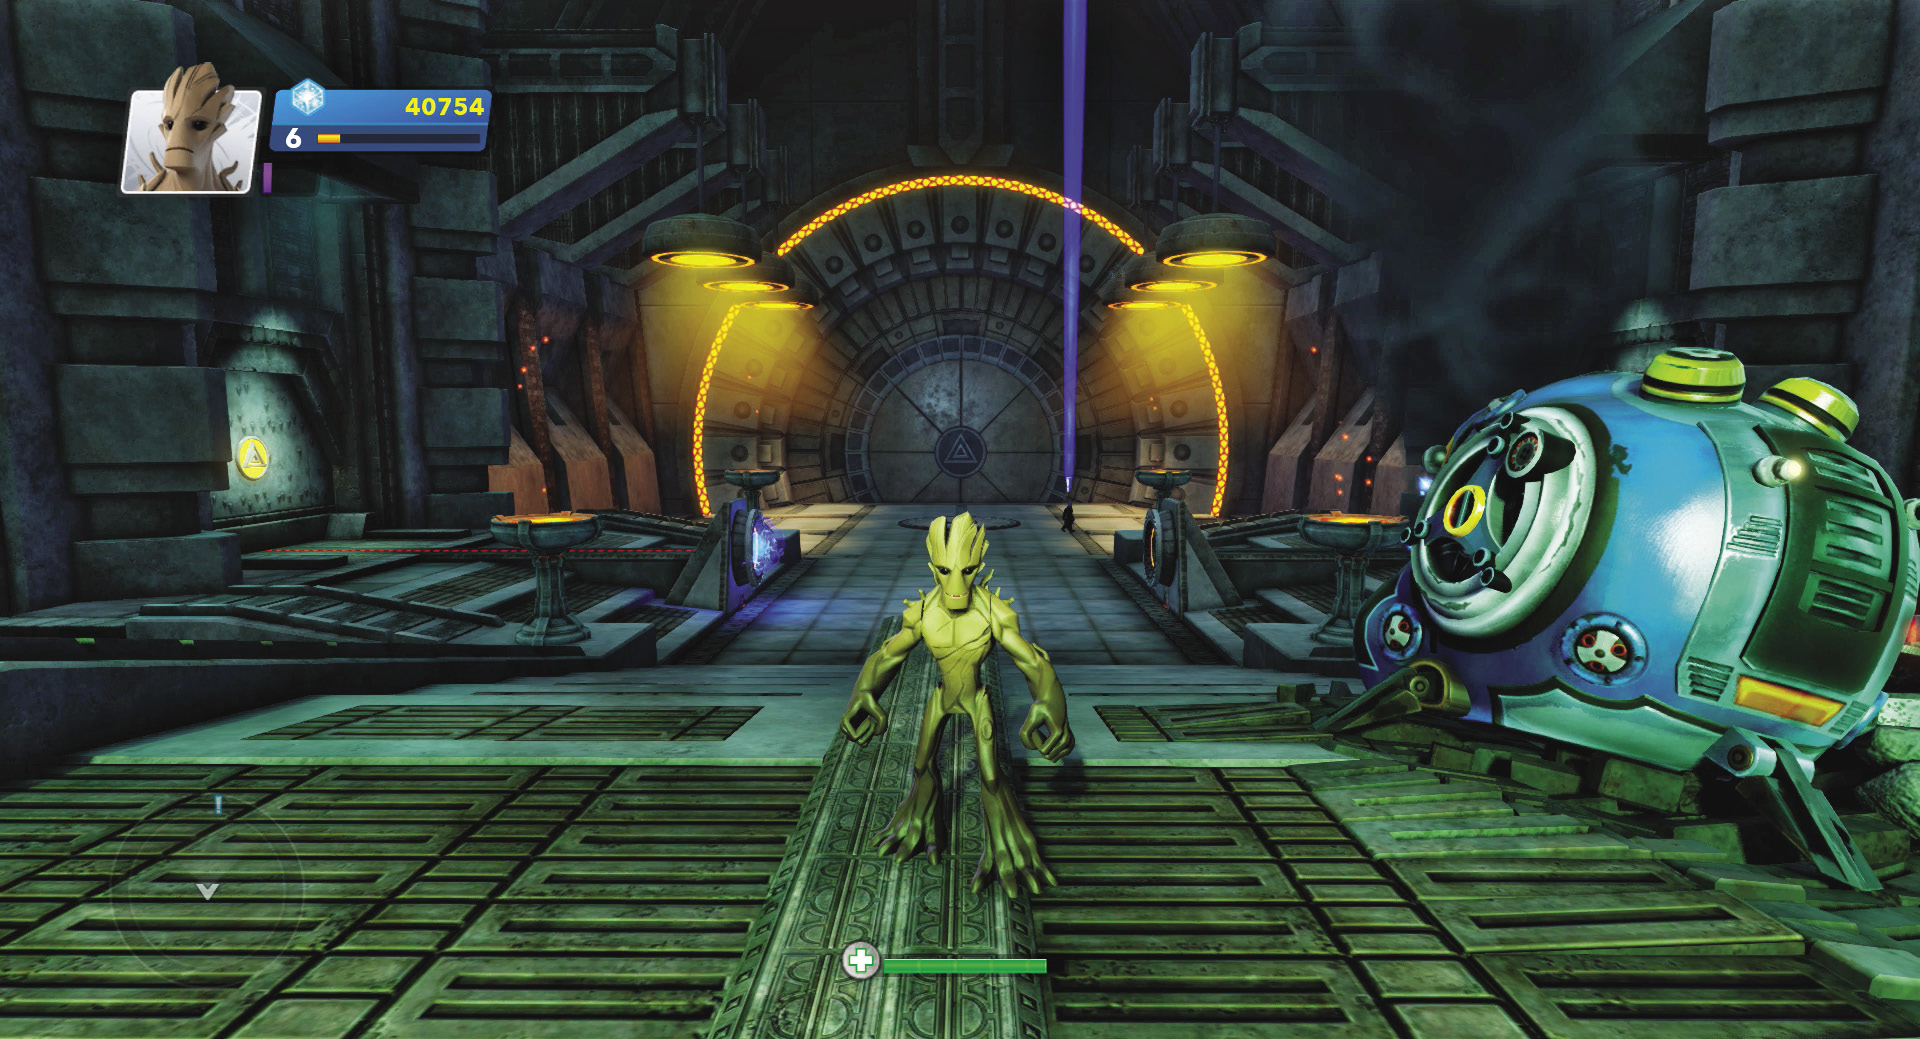
Step out of the crashed mining pod and look around the Dark Aster’s gloomy interior. Yondu stands on the other side of the deserted deck, and he tells you that the plan is to get through the huge bulkhead door nearby, but first you have to discover a power source for the bulkhead door.
Dark Aster (First Wing)
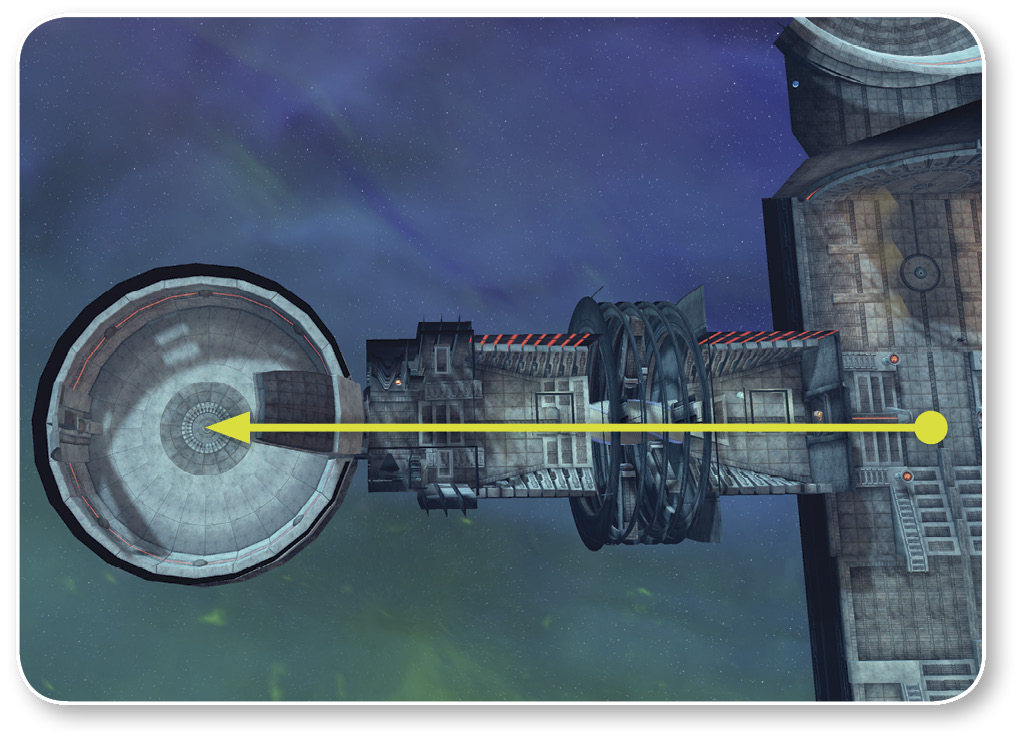
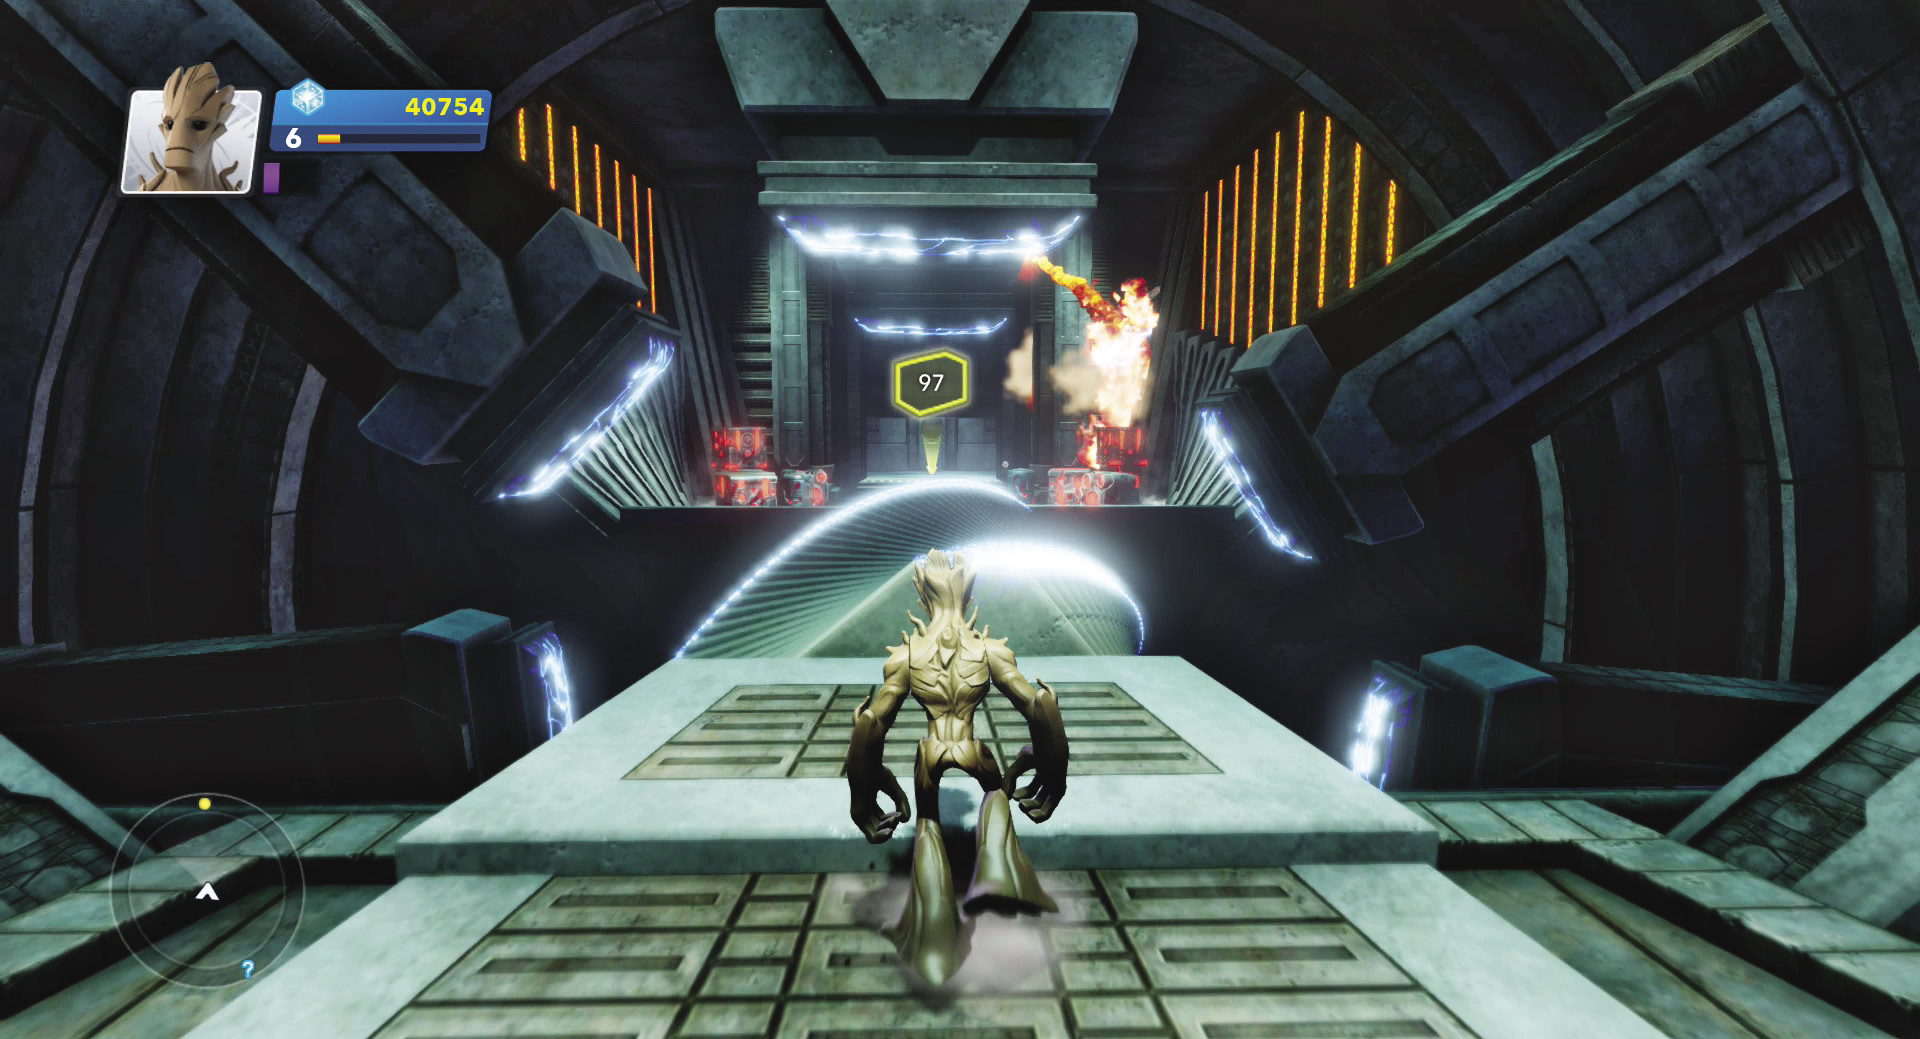
Turn around and head to the door on your right. It opens as you near and you can proceed through the next chamber. At the end of the platform you’ll see a spinning drill with rods that generate electricity between the sides and the drill. Jump on the drill as one of the grooves comes up from the right side and run down the groove. If you get too close to falling off the left side, jump over the lighted edge to the next groove (avoiding getting electrocuted by random bolts of electricity) and finish off your run down that groove.
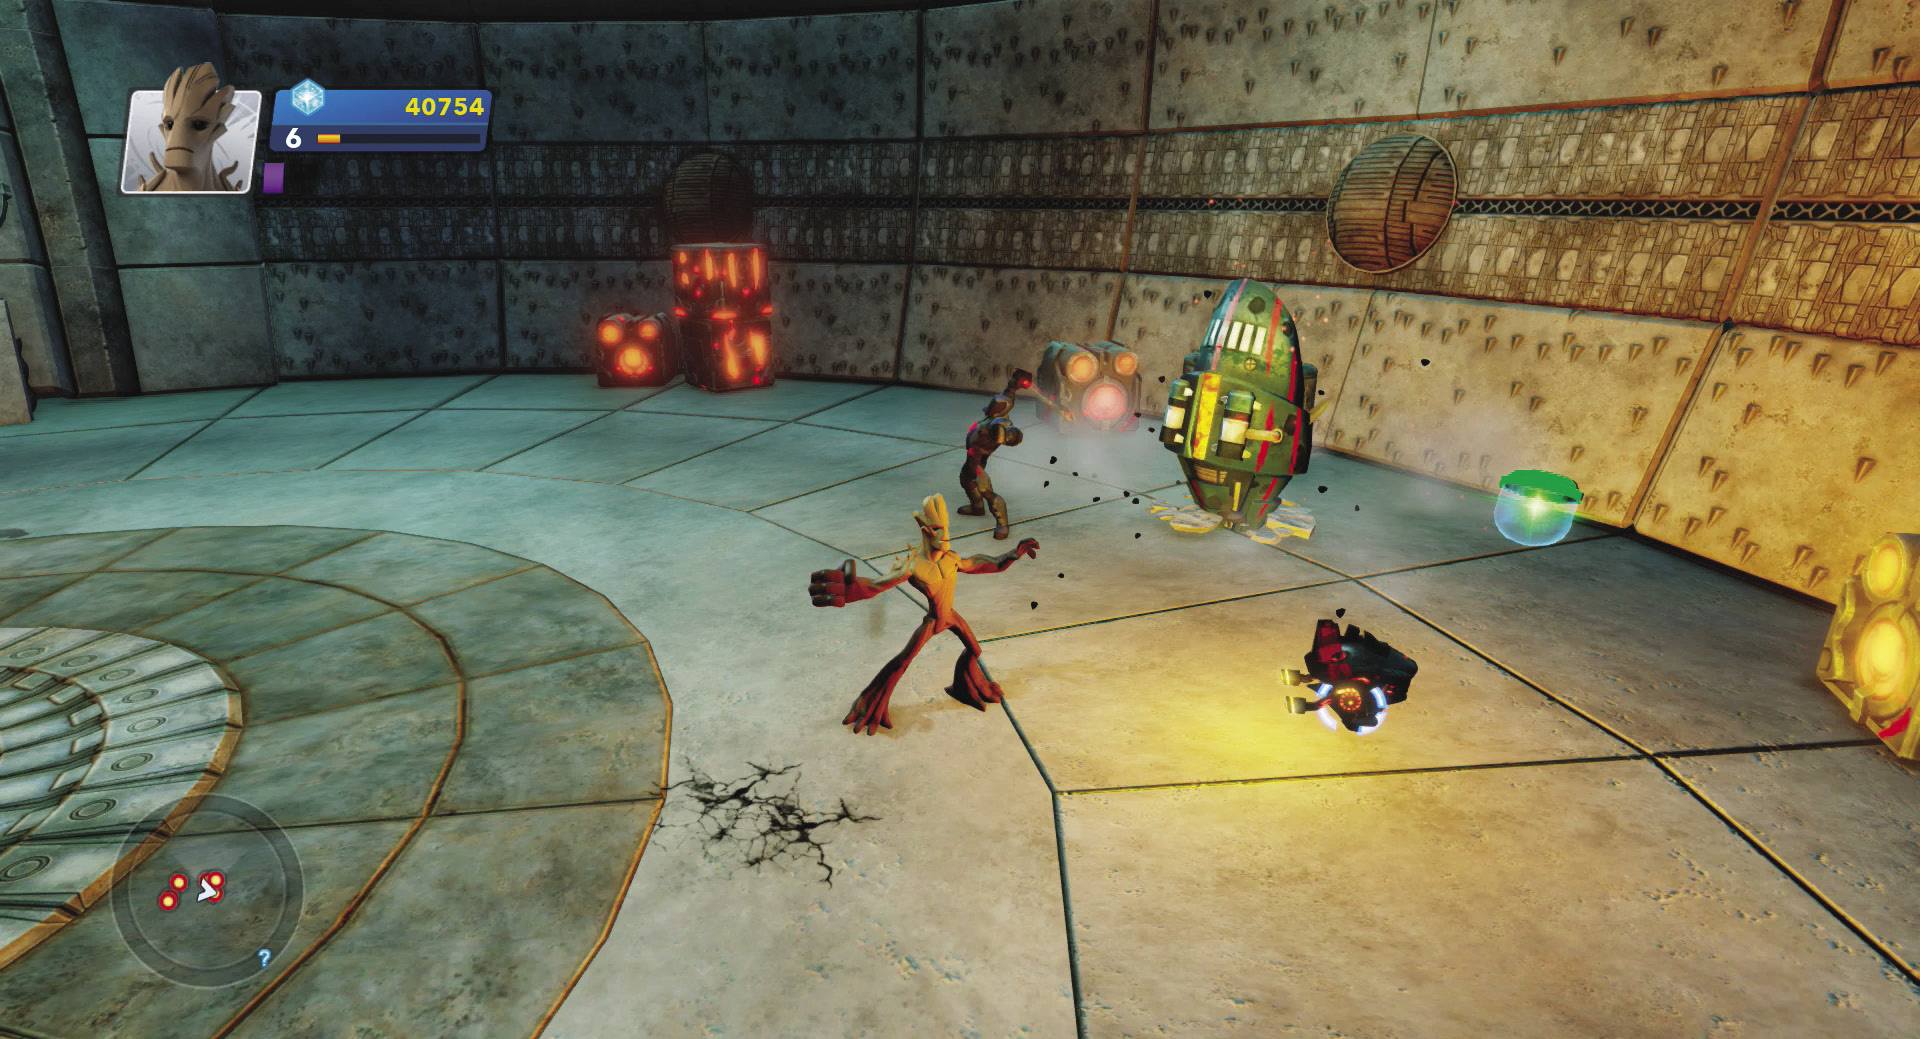
Enter the large chamber at the end and prepare for a long battle. As the drop pods land, attack them immediately to minimize the number of enemies you will have fight. Use Groot’s Burrowing Arm attack to strike at foes across the chamber and dodge close enemies with Groot’s shuffle. Continue moving around the chamber, crushing Sakaarans with your sweeping melee attacks, until you deal with all of the enemy waves.


Co-op Combo: Groot and Drax
If you want to maul your opponents, these are the two Guardians to do it. Team up to melee through the waves of Sakaaran troops that try to stop you in the power weapon chamber.
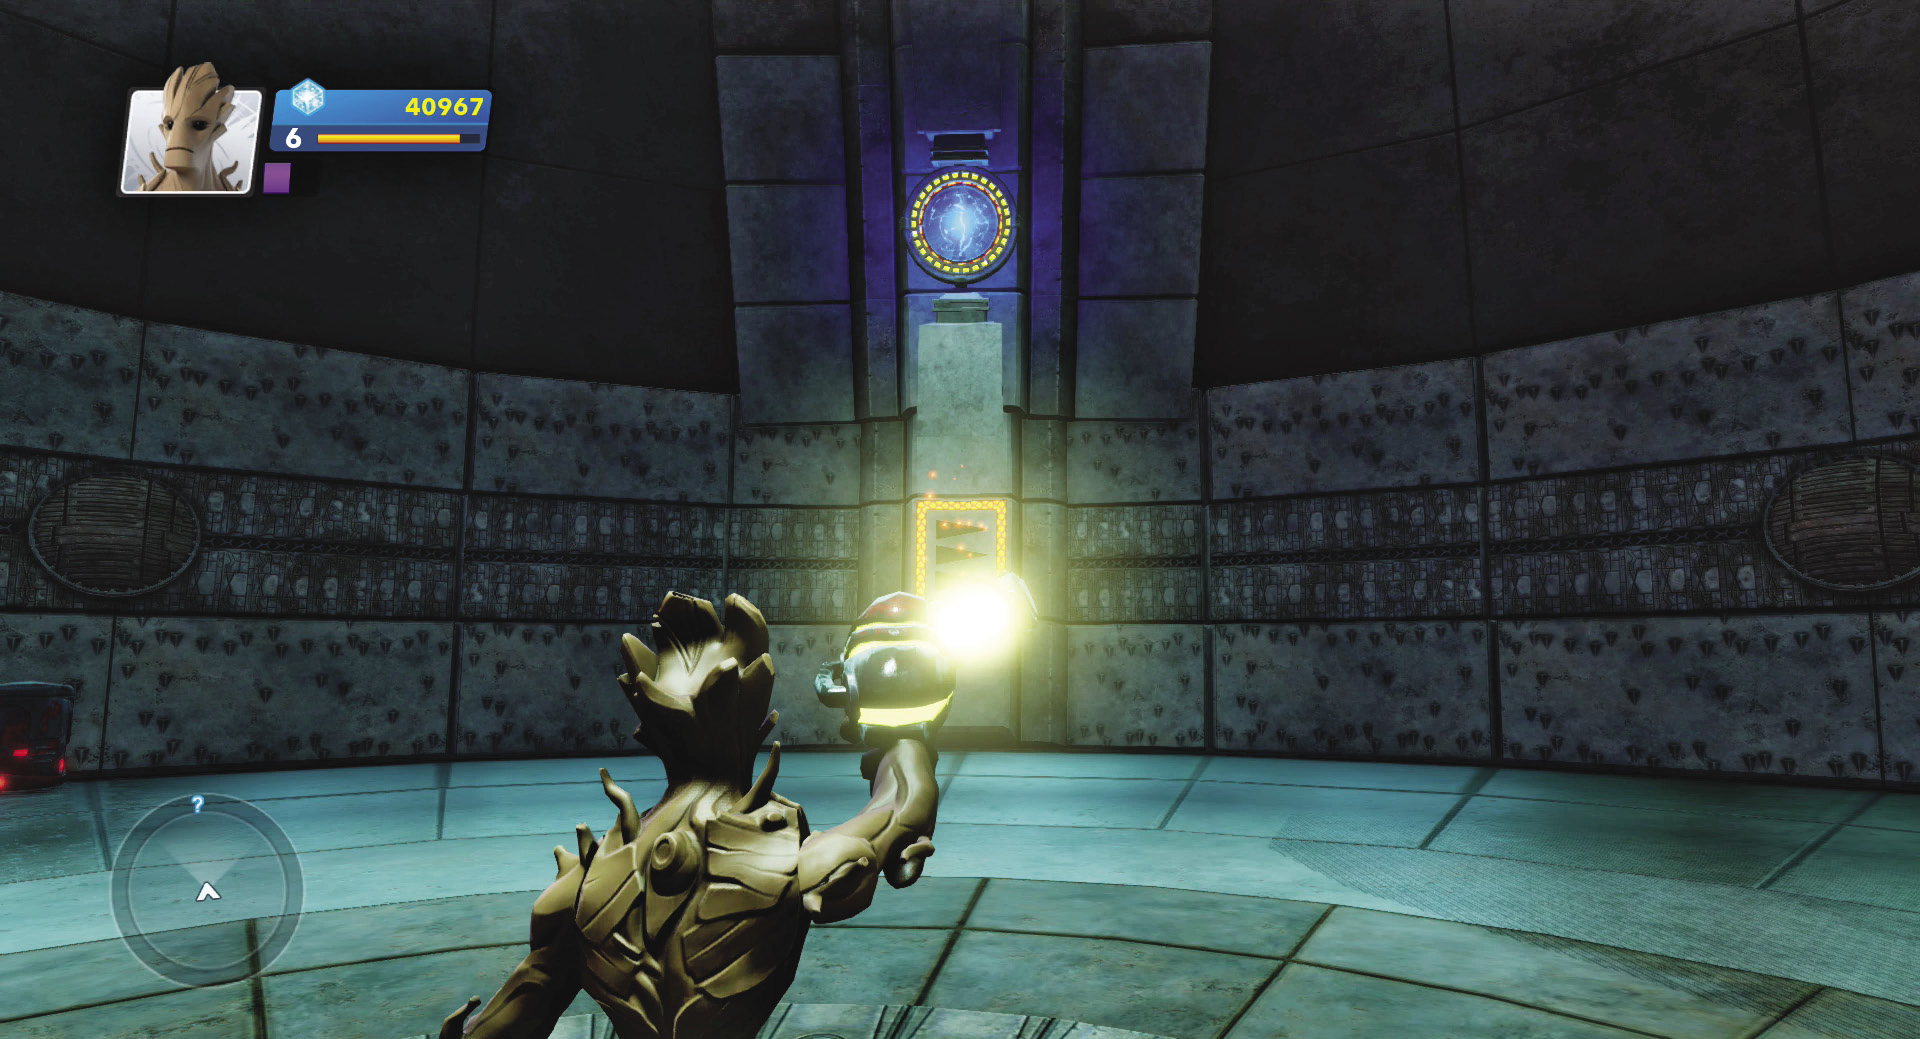
The lights shut off when you beat the final Sakaaran, and the power gun glows in the middle of the chamber. Pick up the power gun and shoot a blast at the glowing circle in the wall. The blast powers up a panel that rises and reveals a symbol (three arrows pointing to the right). Turn around and shoot the circle on the opposite side. The panel rises and a strip on the wall begins to circle around the chamber.
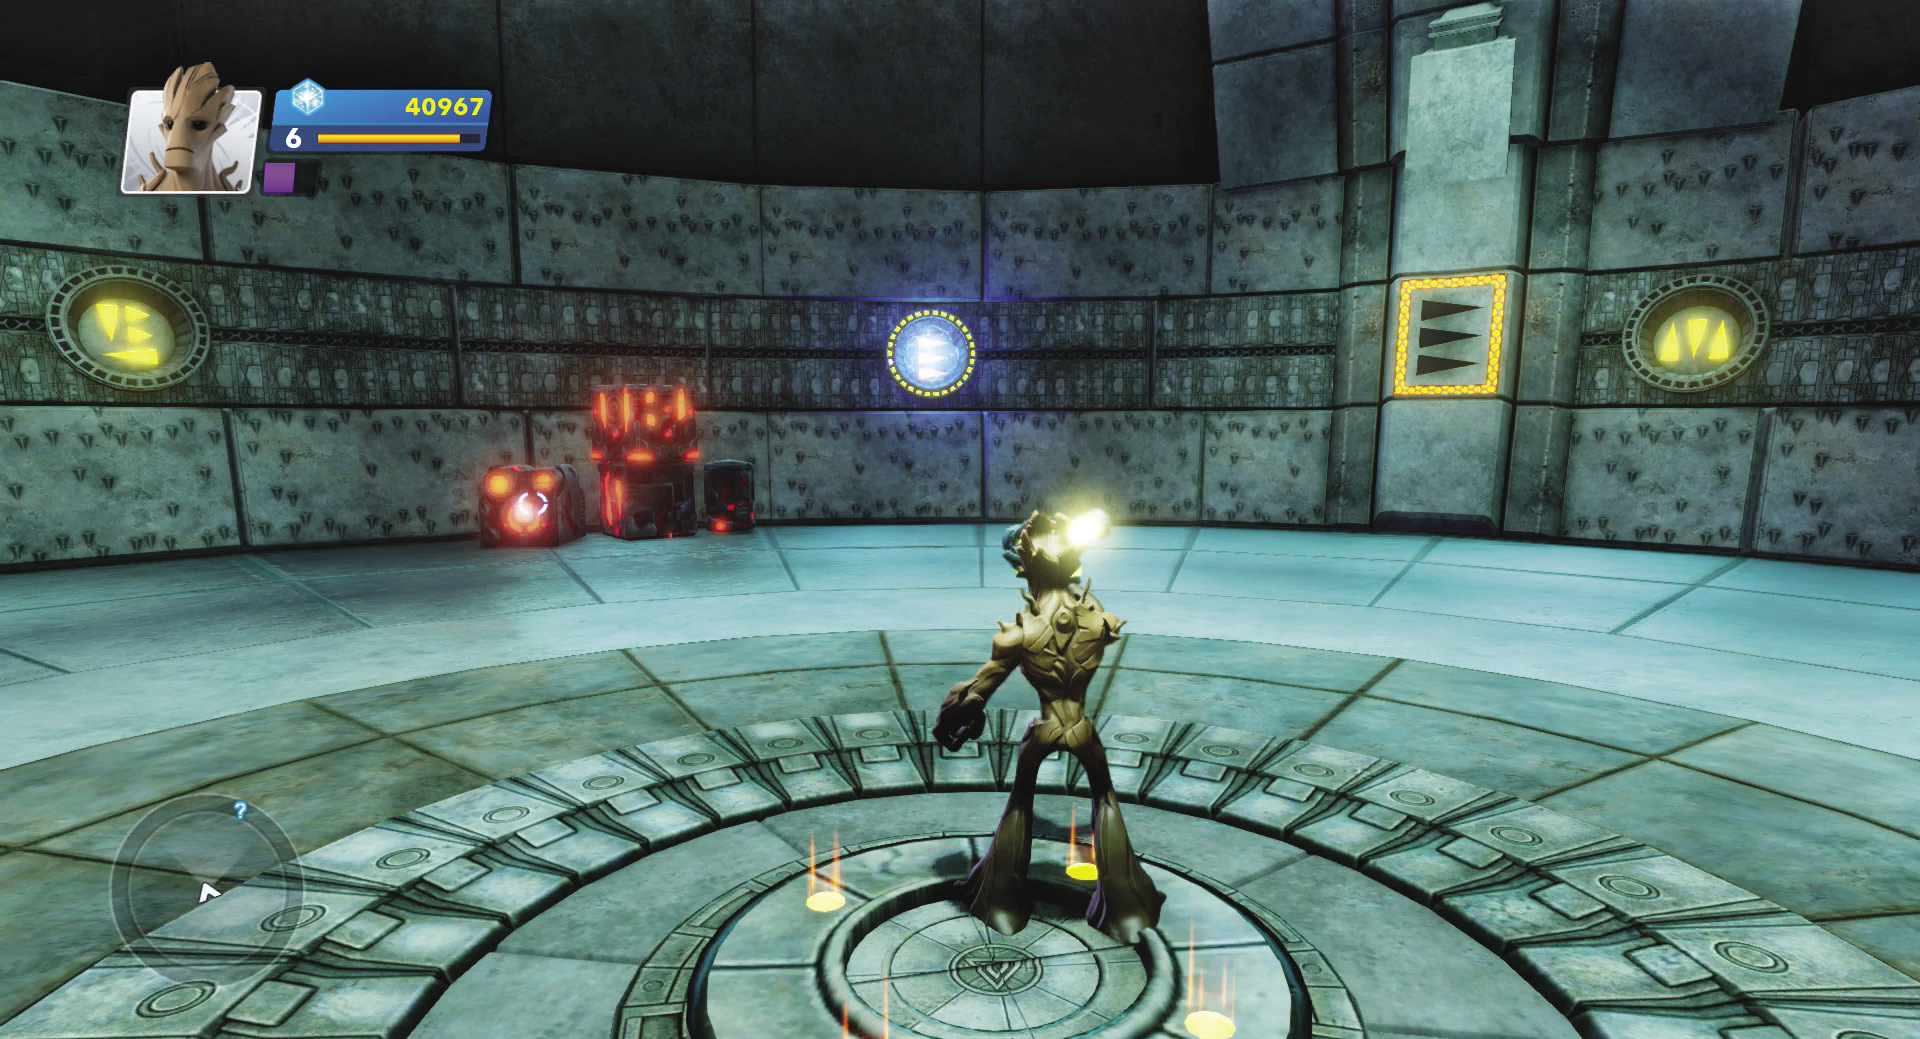
The strip contains many symbols. Look for the same symbol as the door panel (three arrows pointing to the right) and zap that symbol with your power gun. The symbol glows and when it rotates into the door panel, the symbol unlocks a hidden panel that reveals the corridor back to the main deck.
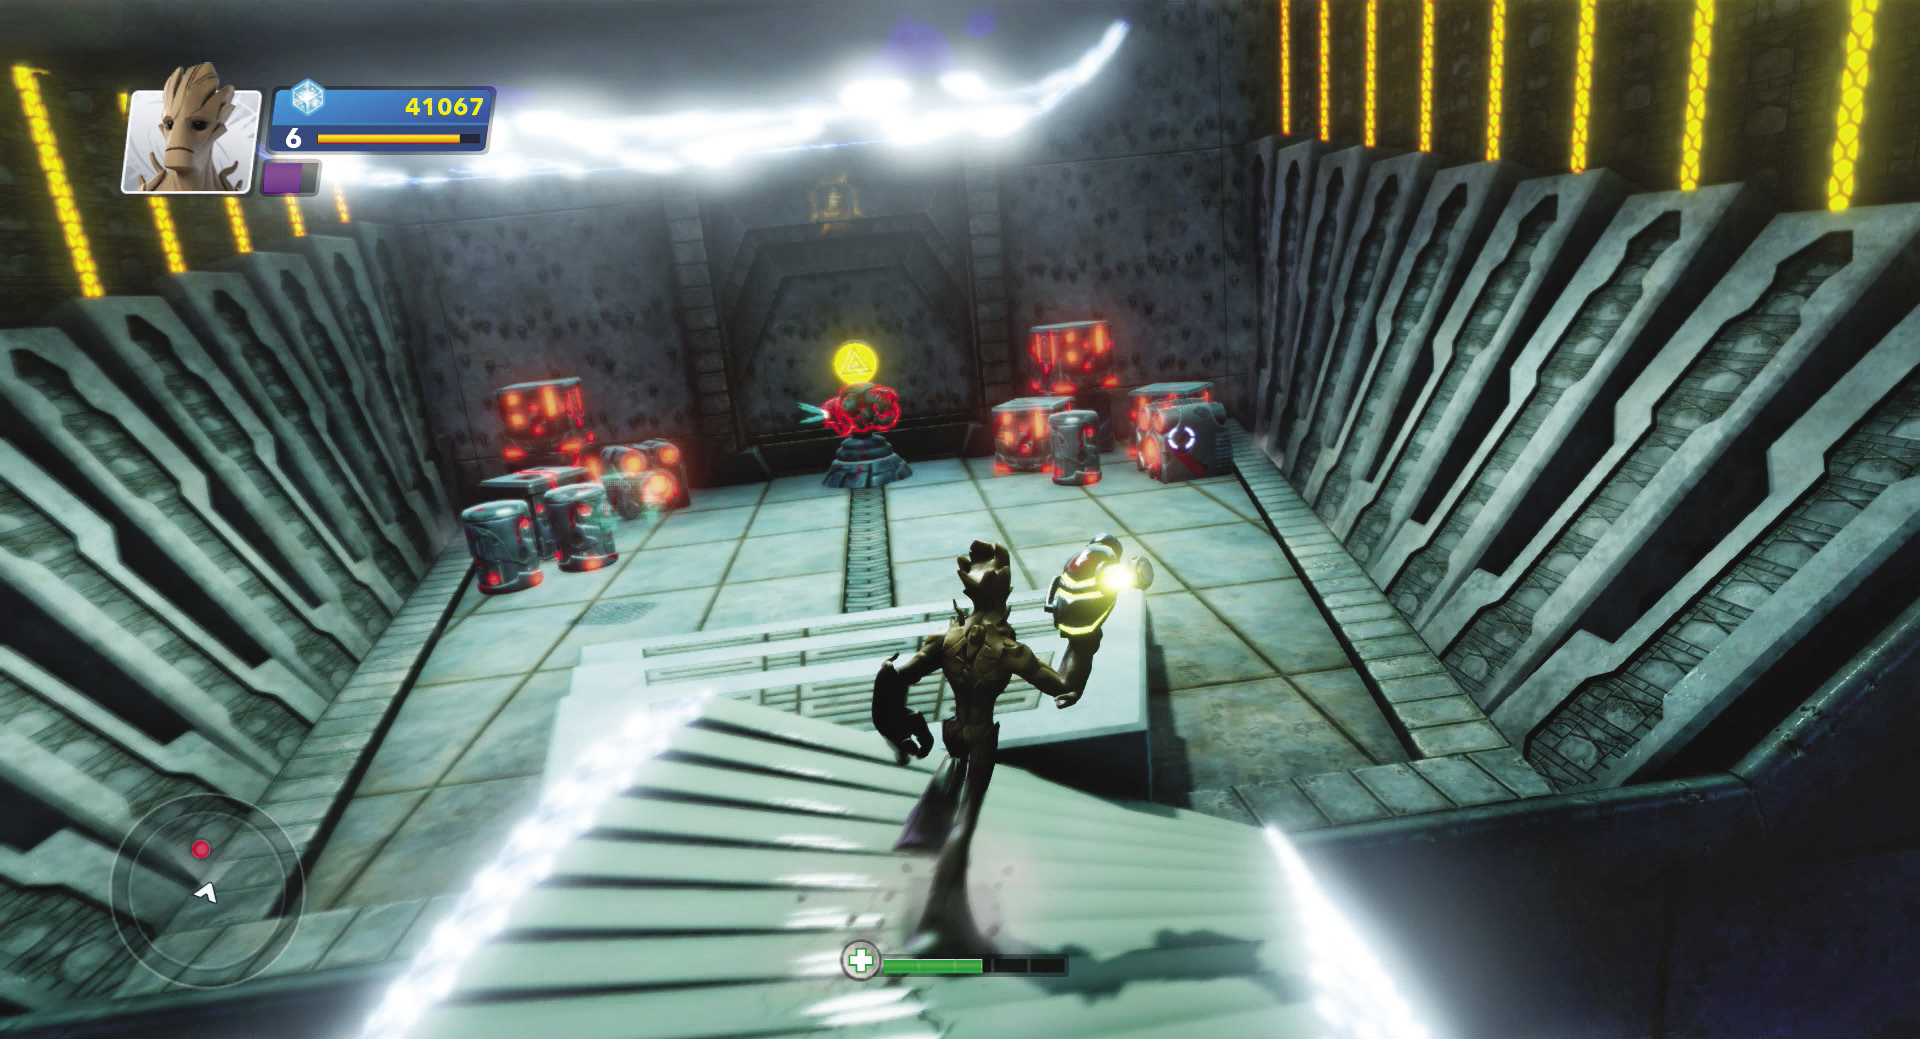
Retrace your steps over the spinning drill and back to Yondu. Destroy two new laser turrets on the way and show off your new power weapon to the Guardians’ crew.

New Challenge Available:Rocket Range
Door and Piece
Dark Aster (Second Wing)
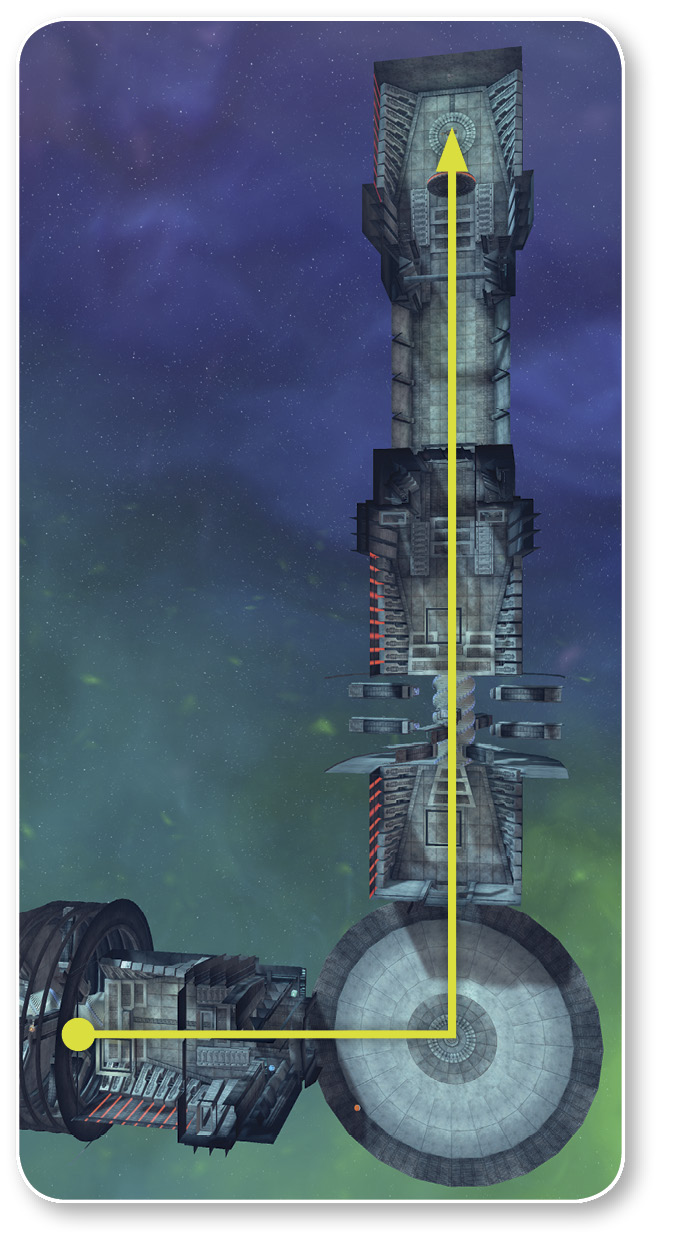

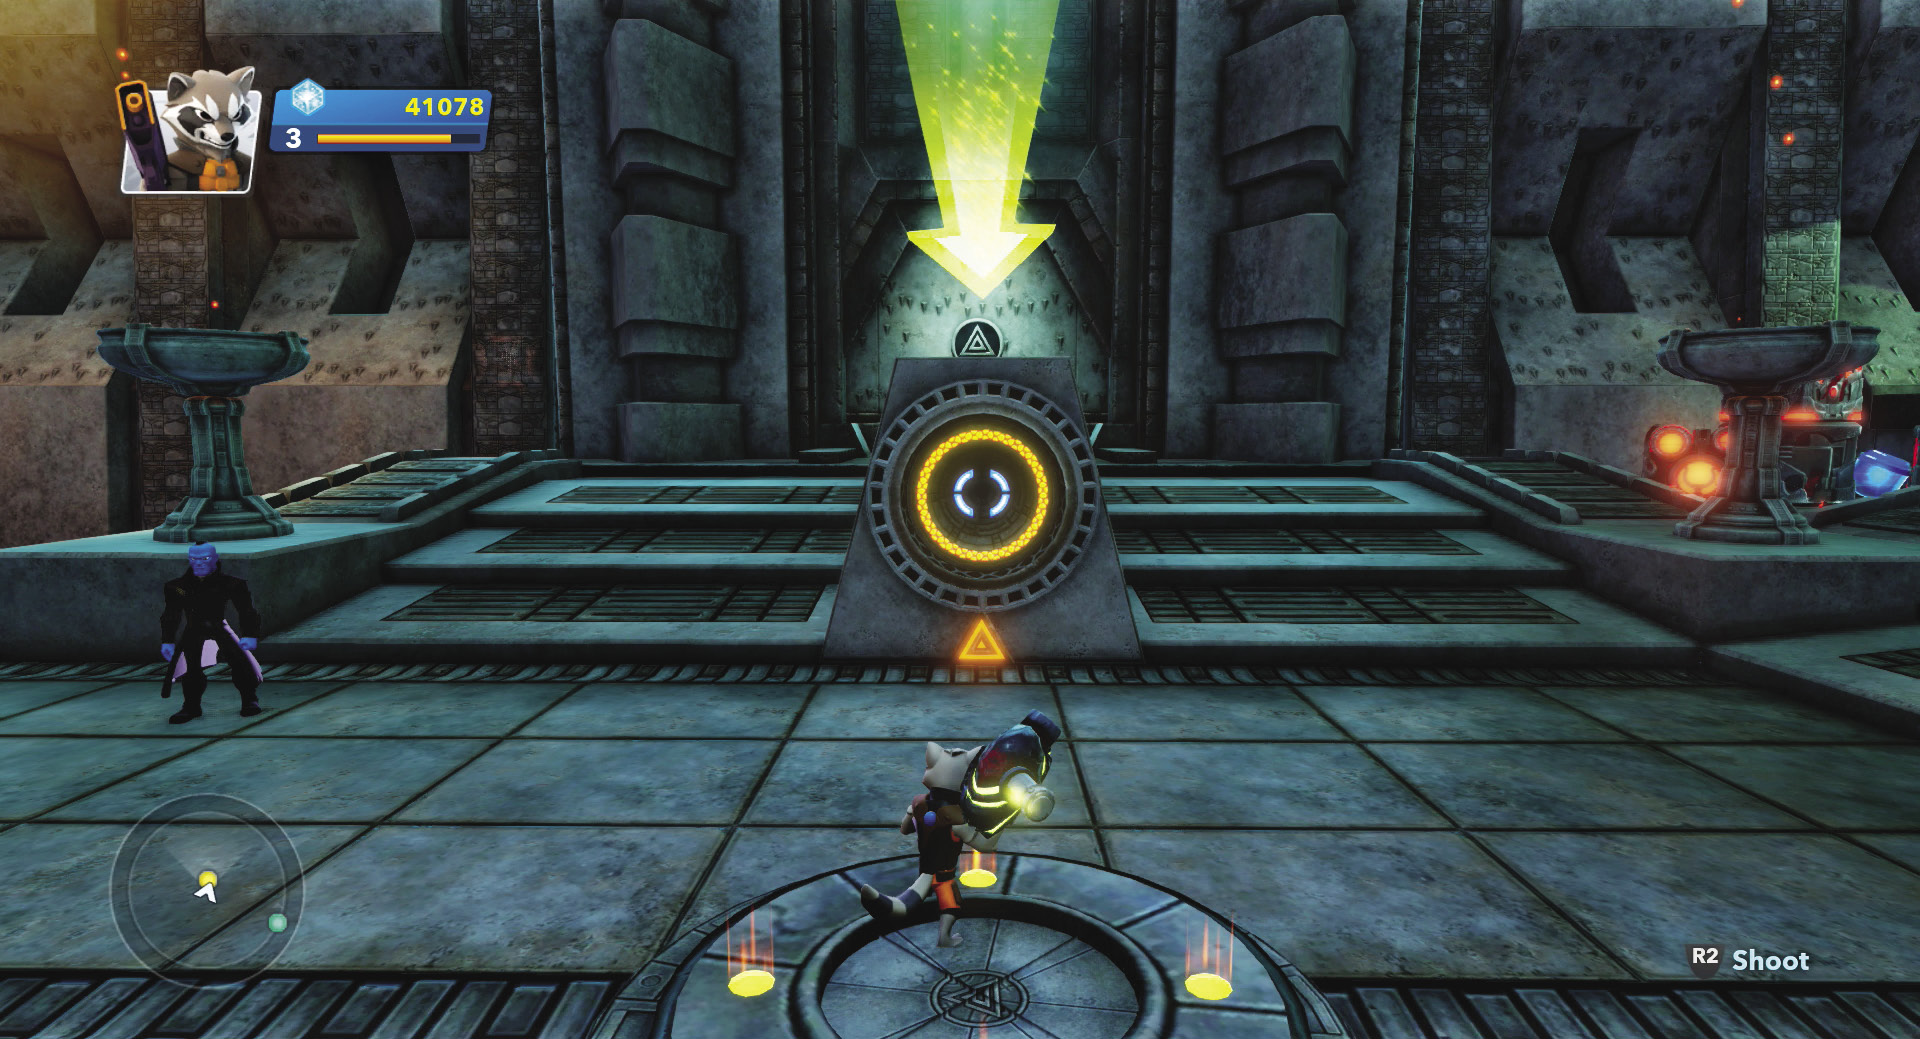
After speaking with Yondu, pick up the power gun and aim it at the circle in front of you. One blast powers up the circle, which opens the door to the next wing. Your mission: To retrieve the key that opens the bulkhead door.
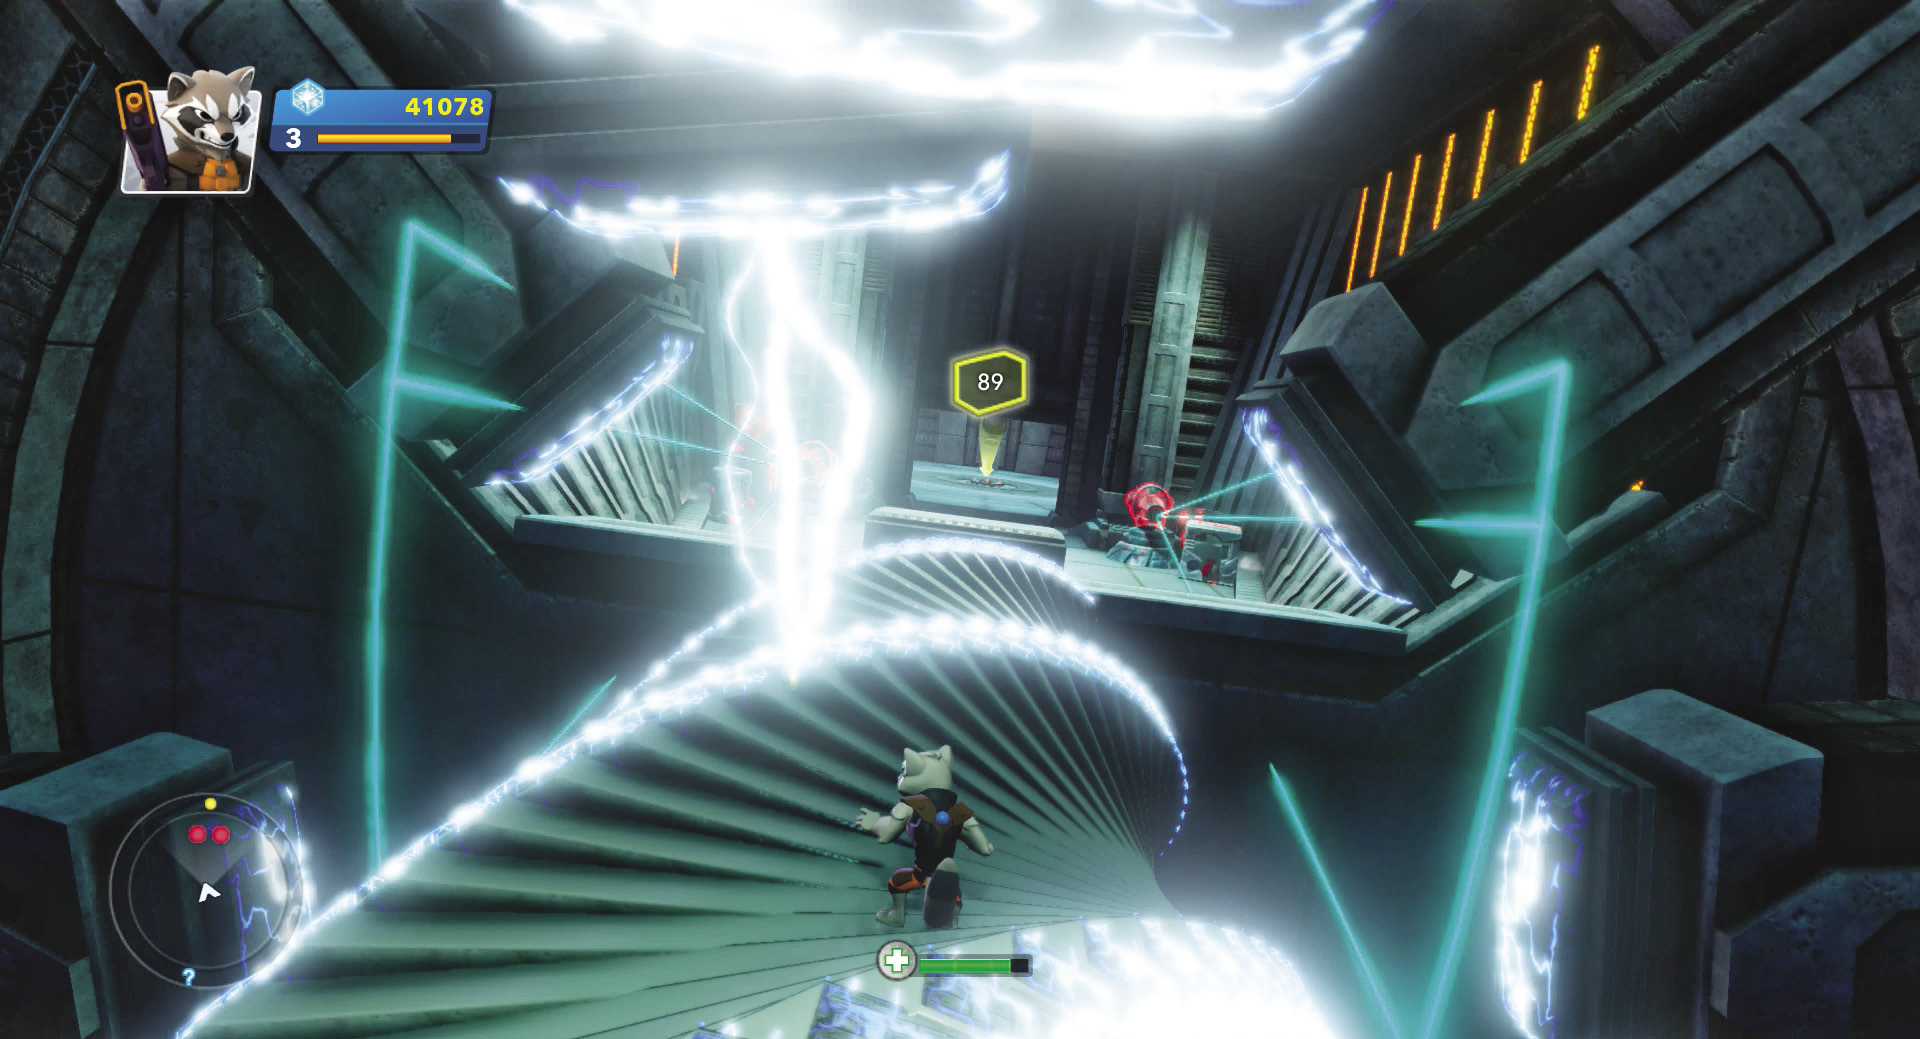
Enter the new wing and continue straight ahead. Cross the spinning drill and take out the two laser turrets guarding the chamber beyond.
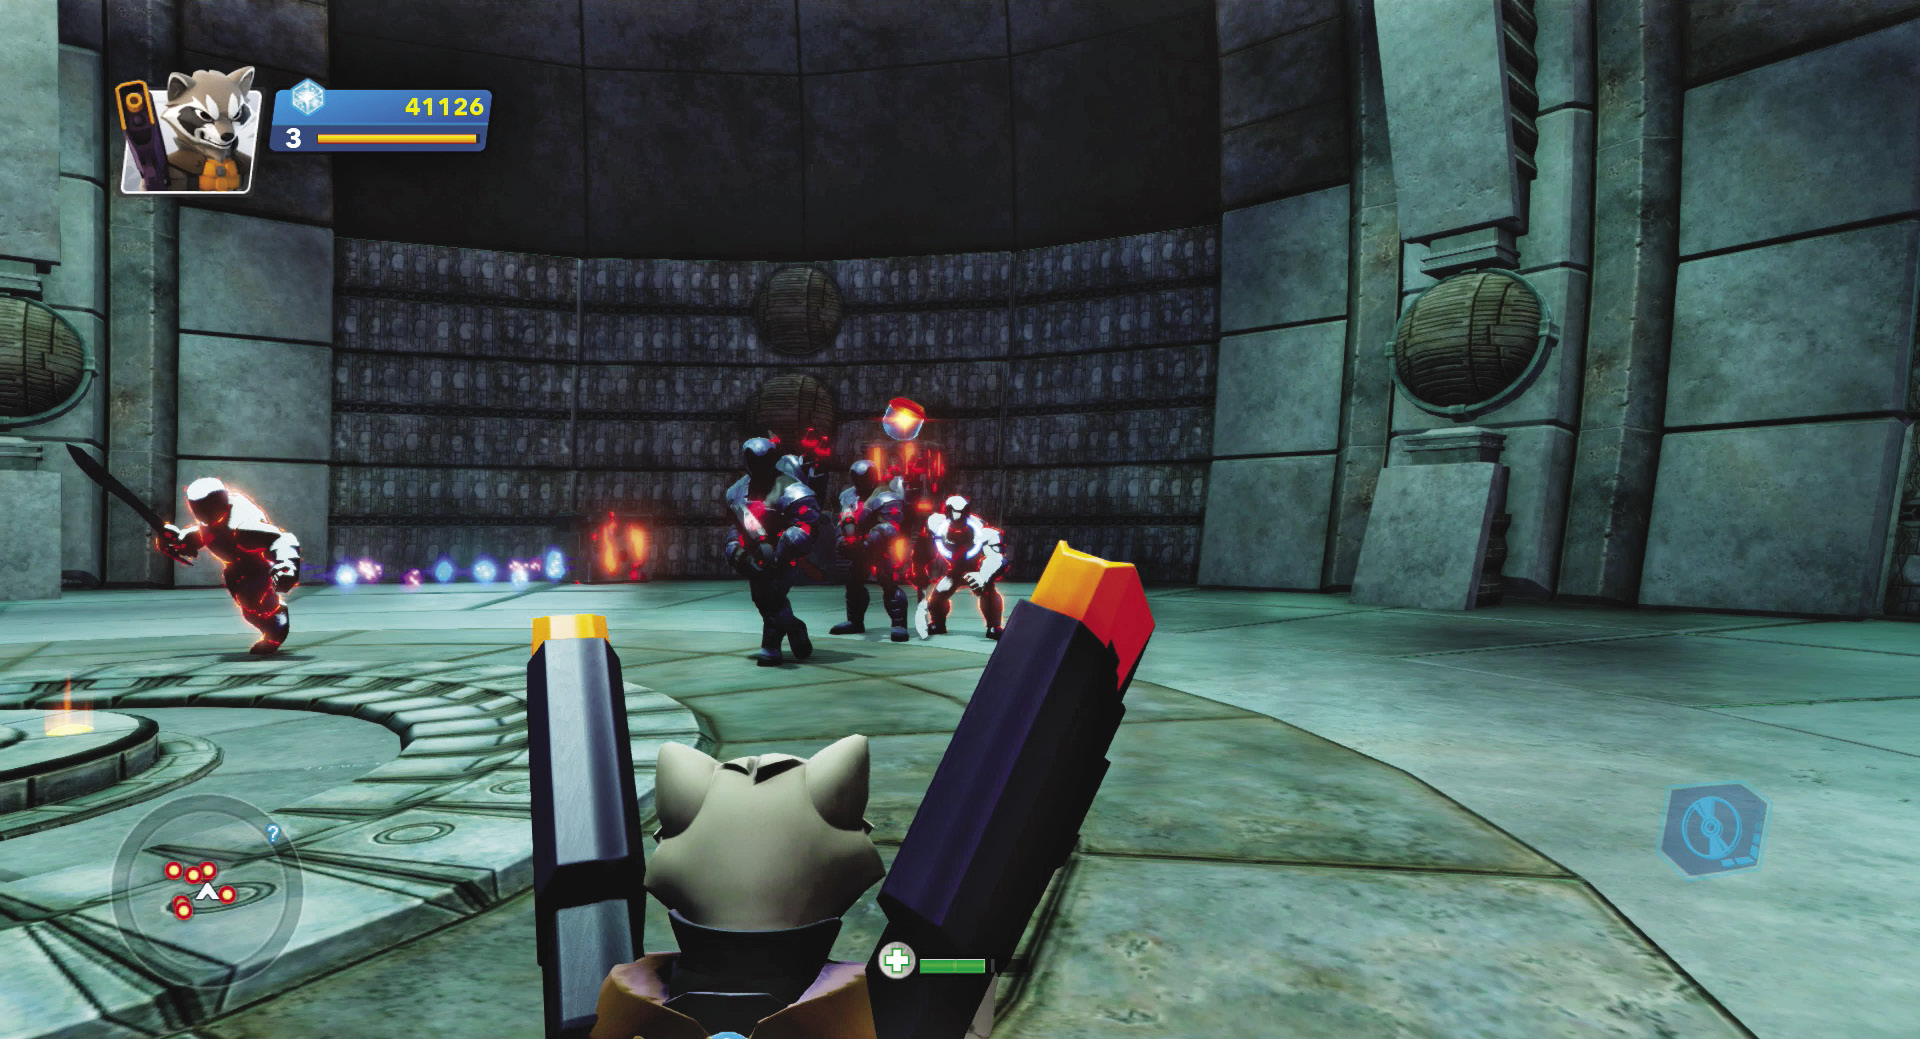
As you approach the center of the chamber, the door slides closed and Sakaarans ambush you. Stay on the move and keep firing. Circle the room, choose a target, unload on that target till it explodes, then choose another target. It’s a long battle, but one that you can win with Rocket if you stay out of all-out melee combat.
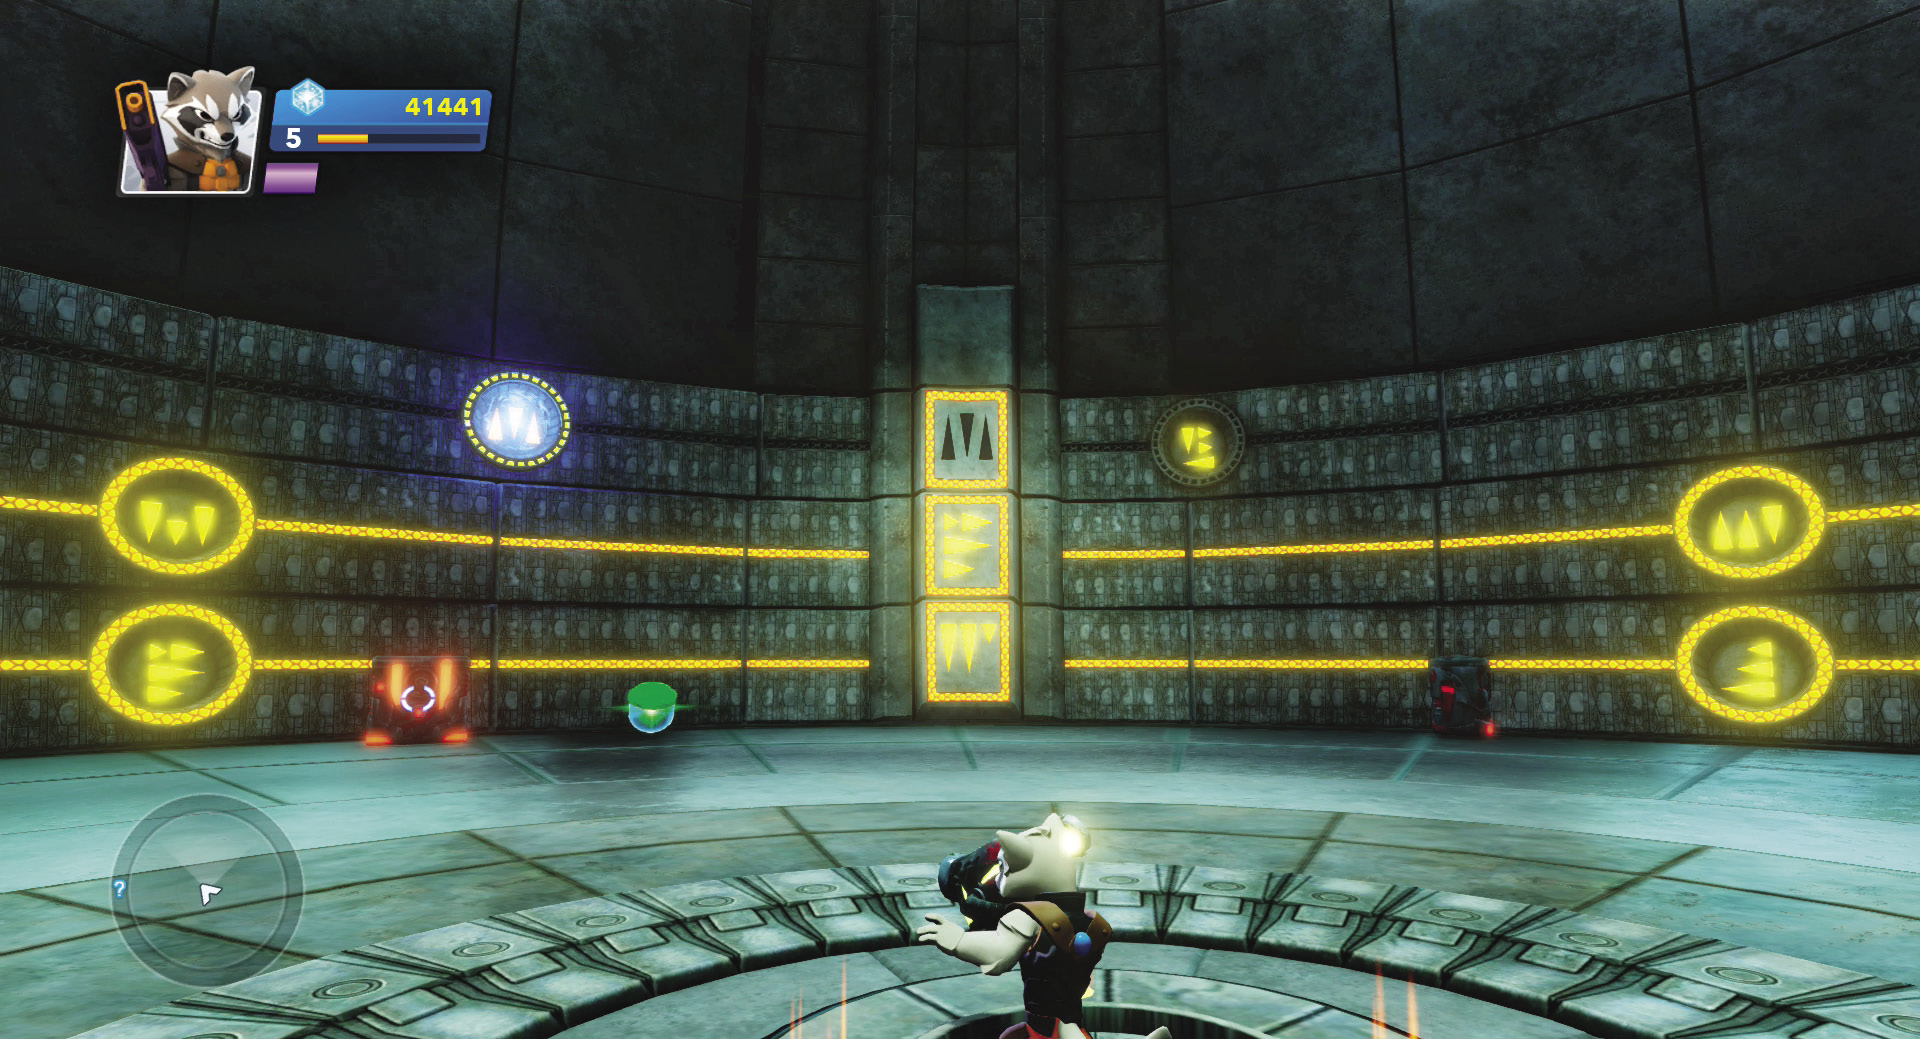
Like last mission’s door puzzle, this chamber has rotating symbols that unlock the way out: only this time there are three. Shoot each panel circle with the power gun to activate it, then shoot that row’s symbol that matches the symbol to unlock the door. Once all three activated symbols rotate into place, the panel slides up and reveals the exit.
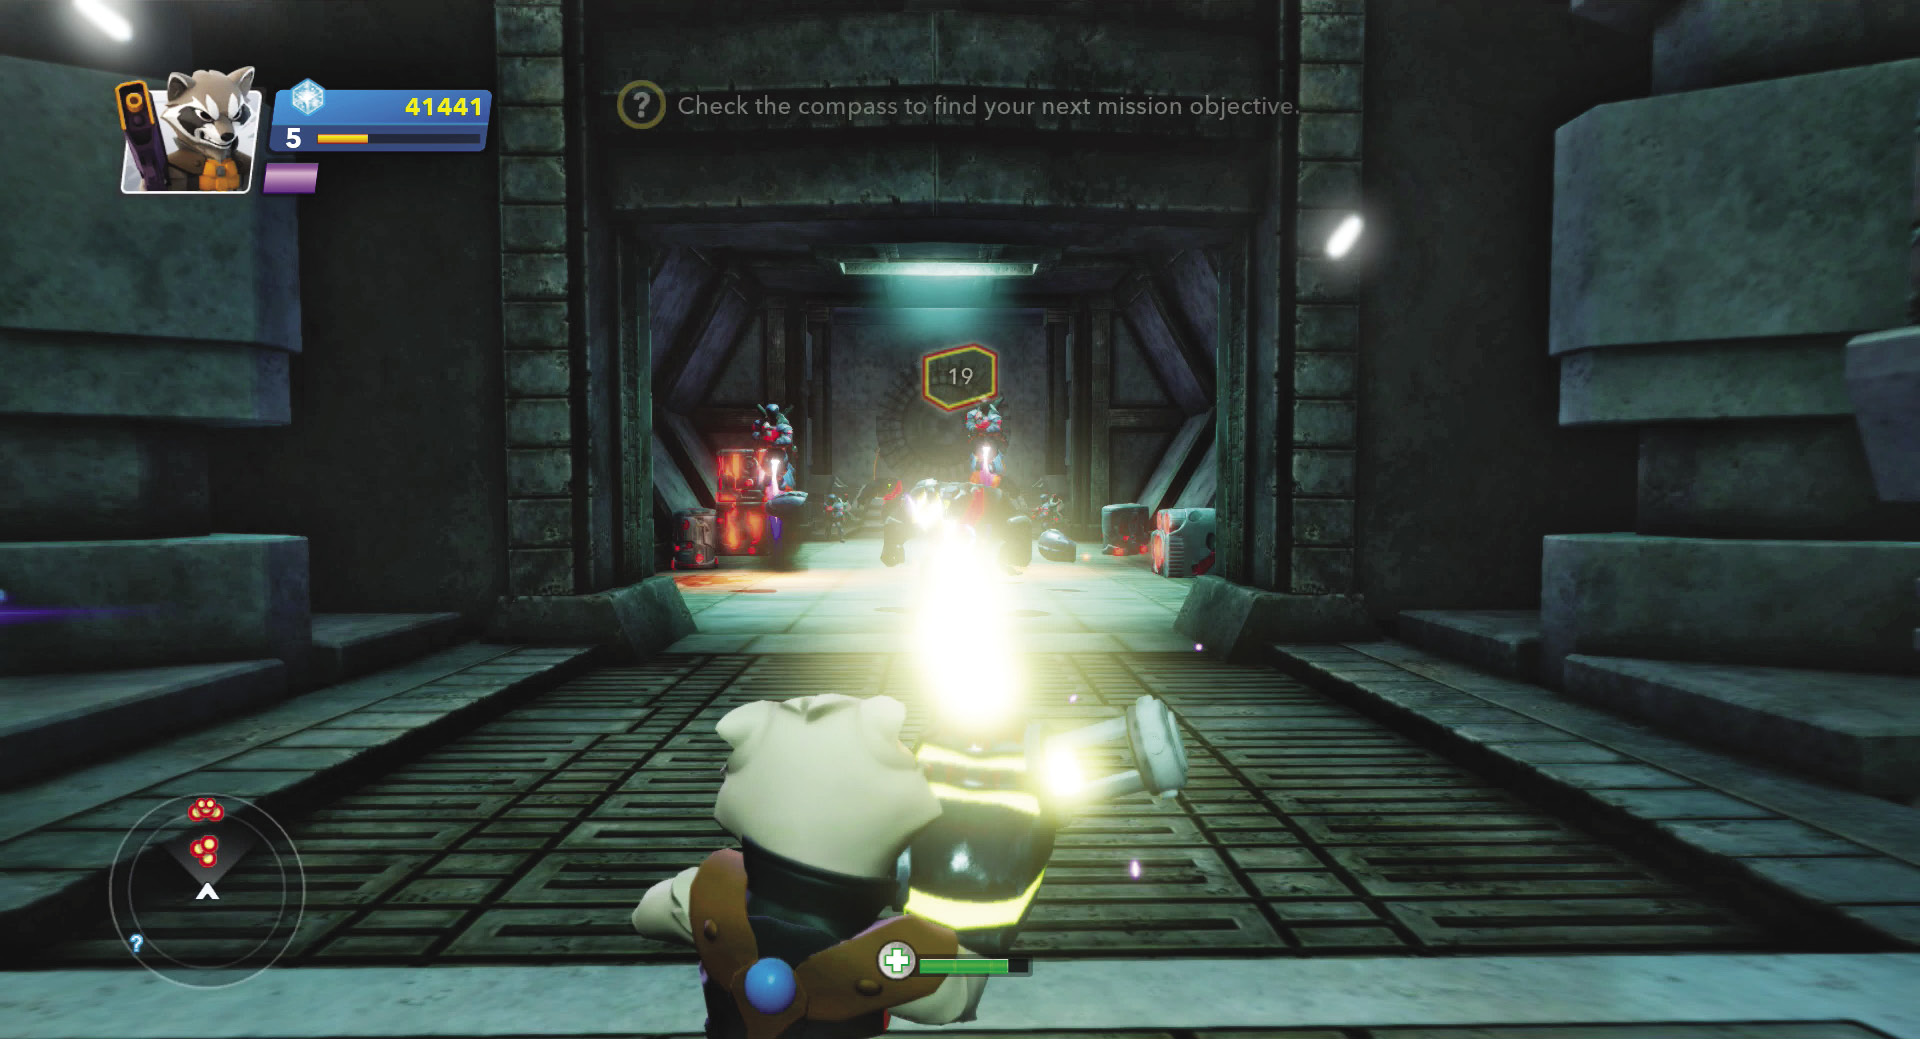
Carry the power gun with you, jump over another spinning drill, and engage the enemies on the next corridor. Aim at the Large Sakaaran and rip it apart quickly with the power gun. Unfortunately, the battery supply doesn’t last long on the power gun; destroy as many enemies as you can with it, then switch to your Quantum Cannons.
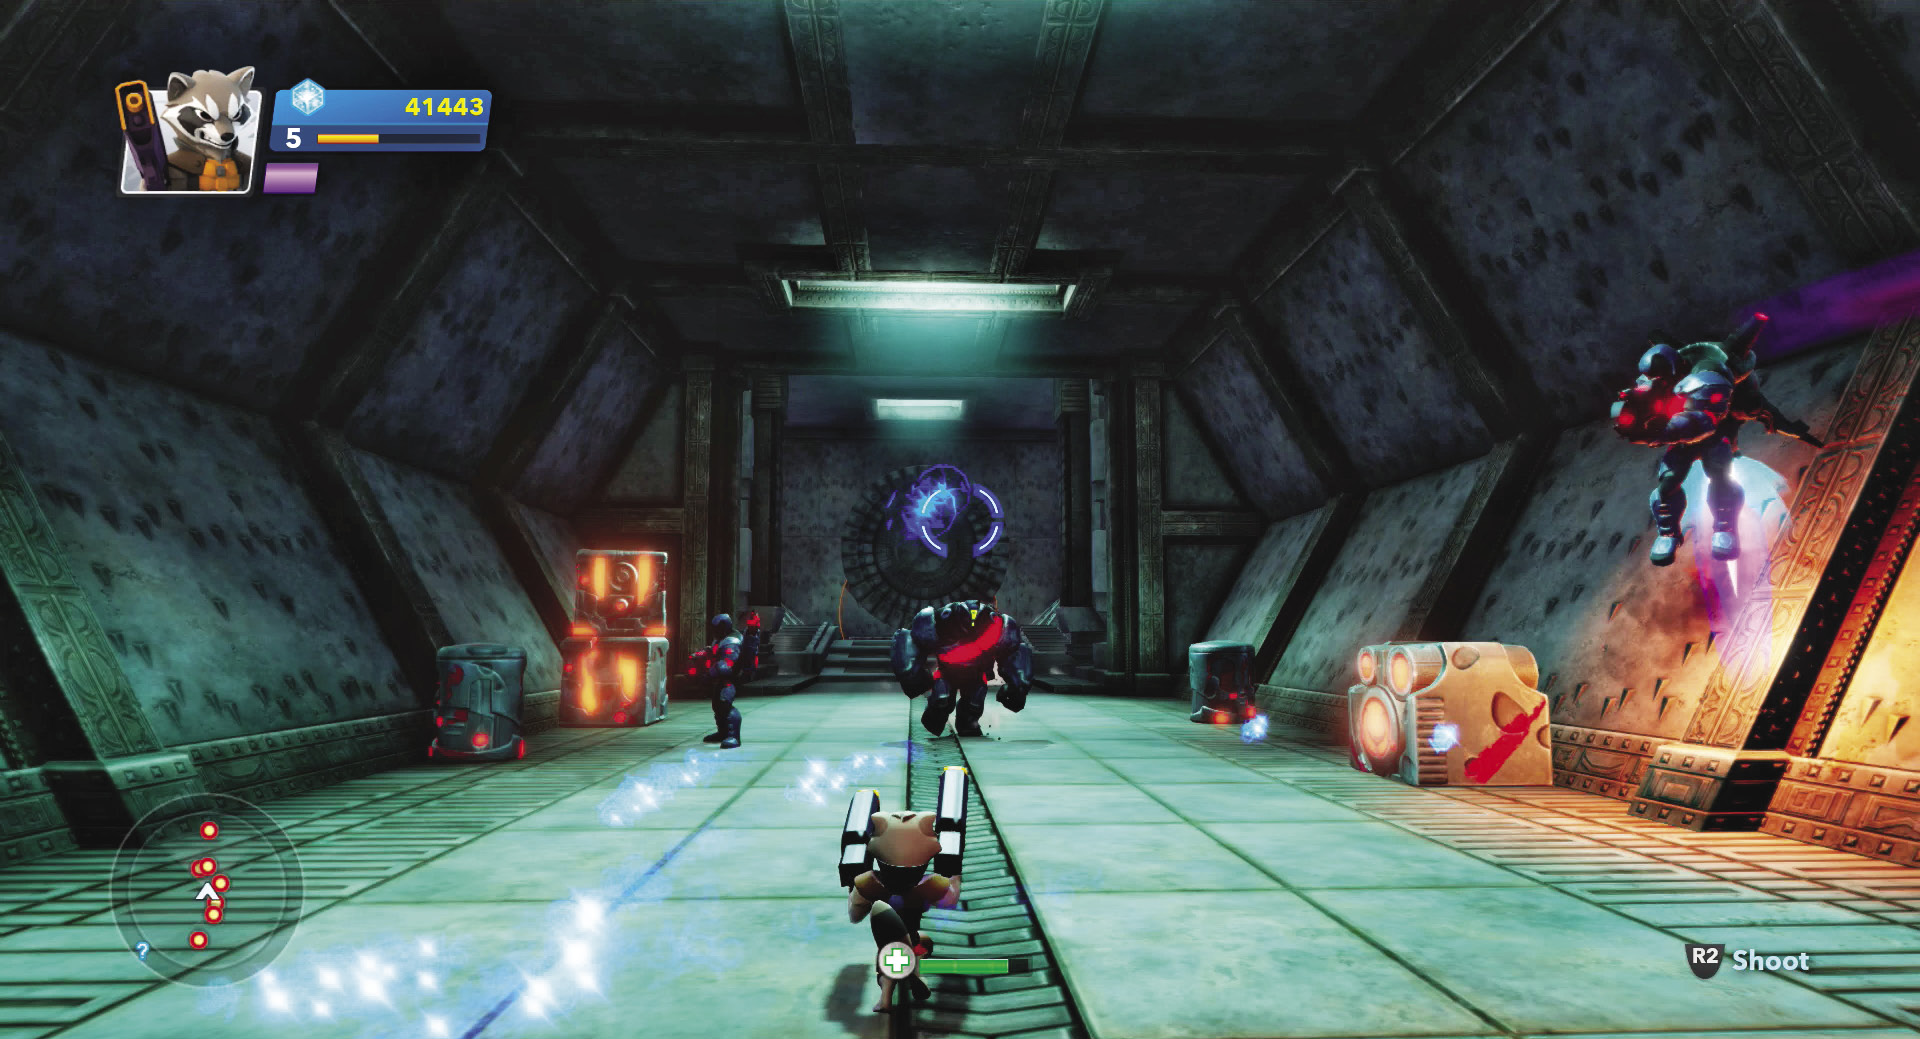
Dodge back and forth in the corridor as you fire away with your Quantum Cannons. Avoid melee with the Large Sakaarans; when they near, dodge and head to the opposite end of the corridor. Continue blasting away, eliminating the other Sakaarans, until only the Large Sakaarans are left. It will take you several back-and-forth trips across the corridor to vaporize them all.
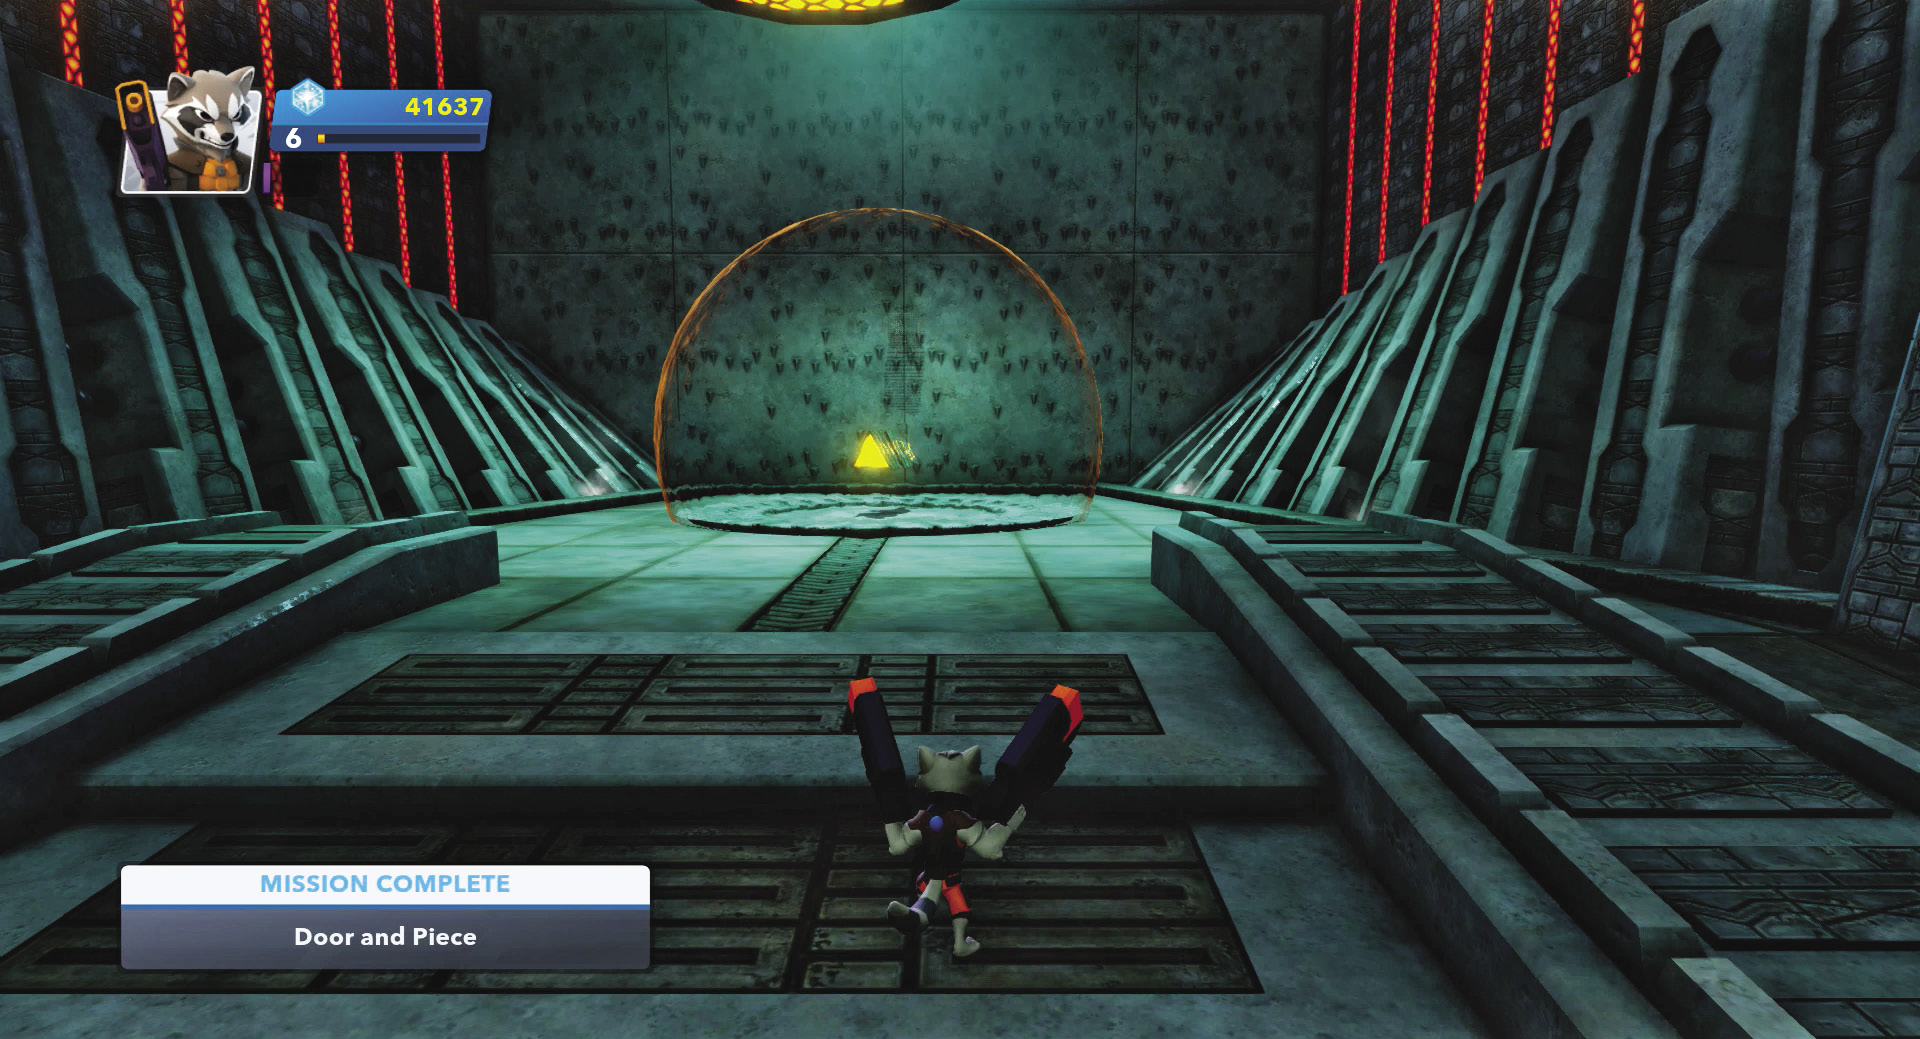
When the last Sakaaran slumps, the seal at the end of the corridor rises and reveals the bulkhead door key. You’ve just unlocked the key to entering Ronan’s inner chamber.
Door Busters

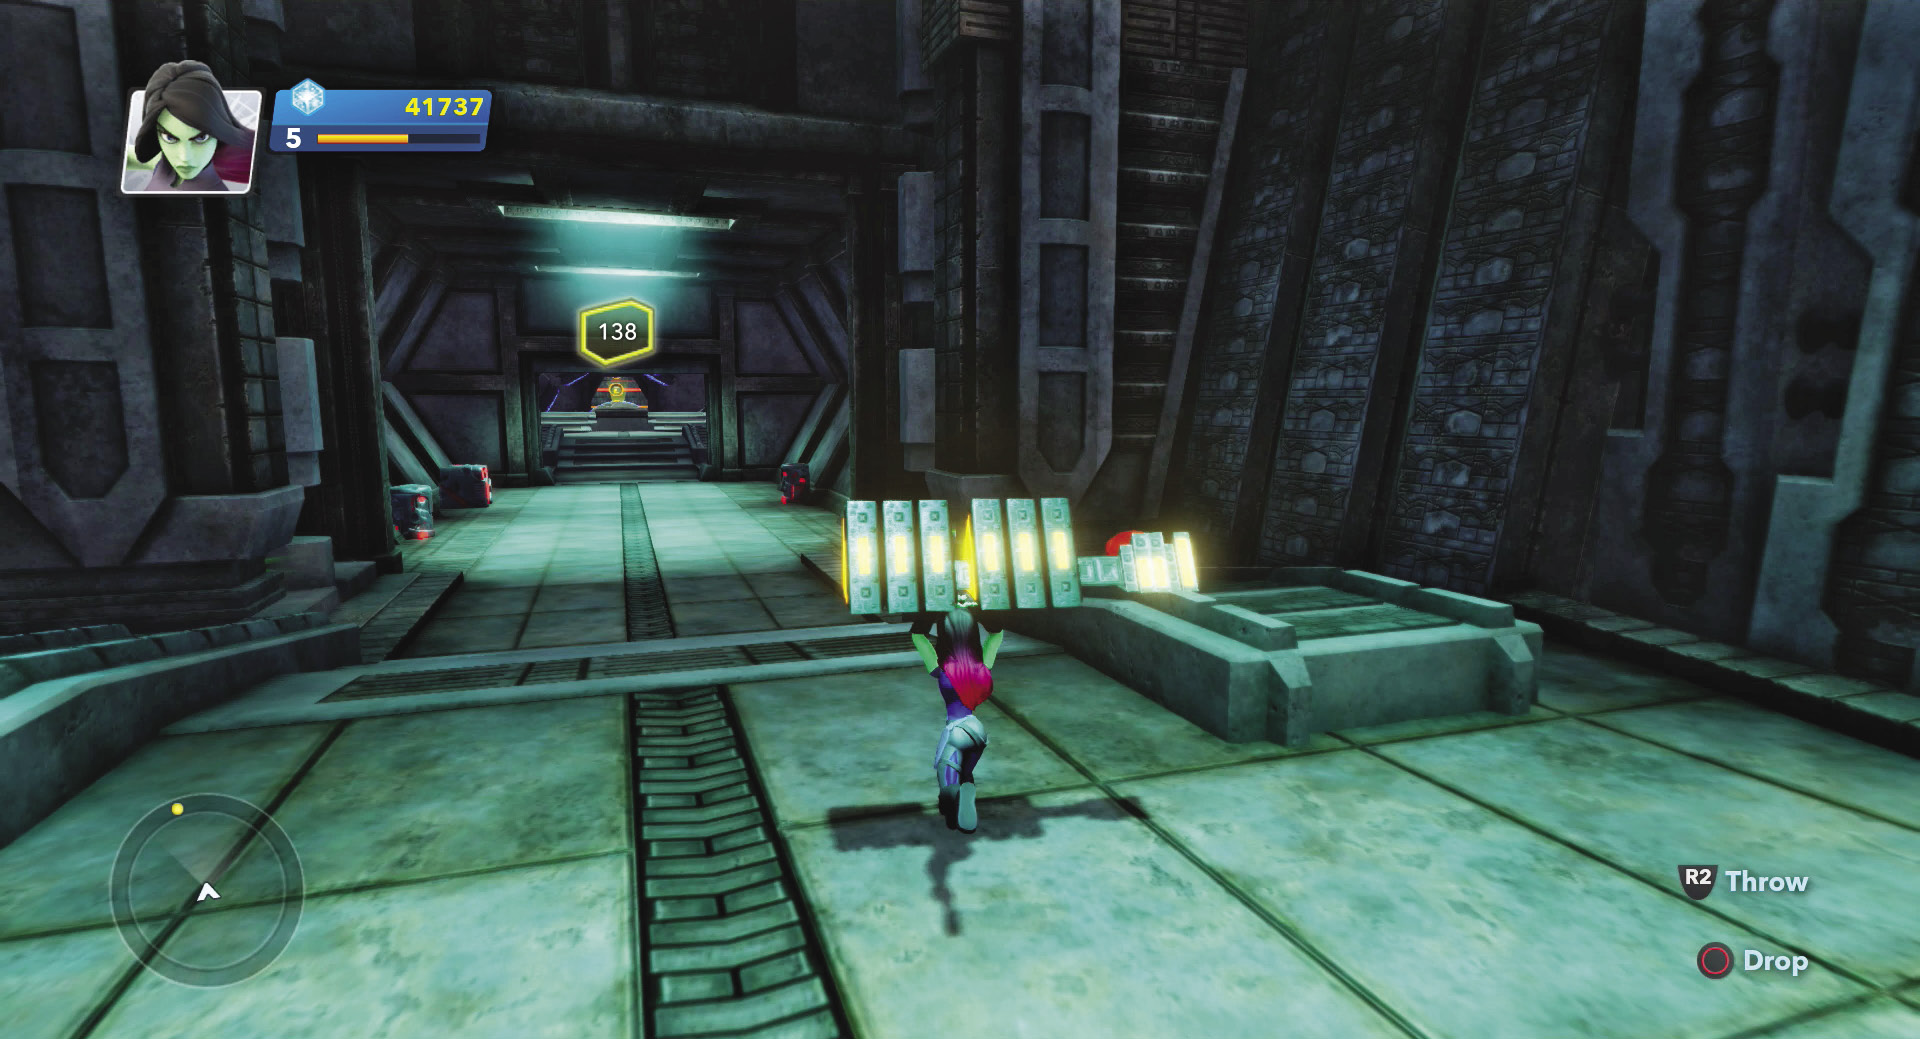
Pick up the key to the bulkhead door and carry it back toward the main deck. You will have to drop it any time enemies attack; after each fight, pick it back up and continue your journey.
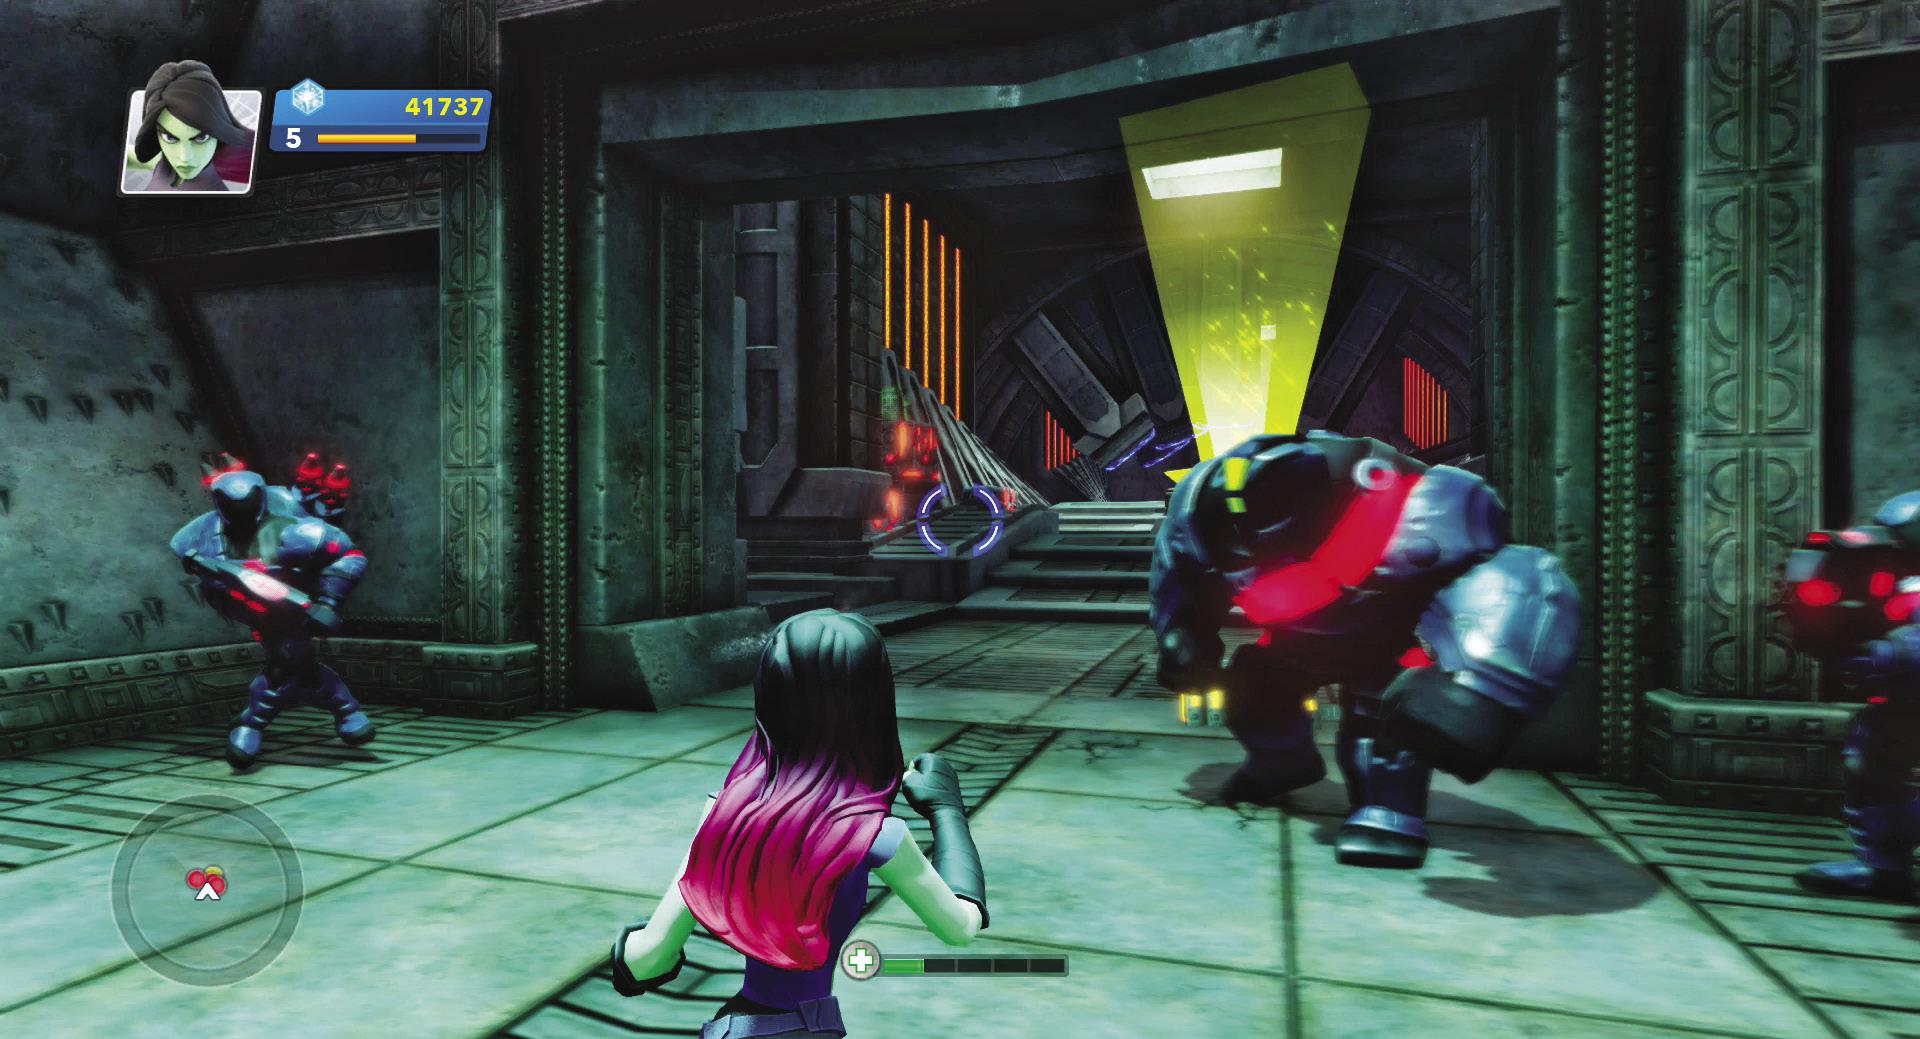
Square off against any foes that block your path. Use Gamora’s formidable melee moves to deal damage, then flip out of harm’s way with her dodge. Most enemies, even the Large Sakaaran, won’t stand up long to her punishment.
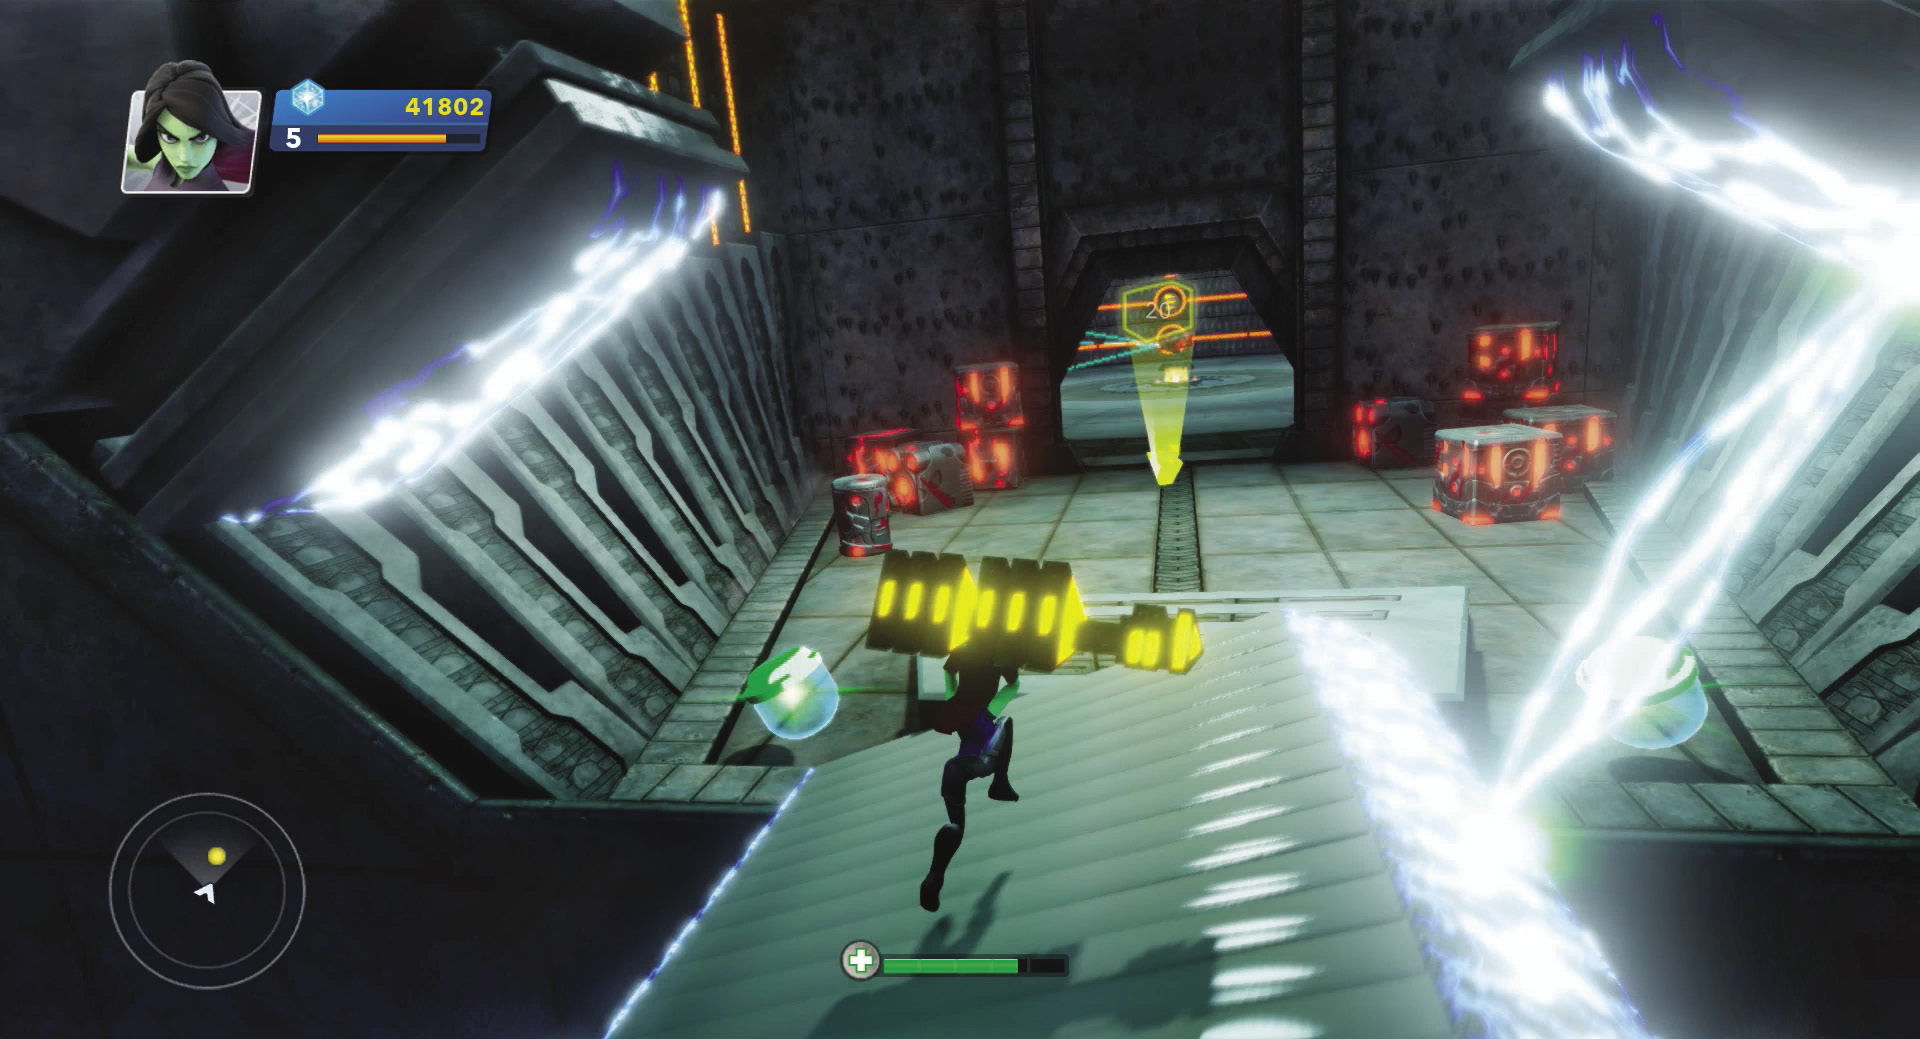
An explosion rips through the complex in the next area and the spinning drill speeds up. Carefully carry the key across, jumping from groove to groove as you avoid hitting the ceiling with the key and getting caught by a stray electricity bolt. Continue ahead and enter the large circular chamber.
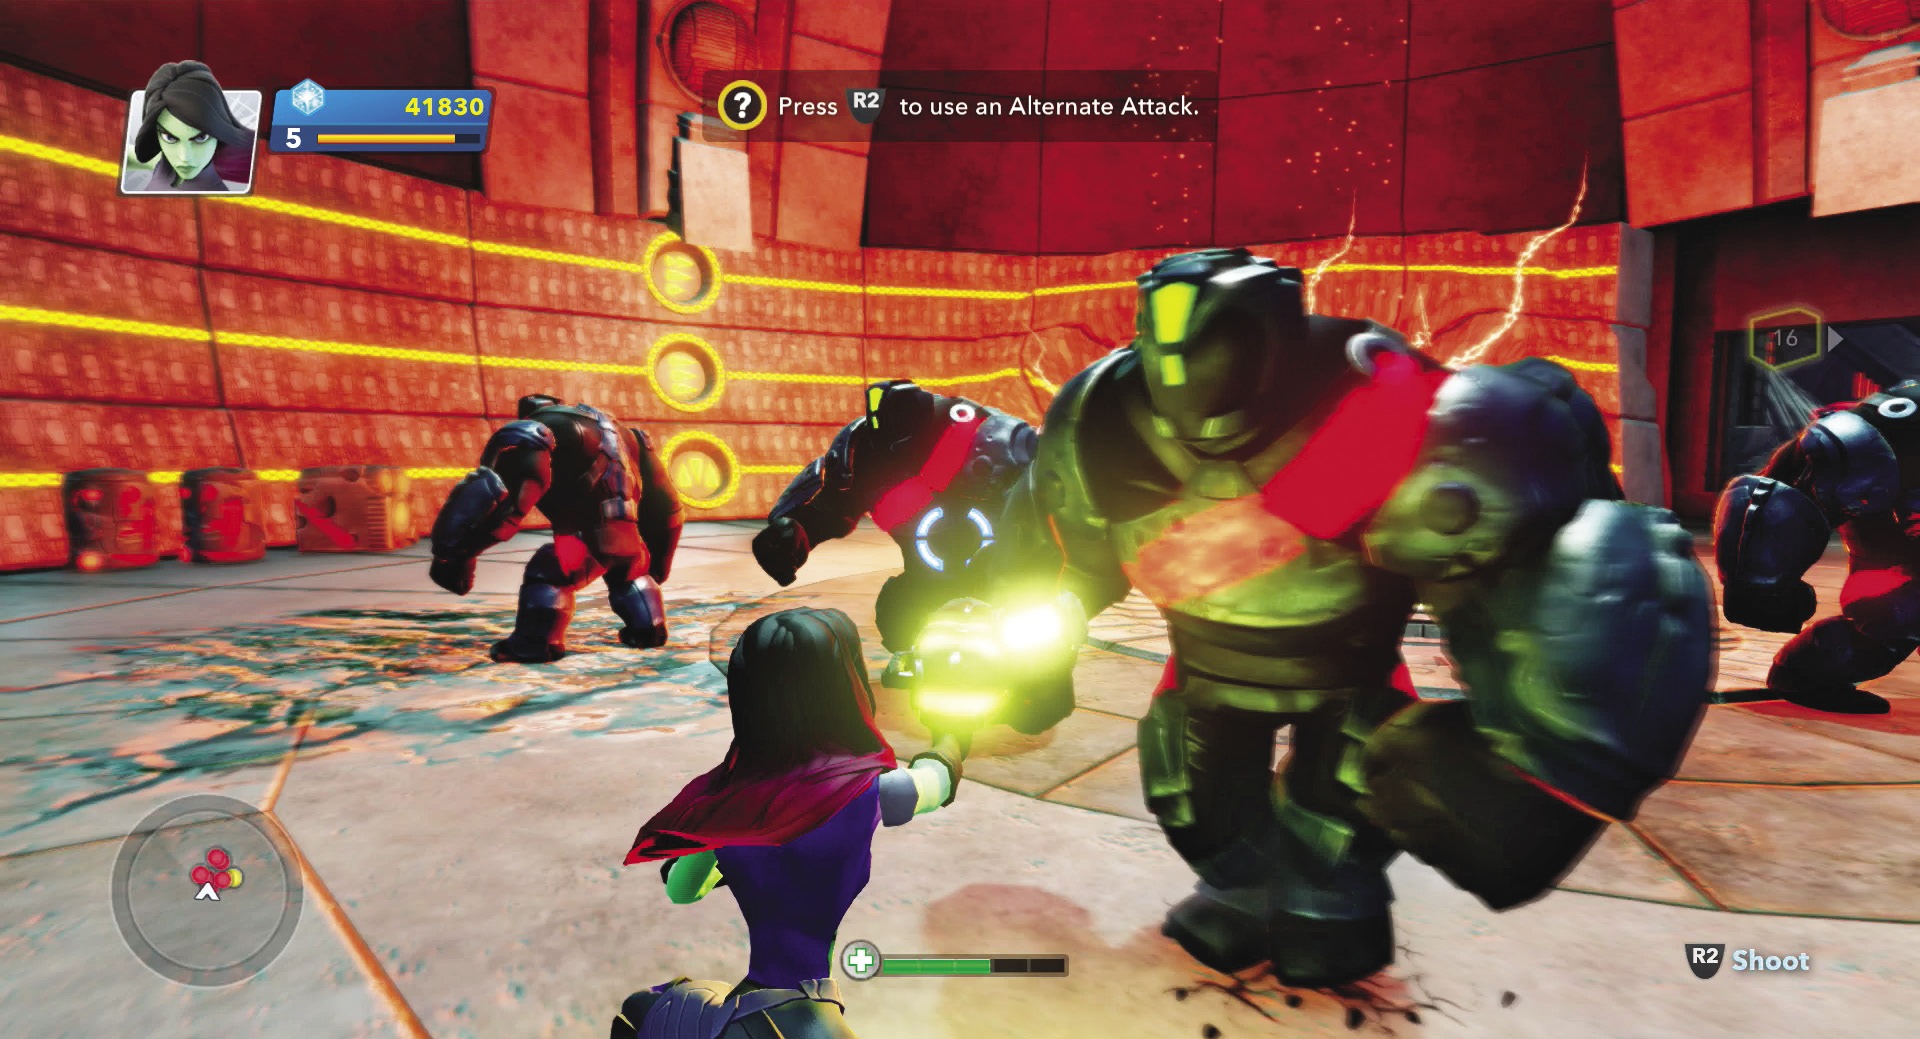
Head immediately to the center of the chamber and collect the power gun. Charge up and begin zapping everything in sight. If you stick to the power gun, you can clear the chamber in seconds instead of the minutes it would take you with old flesh and bone.
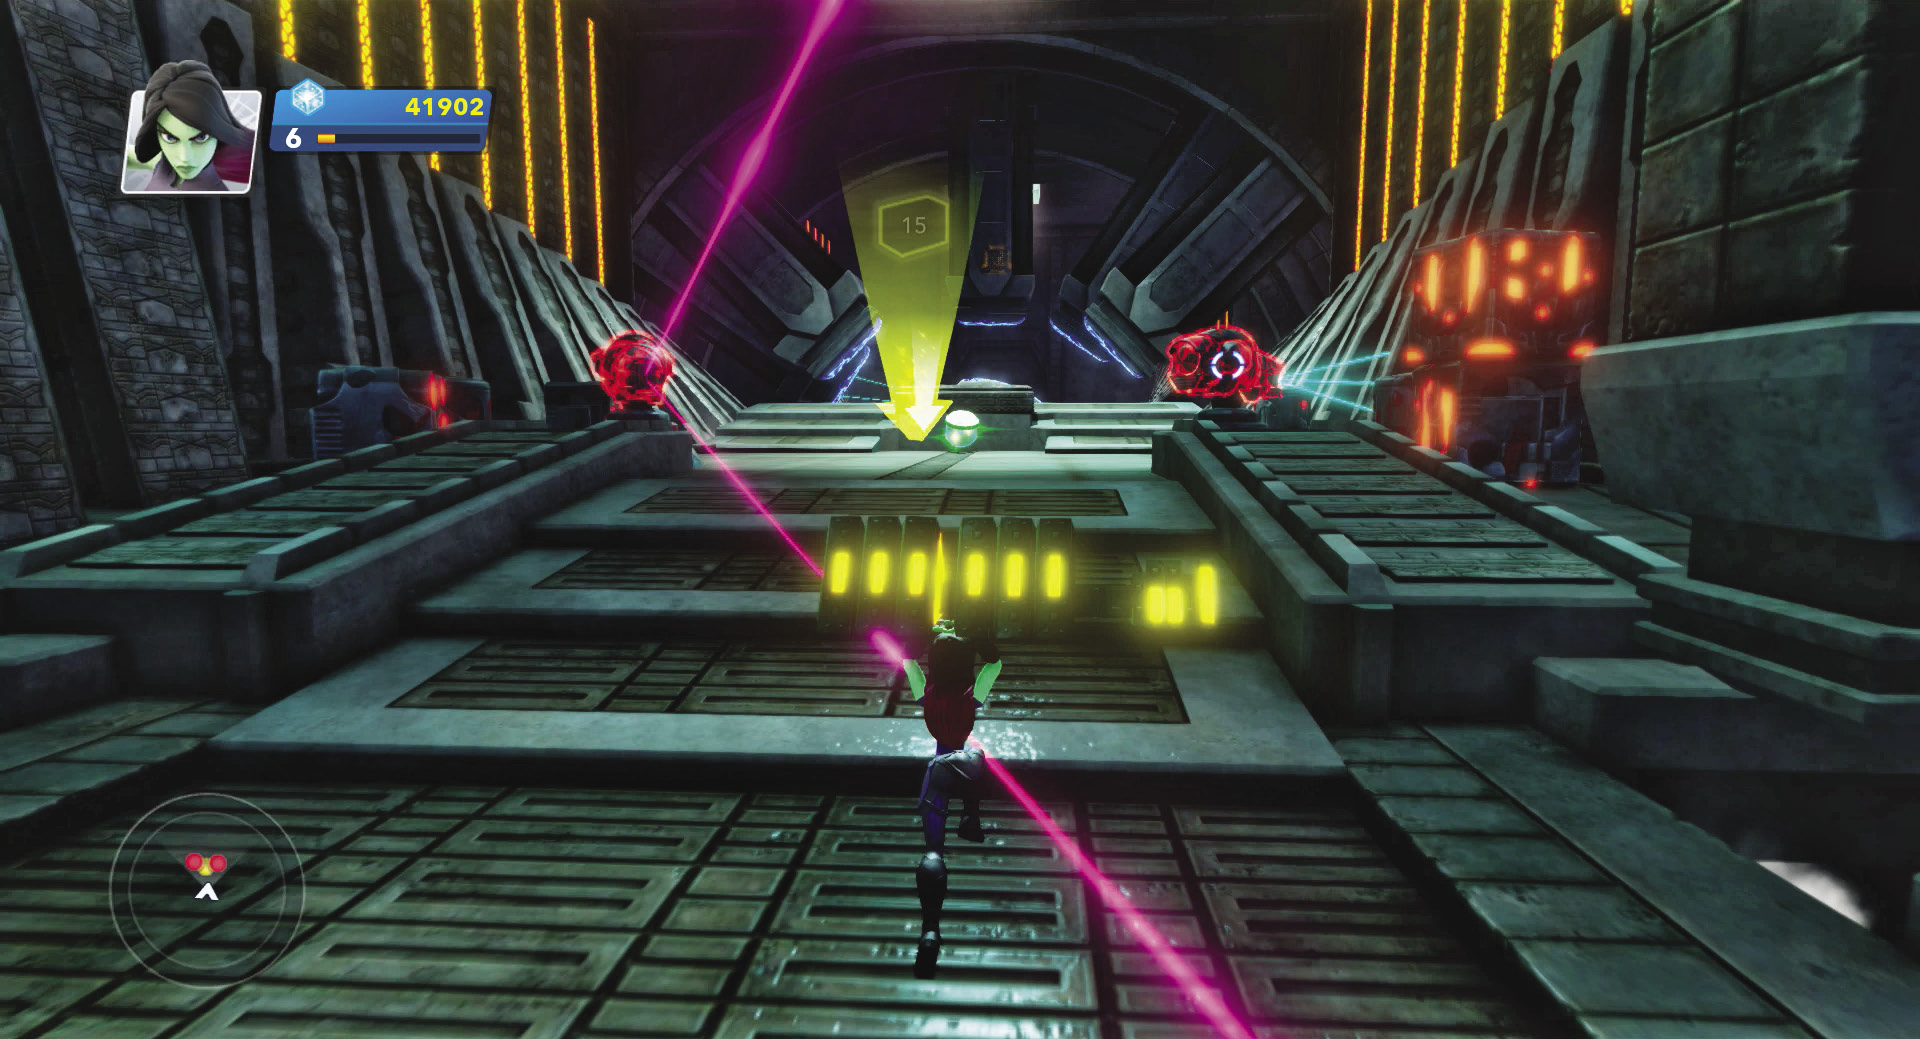
Make your way through the final section back to the main deck. Laser turrets will lock on to you as you pass through the corridor; drop the key, cut through the laser turrets, then pick the key back up. After you jump across the final spinning drill and knock out the laser turret, the door opens back to the main deck and you plug in the key to unlock the door to the Dark Aster’s power core.

New Challenge Available:Vs. Mode: Dark Aster
Dark Aster Disaster
Dark Aster (Power Core)
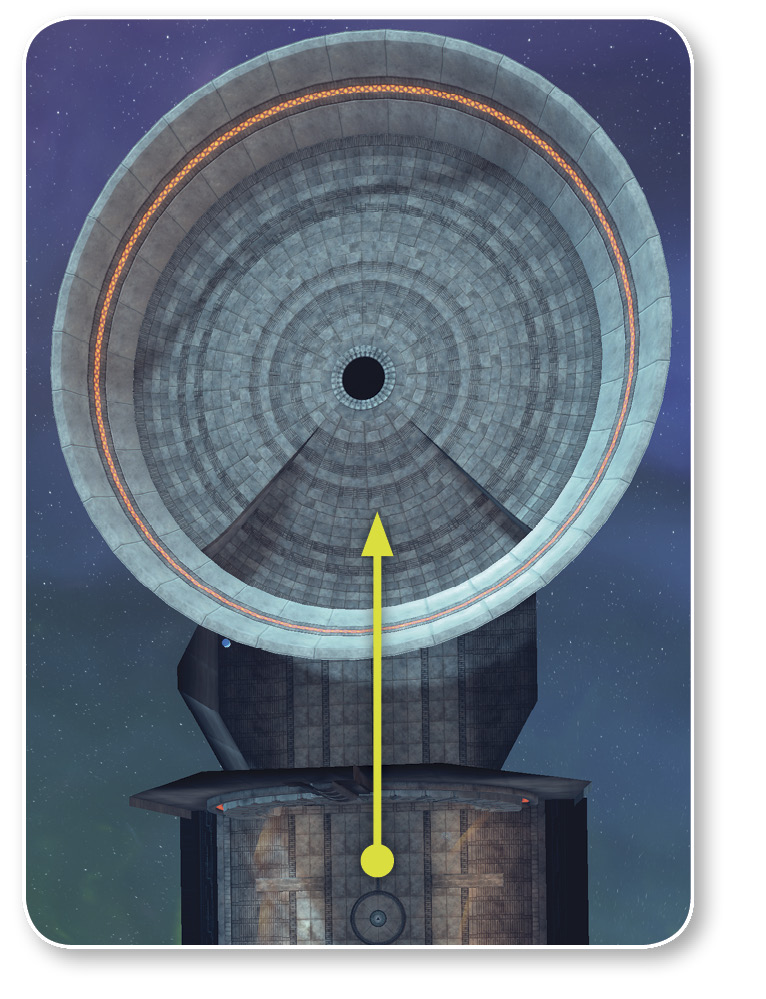

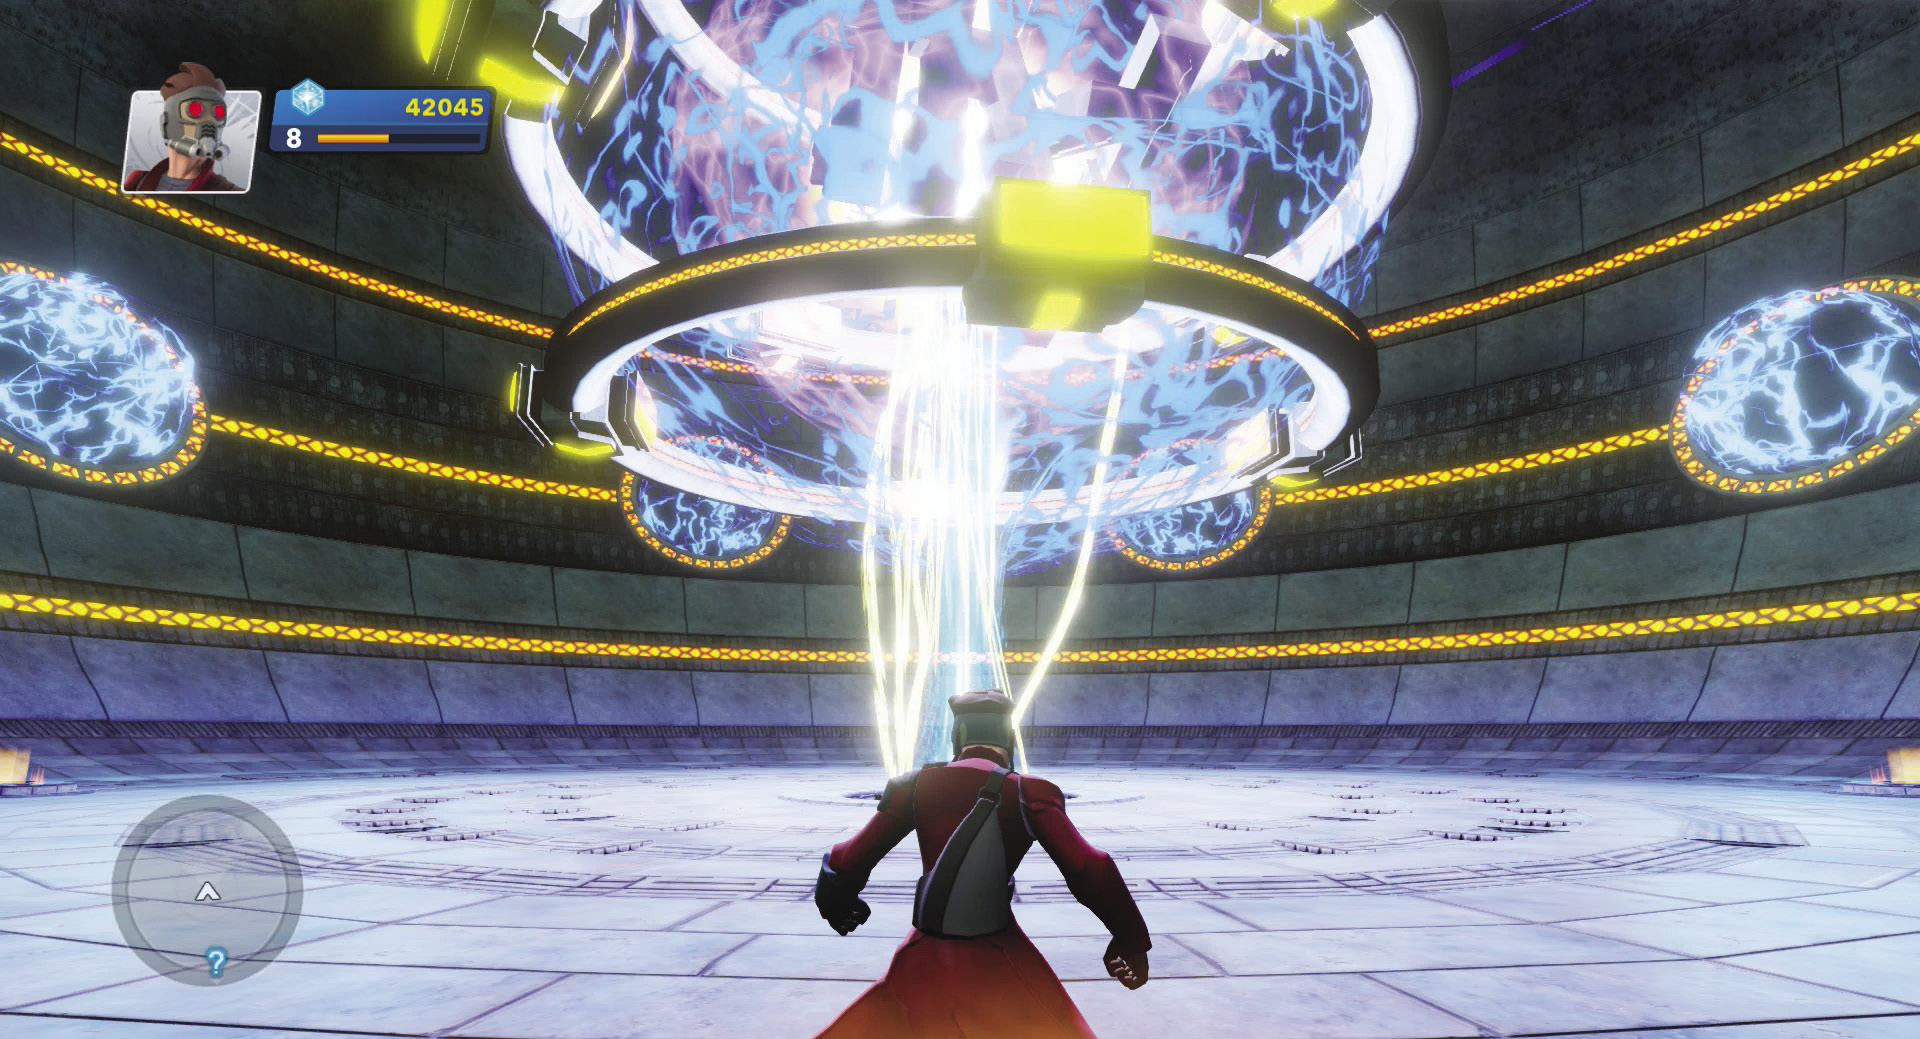
It’s time to go up against Ronan in the final battle! Enter the power core, grab a power gun from one of the dispensers on the floor, and shoot the power gun at the main energy stream. The power core overloads and seems to shut down the whole ship—until Ronan himself shows up to start the ship back up.

Feat Complete: To the Depths
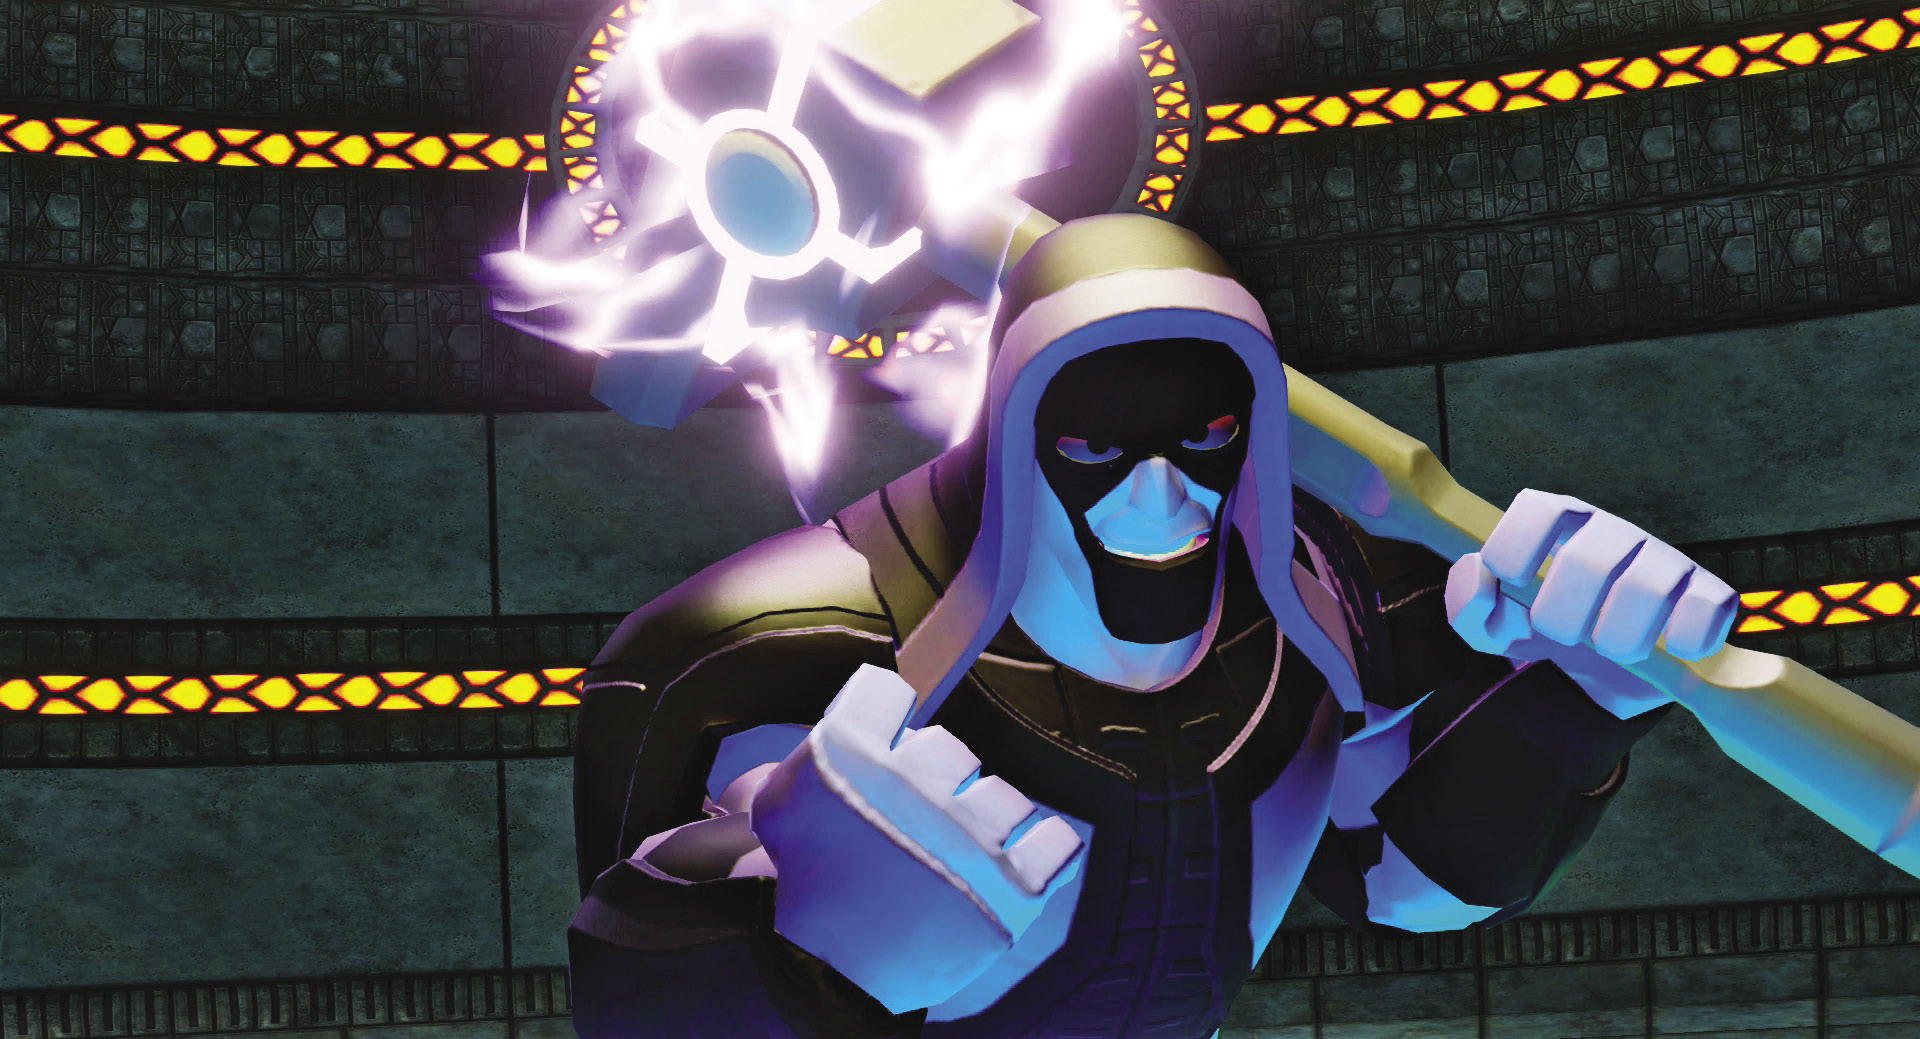
Ronan makes for a very difficult foe. First, he has a shield that protects him from all damage; you can’t approach him, and you can’t hit him directly with a ranged attack. Second, he summons forth scores of Sakaarans to defend the power core. It will be a challenge to move around the chamber without getting struck by enemy attacks. Third, Ronan can throw an earthquake attack at you; the floor ripples in a long strip and deals major damage if you get caught in the upheaval.
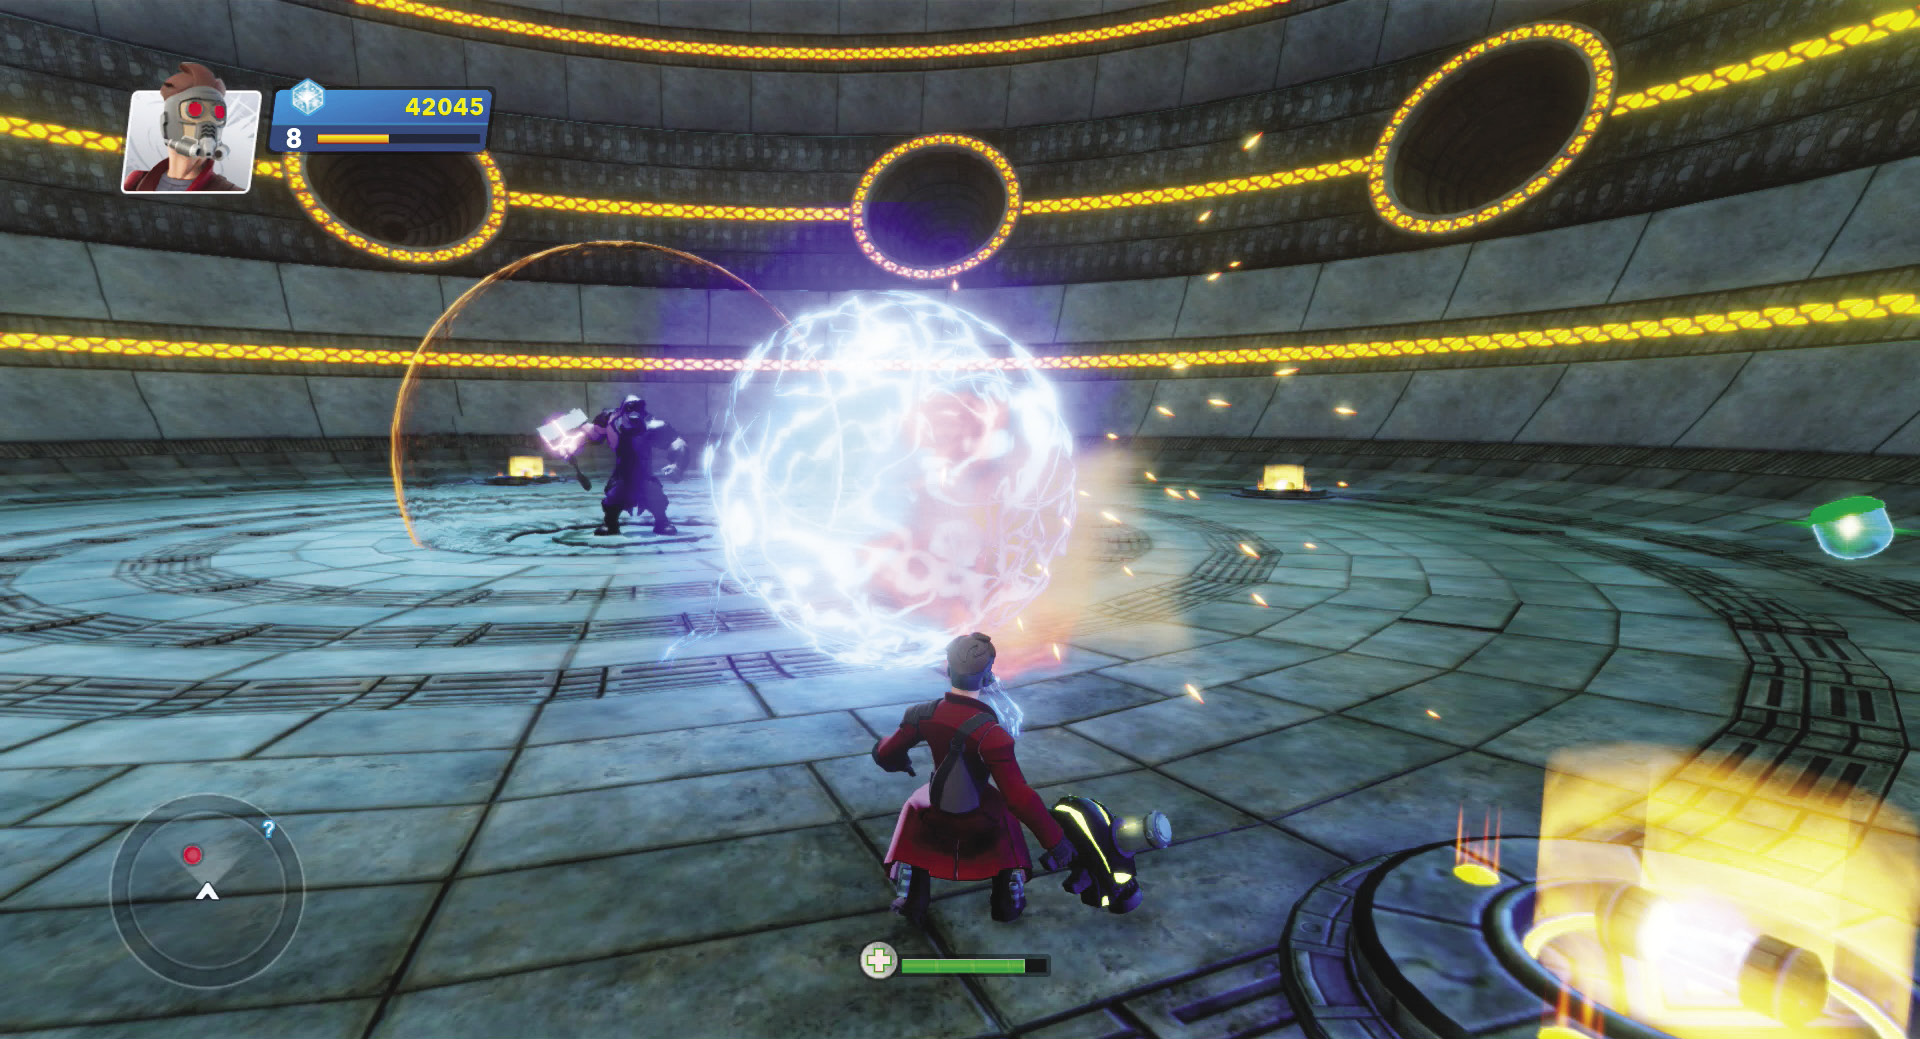
The trick to beating Ronan is outsmarting him. You don’t have to beat Ronan with damage; you need to beat him with your mind. There is another way to shut down the ship: overload it by powering up each of the sockets that rotate high overhead in the power core chamber. How do you do it? Shoot the power gun at Ronan’s shield. It won’t deal damage to him, but it will create an energy ball.
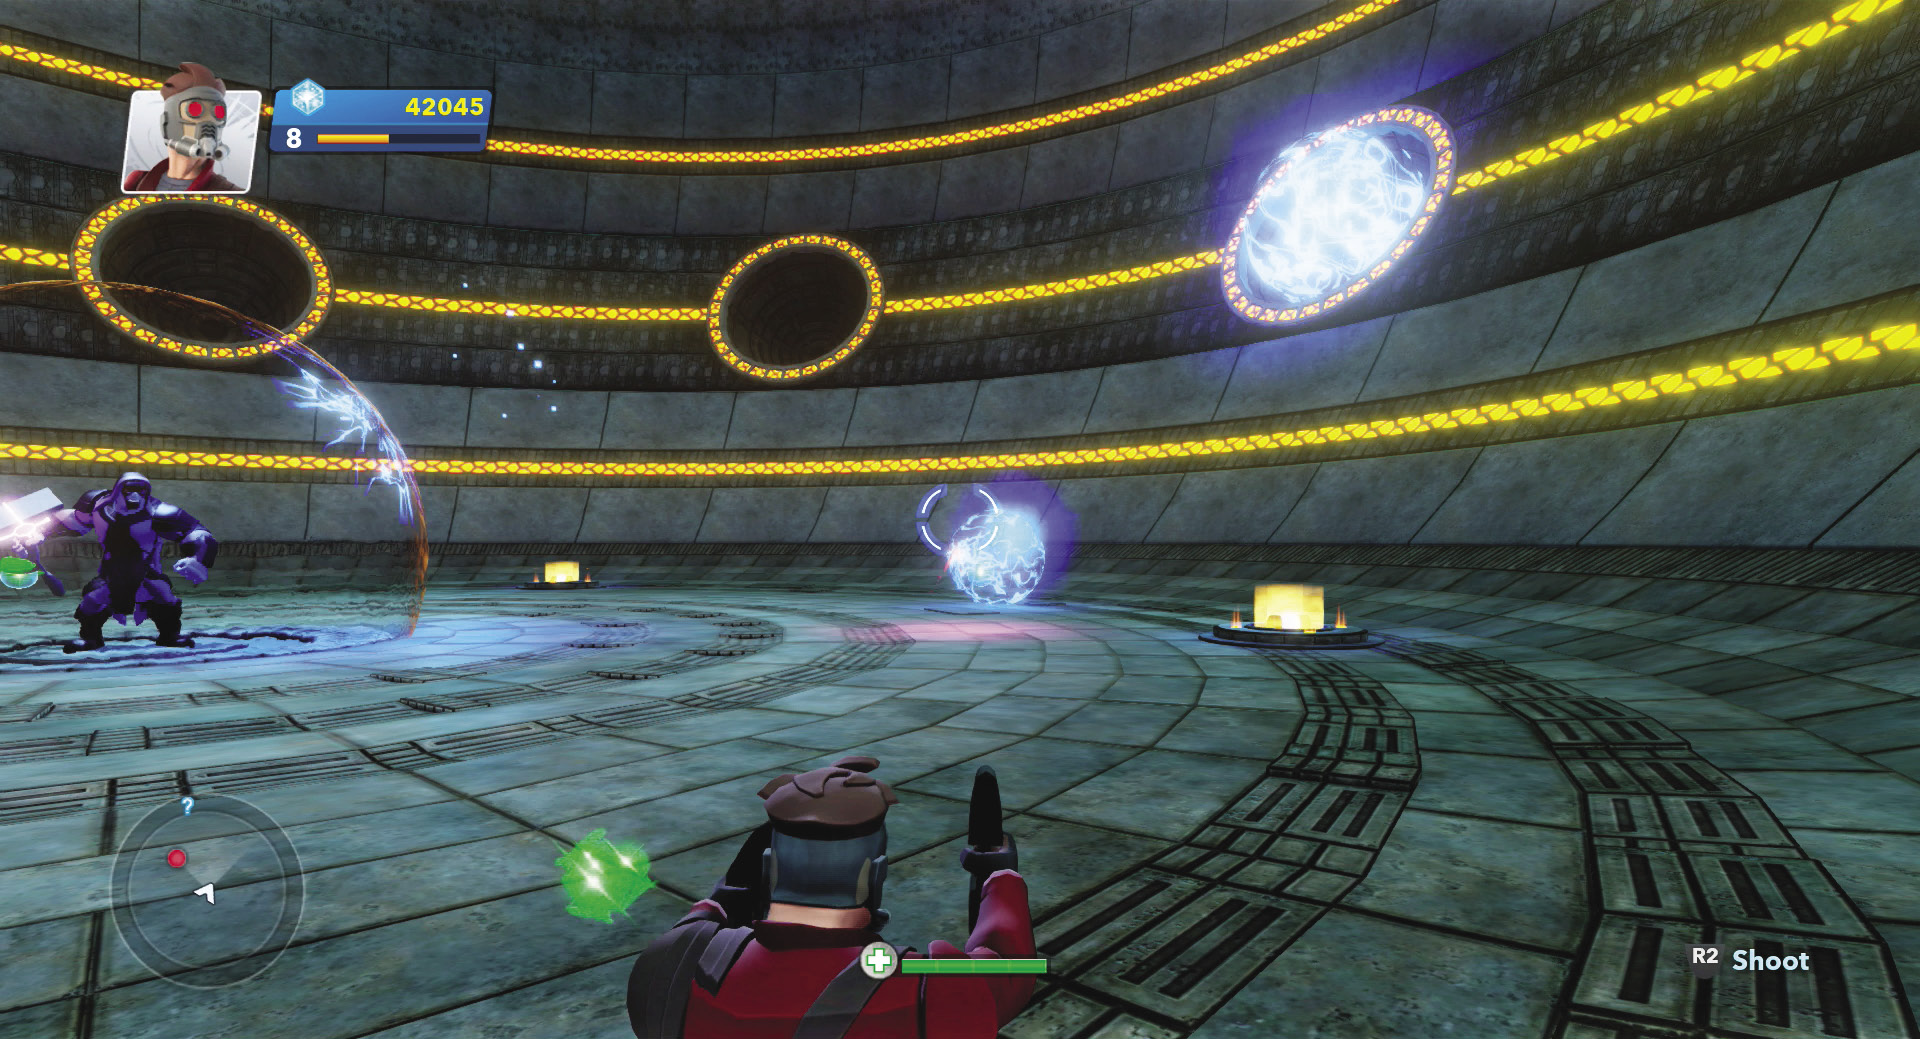
Now you have to get the energy ball into a socket. Shoot the energy ball with the power gun or your pistols—the energy ball will roll off across the chamber in the opposite direction. Put enough force behind it and the energy ball reaches the upper section of the power core. Start up multiple energy balls and get them rolling to increase your odds of them rolling into a socket.
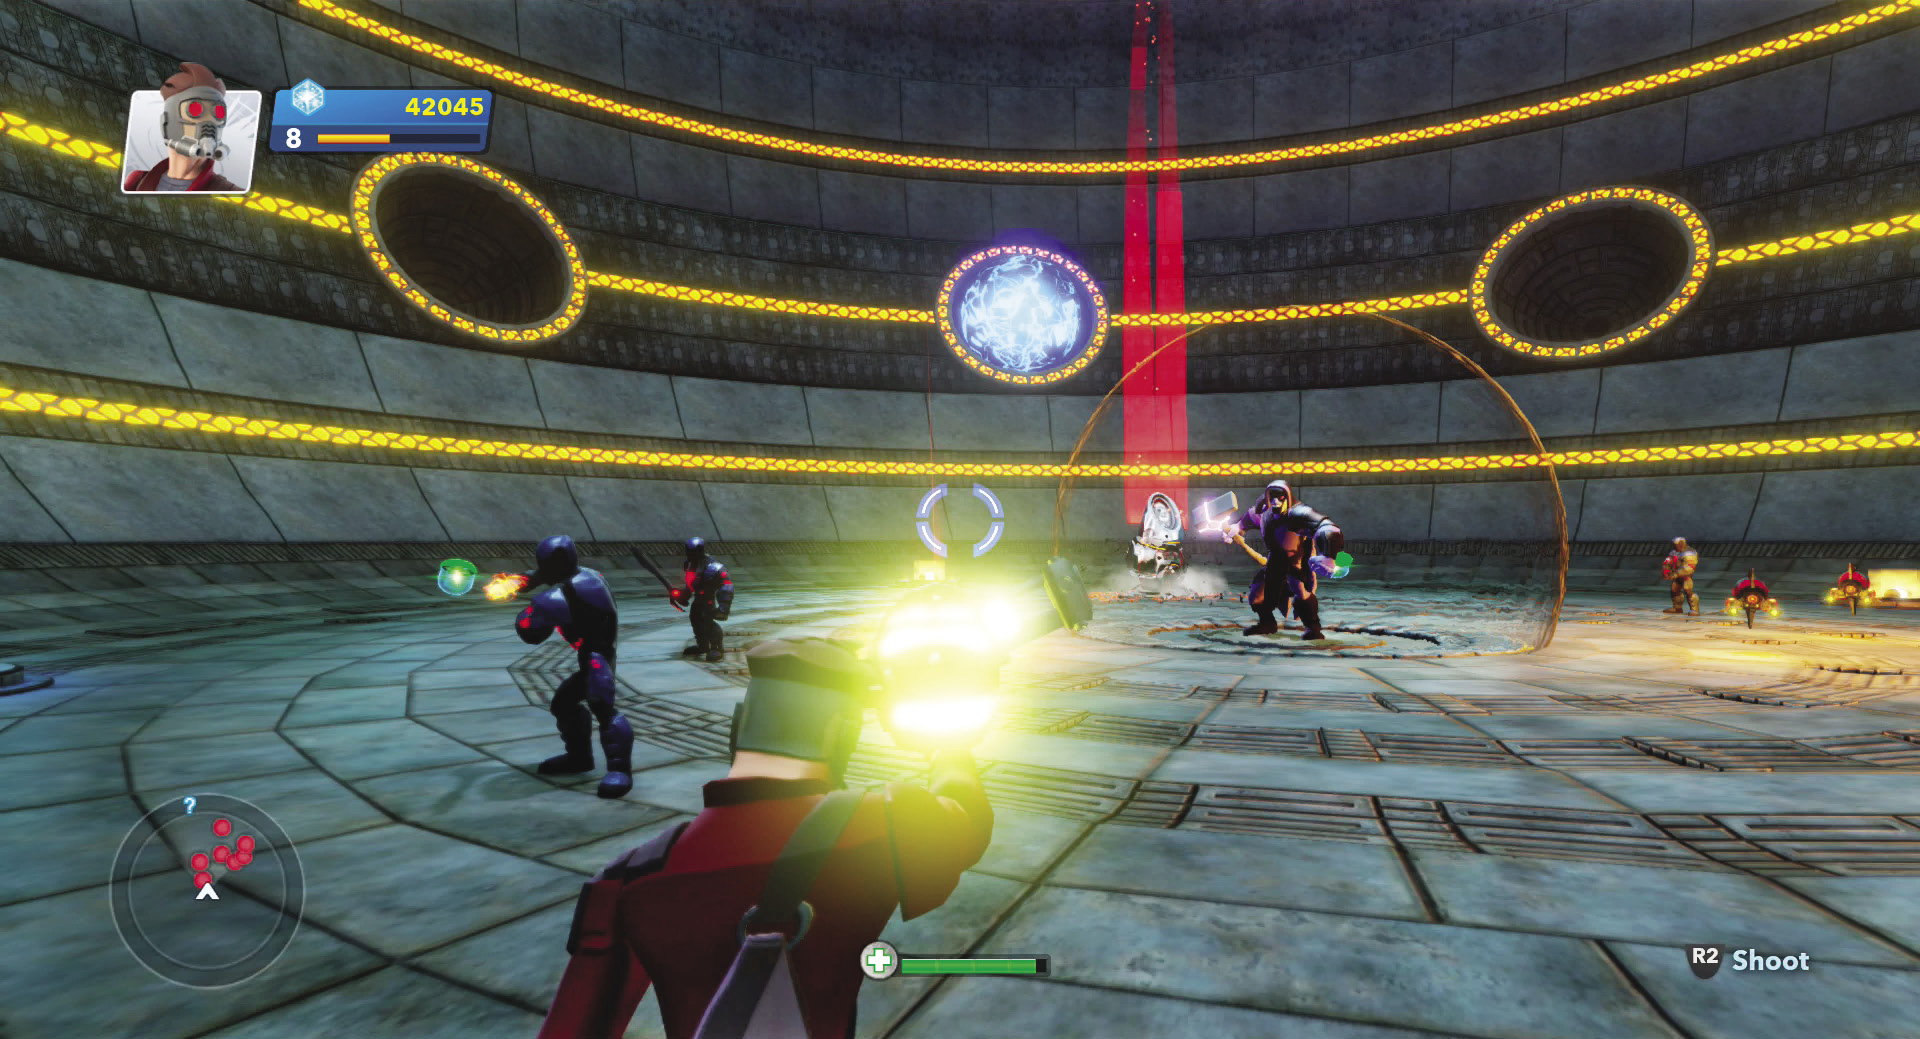
Of course, you have the other Sakaarans to worry about too. In between creating energy balls, use the power gun to mow down Sakaarans. There is an endless supply of power guns around the chamber. If one runs out, run over to any dispenser and pick up a new one.
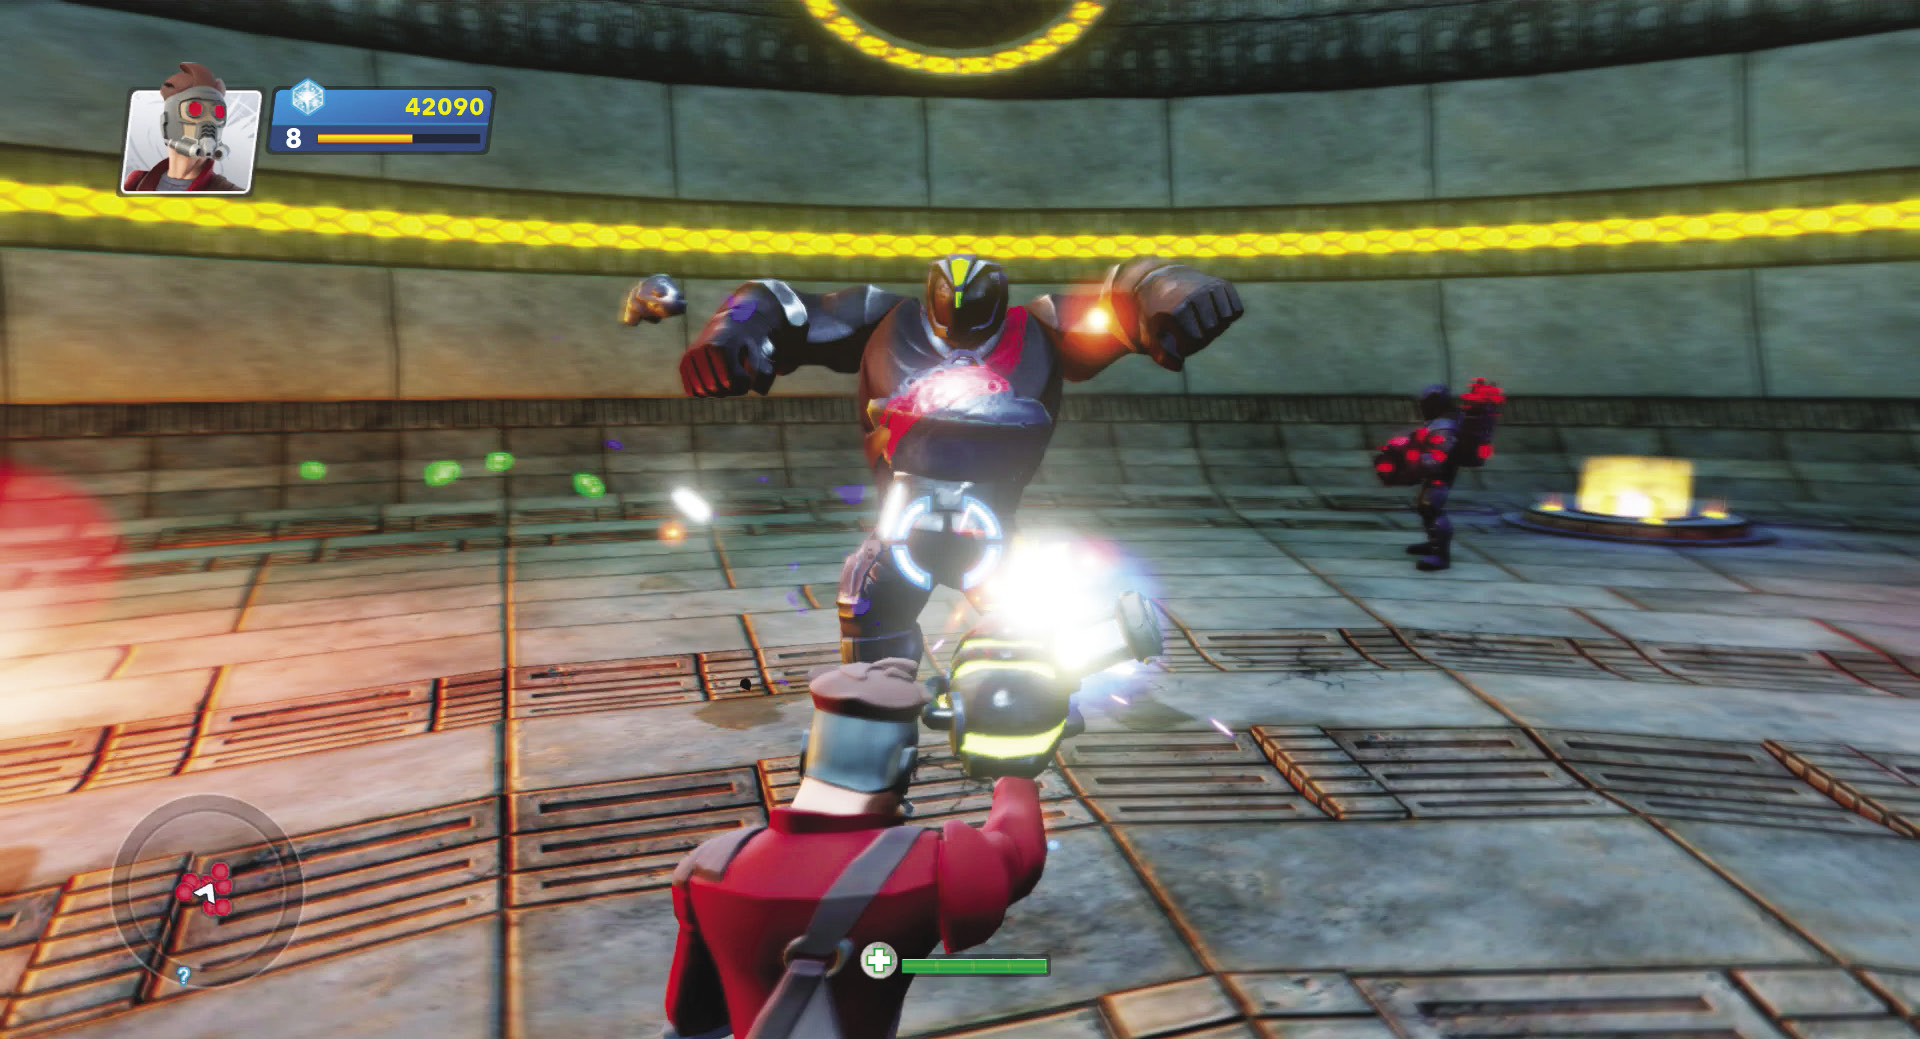
More and more Sakaarans arrive the madder Ronan gets. Continue circling around the chamber, alternating between energy balls and blasting Ronan’s Sakaaran troops.
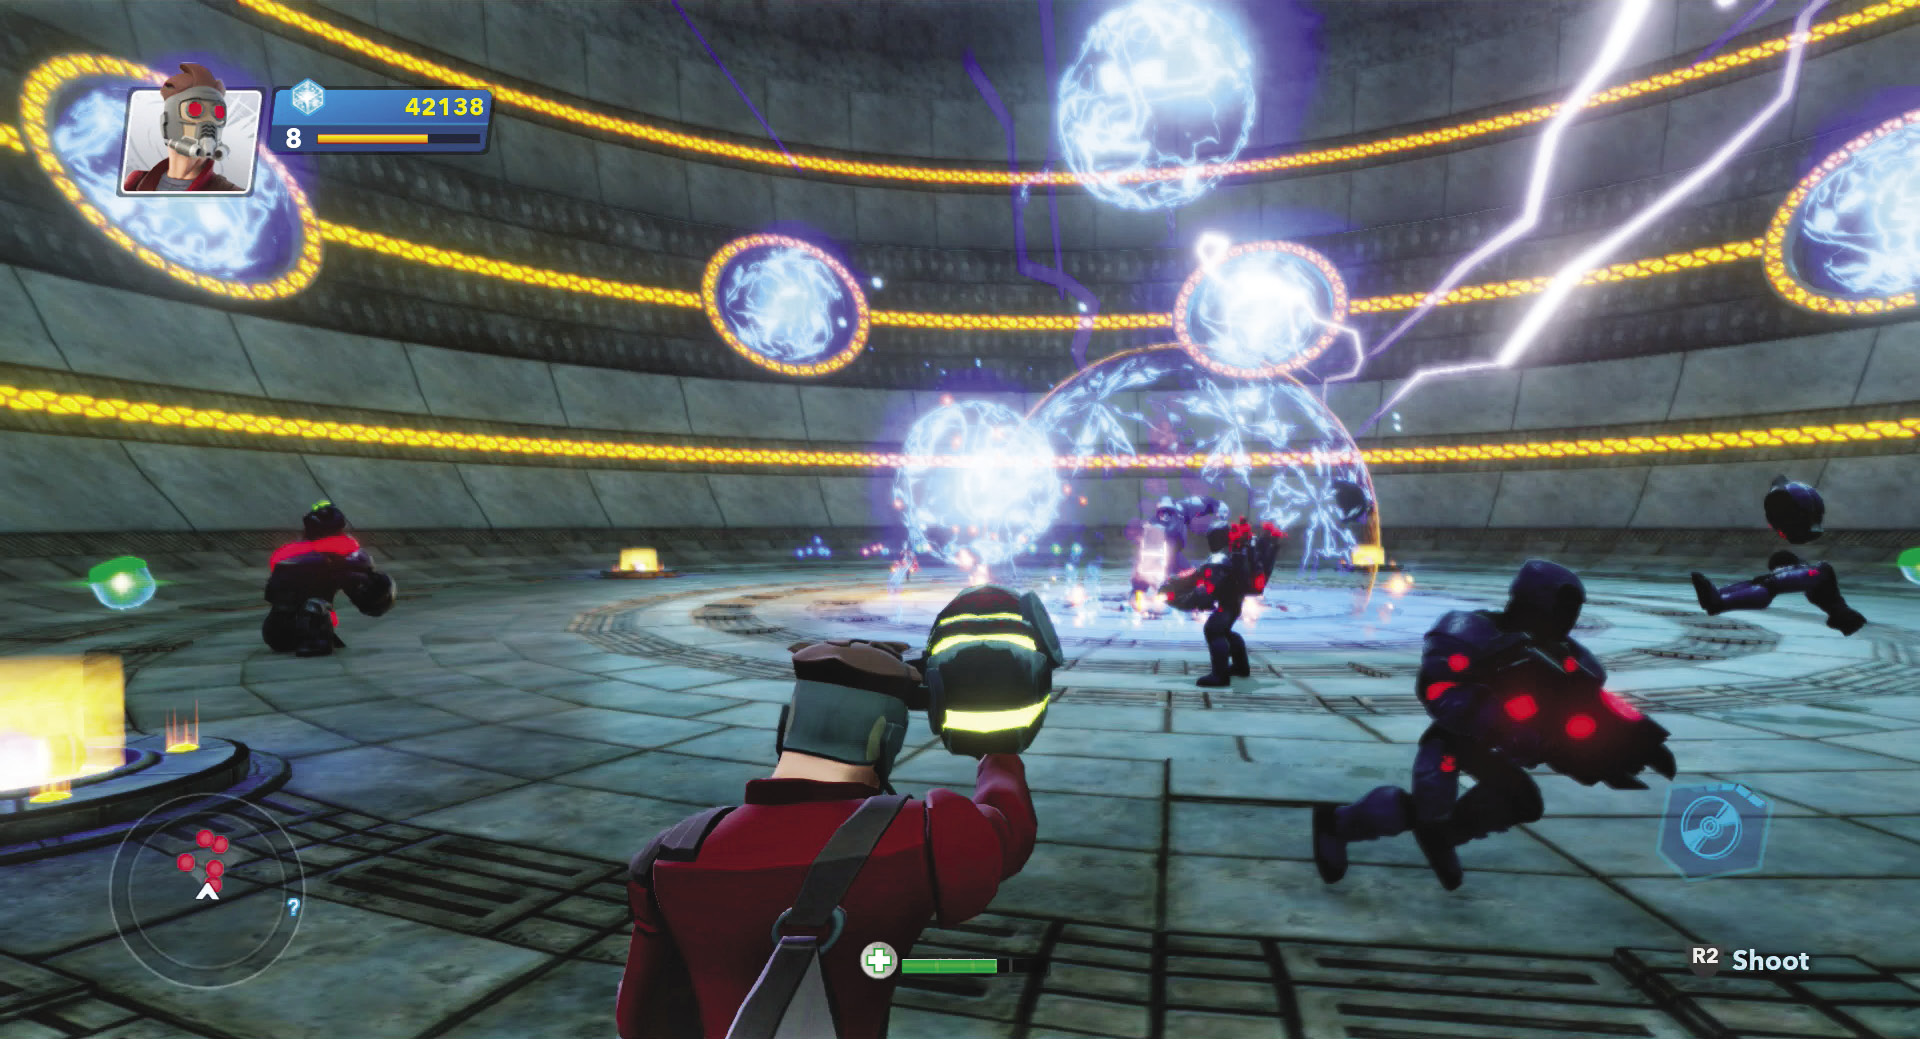
It gets crazy near the end, with energy balls, laser fire, and Sakaaran bodies all over the place. Don’t stop until the final energy ball rolls into place. Standing still is a recipe for disaster.
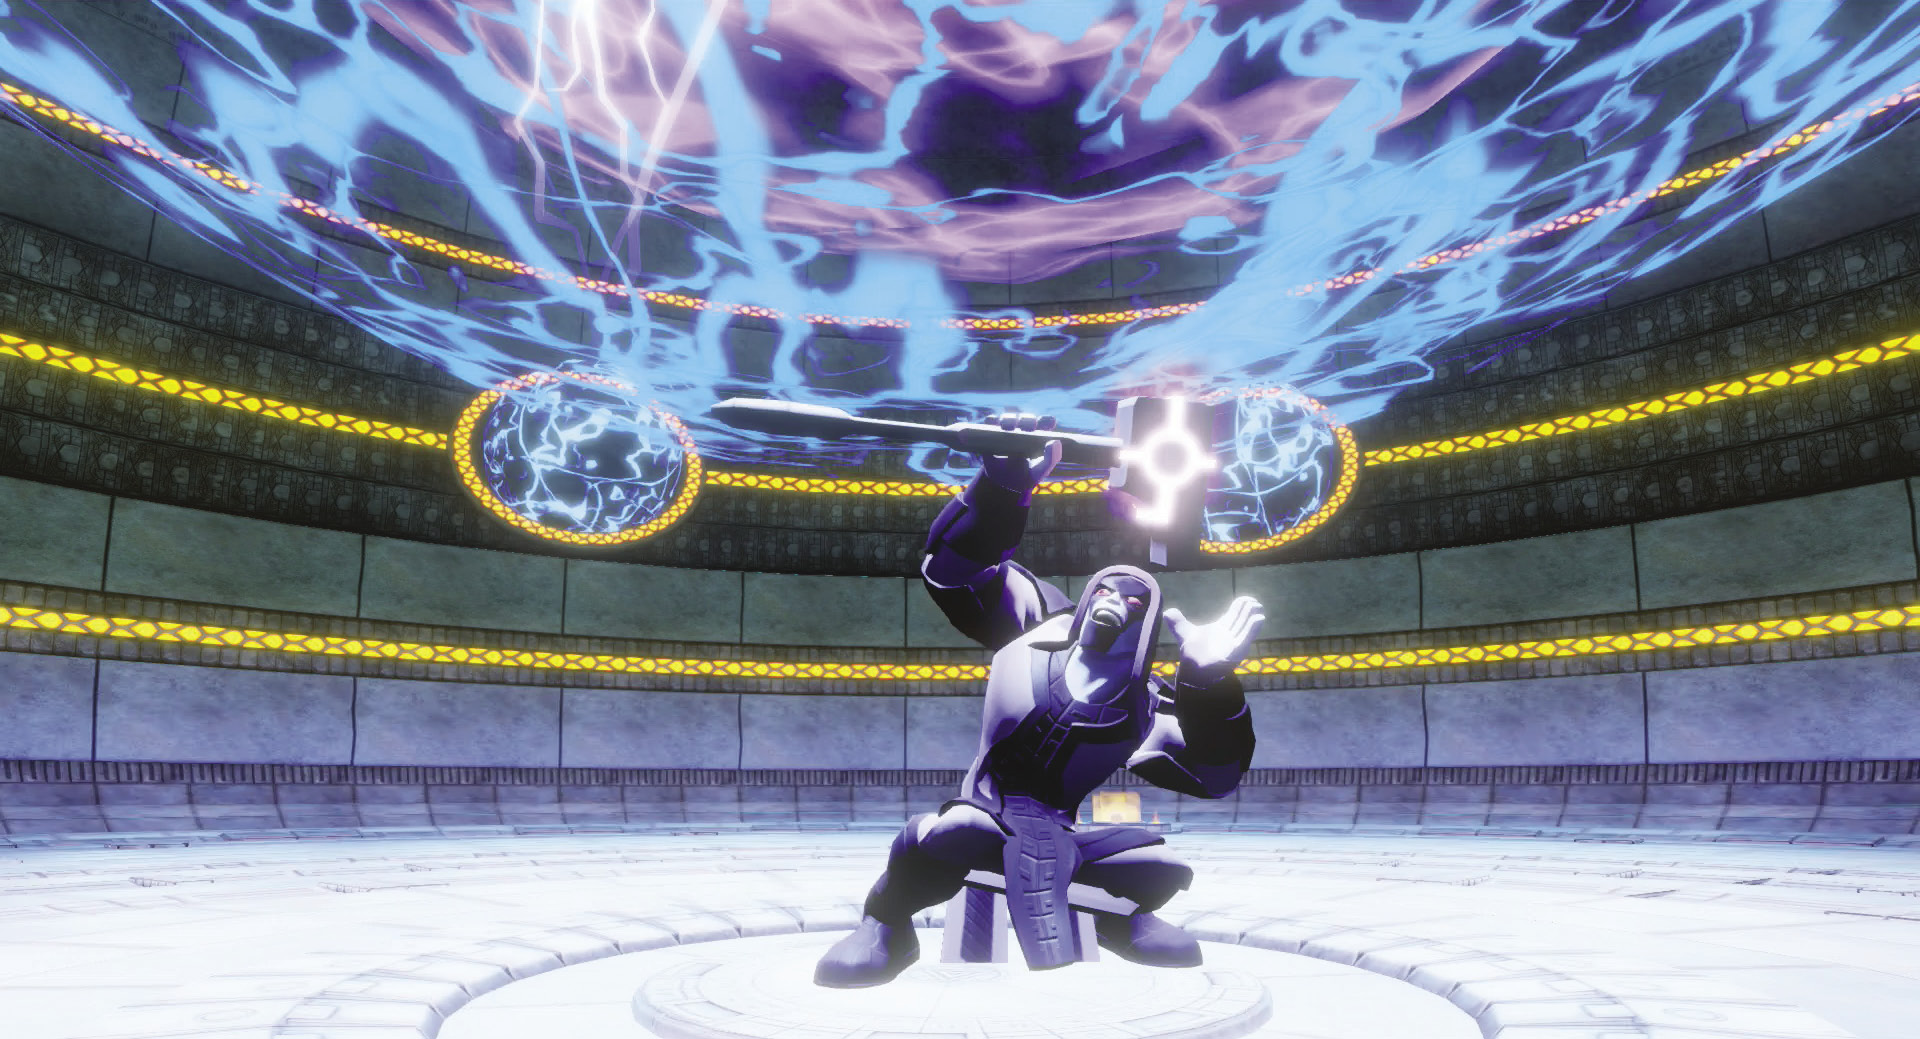
When the last energy ball clicks into place, the power core overloads again and it takes all of Ronan’s strength to keep the resulting explosion from destroying him. The weakened Ronan is no longer a threat, and you leave the Dark Aster content in knowing that Knowhere is safe for the time being.
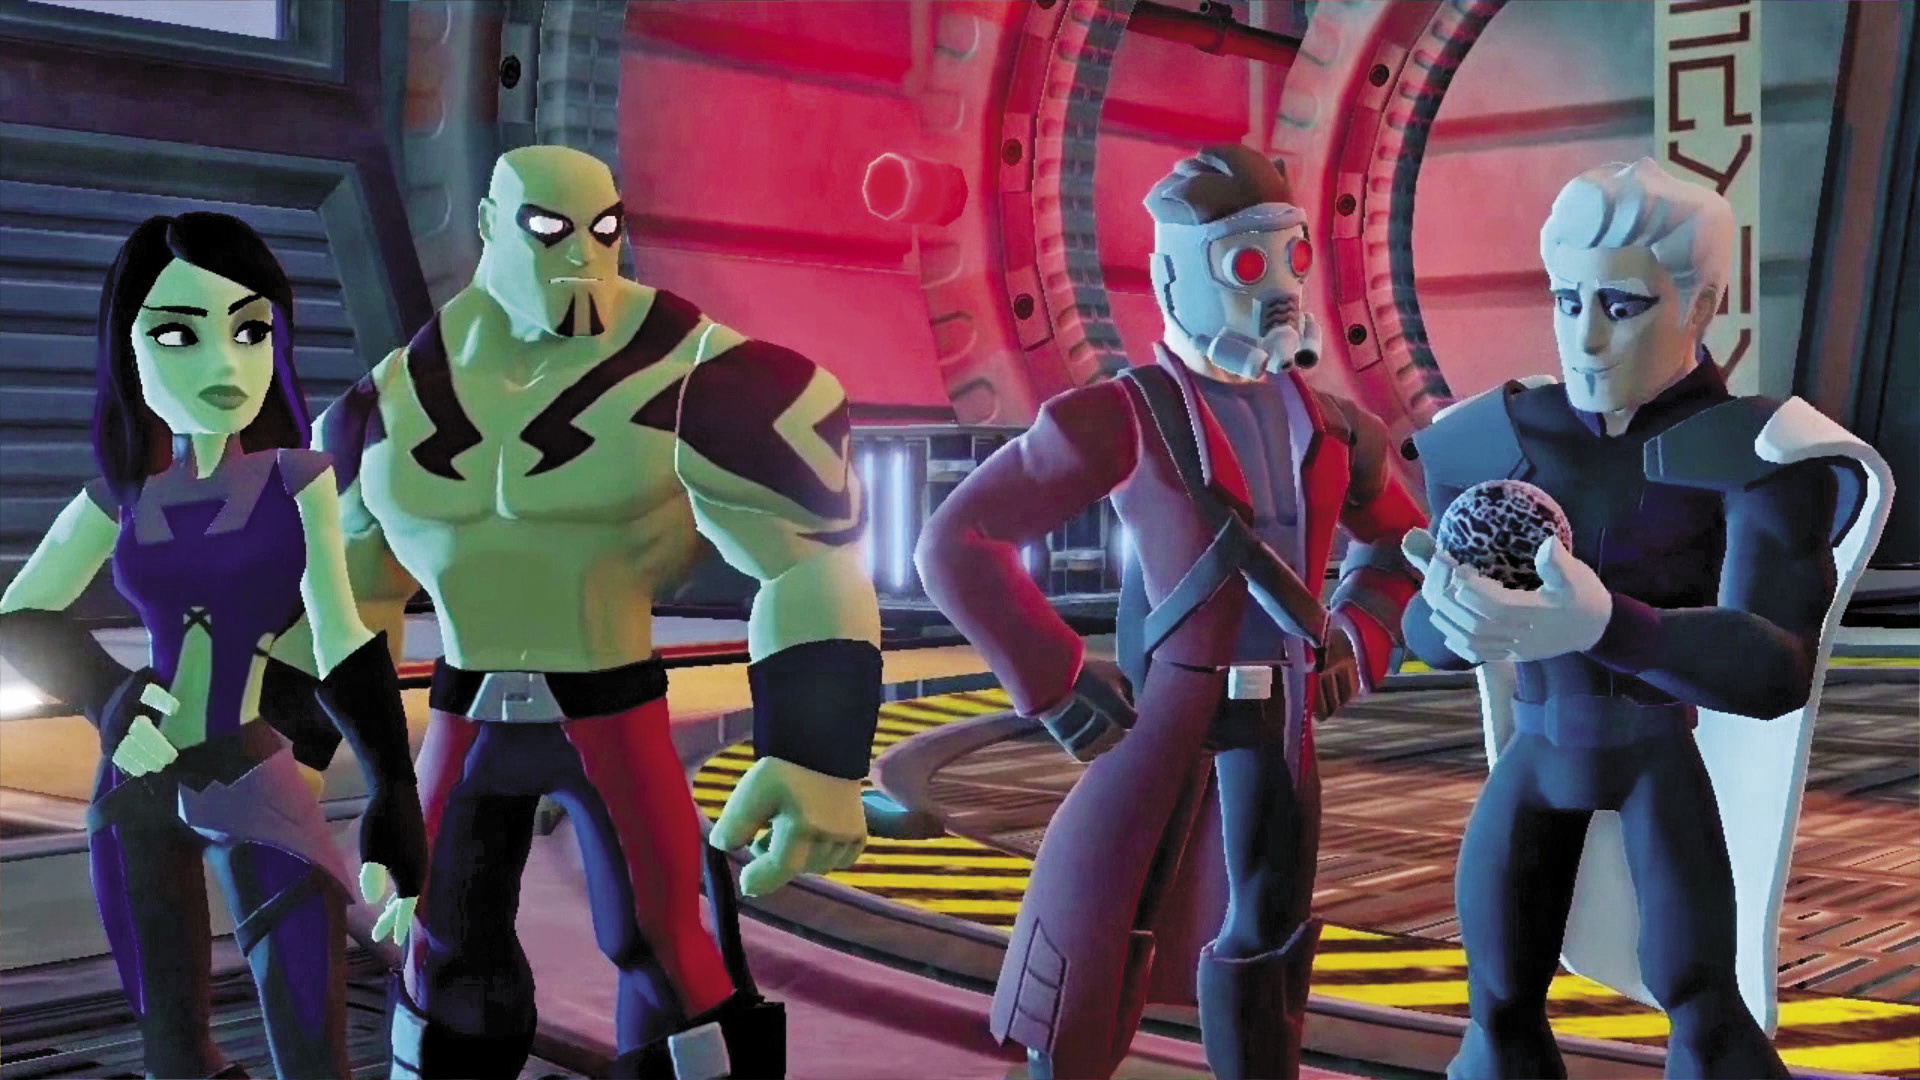
Back on Knowhere, you discover that Yondu betrayed you. While you were busy saving the galaxy, he stole the infinity gem and sailed off to sell it for himself. What he doesn’t know is that The Collector switched it with a decoy, and it wouldn’t have mattered anyway since Ronan is hot on his trail. You get a good laugh at your old “friend,” but now that you have new friends to explore the galaxy with—who needs him anyway.
Feat Complete: Accuser Diffuser