
Disney Infinity: Marvel Super Heroes Guide Marvels Ultimate Spider-Man Play Set
Too Many Symbiotes
Dark Days Ahead
Green Goblin’s Lab
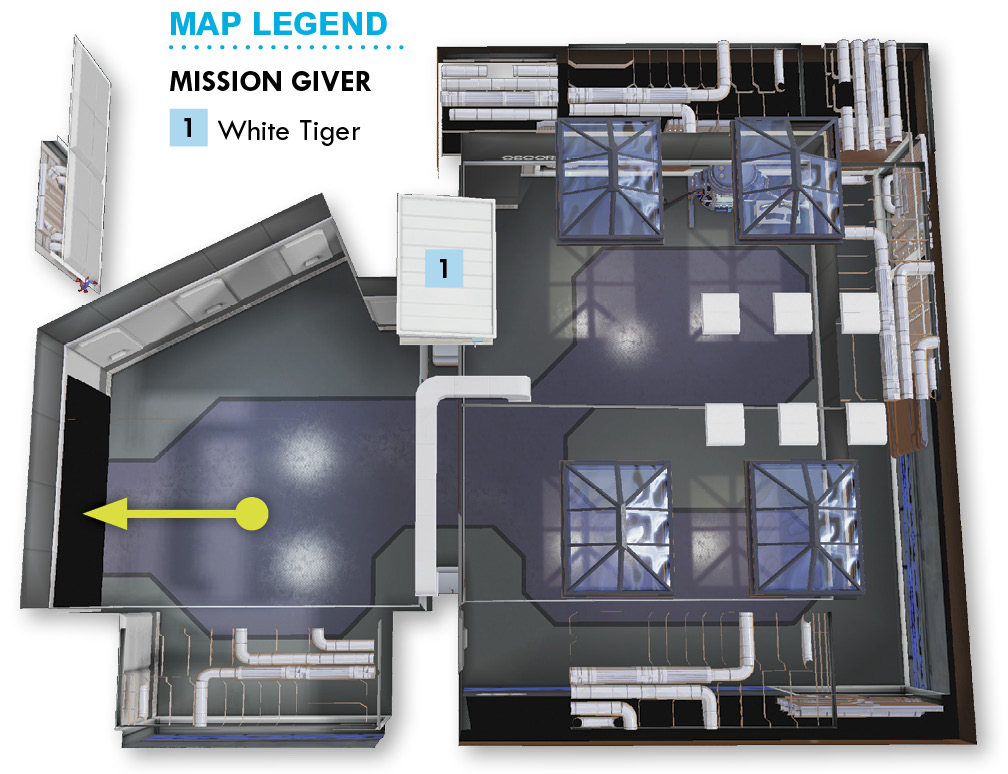

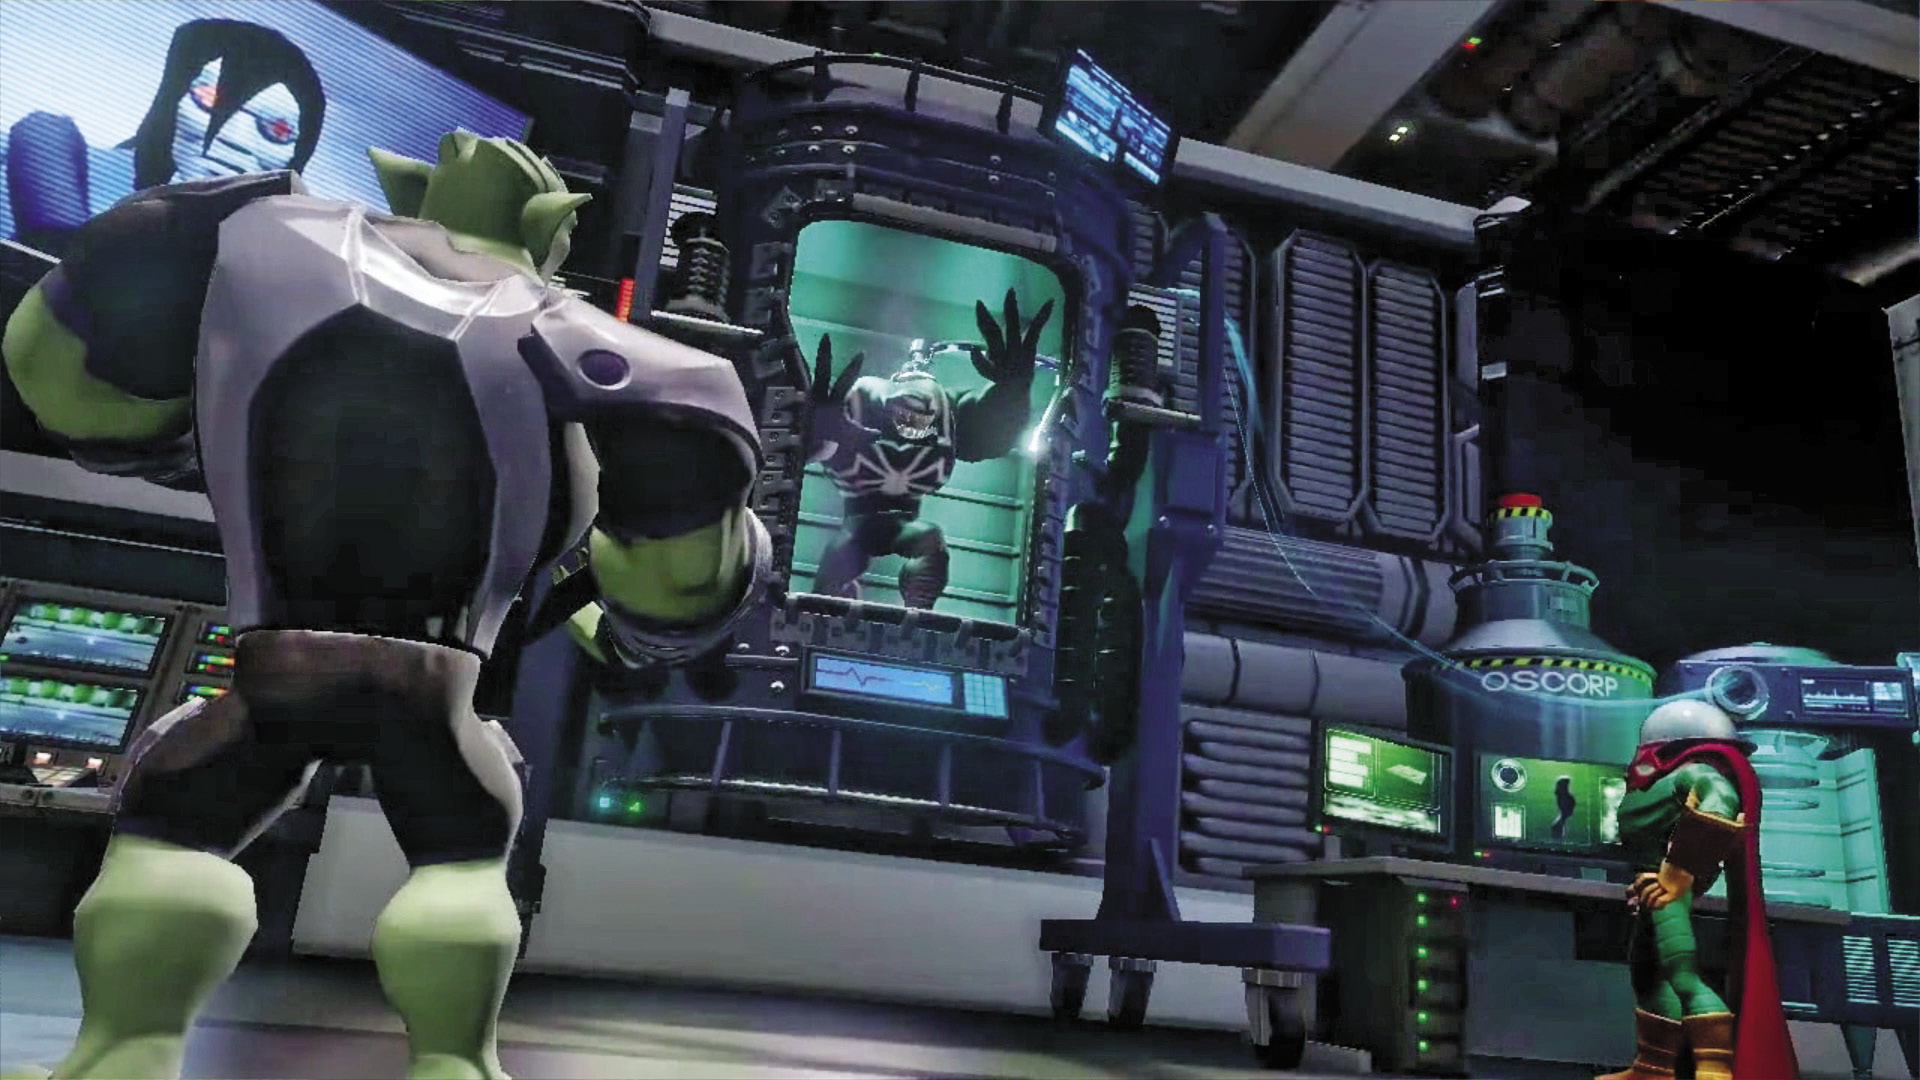
When Green Goblin starts recruiting heavyweights like Mysterio, you know it’s going to be a bad day for the good guys. As our tale begins, White Tiger is spying on Green Goblin and Mysterio as they use Oscorp’s resources to clone Venom. Green Goblin’s ultimate goal is to bring down S.H.I.E.L.D., but Venom manages to escape, leaving Goblin with Symbiote clones to wreak chaos on the city. Spider-Man pops in, and White Tiger sends Spidey into the lab to confront the two villains.
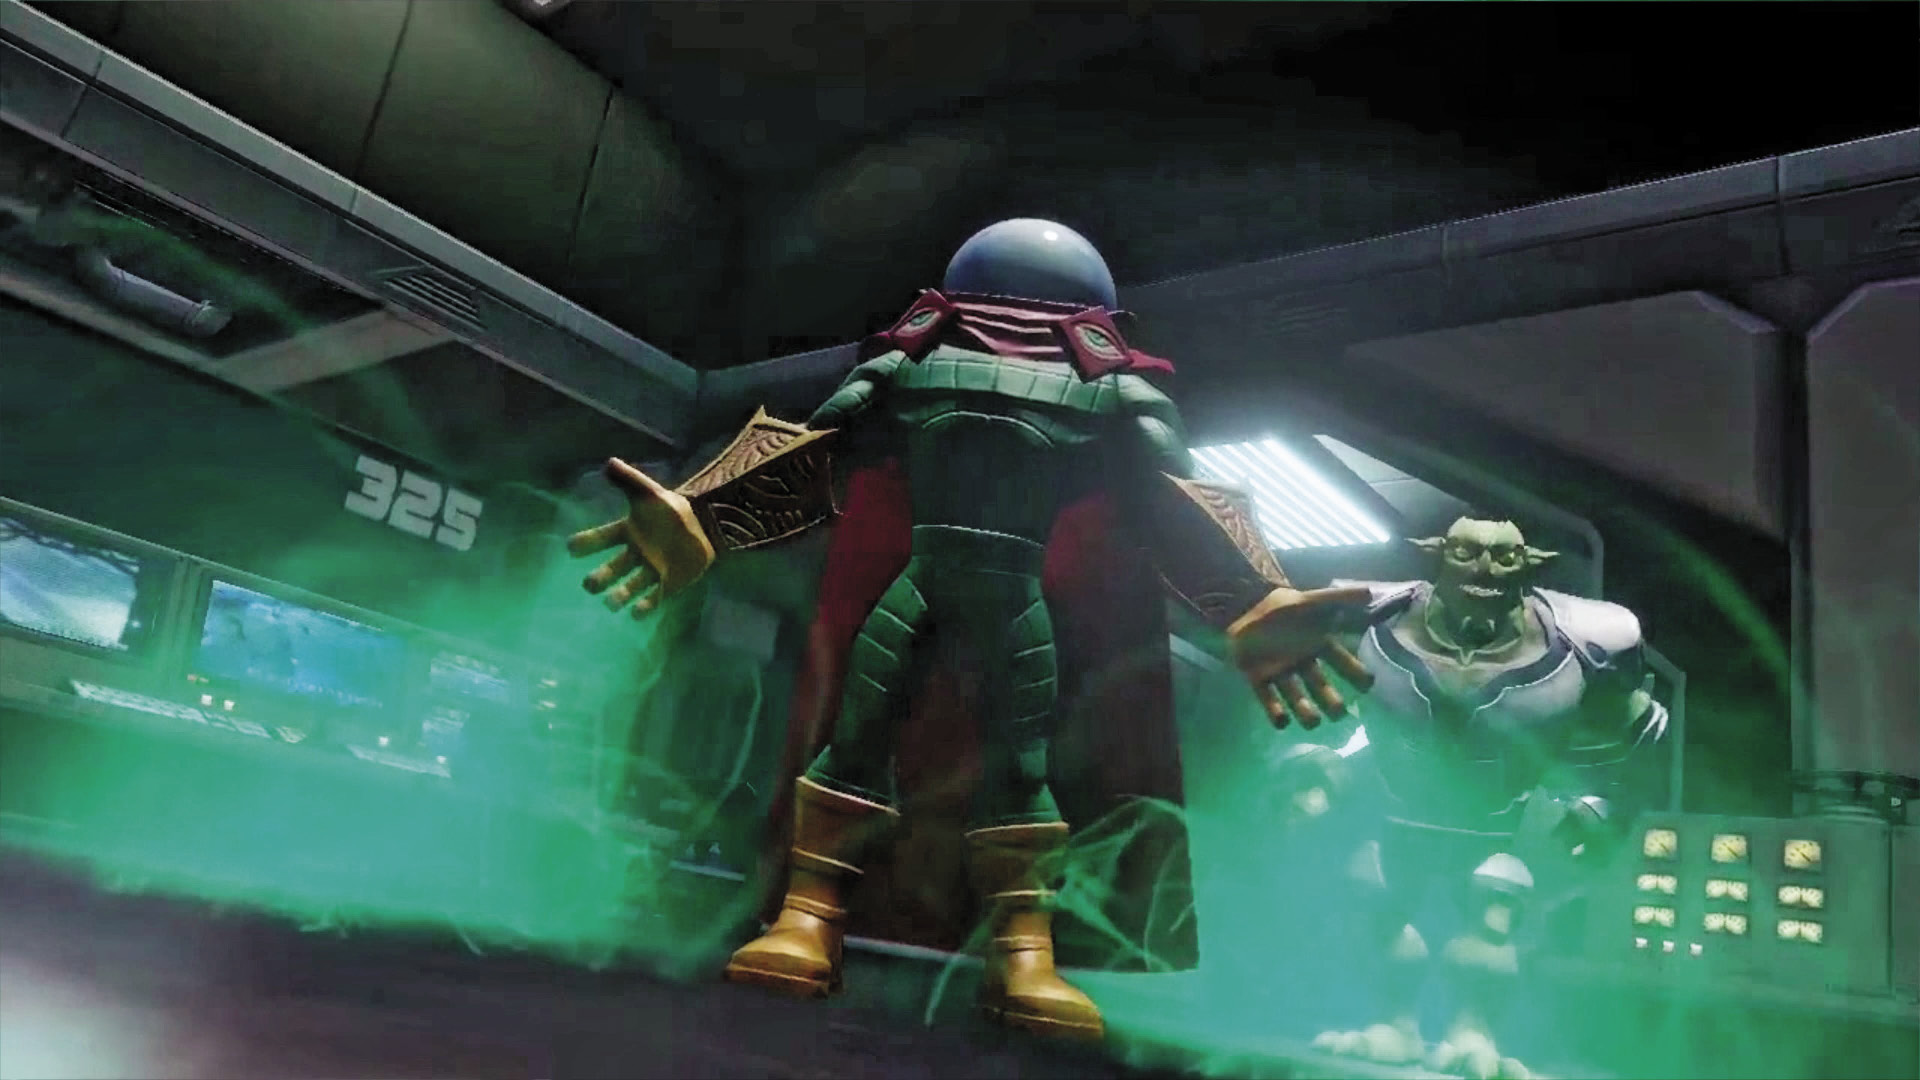
Before you can do a thing, Mysterio lets loose his green gas and you’re lost in a haze. Your new mission is to hunt down Mysterio—if you can figure out what’s real and what’s not.
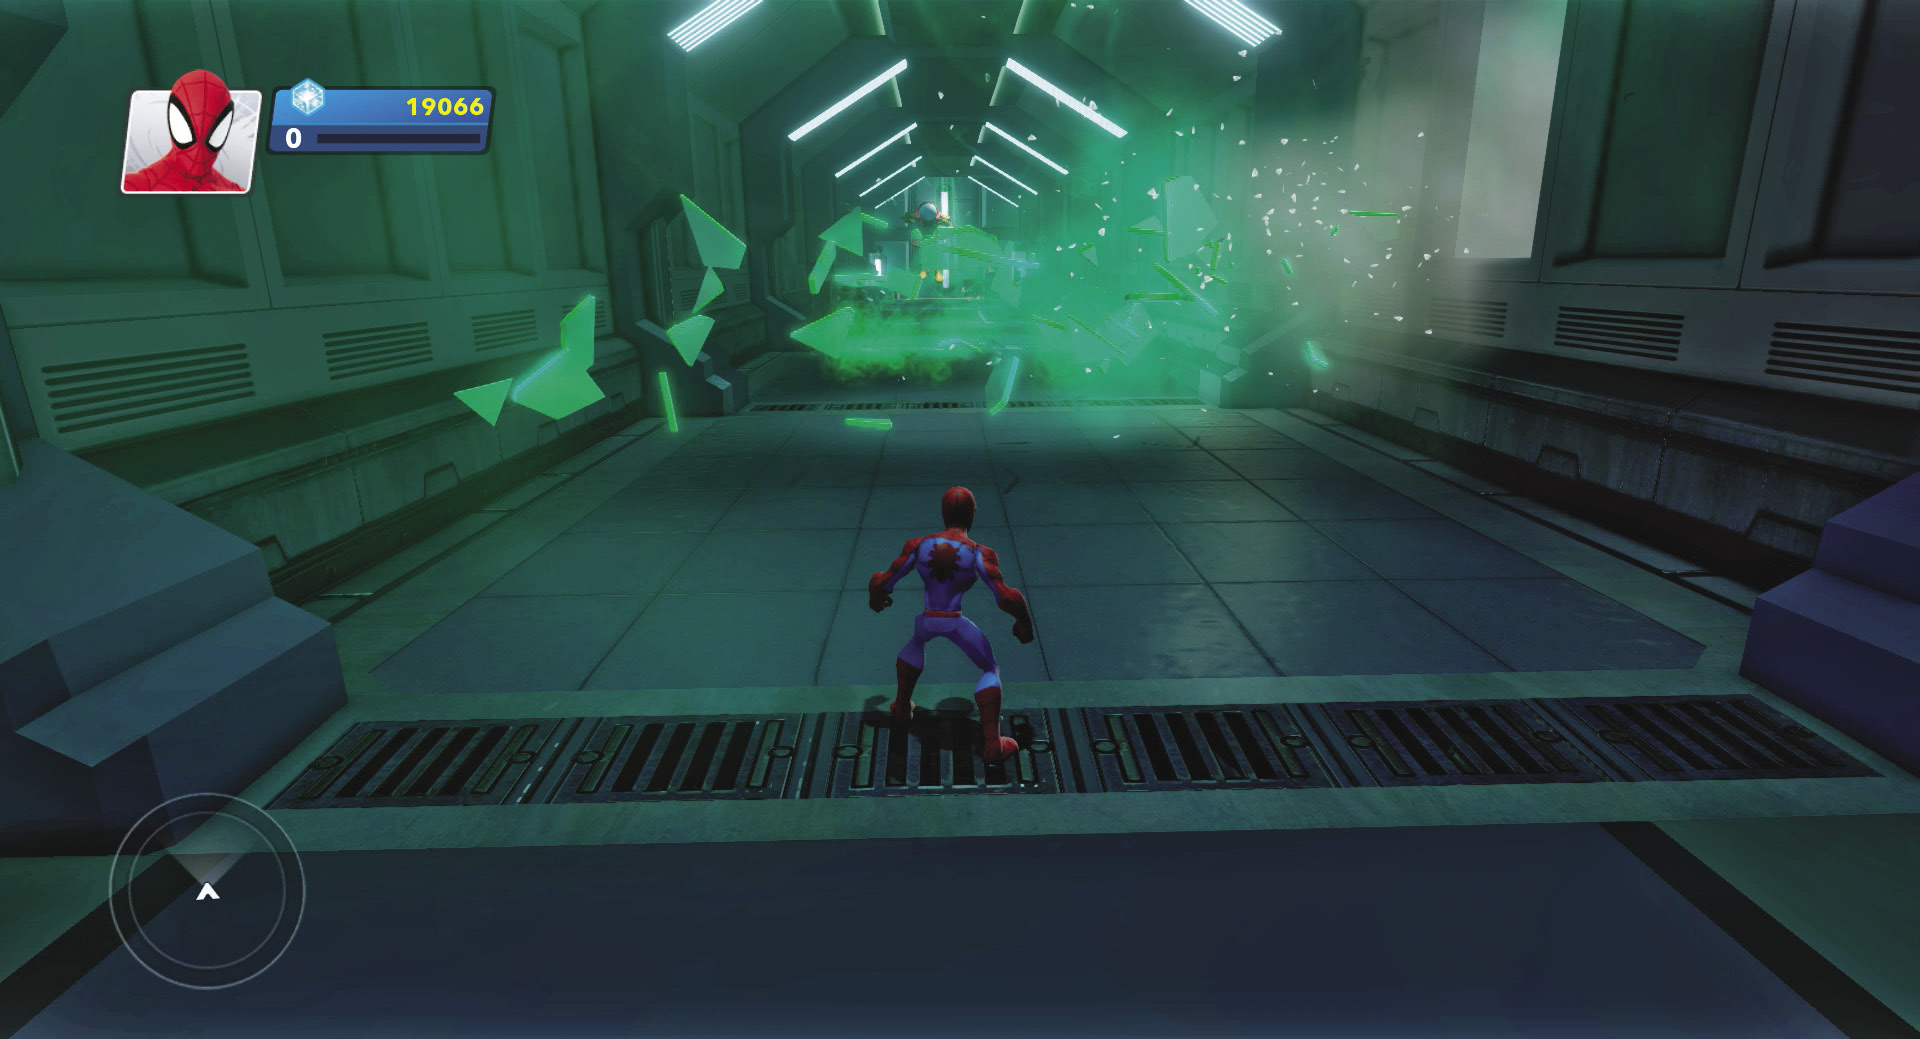
Advance on Mysterio and watch as glass shards shoot out from the broken windows and stab at you, only to retract and disappear. You get the feeling that illusion rules this place, and you can’t trust your senses completely. Jump at the first platform, and double-jump at the second to keep pace with Mysterio.
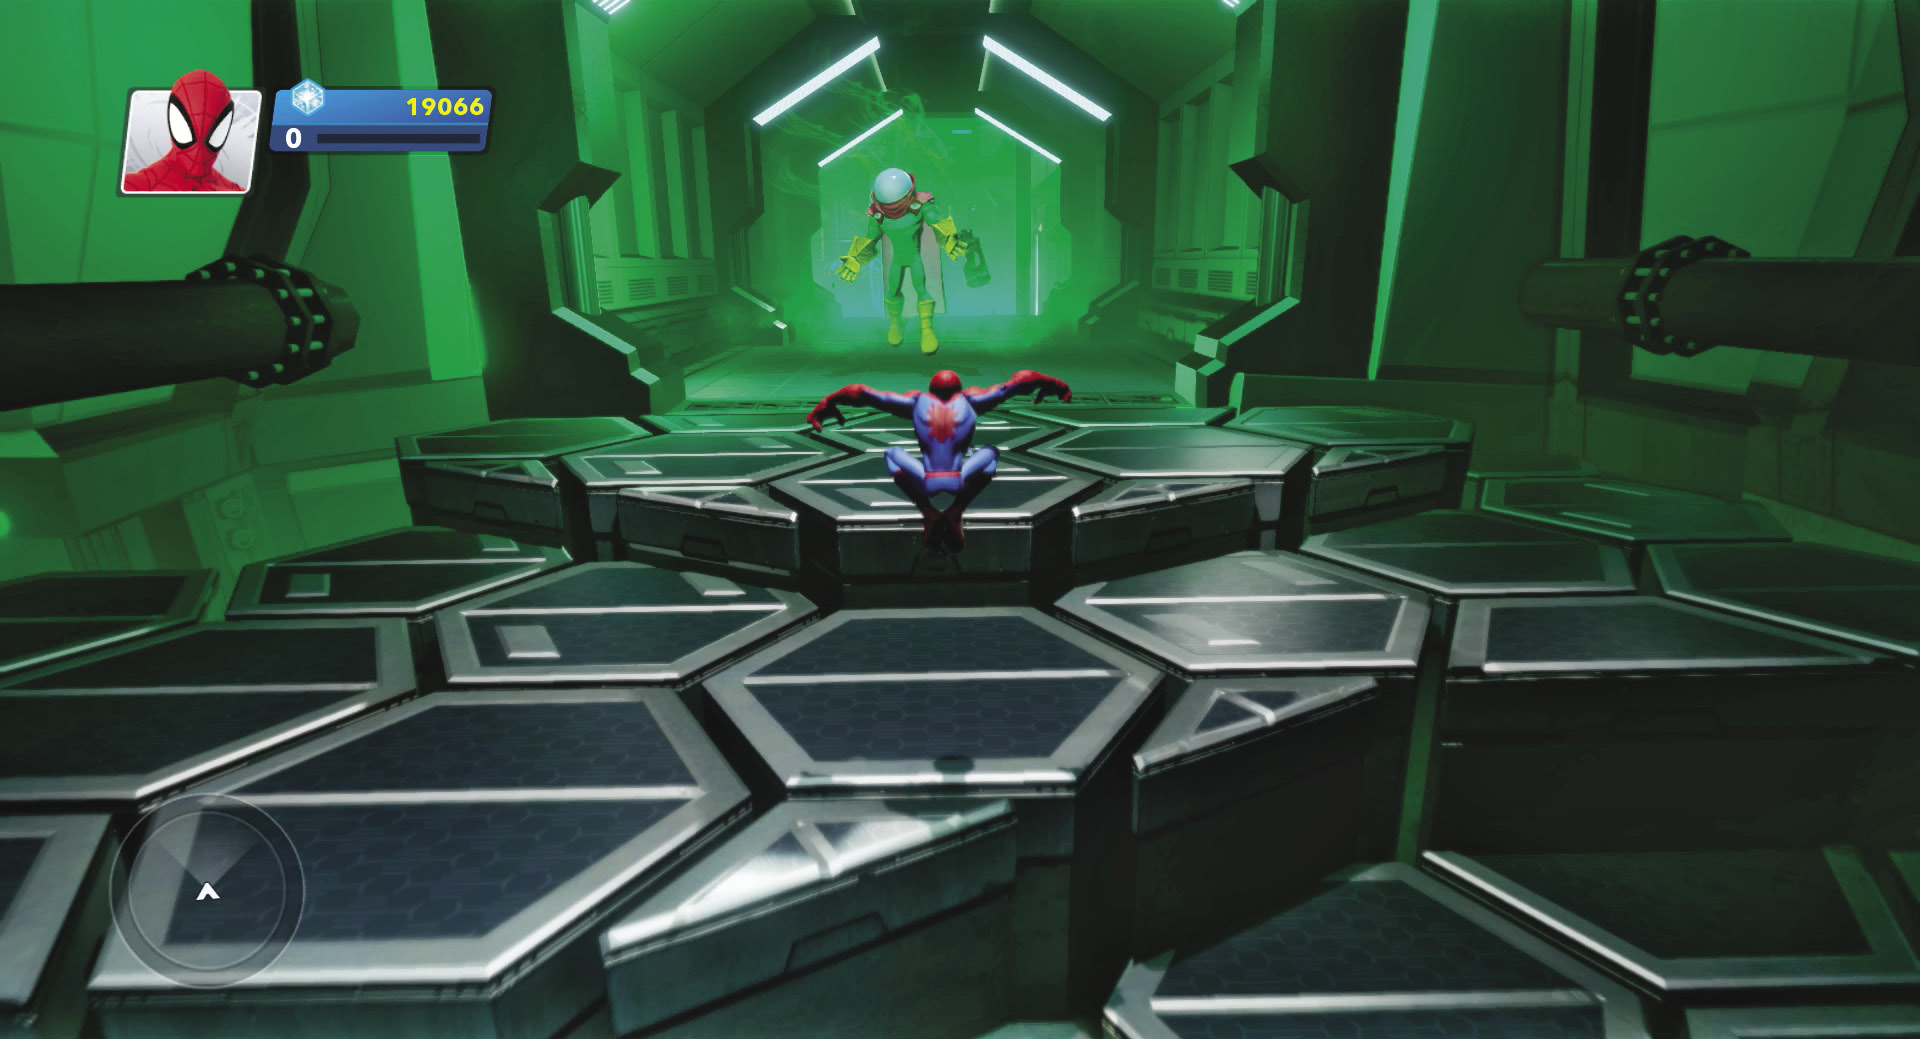
Drop down the shaft and land on a series of ascending hexagon-shaped platforms. Continue jumping up them toward Mysterio. As he retreats, follow him to the next set of hexagon platforms and continue jumping toward him. Don’t stand too long on the square platforms; they disappear from under your feet. When you land on the last platform, it vanishes and drops you way down to the floor below.
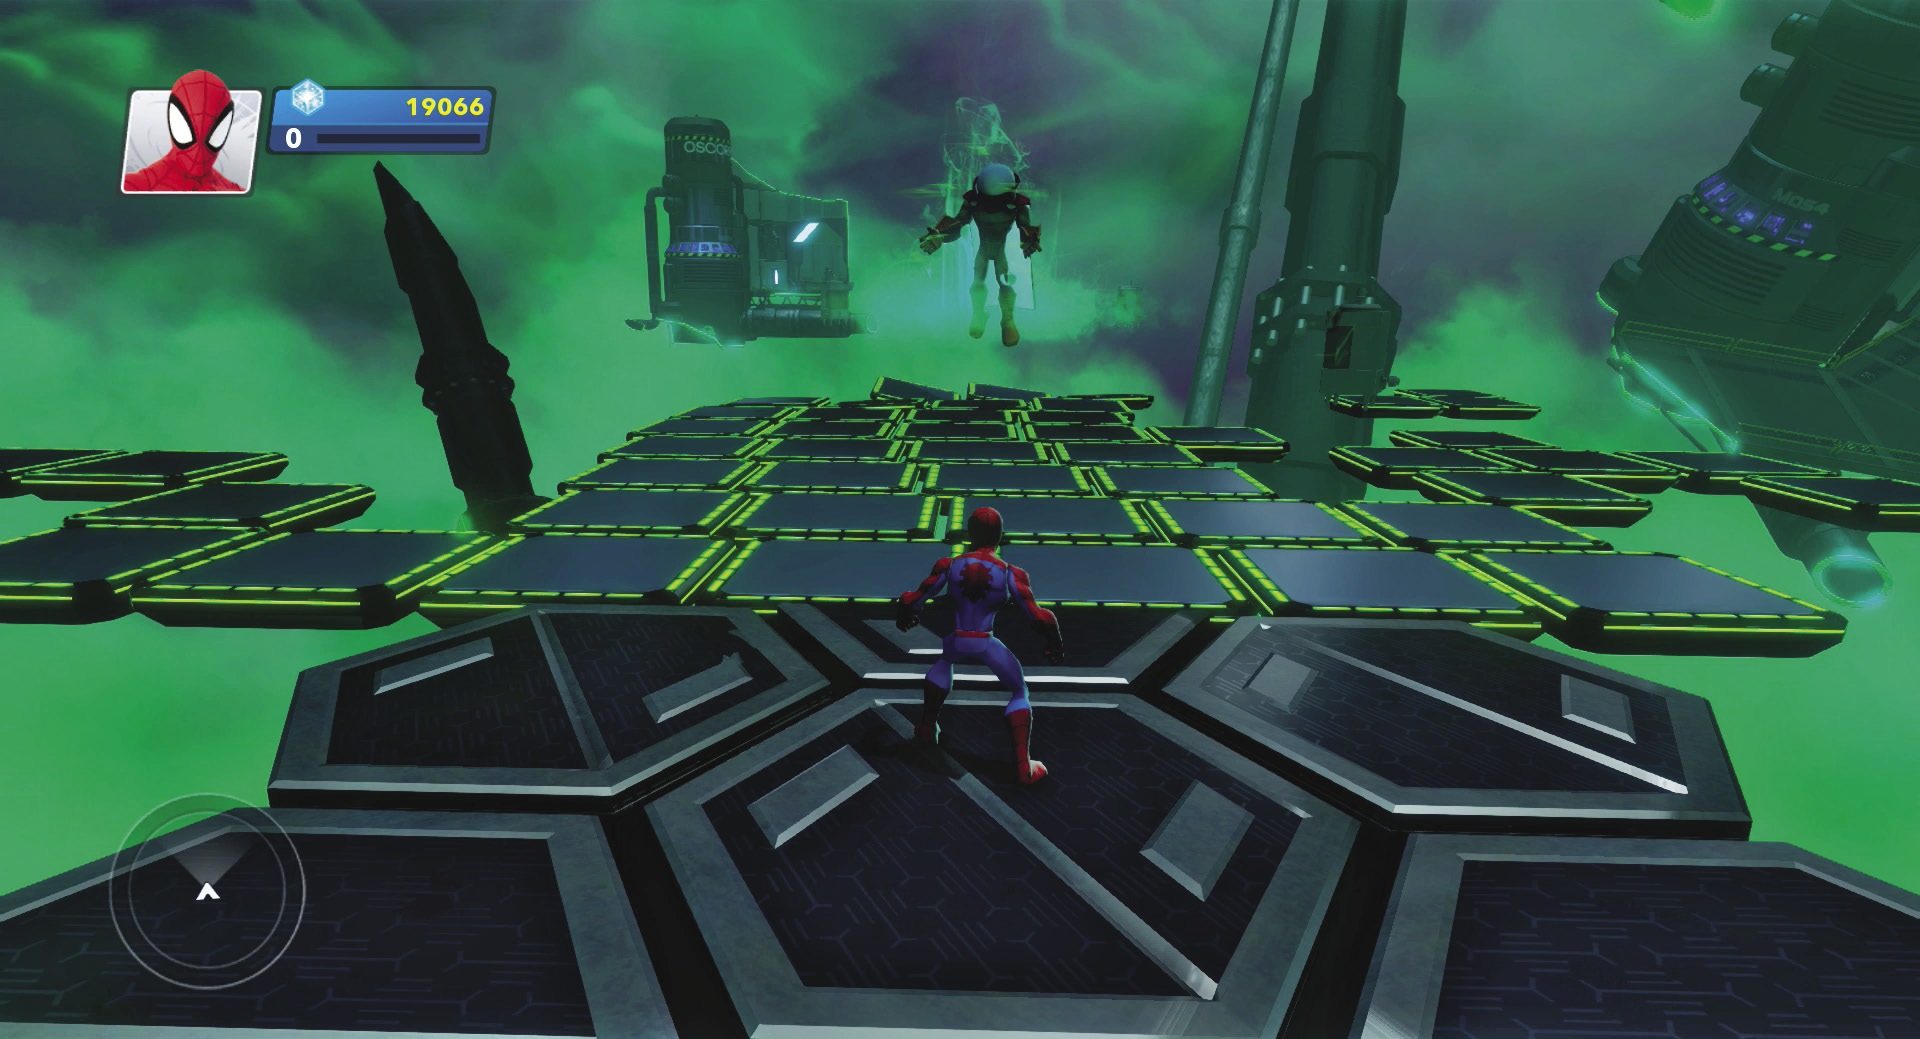
Race toward Mysterio and hop quickly over the green-bordered squares before they vanish. Avoid gaps in the squares and only rest on hexagon platforms. Double-jump over larger gaps until you reach Mysterio and a stable corridor at the far end.
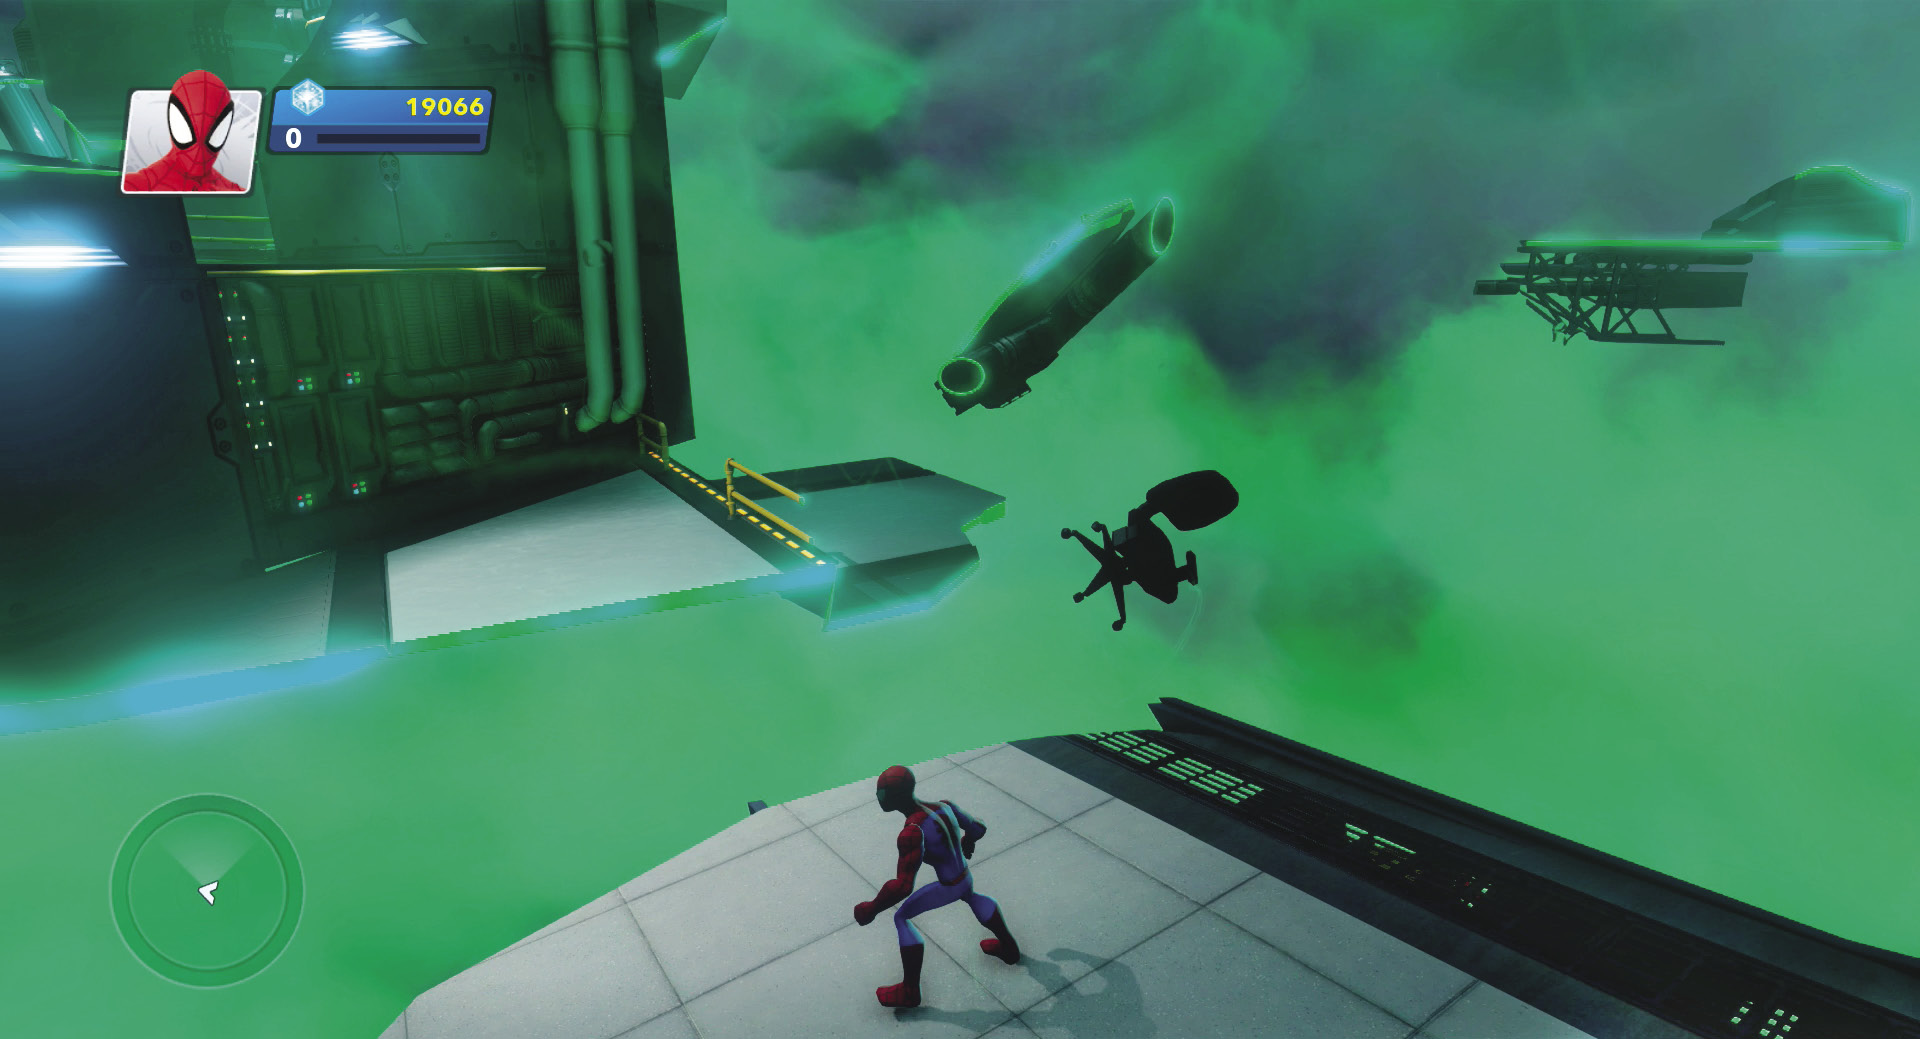
Run through the corridor to another open space with floating corridor chunks. Double-jump across them until you land on the ledge with the yellow rail along its top edge. Jump up and grab the yellow rail, then jump again to end safely on the upper level.
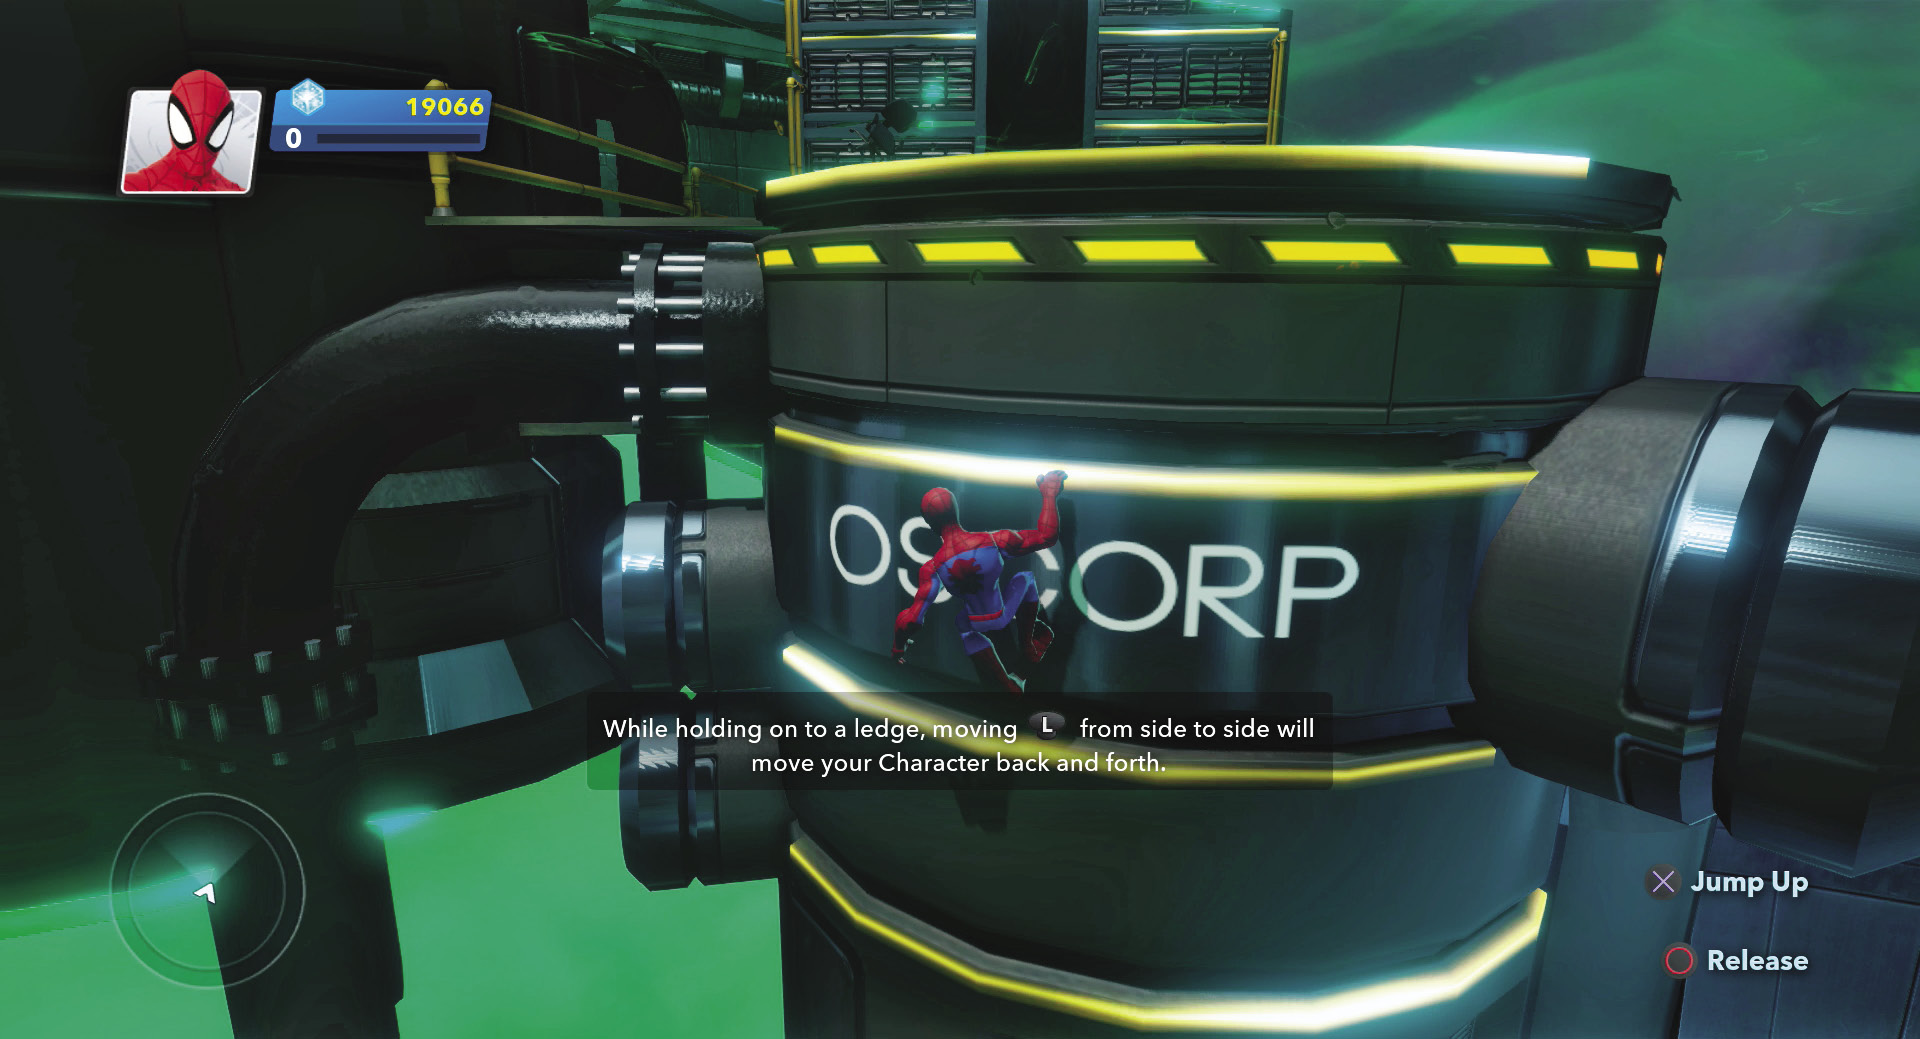
Follow the corridor and then jump up the wall, holding on to the yellow rails. Slide to the left to position yourself better to grab higher rails. Climb over the Oscorp sign and flip yourself up to the next level. Traverse the next set of yellow hand-holds until you gain another level.
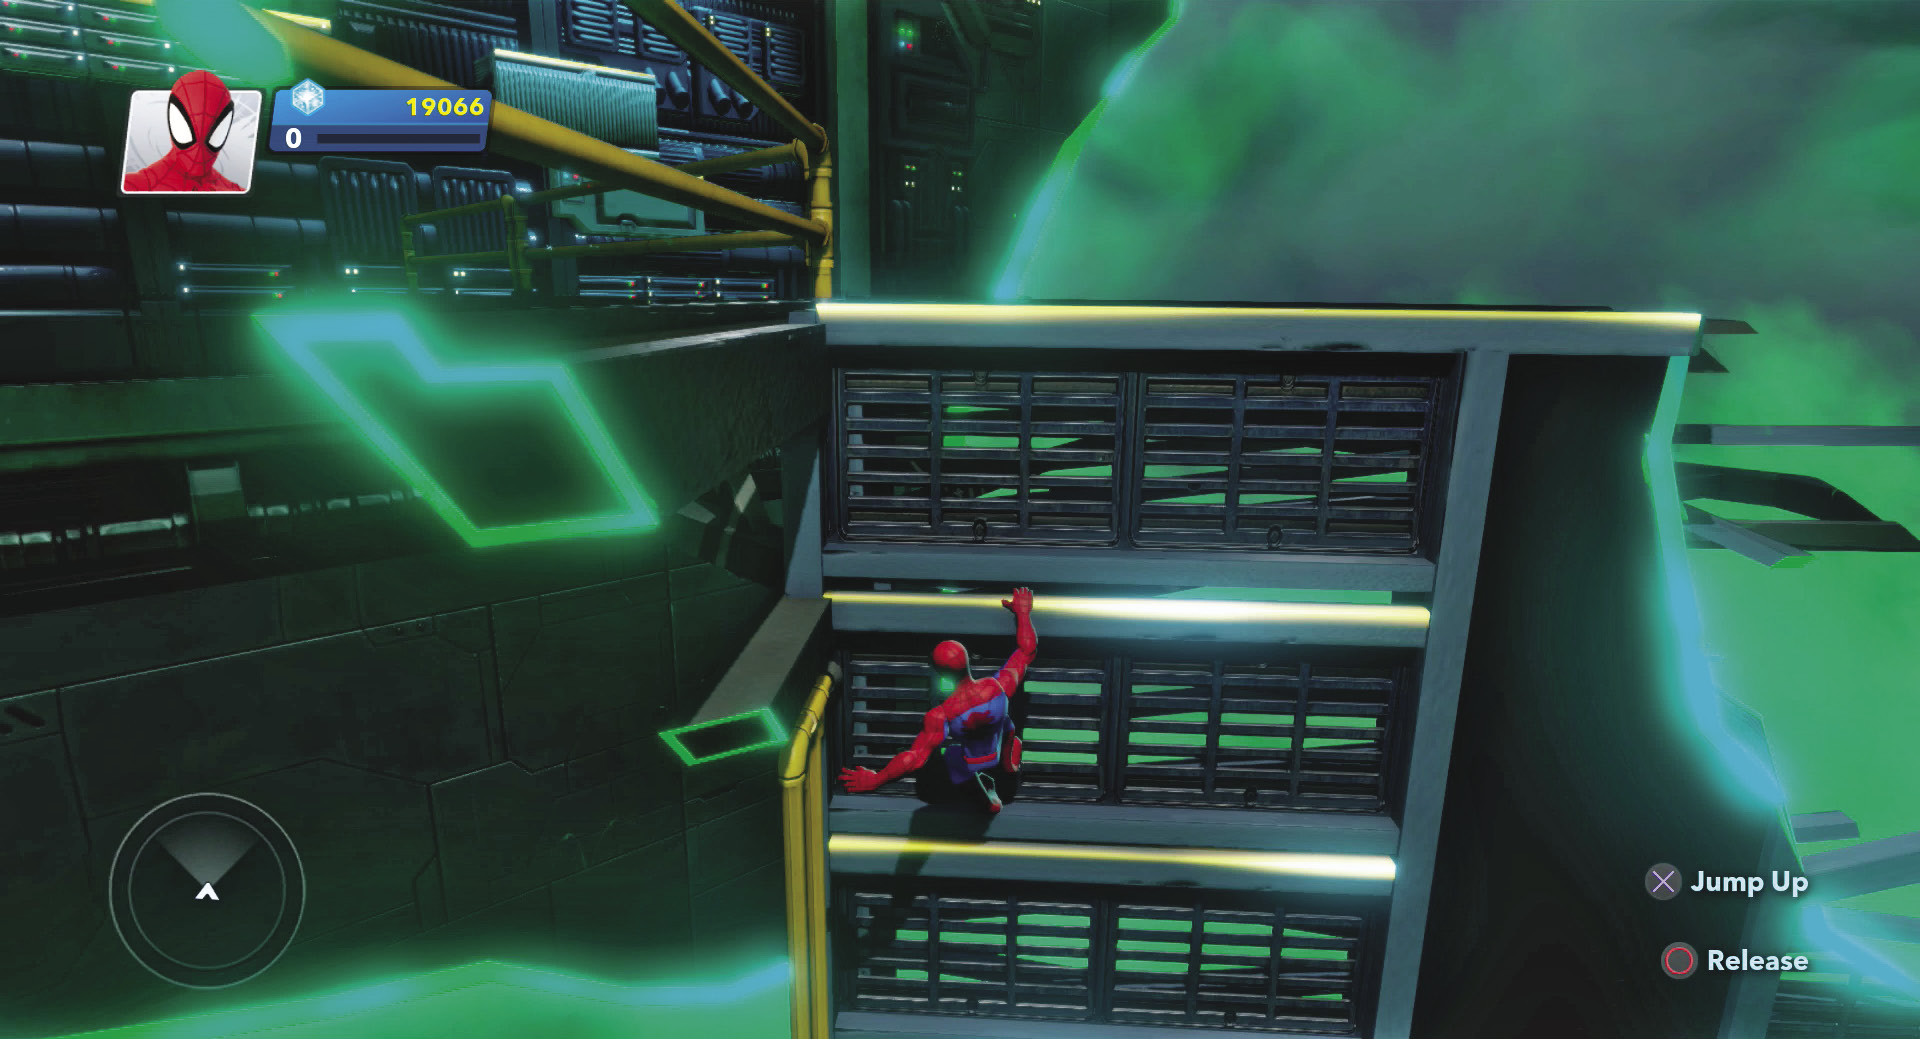
Use the yellow rails to reach the top level. At some points you will have to jump to the left while holding the rail to hold on. Run along the top level and into the green mist.
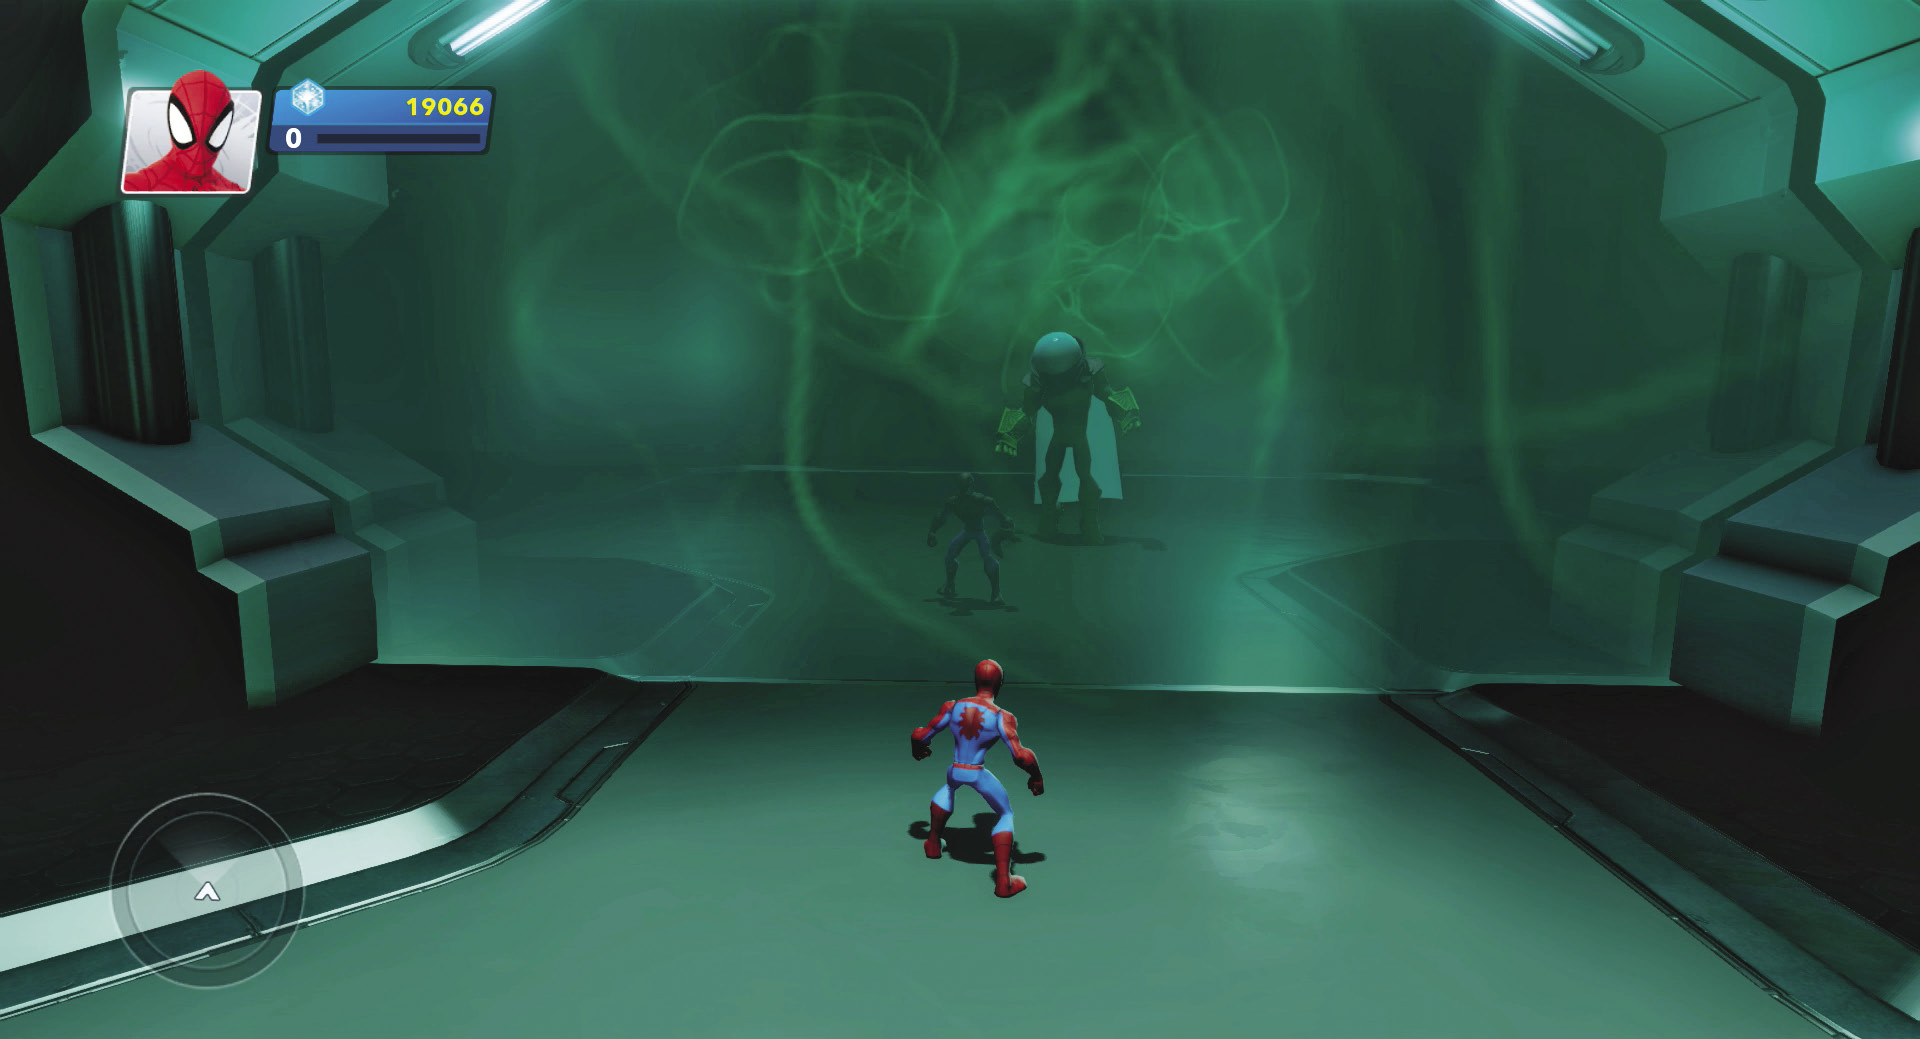
The final room has a large mirror on the wall in front of you. Mysterio appears, and though you can’t see him directly, you can see him in the mirror. Watch your reflection in the mirror and fight Mysterio through your reflection’s moves. A couple of reflection jabs will take care of him.
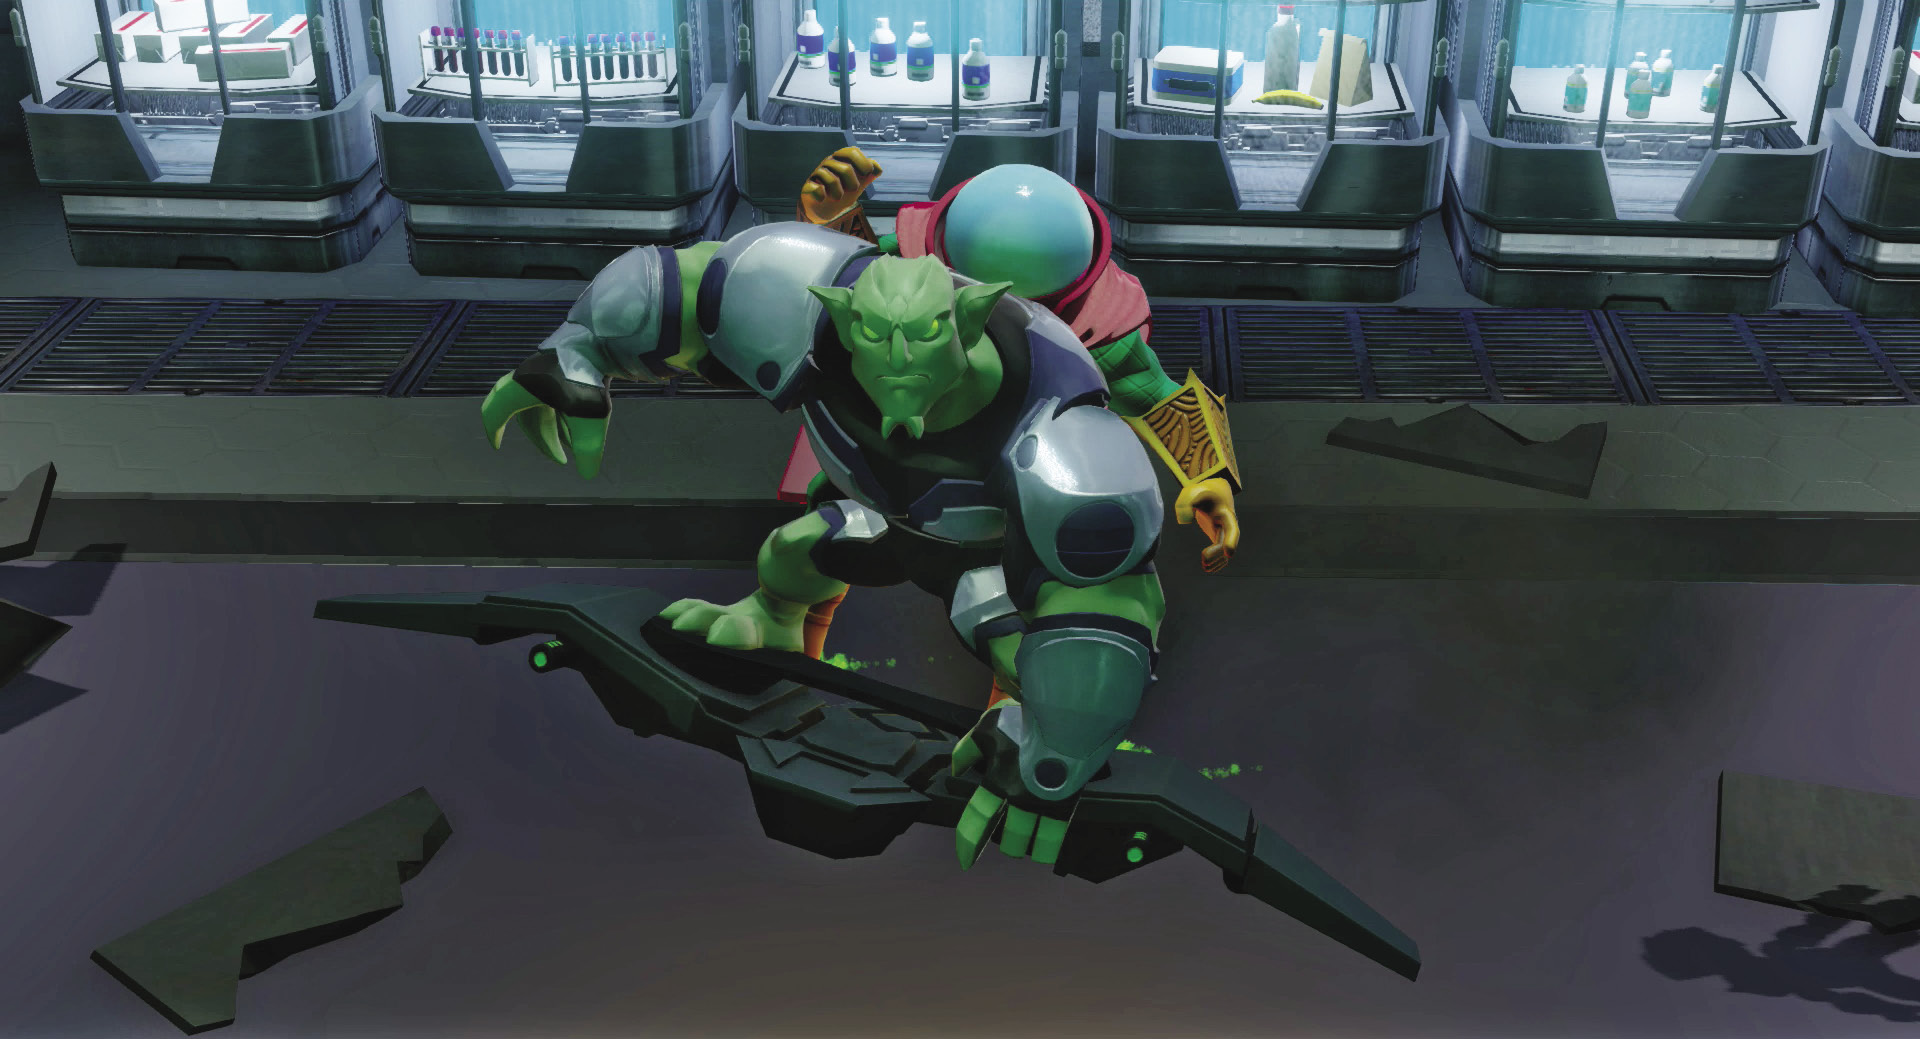
When the mirror shatters, Mysterio’s illusion evaporates. Green Goblin swoops in to retrieve his ally and they jet off on the Goblin’s glider. White Tiger thanks you for completing the first mission, but asks you to stay in the lab to rescue some trapped workers.
Trapped Like Sardines
Green Goblin’s Lab (Second Trip)

Recommended Hero: Nick Fury
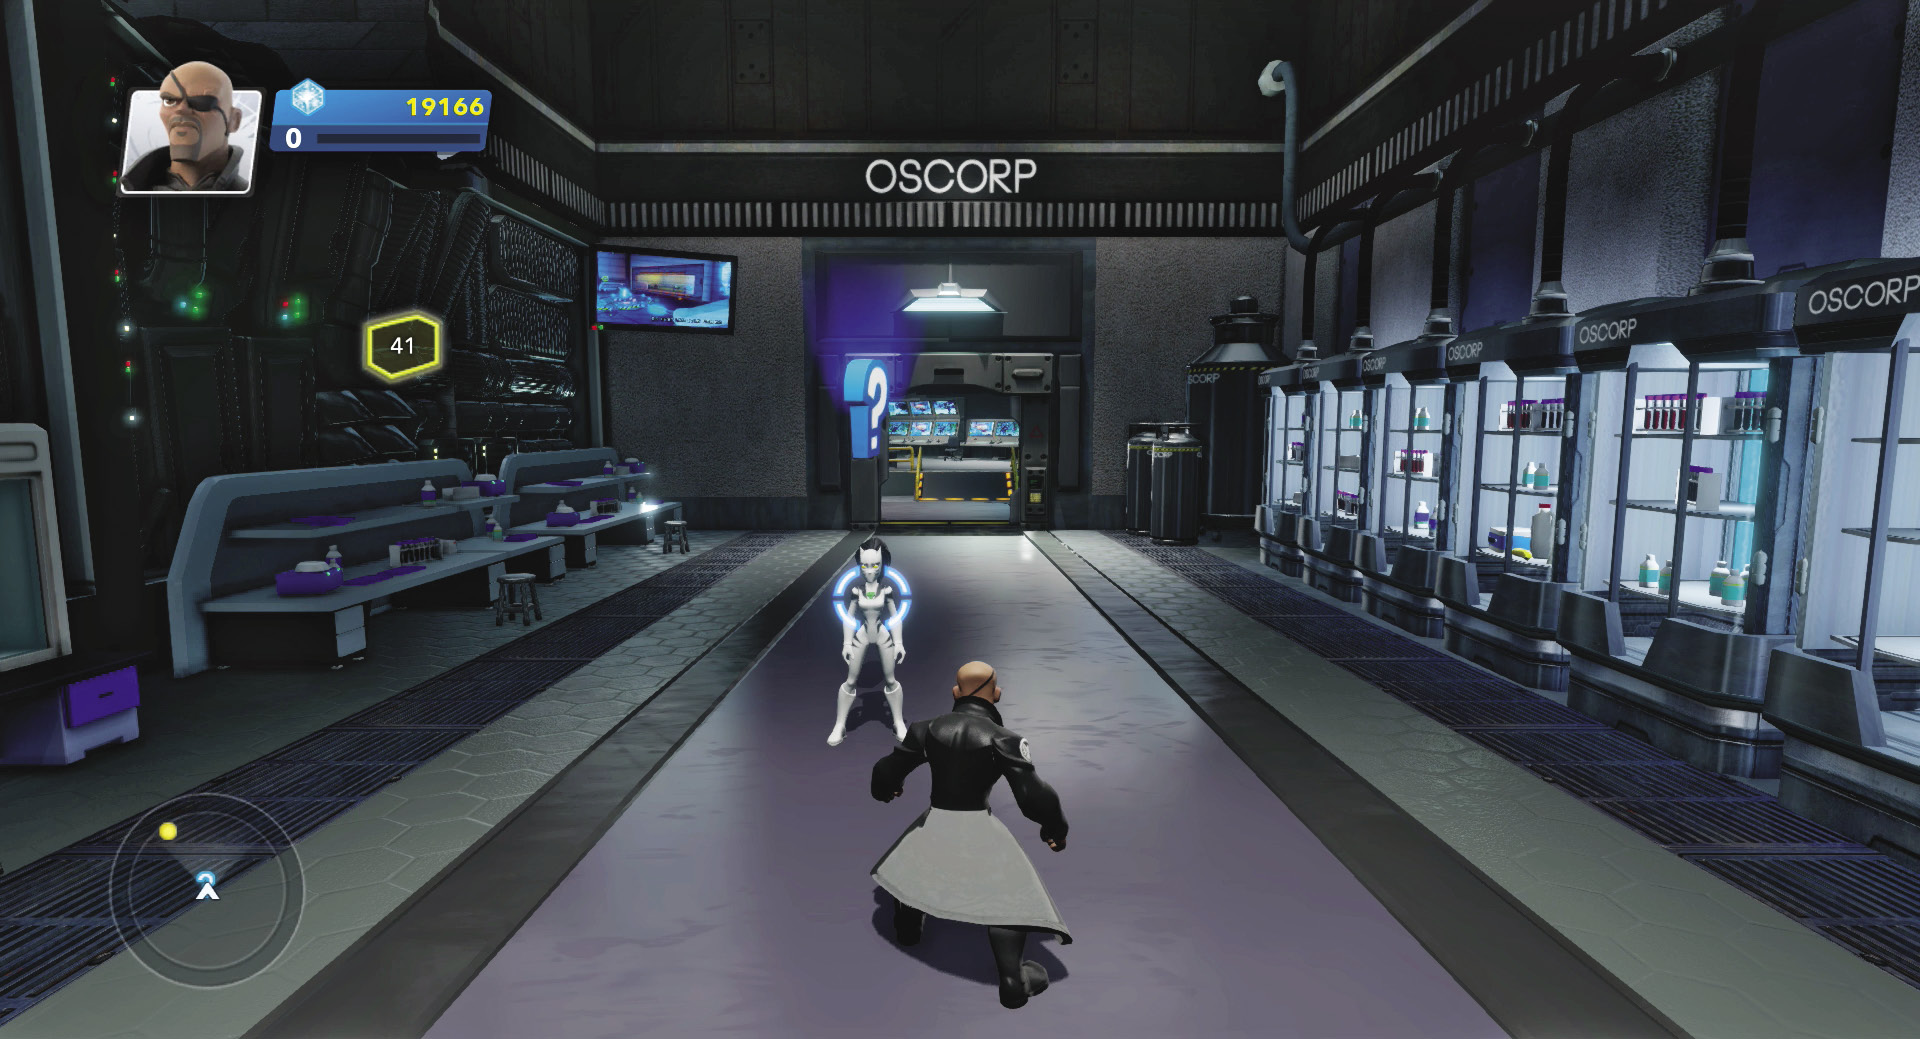
Your second mission requires a little stealth and a big gun: enter Nick Fury. White Tiger sends you back into the lab to rescue trapped scientists. You’ll have to deal with security and Symbiotes to survive.
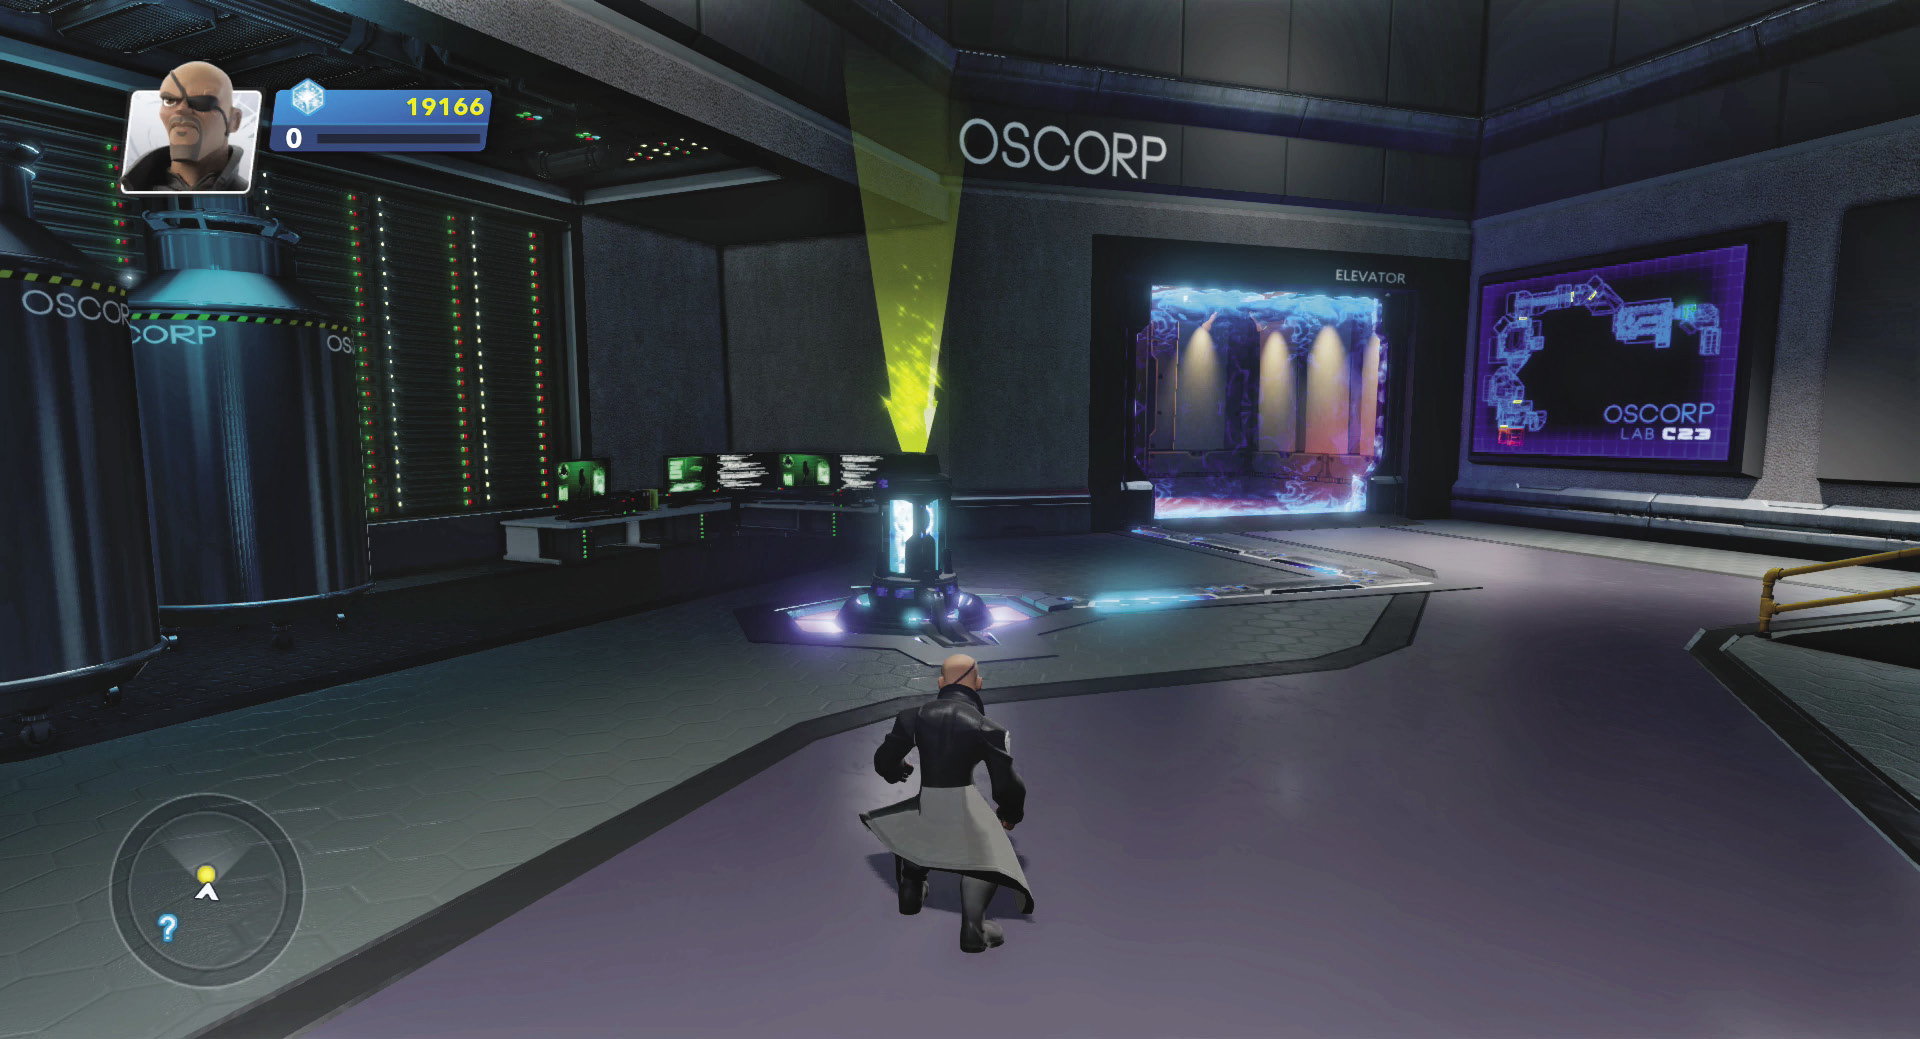
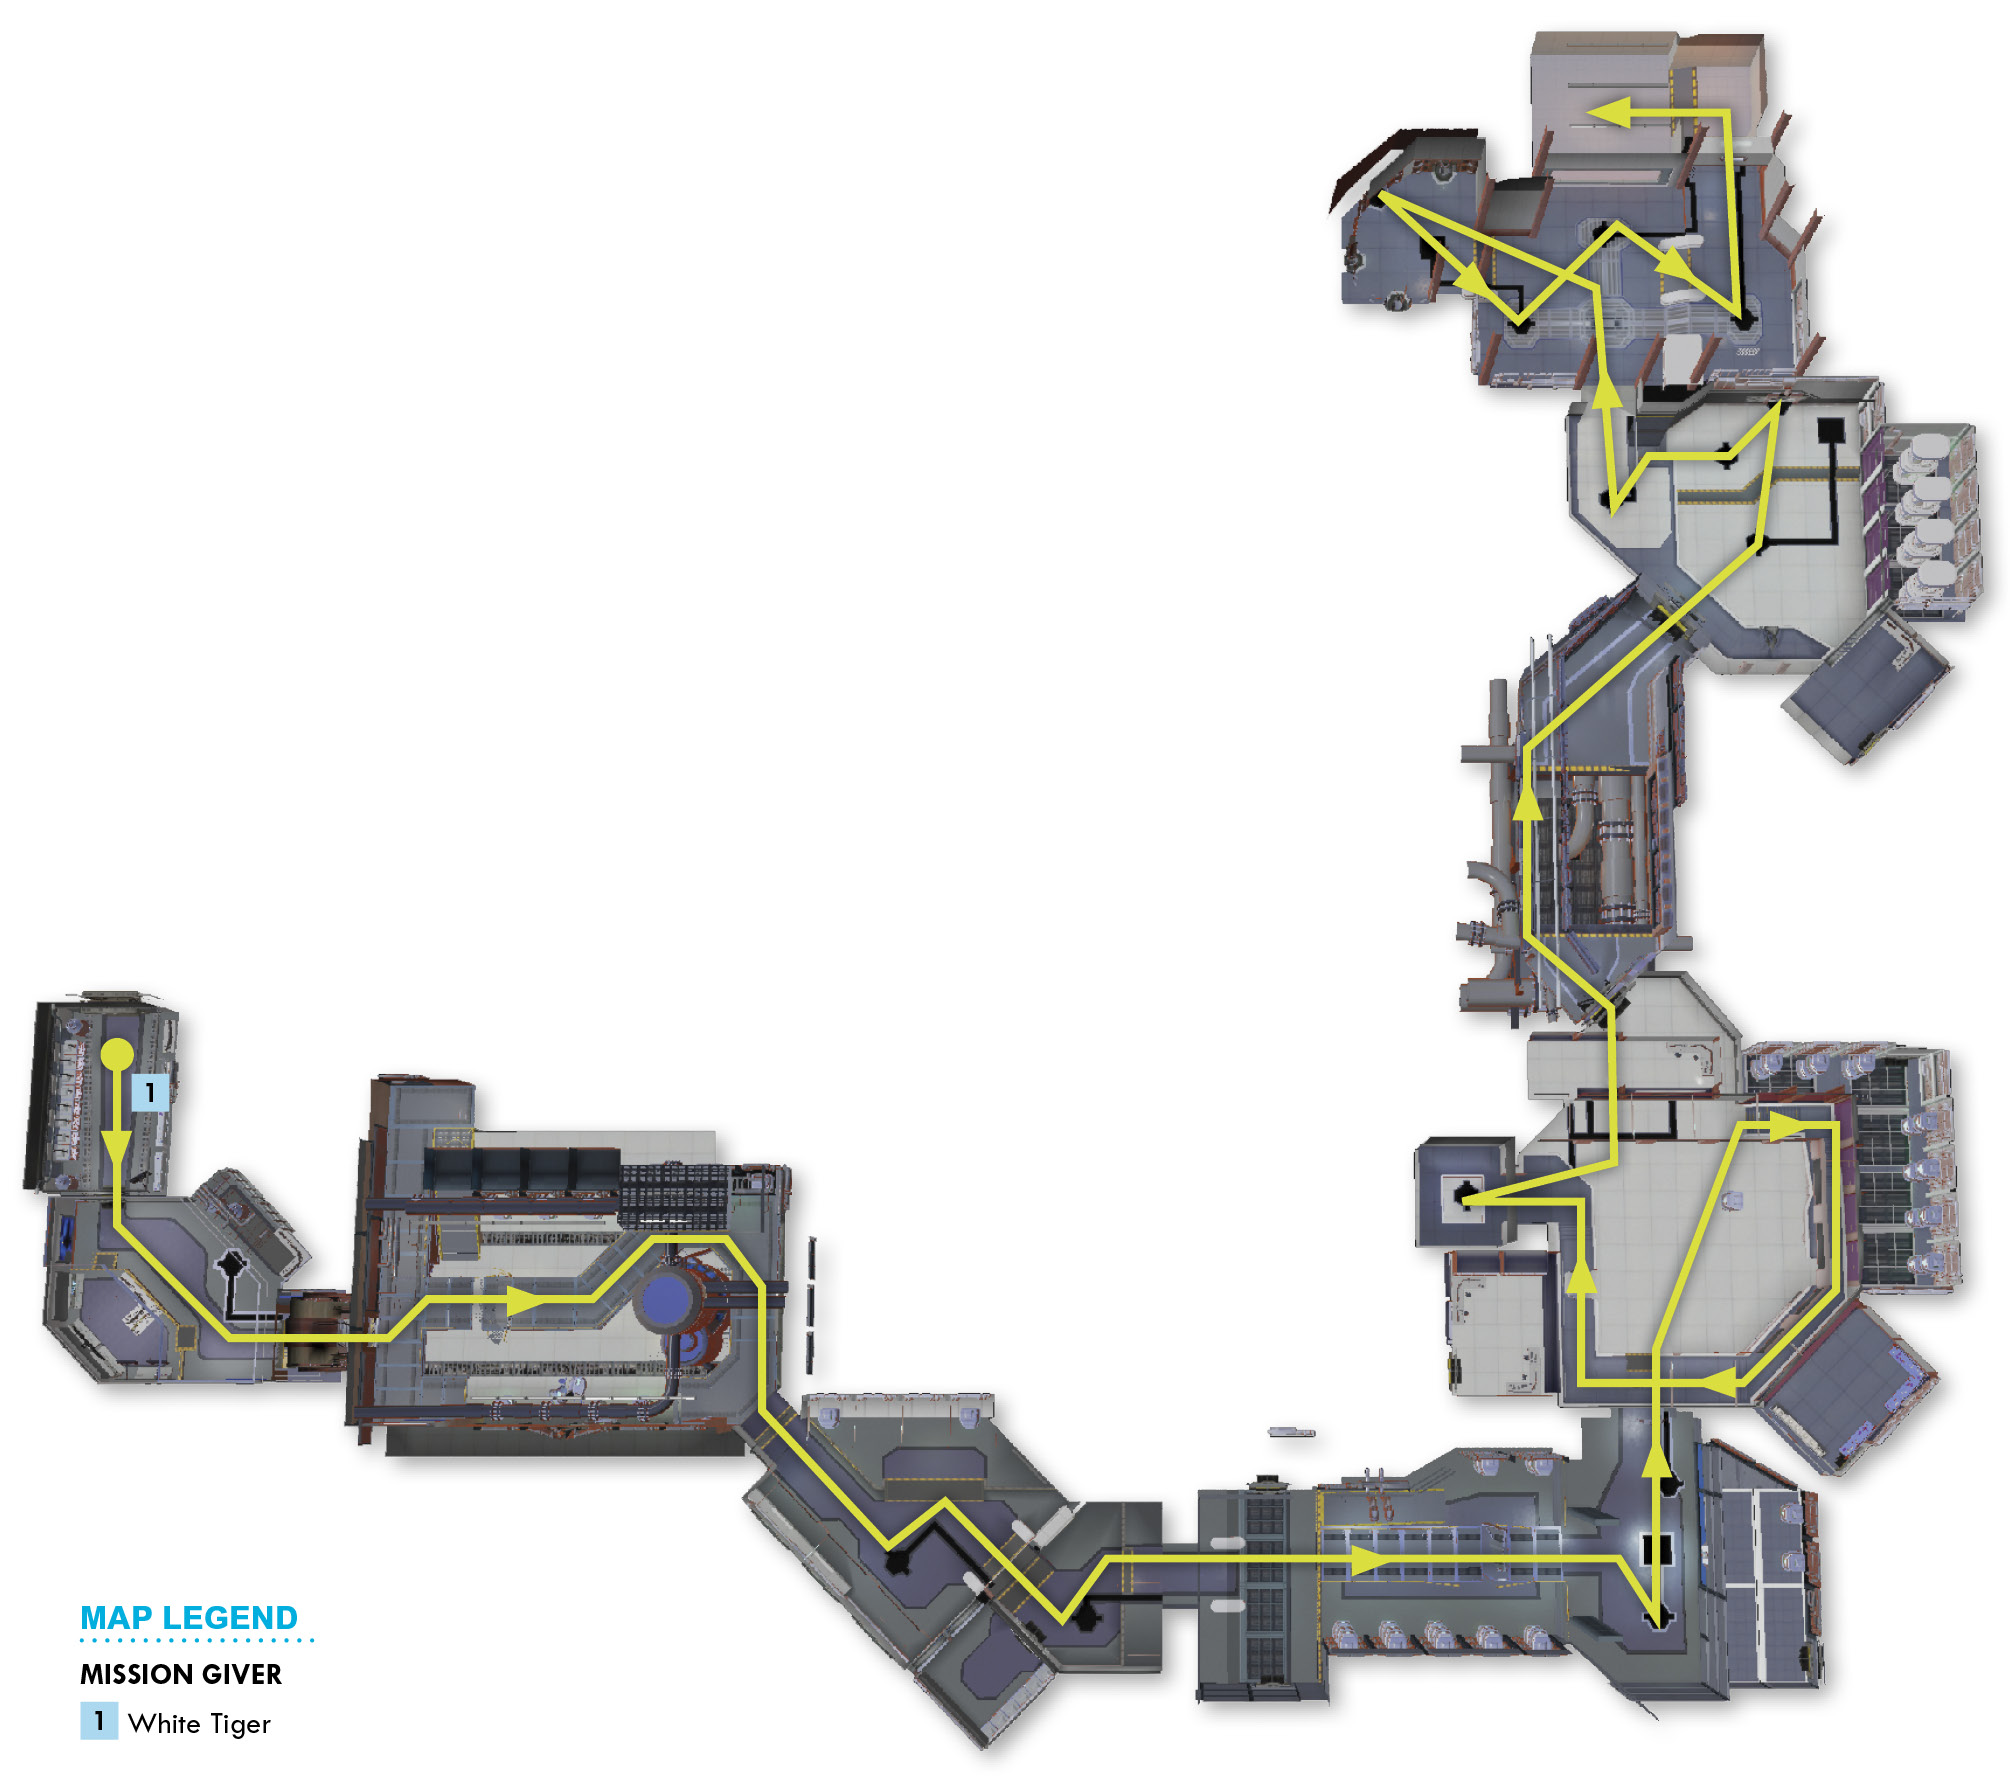
As you enter the first room, note that on the right there is a map of the lab complex hanging on the wall. It actually does show you the layout, including where the security defenses are up. On the left you’ll find your first objective: a power cell. Knock the cell off its power conduit to drop the first security screen.
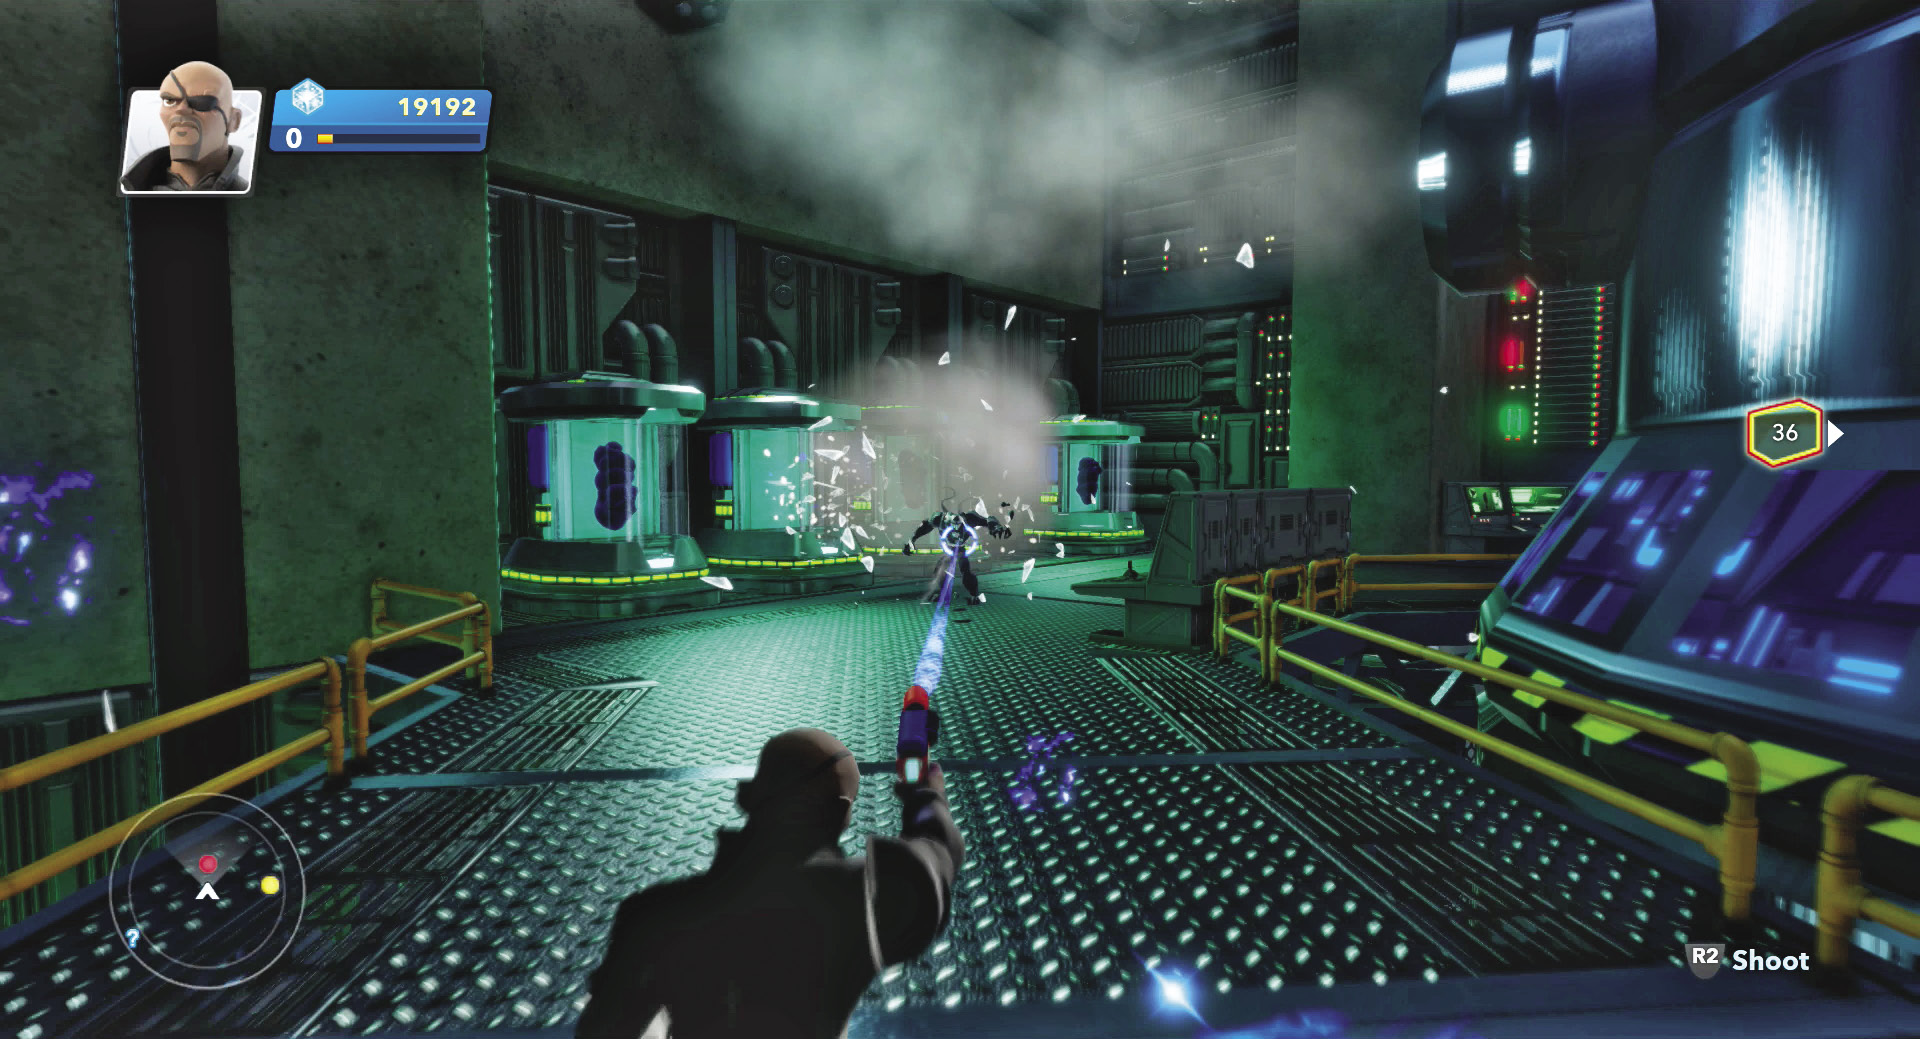
Jump up the shaft ahead by grabbing each yellow rail. At the top, flip up into the next room and prepare to battle your first Symbiote. The Venom clone breaks out of its canister and attacks you as you traverse the upper walkway. Break out Fury’s pistol to blast it to pieces, or practice some hand-to-hand combos on its gooey flesh.
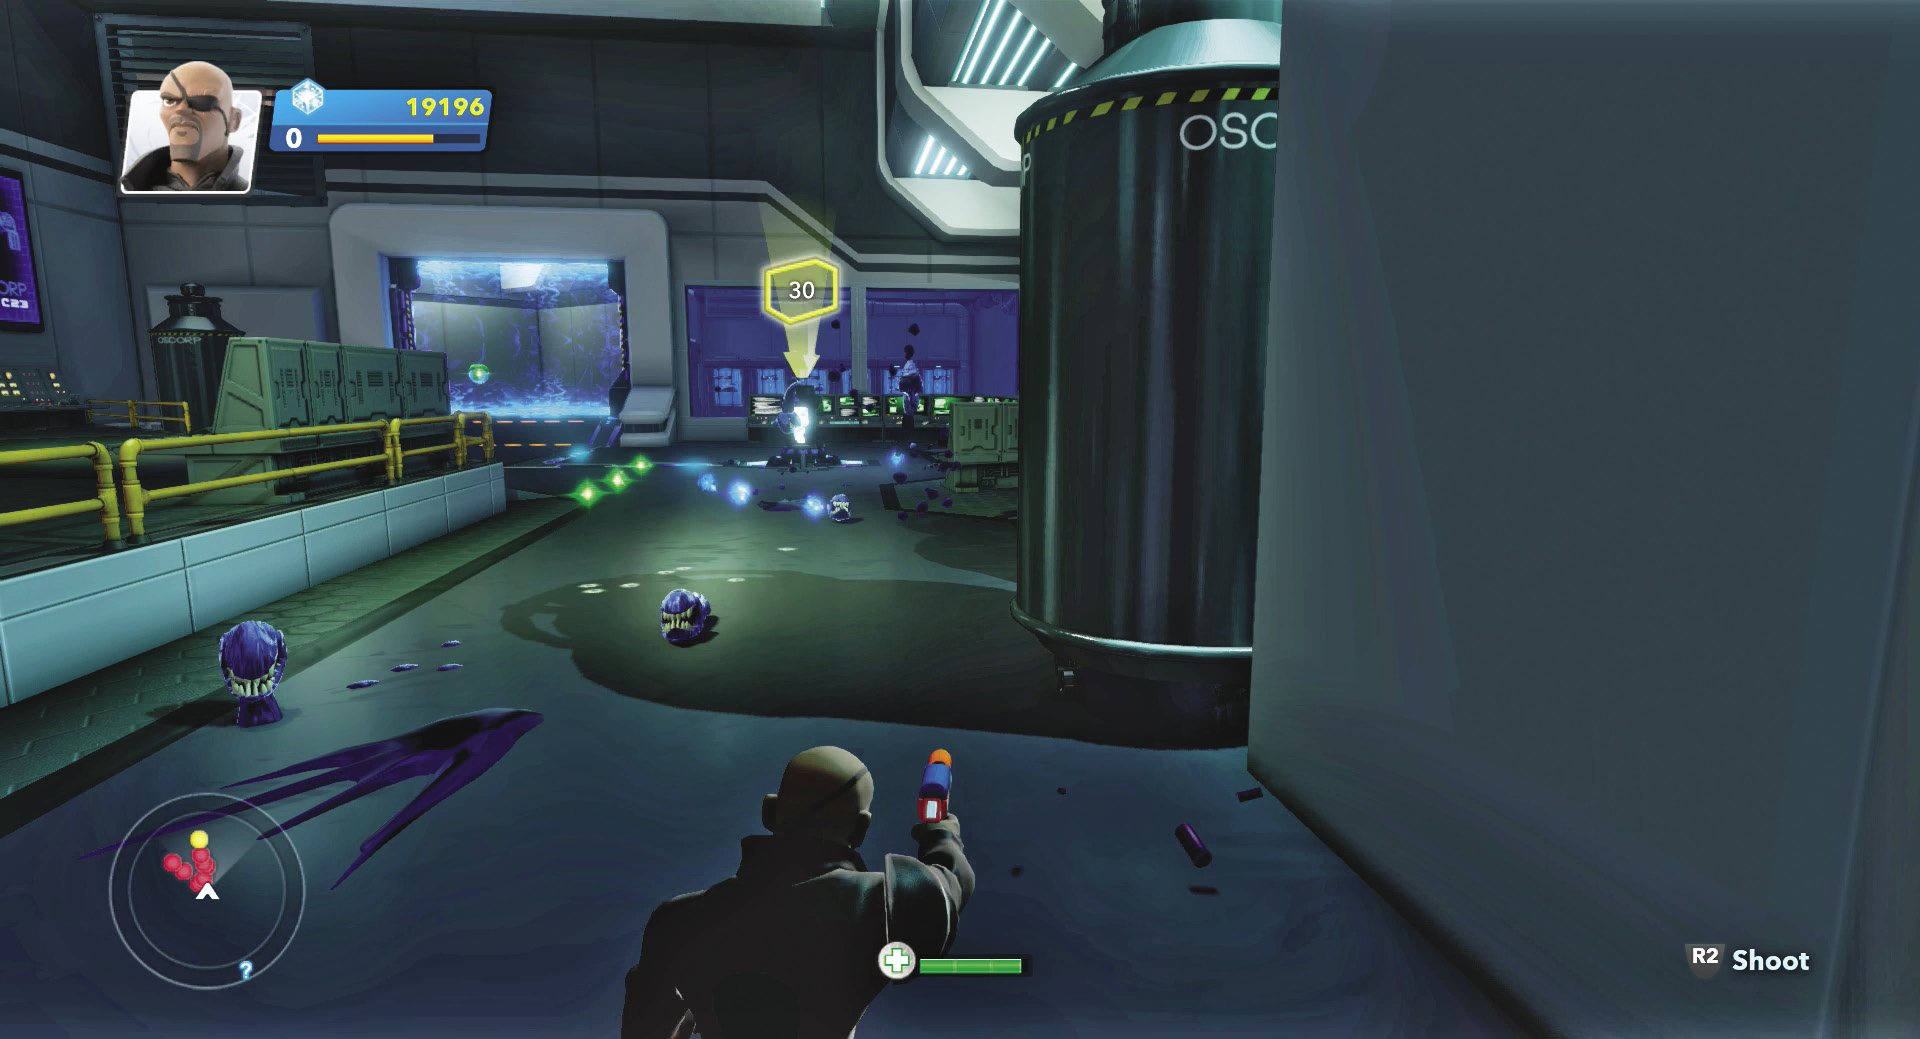
Swarming Symbiotes attack you in the next room. They slither across the floor at you and nip at your legs. Take a couple of shots at them before they cover the distance, then whip through some spin kicks to turn them into puddles. Engage the other two Symbiotes in the second half of the room, and once they’ve been dealt with, knock the power cell off its conduit spot to lower the second security screen.
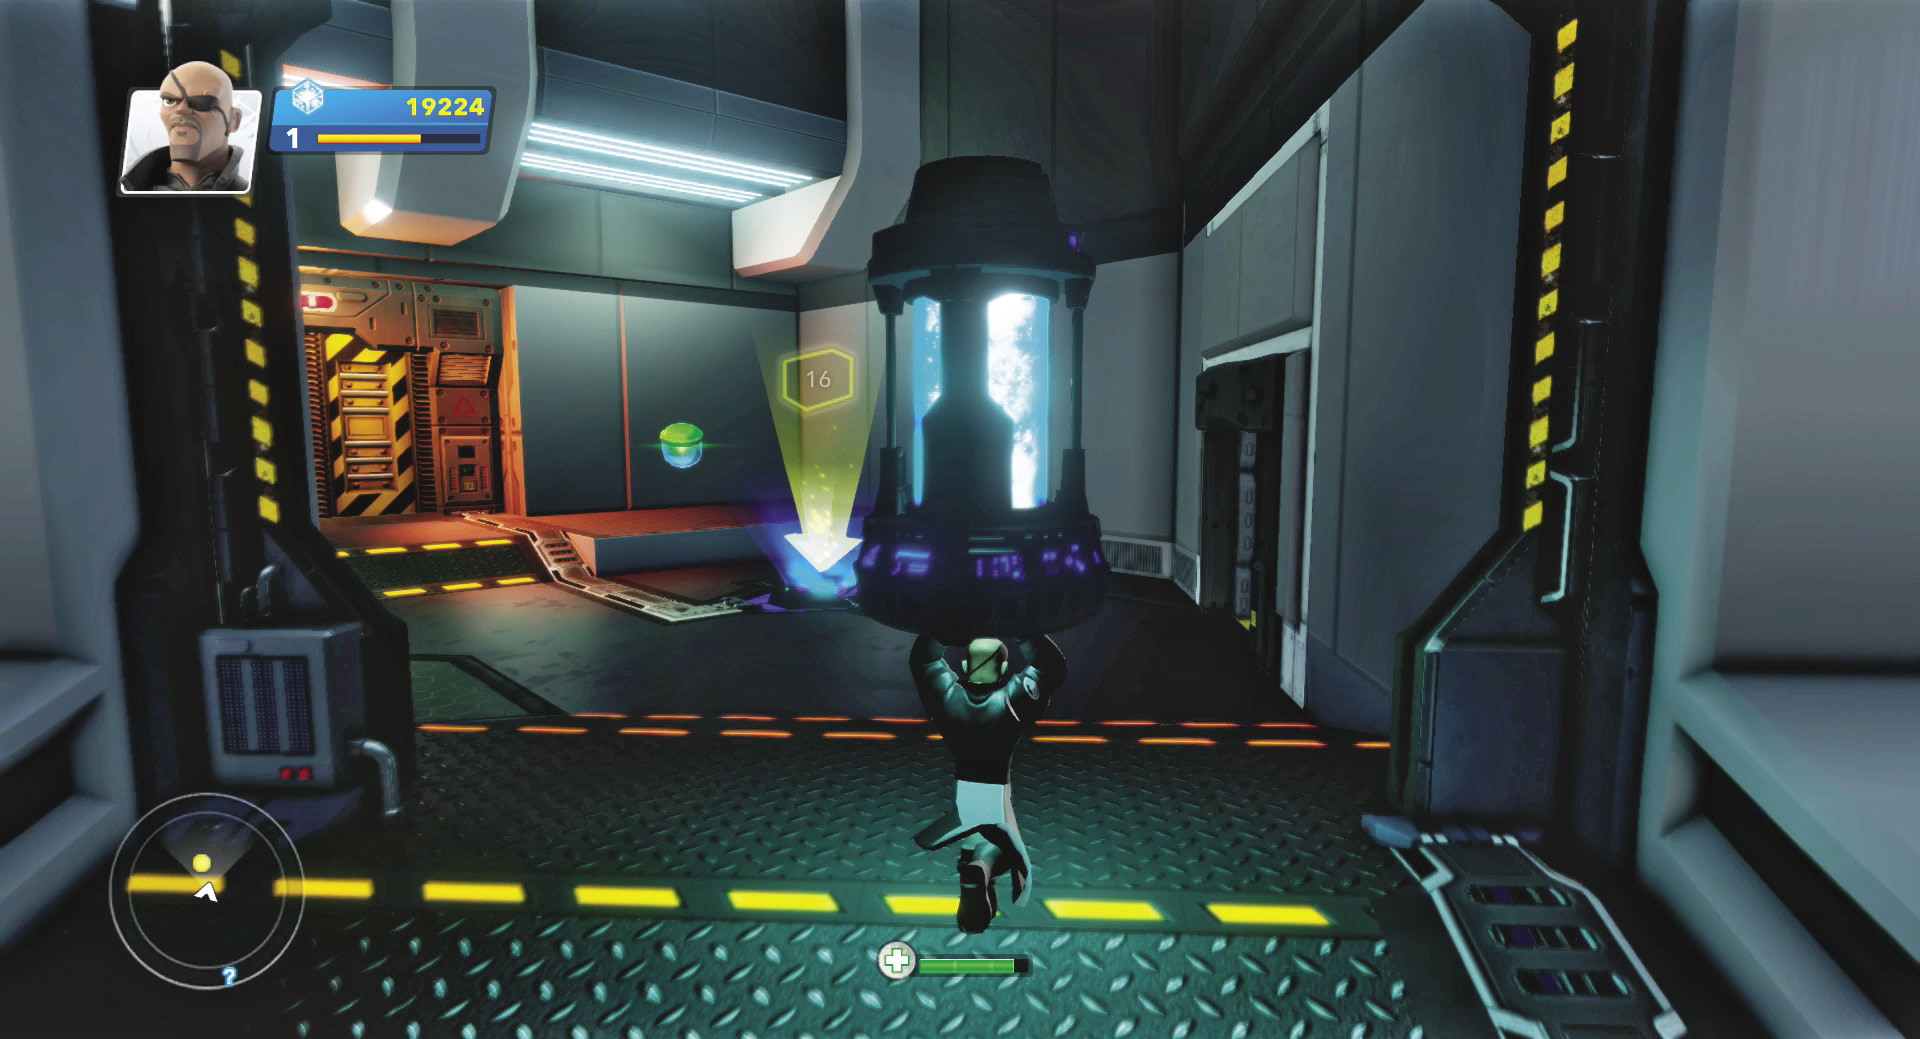
Pick up the power cell and carry it into the next room. Set the power cell on the empty conduit spot to power it up and open the blast door ahead.
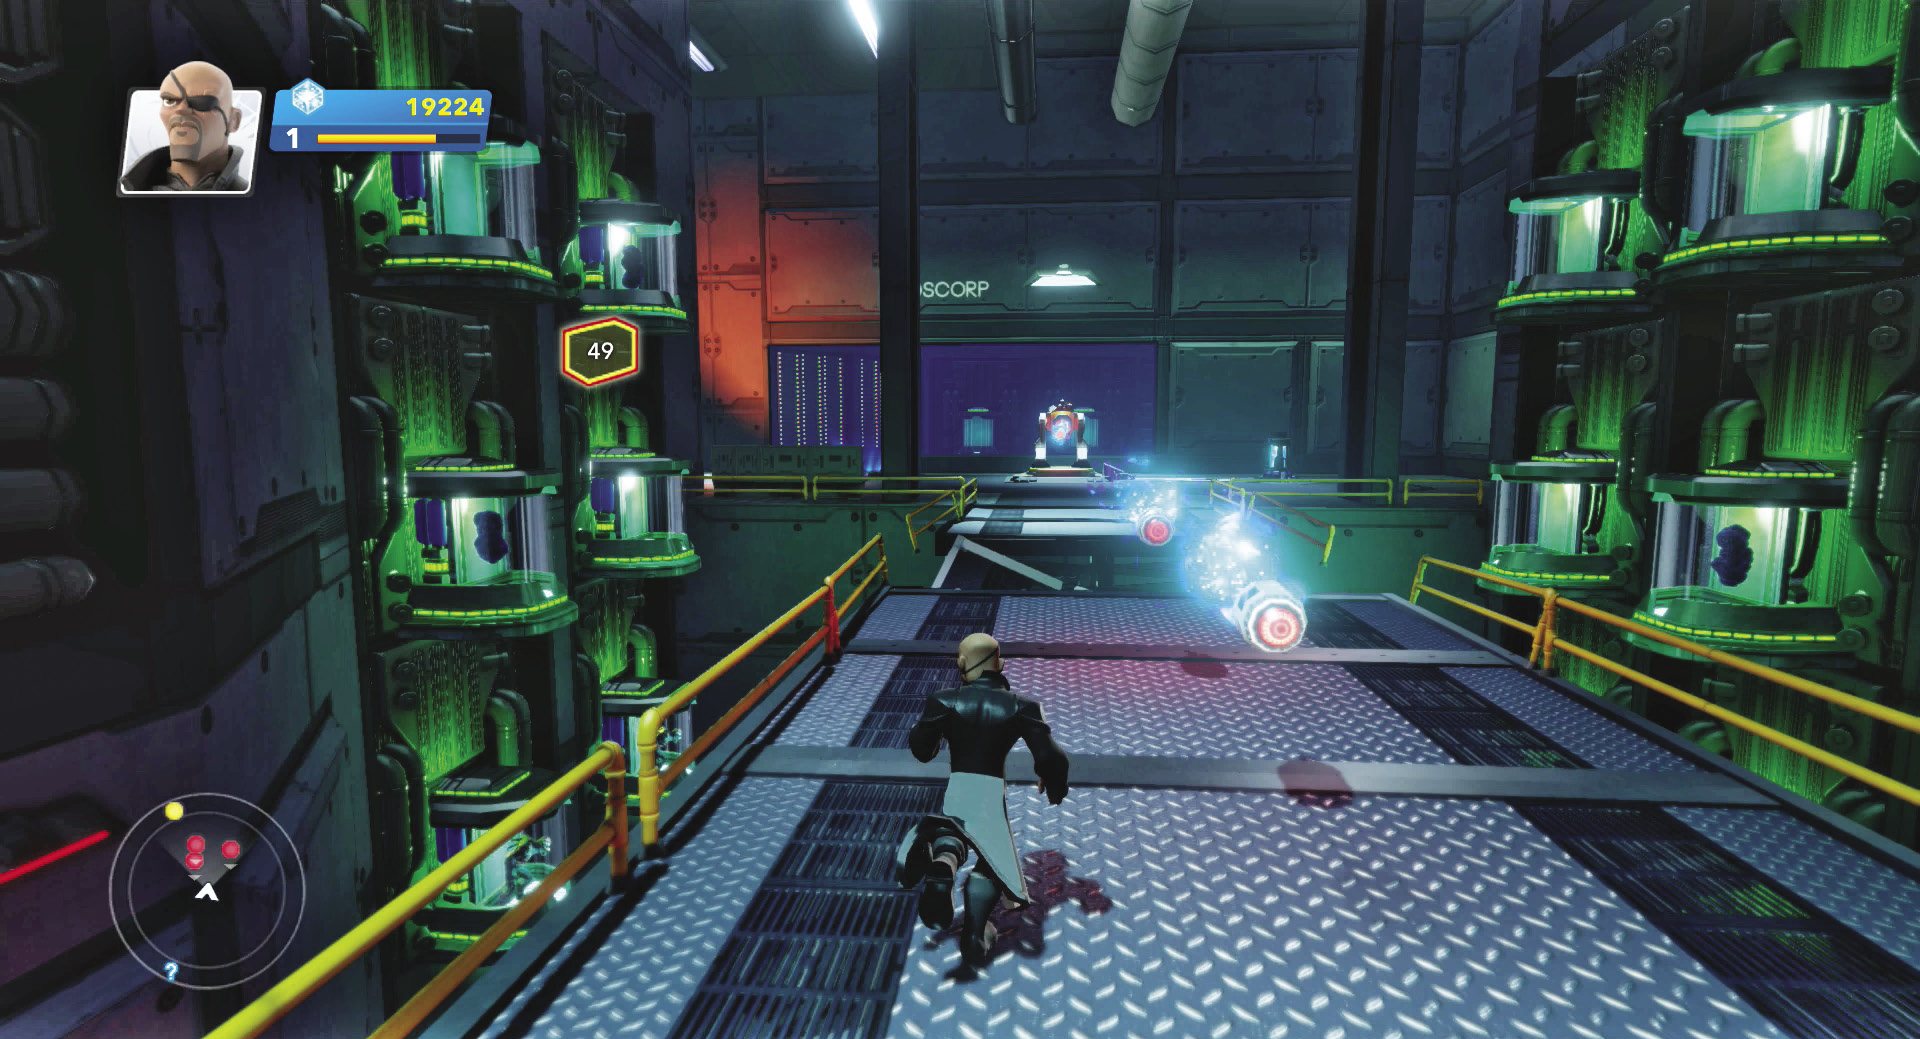
A laser cannon defends the next area, and it will open fire as soon as you advance toward it. Here’s a perfect opportunity to use Fury’s Life Model Decoy if you’ve played Fury from the beginning and have enough skill points. As the cannon locks on the decoy, you can run invisibly across the room and knock the laser cannon’s power cell off its conduit to disable the weapon. Otherwise, weave right and left as you dodge missiles and reach the far side.
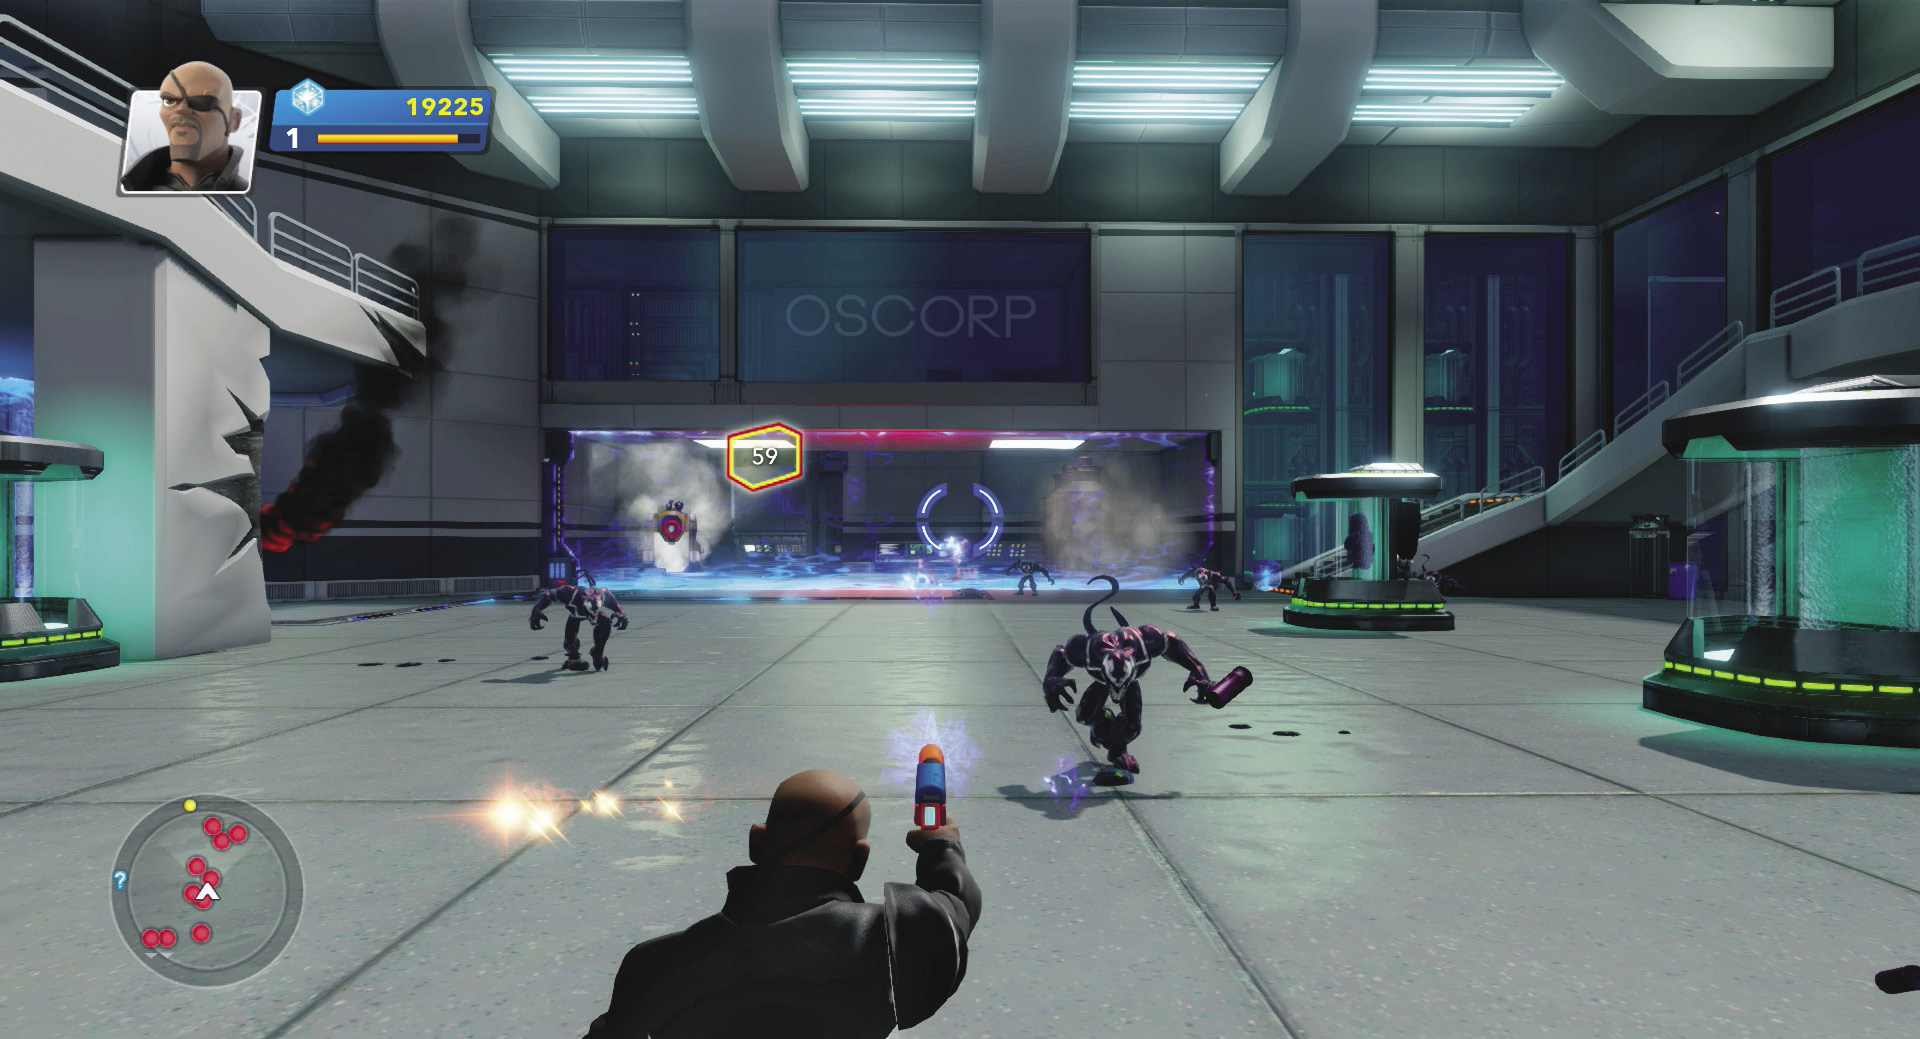
Pick up the laser cannon power cell and carry it over to the empty conduit by the door. Power the door up and it opens. Enter the next large room and prepare for more combat. Use your pistol to wound Symbiotes from across the room; when they get close, combo a single Symbiote before dodging to a new position. You don’t want to get surrounded, since Fury has very little health at this point to take much damage.
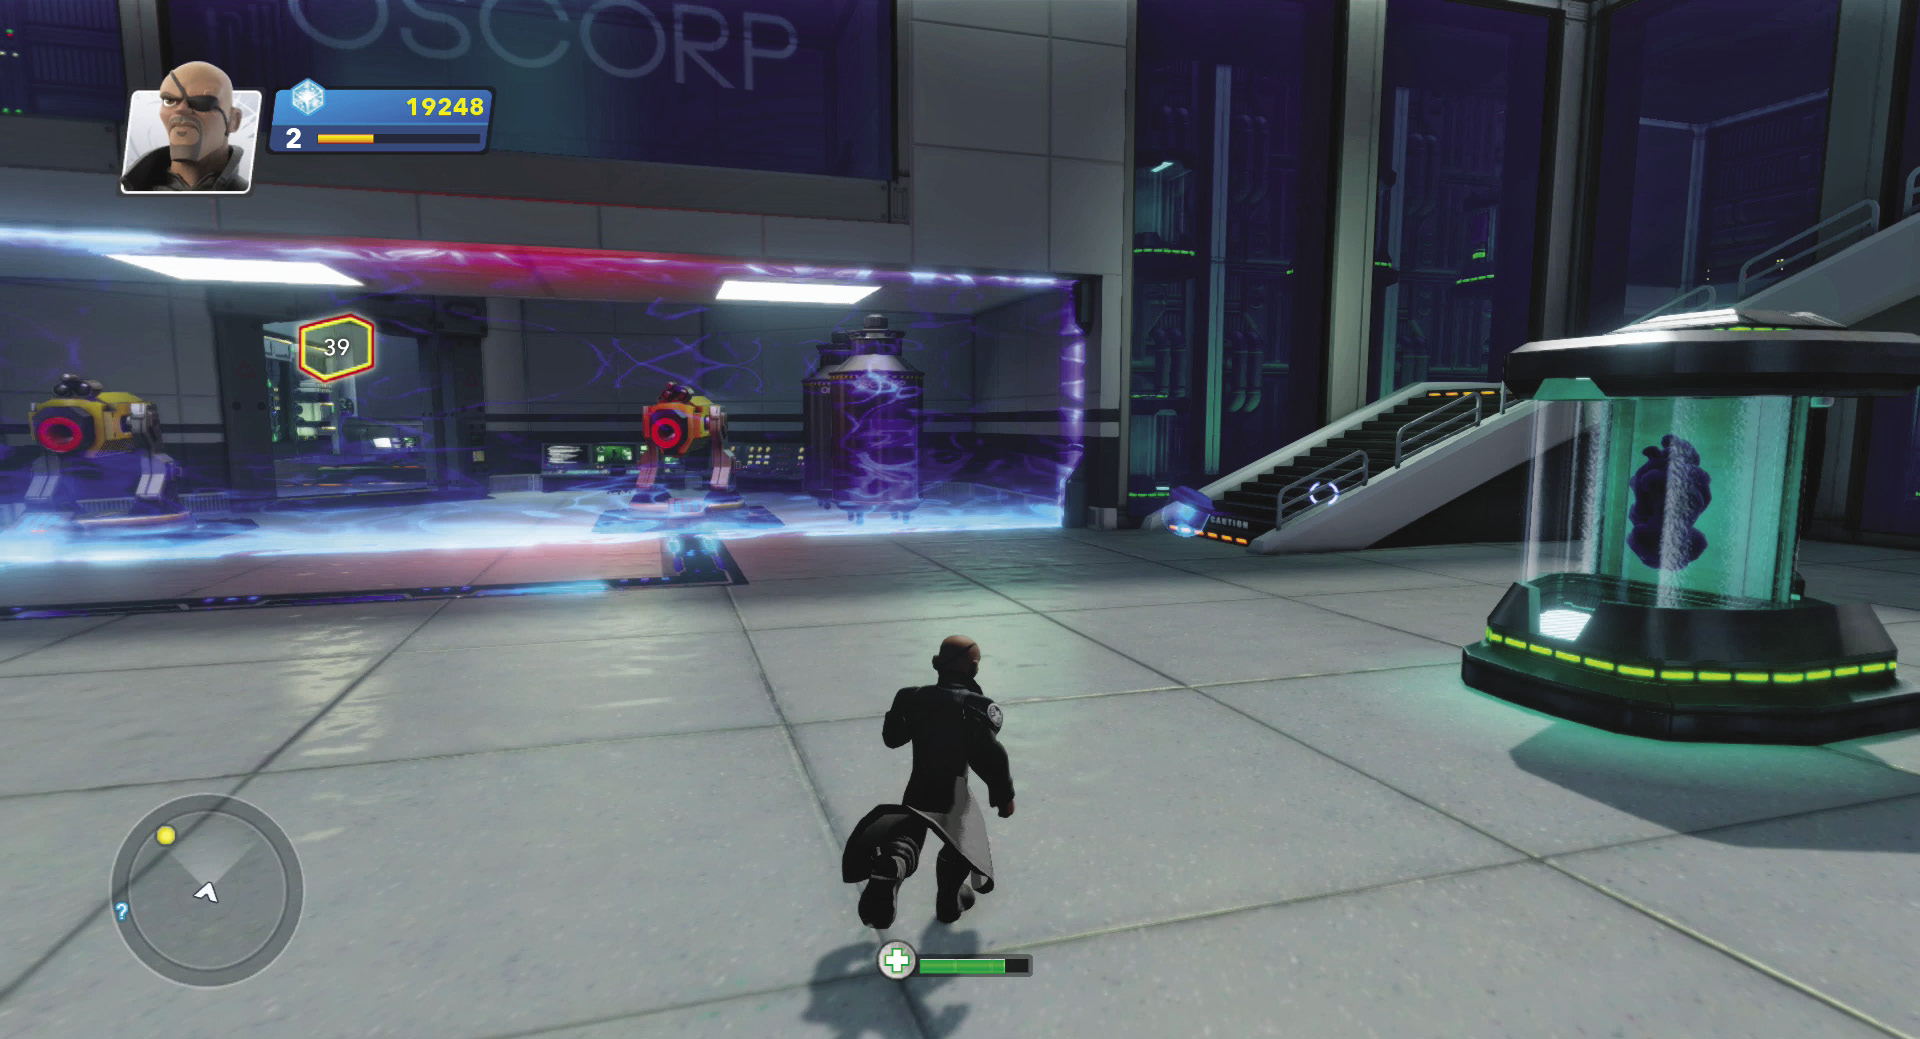
You also have to deal with homing missiles fired through the security screen. To take out the missile launchers, race up the stairs and follow the upper balcony around to the side room with the shattered glass floor. Perform an Air Attack on the glass floor to shatter it. You drop into the room with the power cell controlling the security screen and missile launchers. Remove the power cell from its conduit and you deactivate all the security defenses.
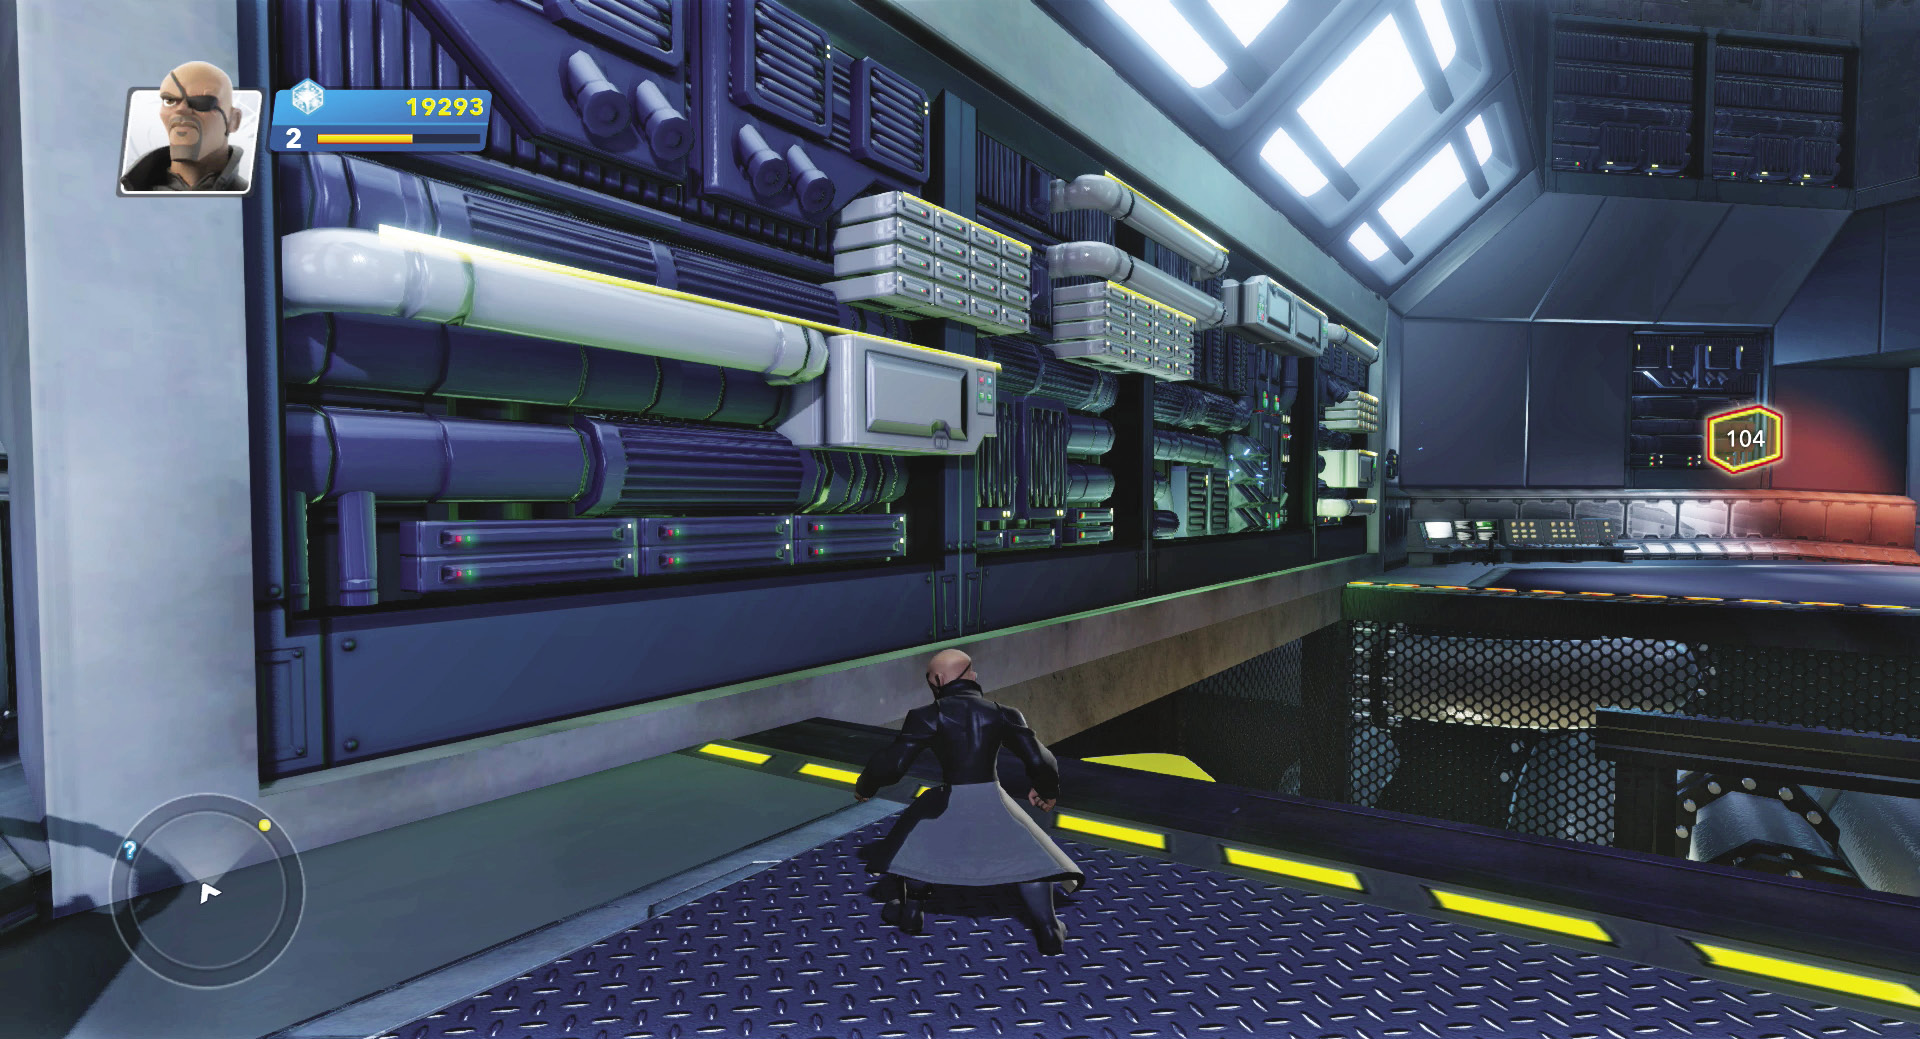
Navigate across the gap in the next room via the yellow rails on the left wall. If you fall to the pipes below, use the yellow pipe to climb back out and start again.
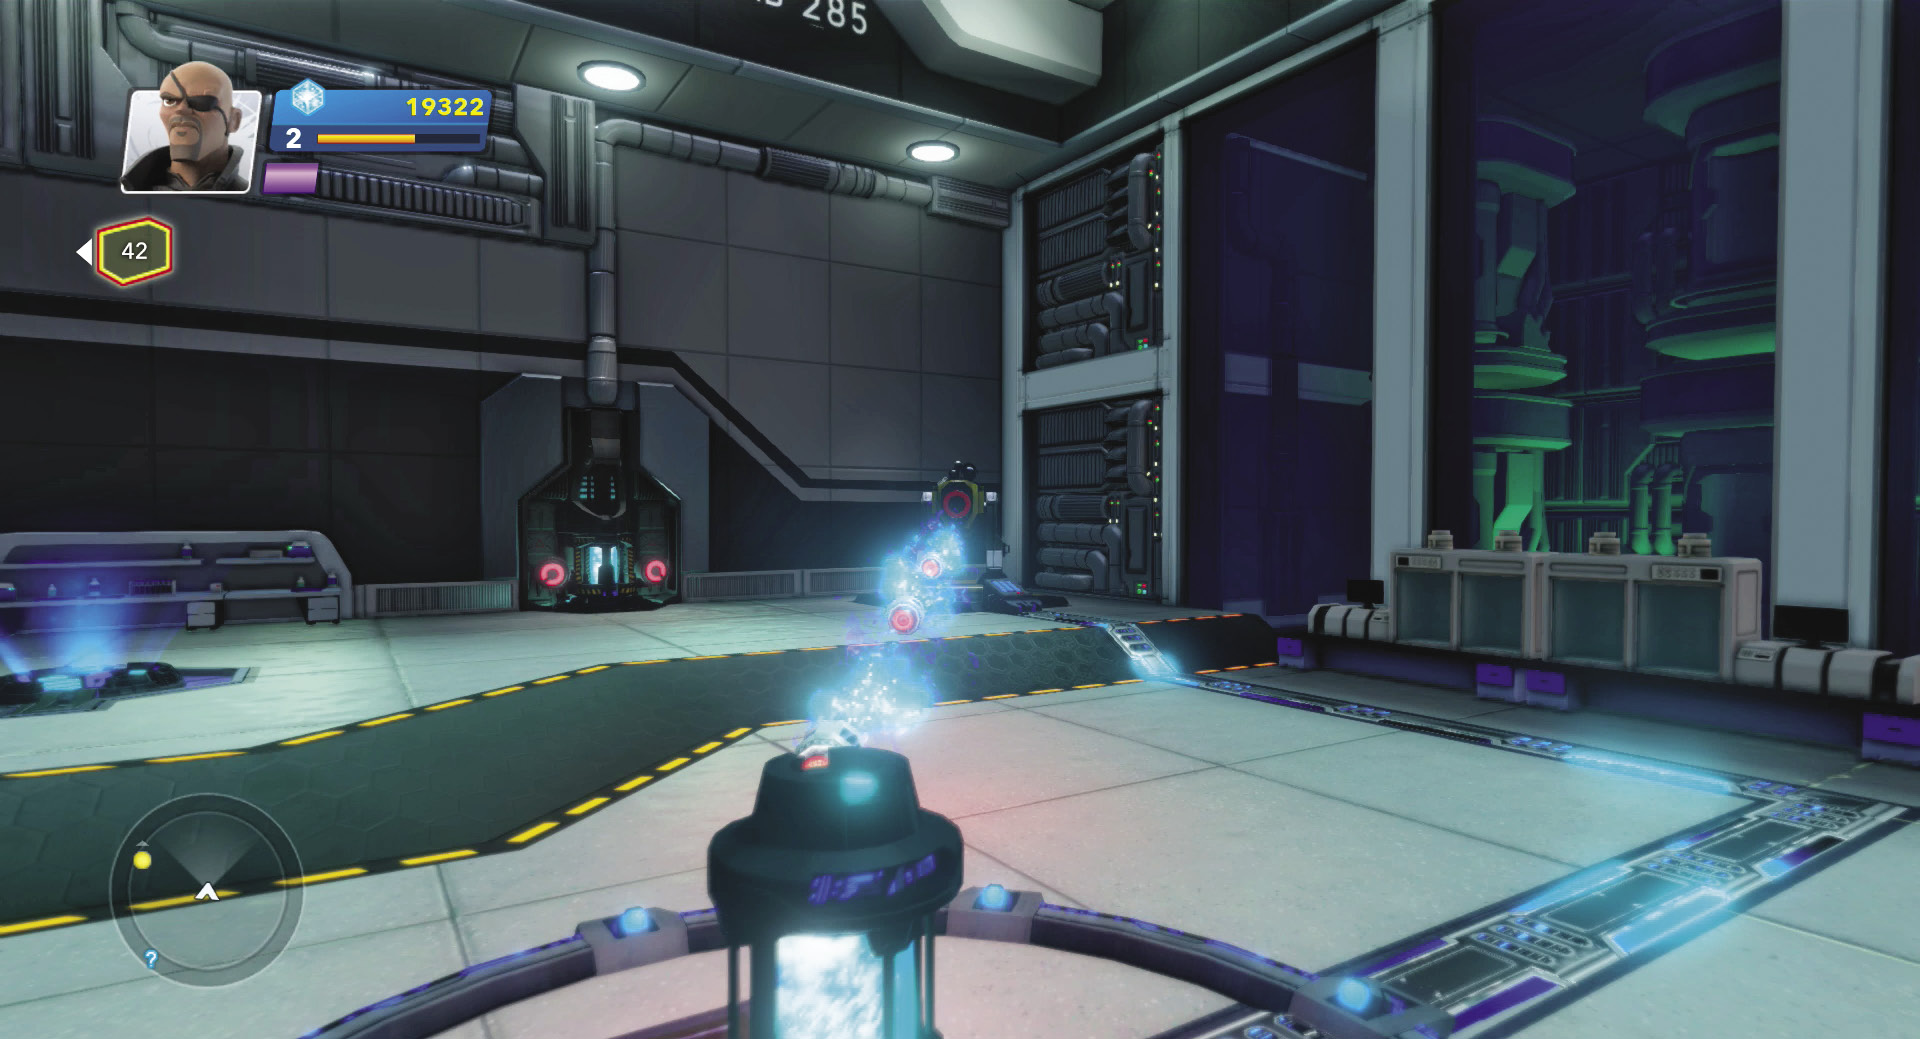
Let the missile launcher’s projectile knock the first power cell off its conduit spot in the next room. This powers down the defenses and lets you walk over to the second power cell in the wall and smash it free. Carry one of the power cells to the elevator conduit and activate it. Carry the second power cell up to the next level and drop it on the door conduit to open the next room.
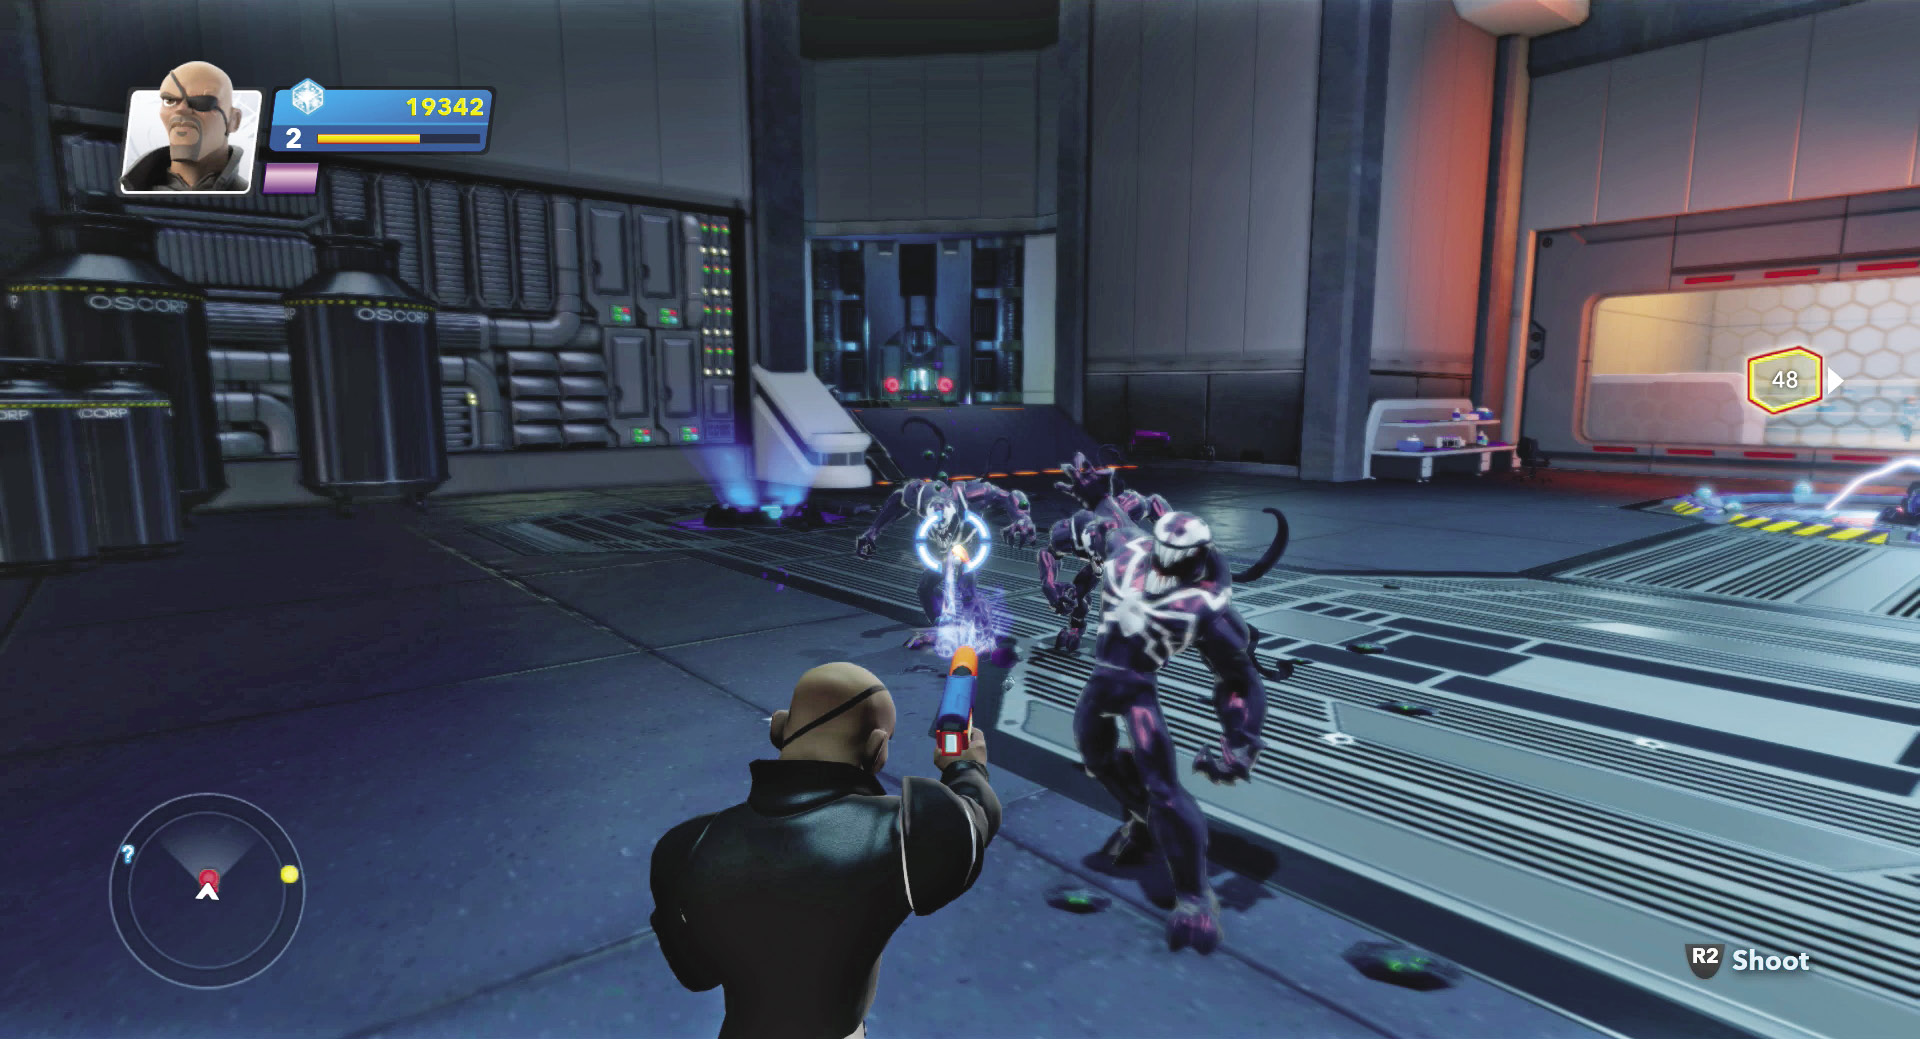
You can see the trapped scientists now through a security screen. Battle the Symbiotes in the room, then enter the side room and break free the power cell there. Carry it to the open conduit to activate the missile launcher, then run behind the second power cell’s protective force field and let the homing missiles blow the second power cell off its conduit. Shut down the missile launcher and carry the second power cell to the empty conduit that unlocks the door to the scientists.
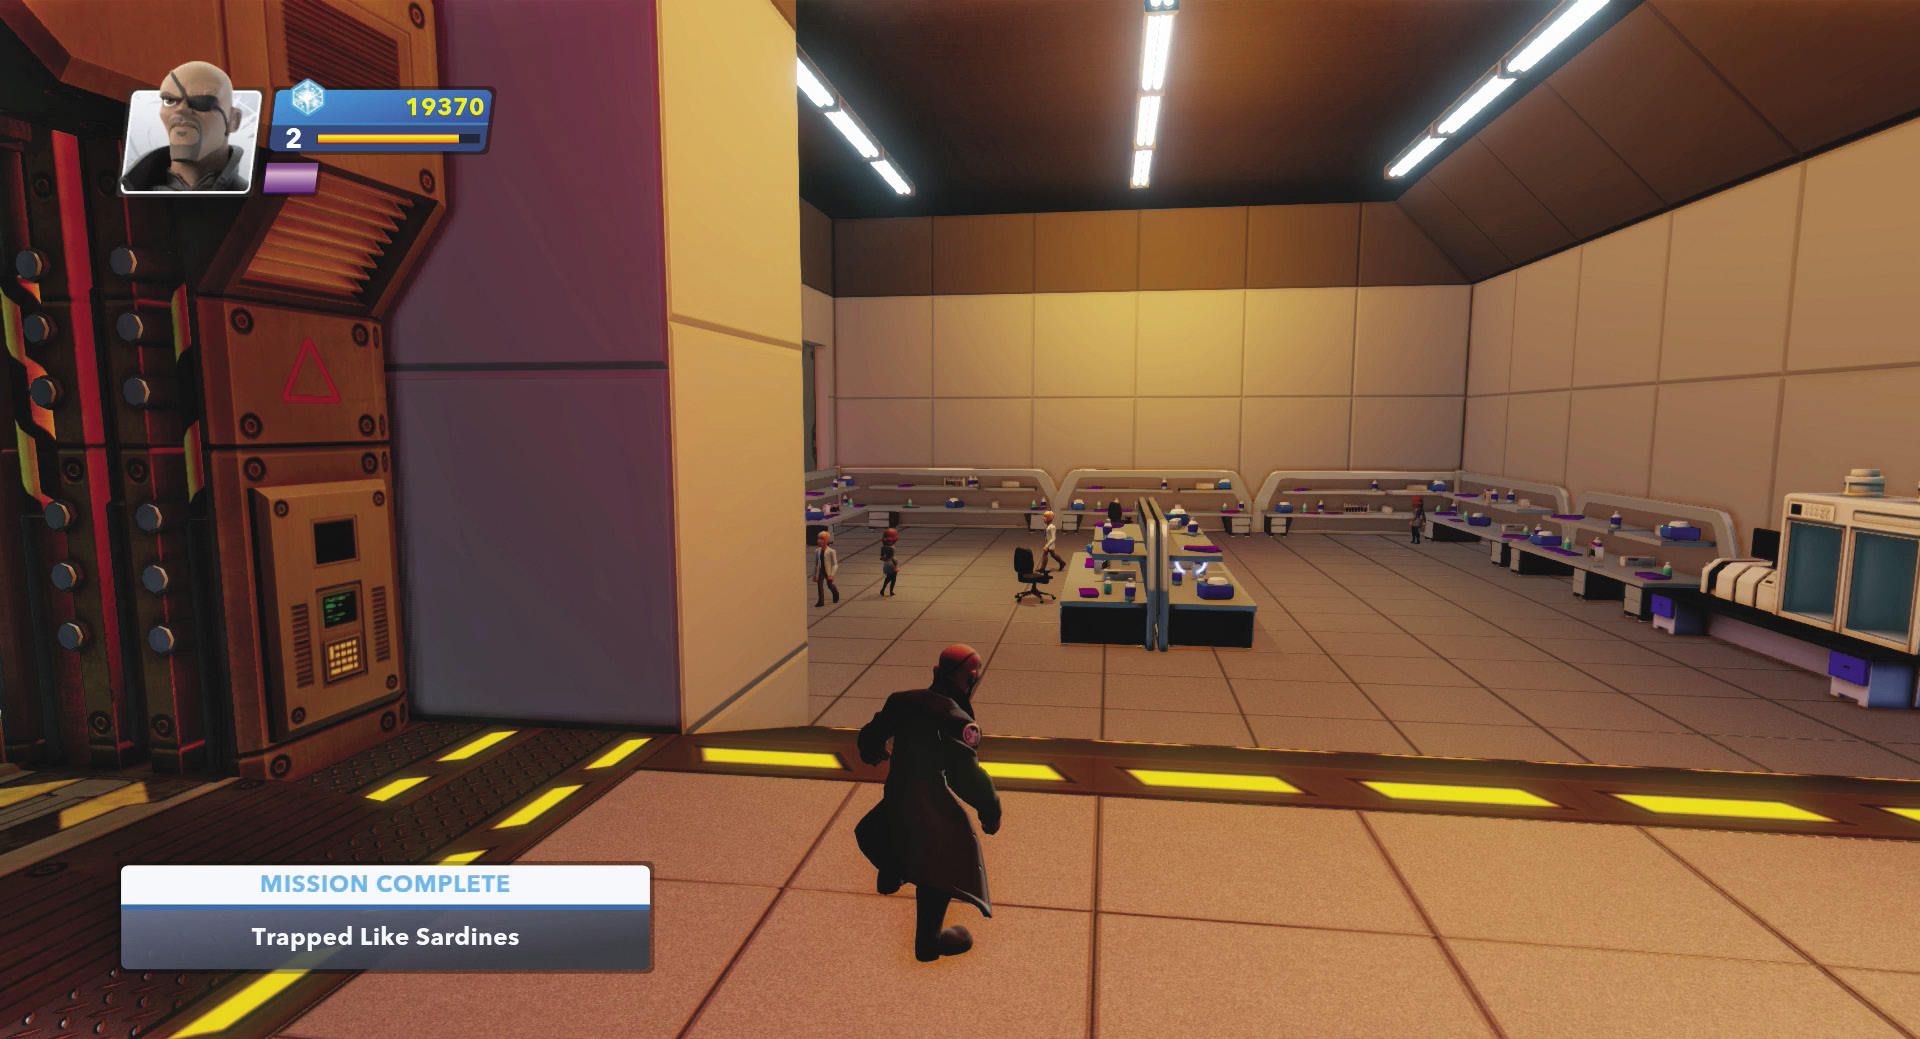
Enter the scientists’ room to save them and claim your rewards. Nick Fury has helped S.H.I.E.L.D. take over Goblin’s lab, and now it’s up to the streets of Manhattan for more adventures.
Spider-Man Enemies
Swarming Symbiote
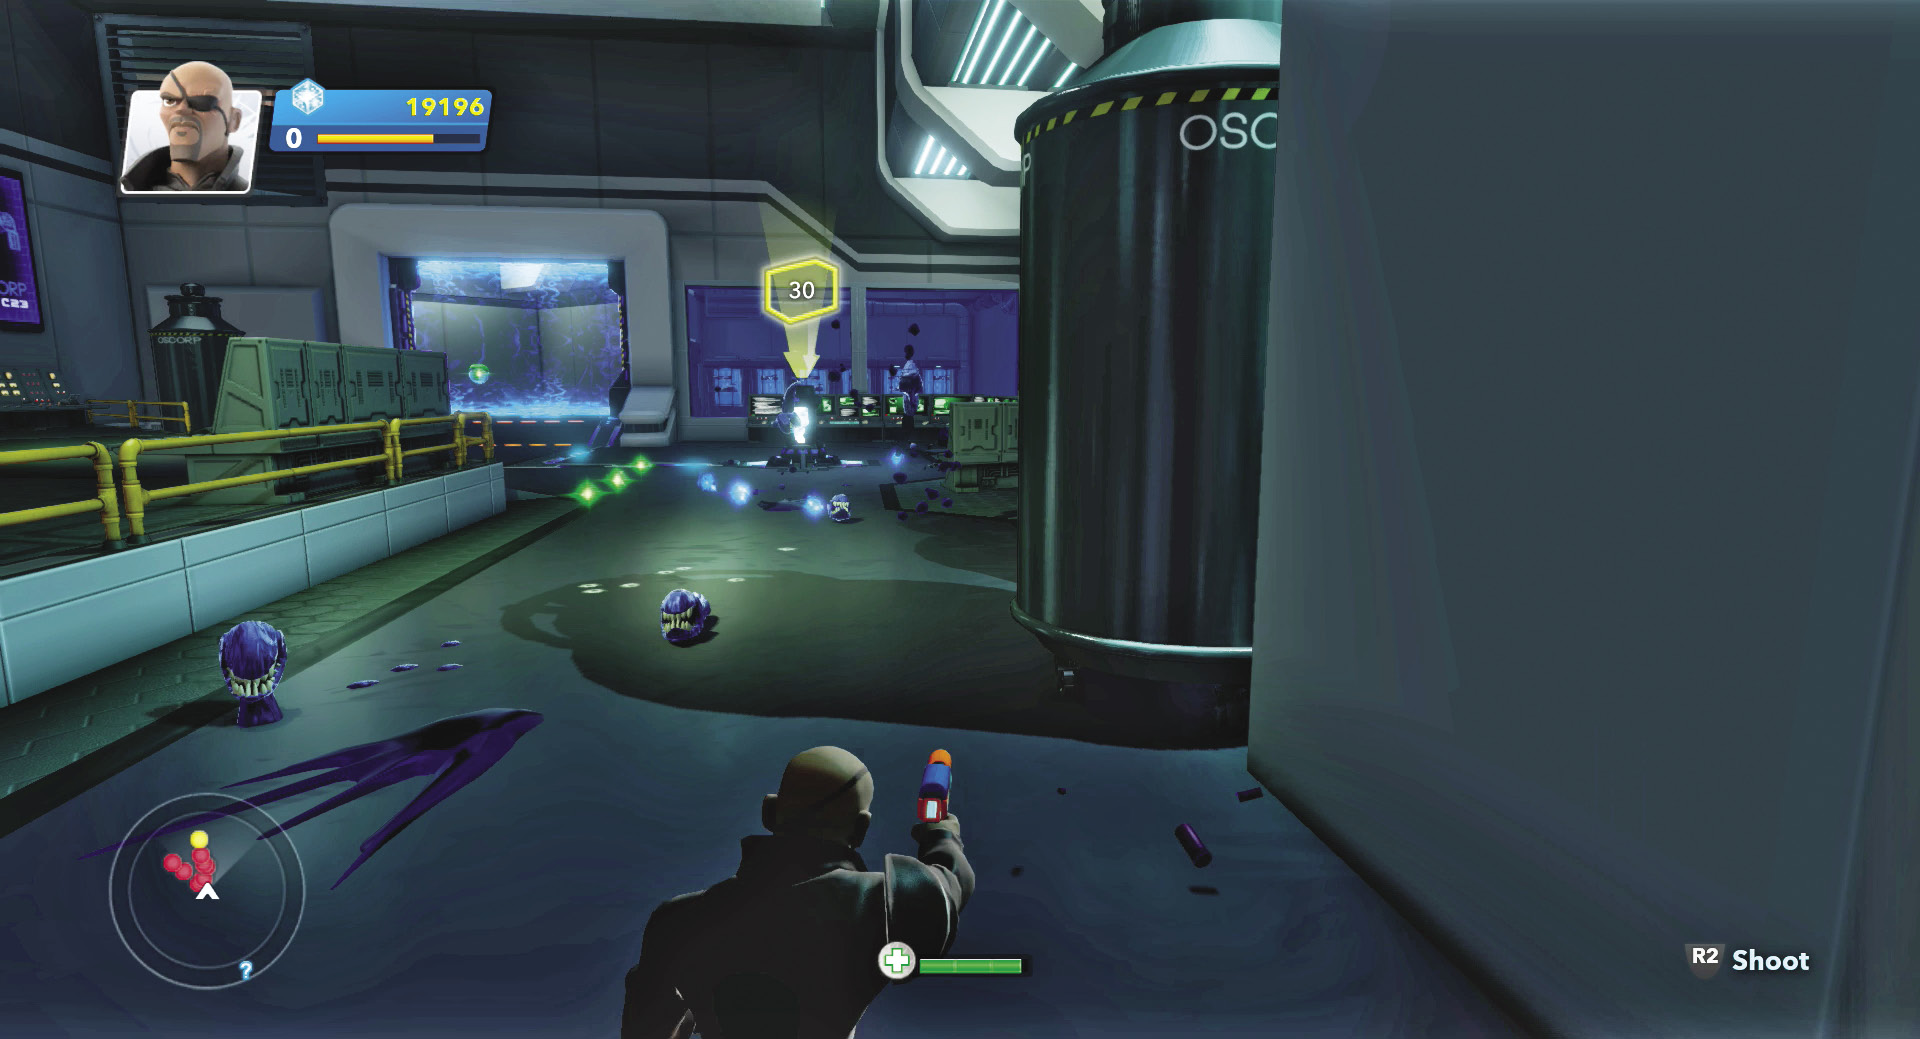
These football- sized, chomping Symbiotes will gang up and gnaw you to pieces if you let them surround you. Usually one hit does them in.
Symbiote
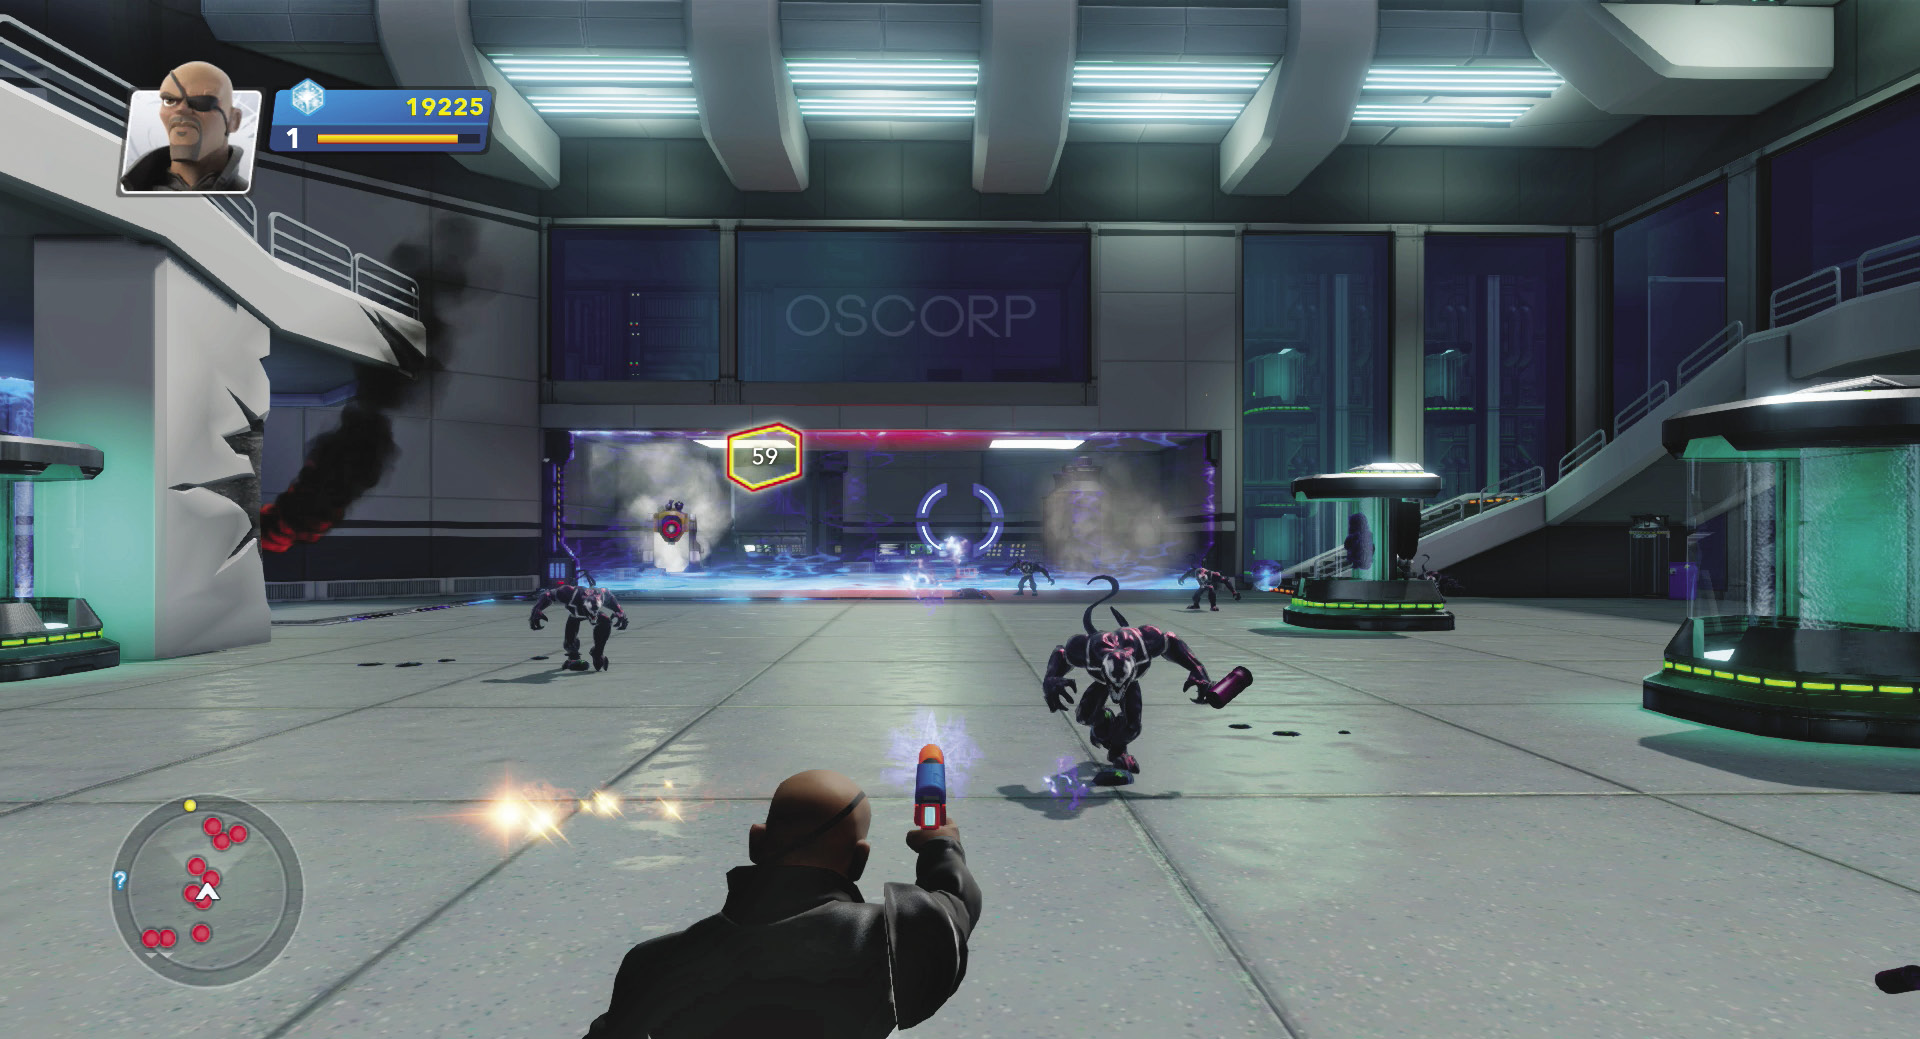
Pieces of Venom that Green Goblin has transformed into minions to do his bidding. Most Symbiotes are all teeth and claws, but some throw ranged attacks and dodge around a lot.
Symbiote Grunt
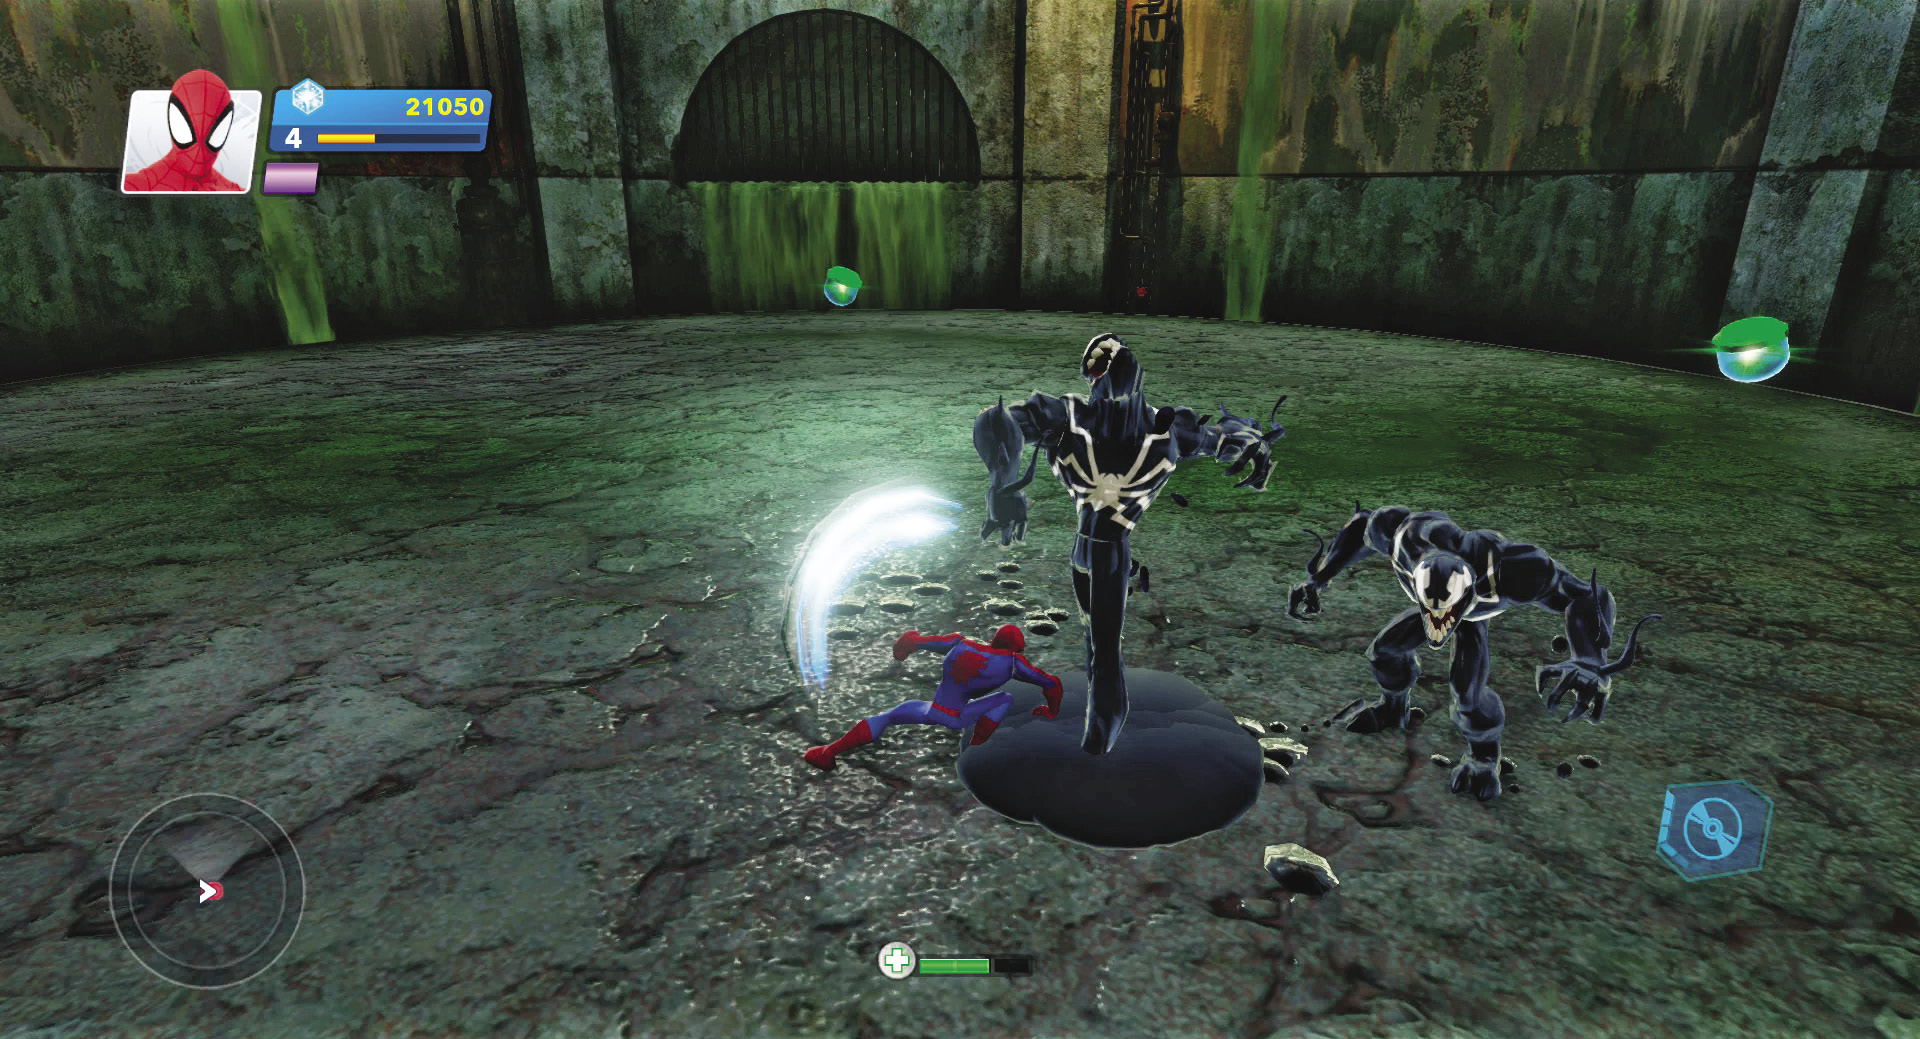
Your normal, shape-changing alien with a mean streak. You’ll face more of these than any other enemy in the Spider-Man Play Set.
Tendriled Symbiote
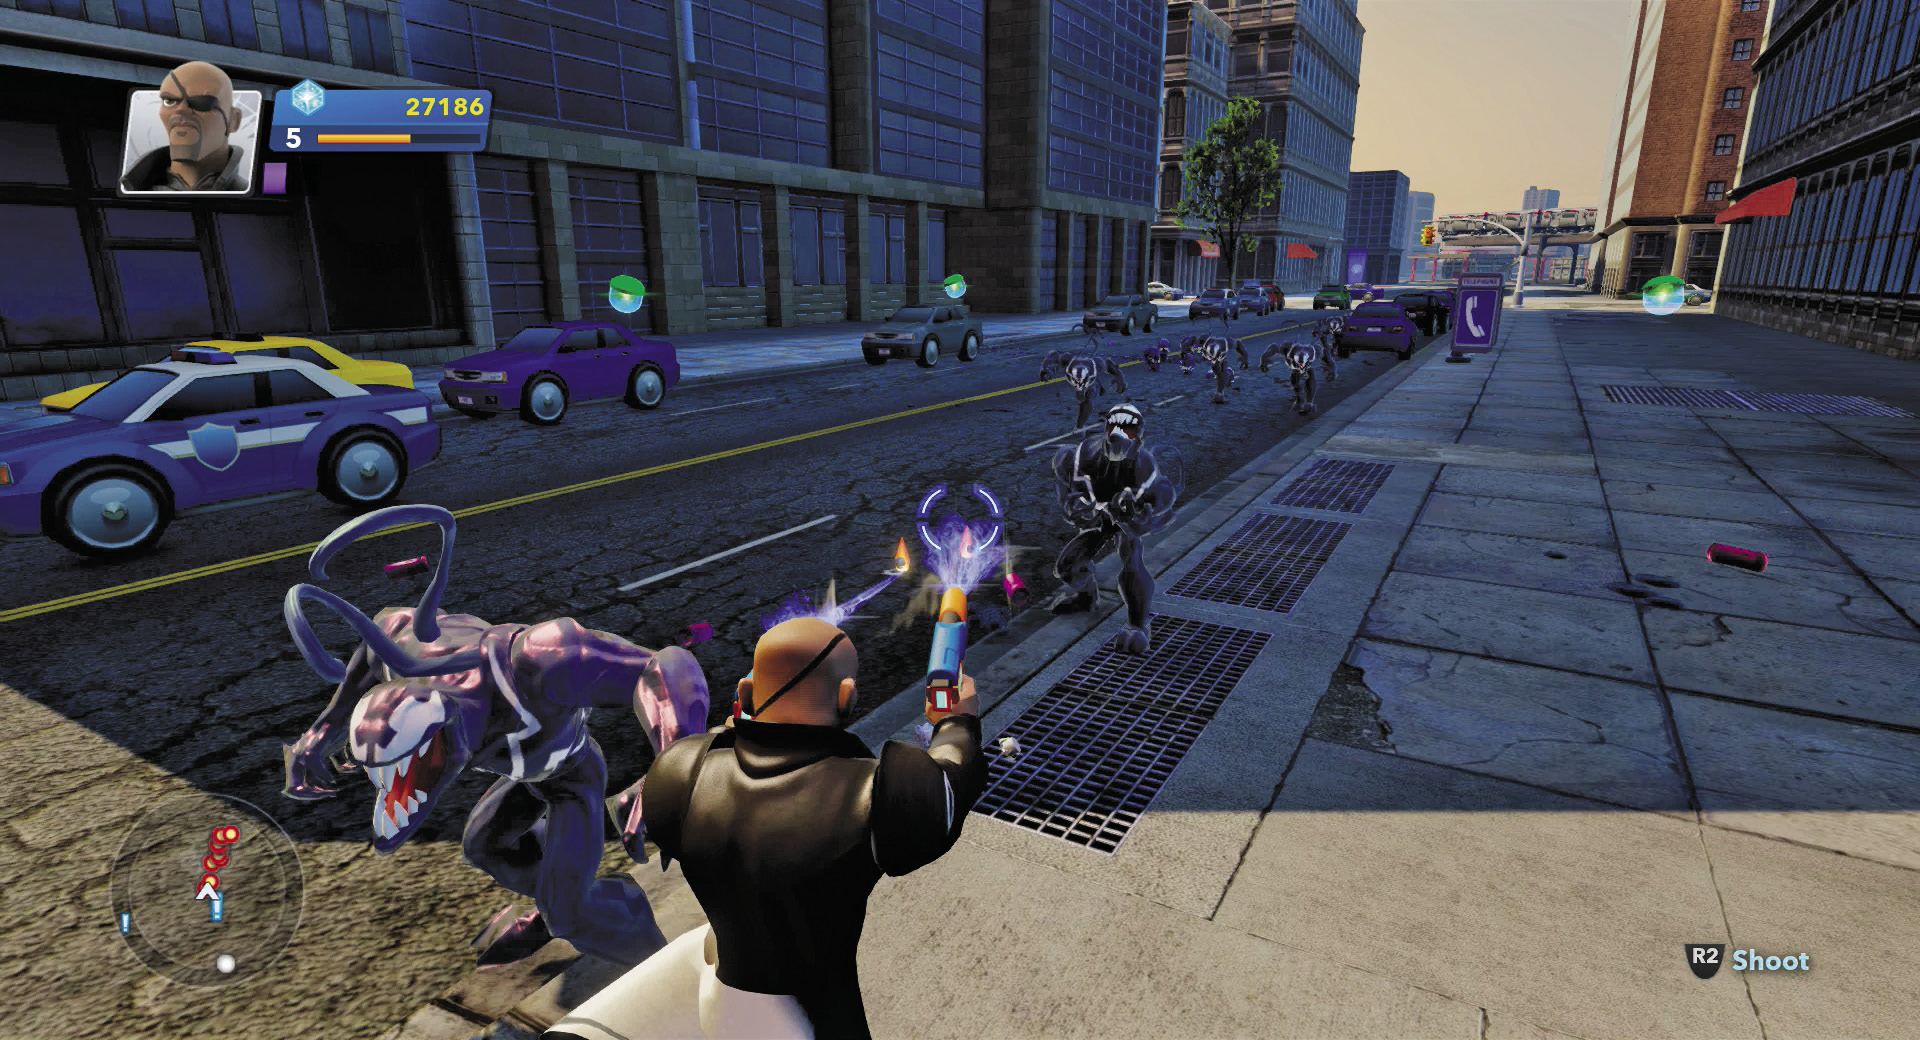
Tougher, buffer versions of a normal Symbiote. It has the annoying tendency to turn into a puddle and then reform somewhere else on the battlefield.
Large Symbiote
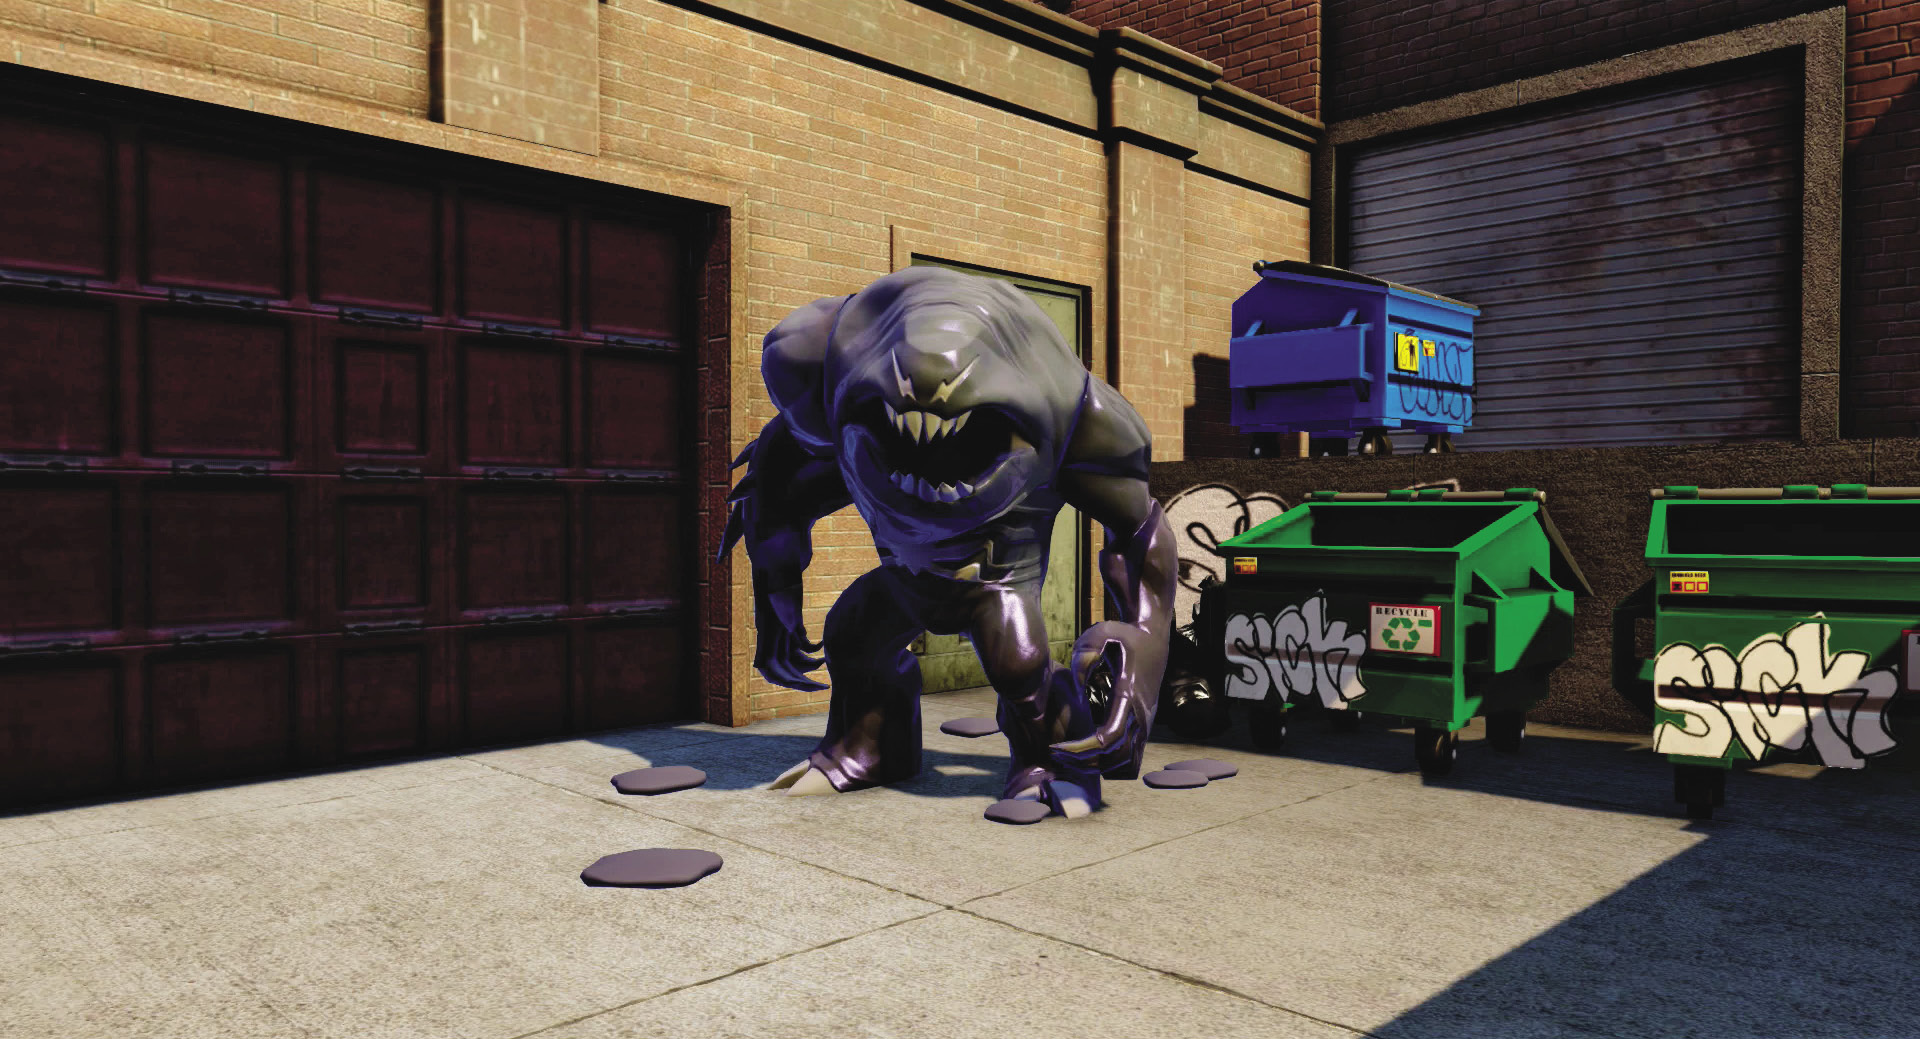
Bigger, stronger, and much uglier than all other Symbiotes. It can erupt into a repulsive gurgle that spews forth dozens of Swarming Symbiotes, and it can leap at you with a “belly flop” that devastates anything that it lands on—including you.
Goblin Drone
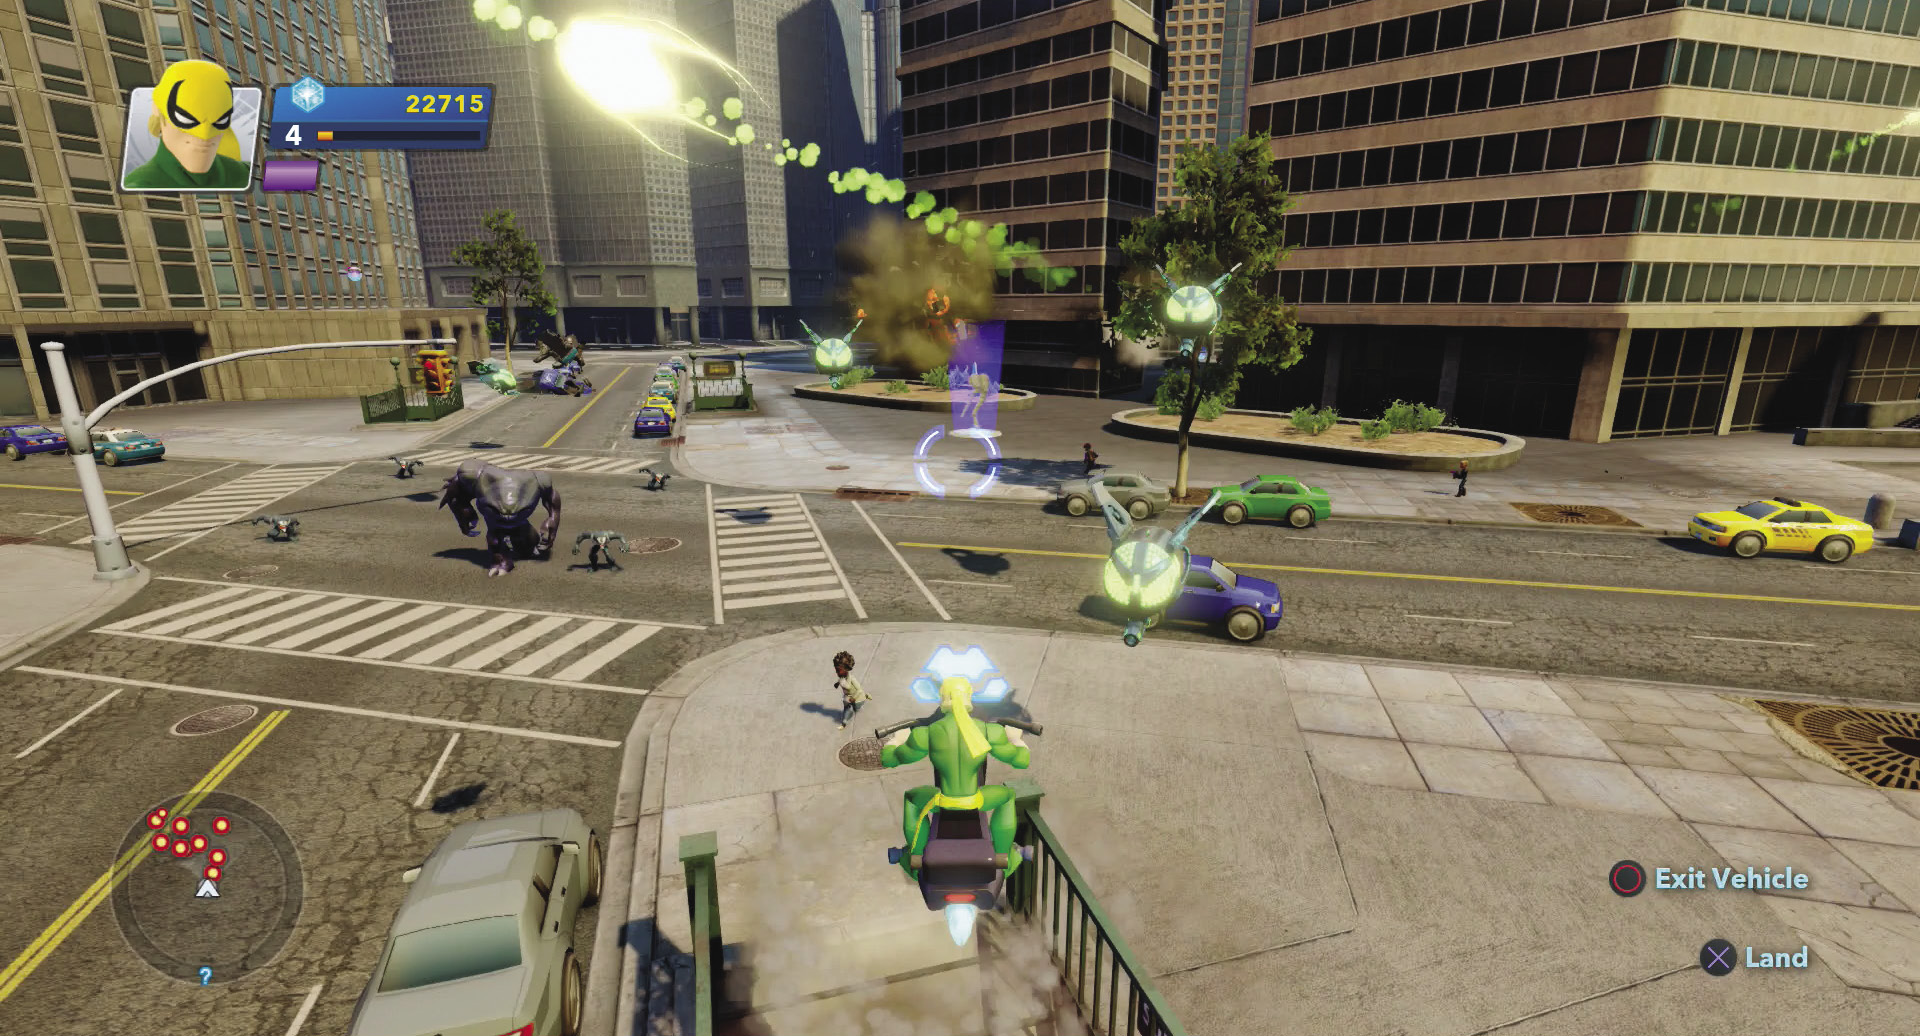
Armed and dangerous, these mechanized, flying robots are the Green Goblin’s chief weapon of the skies.
From Tiger to Cage
Manhattan
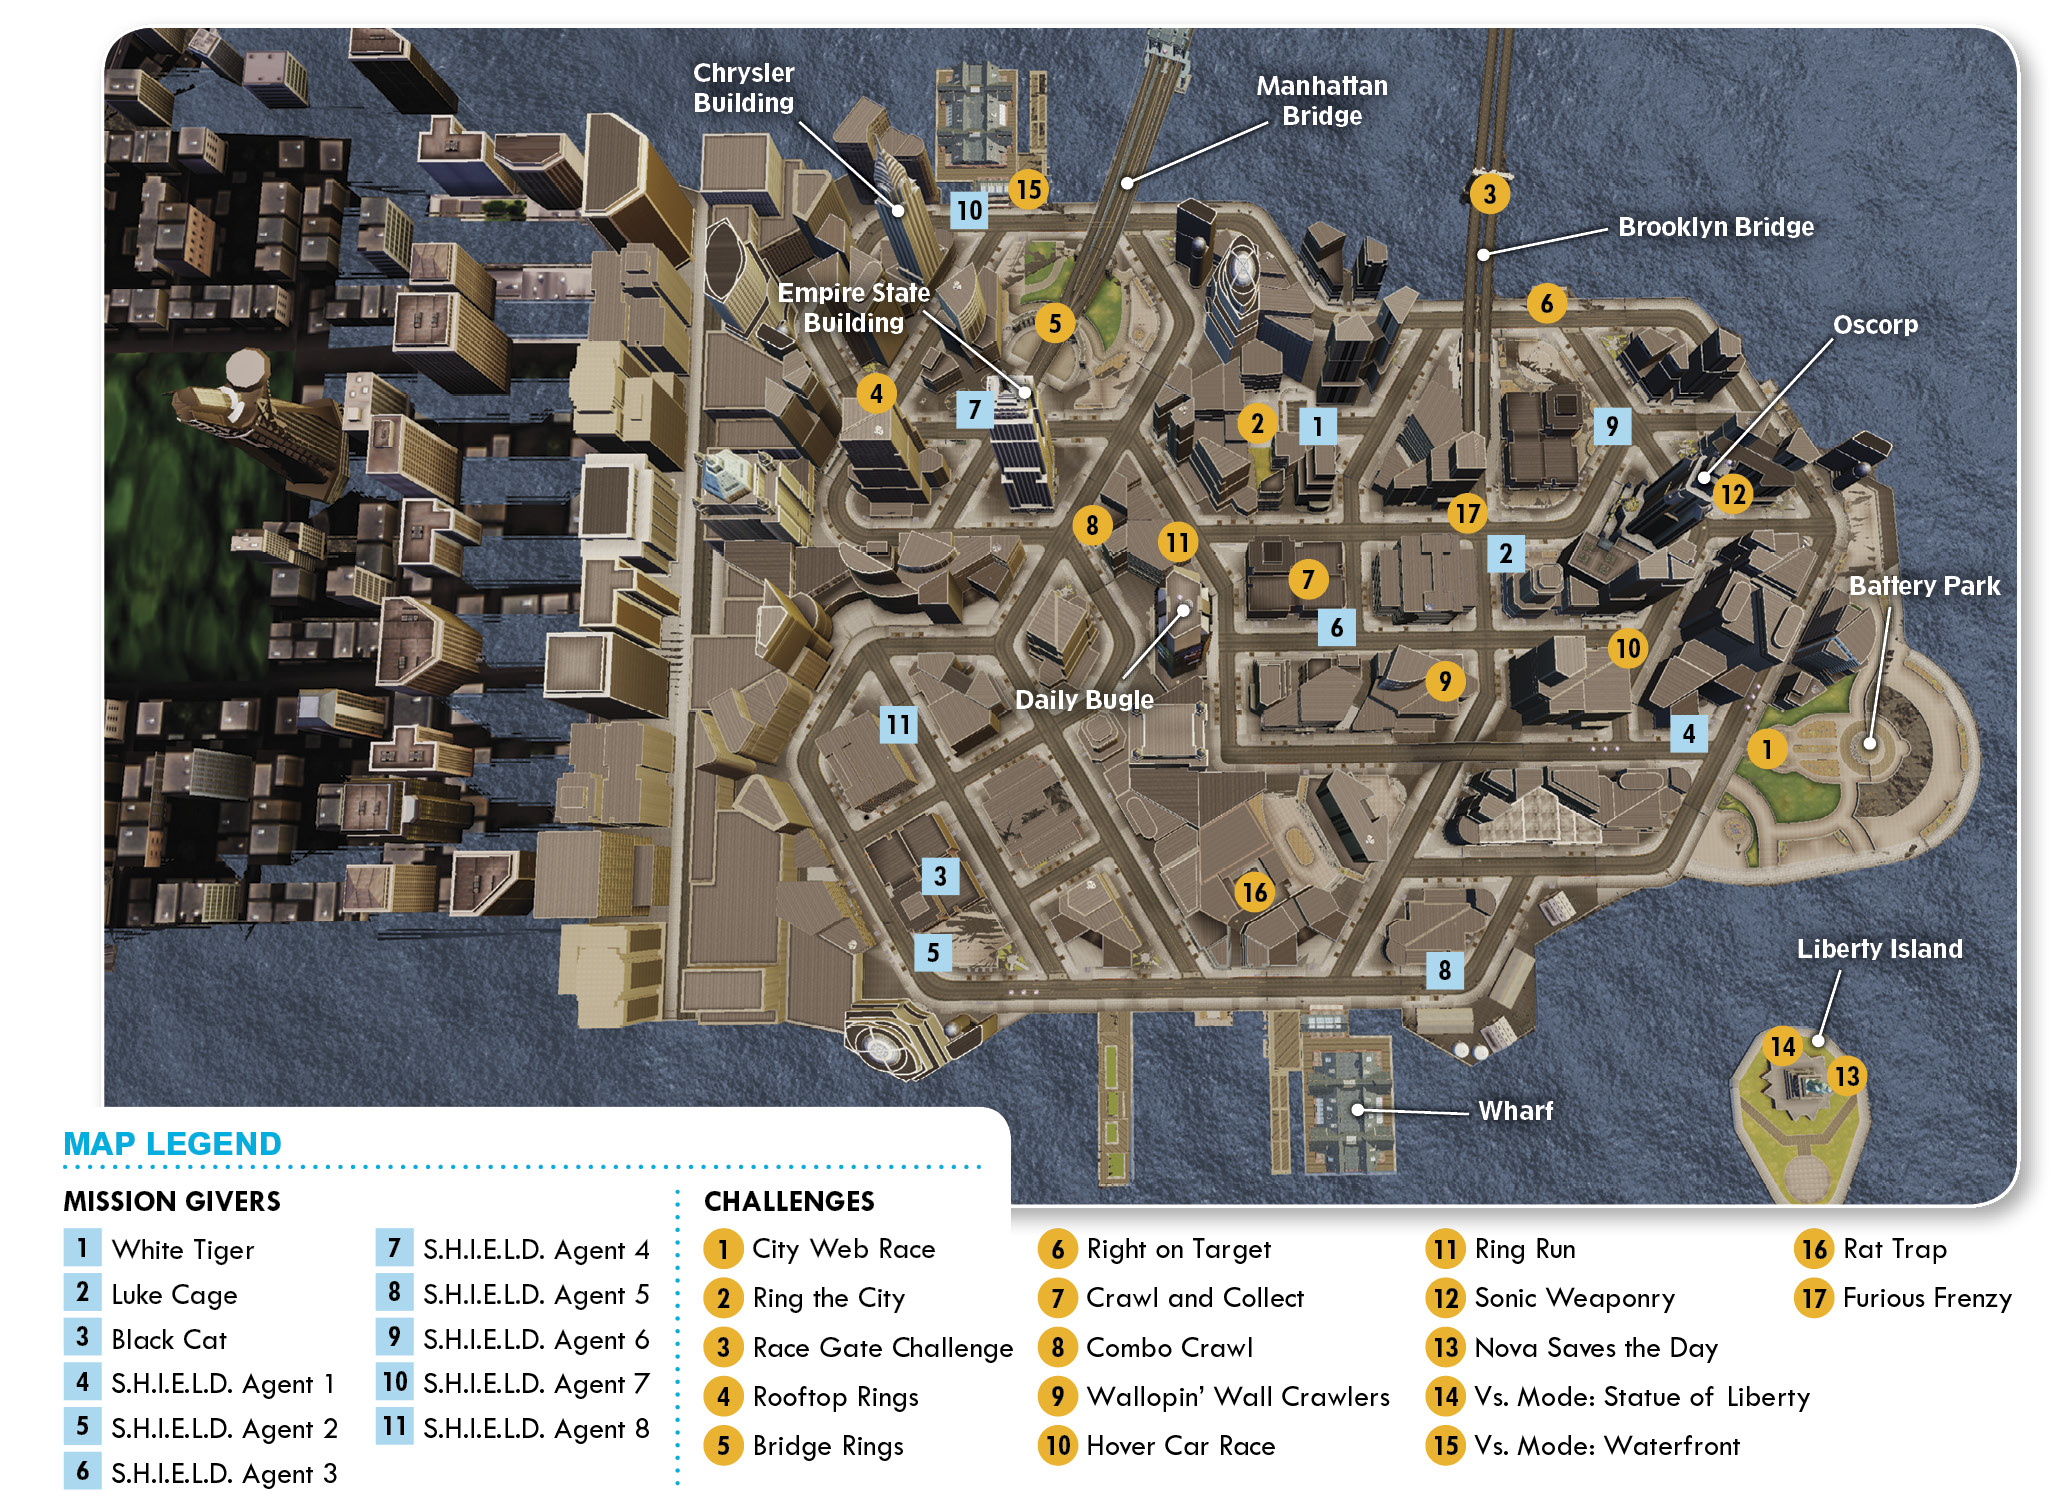

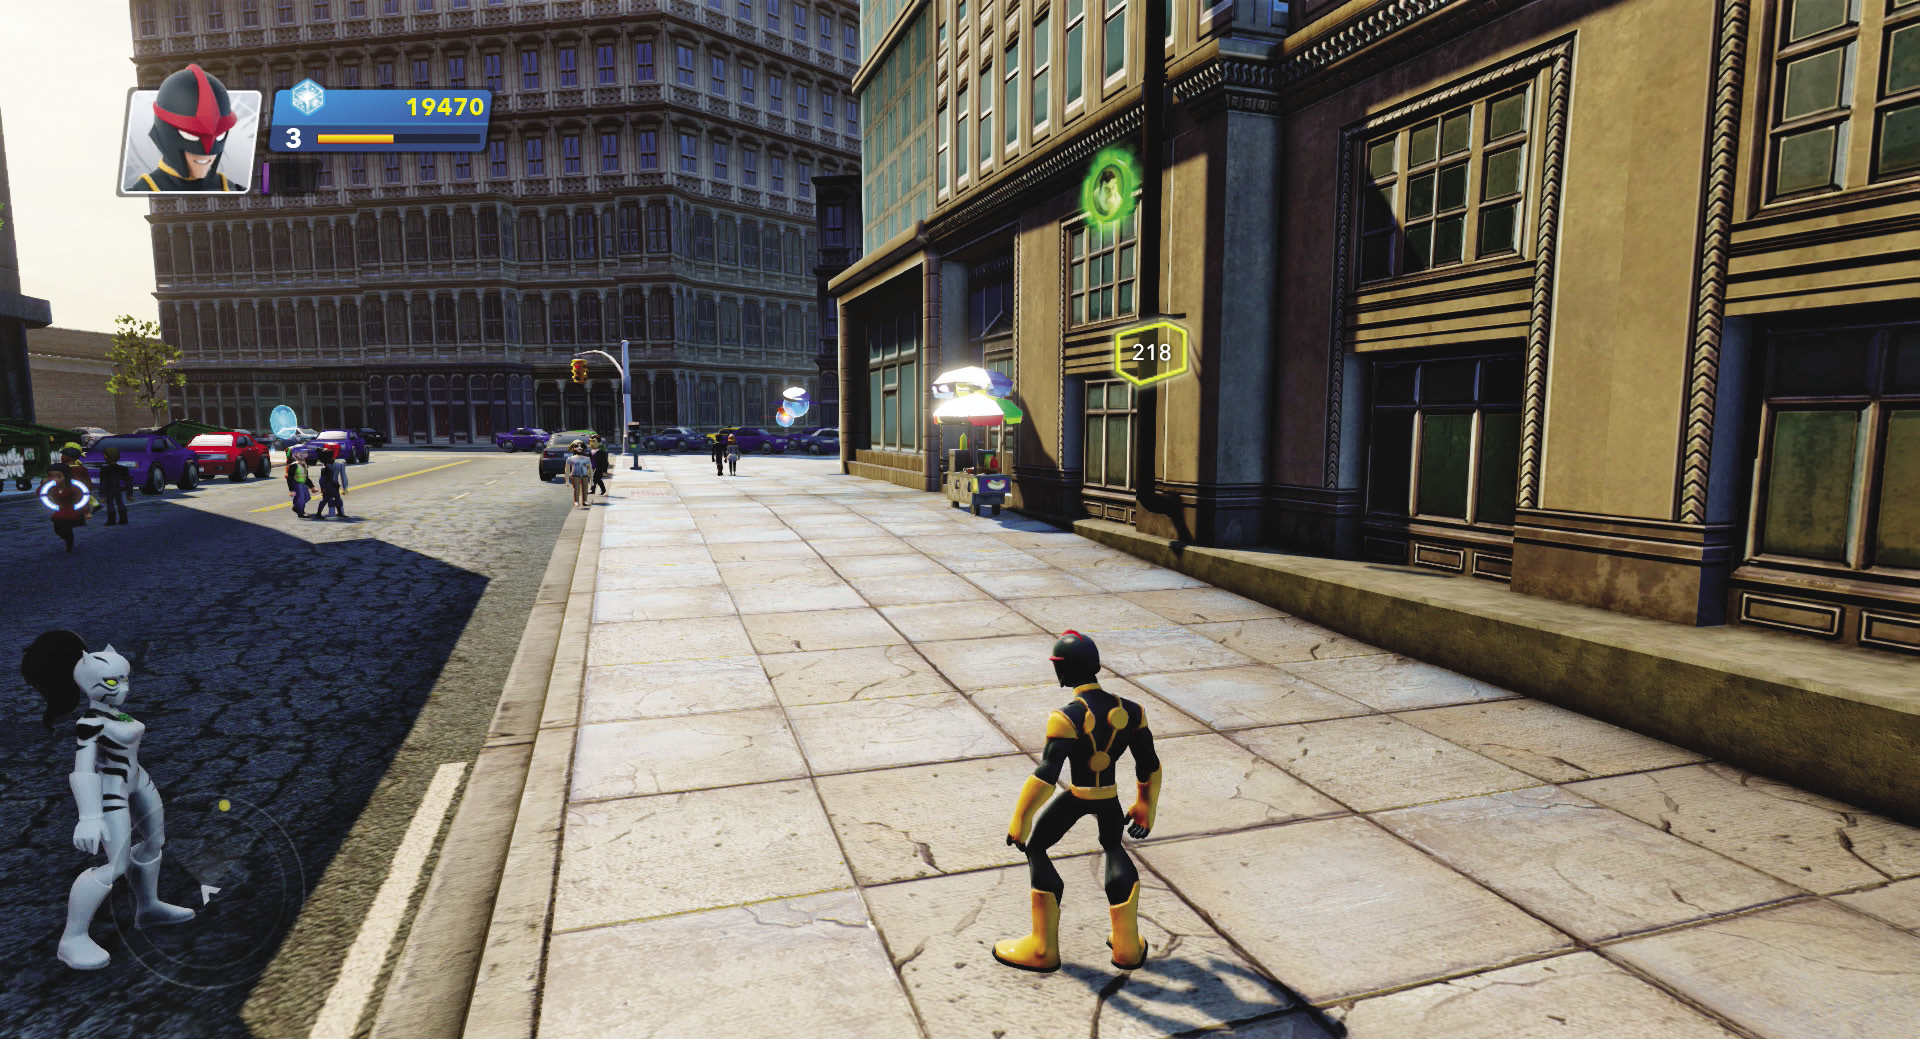
White Tiger informs you that Luke Cage needs help; your third mission is to track him down. Now’s your chance to explore the city for the first time, and you can start with picking up the Hulk Crossover Coin floating near the building to your right. With Nova, you can fly around Manhattan and access anything from alleys to high rooftops easily.
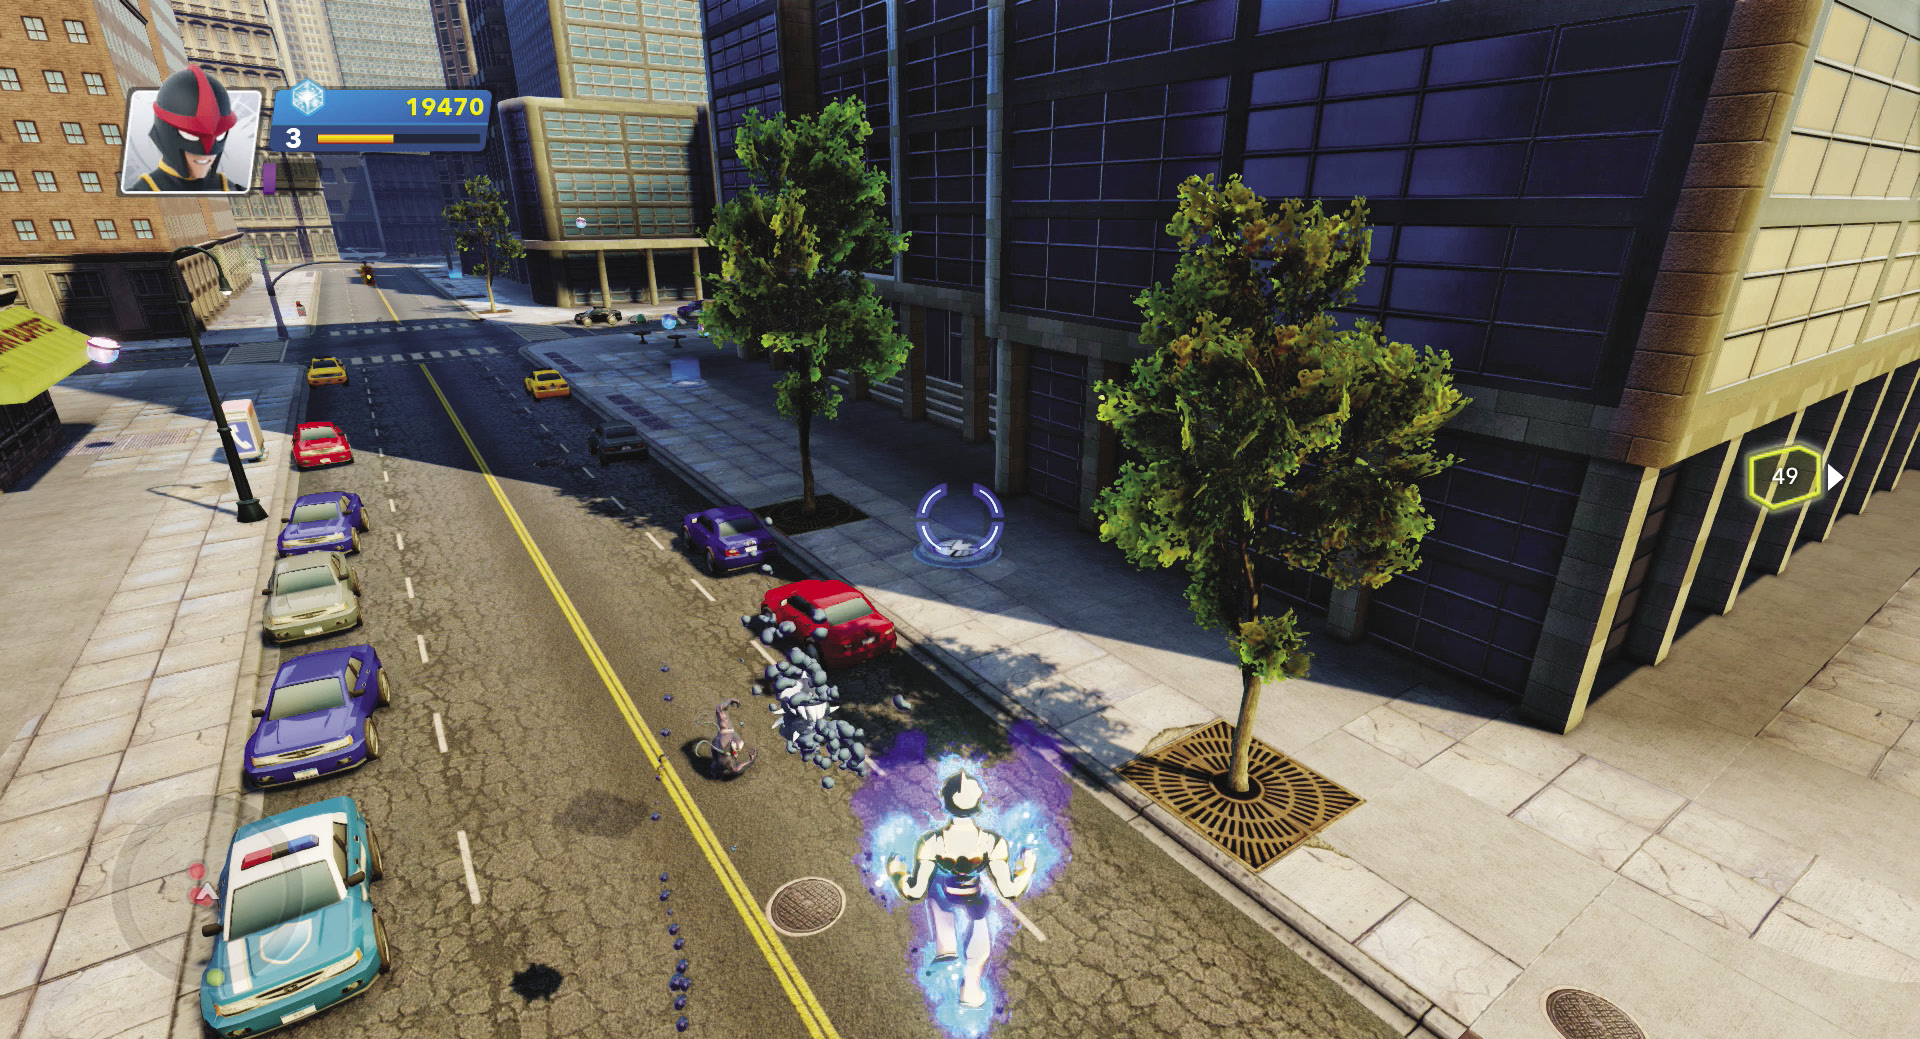
Follow the yellow objective marker to Cage. A Symbiote will intercept at the intersection, but after you make it safe for pedestrians again, travel on to find Luke Cage a short distance away.
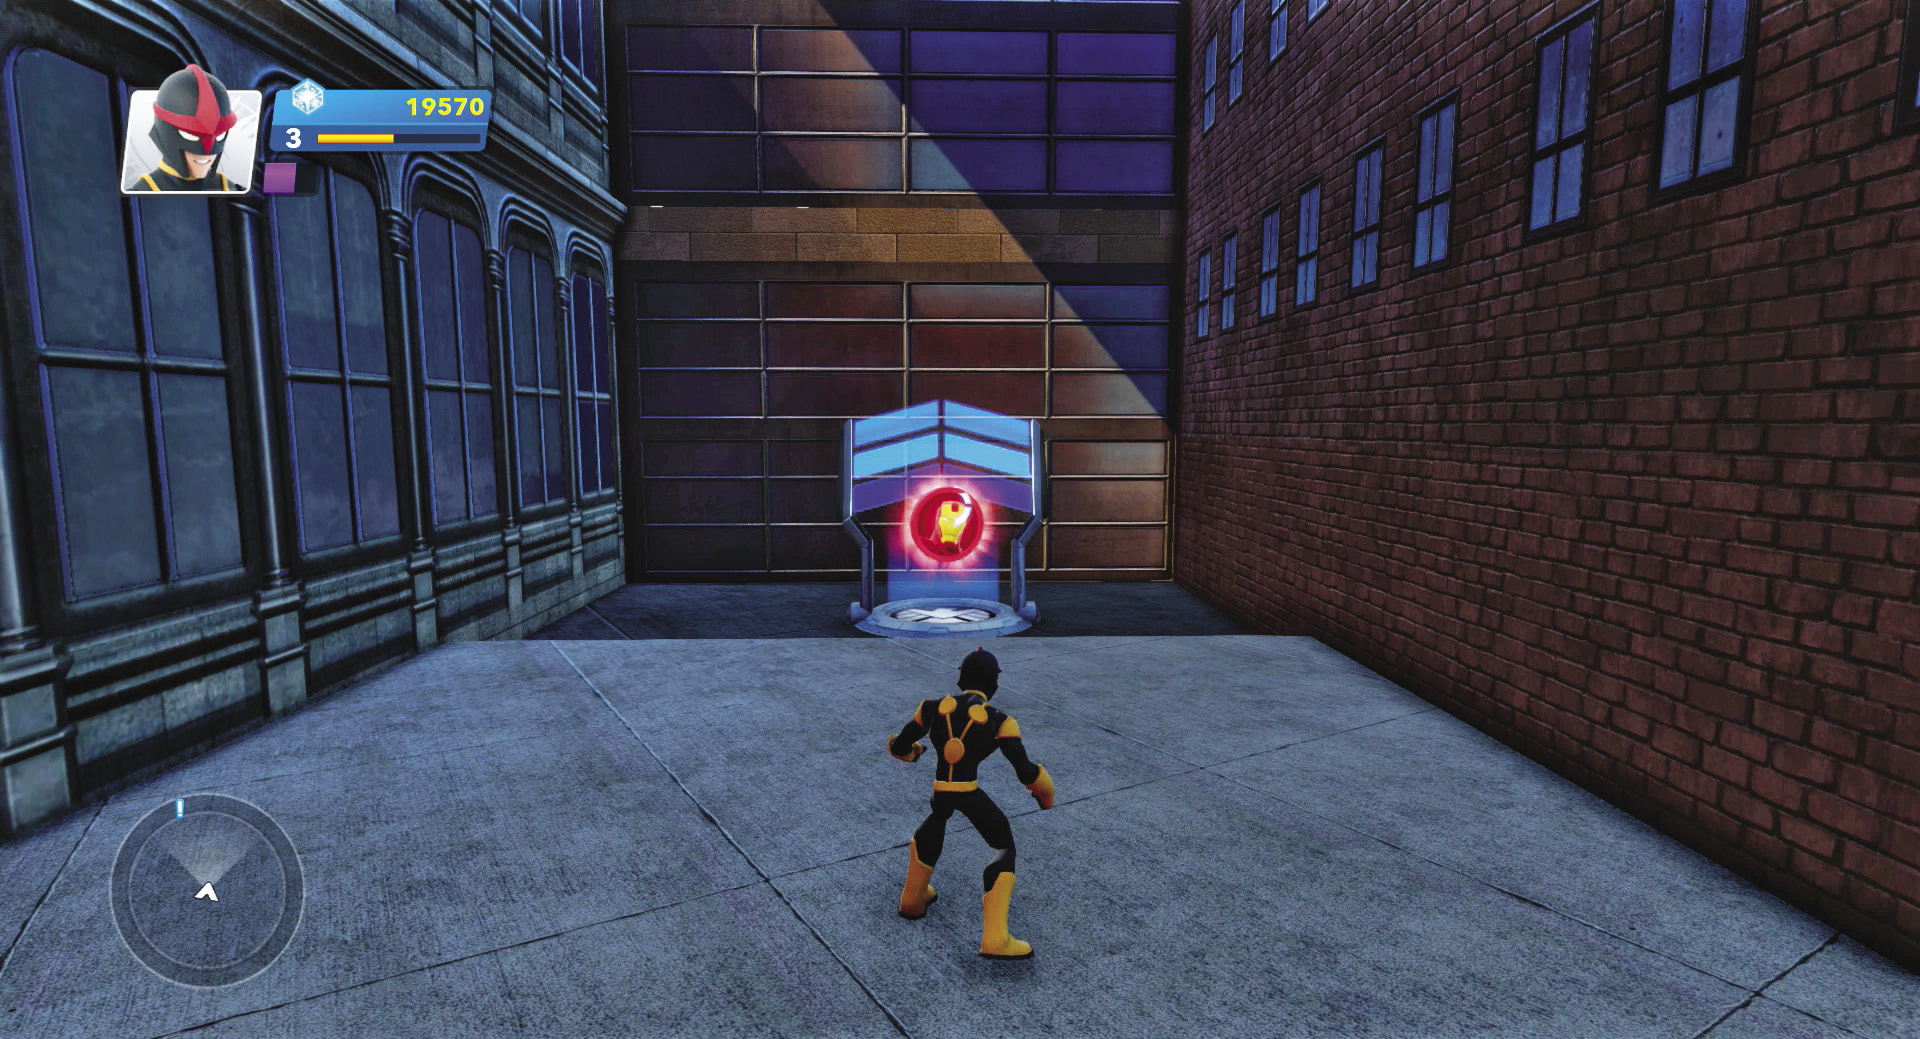
The alley near Luke Cage holds your first Iron Man Crossover Coin. Use the jump platform to leap up to the roof, where you’ll find another Iron Man Crossover Coin. Continue up the side of the building for more, and you can retrieve two more on the adjacent rooftop for the complete Iron Man set.
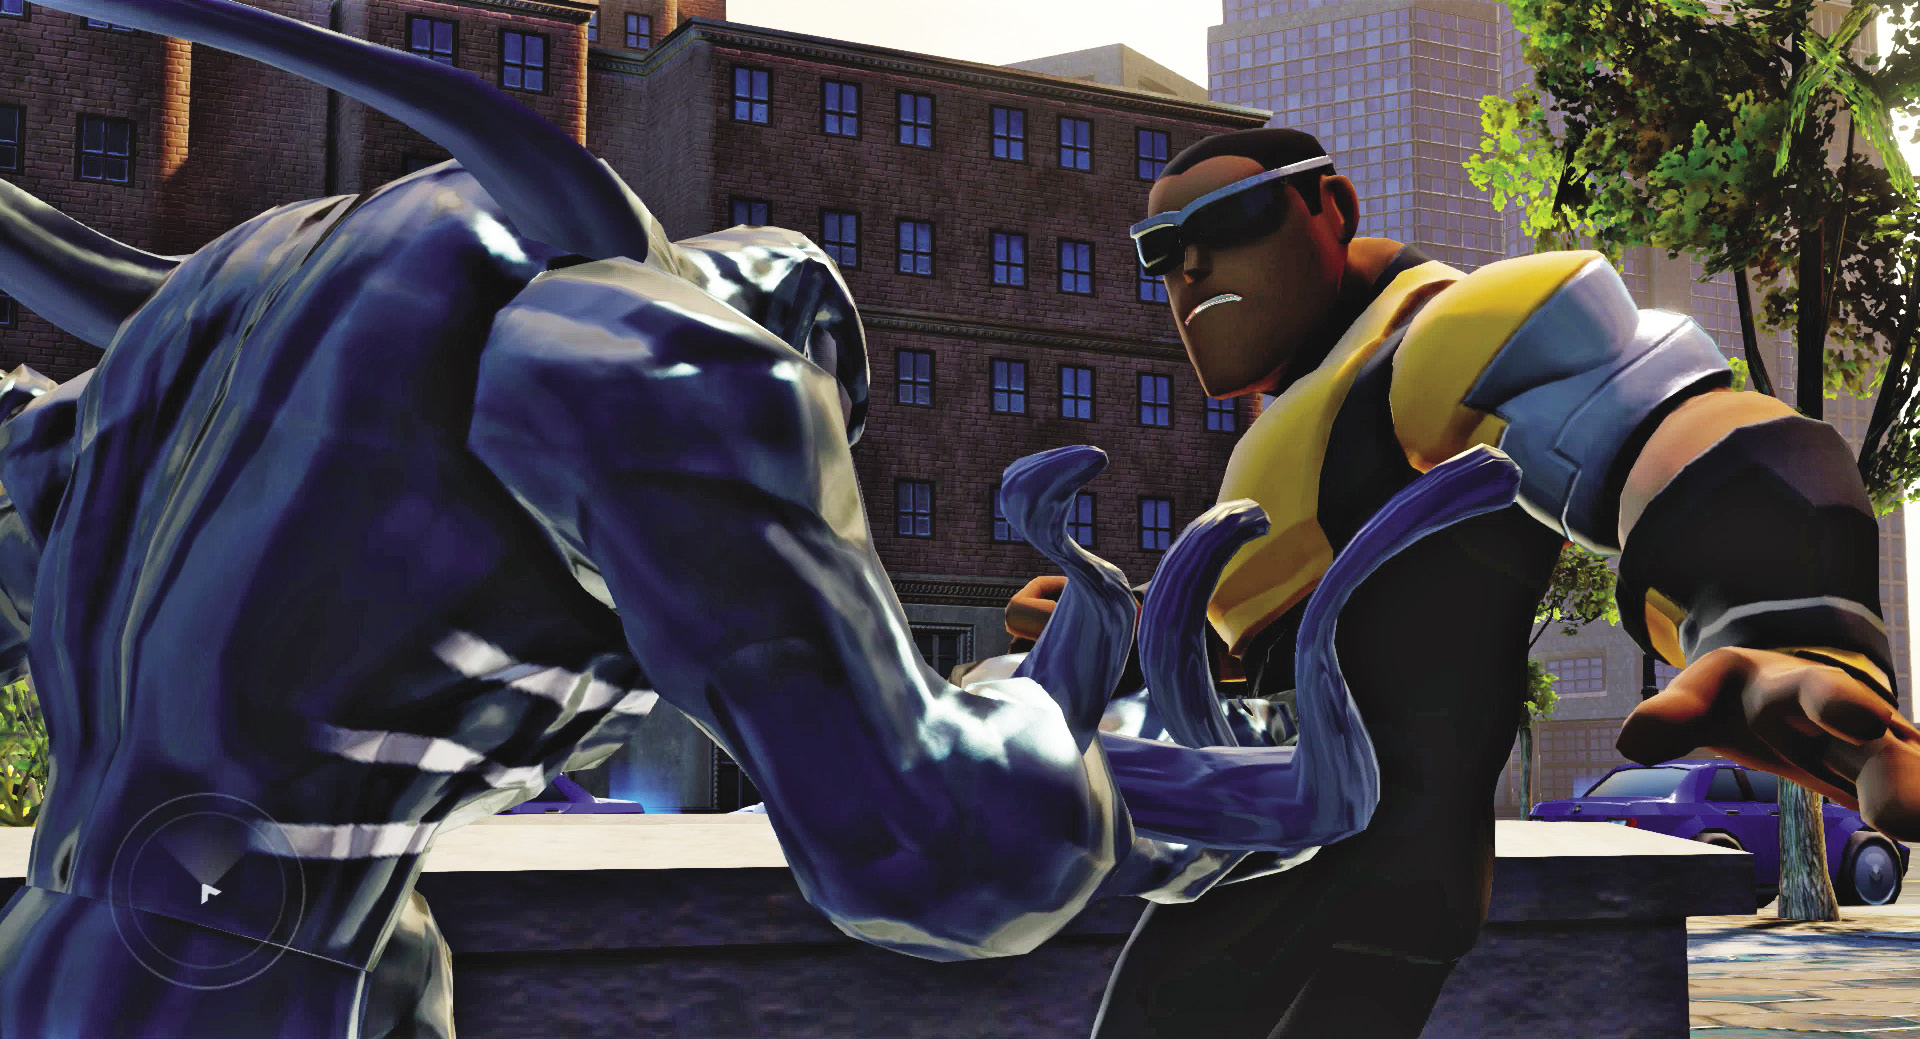
Cage is on the other side of the building with all the Iron Man Crossover Coins. Defeat a pair of Swarming Symbiotes in the intersection next to Cage, then watch him beat up a Symbiote as you approach and finish your third mission.
Unfriendly Neighborhood

Recommended Hero: Iron Fist
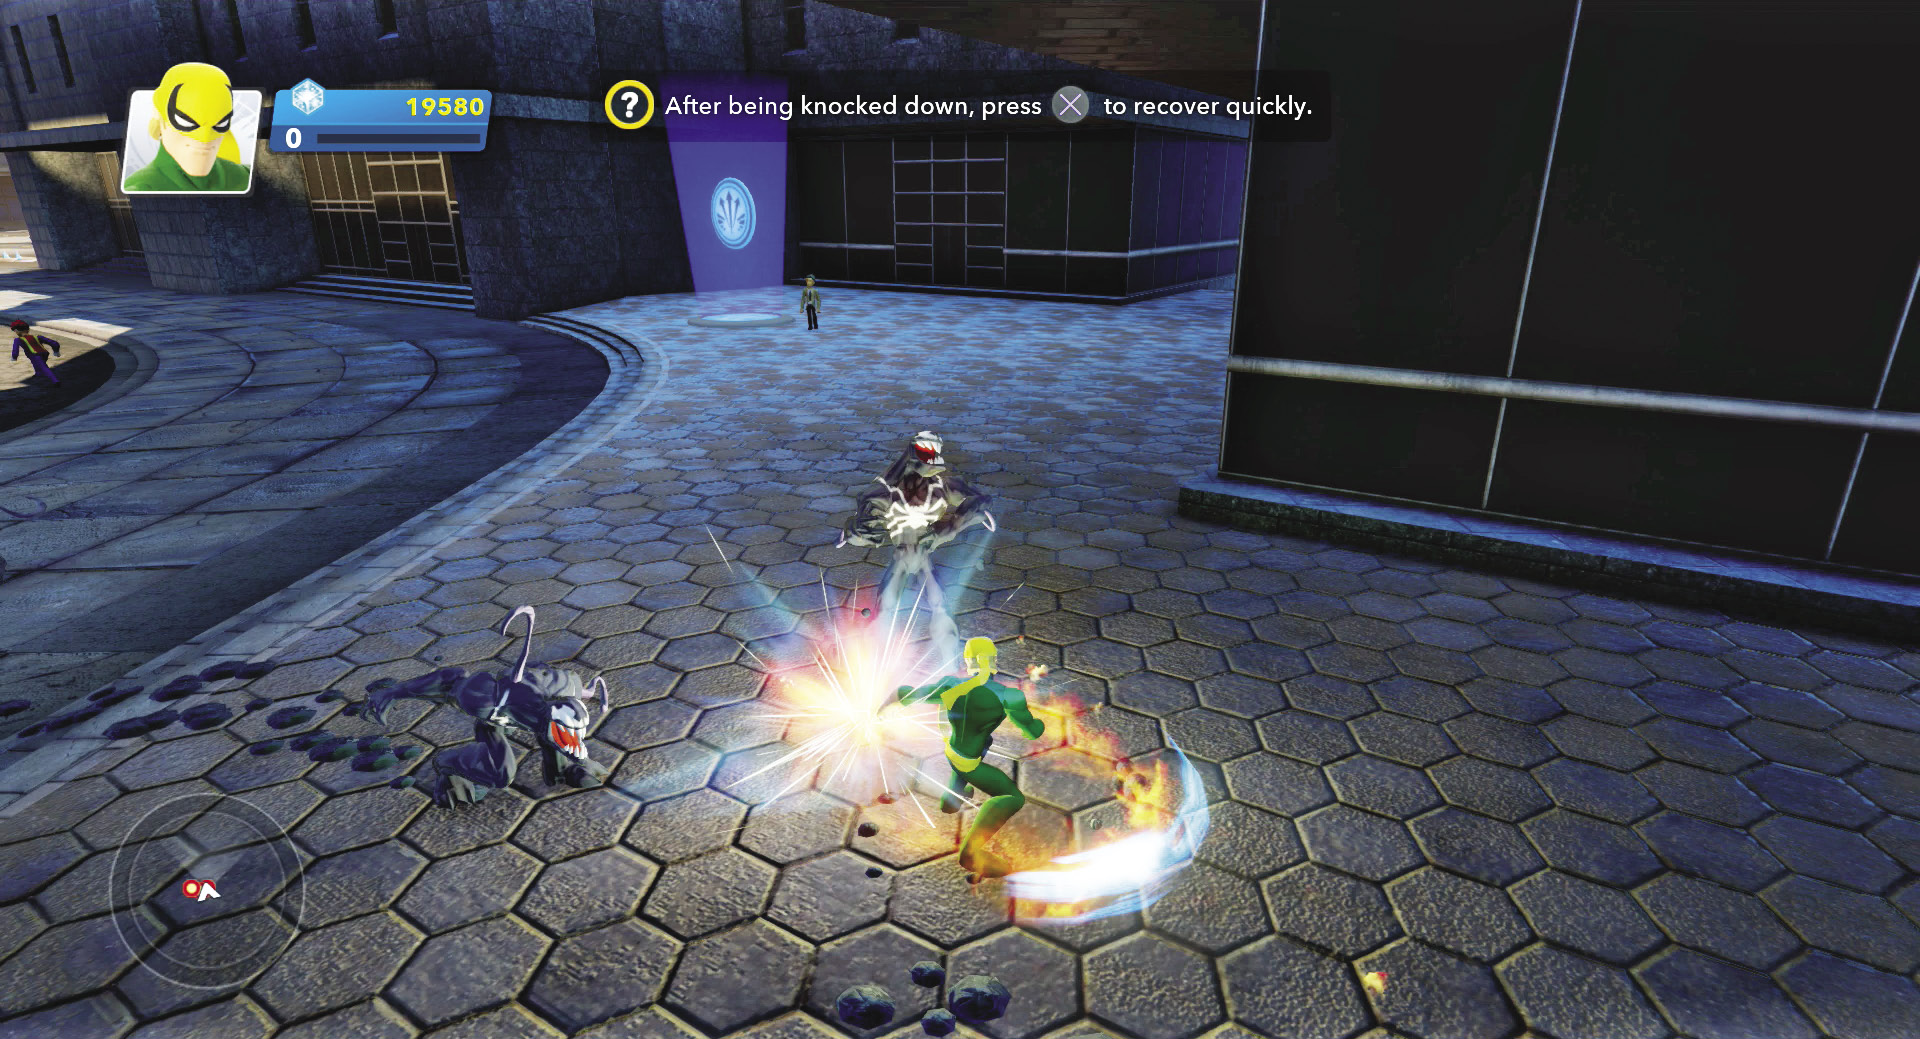
Luke Cage needs you to bust up the Symbiote party in the streets. The first Symbiote group he sends you after is right behind him in front of the Oscorp building. Run over and show them some of your lightning-fast moves.
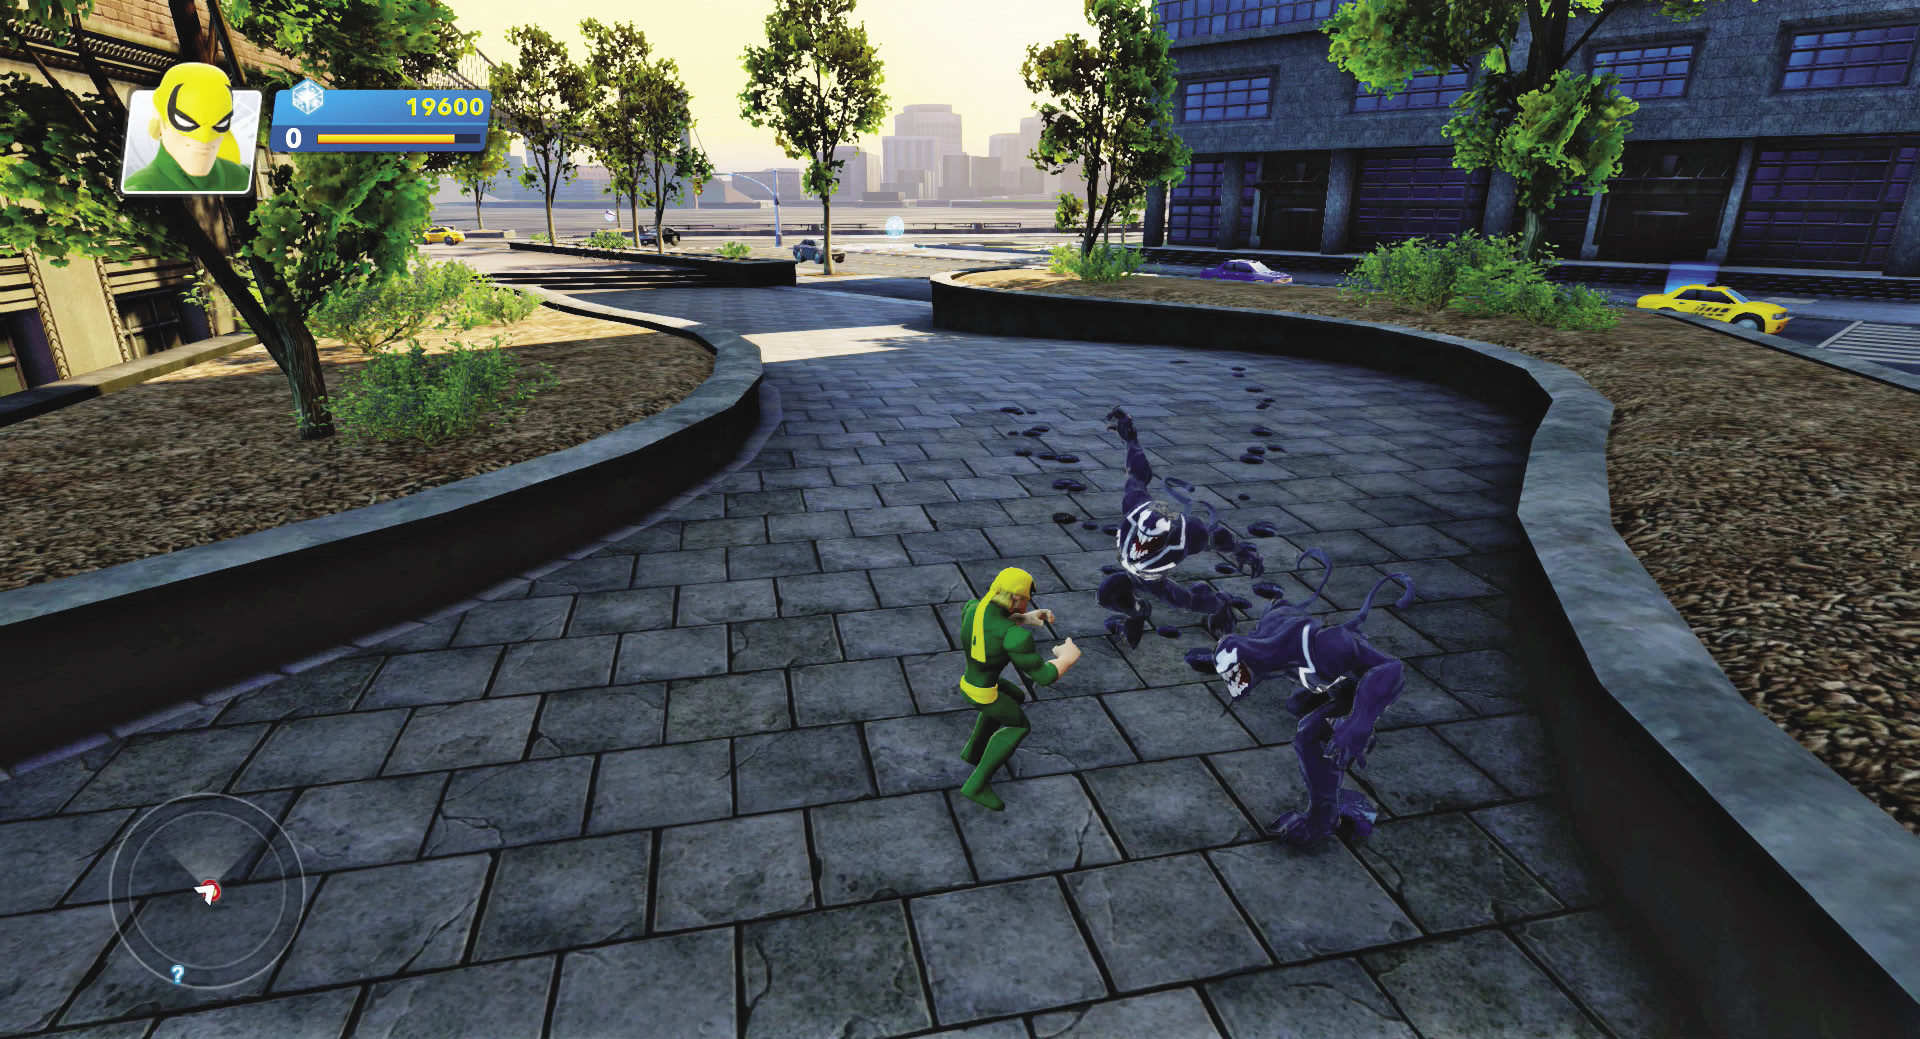
When you’re finished with the first group, cross the street and hunt down the second group. After you throw some martial arts mojo the Symbiotes’ way, you will probably level up and can pick up your first skill. Think about holding that point to buy Shou-Lao the Undying, which conjures a fiery attack to damage nearby enemies in a small circle around you, when you level up again.
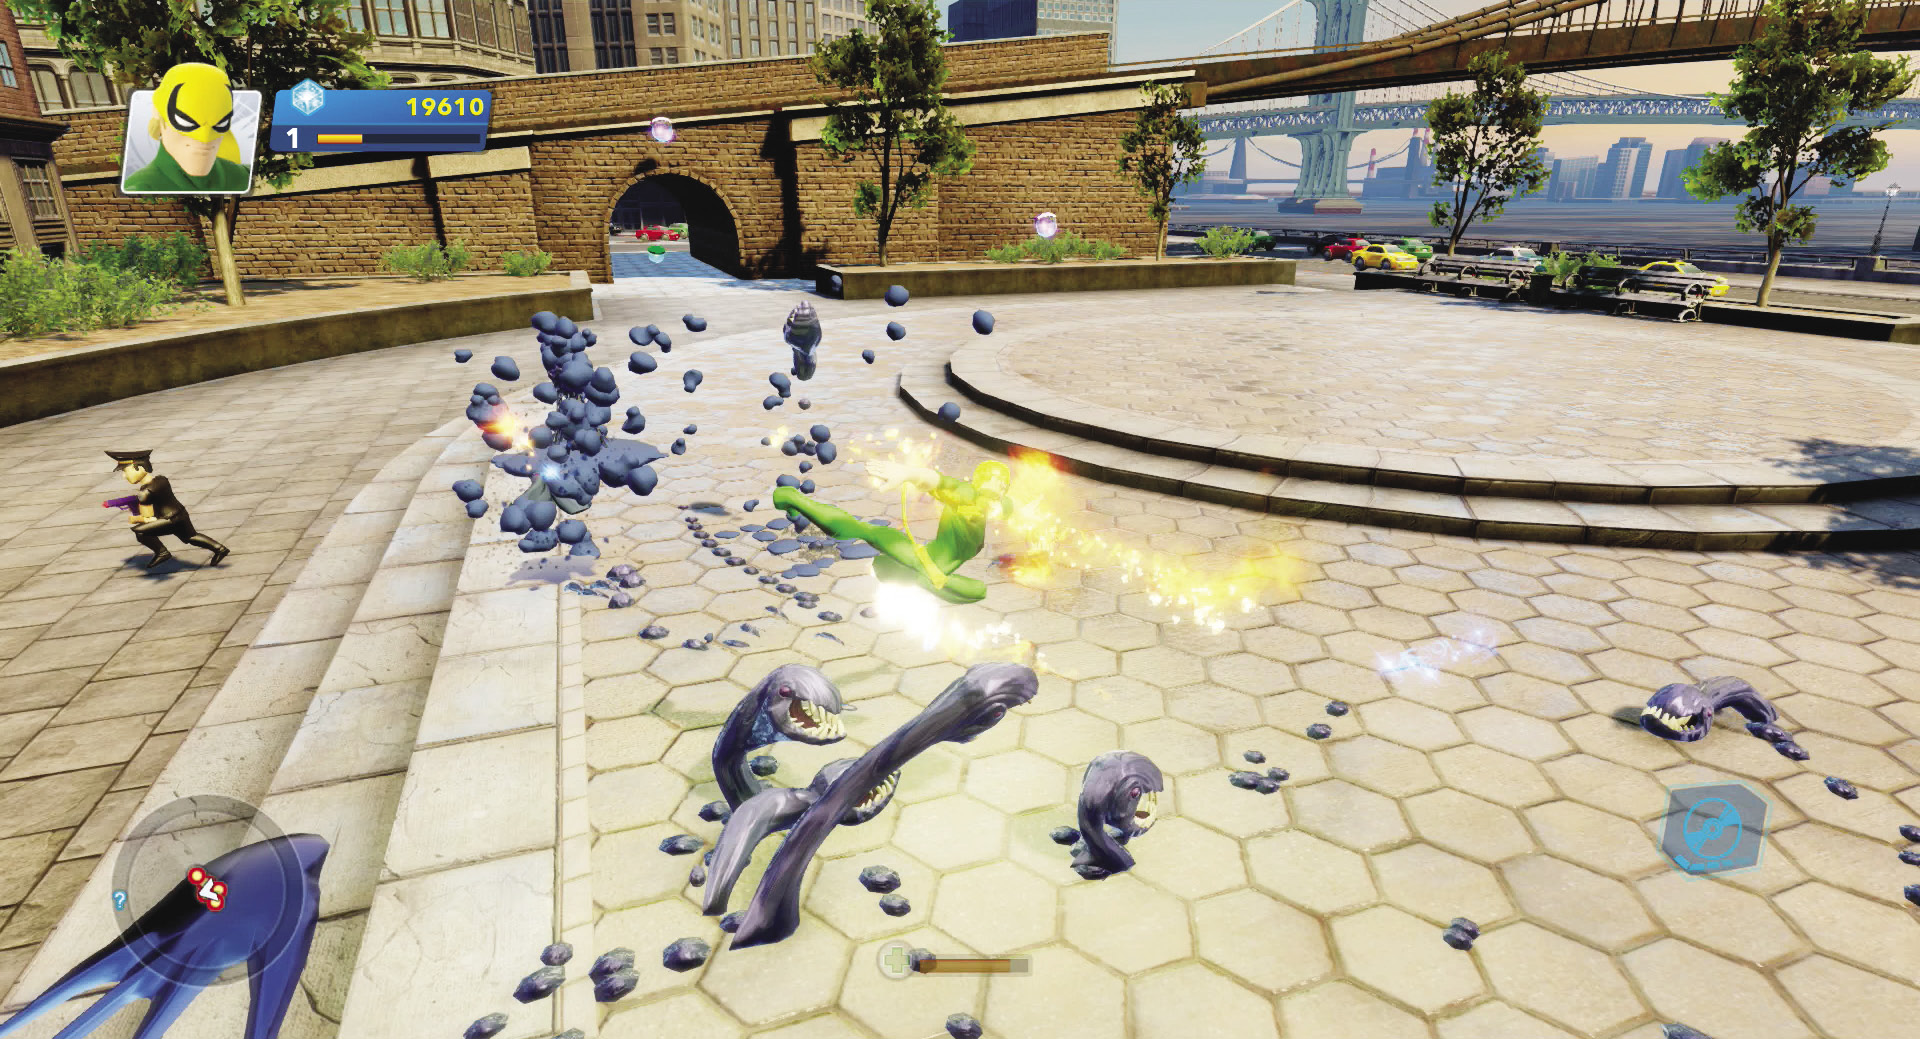
Head toward the bridge for the final group. Swarming Symbiotes threaten the S.H.I.E.L.D. agents desperately trying to hold them at bay. Give the enemies some grief, but even as you eliminate the first wave, a second wave spawns some regular Symbiotes for extra measure. If you’ve reached third level, use Shou-Lao the Undying as they converge on you, then one-two the closest targets as you dazzle them with your speed.
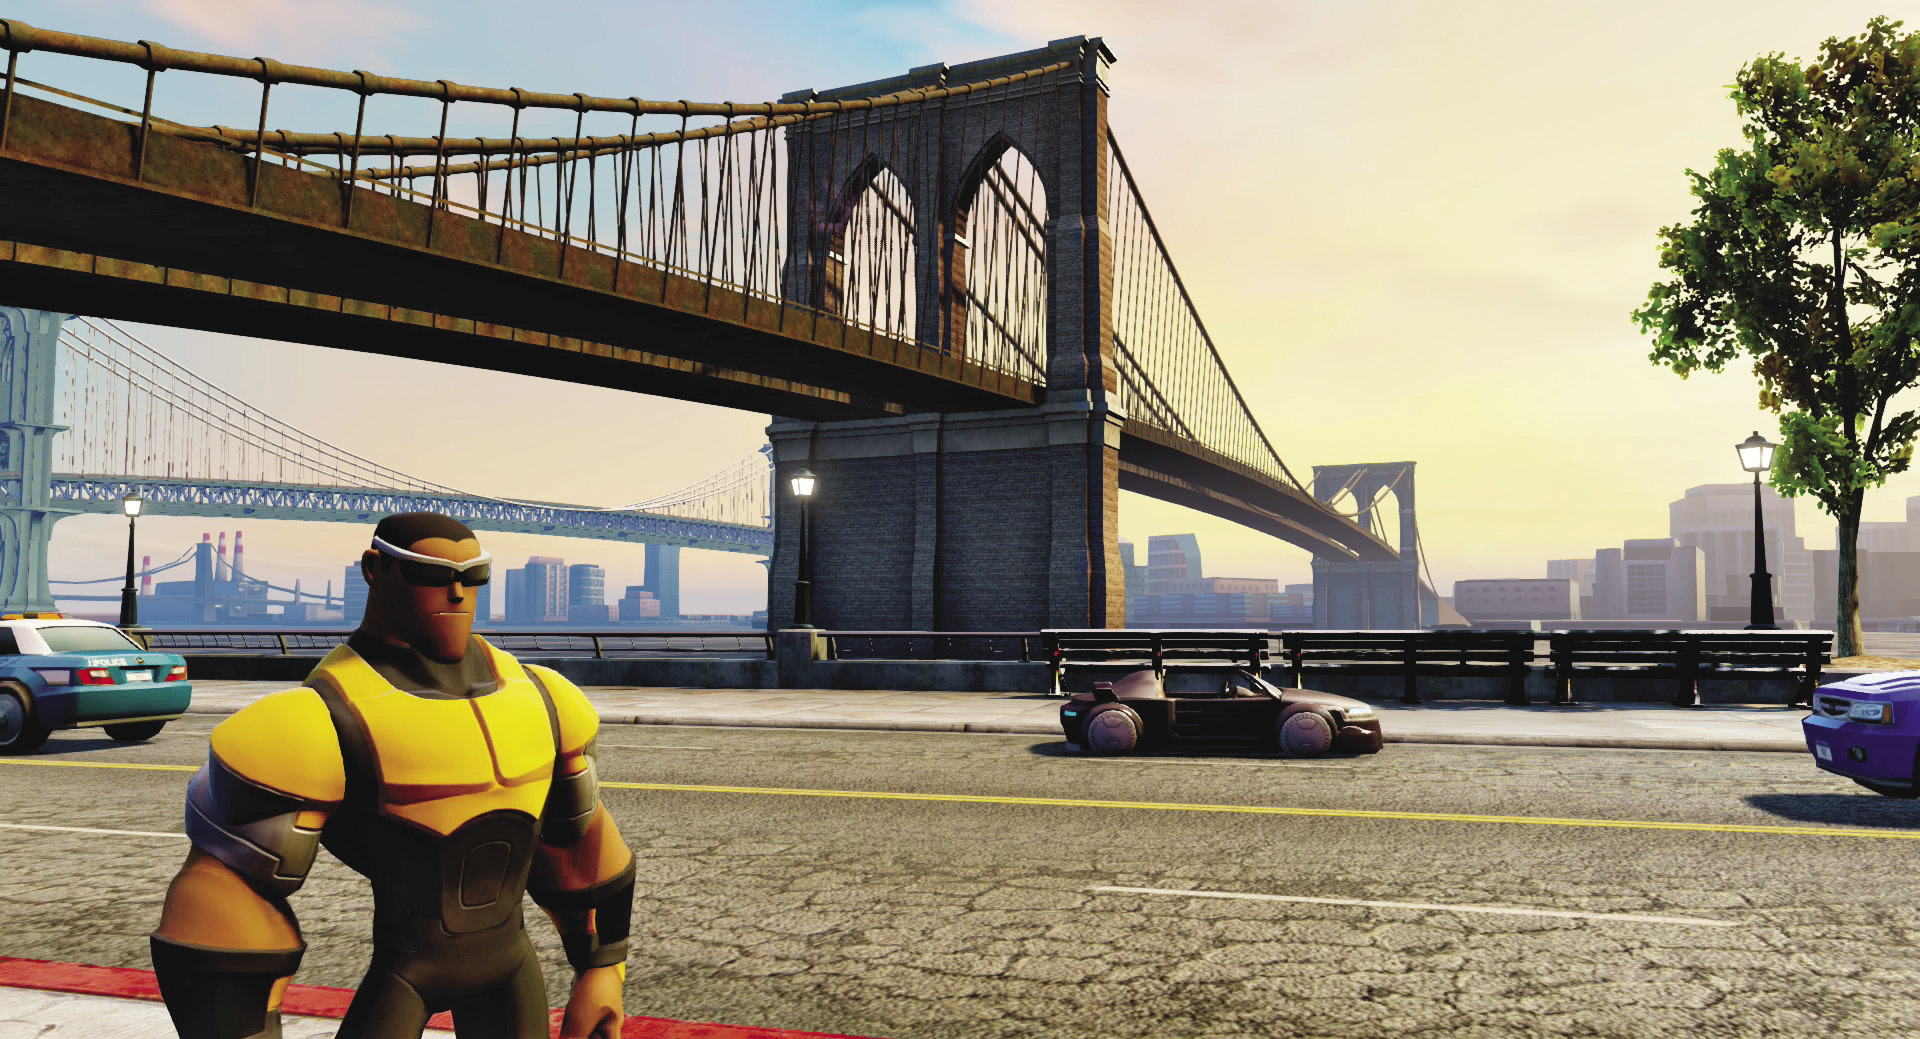
At mission’s end, Luke Cage rewards you with your very own S.H.I.E.L.D. Hovercar. Now you can ride in style—and, even better, reach those rooftops without a spiderweb.

New Challenge Available:Hovercar Race
Interrupted Upload
Green Goblin’s Lab (Third Trip)

Recommended Hero: Nick Fury
- Mission Giver: White Tiger
- Type: Defend
- Reward: 200 Blue Sparks, “Black Cat”, and “Symbiote”
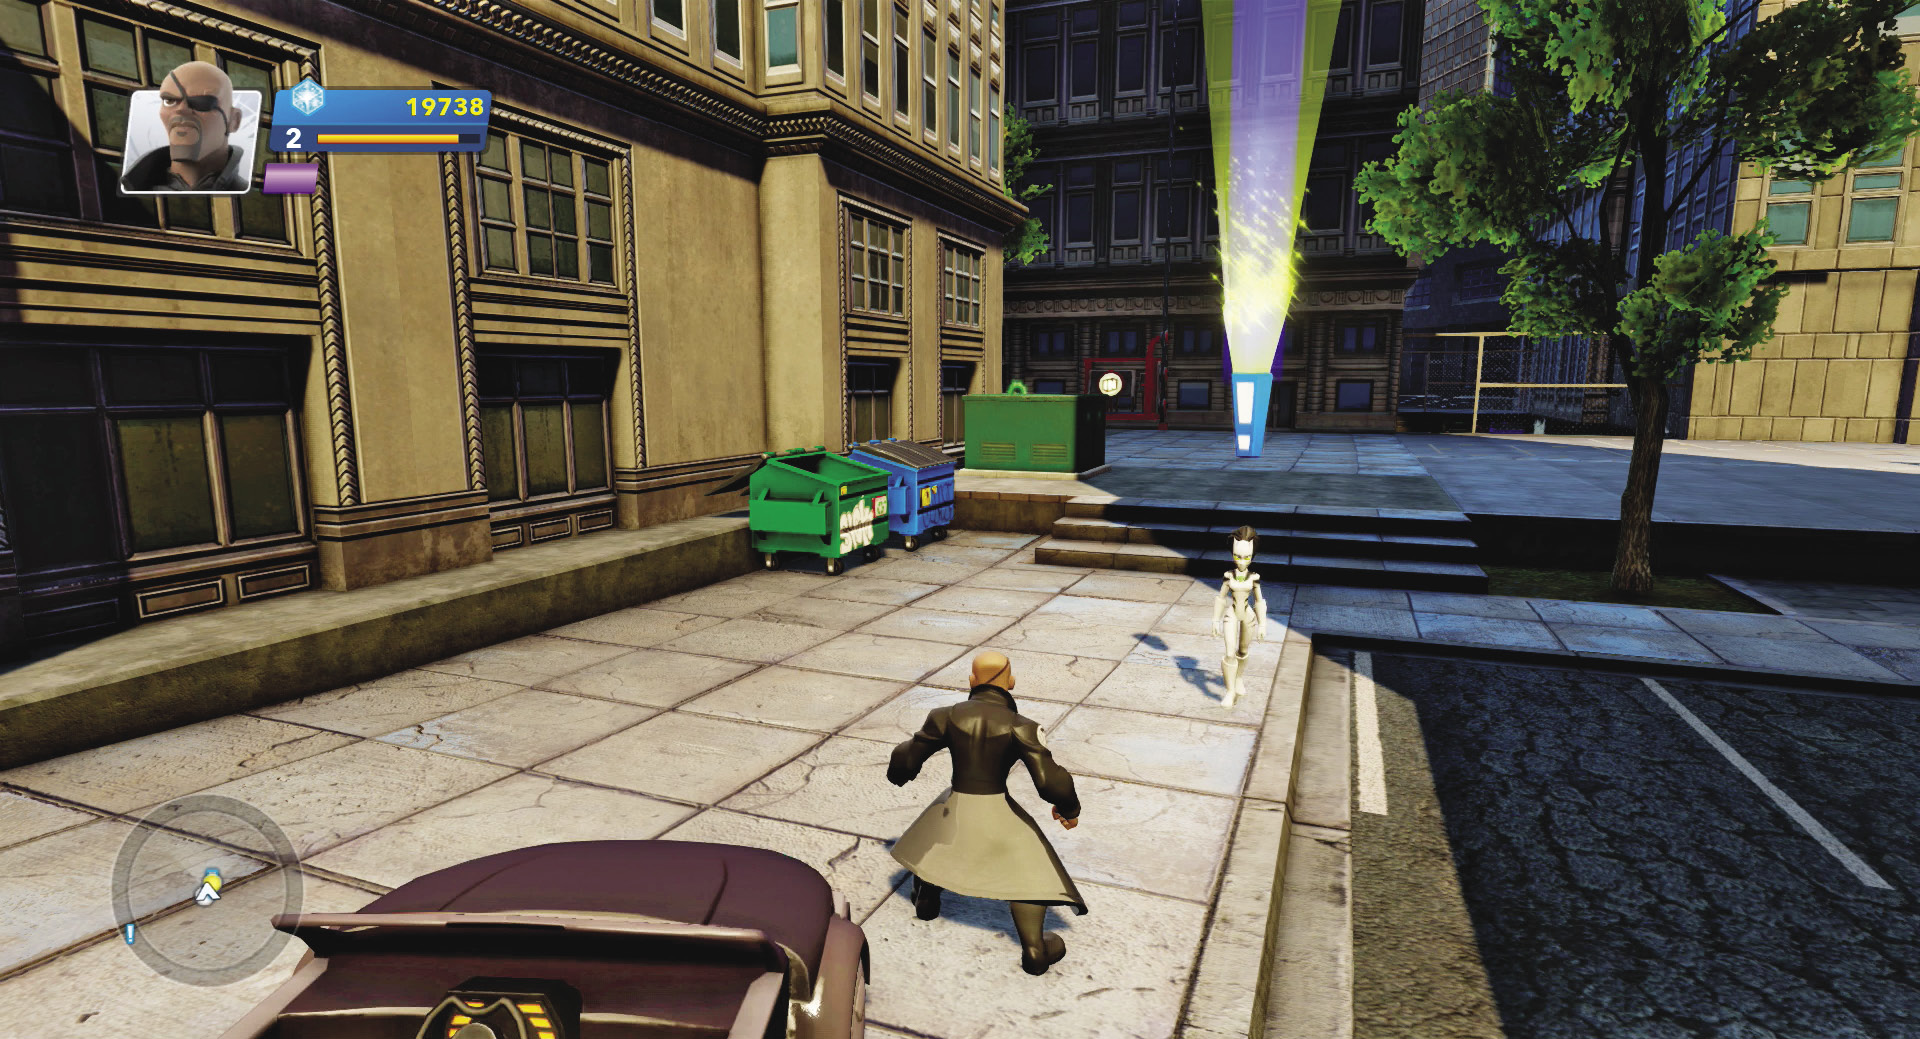
White Tiger is sending you back into the lab. An important Oscorp scientist has gone missing, so the only option for getting his data is to get to his computer in the lab and upload the data to S.H.I.E.L.D. Straighten your trench coat, readjust your eye patch, and jump in the Hovercar for a cruise across town to the rooftop with the lab entrance.
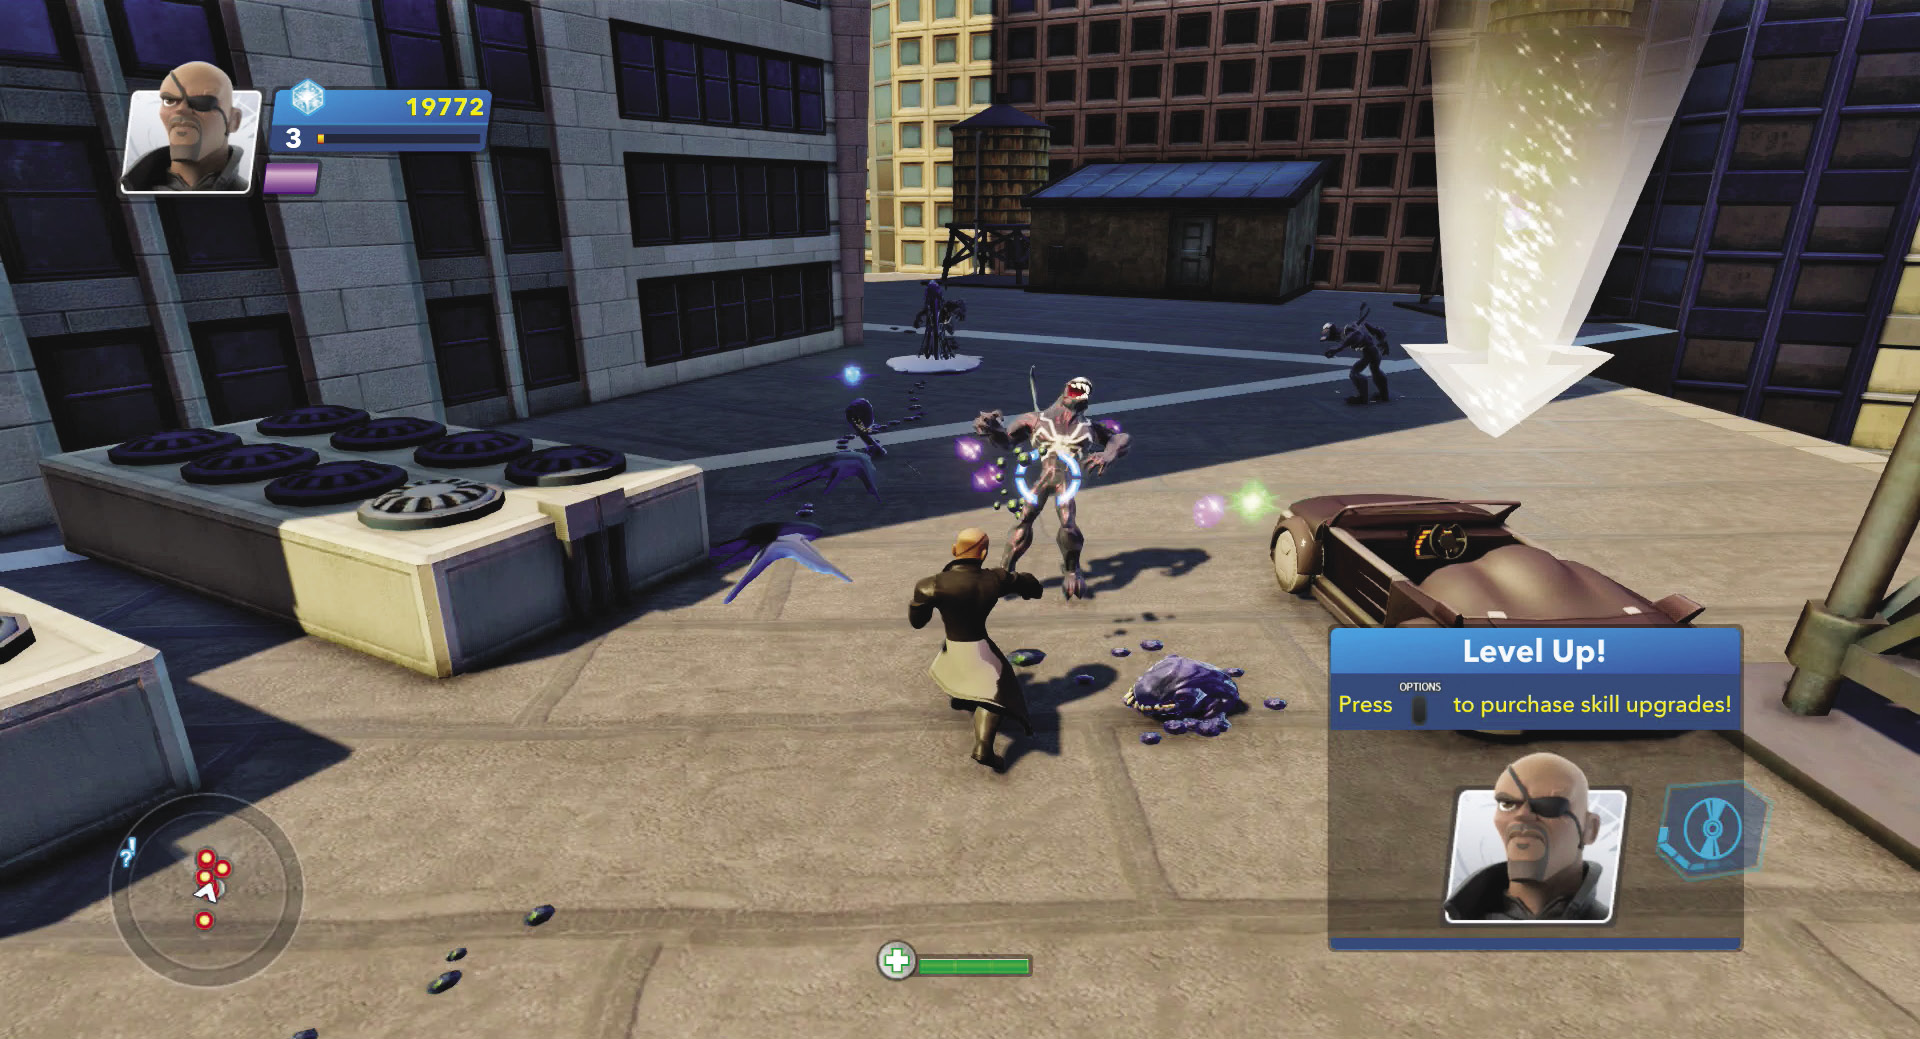
Prepare for a mega-battle up on the rooftop. A variety of more than a dozen Symbiotes will assault you when you touch down on the roof. Dodge out of harm’s way and start returning fire at range with your pistols as you circle the roof. Be careful not to fall off the roof during your circling, and if you see an opportunity to kick one of your enemies over the edge, go for it.
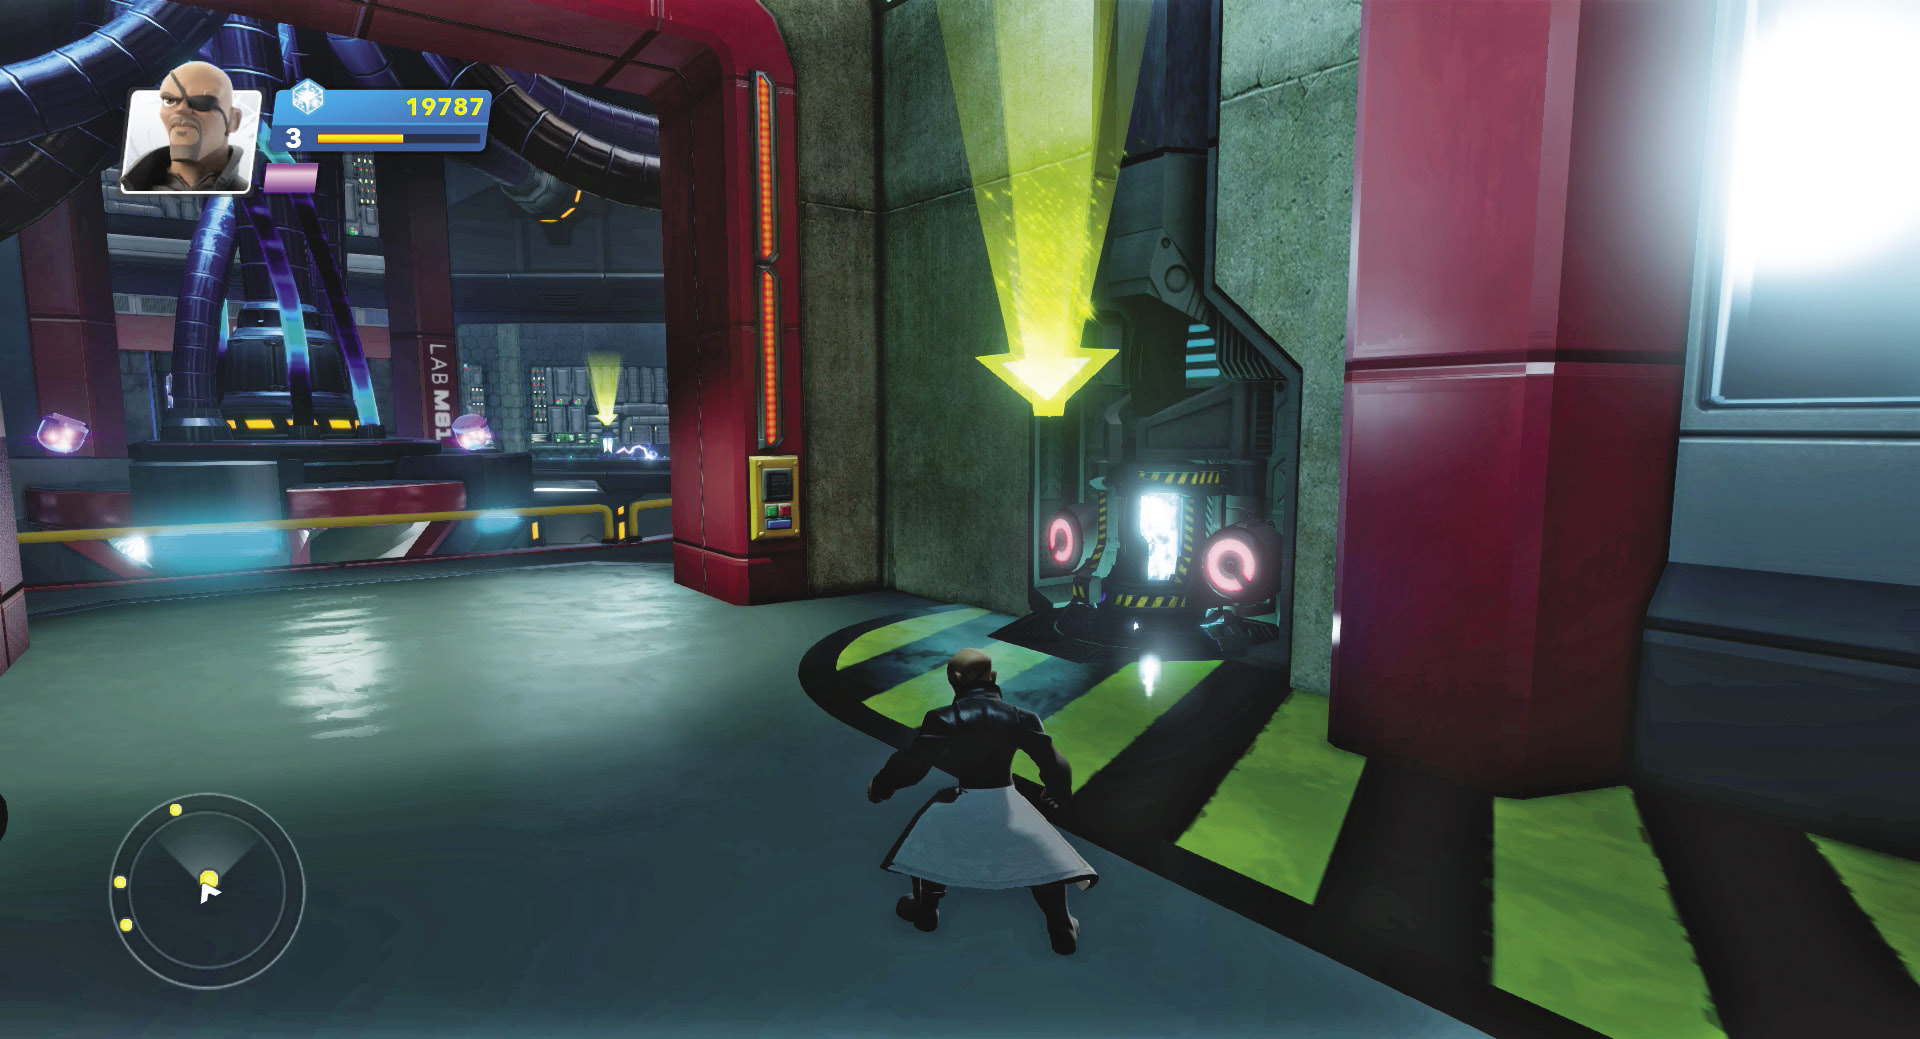
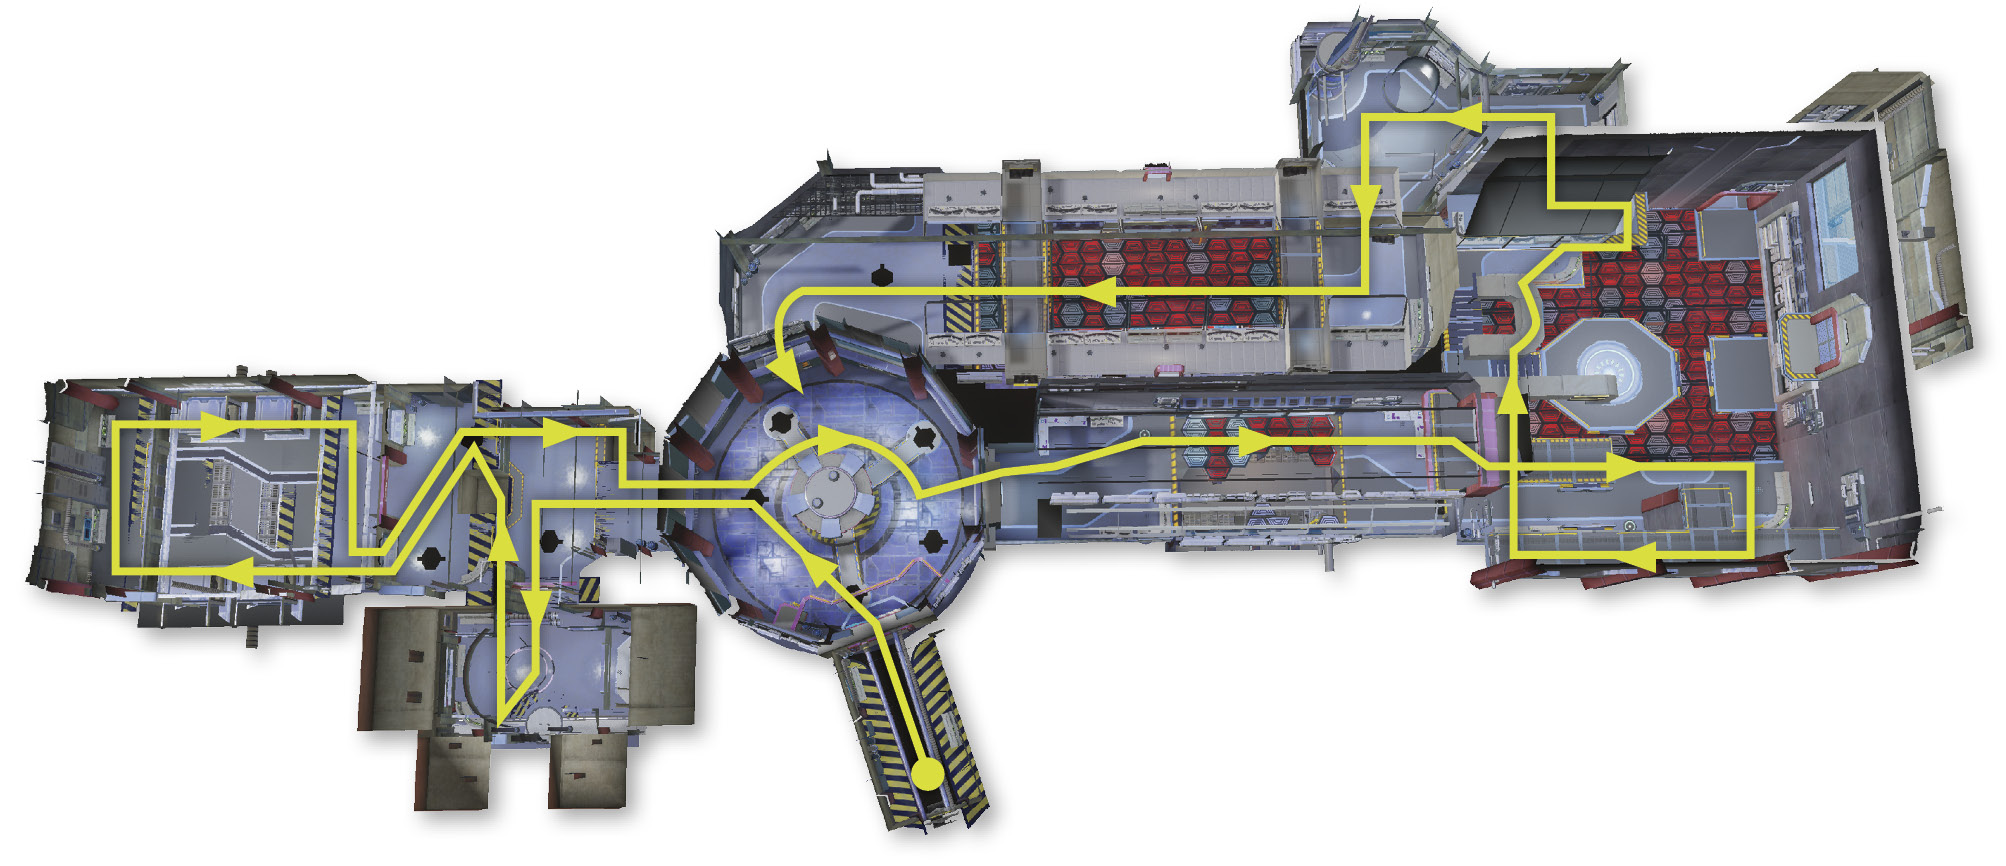
Take the door into the lab after making goo of the last of the Symbiotes. Inside the facility, walk to your right and break the power cell out of the wall. Pick it up and carry the cell into the central chamber. Drop down with the cell and drop it on the first empty conduit on the left. Destroy the three Symbiotes guarding the room and then enter the new wing opened by the power cell.
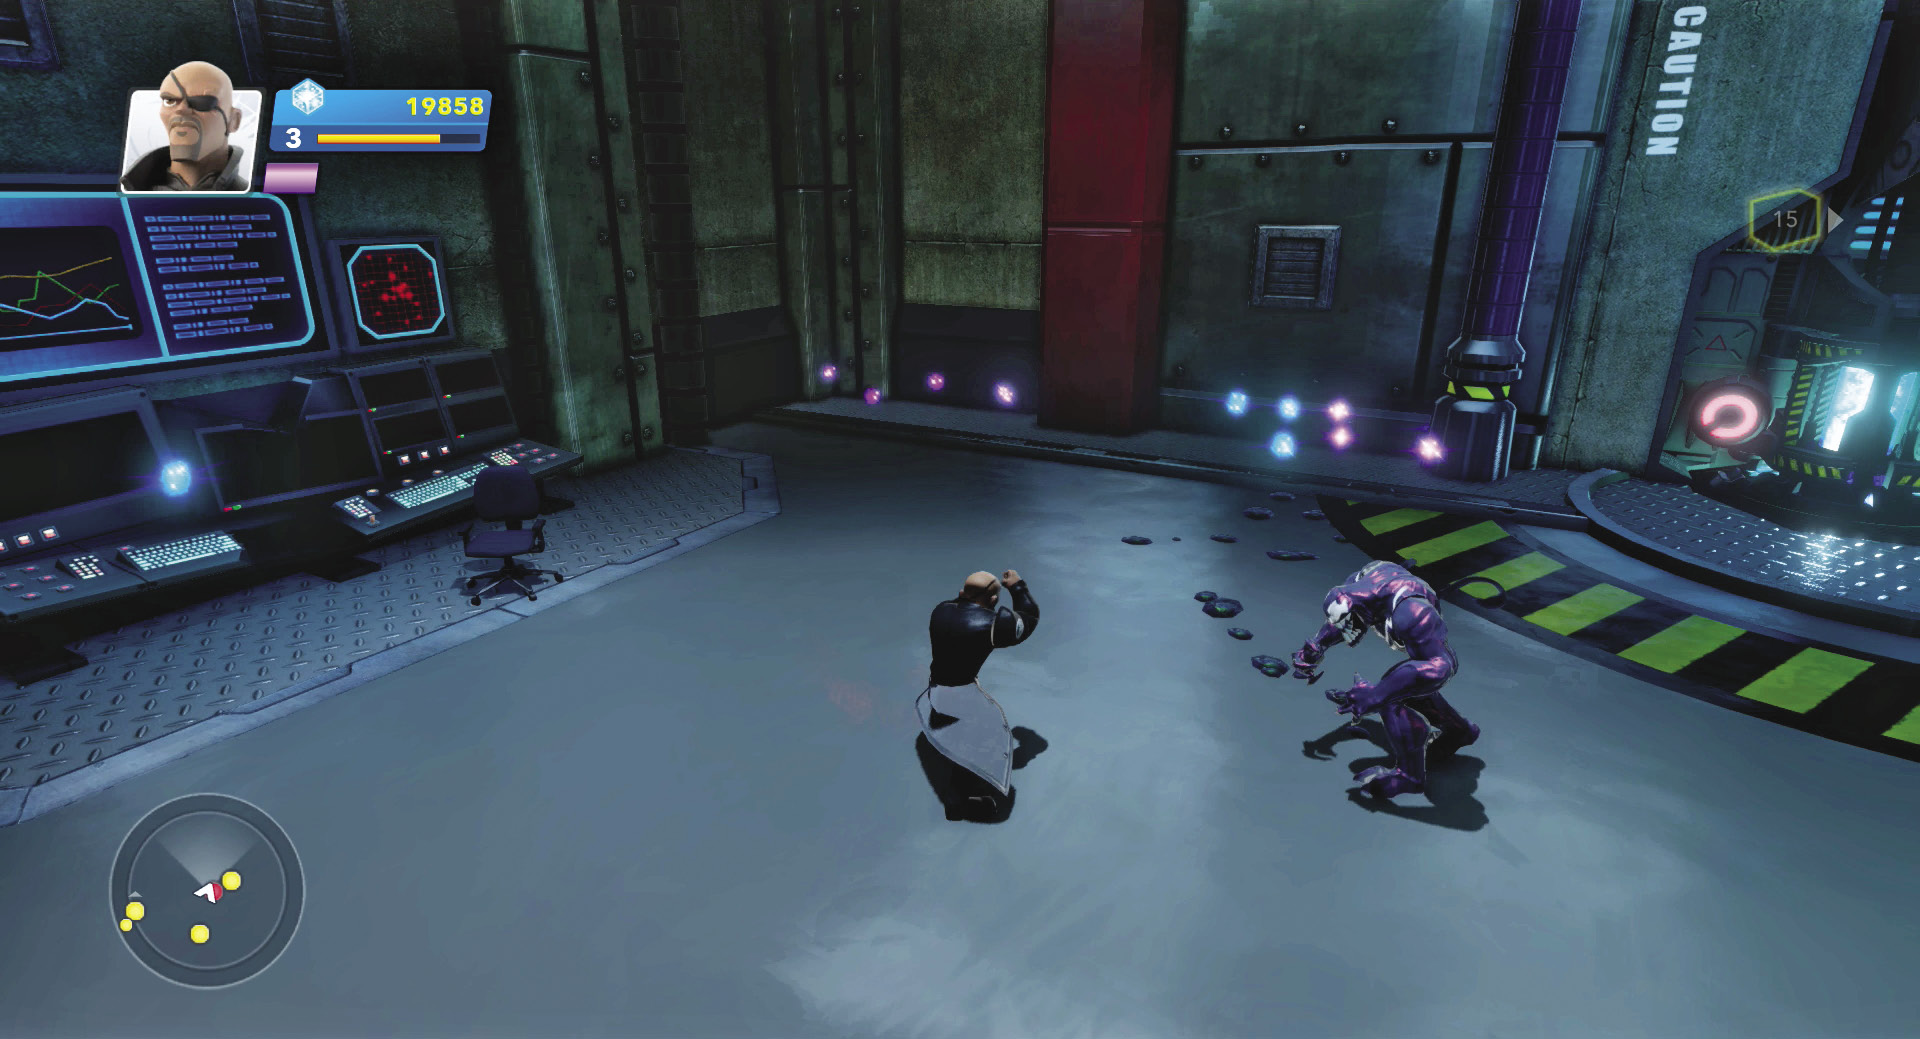
Jump down into the next area and smash the shuttered wall to your left. Beat back the Symbiotes in this side room and smash the power cell out of its wall socket. Carry your new power cell back into the other room and take the elevator up to the higher platform. Drop the power cell on the door conduit and enter the next area.
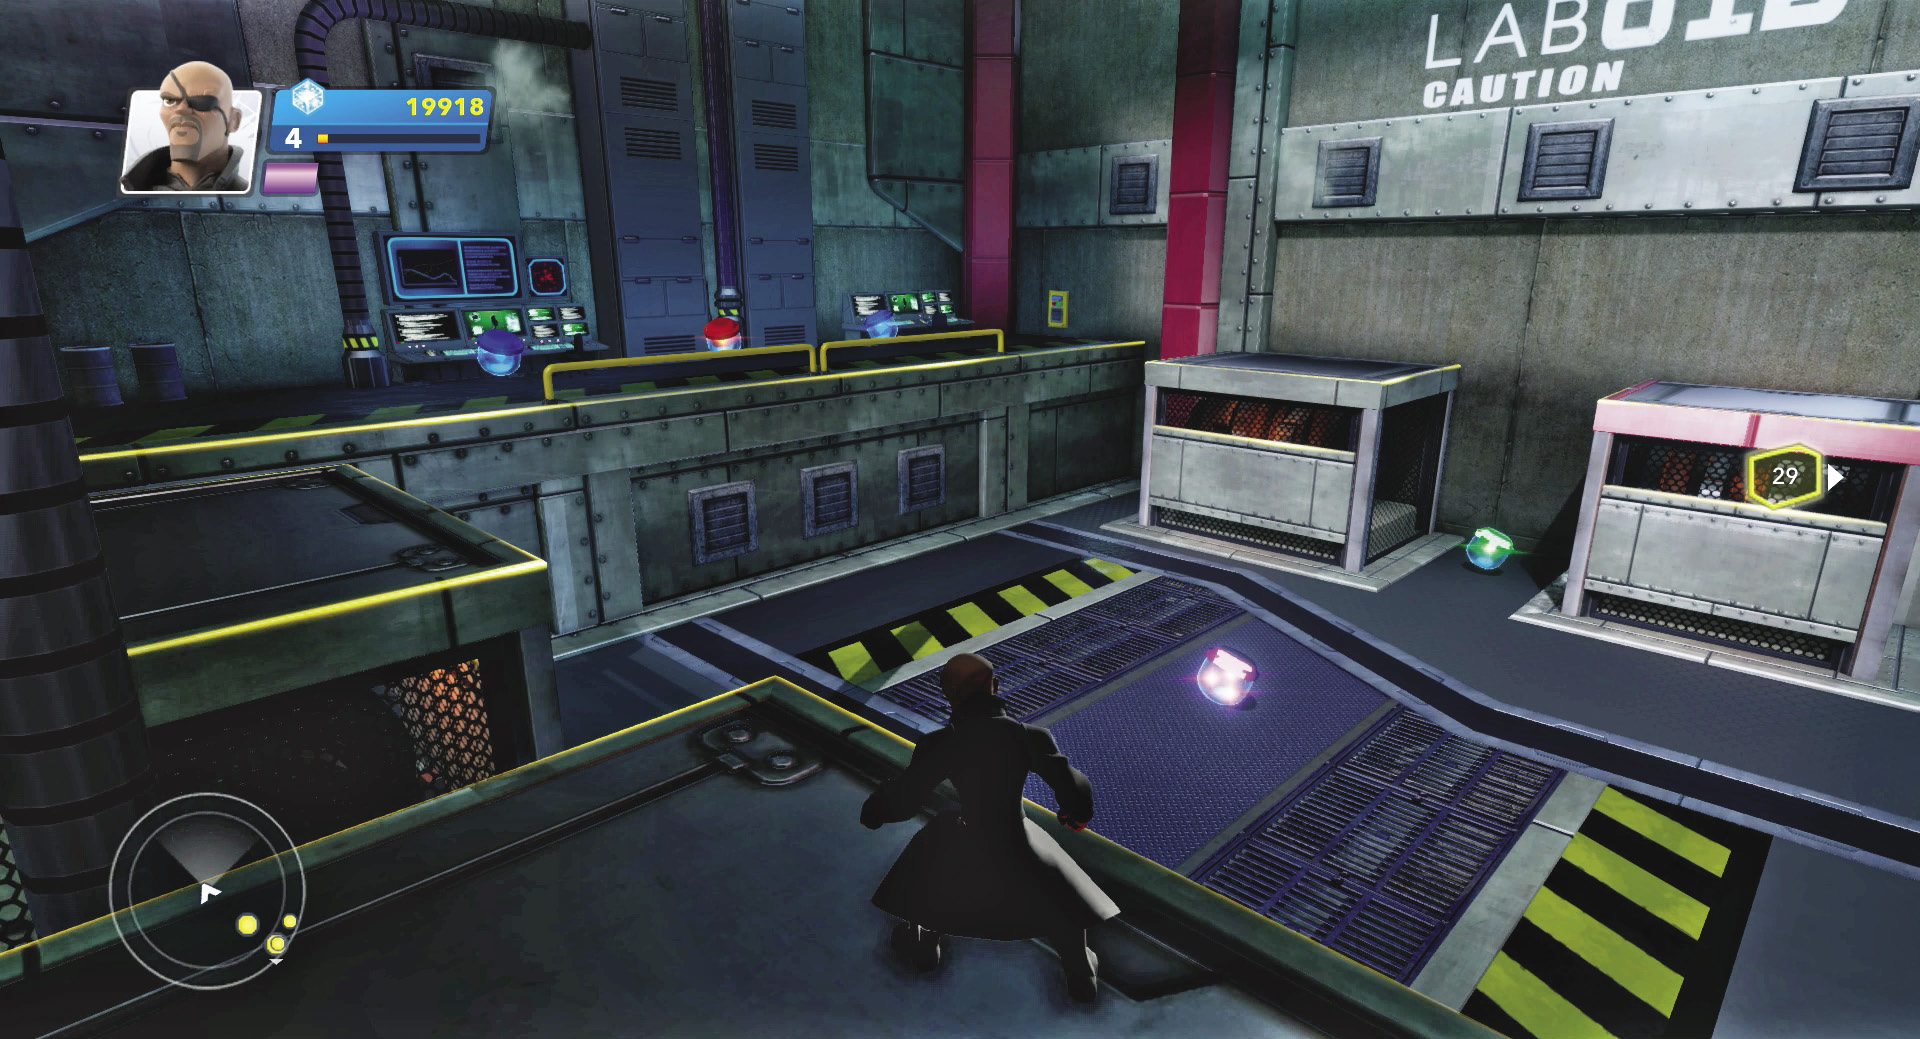
This side area contains a large battle area where you can hone your skills (and pump up your experience) on a Symbiote horde. Feel free to scoop up capsules here if you like, then exit and reclaim your power cell. Drop it on the far side of the platform on the elevator conduit to activate the elevator back to the central chamber.
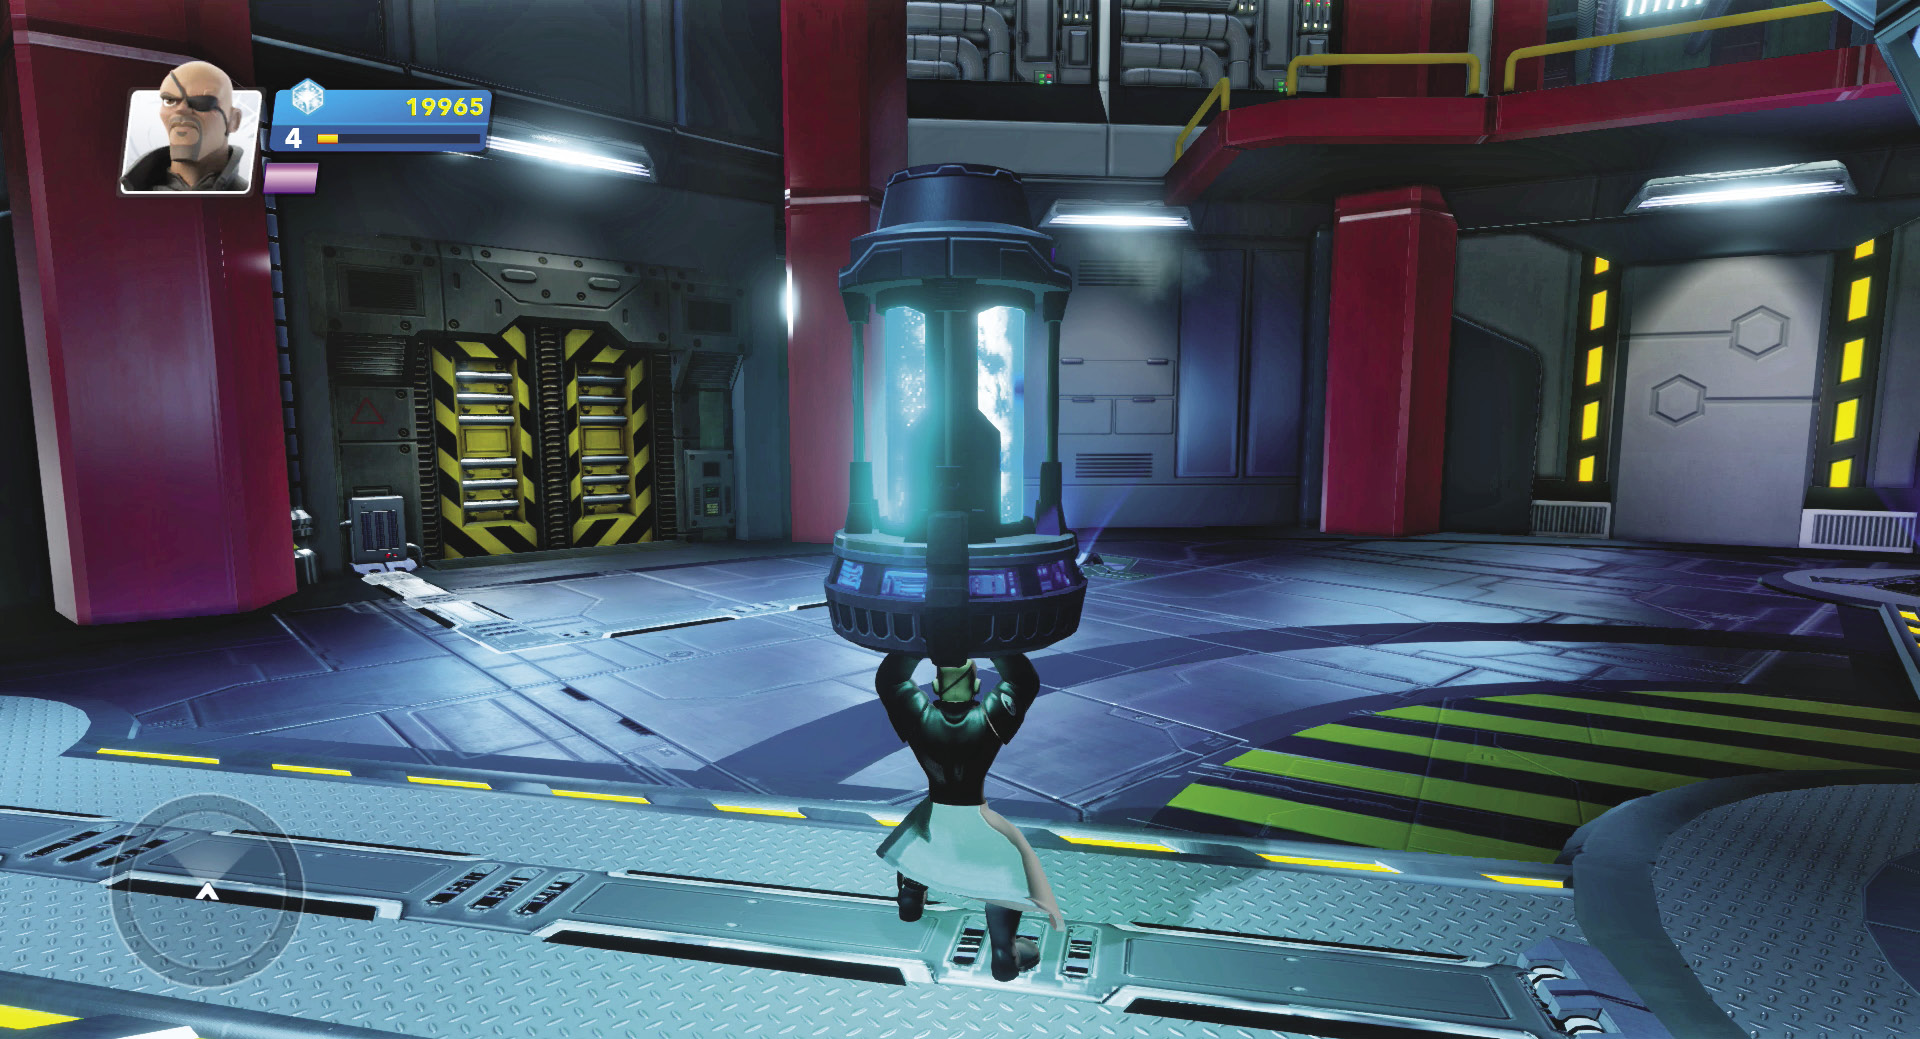
Carry the power cell back into the central chamber and drop it on the next empty conduit going clockwise. You’ve just powered up the first part of the machine. Retrieve the other door power cell and carry it over to the second door conduit. Drop it in place to open the second wing.
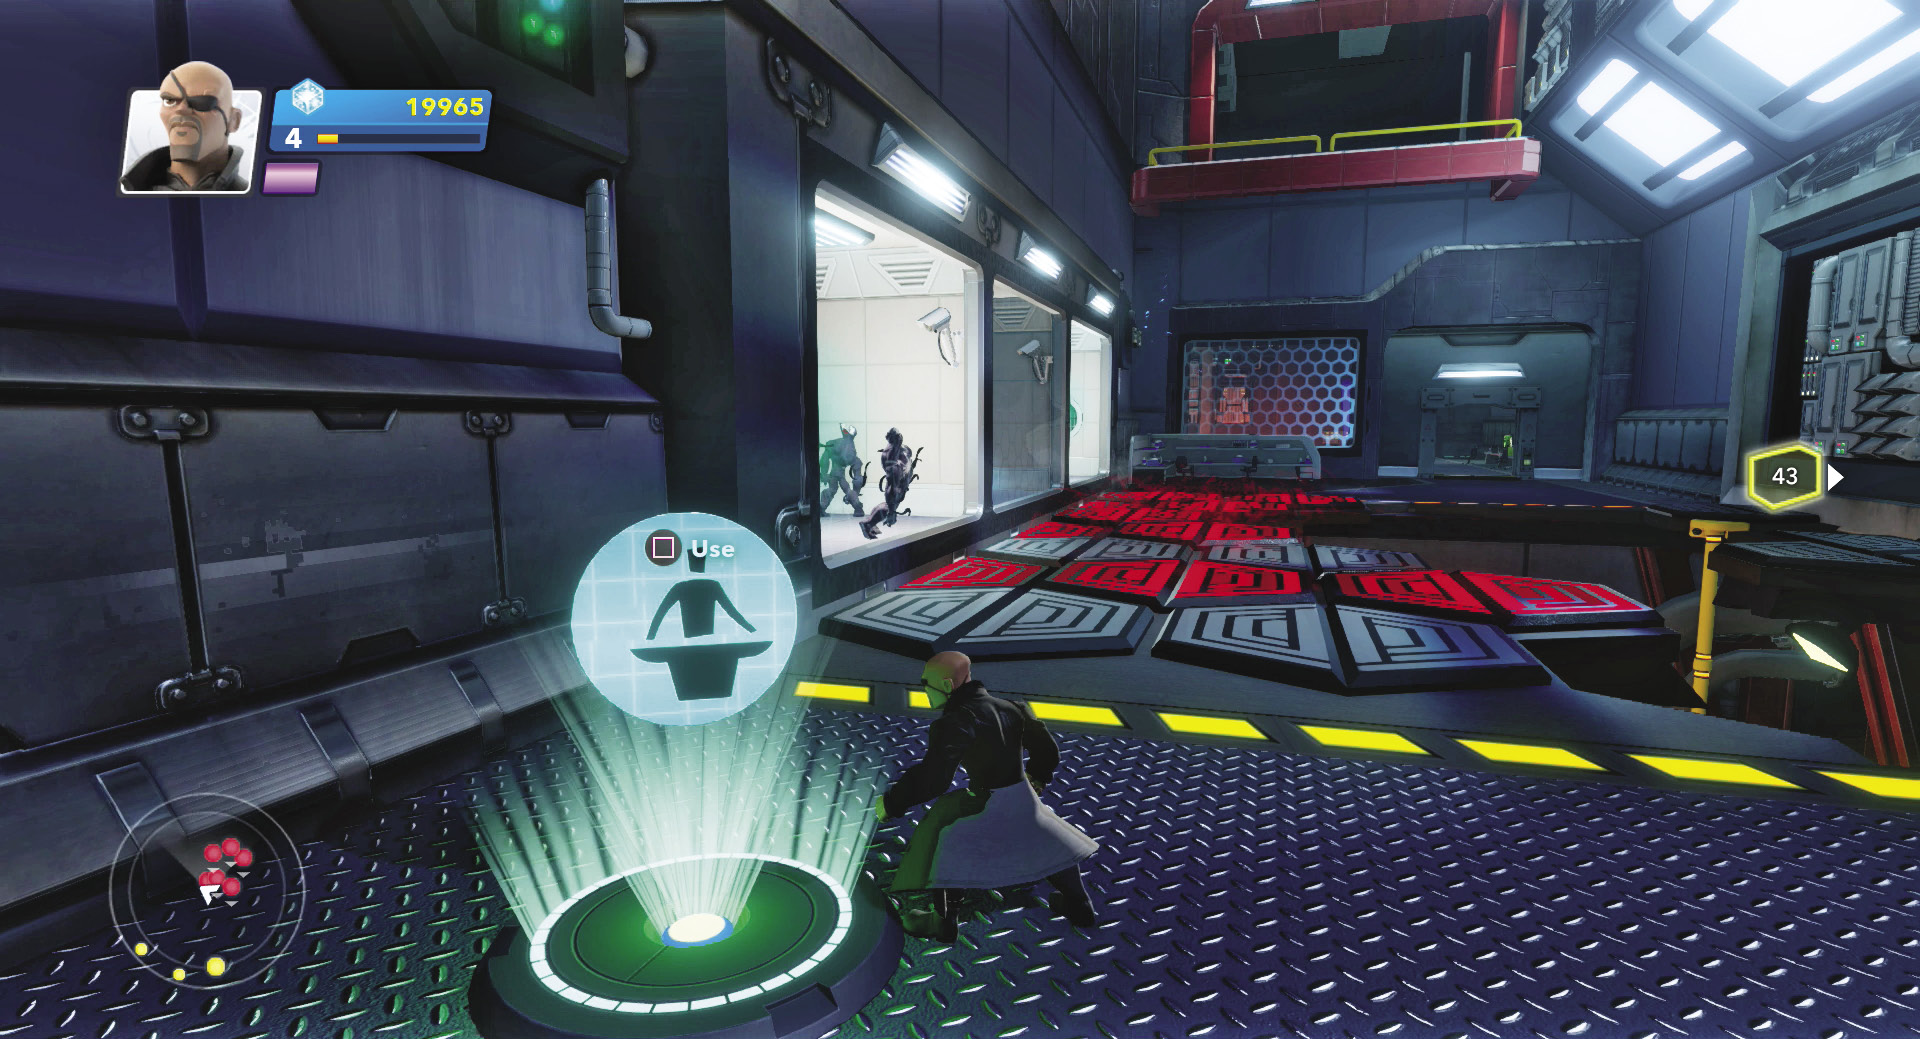
This next room has a large gap that you must cross. Pay heed to the hexagons that look red hot—they are! One step on a red hexagon and you begin to burn up. Use the security console on the floor to shut off the red-hot hexagons and then cross the room to the other side. If you miss, fight a few Symbiotes and use the yellow pole to climb up.
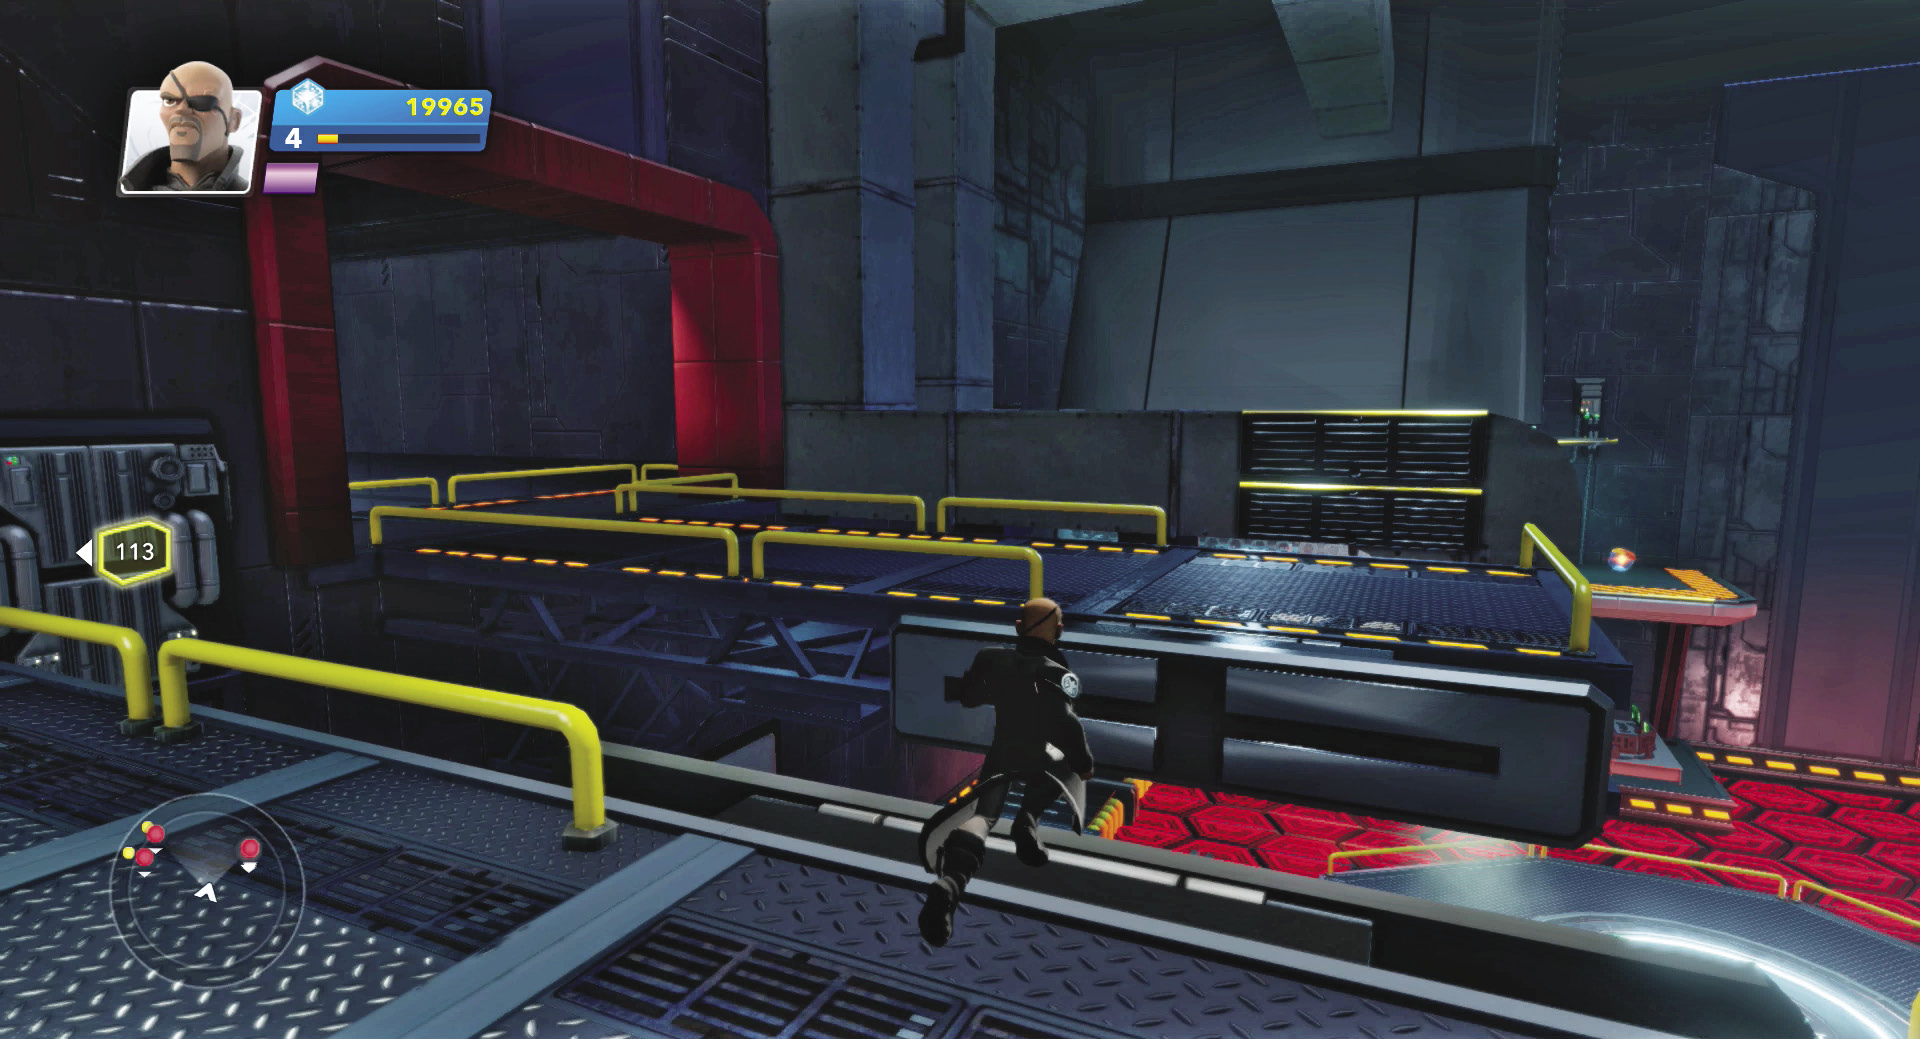
Symbiotes swarm the next room. Stay to the right and climb the yellow pole to the walkway overhead. While the Symbiotes throw goo at you, jump across the upper platform and then across the air ducts.
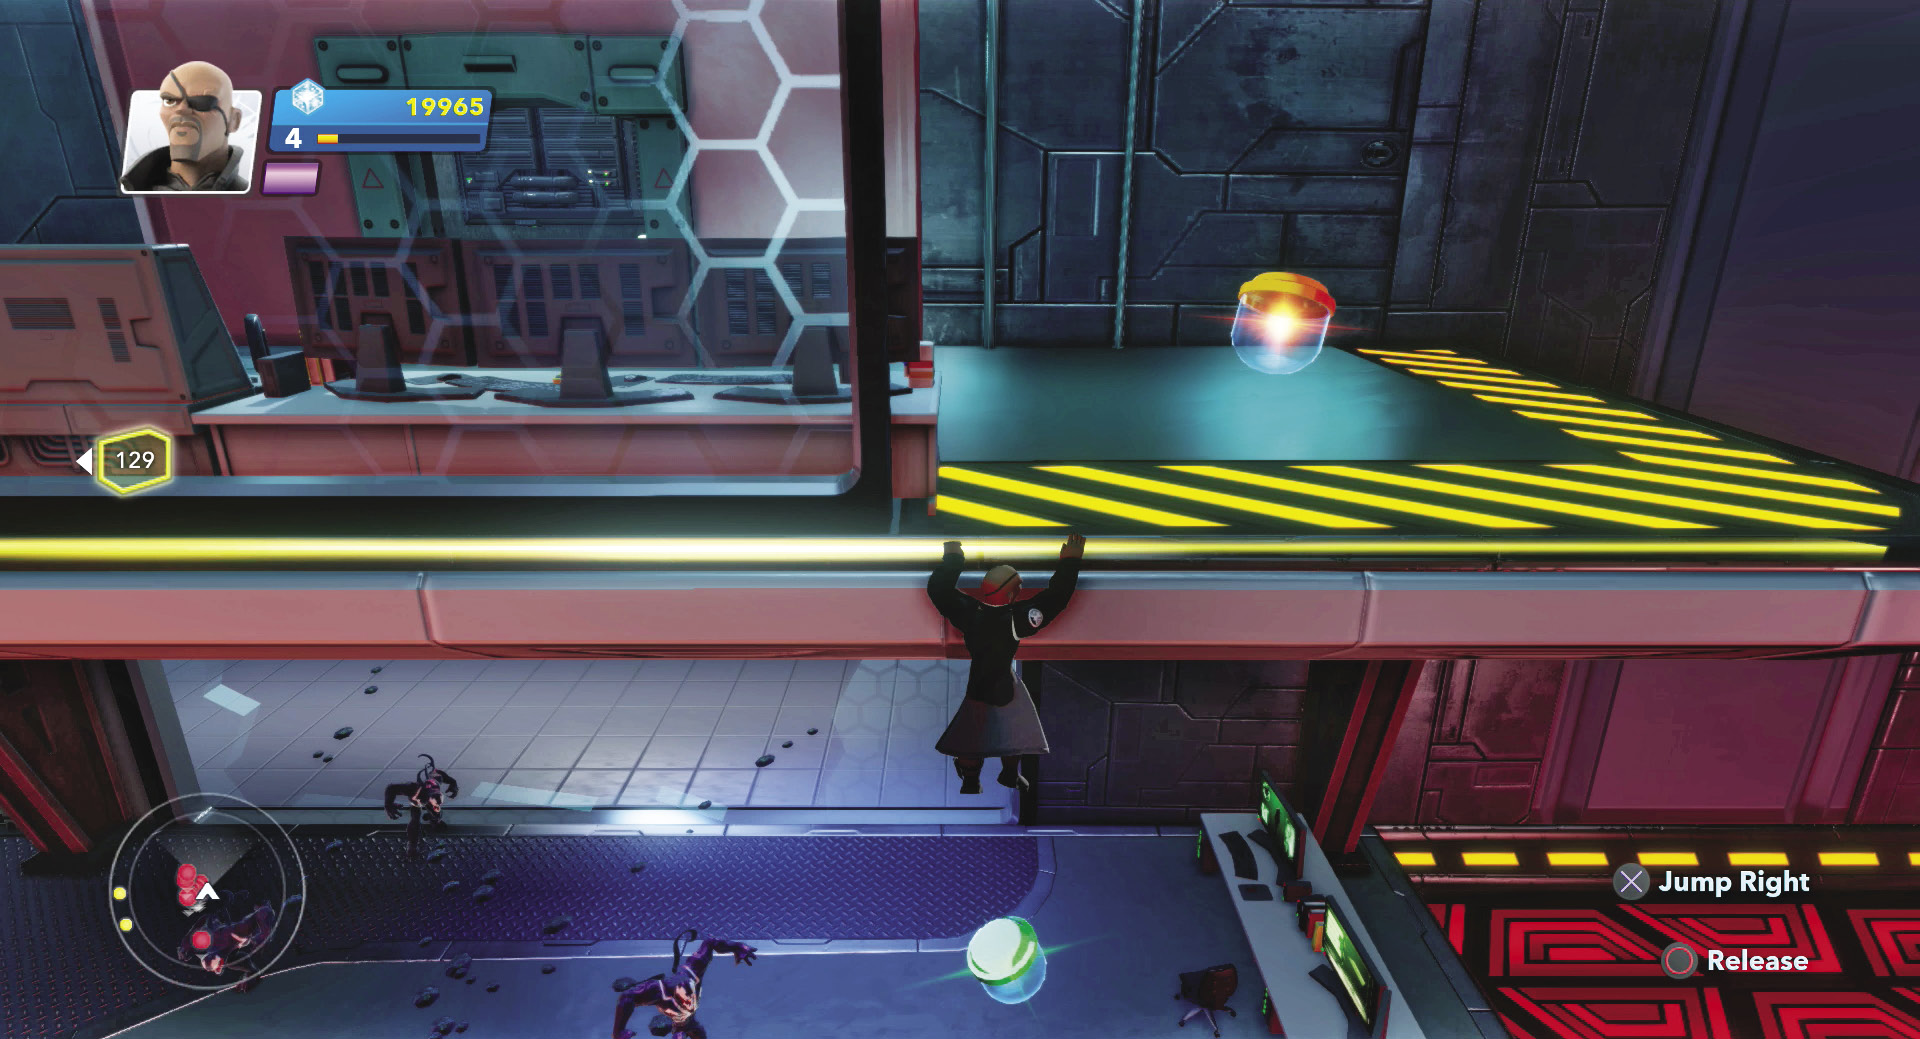
Make one last leap to the yellow railing alongside the control room. Slide along the yellow rail and then drop down or hop up into the control room depending on which yellow railing you grabbed.
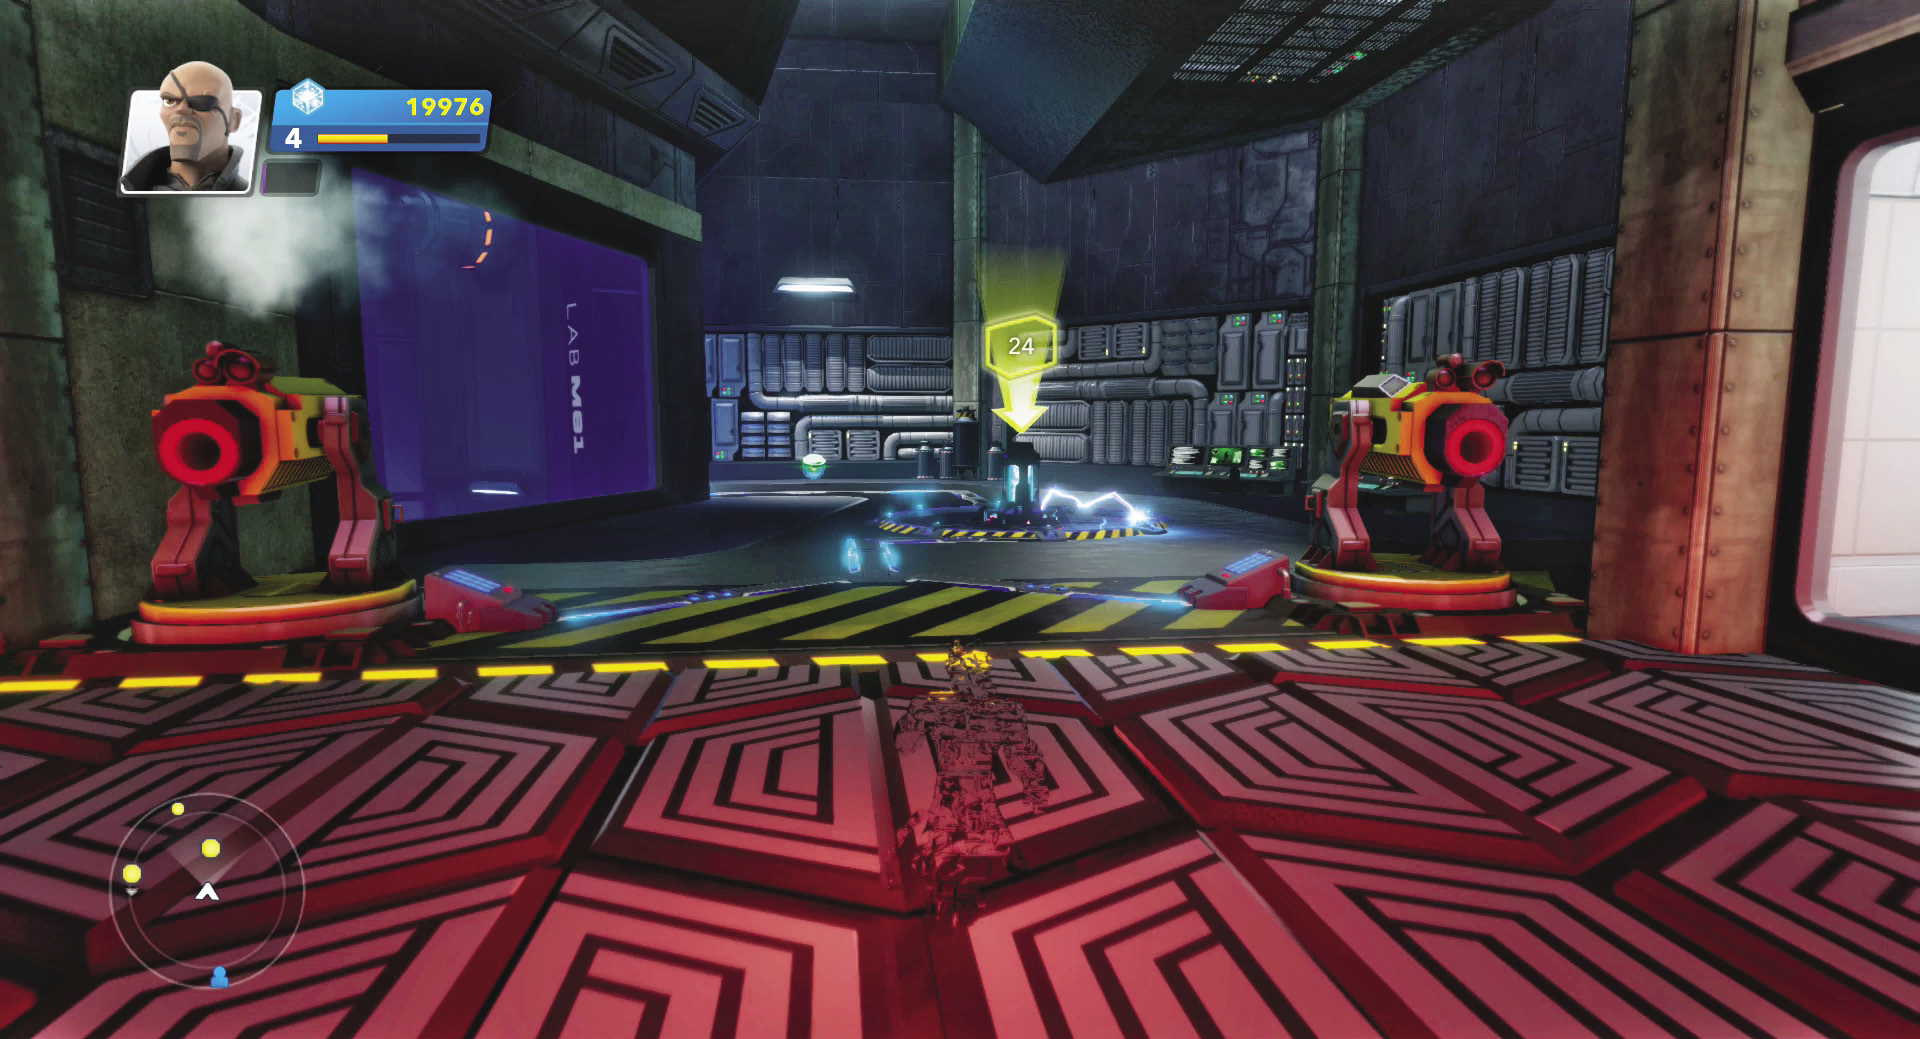
Battle through more Symbiotes in the largest portion of the control room and then head into the next room guarded by a floor of red-hot hexagons and two missile launchers. Use the security console to the right to deactivate the red hexagons. Trigger your Life Model Decoy to attract the homing missiles and run across to the missile launchers.
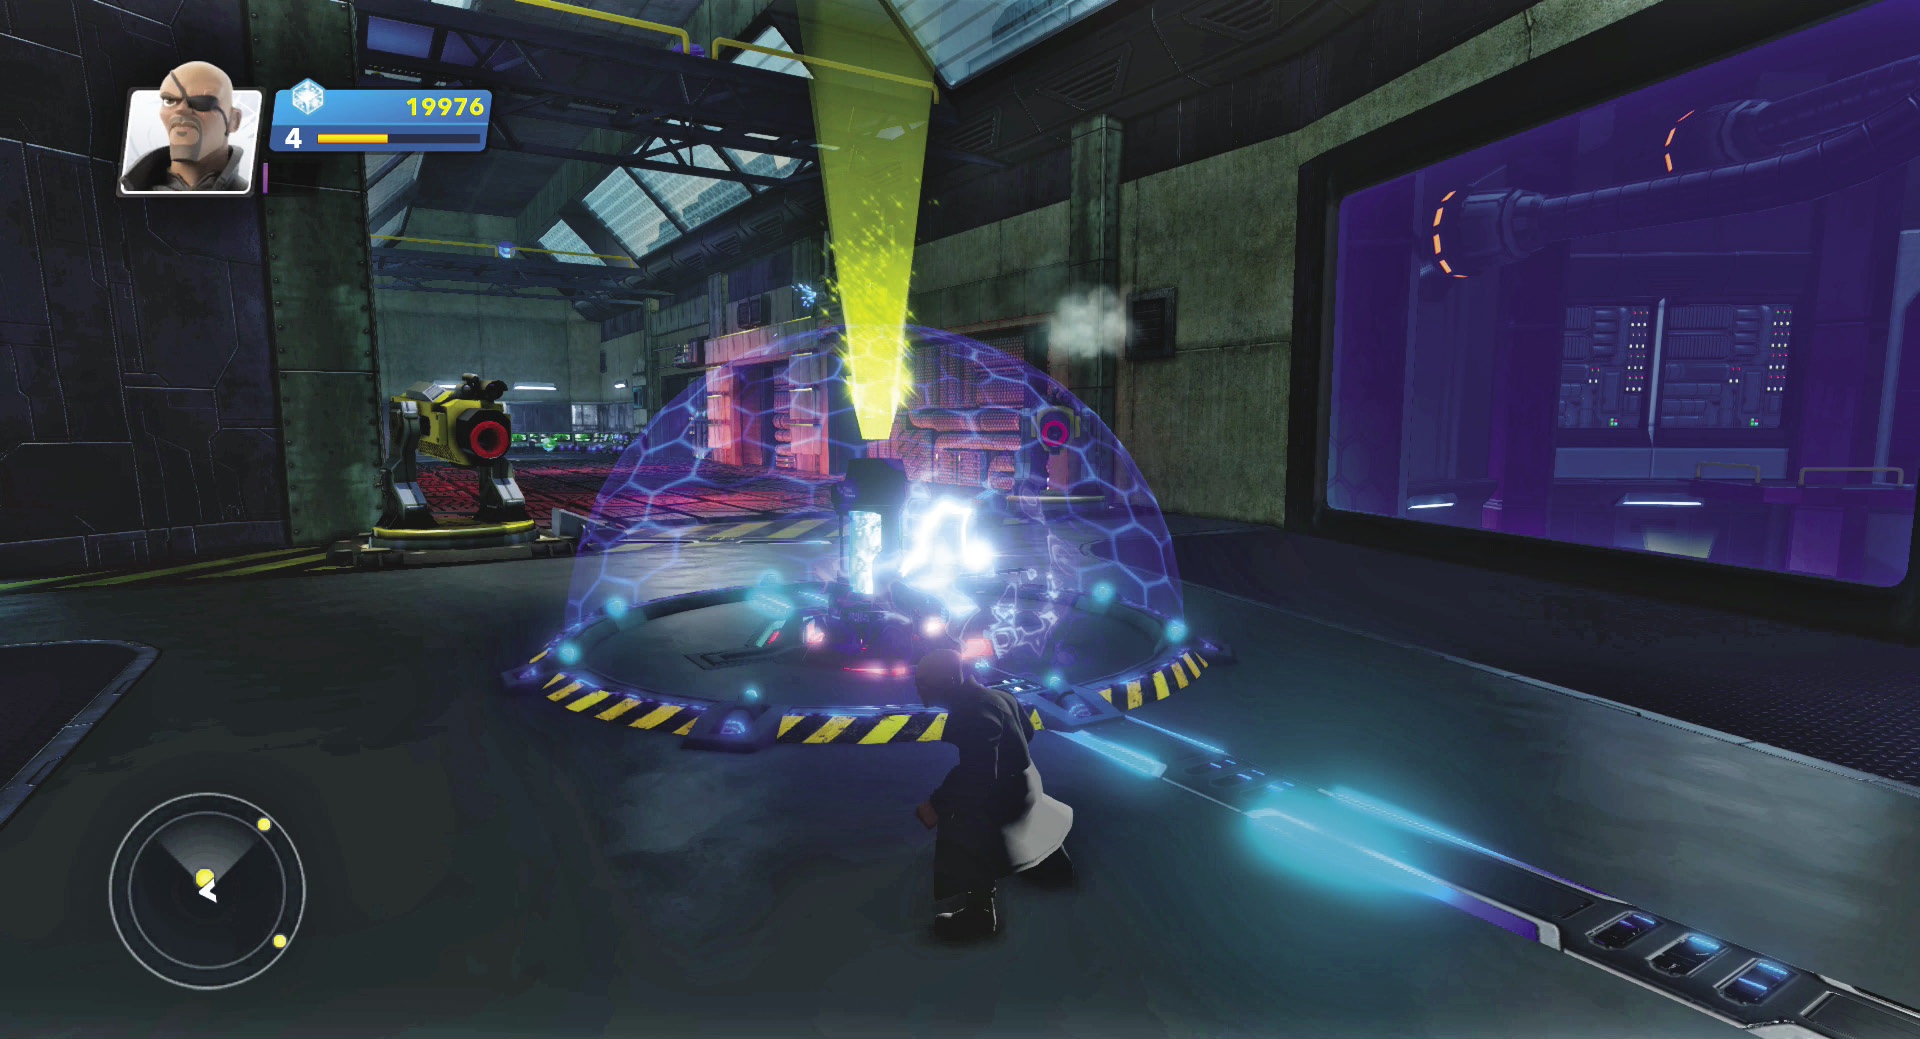
When the Life Model fades, let the missiles target you but stand on the other side of the force field protecting the power cell. The missiles will try to strike you, but blast the power cell off its conduit instead, deactivating the force field and shutting down the missile launchers. Pick up the power cell and drop down to the central chamber through the nearby open window.
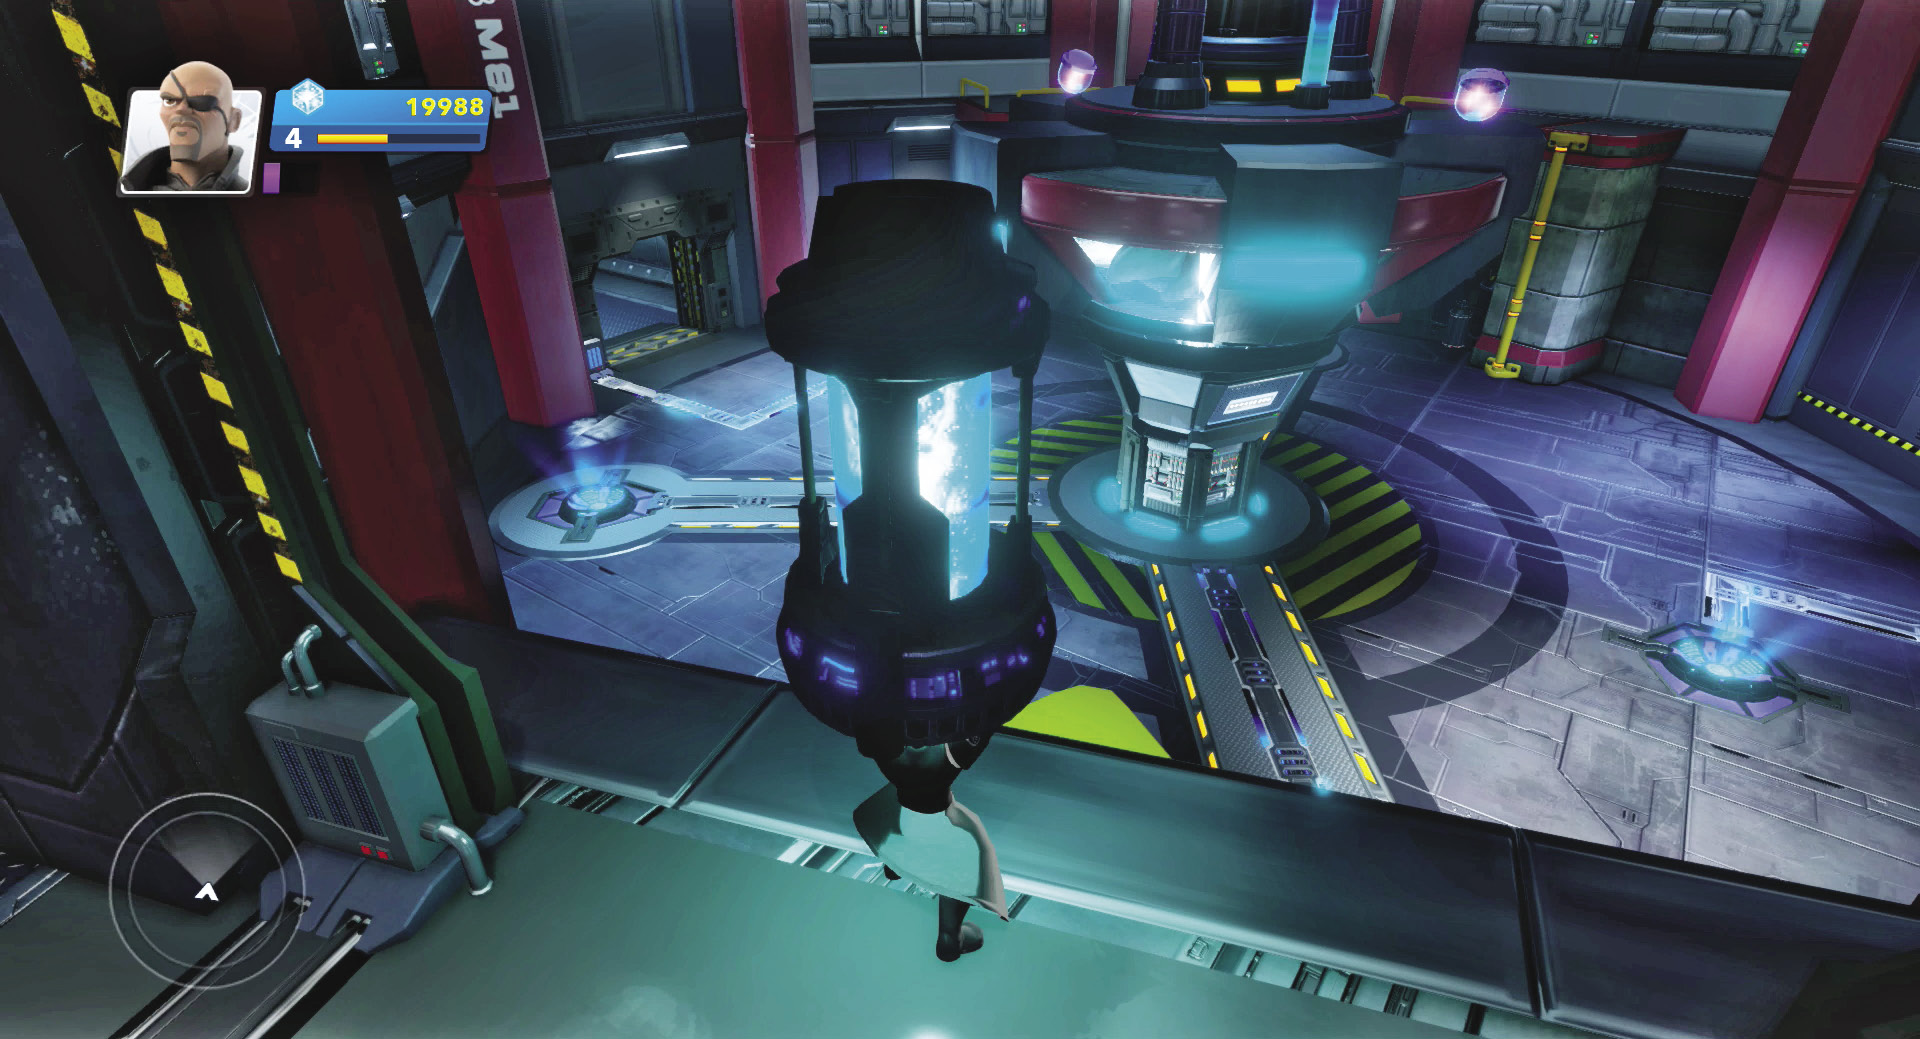
Drop the power cell onto the second machine conduit. Walk over and dislodge the door power cell and carry it over to the third machine conduit. Once you place your last power cell, the machine comes to life. You have two minutes to defend the computer and stay alive.
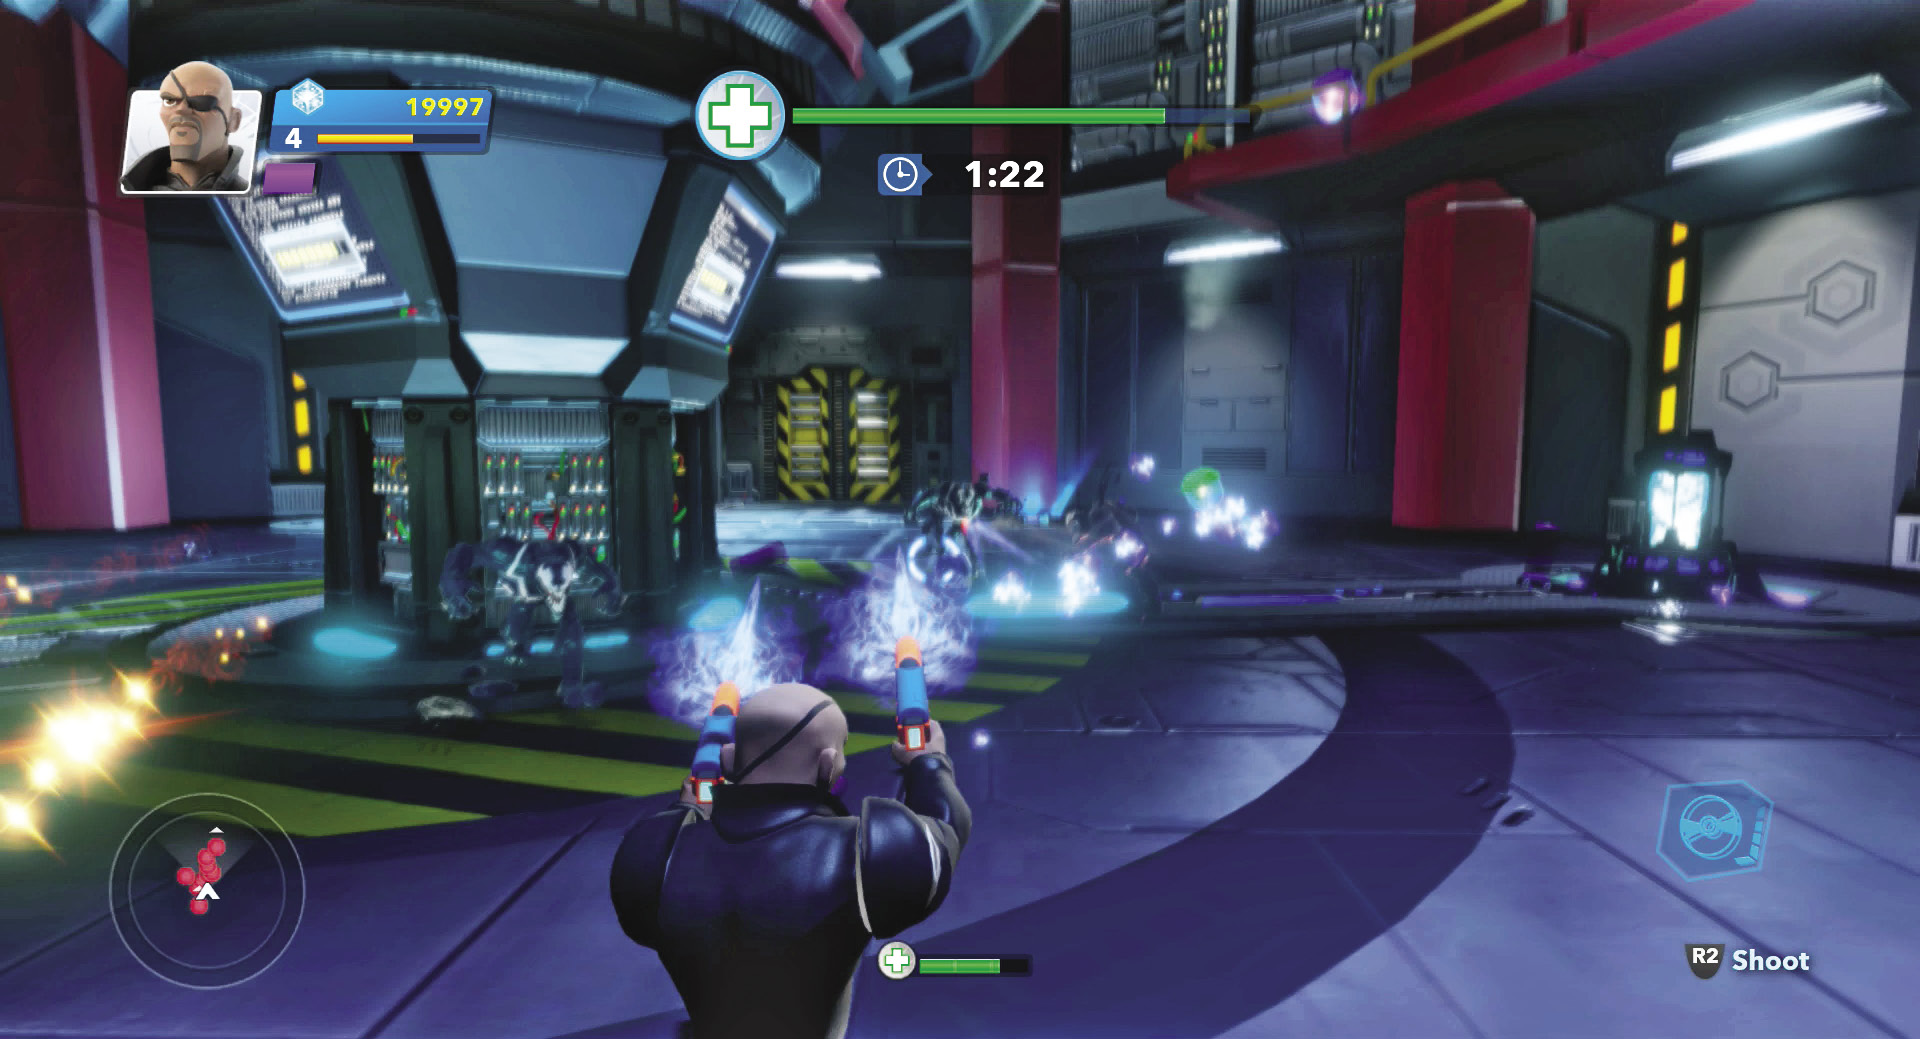
More and more Symbiotes will come at you. Be careful not to get surrounded while keeping an eye out for Symbiotes actively attacking the computer. Swat away enough Symbiotes from the machine and the timer runs down for a successful upload and S.H.I.E.L.D. victory. If you’re having trouble, circle around the machine and blast away with Fury’s twin pistols.
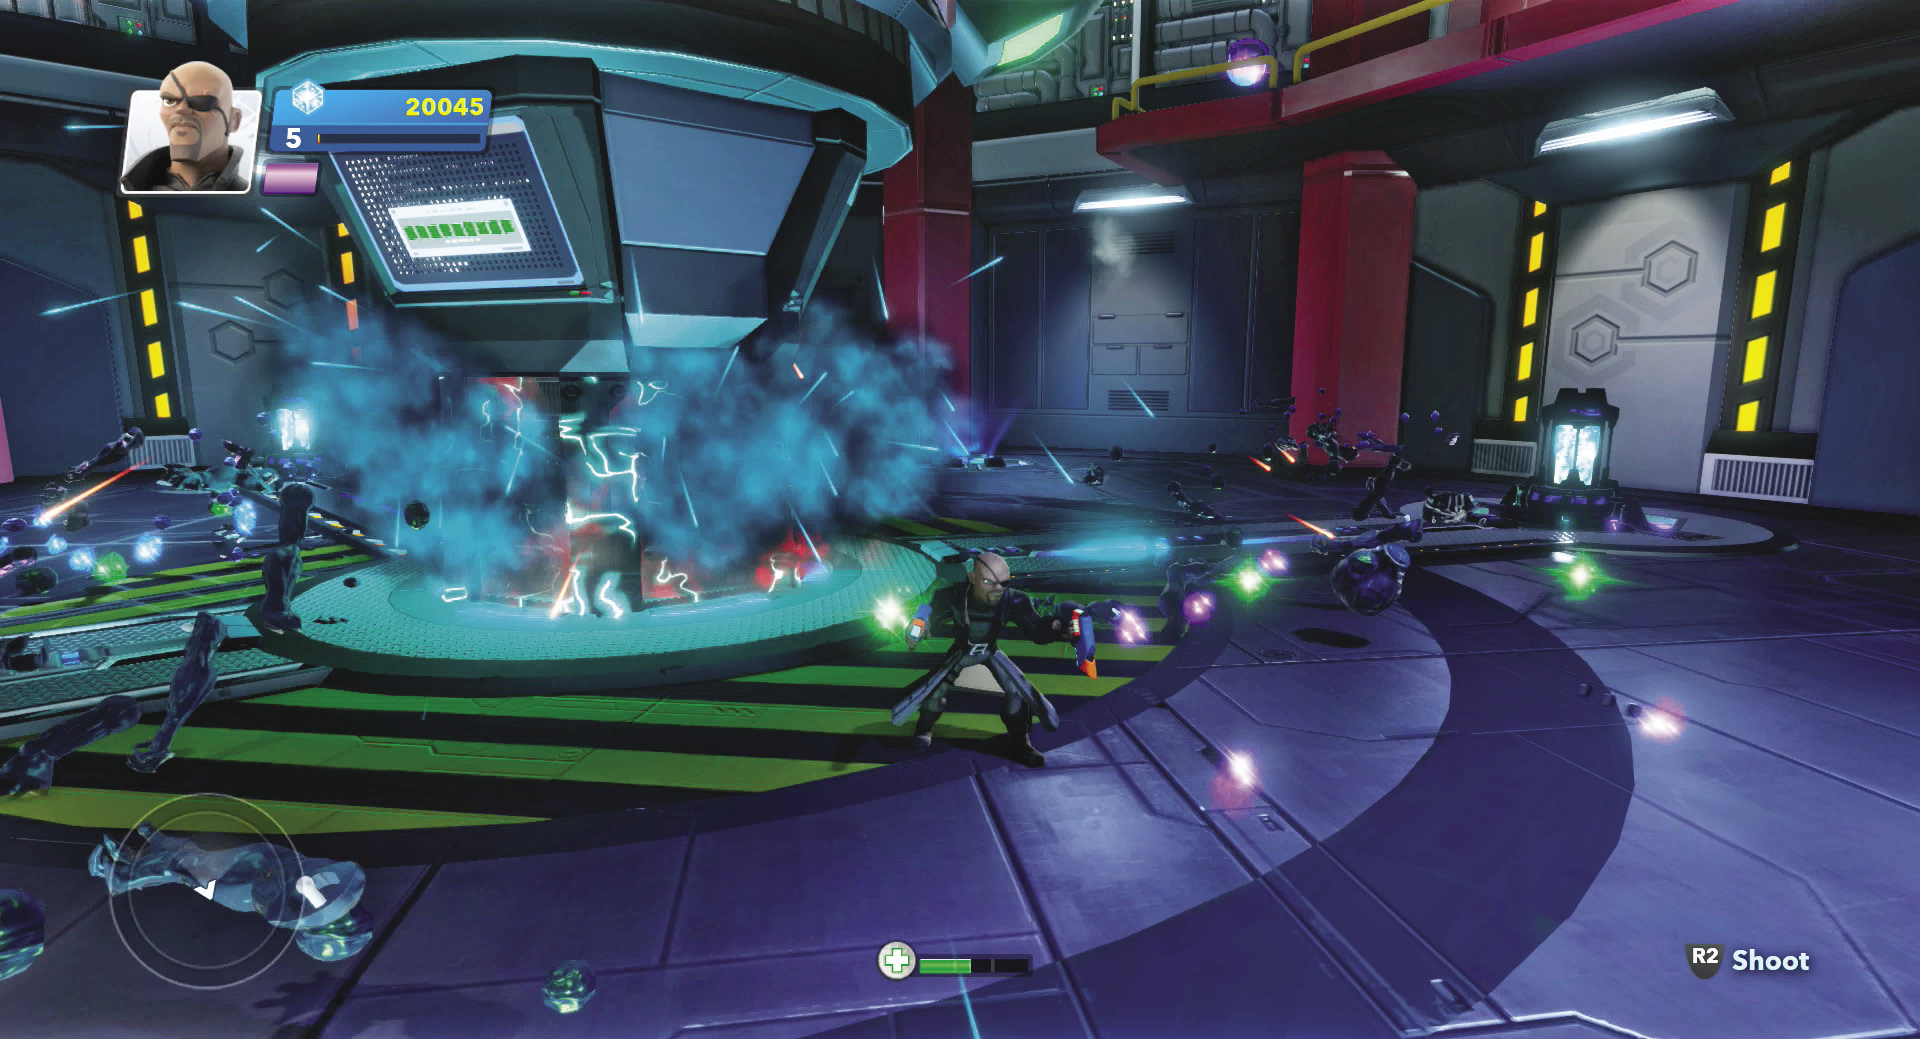
The more upgrades you have pumped into the pistol, the easier your task will be. For extra assistance in solo mode, pick up Armed Life Model Decoy and bring a second Fury into the battle.


Co-op Combo: Nick Fury and Venom
This fight to save the computer is vicious. You may want to recruit someone more vicious than the Symbiote clones—the original Symbiote, Venom. With the two of you guarding either side of the computer, the battle will go much smoother.

New Challenge Available: Crawl and Collect