
Disney Infinity: Marvel Super Heroes Guide Toy Box
Assault on Asgard
Disney Infinity: Marvel Super Heroes (2.0 Edition) includes two Toy Box Games. These are unlocked by placing the corresponding hexagonal Power Disc onto the Disney Infinity base. Assault on Asgard is one of these games. It is similar to a tower defense game where you must defend an object from the enemies. The best way to learn how to play this game is to play it. The introduction serves as a tutorial.
The game consists of the introduction and ten levels. You can play the game with any character you choose. If your character is defeated (health bar runs out) during a level, you can swap in another character. However, you can’t swap your original character in for the remainder of the level, so have some extra characters ready to go since the enemies don’t stop while you are swapping characters. Defeated heroes can be used again if you restart the level or complete the level.
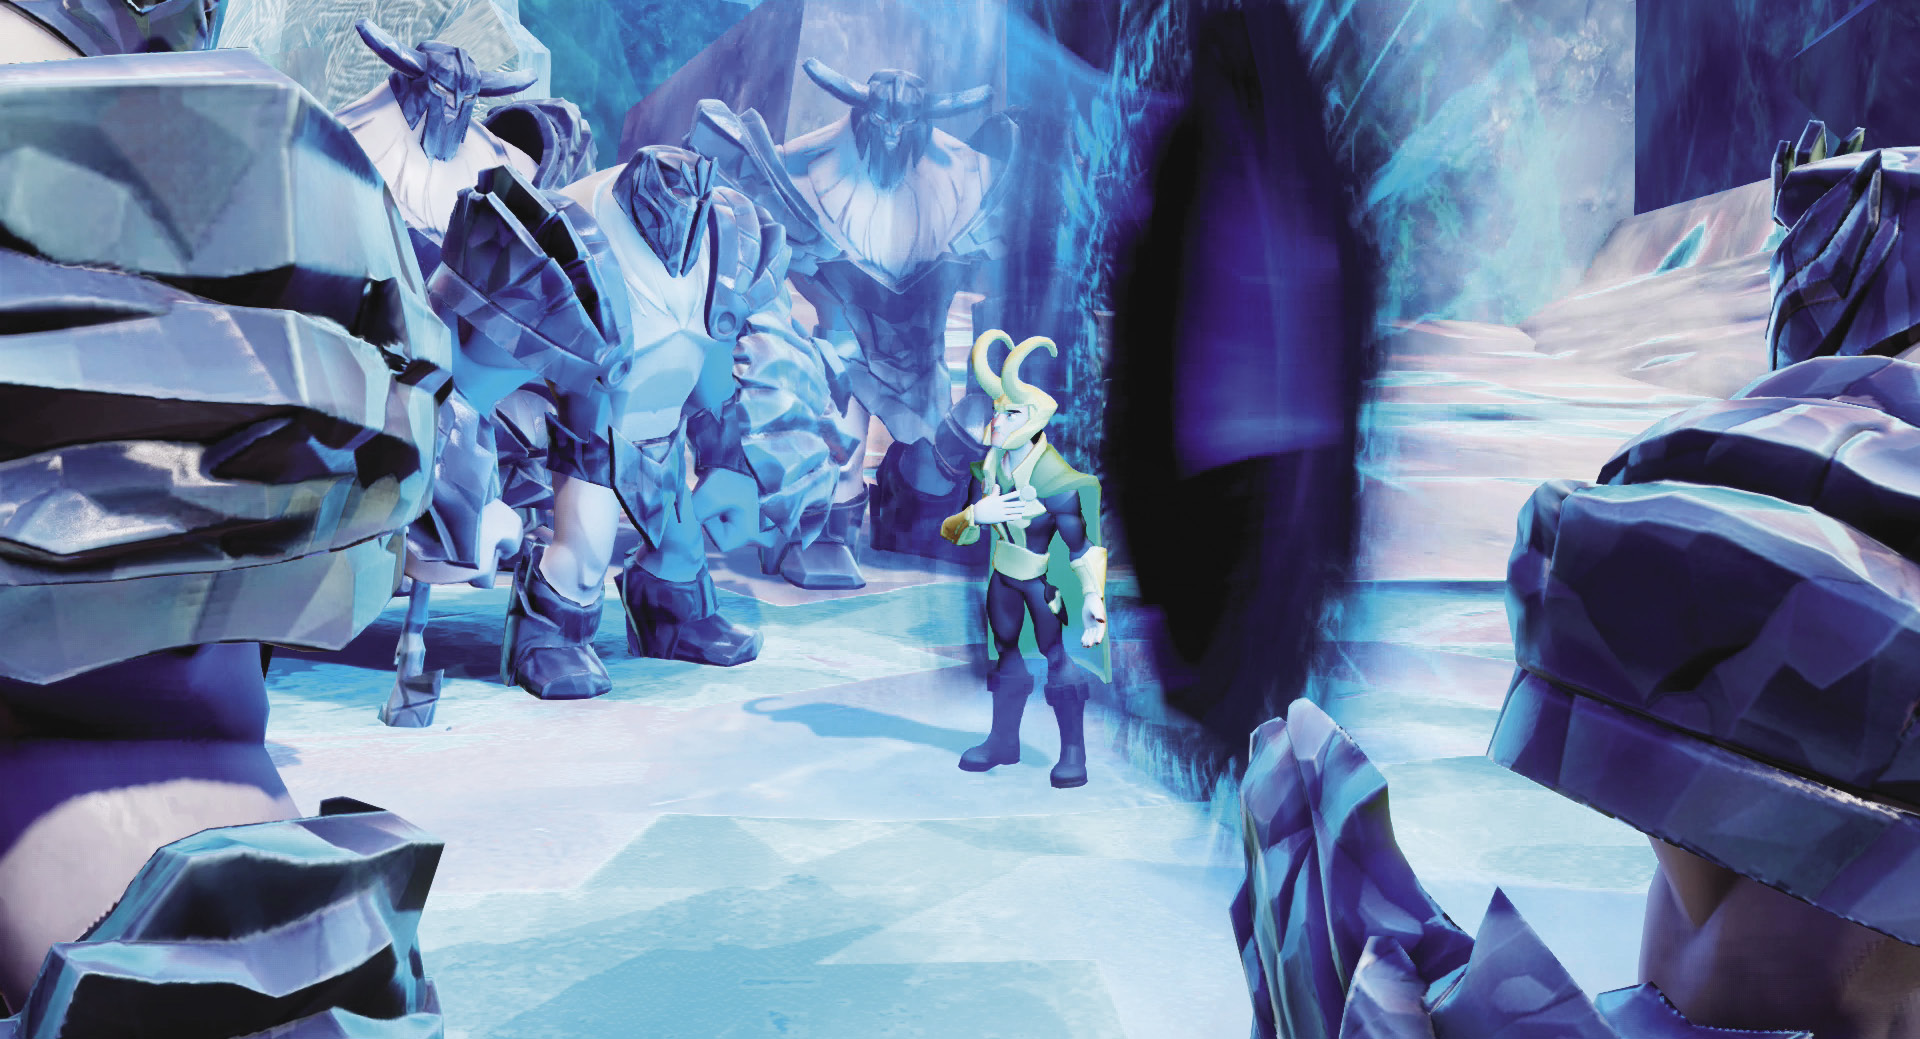
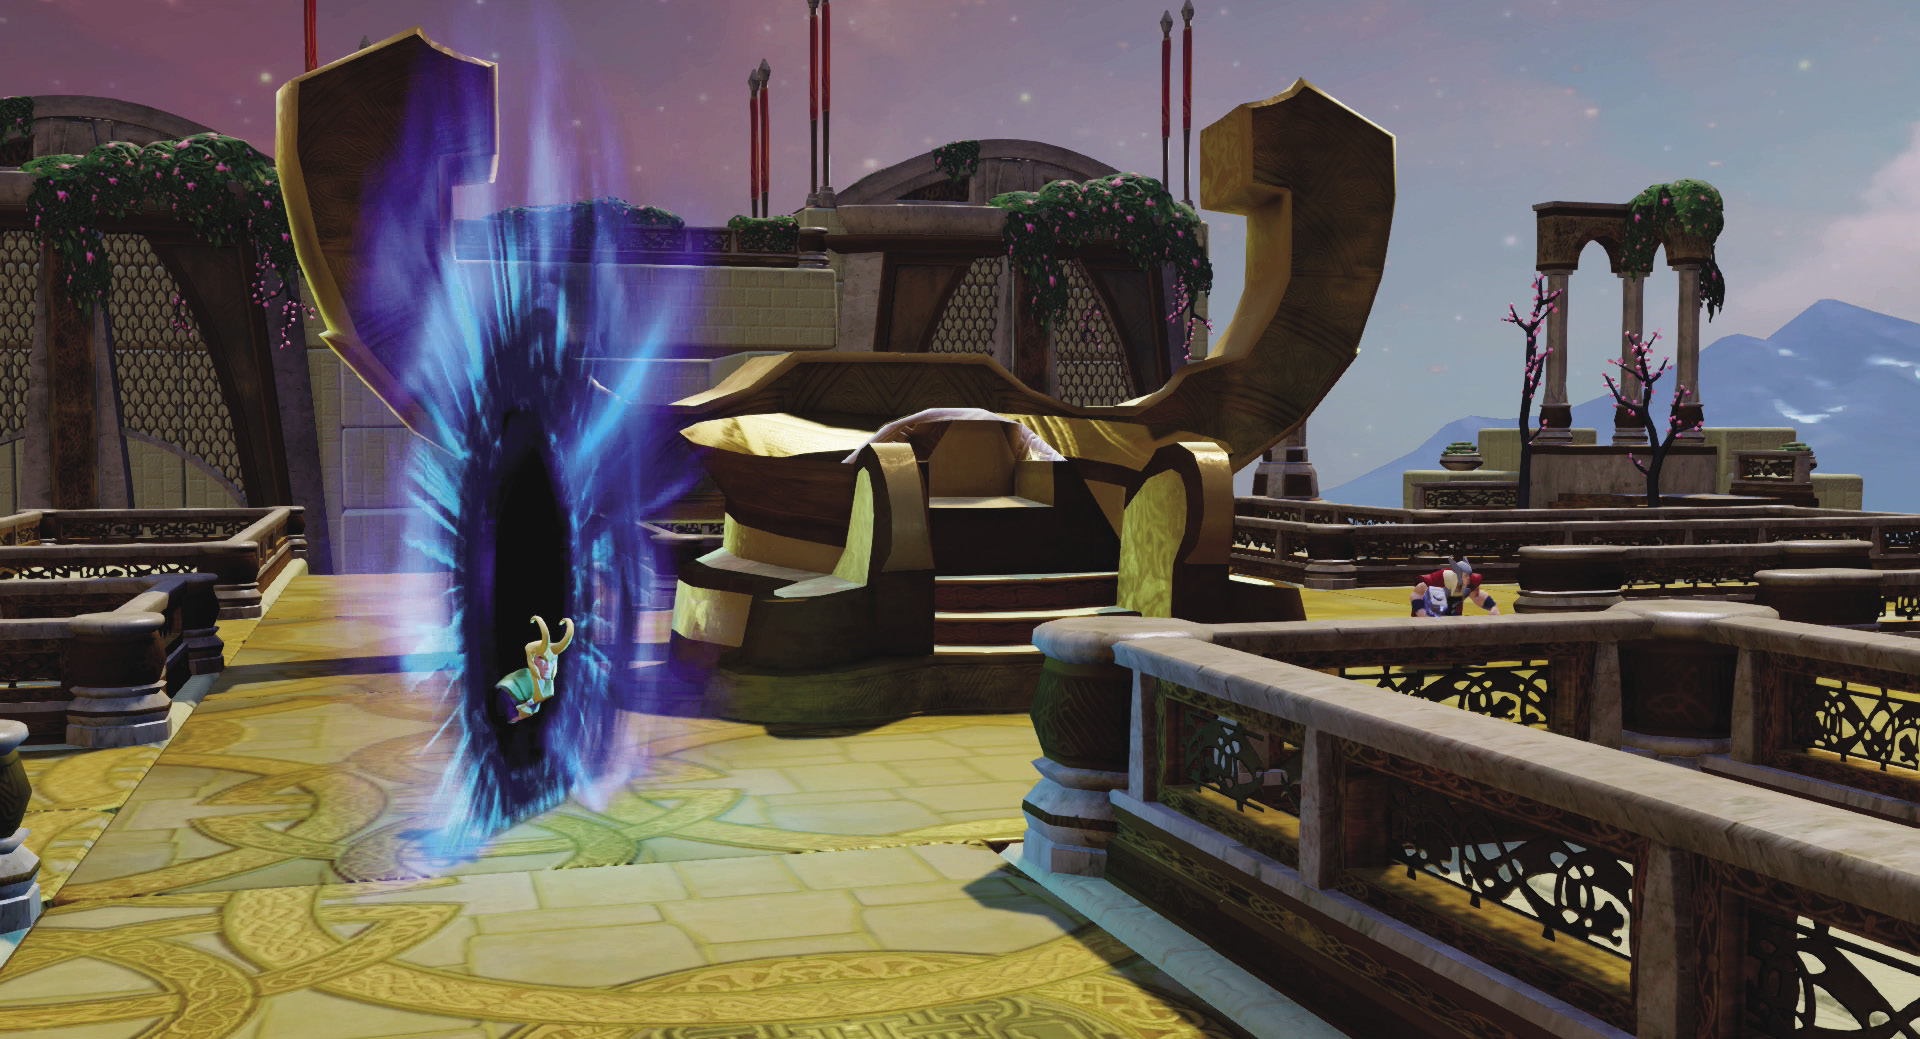
Loki is planning on taking over Asgard with the help of the Frost Giants. He has opened a portal and will begin his attacks as soon as Odin goes into the Odinsleep.
The Saga’s Start
When you first begin Assault on Asgard, you are taken to the introductory level where you learn the basics. The object of the game is to protect Odin’s treasures, which are in golden, cylinder-shaped objects. There is only one in the introduction, but some later levels have as many as four that you must protect. Each level also has three Asgardian townspeople. If you pick them up and then throw them into the townsperson door, you can earn more loot as you defeat enemies. For this introduction, there is only one Asgardian.
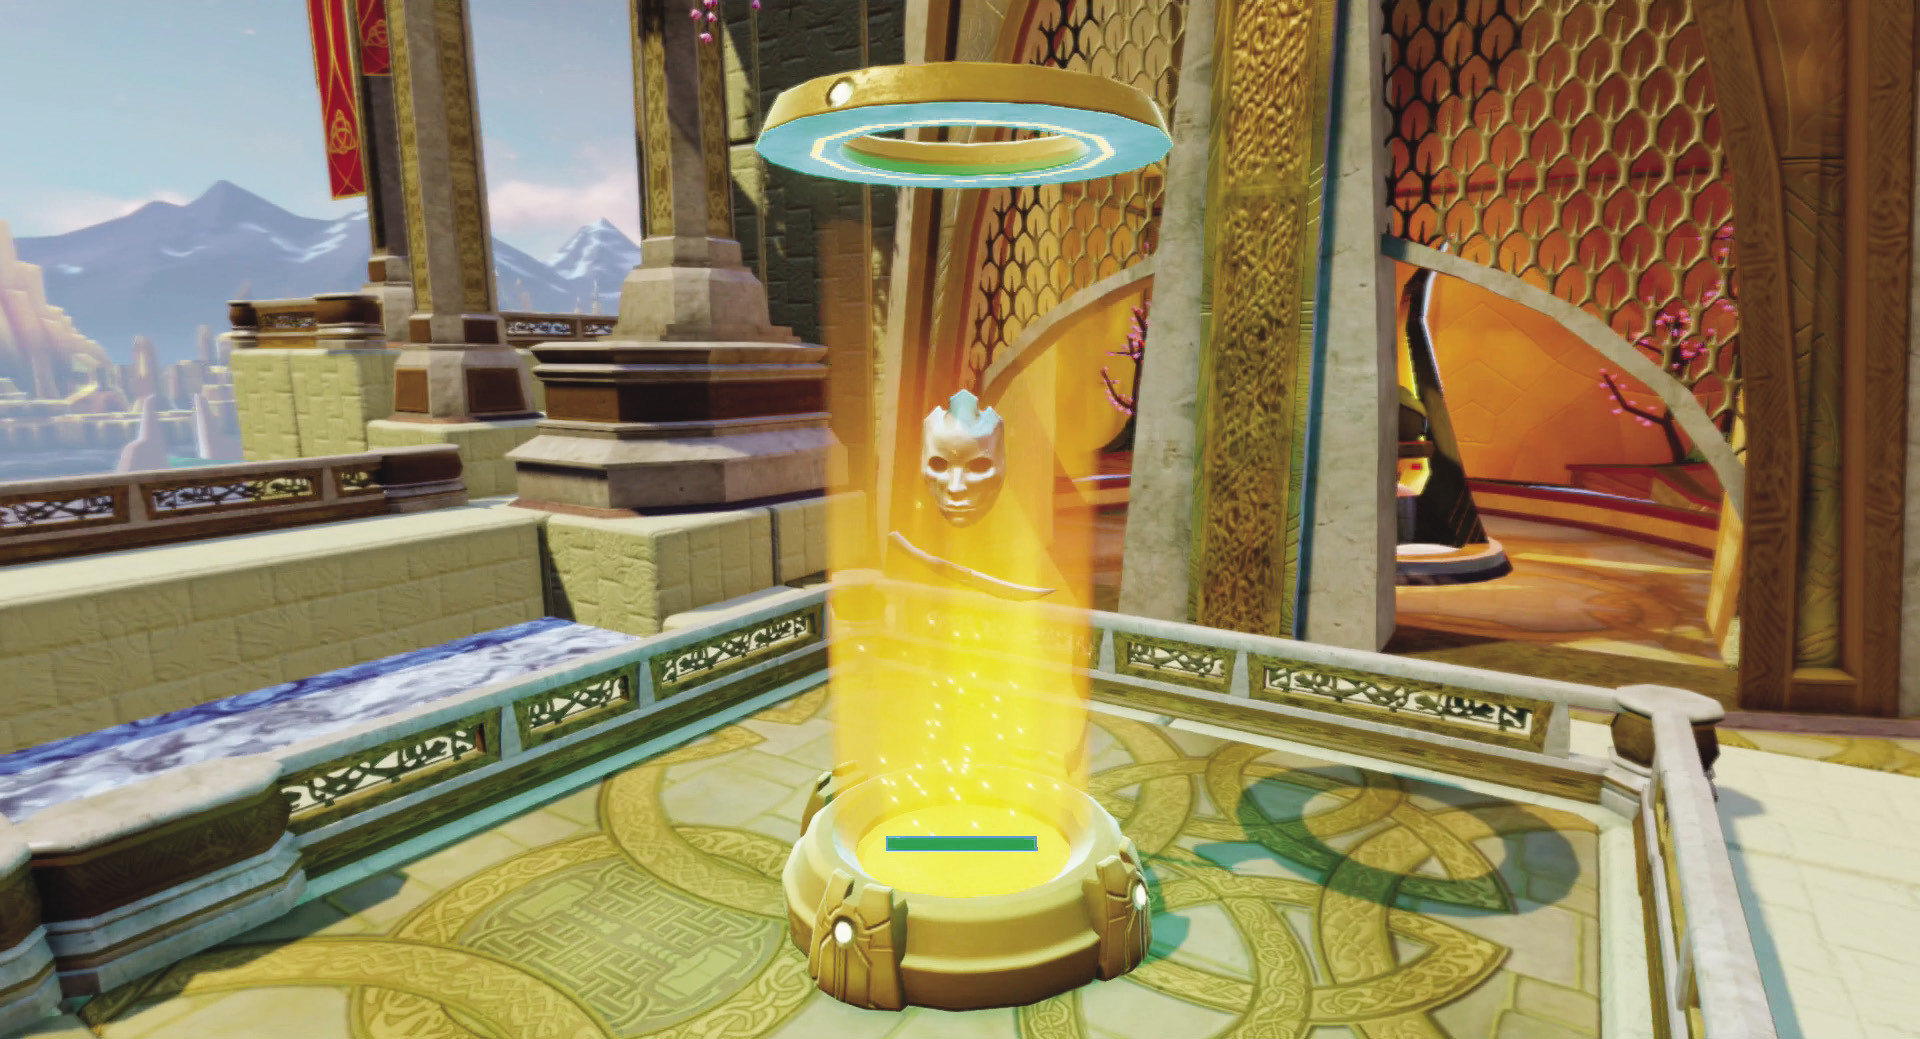
You must protect Odin’s treasure and prevent the enemies from destroying it.
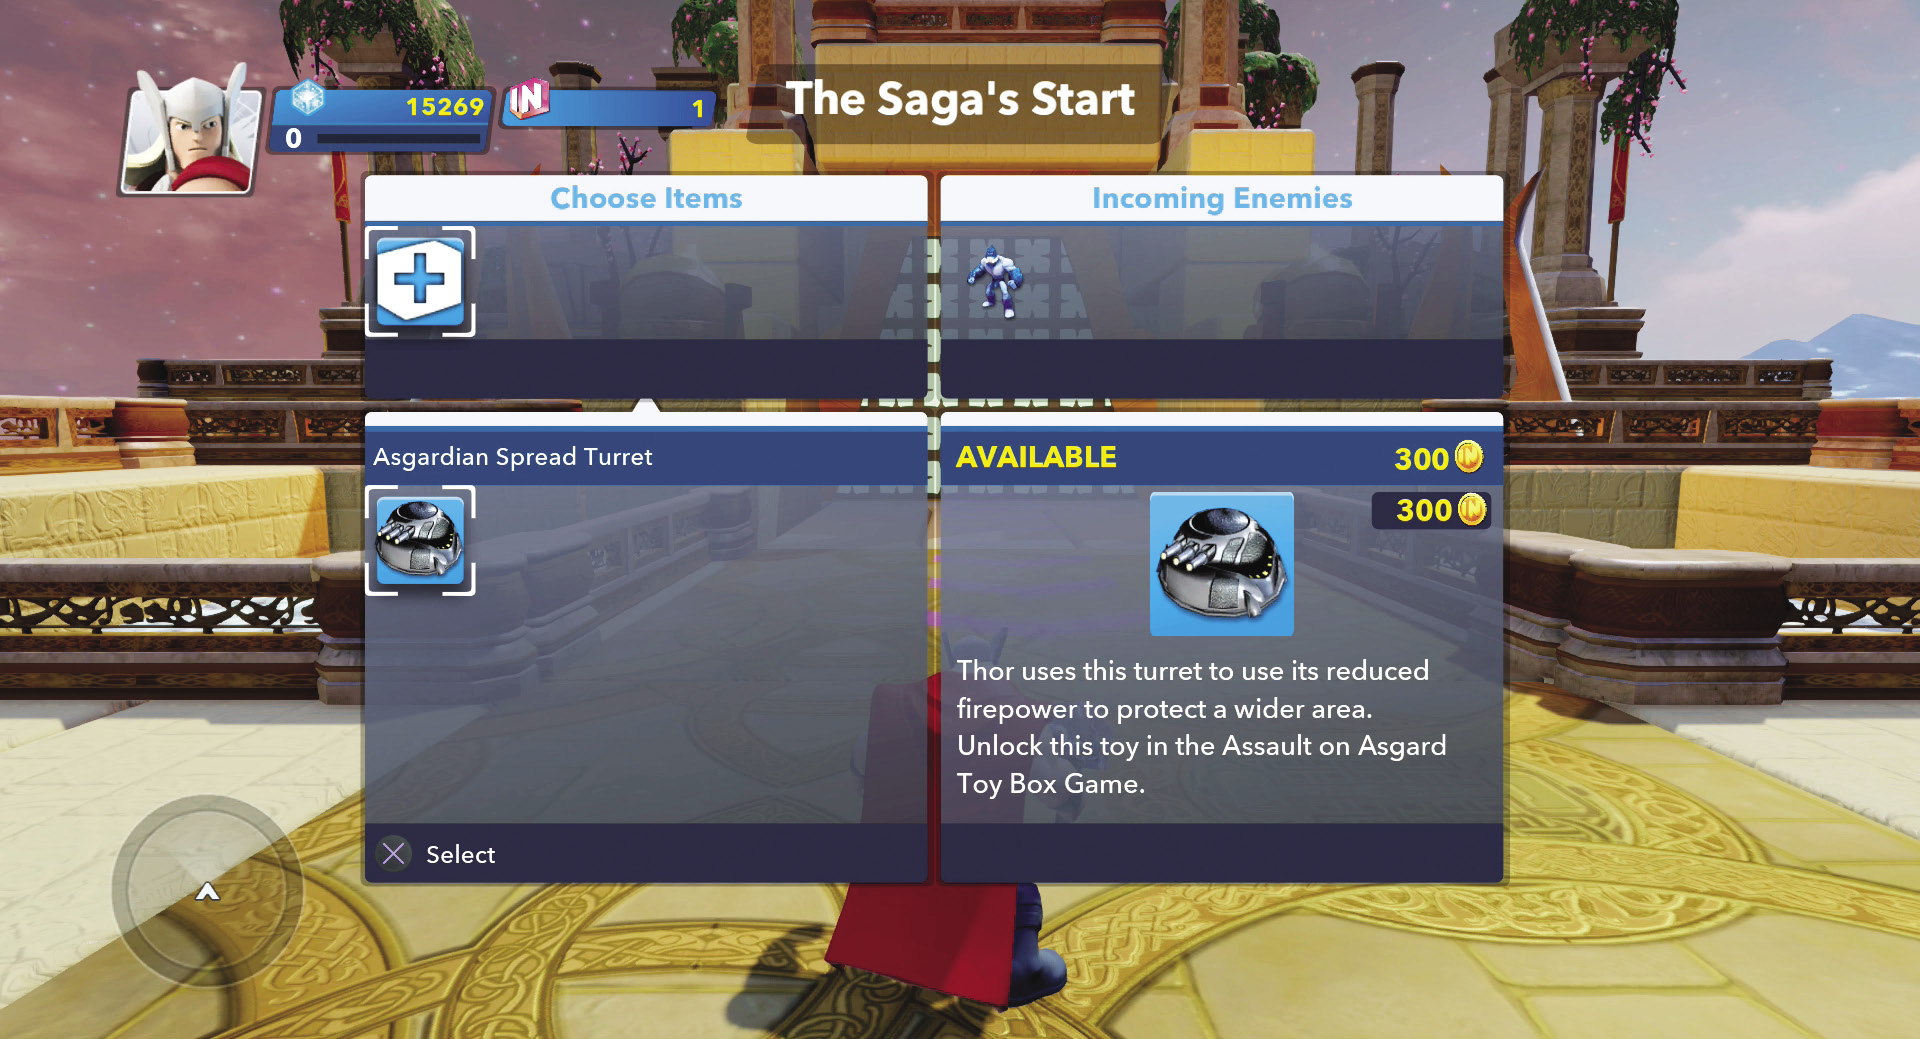
At the start of each level, you begin by picking the traps you will use. These are defensive toys that help you defeat the enemies. The menu that appears not only lists the traps available, but also the types of enemies you will be facing. For this level, you only have to worry about Small Frost Giants. There is also only one trap available to begin with. As you advance through each level in turn, you unlock an additional trap so that by level 10, you have lots of traps from which to choose. For now, select the Asgardian spread turret.
At the start of the level, you select which traps you will be using. Choose carefully because you are stuck with those traps for the entire level.
Once you select the traps you will be using, you then have the opportunity to place those traps. Each trap costs a certain amount of money. You begin the level with some initial money. Use that money to place traps. For the introduction, you have only enough money to place a single turret. Put it somewhere between Odin’s treasure and the enemy door from which the enemies appear. This level only has one wave. However, in all of the other ten levels, you must fight off six waves of enemies. As you defeat enemies, they drop coins. Be sure to collect those so you can spend the money in between each wave to place more traps.
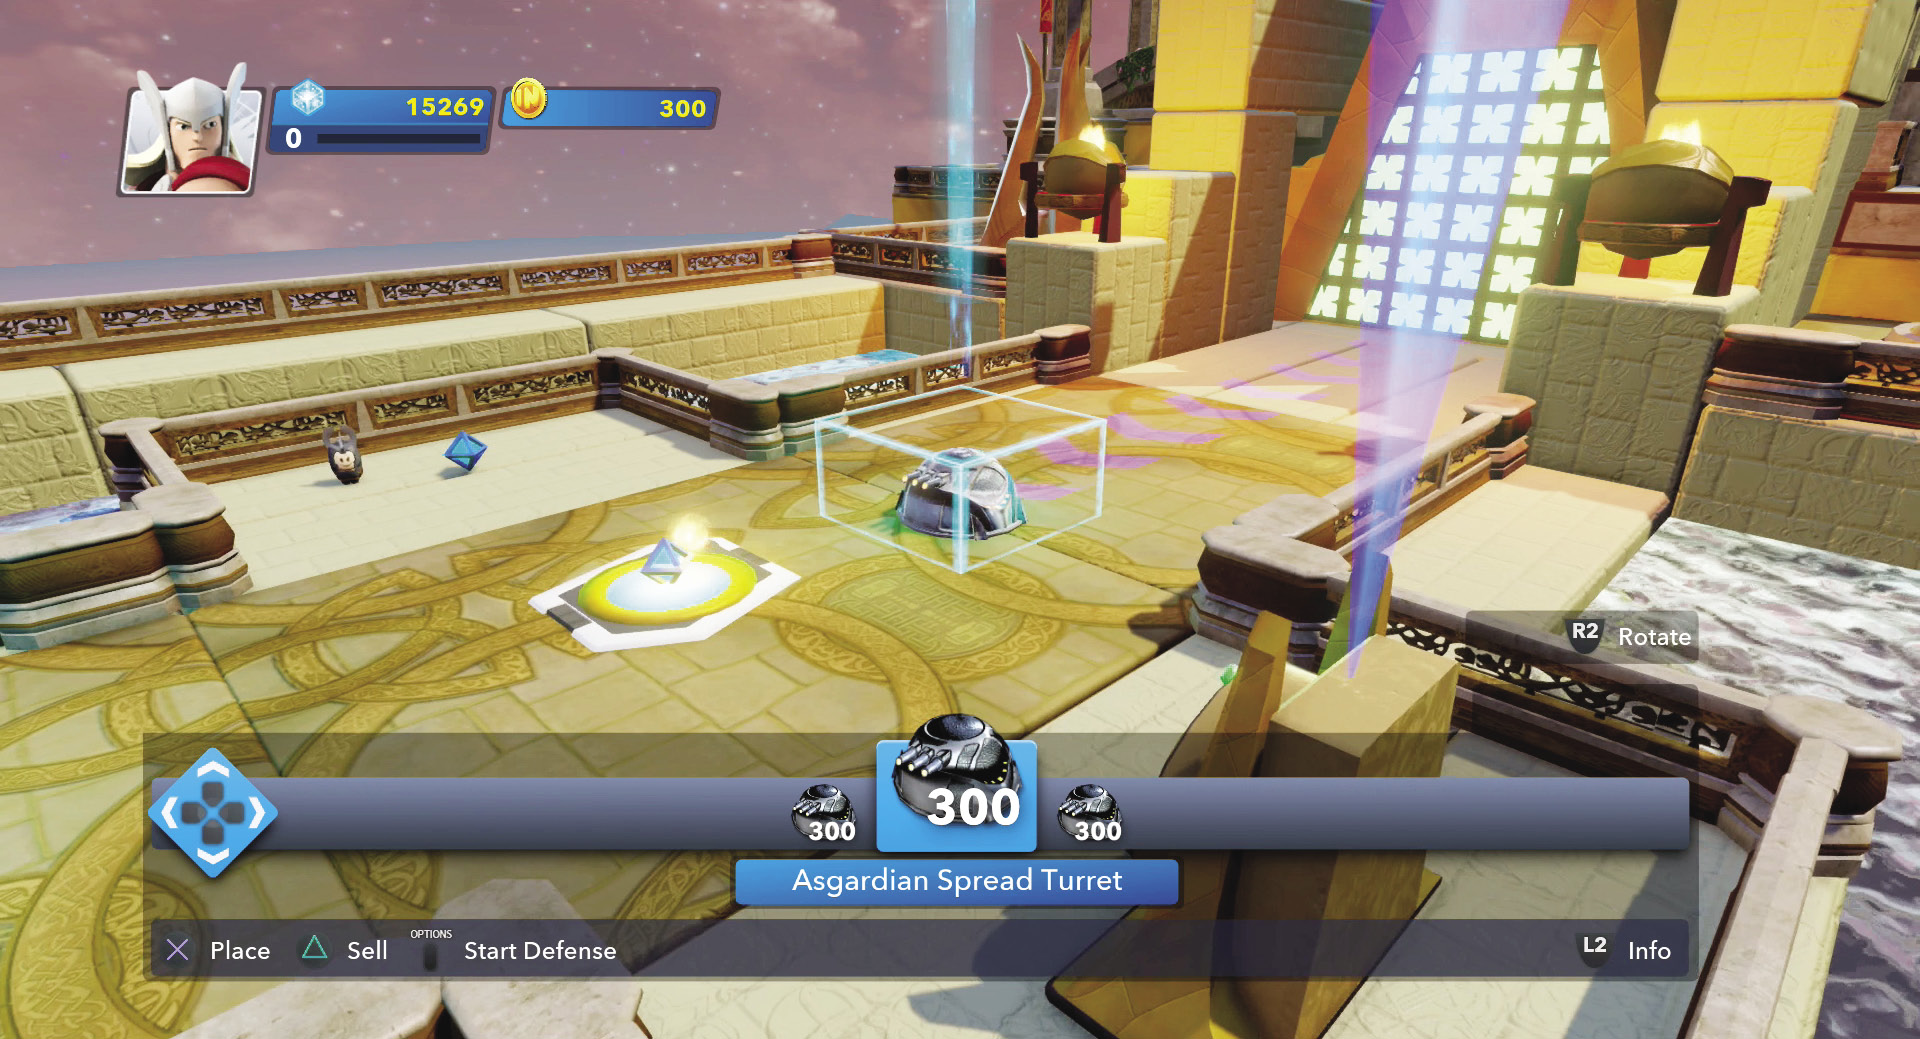
Place the turret in the path the enemies follow. Look for the purple arrows on the ground. They show likely pathways the enemies will take to get to Odin’s treasure.
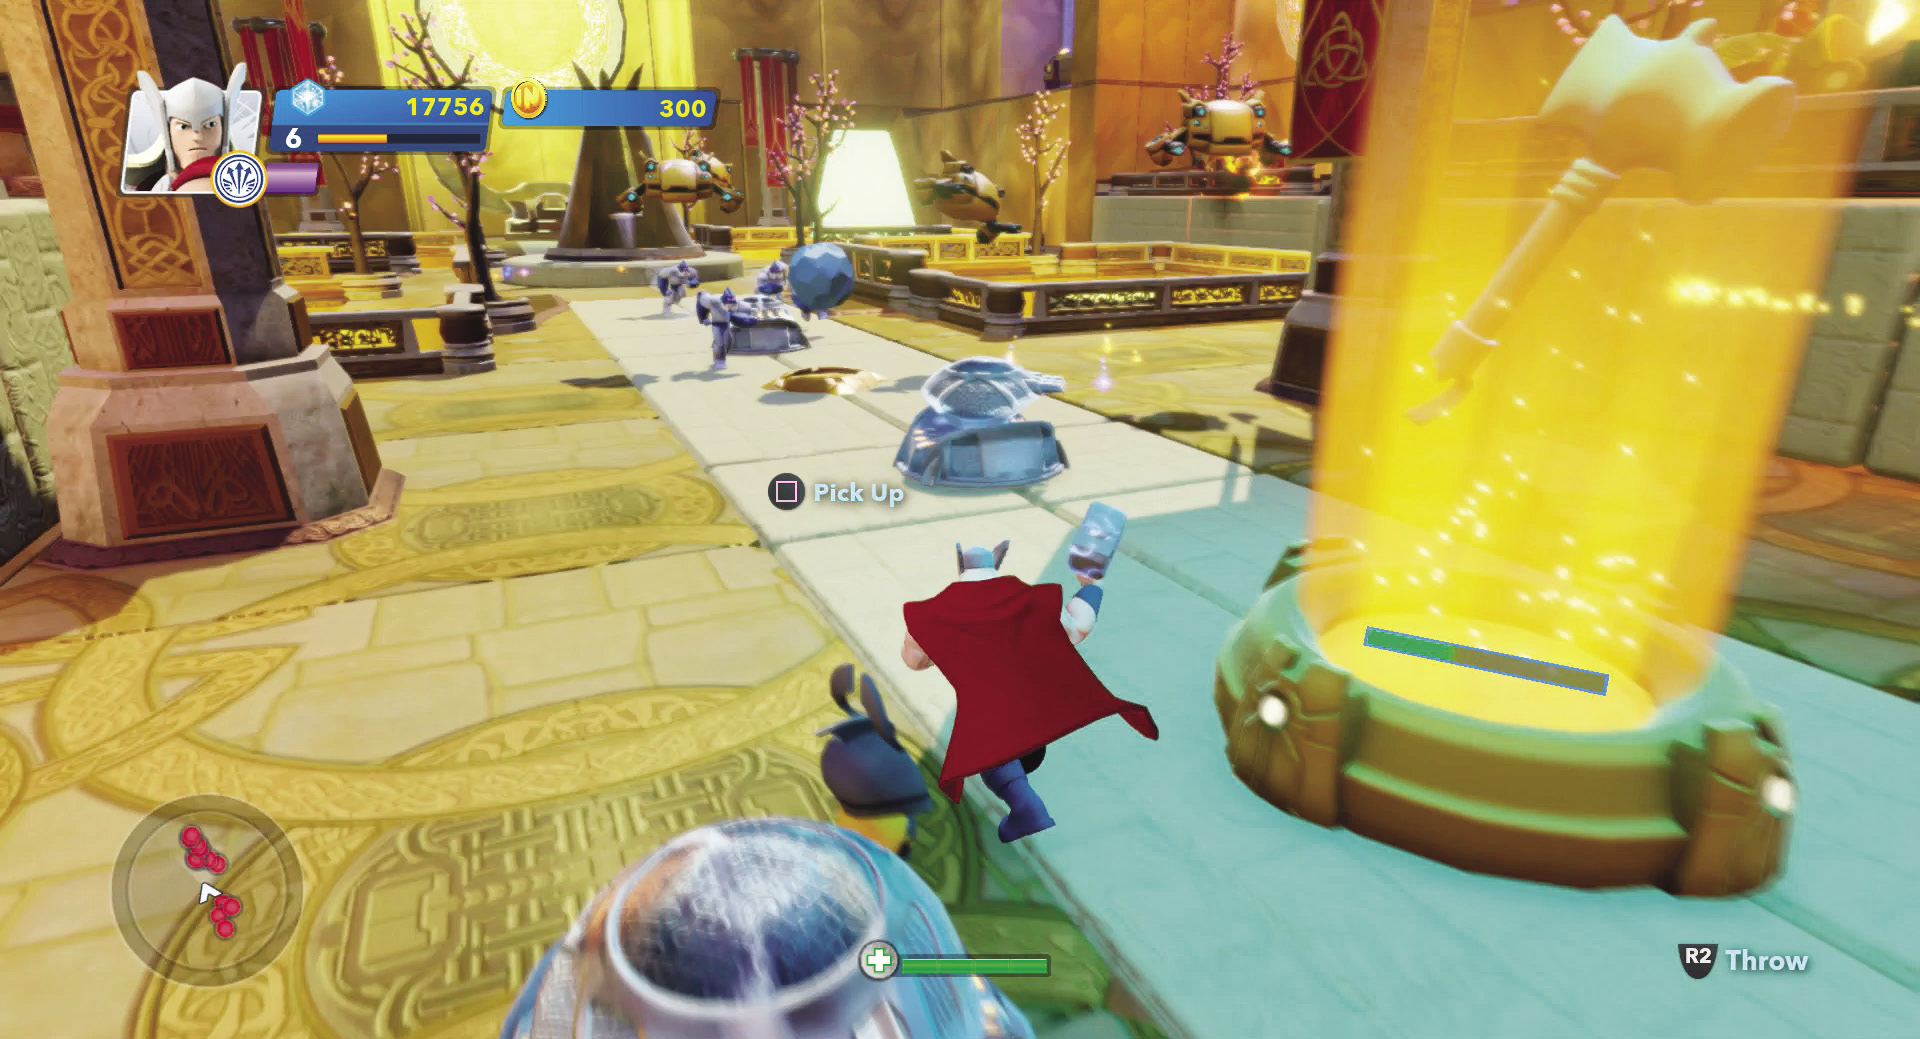
As the countdown to the enemy wave begins, move to the left side of the area and pick up the Asgardian. Then take aim at the townsperson door on the right side and throw him into it. You score some extra gold as a reward. By now, the Frost Giants are approaching.
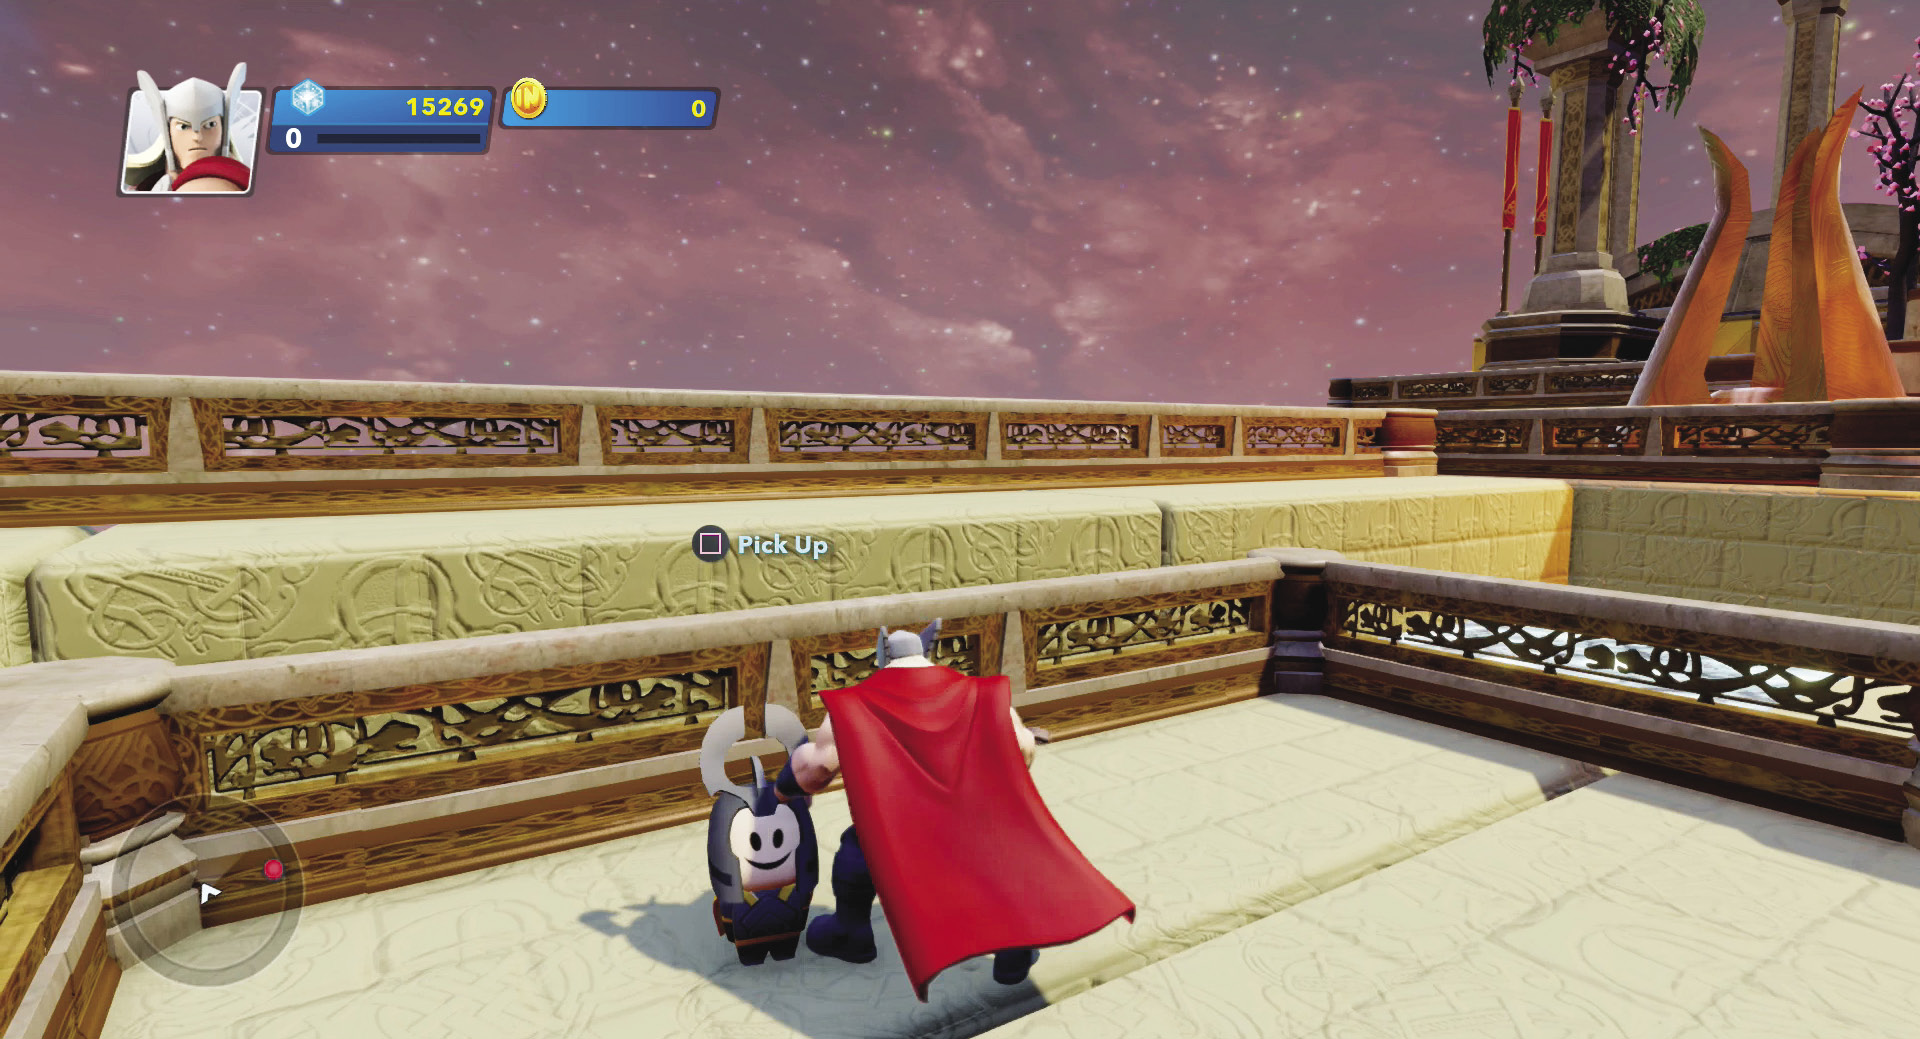
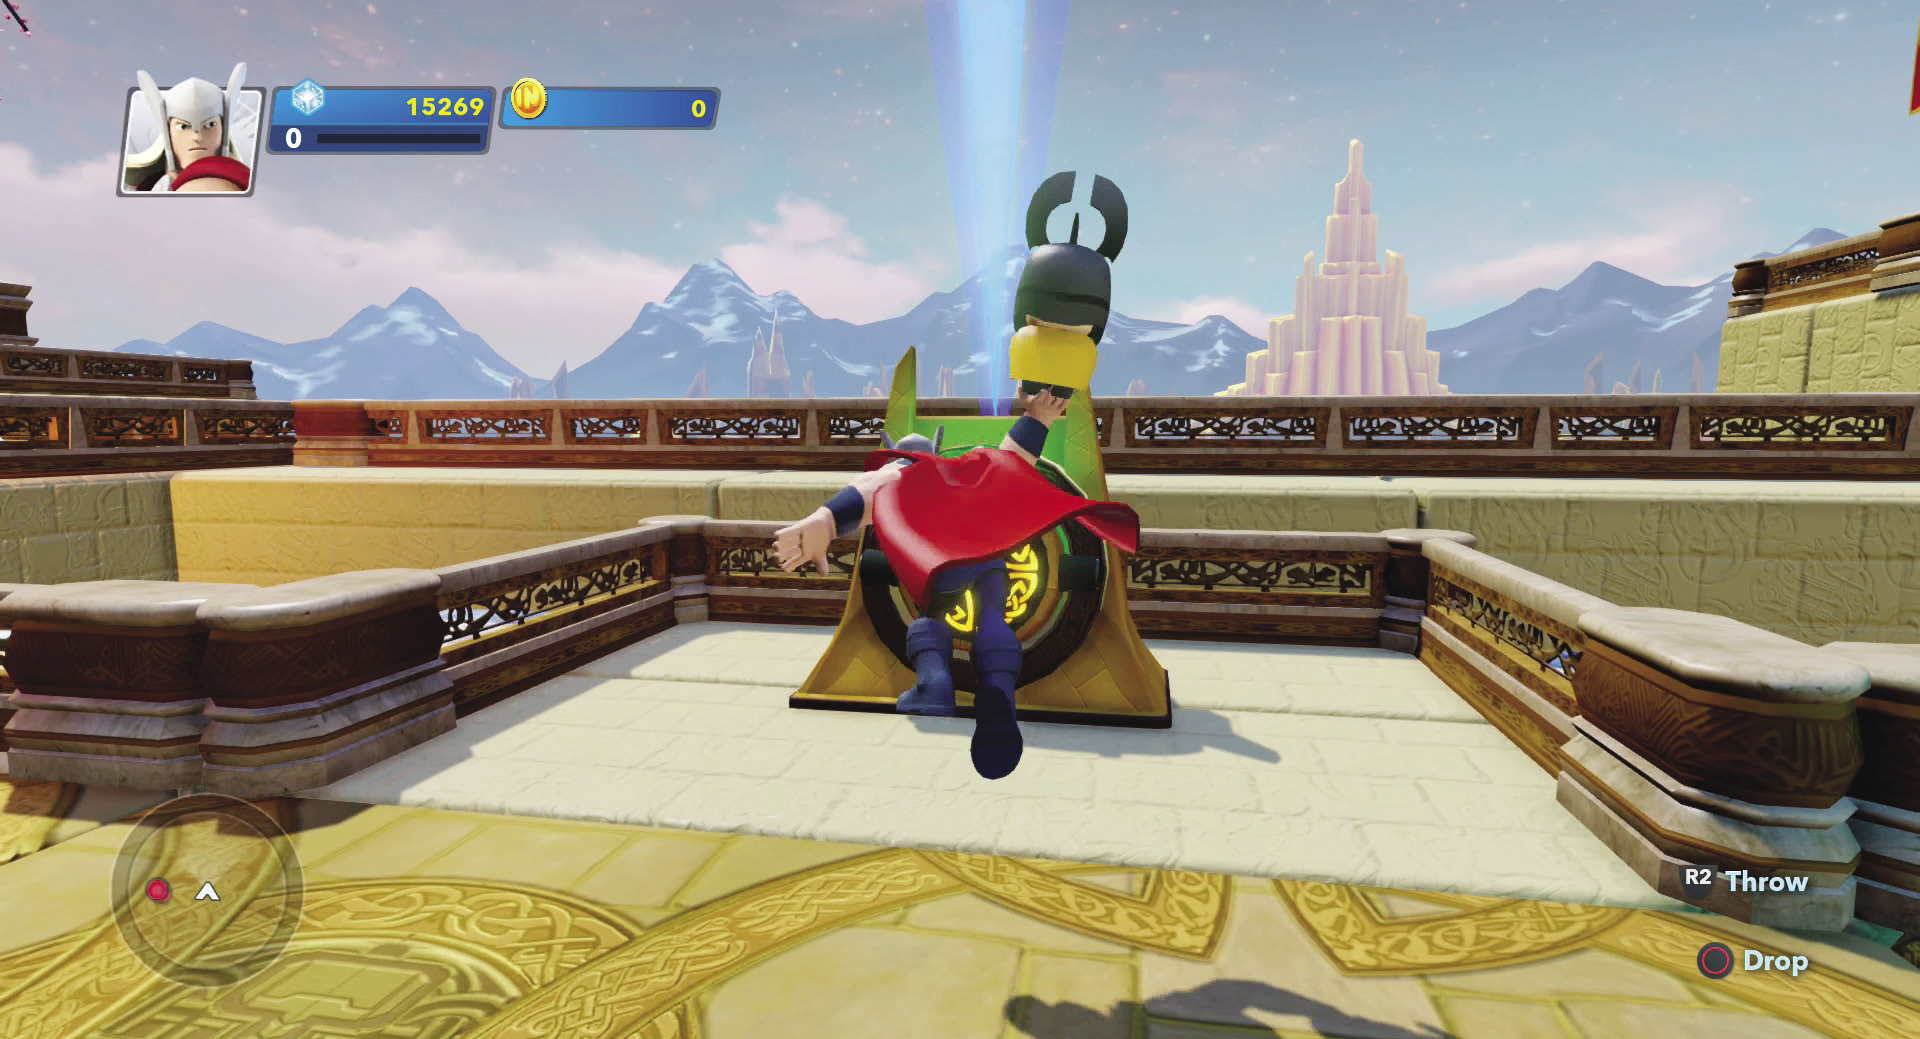
While waiting for enemies to appear, pick up the Asgardian and throw him into the door to save him. You get some extra loot for your efforts.
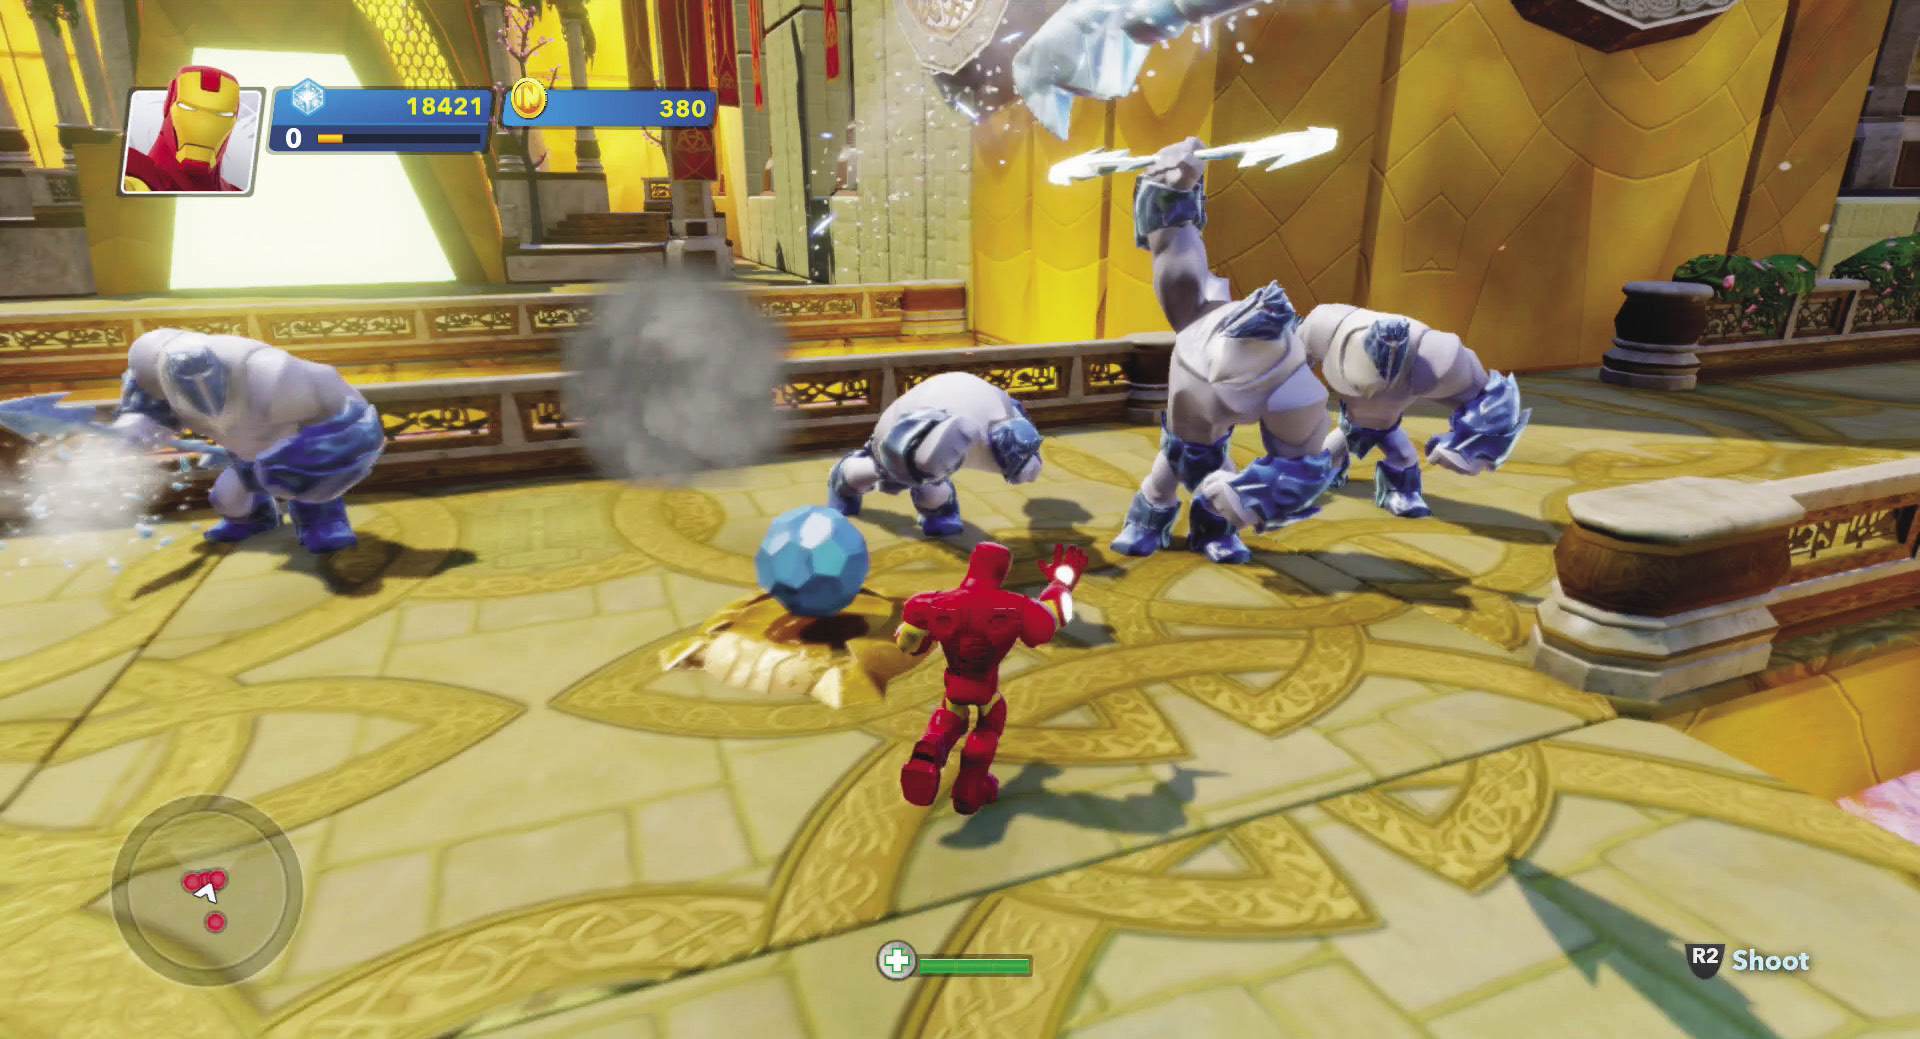
There are only a few Frost Giants in this level, so it is not too difficult. The turret will open fire when they get into range. However, the turret by itself is not enough to defeat them—though it will do some damage and make it easier for you to finish them off. Use your character’s melee and ranged attacks to defeat the enemies. While some will stop to fight you if you are in their path, others will rush towards Odin’s treasure and begin attacking it. The treasure has a health bar. If the bar is completely depleted, the treasure is destroyed and the level ends in defeat. To win, you must defeat all of the enemies without the treasure being destroyed. So fight off these Small Frost Giants to complete this level—and your training.
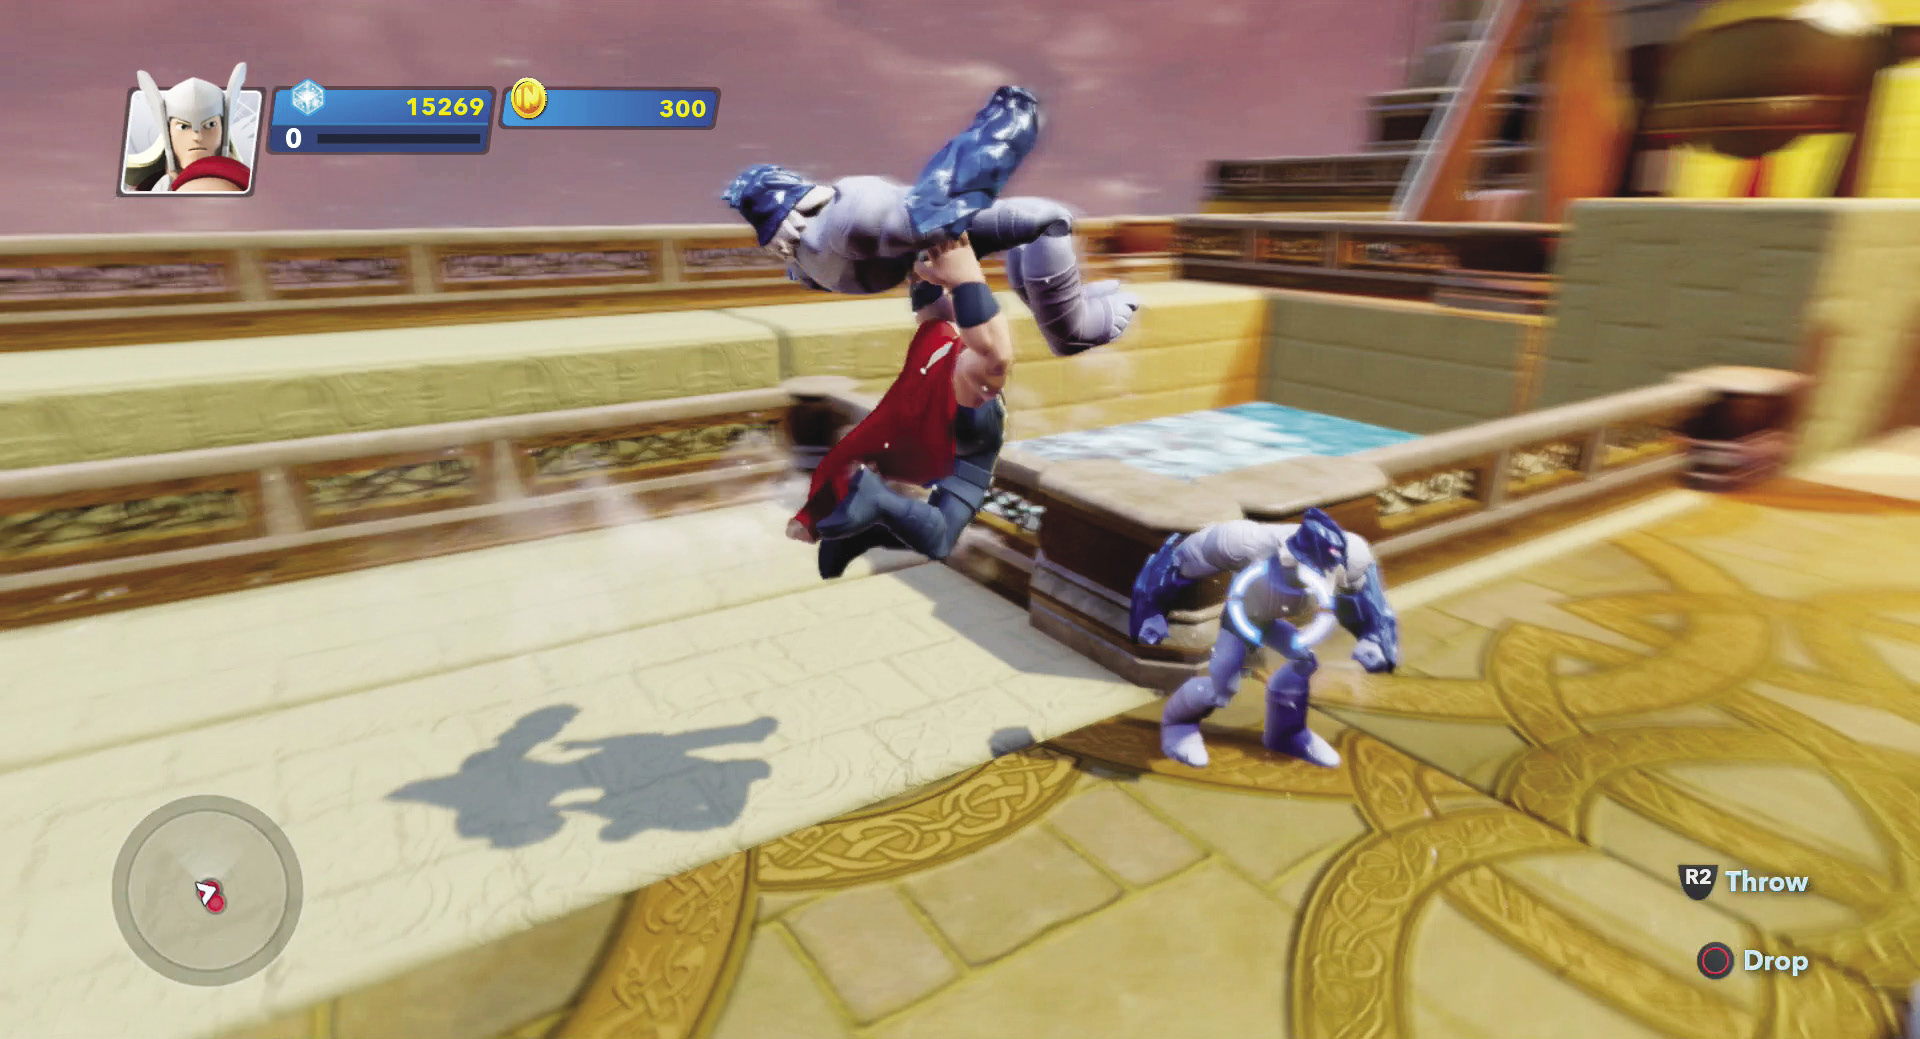
Engage the enemies before they get to Odin’s treasure.
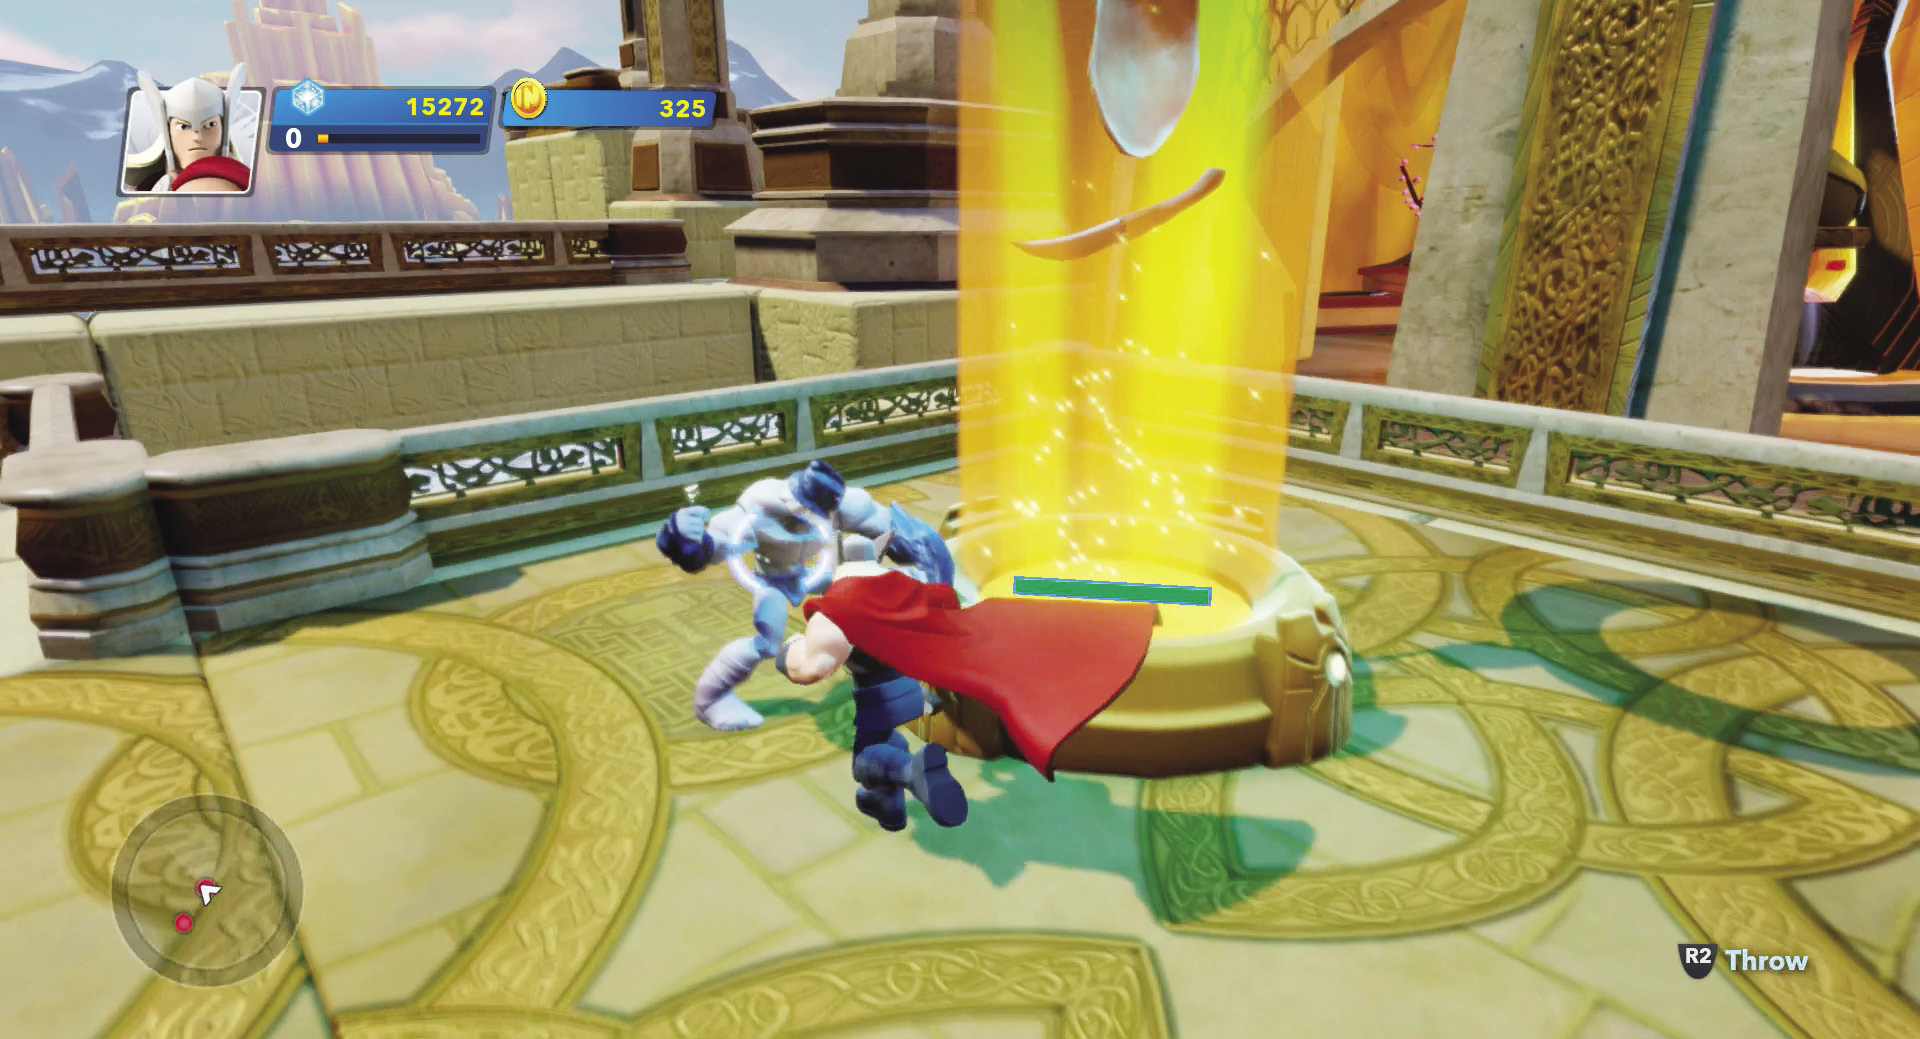
Keep an eye on the treasure. It is easy to be distracted in a fight and have other enemies sneak past you to attack the treasure.
The Asgard Hub
After completing the introduction, The Saga’s Start, you are taken to the hub. There are ten levels in Assault on Asgard. Since you finished the intro level, an enemy door has been removed from the first level, Spawn of Niflheim. In addition, the intro level is also available in the middle of the hub if you want to play it again. There is a skill tree spot where you can purchase new skills as your characters level up. Finally, there is the Survival Mode, which unlocks after you complete the first level. Move your character to the open door on the left to get started on the first level.
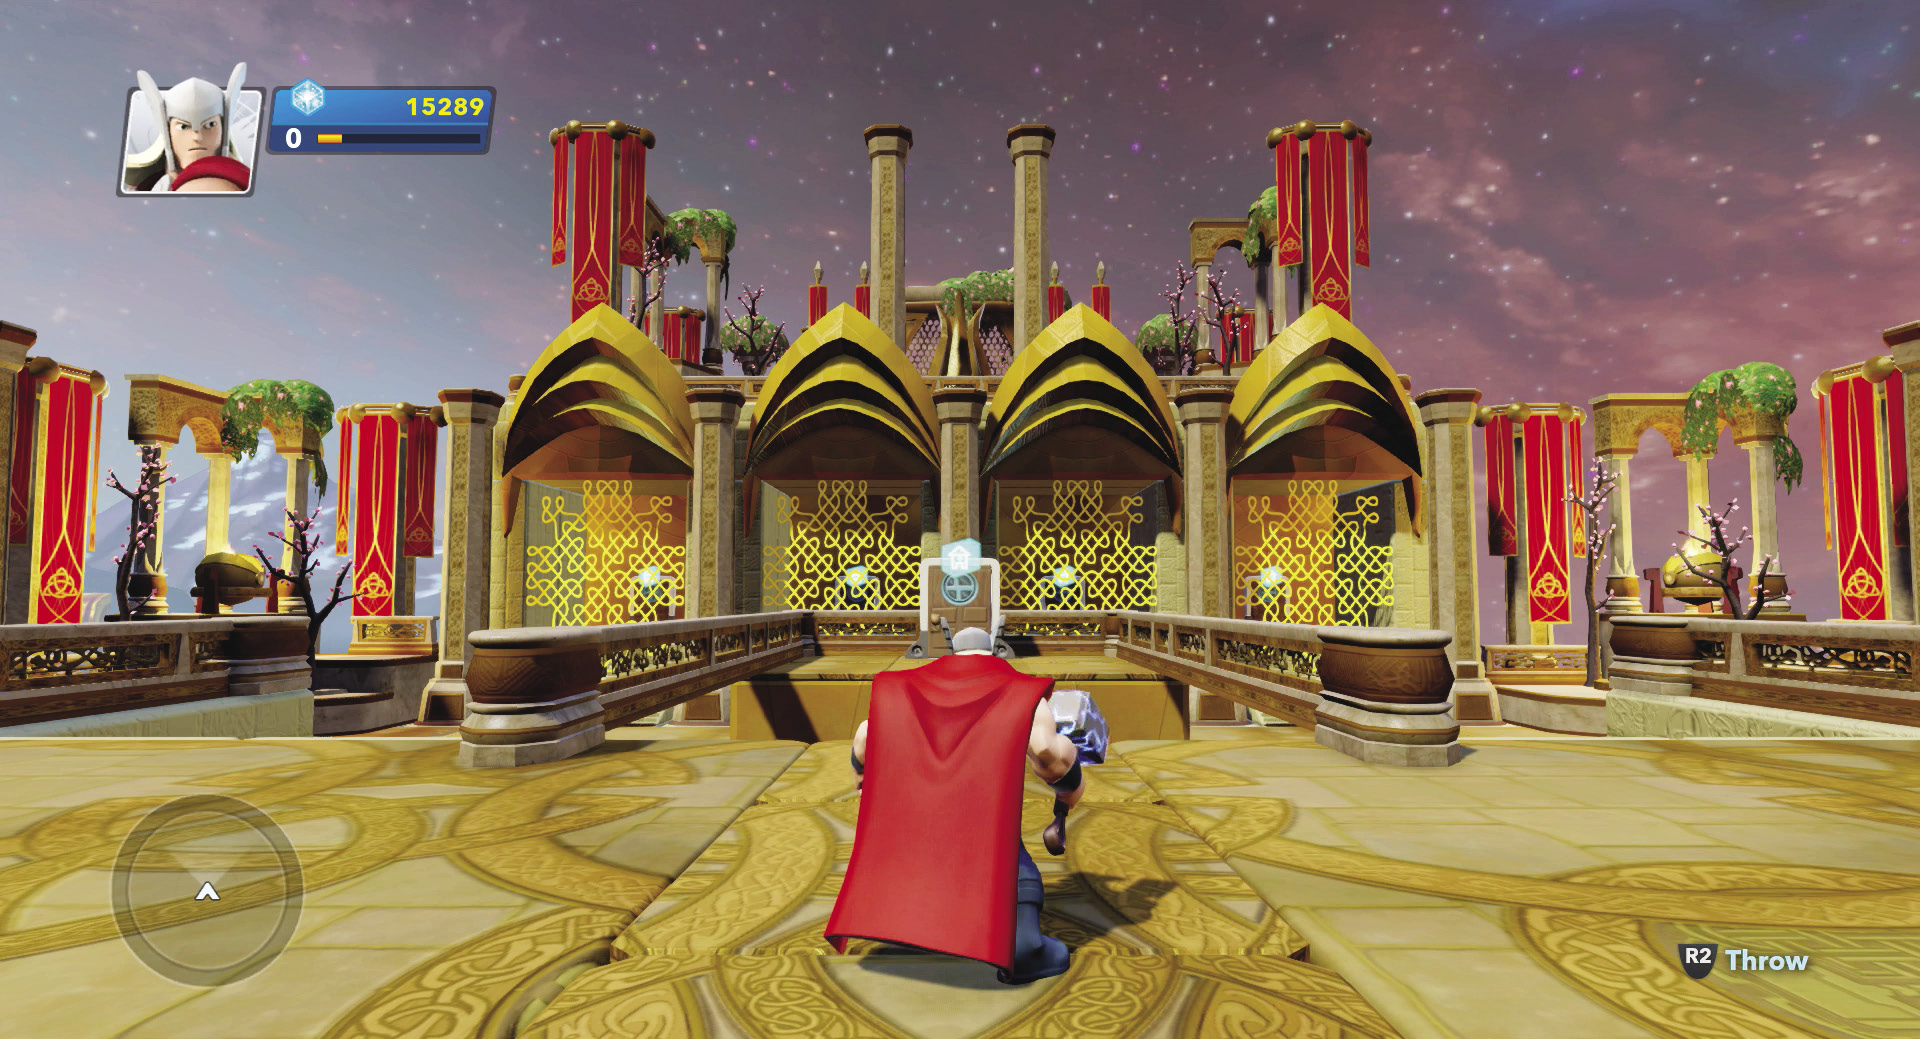
The hub is where you come between levels.
Spawn of Niflheim
Traps Available
- Asgardian Spread Turret
- Asgardian Freeze Mine
Enemies
- Small Frost Giants
- Medium Frost Giants
- A.I.M. Drones
When this level begins, you can pick two traps. Since you only have two from which to choose, select both. The spread turret and the freeze mine can be used through all ten levels and work well together. After selecting the traps, you can place them. This first level requires you to defend a single Odin’s Treasure. Look for the purple arrows to see where the enemies will travel. There are two enemy doors from which enemies enter. However, for the first wave, they will only come out of the enemy door on the left side. You have 600 points to spend on traps. This lets you either place a couple turrets or two freeze mines and a single turret. The latter is a better idea. While turrets cause damage, an enemy wave can quickly walk by them without taking a lot of damage. Therefore, place a freeze mine across the path in a narrow area and then place a turret right behind it. Then when the enemies are frozen by the mine, the turret can fire on them while they are immobile. Put another freeze mine in another narrow area—a chokepoint—to slow down more enemies that get past your turret. Once you have your traps set, it is time to begin the first wave.
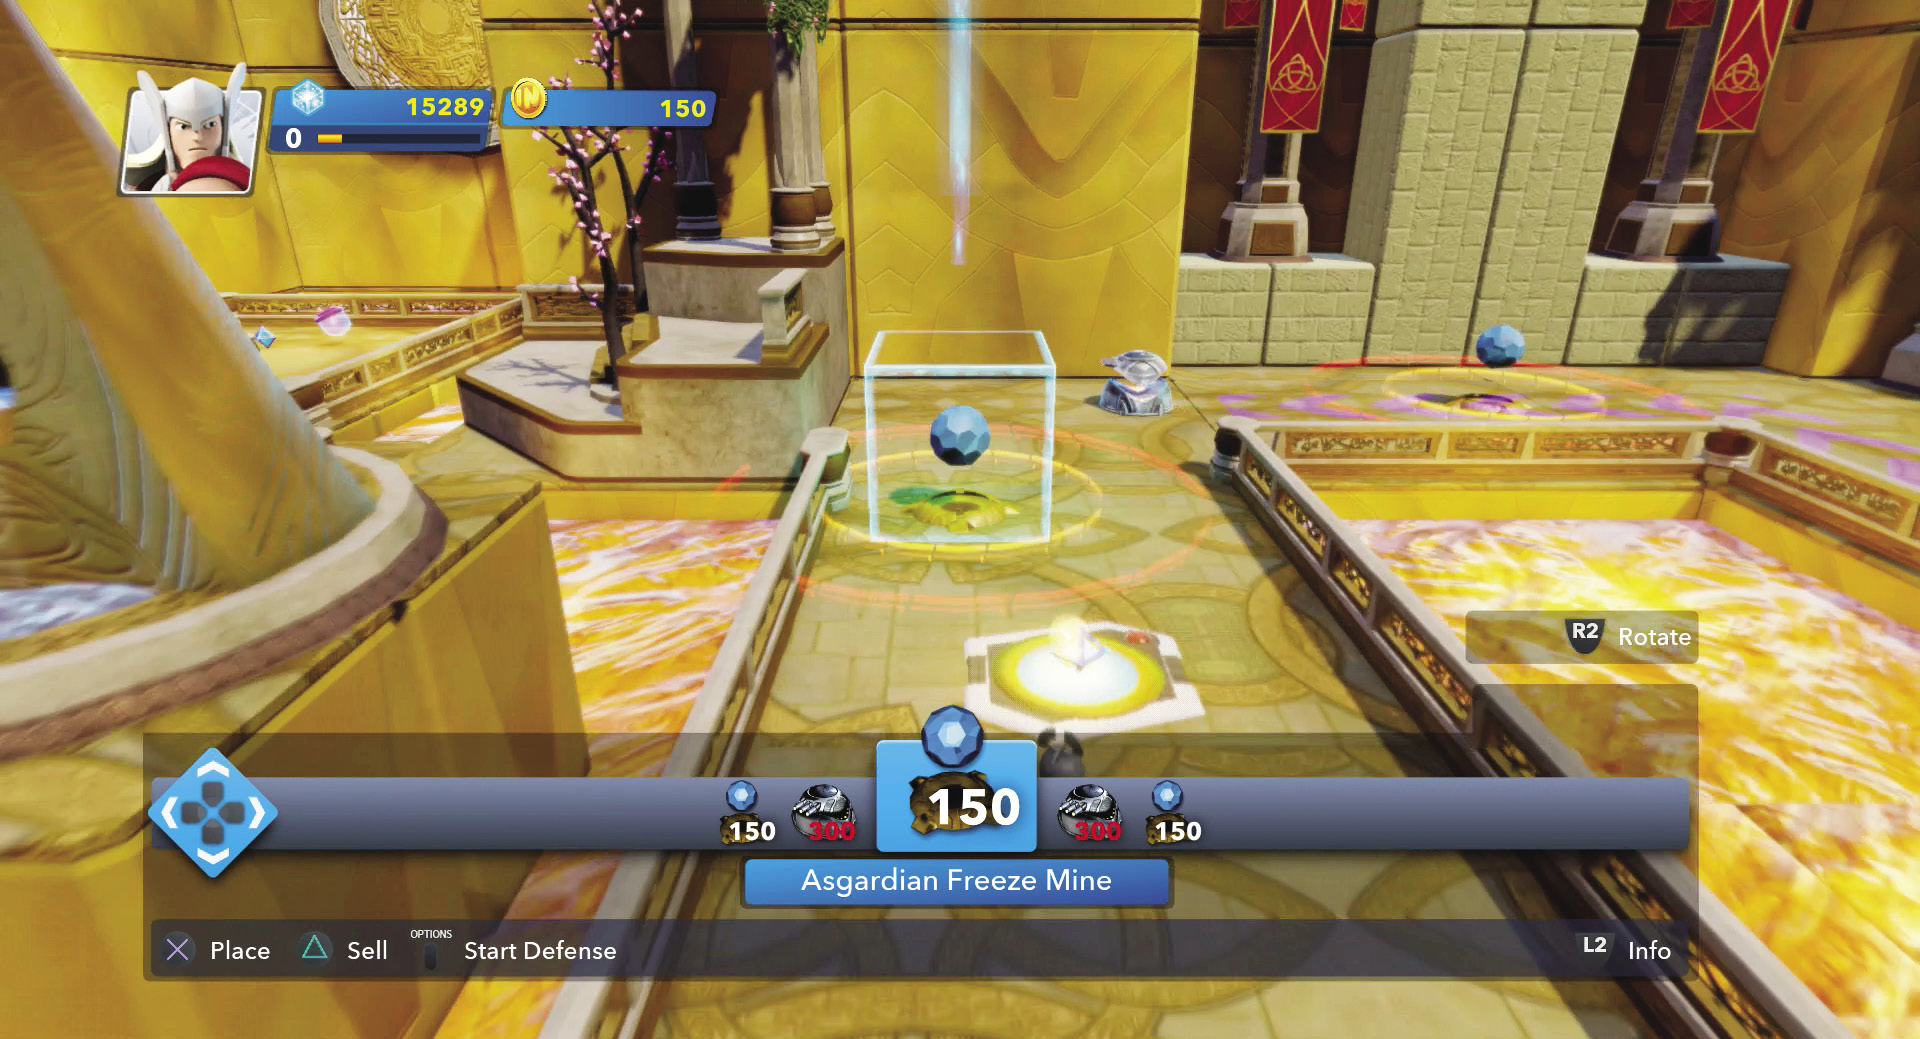
Since enemies are only coming from one enemy door this time, place your traps along the path they must follow. If they don’t work well, you can always sell them and put new traps out after the first wave is defeated.
When the first wave begins, you have a bit of time. Quickly grab an Asgardian and throw him into the door. You get enough money to buy an extra turret when you get to place more traps after the first wave is defeated. After taking care of one of these little guys, check out the treasure. The Frost Giants have most likely been slowed down by the freeze mines and some may be destroyed by the turret while frozen. However, the A.I.M. Drones can bypass the mines and are not affected by them (however turrets can fire at flying enemies). You will need to use a ranged attack to hit these drones.
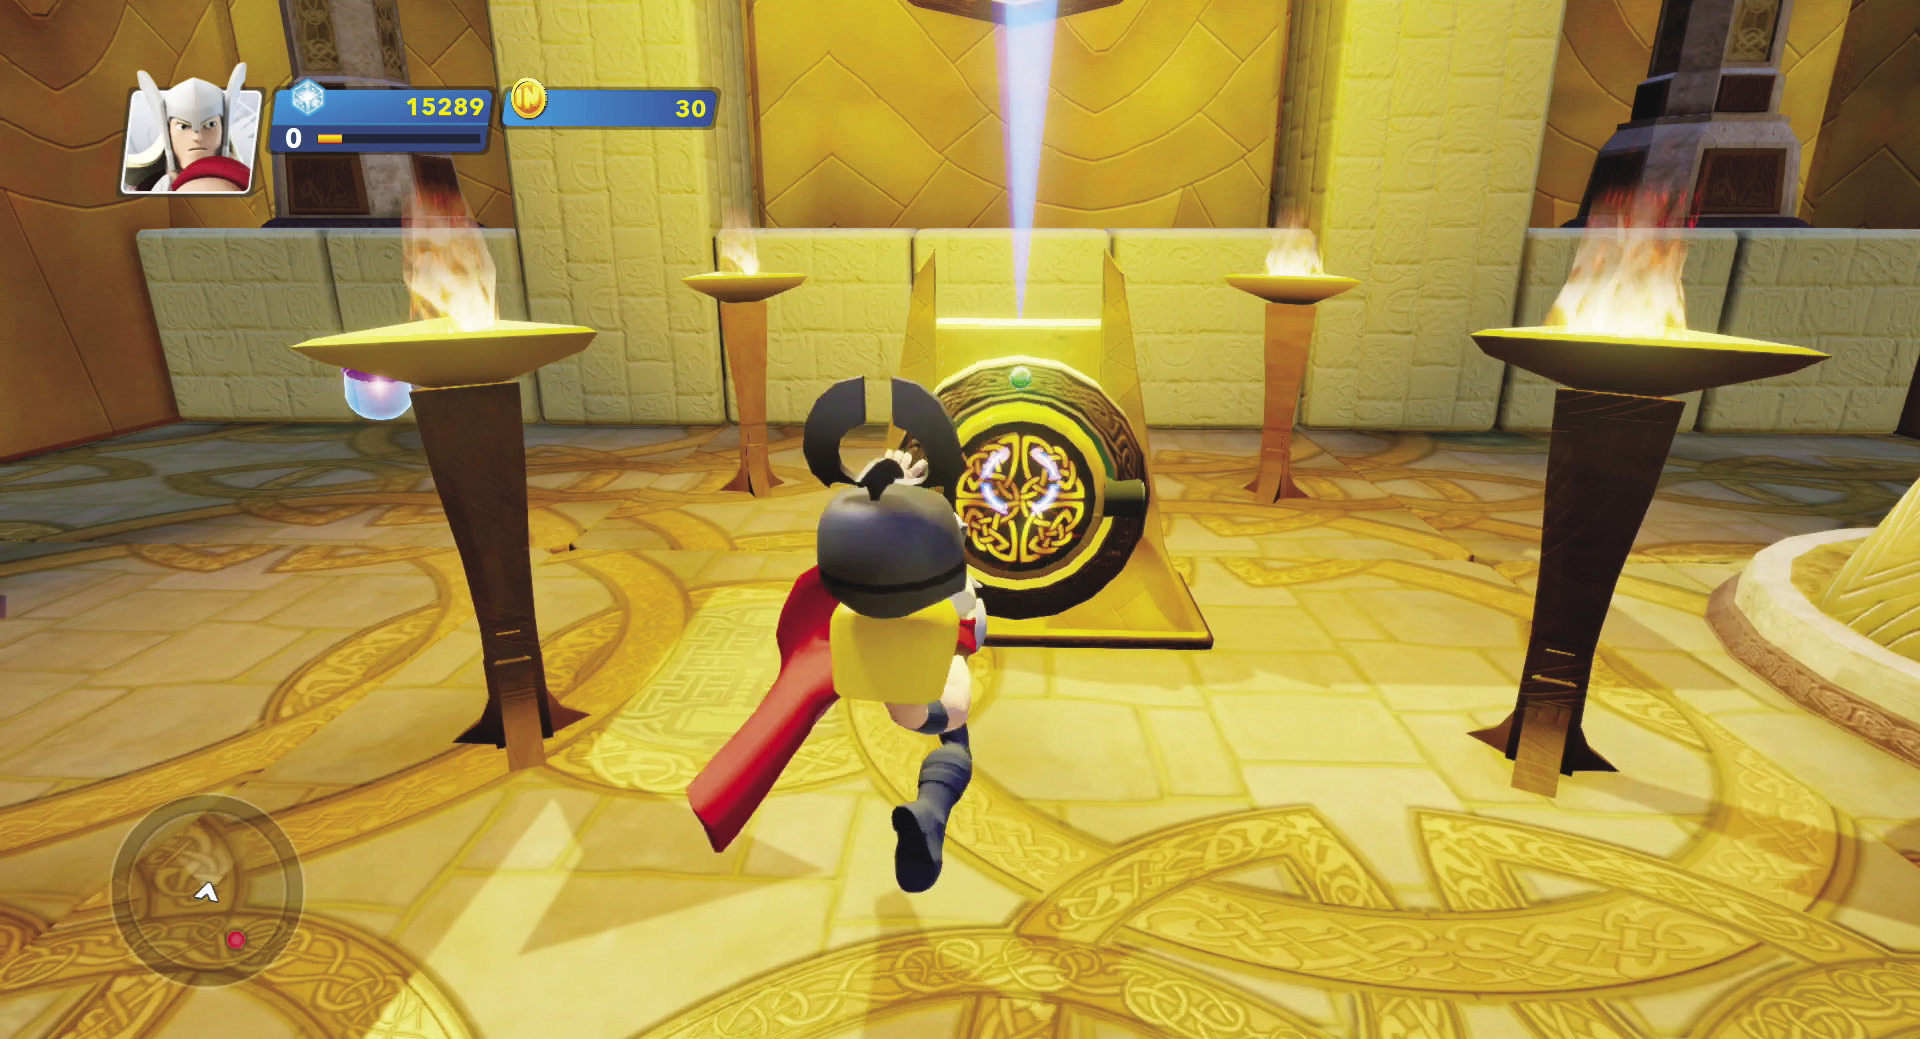
Saving Asgardians is a great way to score some extra money for traps. Just don’t neglect the enemies for too long.
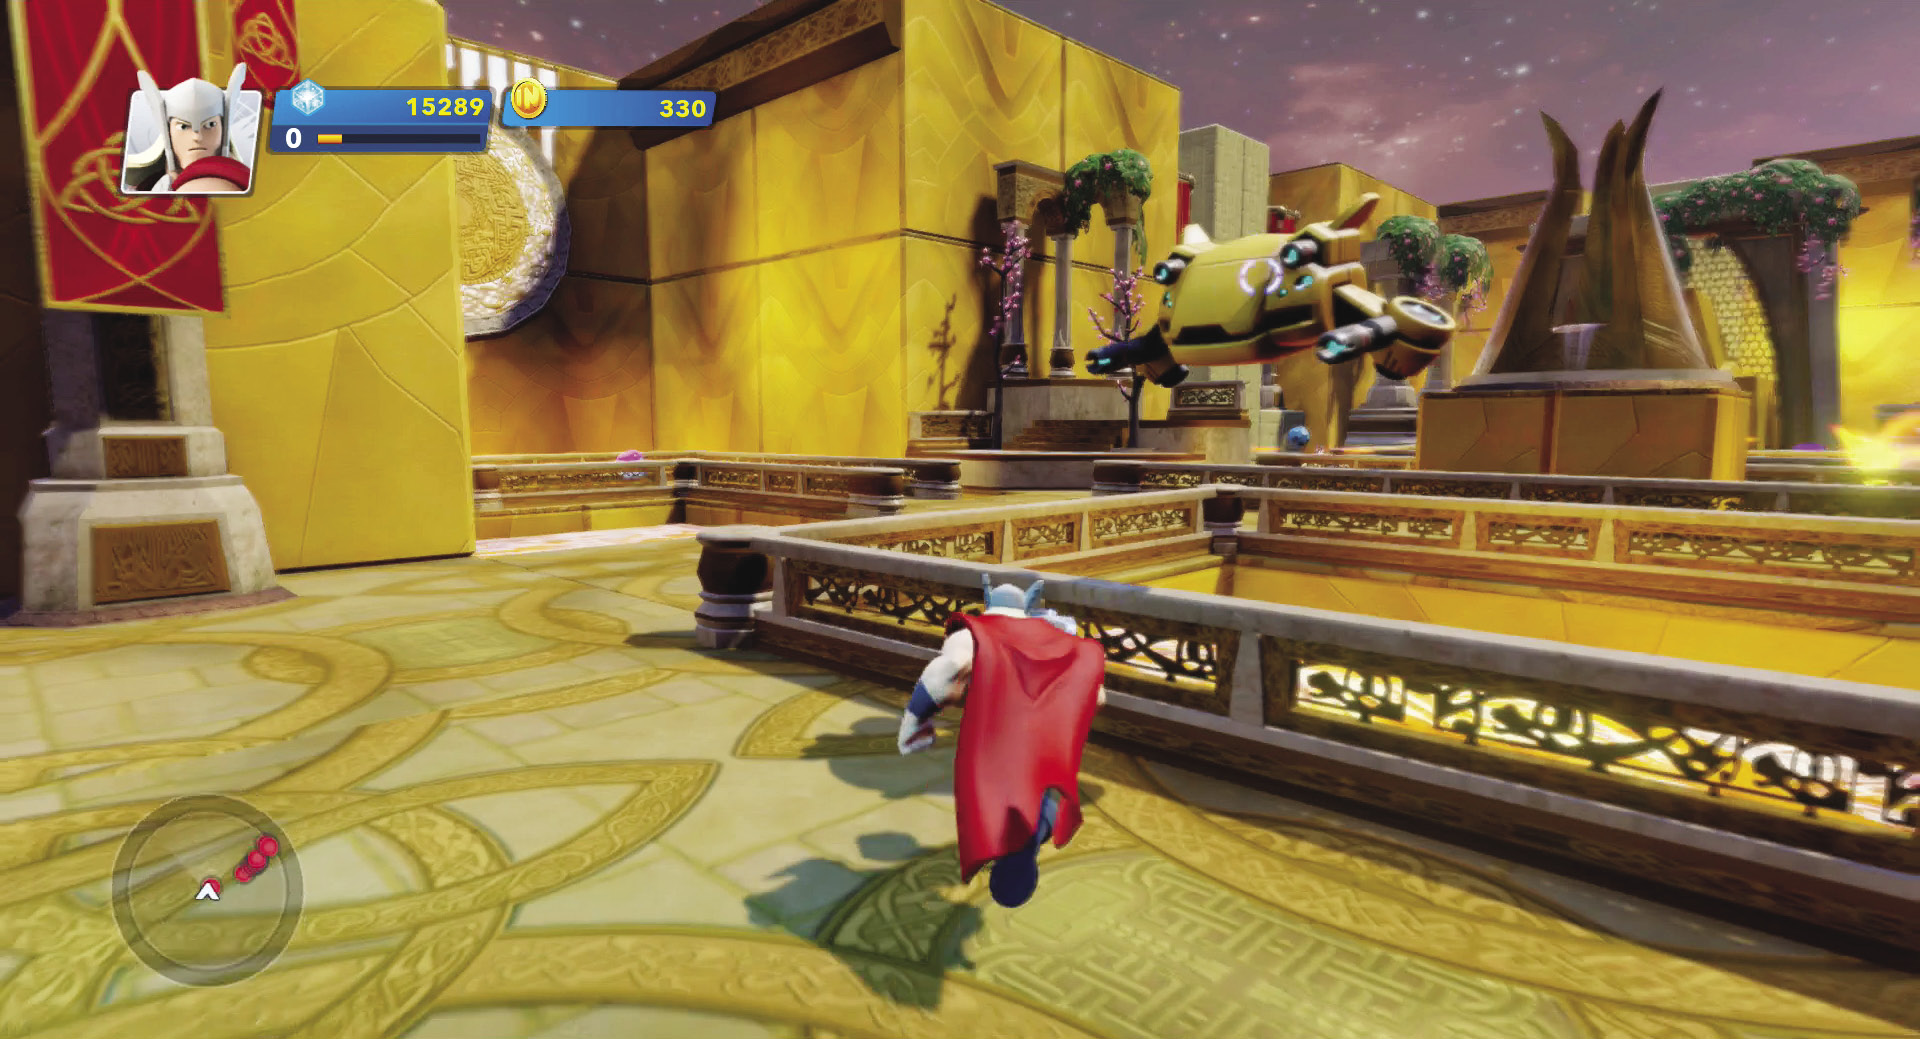
The A.I.M. Drones will get to Odin’s treasure first because they are not affected by the freeze mines.
Try to stay near the treasure because you know that is where all enemies will eventually end up. Plus you need to make sure the treasure is protected. If your character has some area attacks (such as a special move) that can affect several enemies at once, wait until there is a large group of enemies and then release it. Remember that you have to collect purple Sparks to charge up special moves. There are some purple capsules in the level to help you do this. Once the first wave is defeated, you have a few seconds to gather up any remaining coins before preparing for the next wave.
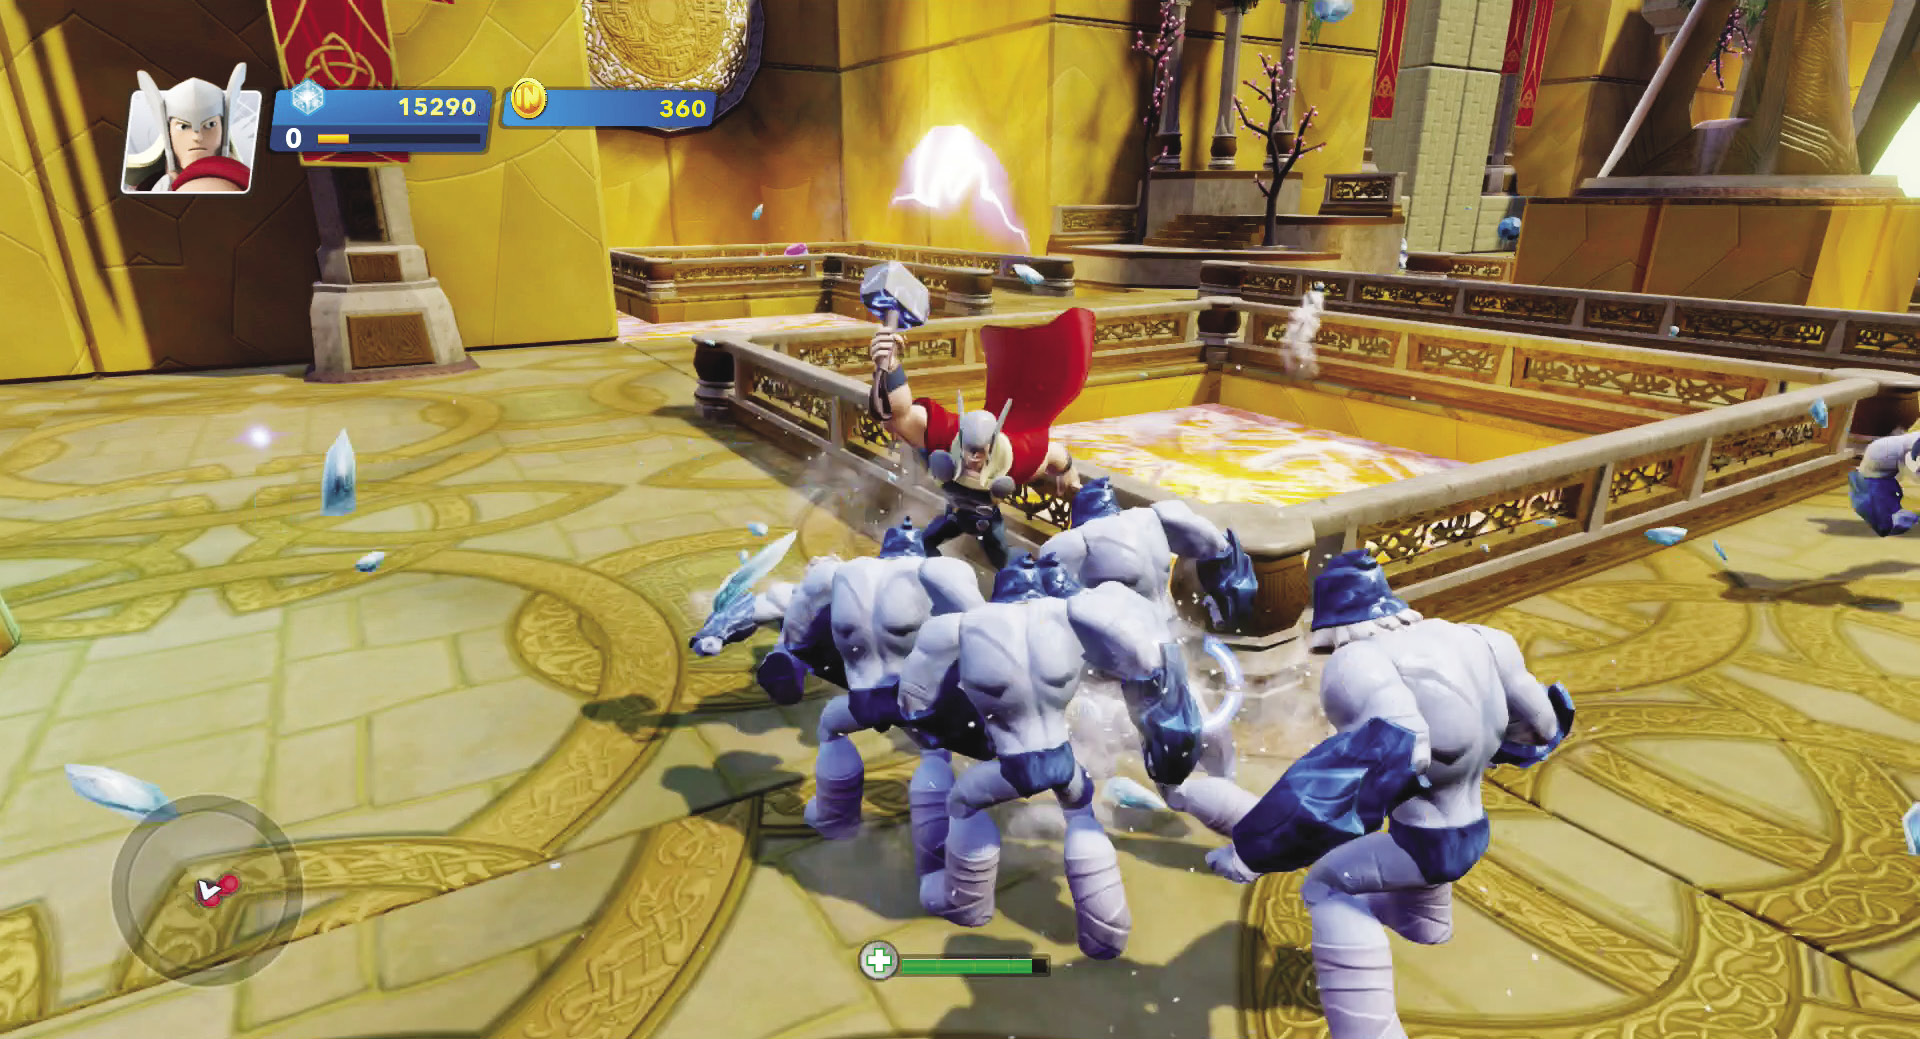
Defend near the treasure. While you can engage away from the treasure at the beginning, you don’t want enemies to get to the treasure to attack it with no defences around.
After each wave, you can spend the money you have collected by defeating enemies and throwing Asgardians into the door on more traps. If your first traps were not in a good position, sell them back and then start over. This time the enemies will still come from the same enemy door. There are two paths that lead directly to the treasure. By now you should have enough to purchase a couple turrets to place near the treasure and freeze mines along the paths. The turrets near the treasure can also fire on the flying A.I.M. Drones and help eliminate those threats. When you are ready, start the second wave.
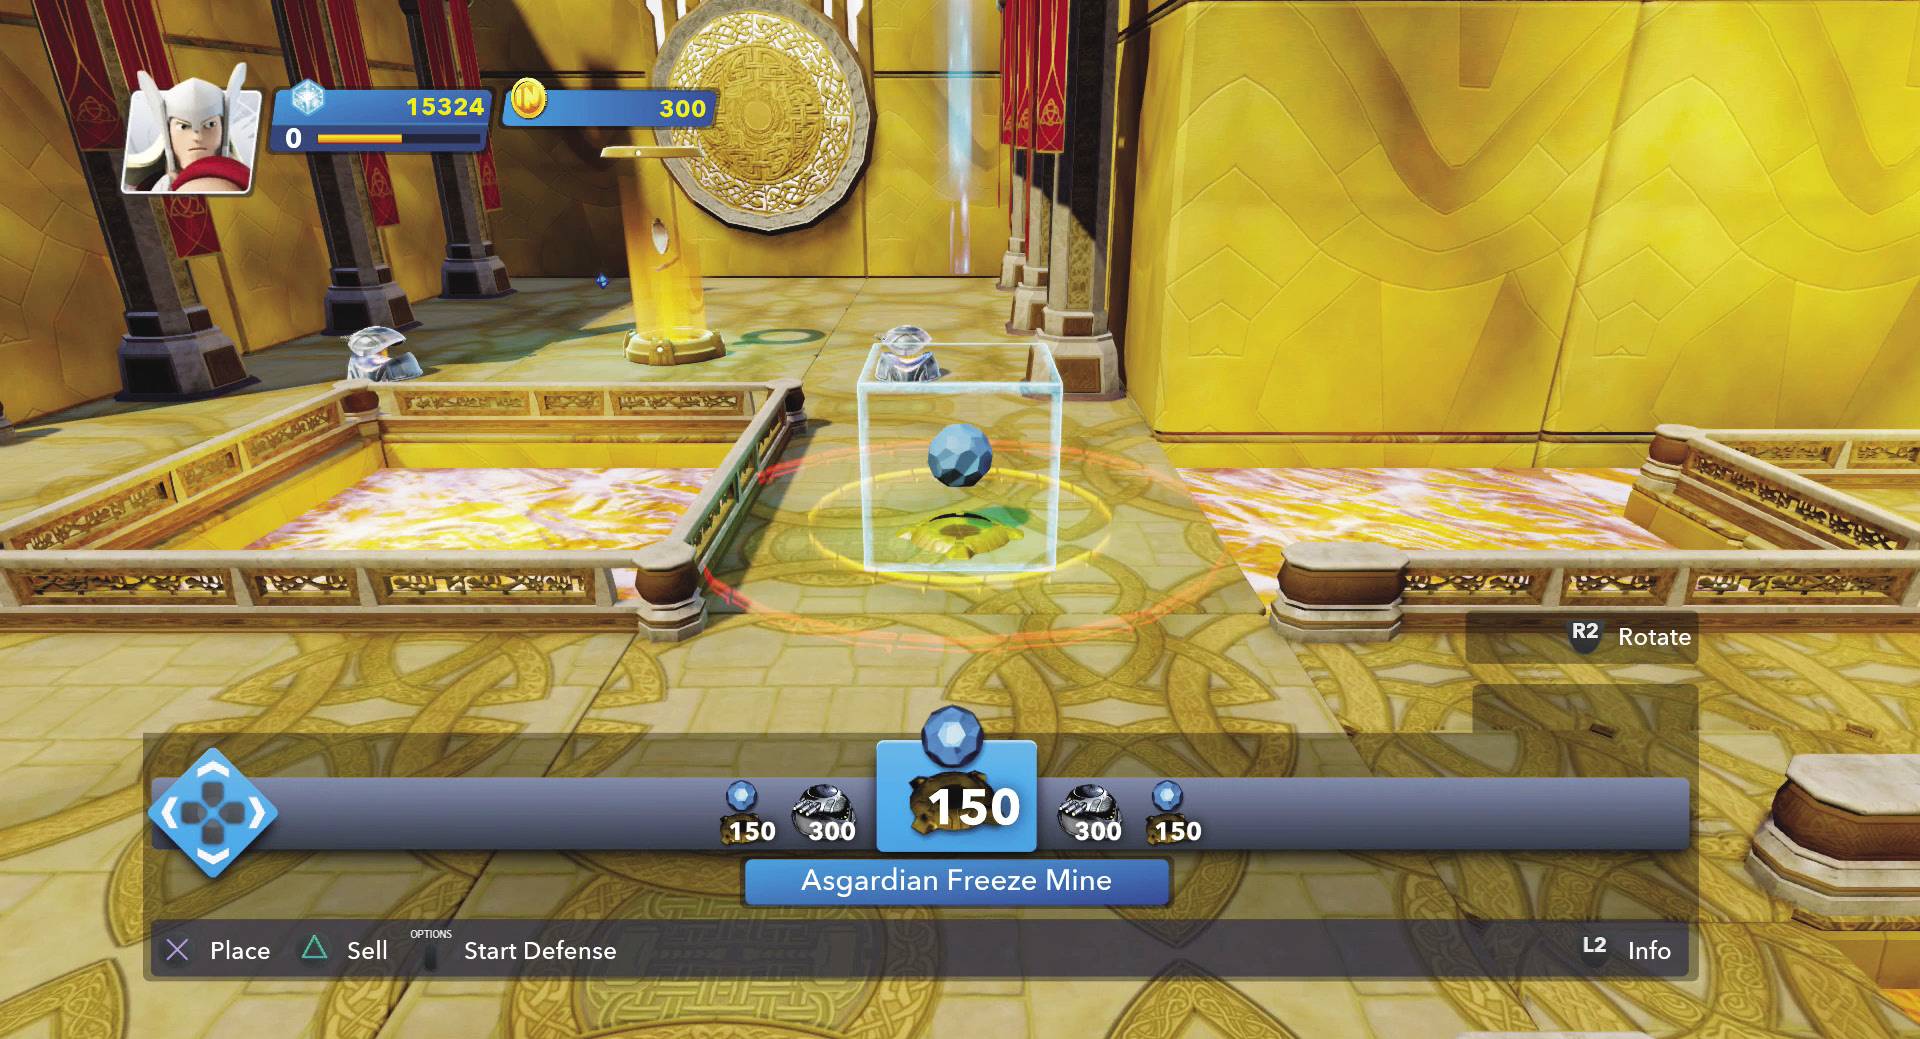
Position some traps near the treasure because enemies are all moving towards this location. This ensures that all enemies will hit at least some of your traps.
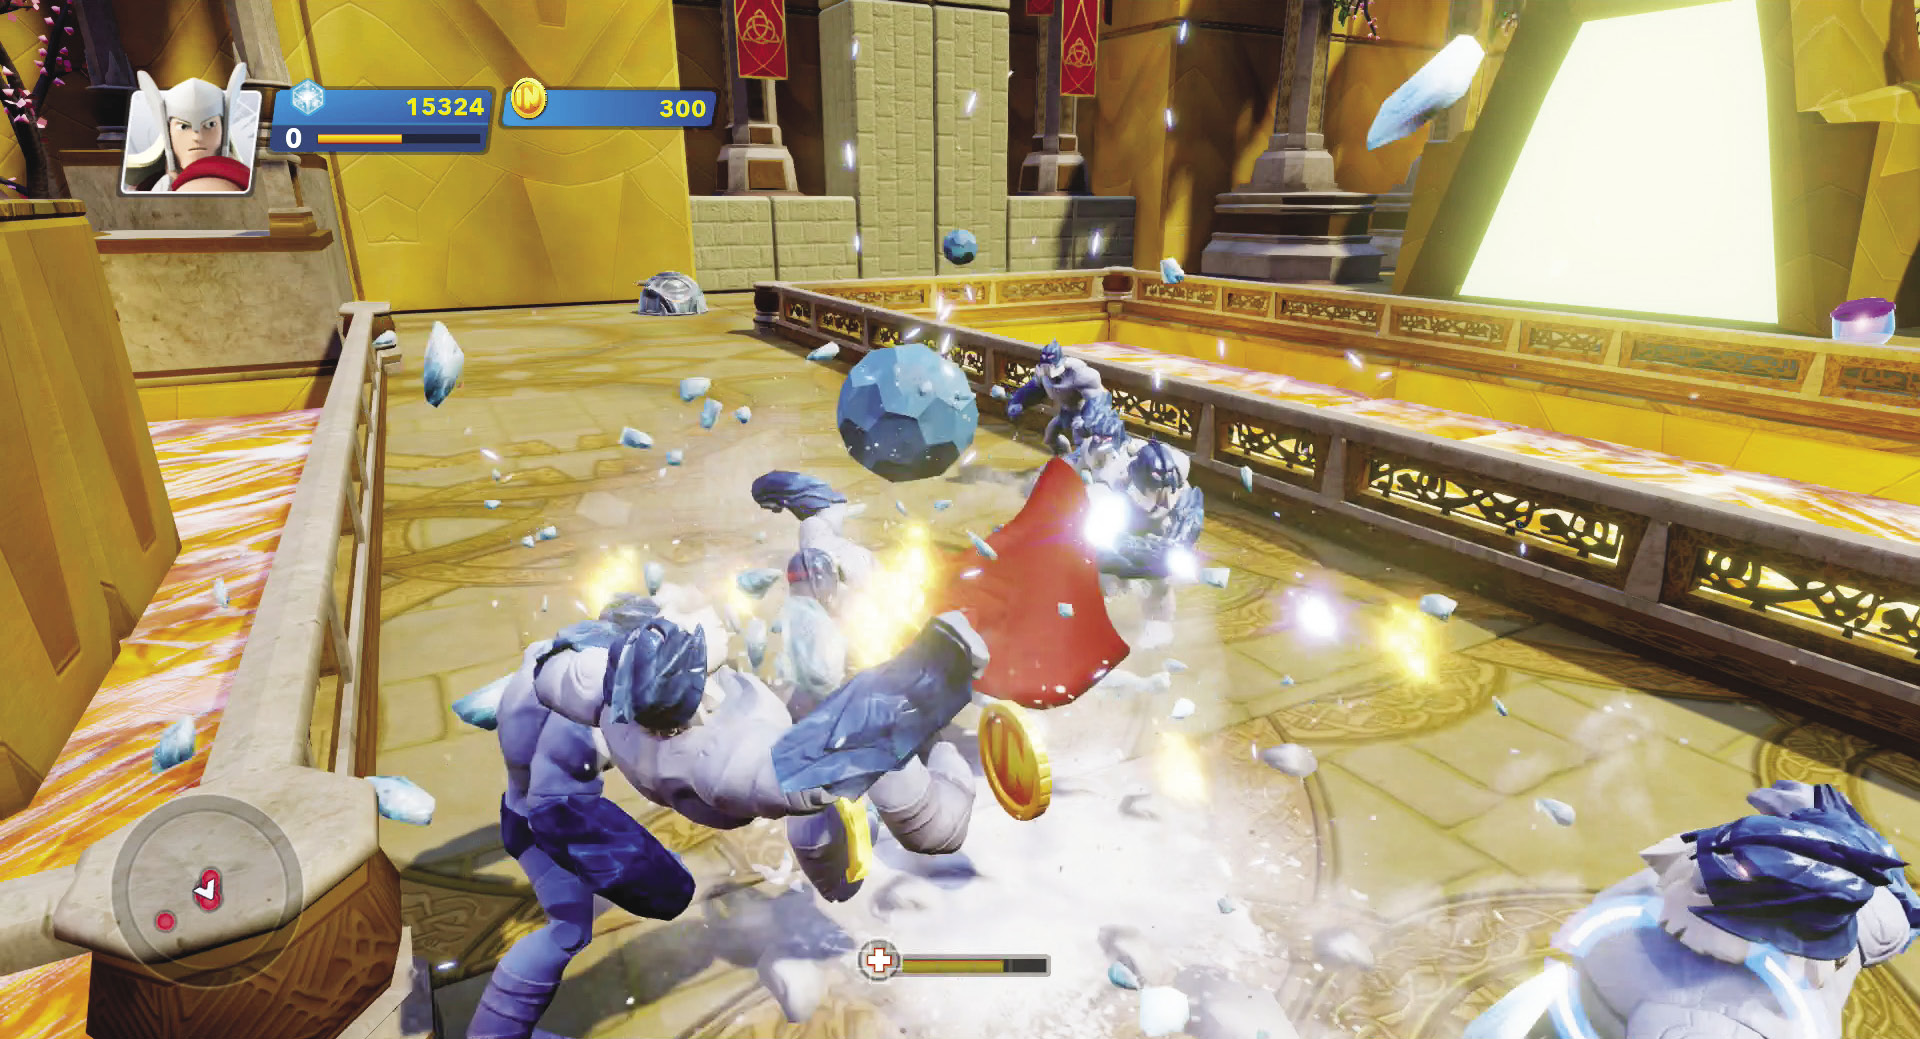
A group of frozen enemies makes for an easy target. Jump up in the middle of them, and then press the attack button to come down with a ground slam to damage all of them.
The third wave comes from both enemy doors. Keep your traps in the narrow parts of the path where you know enemies have to travel. This wave also includes Medium Frost Giants, so you will have to spend a little extra time defeating these larger enemies. There is a total of six waves. Each subsequent wave is a bit more difficult. However, if you have been diligent about collecting coins, by the final wave, you should have traps all over the pathways to the treasure. Stay near the treasure because there are so many Frost Giants in the later waves that many will still get through your traps. That is why it is good to have several turrets surrounding your treasure.
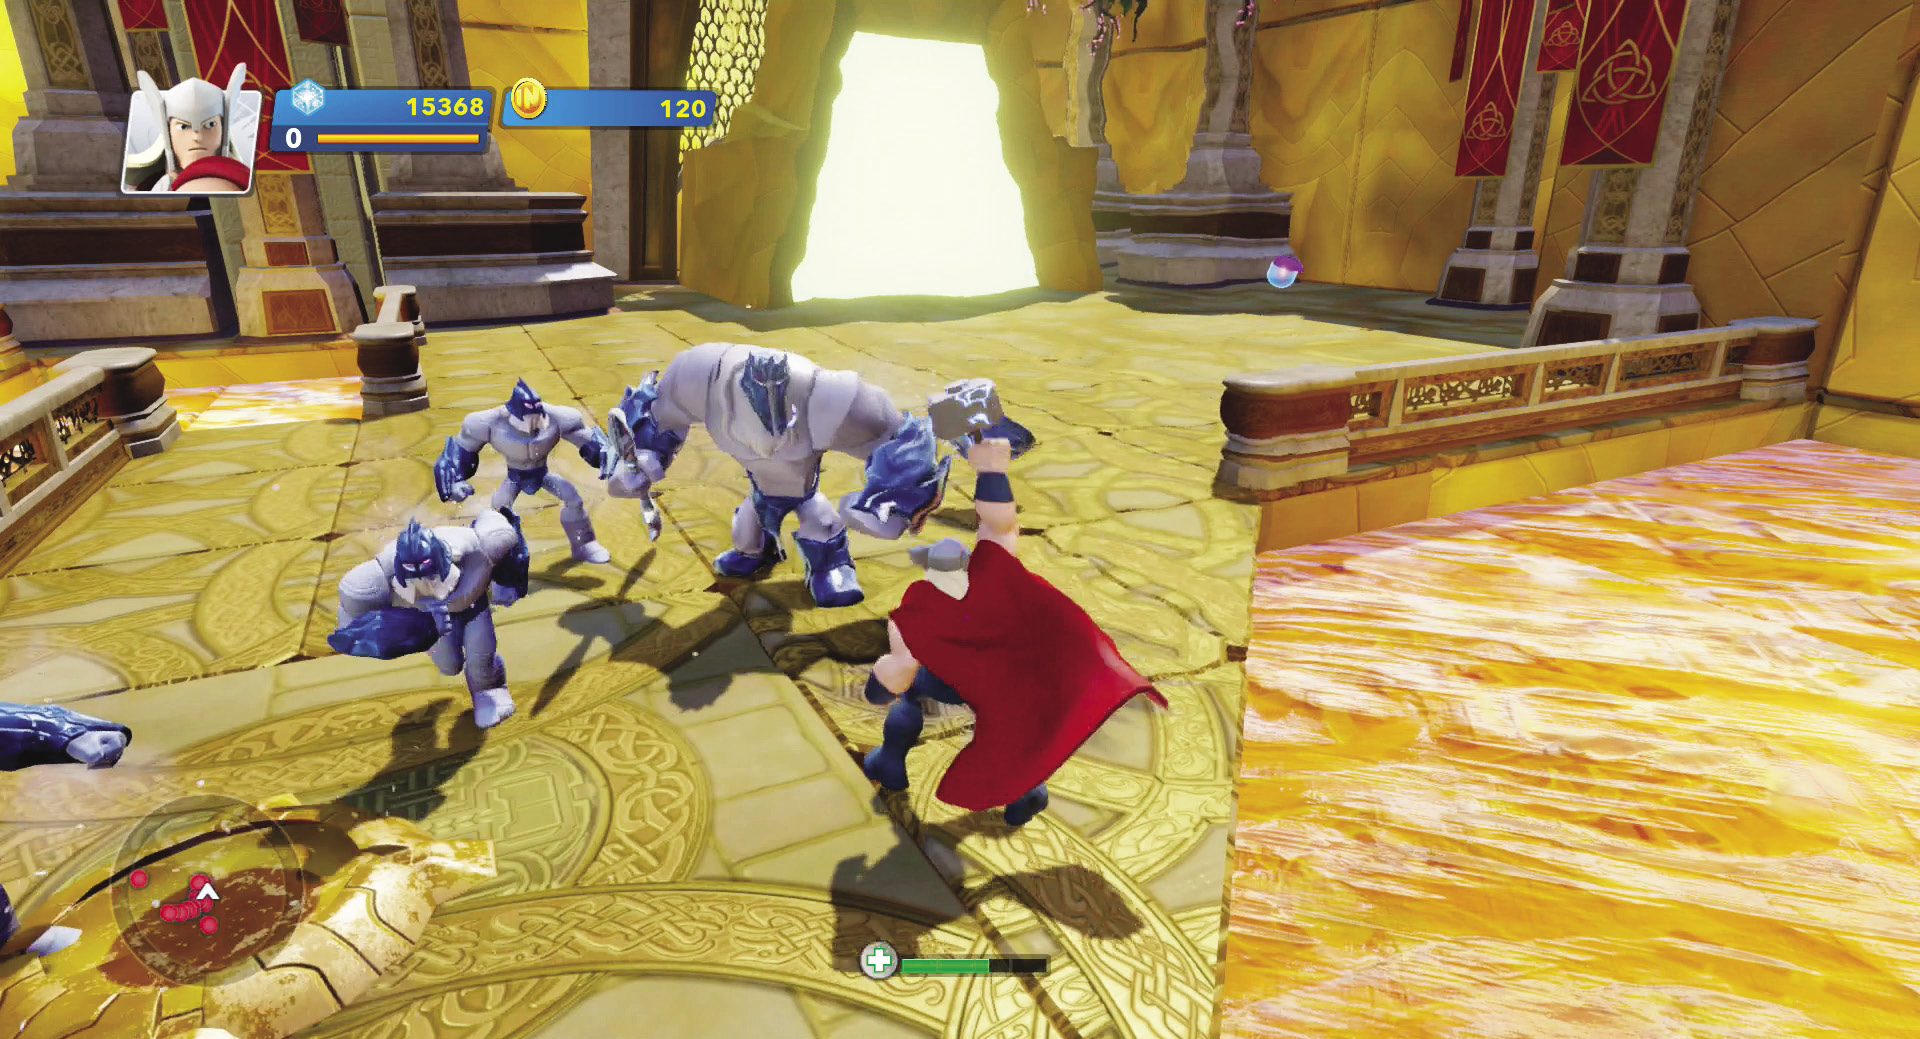
Medium Frost Giants are more powerful and can take more damage. However, they are easier to defeat if you wait until a freeze mine turns them into ice.
Storm of Jotnar
Traps Available
- Asgardian Spread Turret
- Asgardian Freeze Mine
- Asgardian Barrier
Enemies
- Small Frost Giants
- Medium Frost Giants
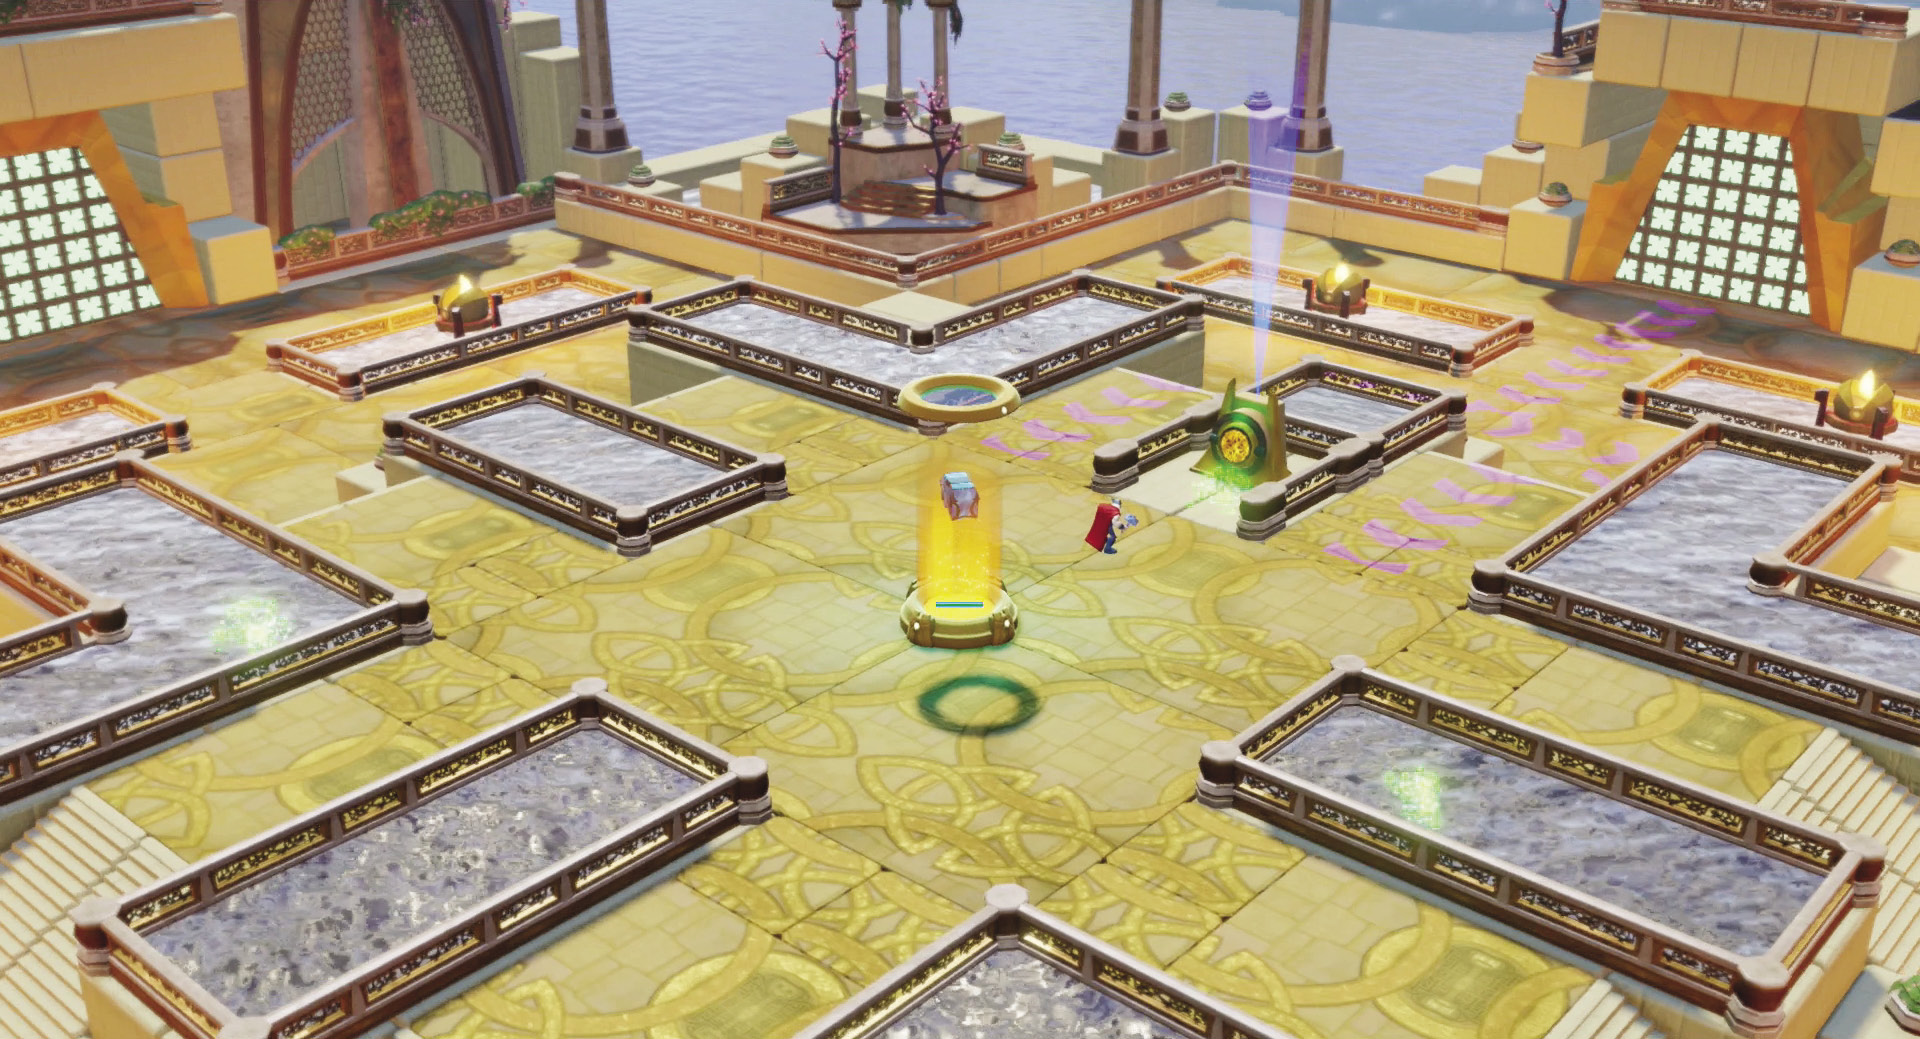
This level has only one treasure—but it is surrounded by enemy doors.
This level is tougher than the previous level. You must defend one treasure located in the middle of the area. However, there are four enemy doors that surround you. Luckily, for the first wave, the Frost Giants only come from one enemy door. Try using some barriers to see how they work. Then back them up with turrets.
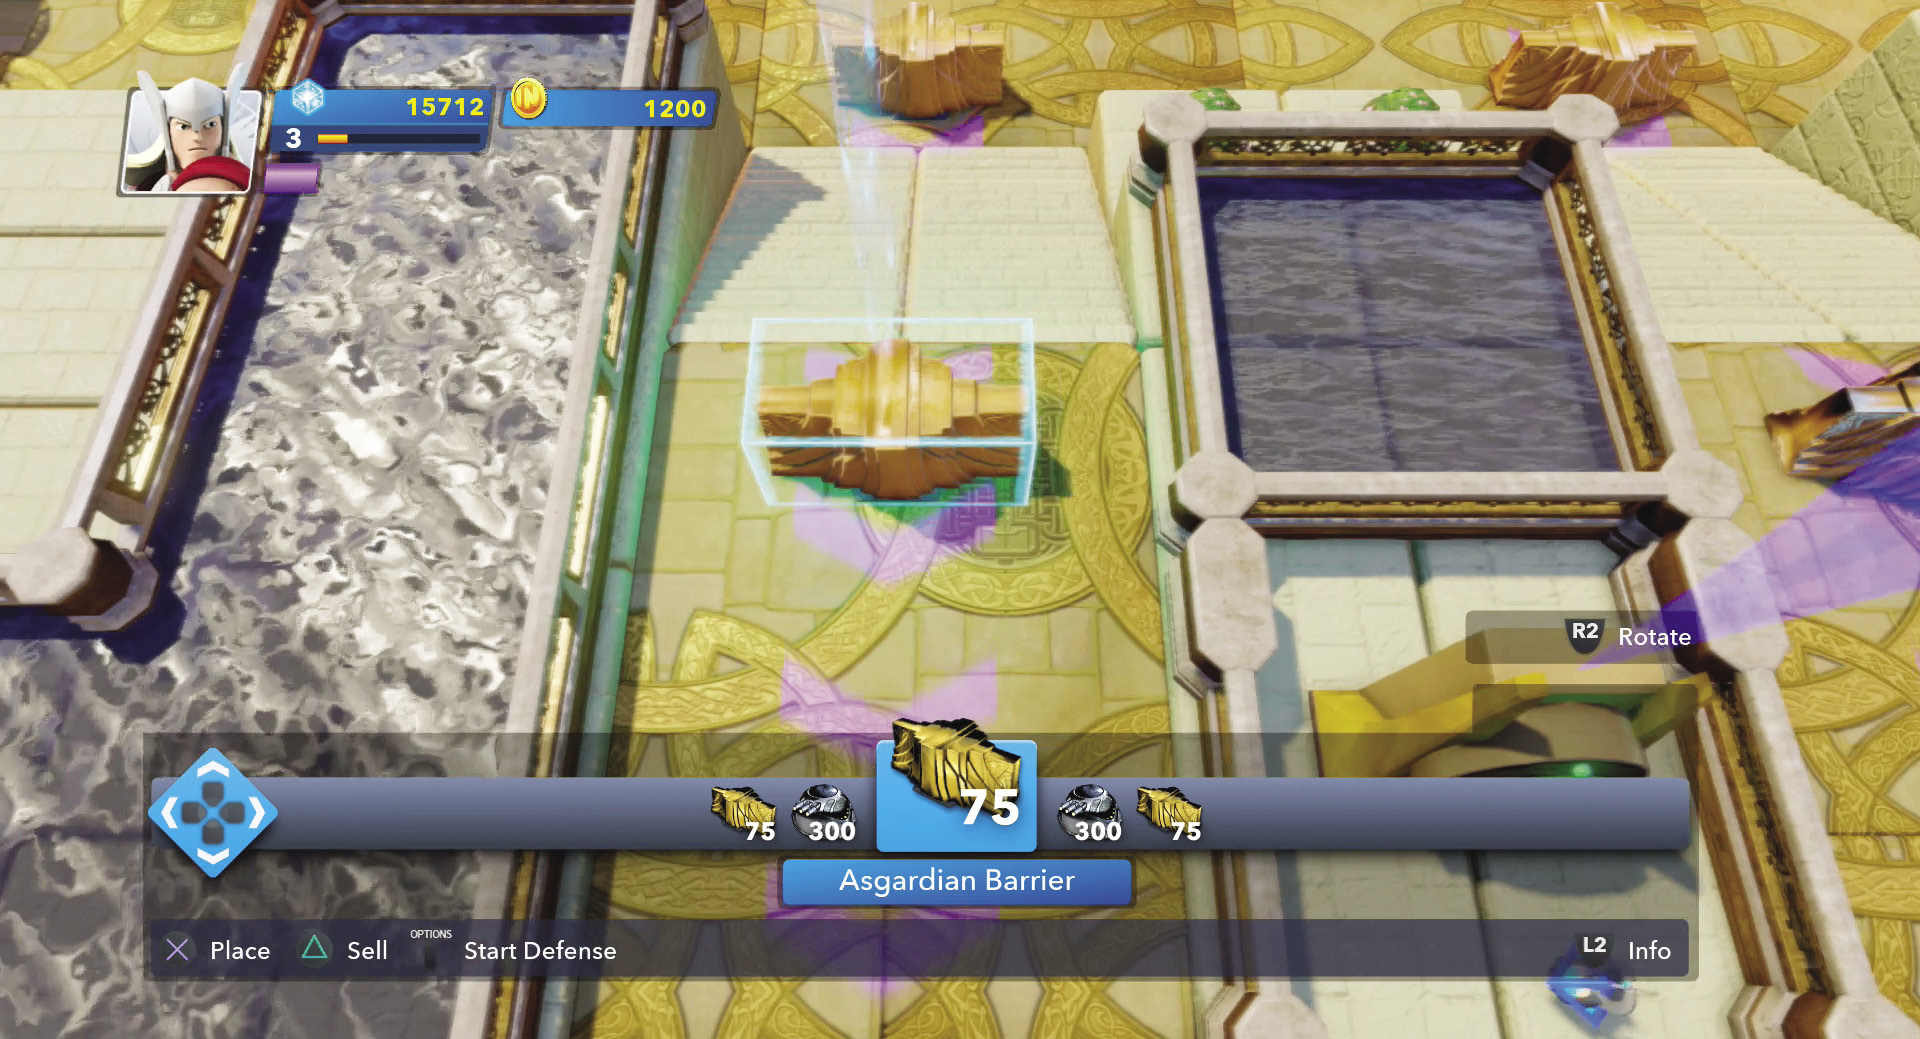
The Asgardian Barrier is unlocked for this level. Use it to slow down enemies.
The second wave has attacks from two enemy doors—on opposite sides of the area. Position your defenses accordingly. Wave 3 also has attacks from two opposite sides. However, this time it is the other two enemy doors. You may want to sell back all your traps and then put down new ones to cover those two directions. Start bringing your turrets in close to the treasure so those Frost Giants that do get through will come under fire while they are attacking the treasure.
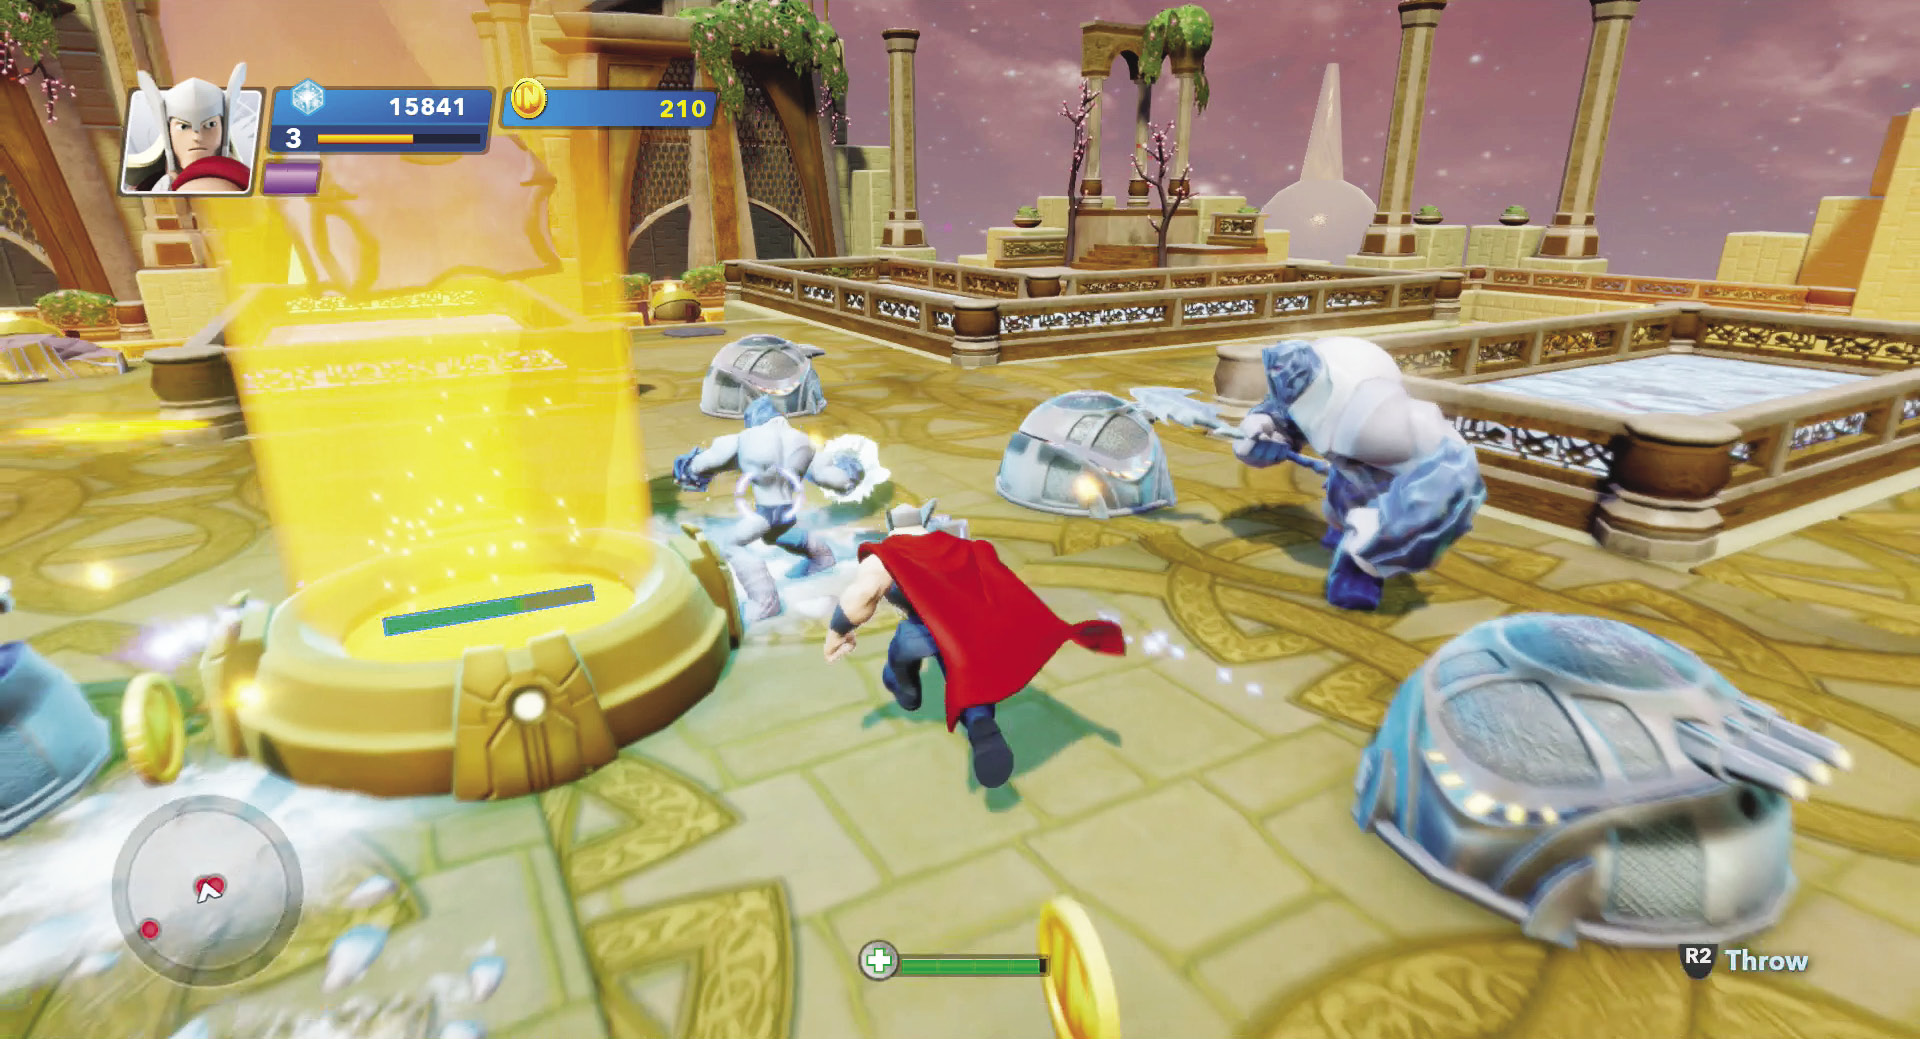
Because you are attacked from all directions, stay near the treasure to deal with enemies that get through your traps.
In wave 4, you get attacked from all four directions. Stay near the center for this one. If you try to engage enemies from one direction, others get to the treasure behind you. Surround the treasure with turrets to help you defeat the Frost Giants that try to destroy the treasure. By staying in one spot, you can more quickly gather the coins from the defeated enemies. Wave 5 is a bit tougher. Medium Frost Giants attack towards the end. Try to clear out all of the Small Frost Giants before the larger enemies arrive. The final wave hits you with lots of Small Frost Giants. Then eight Medium Frost Giants attack all at once—two from each direction. Your turrets will help weaken them, so move in and finish them off to complete this level.
Loki’s Machinations
Traps Available
- Asgardian Spread Turret
- Asgardian Freeze Mine
- Asgardian Barrier
- Asgardian Catapult Trap
Enemies
- Small Frost Giants
- Medium Frost Giants
- A.I.M. Drones
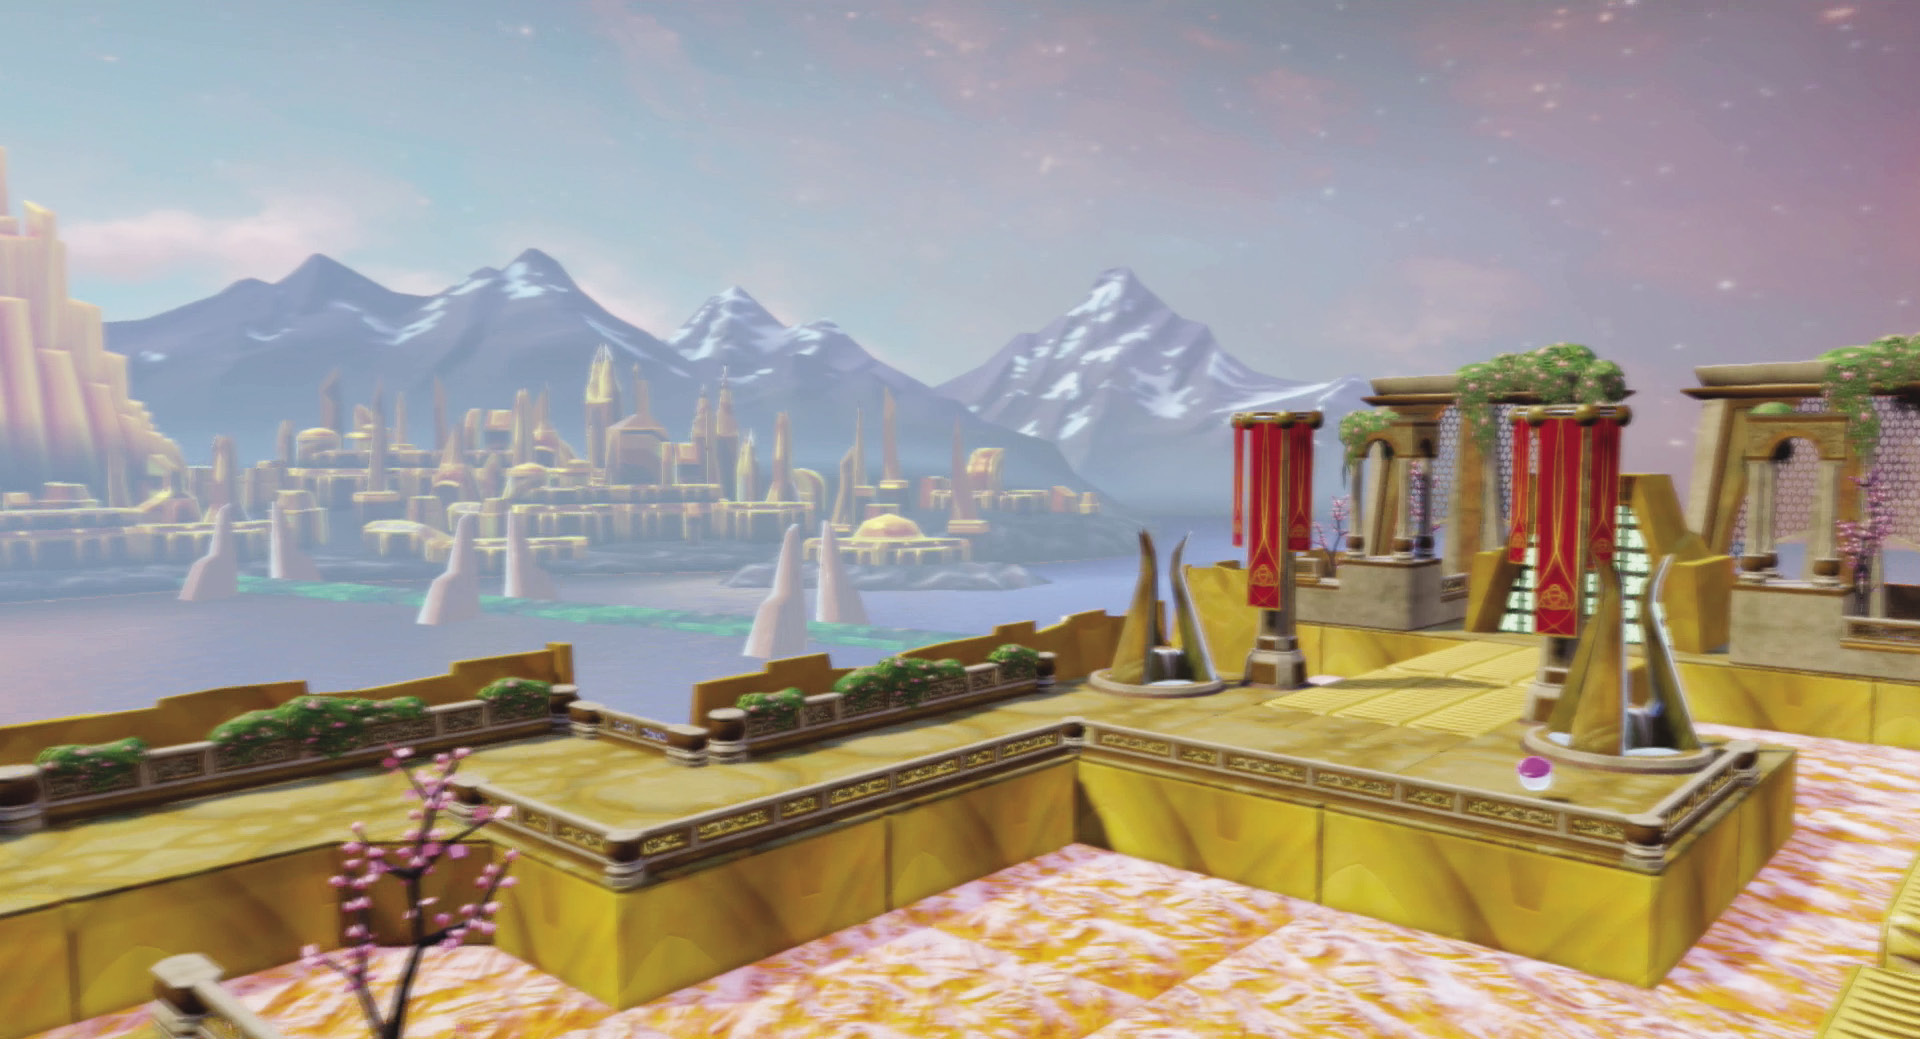
The conveyor belts near the enemy doors help the enemies move much faster towards the treasure.
This level has a single treasure in the middle of the area. There are only two enemy doors on opposite sides of the treasure. One is closer to the treasure than the other. There are conveyor belts in front of each enemy door. This prevents you from placing traps along those paths and helps the enemies move faster as they advance. For the first wave, the enemies come from both enemy doors. For the one closest to the treasure, you don’t have a lot of depth for traps due to the conveyor belts. Place a freeze mine near the conveyor belt and back it up with a turret. Then place another freeze mine and turret along the narrow pathway from the other enemy door, as close to the treasure as possible. Focus on defeating the enemies from the close enemy door first, then turn your attention to the enemies from the other enemy door since they take longer to get to the treasure.
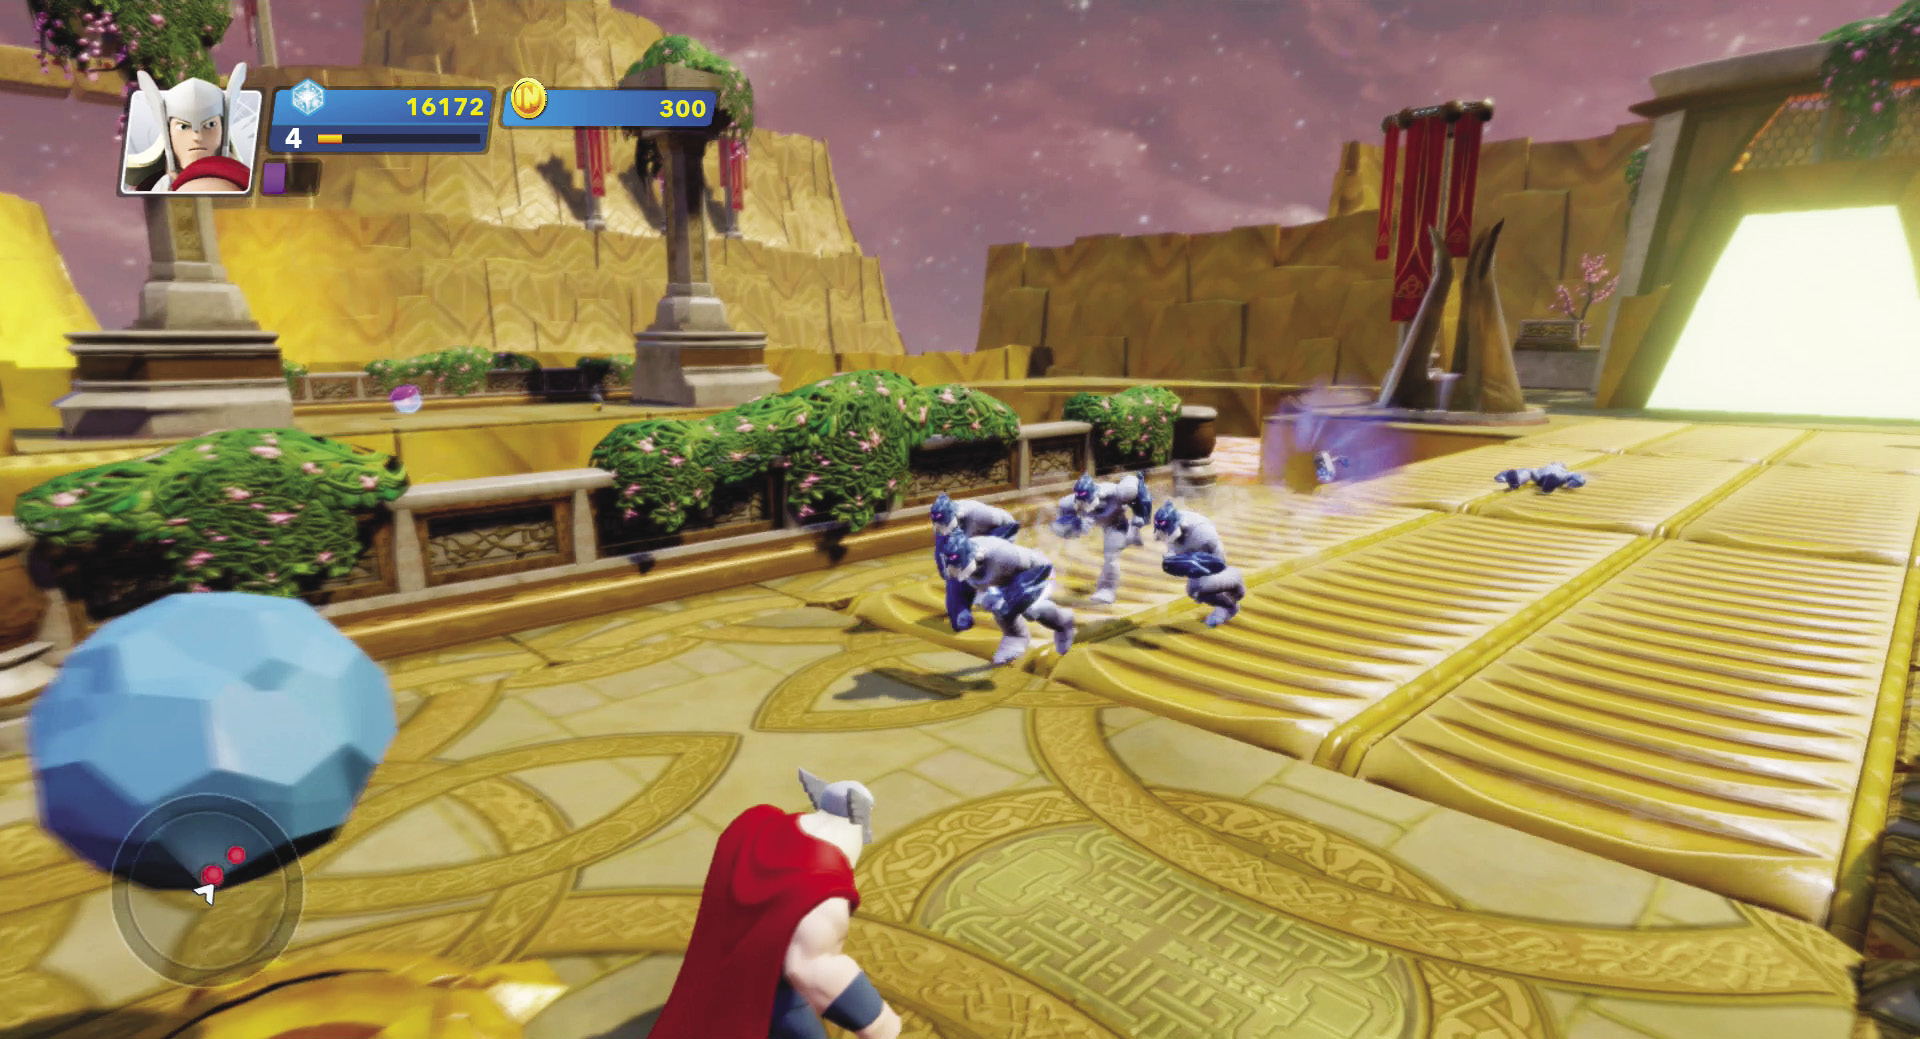
The enemies from the closest enemy door are the first threat you need to eliminate.
After the first wave, spend your money on more traps. However, begin concentrating them along the narrow pathway between the treasure and the far enemy door. You then focus on fighting off the enemies from the closest enemy door with a few defenses near the treasure. By the time you have finished them off, you can turn your attention to the attacks from the other enemy door, which have been delayed and weakened by your traps.
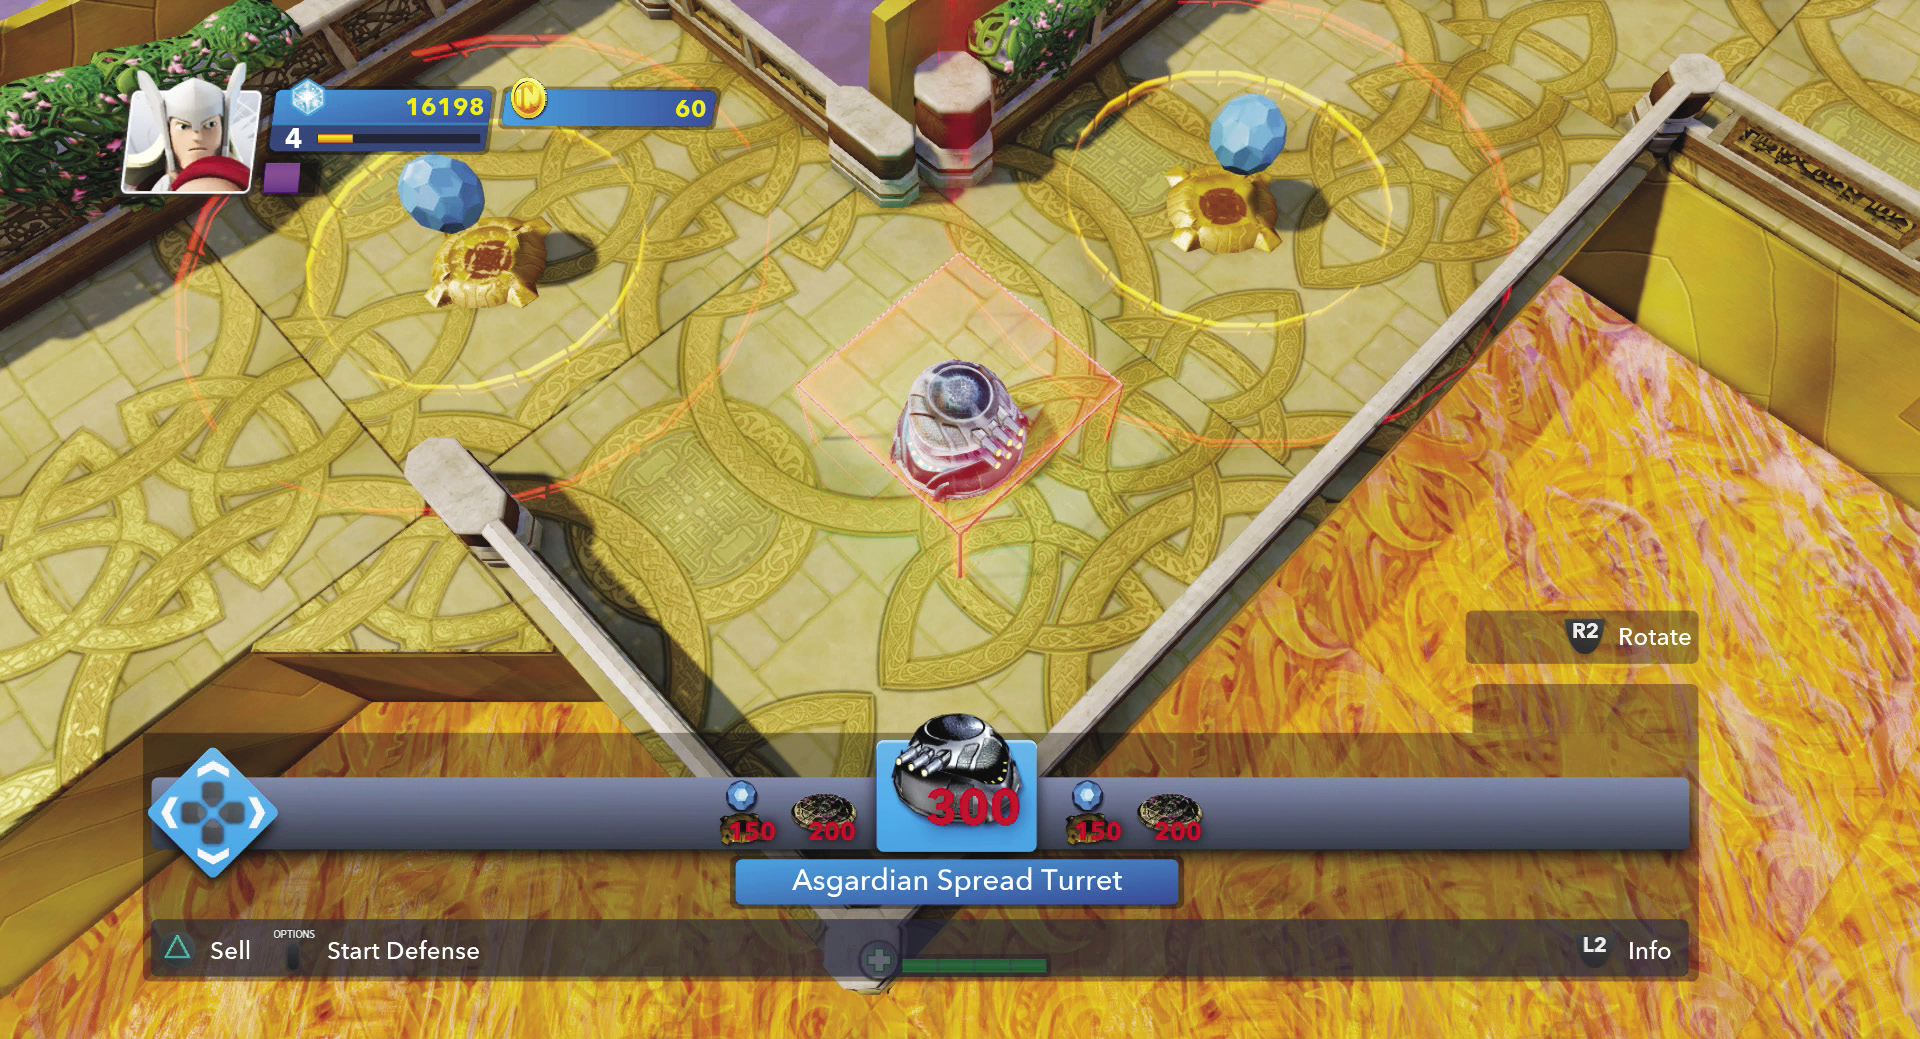
Position most of your defenses along the pathway from the farther enemy door to the treasure.
Waves 2 and 3 add some Medium Frost Giants as part of the attack. Again, focus on the attacks from the close enemy door and then deal with the other attacks. As you add more traps to that side, you will find that there are fewer enemies getting through and that they are taking longer to get to the treasure.
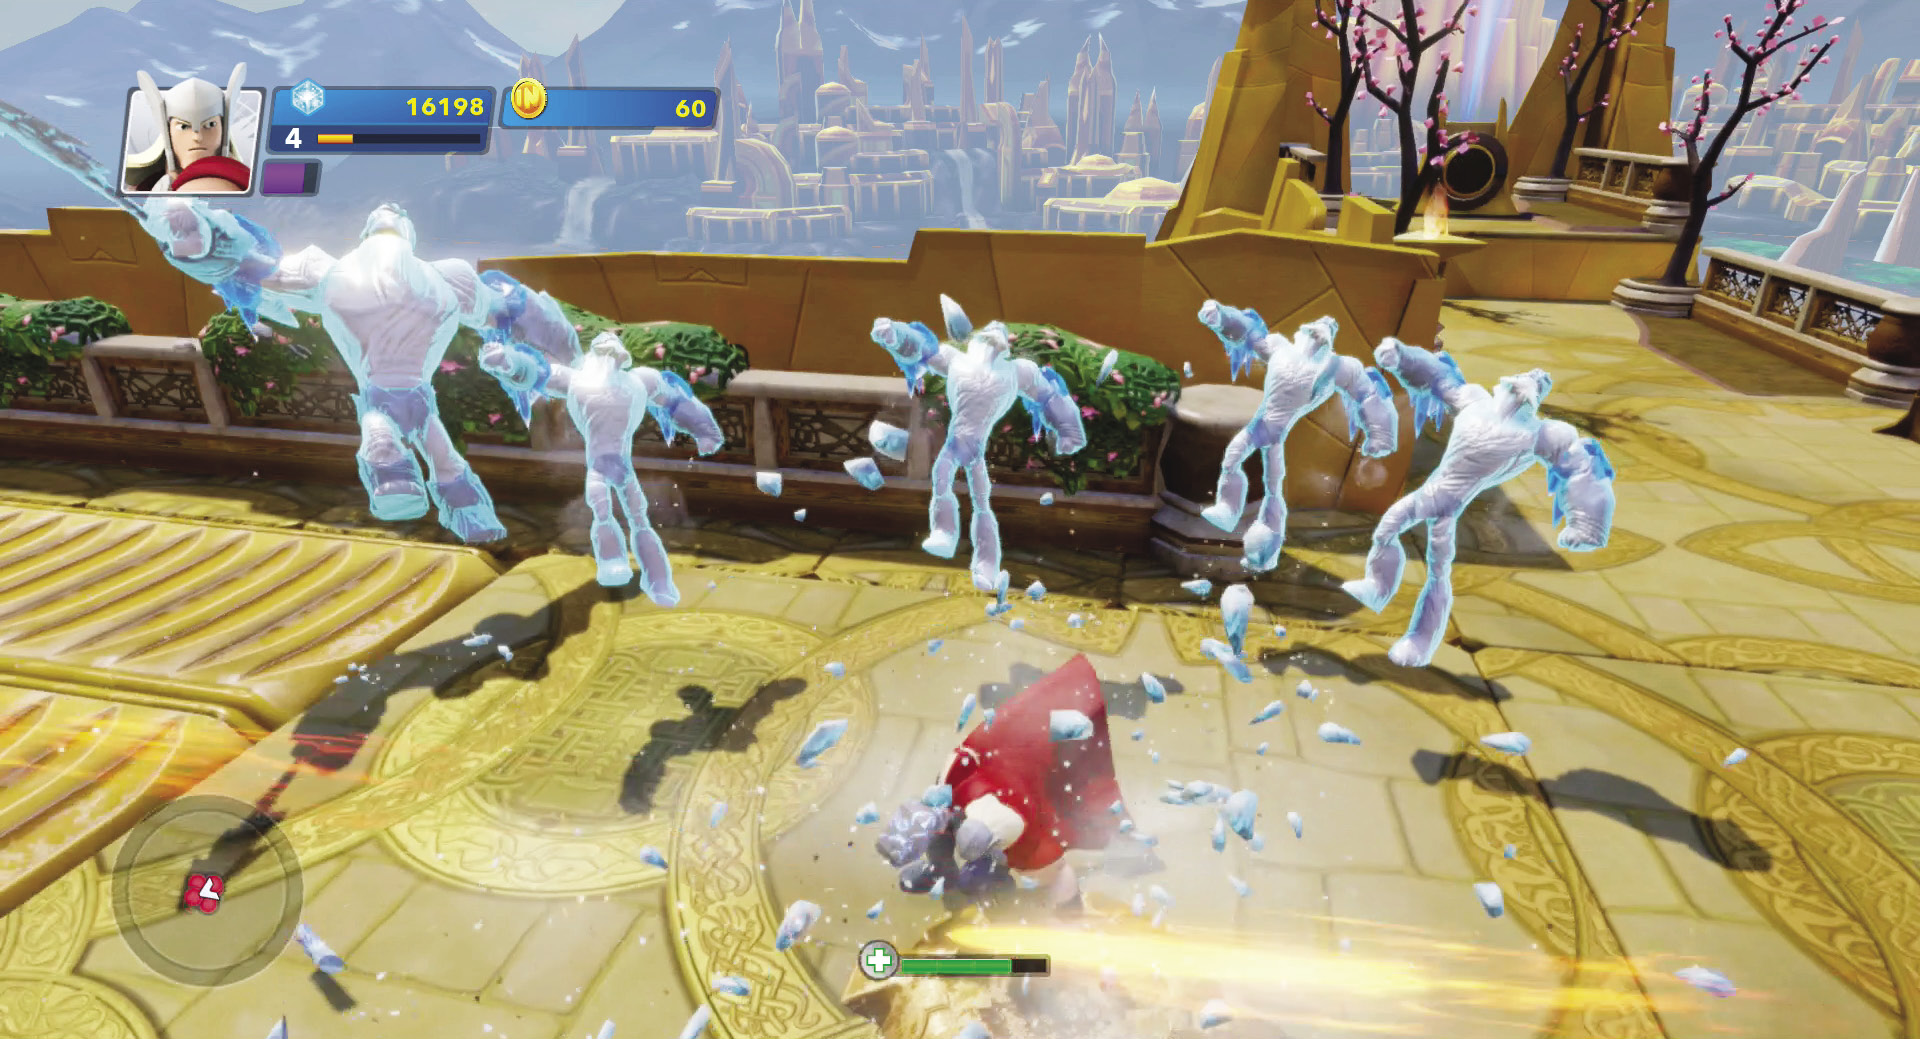
Freeze mines can stop an entire group of enemies. This is a great chance to move in and finish them off before they thaw and renew their attacks.
The A.I.M. Drones begin attacking in the last few waves. Plus you have more Medium Frost Giants and lots of Small Frost Giants. Use the same strategies as before and you will be fine. Load up on turrets around the treasure if you have already saturated the pathway with traps. In the final wave, the enemy sends lots of Medium Frost Giants to try to occupy you while Small Frost Giants rush in behind and try to get past you. Defend near the treasure to prevent the enemy from attacking it. Defeat all the enemies and victory is yours.
Burning Frost
Traps Available
- Asgardian Spread Turret
- Asgardian Freeze Mine
- Asgardian Barrier
- Asgardian Catapult Trap
- Asgardian Energy Shield
Enemies
- Small Frost Giants
- Medium Frost Giants
- A.I.M. Drones
This is a tough level. While previous levels have had only one treasure, this level has two that you must protect. If that were not tough enough, they are on opposite sides of the area. There are also four enemy doors that all lead into the center. Then from there, they can go to either treasure. Since you can’t be at both treasures at the same time, you have to decide how you want to use your traps. You can split them up at each treasure, concentrate them in the center, or heavily defend one treasure with traps and spend your time at the other treasure. The catch is that if either treasure is destroyed, you are defeated.
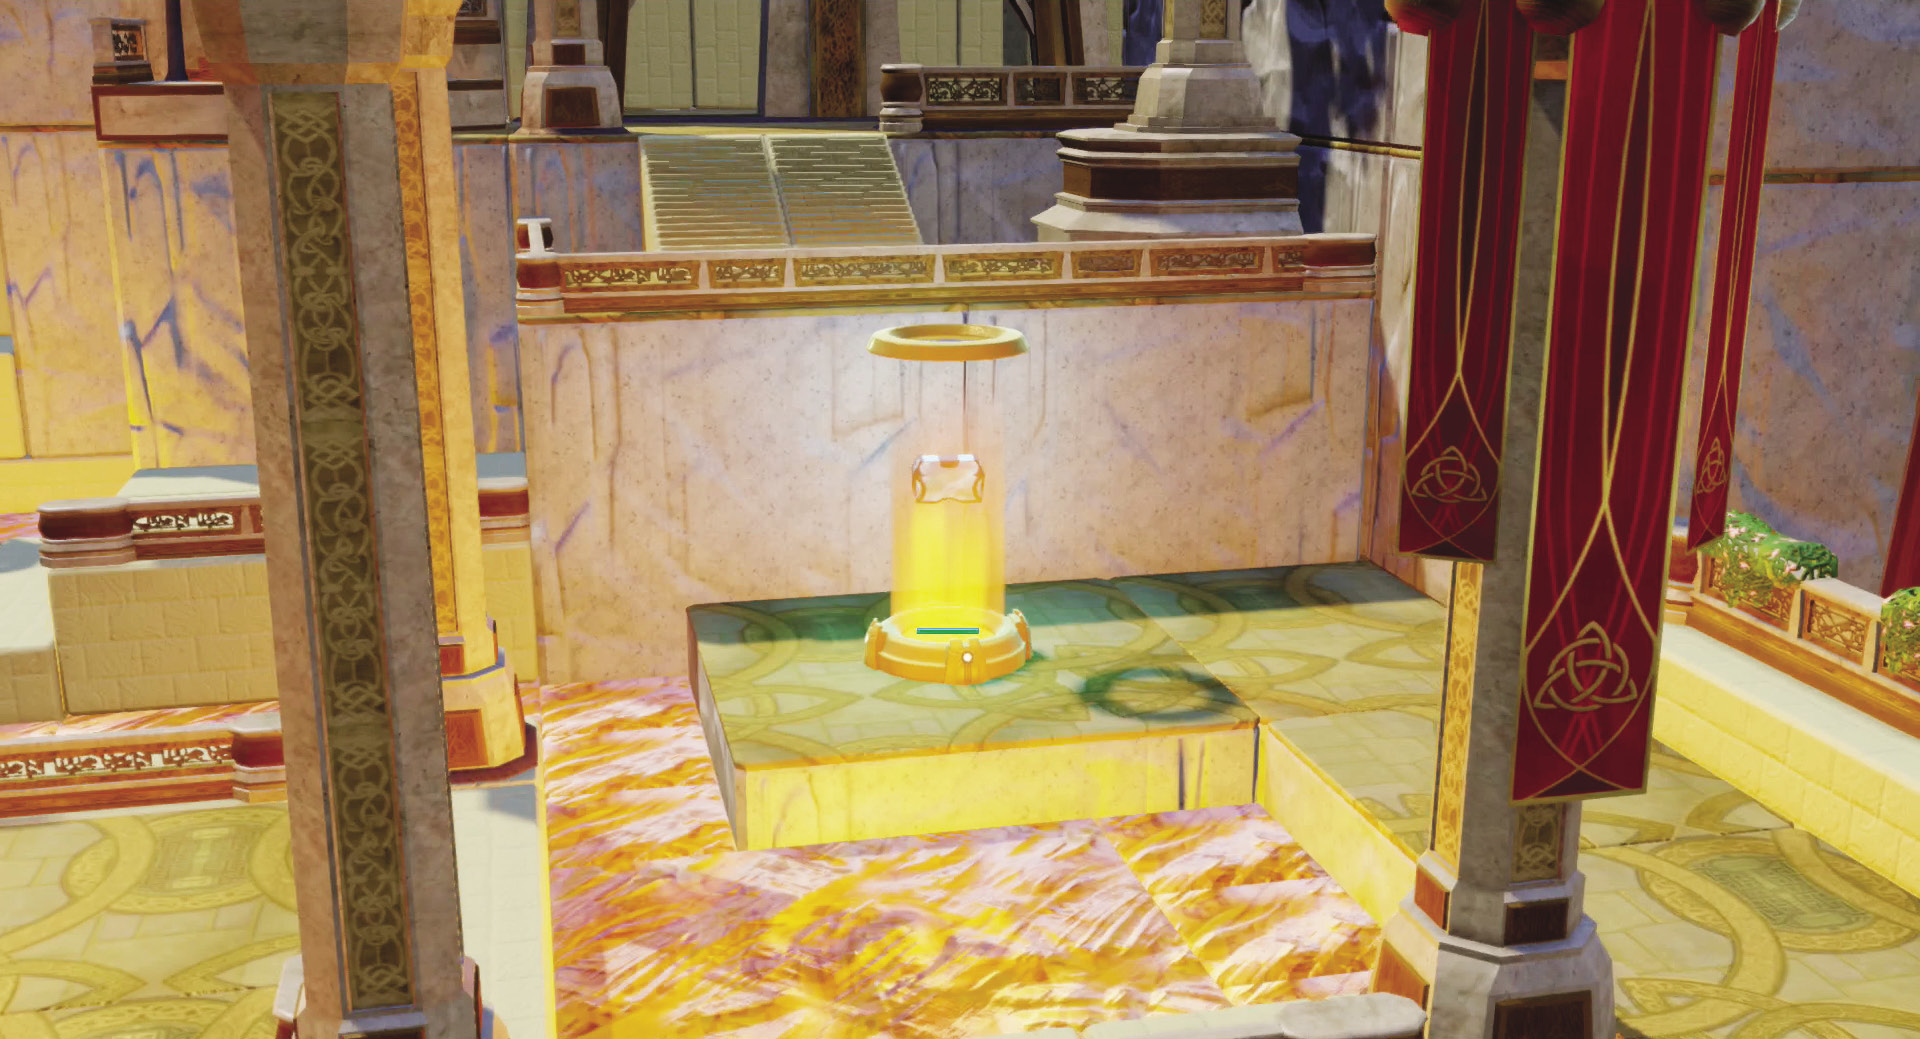
There are two Odin’s treasures in this level and they are located on opposite sides of the area.
The first wave comes out of one enemy door. However, they then split up and head for both treasures. Be sure to place a turret near each treasure with a freeze mine in front of it. Then place another freeze mine or other trap somewhere near the intersection by the enemy door where the Frost Giants have to split up. Try to defeat as many enemies as you can near the enemy door and then mop up any that get to the treasures. Be sure to collect all the coins because you need them to build more traps. This first wave is a good chance to get at least one of the Asgardians since each gives you enough loot to get a turret.
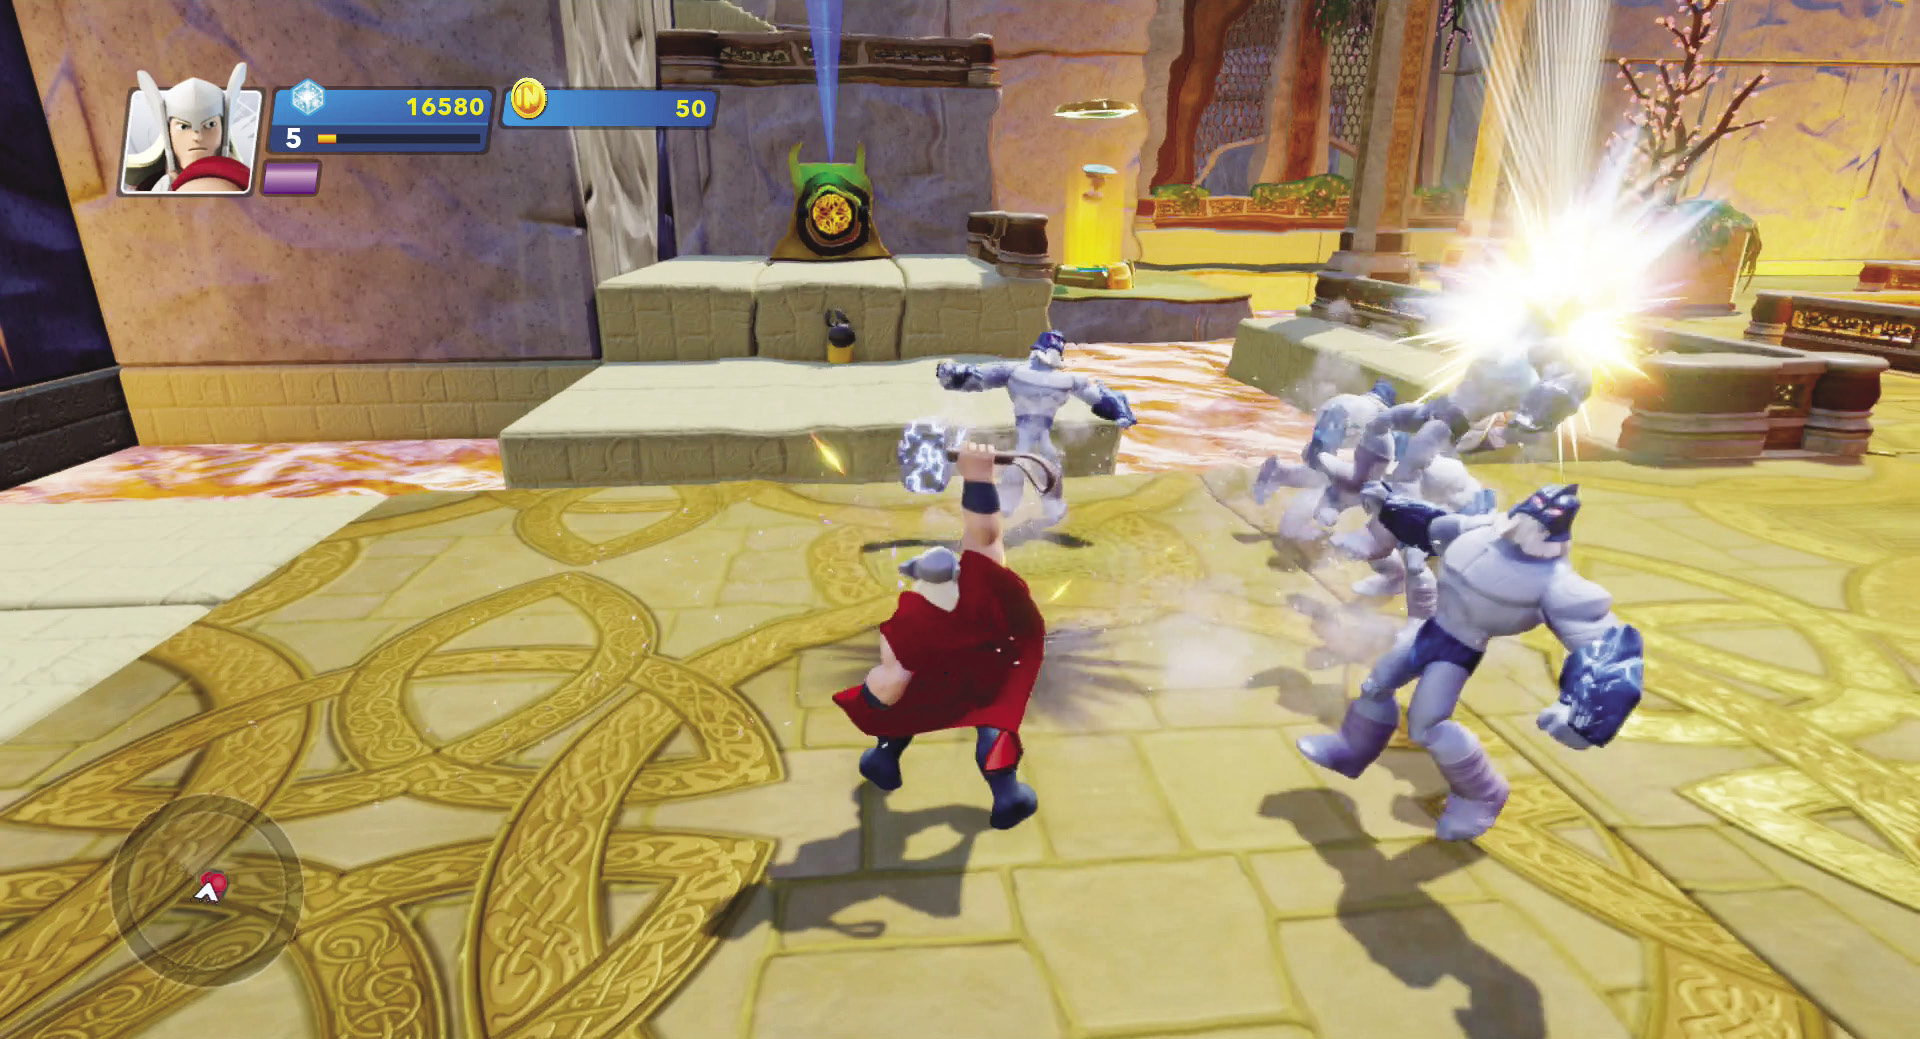
Try to defeat as many enemies as you can as they emerge from the enemy door and before they can split up and head to the two different treasures.
Wave 2 comes from two enemy doors across from each other. It starts out with several A.I.M. Drones that fly towards each of the treasures. Therefore, be sure you have at least two turrets near each treasure to help deal with them. Also position some freeze mines along the pathways leading directly towards each treasure. Wave 3, on the other hand, sends out Frost Giants first and then, while you are engaging them, sends in the Drones. The Medium Frost Giants arrive in wave 4. The dangerous aspect of them is that while you are busy fighting them, the Small Frost Giants are running to the two treasures. By this time, you should have at least three turrets around each treasure with a nearby freeze mine. Be sure to have turrets all around your treasures. The enemy likes to go to the other side and uses the treasure as cover if there is only one turret.
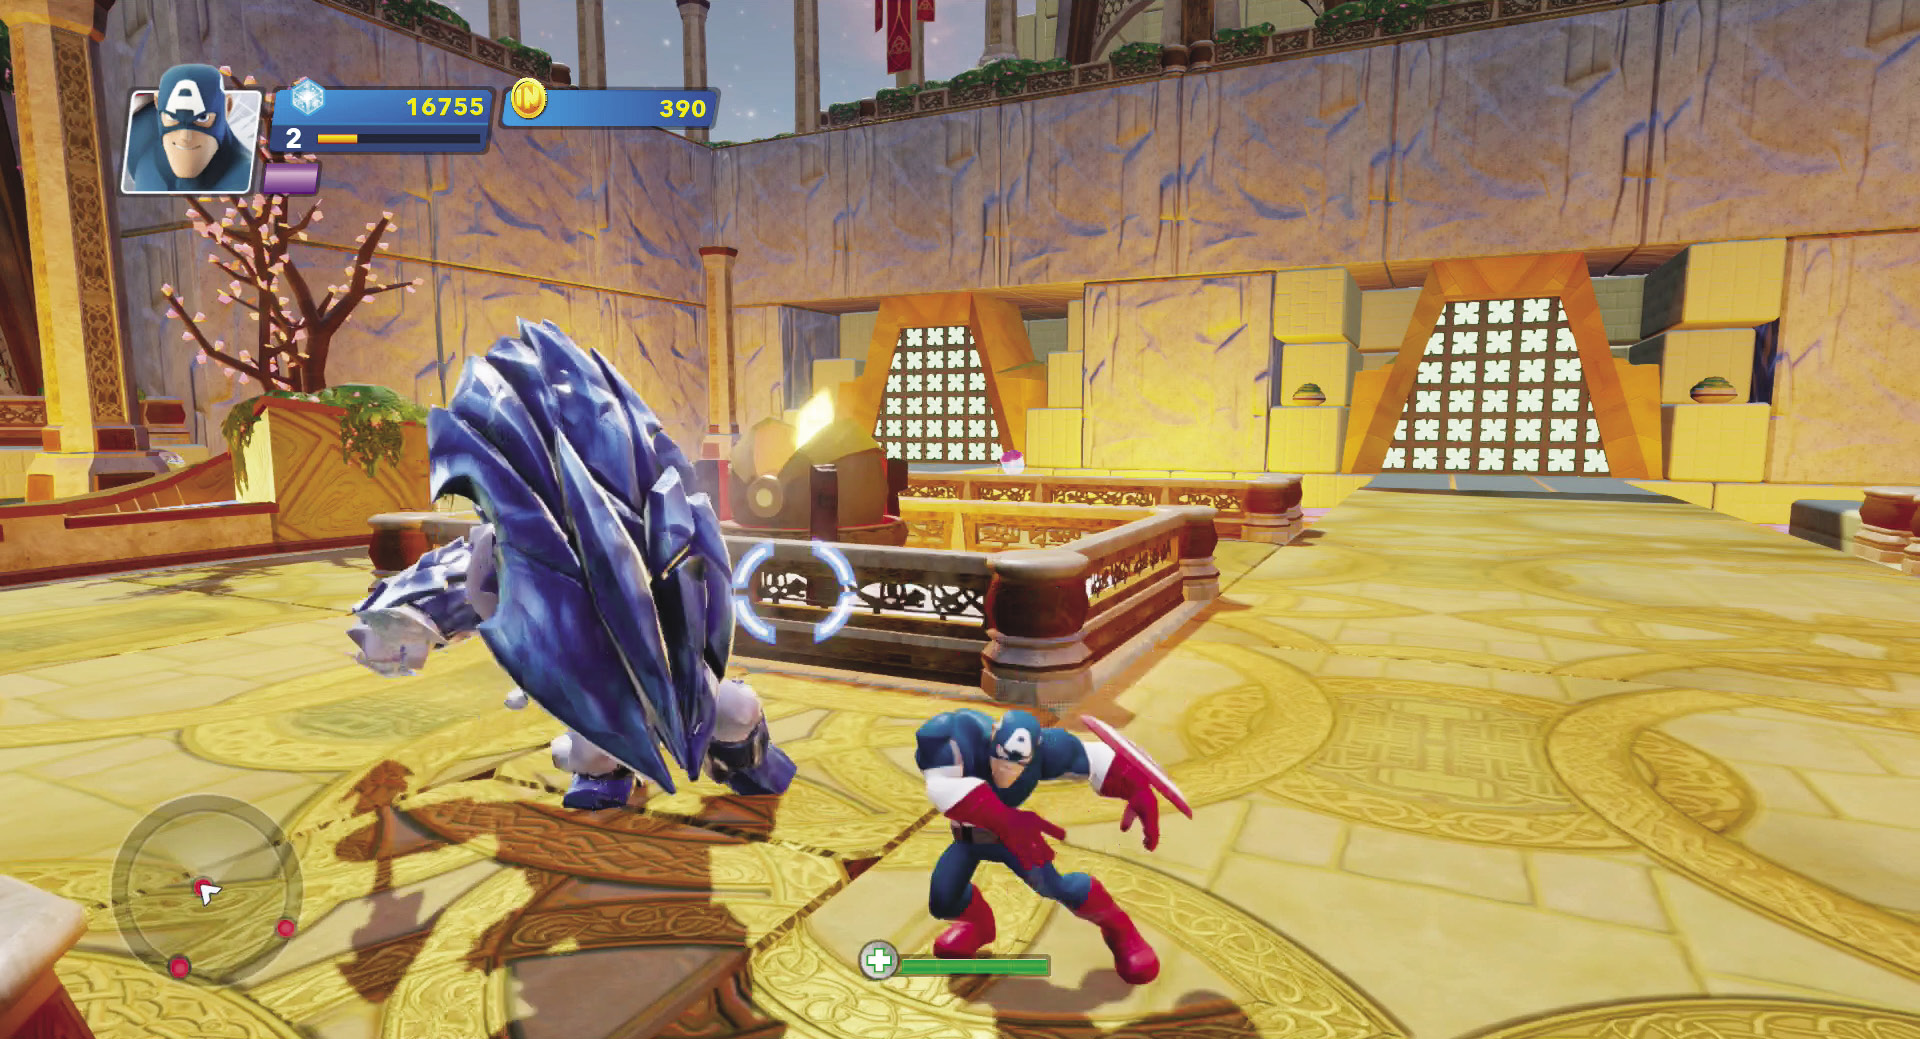
Make sure your characters have a block breaker attack. That makes defeating these Medium Frost Giants a bit easier. In fact, you might want to switch out to a character that has this type of attack if your first character does not.
By the time you get to wave 5 and the final wave, one of your treasures is probably in worse shape than the other. Make that treasure your priority. Try to stop the enemies headed towards the healthier treasure at the start, then rush over to the weaker treasure and defend it up close. Position more freeze mines and other traps near the healthier treasure to help keep it safe until you can get back to it and mop up the remaining enemies.
Champion of Asgard
Traps Available
- Asgardian Spread Turret
- Asgardian Freeze Mine
- Asgardian Barrier
- Asgardian Catapult Trap
- Asgardian Energy Shield
- Asgardian Mine Deployer
Enemies
- Small Frost Giants
- Medium Frost Giants
- A.I.M. Drones
This level once again features two treasures. However, this time, both are in the center of the area and relatively close to one another. There are four enemy doors with paths that approach the treasures from two main directions. The best way to defend the treasures is to position turrets near the treasures and then freeze mines at the chokepoints where the paths approach the treasures. Then, as you can place more traps later in the level, expand your traps out along the pathways.
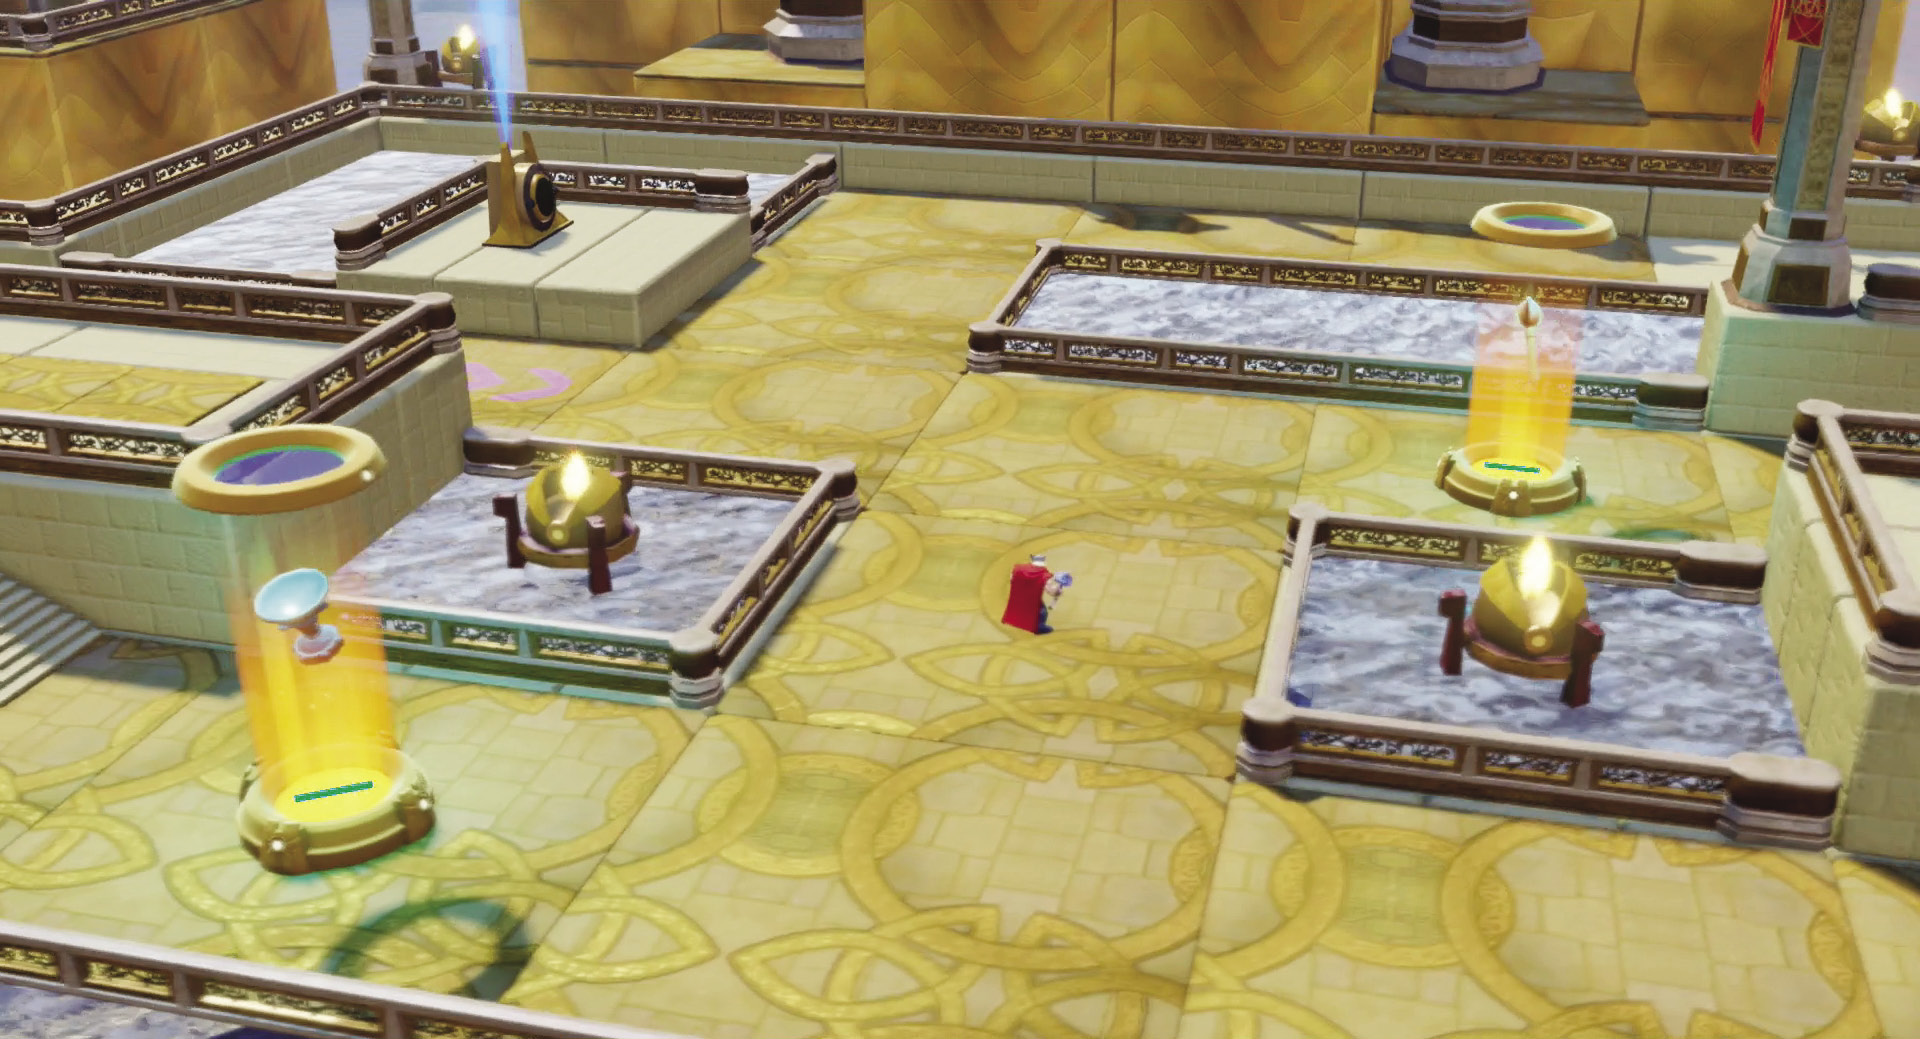
Because both treasures are in the center, that is where you should build your defenses at the start.
The first wave consists of only Small Frost Giants. However, it gives you a good feel of how they approach and if your traps are working. As usual, place a turret near each treasure along with some mine deployers. In fact, try placing a mine deployer as close as you can to a turret. It will blow up when enemies approach it, and then once it recharges, it will blow up again to damage any remaining enemies.
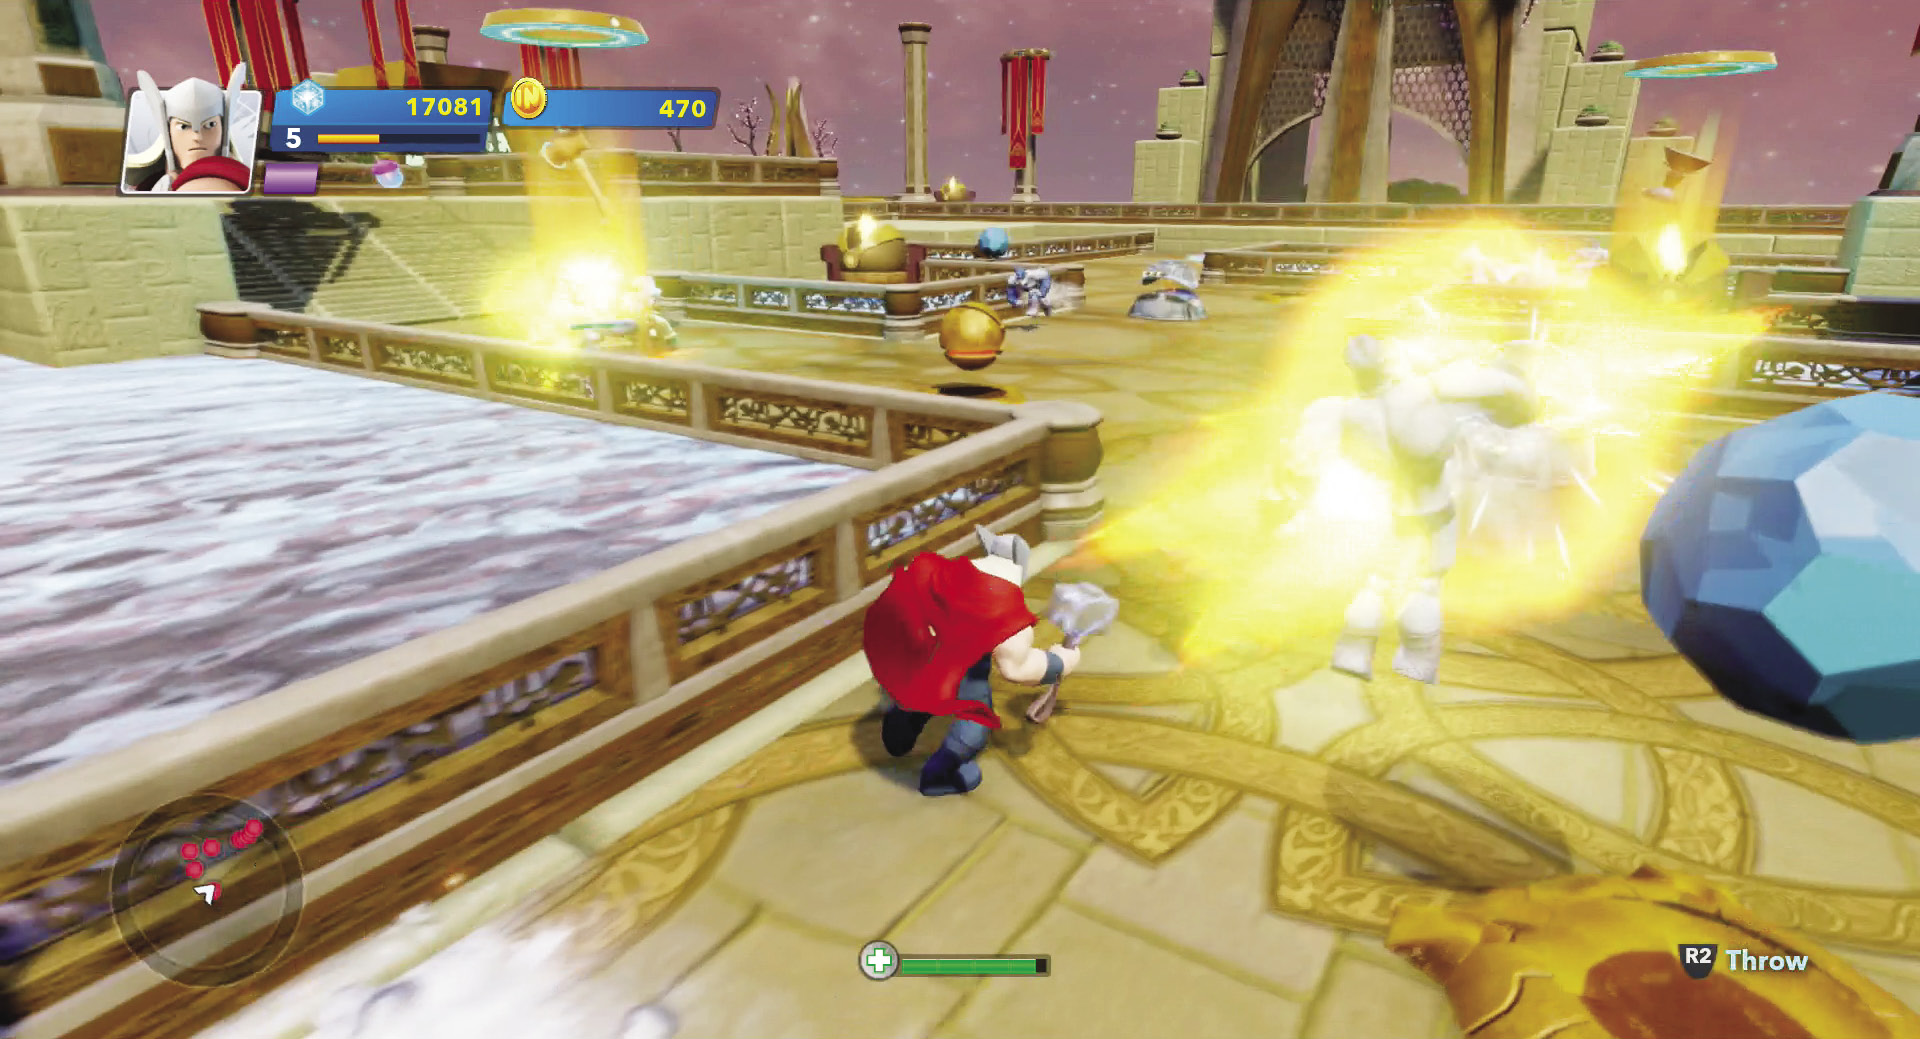
By concentrating traps near the center, the defenses can work together to cause as much damage to the enemies as possible.
As you advance through the waves, enemies begin coming out of more enemy doors. By wave 4, they are coming at you from all four and all about the same time; plan on enemies getting to your treasures. There are too many and they move quickly so traps along the pathways can’t stop them all. Therefore, be sure to have at least two turrets around each treasure. They are good for shooting down the A.I.M. Drones as well as hitting Frost Giants who are attacking your treasures.
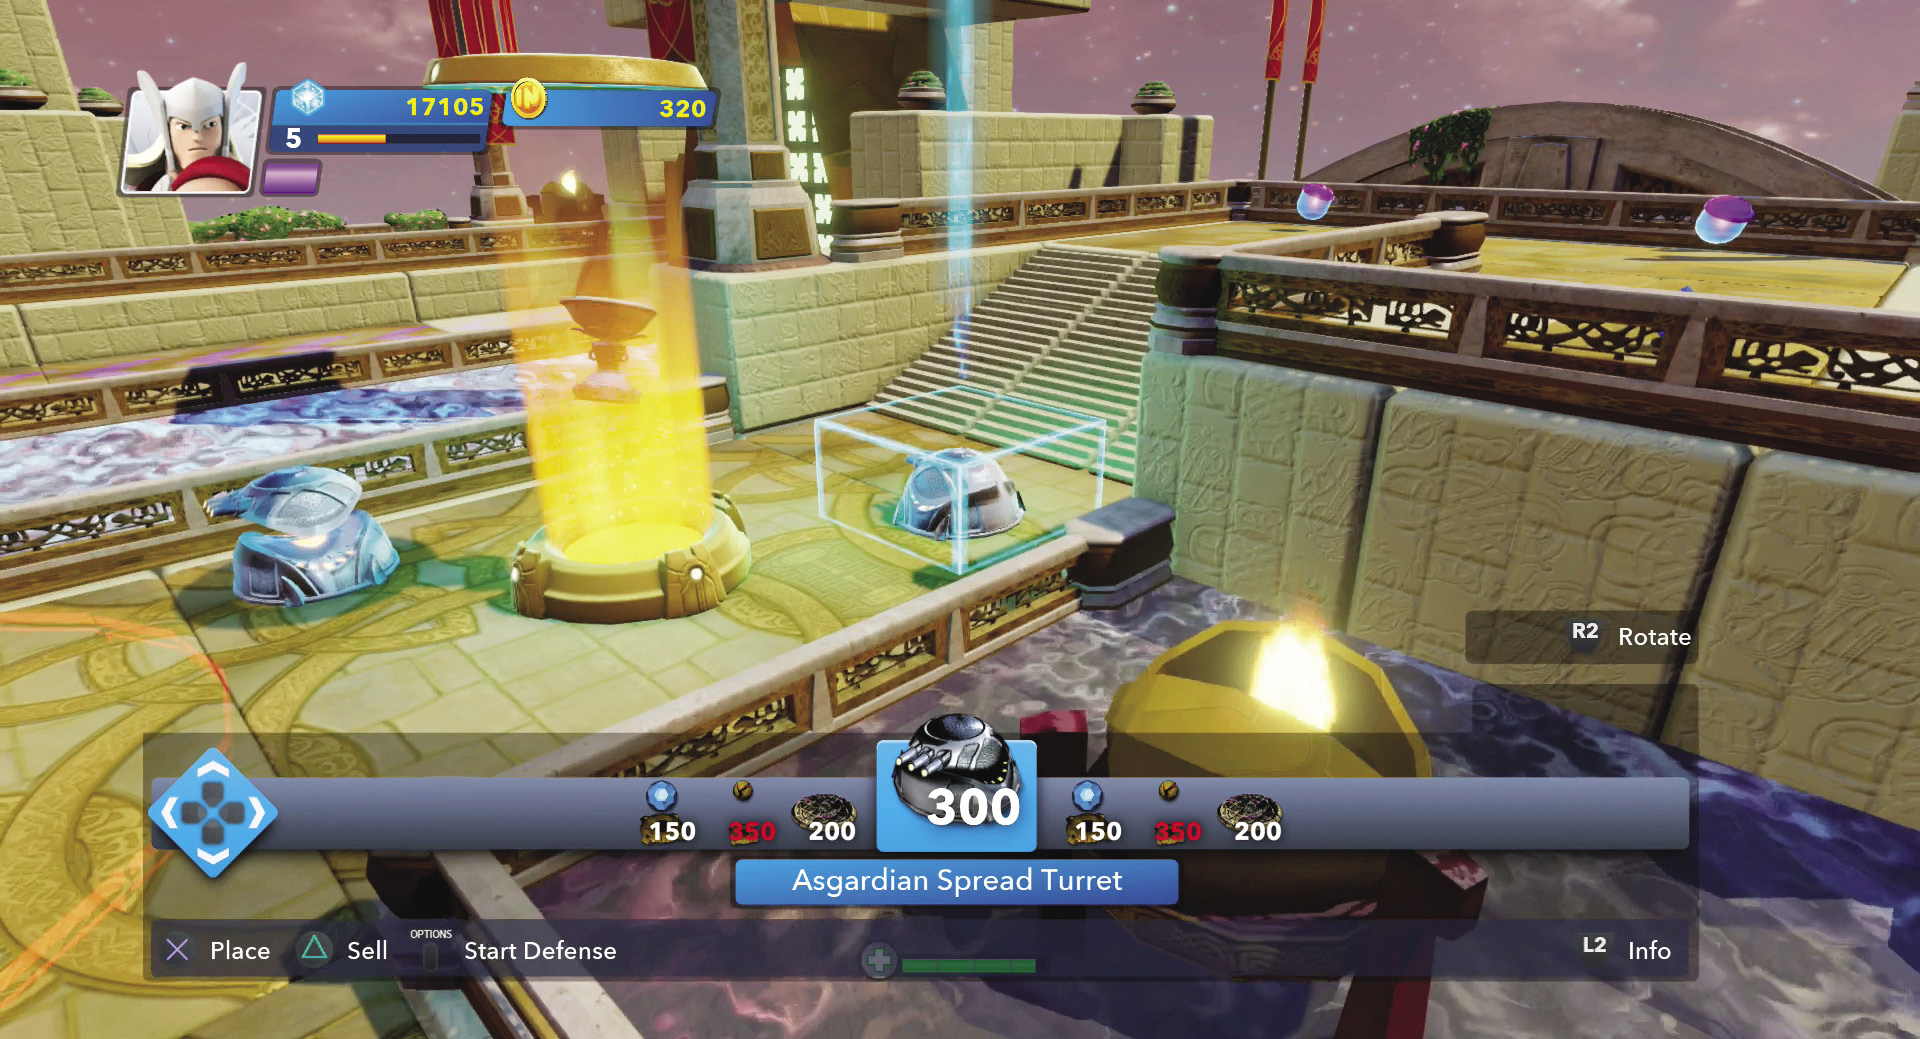
By the later waves, be sure to have turrets all around your treasures because lots of enemies are headed your way.
In wave 5, the Medium Frost Giants begin attacking. Because they are slower, go after the Small Frost Giants first and then you can deal with the Mediums. The final wave throws everything at you. It starts with drones, then Small Frost Giants, and then lots of Medium Frost Giants at the end. Be sure to have either freeze mines or mine deployers near your turrets to deal with them. Their attacks are slow and these mines can detonate once or twice while they are there to slow them down or cause damage until you can get there to finish them off.
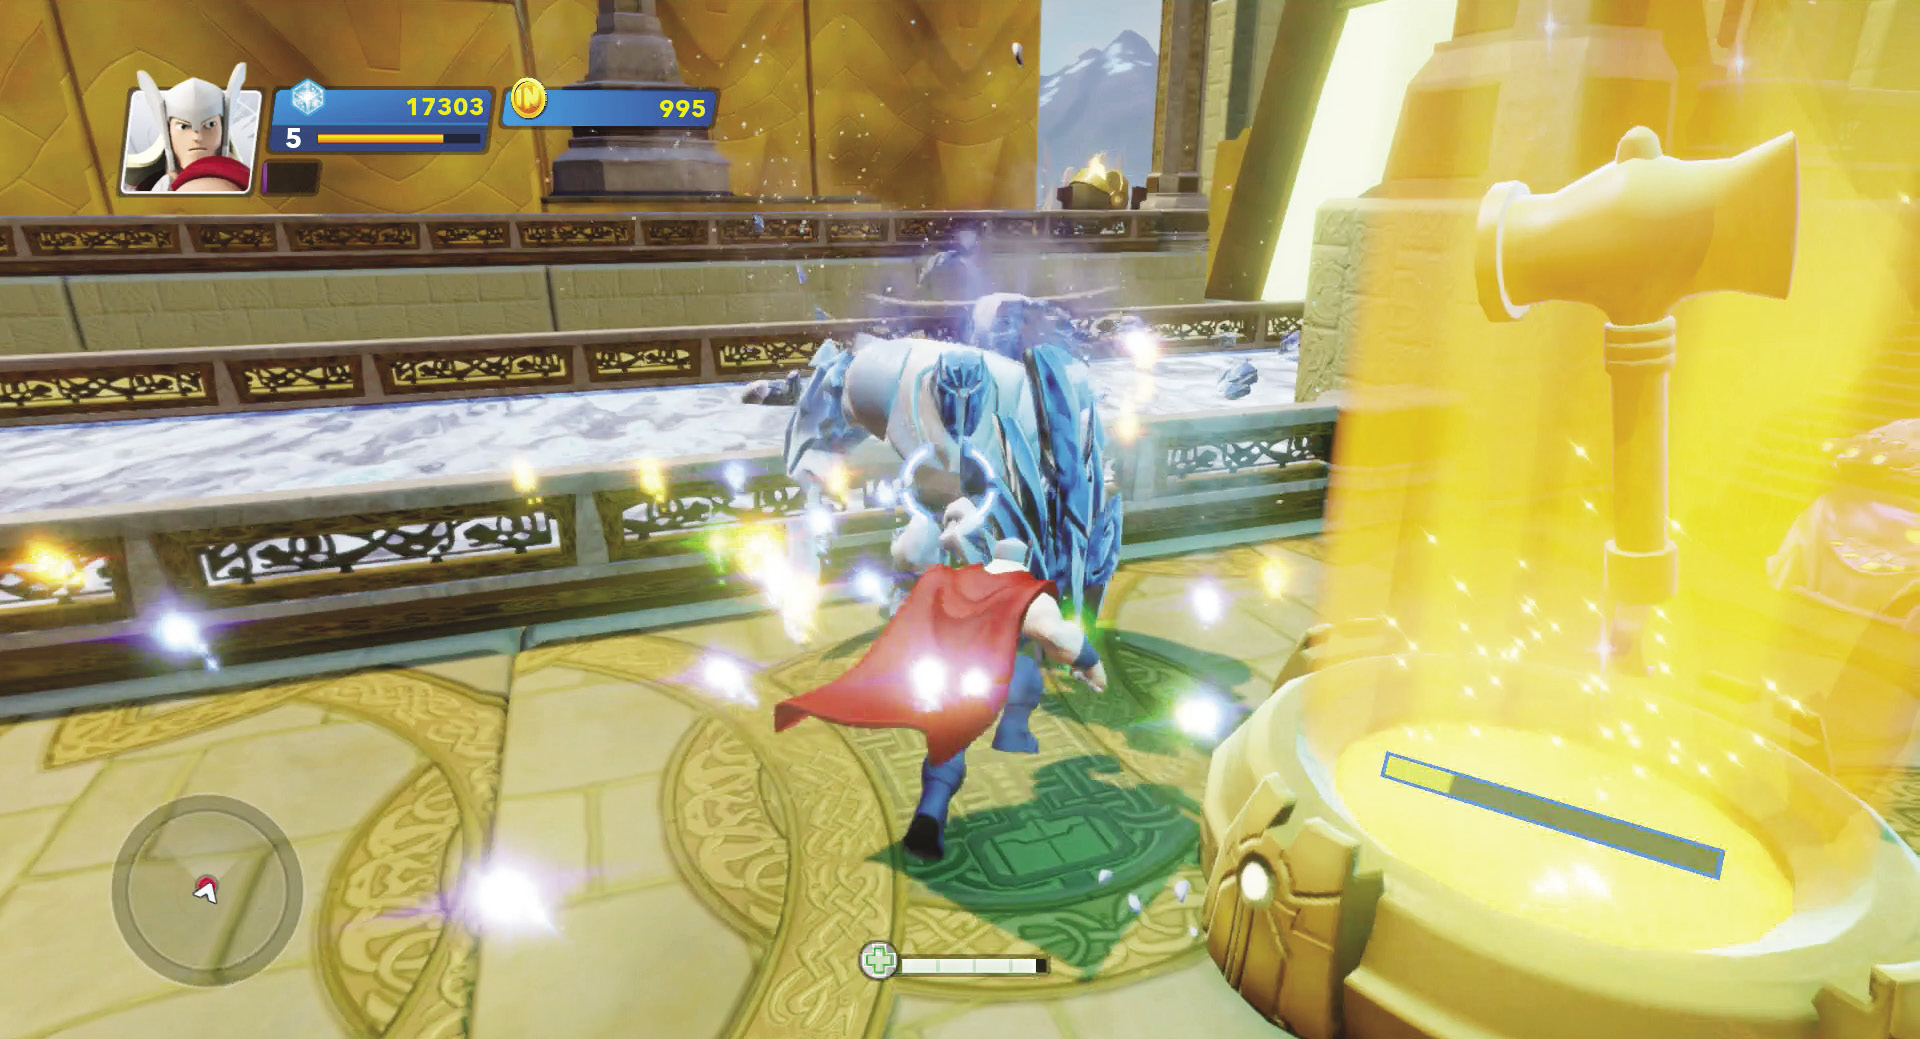
Don’t let those Medium Frost Giants attack your treasures. They can cause a lot of damage.
Thunder Strike
Traps Available
- Asgardian Spread Turret
- Asgardian Freeze Mine
- Asgardian Barrier
- Asgardian Catapult Trap
- Asgardian Energy Shield
- Asgardian Mine Deployer
- Asgardian Healing Rune
Enemies
- Small Frost Giants
- Medium Frost Giants
- A.I.M. Drones
This level is large. However, most of the fighting takes place in the central area. You have two treasures here like the previous level. However, they are a bit more spread apart. There are four different enemy doors and they all have paths leading down stairs to get to the treasures—two paths moving towards each treasure from opposite sides. Therefore, you need to place traps all around your treasures and plan on defending them up close.
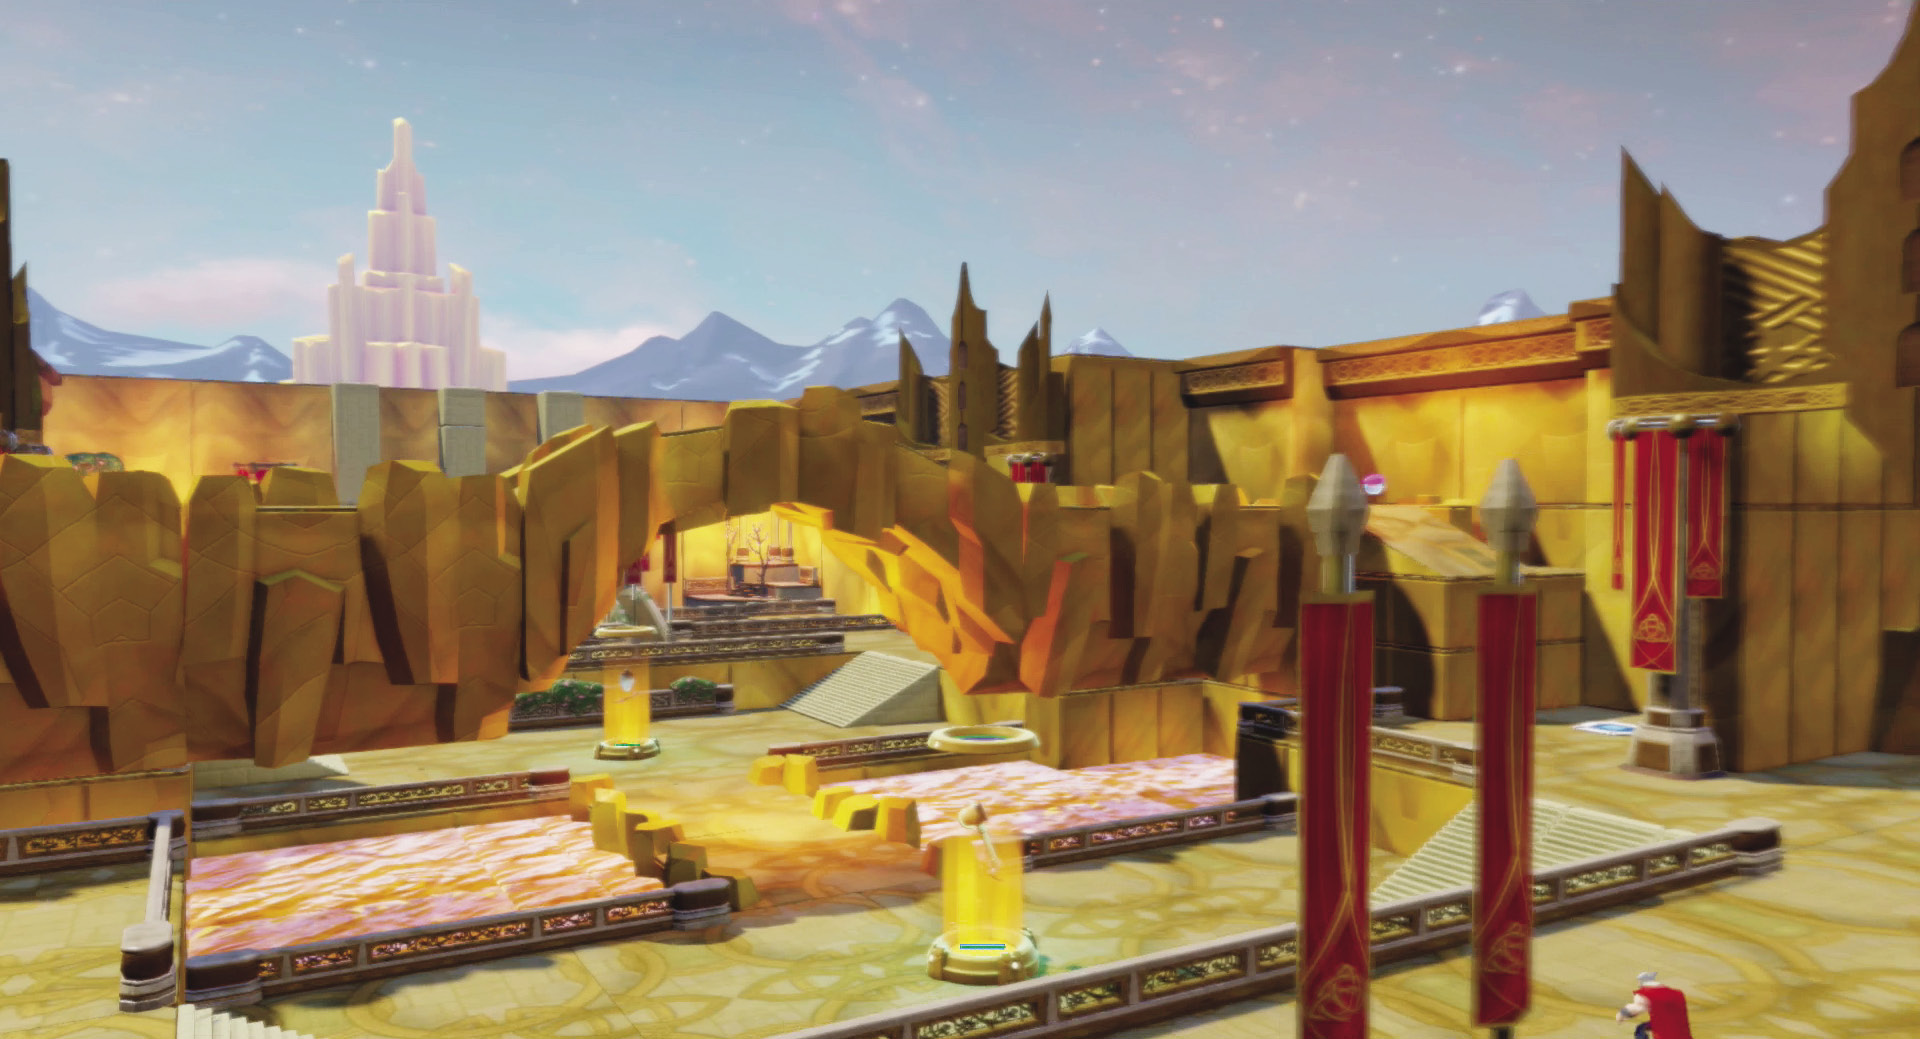
This is a large area. However, most of the fighting takes place right in the center.
You need some bonus loot for traps. Therefore, consider going after some of the Asgardians. Even through they are spread out, there are teleports around that can help you get from one end of the area to the other side where the doorway is located. Try to do this in the early levels when the threats to your treasures are not quite as great.
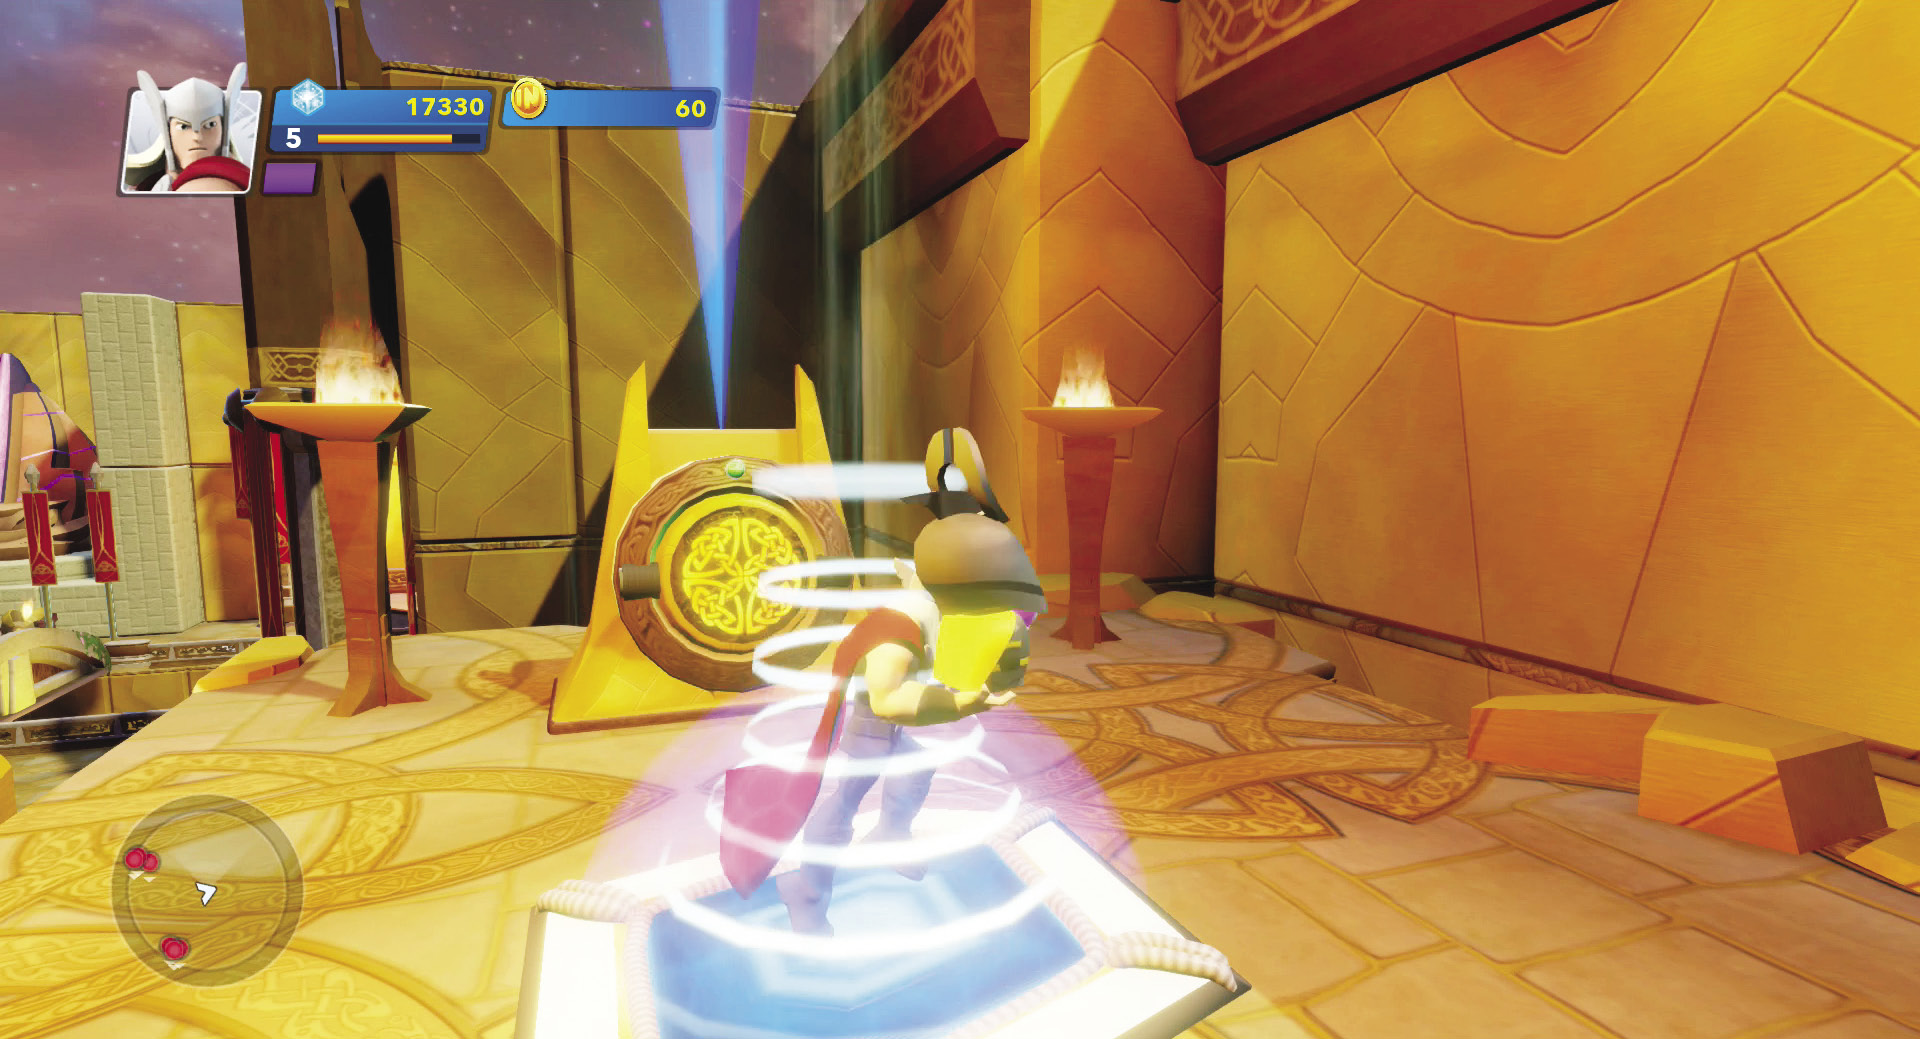
Use teleporters to quickly get to the doorway so you can throw Asgardians to safety. Scout out the area during trap placement and plan the routes you will take to get to these little people.
The first wave hits you from all four enemy doors. Therefore, a good tactic is to place freeze mines at the base of each flight of stairs, two turrets on either side of each treasure to attack the enemies as they are frozen as well as those near the treasures, and a mine deployer right next to each trap. That makes for a great initial deployment. In fact, since there are only Small Frost Giants in the first wave, these defenses can usually take care of them on their own, allowing you to go after those Asgardians. Get all three of them and that is a lot of money to spend on the second wave.
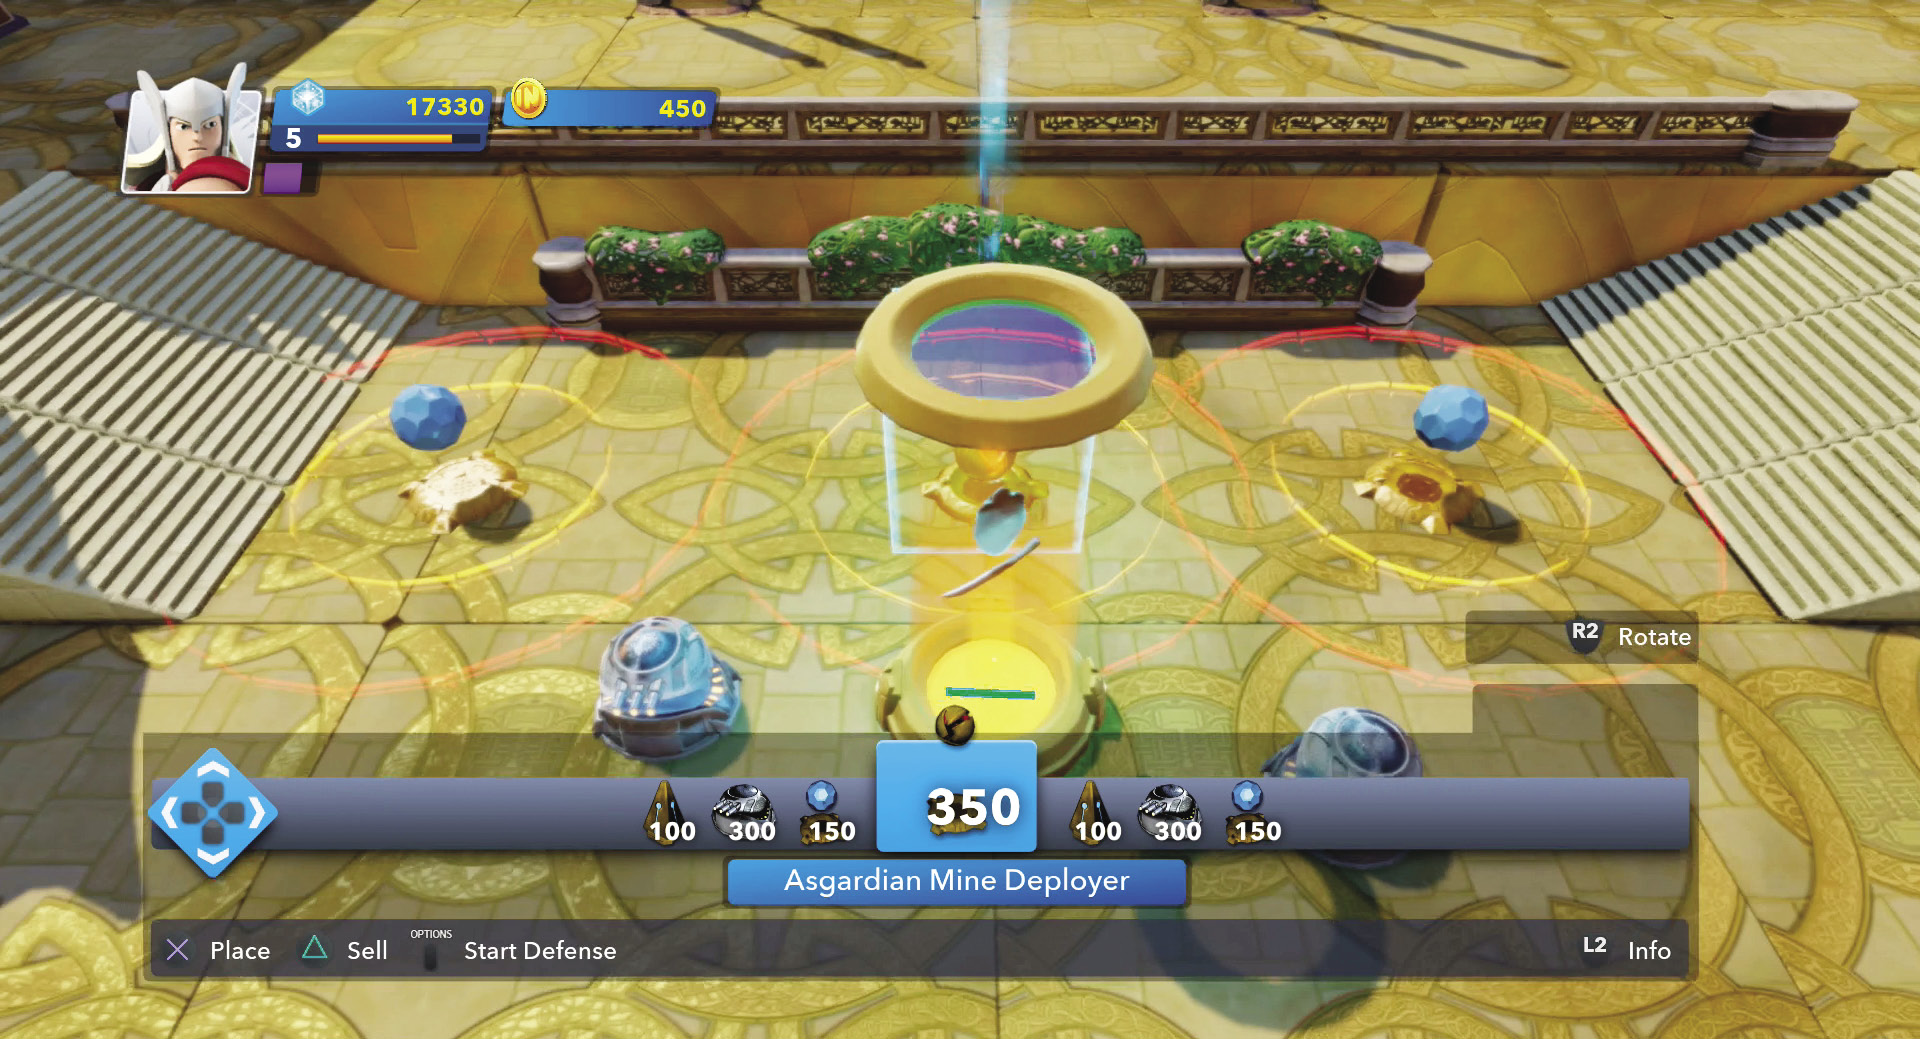
You start out with enough money to have some pretty good defenses for the first wave.
The second wave has some Medium Frost Giants. However, between your traps and your own efforts, this is not a very tough wave either. Be sure to collect coins from the defeated enemies and use them to buy more mines and turrets. In fact, try putting two freeze mines on either side of each treasure and two mine deployers on the other two sides. Along with turrets, any enemies that get close to your treasures will take a lot of damage.
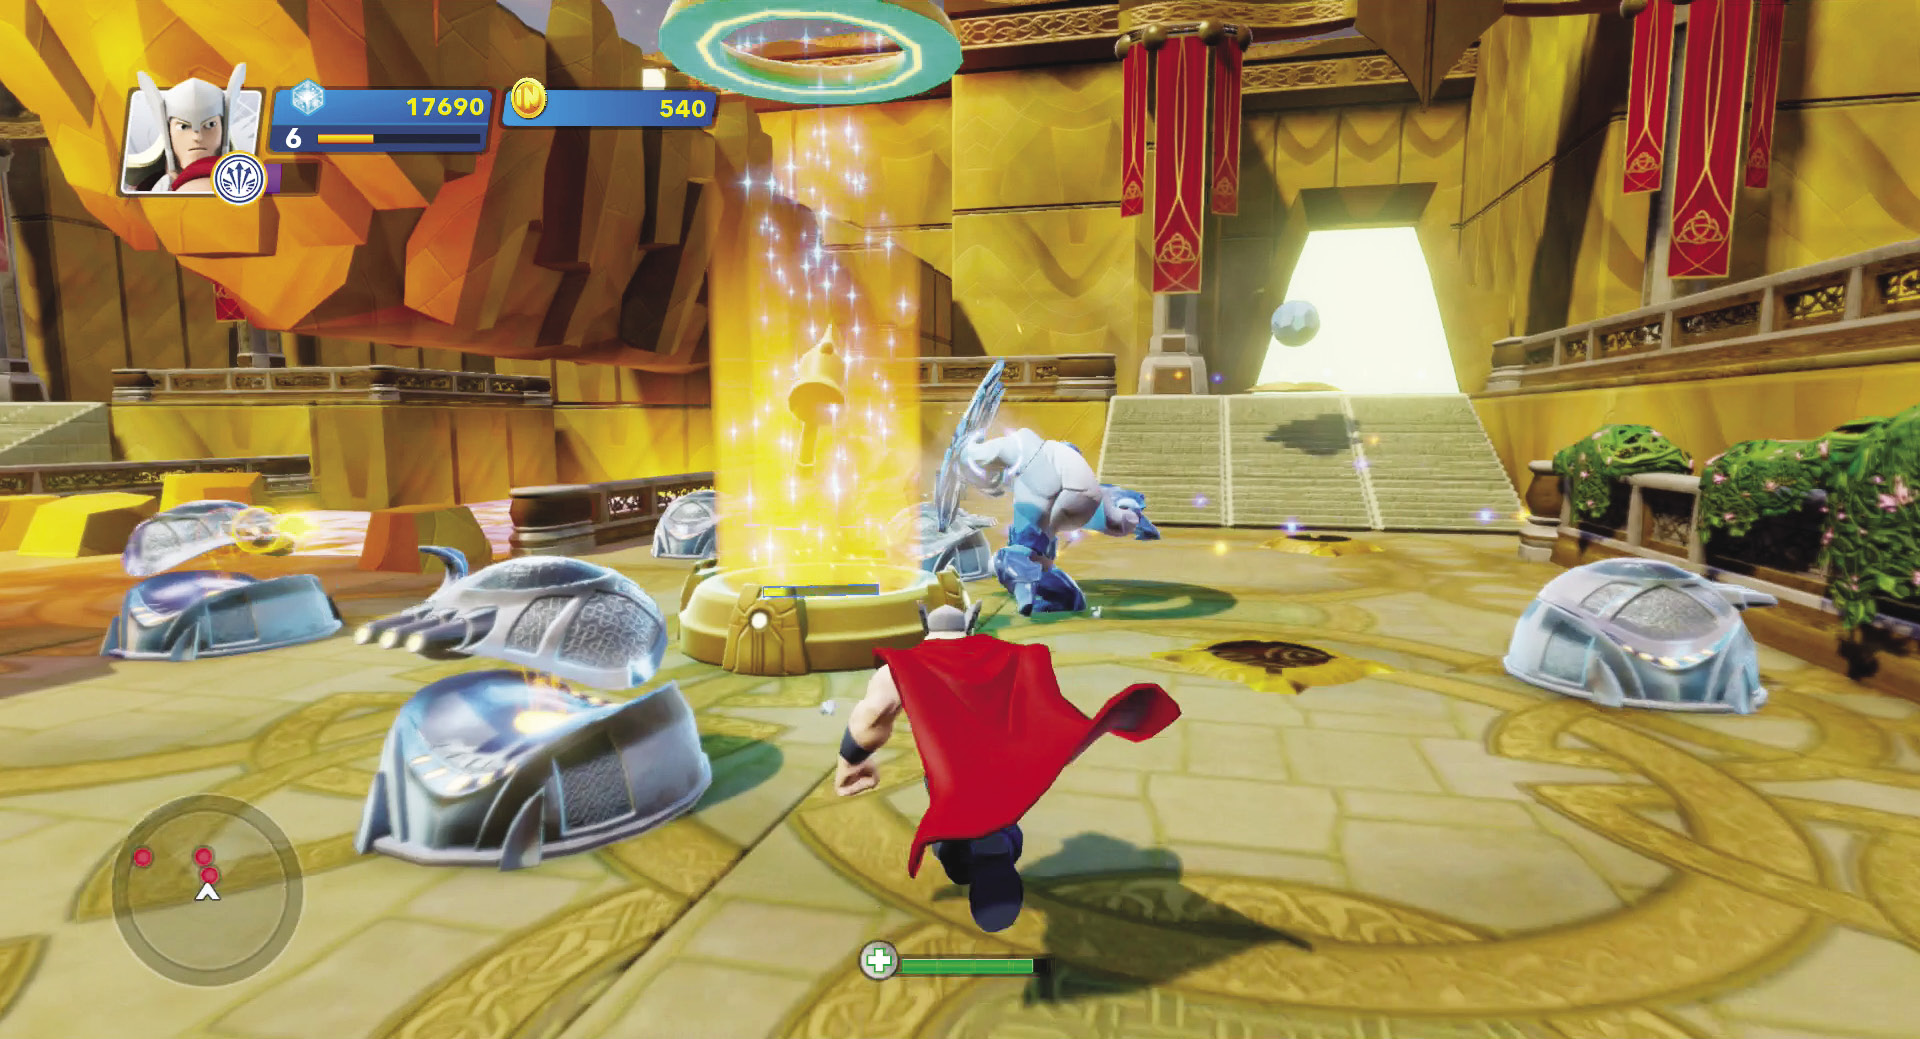
Even Medium Frost Giants will have a hard time getting to your treasures and causing them damage.
Jotunheim Incursion
Traps Available
- Asgardian Spread Turret
- Asgardian Freeze Mine
- Asgardian Barrier
- Asgardian Catapult Trap
- Asgardian Energy Shield
- Asgardian Mine Deployer
- Asgardian Healing Rune
- Asgardian Decoy
Enemies
- Small Frost Giants
- Medium Frost Giants
- Large Frost Giants
- A.I.M. Drones
This level takes place in a large hall. You only have one treasure to defend. However, that also means that all the enemies are going to go after that one. One enemy door is fairly close to the treasure while the other two are at a distance on the other side of the hall. Start off with your traps fairly close in to the treasure on both sides. Then as you progress through the waves, put more traps along the path to the two enemy doors farther away.
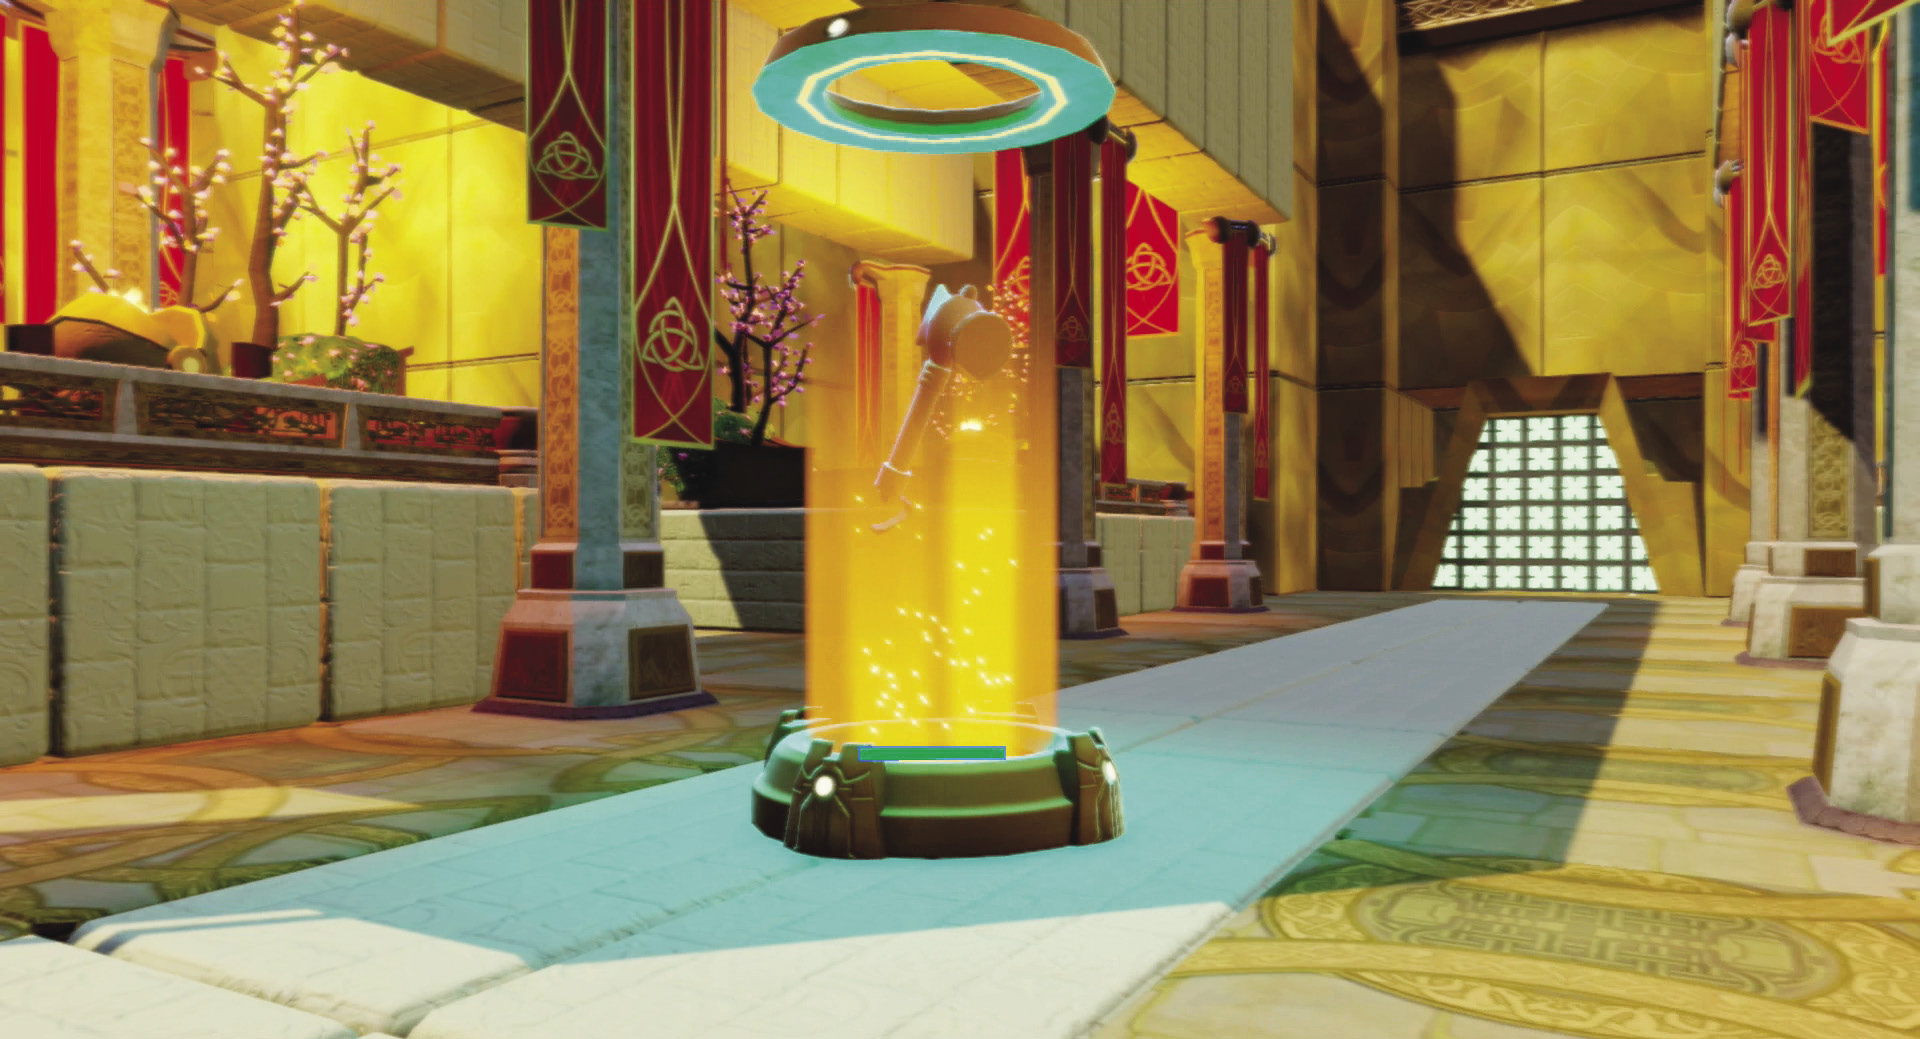
One of the enemy doors is closer to the treasure. This is where you need to be at the start of each wave.
The first wave consists of Small Frost Giants. Put yourself between the treasure and the closest enemy door and fight off the enemies as they approach. Then move back to the treasure to protect it up close. Unless your defenses are very effective, you may not have a lot of time to get the Asgardians without risking some damage to the treasure. The second wave includes some A.I.M. Drones, so be sure you have several turrets to deal with them.
Because your treasure is attacked from two directions, keep turrets and other traps all around your treasure. The turrets can make short work of the A.I.M. Drones.
Later waves include some Medium Frost Giants. You need to worry about those who have a ranged attack. They can stand back and throw ice projectiles at you as well as at the treasure. Because they are a bigger threat when they come from the far side, place some mine deployers along their paths; that should help take care of them with a little help from you. In the final level you have to deal with Large Frost Giants. Not only do they throw ice at you, they also have a freezing attack that inflicts damage after it freezes you. Press the jump button to break out of it and hit these big guys with your most powerful attacks. Since they lob ice at the treasure, you need to go out and fight them or they will stand back and destroy Odin’s treasure.
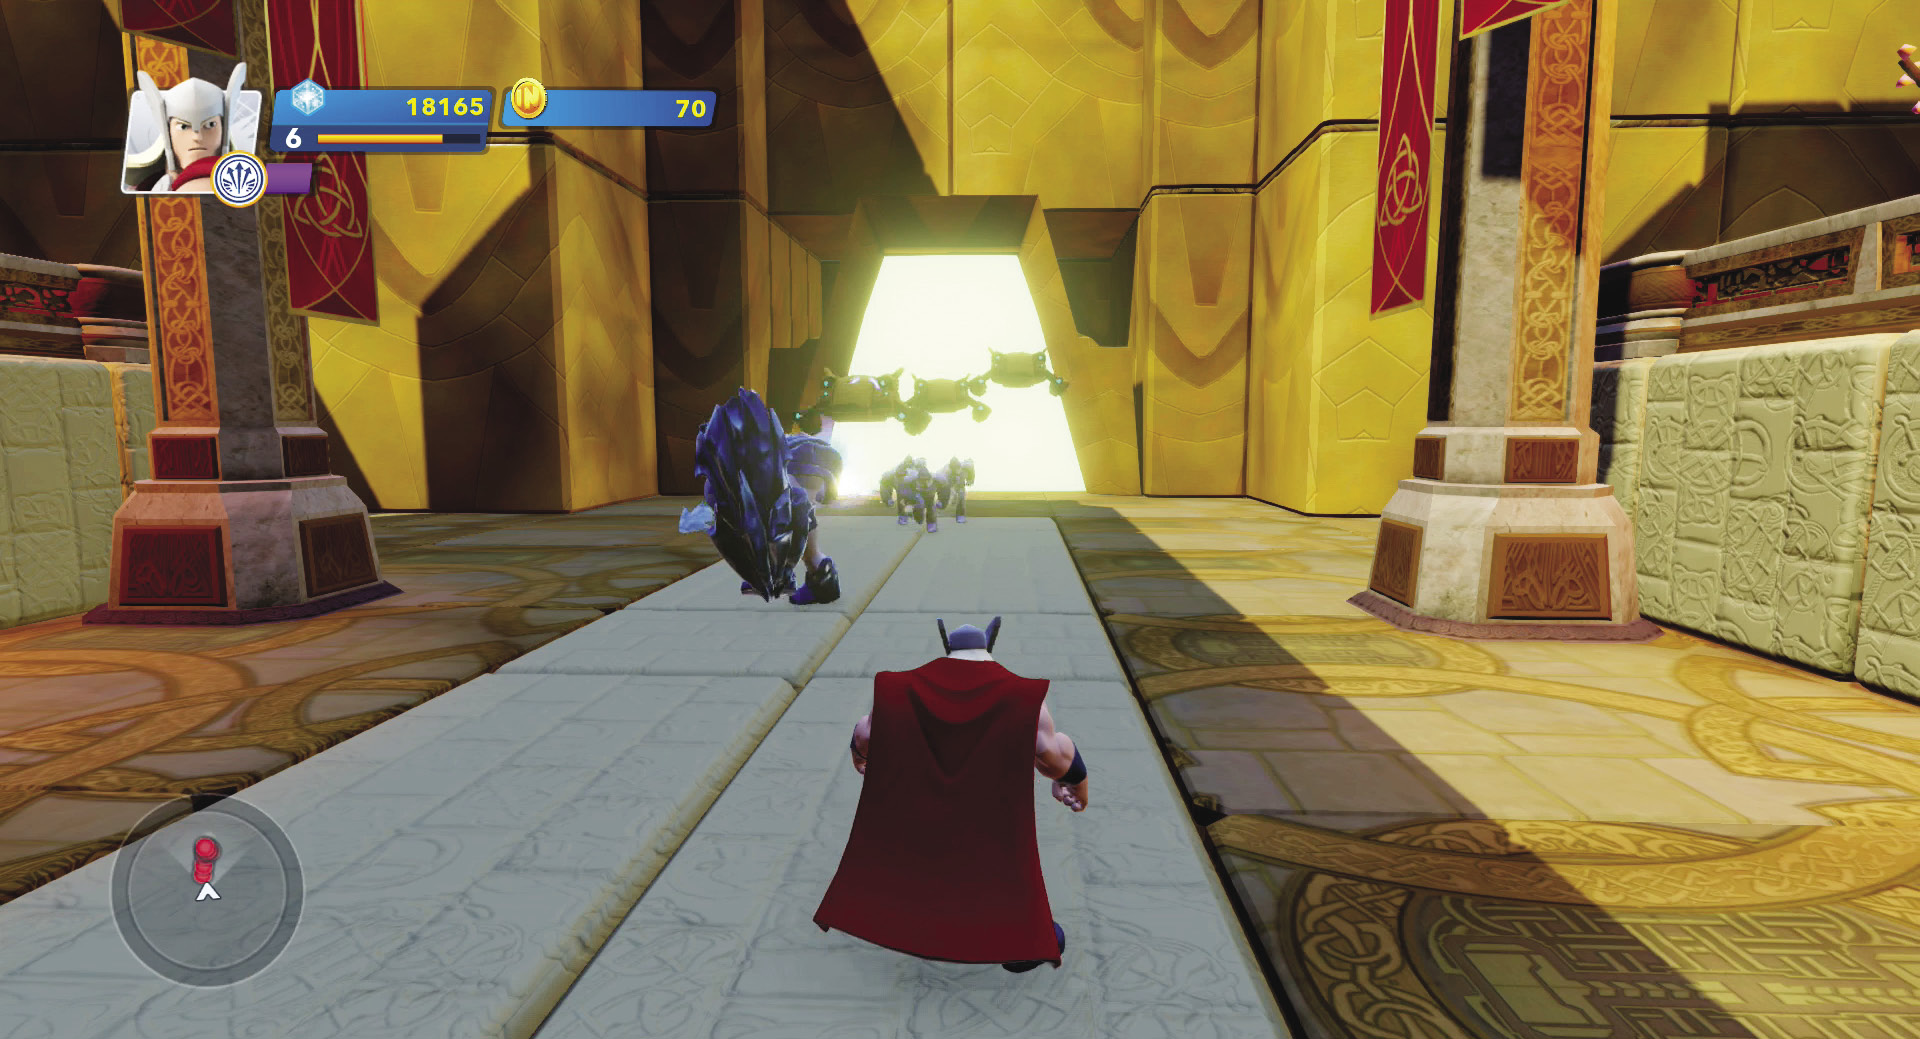
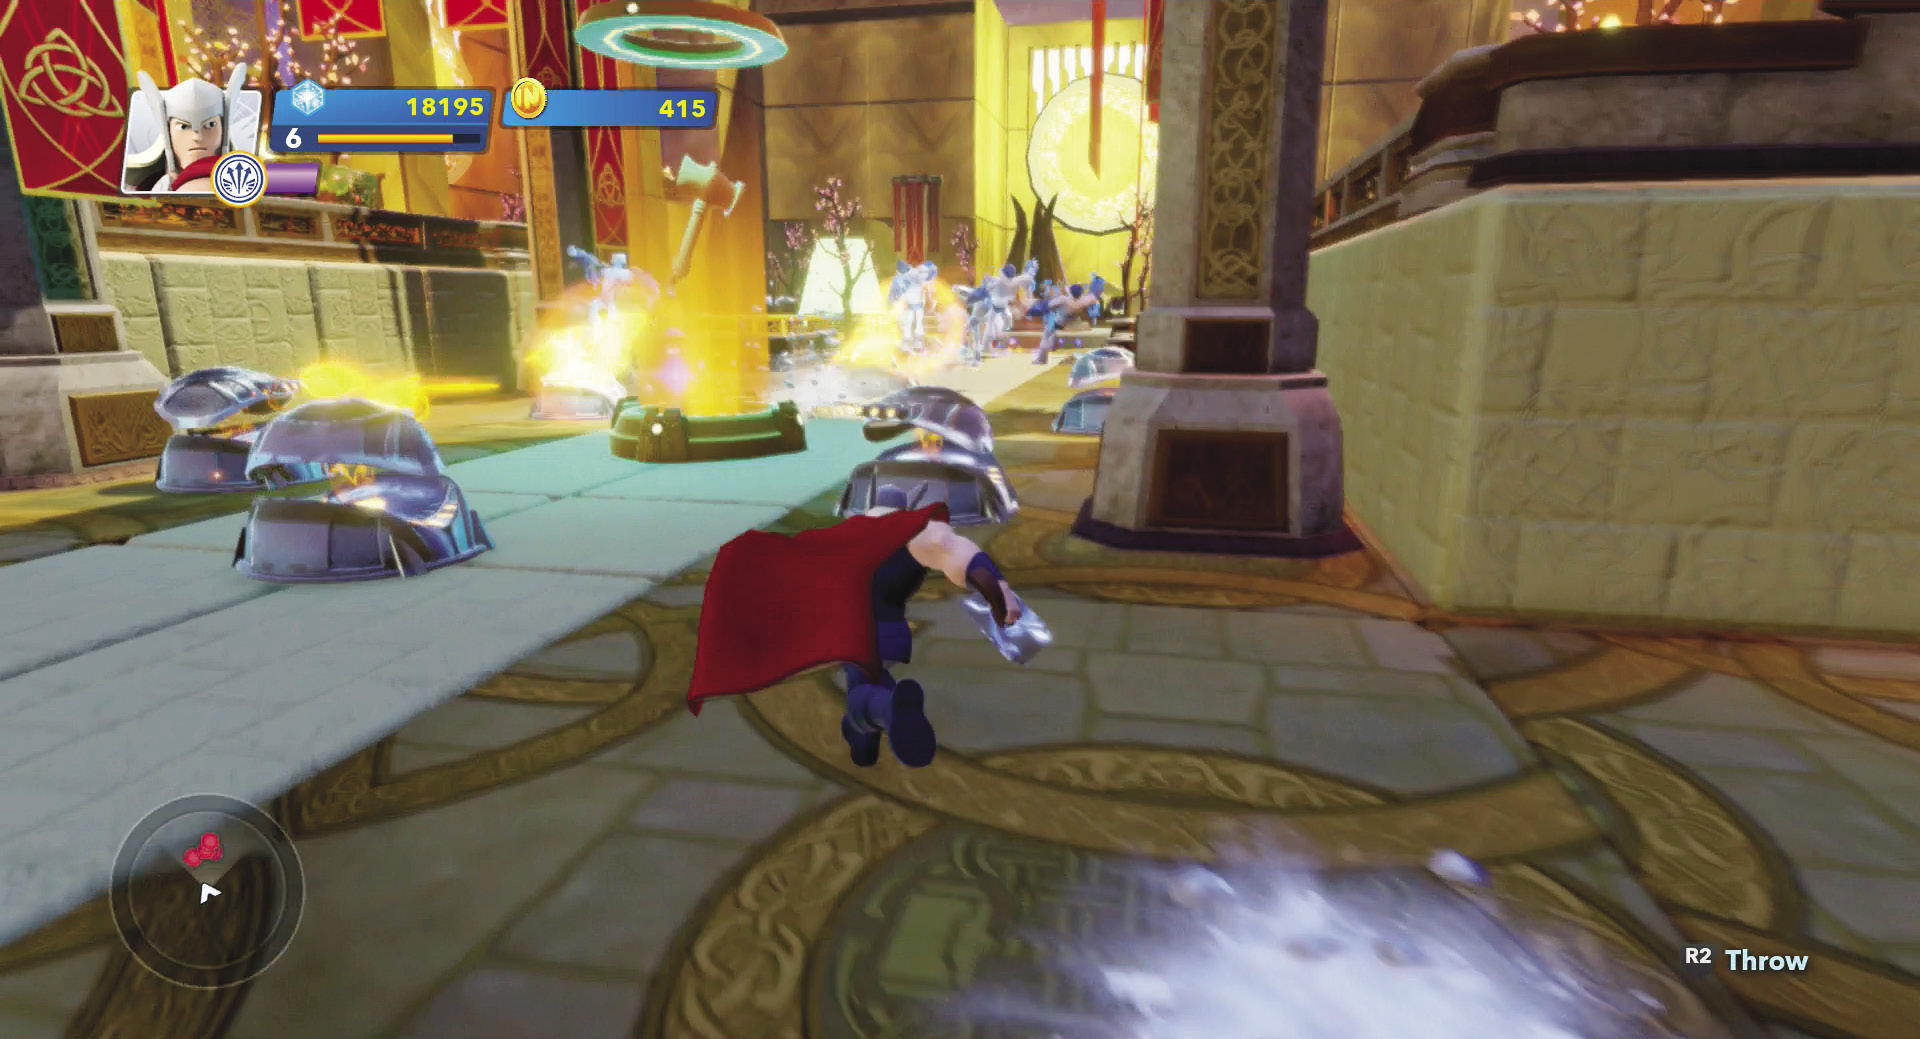
Go after the enemies as they emerge from the enemy door closest to the treasure. By the time you finish them off, head back towards the treasure. If you planned your defenses along the long pathway well, there will be few enemies that ever get to the treasure.
Trickster’s Gambit
Traps Available
- Asgardian Spread Turret
- Asgardian Freeze Mine
- Asgardian Barrier
- Asgardian Catapult Trap
- Asgardian Energy Shield
- Asgardian Mine Deployer
- Asgardian Healing Rune
- Asgardian Decoy
- Asgardian Focus Turret
Enemies
- Small Frost Giants
- Medium Frost Giants
- Large Frost Giants
- A.I.M. Drones
This level gives you a single treasure to defend. However, there are three enemy doors around you and four different pathways to get to the treasure. Because you get enemies coming from all three enemy doors right at the start in the first wave, concentrate your traps near the treasure. The Asgardians are scattered around and take some time to retrieve and deliver to the doorway, so you may want to hold off on that.
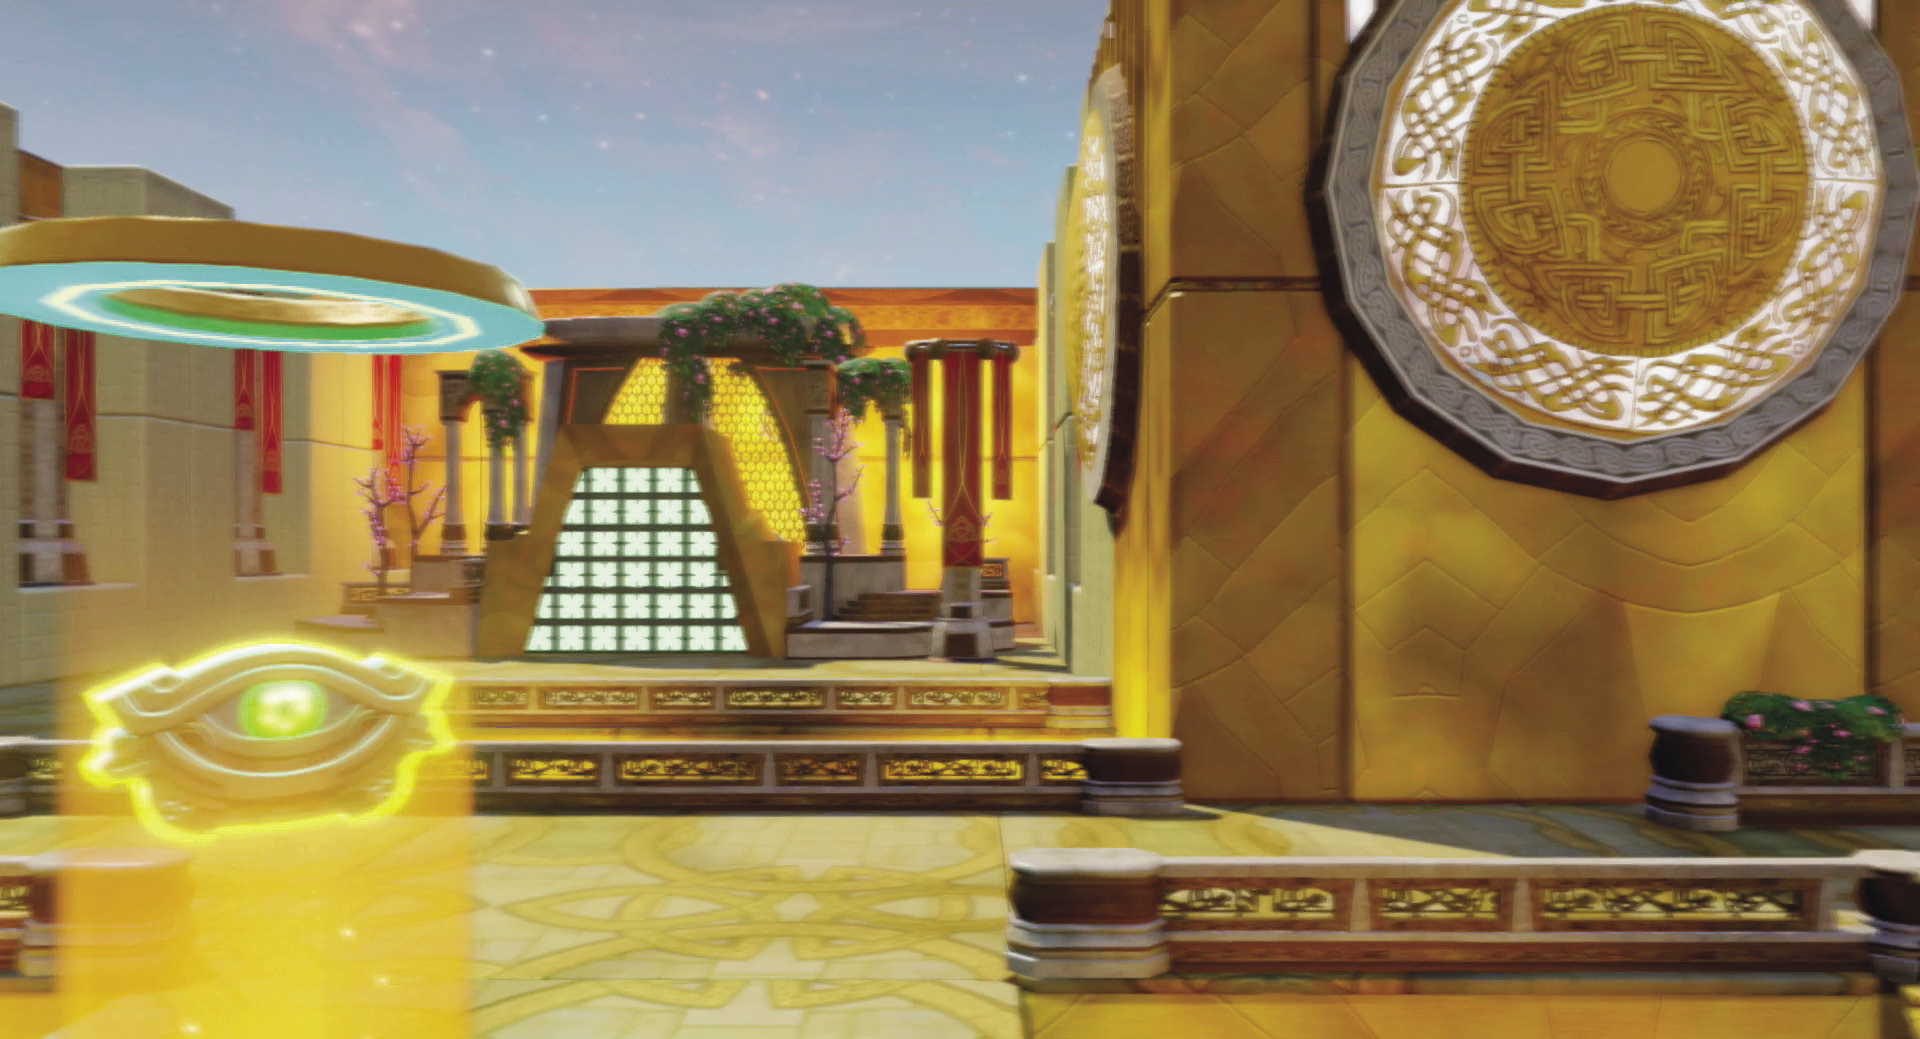
Enemies can attack your single treasure from three different enemy doors along narrow pathways surrounded by lava.
Because you get attacked from several different directions, stay close to the treasure. Try to engage enemies at the closer enemy doors with ranged attacks, but don’t stray too far away. You have to deal with Medium Frost Giants in the first wave—so be ready with a character that can break blocks and has some powerful melee attacks. Be sure to collect all the coins as you need all the money you can get for more traps.
This level sends Medium Frost Giants right in the first wave.
The second wave is not too tough. It consists of Medium Frost Giants and A.I.M. Drones. The third and fourth waves are very similar. Position freeze mines along the pathways and then attack them when they are frozen. Be sure to include a turret near the mines to hit them while they are chillin’. Wave 5 sends in a Large Frost Giant along with the Mediums. You need a character with a block breaking attack and some heavy melee damage to deal with these enemies. The final wave is more of the same with two Large Frost Giants at the end. You need to go out and fight them or they will throw projectiles at your treasure and destroy it before they get to your traps.
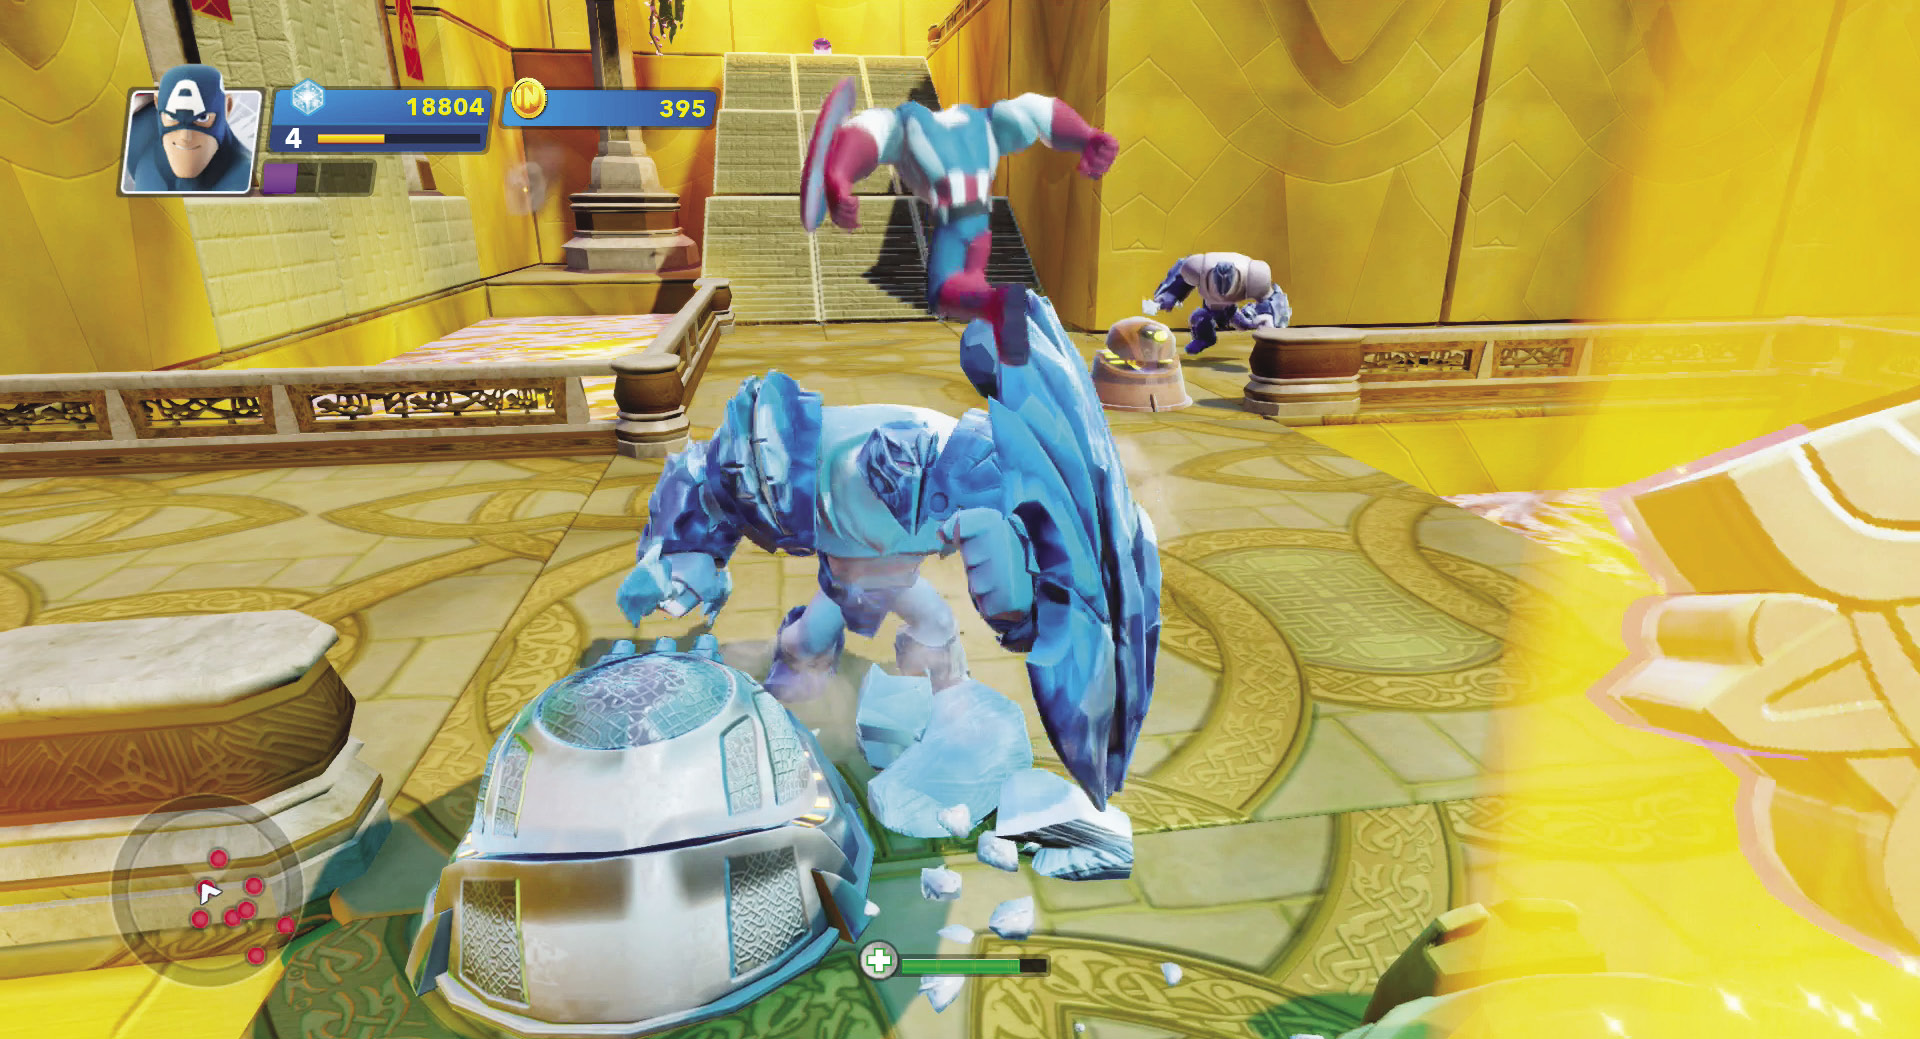
Medium and Large Frost Giants can take a lot of damage. Position mines and turrets along the way to weaken them before you have to fight them.
Asgard Under Siege
Traps Available
- Asgardian Spread Turret
- Asgardian Freeze Mine
- Asgardian Barrier
- Asgardian Catapult Trap
- Asgardian Energy Shield
- Asgardian Mine Deployer
- Asgardian Healing Rune
- Asgardian Decoy
- Asgardian Focus Turret
- Asgardian Implosion Mine
Enemies
- Small Frost Giants
- Medium Frost Giants
- Large Frost Giants
- A.I.M. Drones
This level contains four different treasures to defend. They are all close together and will split up the enemies to give you more time to defeat them before they can be destroyed. However, all it takes is one to be destroyed and it is a defeat for you. Keep your traps in close because there are enemy doors in four different directions—and all fairly close to the treasures.
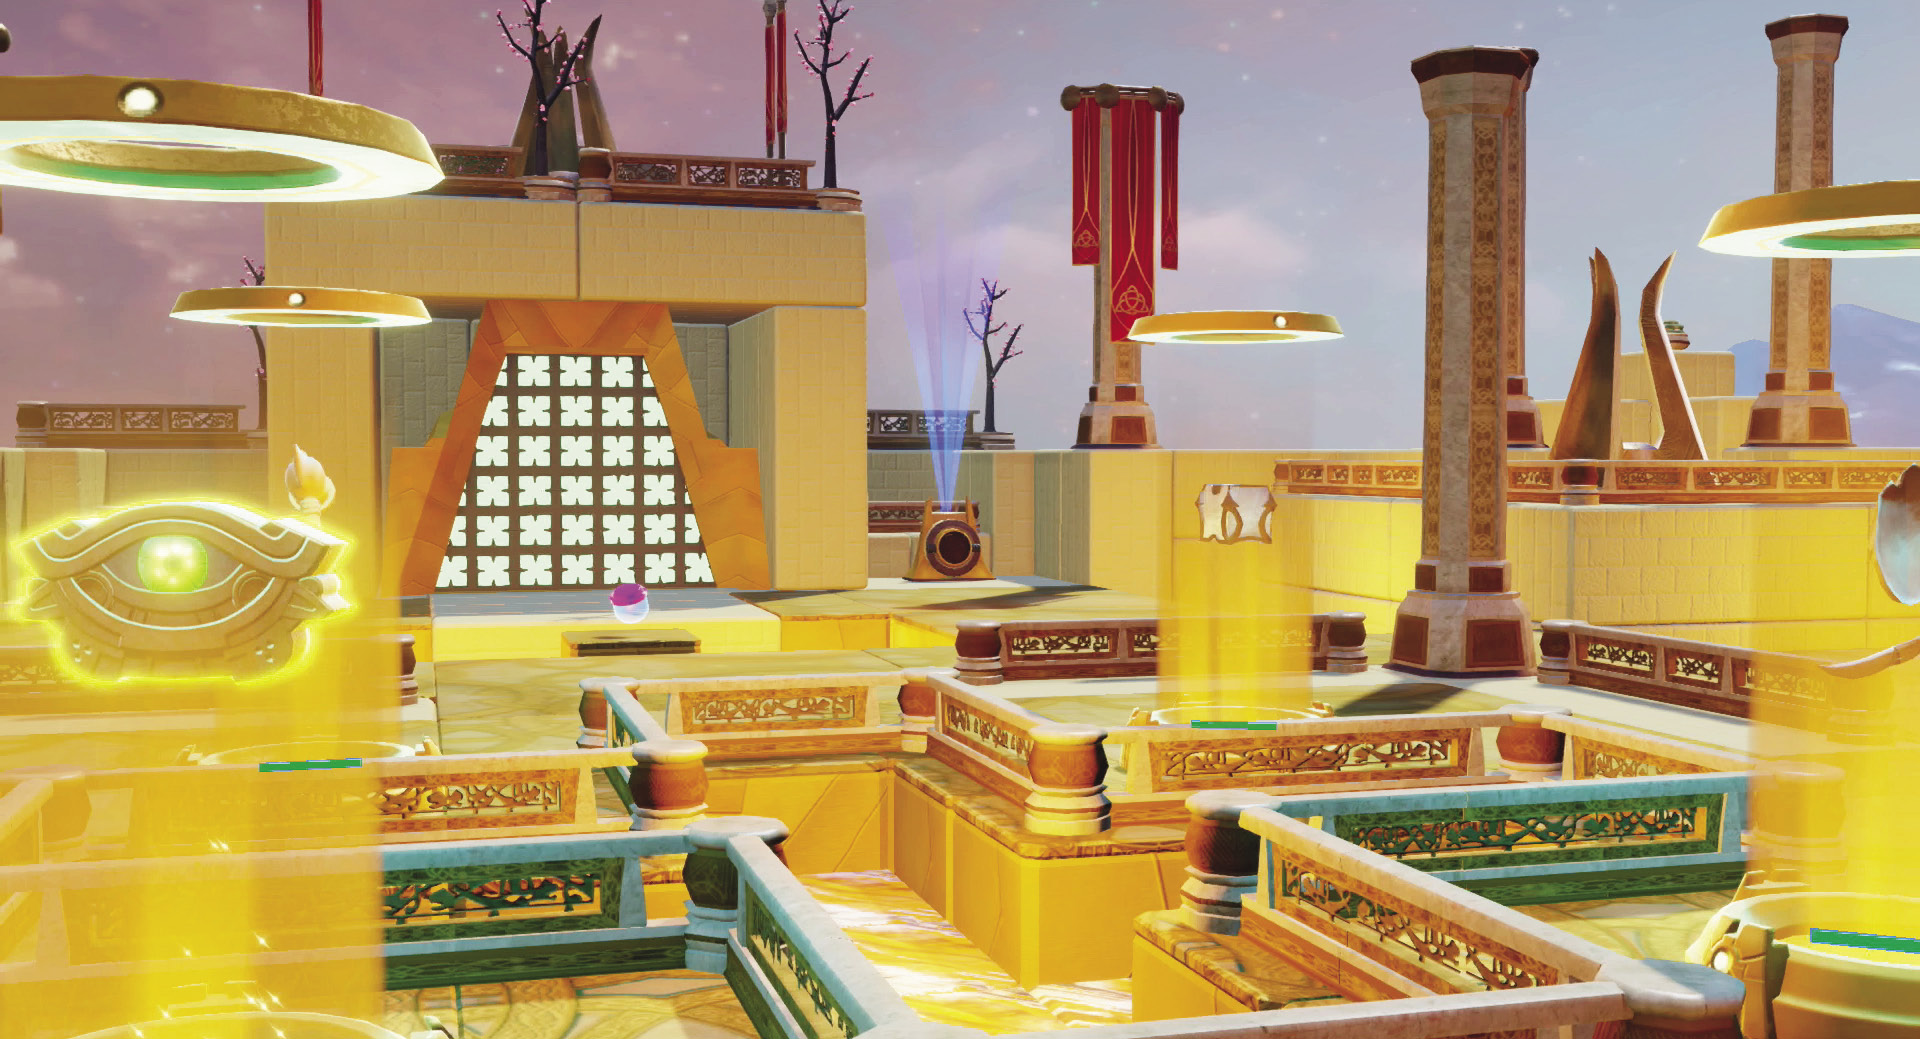
This time you have to defend four treasures. Luckily they are close together in the center of the area.
The area where the treasures are located is surrounded by a low wall with only four openings. These chokepoints are great spots for freeze mines. Then spend your remaining money on turrets to cover the mines. While this is not the greatest defense, it will get you through the first wave so you can collect some coins and get more traps for later waves. The first wave only has Small Frost Giants, so collect lots of coins and then, if you can afford it, sell back some of those freeze mines and replace them with implosion mines. Add some more turrets too. Ideally you should try to get a couple turrets for each treasure—one focus turret and one spread turret. Then place implosion mines at all the entrances. This may take a few waves until you can afford it, but that is your goal.
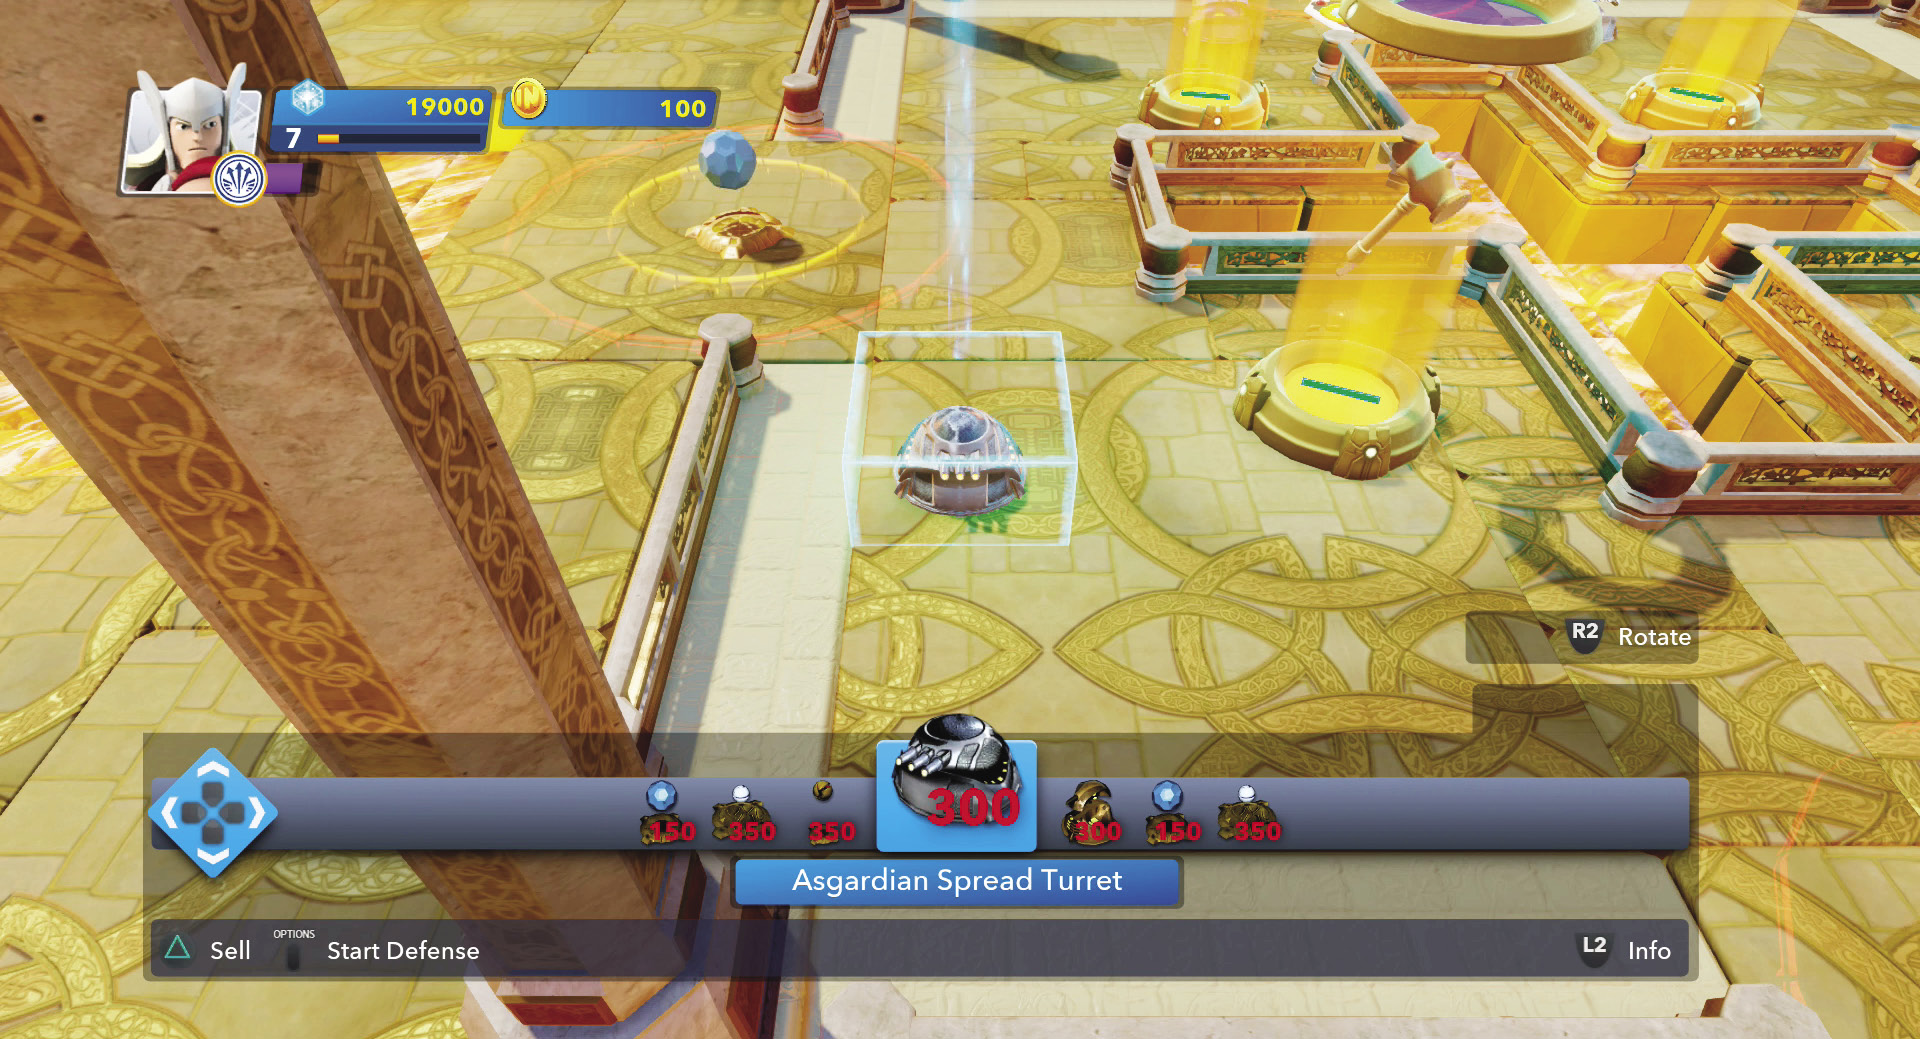
Put mines in the entrances and turrets near the treasures.
Wave 2 adds A.I.M. Drones to the attack, so those turrets come in handy in to shoot the drones down. Medium Frost Giants make their appearance in waves 3 and 4. Then the Large Frost Giants come in wave 5. Watch out for their freeze attacks and their ice projectiles. The final wave has everything including four Large Frost Giants—attacking in pairs from opposite enemy doors. Get near a pair and then let loose with your character’s special move if it causes a lot of damage.
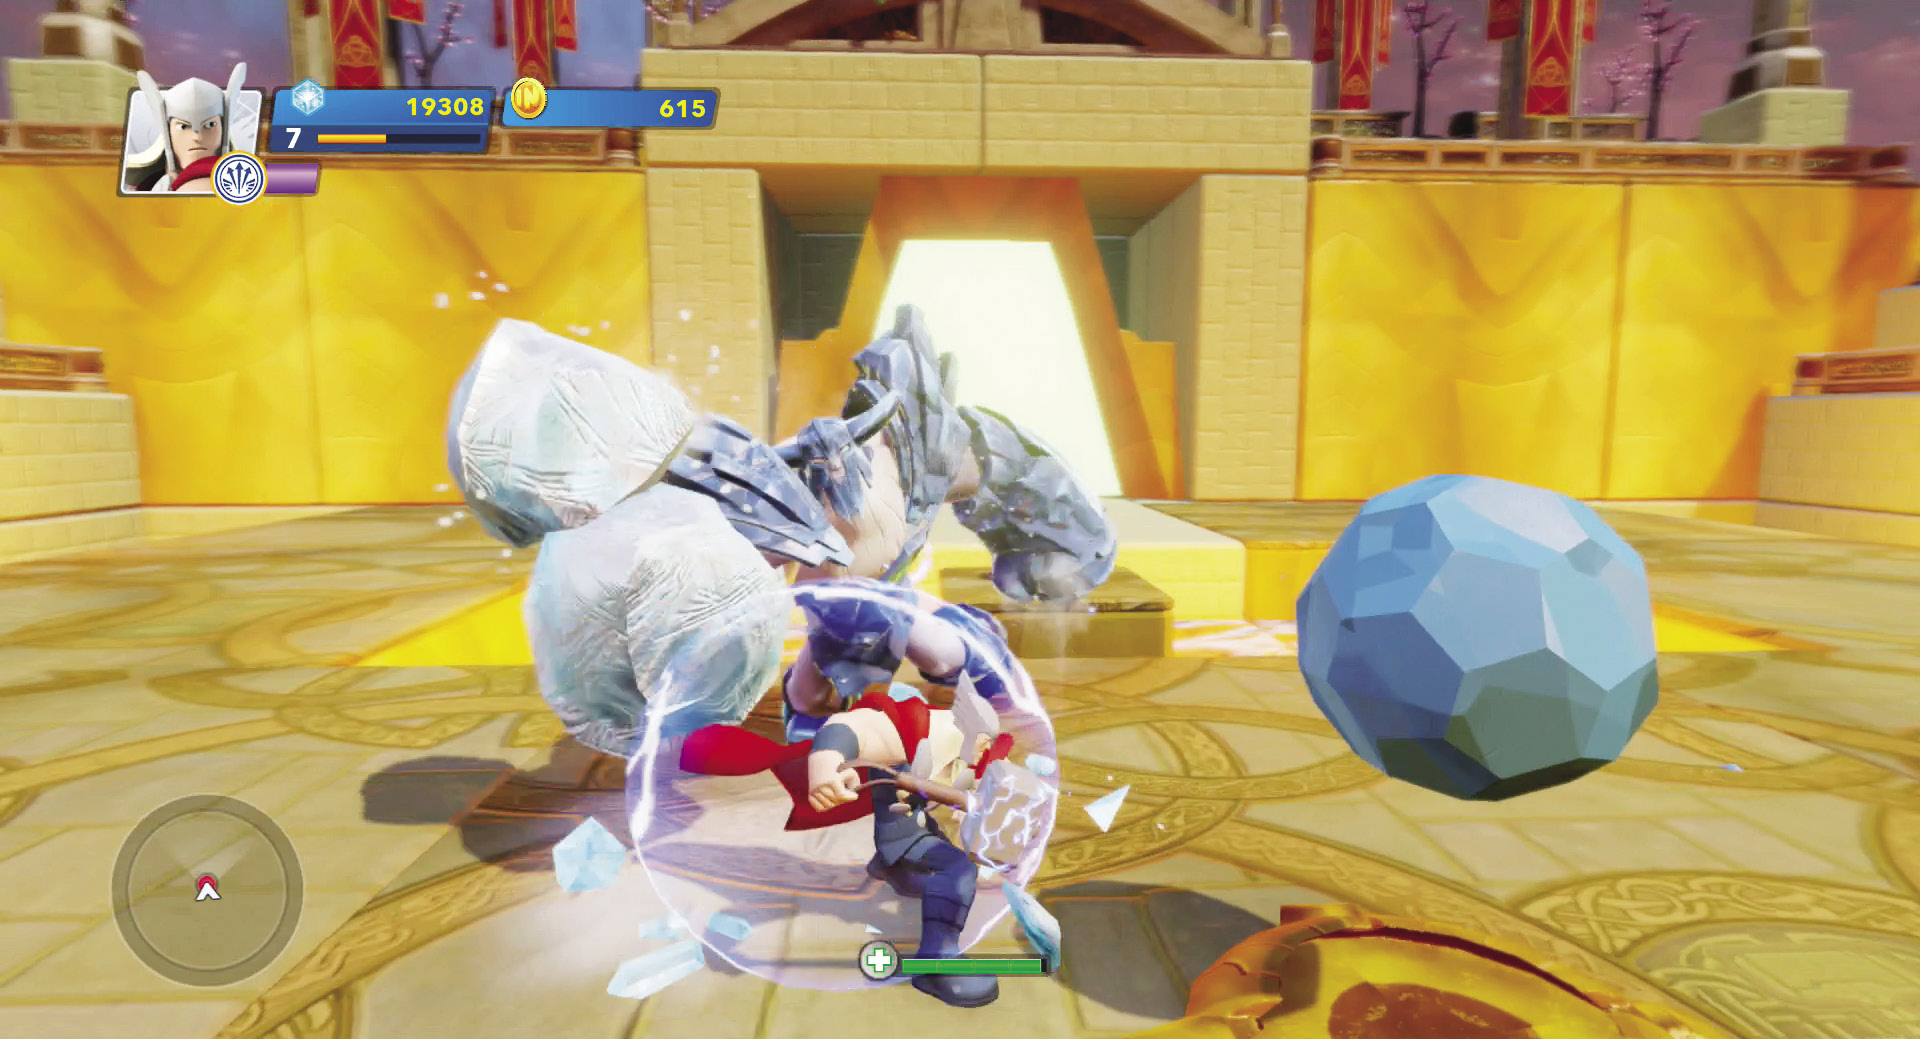
Large Frost Giants are tough. Use block breaker attacks and keep hitting them hard with your full chain of melee attacks. If your character can charge up his or her attacks, those work even better.
Thunder God’s Challenge
Traps Available
- Asgardian Spread Turret
- Asgardian Freeze Mine
- Asgardian Barrier
- Asgardian Catapult Trap
- Asgardian Energy Shield
- Asgardian Mine Deployer
- Asgardian Healing Rune
- Asgardian Decoy
- Asgardian Focus Turret
- Asgardian Implosion Mine
- Asgardian Battle Wedge
Enemies
- Small Frost Giants
- Medium Frost Giants
- Large Frost Giants
- A.I.M. Drones
This level has only one object to defend. However, it is not one of Odin’s treasures. Instead, it is Odin himself, deep in Odinsleep in his bed. There are four enemy doors in two different directions. However, Odin is on a raised platform and there are only two flights of stairs that lead up to it. Therefore, you have two access points through which the enemies must move. Use a combination of mines and turrets to protect Odin.
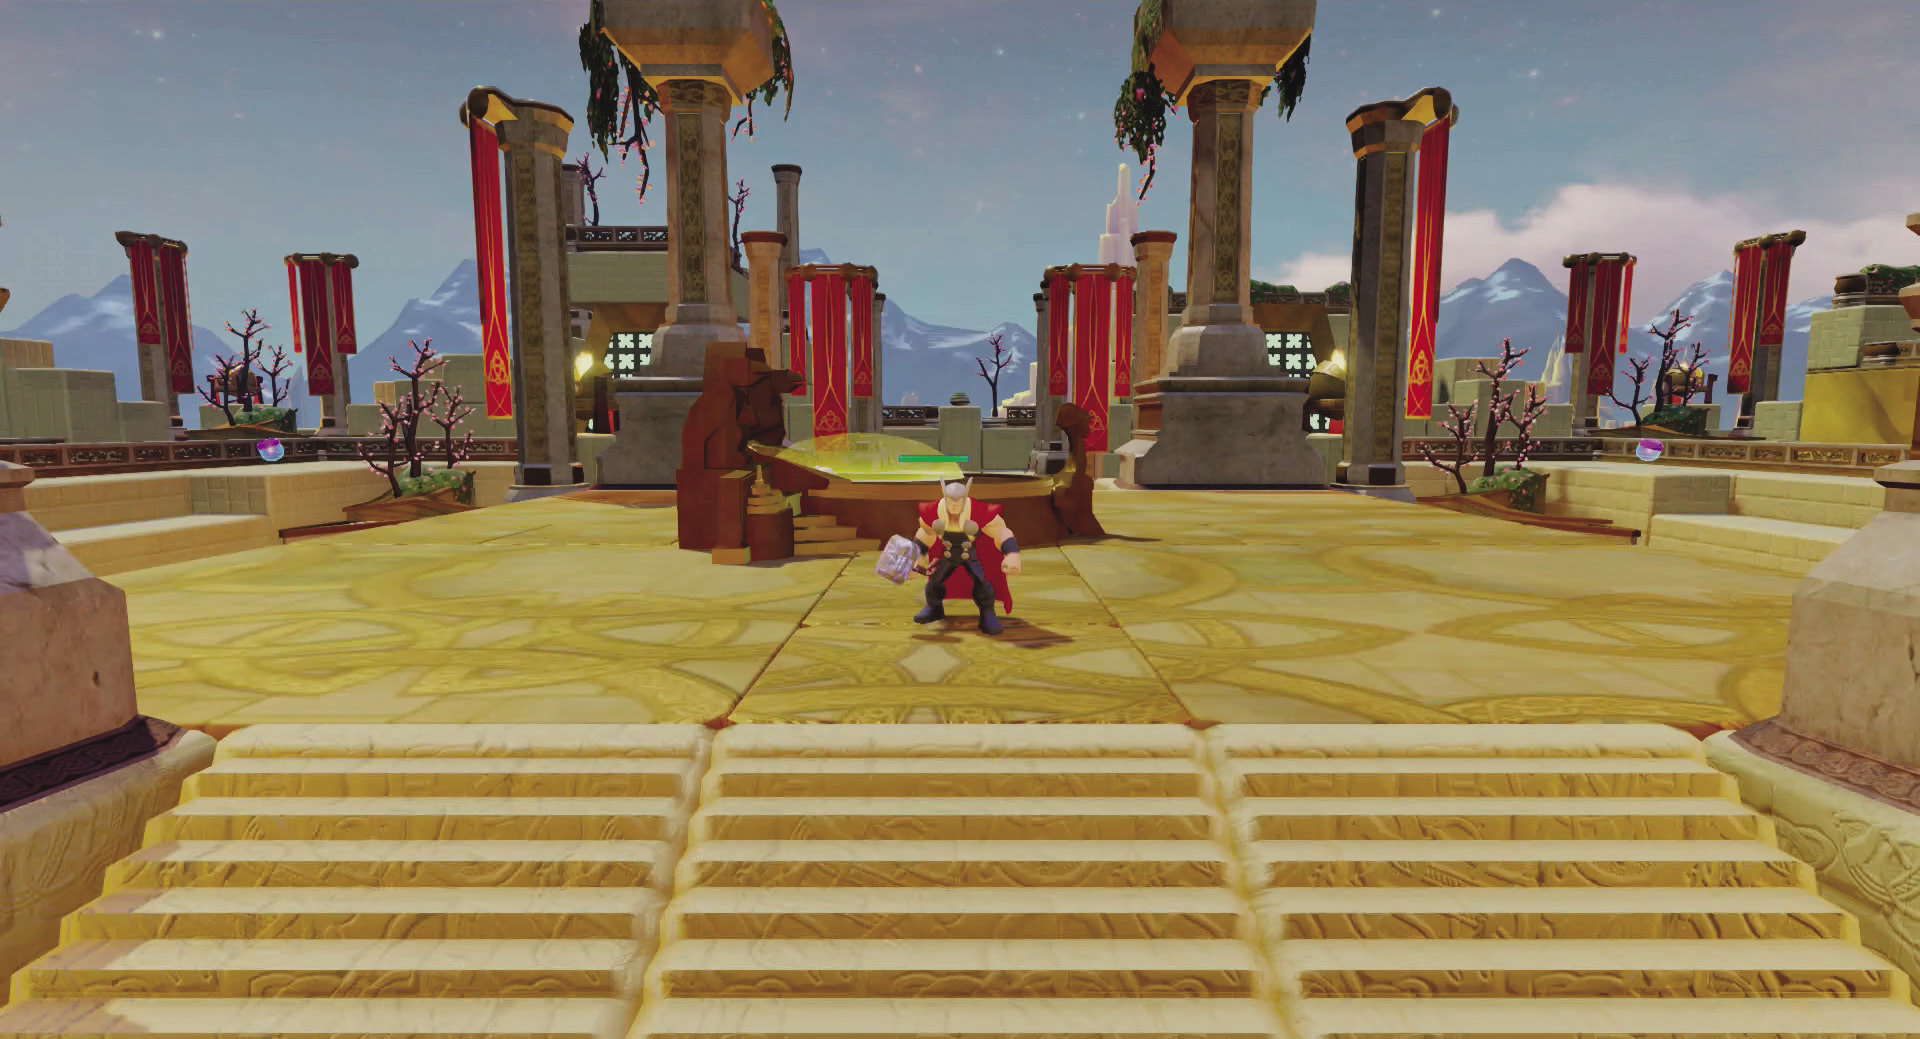
You must protect Odin himself while he lies in Odinsleep.
You don’t have a lot of money at the start. However, spend it on some powerful traps. Place an implosion mine at the base of each flight of stairs and spend the rest on a turret to put next to Odin. Then stay on the platform and defend Odin during the first wave. It consists of only Small Frost Giants, so you should have little trouble with them. As you can afford it, add a few more turrets to the platform around Odin to protect him from A.I.M. Drones and Frost Giants that get up the stairs.
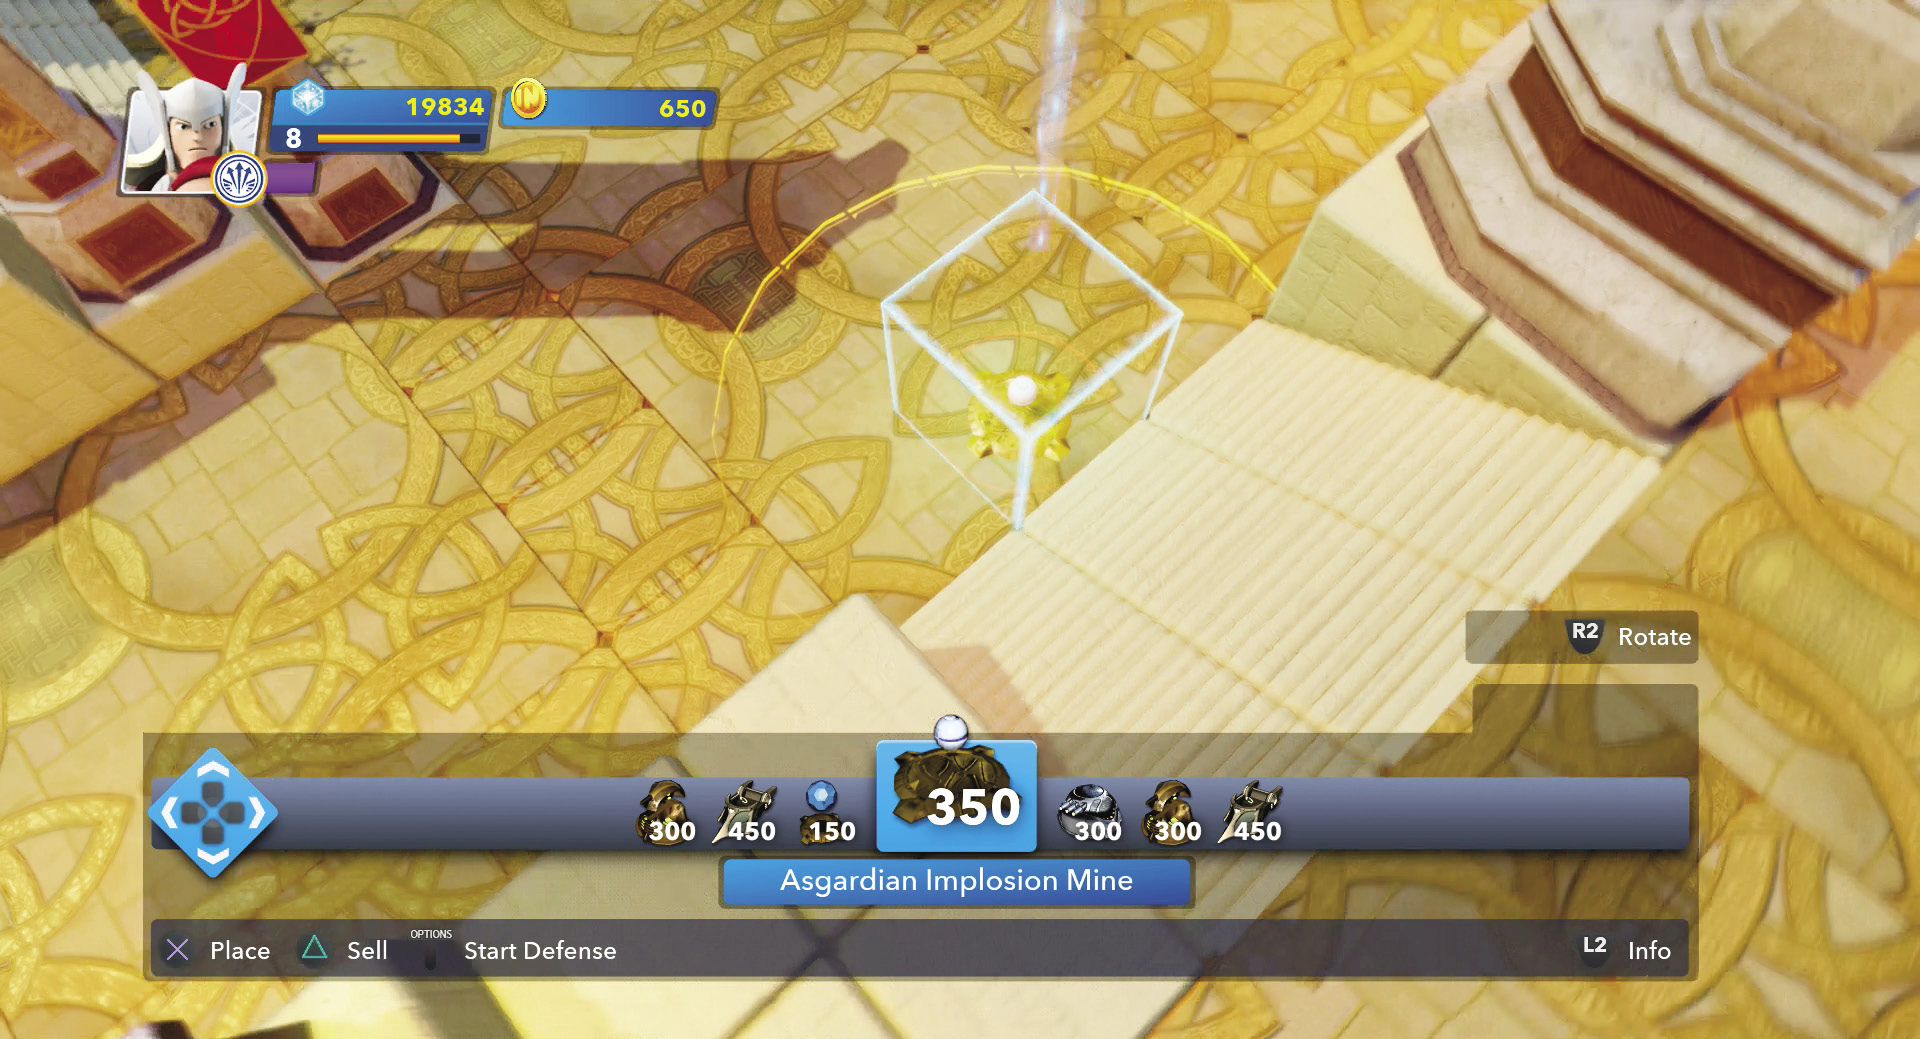
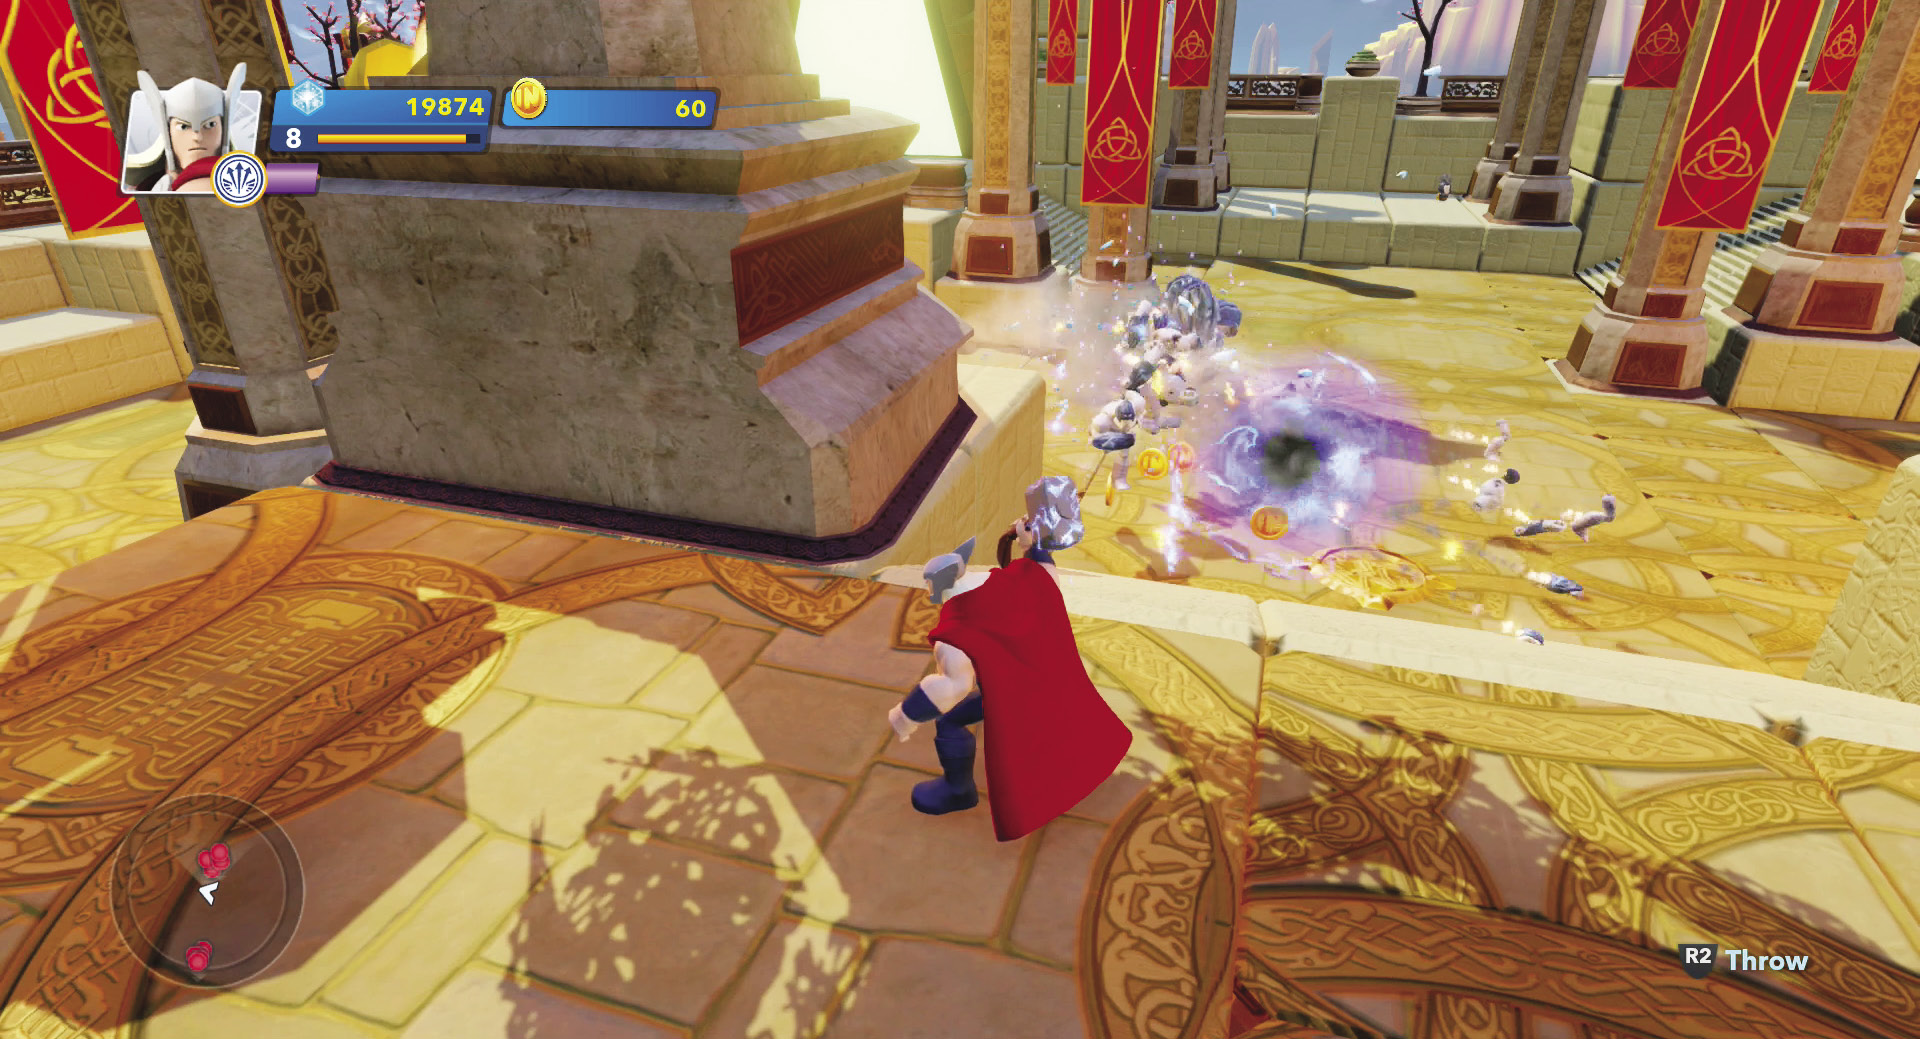
Place an implosion mine at the base of each flight of stairs right from the beginning. When it detonates, it can destroy an entire group of enemies.
Medium Frost Giants join the attack during the second wave. As you can afford it, place a second implosion mine at each staircase. Sell the first and then position them next to each other so they block the stairways. If you do this, few if any enemies will get up onto the platform in wave 3. Large Frost Giants join in wave 4. You may have to go out and fight them if they don’t get in close enough to the implosion mines. Meanwhile build several turrets on the platform around Odin, since wave 5 has some A.I.M. Drones as well. The final wave opens up with A.I.M. Drones and Medium Frost Giants. Stay on the platform and deal with anything that gets near Odin. The second part of this wave contains Small and Large Frost Giants. However, with your implosion mines, you may only have to deal with a few of these enemies. Your defenses will do most of the job for you. After you defeat this final wave, you have completed all of the levels in Assault on Asgard.
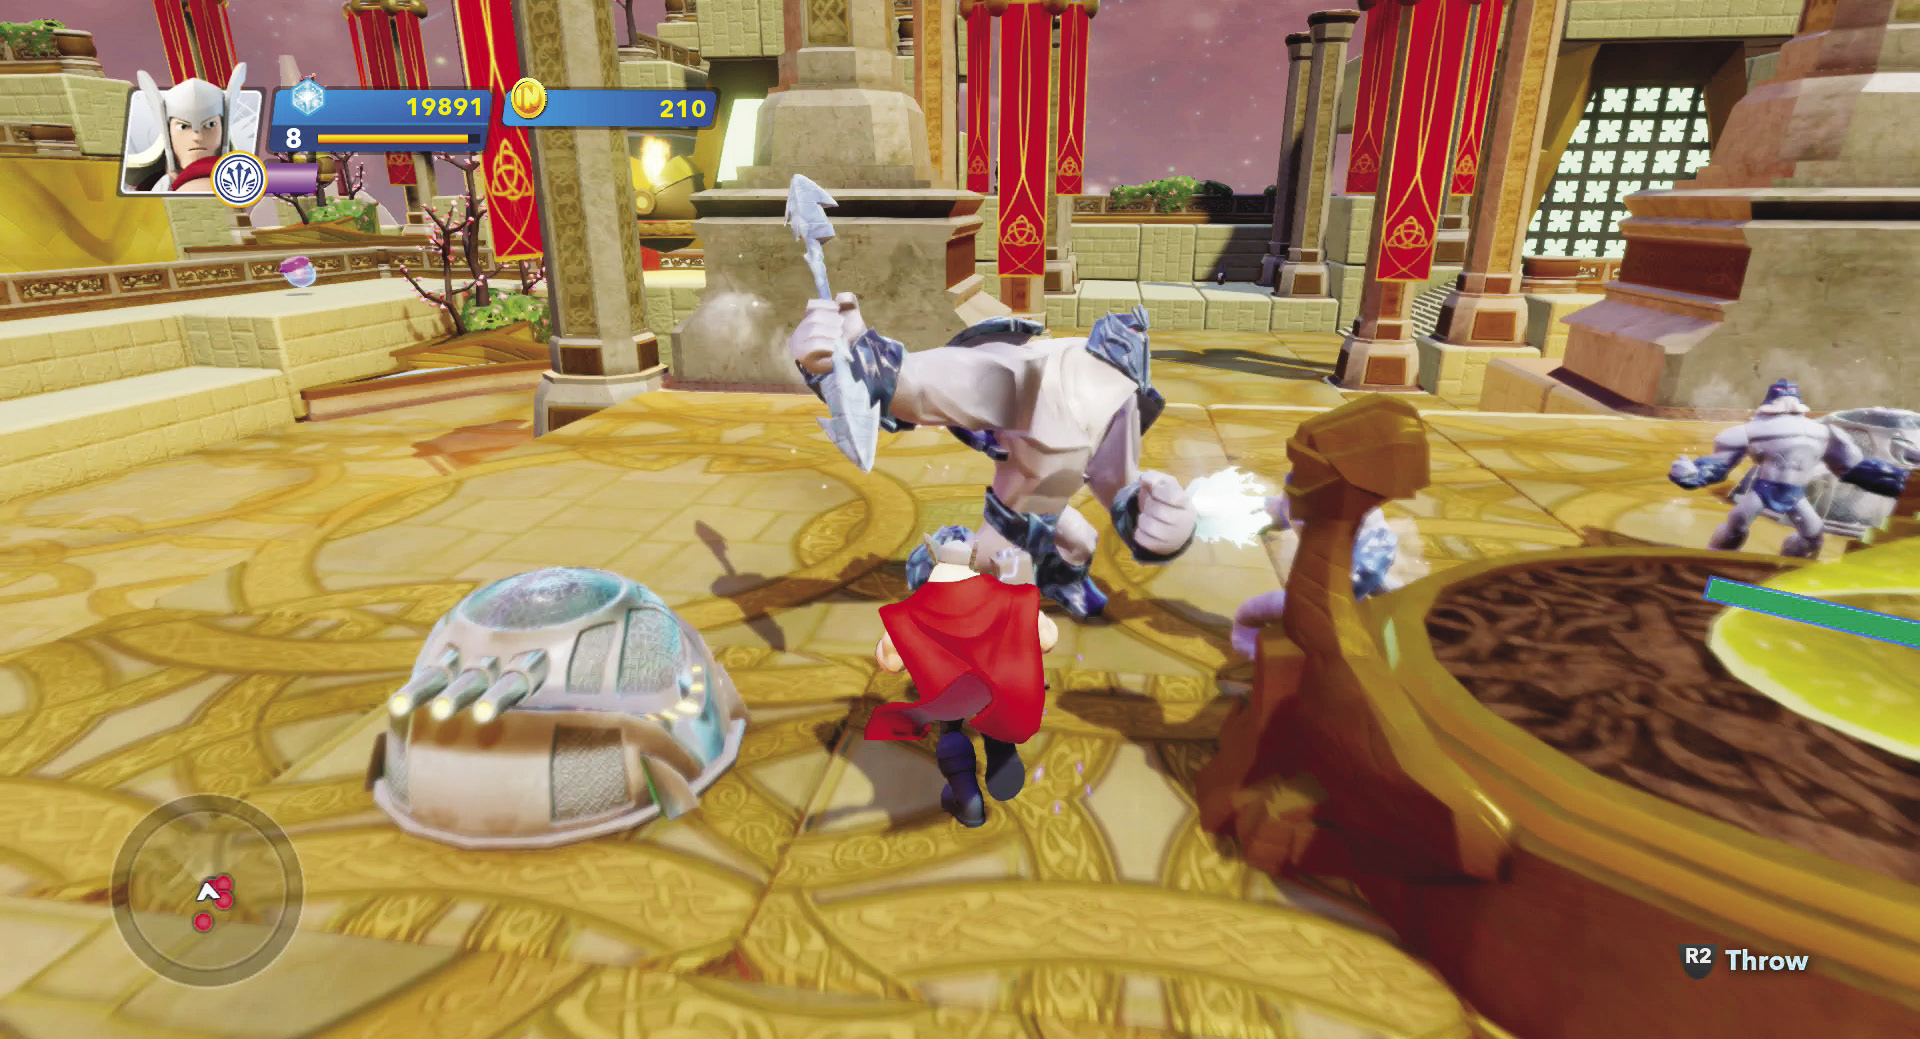
Stay up on the platform to protect Odin from those enemies that get in close to attack.
Defense Survival Mode
After you complete the first level of Assault on Asgard, you unlock the Defense Survival Mode. This is a game that is not themed after Asgard. Instead, it uses various themes from the Toy Box and even changes themes as you advance through the levels. In addition, you have access to all types of traps right from the start. Everything is unlocked.
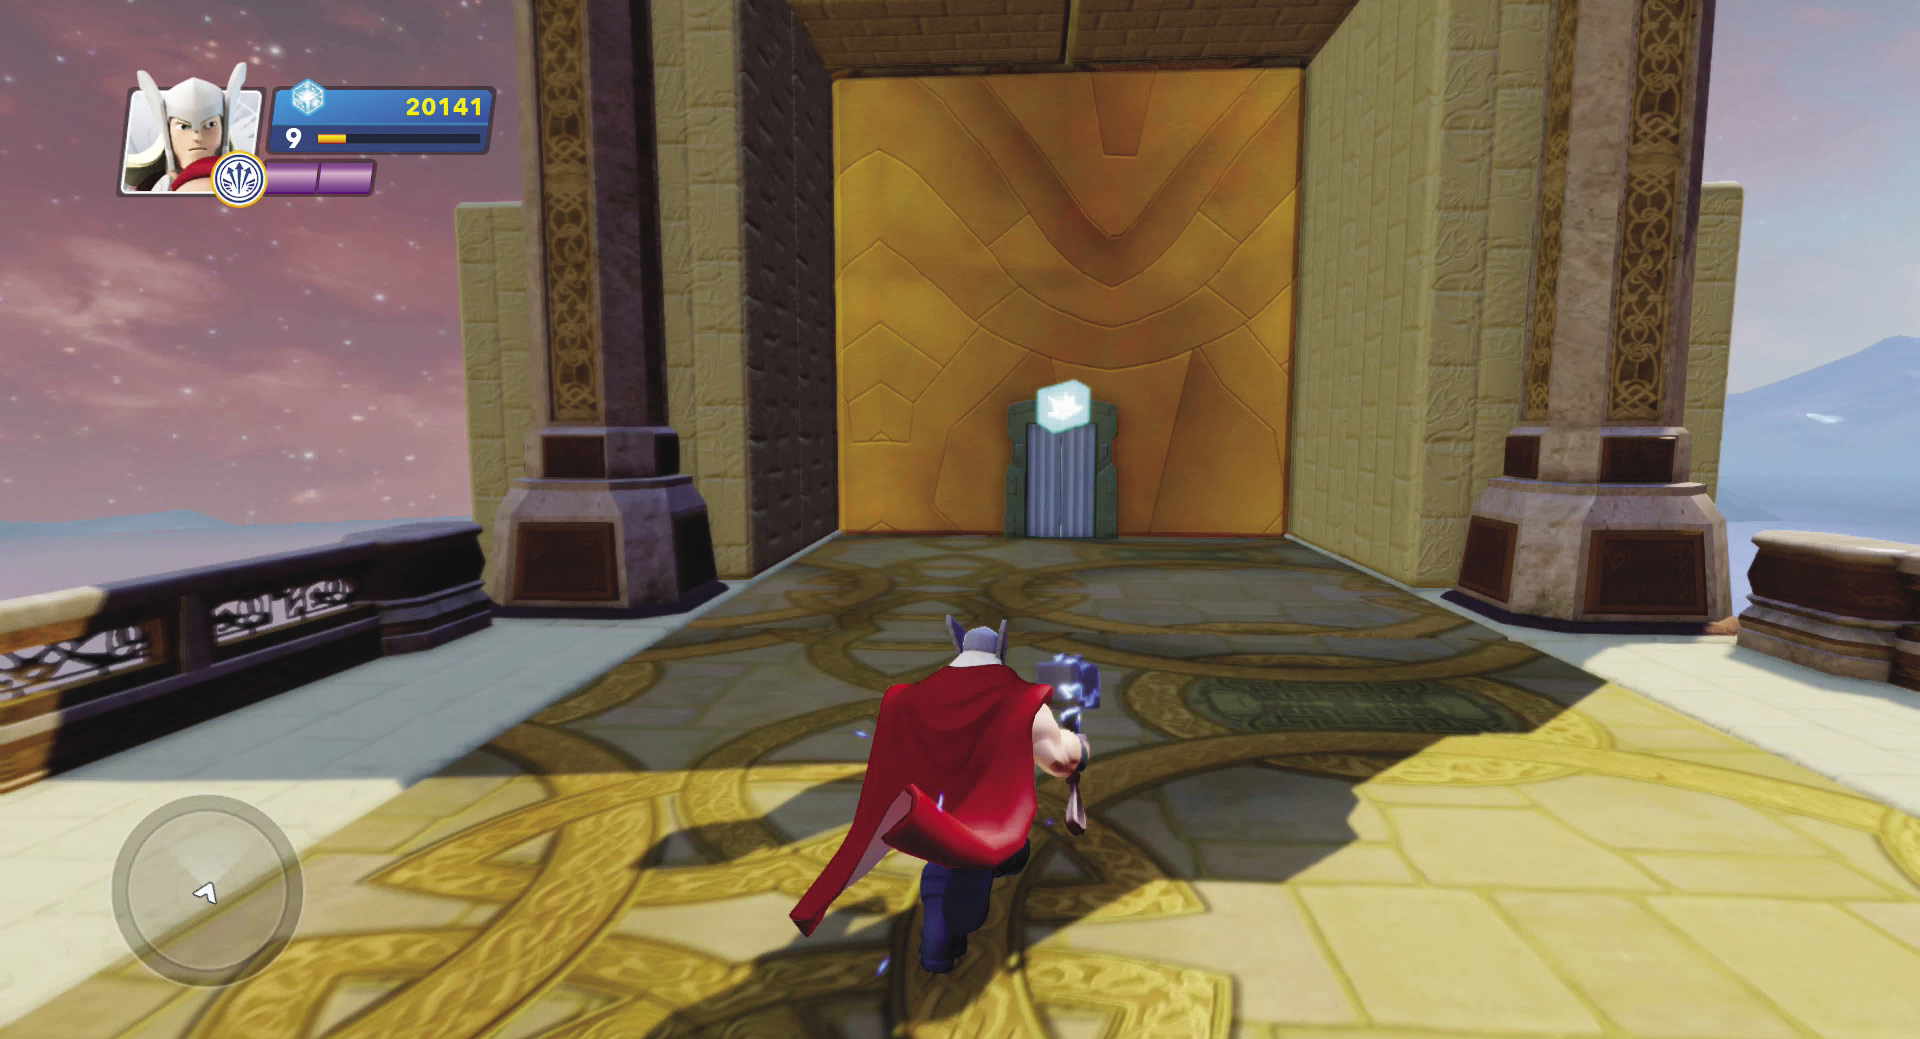
This door takes you to the survival mode for this Toy Box Game.
In survival mode, you have four different treasures to defend. There are six enemy doors, but they don’t all open until later waves. You must fight off wave after wave of enemies until all of your treasures have been destroyed. As you lose one, sell back the traps around it and move it to your other treasures. You face all types of enemies. They come from different Play Sets and are the enemies available for unlock or purchase in the Toy Store, so you may be be fighting Frost Giants, outlaws, pirates, and even monsters. The objective is to see how many waves you can survive before losing all of your treasures. Use the same strategies as you did in the Assault on Asgard levels and you should do well. Good luck!
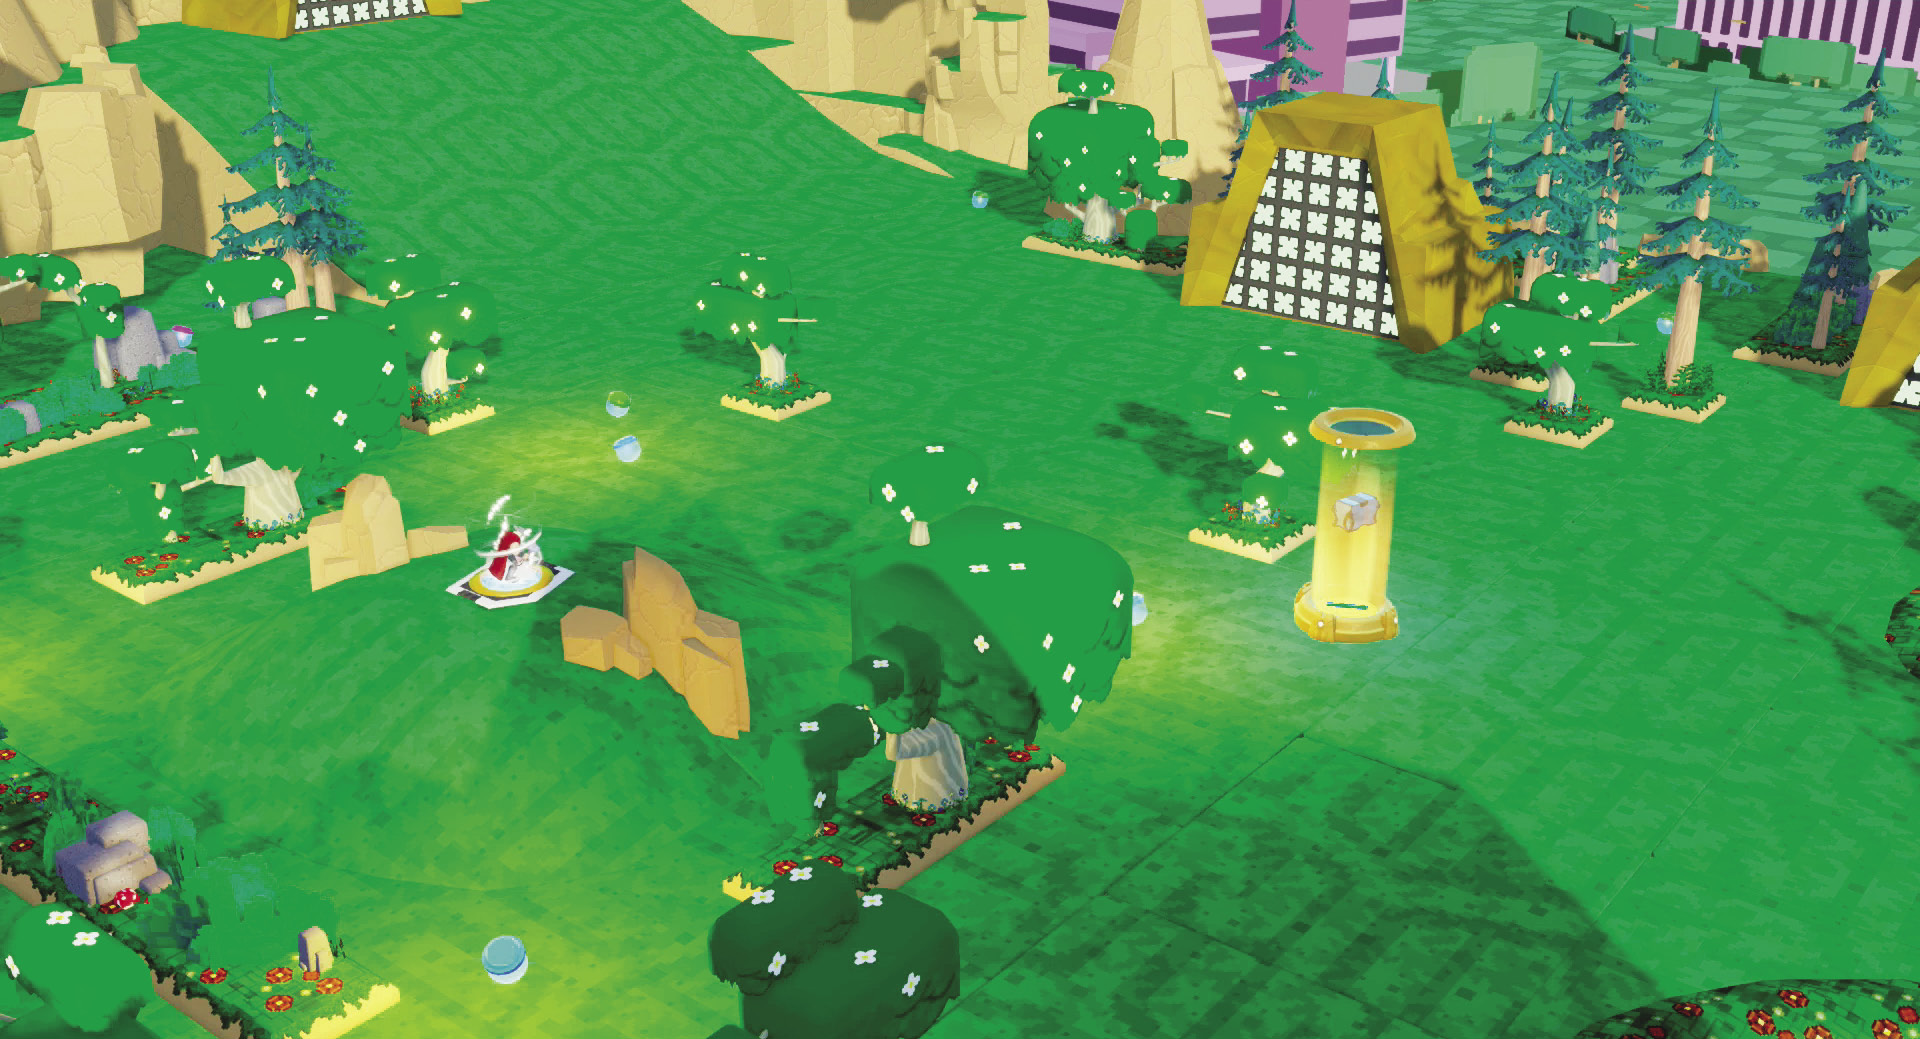
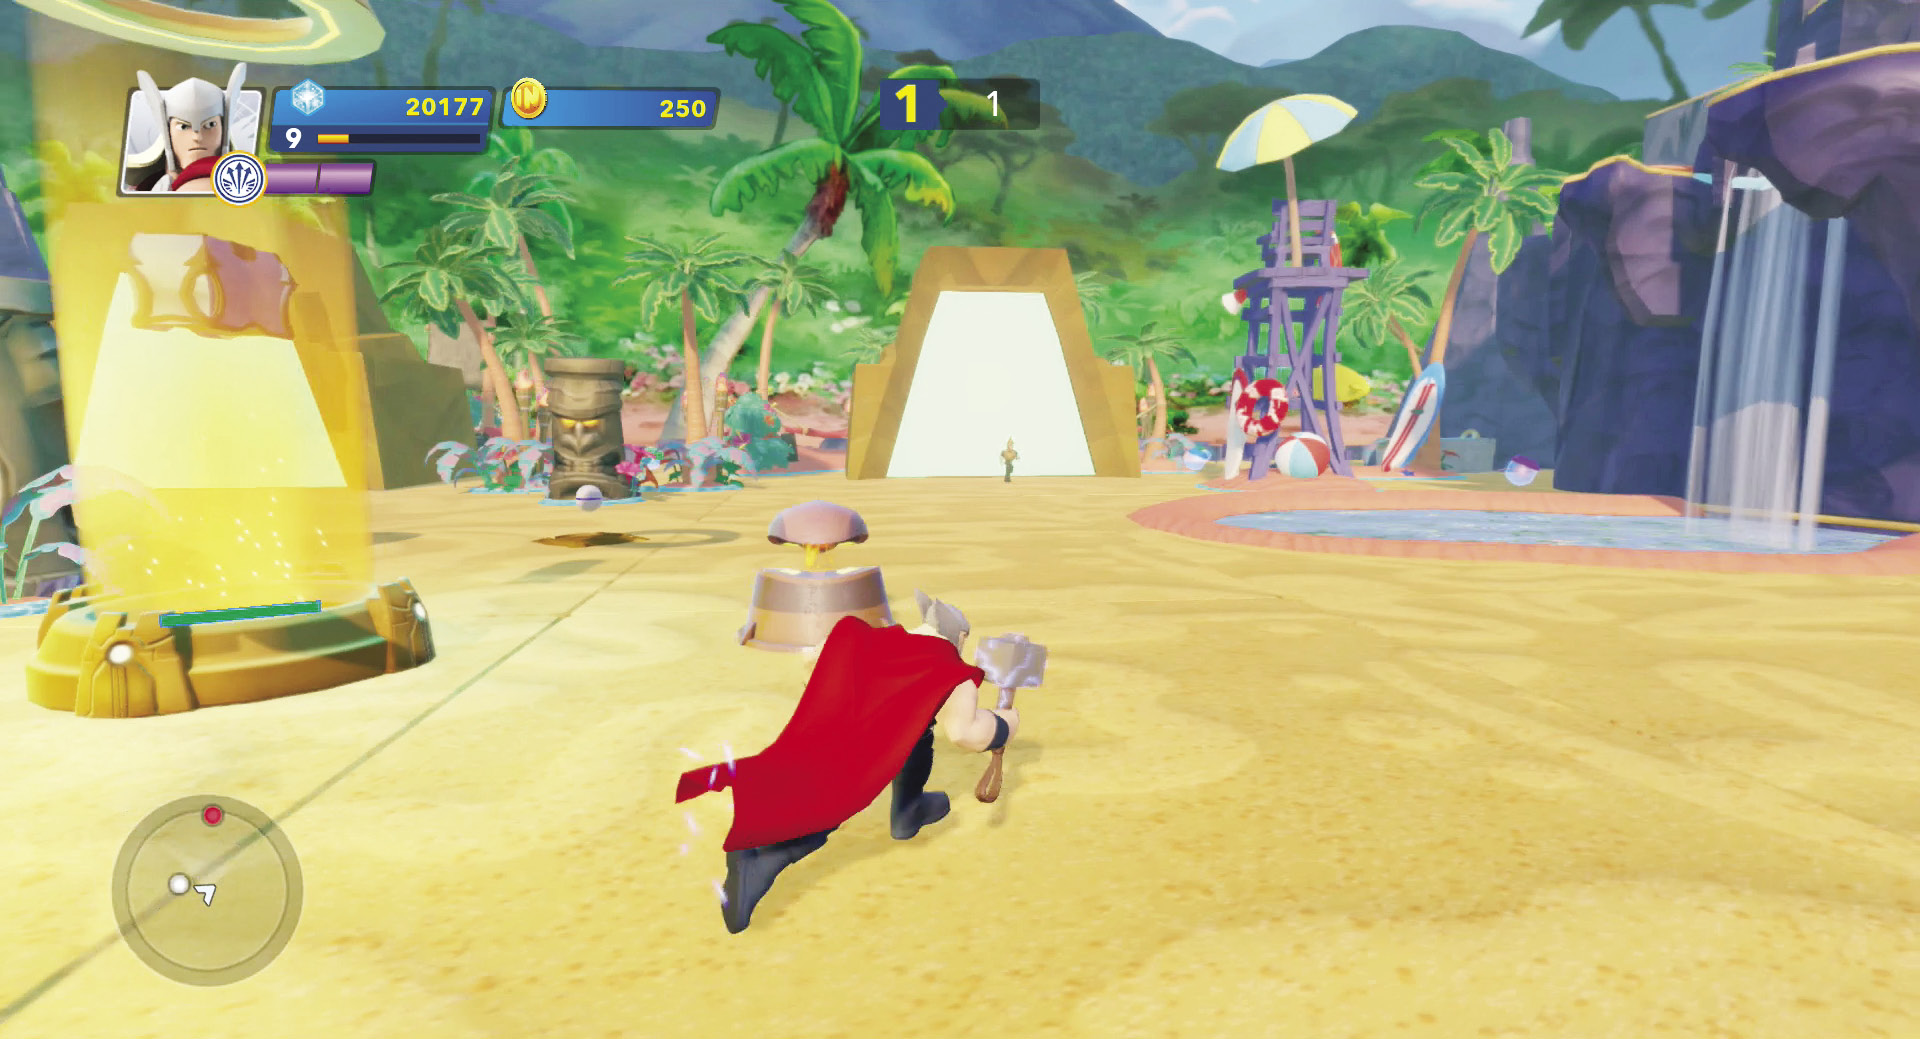
The theme of the survival mode changes every few levels. However, the game stays the same.