
Disney Infinity: Marvel Super Heroes Guide Marvels Guardians of the Galaxy Play Set
Side Missions: Major Problems in the Miner Zone
Cosmic Creatures

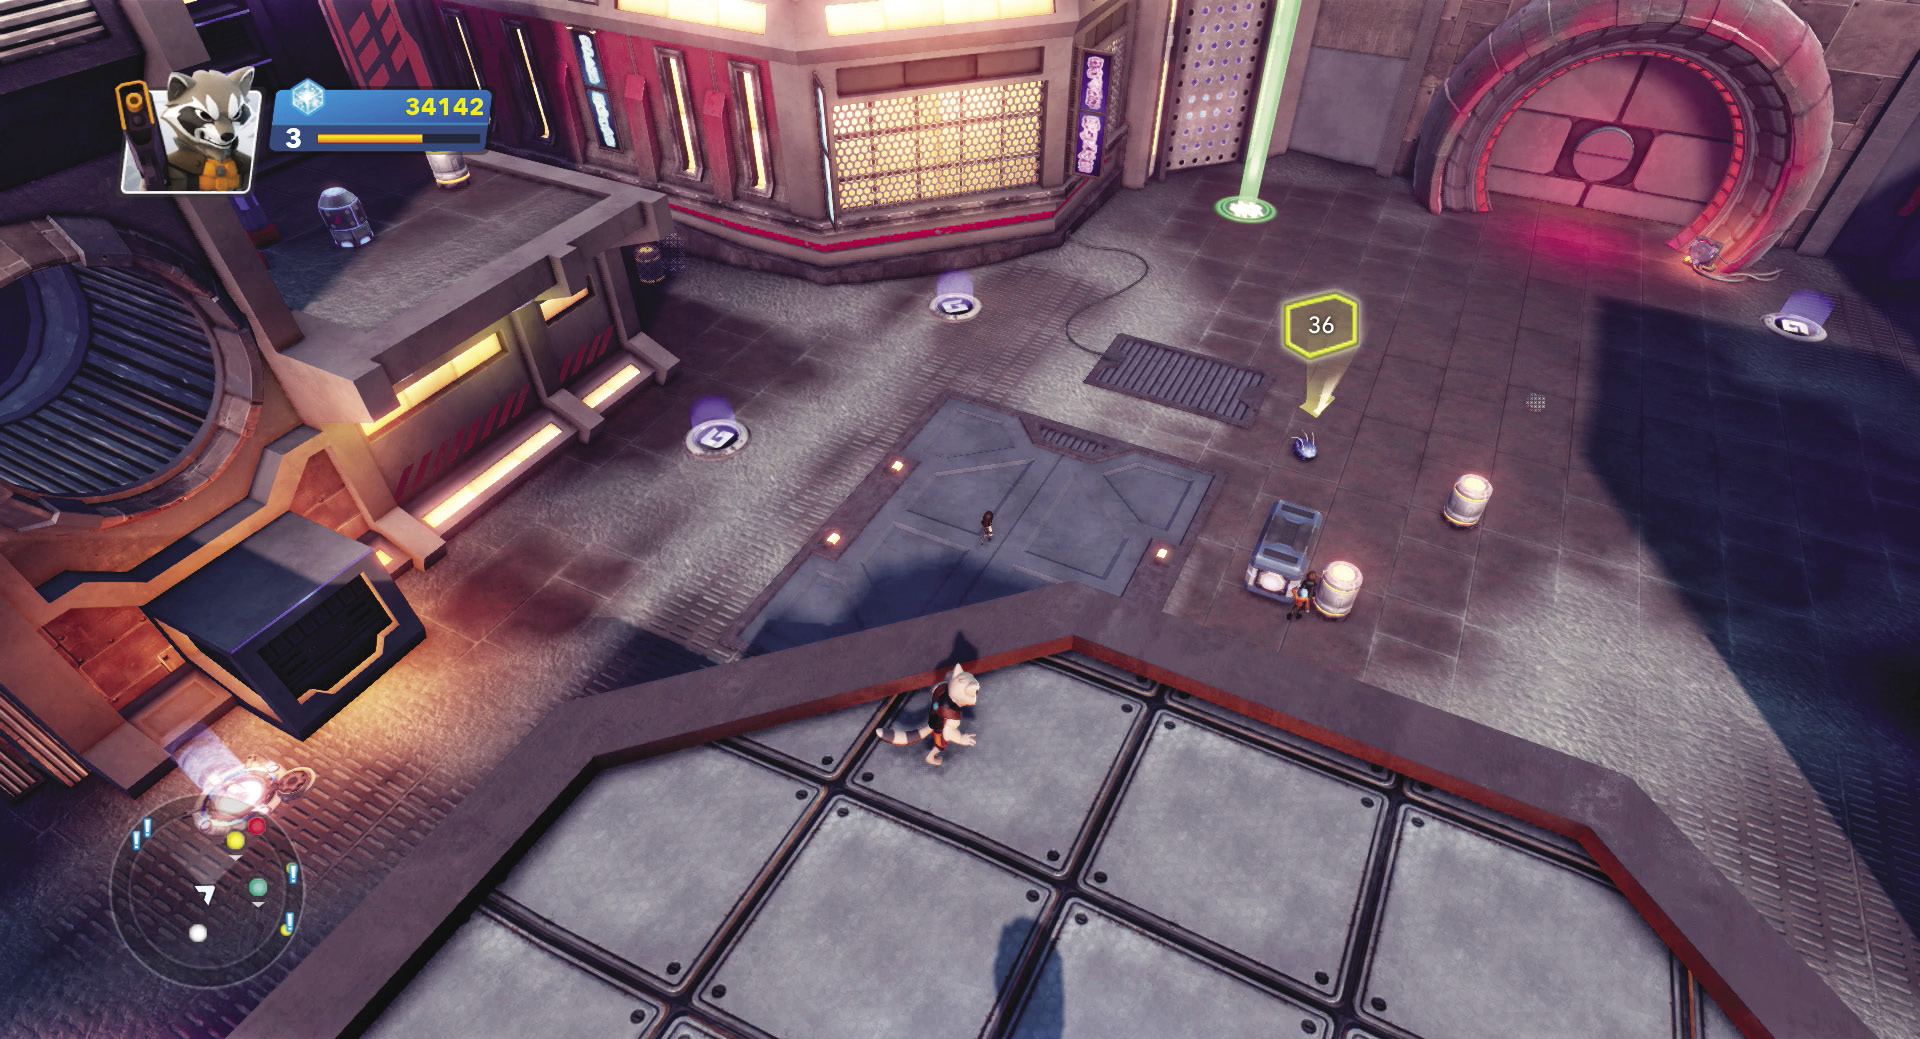
The shock wave from a Sakaaran blast has jostled open one of The Collector’s vaults and three rare creatures have escaped. Why not send another rare creature, Rocket Raccoon, out looking for them? The first one is easy to track down. Look over the edge from The Collector’s platform and you’ll see it on the bottom level of the Living Quarters. Jump down and grab it before the creature can scurry away.
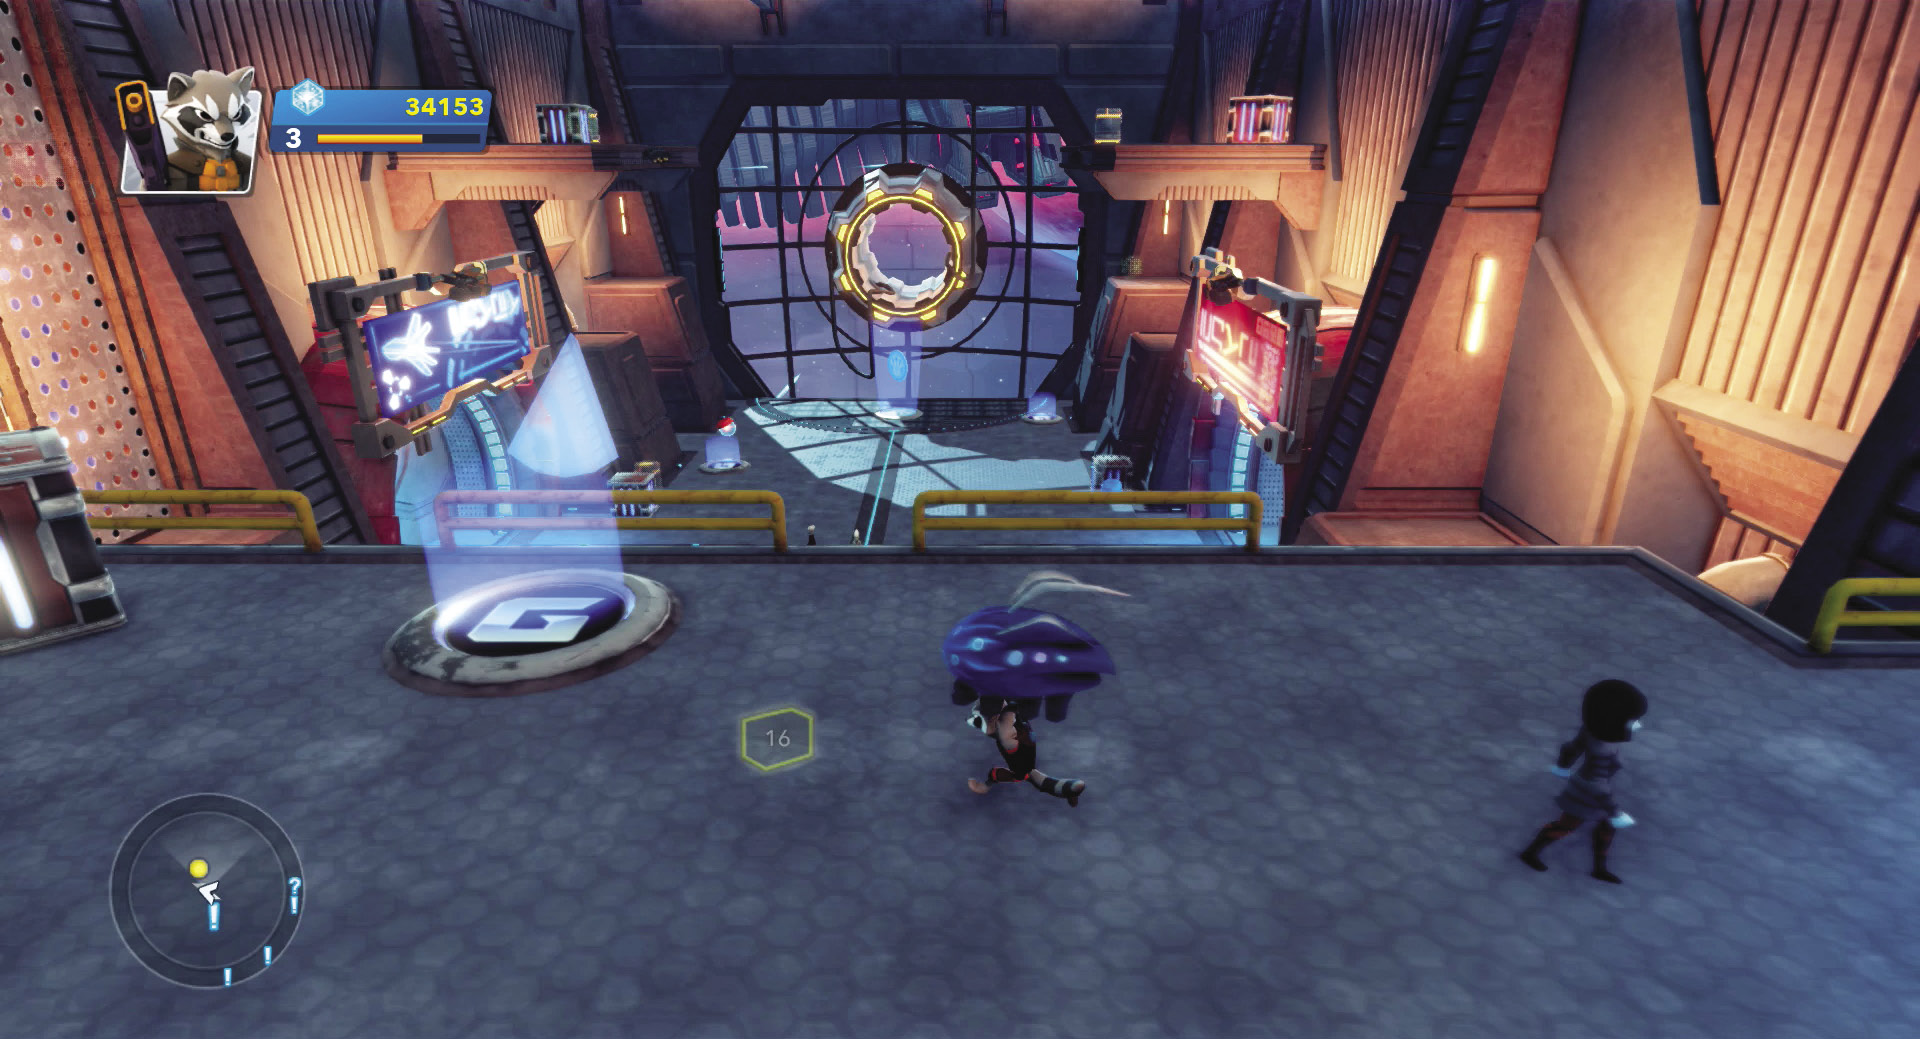
Carry the creature into the Central Operation Tower. Follow the yellow objective marker and deposit it on the walkway where it will be safe.
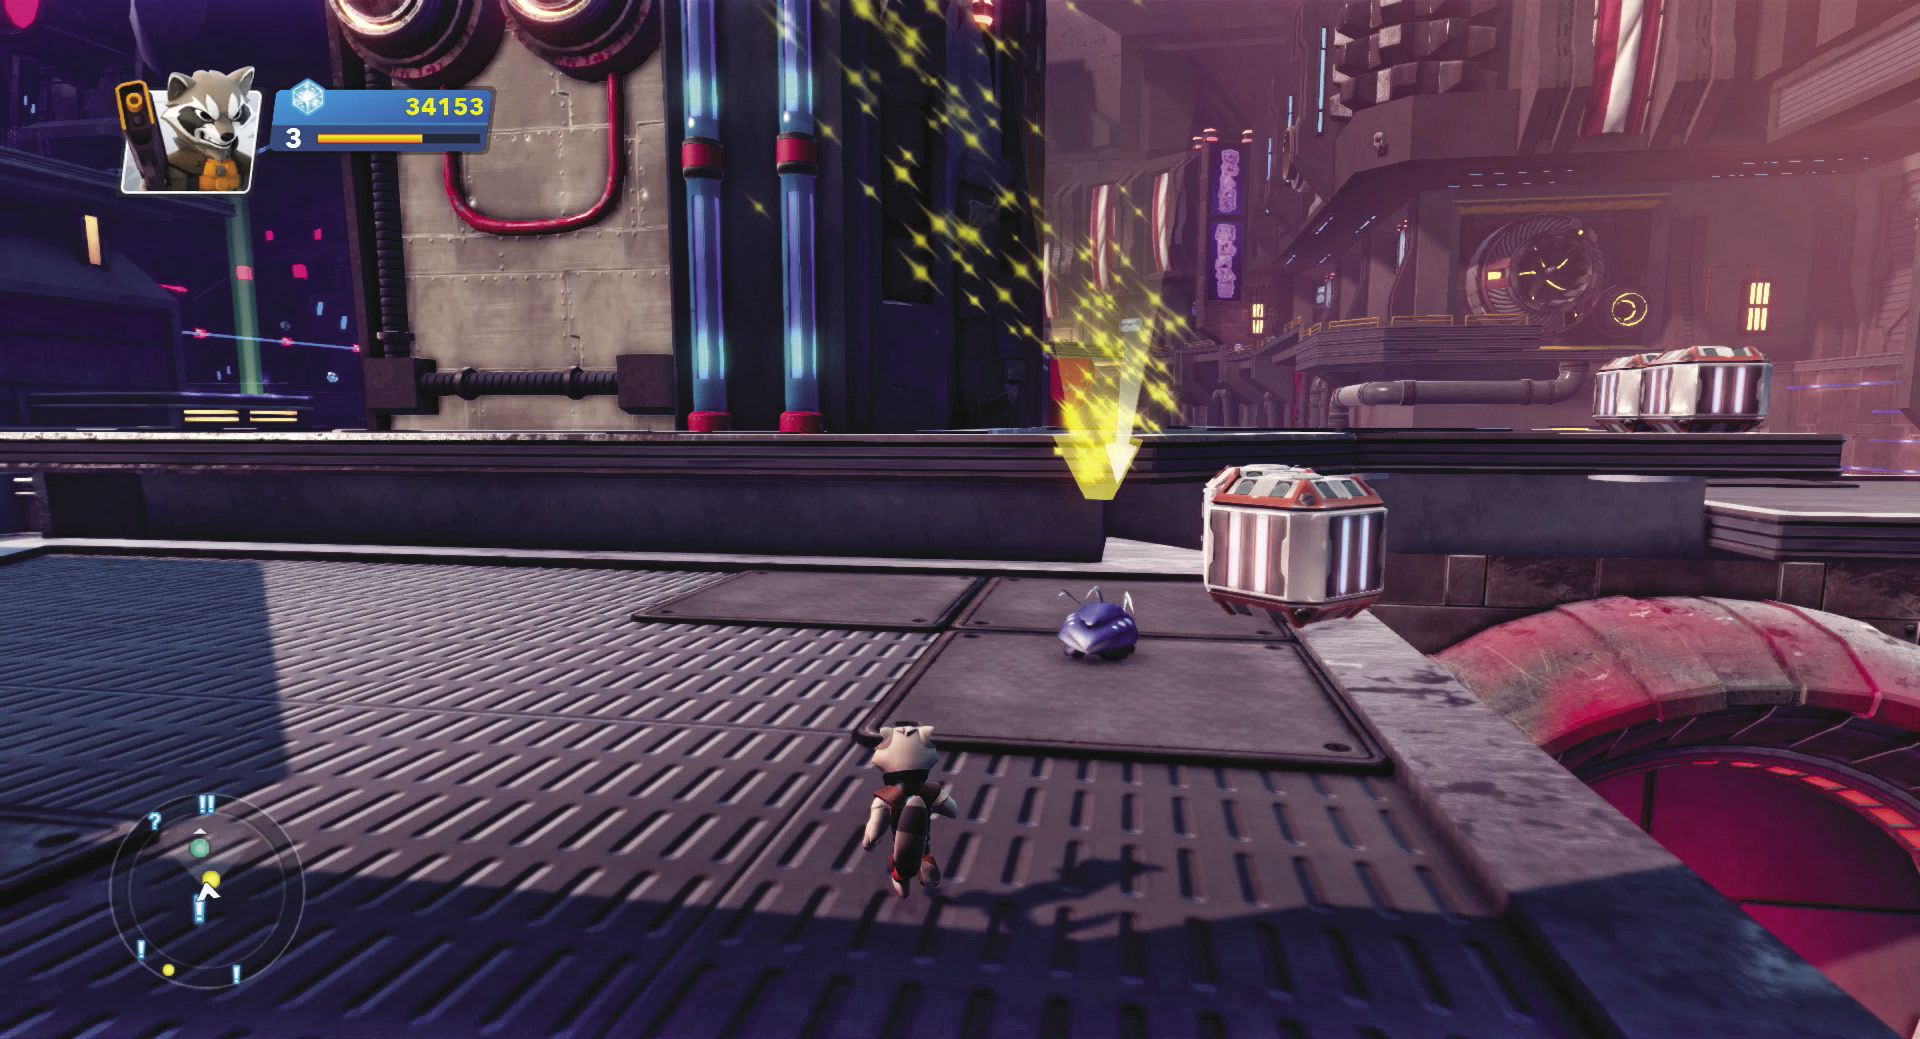
Head back into the Living Quarters and pick up the second creature. The drop-off point is the same spot in the Central Operation Tower as the first. The third creature wanders the Docking Bay. Collect it from the upper level and bring it back to the Central Operation Tower for another successful mission completion.
Rockin’ Ronan

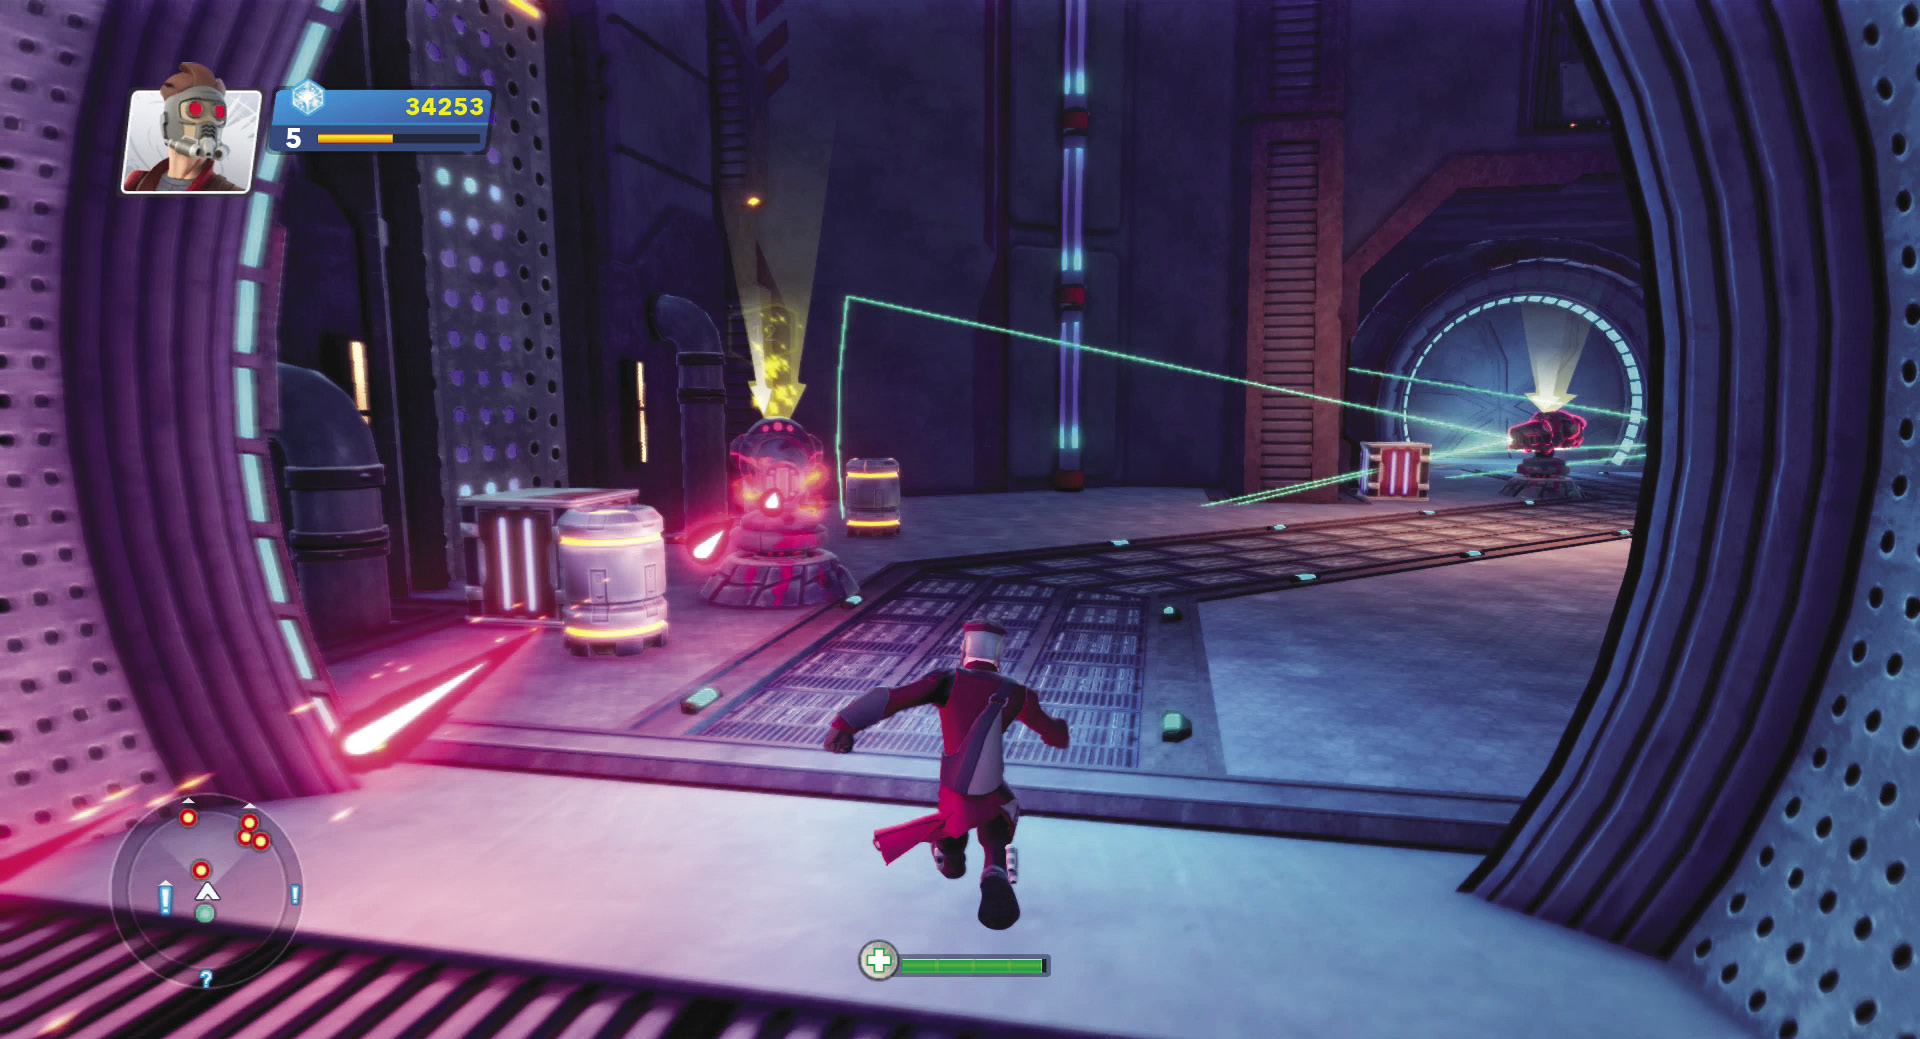
Ronan has planted more surveillance sentinels around the area, and it’s in The Collector’s best interest (and yours) if you remove them before they can spy on your every move. Drop off The Collector’s platform and head for the nearby blue access gate. Be careful, though—the first sentinel’s scan will reach out past the gate and can lock on to you before the gate even opens. Burst through the gate as it automatically opens and destroy the first sentinel on the left with your ranged blaster fire.
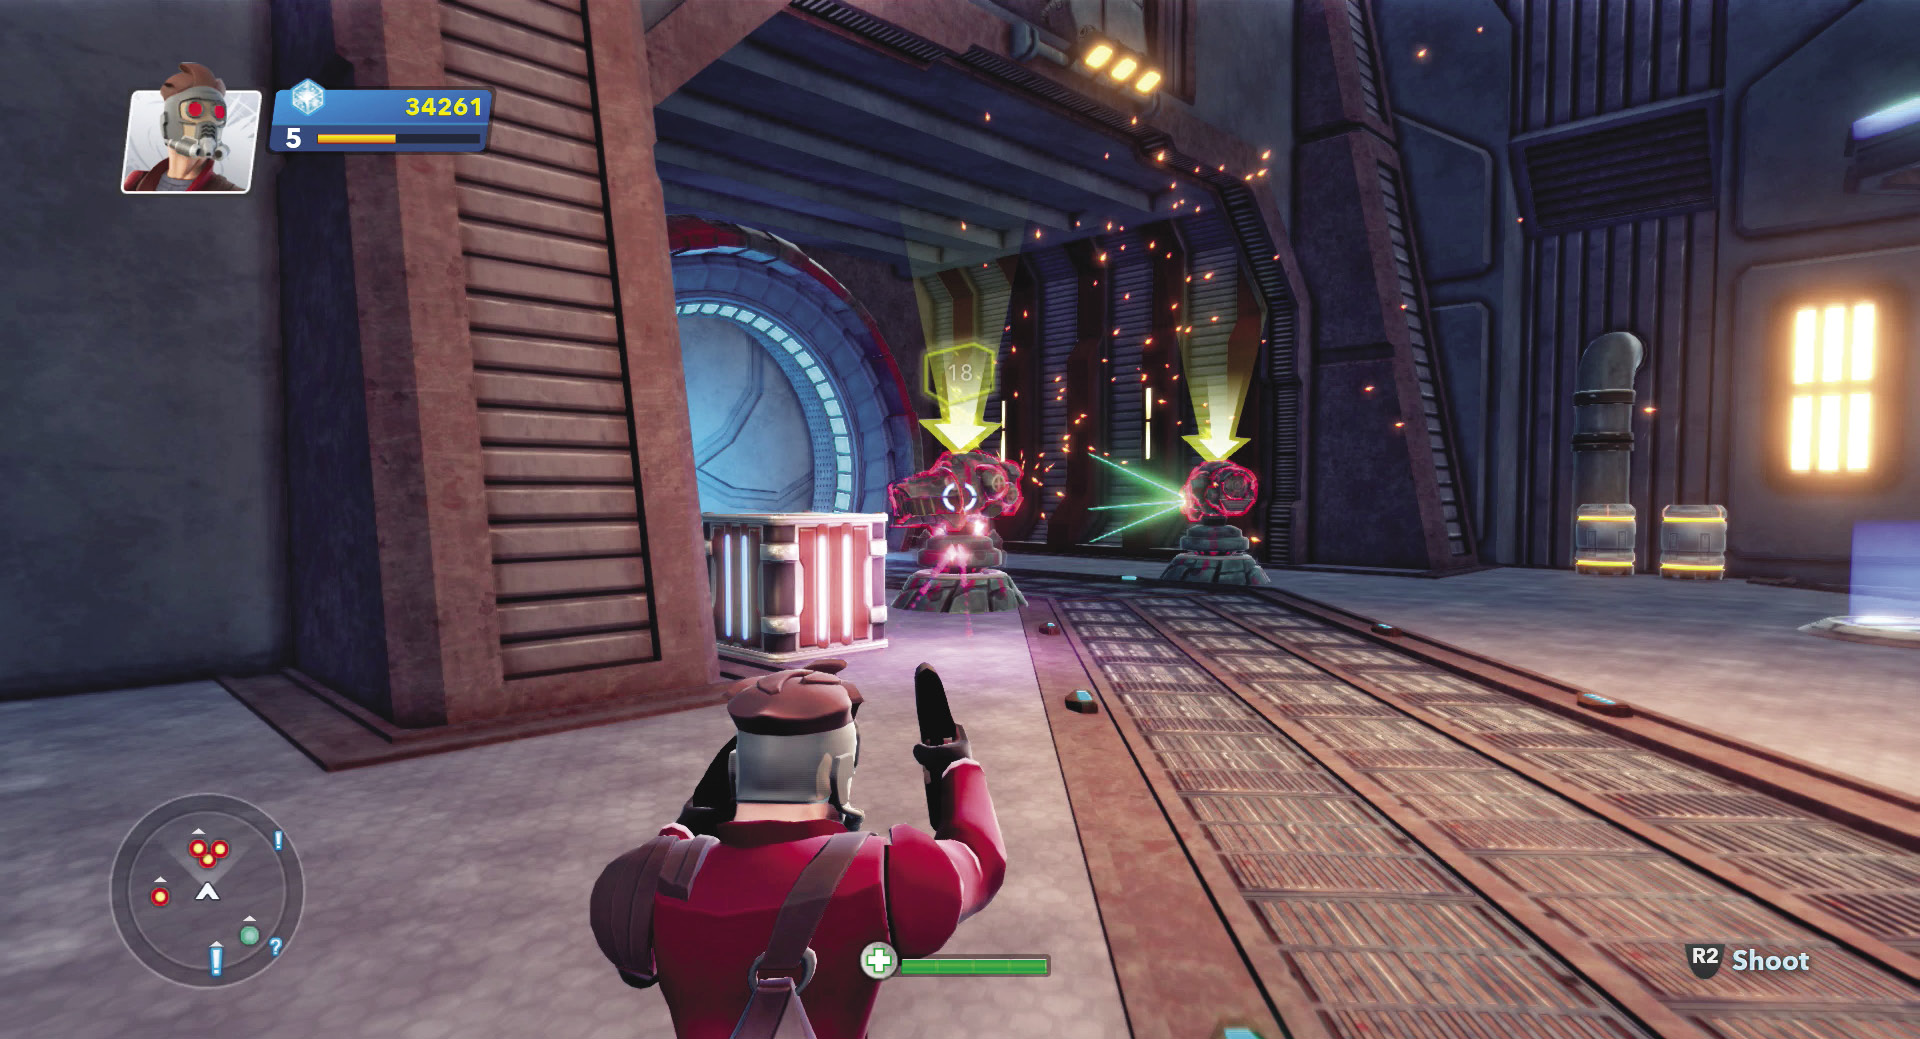
Two more sentinels guard the next access gate. Wait until their scans sweep away from you and charge for the nearest one. Open fire with your pistols and destroy one sentinel after the other.
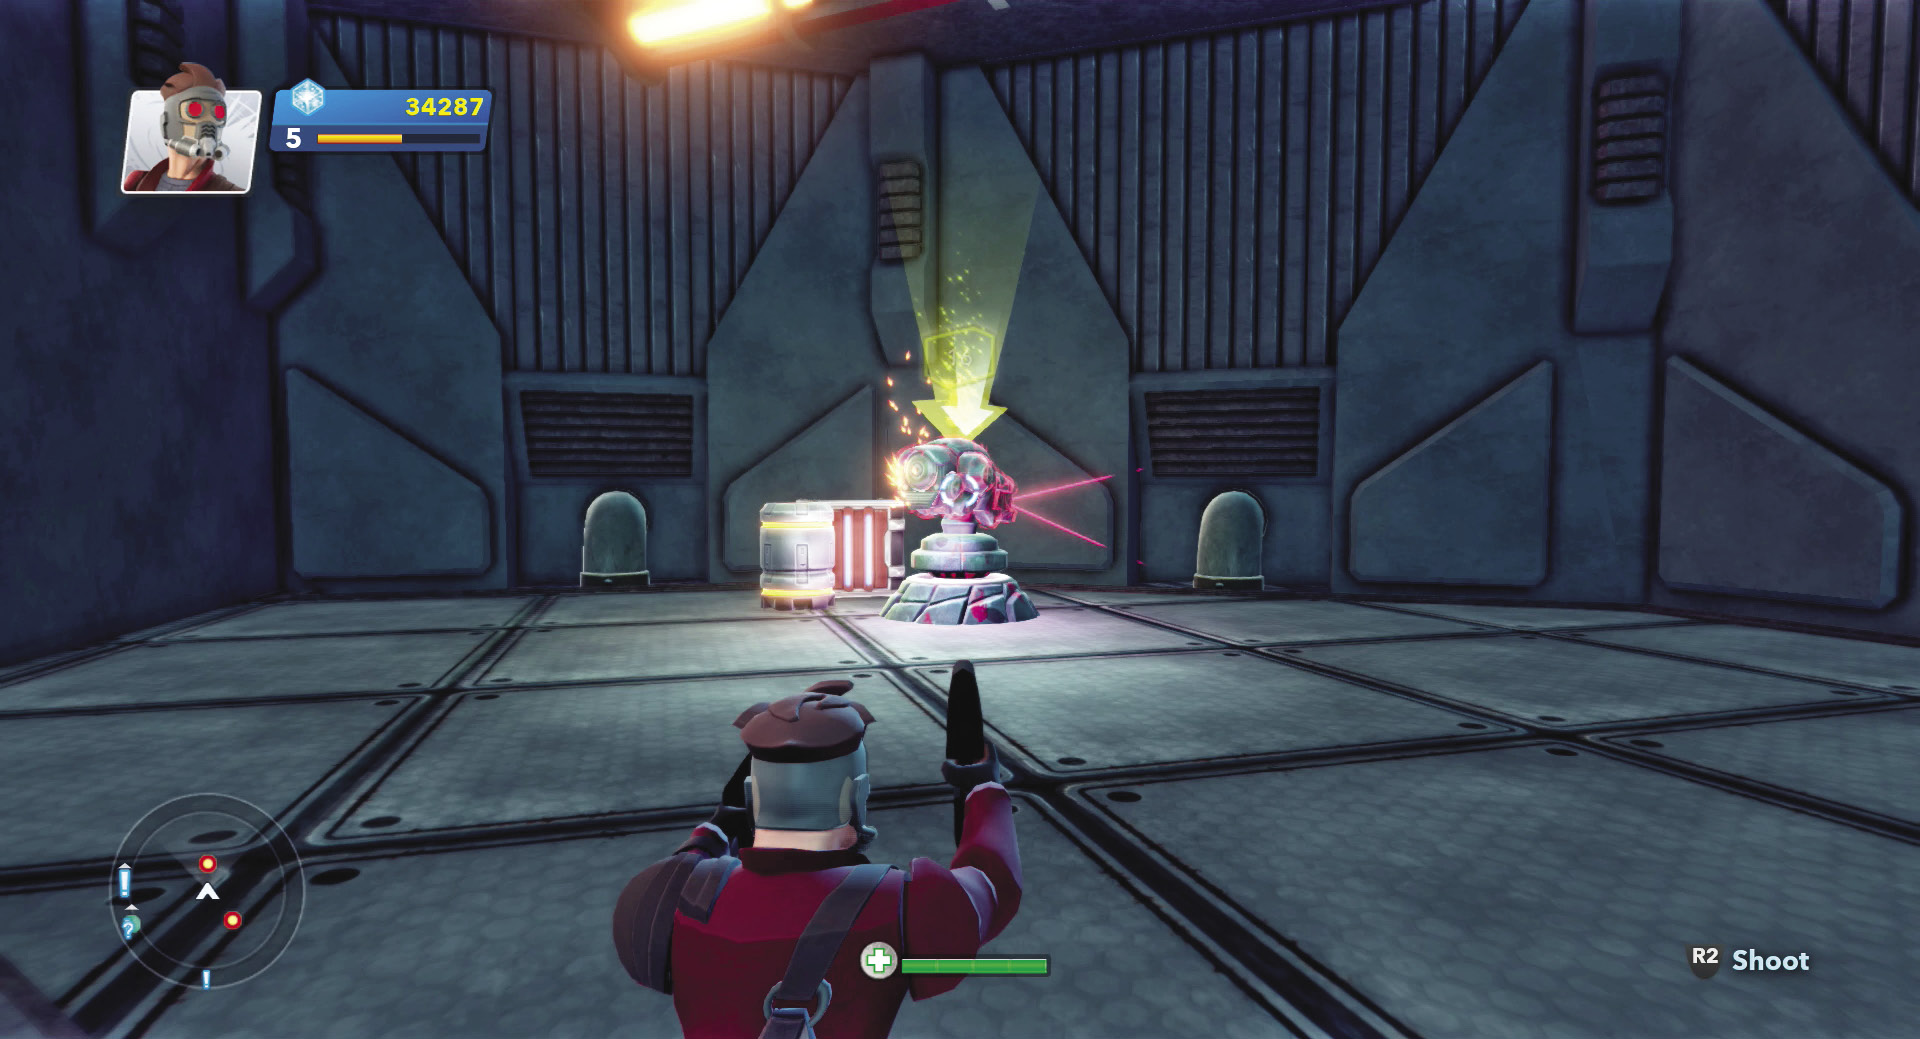
Don’t go through the access gate; the final two sentinels are on the ledge above you. Look for the blue poles to your left. Climb up one of the poles and immediately blast away at the closest sentinel after you pull yourself up on the ledge. Once the fourth sentinel is down, turn toward the fifth sentinel, wait for its scan to rotate away from you, and cross the ledge to destroy it. Ronan’s “eyes” on you go dead and The Collector rewards you with some blue Sparks at mission’s end.
What’s Yours is Mine’s

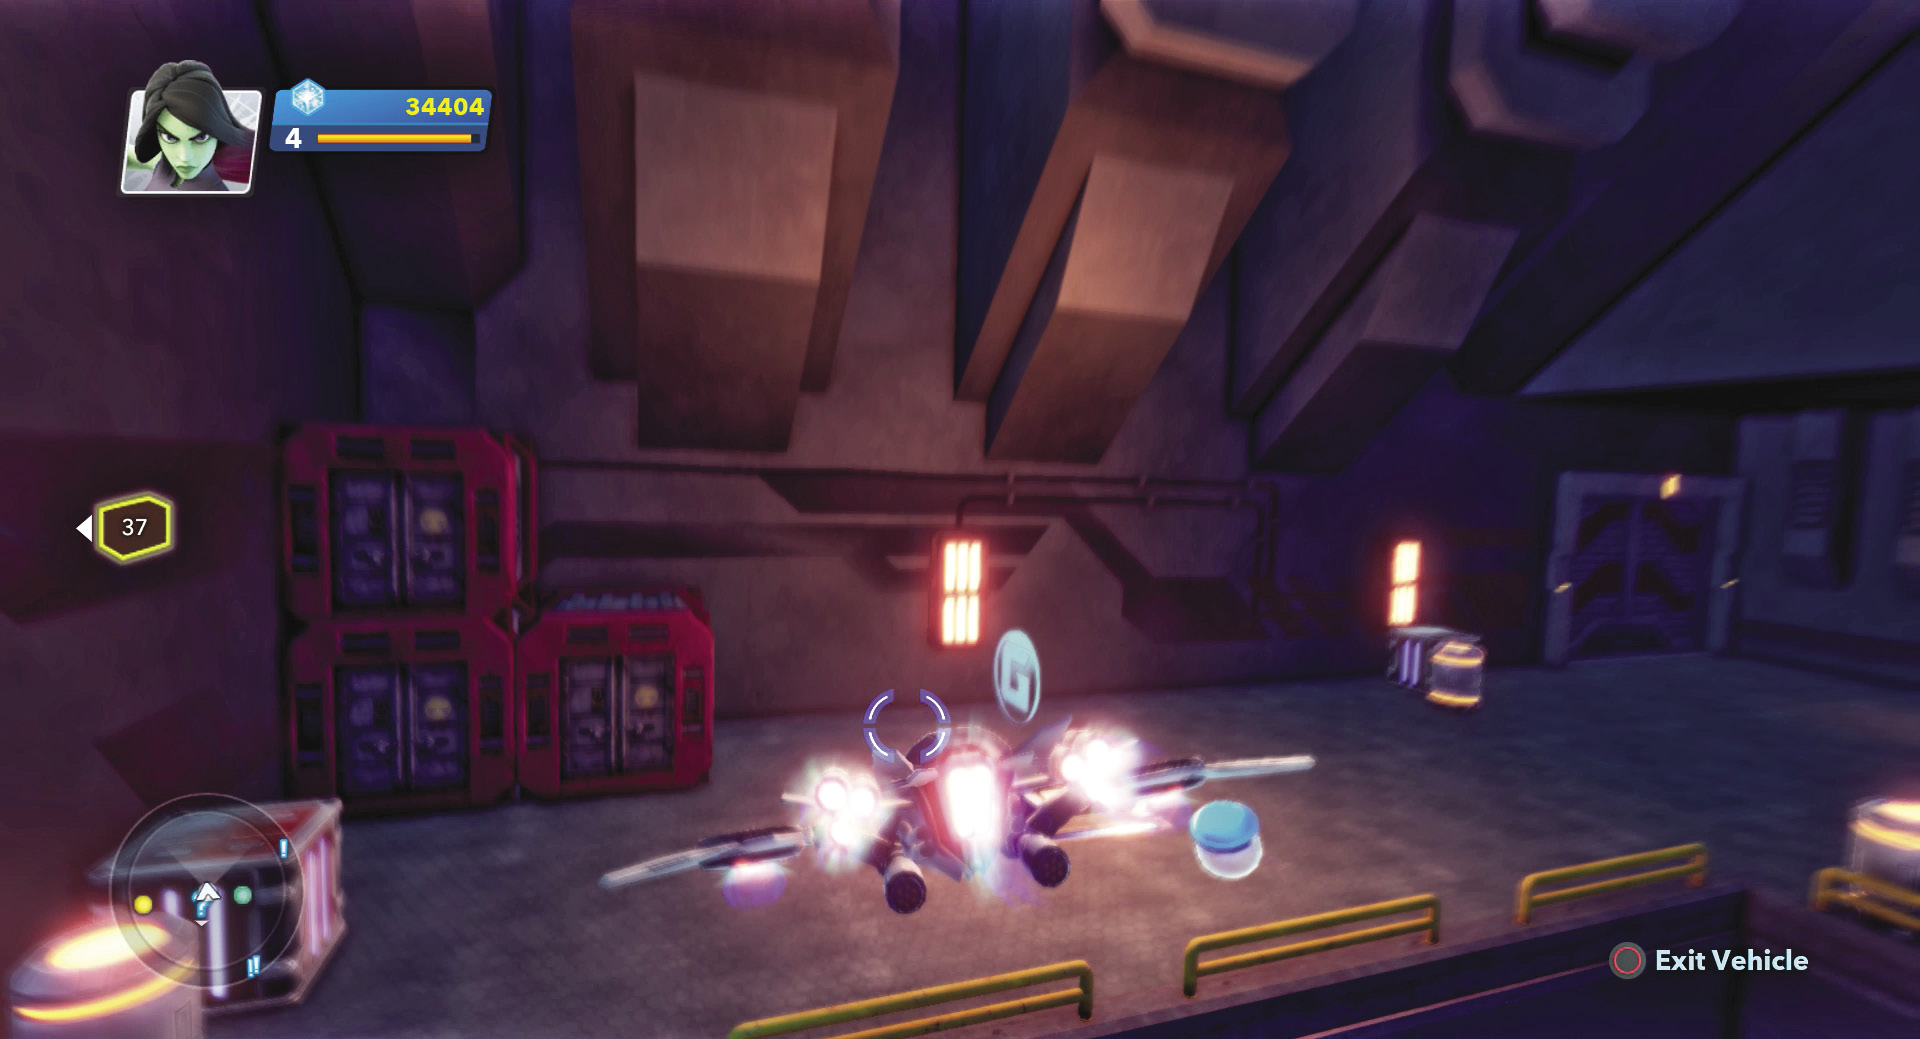
Jump in a Starblaster and fly up to the ledge in the corner where The Collector offers you this mission. Make sure your Starblaster lands on the ledge with you, and after you accept the mission, jump back in the Starblaster and hover up to the ledge above. Now you have an easier route to recovering a rare item for The Collector.
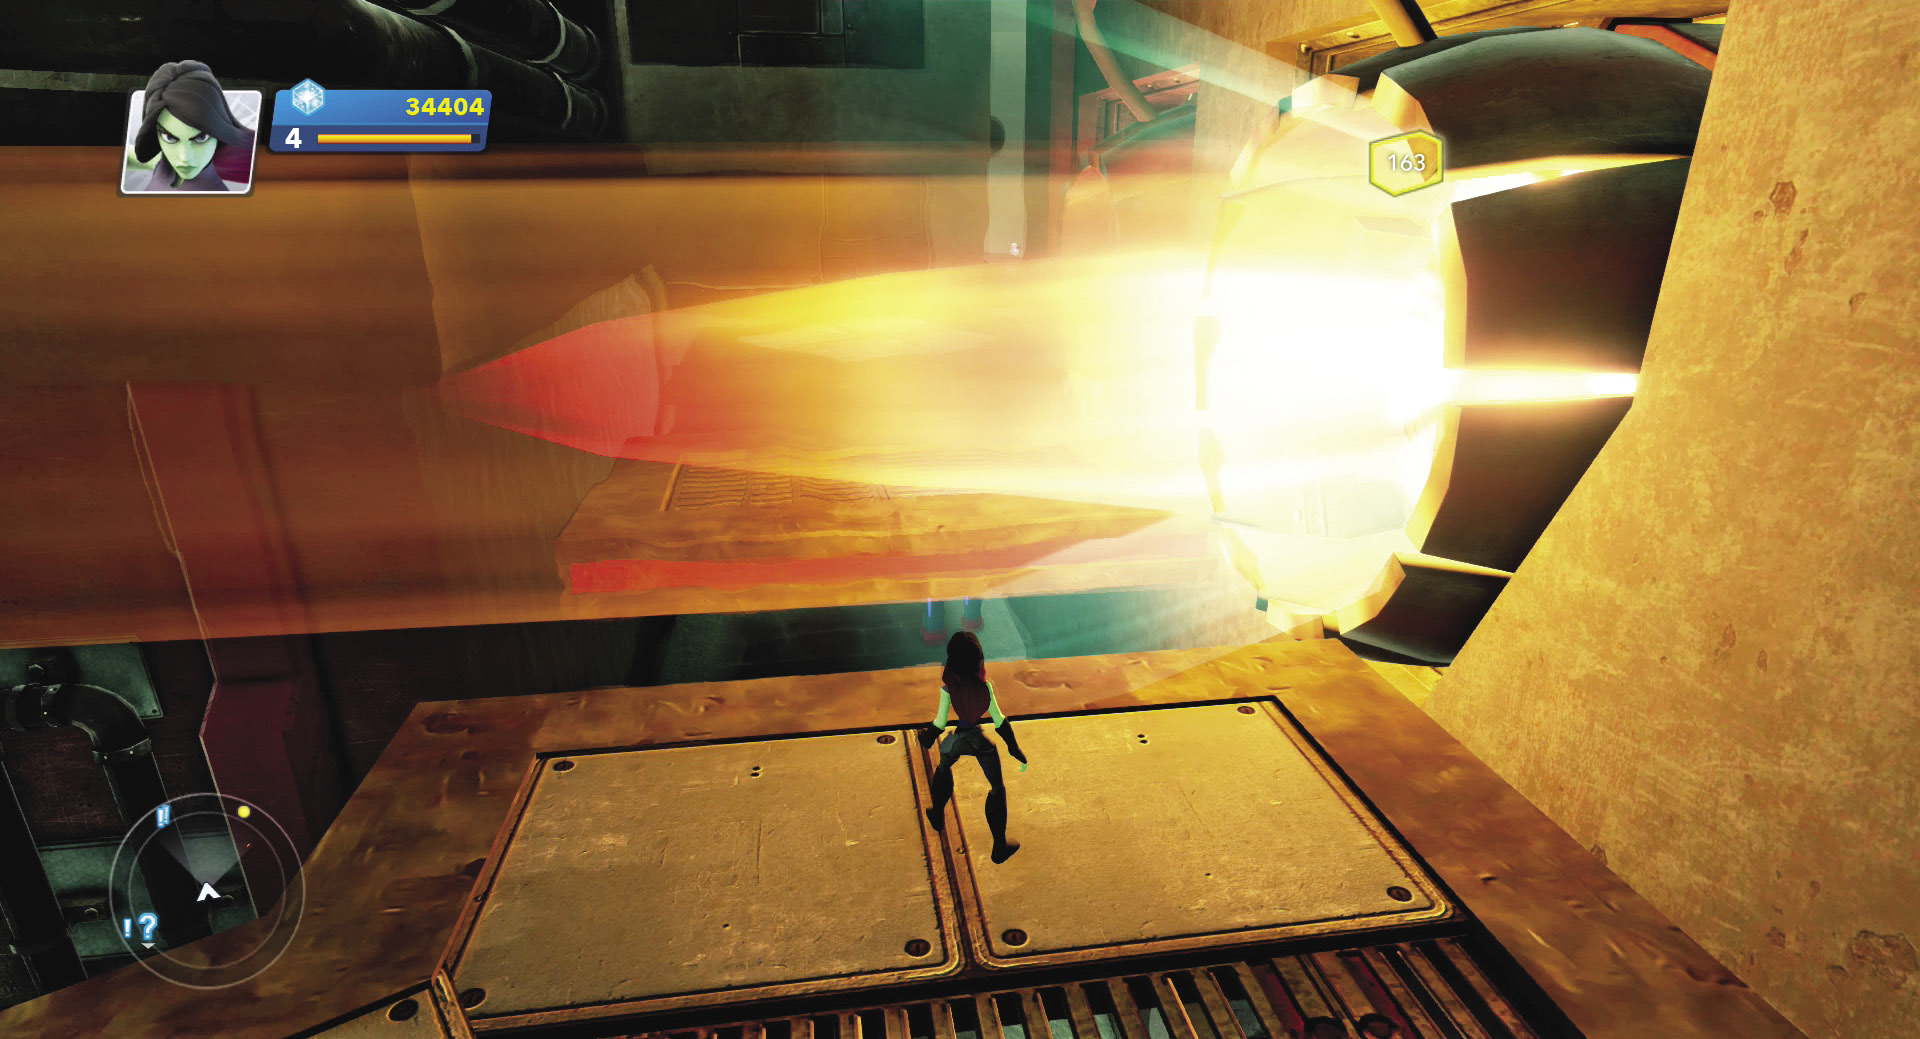
Go through the nearby doors and turn left. Follow the corridor to a sealed gate. Open the gate to enter the Mining Zone and drop down to a series of platforms stretching under two big incinerators. Time your jumps to pass by the incinerators when the exhaust flames aren’t blasting out.
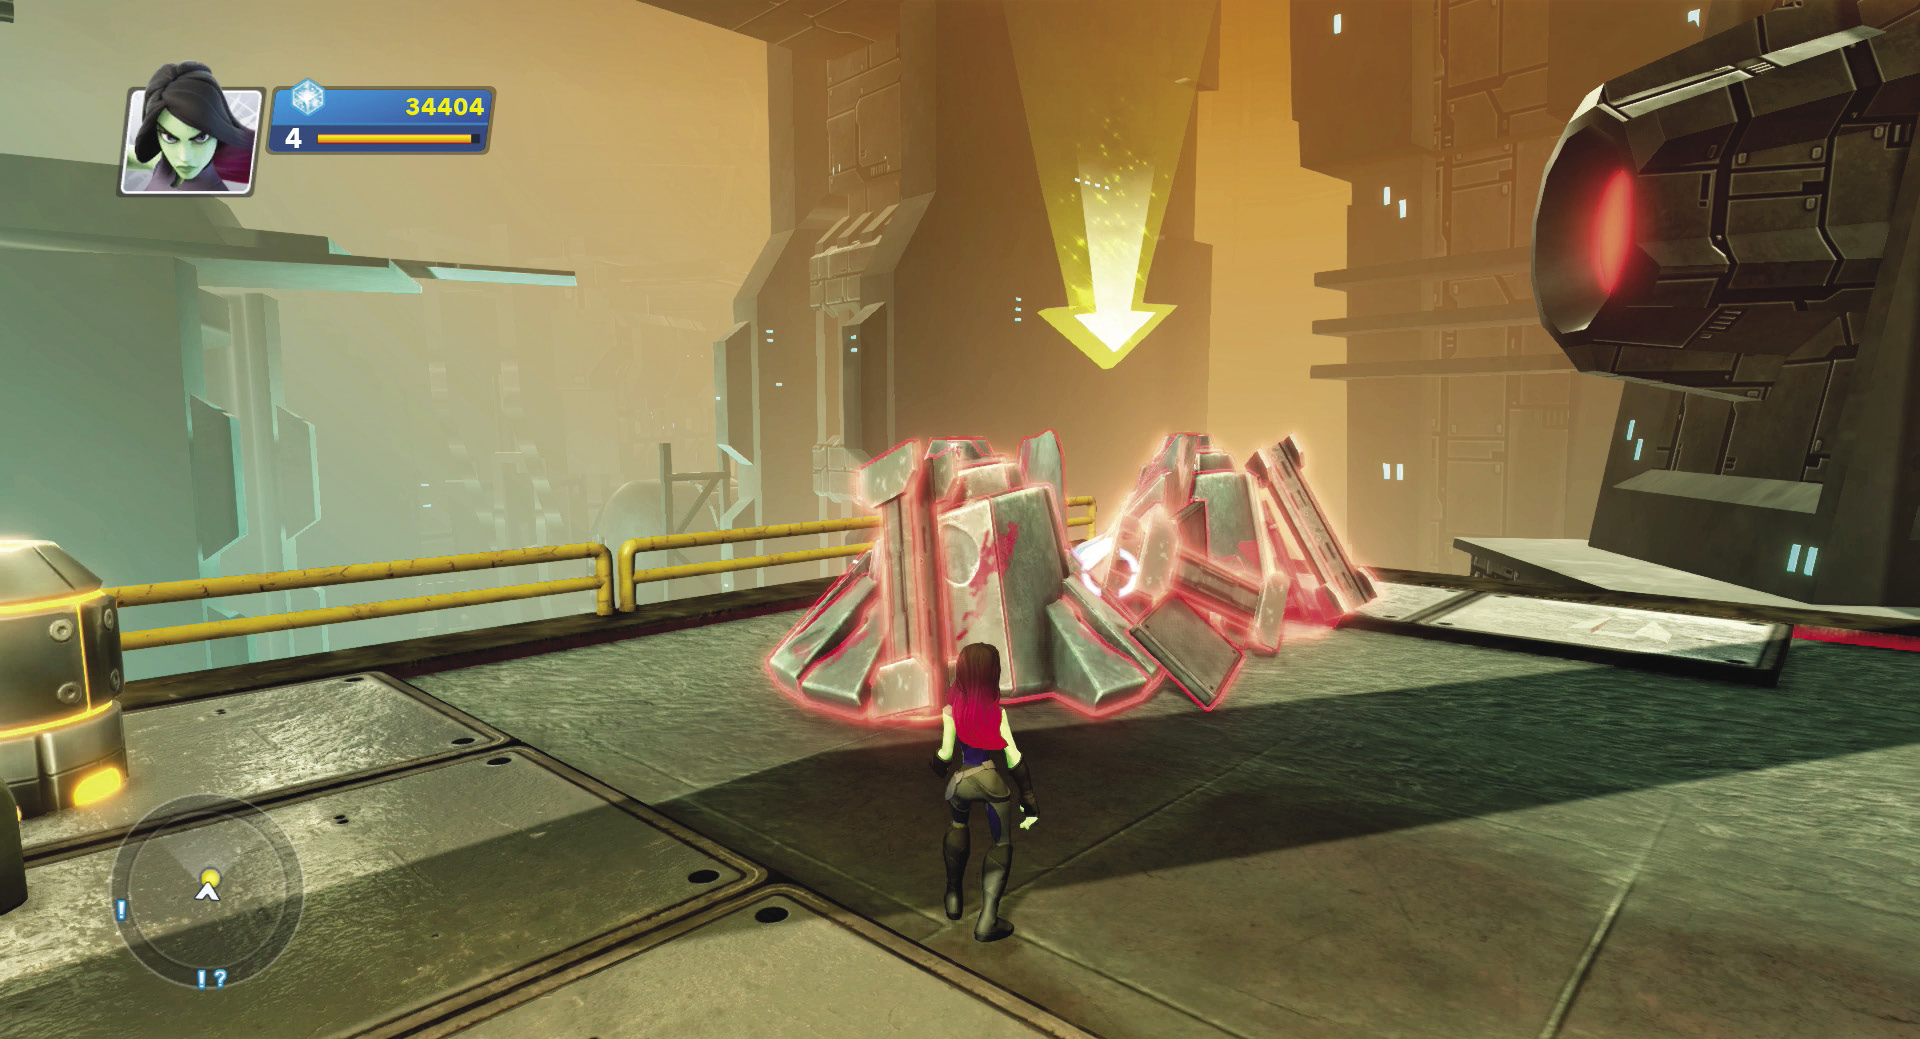
Pick up the fuel cell in the dispenser after the second incinerator. Ride the horizontal rail by the third incinerator and then use the two rising-and-falling circular platforms to reach the larger square platform. Cross that platform and double-jump to a second platform where a pile of debris in the corner hides The Collector’s item. Toss the fuel cell at the debris to destroy it and The Collector gets his rare item and you complete another side mission!
Free Your Mine

Recommended Hero: Drax
- Mission Giver: The Collector
- Type: Delivery
- Rewards: 250 Blue Sparks, Flying Sakaaran
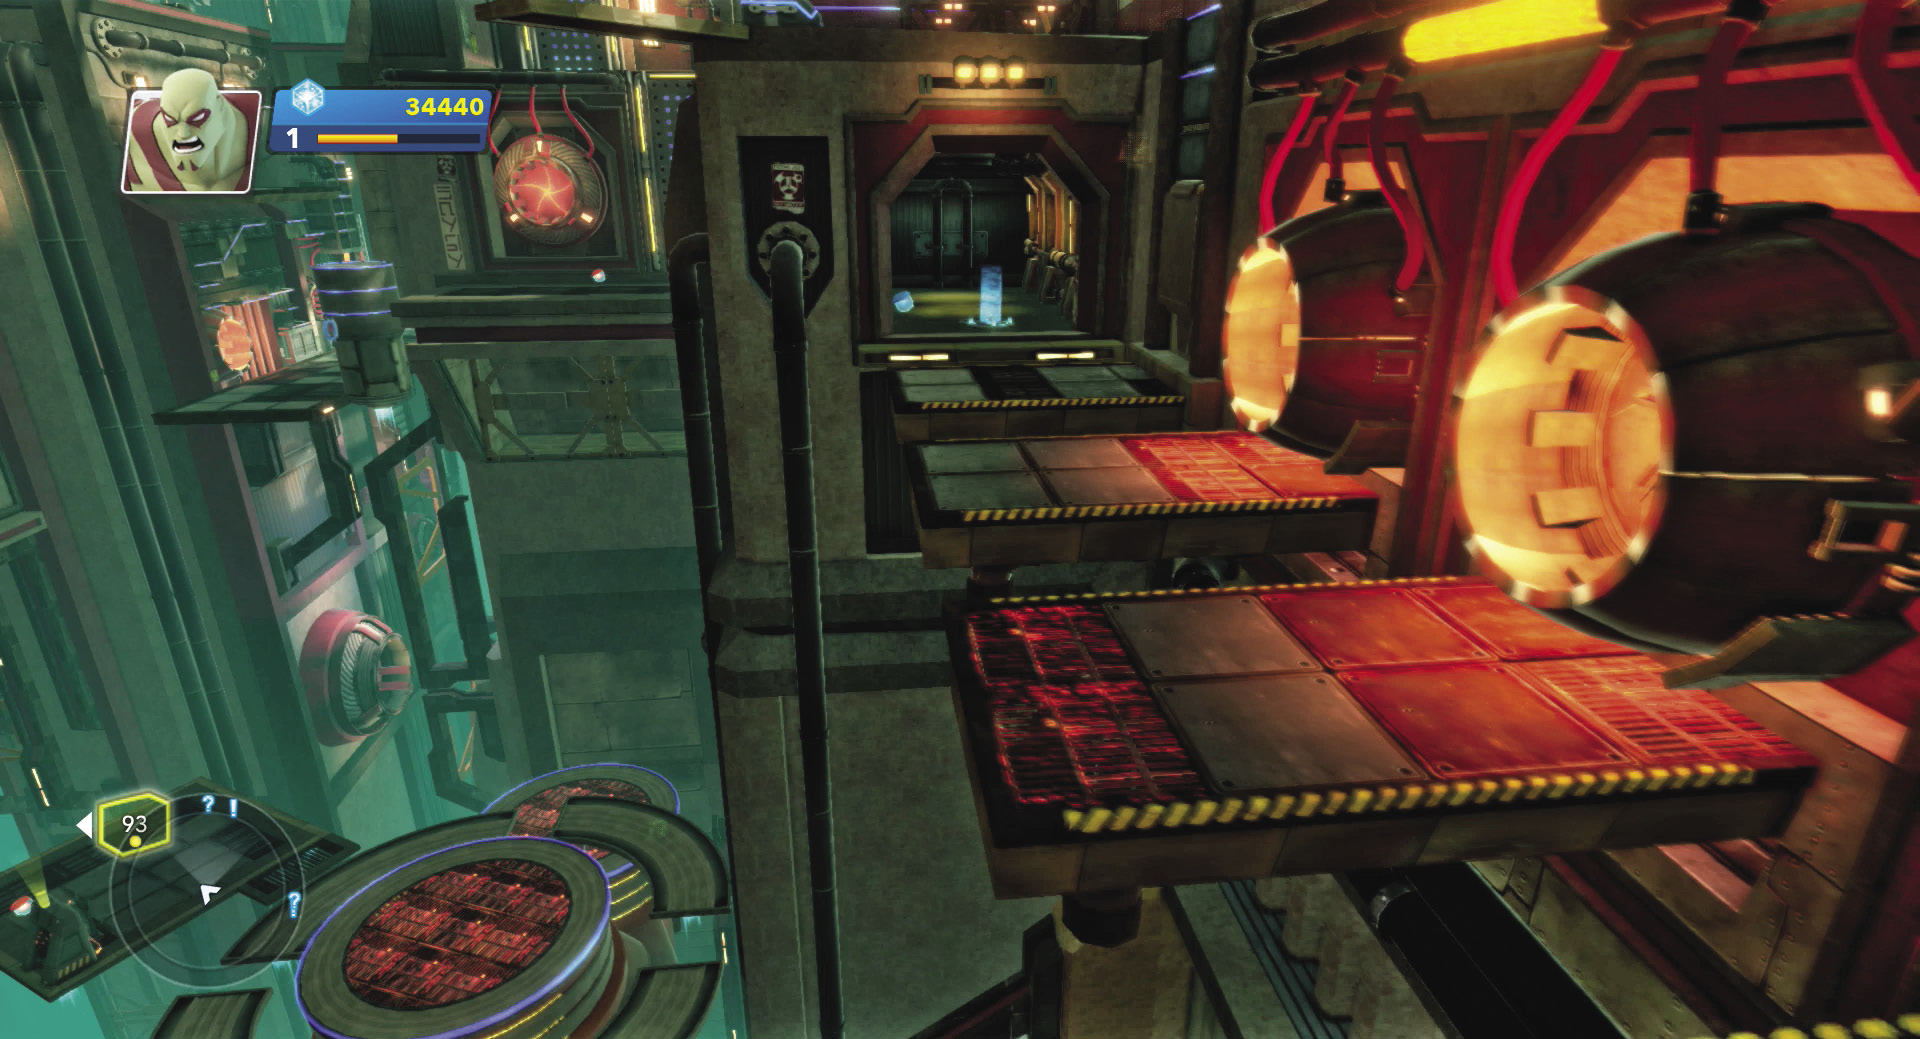
The power grid is offline in the mines, and since The Collector uses the mine for a smuggling route, he wants the grid back online. Sign up Drax to go hunt down a fuel cell and shove it in the mine’s main socket. First, drop down off The Collector’s platform and enter the Mining Zone access gate. As you did earlier, climb across the blue rails on the right wall and open the gate to the main section of the Mining Zone.
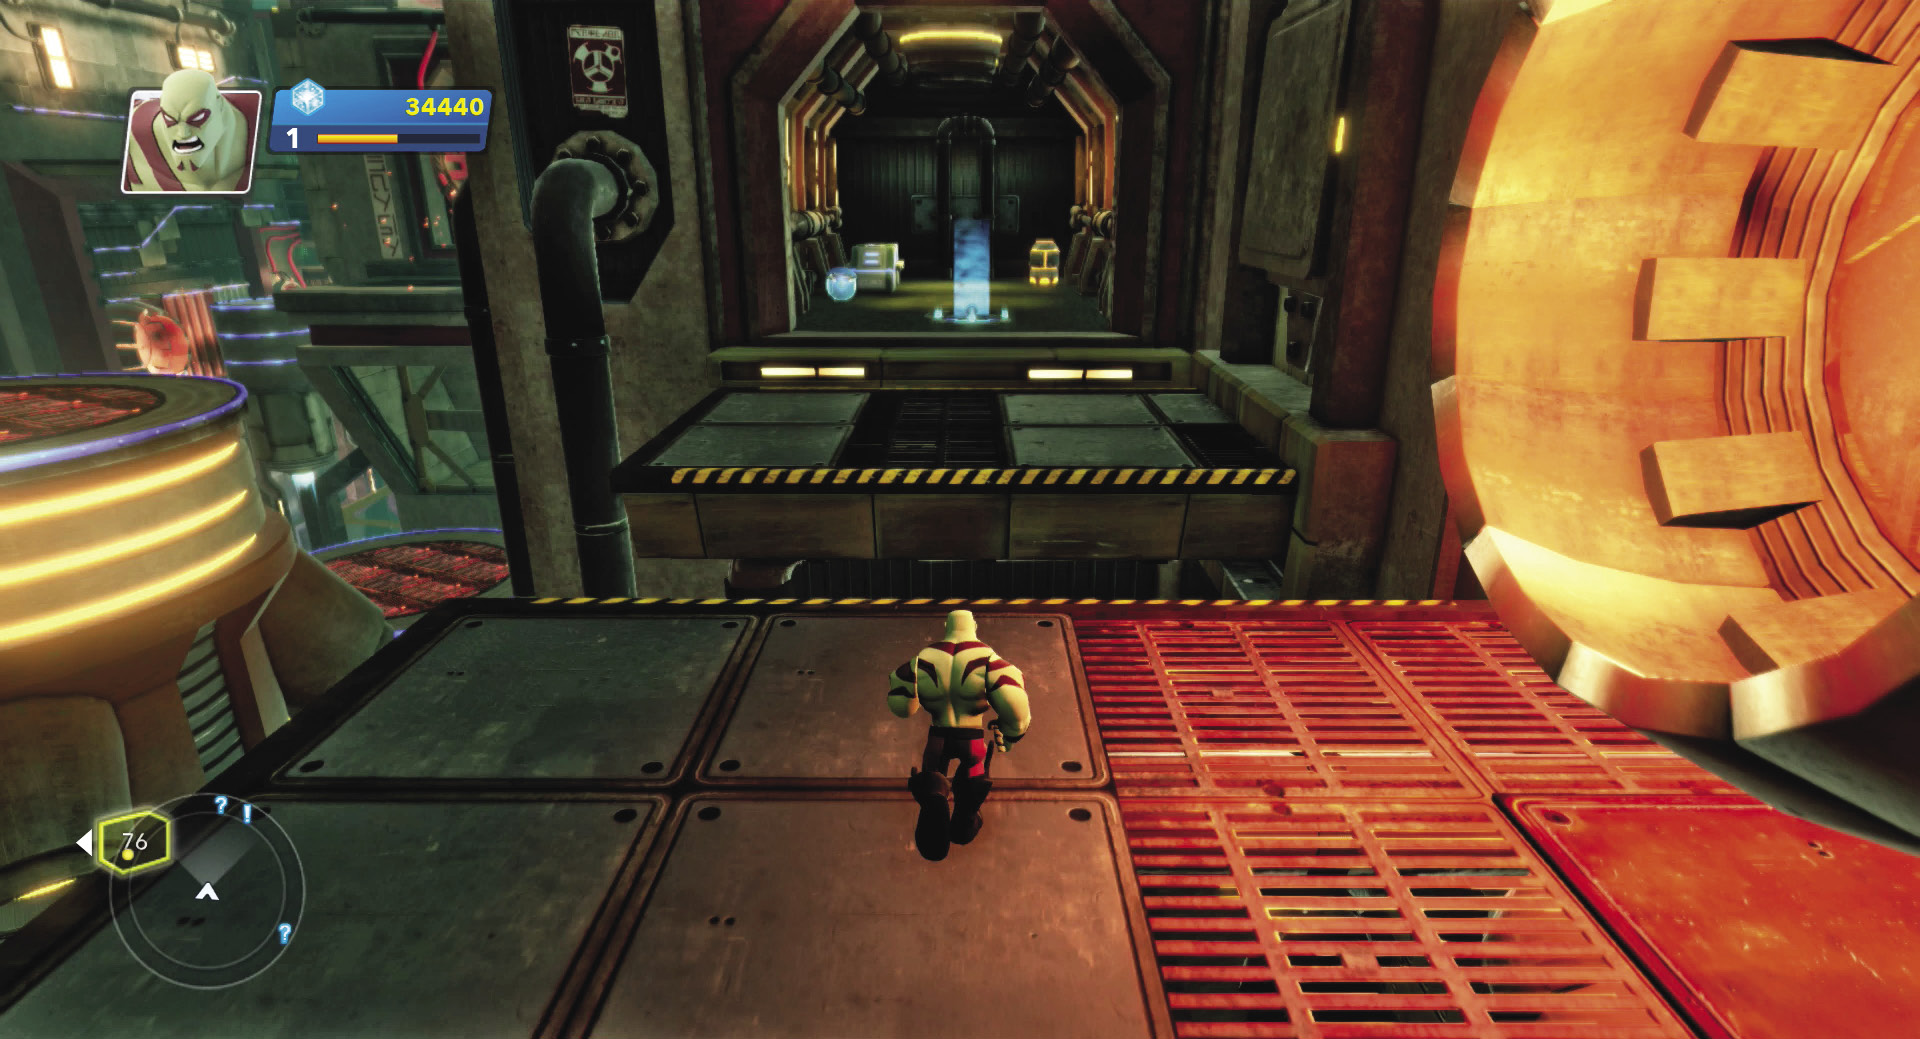
Use the platforms that lead under the incinerators and cross them without getting burned to reach the alcove with the fuel cell dispenser. Pick up the fuel cell and retrace your steps back to the main platforms.
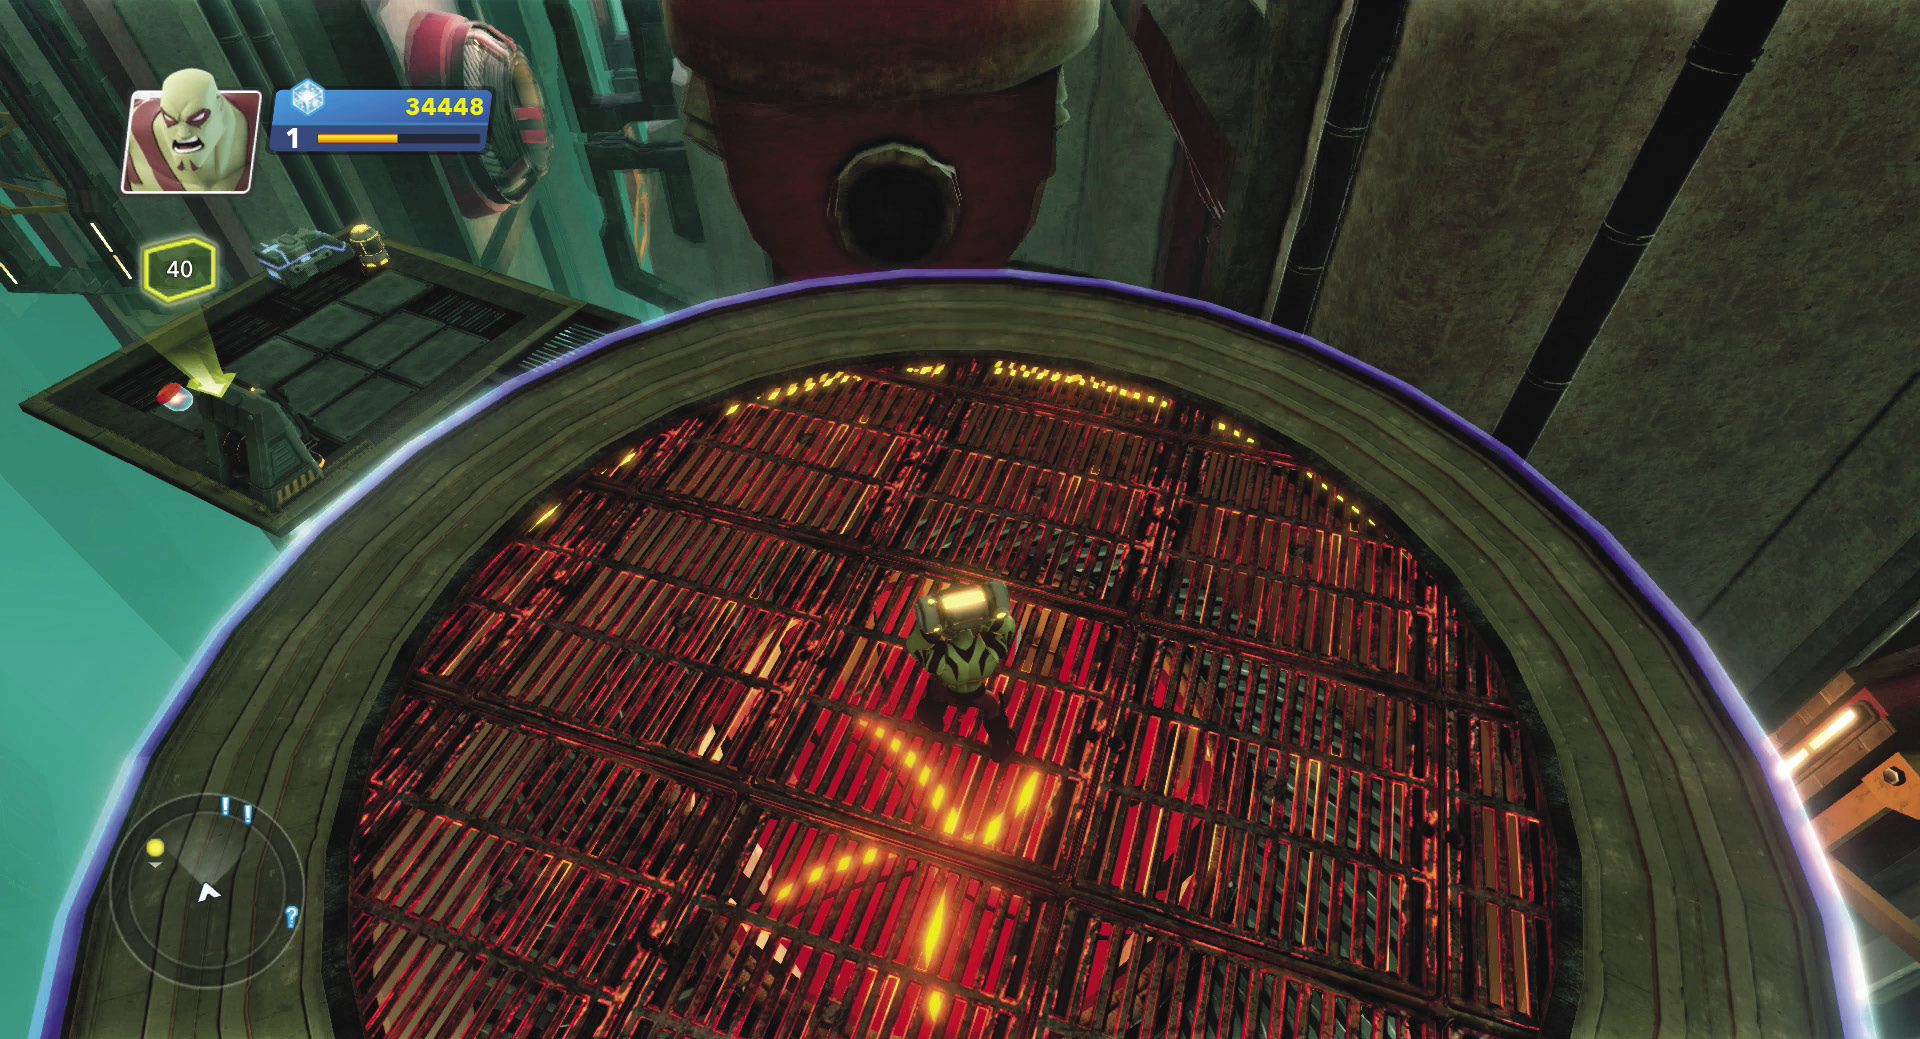
Follow the yellow objective marker down to the socket. Use the three large circular rising-and-falling platforms to eventually get down to the lower catwalk with the socket. It’s also possible to jump off the second circular platform and land directly on the socket catwalk if you’re careful. Plug in the fuel cell to the socket, and, just like that, The Collector’s smuggling operation is back on and you’re a little bit wealthier.
Pest Behavior
Cosmo’s Control Room
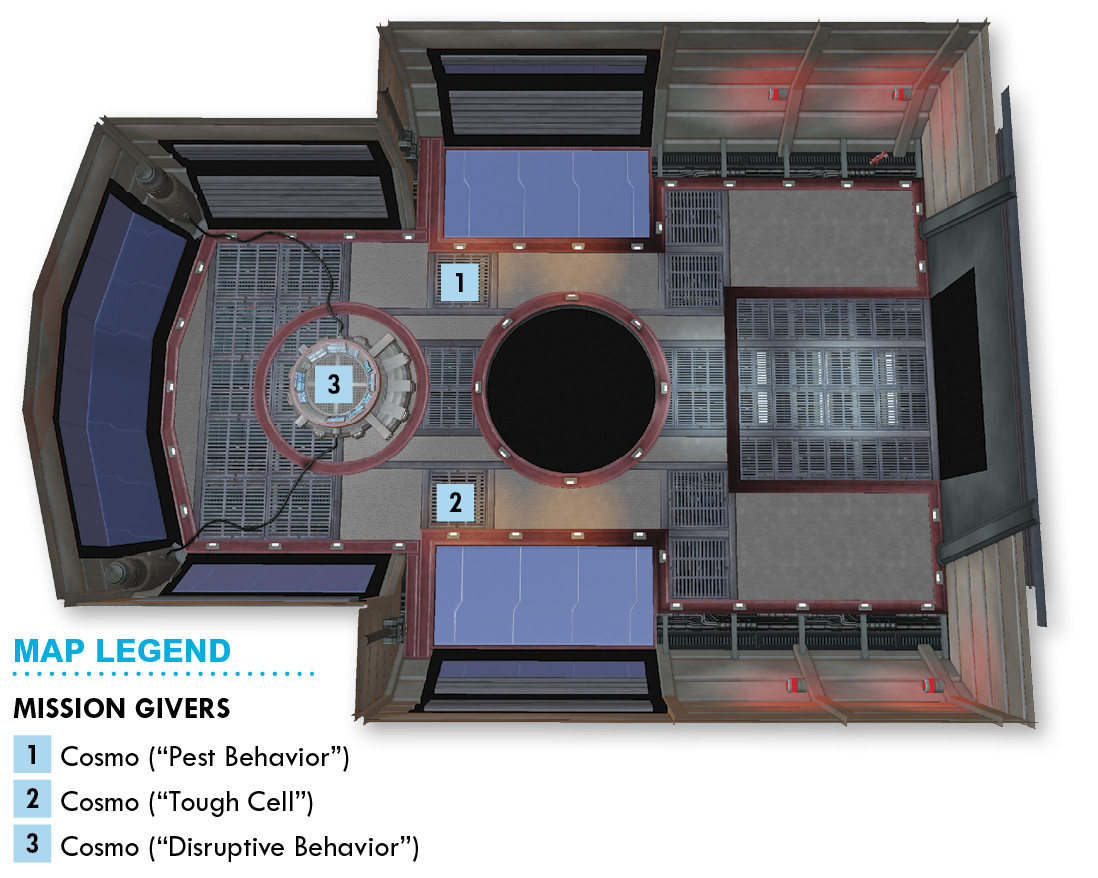

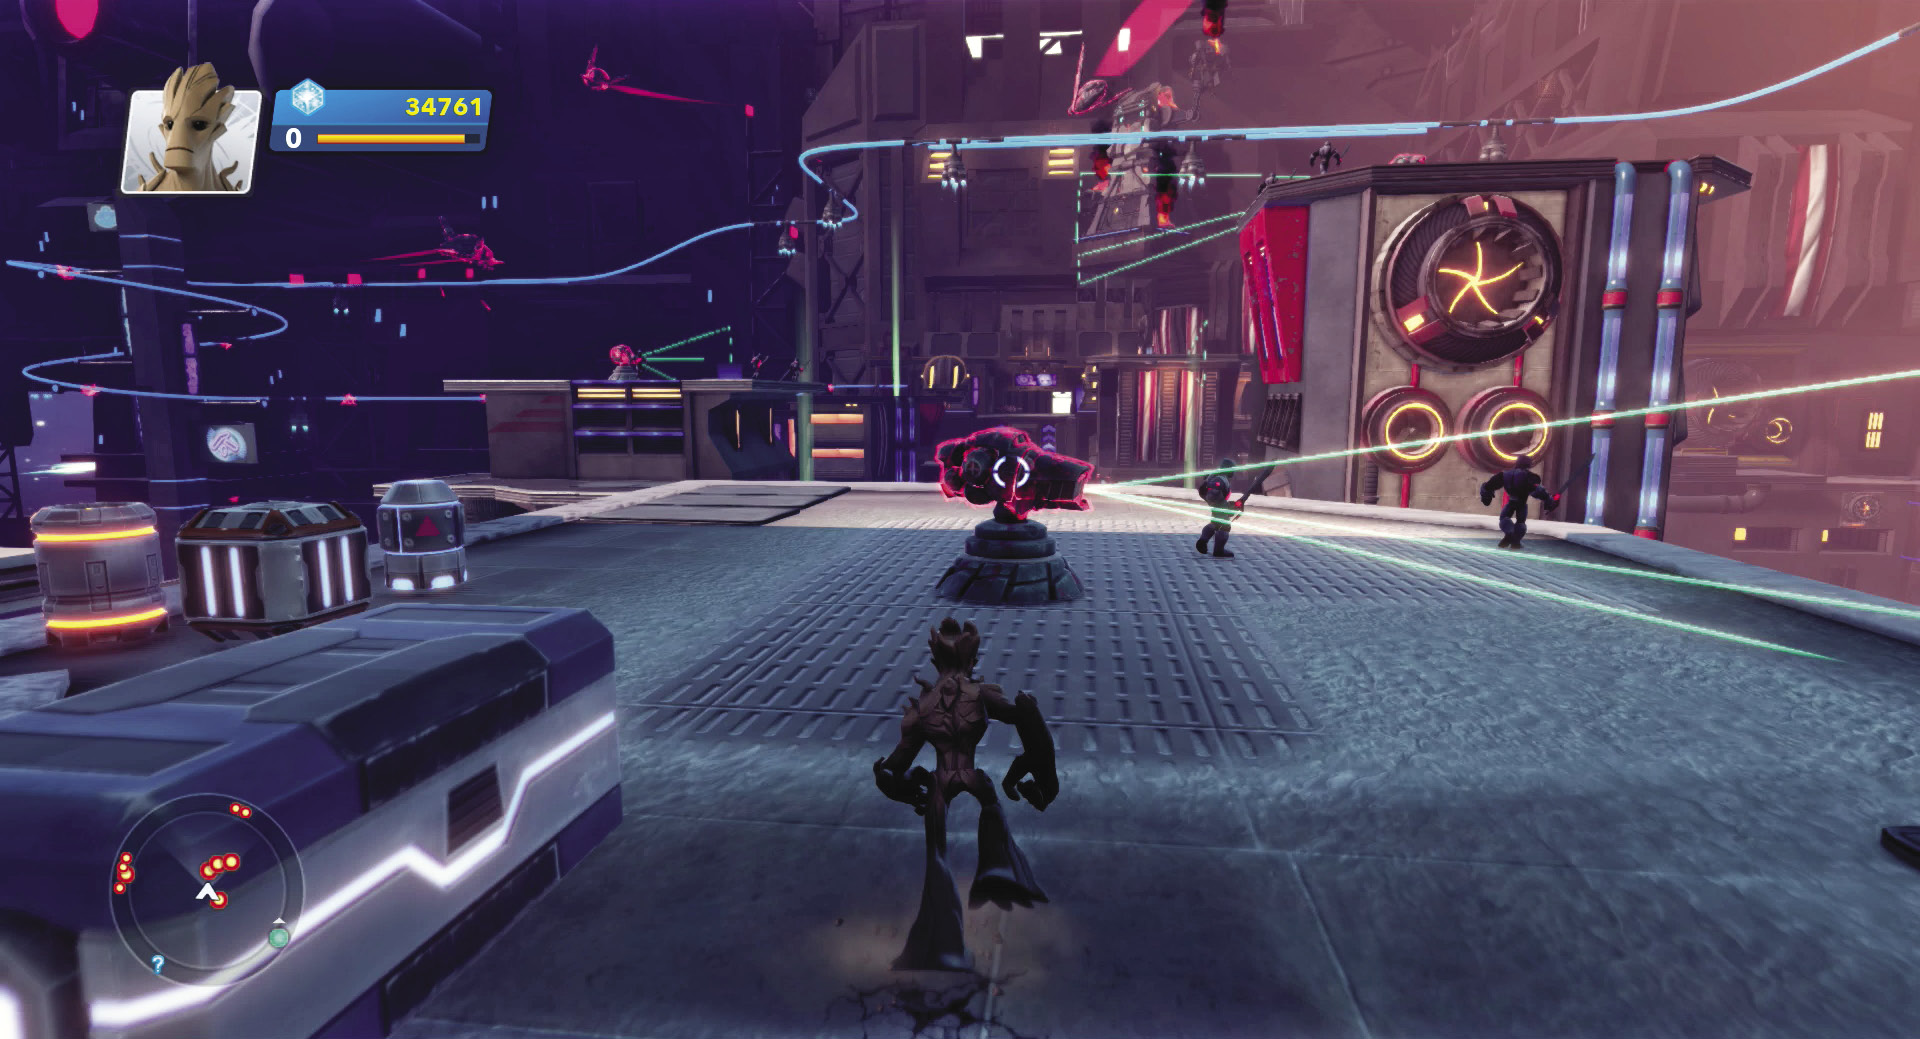
Cosmo warns you that Sakaarans have invaded the Living Quarters again in force. You can spot the first group through the window next to Cosmo. Enter the Living Quarters and climb to this first platform. When you reach the top, sprint for the omni-blaster turret in the middle and remove that first. Go after the Sakaarans next, either pulverizing them with your huge wooden fists or sweeping them over the edge.
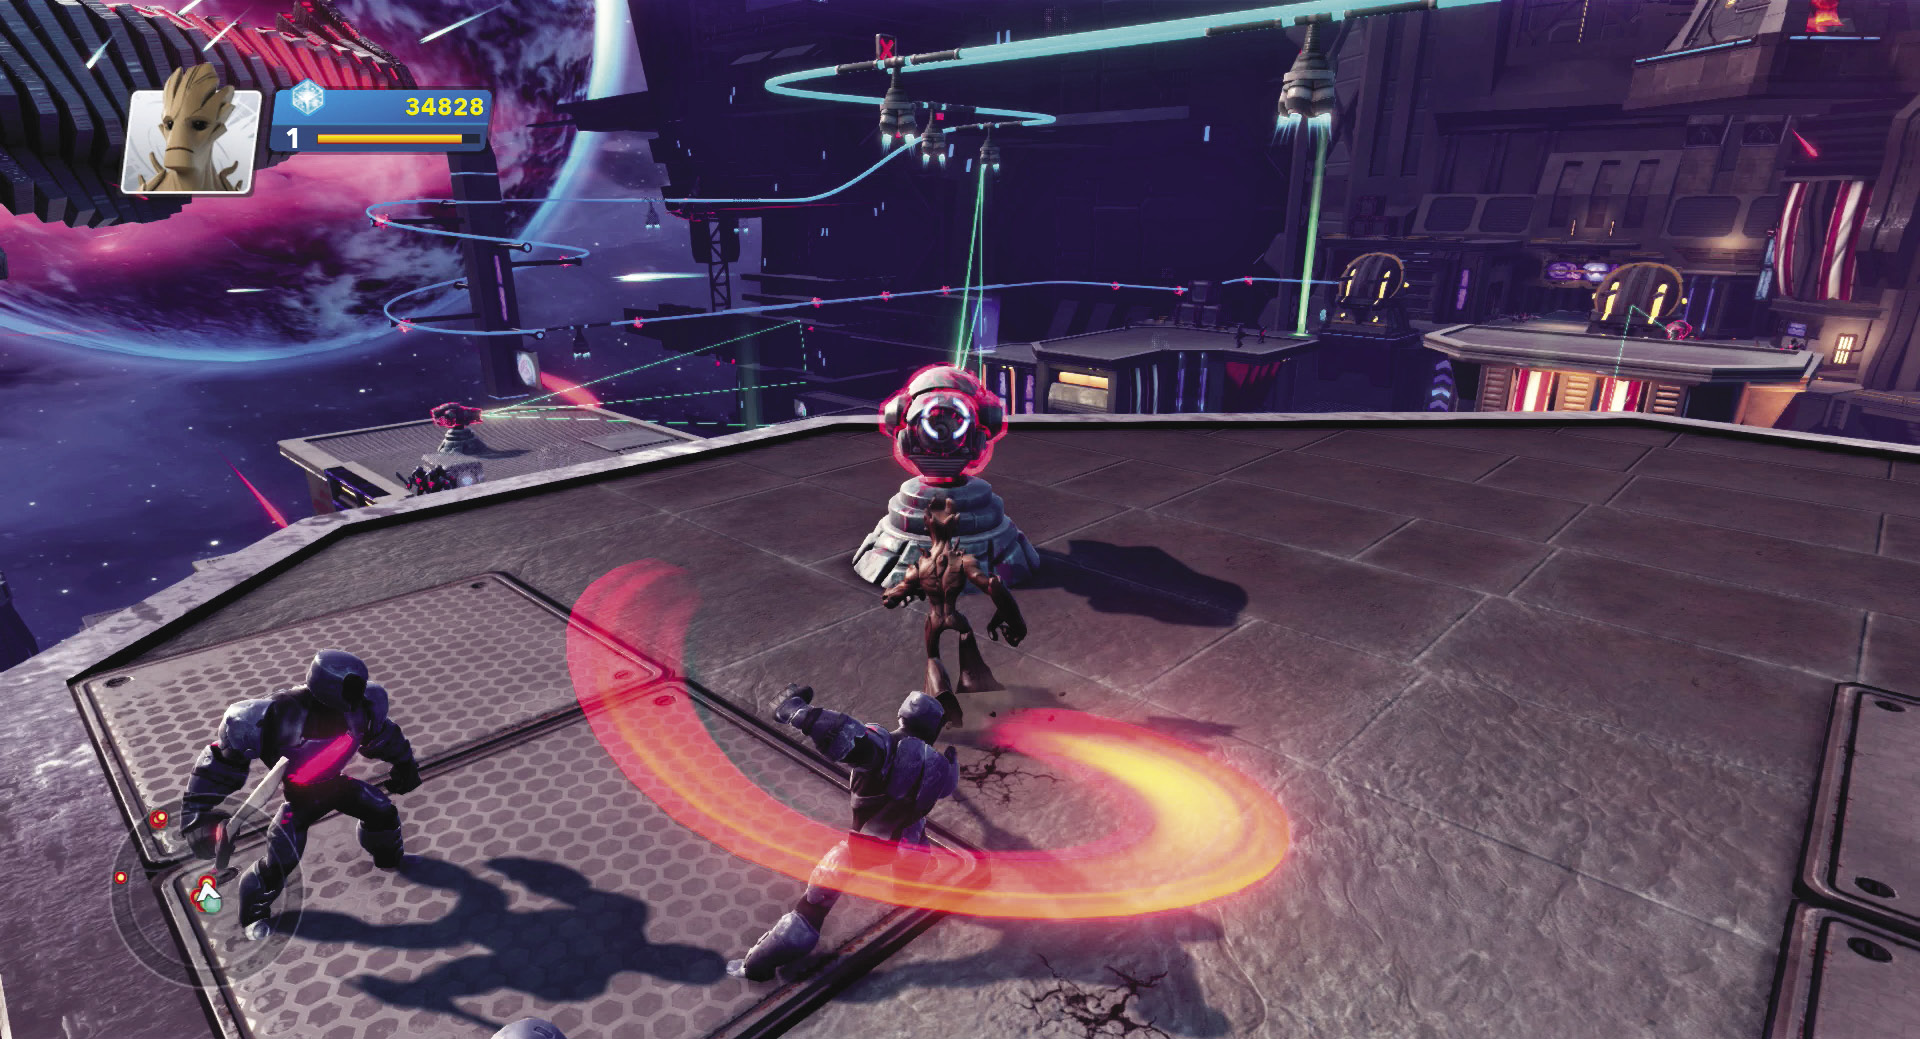
Continue around the Living Quarters following the objective markers to each Sakaaran group. With each encounter, attack the omni-blaster turret so it doesn’t gun you down and then out-flank the other Sakaarans as you bash them with your bruising melee attacks.
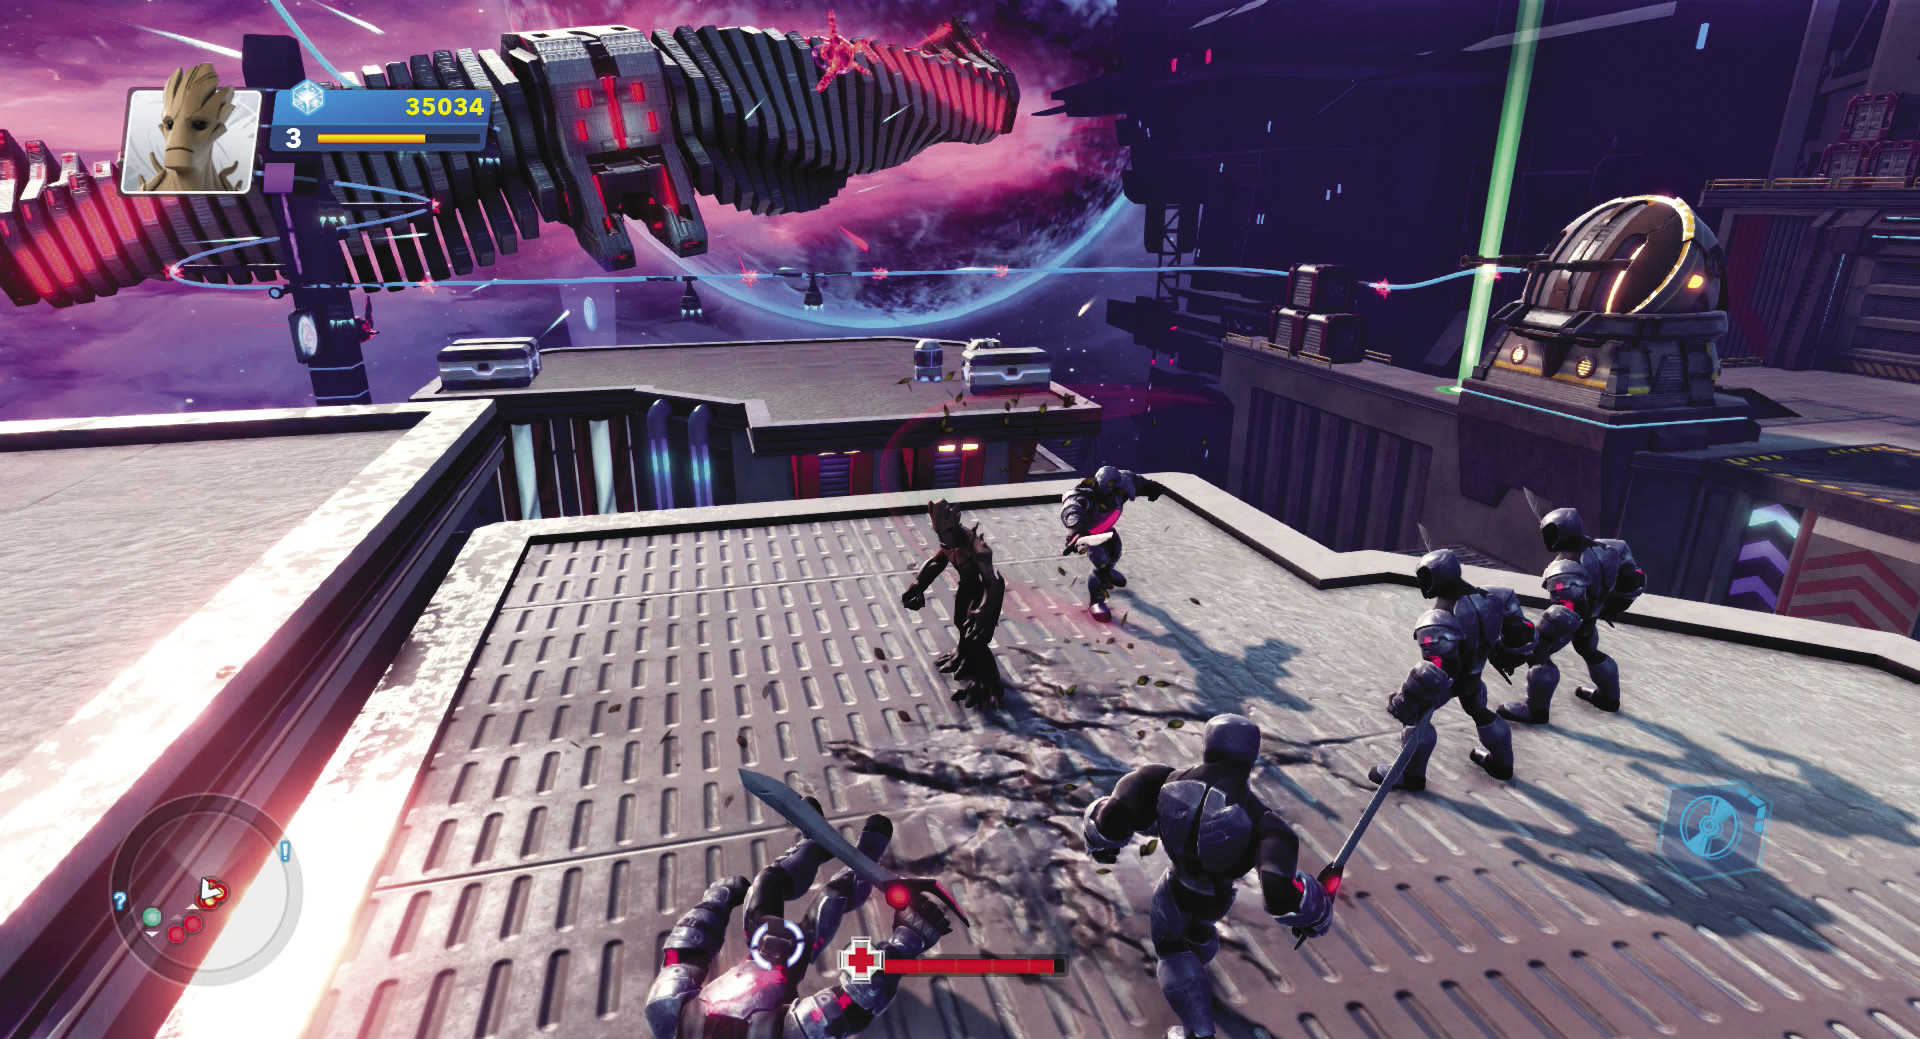
The final group is a big one. Fight them off as they swarm around you, and if you get knocked over the edge, climb back up via the blue poles to try again. With Groot’s strength, you will bash through them all and claim the Living Quarters back for the citizens of Knowhere.


Co-op Combo: Groot and Rocket Raccoon
Always partners, these two complement each other with Groot’s formidable melee attacks and Rocket’s fearsome ranged attacks. Any of the larger fights in the Living Quarters can use any extra pair of hands in combat.