
Ninja Gaiden 3 Guide Walkthrough The Path of the Ninja
The Black Narwhal, Pacific Ocean (Day 7)
DAILY DETAILS
|
New Enemies
|
Anti-Aircraft Gun Stand CIWS |
|
Bosses |
White Steel Spider (x2), LOA Chairman,
|
FIRST APPEARANCE:
Anti-Aircraft Gun Stand CIWS
Class:
Strong
Izuna Drop:
No
Arrows:
No
Range:
Long
Power:
2
Priority:
1
Abilities/Weapons:
Machine Gun
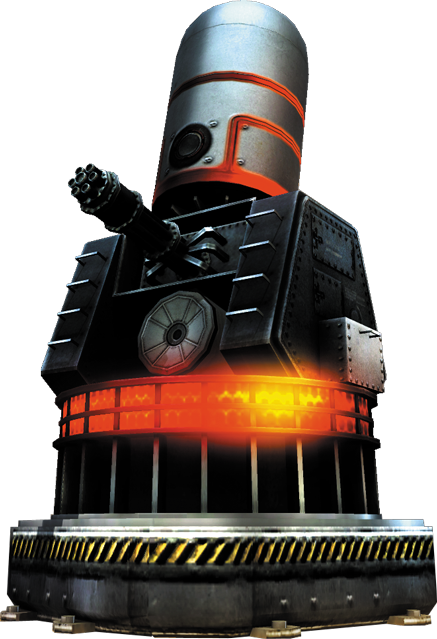
Strategy: The Anti-Aircraft Gun Stand CIWS is similar to the Machine Gun Stand, but it does not fire missiles and an Izuna Drop cannot damage it.
However, it is very weak and can easily be destroyed with a few Quick Attacks. Because its only weapon is a machine gun, it does not inflict much damage to Hayabusa and therefore does not have a high priority. In most cases, it will be the last enemy you destroy.
Press Jump (
 or
or
 ) and Shuriken (
 or
or
 ) when prompted to change planes, then use the Left Analog Stick and Block (
 or
or
 ) as prompted to evade the missiles.
Press Strong Attack (
 or
or
 ) when prompted to take out the rocket launcher, then engage the Heavy Soldiers, Terrorists, and Rocket Launchers on the deck of the ship.
Use jumping arrows to take down the Rocket Launchers above, then focus on the rest of the enemies. On Master Ninja, several Alchemists attack once the other soldiers are down.
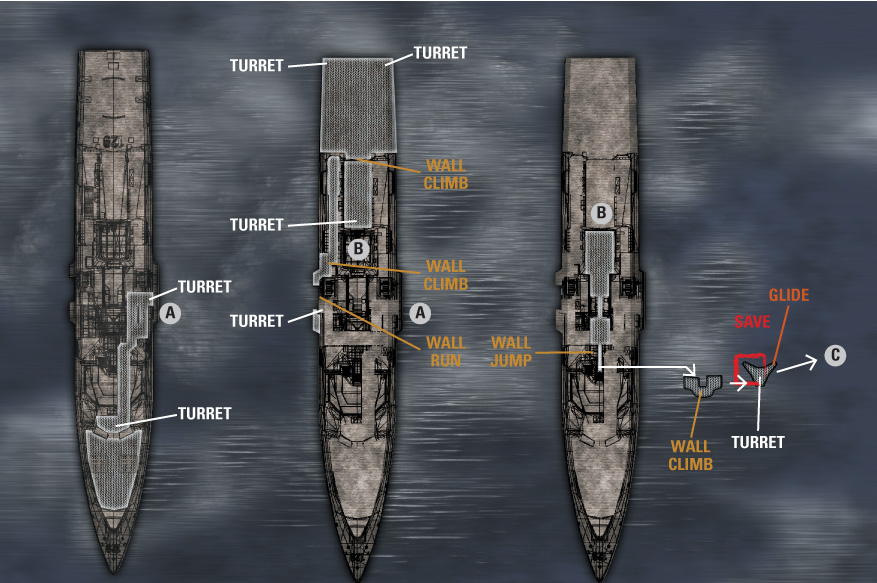
Kunai Climb up the wall and take out the Anti-Aircraft Gun Stand CIWS with Quick Attack (
 or
or
 ). Down the hall are a Heavy Soldier (Shield), Assassin and Terrorist. Take them out and proceed through the hallway.
When you reach the other side, another Assassin, a Rocket Launcher, and a Terrorist attack; a second Rocket Launcher is on the far side of the ship, shooting missiles.
Use an arrow to kill the Rocket Launcher, then take down the remaining enemies and place your focus on the next Anti-Aircraft Gun Stand CIWS. If you take too long, a Heavy Soldier and a few Terrorists run up the stairs to attack as well.
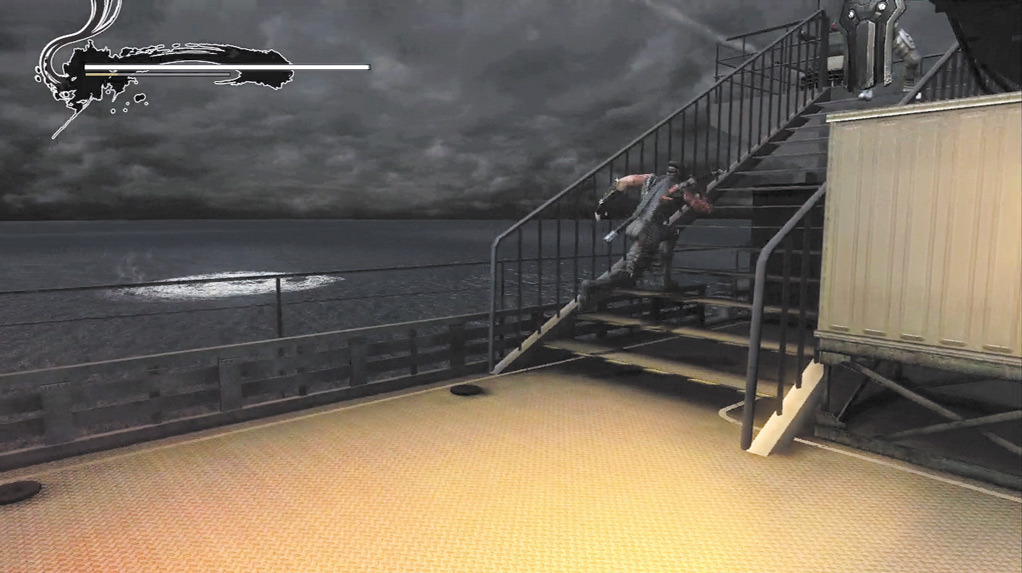
Head up the stairs ...
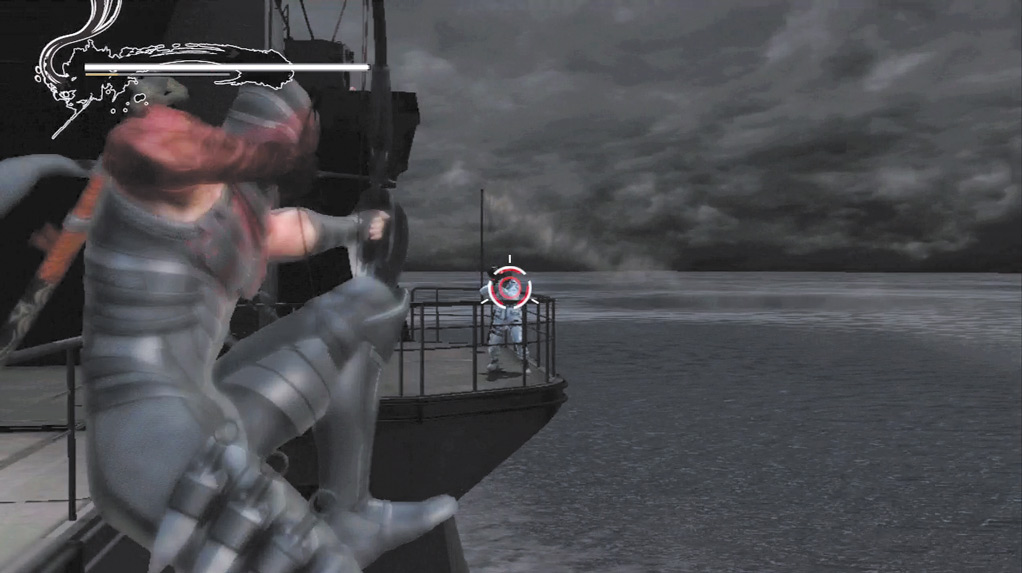
... and use jumping arrows to take out the Rocket Launchers behind Hayabusa.
Head down the stairs and make quick work of the Terrorists and Heavy Soldiers that attack. Continue through the ship and up the stairs.
Use two jumping arrows as soon as you reach the top to take out the Rocket Launchers behind Hayabusa, then clear out the Heavy Soldier (Shield) on the stairs.
When you try to destroy the next Anti-Aircraft Gun Stand CIWS, a Rocket Launcher interrupts with a missile. Wall Run to the next platform and take out the Assassins and Rocket Launcher that attack.
Kunai Climb up the wall and immediately throw a dagger at the Rocket Launcher above. Finish climbing and head down the stairs. On Master Ninja, after the first wave of enemies, another group of Heavy Soldiers (Jetpack) and Rocket Launchers attack.
Jump and press Strong Attack (
or
) when prompted, then take out the Heavy Soldiers (Jetpack) with jumping arrows before focusing on the Heavy Soldiers and Terrorists.
When most of the enemies have been defeated, two more Heavy Soldiers (Jetpack) show up. Kill them with jumping arrows as soon as they appear, then clean up the rest of the enemies.
Head toward the closest Anti-Aircraft Gun Stand CIWS and slide when Hayabusa gets close to avoid the machine gun fire.
Take out the Anti-Aircraft Gun Stand CIWS with Strong Attack (
or
), then press Strong Attack (
or
) again when prompted to finish the second Anti-Aircraft Gun Stand CIWS.
Two helicopters appear when both Anti-Aircraft Gun Stand CIWSs are destroyed. Slide back to give Hayabusa more room to work with, then use jumping arrows to take out both helicopters.
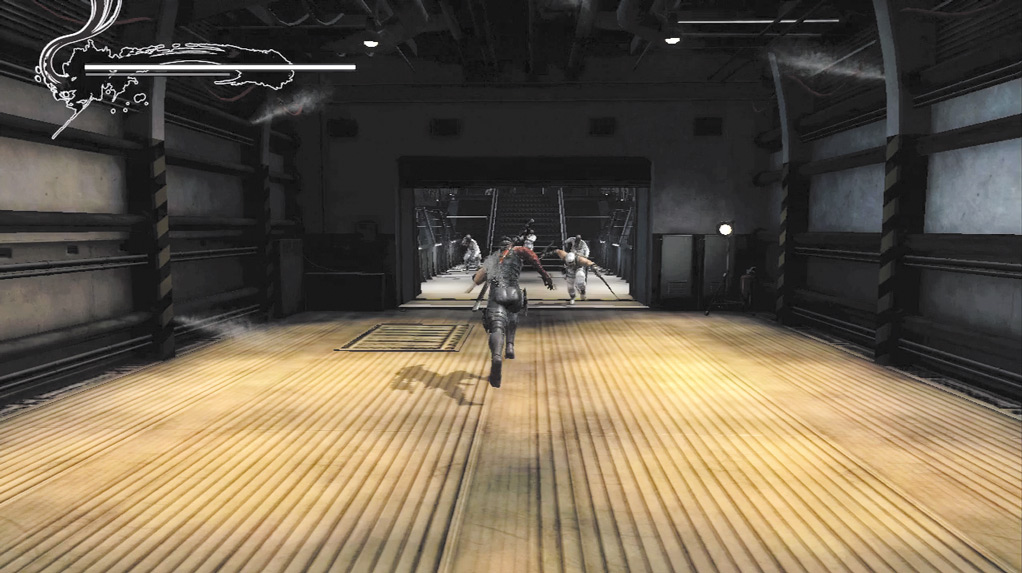
As soon as the door opens, ...
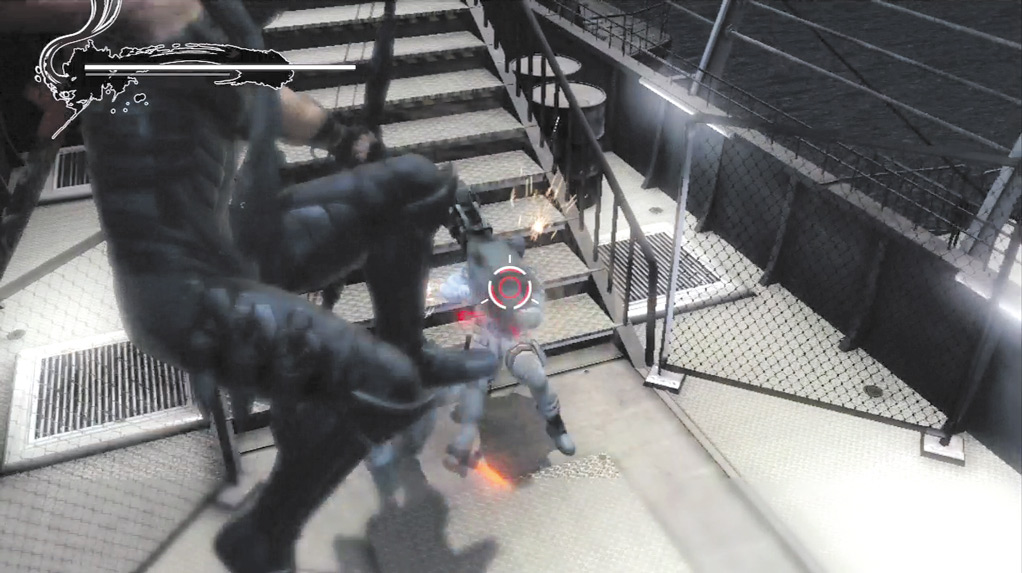
... slide in and use jumping arrows to take out the Rocket Launchers.
Use Kunai Climb to scale the wall, but wait at the top until given the verbal order to go. If Hayabusa attempts to climb over the top before the order is given, he gets shot down by the Anti-Aircraft Gun Stand CIWS and has to climb back up again.
Take out the next Anti-Aircraft Gun Stand CIWS and head through the opening behind it. As soon as the next door opens, slide toward the enemies, then use jumping arrows to take out the two Rocket Launchers in the back of the area.
With the Rocket Launchers down, kill the Assassins and Terrorists that remain.
Flying Bird Flip to the platform in the middle of the tower and use arrows to take down the Heavy Soldiers (Jetpack) that await Hayabusa.
Kunai Climb to the top of the tower, take out the Anti-Aircraft Gun Stand CIWS and save your progress at the falcon on the left.
Hold Block (
or
) and press Jump (
or
) when prompted to glide down to the next ship and take out the Anti-Aircraft Gun Stand CIWS.
Kill the three Terrorists that attack, then slowly move toward the next Anti-Aircraft Gun Stand CIWS. As soon as Hayabusa reaches the hallway, jump or slide, then take out the Rocket Launchers at the end of the hall.
Stay outside of the hallway, on the opposite end of the Anti-Aircraft Gun Stand CIWS and finish off the Assassins, Heavy Soldiers, and Terrorists that attack.
If Hayabusa moves into the hallway again, the Anti-Aircraft Gun Stand CIWS on the other side sprays him with a barrage of gunfire.
Destroy the Anti-Aircraft Gun Stand CIWS at the end of the hall, then head down the stairs and ignore the next set of enemies.
Run past them and well into the hall to take on the Rocket Launcher, Assassins, and Heavy Soldiers that await. The door behind Hayabusa closes to block off several of the other enemies.
This is very close quarters and the Izuna Drop cannot be used. Attack with the Wind Run into Flying Swallow and basic Quick Attack combos to take down the enemies, then slide toward the next two Anti-Aircraft Gun Stand CIWSs to avoid the gunfire.
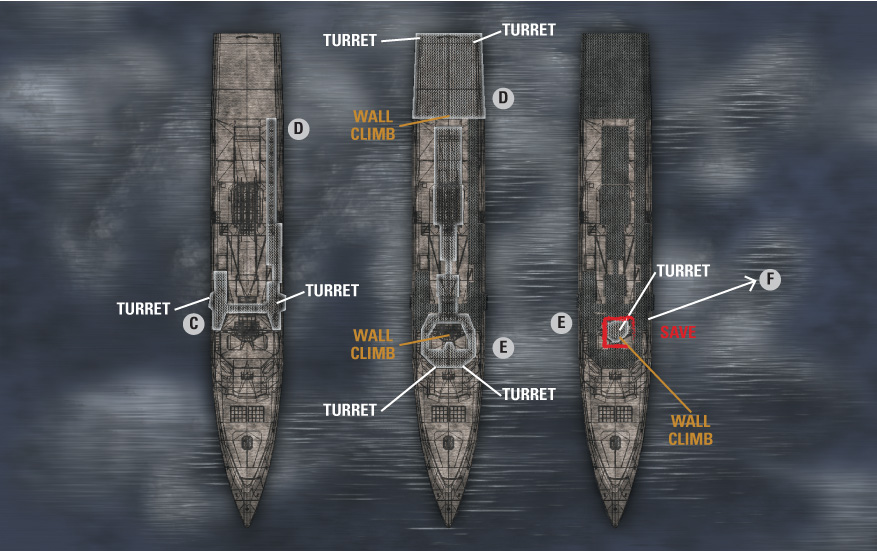
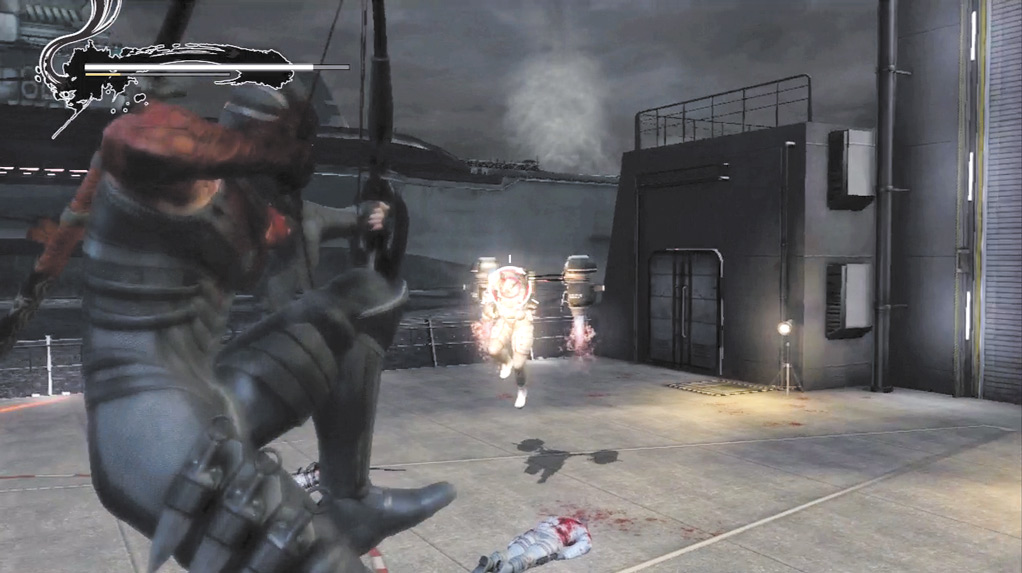
Focus on the Heavy Soldiers (Jetpack) and Rocket Launchers first!
A plethora of Assassins, Heavy Soldiers, Terrorists, Heavy Soldiers (Jetpack), and Rocket Launchers attack in waves. Take out the Heavy Soldiers (Jetpack) and Rocket Launchers whenever they appear, then focus on the rest.
Use Ninpo and Ultimate Techniques frequently to make this battle a little easier. Defeat all the enemies, then take out both Anti-Aircraft Gun Stand CIWSs and head toward the wall.
On Master Ninja, the battle on the deck consists of a completely different set of enemies. The Anti-Aircraft Guns and the Alchemists at the end are the only similarities.
The battle starts off with a horde of Celsus Fiends, then several Demon Baphomets and a Magna Persona Fiend appear, followed by another group of Celsus Fiends.
As Hayabusa approaches the wall, three Alchemists appear. When you take out two of the Alchemists, four more appear. Unfortunately, Hayabusa won’t be able to use Ninpo until three or four Alchemists are down. Use it as soon as you can to finish off the last four or five Alchemists, then Kunai Climb to scale the wall.
On Master Ninja, when you enter the room ahead, the door closes and a group of Spider Aya Ninja attack.
Defeat them to open the door to engage a group of Spider Ninja, Spider Talon Ninja, and even more Spider Aya Ninja. These enemies take the place of the soldiers fought on lower difficulty settings.
Move into the next area, but be ready to shake off the Ghost Soldier that attempts a sneak attack once you get inside. Finish off the rest of the Ghost Soldiers, then take out the Heavy Soldiers (Jetpack) just ahead.
Keep moving forward to engage more Heavy Soldiers (Jetpack), Assassins, and Terrorists. The Heavy Soldiers (Jetpack) take priority. Then finish off the others and take out the two Anti-Aircraft Gun Stand CIWSs.
Kunai Climb to the next platform and save your progress at that falcon. Kunai Climb to the top to take out the last Anti-Aircraft Gun Stand CIWS, then Jump and press Strong Attack (
or
) when prompted to engage the helicopter.
Slide toward the helicopter machine gun. Once Hayabusa is close to it, slide left and right to avoid the machine gun fire until it turns yellow, then attack.
Repeat this process until it’s destroyed, then Jump and press Strong Attack (
or
) when prompted to reach the next ship.
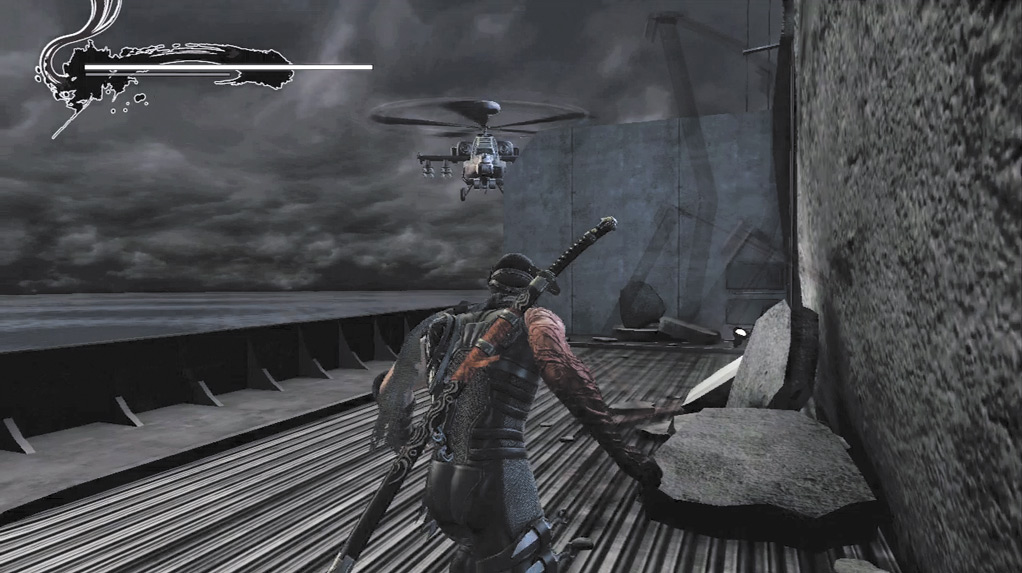
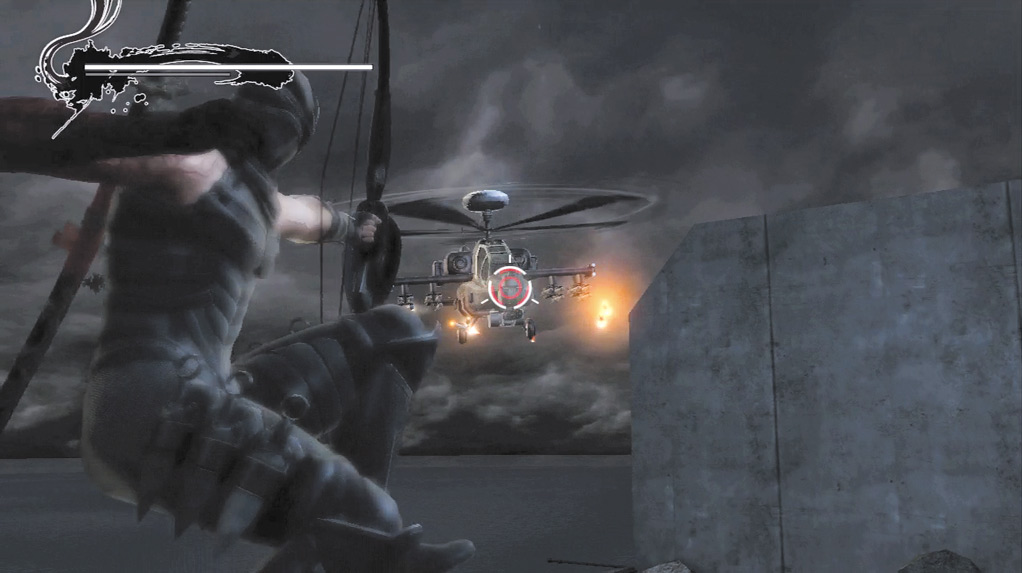
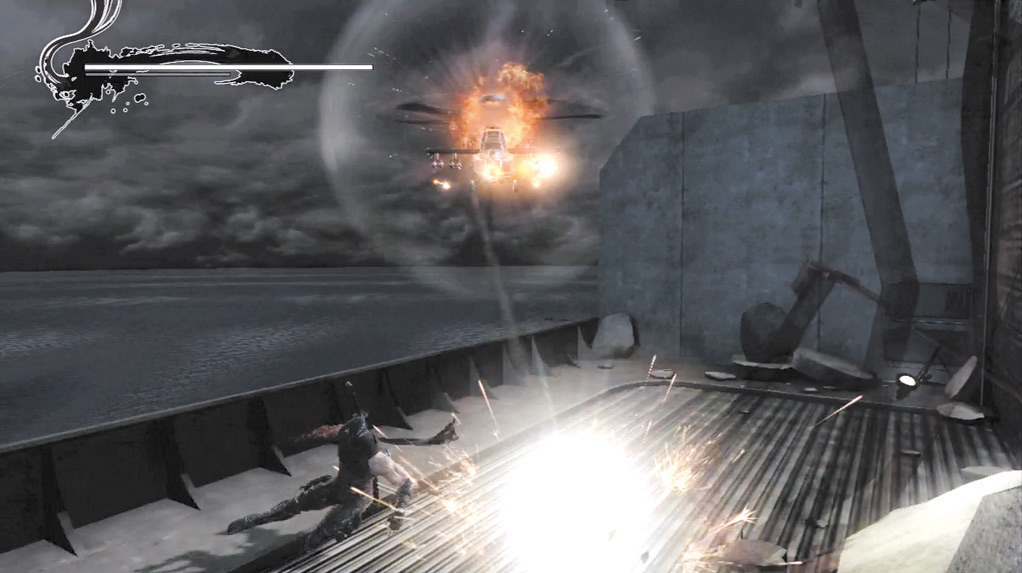
Head down the stairs, then use the Kunai Climb to reach the top again when the ship goes vertical. Move left or right to avoid the falling debris during the climb.
Once at the top, Flying Bird Flip up the shaft, then use Hayabusa’s Rope Crossing ability to reach the other side. Use the Flying Bird Flip once again, and be ready to jump and slide.
As soon as Hayabusa reaches the top, two helicopters bombard him with a barrage of missiles, one after the other.
Jump and fire an arrow, then slide to the right as soon as Hayabusa lands to avoid the initial barrage of missiles. Repeat this process to destroy the two helicopters.
Kunai Climb again, but be prepared to grab the wall a second time when it’s destroyed by missiles. As Hayabusa climbs to the top, move left or right to avoid falling debris.
When Hayabusa reaches the top, save your progress at the falcon, then jump off the ship and onto the next one.
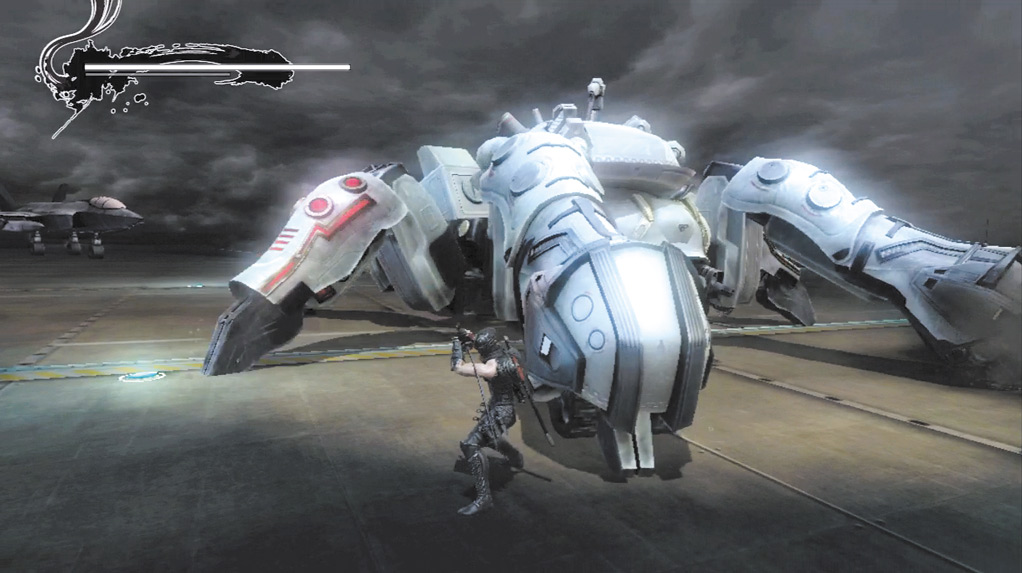
Close Range Abilities: Electric Field, Flamethrower, Missiles
Long Range Abilities: Missiles
Strategy: Two White Steel Spiders attack as soon as Hayabusa lands. Quickly slide to escape their initial attack. The goal here is to focus on one Steel Spider at a time.
Turn the first Steel Spider around so that its vulnerable legs (all of the legs except the front two) are facing away from the other Steel Spider.
Each leg has three layers of shielding. Cut down each leg until only the final layer of shielding remains.
This means that each leg is only a few slashes shy of being destroyed. Slide from leg to leg between each attack to avoid missiles and machine gun fire.
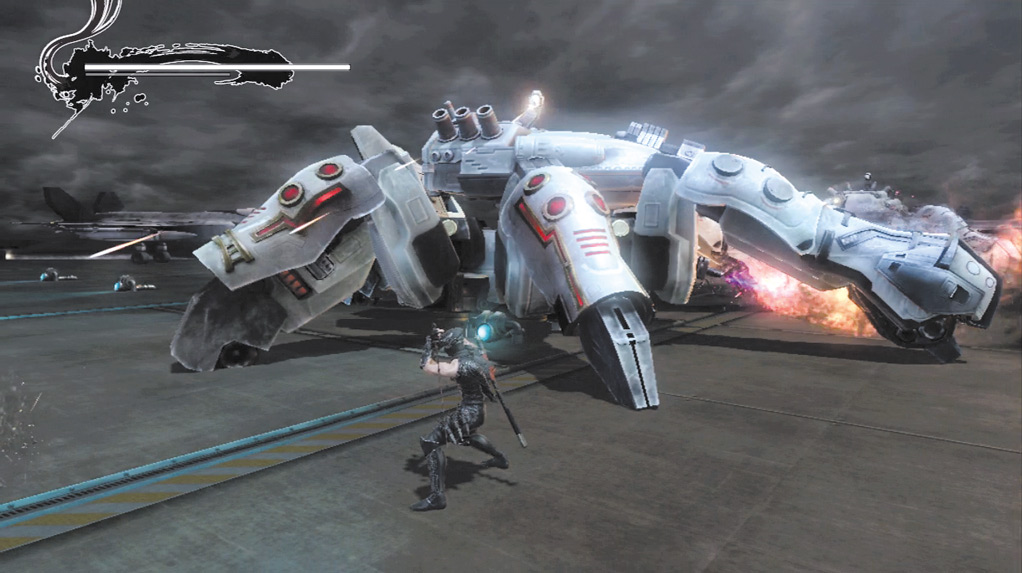
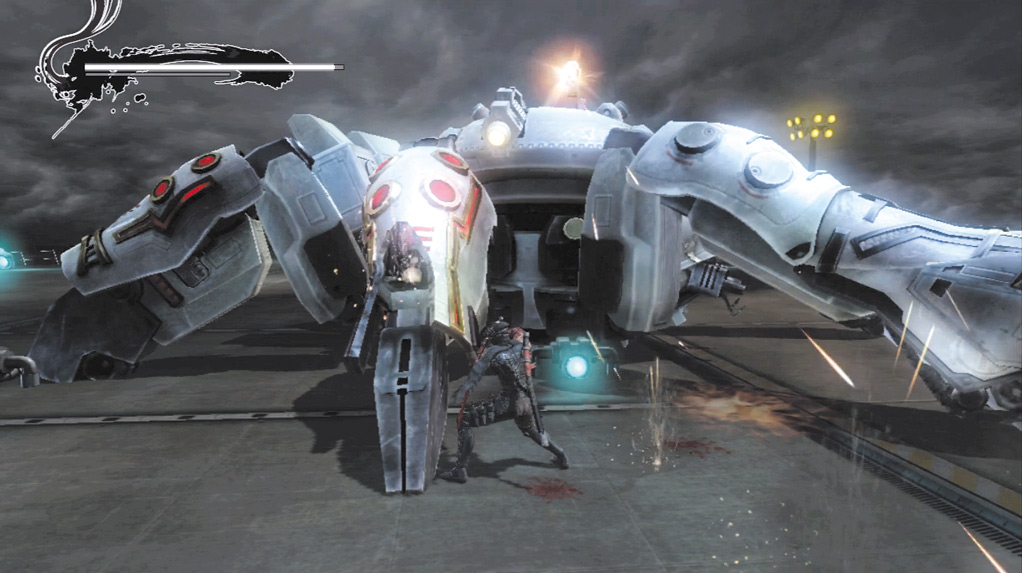
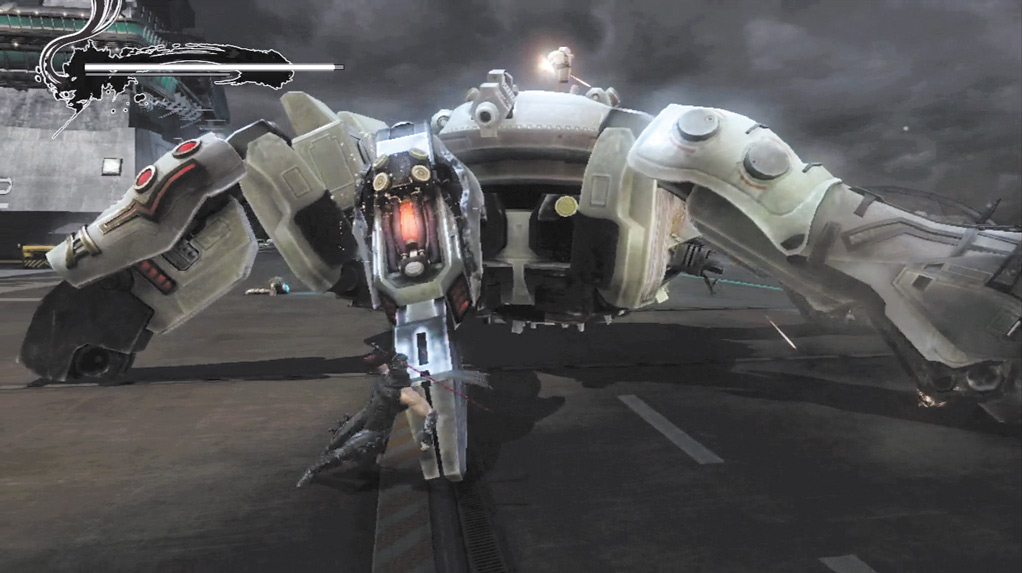
At this point, start destroying legs. When one leg is destroyed, the Steel Spider generates an electric field when Hayabusa is close.
However, with only one attack needed to destroy each leg, it is now possible to take out all of them in succession before the Steel Spider can generate the electrical field.
When all of the Steel Spider’s vulnerable legs are destroyed, the back panel opens. Quickly move up the ramp and destroy the glowing orange section to finish off the Steel Spider. With one Steel Spider down, use the same strategy on the next one.

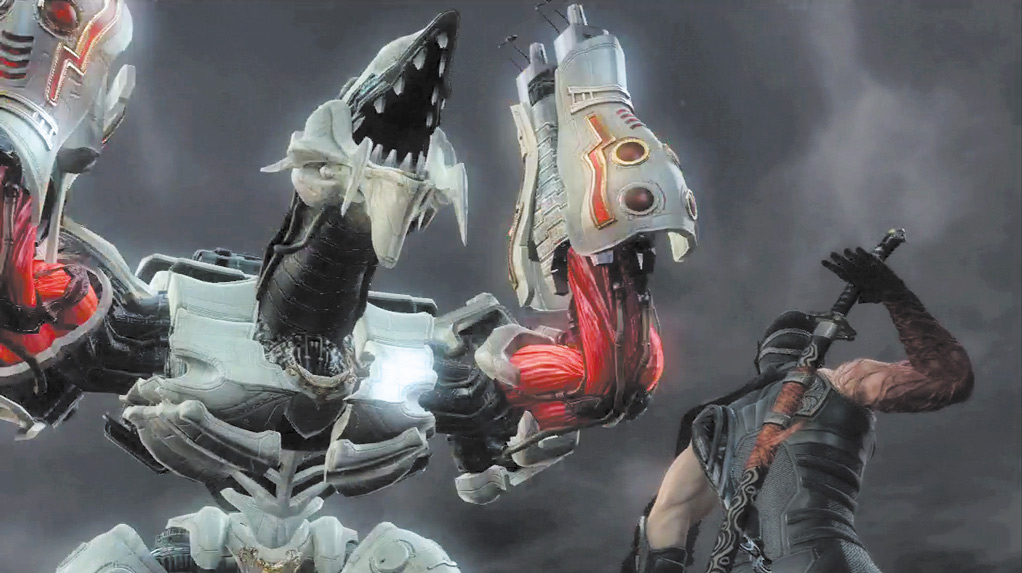
Close Range Abilities: Electric Pound (right hand), Mecha Jab (right hand)
Long Range Abilities: Flamethrower (left hand), Missiles
Strategy: Quickly slide to the right and toward the Chairman’s mech to avoid the initial Flamethrower attack. During phase one, the left hand of the mech shoots flames, while the right hand creates an electrical field when it slams to the ground.
Missiles also fire from the mech’s back, but if Hayabusa stays close to the mech, they do not pose a threat.
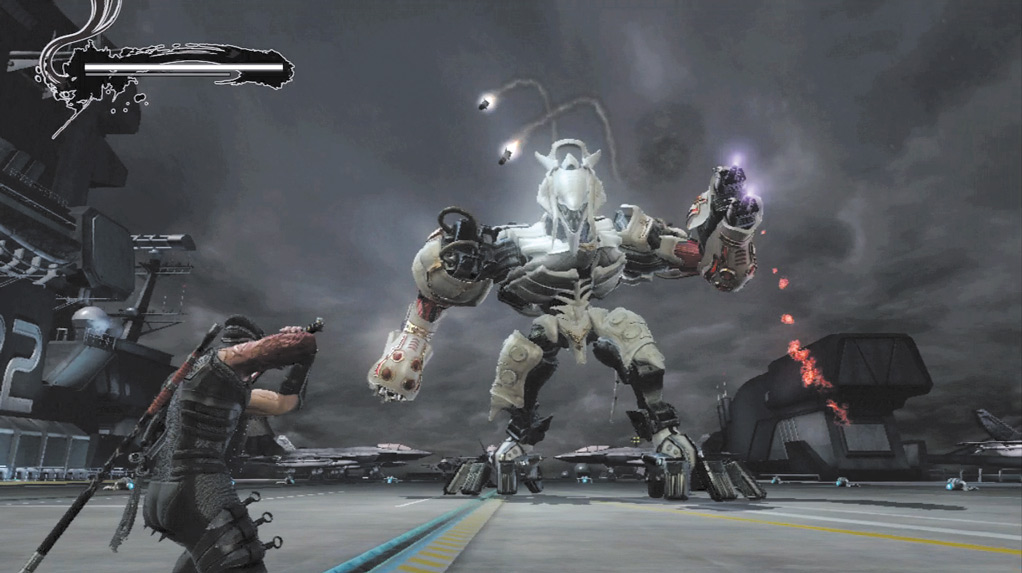
When the battle begins, ...
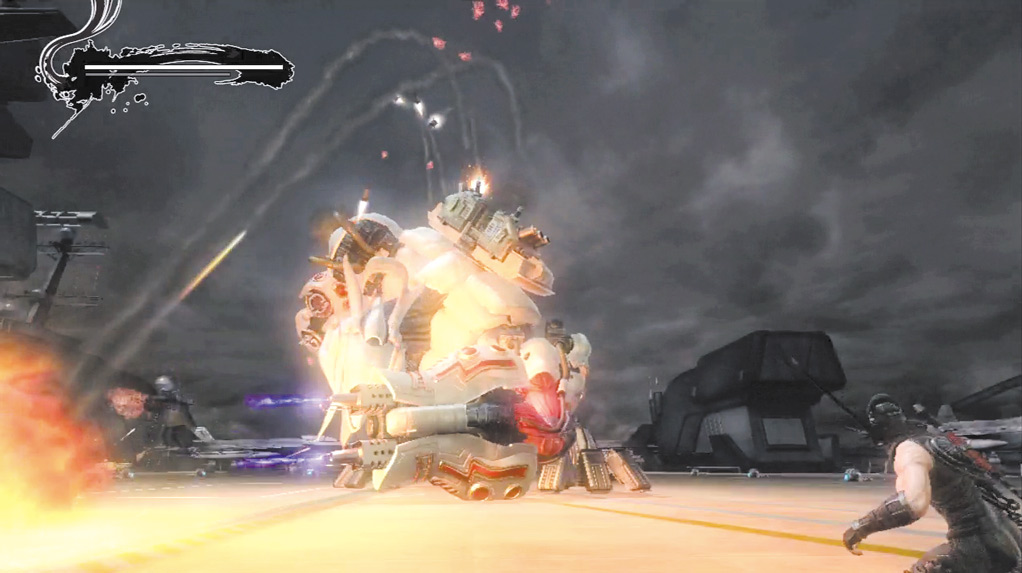
... slide to the right and toward the mech to avoid the Flamethrower.
Stay as close as possible, and attack the hand that shoots flames. When the mech tries to back away, quickly slide toward it to keep Hayabusa under its legs and on the side of the mech’s active hand (right side if he’s using the Electric Pound, left side if he’s using the Flamethrower). When he reels back, slide over and attack the hand on the ground.
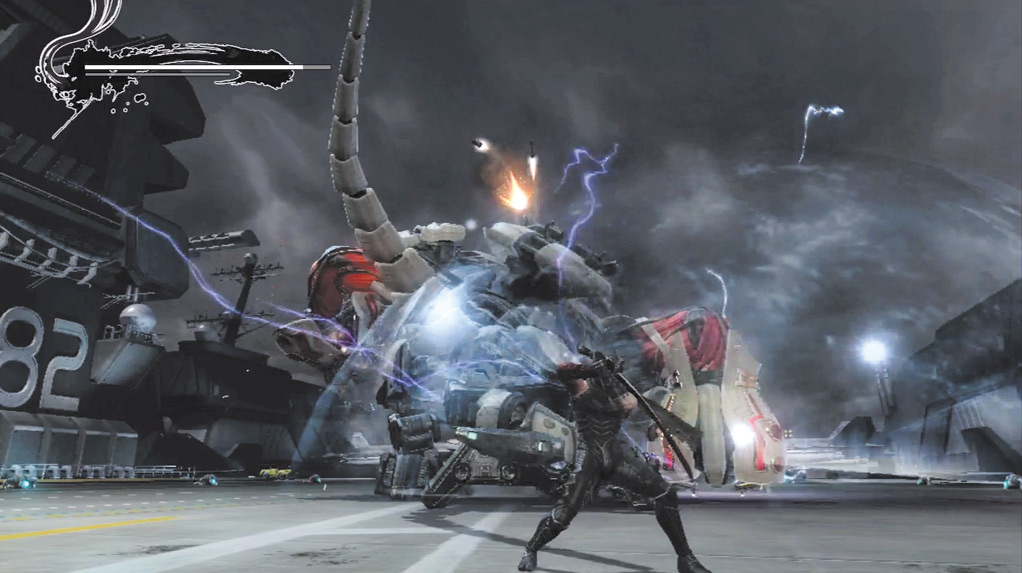
Stay just behind and slightly to the right of the mech’s right foot ...
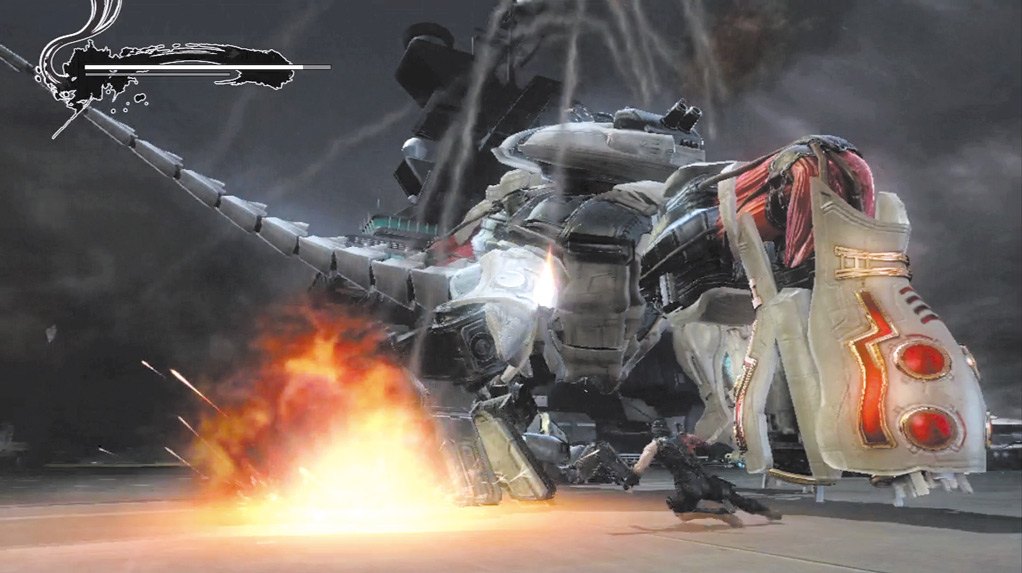
... and then slide in and attack when the arm is stationary on the ground.
When the right hand is pounding the ground, generating electrical fields, stay just behind and slightly to the right of the mech’s right foot.
This puts Hayabusa outside of the Electric Pound attack range, but close enough to reach the hand in one or two slides.
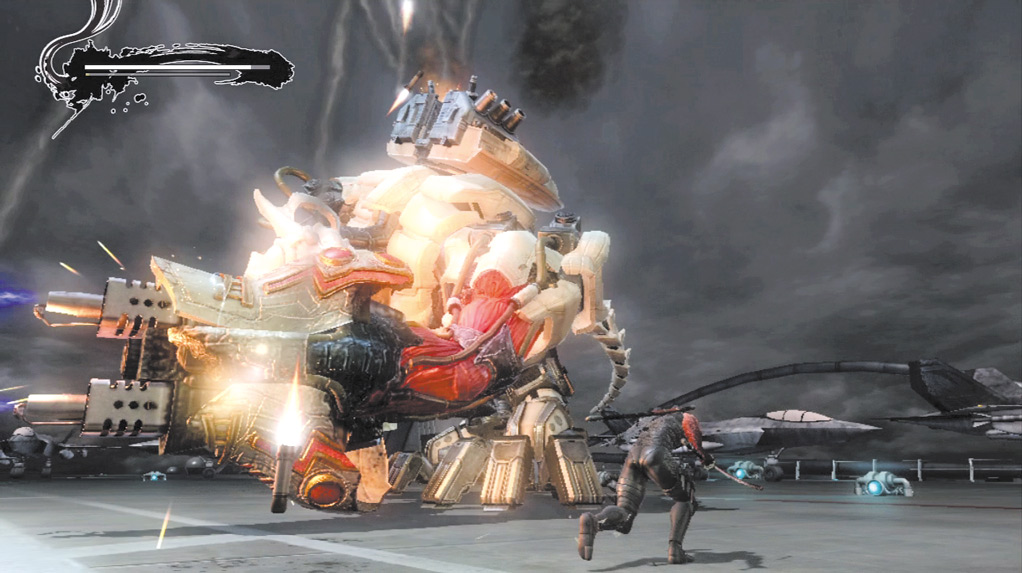
Stay behind the left hand when the Flamethrower is active ...
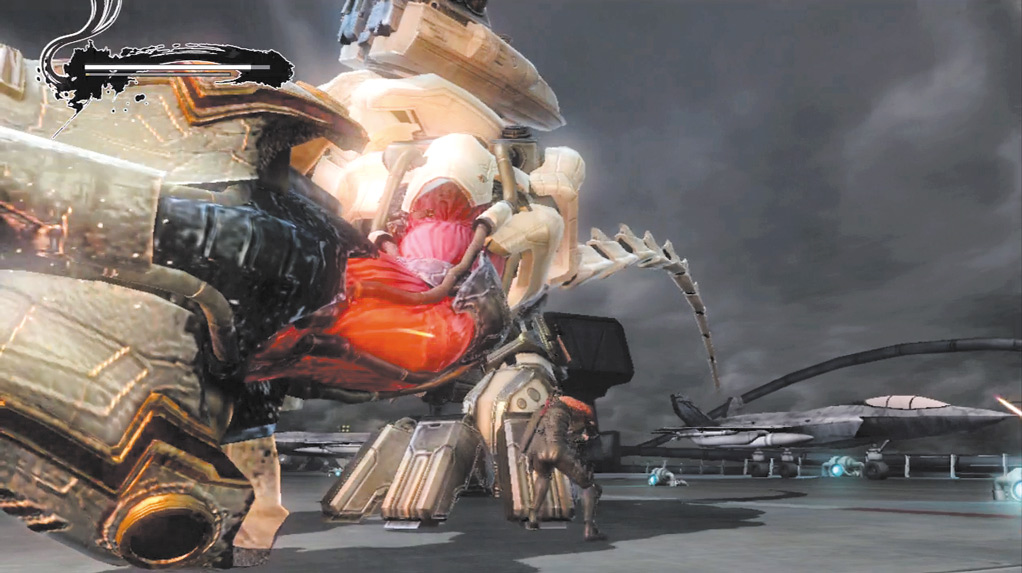
... to avoid the attack completely.
The mech’s right hand slams the ground several times consecutively, generating a small electrical field each time. Wait until the hand is stationary on the ground, then quickly slide in and attack.
The left hand creates a large flame that sweeps across the screen from left to right (when facing the Chairman in the line of fire). As long as Hayabusa is behind it, there’s no danger to him.
Attack both arms until you’re prompted to finish them off by pressing Strong Attack (
or
) rapidly.
The mech stumbles back, then opens its mouth. Hold Block (
or
) and press Up on the Left Analog Stick when prompted. At this point, the mech transforms into phase two.
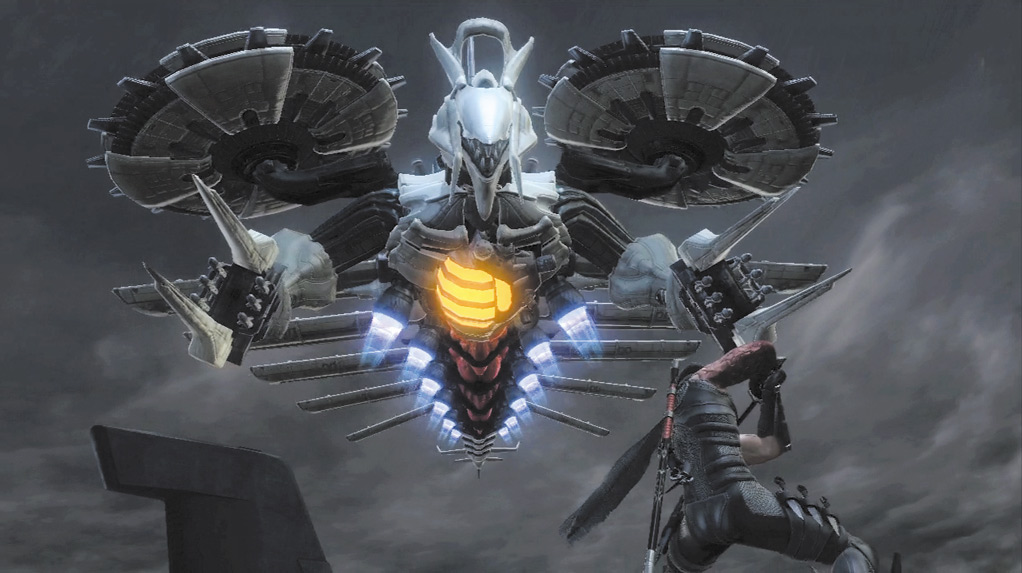
Close Range Abilities: Multi-Laser
Long Range Abilities: Missiles, Bombs, Multi-Laser
Strategy: Phase two is essentially a vehicle mode. The mech starts by lifting into the air and dropping bombs near Hayabusa. Orange circles on the ground indicate where the bombs will fall.
Avoid these circles to ensure that Hayabusa does not get hit. As the mech flies back and forth across the screen, it launches missiles at Hayabusa.
Treat this like the helicopter battles from previous levels. Wait until the missiles get close to Hayabusa, then slide back and forth quickly to avoid them.
Between missile barrages, shoot as many standing arrows as possible (generally this will be anywhere between two and four arrows).
After the mech flies overhead, watch out for more bombs, then stay on the ground and shoot a flurry of arrows until the missile barrage resumes.
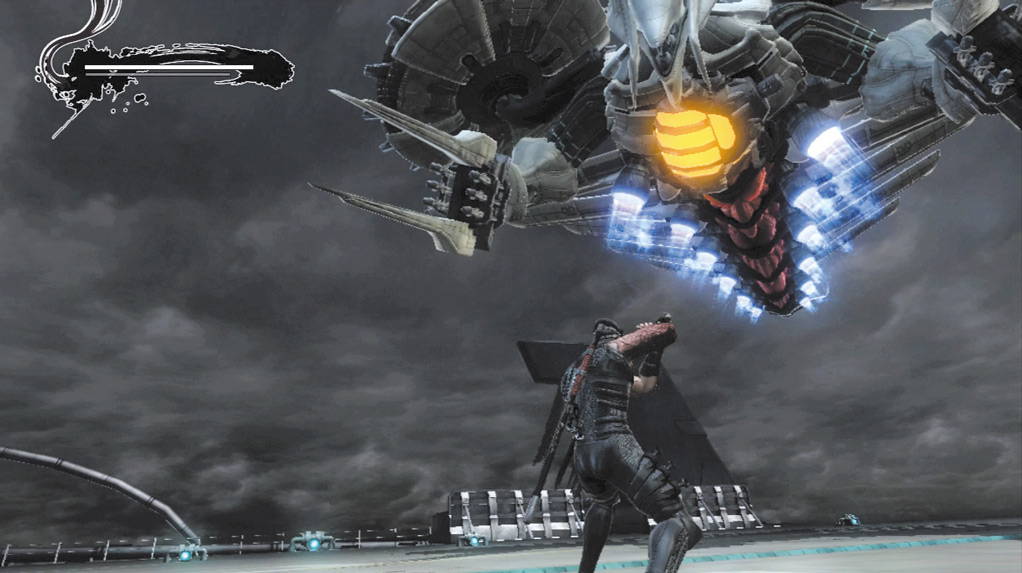
The orange circles on the ground ...
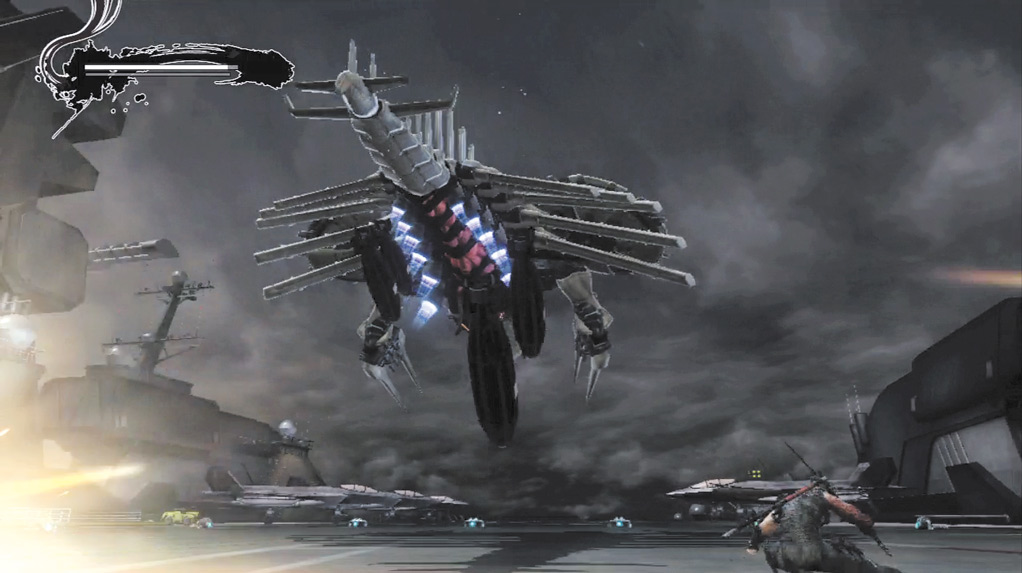
... indicate where the bombs will land.
Occasionally, the mech stops and opens its mouth. If Hayabusa happens to be directly below the mech when this happens, remain stationary.
If not, watch the mech’s mouth for the trajectory of the blue lasers. Do not slide to avoid the laser. There isn’t enough room between lasers to slide.
Instead, walk right or left to make sure Hayabusa is between the lasers. With every blast, the lasers move slightly. Hayabusa must walk slightly to the right or left (walk the same direction each time) between each spread of lasers.
When enough damage is inflicted, the mech crashes back to the ground and shifts into a tank-like vehicle. Stay in the middle of the area and shoot grounded arrows at the mech until it aligns with Hayabusa (this happens just before it starts moving).
Walk to the right or left, then as soon as it starts moving, slide the same direction Hayabusa was walking to evade the mech.
The mech moves very fast and will run over Hayabusa if you rely strictly on slides to maneuver. Continue to attack the mech with arrows and dodge its charge until both front wheels are destroyed.
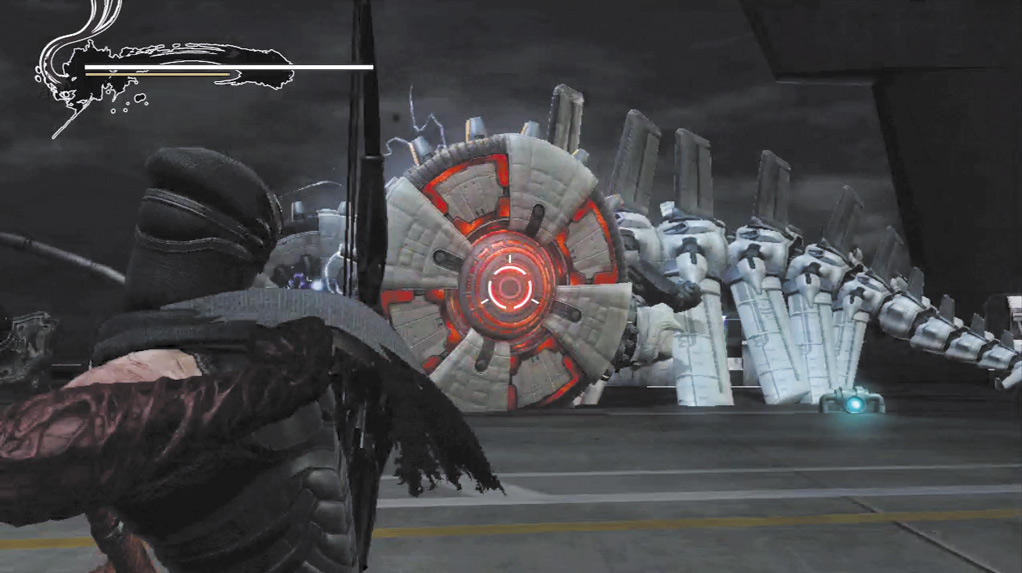
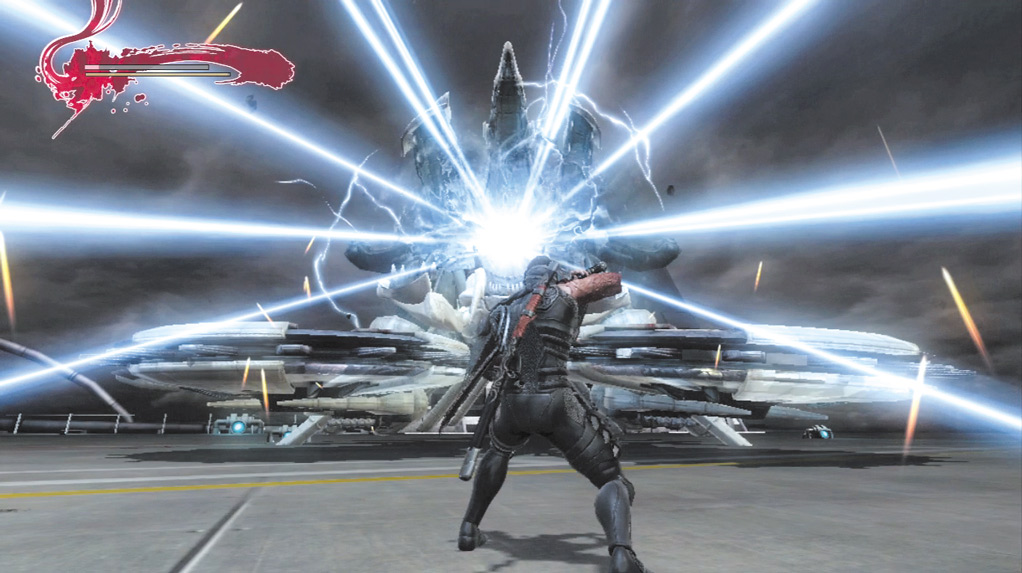
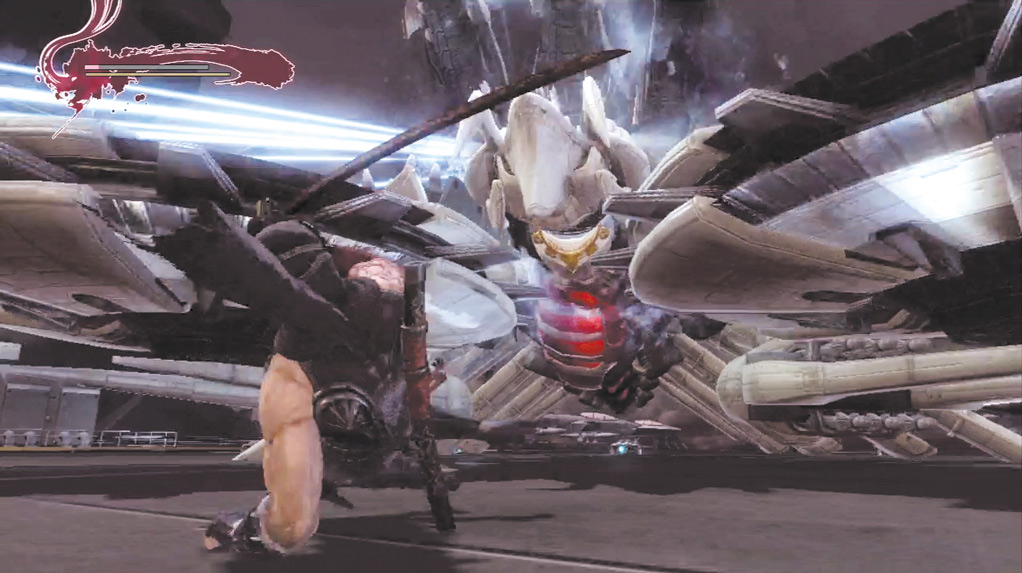
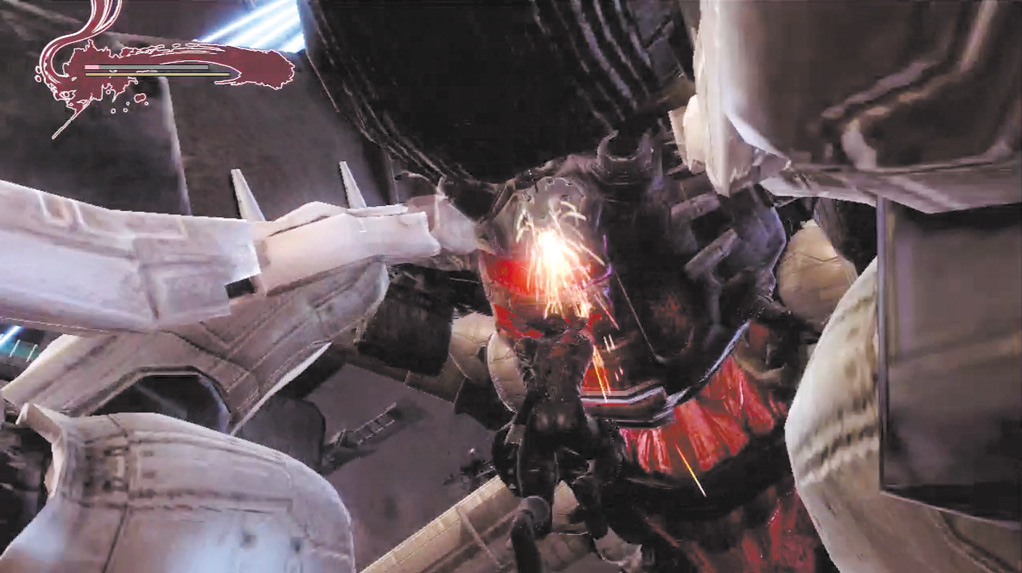
At this point, the mech charges up with its mouth open. Quickly move between the wheels (which are now horizontal) and slide under the mech’s belly.
Rapidly tap Strong Attack (
or
) when prompted to finish off the Chairman’s mech. If you do not get under the mech in time, stay away from it while the lasers are active. Wait for it to charge again, then slide under it.
Destroy the mech, then walk toward the Chairman until Hayabusa is close enough to attack and kill him.
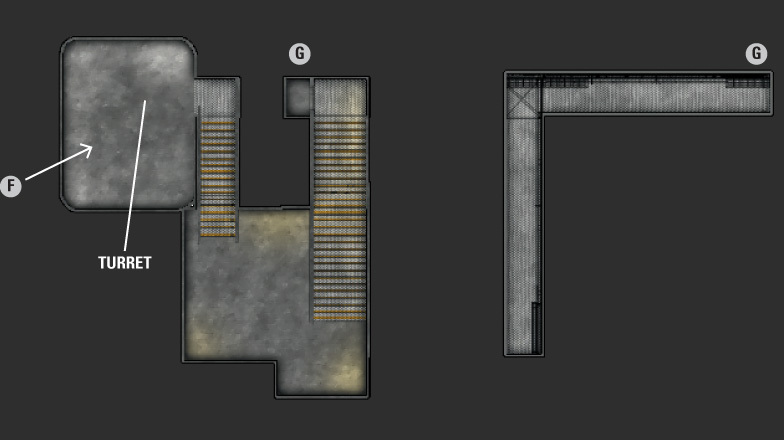
Save your progress at the falcon, then engage the Rocket Launchers, Heavy Soldiers (Shield), Assassins, Heavy Soldiers, and Terrorists ahead.
Use jumping arrows to make quick work of the Rocket Launchers, then focus on the rest. After a short time, more Rocket Launchers appear above.
Take them out as they appear to avoid a rain of missiles. Use Ninpo and Ultimate Techniques freely here to make quick work of the waves of enemies.
TIP
Use Ultimate Techniques and Ninpo freely during the next battle against Assassins, Terrorists, and Heavy Soldiers because neither carry over into the battle against the Alchemists that follows.
Head into the next room to battle against several more waves of Assassins, Heavy Soldiers, and Terrorists, followed by two waves of Alchemists.
Focus on the Terrorists to build up Hayabusa’s Ultimate Technique, and make sure to use Obliteration Techniques as much as possible to quickly fill Hayabusa’s Ki Gauge.
Once Hayabusa has Ninpo or an Ultimate Technique available, the battle is essentially over. At this point, only a few enemies need to be killed between Ninpo assaults and Ultimate Techniques.
When the Alchemists appear, try to focus on fighting them one at a time. Use Strong Attack combos to keep each Alchemist in hit stun, and continue attacking repeatedly until another Alchemist starts to close in. When this happens, slide away to avoid taking damage for the other Alchemist.
|
When their robes become bloody (indicating that they’re near death), try to finish each one off with an Izuna Drop, then an Obliteration Technique to build up Hayabusa’s Ki Gauge. However, do not use Ninpo as soon as it’s available.
Instead, wait until three Alchemists are dead, then wait for the remaining four to appear. Once the last four are visible, use Ninpo to finish them all in one stroke.
This leaves a single Alchemist, which is essentially the boss Alchemist, but because Hayabusa just used Ninpo, a single Strong Attack is enough to take out the last Alchemist and trigger a cinematic.
Defeat the last Alchemist, then walk toward him and finish the job with an attack when Hayabusa gets close. Continue walking down the hallway to initiate another boss battle against the Regent of the Mask.

Close Range Abilities: Two-Hit Combo, Three-Hit Combos, Five-Hit Combos, Six-Hit Combos, Unblockable Three-Grab Combo
Long Range Abilities: Two-Hit Charge Technique, Unblockable Jumping Grab, Projectile Attack
Strategy: This is the third time Hayabusa battles against the Regent of the Mask. The key to this battle is to react to the Regent of the Mask’s actions. If Hayabusa takes the initiative, the Regent of the Mask uses one of many unblockable attacks that inflicts a great deal of damage.
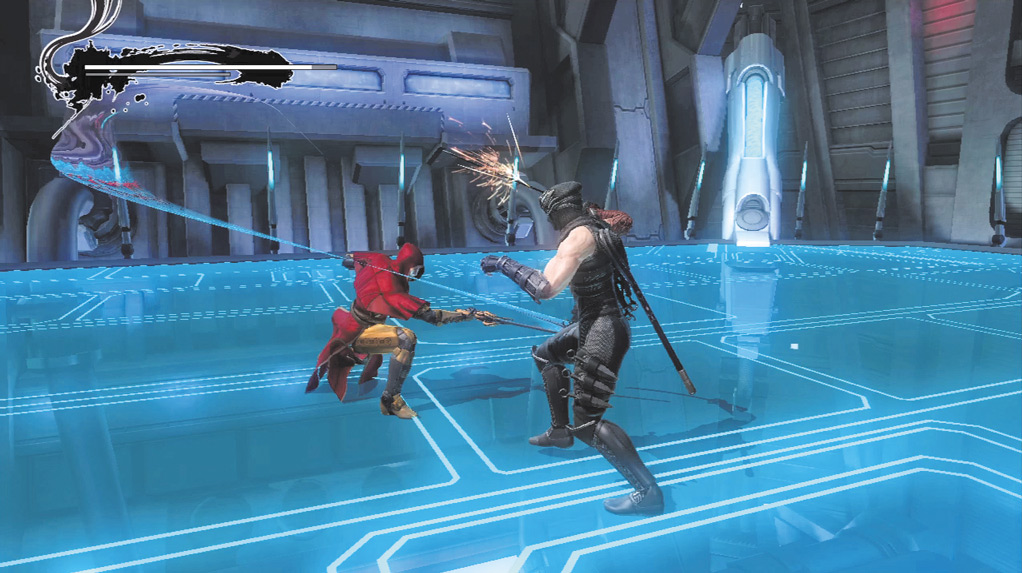
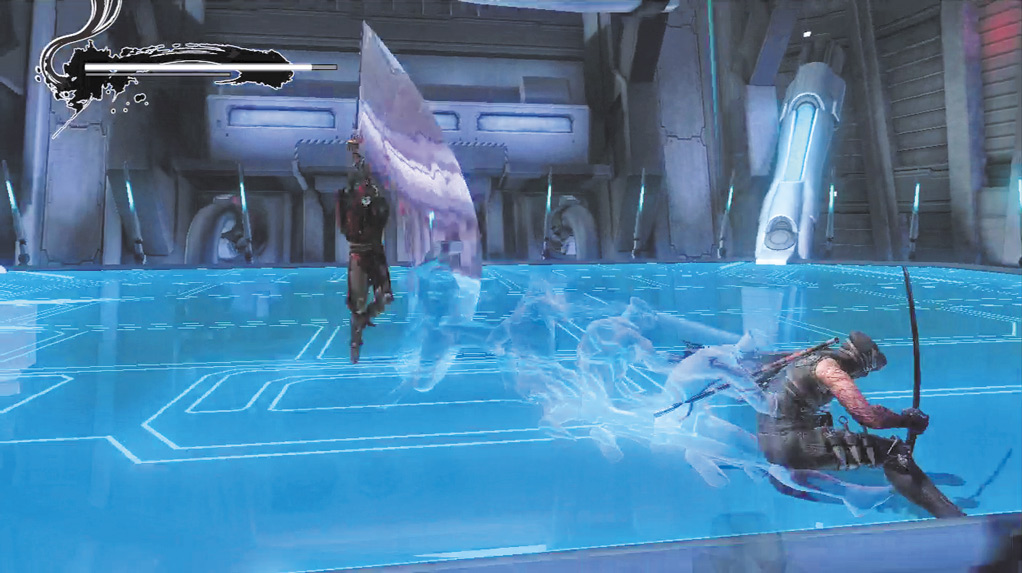
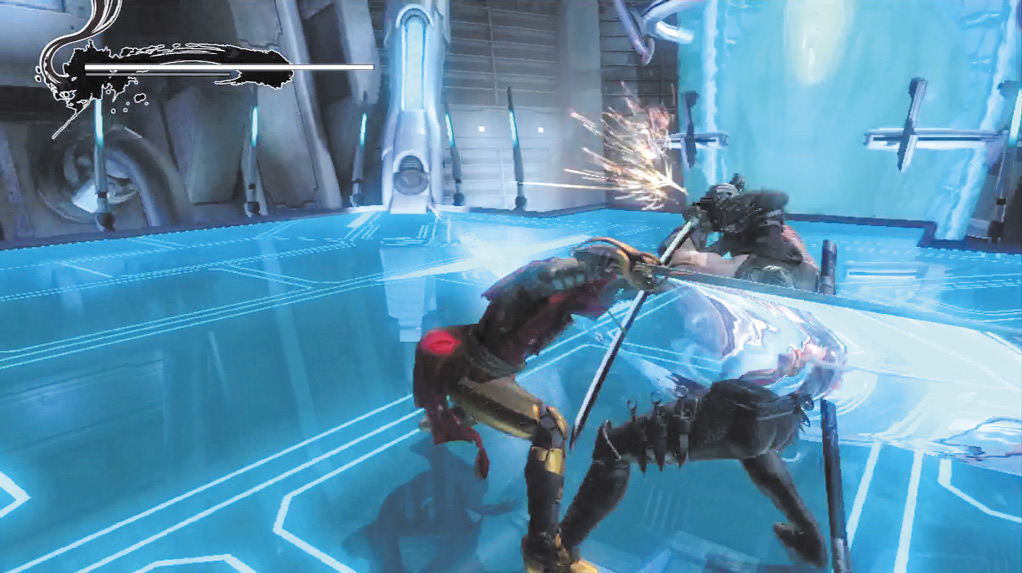
The Regent of the Mask’s two-hit combo.
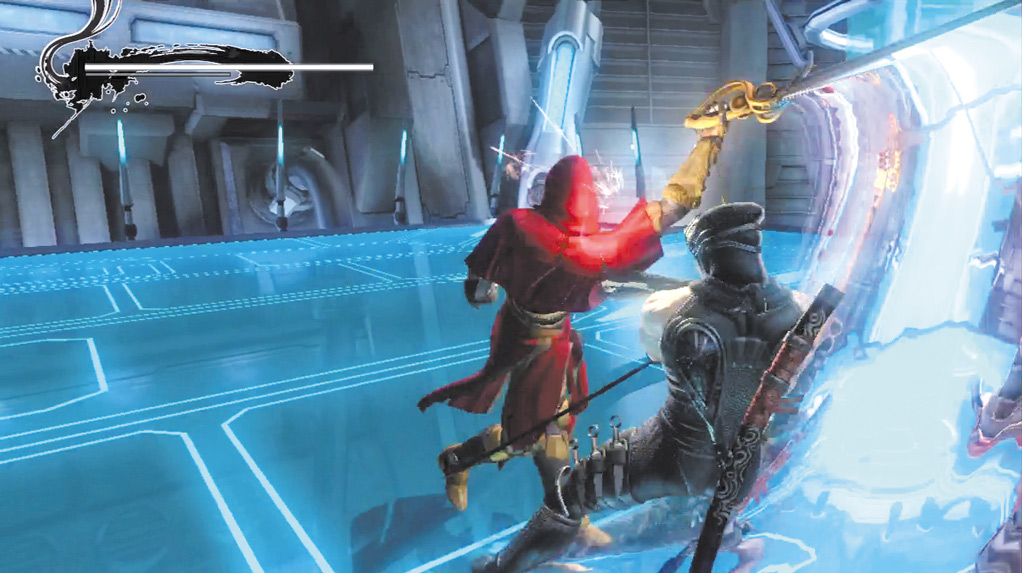
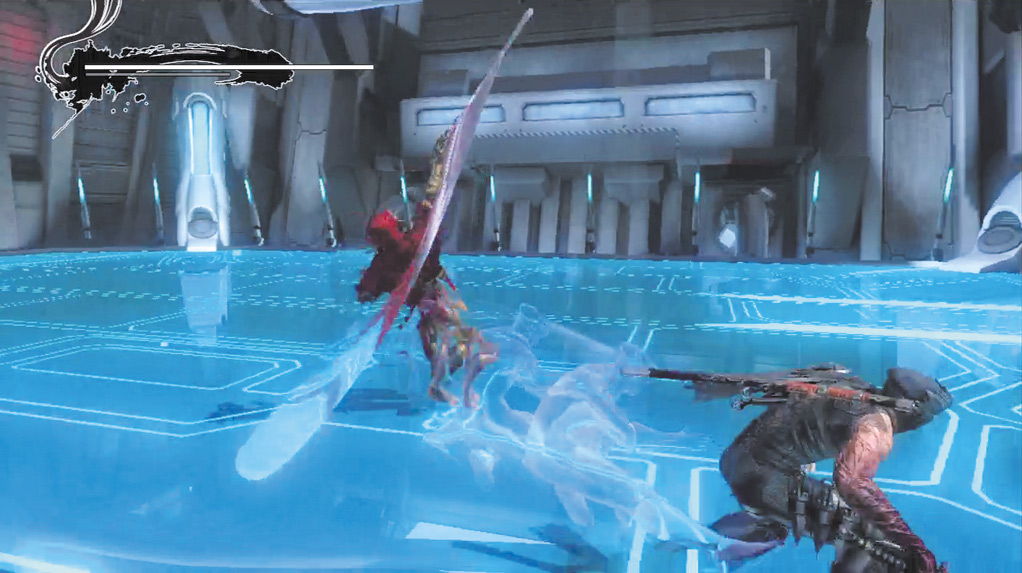
To properly react to the Regent of the Mask’s attacks, it is important to be able to recognize each attack combo.
The Regent of the Mask uses sword and kick combos that range from two hits to six hits, as well as an Unblockable Grab technique that can execute up to three times in a row.
He also has the ability to use an attack similar to Hayabusa’s Ultimate Technique, Wind Run (which transitions into an Unblockable Grab), and Dark Void Ninpo.
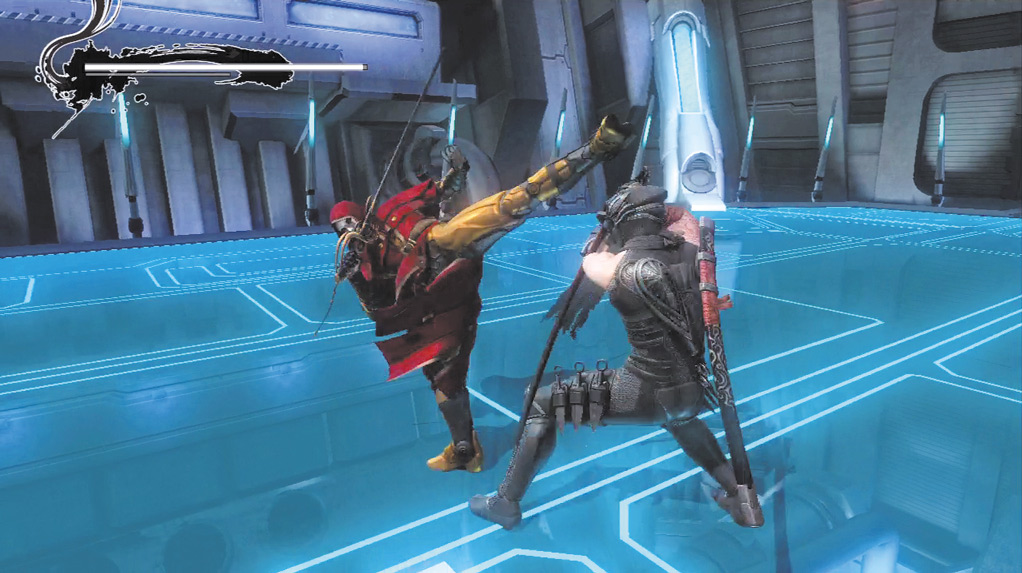
The Regent of the Mask’s three-hit combo.
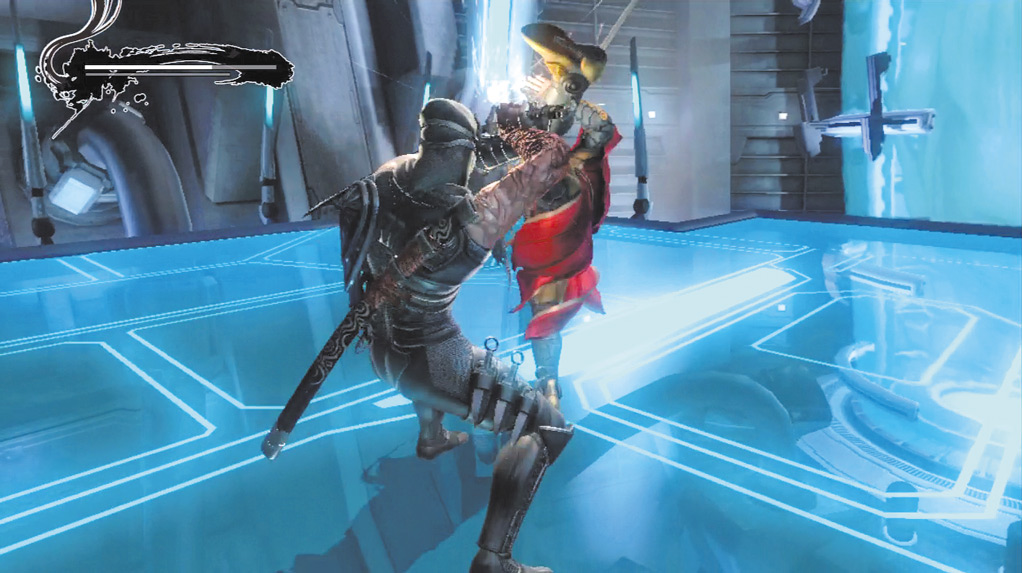
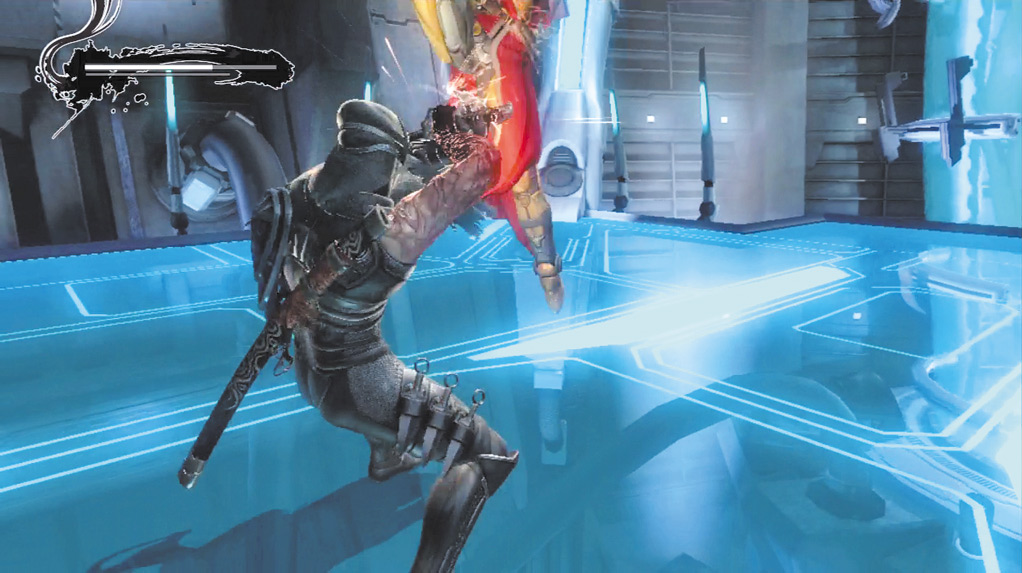
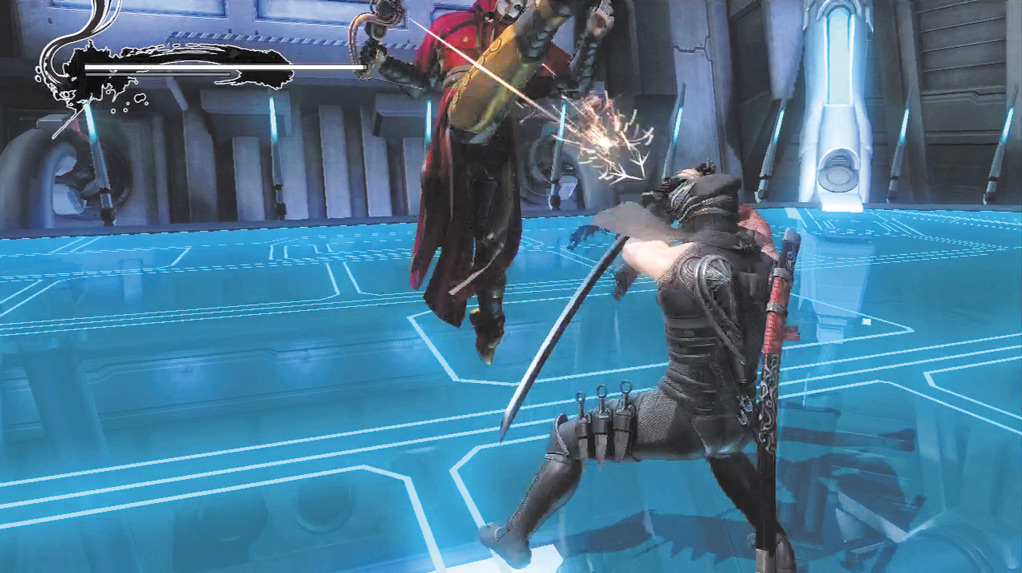
The Regent of the Mask’s four-hit combo.
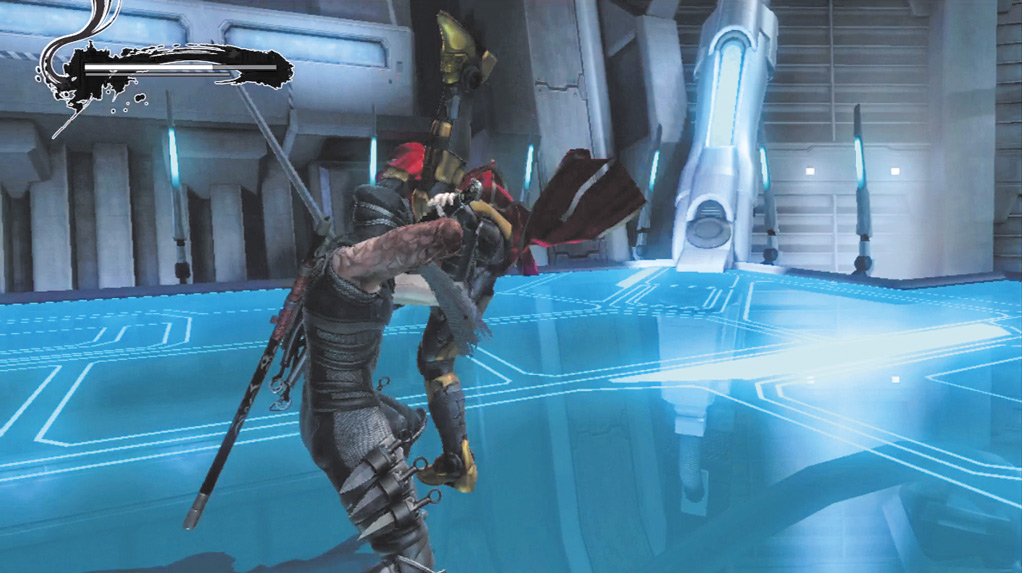
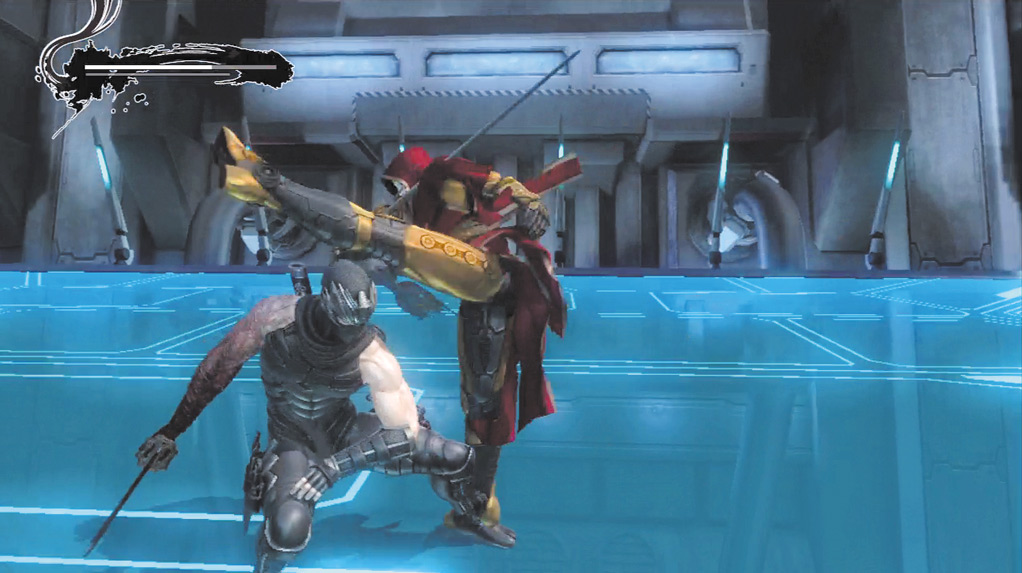
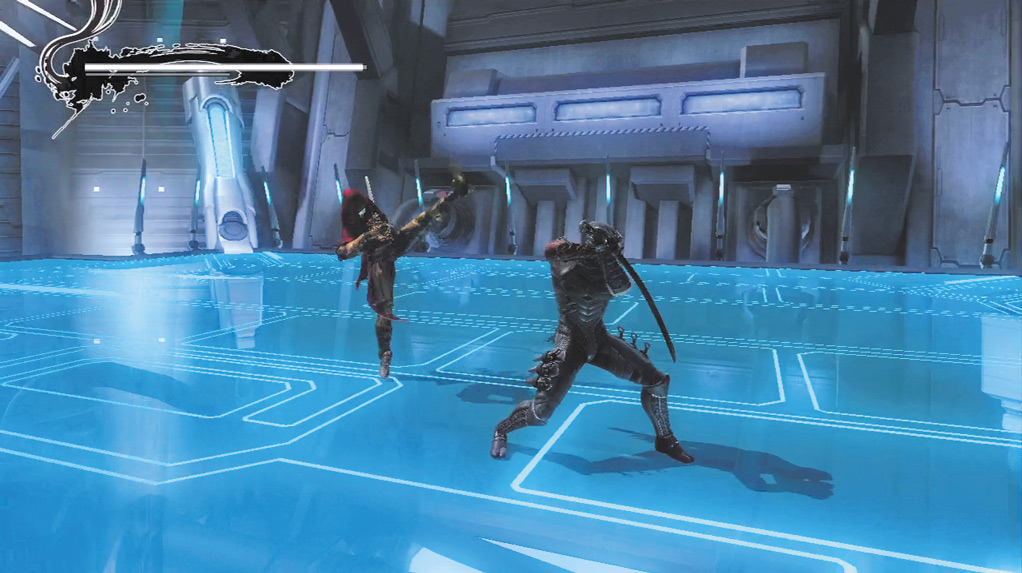
The Regent of the Mask’s five-hit combo.
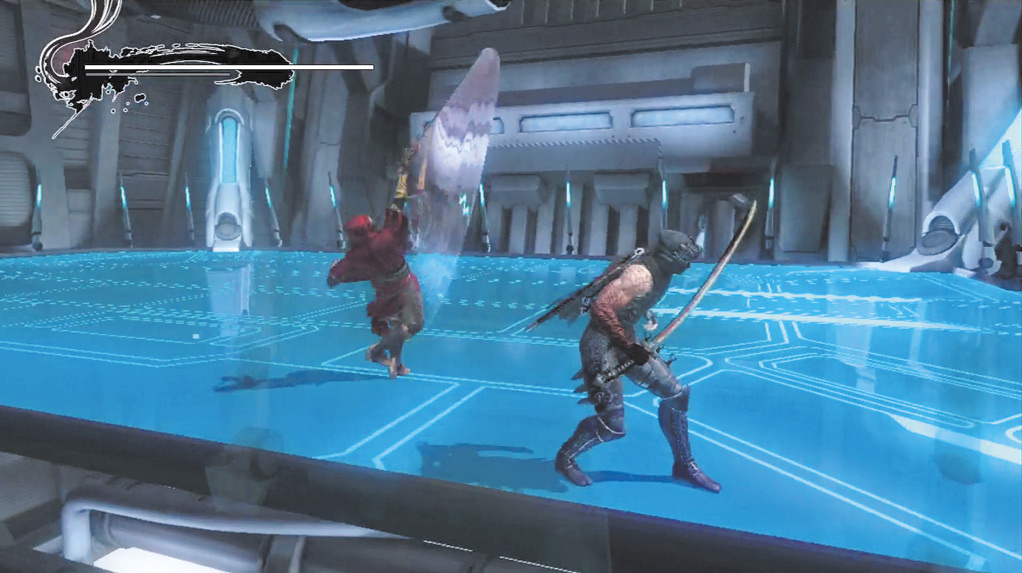
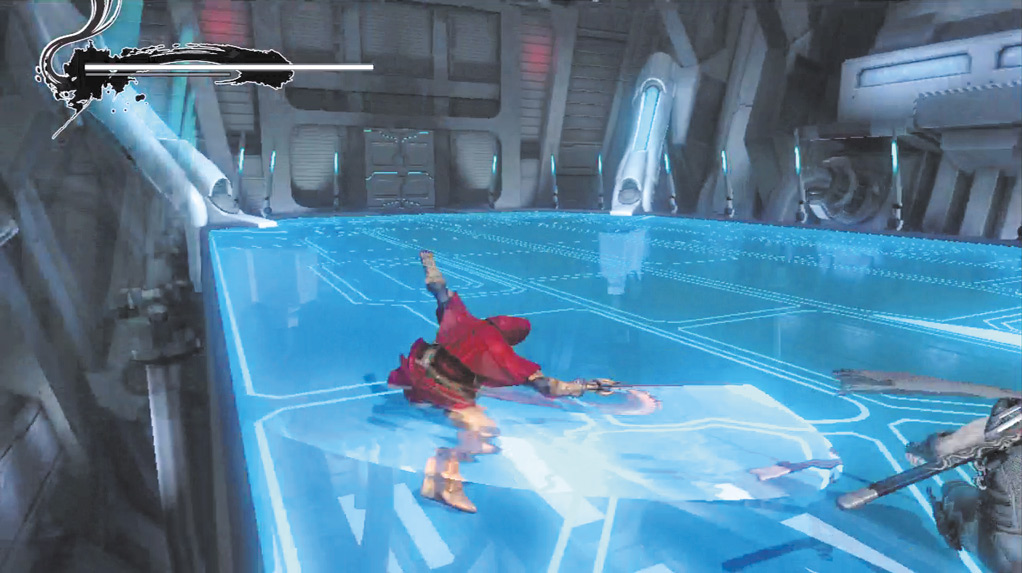
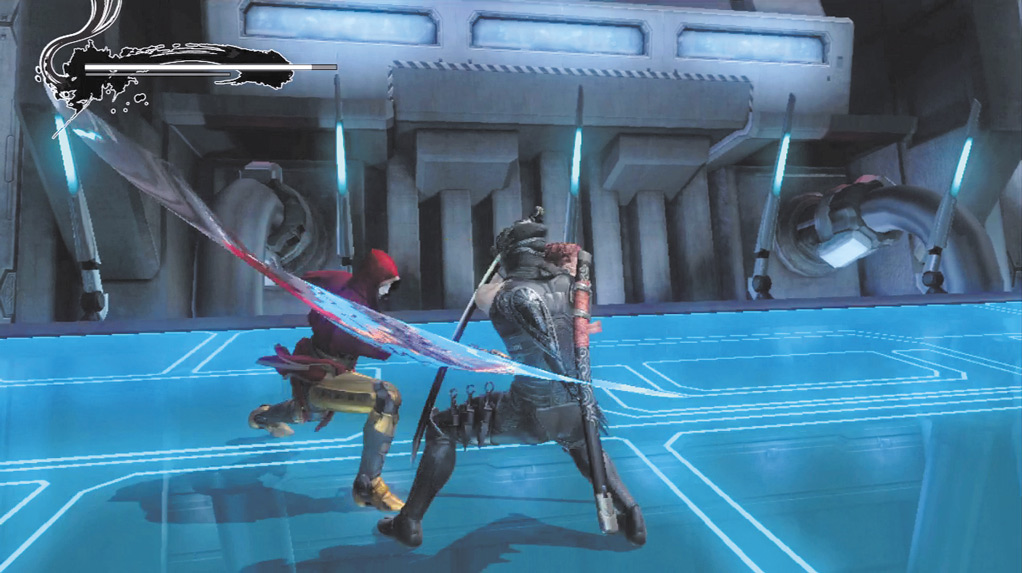
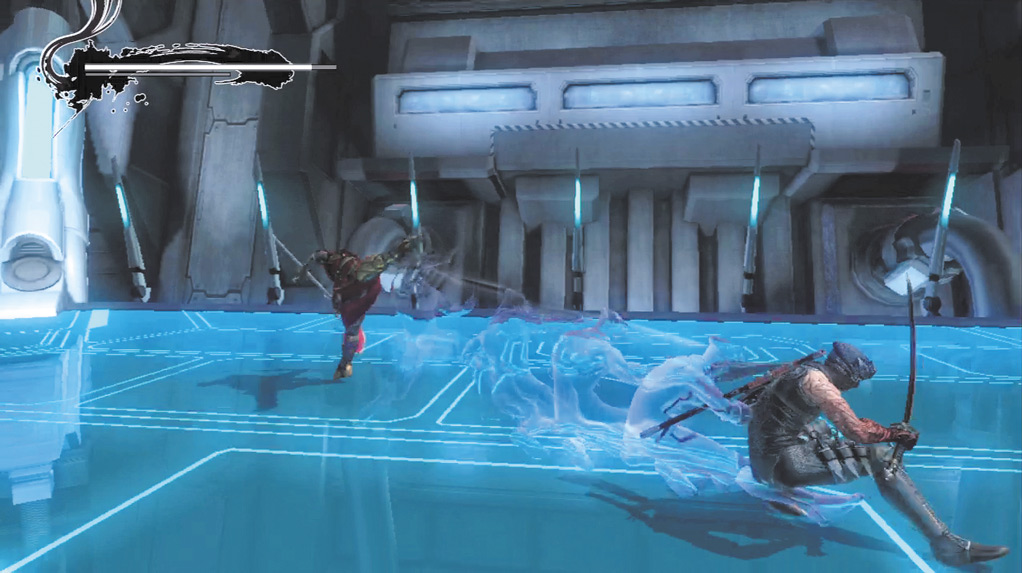
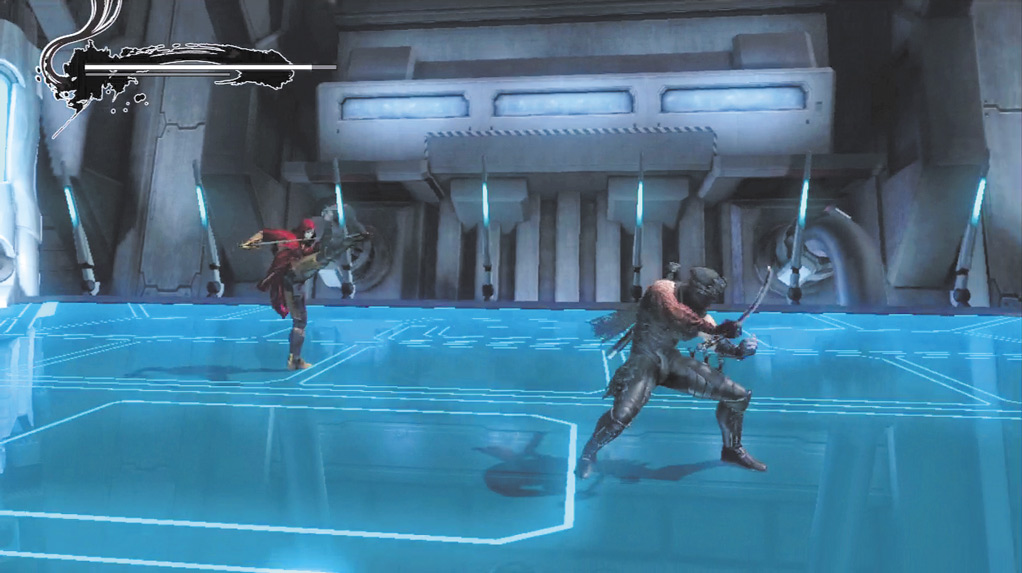
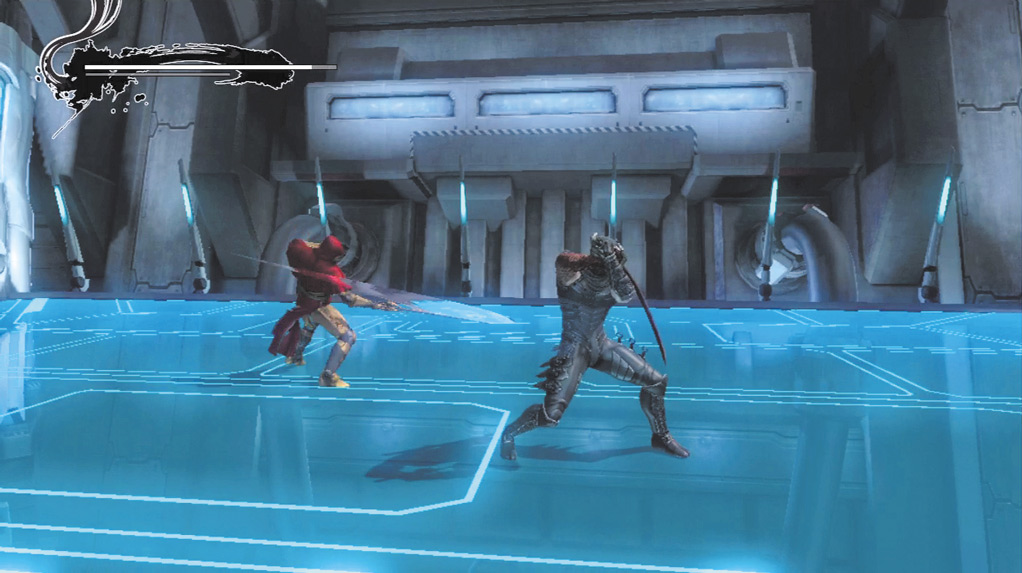
The Regent of the Mask’s six-hit combo.
Remain stationary and block until the Regent of the Mask gets close to Hayabusa. Use the slide to evade his first attack, then wait to see which combo he’s using.
At the completion of each combo, use a Wind Run into Flying Swallow, Strong Attack combo, or Quick Attack combo (depending on how close Hayabusa is to the Regent of the Mask).
Do not stay close to the Regent of the Mask after Hayabusa’s combo or he will use one of his unblockable attacks.
This is a difficult fight if you’re too aggressive, so continue this slow but effective battle strategy until Hayabusa clashes swords with the Regent of the Mask.
When this happens, tap Quick Attack (3 or p) rapidly when prompted to complete the battle and initiate another cinematic.
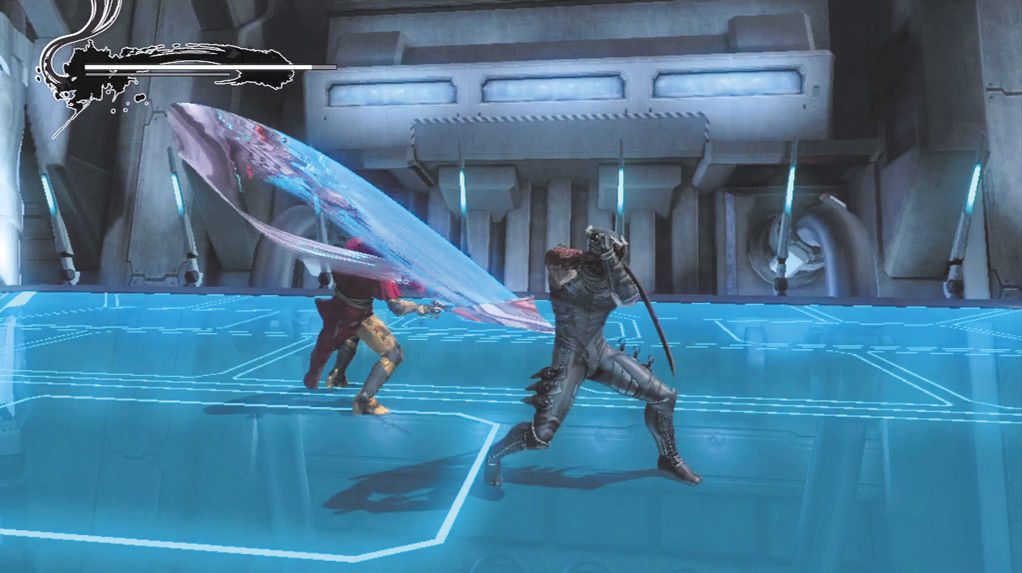
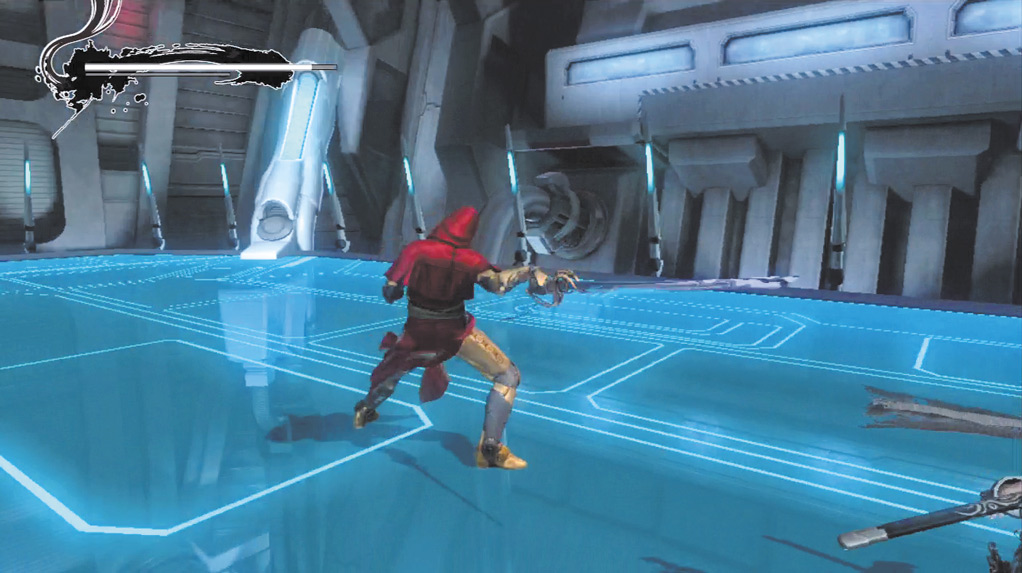
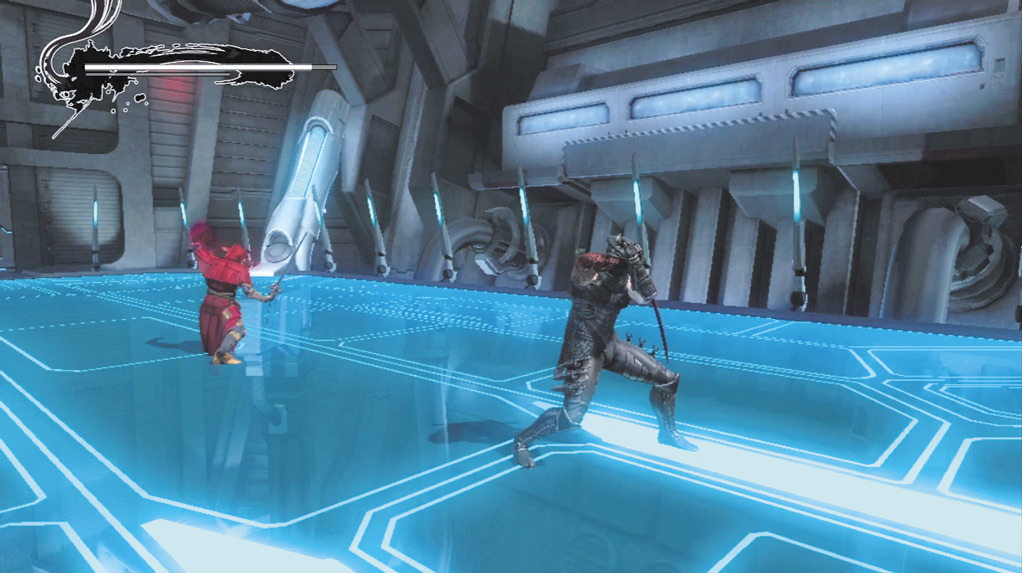
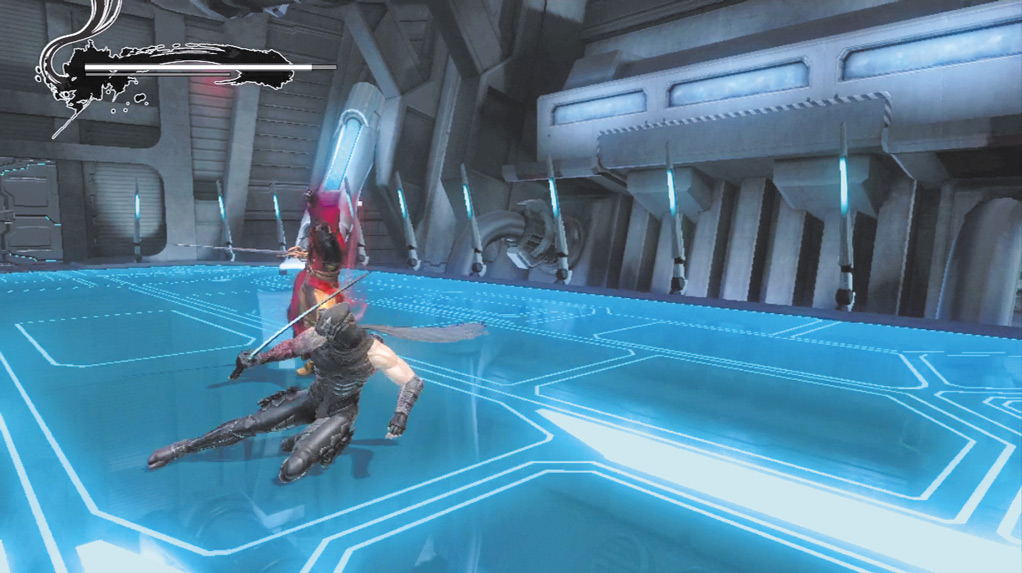
If the Regent of the Mask’s fist begins to glow red, he’s about to execute an Unblockable Grab combo. Quickly slide away and wait to see how many times it’s used.
If it’s only used once, Hayabusa can’t do much to counterattack because it’s too risky in the event the Regent of the Mask performs the attack multiple times.
There’s a slight delay between attacks, which is enough time to determine if another attack is coming or if the Regent of the Mask is shifting to a different attack pattern.
After the second attack, it’s usually safe to use a Wind Run into Flying Swallow, or a Strong Attack combo if Hayabusa is close enough.
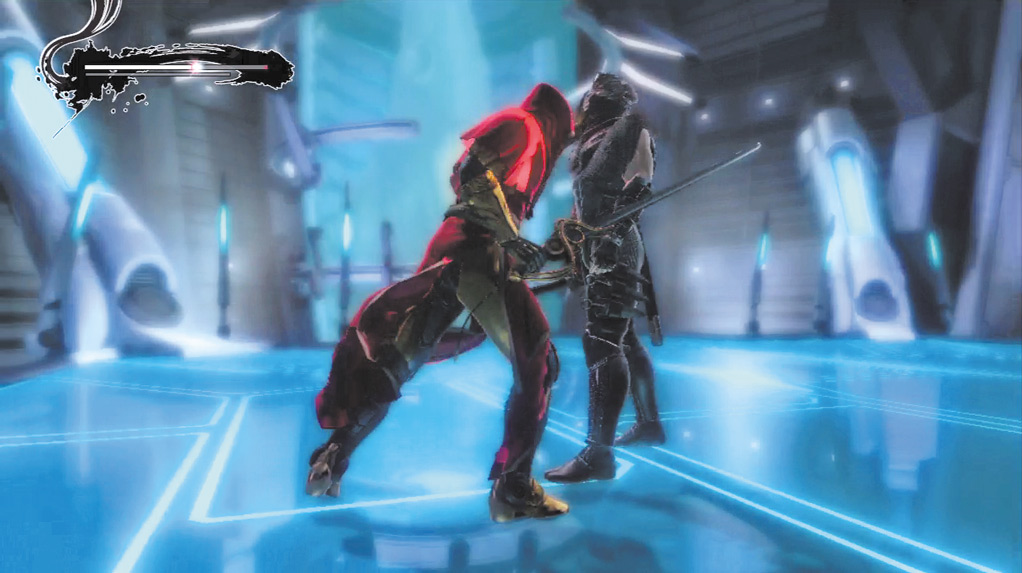
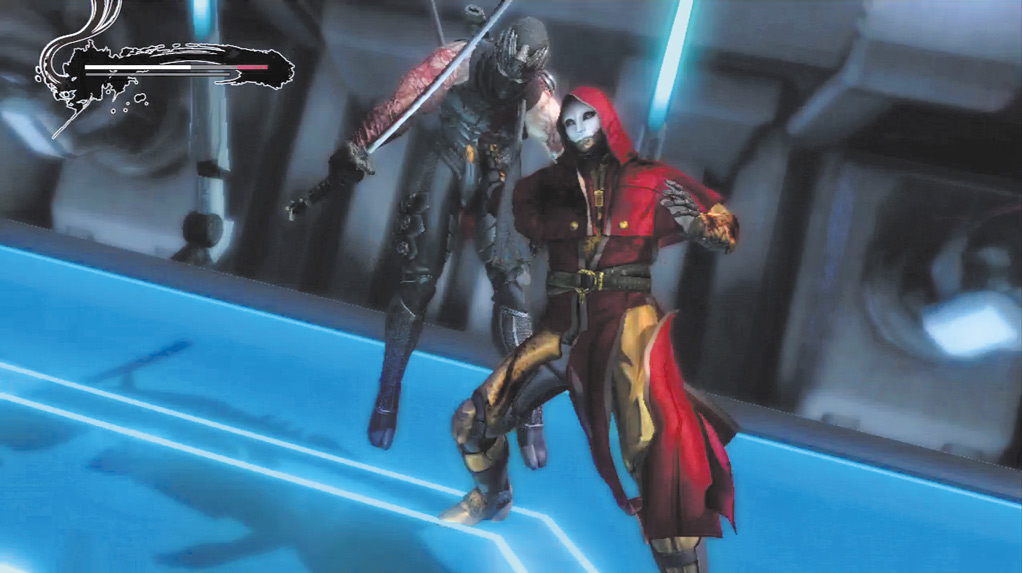
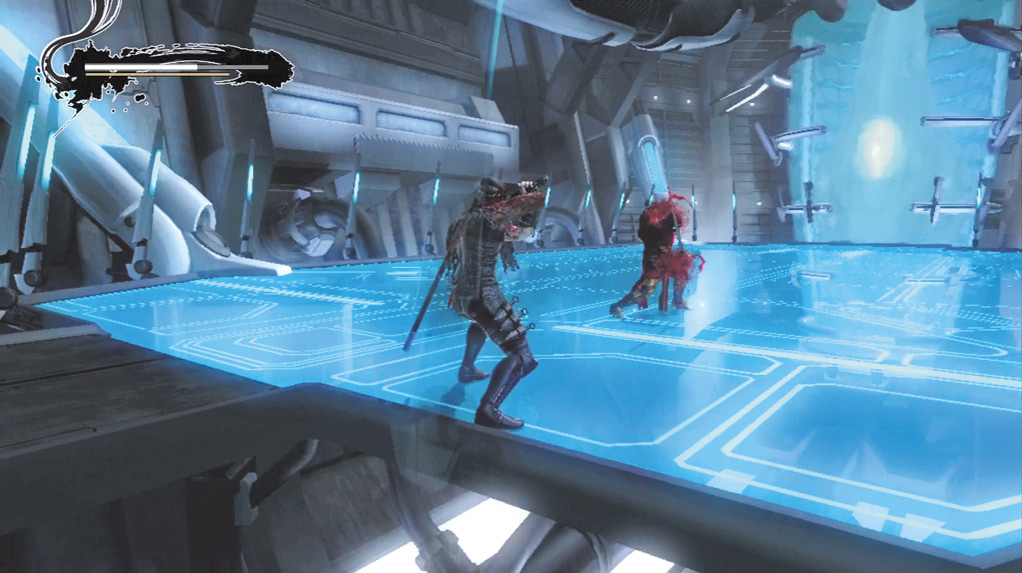
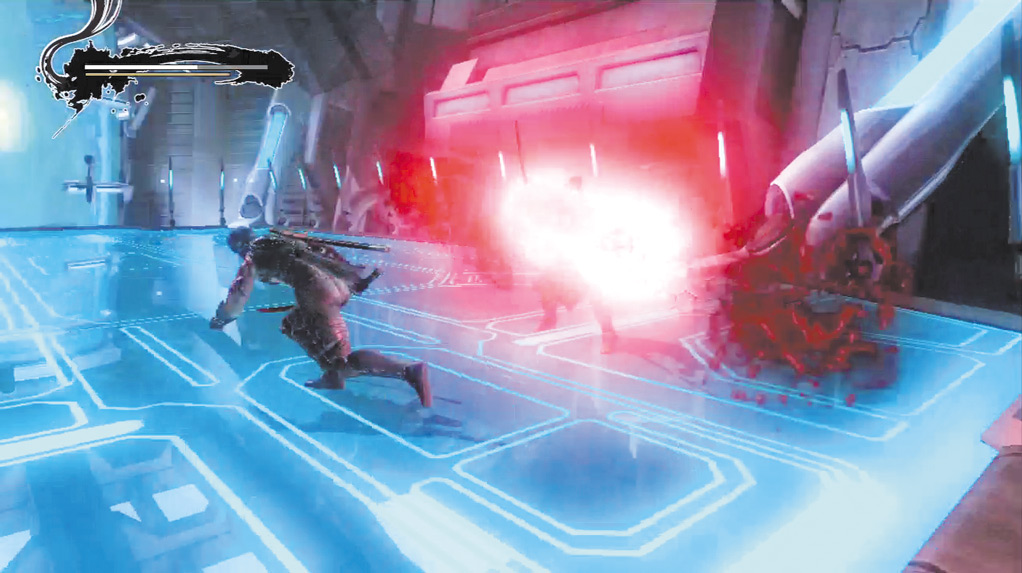
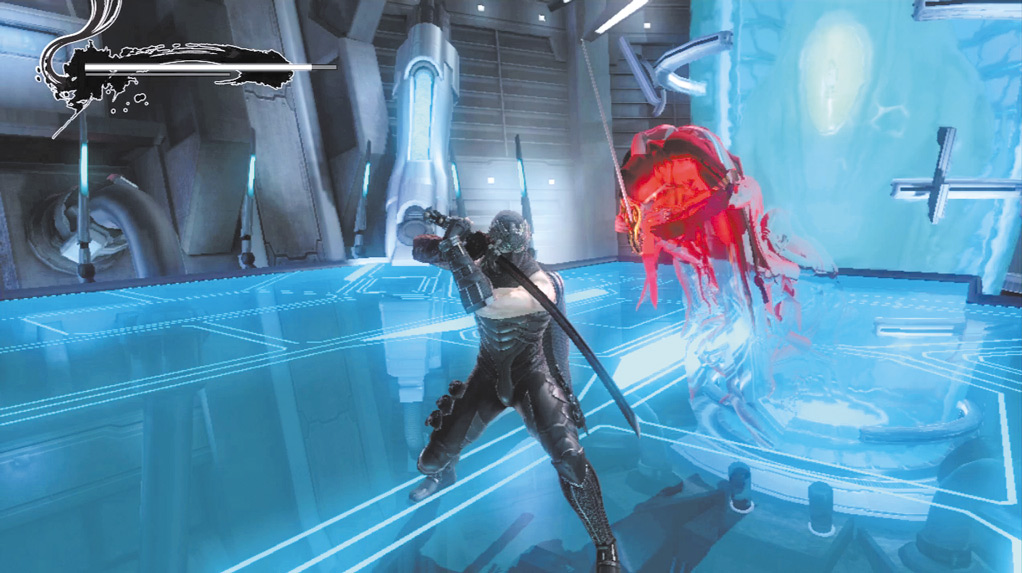
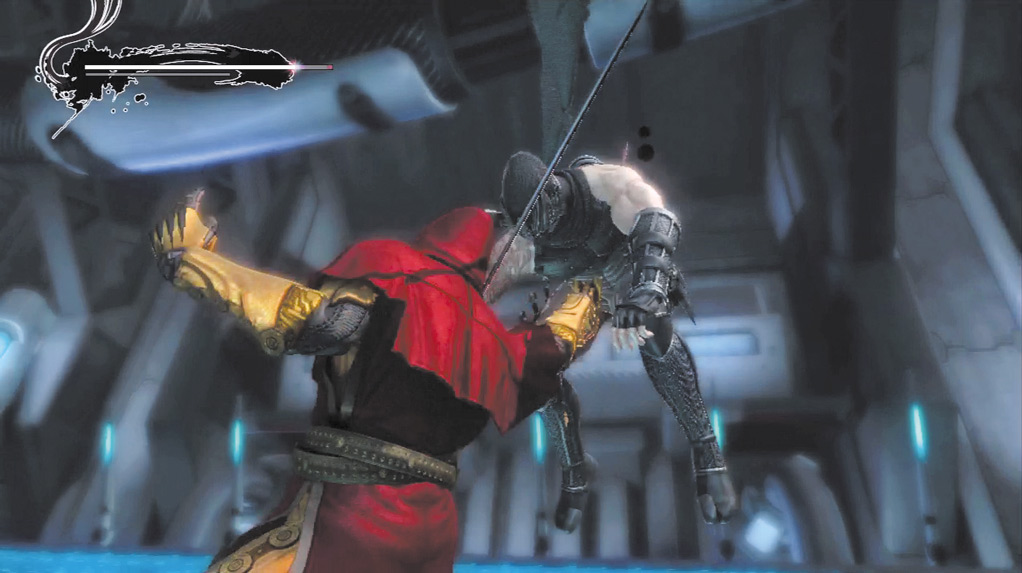
When the Regent of the Mask pulls both arms behind him and to his right side and begins to charge, the Projectile Attack is coming.
It looks similar to Hayabusa’s Dark Void Ninpo, but is easily evaded by sliding left or right.
If Hayabusa is close to the Regent of the Mask when this happens, use a Quick Attack combo to counterattack. If Hayabusa is not close, there isn’t much he can do to counterattack.
The Regent of the Mask also uses a jumping attack that looks like Hayabusa’s Wind Run. If you see this, slide away to avoid it. The Wind Run transitions into an Unblockable Grab attack that cannot be interrupted by any of Hayabusa’s attacks.
If the Regent of the Mask kneels into a lower fighting stance, similar to Hayabusa’s Ultimate Technique stance, get ready to evade with a slide. This is the Regent of the Mask’s altered Ultimate Technique.
The attack executes very fast and is difficult to dodge if you’re not ready for it. Slide to escape the first attack, then slide a second time immediately after. The Regent of the Mask uses a second attack immediately following the first Ultimate Technique.