Ninja Gaiden 3 Guide Essentials Ninja Training
Weapons and Ninpo Magic
Ryu Hayabusa has a variety of techniques and weapons that are available to him in Ninja Gaiden 3. He does not have as many weapons as he did in previous games, but the weapons he does have get upgraded over the course of the game.
Hayabusa’s techniques fall into three categories: offensive, defensive, and environmental. Learn how and when to use these techniques, and learn all of his weapon combos to make battles easier and avoid taking damage.
Melee Weapons
Dragon Sword and Jinran-Maru (Day 2)
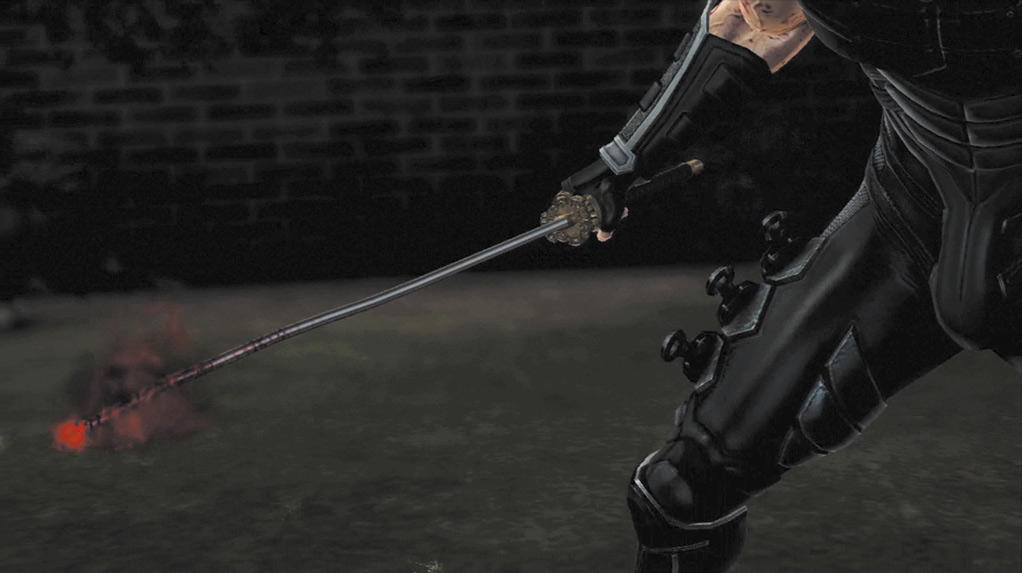
Dragon Sword
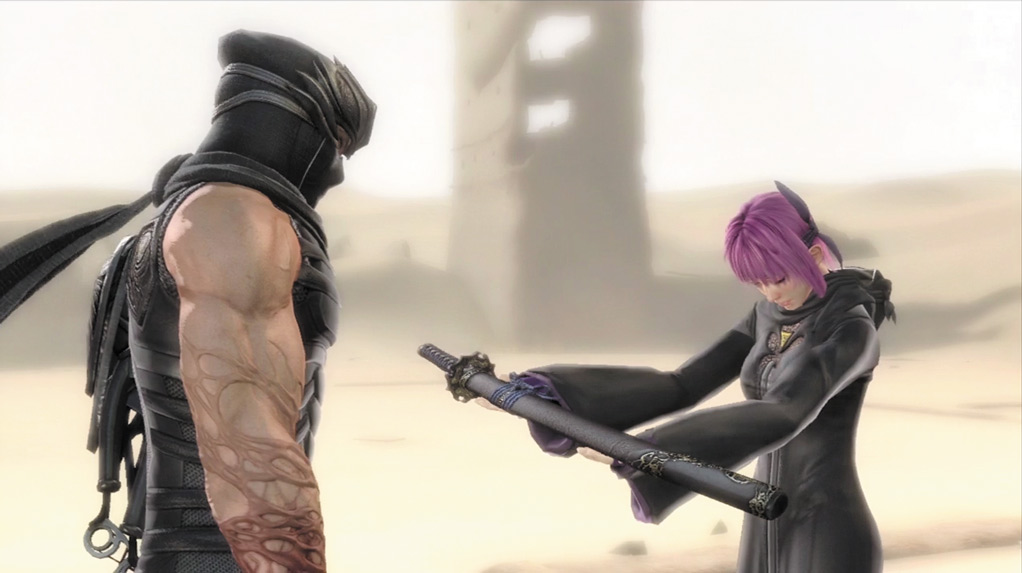
Jinran-Maru
The Dragon Sword and Jinran-Maru (Hayate’s Sword) are identical in every way (aside from appearance). Both swords inflict the same amount of damage and have the exact same combos.
It is not necessary to learn combos in Ninja Gaiden 3. As soon as the game starts, you can use any of the combos listed.
Dragon Sword and Jinran-Maru Combos
|
Xbox 360 Notation |
PlayStation 3 Notation |
Dragon Sword/Jinran-Maru Damage |
Blade of the Archfiend Damage |
|---|---|---|---|
|
|
|
125 |
175 |
|
|
|
125 |
175 |
|
|
|
200 |
275 |
|
|
|
200 |
275 |
|
|
|
250 |
325 |
|
|
|
250 |
325 |
|
|
|
175 |
225 |
|
|
|
175 |
225 |
|
|
|
175 |
225 |
|
|
|
275 |
350 |
|
|
|
N/A |
N/A |
|
|
|
250 |
325 |
|
|
|
175 |
225 |
|
|
|
200 |
275 |
|
|
|
200 |
275 |
|
|
|
250 |
325 |
|
|
|
175 |
225 |
|
|
|
175 |
225 |
|
|
|
175 |
225 |
|
|
|
175 |
225 |
|
|
|
275 |
350 |
|
|
|
N/A |
N/A |
|
|
|
250 |
325 |
|
|
|
175 |
225 |
|
|
|
175 |
225 |
|
|
|
175 |
225 |
|
|
|
175 |
225 |
|
|
|
275 |
350 |
|
|
|
N/A |
N/A |
|
|
|
250 |
325 |
|
|
|
350 |
450 |
|
|
|
250 |
325 |
|
|
|
175 |
225 |
|
|
|
175 |
225 |
|
|
|
175 |
225 |
|
|
|
275 |
350 |
|
|
|
N/A |
N/A |
|
360 Circle
|
360 Circle
|
75 |
100 |
|
While Running
|
While Running
|
250 |
300 |
|
While Running
|
While Running
|
250 |
300 |
|
While Running
|
While Running
|
250 |
325 |
|
While Running
|
While Running
|
175 |
225 |
|
While Running
|
While Running
|
175 |
225 |
|
While Running
|
While Running
|
175 |
225 |
|
While Running
|
While Running
|
275 |
350 |
|
While Running
|
While Running
|
N/A |
N/A |
|
While Running
|
While Running
|
175 |
225 |
|
While Running
|
While Running
|
350 |
450 |
|
Jump
|
Jump
|
175 |
225 |
|
Jump
|
Jump
|
175 |
225 |
|
Jump
|
Jump
|
175 |
225 |
|
Jump
|
Jump
|
275 |
350 |
|
Jump
|
Jump
|
N/A |
N/A |
|
Jump
|
Jump
|
275 |
350 |
|
While Running, Jump
|
While Running, Jump
|
75 |
100 |
|
While Running, Jump
|
While Running, Jump
|
350 |
450 |
|
While Sliding
|
While Sliding
|
125 |
175 |
|
While Sliding
|
While Sliding
|
125 |
175 |
|
While Sliding
|
While Sliding
|
200 |
275 |
|
While Sliding
|
While Sliding
|
200 |
275 |
|
While Sliding
|
While Sliding
|
250 |
325 |
|
While Sliding
|
While Sliding
|
250 |
325 |
|
While Sliding
|
While Sliding
|
175 |
225 |
|
While Sliding
|
While Sliding
|
175 |
225 |
|
While Sliding
|
While Sliding
|
175 |
225 |
|
While Sliding
|
While Sliding
|
275 |
350 |
|
While Sliding
|
While Sliding
|
N/A |
N/A |
|
While Sliding
|
While Sliding
|
175 |
225 |
|
While Sliding
|
While Sliding
|
200 |
275 |
|
While Sliding
|
While Sliding
|
200 |
275 |
|
While Sliding
|
While Sliding
|
250 |
325 |
|
While Sliding
|
While Sliding
|
250 |
325 |
|
While Sliding
|
While Sliding
|
250 |
325 |
|
While Sliding
|
While Sliding
|
250 |
325 |
|
While Sliding
|
While Sliding
|
250 |
325 |
|
While Sliding Hit
|
While Sliding Hit
|
175 |
225 |
|
While Sliding
|
While Sliding
|
175 |
225 |
|
While Sliding
|
While Sliding
|
175 |
225 |
|
While Sliding
|
While Sliding
|
175 |
225 |
|
While Sliding
|
While Sliding
|
275 |
350 |
|
While Sliding
|
While Sliding
|
N/A |
N/A |
|
While Landing
|
While Landing
|
175 |
225 |
|
While Landing
|
While Landing
|
350 |
450 |
|
While Landing, 360 Circle
|
While Landing, 360 Circle
|
75 |
100 |
|
During Shadowless Footsteps
|
During Shadowless Footsteps
|
75 |
100 |
|
During Shadowless Footsteps
|
During Shadowless Footsteps
|
425 |
550 |
|
During Glide
|
During Glide
|
75 |
100 |
|
During Glide
|
During Glide
|
425 |
550 |
|
During Counterattack
|
During Counterattack
|
250 |
300 |
|
During Counterattack
|
During Counterattack
|
250 |
300 |
|
During Counterattack
|
During Counterattack
|
250 |
300 |
|
During Counterattack
|
During Counterattack
|
275 |
350 |





Blade of the Archfiend (Day 5)
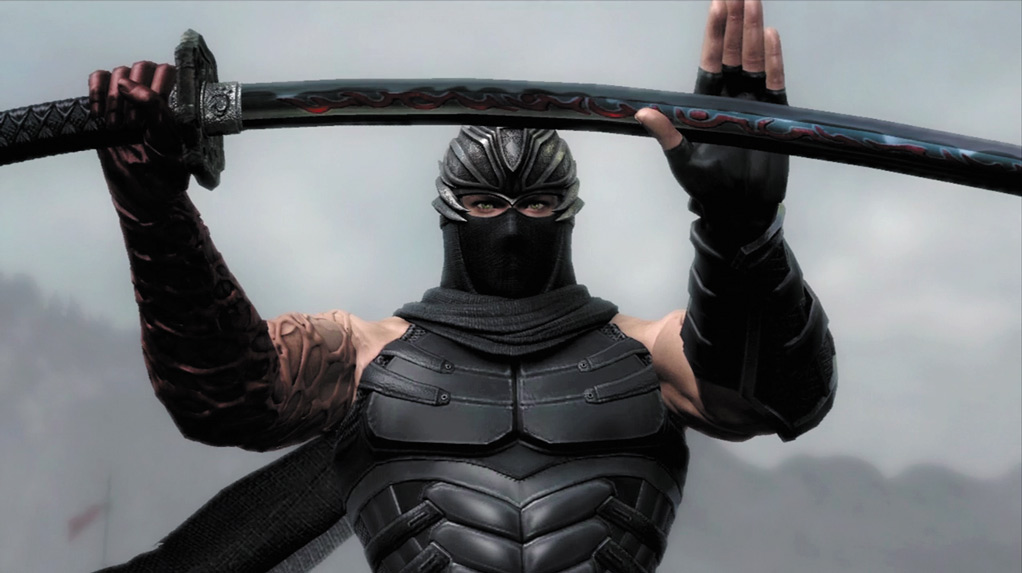
Blade of the Archfiend
The Blade of the Archfiend is superior to the Dragon Sword and Jinran-Maru in almost every way. All of the Dragon Sword and Jinran-Maru combos inflict more damage with the Blade of the Archfiend, and there are combos that can only be done with the Blade of the Archfiend.
In addition, a few animations change when Hayabusa acquires the Blade of the Archfiend, such as the animation for the Izuna Drop. However, the notation remains the same.
Blade of the Archfiend Combos
|
Xbox 360 Notation |
PlayStation 3 Notation |
Damage |
|---|---|---|
|
|
|
325 |
|
|
|
225 |
|
|
|
225 |
|
|
|
225 |
|
|
|
350 |
|
|
|
N/A |
|
|
|
325 |
|
|
|
325 |
|
While Running
|
While Running
|
325 |
|
While Running
|
While Running
|
325 |
|
Jump
|
Jump
|
225 |
|
While Sliding Hit
|
While Sliding Hit
|
325 |
|
While Sliding Hit
|
While Sliding Hit
|
225 |
|
While Sliding Hit
|
While Sliding Hit
|
225 |
|
While Sliding Hit
|
While Sliding Hit
|
225 |
|
While Sliding Hit
|
While Sliding Hit
|
350 |
|
While Sliding Hit
|
While Sliding Hit
|
N/A |
|
While Sliding
|
While Sliding
|
325 |
|
While Sliding
|
While Sliding
|
225 |
|
While Sliding
|
While Sliding
|
225 |
|
While Sliding
|
While Sliding
|
225 |
|
While Sliding
|
While Sliding
|
350 |
|
While Sliding
|
While Sliding
|
N/A |
|
While Landing
|
While Landing
|
325 |
Projectile Weapons
Bow (Day 2)/Explosive Bow (Day 3)
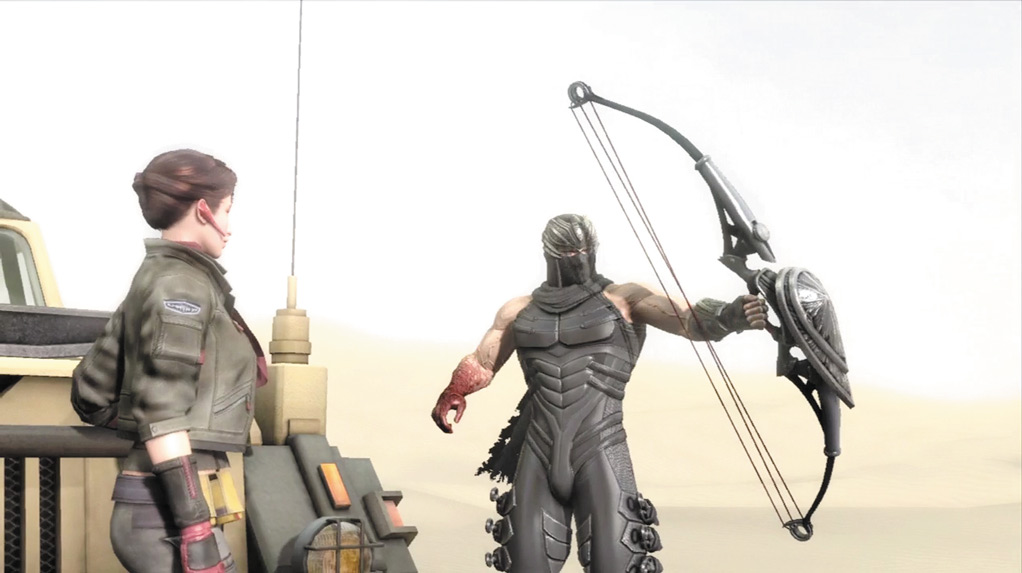
At the beginning of Day 2, Hayabusa gains the ability to use a bow. It is upgraded with explosive arrowheads during Day 3, which inflict slightly more damage. When you aim the bow, it automatically locks on to an enemy.
In most cases, the enemy selected is a long-range fighter, such as a Terrorist (Rocket Launcher) or Archer.
If Hayabusa jumps into the air and then aims his bow, it auto-locks and Hayabusa is generally safe from harm. Only one arrow can be shot in the air, but if you need to shoot more, simply jump again. This is almost always the best way to use the bow.
Shuriken
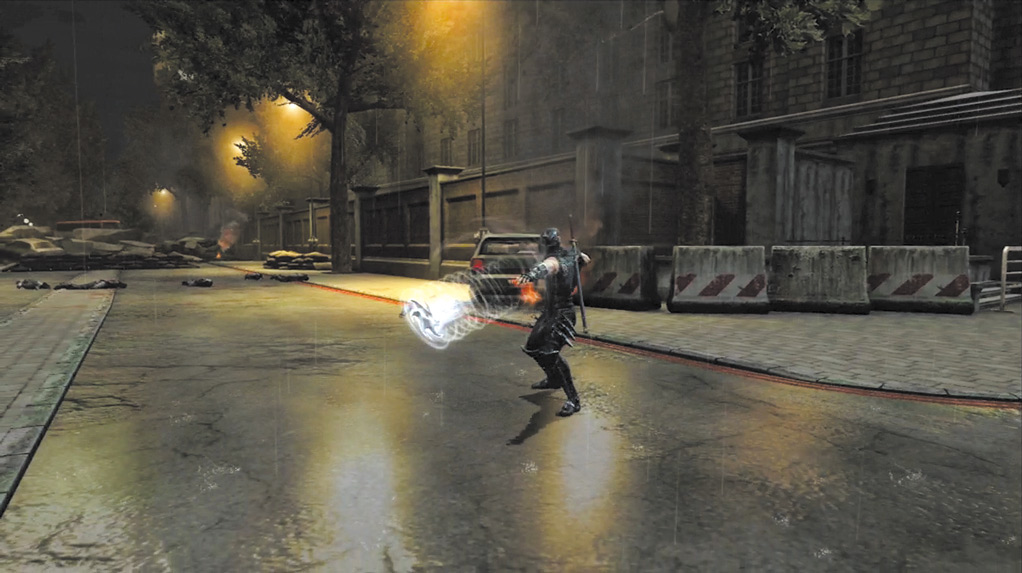
Hayabusa’s shuriken are generally used to briefly stun an opponent or extend a combo for a higher karma score. Shuriken inflict very little damage and are not Hayabusa’s main source of offense.
However, using a shuriken while running enables Hayabusa to dodge, which is a good evasive maneuver.
Ninpo Magic
Art of the Fire Dragon
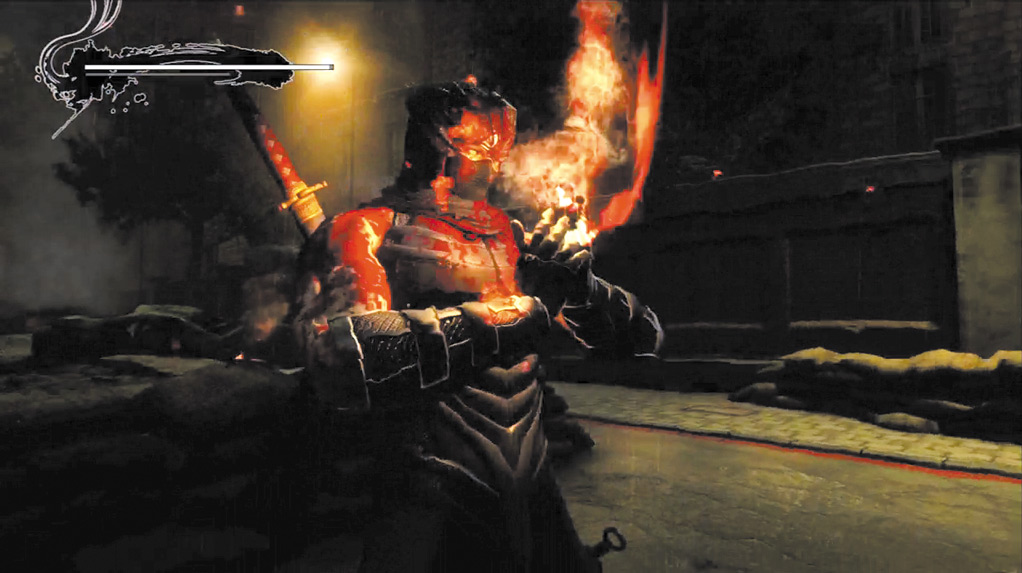
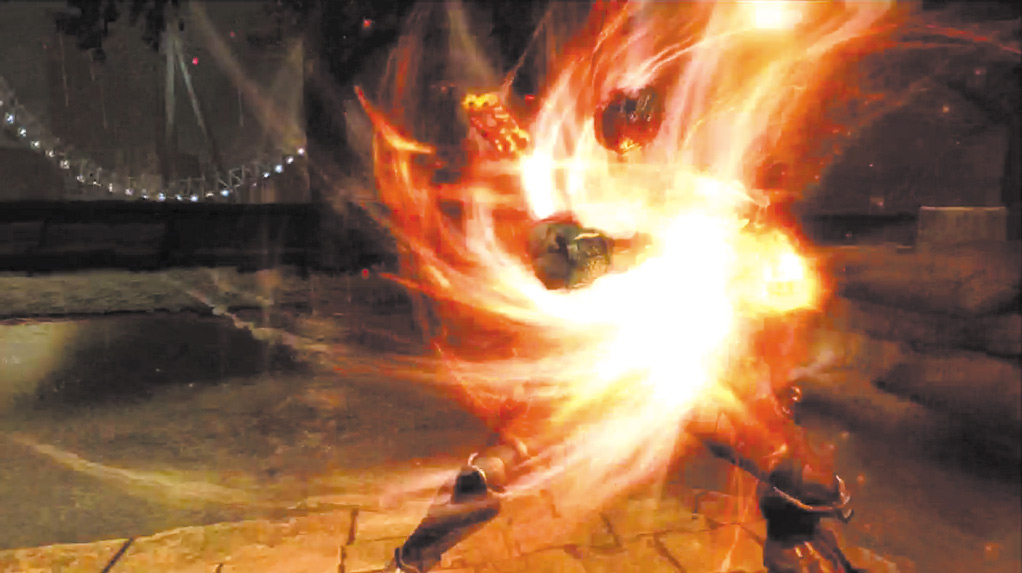
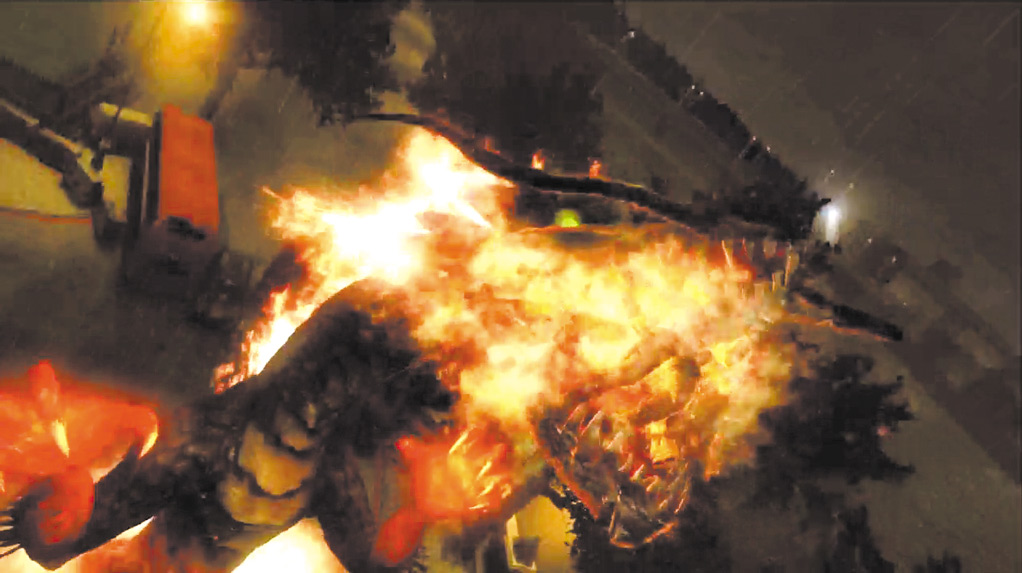
In story mode, the use of Ninpo replenishes Hayabusa’s Health Gauge. However, at the end of each battle his Health Gauge is replenished automatically. Because of this, it is important to manage the use of Hayabusa’s Ninpo.
While it’s easy to fill the Ki Gauge, then immediately use Ninpo, if only a few enemies remain and Hayabusa has plenty of health, Ninpo is not necessary.
In addition, the state of the Ki Gauge determines how much Hayabusa’s Health Gauge increases in size. If you can end a battle with a full Ki Gauge, Hayabusa’s Health Gauge will increase significantly more than if the battle ends with an empty Ki Gauge.
Unless otherwise stated in the Path of the Ninja chapter, it is highly recommended to save Hayabusa’s Ninpo until he is near death. Think of it more as a health item, rather than the ability to clear all the enemies off the screen.
Art of the Dark Void
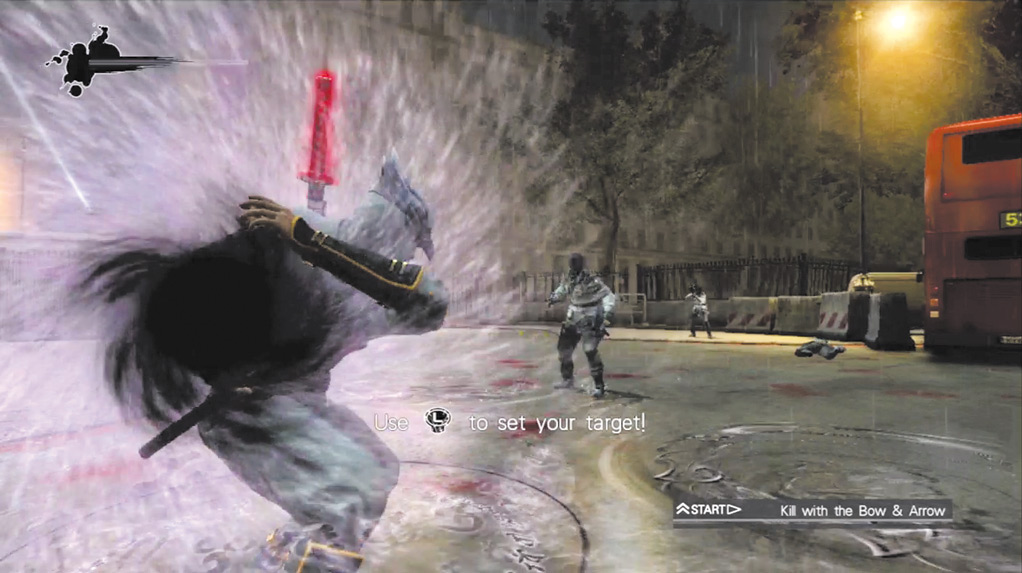

Art of the Dark Void is the only Ninpo available in Ninja Trials mode. Your character charges up for a short time, then shoots a projectile that inflicts damage as it passes through enemies in a straight trajectory.
During the charging period, your character does not take any damage, and nearby enemies are hit by the power of the charge. Take this time to aim the Ninpo to ensure it hits the strongest enemy, or the highest number of enemies.