
Ninja Gaiden 3 Guide Walkthrough The Path of the Ninja
LOA Biolab, Abysmo Island (Day 4)
DAILY DETAILS
|
New Enemies |
Homunculus, Demon Baphomet, Ourboros |
|
Bosses |
Prototype Goddess “Lovelace” |
Go down the hallway and through the first door. When you try to open the second door, two Rocket Launchers attack from behind, alongside a flurry of Terrorists and a few Ghost Soldiers.
Take out the Rocket Launchers with jumping arrows, then take on the Terrorists to build up Hayabusa’s Ki Gauge and Ultimate Technique.
Finish off the Terrorists before using either to avoid having to deal with the Ghost Soldiers. When more Rocket Launchers appear, take them down with jumping arrows then kill the remaining enemies.
|
|
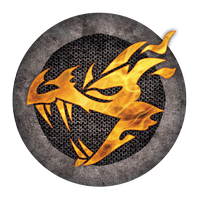

Head through the door and onto the bridge. Take down the Heavy Soldiers (Jetpack) that attack and ignore the others.
When the Heavy Soldiers (Jetpack) are destroyed, take out the Heavy Soldiers, Terrorists, Rocket Launchers, and Ghost Soldiers, giving priority to the Rocket Launchers.
Use the Terrorists to build Hayabusa’s Ki Gauge and unleash Ninpo at your leisure. When most of the enemies are defeated, follow the on-screen prompts to jump and use the Kunai Climb to latch on to the side of the bridge.
Throw a dagger at the enemy above, then climb to the top of the area.
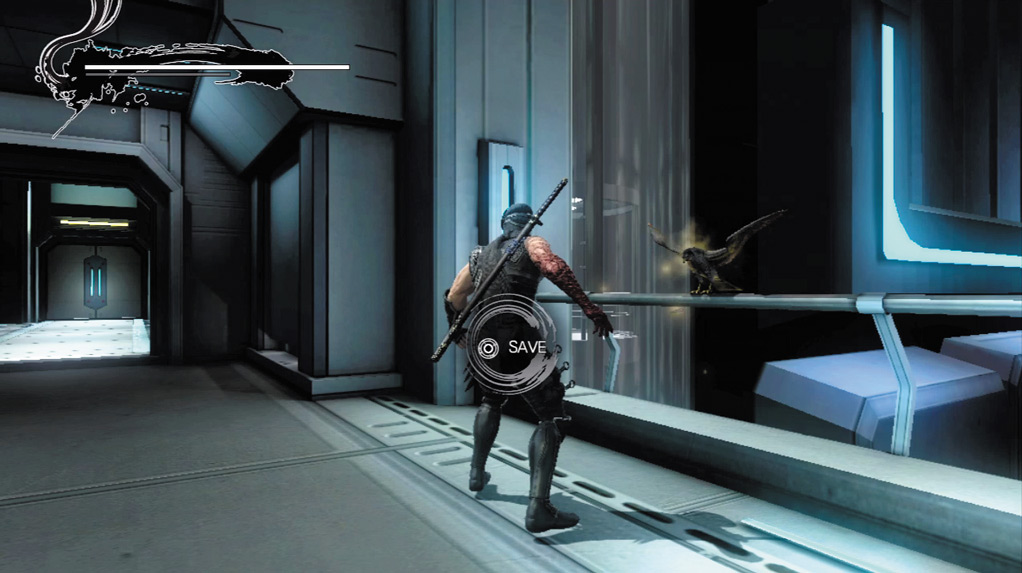
Save your progress at the falcon on the right.
Save your progress at the falcon on the right, and head through the next two doors. Take down the Terrorists that attack. Continue through the next door and take out the Heavy Soldiers and single Heavy Soldier (Shield) that attack.
You cannot use the Izuna Drop in this area because of the low ceiling, so use basic Quick or Strong Attack combos instead.
|
Head down the hallway and to the right and through the doors to initiate another cinematic. When the cinematic concludes Hayabusa is attacked by a horde of Homunculi.
Defeat the Homunculi and they become Ourboros and Demon Baphomets. Stay away from the Demon Baphomets because they use an Unblockable Grab that has a considerable amount of range (both of their fists glow red).
Izuna Drops do not work on the Ourboros or the Demon Baphomets, so instead use Quick Attack (
 or
or
 ), Quick Attack (
or
), Strong Attack (
), Quick Attack (
or
), Strong Attack (
 or
or
 ) or a series of Quick Attacks on the Ourboros, then attack the Demon Baphomets from a distance with standing arrows.
|
Alternatively, attack the Demon Baphomets with a single Quick Attack and see how they respond. If they do nothing, continue with Quick Attacks until they parry, then slide away to avoid the counterattack.
Once the Demon Baphomets parry Hayabusa’s attack, you can repeatedly slide away from the counterattack, then slide back in to use another Quick Attack combo until the Demon Baphomet parries again.
This cycle can be repeated until the Demon Baphomet is dead. However, if Hayabusa attacks more than once before the parry cycle begins, the Demon Baphomet usually interrupts with an Unblockable Grab that’s very difficult to avoid.
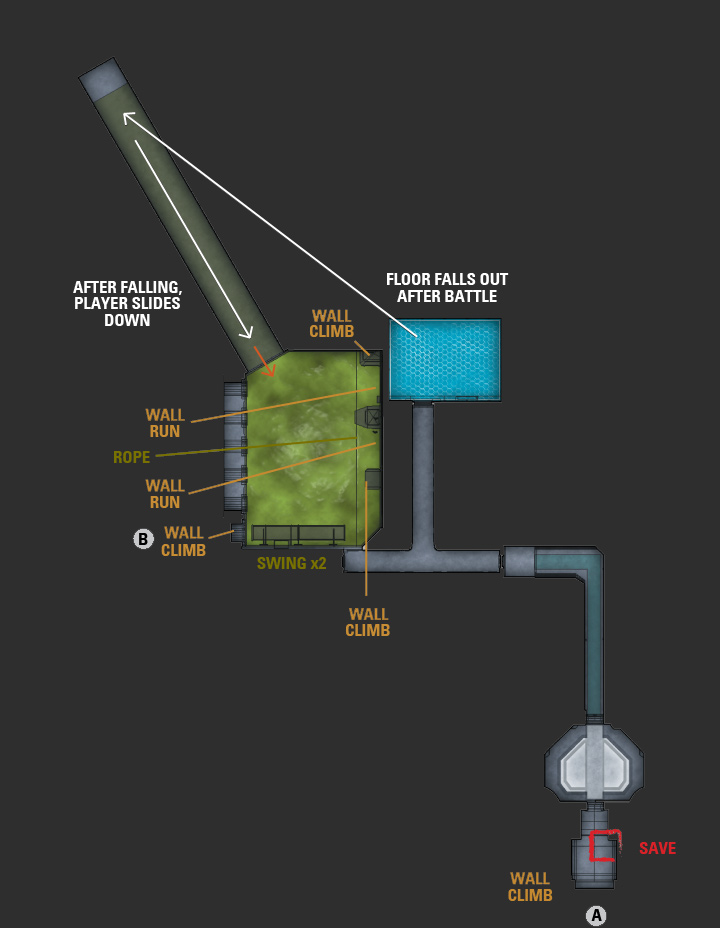
When you have defeated several waves of Demon Baphomets and Ourboros, the floor caves in. Jump and press Strong Attack (
or
) when prompted. Several Homunculi, Demon Baphomets, and Ourboros attack here.
Take out the Homunculi first, then the Ourboros, then the Demon Baphomets. The floor here is covered in an acidic substance, but Hayabusa does not take much damage until all of the enemies have been defeated.
You don’t have to rush, but don’t just stand around taking damage either.
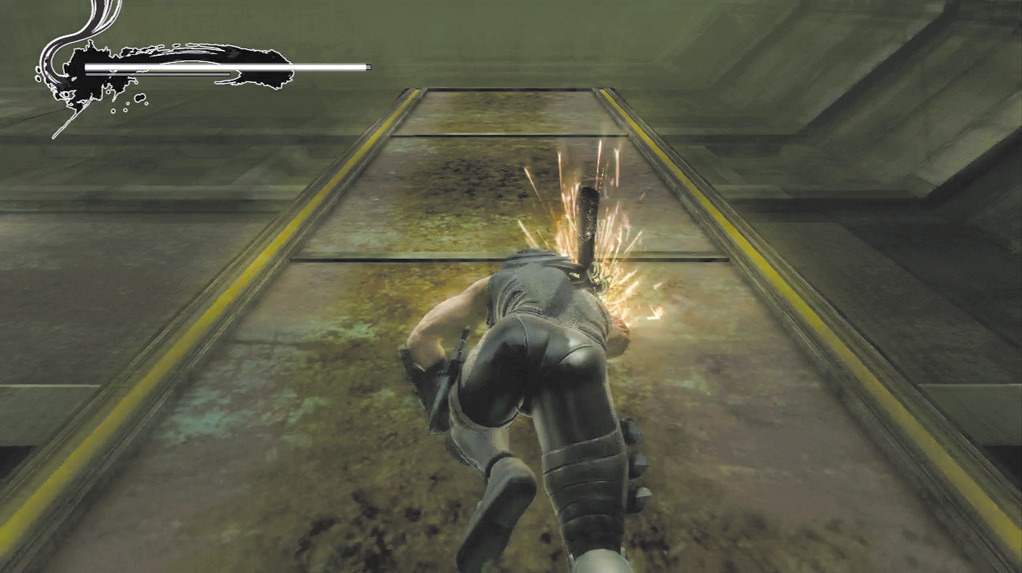
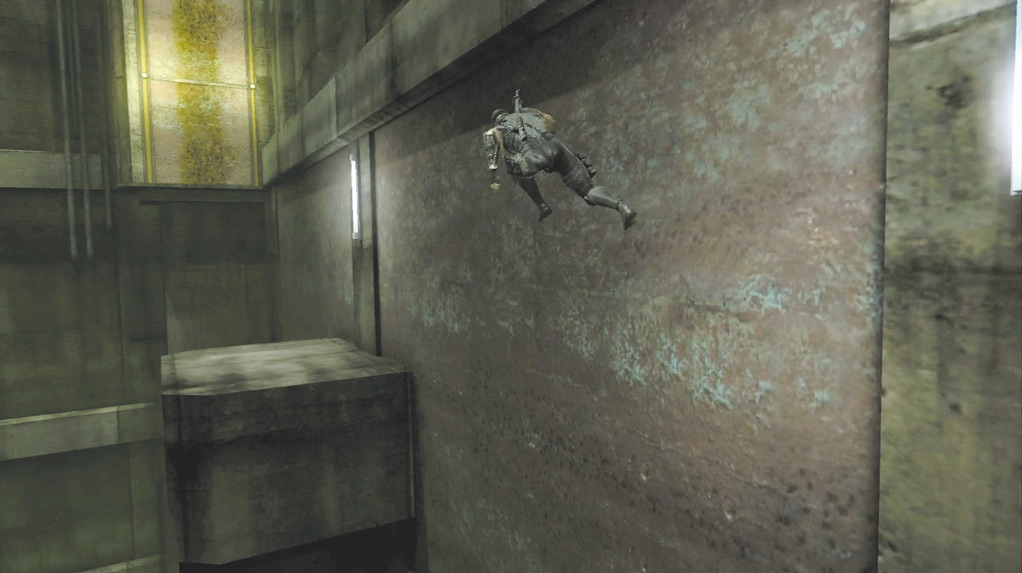
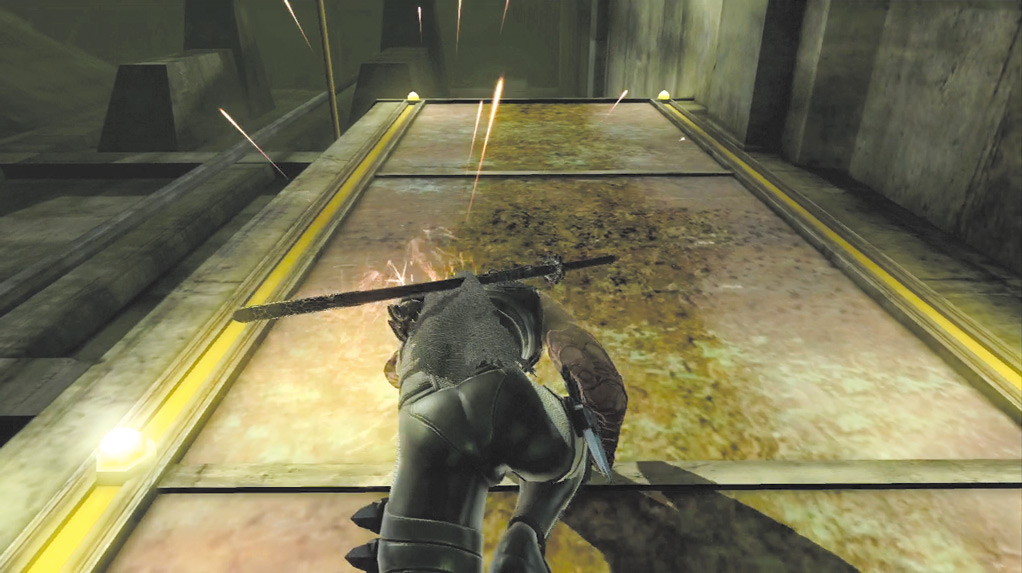
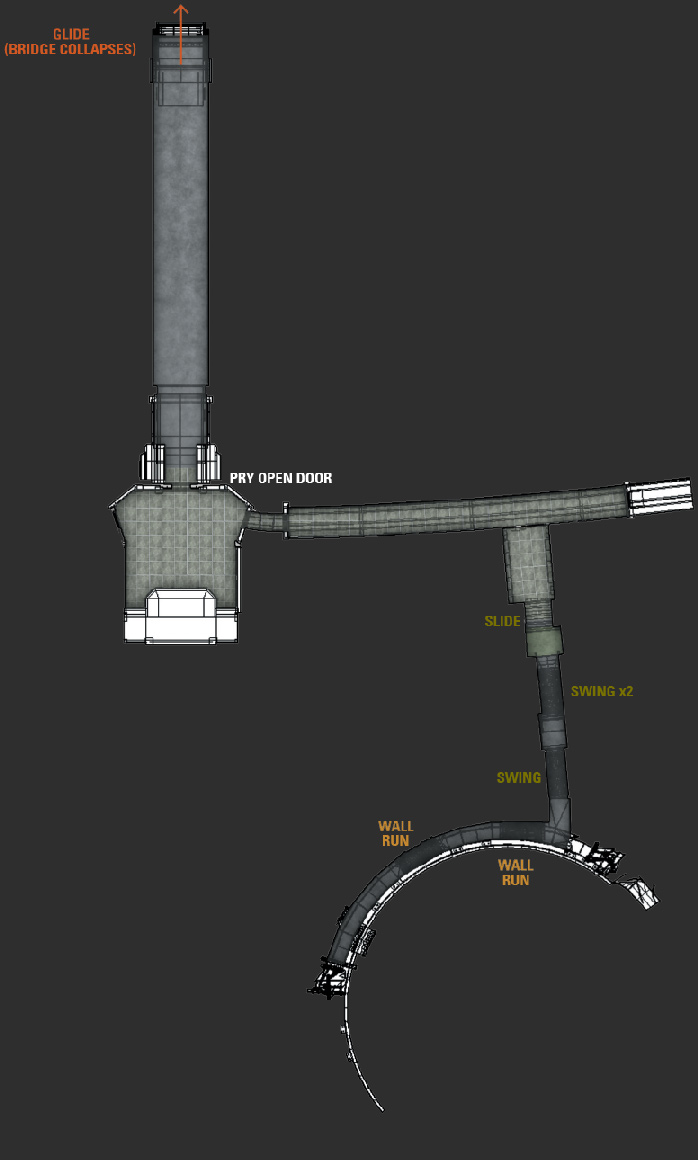
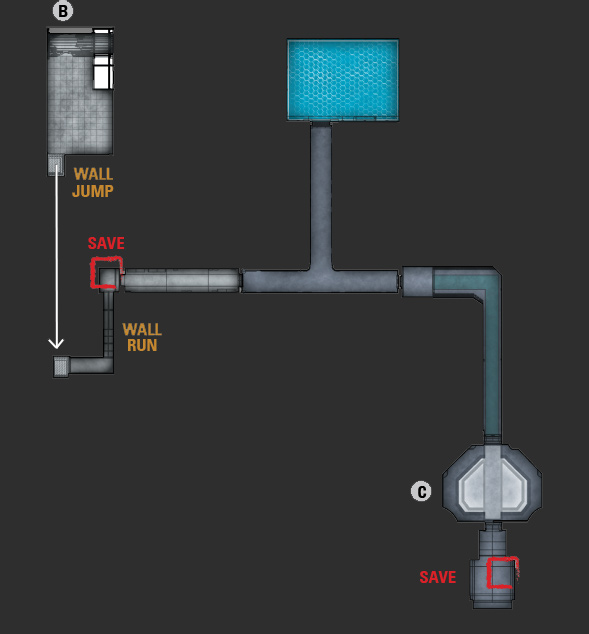
Defeat all the enemies and quickly use the Kunai Climb to escape the ground floor. Use a Wall Run to cross the first gap, then another Wall Run followed by a Kunai Climb and a Rope Crossing technique to get out of the area.
During the Rope Crossing, use daggers to take out the Rocket Launcher and Terrorist at the end.
When you reach the end, jump down, then jump from pole to pole to get off that platform before it collapses. Head down the tunnel and take out the Homunculi at the end.
A few of the Homunculi turn into Ourboros. Take them down as well, then use the Flying Bird Flip to reach the platform above.
When you cross the area that looks like you can use Wall Run, a Demon Baphomet jumps down and the floor collapses.
As Hayabusa is falling, press Strong Attack (
or
) to avoid an attack from the Demon Baphomet when you reach the bottom.
|
|
|
Take down the Demon Baphomets and Ourboros that attack here. Focus on the Ourboros first, then take out the Demon Baphomets. Use the Flying Bird Flip again, and then Wall Run to cross the newly formed gap. Save your progress at the falcon, then head through the two doorways.
Defeat the three Ourboros in the hallway and continue through the next door at the end. Slowly approach the curve in the path. When Hayabusa gets near it, a Demon Baphomet jumps through the glass and attacks.
Slide to avoid it, then take out the Homunculi, Ourboros and Demon Baphomets that attack here. Continue down the hallway and through the door.
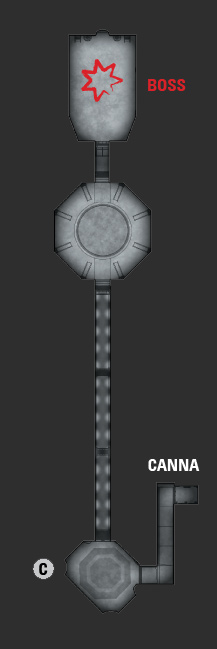
Kill the two Demon Baphomets in the next room, then proceed through the door and save your progress at the falcon on the left. Head back inside to initiate a cinematic.
Continue into the next room and shake off the sneak attack from the Ghost Soldier, then take down the Ghost Soldiers and Terrorists that attack.
Save Hayabusa’s Ultimate Technique and Ninpo for the group of Alchemists that attack when the Ghost Soldiers and Terrorists are defeated.
After the Alchemists, more Ghost Soldiers and Terrorists, as well as a few Heavy Soldiers attack. On Master Ninja, a Magna Persona Fiend joins the battle and there’s no scene of Hayabusa’s arm hurting.
|
Take out almost all of the enemies and Hayabusa’s arm begins to hurt again. Defeat any remaining enemies, then head through the doors and carry Canna down the hall.
Struggle out of the attacks while carrying Canna until the next cinematic begins.
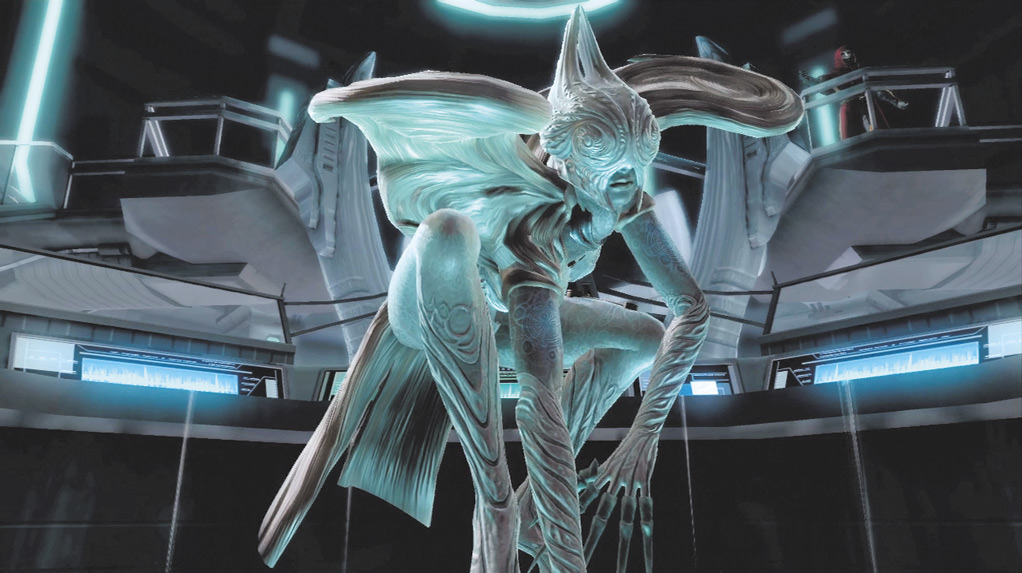
Close Range Abilities:
Four-Hit Claw Combos, Three-Hit Kick Combos, Unblockable Grabs
Long Range Abilities: Projectile, Flying Kick, Acid Spray (with tentacle arms), Quick Swipe (with tentacle arms), Charge (with Demon arms), Jumping Smash (with Demon Arms), Two-Hit Lunge Attack Combo (with Demon arms)
Strategy: The Prototype’s arms morph into three different forms, but all of them can be attacked in the same manner. In addition, all three have Unblockable Grabs when her hands glow red.
She starts with normal arms. Stay as close to her as possible when she’s in this form.
If Hayabusa backs away from her when she has normal arms, she unleashes a barrage of projectile attacks that are hard to evade and inflict considerable damage.
Use Quick Attack combos until she evades or blocks. If she evades Hayabusa’s attack, prepare to block the attack that follows.
If she blocks, wait for her to use a combo attack (four-hit claw combo or three-hit kick combo). Use multiple slides to evade the combo, then use a Quick Attack combo to counterattack.
Occasionally she uses a kick combo that ends with three spinning kicks. Treat this the same way as you would her other combos and counterattack after the last kick.
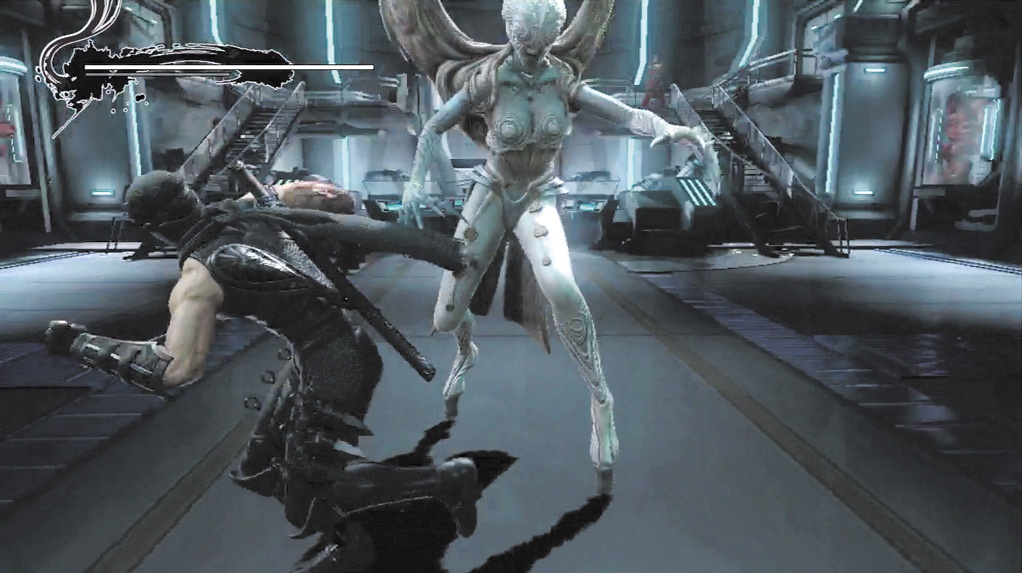
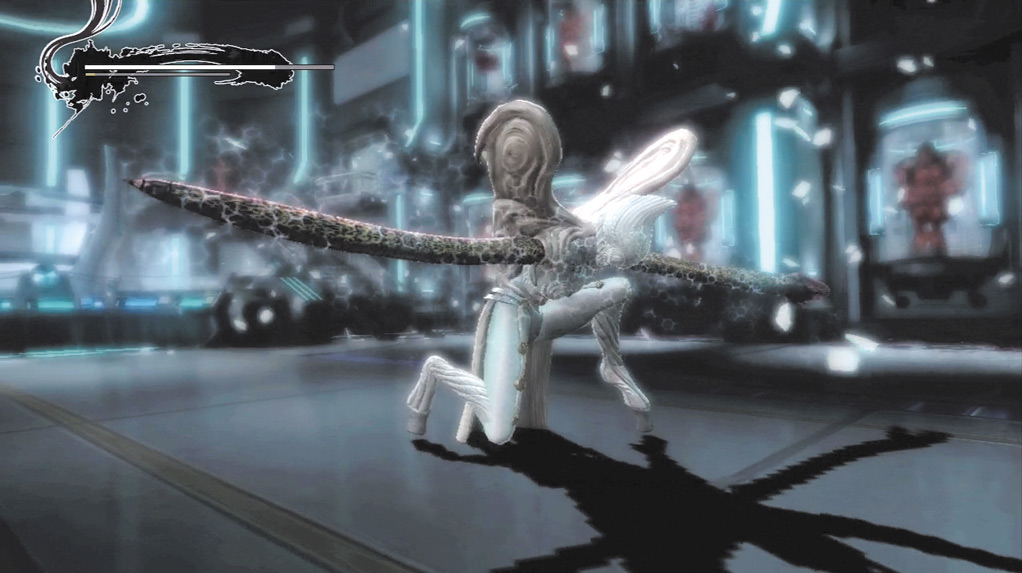
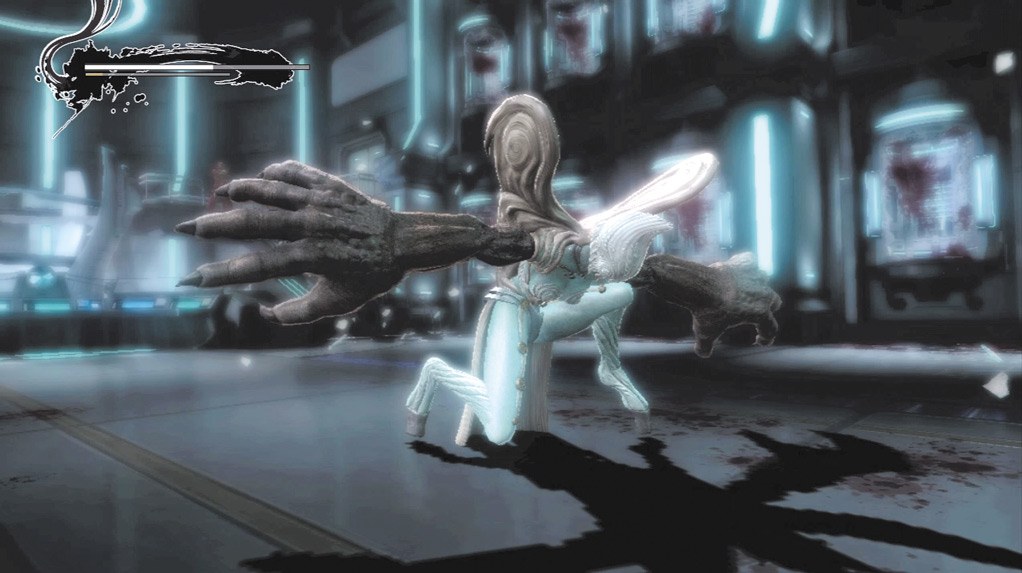
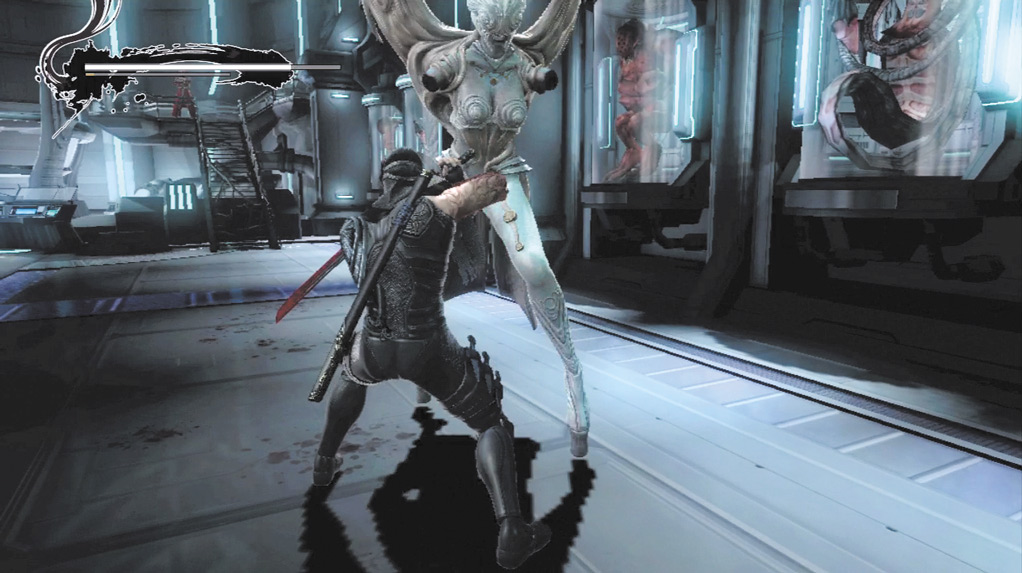
When her hands glow red, slide away as quickly as possible to avoid her Unblockable Grab attack. If she bends down, another Unblockable Grab is coming. This one is harder to see, so you must pay attention.
Continue to use Quick Attack combos until prompted to rapidly tap Strong Attack (
or
) to slice off the Prototype’s arms.
For a short time, the Prototype cannot use her Claw Combos. Keep attacking until she grows tentacle arms (similar to the arms of an Ourboros).
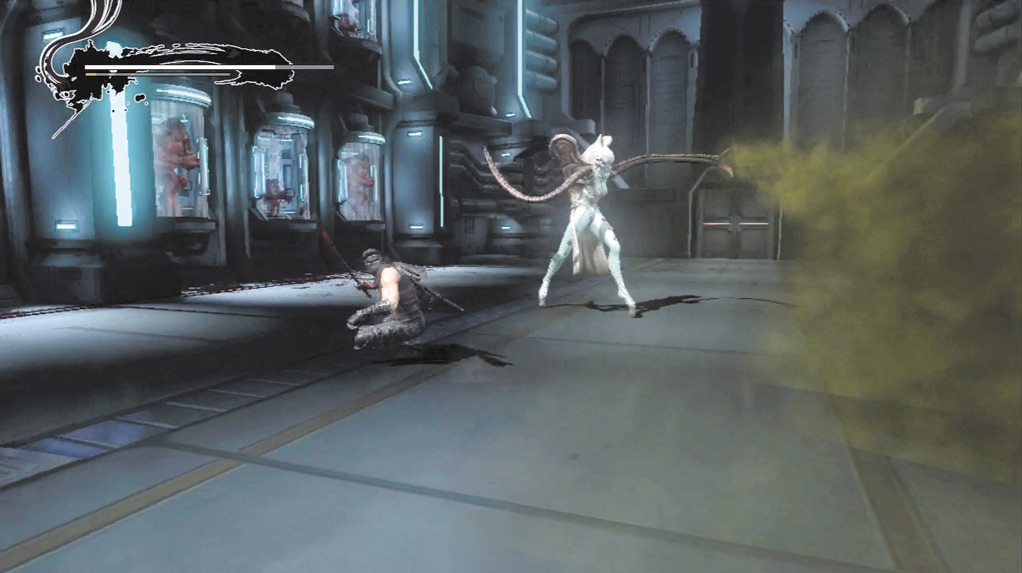
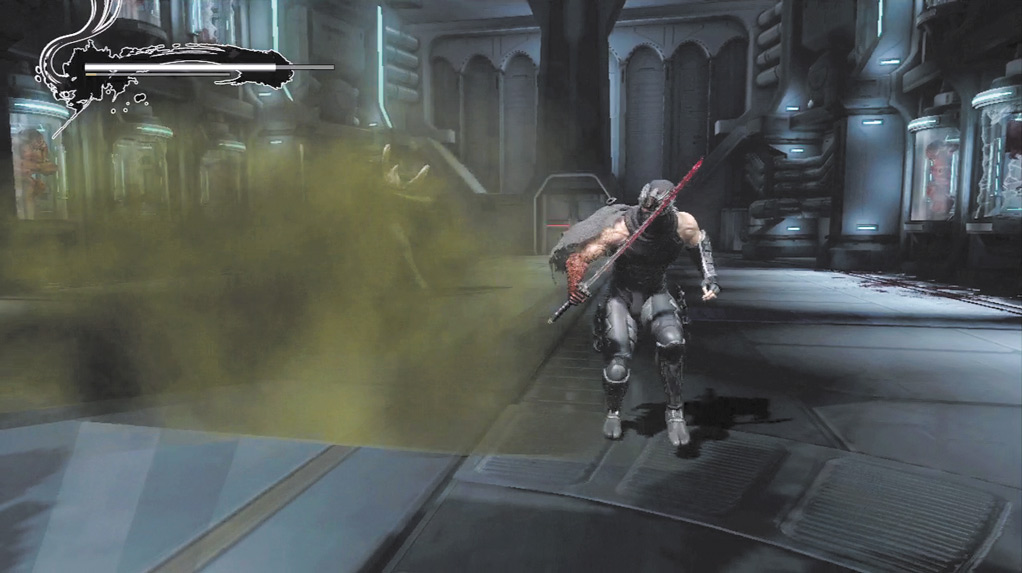
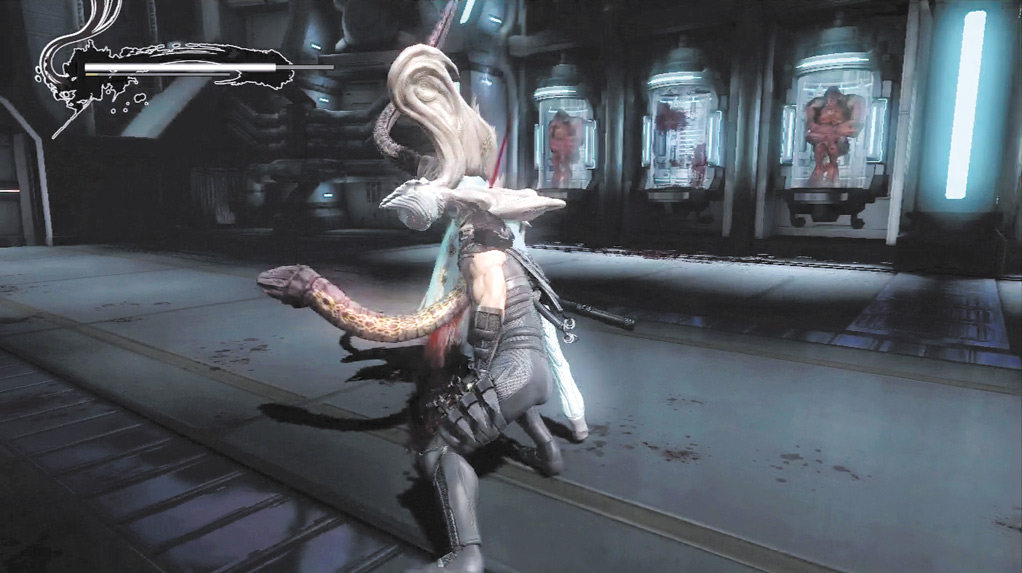
When the Prototype has tentacle arms, stay outside of her attack range, but close enough to reach her with one slide.
Keep in mind, immediately following a slide, Hayabusa’s Quick Attack has considerable range, so you can remain a decent distance away from the Prototype.
Wait for her to use the Acid Spray, then quickly slide to the right and toward the Prototype and use Quick Attack combos to interrupt the Acid Spray before it reaches Hayabusa.
Repeat this process until her arms are sliced off again.
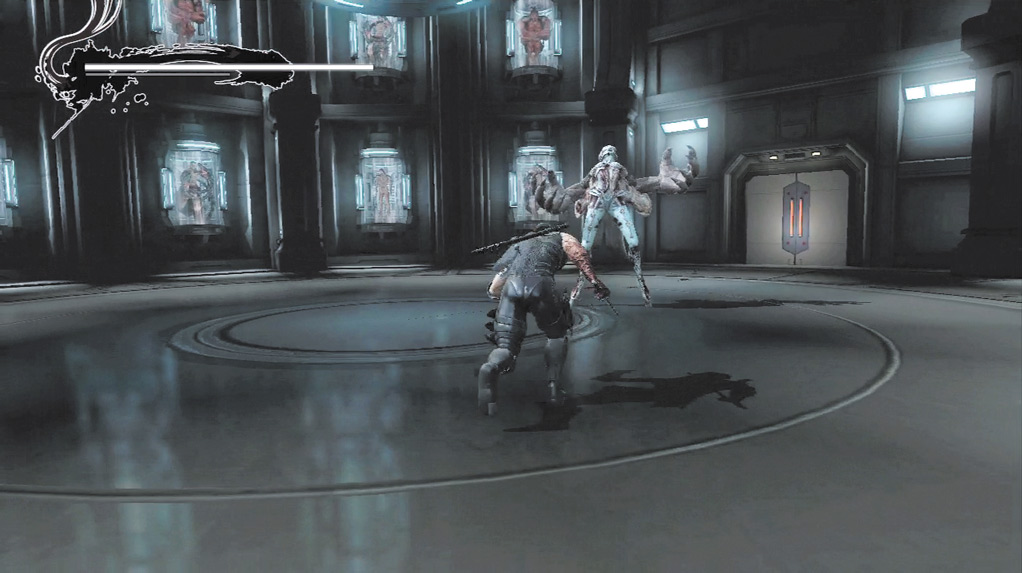
When the Prototype taunts, ...
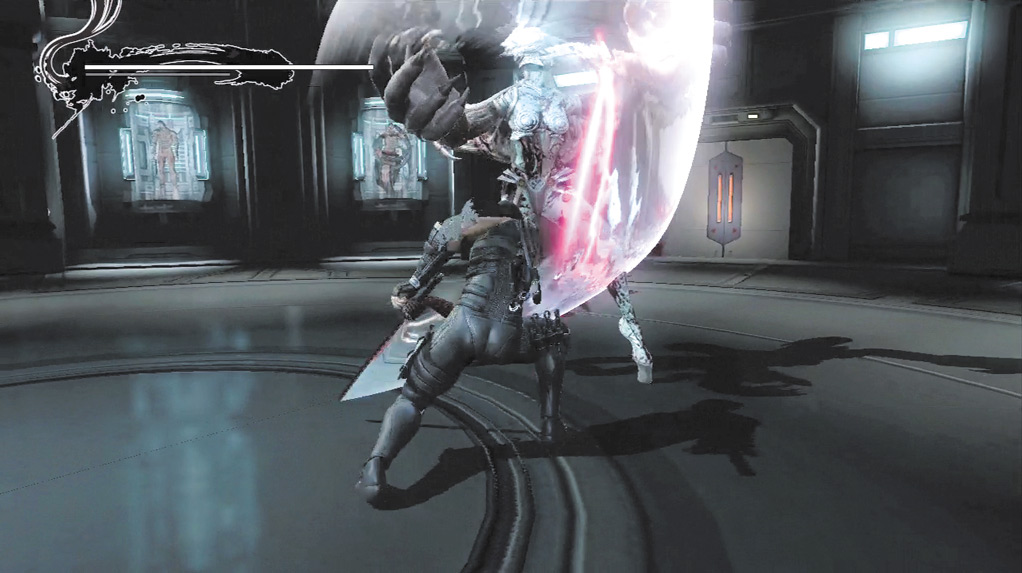
... rush in to attack!
Demon arms appear next and look similar to the arms of a Demon Baphomet.
Wait for her to Charge or use the Jumping Smash attack. Slide to evade both attacks, then use a flurry of Quick Attacks until she deflects Hayabusa’s sword.
When this happens, slide away from the Prototype to avoid her counterattack. If she taunts (looks up with her hands open), slide in and attack. Repeat this attack strategy until the Prototype runs off.
Head into the next room and press Left or Right on the Left Analog Stick while holding Block (
 or NEEDS SYMBOL) to evade the Prototype’s next attack.
She starts with Demon arms this time and fights the same—except her Jumping Smash has a slightly larger attack radius and she has a lunging two-hit combo that has considerable range.
Use the same strategy as before until the Prototype’s Demon arms are sliced off. She goes back to her normal arms, which are identical to the previous fight.
When these arms are sliced off, do not close in on the Prototype until the next set of arms are visible. From this point forward, if Hayabusa is too close to the Prototype when her new arms appear, he’s knocked away and will take damage.
Continue fighting the Prototype using the same strategies as before. Once enough damage has been inflicted, she jumps on Hayabusa. At this point, rapidly tap Quick Attack (
or
) when prompted to finish off the Prototype Goddess “Lovelace”.

Defeat the Prototype Goddess “Lovelace”, then head down the corridor. As you approach the door, her head attacks Hayabusa one last time.
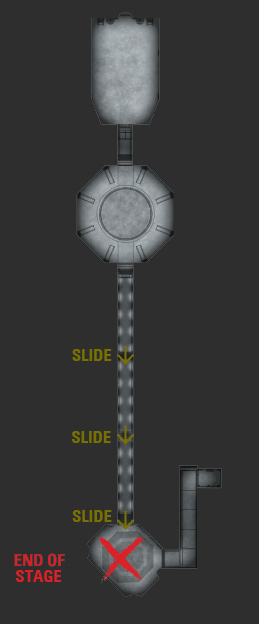
Shake it off then continue down the hallway. Shake off the one Homunculus that attacks and ignore the others. Run down the hallway to make it past both doors before they close.
If you run the entire way, you do not have to slide. However, if you’re held up by the Homunculi, you may have to slide to get under the last two doors.
|