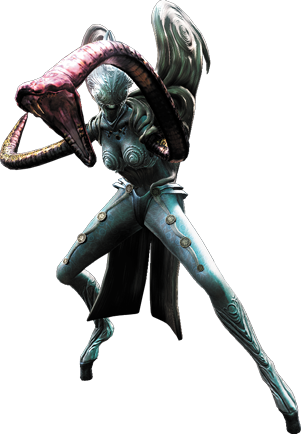
Ninja Gaiden 3 Guide Walkthrough Boss Battles
LOA Biolab, Abysmo Island

Close Range Abilities:
Four-Hit Claw Combos, Three-Hit Kick Combos, Unblockable Grabs
Long Range Abilities: Projectile, Flying Kick, Acid Spray (with tentacle arms), Quick Swipe (with tentacle arms), Charge (with Demon arms), Jumping Smash (with Demon Arms), Two-Hit Lunge Attack Combo (with Demon arms)


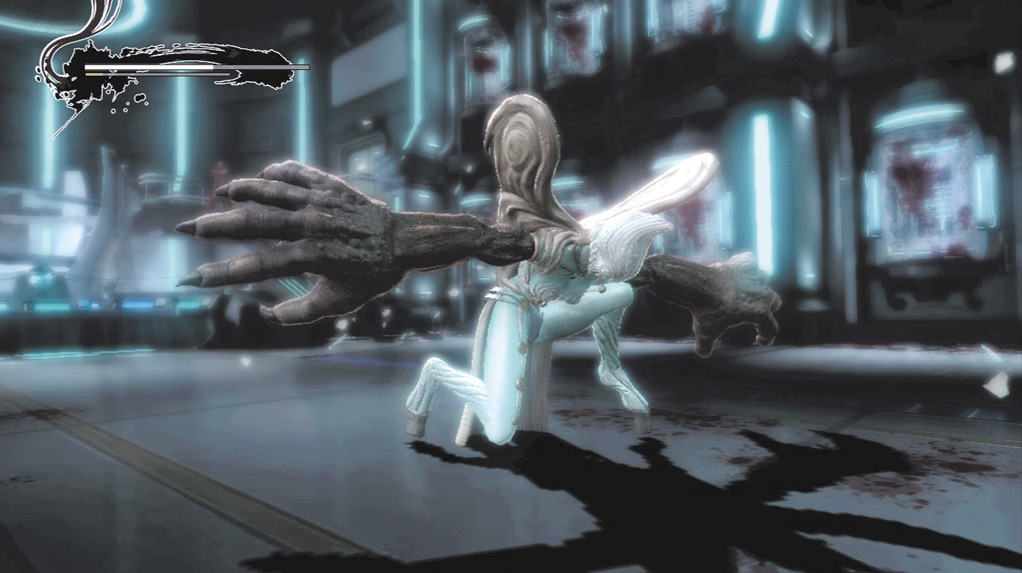
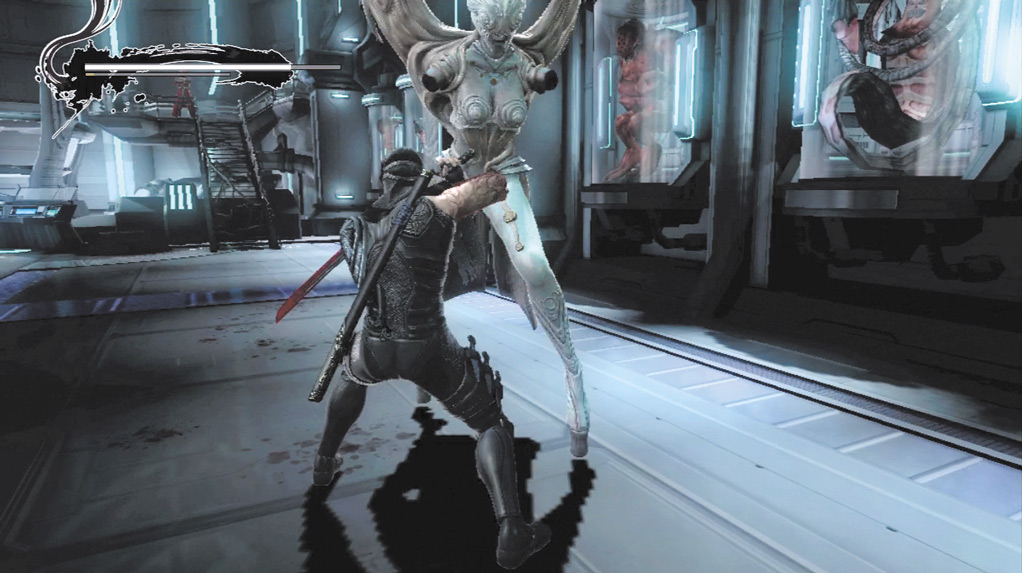
Strategy: The Prototype’s arms morph into three different forms, but all of them can be attacked in the same manner. In addition, all three have Unblockable Grabs when her hands glow red.
She starts with normal arms. Stay as close to her as possible when she’s in this form.
If Hayabusa backs away from her when she has normal arms, she unleashes a barrage of projectile attacks that are hard to evade and inflict considerable damage.
Use Quick Attack combos until she evades or blocks. If she evades Hayabusa’s attack, prepare to block the attack that follows.
If she blocks, wait for her to use a combo attack (four-hit claw combo or three-hit kick combo). Use multiple slides to evade the combo, then use a Quick Attack combo to counterattack.
Occasionally she uses a kick combo that ends with three spinning kicks. Treat this the same way as you would her other combos and counterattack after the last kick.
When her hands glow red, slide away as quickly as possible to avoid her Unblockable Grab attack. If she bends down, another Unblockable Grab is coming. This one is harder to see, so you must pay attention.
Continue to use Quick Attack combos until prompted to rapidly tap Strong Attack (
 or
 ) to slice off the Prototype’s arms.
For a short time, the Prototype cannot use her Claw Combos. Keep attacking until she grows tentacle arms (similar to the arms of a Snake-Mutant).
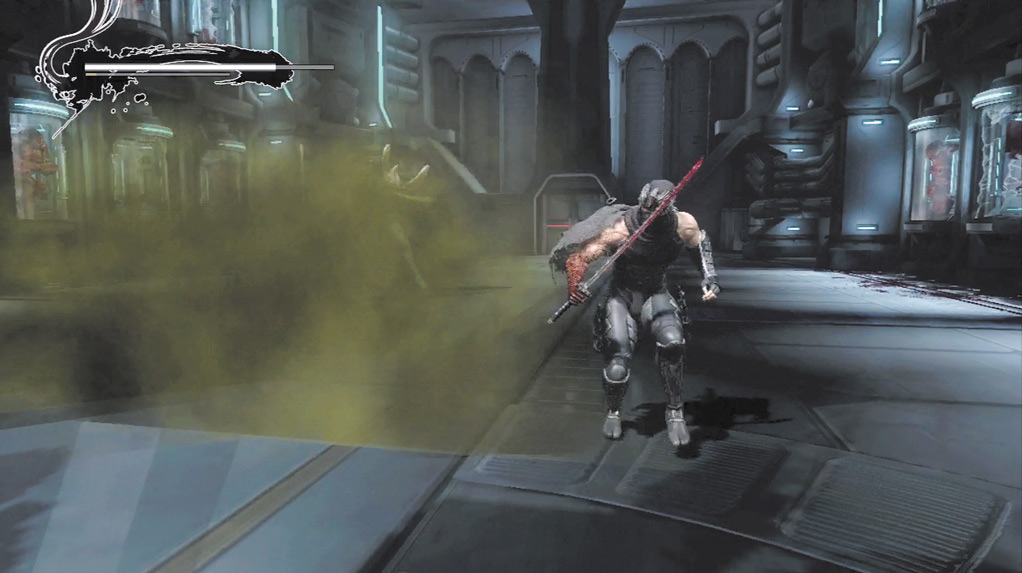
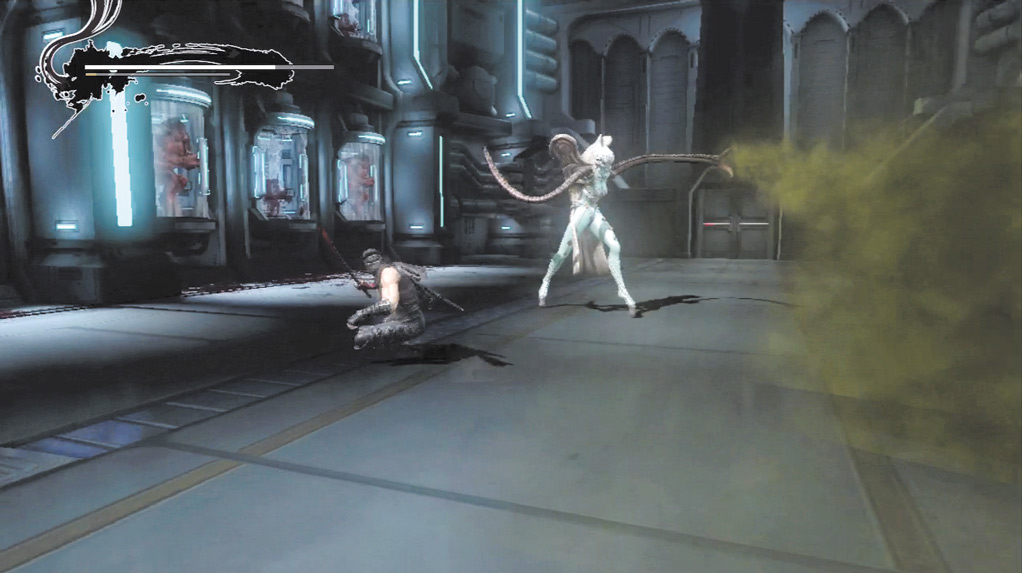
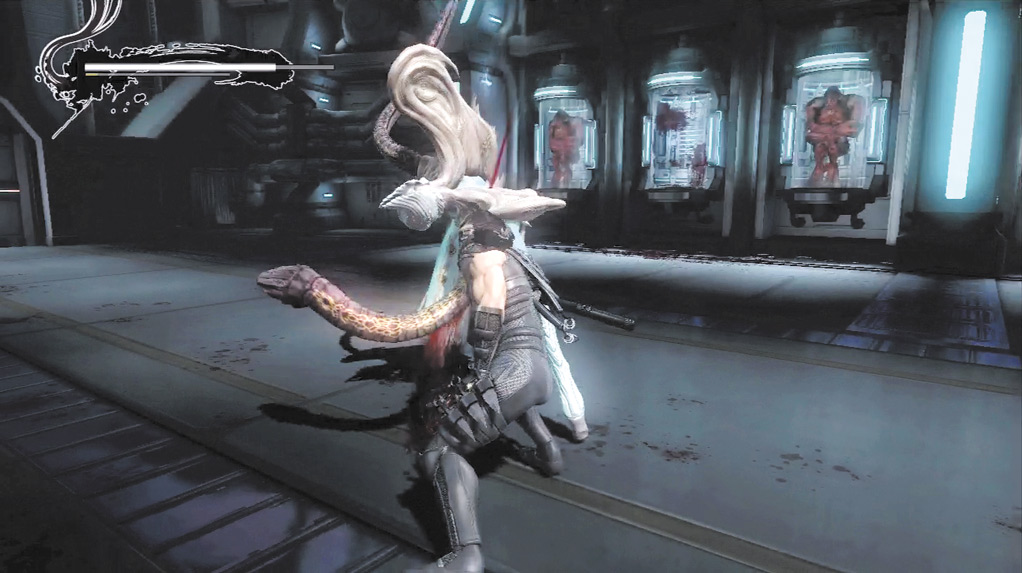
When the Prototype has tentacle arms, stay outside of her attack range, but close enough to reach her with one slide.
Keep in mind, immediately following a slide, Hayabusa’s Quick Attack has considerable range, so you can remain a decent distance away from the Prototype.
Wait for her to use the Acid Spray, then quickly slide to the right and toward the Prototype and use Quick Attack combos to interrupt the Acid Spray before it reaches Hayabusa.
Repeat this process until her arms are sliced off again.
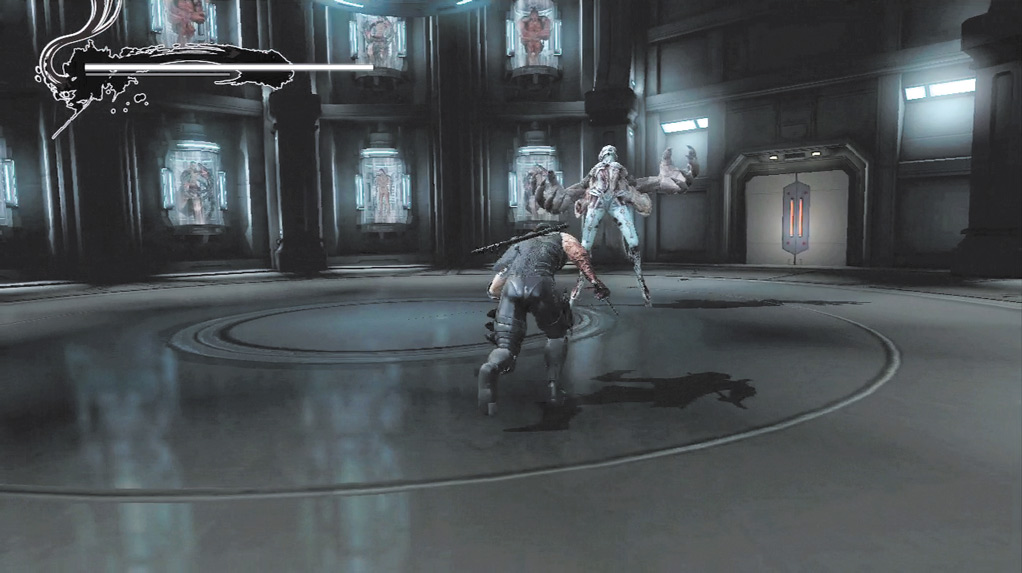
When the Prototype taunts...
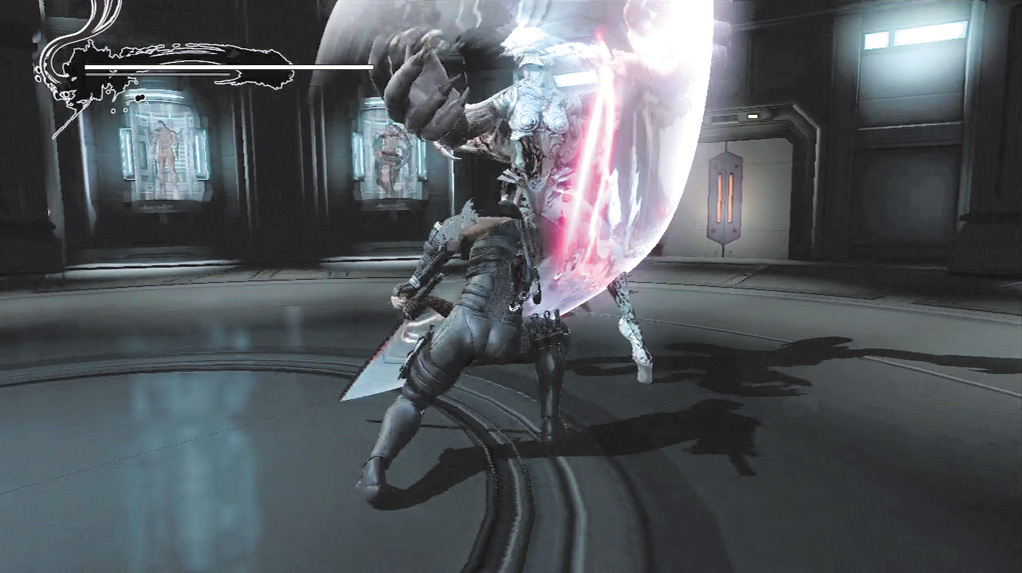
... rush in to attack!
Demon arms appear next and look similar to the arms of a Demon Baphomet.
Wait for her to Charge or use the Jumping Smash attack. Slide to evade both attacks, then use a flurry of Quick Attacks until she deflects Hayabusa’s sword.
When this happens, slide away from the Prototype to avoid her counterattack. If she taunts (looks up with her hands open), slide in and attack. Repeat this attack strategy until the Prototype runs off.
Head into the next room and press Left or Right on the Left Analog Stick while holding Block (
 or
 ) to evade the Prototype’s next attack.
She starts with Demon arms this time and fights the same—except her Jumping Smash has a slightly larger attack radius and she has a lunging two-hit combo that has considerable range.
Use the same strategy as before until the Prototype’s Demon arms are sliced off. She goes back to her normal arms, which are identical to the previous fight.
When these arms are sliced off, do not close in on the Prototype until the next set of arms are visible. From this point forward, if Hayabusa is too close to the Prototype when her new arms appear, he’s knocked away and will take damage.
Continue fighting the Prototype using the same strategies as before. Once enough damage has been inflicted, she jumps on Hayabusa. At this point, rapidly tap Quick Attack (
 or
 ) when prompted to finish off the Prototype Goddess “Lovelace”.