Ninja Gaiden 3 Guide Walkthrough The Path of the Ninja
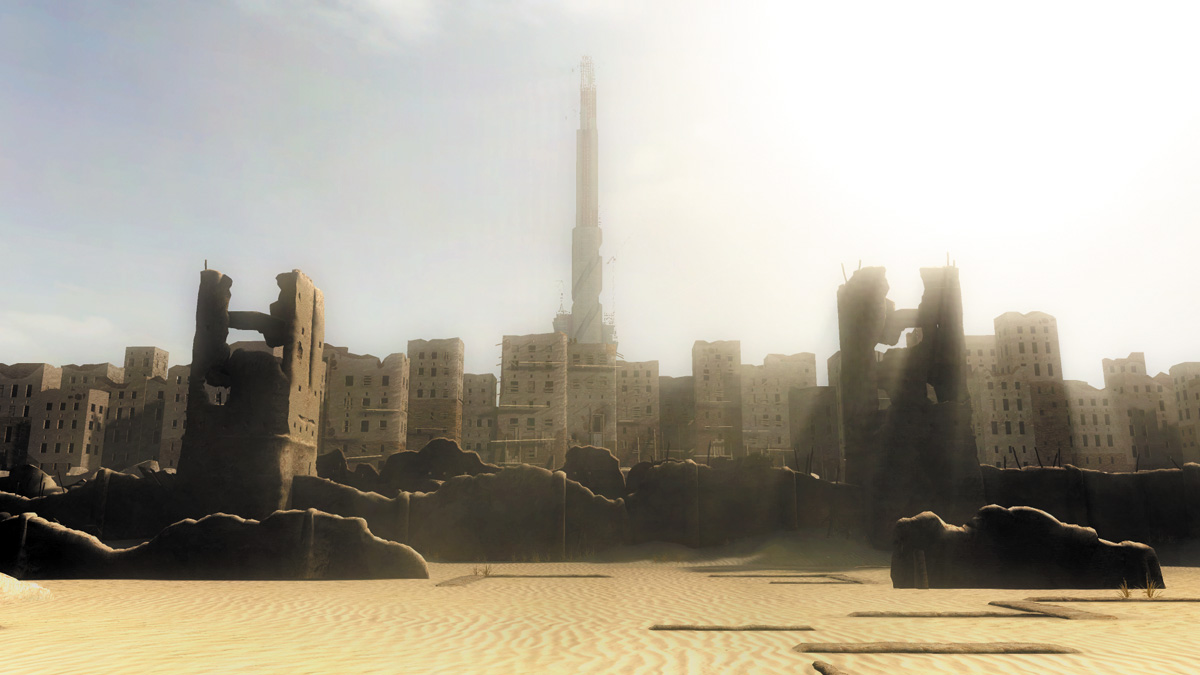
Deserted City, Rub' Al Khali (Day 2)
DAILY DETAILS
|
New Enemies |
Sandmobile Soldier, Assassin, Alchemist, Heavy Soldier (Jetpack) |
|
Bosses |
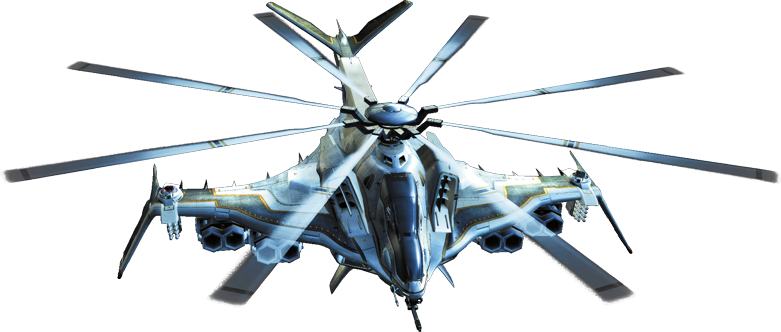
IDE-1011 Manta Helicopter |
Ryu’s Dragon Sword is gone, but at the beginning of Day 2 he receives a bow. Move forward until Ryu’s health bar appears. This indicates that the enemies have spotted Hayabusa. There’s one Rocket Launcher in the tower on the right, and two in the tower on the left.
Take out the one on the right first, dodge any incoming rockets from the left tower, then take out the two enemies there. It requires only one shot to take out each enemy. On Master Ninja, there are three more Terrorists (Rocket Launcher) in other towers surrounding the area.
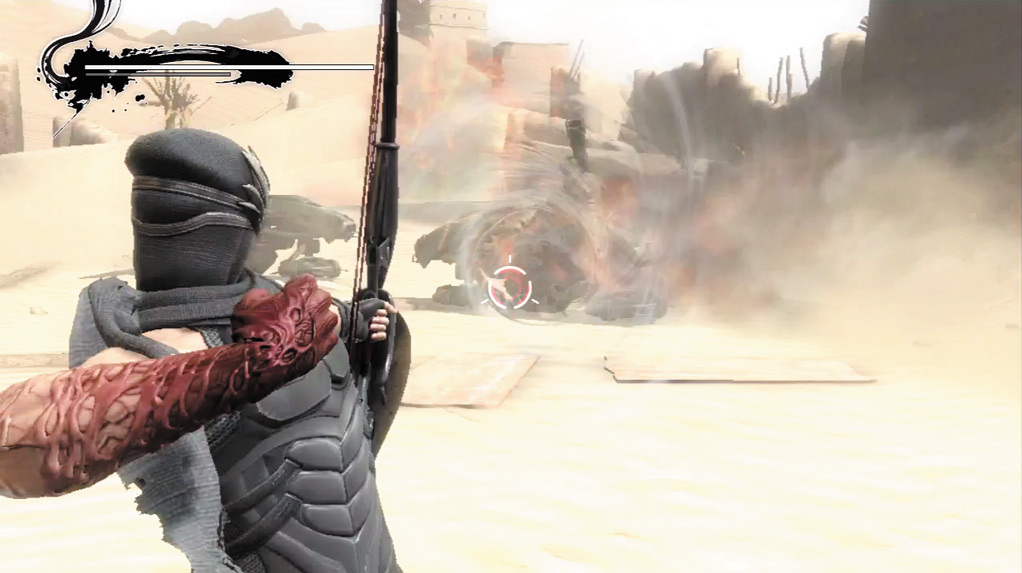
Use an arrow ...
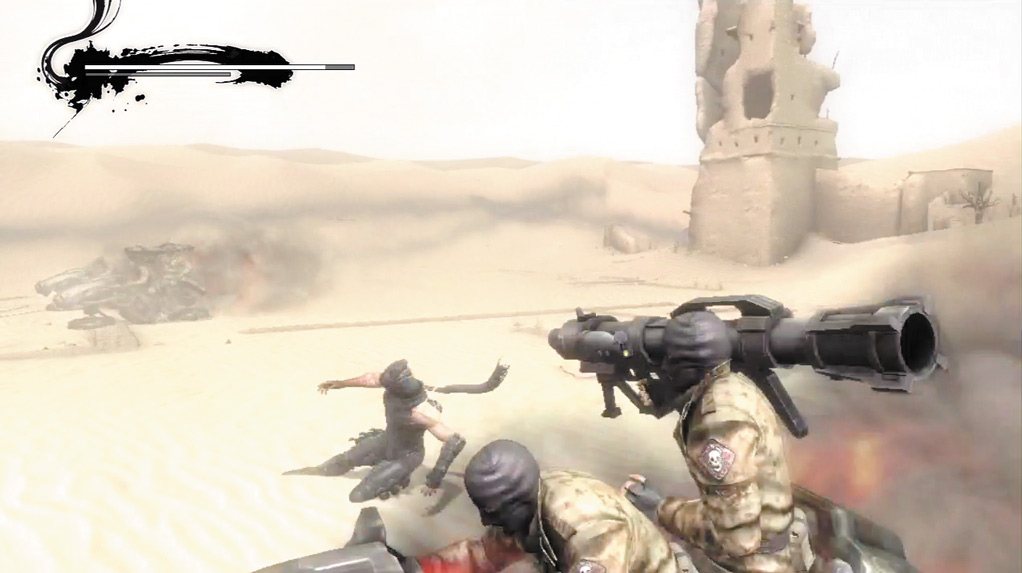
... and then slide to avoid the rockets.
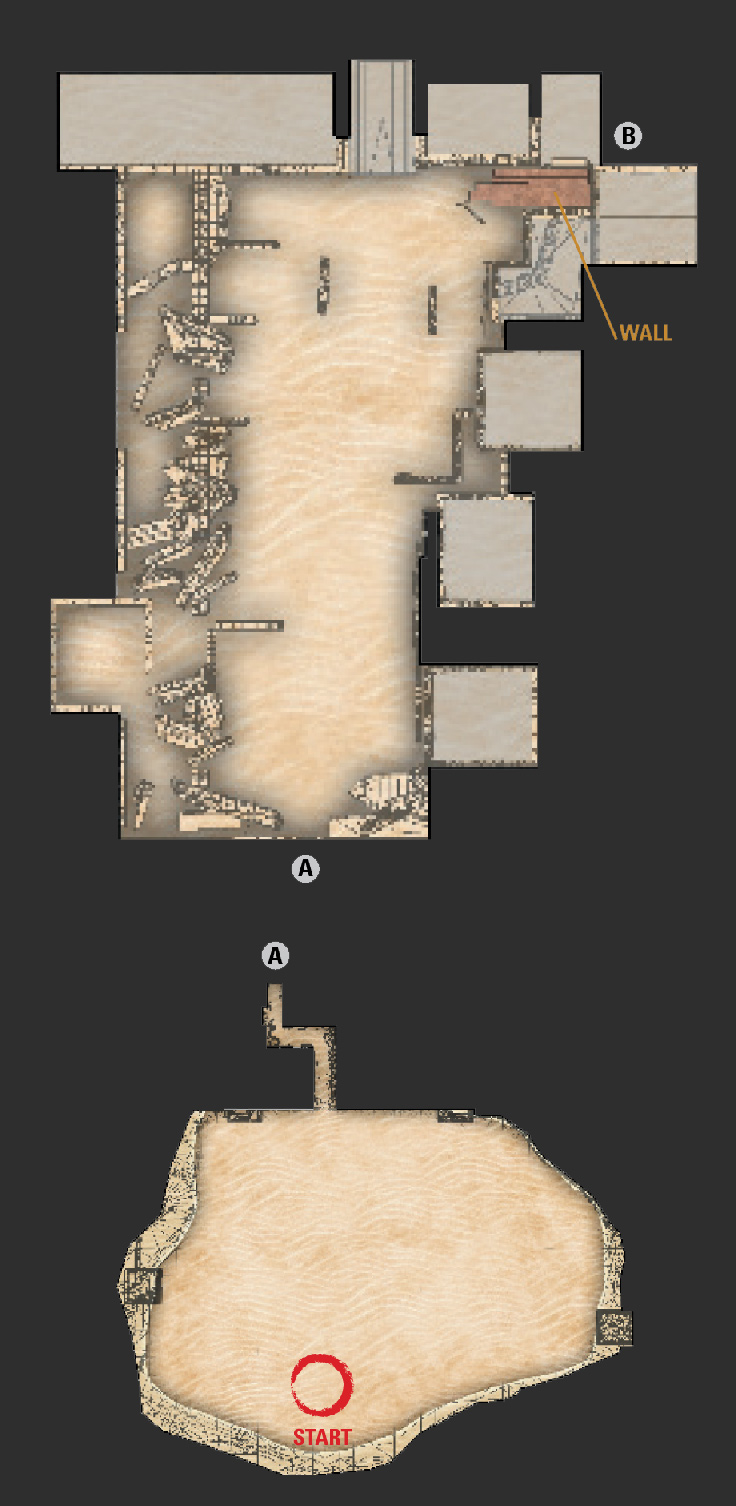
Continue toward the wall until three Sandmobile Soldiers appear and circle around Hayabusa. Use the auto-aim feature of the bow to easily lock on to each Sandmobile Soldier.
Fire only one or two shots at a time. While you’re locked on to an enemy, it is difficult to see if the other Sandmobile Soldiers are attacking. After one or two shots, slide several times until you see at least one rocket fired, then lock on to another Sandmobile Soldier and repeat the process until all three are destroyed.
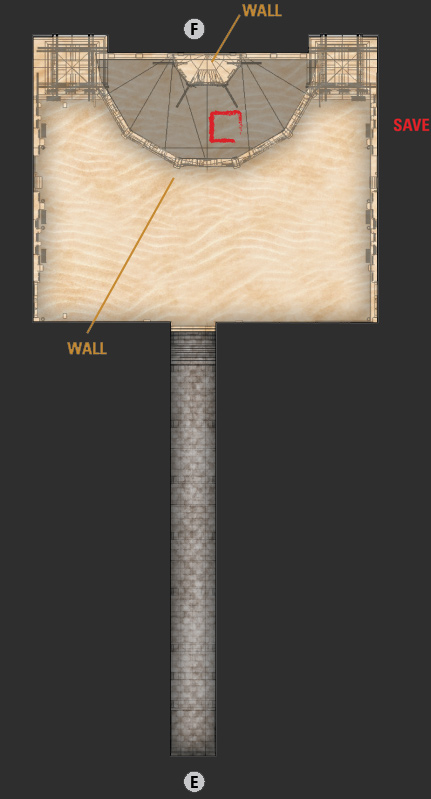
Another cinematic begins and Hayabusa receives Hayate’s sword from Ayane. After the cinematic, head through the rubble and into the village. When you reach an open alley with a door at the end, continue forward until a Assassin pops out of the sand below. Hold Block (
 or
 ) and press Up on the Left Analog Stick when prompted to avoid the attack.
Several Assassins, Terrorists and Terrorists (Rocket Launcher) attack. If the Assassins get close to Hayabusa, they can use a grab attack that cannot be blocked. They can also use a slide attack similar to Hayabusa’s, so be cautious as they close in on you. In addition, the Terrorists use a steady stream of machine gun fire. Focus on one enemy at a time, targeting whichever enemy is closest. The Assassins can block Ryu’s Quick Attacks, but if this happens, move on to the closest Terrorist instead.
If the Terrorists are shooting their machine guns toward the end of an Izuna Drop or Obliteration Technique, hold block to defend against this before moving on to the next enemy. Use Hayabusa’s Ultimate Technique and Ninpo as often as possible throughout the battle to clear out as many enemies as possible. When a few Terrorists (Rocket Launcher) appear above Hayabusa, jump and use the bow to take them out, then finish off the remaining enemies.
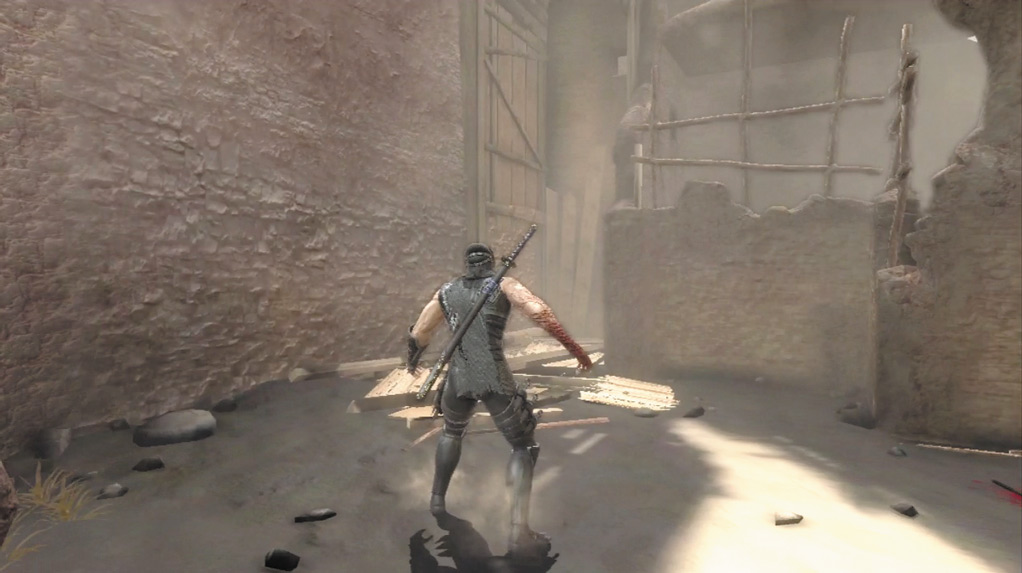
Head to the corner ...
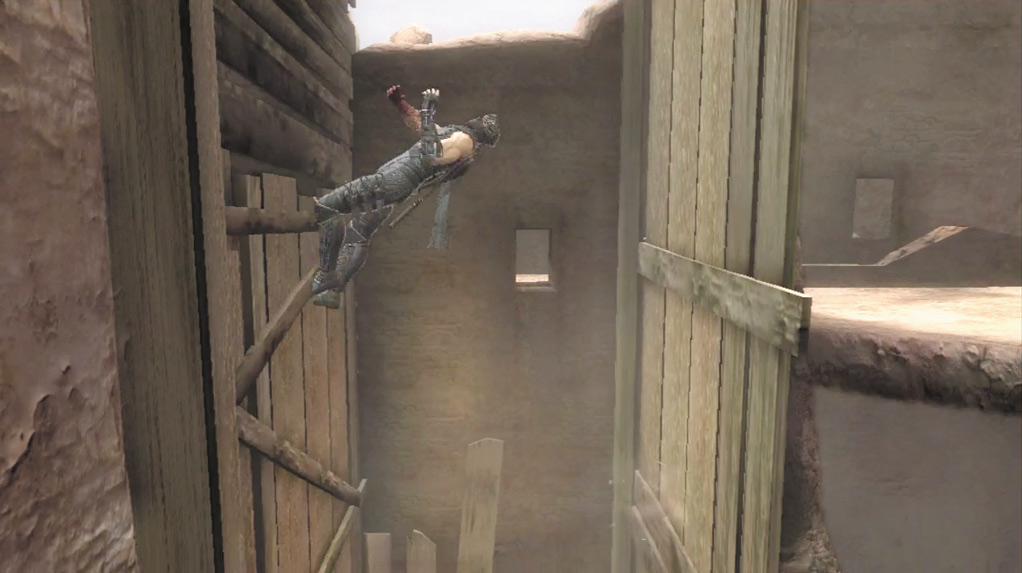
... and then use the Flying Bird Flip to scale the wall.
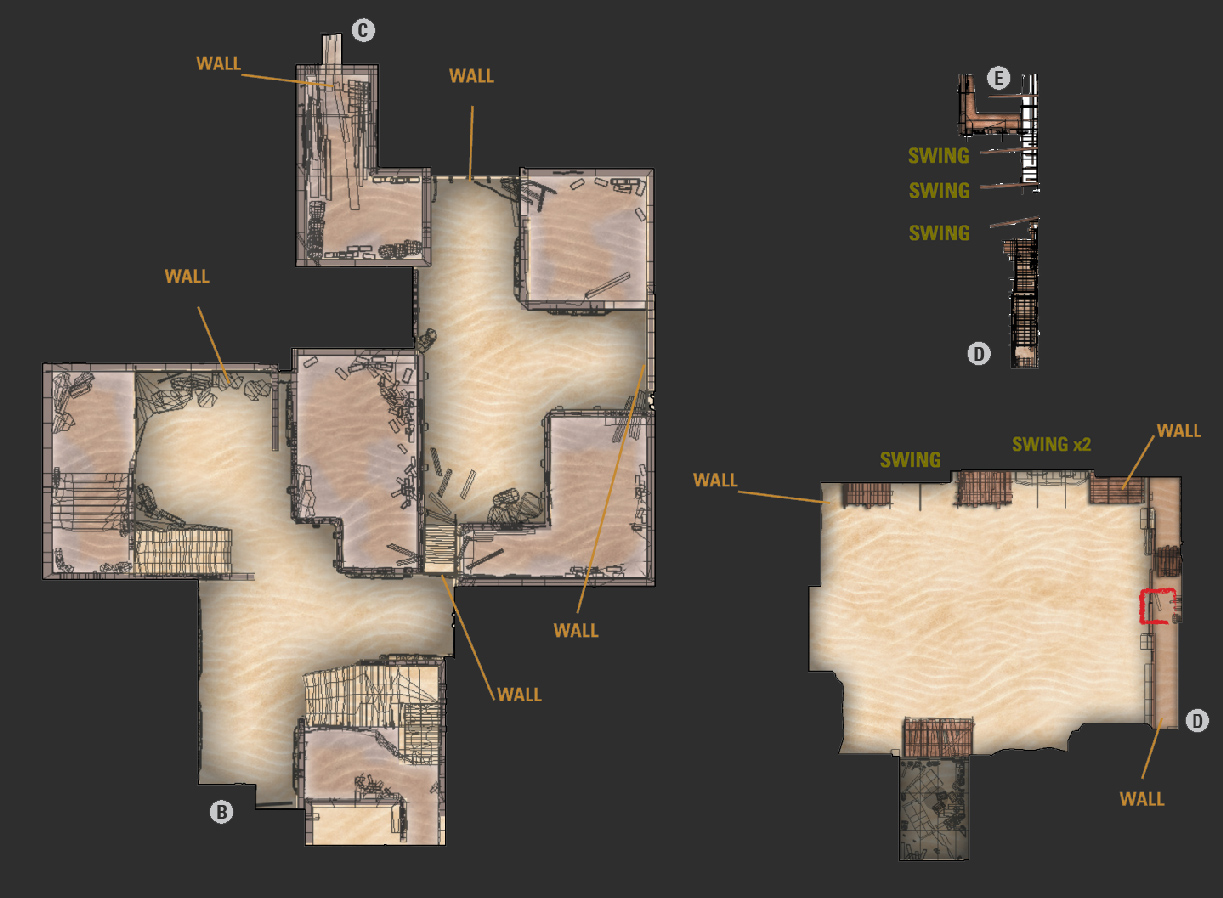
Move to the corner of the street and use the Flying Bird Flip to quickly scale the wall. Save at the falcon ahead and continue down the stairs to engage another batch of Terrorists, Assassins, and Terrorists (Rocket Launcher).
Ignore the Terrorists (Rocket Launcher) at first and focus on the Assassins and Terrorists. Use the same strategy as the in previous battle to defeat all the enemies here.
Head up the stairs and use the Wall Run to cross the small gap. Go right and take out the two Terrorists and two Terrorists (Rocket Launcher) across the way. Use the Wall Run again to cross the gap, then jump onto the wooden bridge to drop down into the area below.
A bevy of Terrorists and Assassins attack. Take them out and head to the corner to use the Flying Bird Flip again. On Master Ninja, in the battle before Hayabusa uses the Flying Bird Flip, War Dogs join the fight.
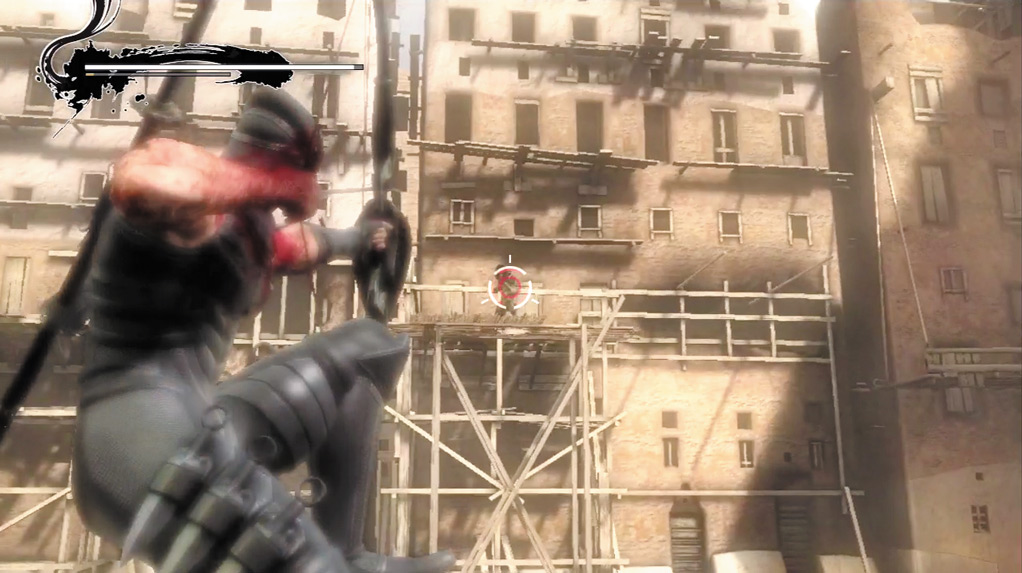
Use jumping arrows ...
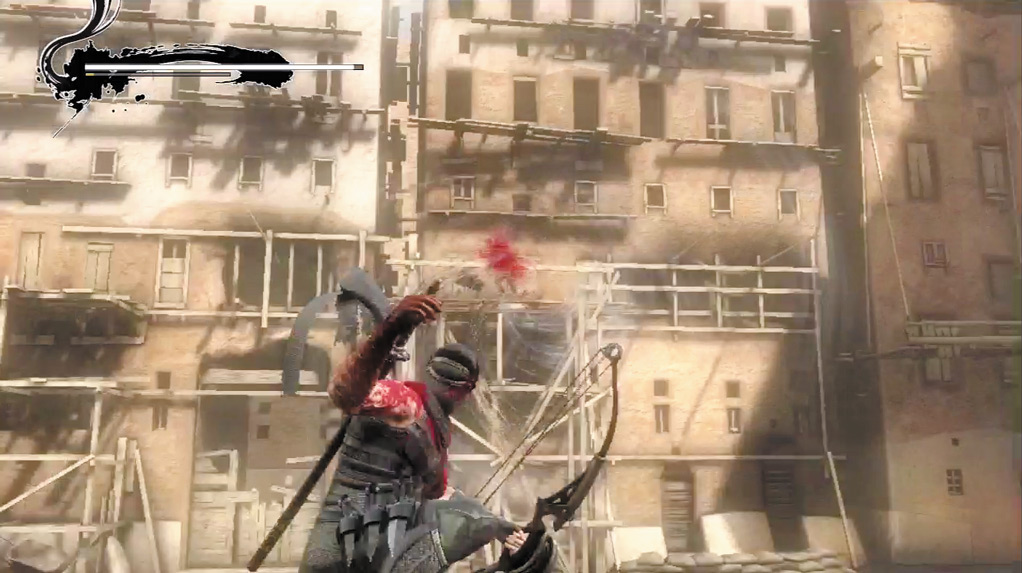
... to take down the Terrorists (Rocket Launcher).
Use the Wall Run to cross the two gaps, then Kunai Climb to the top of the next area. Press Strong Attack (
 or
 ) to take out the enemy at the top and use Hayabusa’s stealth ability and cut down the next enemy with a Strong Attack. Follow the on-screen prompts to jump down to the ground and take out another Terrorist.
In this area, several Terrorists attack on the ground, while a few Terrorists (Rocket Launcher) attack from above. Use jumping arrow attacks to dispatch the Terrorists (Rocket Launcher), then take out the Terrorists. When all of the Terrorist and Terrorists (Rocket Launcher) are defeated, Sandmobile Soldiers appear.
Take them out using the same strategy as before, then use jumping arrows to kill the Terrorists (Rocket Launcher) that appear soon after. A few more Assassins appear after the Sandmobile Soldiers are down. On Master Ninja, instead of the Assassins, a pack of War Dogs appear after the Sandmobile Soldiers.
Defeat all the enemies and then head to the corner to scale the wall with the Flying Bird Flip. Jump from pole to pole, then use the Kunai Climb to reach the top of the area. Head to the right and access the save falcon, then use the Flying Bird Flip to reach the top of the next area.
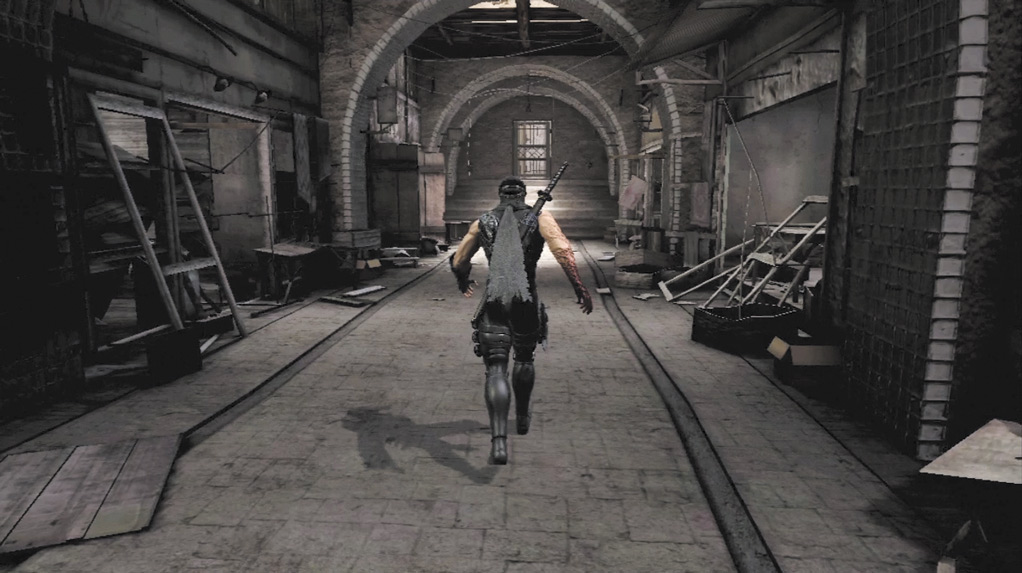
Cautiously move forward ...
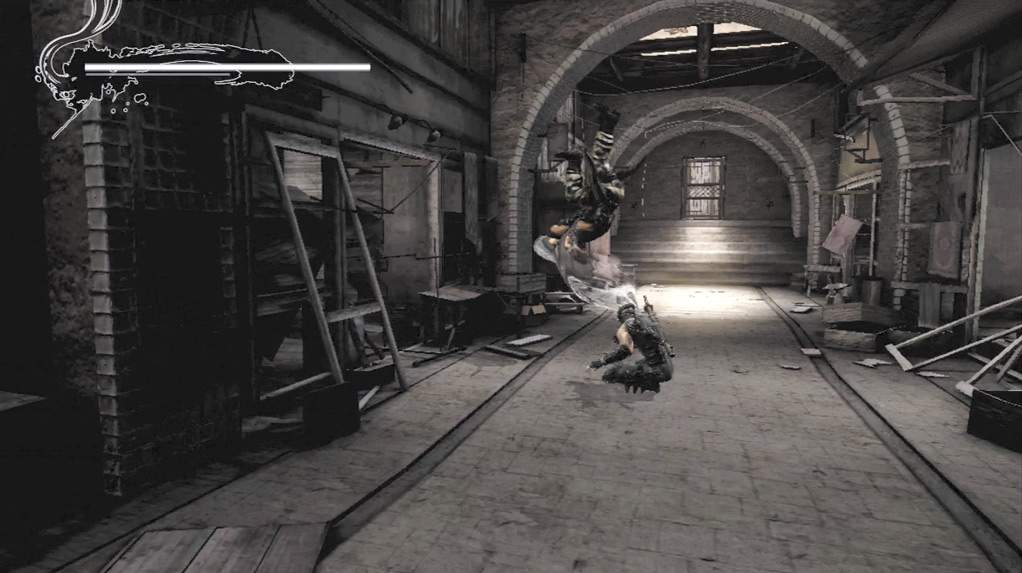
...and then slide to avoid the Assassin at the end of the hall.
Jump from pole to pole until Hayabusa drops into the lower area. Take out the Terrorists and Assassins that attack, and use a jumping arrow to make quick work of the Terrorists (Rocket Launcher).
Continue down the hall and take out the Assassins and Terrorists that appear. Cautiously move forward and be ready to use a slide to avoid the second Assassin that appears near the end of the hall.
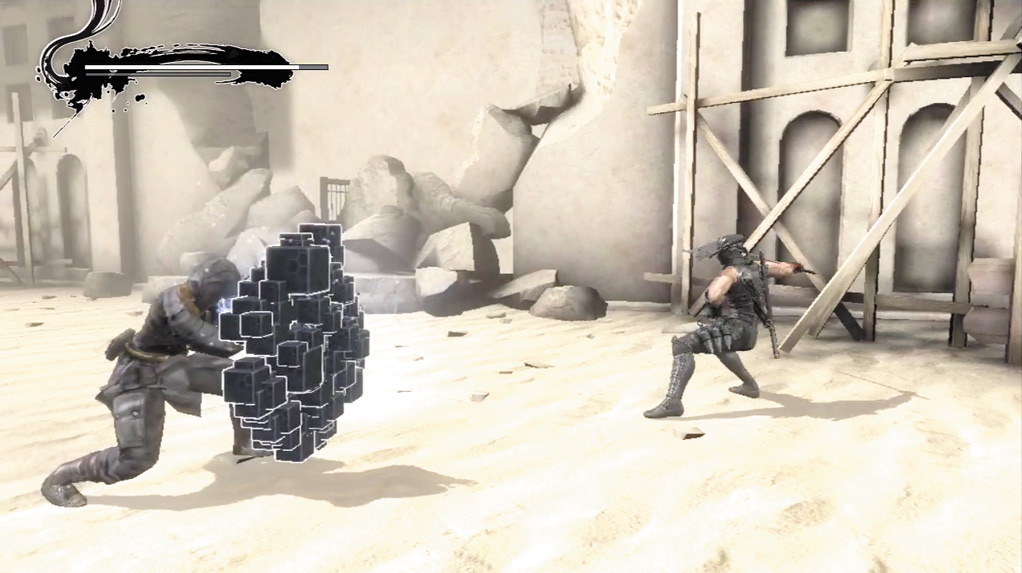
Quick Attacks do not work against the Alchemist’s brick shield.
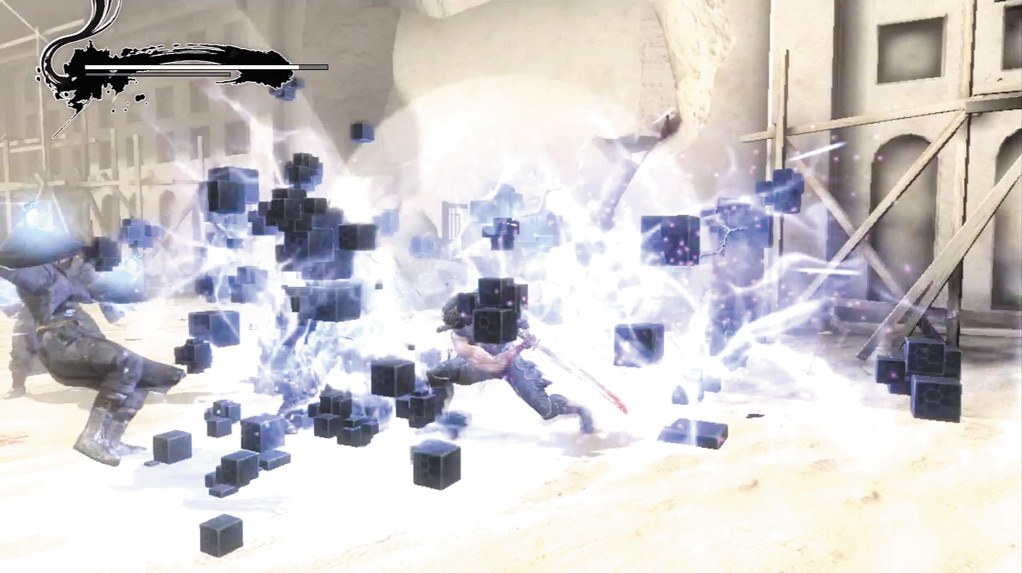
Use Strong Attacks to destroy the shield!
Head through the door at the end of the hall and use an arrow to initiate a battle against three Alchemists. As soon as the first Alchemist lands, slide to evade his projectile attack.
To defeat the Alchemists, focus on one Alchemist at a time and use a single Strong Attack to remove their Brick Shield. Once the shield is gone, use Hayabusa’s Quick Attack (
 or
 ), Quick Attack (
or
), Strong Attack (
or
) combo.
You cannot use the Izuna Drop or any combo that launches an Alchemist into the air. If you see an Alchemist’s hands glow red, this indicates that a grab attack is coming. It goes through all of Hayabusa’s attacks, and cannot be blocked.
Slide to get away from the grab attack as quickly as possible.
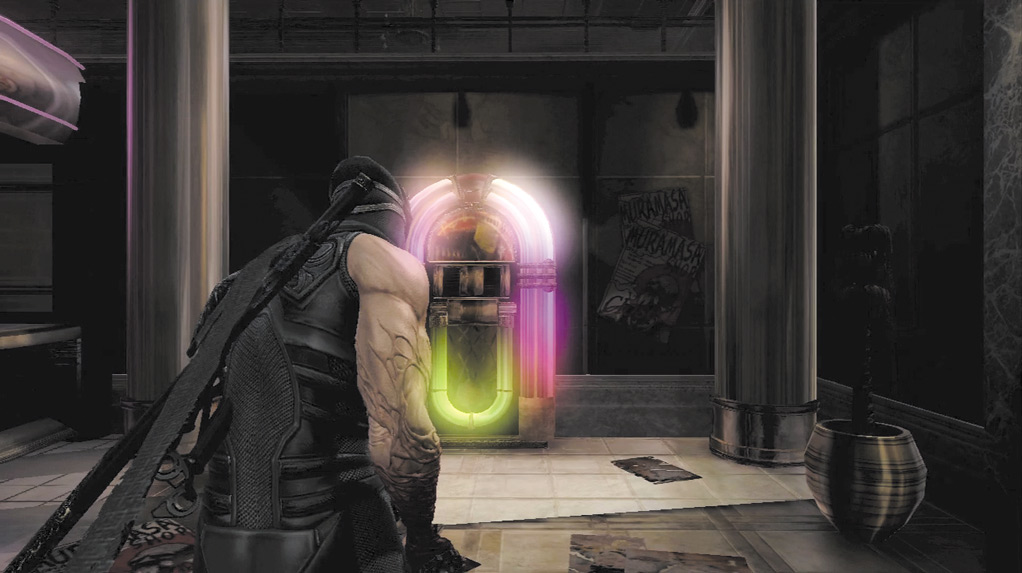
As Hayabusa approaches the jukebox ...
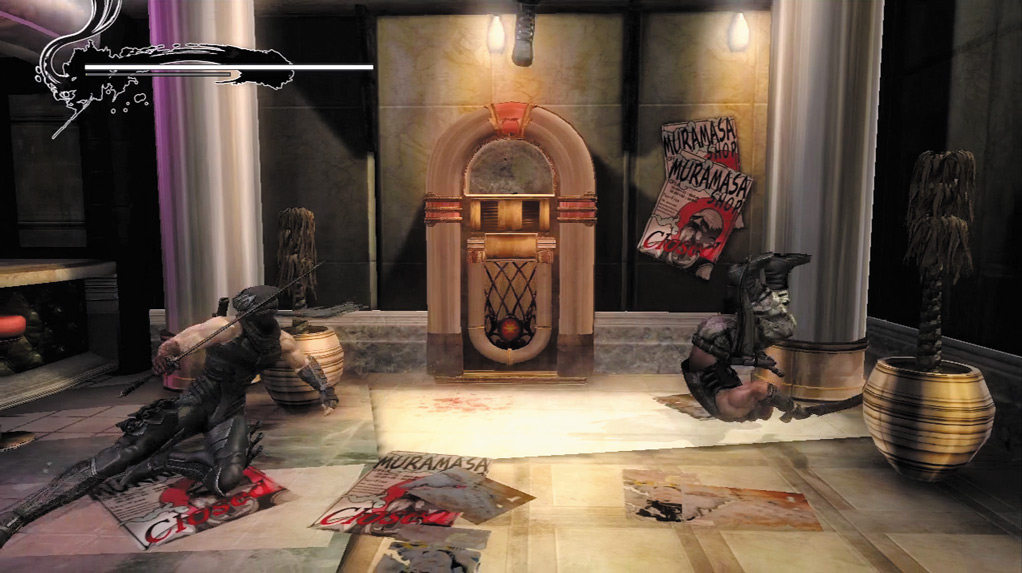
... slide to avoid an attack from the Assassin above.
Defeat all three Alchemists, then use the Kunai Climb to scale the wall. Save your progress at the falcon, then Kunai Climb up the next wall. When the helicopter appears, press Jump (
 or
 ) when prompted, then Kunai Climb up the wall.
Head down the hallway and move toward the jukebox in the corner.
As soon as you get near it, an Assassin attacks from above. Slide to evade the attack, then take down the Assassins, Terrorists, and Terrorists (Rocket Launcher) that attack.
On Master Ninja, there are five Alchemists, two more appear after the first three are down. In addition, one of the first three Alchemists is a Alchemist (White).
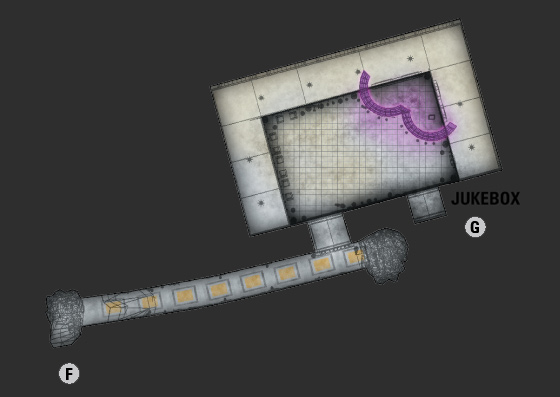
When all the enemies are defeated, a few Terrorists, Heavy Soldiers, and Heavy Soldiers (Shield) appear. Take them out and head through the opening and up the stairs.
Take out the Rocket Launcher and use the Wall Run to cross the gap and down the stairs to trigger another cinematic followed by an attack from the helicopter.
Jump in the air and shoot a single arrow, then land and evade the machine gun and rockets from the helicopter. Repeat this process until the helicopter moves high into the air. Do not attempt to shoot more than one arrow at a time or Hayabusa will take damage.
Head down the hallway and slide under the fallen column to engage the helicopter again. Use the same strategy, but be careful not to let your guard down. Depending on how fast the helicopter is destroyed, it may drop out of view multiple times before the attack finally comes to an end.
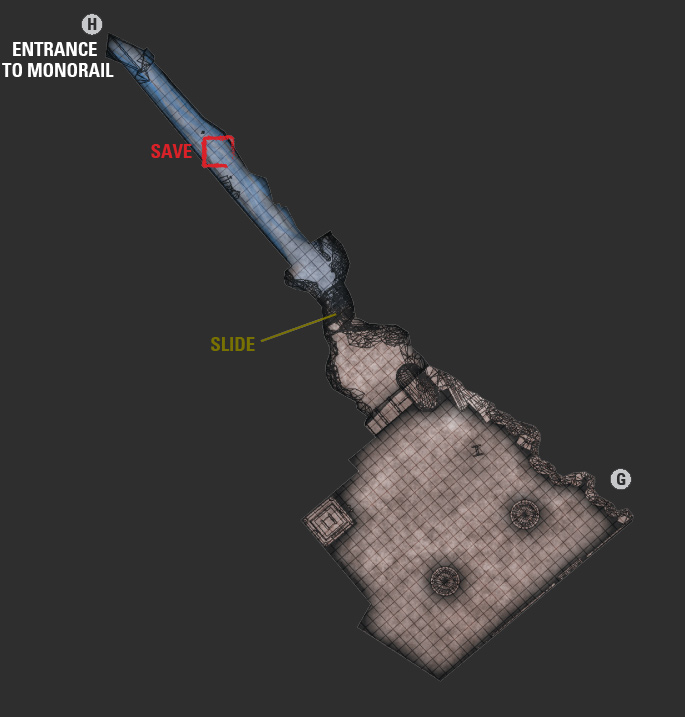
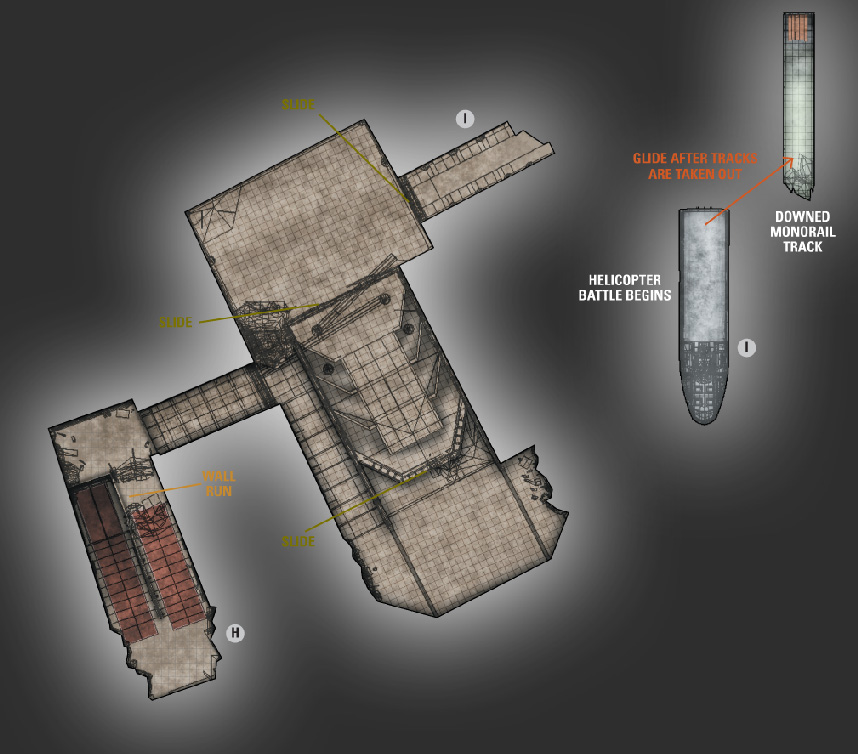
Slide under the railing on the wall, continue down the hall and slide under the helicopter. Shake off the enemy that jumps on Hayabusa, then save your progress at the falcon and move into the train car to initiate a cinematic. Walk forward to engage several Heavy Soldiers (Jetpack) and a helicopter.
When both enemy types are attacking, use jumping arrow attacks to take them out. If only the Heavy Soldiers (Jetpack) are visible, use standing arrow attacks.
Continually press Aim to get a new lock on the Heavy Soldiers (Jetpack) and target any new Heavy Soldiers (Jetpack) that appear. It takes three arrows to defeat each Heavy Soldier (Jetpack).
When the helicopter is within sight, be careful not to jump when it fires missiles.
Continue down the hallway and take out the large number of Assassins and Terrorists, as well as a few Terrorists (Rocket Launcher). Use Ninpo and Ultimate Techniques freely here. Take out most of the enemies and Ryu’s arm begins to hurt again. Kill the few remaining enemies, then continue down the hallway and into the elevator. When the helicopter attacks, Hold Block (
or
) and Center Camera
 or
 ) and rapidly tap Shuriken (
 or
 ) to open the elevator as quickly as possible.
Save your progress at the falcon ahead, then Wall Run to cross the gap and go around the corner to spawn several Heavy Soldiers (Jetpack). Be careful not to fall here.
If you fall, Hayabusa dies. Back away from the edge and take out each Heavy Soldier (Jetpack) with three standing arrows, then Wall Run to cross the next two gaps.
Head to the end of the section and use the Flying Bird Flip to scale the wall. Kunai Climb to reach the top of the concrete wall ahead. As you near the top, a helicopter attacks from behind.
Use jumping arrows in rapid succession (don’t stay on the ground very long) to take out the helicopter, then use the Kunai Climb again to reach the top and trigger another cinematic.
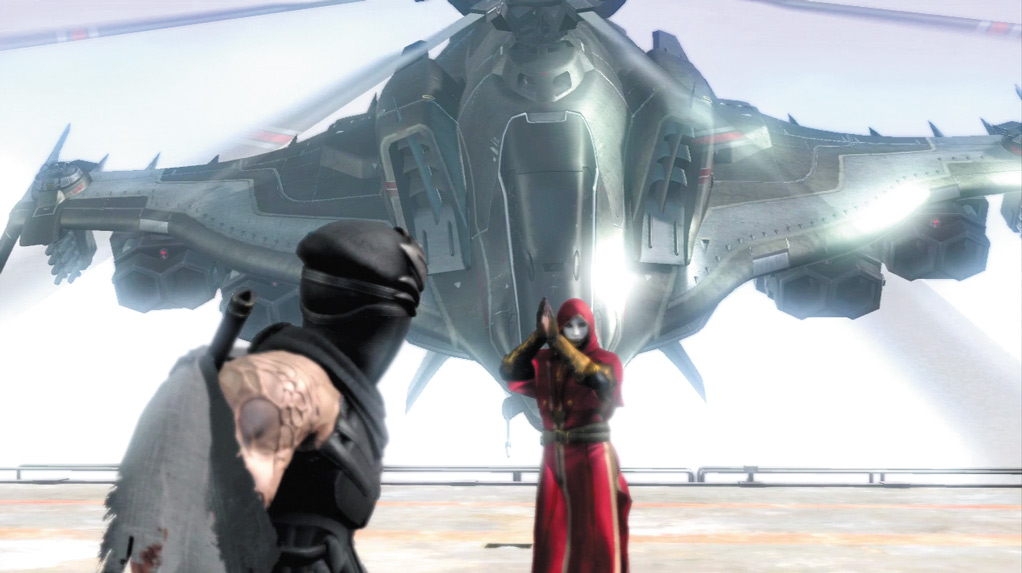
Close Range Abilities: Turret Gun
Long Range Abilities: Missiles
Strategy: Quickly slide to the left or right to dodge the helicopter as it dives toward Hayabusa. Use standing arrows to take out the rocket launchers on the wings of the helicopter. Shoot as many arrows as you can before a barrage of missiles flies toward Hayabusa.
Stay away from the middle of the platform and slide to avoid the helicopter when it dives at Ryu. Do not shoot the cockpit because it cannot be damaged by arrows.
Take out the first helicopter, then press Jump (
or
) when prompted to dive off the roof. Follow the on-screen prompts and press Strong Attack (
or
), then rapidly tap Strong Attack (
or
).
Slide toward the turret and stay away from the guns. When it turns toward Hayabusa, slide to the other side. Repeat this process until the front of the turret glows yellow. Use Strong Attacks, then press Quick Attack (
or
) when prompted to destroy it.
Continue to follow the prompts by pressing Jump (
or
).
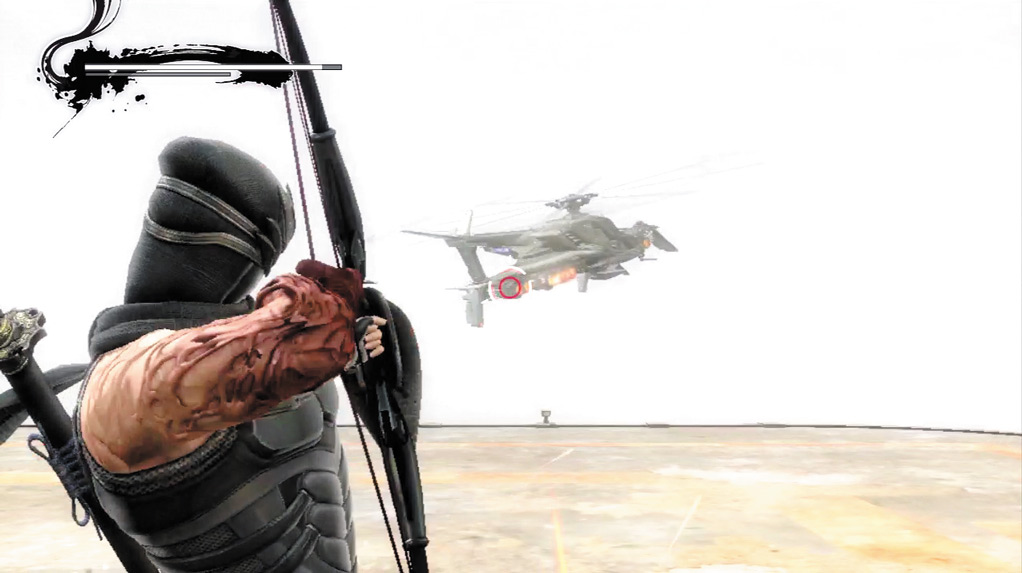
Shoot the rocket launchers on the wings of the helicopter.
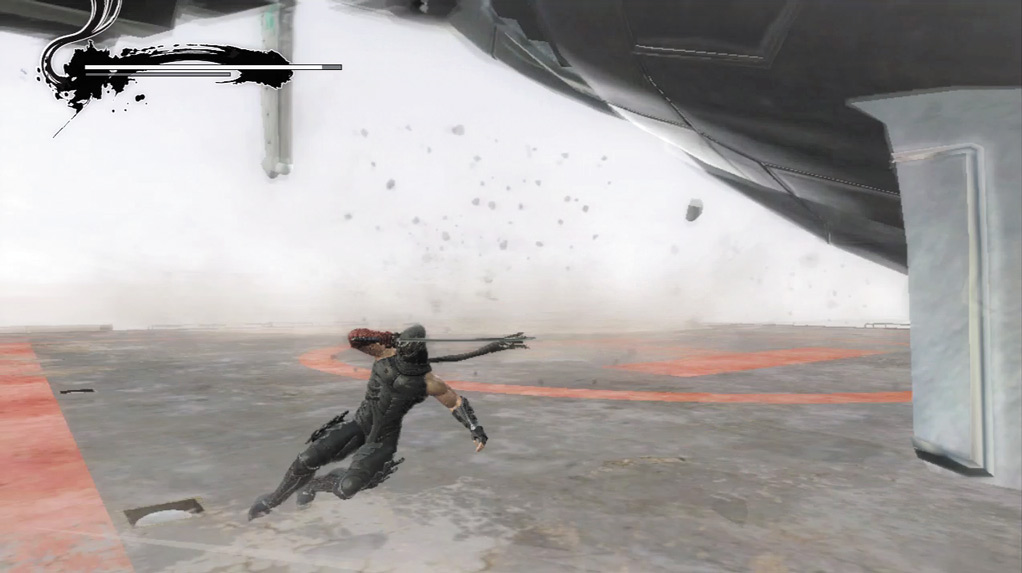
Slide to avoid the helicopter when it dives at Hayabusa.
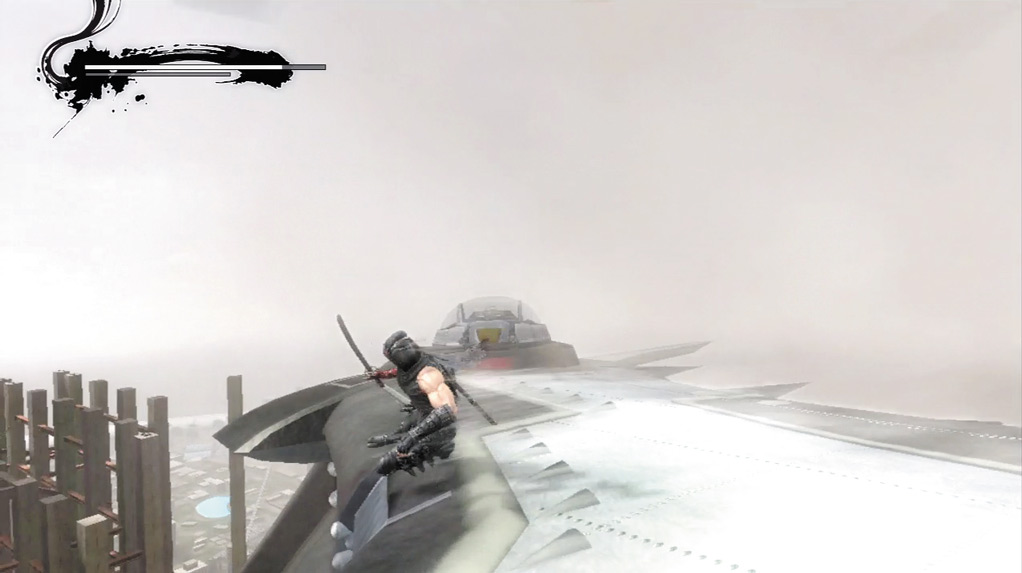
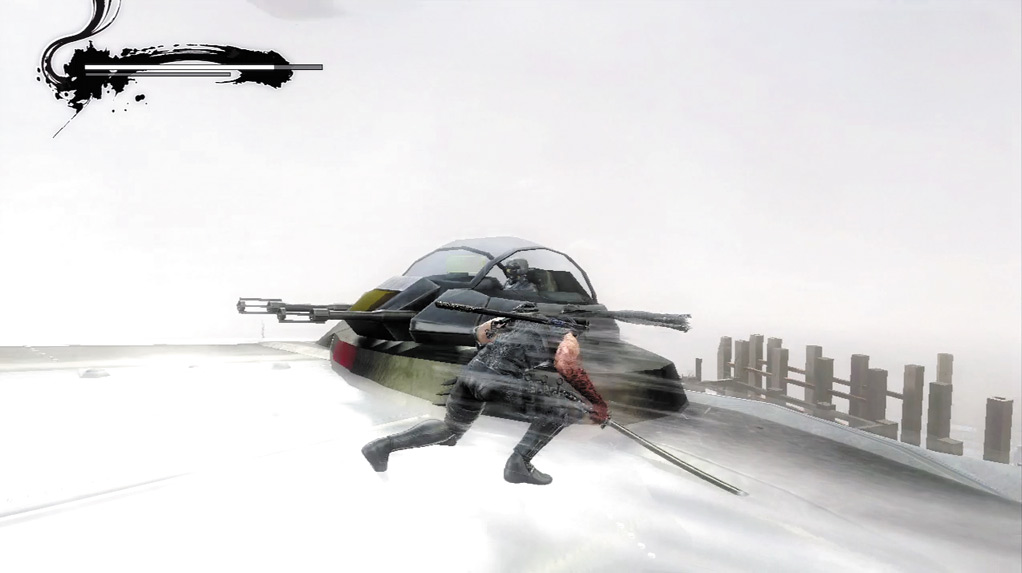
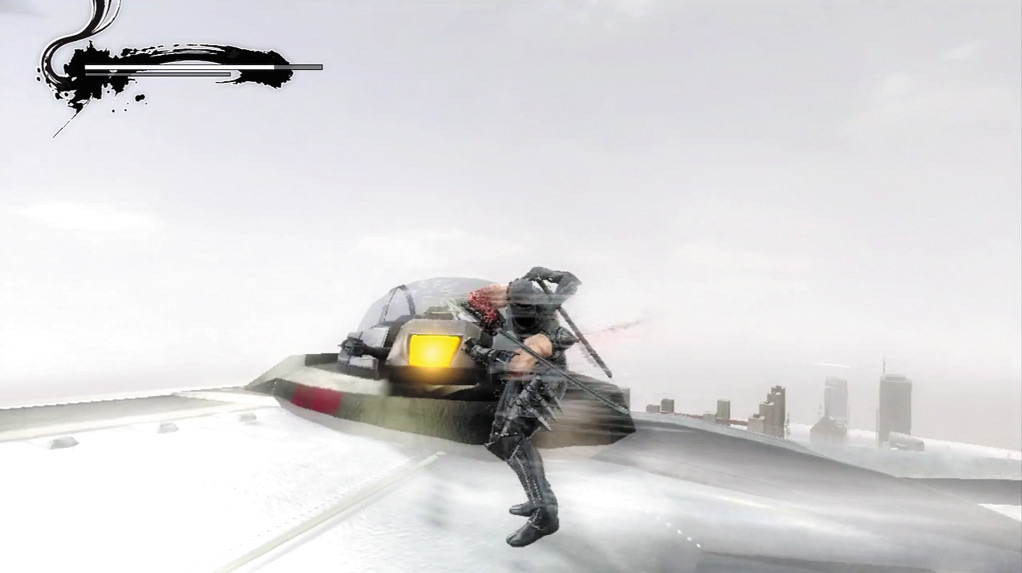
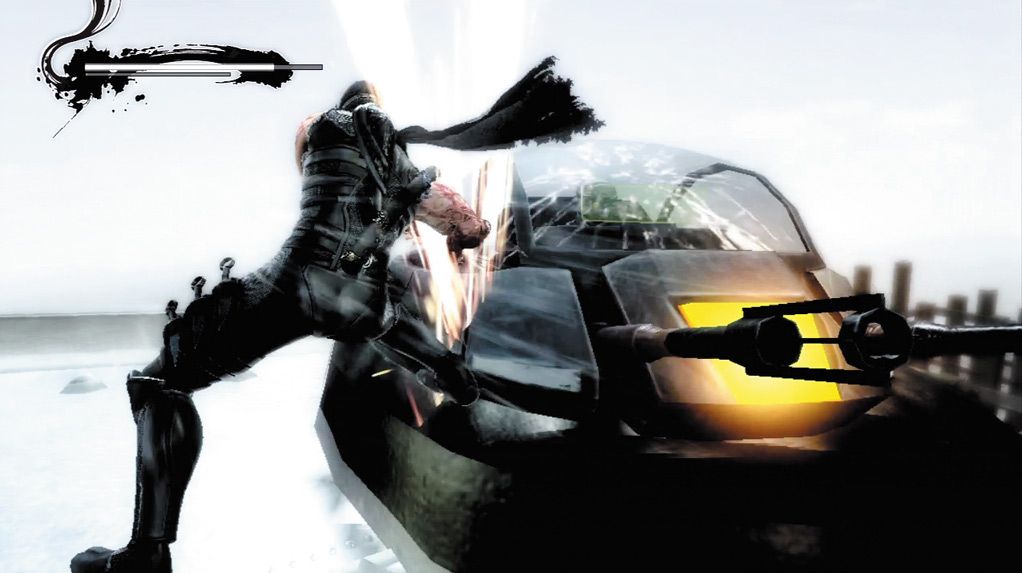
When you land on the next platform, another helicopter appears. Follow the same strategy as before, aiming at the rocket launchers on either side of the helicopter and staying away from the center of the platform.
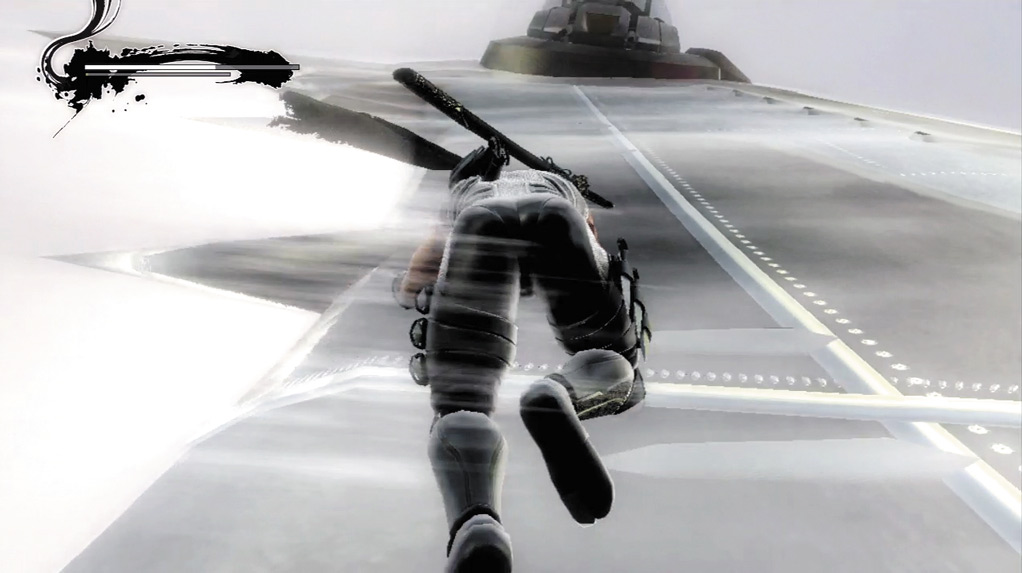
Kunai Climb toward the turret ...
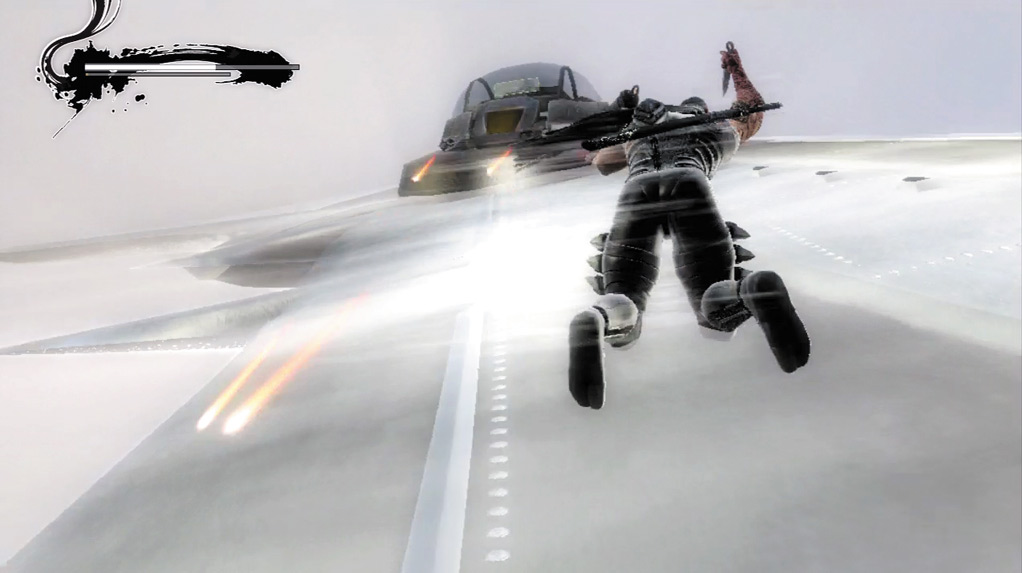
... and move left or right to avoid gun fire.
Destroy the helicopter and press Jump (
or
) when prompted. In the air, press Left or Right on the Left Analog Stick and hold Block (
or
) when prompted, then press Strong Attack (
or
) and rapidly tap Strong Attack (
or
).
Repeat the strategy to take out the next turret, then use the Kunai Climb when the wing shifts vertically. Use the Left Analog Stick to avoid the turret fire, but be careful not to fall or Hayabusa dies.
When the wing returns to the normal alignment, ignore the Heavy Soldiers (Jetpack) and focus on destroying the turret. Follow the prompts to jump to the next platform, then take out the Heavy Soldiers (Jetpack) with jumping arrow shots.
Once all of the Heavy Soldiers (Jetpack) are dispatched, take out the rocket launchers on the helicopter above. Follow the prompts to jump down to the next helicopter to complete the boss battle.