
Ninja Gaiden 3 Guide Essentials Ninja Enemies
Monsters
Paracelsus Fiend
Paracelsus Fiend Details
First Seen:
Day 8
Class:
Weak
Izuna Drop:
Yes
Arrows:
Yes
Paracelsus Fiend HP:
2,100
Range:
Short
Power:
3
Priority:
3
Abilities/Weapons:
Unblockable Grab, Suicide Explosion, Dive Attack
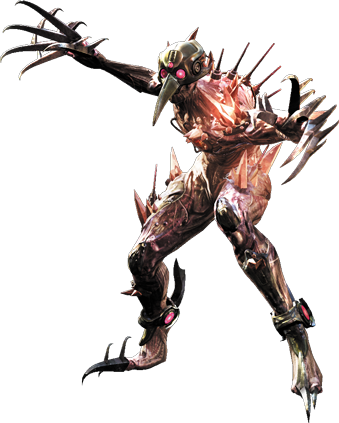
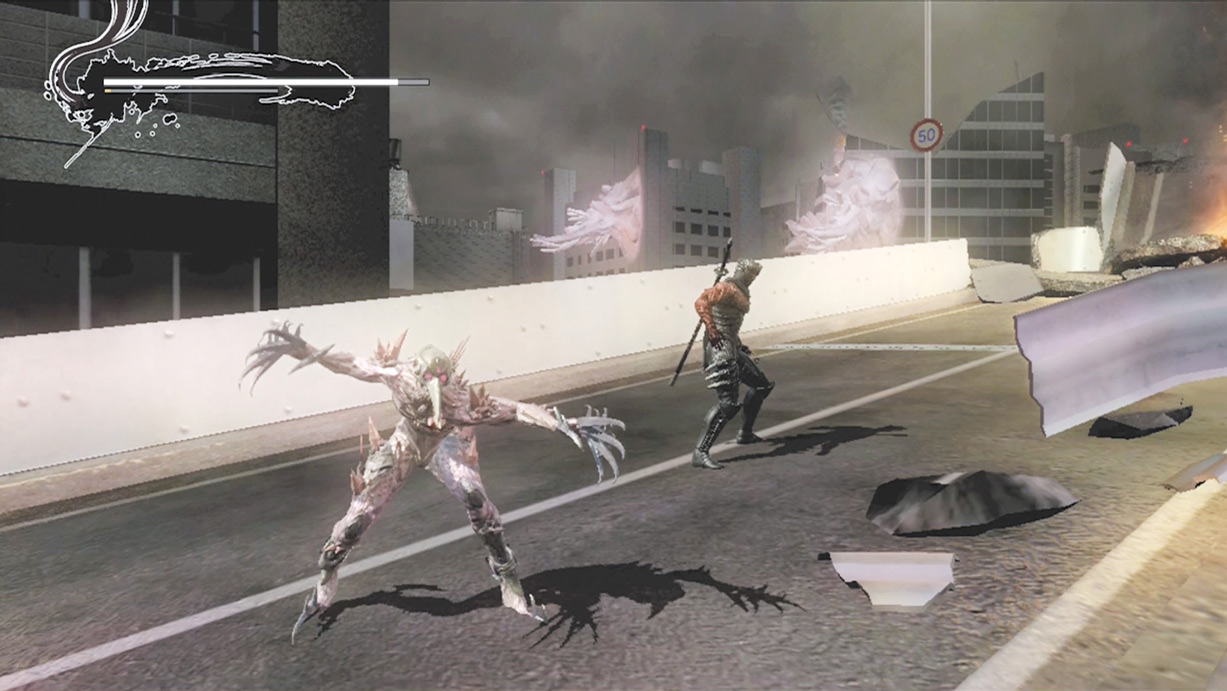
Paracelsus Fiends are identical to normal Celsus Fiends, except they inflict more damage with each attack and they’re more aggressive. A group of Paracelsus Fiends can be difficult to contend with if Hayabusa is hit one time or loses his momentum for any reason.
They have the same abilities as normal Celsus Fiend (including the Suicide Explosion), and are susceptible to the Izuna Drop. Use the Izuna Drop, then finish them off with an Obliteration Technique and be cautious of a potential resurrection and suicide. If Hayabusa gets hit, quickly slide away to regroup before you lose momentum completely.
High Van Gelf Fiend
High Van Gelf Fiend Details
First Seen:
Ninja Trials—Leader 01
Class:
Strong
Izuna Drop:
No
Arrows:
No
High Van Gelf Fiend HP:
2,500
Range:
Long
Power:
4
Priority:
4
Abilities/Weapons:
Unblockable Grab, Unblockable Lunging Grab, Fireball Projectile
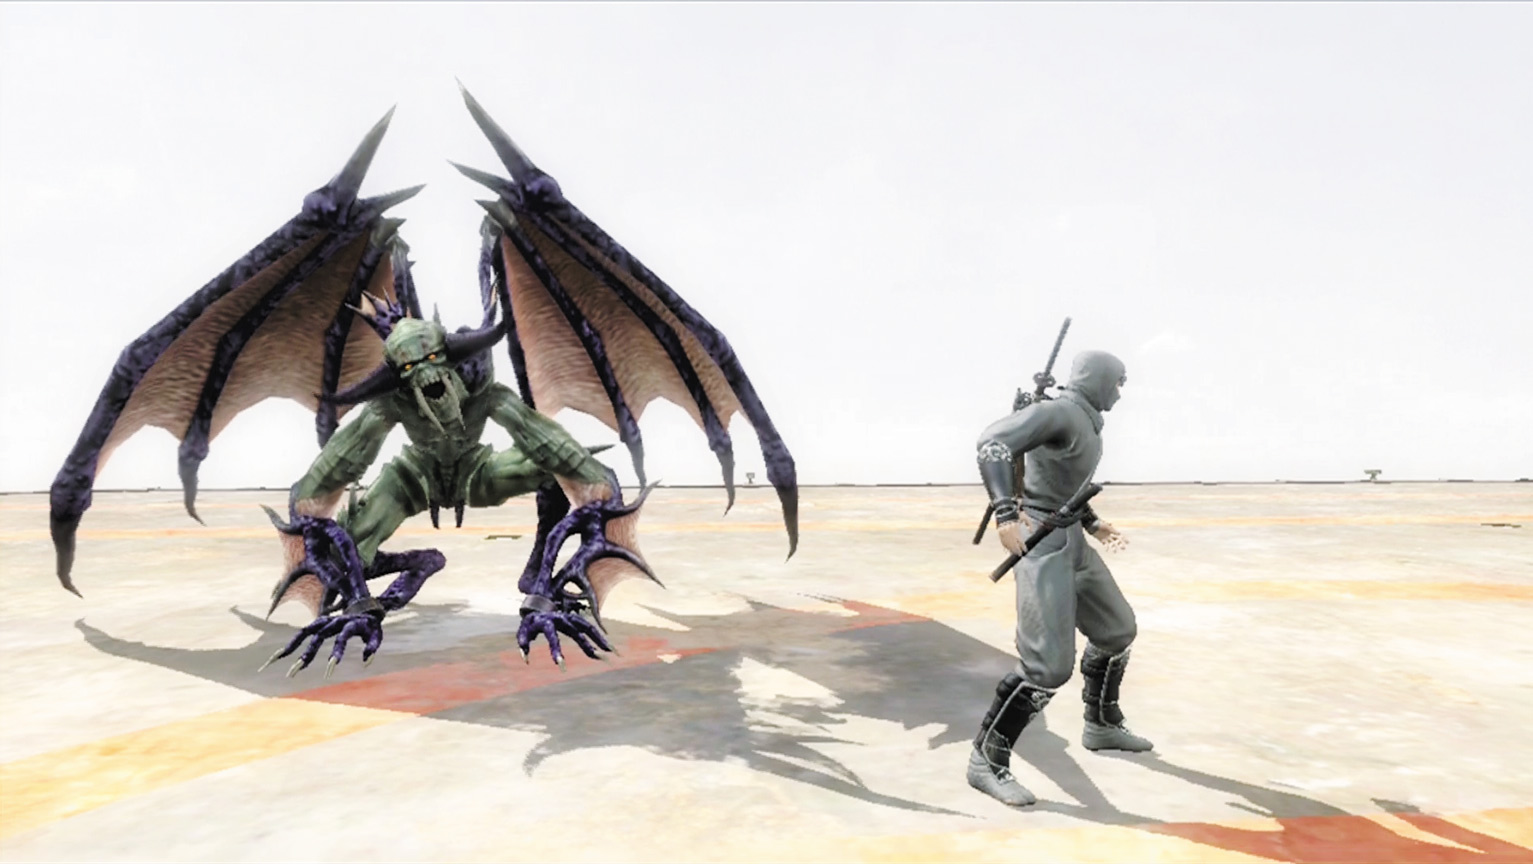
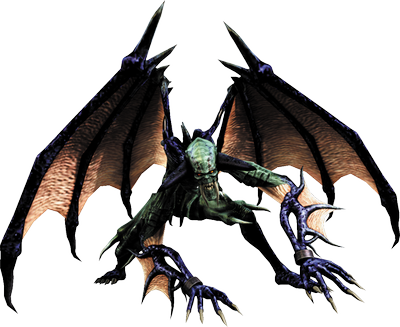
High Van Gelf Fiends are very similar to normal Van Gelf Fiends except that they have the ability to fly. This doesn’t change how they attack, aside from the fact that their Fireball Projectile is used while they’re in the air. Just like Van Gelf Fiends, from a distance the High Van Gelf Fiends use a Fireball Projectile. Usually a High Van Gelf Fiend shoots at least three Fireball Projectiles before landing on the ground again. These projectile attacks track your character, which means you must slide to evade them.
At mid range, the High Van Gelf Fiends use a Lunging Grab attack that’s unblockable, just like the normal Van Gelf Fiend. Because you do not encounter High Van Gelf Fiends until late in the Ninja Trials mode, the Lunging Grab inflicts a considerable amount of damage on your character. You do not want to get hit with this or it will drain half of a full Health Gauge.
Your best course of action is to battle High Van Gelf Fiends at close range. From this distance, the High Van Gelf Fiend only attacks with an Unblockable Grab and a short combo. However, High Van Gelf Fiends almost always attack in groups. For best results, get the High Van Gelf Fiends together, then use a barrage of Quick Attack combos to take them out as quickly as possible. Focus on the same High Van Gelf Fiend until it’s dead to decrease the total number of enemies.
Celsus Fiend
Celsus Fiend Details
First Seen:
Day 6
Class:
Weak
Izuna Drop:
Yes
Arrows:
Yes
Celsus Fiend HP:
2,100
Range:
Short
Power:
3
Priority:
2
Abilities/Weapons:
Unblockable Grab, Suicide Explosion, Dive Attack
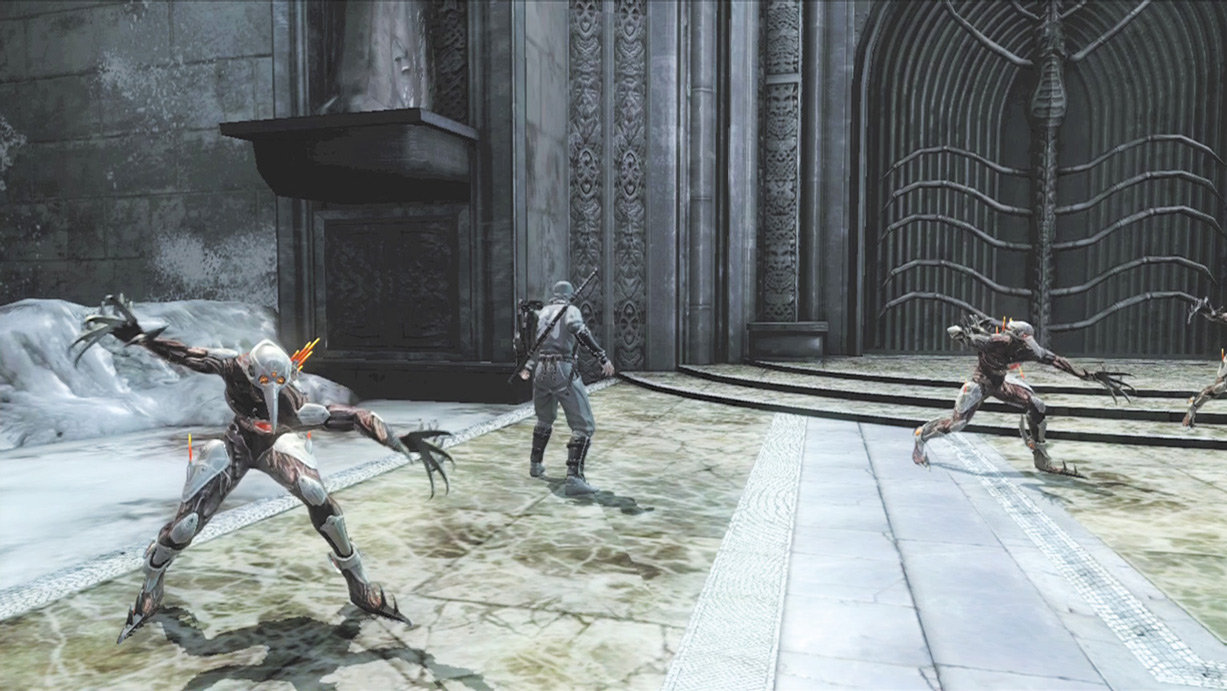
Celsus Fiends are very agile and can be more annoying than most other enemies. At close range, they use an Unblockable Grab that inflicts a considerable amount of damage. From a moderate distance they use a Diving Attack that is difficult to avoid and can be used simply to close in on Hayabusa to then use an Unblockable Grab. The Izuna Drop works well against them, but even after death they can be hazardous.
It is not uncommon for a group of Celsus Fiends to resurrect after death and use a mass Suicide Explosion. This often occurs in mass when a Magna Persona Fiend is close by, but can happen even when no Magna Persona Fiends are around. During this sequence, a Celsus Fiend starts crawling around and attempts to jump on Hayabusa and explode. Even if they do not grab Hayabusa, they still explode after a short time. Use an Obliteration Technique to limit how often this happens, or attack the Celsus Fiend as soon as it starts to resurrect. However, in both instances, a Celsus Fiend can still explode after death. Continuously slide away from the Celsus Fiends until all of them have exploded.
Magna Fiend
Magna Fiend Details
First Seen:
Day 6
Class:
Strong
Izuna Drop:
No
Arrows:
Yes
Magna Fiend HP:
3,000
Range:
Long
 Power:
3
Power:
3
Priority:
4
Abilities/Weapons:
Unblockable Grab, Jumping Stomp, Scythe Toss, Scythe Combos
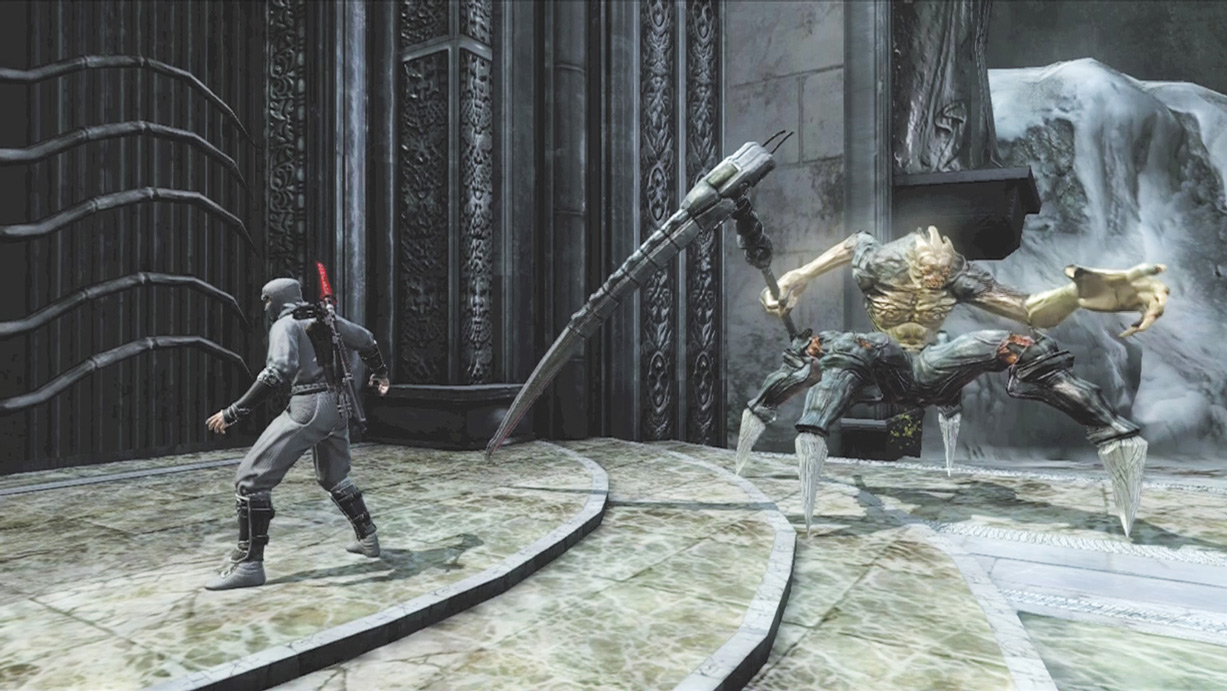
When a Magna Persona Fiend is successfully shot down, it spawns a Magna Fiend. Magna Fiends are strong opponents that can be difficult to deal with, especially in groups. From a distance, the Magna Fiend throws its scythe toward Hayabusa (Scythe Toss). This does not cover the full distance of a normal sized room, but if Hayabusa is anywhere near the Magna Fiend, it can connect. At close range, the Magna Fiend uses a series of Scythe Combos that can be hard to avoid at close range. When it starts to get close to Hayabusa, it can also use a Jumping Stomp. If you see this, wait until it jumps into the air, then slide away. If you slide too early, the Magna Fiend will land on top of Hayabusa.
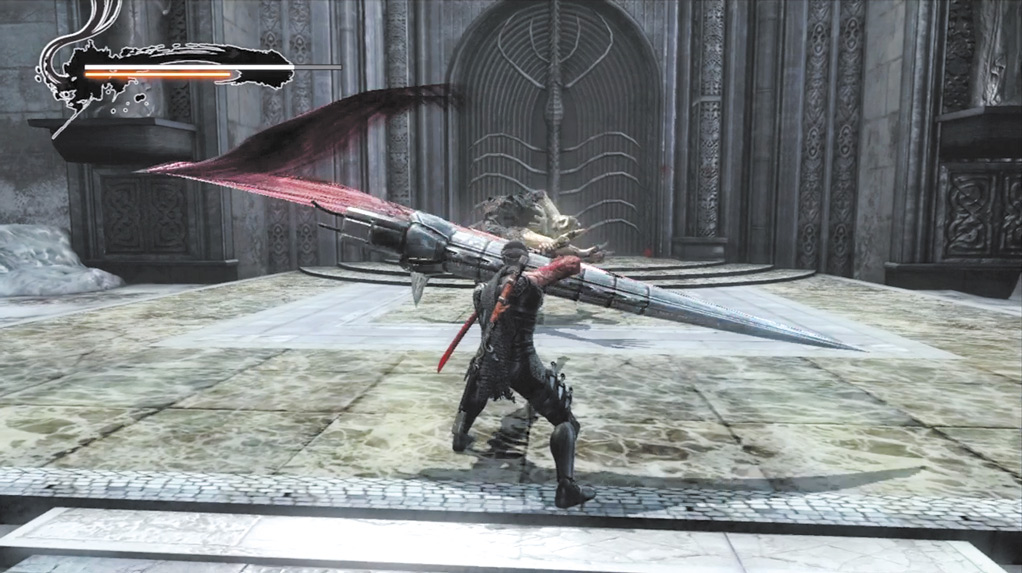
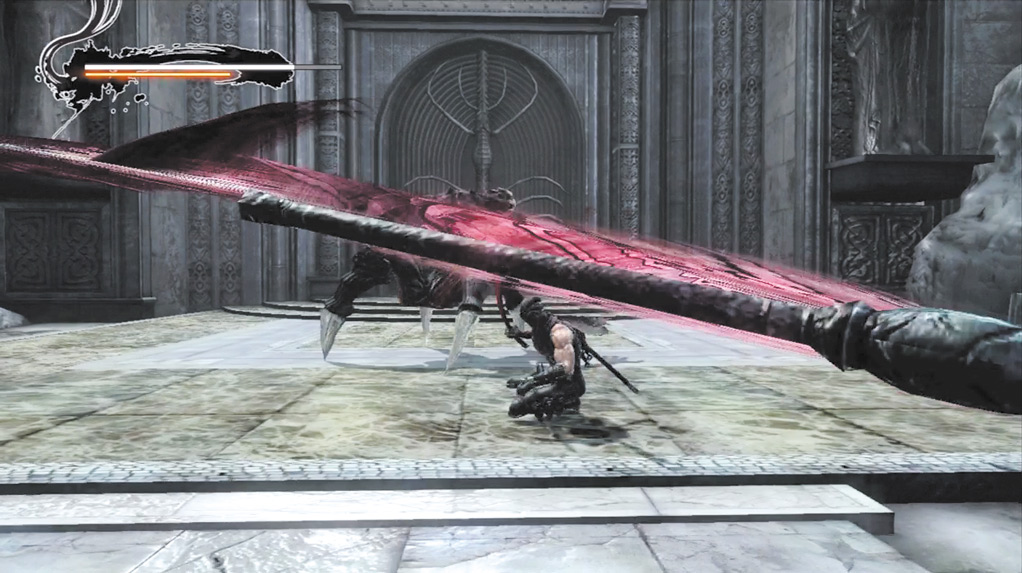
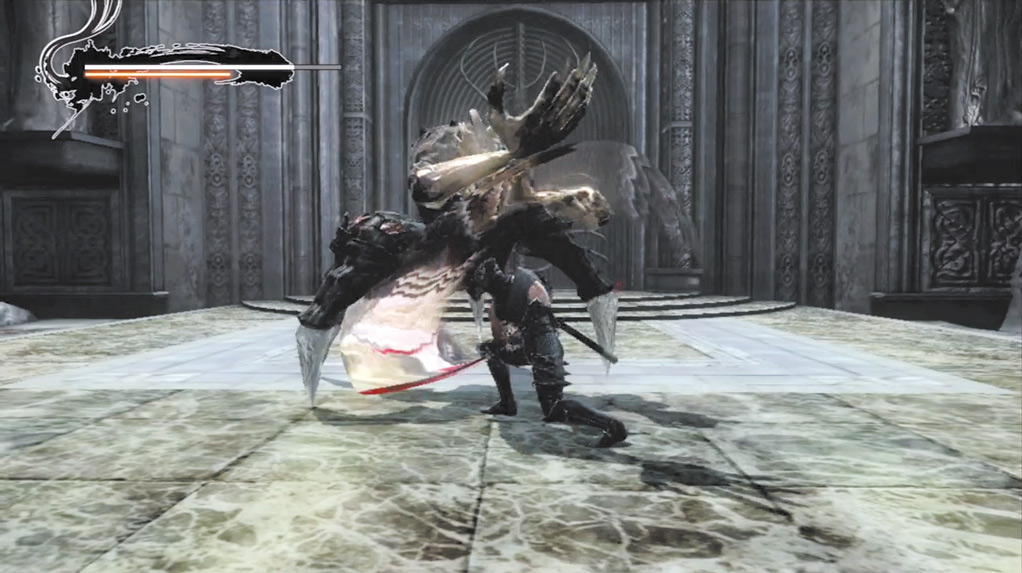
The best approach is to wait approximately one slide distance away from the Magna Fiend. When it uses the Scythe Toss, slide under it and toward the enemy, then use Strong Attacks or a Strong Attack combo until it’s no longer stunned. At this point, slide away and repeat the process.
Alternatively, slide toward the Magna Fiend, then transition directly into a Strong Attack. A Flying Swallow also works well to close in on the Magna Fiend. It doesn’t always connect, but safely getting close to the Magna Fiend is just as good. Once Hayabusa is close, use a Strong Attack to stun the Magna Fiend. A slide into a Strong Attack usually stuns the Magna Fiend, but a normal Strong Attack also works. If the Magna Fiend is not stunned, slide away and try again. While the Magna Fiend is stunned, use a continuous series of Strong Attacks until you can sever its legs. With the Magna Fiend crippled, attack with a Strong Attack (4 or i) to finish it off.
If you stay close to the Magna Fiend when it’s not stunned, it will use various Scythe Combos and an Unblockable Grab. During the combos, if it’s scythe gets stuck in the ground, take the opportunity to attack with Strong Attack combos. If you can evade it’s combos, attack as soon as they complete (usually three attacks). However, it’s never a good idea to be close to the Magna Fiend when it’s not stunned.
Magna Persona Fiend
Magna Persona Fiend Details
First Seen:
Day 6
Class:
Strong
Izuna Drop:
No
Arrows:
Yes
Magna Persona Fiend HP:
1,000
Range:
Long
 Power:
3
Power:
3
Priority:
5
Abilities/Weapons:
Laser Projectile
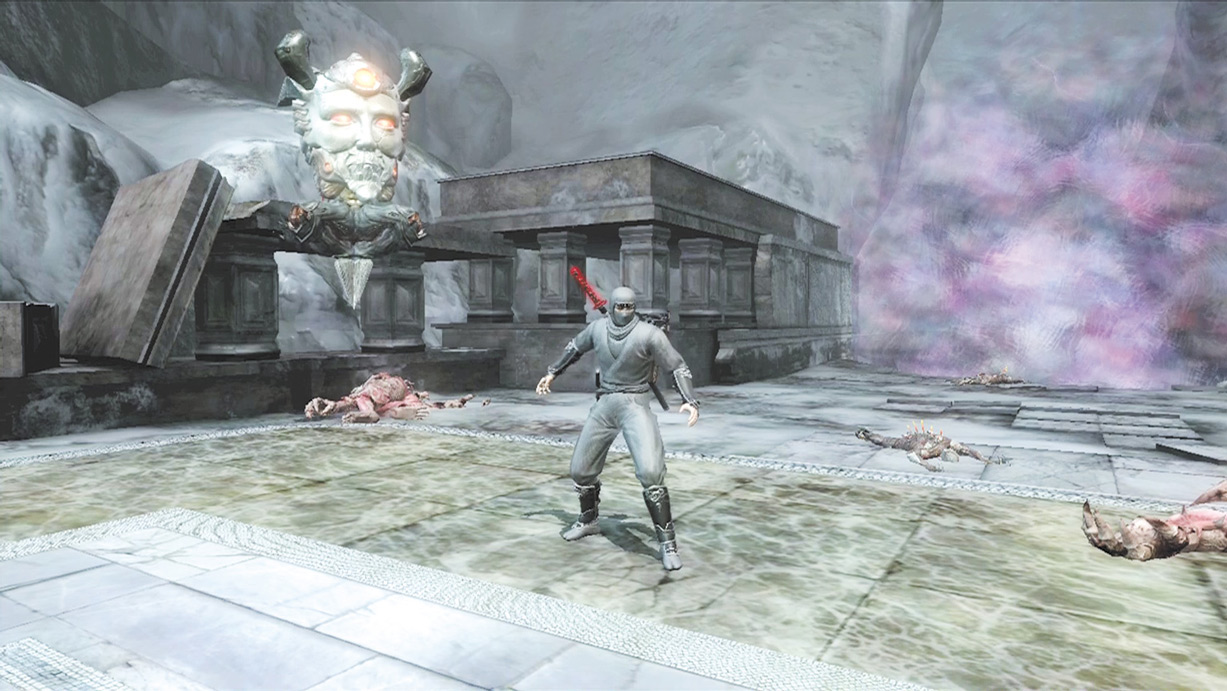
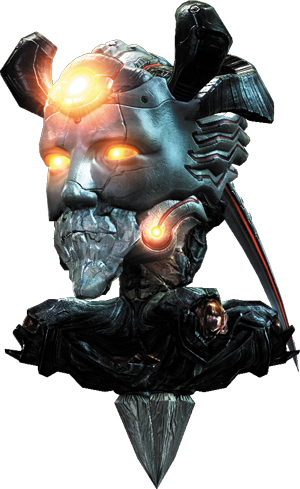
The Magna Persona Fiend doesn’t appear very often and only uses one main attack. It fires a Laser Projectile, which is telegraphed by several bright circles on the ground. When the circles appear, slide until Hayabusa is safely away from them. If you see a Magna Persona Fiend, wait until its eyes light up, then shoot an arrow at it. Two or three arrows will take down a Magna Persona Fiend, revealing a Magna Fiend.
Shadow Fiend
Shadow Fiend Details
First Seen:
Ninja Trials—Acolyte 05
Class:
Weak
Izuna Drop:
Yes
Arrows:
Yes
Shadow Fiend HP:
1,700
Range:
Short
Power:
2
Priority:
3
Abilities/Weapons:
Unblockable Grab, Teleport
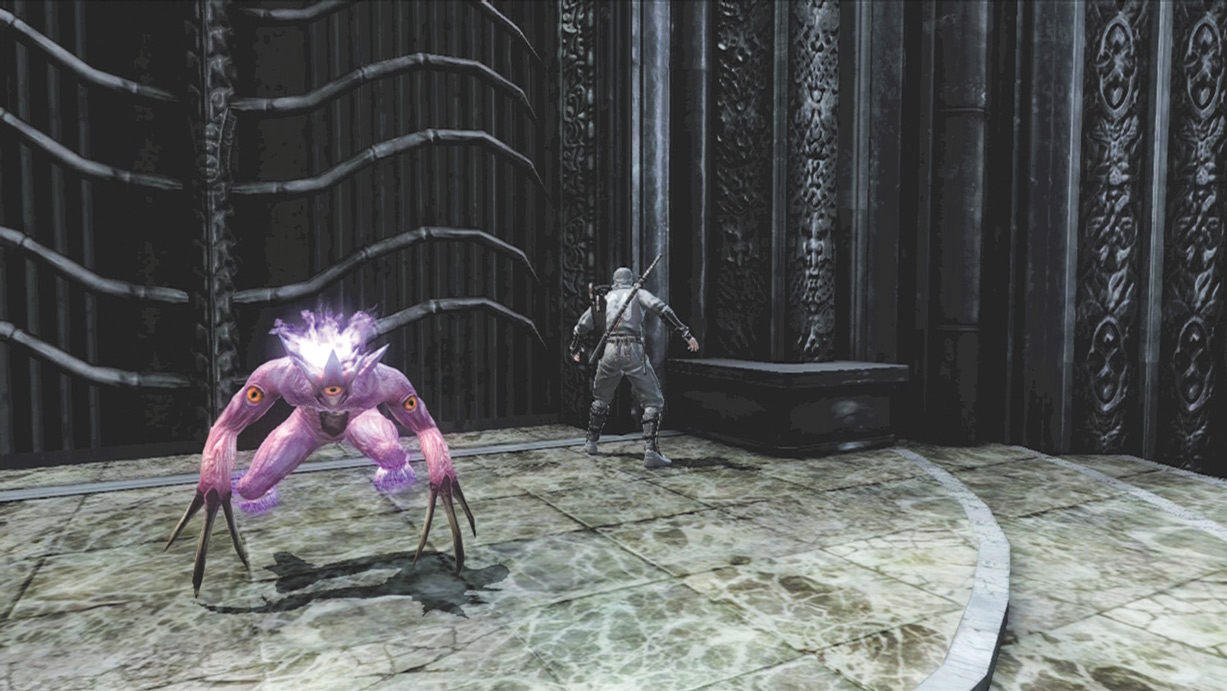
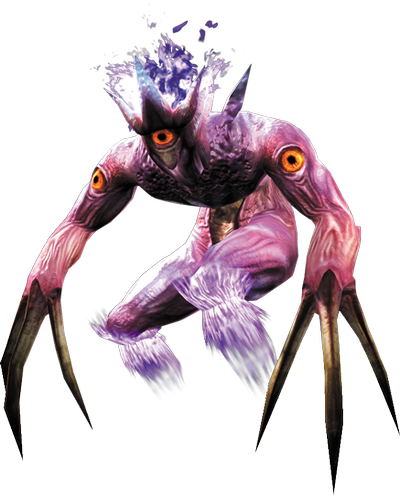
Shadow Fiends can be very annoying, especially in large groups. They almost always appear alongside Van Gelf Fiends, which makes them even more troublesome to deal with. While Shadow Fiends are relatively weak and can be defeated with a single Izuna Drop, they are extremely agile and difficult to pin down.
From a slight distance, Shadow Fiends dive into the ground and use a Teleport to close in on you. Their location is visible thanks to a purple spot on the ground. Watch these spots and slide away from them when they get close. Shadow Fiends generally use their Unblockable Grab as they reappear after a Teleport. It’s very difficult to evade this if you’re too close to the Shadow Fiend when it comes out of a Teleport. It’s best to evade the Shadow Fiends when they’re underground, then attack as soon as they appear again.
It is not possible to use an Obliteration Technique on a Shadow Fiend, which would generally not be a concern. However, because the Shadow Fiends attack in groups and are extremely agile, if you attempt to attack a Shadow Fiend immediately after defeating another Shadow Fiend, your character almost always tries to attack the near-death Shadow Fiend. In most cases this would result in an Obliteration Technique, but against Shadow Fiends it does nothing more than leave your character open to an attack from the other Shadow Fiend. To avoid this, slide away from the near-death Shadow Fiend, then attack your next target.
Van Gelf Fiend
Van Gelf Fiend Details
First Seen:
Ninja Trials—Acolyte 05
Class:
Strong
Izuna Drop:
No
Arrows:
No
Van Gelf Fiend HP:
2,500
 Range:
Long
Range:
Long
Power:
3
Priority:
3
Abilities/Weapons:
Unblockable Grab, Unblockable Lunging Grab, Fireball Projectile
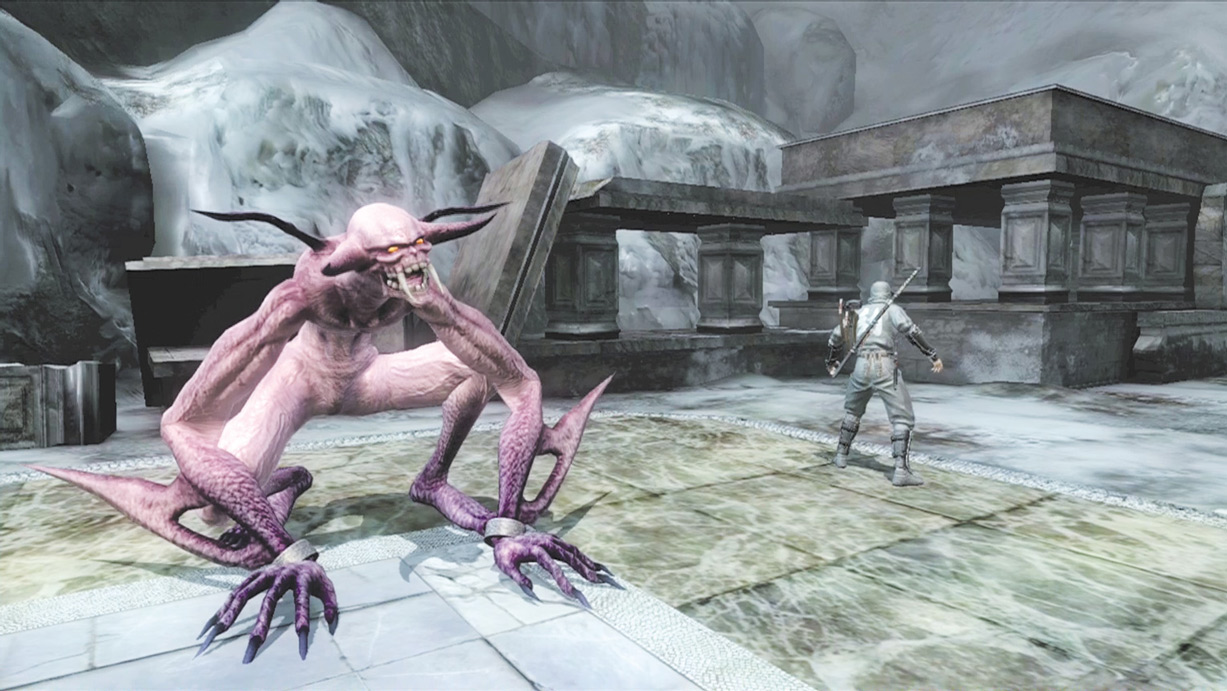
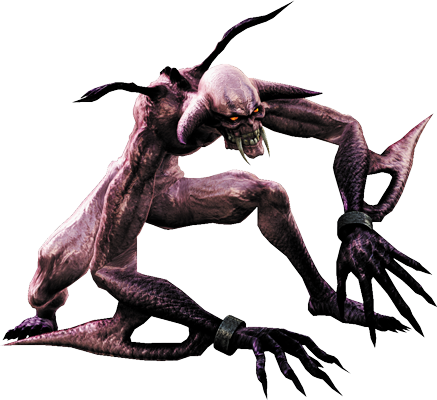
The Van Gelf Fiend is an enemy from Ninja Gaiden II that only appears in Ninja Trials mode. From a distance, it attacks with a Fireball Projectile that has the ability to knock Hayabusa out of the air during an Izuna Drop. In most cases it will miss, but Van Gelf Fiends tend to attack in groups. If multiple Van Gelf Fiends are attacking with Fireball Projectiles, it can be difficult to pull off an Izuna Drop against other enemies in the area. If you’re having difficulty, get closer to the Van Gelf Fiends to stop them from using the projectile, or take out the Van Gelf Fiends first.
From just outside of your attack range, Van Gelf Fiends use an Unblockable Lunging Grab that looks almost like a ground stomp of some sort. The Van Gelf Fiend stomps you to the ground, then proceeds to slam its fist into your face. Slide to avoid this attack, and get close to the Van Gelf Fiend to limit most of its attack power. At close range, the Van Gelf Fiend uses a three-hit combo attack that can be blocked, as well as an Unblockable Grab. However, if you continuously attack with Quick Attack combos, the Van Gelf Fiend will not have time to initiate any of these attacks.
Van Gelf Fiends usually attack alongside Shadow Fiends, which have the same priority rating as a Van Gelf Fiend. Both enemies can be difficult to deal with, especially when fighting them together. If you have trouble avoiding the Van Gelf Fiend’s attacks, take them out before the Shadow Fiends. Otherwise, use the Shadow Fiends to build up to an Ultimate Technique to then take down the Van Gelf Fiends a little faster.
Homunculus/Moon Child
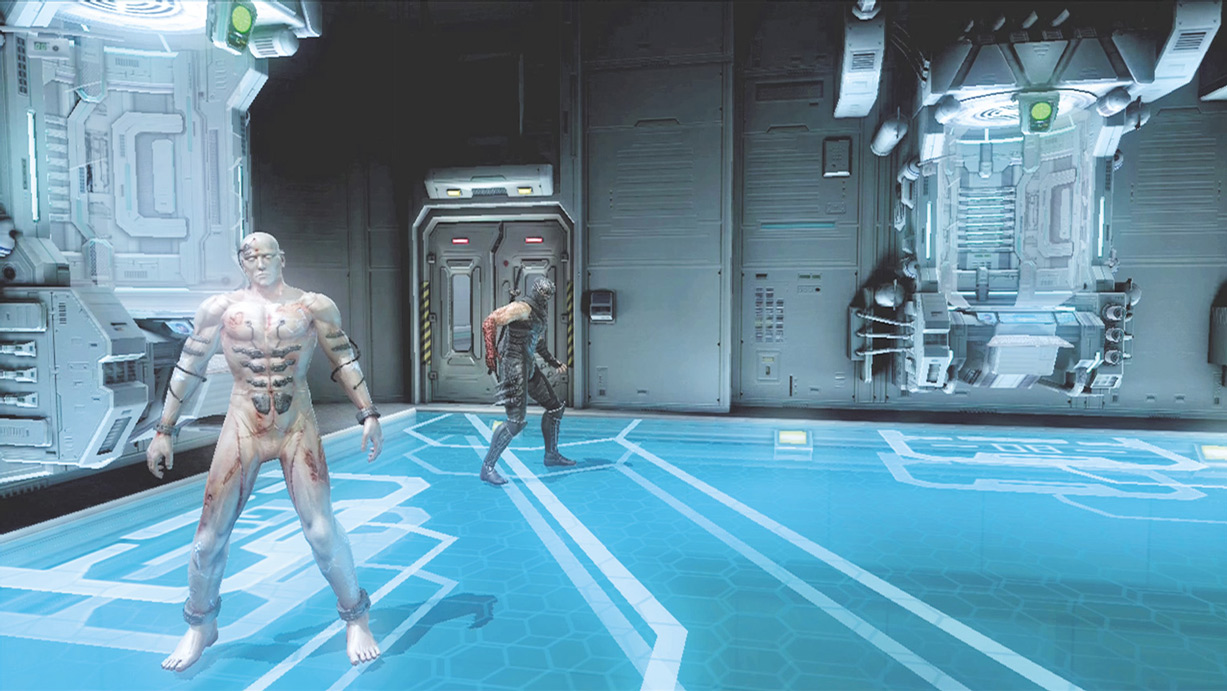
Homunculus
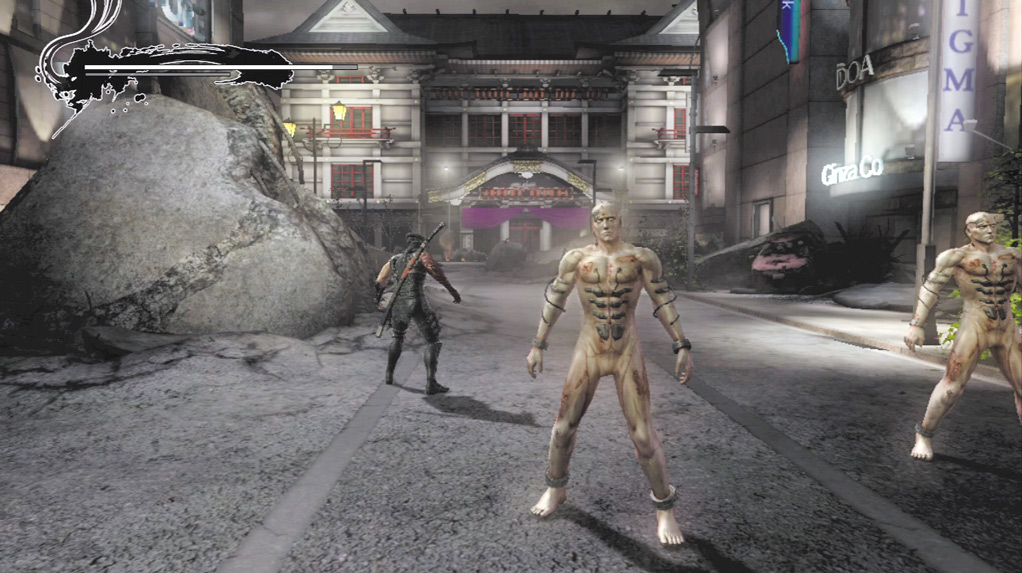
Moon Child
Homunculus/Moon Child Details
First Seen:
Day 4
Class:
Weak
Izuna Drop:
Yes
Arrows:
Yes
Homunculus HP:
1,300/2,100
Range:
Short
Power:
1
Priority:
1
Abilities/Weapons:
Unblockable Grab
Homunculus are arguably the weakest enemy in the game and go down with minimal effort. Their only significant attack is an Unblockable Grab. However, they move slower than other enemies and are easy to evade. The best way to take down a group of Homunculus is to wait until they’re close together, then attack the center-most Homunculus with a series of Quick Attacks until a Steel on Bone attack is initiated. At this point, each consecutive attack will be another Steel on Bone as long as there’s a Homunculus within reach. With proper timing, it’s possible to take out an entire horde of Homunculus with a continuous series of Steel on Bone attacks. In most cases, killing a Homunculus spawns a Megaselion or an Ourboros.
Megaselion/Demon Baphomet
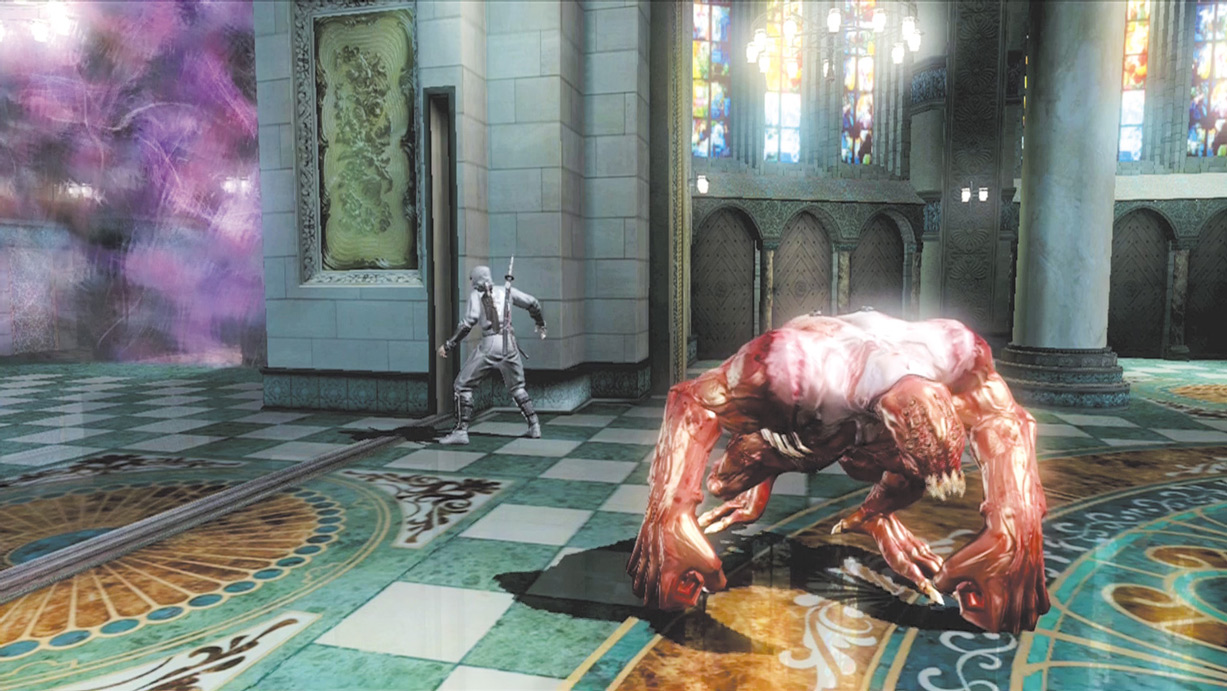
Megaselion
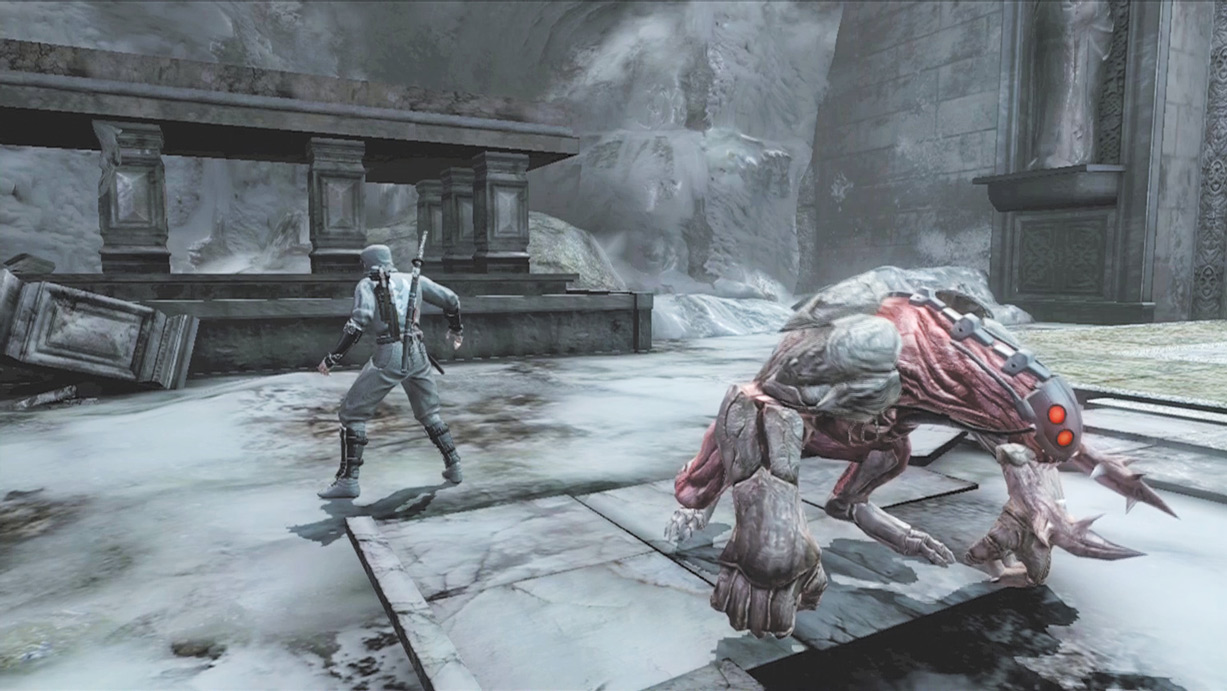
Demon Baphomet
Megaselion/Demon Baphomet Details
First Seen:
Day 4
Class:
Strong
Izuna Drop:
No
Arrows:
No
Megaselion HP:
3,750
Demon Baphoment HP:
4,250
Range:
Short
Power:
4
Priority:
1
Abilities/Weapons:
Unblockable Grab, Unblockable Lunging Grab, Charge Attack, Rolling Attack, Jumping Attack
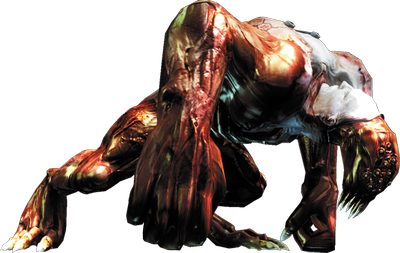
The Megaselion and Demon Baphoment, are two of the strongest, non-boss enemies in Ninja Gaiden 3. They are strong enough to interrupt many of Hayabusa’s attacks with an Unblockable Grab, or a combo series of its own. From a distance, they bend down and charge at Hayabusa, use an Unblockable Lunging Grab with considerable range, charge up to use a Rolling Attack, or use a Jumping Attack.
The best way to take down a Megaselion or Demon Baphoment is to use a series of Quick Attack combos. If they block, slide away and wait for them to attack. Evade the attack, then slide toward them and use Quick Attack combos again. If the attacks connect, continue to use Quick Attack combos until they deflect (parry) an attack. As soon as this happens, slide away to avoid the incoming counterattack. As soon as the attack misses, slide back toward them and continue with a barrage of Quick Attack combos until prompted to press Strong Attack (4 or i) and finish it off.
Megaselion and Demon Baphoment rarely attack alone, which means you need to pay close attention to the enemies around Hayabusa and move away to regroup if he’s in danger of being attacked. If there are multiple Megaselions or Demon Baphoments, use the Quick Attack strategy, but watch the other enemies. If you see another Megaselion’s or Demon Baphoment’s hands glow red, slide away to avoid the Lunging Grab that follows.
In a group of Homunculus and Megaselion, if you can get the Homunculus close to the Megaselions, attack the Homunculi with a Quick Attack combo to initiate a Steel on Bone attack. If a Megaselion is close enough, Hayabusa’s next attack will kill it in one slash. This strategy makes it considerably easier to fight groups of Megaselion, but it can be difficult to position the Megaselion and Homunculus properly.
|
Ourboros
Ourboros Details
First Seen:
Day 4
Class:
Strong
Izuna Drop:
No
Arrows:
No
Ourboros HP:
2,300
Range:
Long
 Power:
2
Power:
2
Priority:
3
Abilities/Weapons:
Unblockable Grab, Acid Spray, Tentacle Swipe
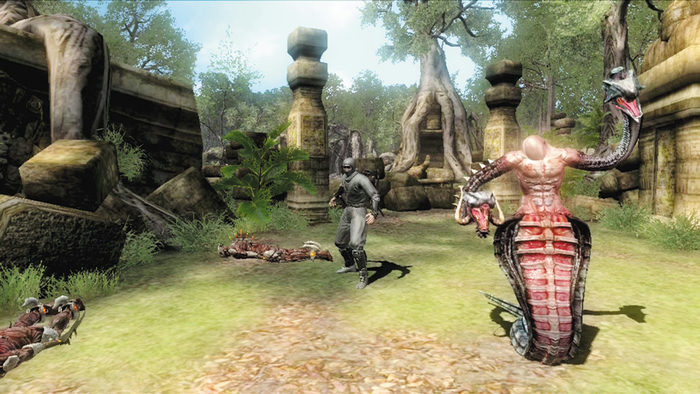
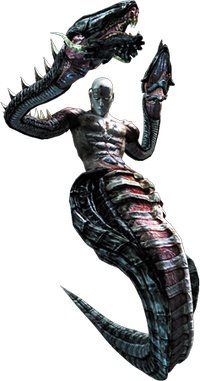
An Ourboros is a little easier to handle compared to a Megaselion, but they’re still difficult to deal with. At close range the Ourboros uses an Unblockable Grab (indicated by a glowing red arm), and a Tentacle Swipe that has moderate range. From a distance, the Ourboros uses an Acid Spray attack that Hayabusa can slide under.
Attack the Ourboros with a series of Quick Attack combos (or Strong Attack combos later in the game) to keep it in a constant stun. This works well because the Ourboros almost always attacks alongside Megaselions, Homunculus, or other Ourboros. Alternatively, you can stay just outside of the Ourboros’s attack range, wait for it to use the Acid Spray, then slide under it and to get within attack range. However, in a group of enemies this can be difficult.
In a group of Homunculus and Ourboros, if you can get the Homunculus close to the Ourboros, attack the Homunculus with Quick Attack combos to get a Steel on Bone attack. If you can position the Ourboros close enough to the Homunculus, the next attack will kill the Ourboros in a single slash.