
Ninja Gaiden 3 Guide Essentials Ninja Training
Techniques
Offensive Techniques
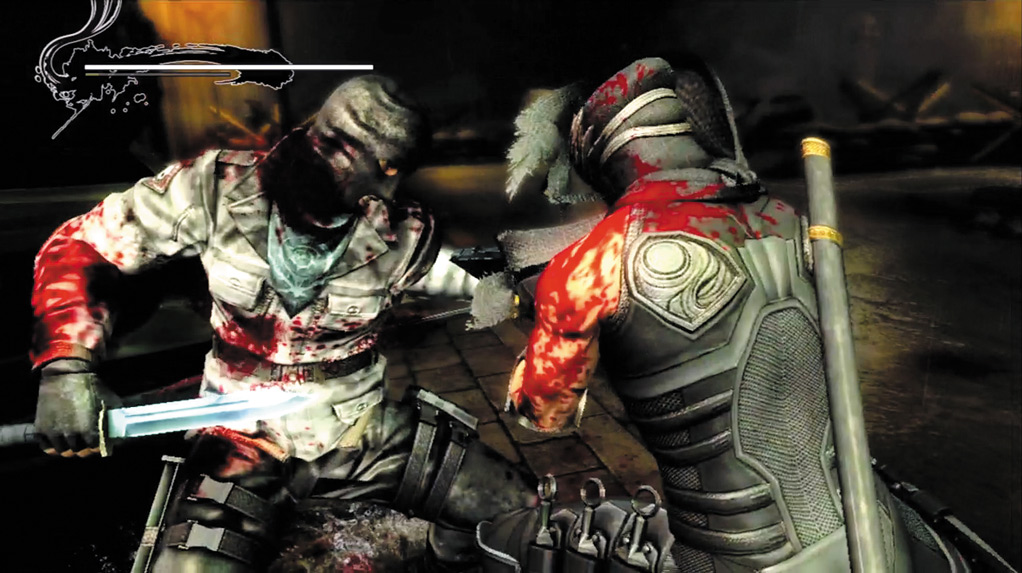
Many of the techniques Hayabusa has access to are limited to strictly offensive uses. This means that the technique has very little defensive ability and should be used almost exclusively while attacking enemies.
There are some offensive techniques that can be used for defensive purposes, but in general, an offensive technique is used to inflict damage to an enemy.
Defensive Techniques
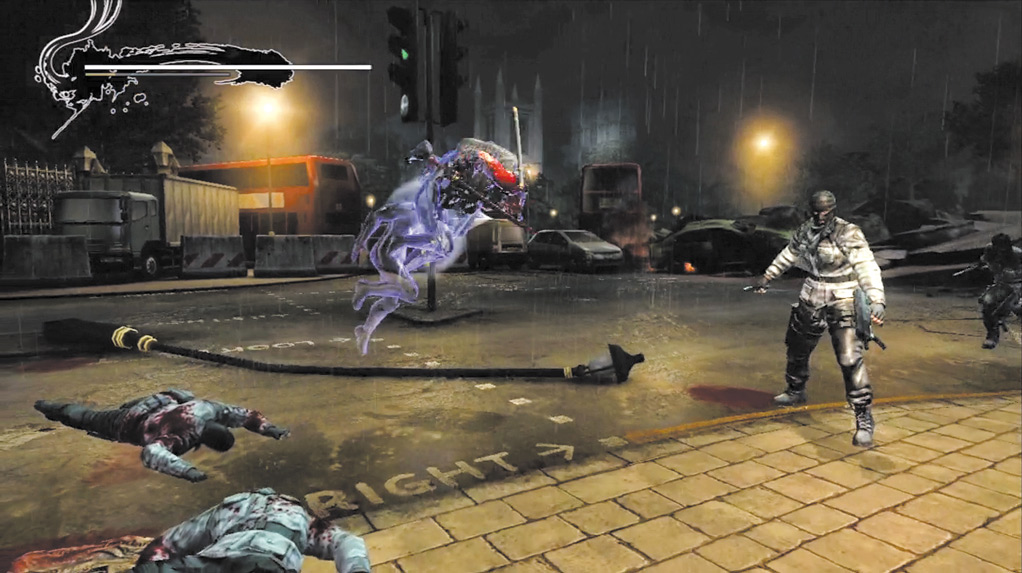
Throughout most of Ninja Gaiden 3, Hayabusa is attacked by large numbers of enemies. Defensive techniques can save Hayabusa’s life. For the most part, defensive techniques enable Hayabusa to avoid an attack or, if surrounded by enemies, to retreat to a safer position.
Some defensive techniques also have the ability to damage an enemy, which can transition directly into an offensive technique.
Environmental Techniques
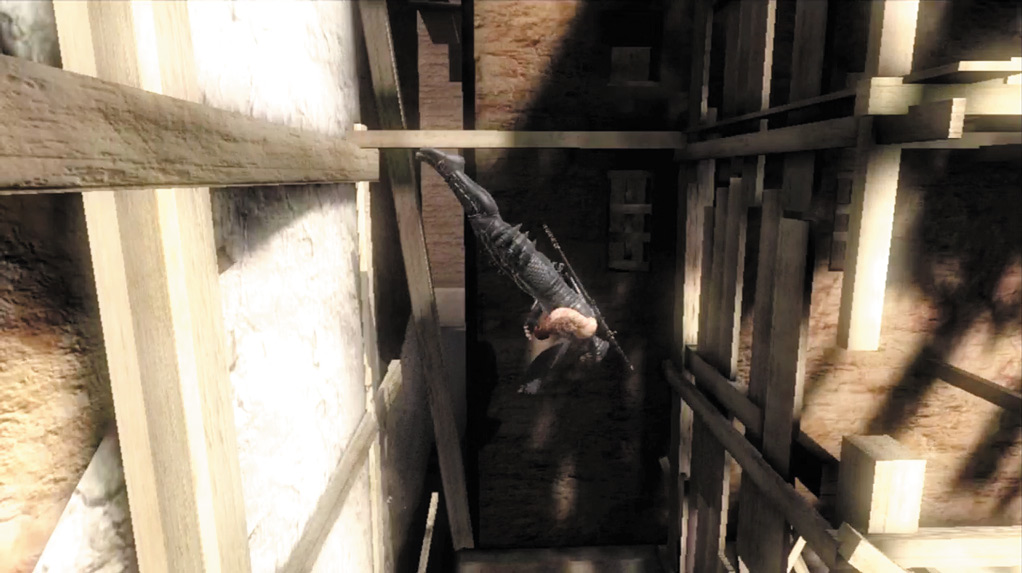
A few of Hayabusa’s techniques do not serve a specific offensive or defensive purpose. These techniques fall into the environmental category. In many cases, Hayabusa is required to use an environmental technique to continue your progress through the game.
If you’re stuck and unable to progress, more than likely one of the environmental techniques must be used to further Hayabusa’s journey.
Technique Effectiveness
There are a wide range of techniques in Ninja Gaiden 3. Some are new, while others have made the transition from previous games. Highly effective techniques work well in almost any situation.
Moderately effective techniques work well more often than not, but there are generally better techniques that can be used. Techniques with low effectiveness are generally very limited in their usefulness.
Counterattack Technique
Execution:
Press Quick Attack (
 or
or
 ) or Strong Attack (
 or
or
 ) while blocking an enemy strike to counter it.
Type: Defensive
Effectiveness: Moderate
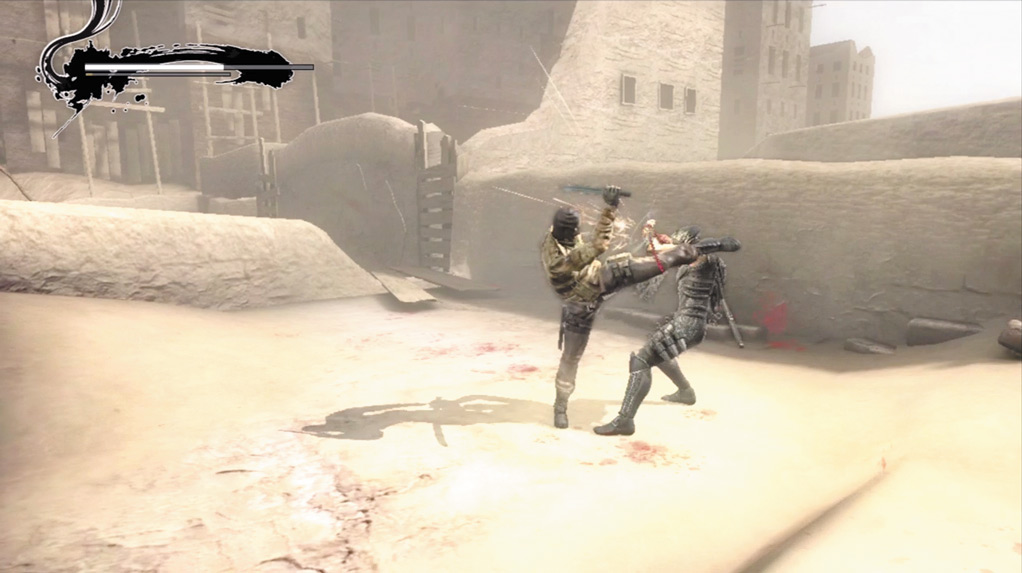
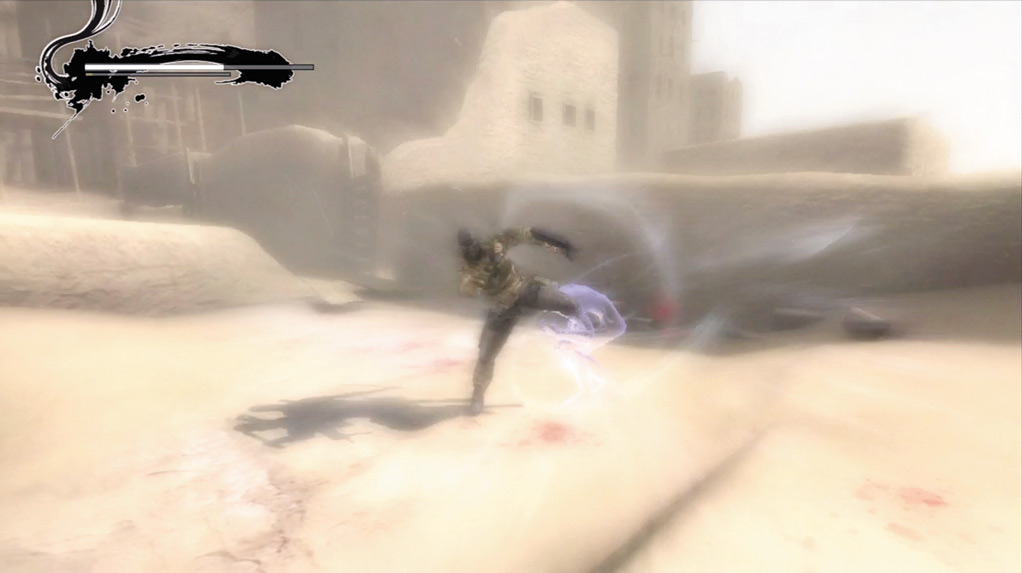
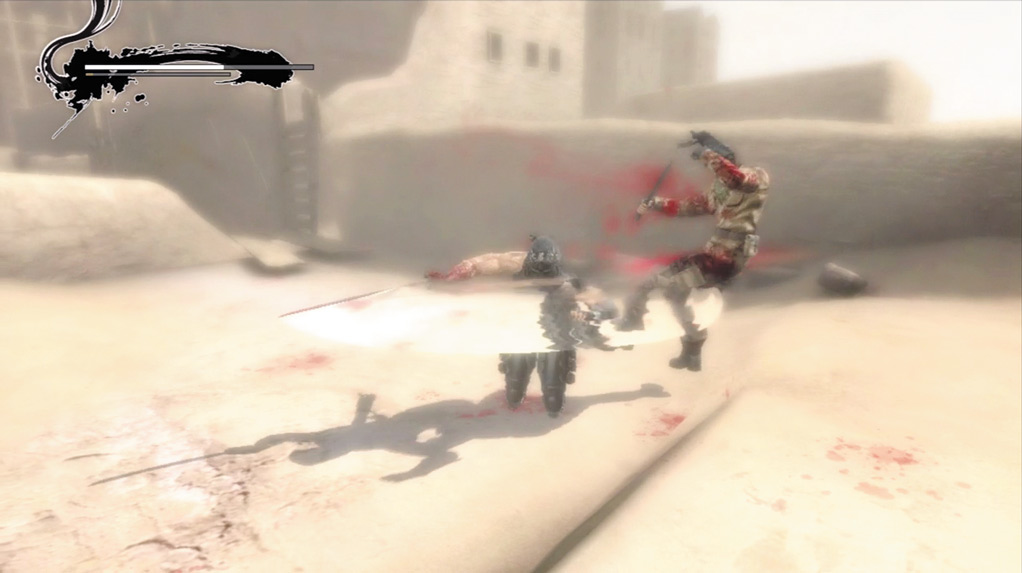
While not as effective as in previous games in the series, the Counterattack Technique is a good tool for master ninjas. If this defensive technique is mistimed, Hayabusa is vulnerable to attack for a brief period.
In previous Ninja Gaiden games the reward of successfully connecting with the technique far outweighed the risk of getting hit if it was mistimed.
However, in Ninja Gaiden 3 the risk is much higher because a single enemy attack has the potential to drain a significant amount of Hayabusa’s health.
The Counterattack Technique requires precise timing. If you attempt to use this technique too early, you will be vulnerable to attack. Likewise, if you execute the technique too late, you will not be able to initiate a counterattack.
Practice this technique during the early days of the game to perfect the timing. It is best used against a small number of enemies. In larger groups, the longer Hayabusa remains stationary, the higher the risk of being grabbed by an enemy.
Escape
Execution:
Rapidly Press
or
, and move the Left Analog Stick Right and Left.
Type: Defensive
Effectiveness: Low
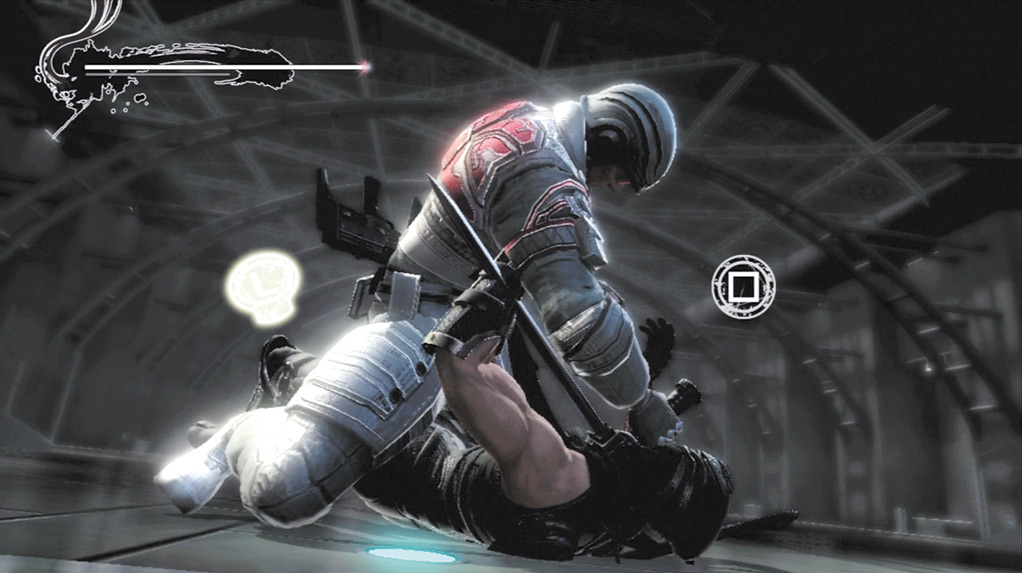
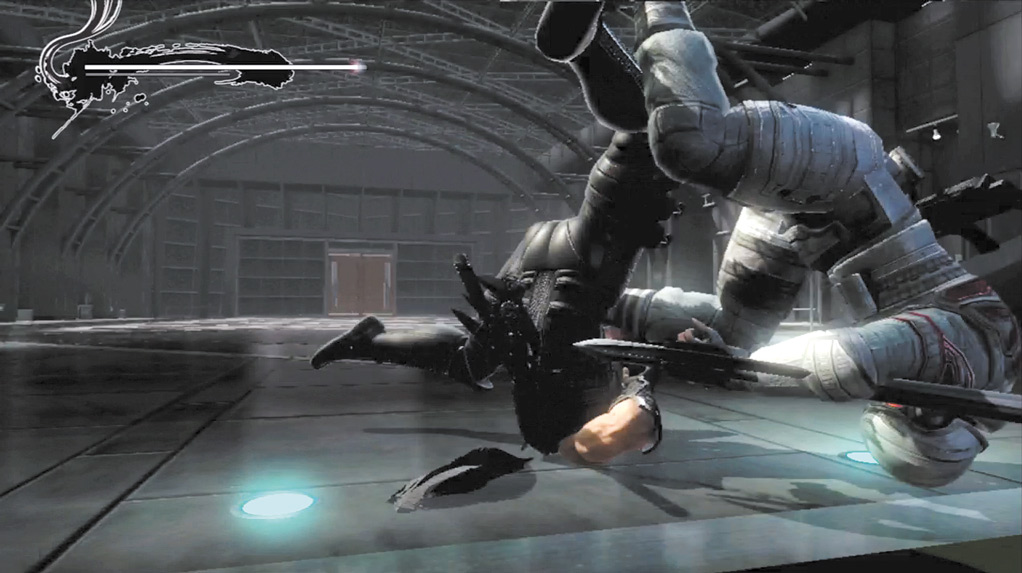
Many of the enemies Hayabusa encounters throughout Ninja Gaiden 3 use grabbing techniques that cannot be blocked. However, in some instances, it is possible to escape the grab and minimize the damage inflicted.
Unfortunately, not all grabs can be escaped by this technique, especially grabs from stronger enemies.
Flying Bird Flip
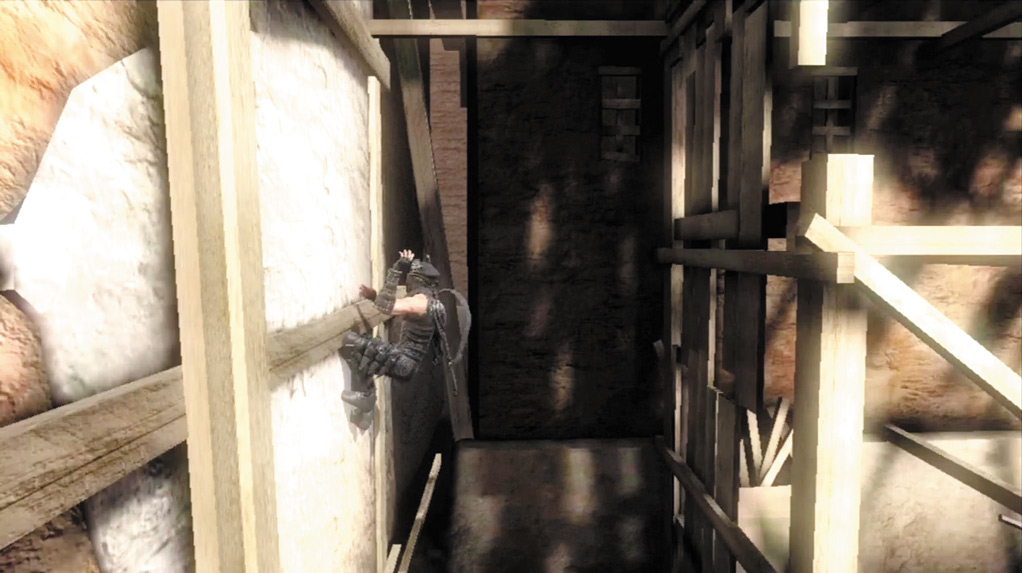
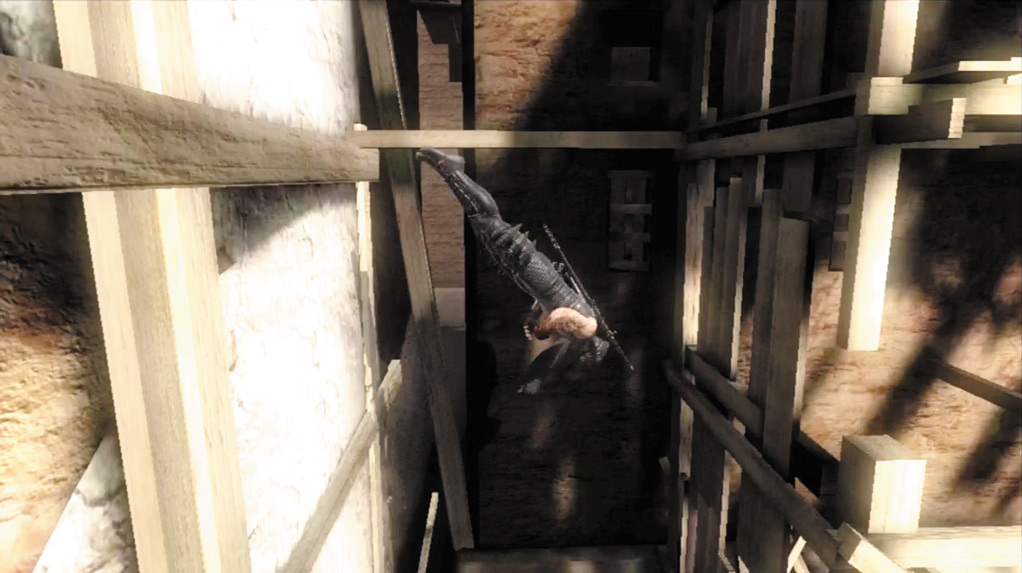
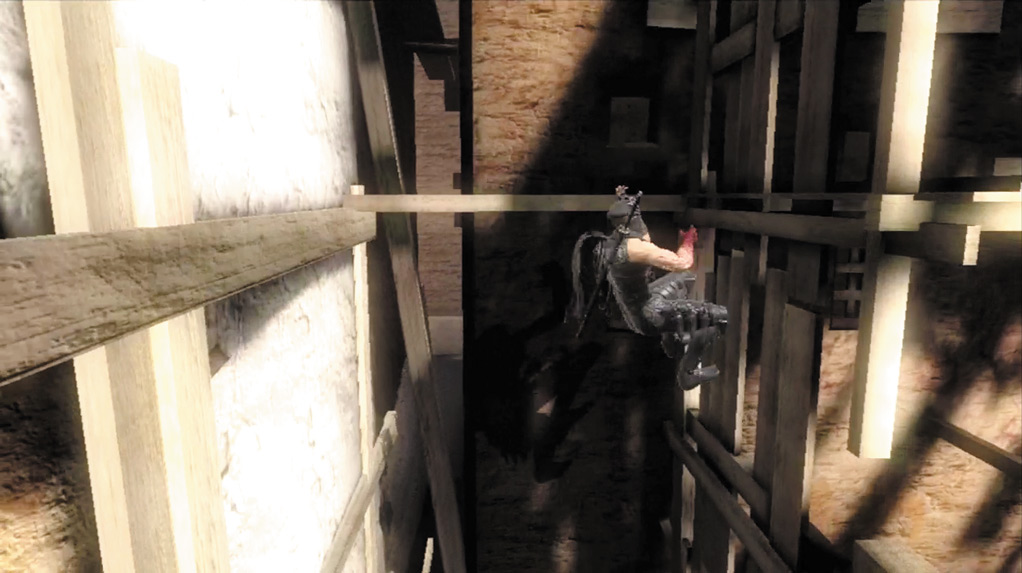
Execution:
Jump against a wall and press Jump (
 or
or
 ) repeatedly to scale two opposing walls.
Type: Environmental
Effectiveness: High
The Flying Bird Technique has become a staple of the Ninja Gaiden series. Its sole purpose is to let Hayabusa reach higher ground and progress through an area. The technique is primarily used in narrow, vertical corridors.
In some cases, you can avoid fighting enemies by using the Flying Bird Technique to leave them behind and continue advancing through the area.
Flying Swallow Technique
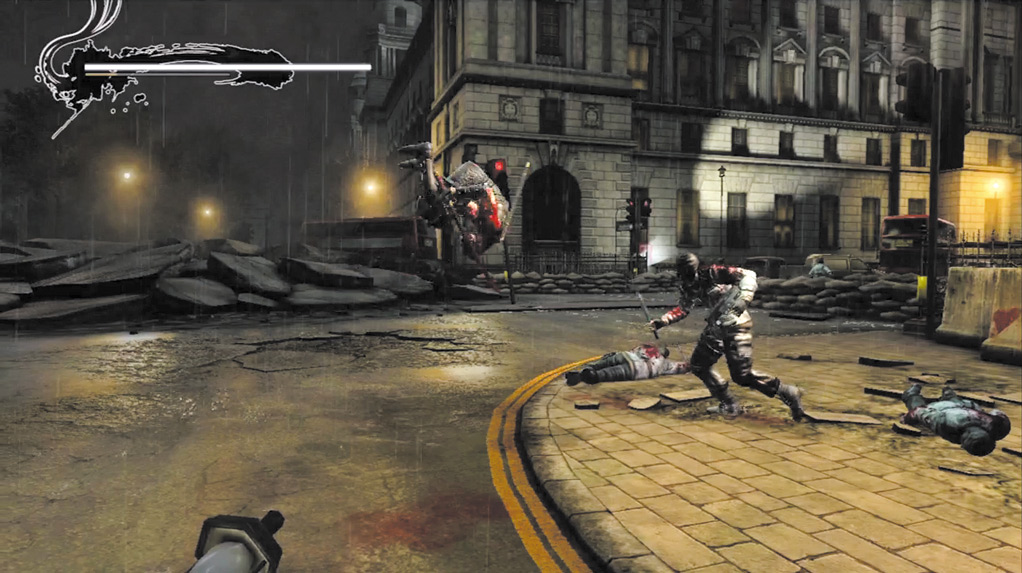
Execution:
While jumping forward or during the Wind Run, press Strong Attack (
or
) to attack enemies from above.
Type: Offensive
Effectiveness: Moderate
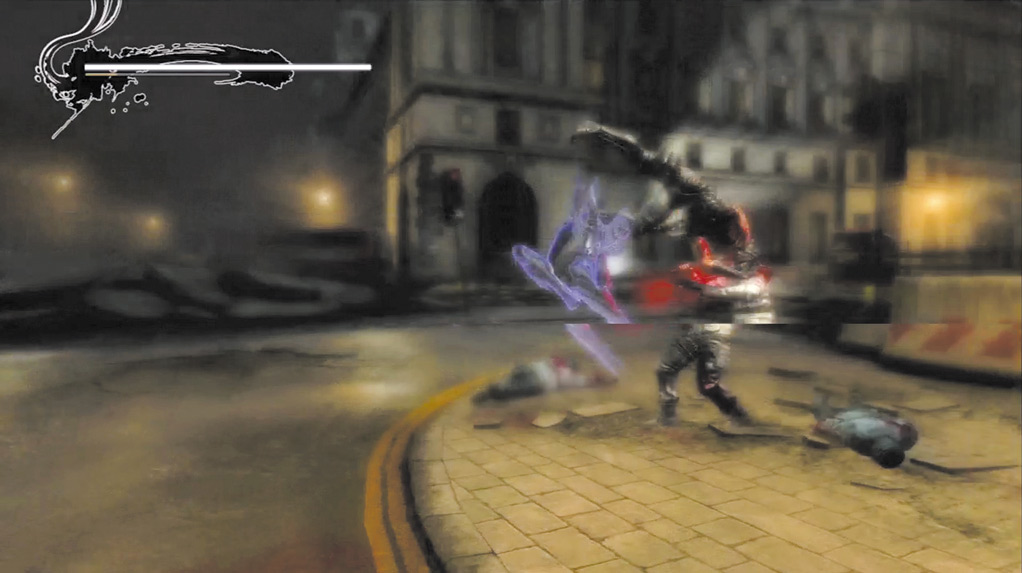
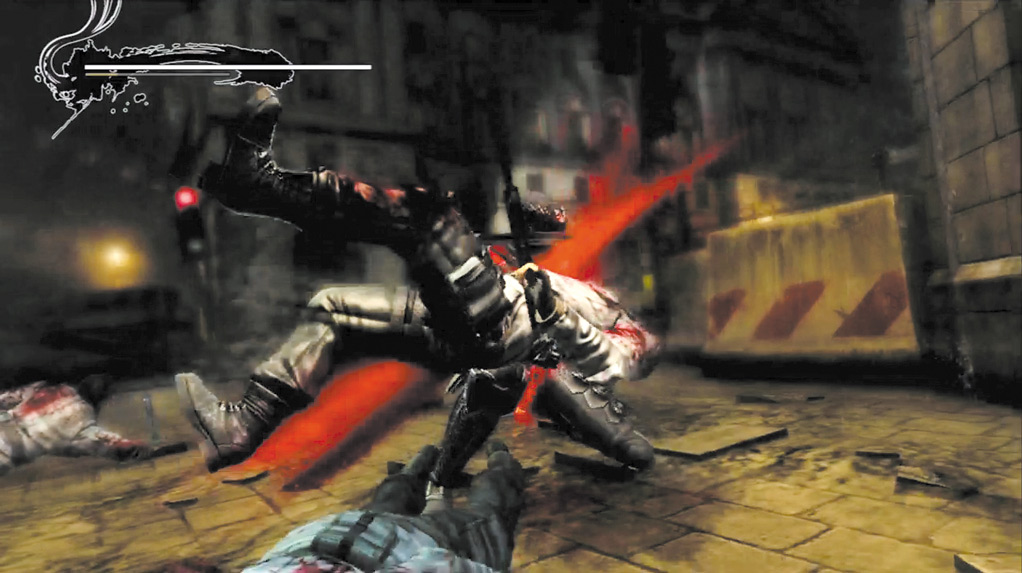
In the past, the Flying Swallow Technique was one of Hayabusa’s best and most reliable attacks. However, in Ninja Gaiden 3 it’s really only effective against weaker enemies. Even in these instances, it’s often better to use the Izuna Drop instead.
Early on in the game, the Flying Swallow Technique kills most enemies with a single attack. However, as Hayabusa progresses further and further into the game, enemies block the attack more and more.
If this happens, wait until the enemy is in the middle of an attack to use this technique to ensure they cannot block it. Against tougher enemies, the damage inflicted is minimal compared to many of Hayabusa’s other attacks.
When Hayabusa has the Dragon Sword and Jinran-Maru (Hayate’s Sword), only one Flying Swallow Technique can be used at a time. However, when he upgrades to the Blade of the Archfiend, he gains the ability to use the technique twice if the first attempt is blocked.
Hayabusa is vulnerable during the initial jump, however, if you use the Wind Run Technique, it is very difficult for Hayabusa to be hit. In addition, the Wind Run almost always moves Hayabusa in the direction of an enemy.
This means you do not have to move the camera to ensure Hayabusa jumps toward an enemy before executing the Flying Swallow.
Kunai Climb and Rope Crossing
Kunai Climb
Rope Crossing
Throw dagger
Execution:
Hold
 and
and
 or
or
 and
and
 , then alternate between them.
Type: Environmental
Effectiveness: High
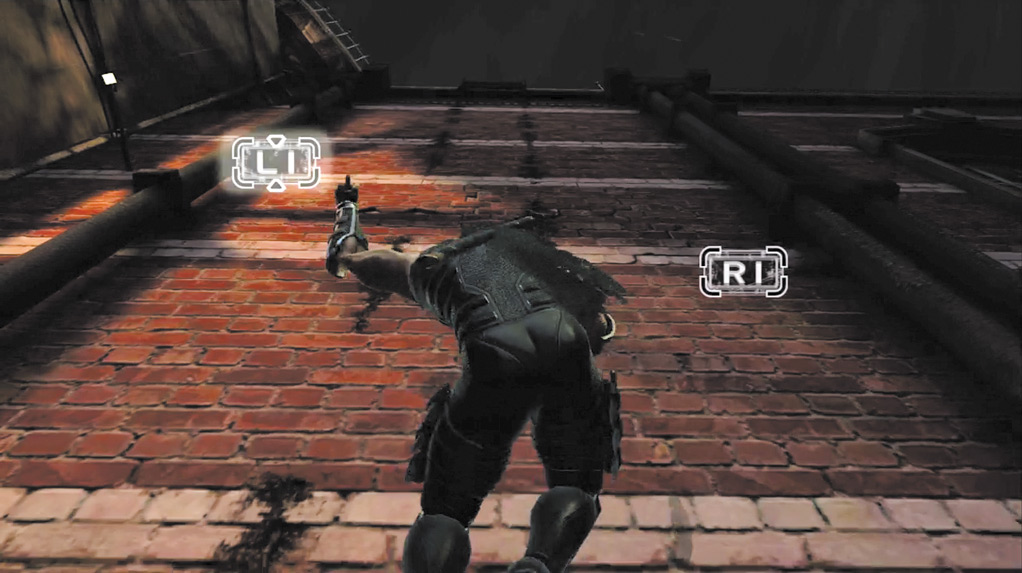
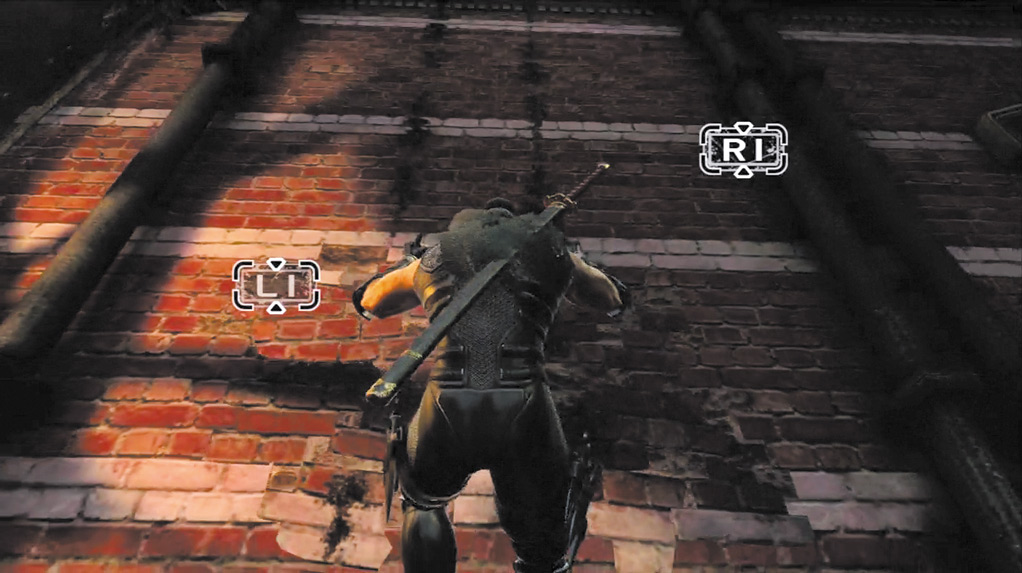
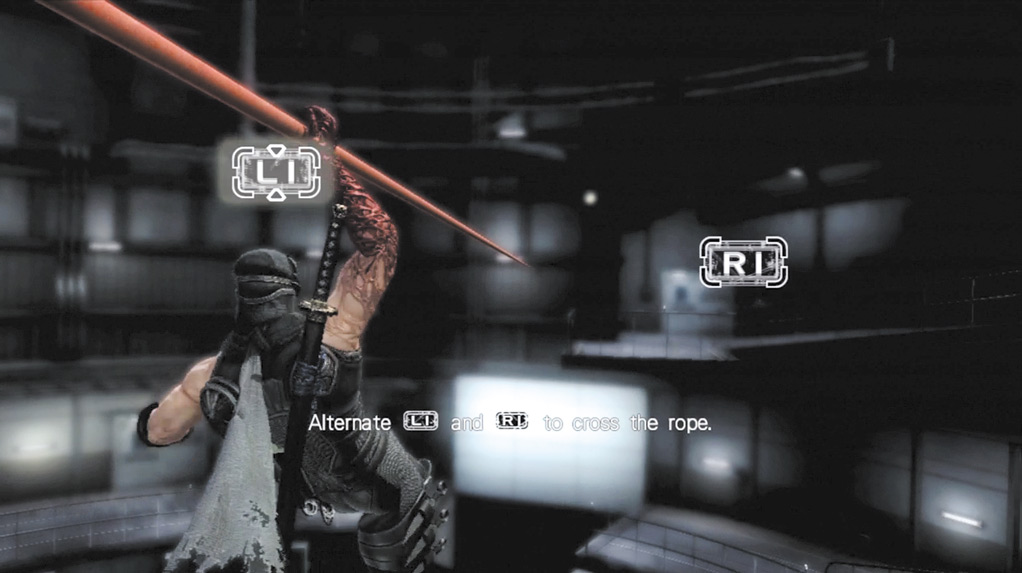
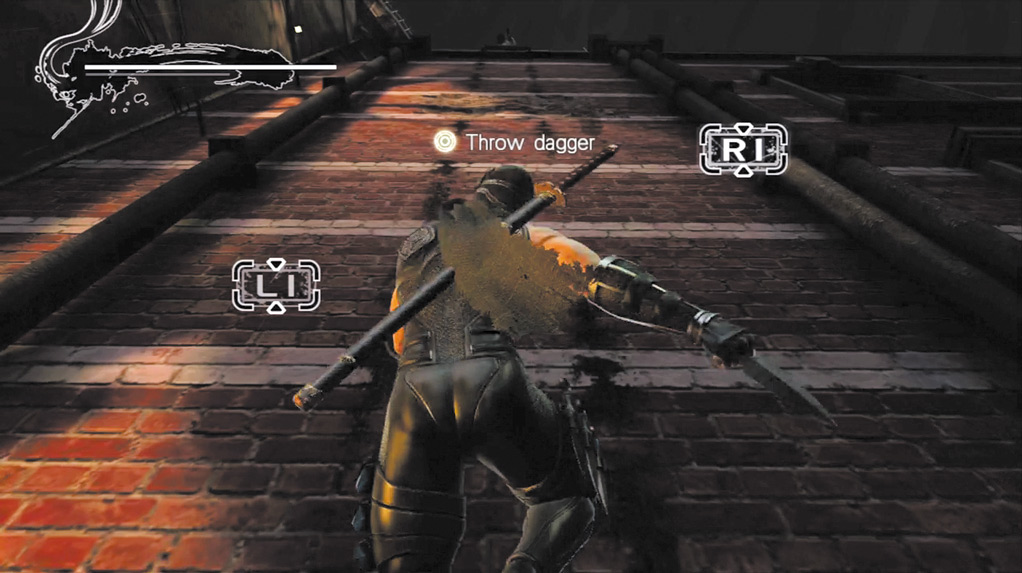
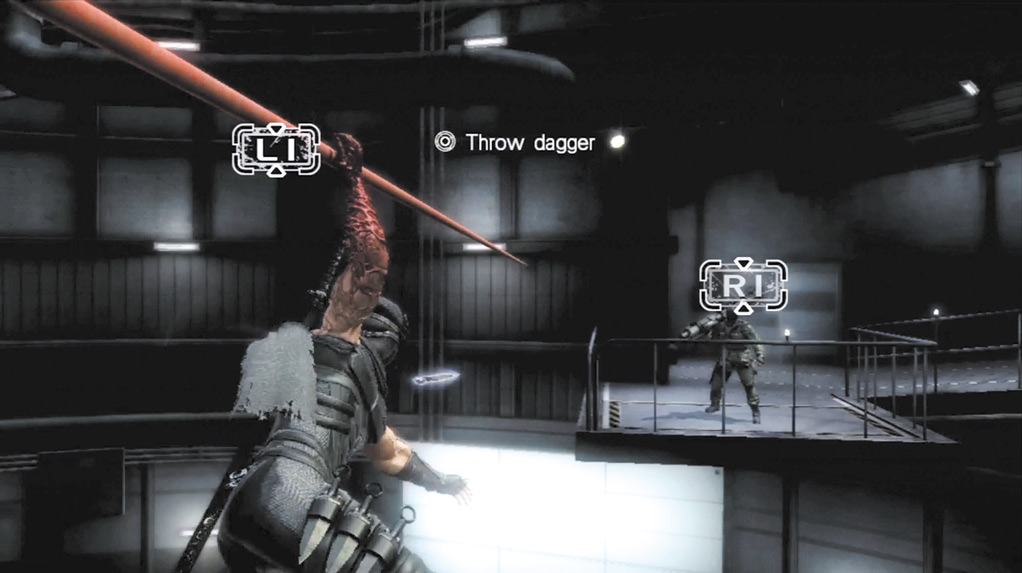
When there is a long crevases to cross, or a wall that must be climbed, Hayabusa has the ability to use his Kunai to climb almost any surface, or use his ninja skills to traverse a rope.
Jump on the wall or rope, then alternate between
and
or
and
, holding each button for a split second before releasing and shifting to the other button.
It can be moderately tricky at first, but once you get the timing down it becomes much easier. If an enemy appears, throw daggers at them by pressing
 or
or
 , and if Hayabusa is knocked off or loses his grip, hold
and
or
and
to grab the rope again or cling to the wall once more.
, and if Hayabusa is knocked off or loses his grip, hold
and
or
and
to grab the rope again or cling to the wall once more.
Obliteration Technique
Execution:
Press Quick Attack (
or
) or Strong Attack (
or
) near an enemy that is near death.
Type: Offensive
Effectiveness: Moderate
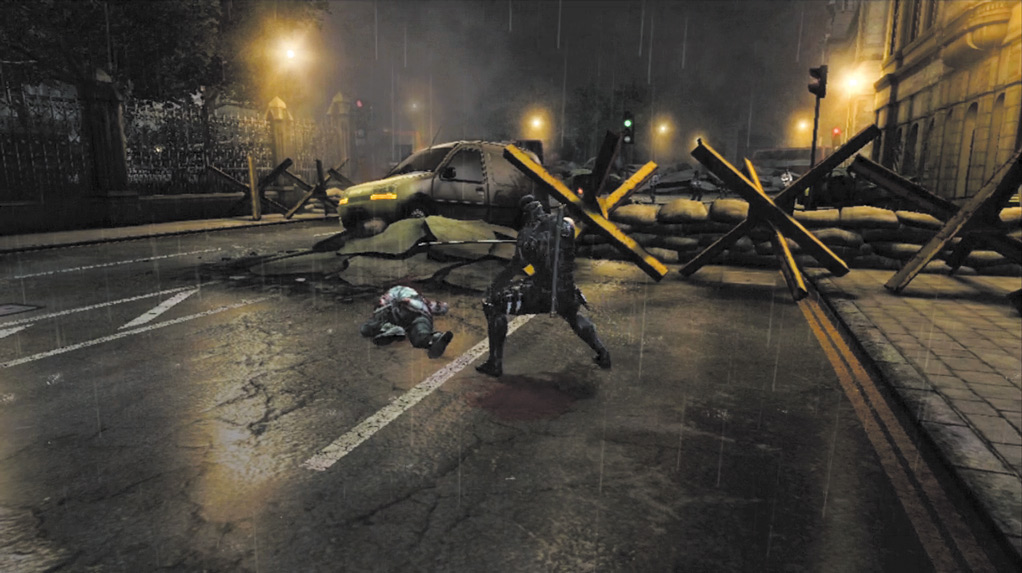
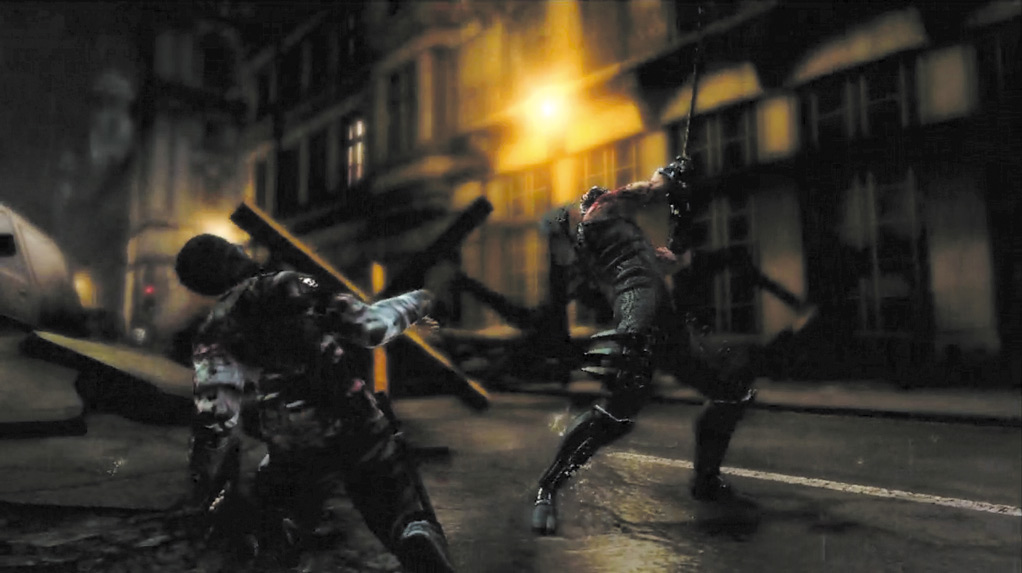
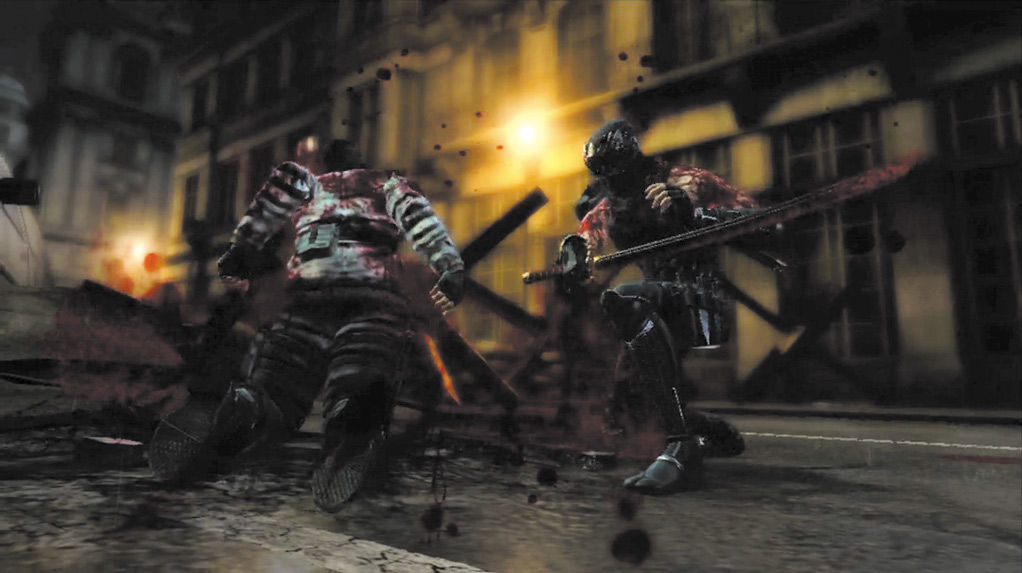
The Obliteration Technique is not as useful as it was in previous games, but to make up for that, it now offers an added bonus. In past Ninja Gaiden games, the Obliteration Technique could be used to finish off an opponent in one fell swoop.
It saved time and opened up alternative strategies when Hayabusa faced a large group of enemies. In Ninja Gaiden 3 it can only be used when an enemy has been defeated.
For example, after an Izuna Drop, most enemies are essentially dead, but still crawl around on the ground for a few seconds. If Hayabusa does nothing at this point, the enemy eventually dies.
Despite that the Obliteration Technique can be used only on near-death opponents, it retains its best property and gains a new benefit. As in previous games, during the animation of the Obliteration Technique, Hayabusa is completely invulnerable to attack.
He cannot be attacked and the animation cannot be interrupted, which essentially makes Hayabusa invincible for a short period.
In Ninja Gaiden 3, Hayabusa’s Ki Gauge controls when he can use Ninpo. The more attacks Hayabusa connects, the more the Ki Gauge fills.
Obliteration Techniques are included in this formula, which means that finishing off as many enemies as possible with an Obliteration Technique gives Hayabusa access to Ninpo that much faster.
Using Ninpo also replenishes Hayabusa health, which makes Obliteration Techniques even more valuable.
Slide (Reverse Wind Technique)
Execution:
Block (
or
) + Left Analog Stick
Type: Defensive
Effectiveness: Moderate
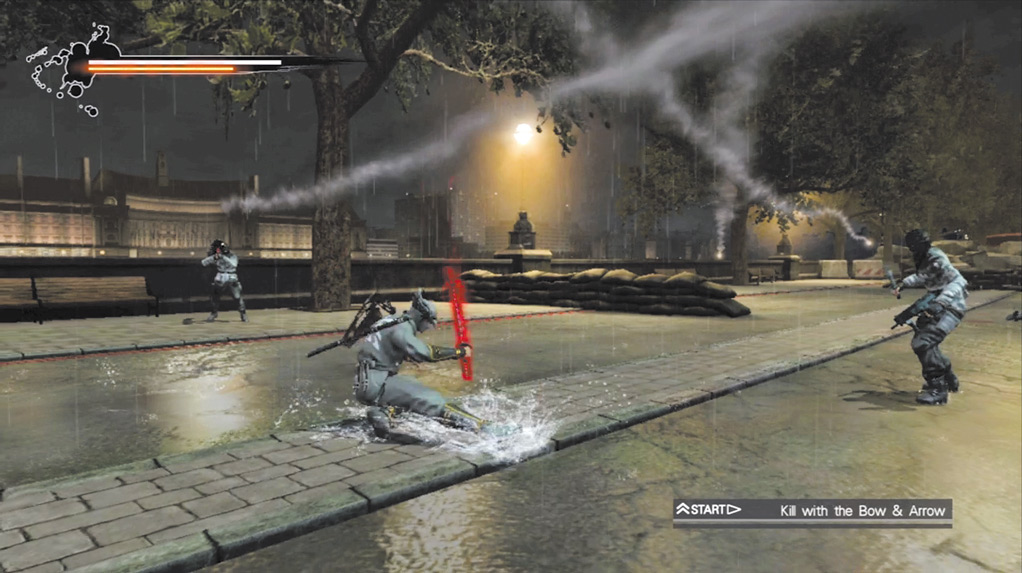
The Reverse Wind Technique has changed considerably since Ninja Gaiden Sigma 2. In Ninja Gaiden 3, it takes on the form of a sliding attack. It covers more ground and inflicts a slight stun on most enemies.
Some lesser enemies, such as Light Shell Bug can even be defeated by this technique. It is also Hayabusa’s fastest form of movement and should be a staple technique you use throughout the game.
Enemies that use projectile attacks generally try to stay away from Hayabusa. The Reverse Wind allows him to avoid projectile attacks and close in on enemies for an attack.
There’s a very slight delay after each Reverse Wind, at which point Hayabusa can be attacked. It’s important to be aware of the enemies around Hayabusa to ensure that he does not take damage after using this technique.
Immediately following a Reverse Wind, Hayabusa gains access to different attacks than what he has from a normal standing position. His Quick Attack hones in on the closest enemy and has considerably more range than normal.
His Strong Attack launches most enemies into the air, just like the second attack of the Izuna Drop combo. Use the post-Reverse Wind Quick Attack to attack enemies from a great distance, and use the Strong Attack to initiate an Izuna Drop.
Shadowless Footsteps
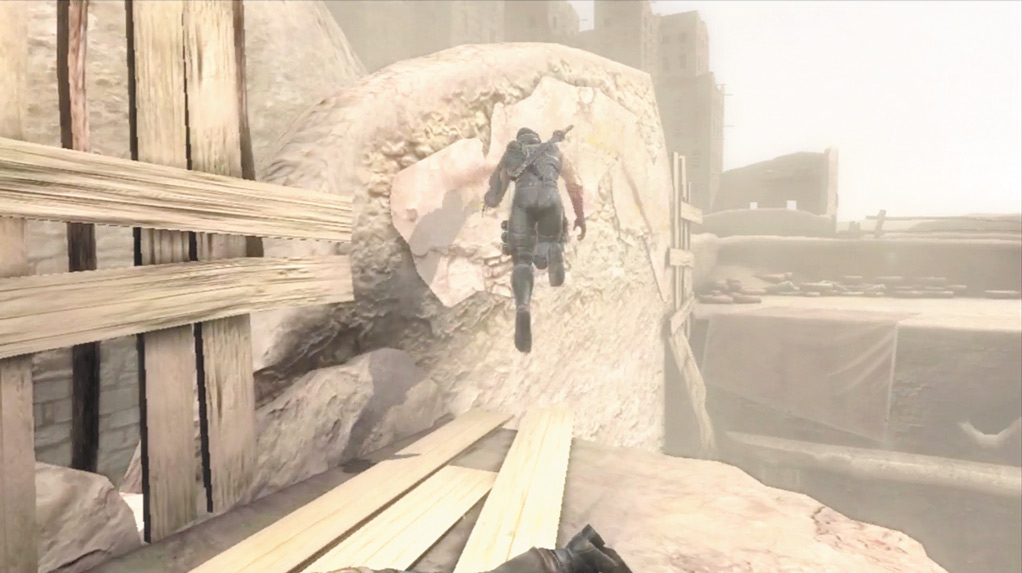
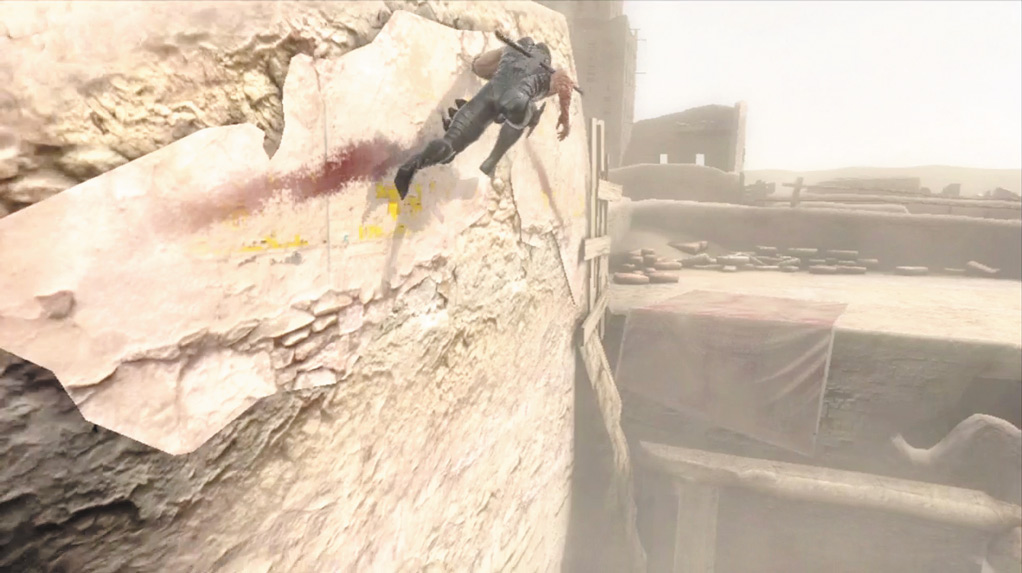
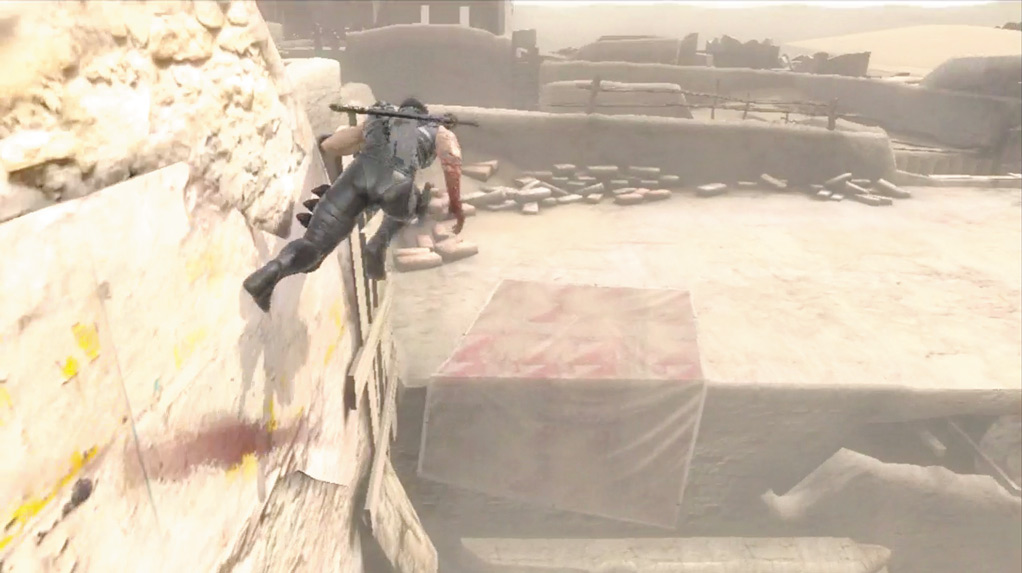
Execution: Jump toward a wall, then hold the Left Analog Stick in the desired direction to run along the wall.
Type: Environmental
Effectiveness: Low
When Hayabusa must cross an area that he cannot jump across, the Technique of Shadowless Footsteps must be used. Hayabusa runs along the wall for a short distance, which can also be used as a defensive tool to evade enemies or gain the advantage of the high ground.
Hayabusa can jump at any time during Shadowless Footsteps, which can lead into any of his aerial attacks, including the Flying Swallow. However, in most cases, this technique is used to continue through the game when Hayabusa reaches a crevasse of some sort.
Steel on Bone Technique
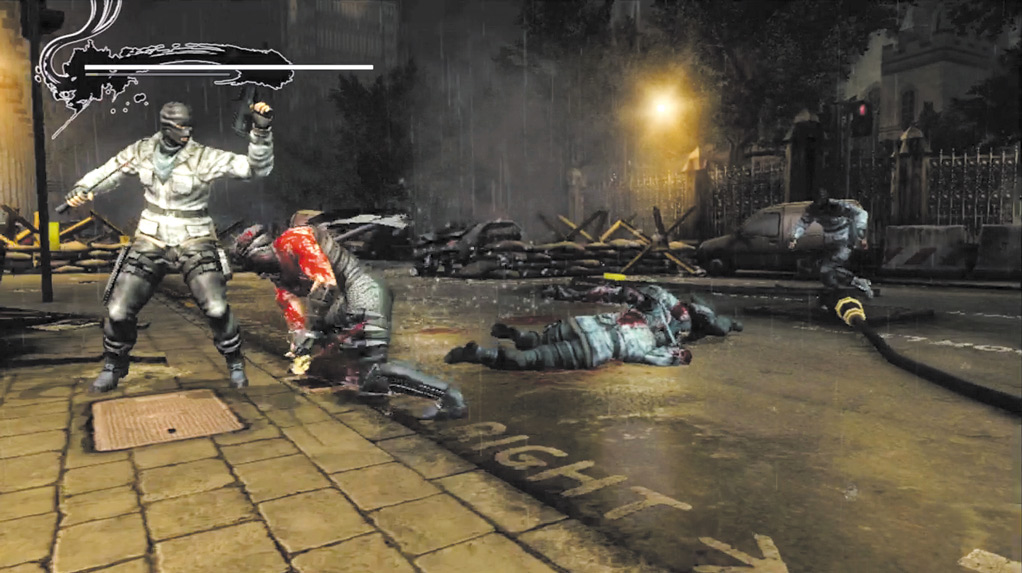
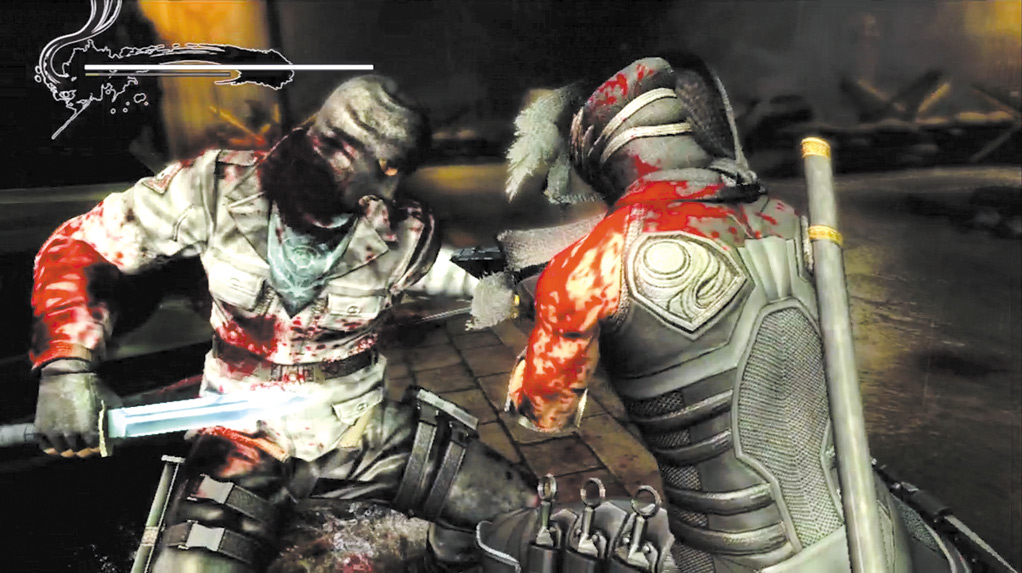
Execution:
Rapidly Press
or
, or
or
.
Type: Offensive
Effectiveness: High
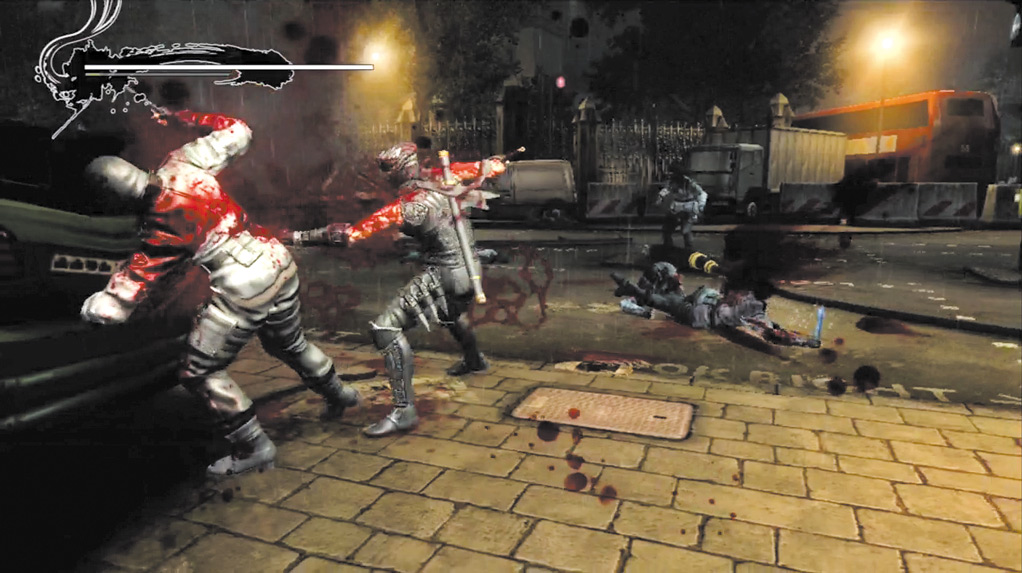
The Steel on Bone technique is a way to quickly kill several enemies in rapid succession. The execution of a Steel on Bone technique is random, but has a higher chance of initiating as an enemy’s health decreases.
After a successful Steel on Bone technique, the next attack will automatically be another Steel on Bone if a second enemy is close enough to Hayabusa.
This is a great way to take out multiple enemies at once if they’re in close proximity to one another. In some cases, additional button inputs may appear on-screen in order to complete a Steel on Bone technique.
Ultimate Technique
Execution:
Hold Strong Attack (
or
) to charge, then release.
Type: Offensive
Effectiveness: High
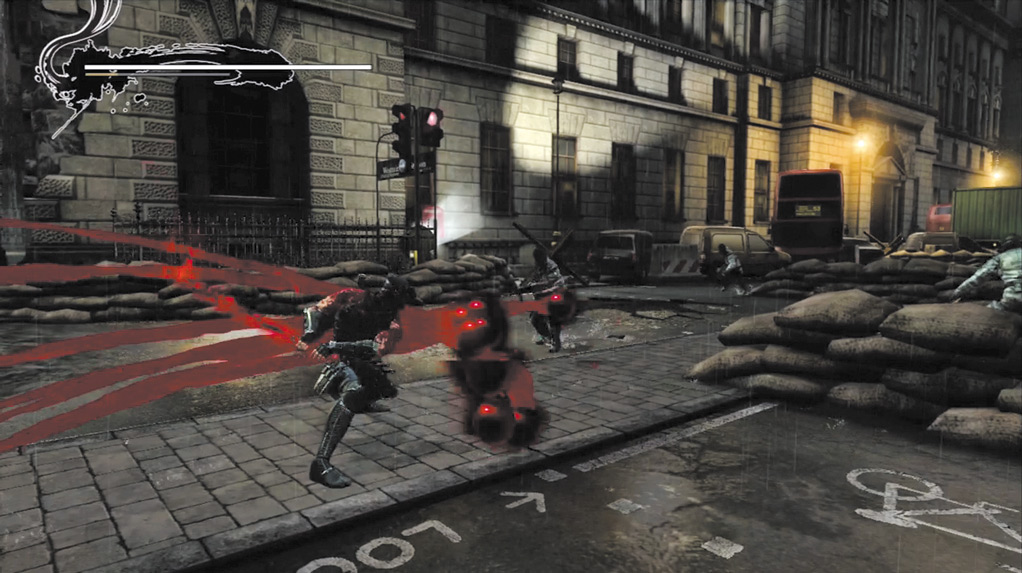
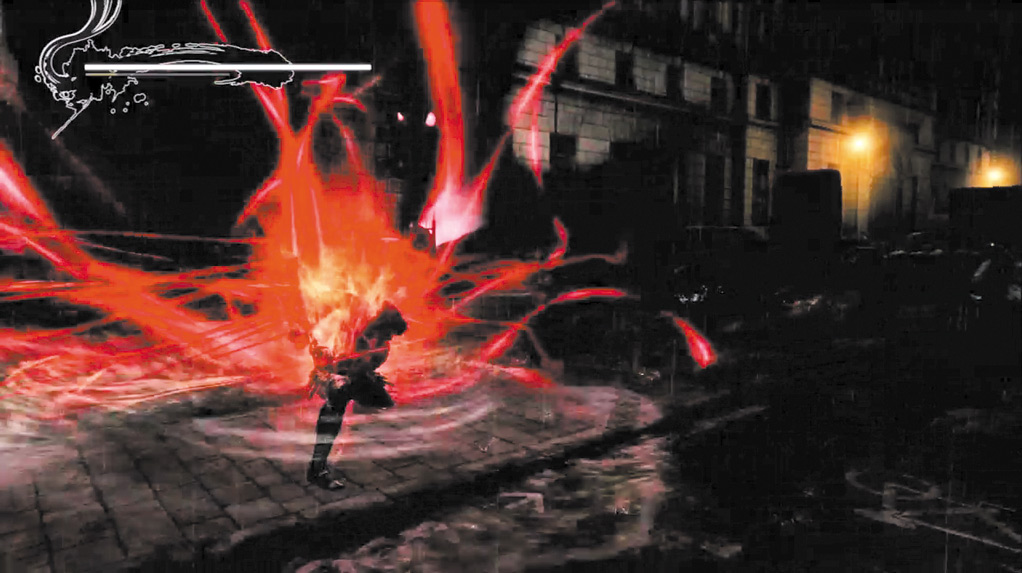
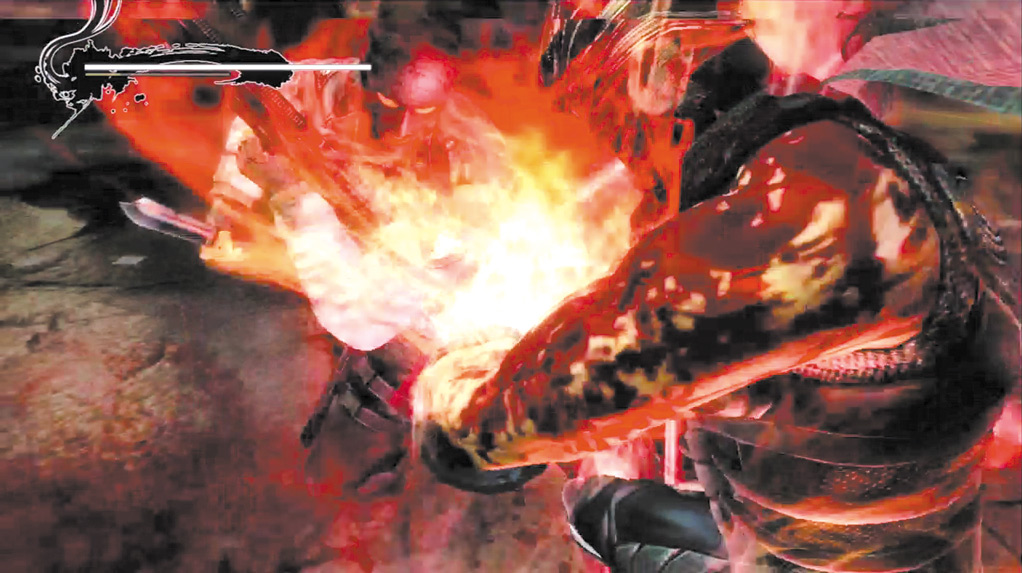
One of the strongest techniques from previous Ninja Gaiden games returns in Ninja Gaiden 3. The Ultimate Technique is extremely useful, but you must be cautious because Hayabusa can take damage while charging the technique, and it can be interrupted by some attacks.
When Hayabusa has killed enough enemies, his sword or arm glows red. When this happens, hold Strong Attack until the aura of the curse swirls around Hayabusa, then release the button to unleash his fury.
If Hayabusa is interrupted while charging the attack, it is lost and he must kill more enemies before he can use the attack again.
However, only stronger attacks, such as grabs or an attack that would normally knock Hayabusa back, can interrupt an Ultimate Technique. Any other attack will still inflict damage on Hayabusa, but will not interrupt the Ultimate Technique.
The number of attacks necessary to reach an Ultimate Technique and the number of enemies Hayabusa kills during the technique vary, depending on the weapon he’s currently using, the state of the curse on his arm, and the difficulty setting.
With the Dragon Sword or Jinran-Maru, it can kill up to three enemies, but with the Blade of the Archfiend, Hayabusa can kill up to five enemies with an Ultimate Technique.
As he progresses through the game, it requires fewer kills to use an Ultimate Technique and the technique kills more enemies. In Ninja Trials mode, it always takes six kills to activate an Ultimate Technique, and it will kill up to three enemies.
Ultimate Technique Curse Progression
|
Curse Level |
Day |
Notes |
|---|---|---|
|
0 |
1 |
At the beginning of the day. |
|
1 |
2 |
At the beginning of the day. |
|
2 |
2 |
After the curse is enflamed, following the elevator scene. |
|
3 |
5 |
Just before you reach the Hayabusa Village. |
|
4 |
7 |
After the battle against the Regent of the Mask. |
Ultimate Technique Activation Requirements
|
Difficulty |
Curse Level 1 |
Curse Level 2 |
Curse Level 3 |
Curse Level 4 |
Curse Level 5 |
|---|---|---|---|---|---|
|
Hero/Normal |
8 |
8 |
7 |
6 |
5 |
|
Hard |
10 |
10 |
9 |
8 |
7 |
|
Master/Ultimate Ninja |
12 |
12 |
11 |
10 |
10 |
Wind Path
Execution:
Press Jump (
or
) while jumping over an enemy.
Type: Defensive
Effectiveness: Low
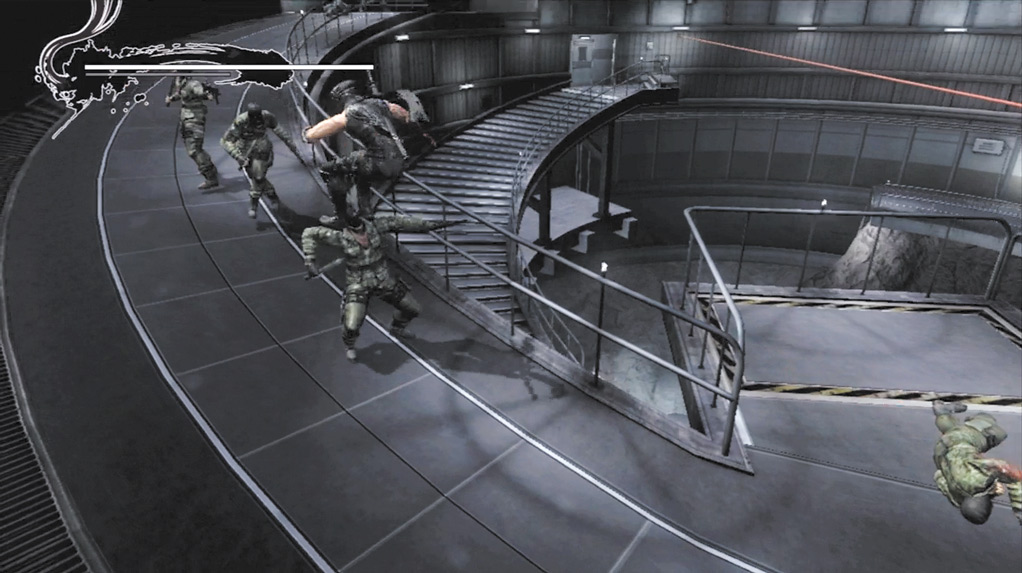
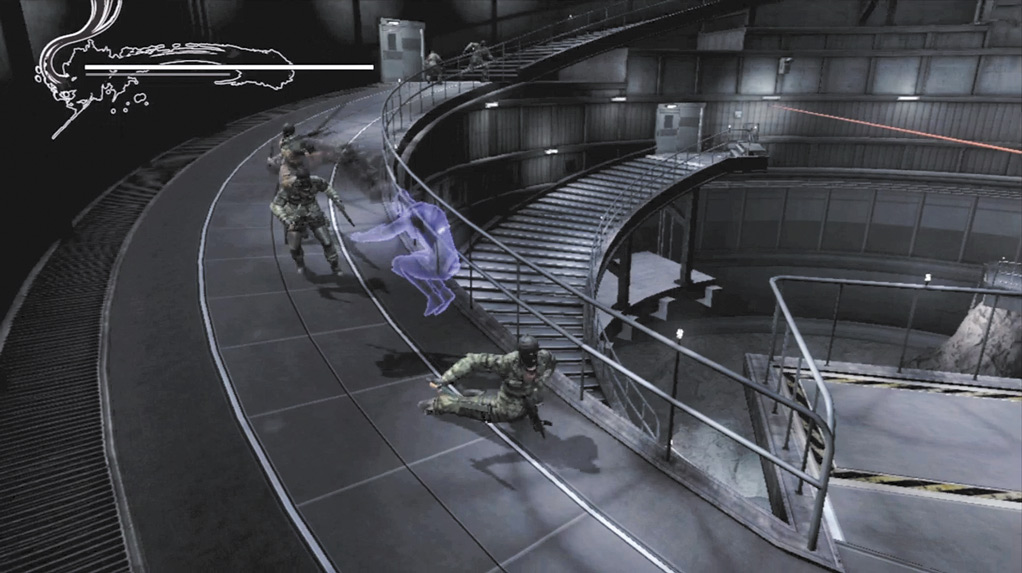
The Wind Path Technique allows Hayabusa to jump from one opponent to the next, using their heads as stepping stones. There aren’t many instances where this technique is of great use.
However, when Hayabusa is surrounded by a large number of enemies and needs to move across an area without using the slide, the Wind Path comes in handy.
For example, against a large number of Assassins, the slide is risky because Hayabusa can be hit by shuriken at the end of the slide animation. In this instance, the Wind Path is a safer alternative. Hayabusa can also use any aerial attack during this technique.
Wind Run
Execution:
Quick Attack (
or
) + Jump (
or
)
Type : Defensive
Effectiveness: Moderate
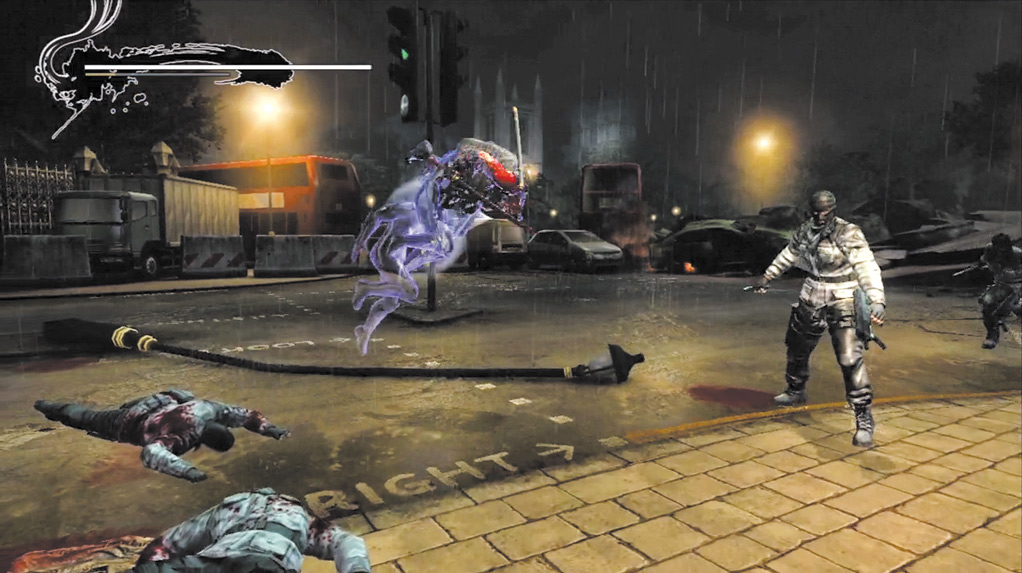
While almost identical to a standard jump, the Wind Run Technique is much more evasive. Hayabusa cannot be hit by most attacks during the Wind Run animation.
Use this to get out of a crowd of enemies without taking damage, or to jump toward an enemy in preparation for a Flying Swallow. Like the Wind Path, Hayabusa can also use any aerial attack during the Wind Run.