
Ninja Gaiden 3 Guide Walkthrough The Path of the Ninja
Abysmo Island, Indian Ocean (Day 3)
DAILY DETAILS
|
New Enemies |
Light Shell Bug, Machine Gun Stand, War Dog, Ghost Soldier, Spider Talon Ninja, Spider Ninja, Spider Archer |
|
Bosses |
Gigantosaurus |
Day 3 opens with a short TBP. When prompted, hold Block (
 or
or
 ) and press Left or Right on the Left Analog Stick, then press Strong Attack (
 or
or
 ), then rapidly tap Strong Attack (
or
) to take out the first Machine Gun Stand.
), then rapidly tap Strong Attack (
or
) to take out the first Machine Gun Stand.
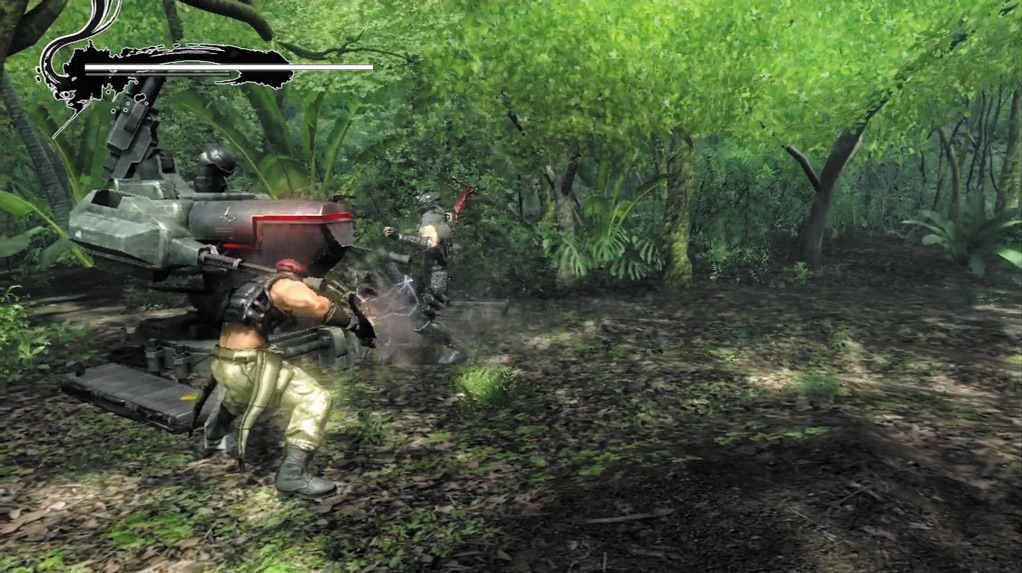
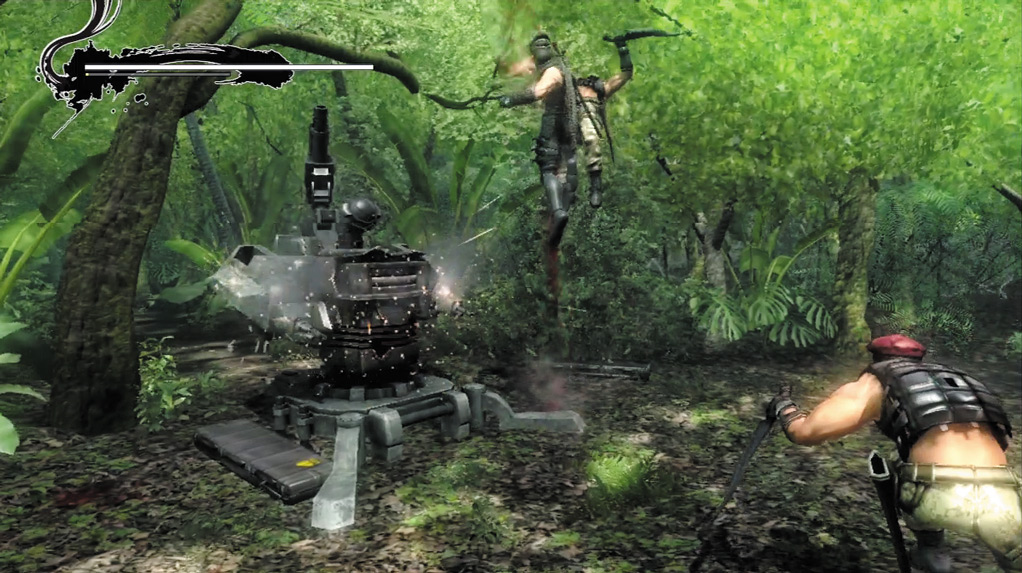
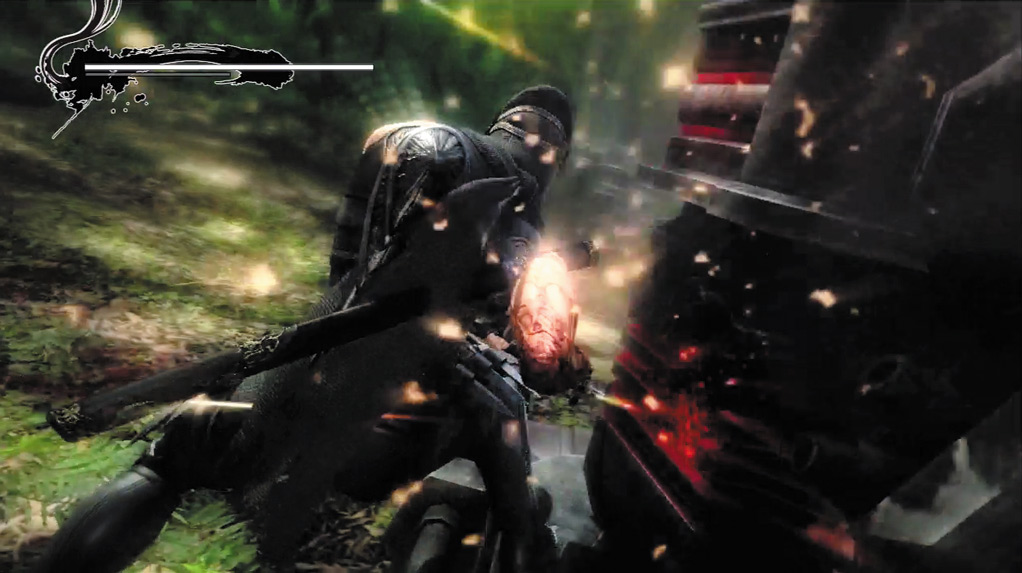
After the TBP, Hayabusa is attacked by a gaggle of Terrorists and Assassins, along with a second Machine Gun Stand. Ignore the turret and take out the Terrorists and Assassins.
If you happen to find yourself near the Machine Gun Stand, use the impact from an Izuna Drop to damage the Machine Gun Stand. If this happens, finish the Machine Gun Stand off before moving on to the other enemies.
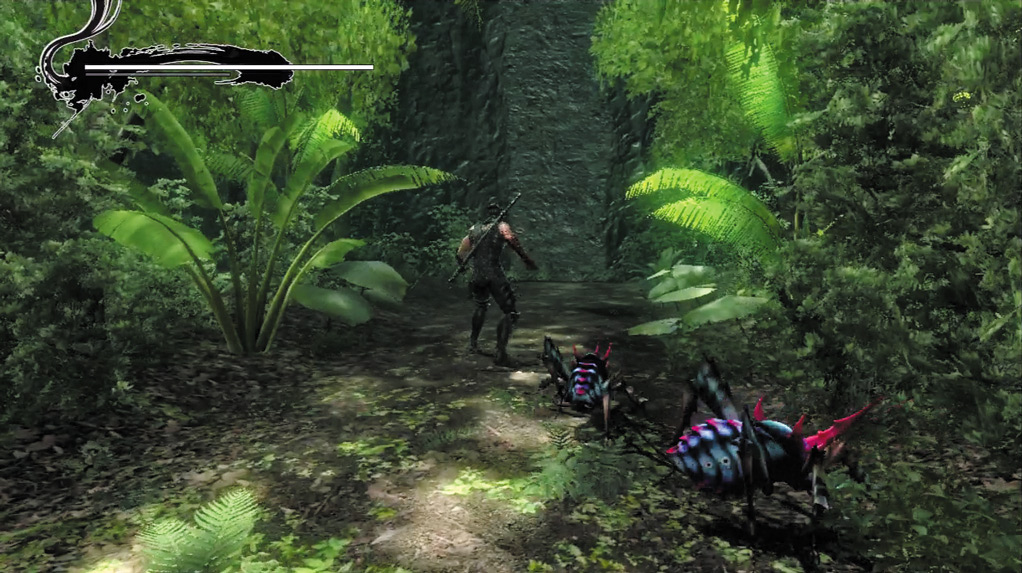
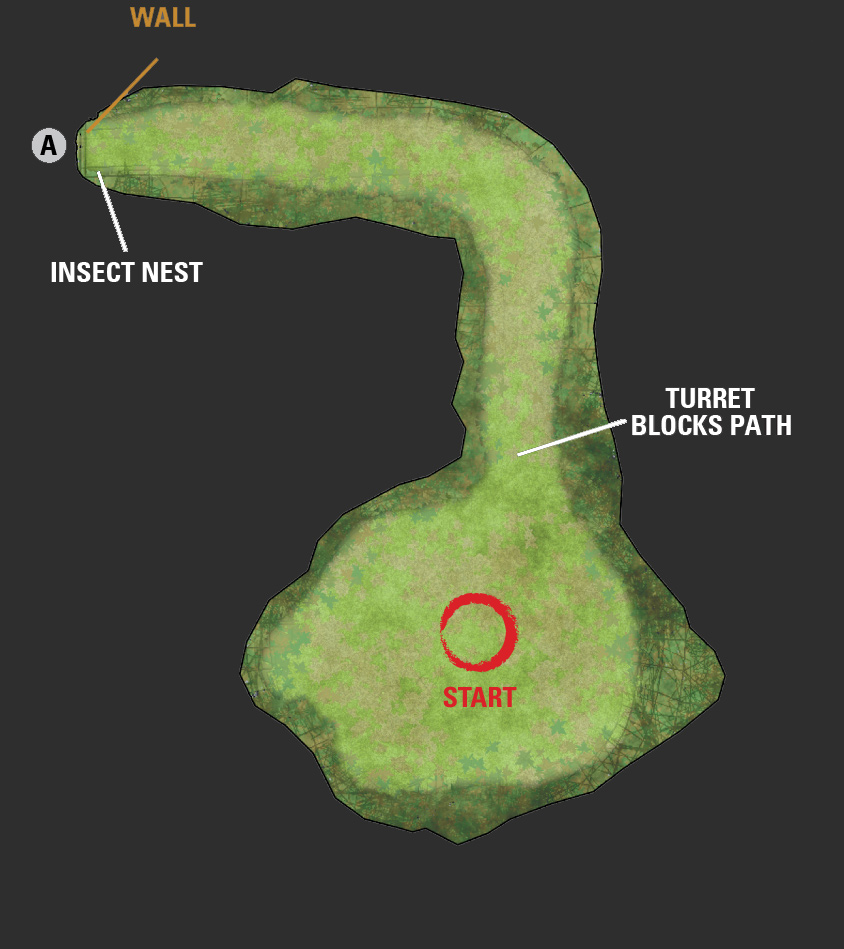
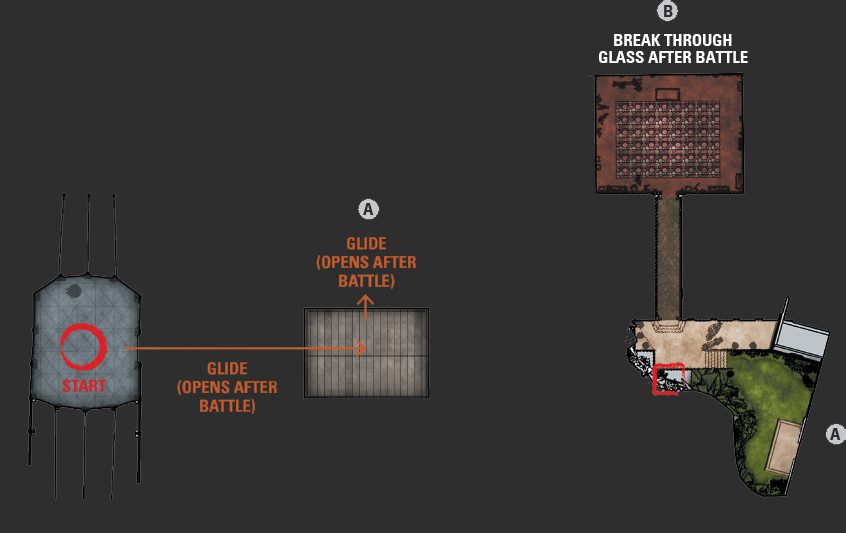
When you can see the end of the path ...
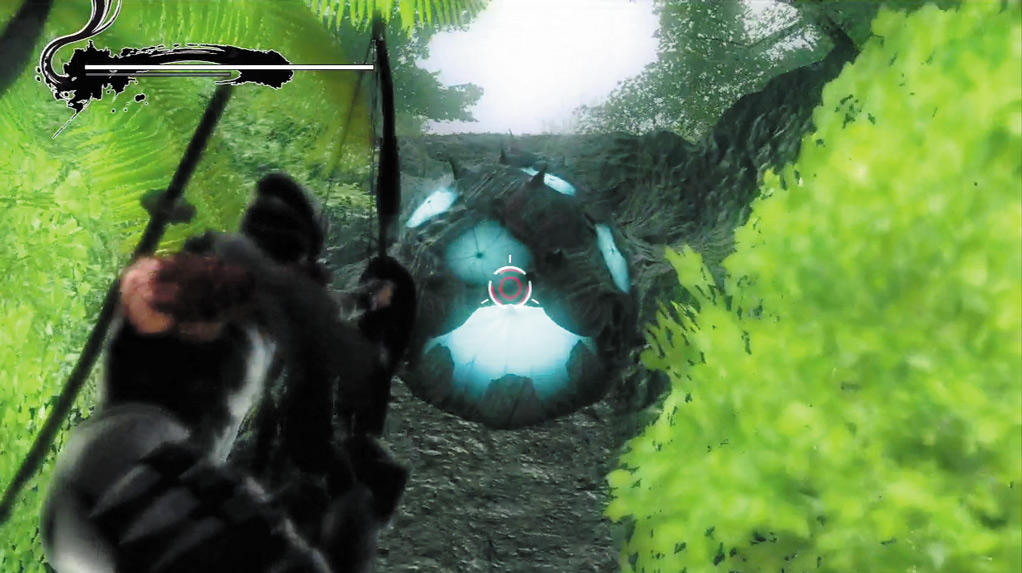
... jump and use the bow to take out the nest spawning the Light Shell Bugs.
Head past the fallen Machine Gun Stand and take out the Light Shell Bugs with a series of Quick Attacks. Do not let the Light Shell Bugs stay in close proximity for very long.
If they are close to Ryu for more than approximately 3 seconds, they use a Lunge Attack and Unblockable Grab that can be difficult to deal with in mass numbers.
If you cannot defeat all of the Light Shell Bugs close to Hayabusa within a few seconds, slide backward to regroup, then attack again.
You can also slide into the Light Shell Bugs to knock them into the air, then cut them down with a single Quick Attack, or use two slides to defeat each Light Shell Bug.
When you can see the end of the path, jump and use the Bow to take down the nest above, where the Light Shell Bugs spawn.
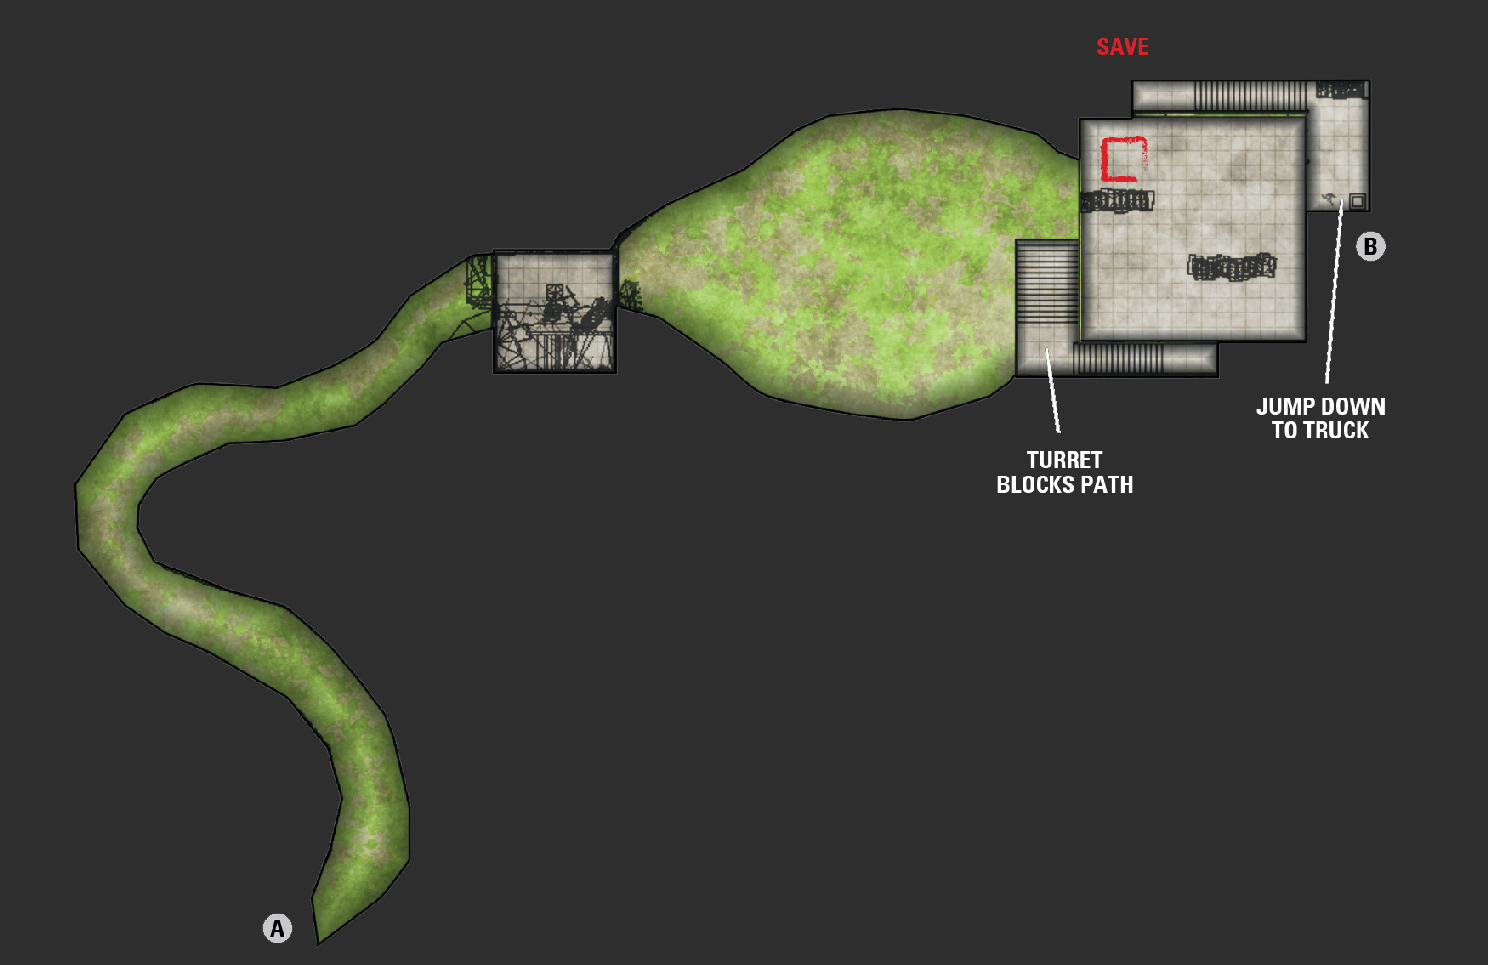
Defeat the Light Shell Bugs, then Kunai Climb up the wall and press Strong Attack (
or
) to take out the enemy at the top. Continue down the path until you can see a structure. From this point forward, move cautiously.
Several War Dogs launch a surprise attack on Hayabusa as you approach the structure. Use Quick Attacks to take down the War Dogs, but try to hit several War Dogs with each attack.
The War Dogs attack very quickly, so if you cannot attack all the War Dogs in the immediate area at once, slide away to regroup and avoid attacks from the other War Dogs.
Head toward the structure and take out the small number of Terrorists that attack. Continue through the door, then slide left or right to avoid the barrage of missiles fired from the Machine Gun Stand ahead. Ignore the enemies and fire a jumping arrow to take down the Machine Gun Stand.
On Master Ninja, there’s a second Machine Gun Stand to the left of the stairs. Slide over and take it out quickly with several Quick Attack combos.
If the enemies give you a hard time, Izuna Drop one of them near the Machine Gun Stand to kill two birds with one stone. After the battle ends, you must completely destroy both Machine Gun Stands to move on.
|
A bevy of Terrorists, Assassins, and War Dogs attack from all directions. Focus on the Assassins primarily, but take out any War Dogs that come close to Hayabusa.
Do not use the traditional strategy of transitioning from one Izuna Drop into another if an Assassin is close to Hayabusa. Instead, slide toward the Assassin immediately following the Izuna Drop, then initiate another Izuna Drop on the Assassin.
In this situation, you can also use the Izuna Drop combo on the War Dogs to make them easier to fight in the large group. The last part of the Izuna Drop (the second Strong Attack) does not work on the War Dogs, so use a Quick Attack in its place.
As soon as Ninpo or an Ultimate Technique is available, use it to clear the area. Use the Obliteration Technique to build up Hayabusa’s Ki Gauge as much as possible, and you should be able to use up to three Ninpo during this ambush.
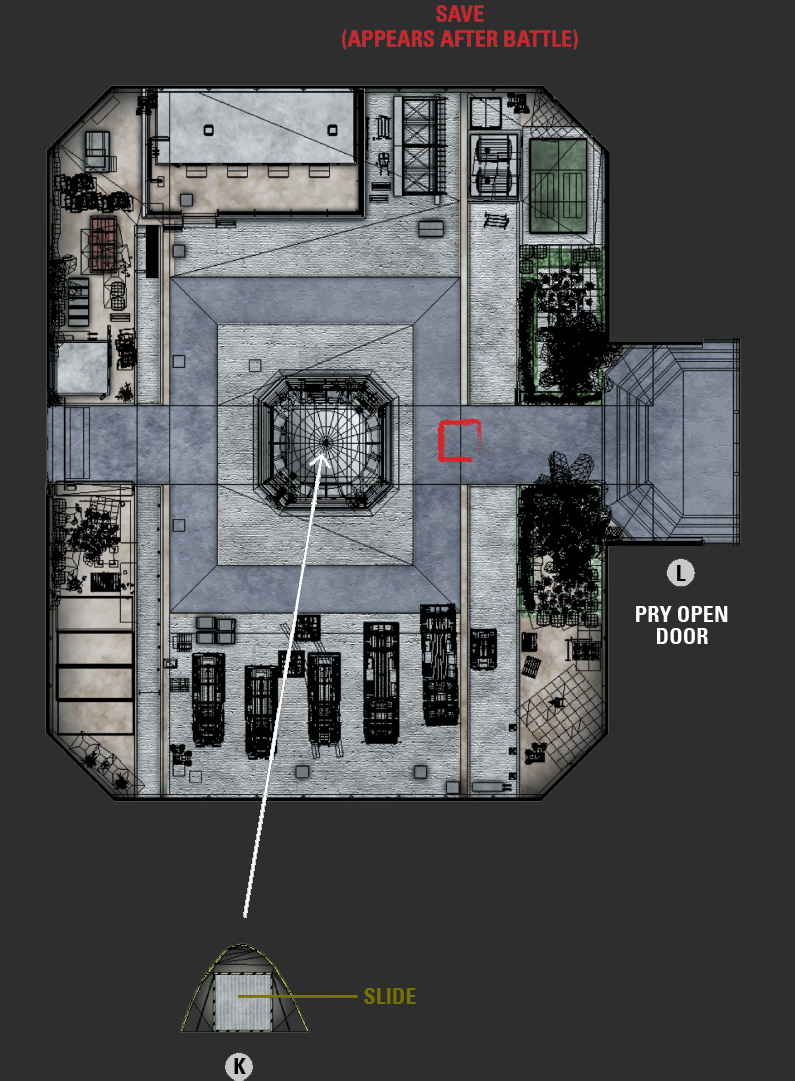
Take out all the enemies, then finish off the Machine Gun Stand at the top of the stairs and continue past it. Kill the small number of Assassins and Terrorists (Rocket Launcher) that attack—focus on the Terrorists (Rocket Launcher) first—then save your progress at the falcon in the middle of the area and head through the gate.
Slowly walk downstairs. When you reach the bottom, an enemy attacks. Move the Left Analog Stick Left and Right while pressing Quick Attack (
 or
or
 ) to shake off the enemy and take him down, then jump onto the truck below and use the Kunai Climb to latch onto the back.
Press Strong Attack (
or
) when prompted, then proceed to take out the Assassins, Terrorists, and War Dogs that attack. Terrorists (Rocket Launcher) are shooting missiles from above, but if you take them out, more will spawn shortly after.
If you’re hampered by the missiles, use a quick series of jumping arrows to take out the Terrorists (Rocket Launcher), then continue with the rest of the enemies while they respawn.
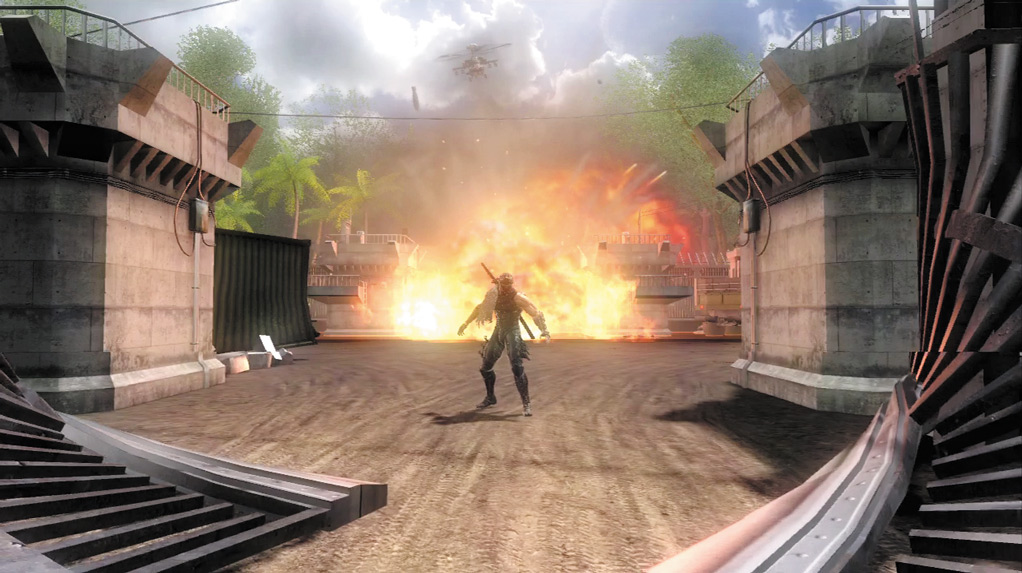
As soon as Hayabusa takes a fighting stance ...
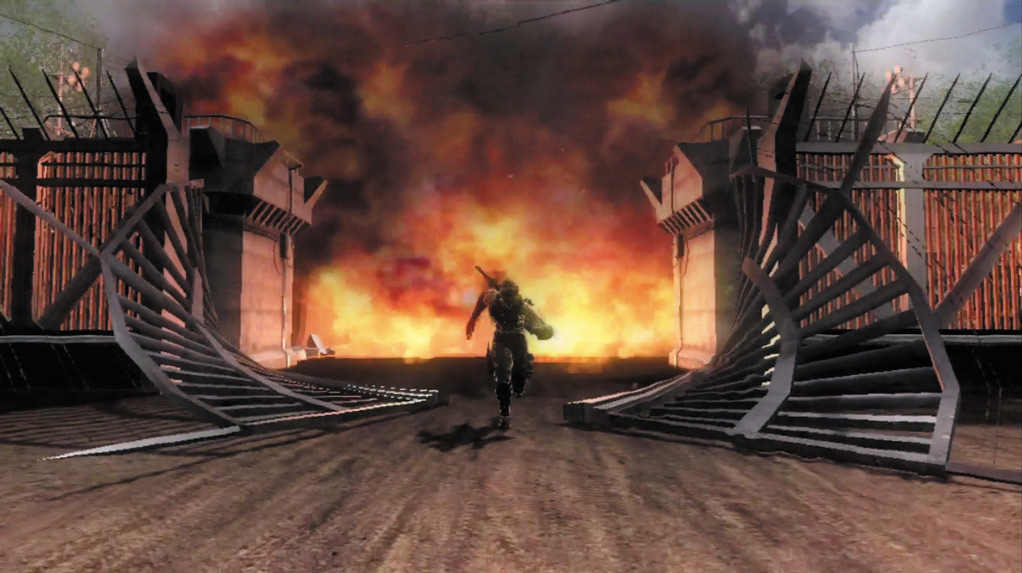
... start running toward the screen.
|
Defeat all the enemies to initiate a short cinematic. When the cinematic concludes and Hayabusa take a fighting stance, run toward the screen.
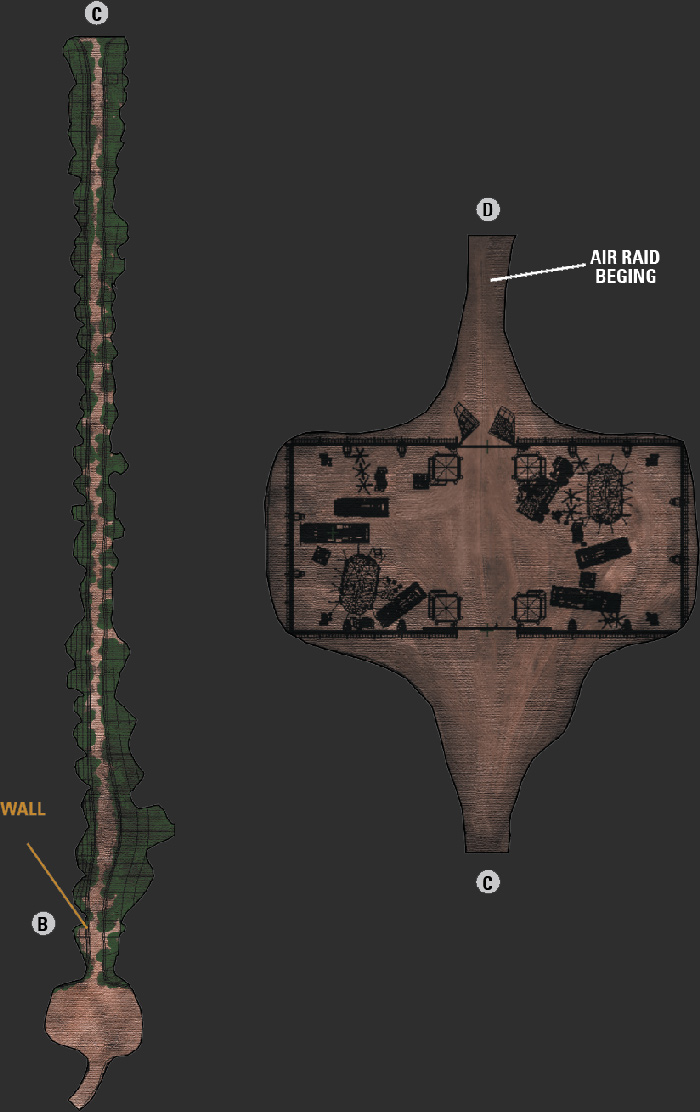
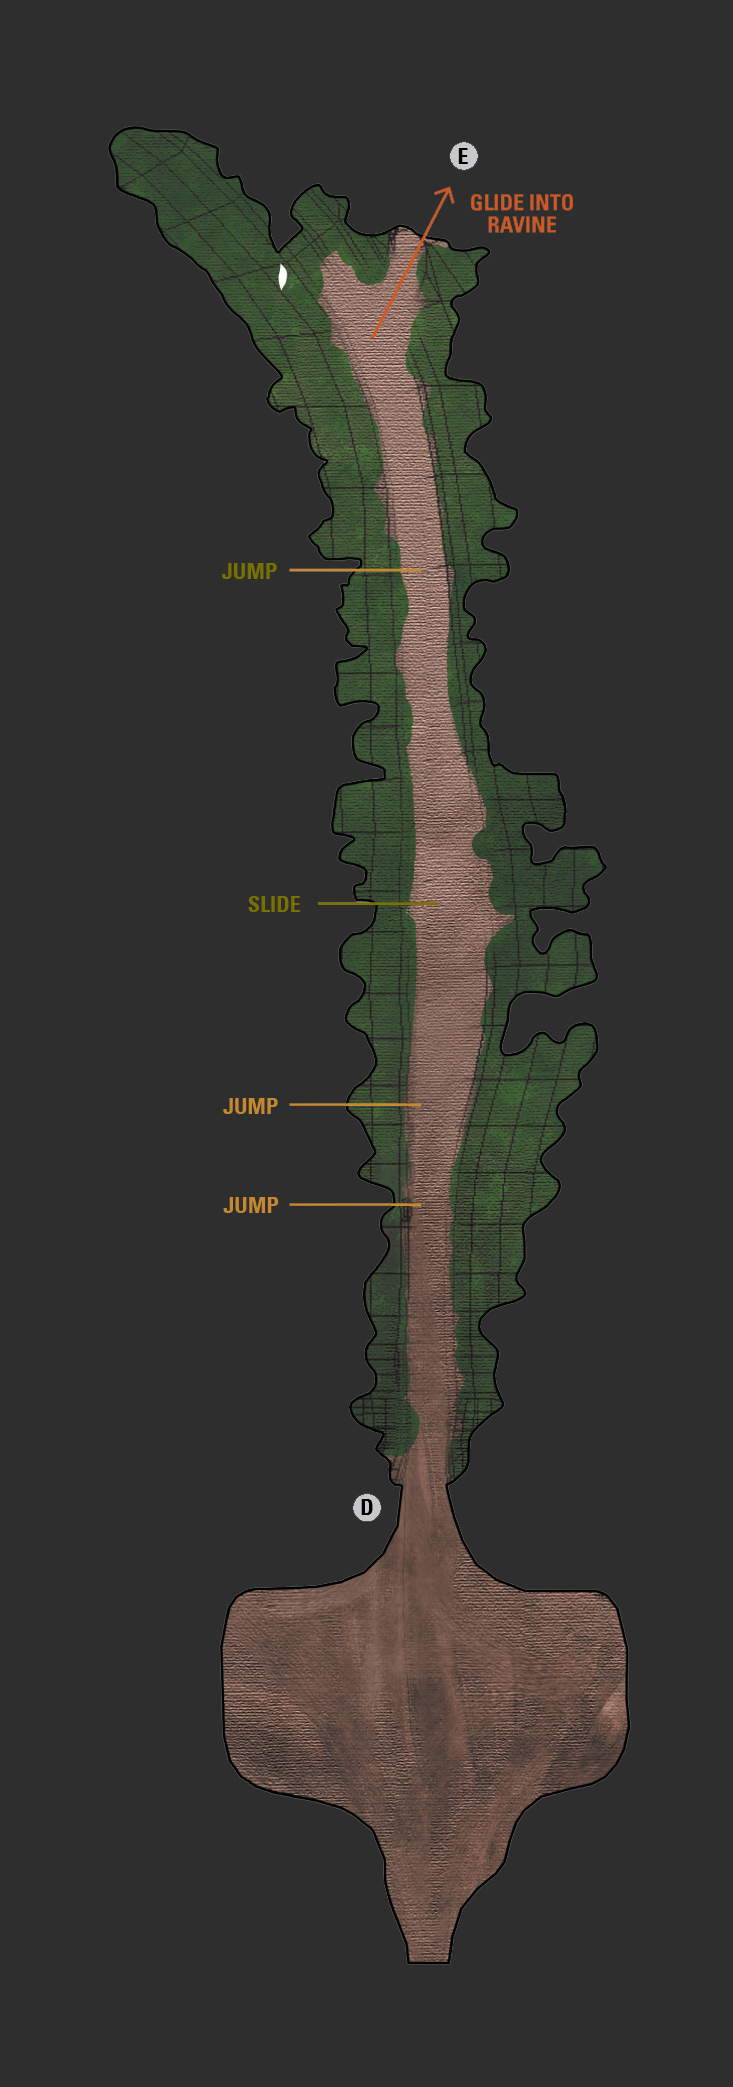
When you see a tree fall, be prepared to jump over it. This happens twice before the camera shifts so that Hayabusa is running away from the screen instead of toward the screen.
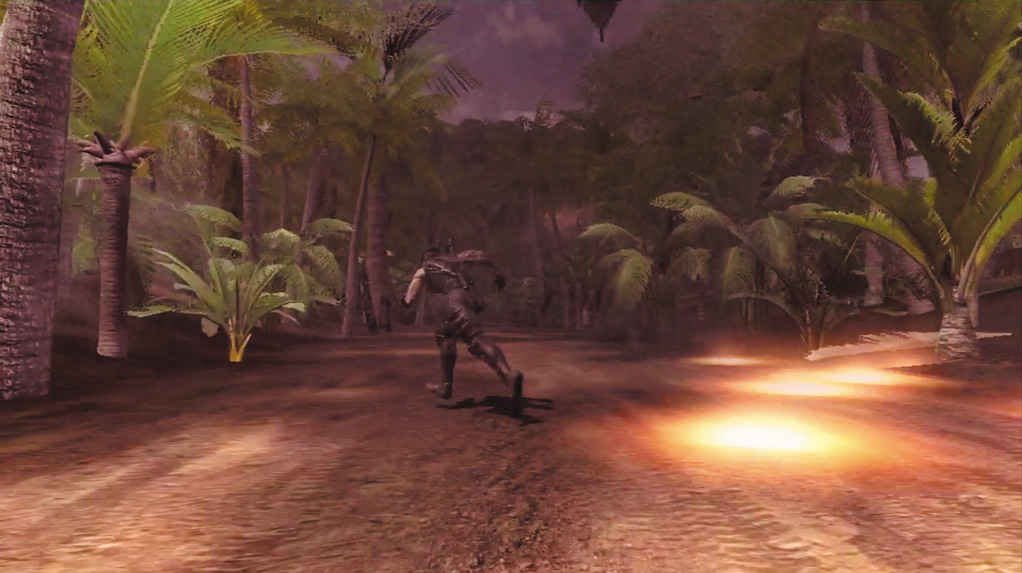
Move away from the bomb markings ...
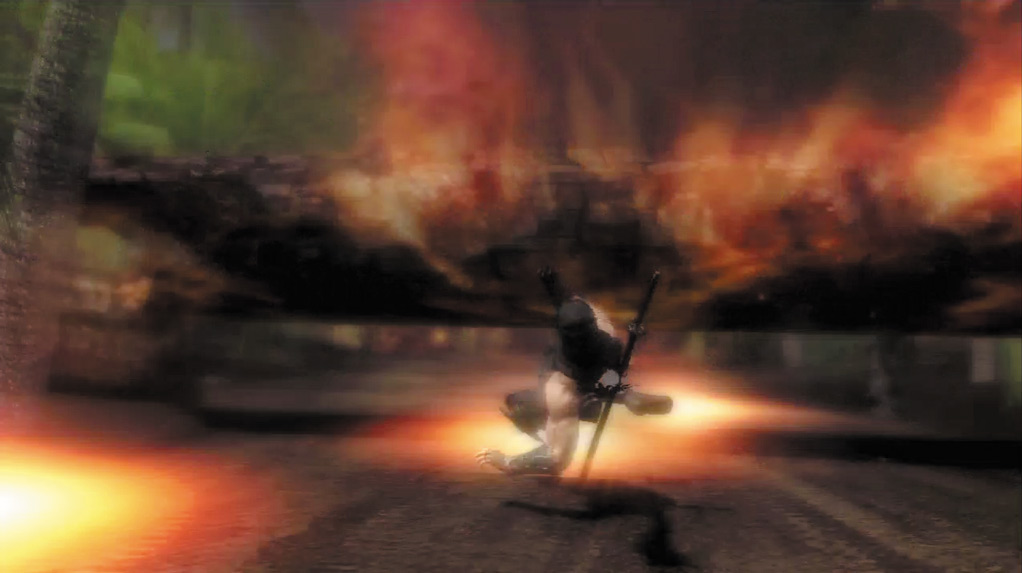
... and slide or jump to avoid the fallen trees.
Continue running, and move away from the bomb markings on the ground. After the second set of markings, slide under the fallen tree in front of Hayabusa.
Jump over the next tree and move to the right side of the screen to avoid the next set of missiles. When you reach the edge of the cliff, jump off and then press Strong Attack (
or
) when prompted to take out the helicopter.
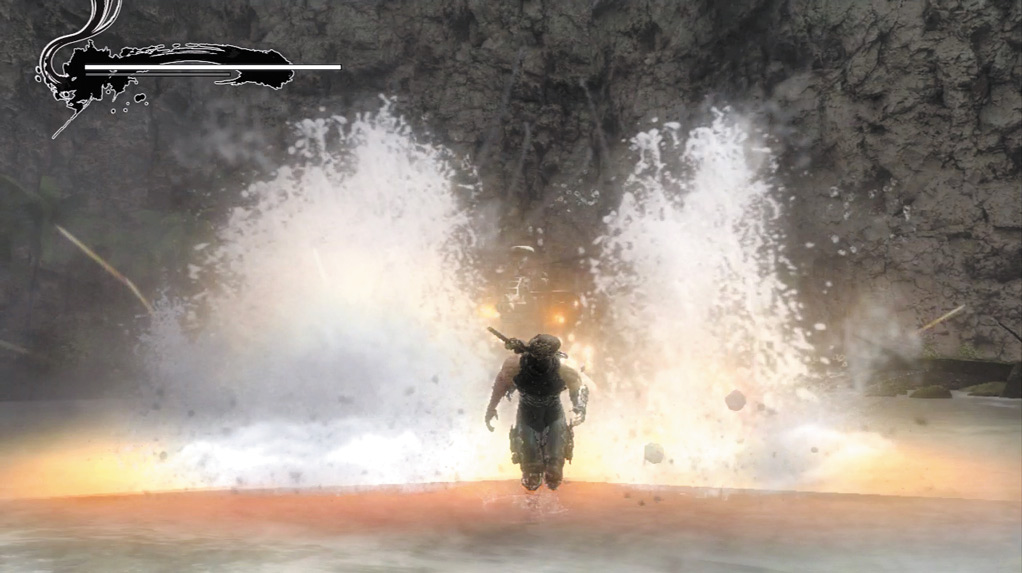
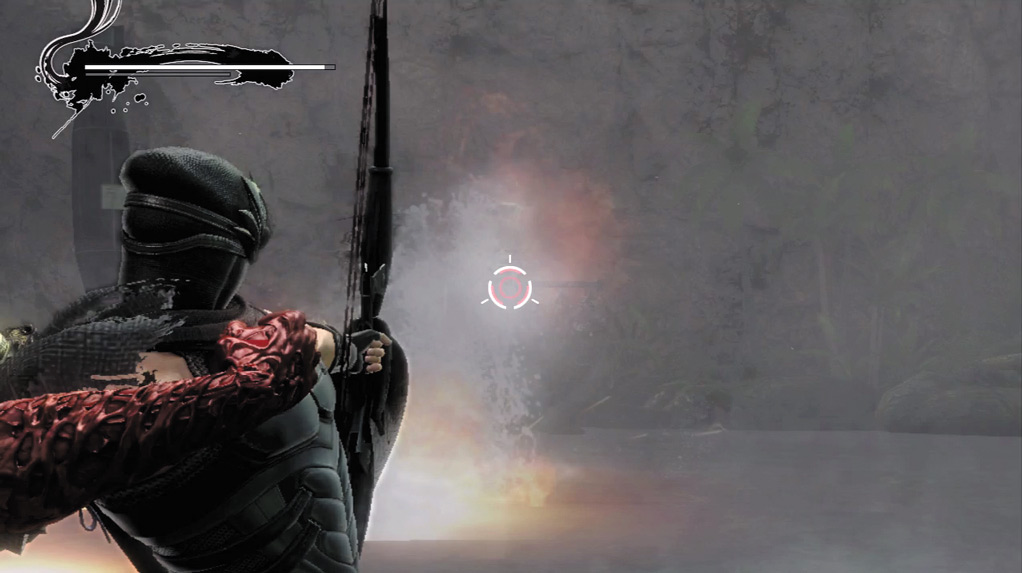
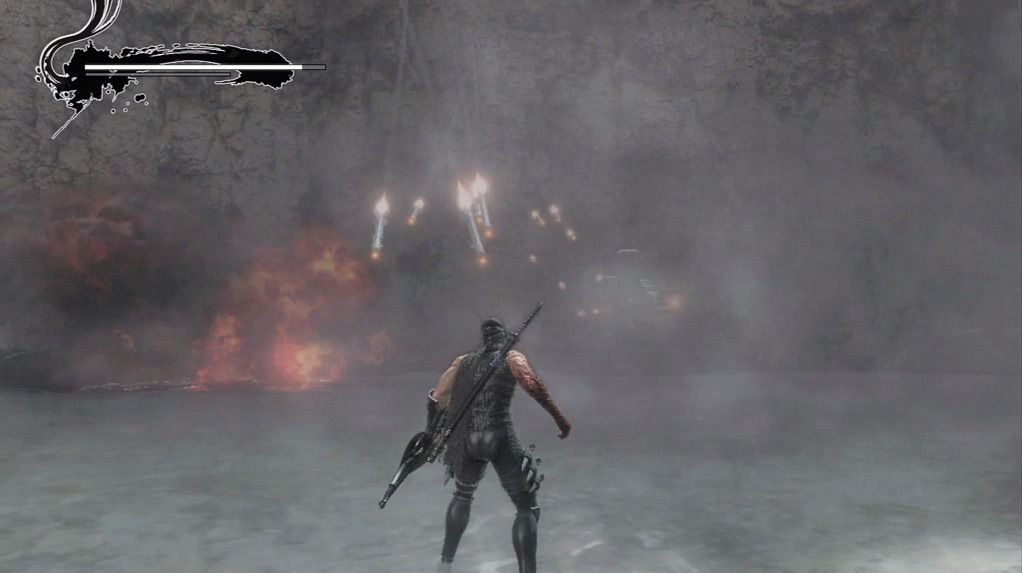
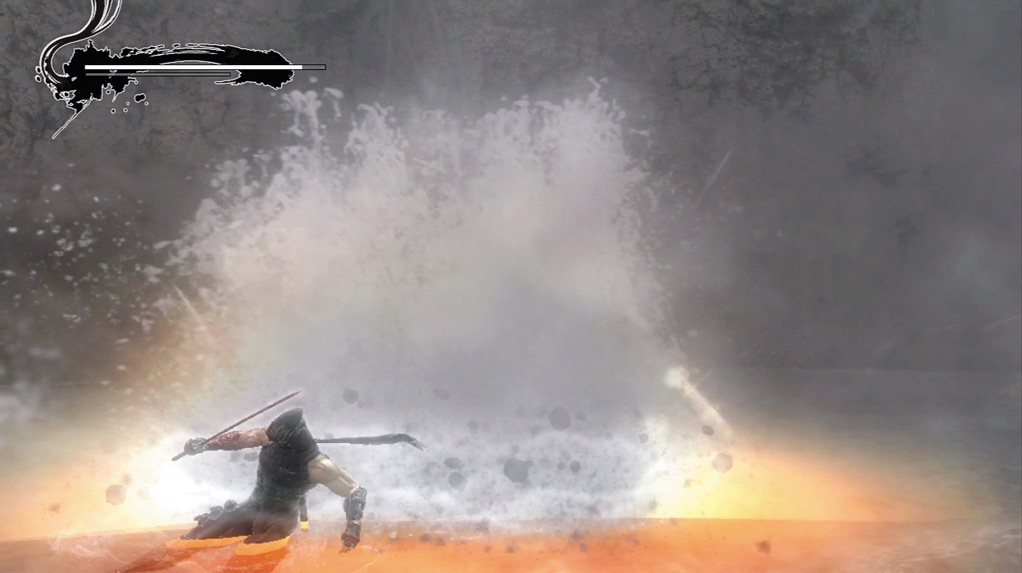
Stay as close to the screen as you can to avoid the bombs that drop in the area. Use a rapid series of jumping arrows to quickly attack the four helicopters that appear, one after another.
Stay away from the bomb markings at all times because the blast radius is larger than the small markings on the ground.
Defeat all four helicopters, then slowly approach the burning chopper on the ground. When the pilot rolls out, proceed past him and use the Kunai Climb to reach the top of the area.
Continue down the path to engage several Heavy Soldiers (Jetpack) (who turn into Heavy Soldiers after one arrow shot). Use jumping arrows to quickly lock on to them, but keep an eye on the ground surrounding Hayabusa.
As soon as you see a Heavy Soldier in close proximity, take him down or slide away before focusing on the Heavy Soldiers (Jetpack) again. If a Heavy Soldier (Jetpack) lands, take him out quickly before he uses the flamethrower.
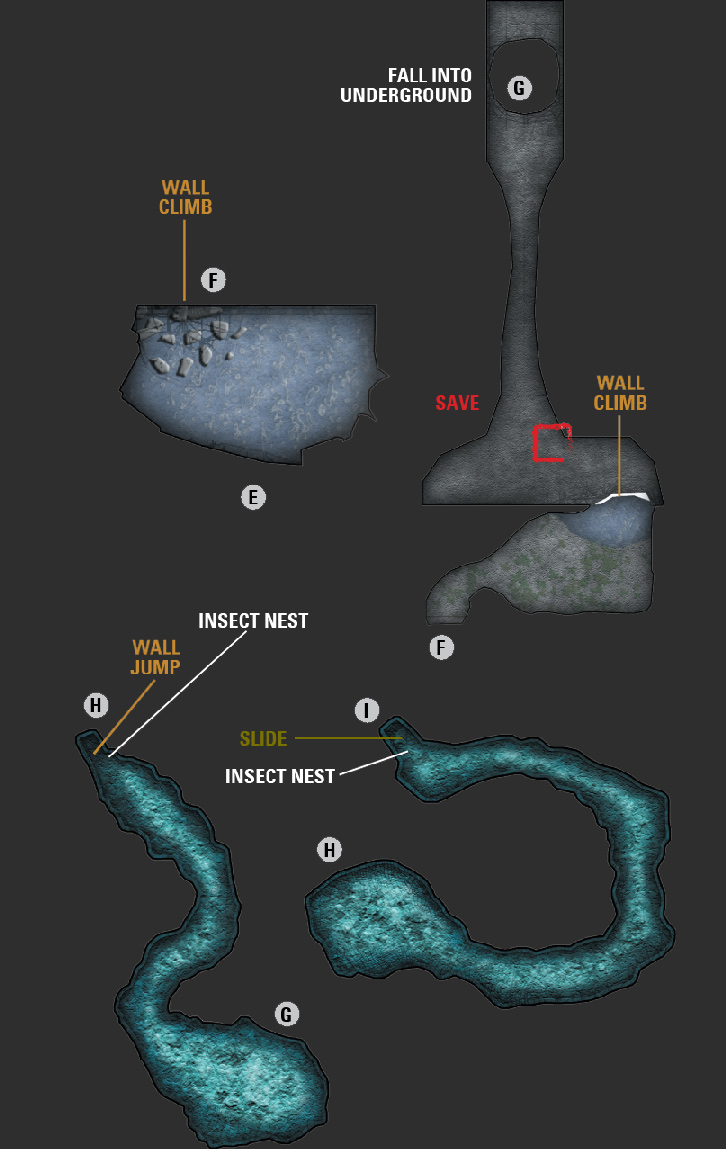
|
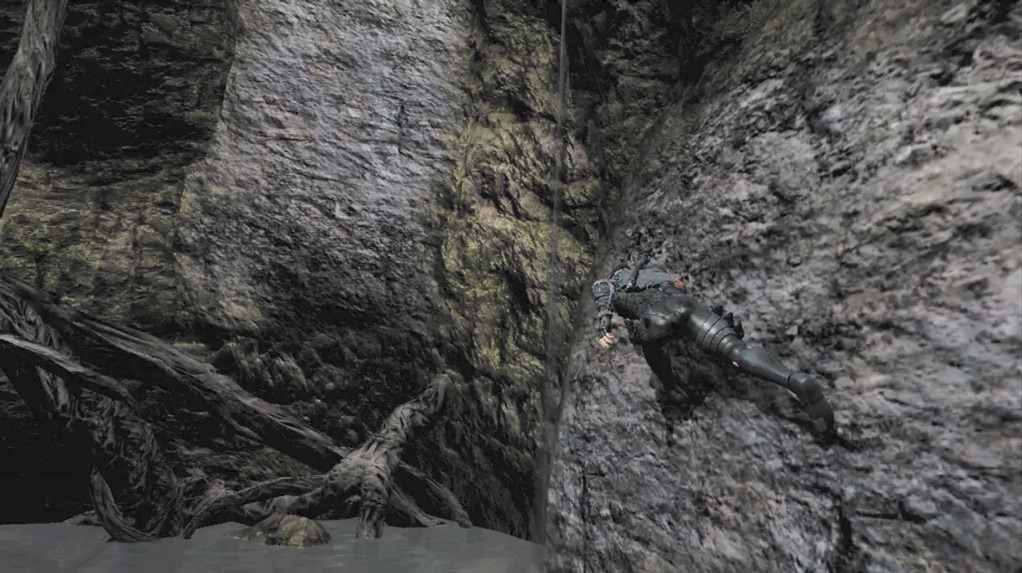
Use a Wall Run on the boulder ...
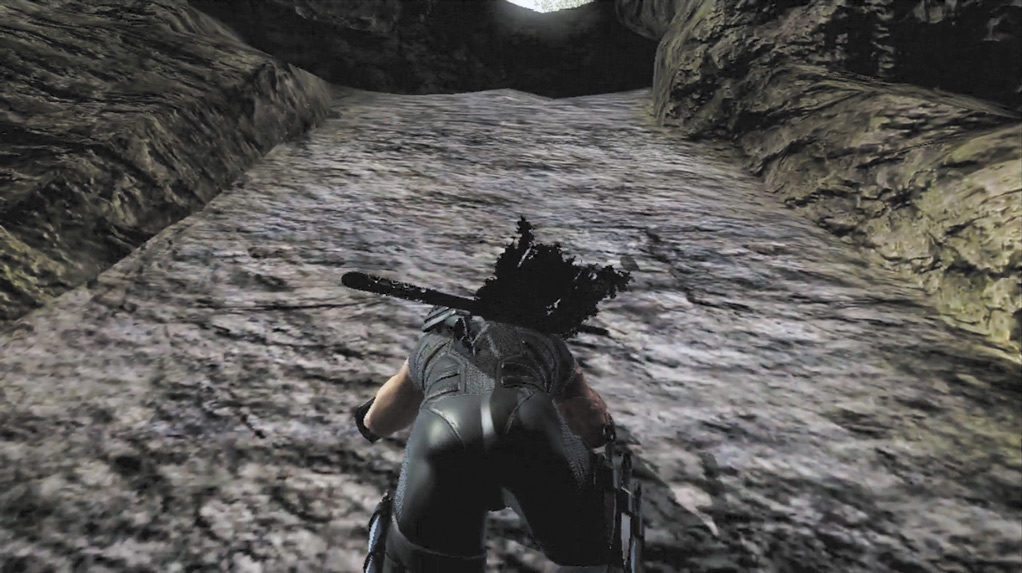
... and then use Kunai Climb to scale the adjacent wall.
Use a wall run on the boulder to reach the adjacent wall, then use the Kunai Climb to scale the wall. Save your progress at the falcon ahead.
Run through the Light Shell Bugs, attacking only the enemies that slow your progress. When you reach an area just ahead, the floor falls out from under Hayabusa.
Advance through the cave until you see more Light Shell Bugs. Slide through them until you reach the end, then kill a few to illuminate the area. Move to the narrow area at the end and defeat any Light Shell Bugs that remain.
Use a grounded arrow to take down the nest that’s spawning the Light Shell Bugs just above. Quickly slide out of the narrow area to avoid being hit by the falling object, then take down the freshly spawned Light Shell Bugs.
Use the Flying Bird Flip to reach the top of the area. Keep moving down the path until you reach the next Light Shell Bug nest. Destroy it with an arrow and continue down the path until you reach the third and final nest just above.
Use another arrow and then move out of the way to avoid the falling nest. Take out the remaining Light Shell Bugs, then Kunai Climb to reach the top of the area.
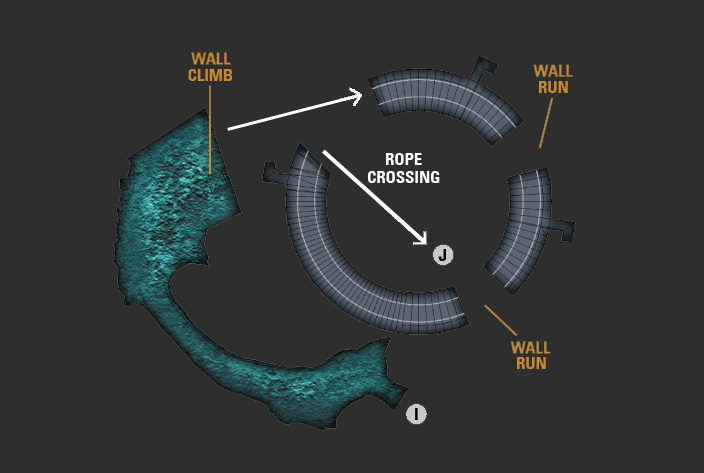
Press Strong Attack (
or
) when prompted to take out the enemy at the top. Quickly move down the path and use arrows to take out the Terrorists (Rocket Launcher) across the gap.
Use the Wall Run to cross the two gaps, then defeat the Heavy Soldiers (Shield) and Heavy Soldiers just beyond. After the second Wall Run, use jumping arrows to take down the two Terrorists (Rocket Launcher) at the end of the path, then defeat the remaining enemies.
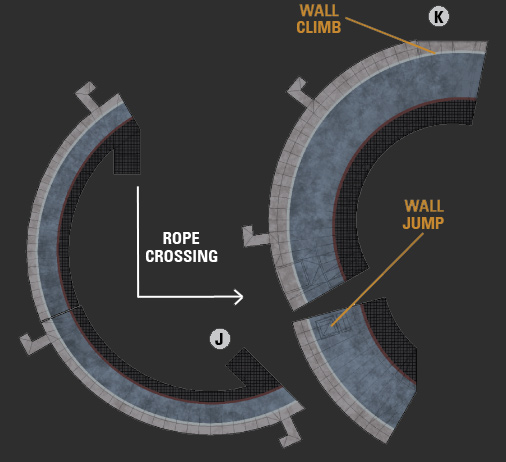
Continue down the path and jump onto the rope at the end. Use the Rope Crossing technique to move to the other side of the area. When a Rocket Launcher appears at the end, use two daggers to take him down. When you reach the end of the rope, jump onto the platform.
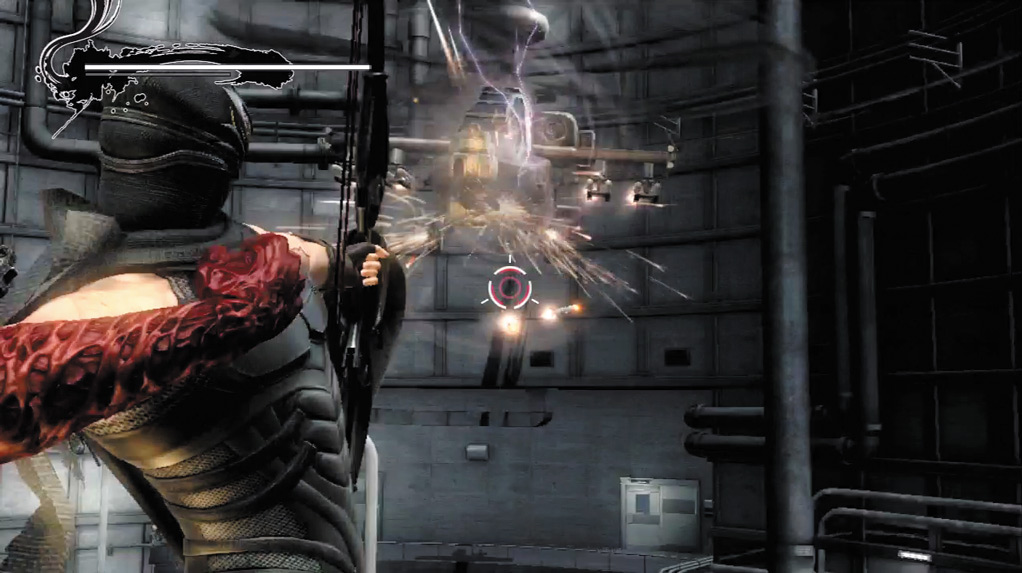
Use a single grounded arrow attack ...
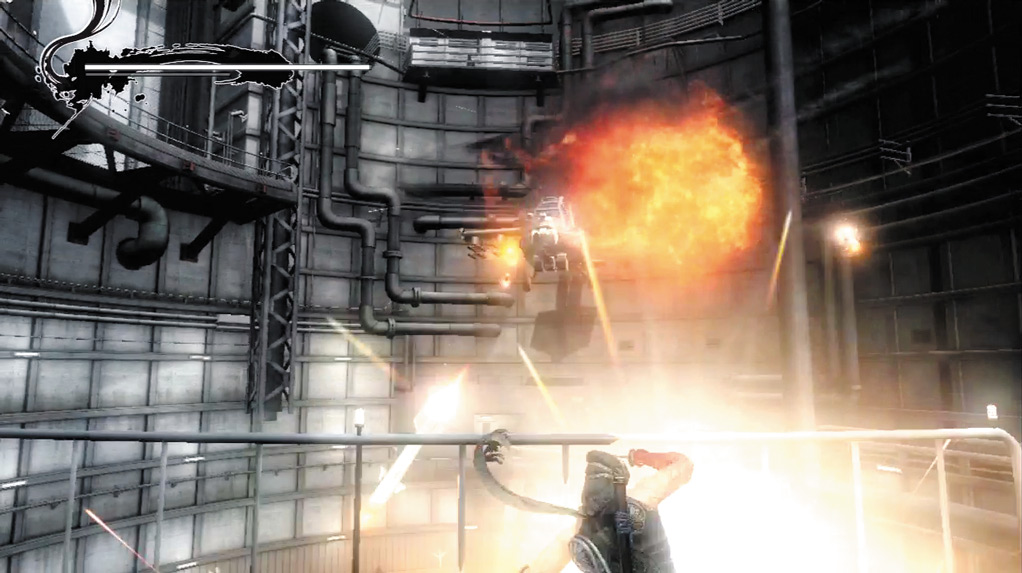
... and then slide to avoid the missiles from the helicopter.
Several Terrorists run down the path to intercept Hayabusa. Multiple Terrorists (Rocket Launcher) also appear across the way. Use jumping arrows to take out the Terrorists (Rocket Launcher), then cut down the Terrorists and use the Rope Crossing technique at the top of the area.
As soon as you jump on the next platform, a helicopter attacks. Use jumping arrows to take down the helicopter, but shoot only one at a time between sliding dodges. The helicopter shoots missiles in rapid succession, making it risky to attack with more than one arrow at a time.
Use the Flying Bird Flip to scale the wall, then engage a large number of Heavy Soldiers, Heavy Soldiers (Shield) and Terrorists, as well as one Rocket Launcher.
Use a jumping arrow to take down the Rocket Launcher, then focus on the rest. A second Rocket Launcher appears during the battle against the Heavy Soldiers and Heavy Soldiers (Shield). Take him down with a jumping arrow as well.
|
|

When all of them have been defeated, several Alchemists appear. Save your second Ultimate Technique and second Ninpo to make quick work of the Alchemists. If you do not have a second Ninpo available, wait until all three Alchemists have appeared before using the Ultimate Technique.
With proper timing, you can take down at least two of the Alchemists, if not all three. These Alchemists are far easier to take out than the first set of Alchemists Hayabusa faced.
On Master Ninja, you will only get one Ninpo and one Ultimate Technique. Save both for the Alchemists (White) that attack.
Kunai Climb the wall at the end of the path to trigger a short cinematic. Jump down and use Strong Attack (
or
) when prompted to take out the first Terrorist. Defeat the second Terrorist, then jump down to the ground and use another Strong Attack (
or
) when prompted.
Take out the War Dogs, Terrorists (Rocket Launcher), Terrorists, and Heavy Soldiers that attack. Use jumping arrows on the Terrorists (Rocket Launcher), then focus on the rest, with priority on the War Dogs.
Eventually, Ryu’s arm will begin to hurt again. Defeat the remaining enemies and a falcon appears to save your progress.
On Master Ninja, there are no War Dogs or Heavy Soldiers, and the only Terrorists are the ones at the top of the tower. Instead, Megaselions and Ourboros await alongside the Terrorists (Rocket Launcher) just below the tower.
Take out the Terrorists (Rocket Launcher) first to build up to an Ultimate Technique, then use it on the first batch of Megaselions.
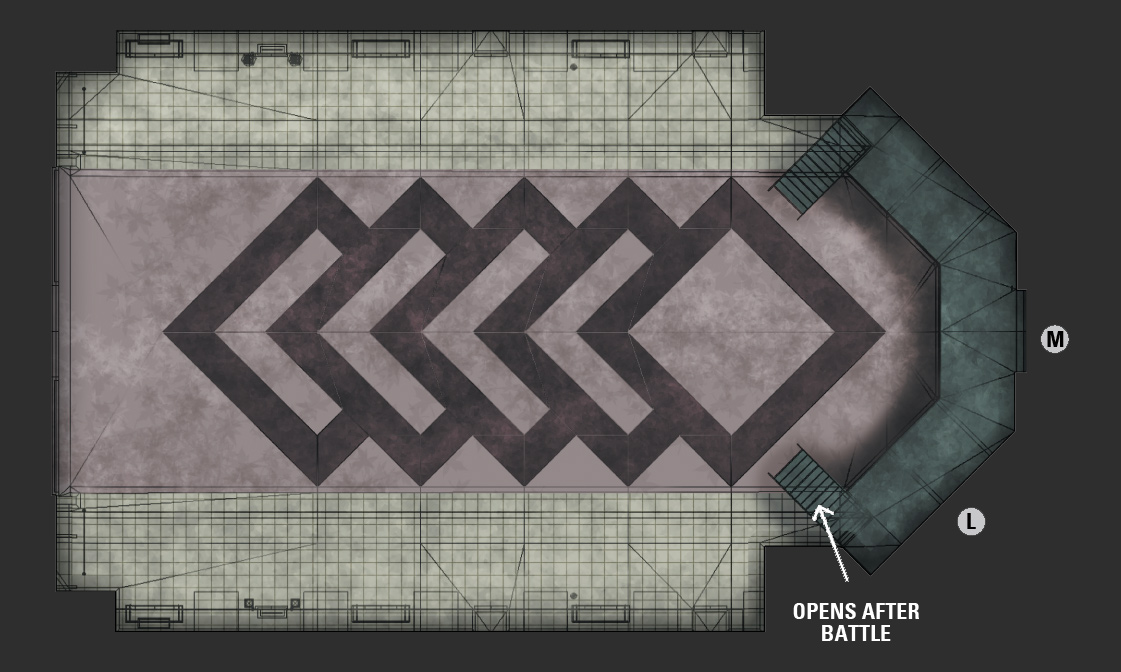
Open the double doors by holding Block (
or
) and Center Camera (
 or R) and rapidly tapping Shuriken (
 or
or
 ).
).
Move into the next area to engage three Alchemists, followed by two Terrorists (Rocket Launcher) and one Alchemist, then two more Terrorists (Rocket Launcher) and two Alchemists, then one last Rocket Launcher for a total of six Alchemists and five Terrorists (Rocket Launcher).
These Alchemists are stronger than the ones Hayabusa faced earlier in this level. When the Terrorists (Rocket Launcher) appear above, use jumping arrows to take them down, then focus on the Alchemists again.
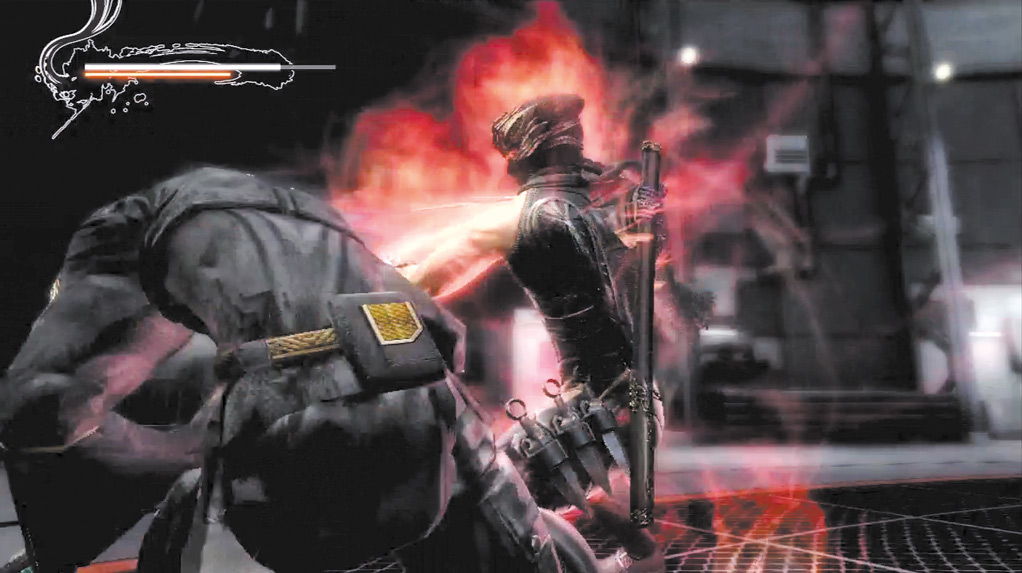
Save Hayabusa’s second Ultimate Attack and second Ninpo to use on the Alchemists.
Take out the Rocket Launcher, then head upstairs to get caught by a surprise attack from an Ghost Soldier. There’s no way to avoid the attack, but as soon as the Ghost Soldier and Hayabusa land on the floor, rapidly press Left and Right on the Left Analog Stick and tap Quick Attack (
or
).
Ghost Soldiers are similar to Alchemists in that they cannot be Izuna Dropped. Use Quick Attack combos to take them out one at a time, while avoiding the land mines they drop.
Remember that Hayabusa is invulnerable to attack during any Obliteration Technique. He cannot be harmed by a nearby land mine if he is in the middle of an Obliteration Technique.
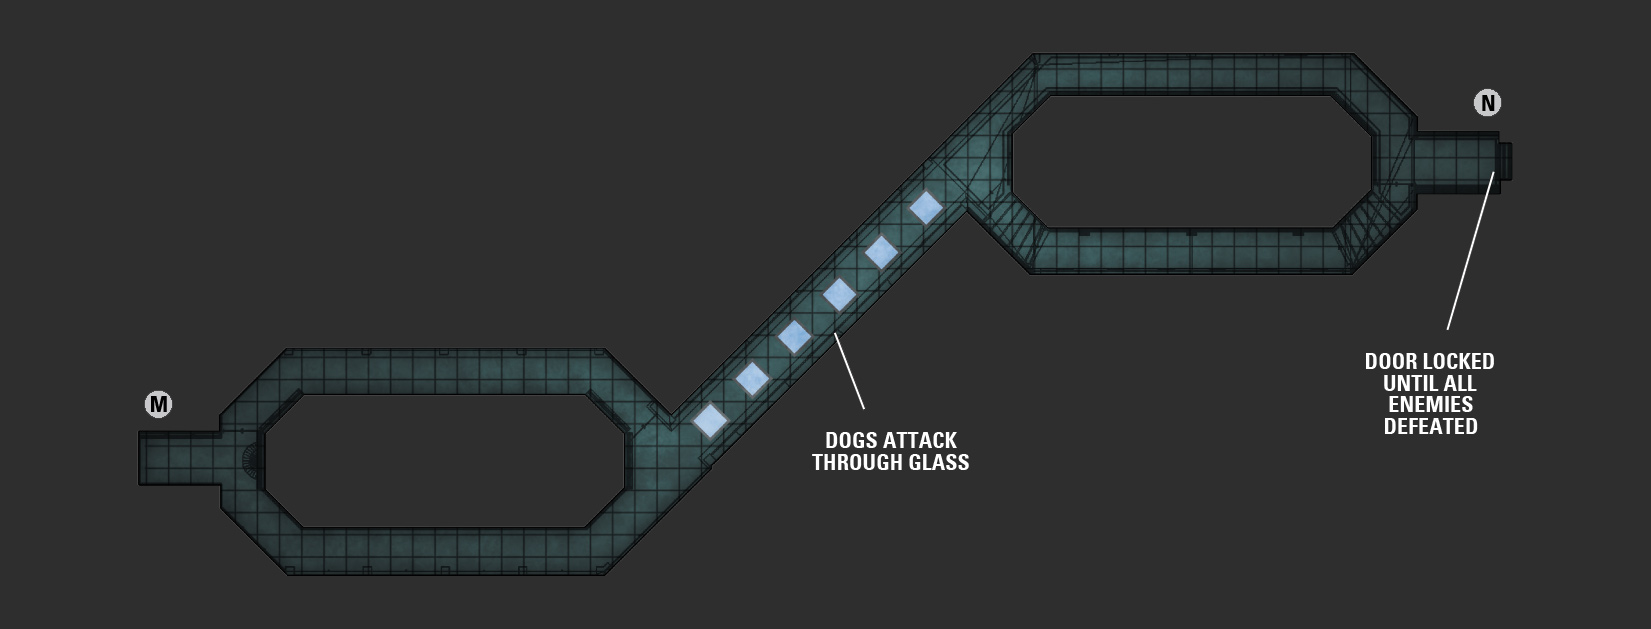
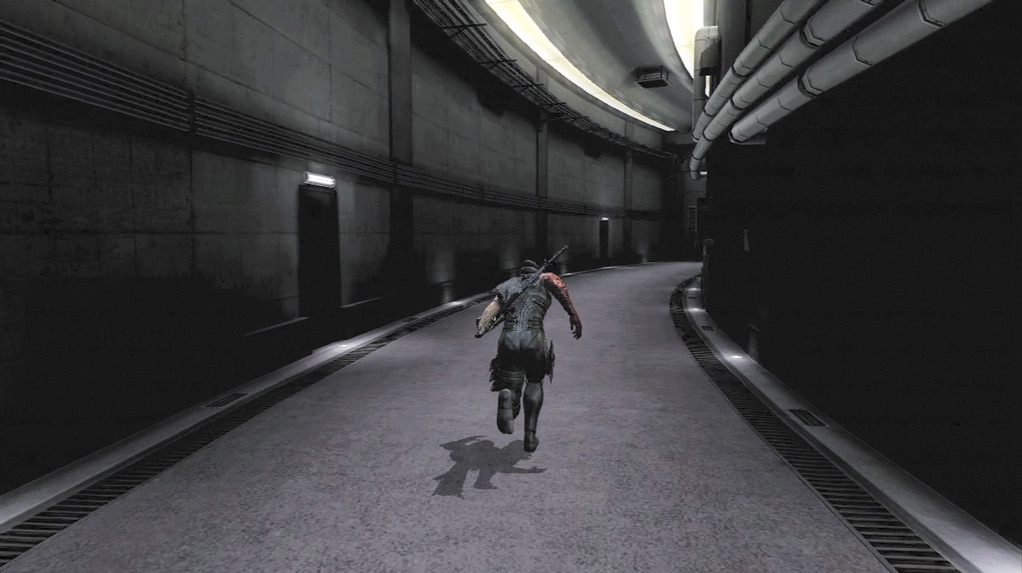
When you reach the third door on the left ...
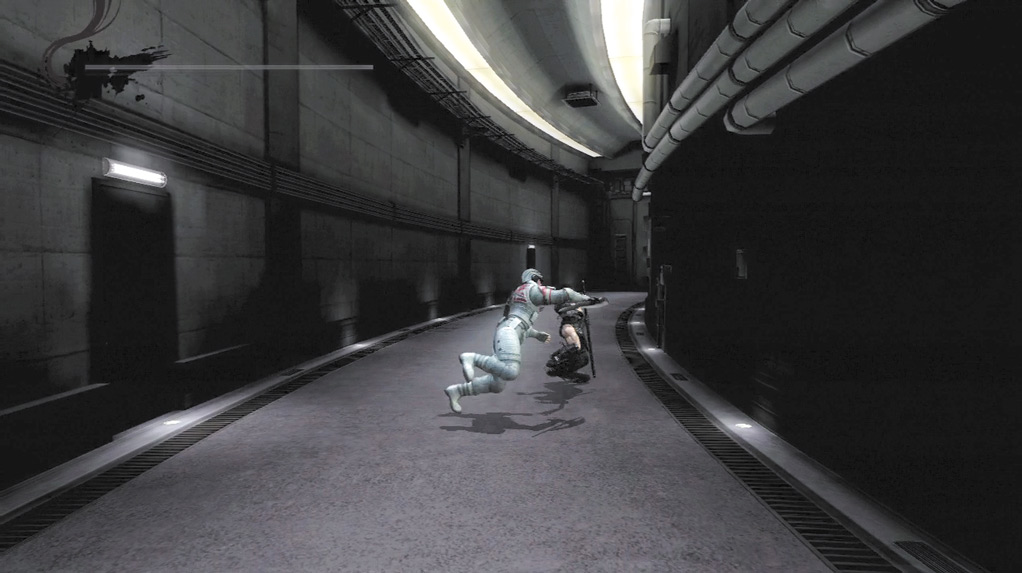
... slide or jump to avoid the Ghost Soldier attack.
Defeat all of the Ghost Soldiers, then head through the double doors at the top of the stairs. Continue down the hallway until you see War Dogs behind the glass.
Slide repeatedly down the hall and jump as soon as you see the War Dog jump out of the glass. Take down the War Dogs that attack, then proceed down the hall to engage more Ghost Soldiers.
Kill the Ghost Soldiers and head through the door and down the next hall. Run down the right side of the hall. When you pass the third door on the left (indicated by the lights just above the doors) an Ghost Soldier attempts to grab Hayabusa.
As soon as you see an Ghost Soldier attack from the left, jump or slide to avoid the attack. Take out the plethora or Ghost Soldiers, then head through the large door at the end of the hall to initiate another cinematic, followed by a boss battle.
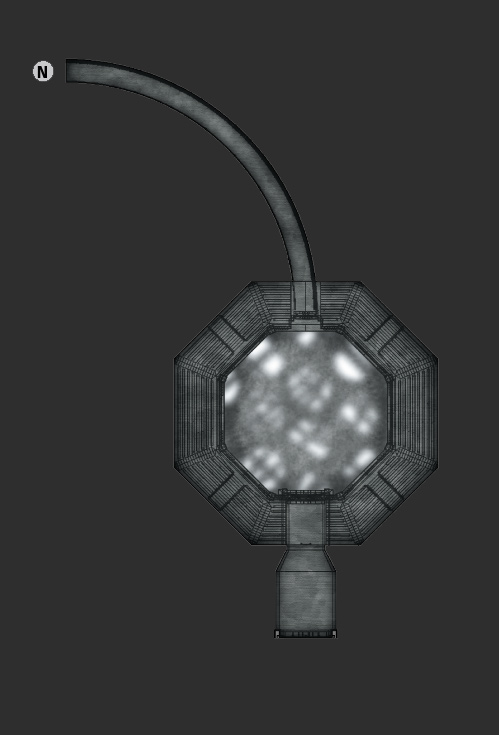
|
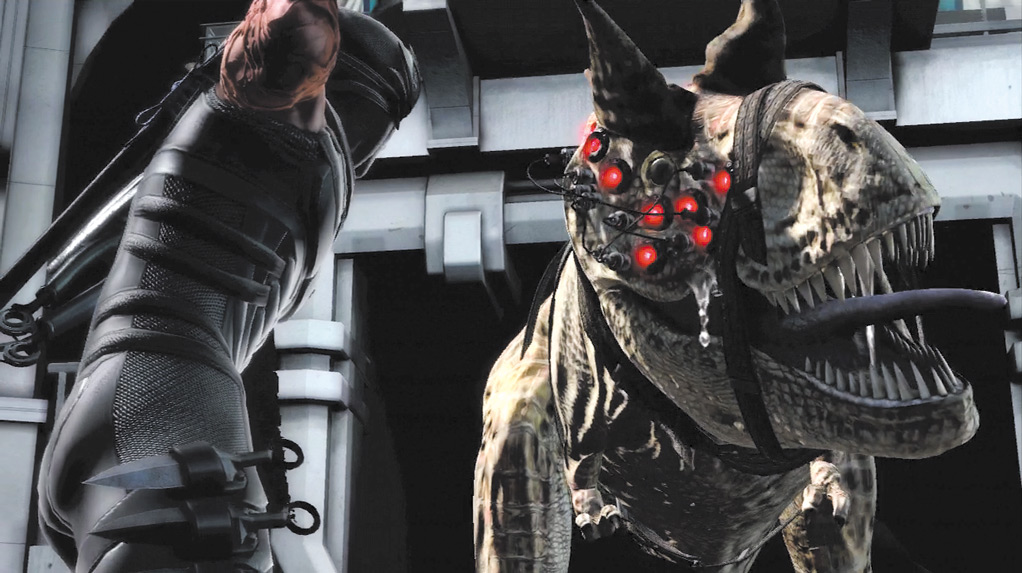
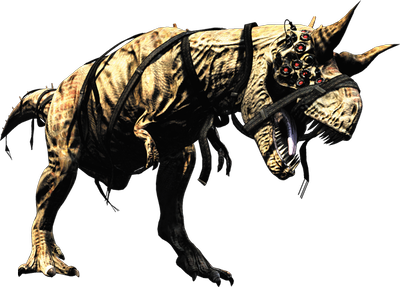
Close Range Abilities: Stomp Attack
Long Range Abilities: Charge Attack, Tail Whip, Sonic Roar, Bite
Strategy: When the battle begins, move to the opposite side of the room and wait for the Gigantosaurus to run toward Hayabusa.
When this happens, slide to either side to avoid the Charge Attack, then quickly slide toward the opposite end of the room. The Gigantosaurus almost always uses two Charges, then falls to the ground and ends up close to where it started.
Attack the Gigantosaurus with two Quick Attack combos (
or
), then slide in the direction of the Gigantosaurus’s tail.
When the Gigantosaurus begins to rise, it usually uses a Tail Whip attack. However, if Hayabusa runs in the direction of the tail while the Gigantosaurus is grounded, the Tail Whip almost always misses.
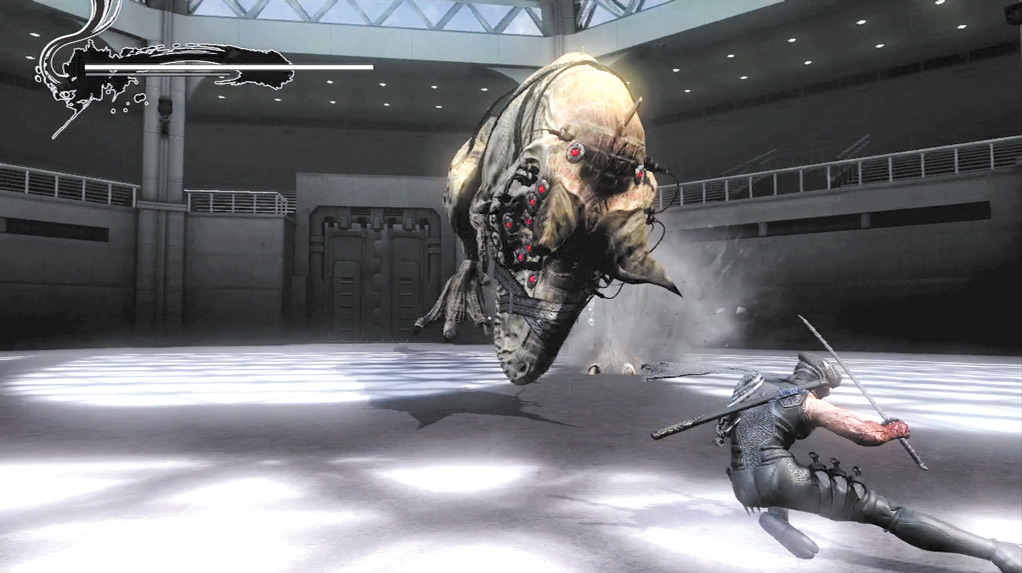
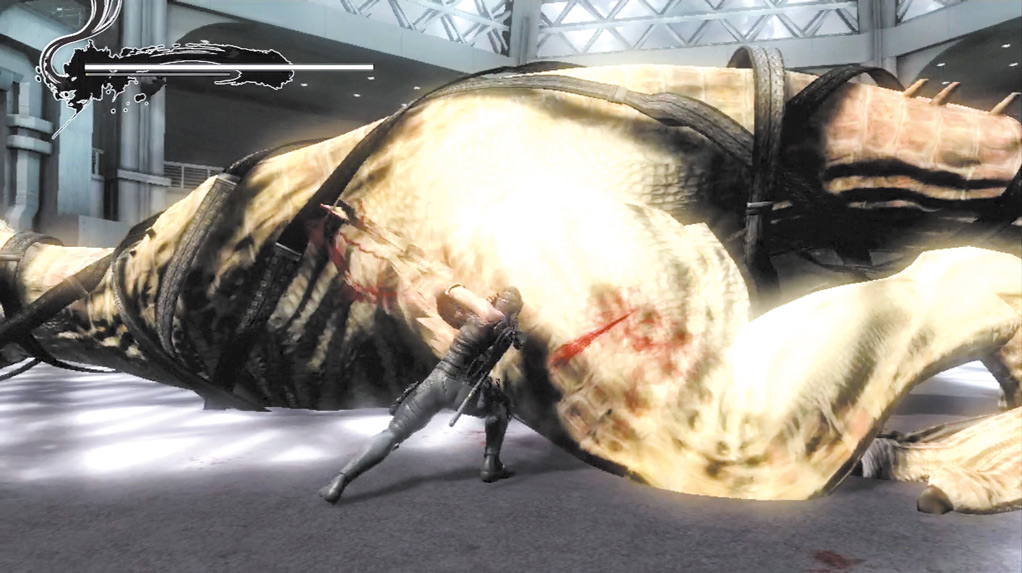
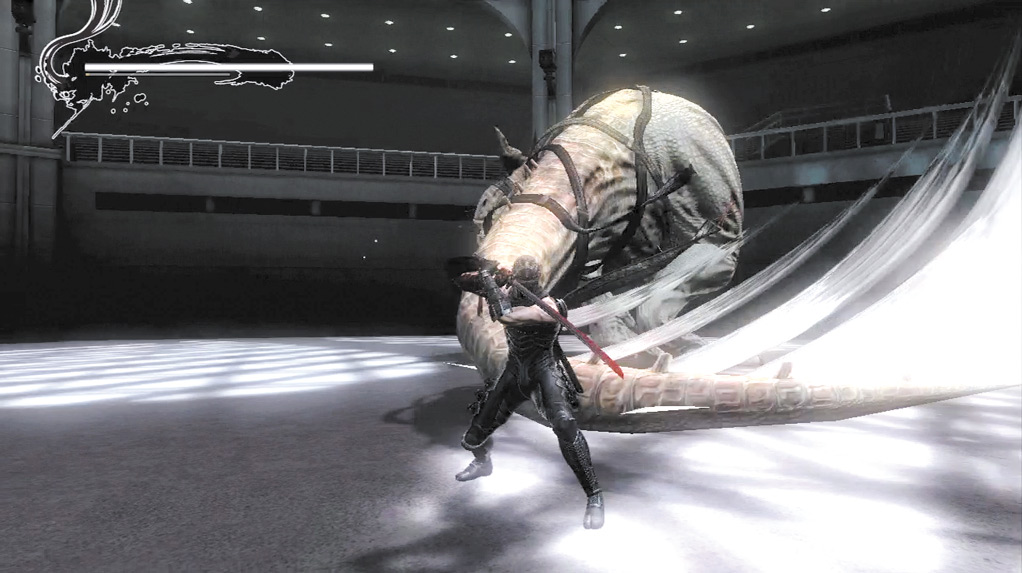
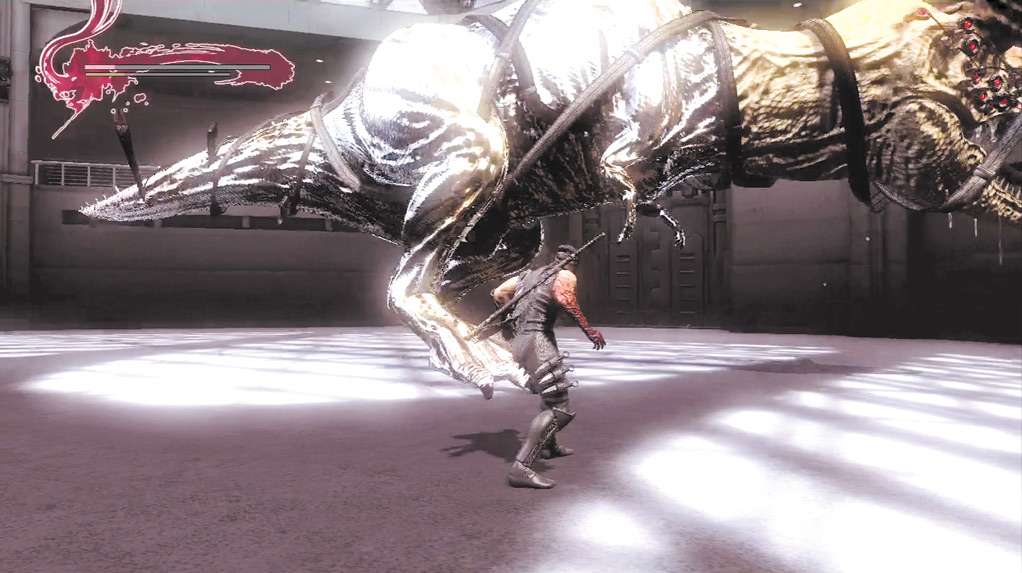
When the Gigantosaurus turns chrome, ...
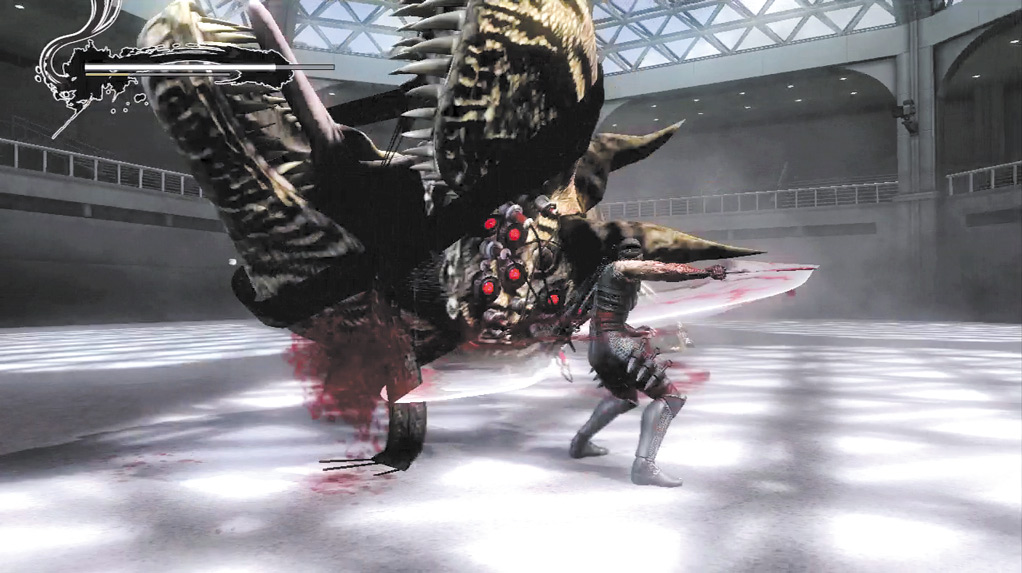
... attack it’s head.
Repeat this process until the Gigantosaurus’s legs turn chrome. When this happens, wait for the Gigantosaurus to Charge again twice and, when it falls, attack its head.
This is the only vulnerable spot on the Gigantosaurus’s body. Be careful to avoid the Tail Whip when the Gigantosaurus gets up. Repeat this process until a short cinematic occurs, followed by a chase scene.
If Hayabusa is close to the Gigantosaurus when it’s not on the ground, stay away from its head. It has a Bite attack that covers most the space directly in front of it and is one of its most damaging attacks. It also uses a Sonic Roar that is difficult to evade and covers a moderate distance.
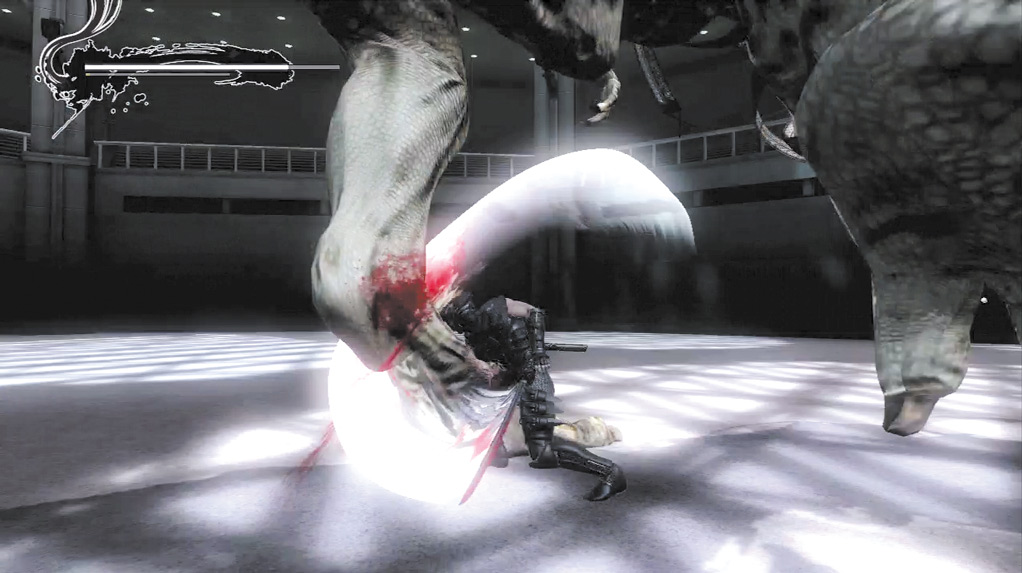
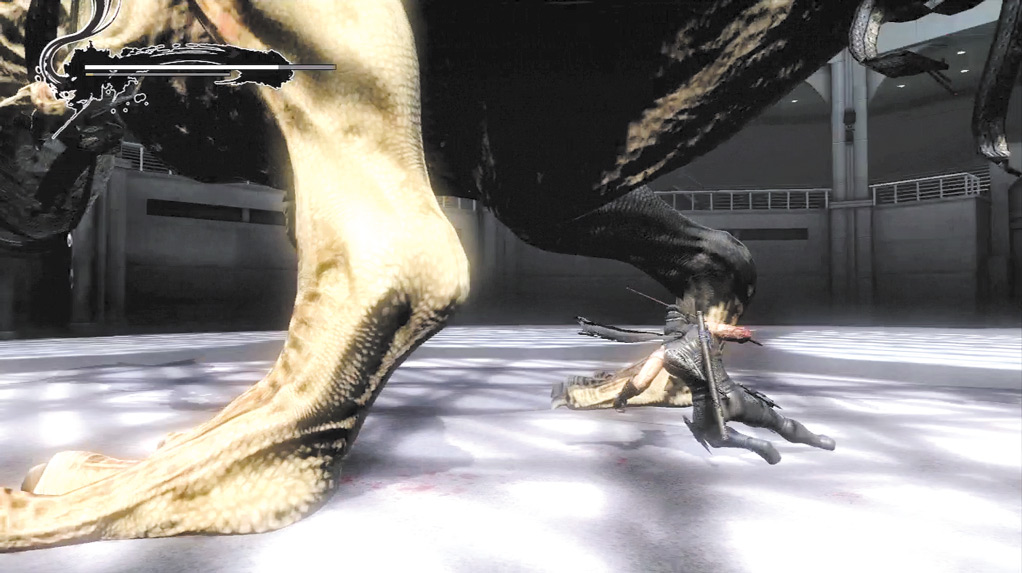
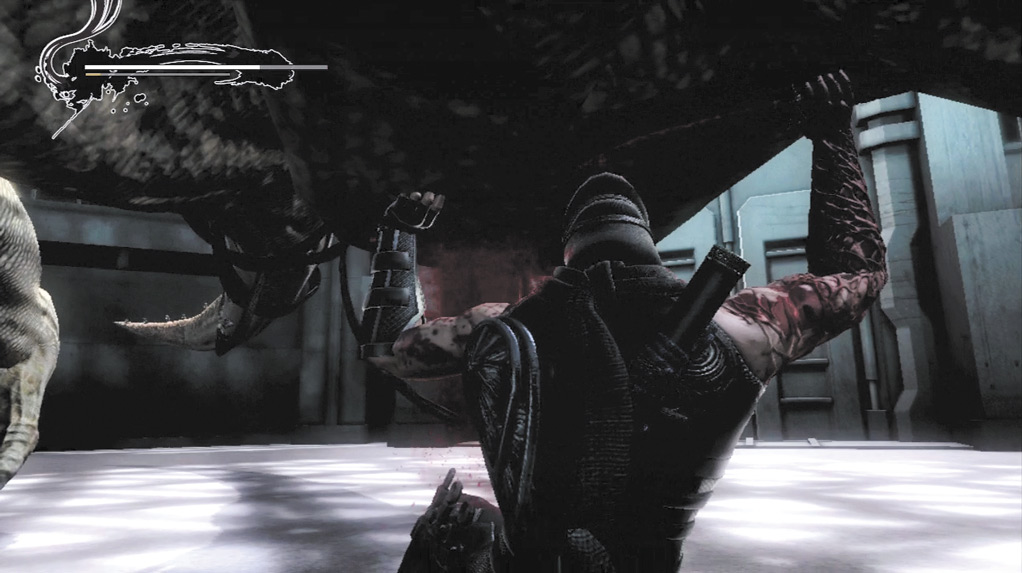
When close to the Gigantosaurus, move under it as quickly as possible. Focus on its legs with one or two Quick Attacks. As soon as you see one of the legs lift off the ground, slide to the opposite leg and continue attacking with another one or two Quick Attacks.
If you use more than two Quick Attacks, you risk getting caught by the Gigantosaurus’s leg and taking damage. If the Gigantosaurus raises his leg high into the air, make sure Hayabusa is close to the other leg or else far enough away from the raised leg to avoid the Stomp Attack and resulting shock wave that follows.
Repeat this process until the Gigantosaurus starts charging again, then go back to the original strategy.
Run toward the camera and, when you see bone fragments on the ground, be prepared to jump over the large bone just ahead.
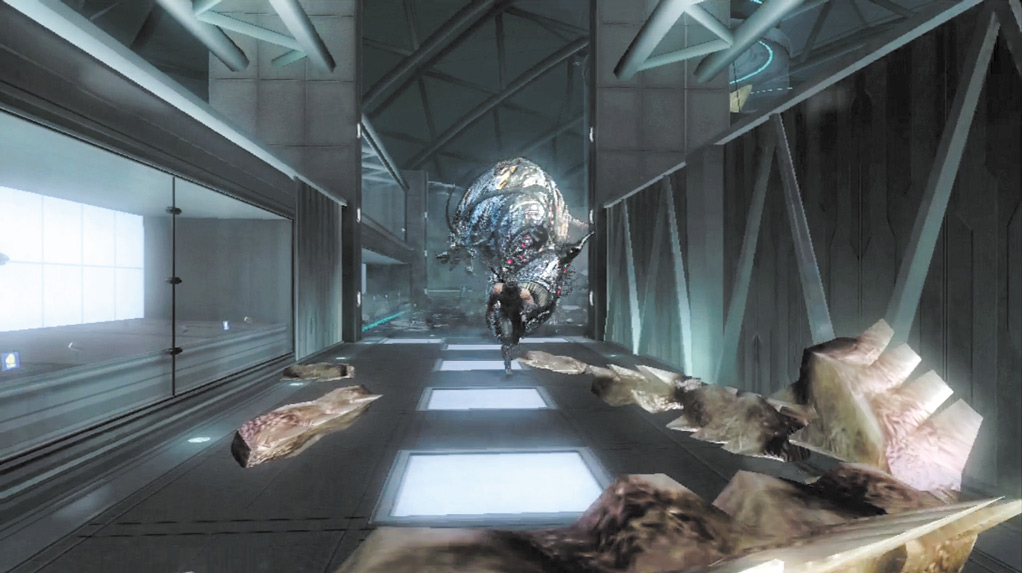
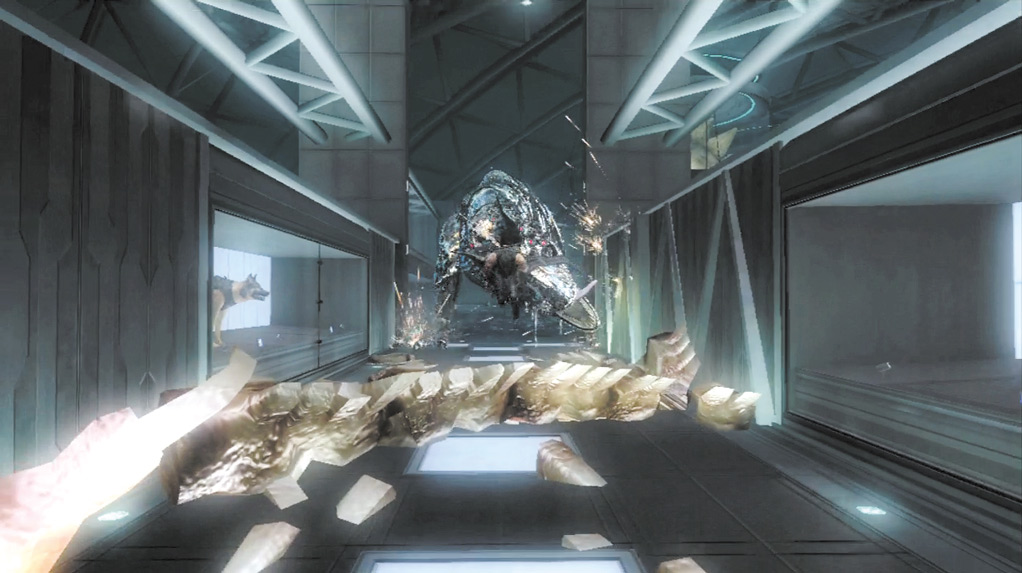
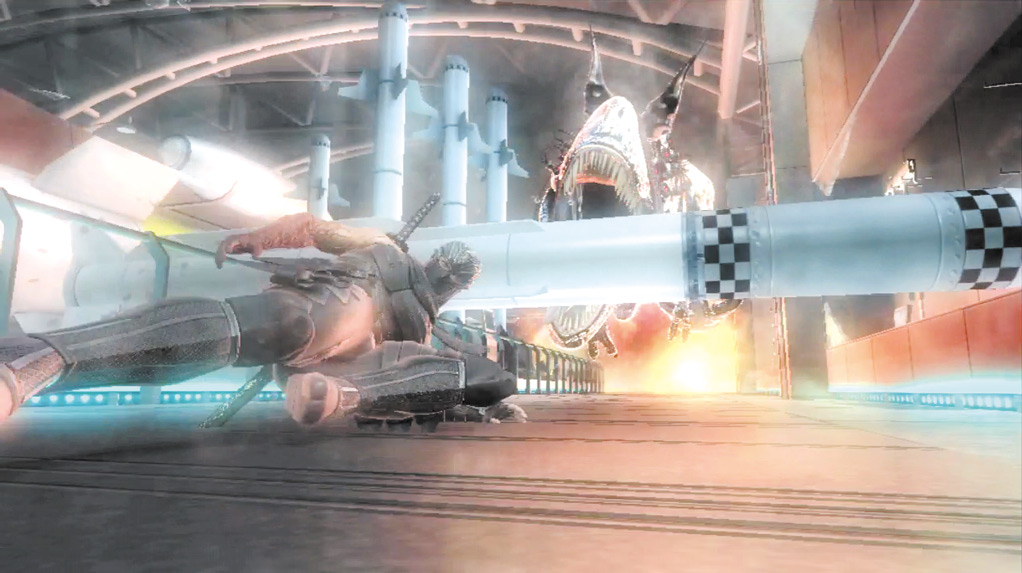
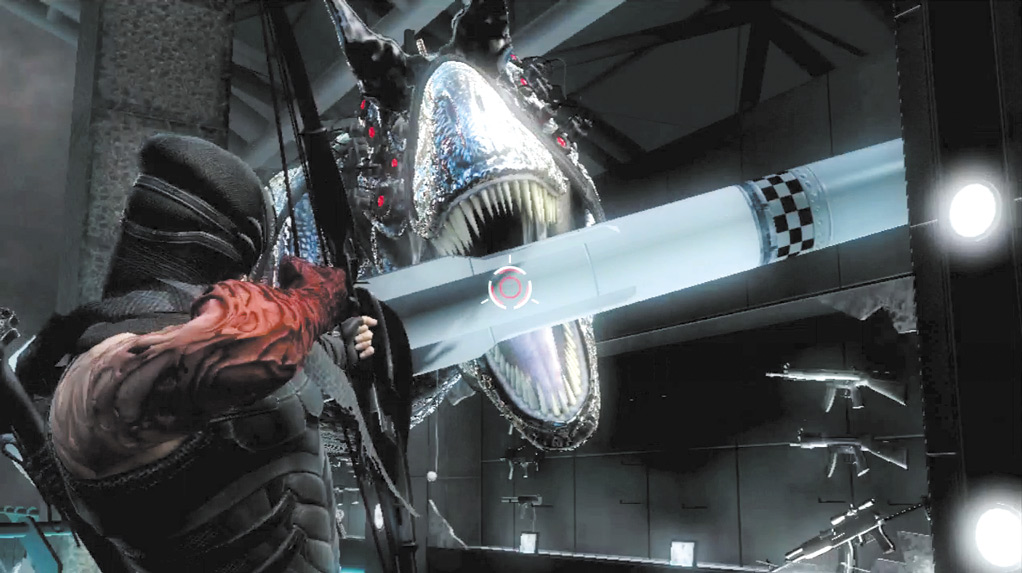
This happens twice, and it’s followed by a missile that Hayabusa must slide under. After sliding under the missile, shoot an arrow to blow it up when prompted.
Continue through the double doors at the end of the hallway to engage the Gigantosaurus once again. Slide to the right, then press Strong Attack (
or
) when prompted. Do not drift to the left or right side of the room.
Instead, stay on the opposite side of the Gigantosaurus and around the center of the room so that you have plenty of room to slide to either side when the Gigantosaurus Charges. Avoid the Gigantosaurus’s Charges and attack its head when it falls to the ground.
When the game begins to move in slow motion, press Strong Attack (4 or i) and follow the on-screen prompts to press Strong Attack (
or
) rapidly to take down the Gigantosaurus and initiate another cinematic.
|
|

When the cinematic concludes, a horde of Terrorists and Heavy Soldiers (Jetpack) attacks. Take them all down, then jump through the opening. Spider Talon Ninja, Spider Ninja, and Archers await in the next area.
Focus on the Spider Ninja and Archers to build up Hayabusa’s Ki Gauge and Ultimate Technique, then use both to make quick work of the Spider Talon Ninja. On Master Ninja, several Assassins (White) join the Spider Ninja, Archers and Spider Talon Ninja.
Jump through the next opening and head up the stairs. Save at the falcon on the left, then continue through the door and down the hall to engage the Regent of the Mask again.
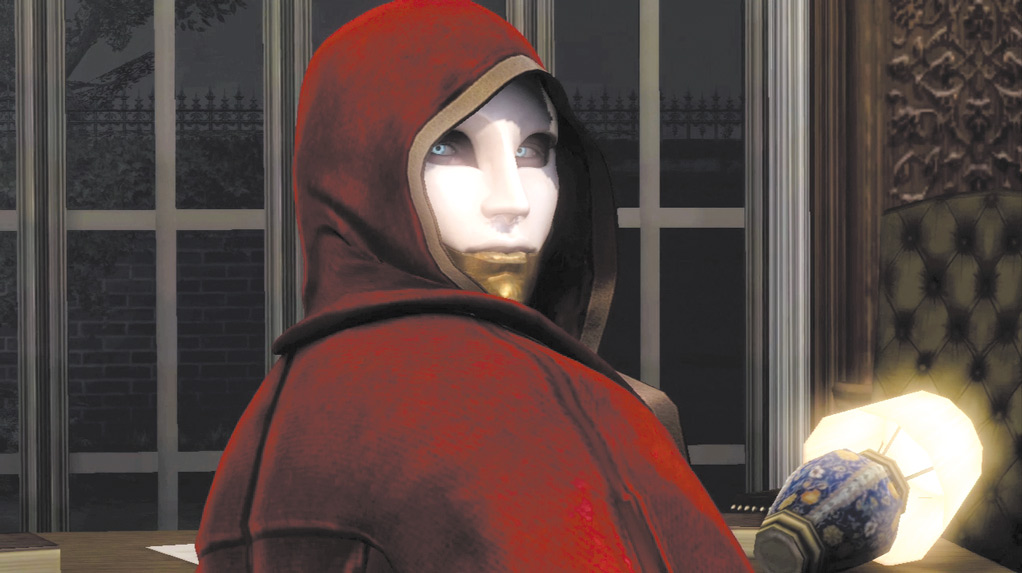
Close Range Abilities: Two-Hit Combo, Three-Hit Combos, Five-Hit Combos, Unblockable Two-Grab Combo, Unblockable Jumping Grab
Long Range Abilities:
Two-Hit Charge Technique
Strategy: This is the second time Hayabusa battles against the Regent of the Mask, and the fight closely resembles the initial battle.
This time the Regent of the Mask has a couple new techniques in the way of a five-hit combo and an Unblockable Jumping Grab attack. The battle also ends when Hayabusa knocks the Regent of the Mask outside. There’s no continuation like the first battle.
Wait for the Regent of the Mask to approach Hayabusa. Slide away from his first attack, then use the Wind Run into Flying Swallow to attack the Regent of the Mask.
If the attack is parried, quickly slide away to avoid the Regent of the Mask’s counterattack. If the attack is blocked or connects, slide away and wait for the next attack to repeat the process.
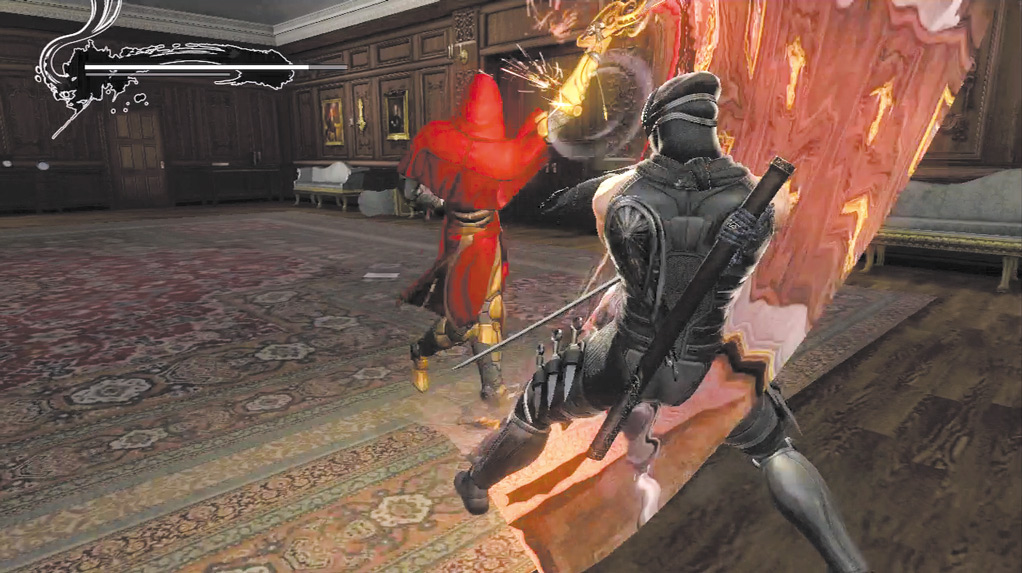
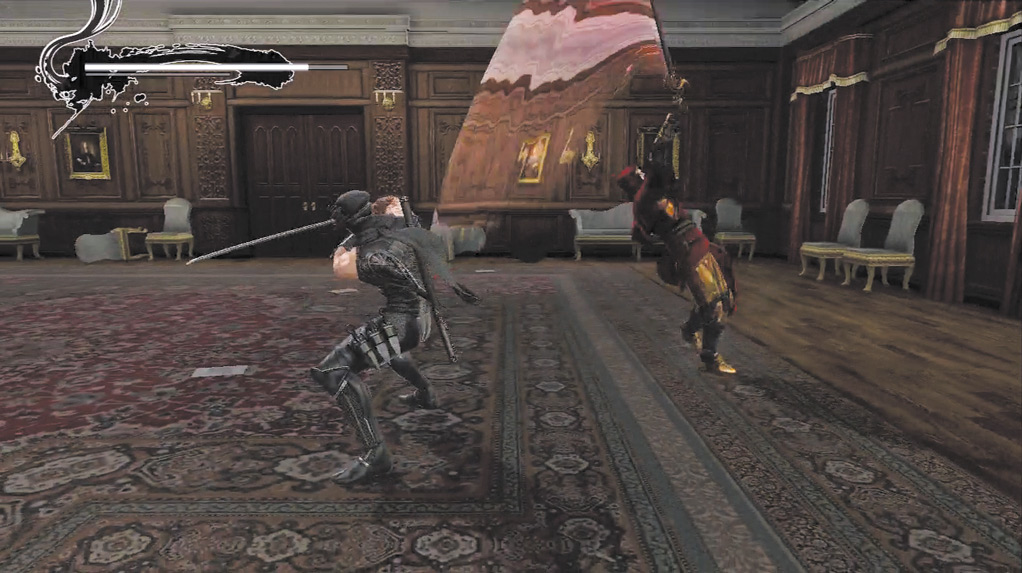
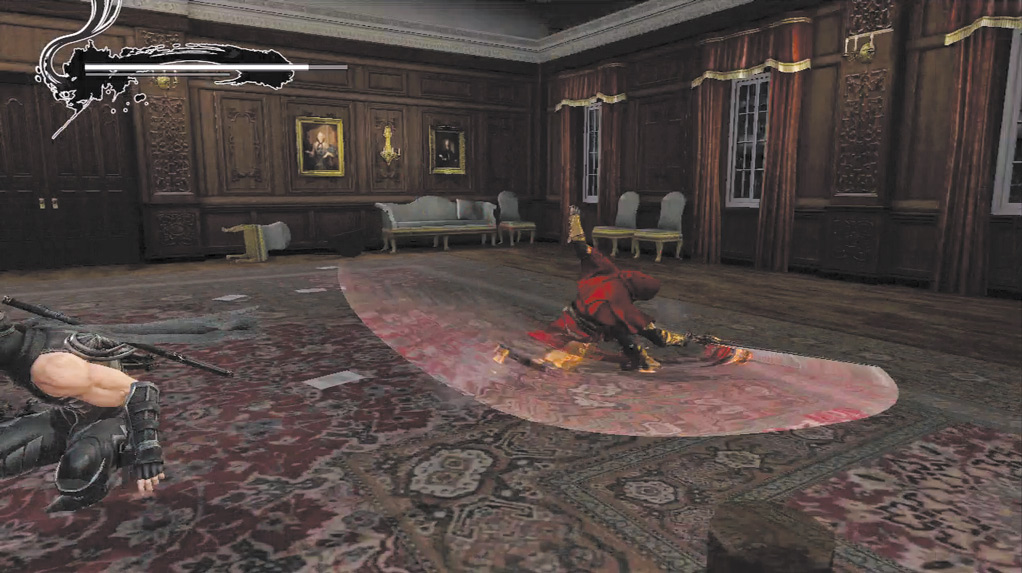
The Regent of the Mask’s new combo.
If the Regent of the Mask uses a five-hit combo (which consists of several vertical spinning attacks at the end), try to use the Wind Run into Flying Swallow before the vertical spinning attacks, or after the attack in the combo (a thrusting attack).
The vertical spinning attacks can knock Hayabusa out of the Flying Swallow.
After attacking, slide away from the Regent of the Mask. If you attack too much, the Regent of the Mask may counter using his Unblockable Grab Combo. If his fist glows red, watch out for the throw combo.
Limit your attacks to no more than three Quick Attacks to avoid this. The only exception is after a sword clash. When this happens, rapidly tap Quick Attack (
or
) as prompted, then follow with four to five Quick Attacks.
Four Quick Attacks is almost always safe, but five can sometimes hit. Pay close attention to the Regent of the Mask during the fifth attack. If his fist glows red, slide away immediately to avoid the throw combo.
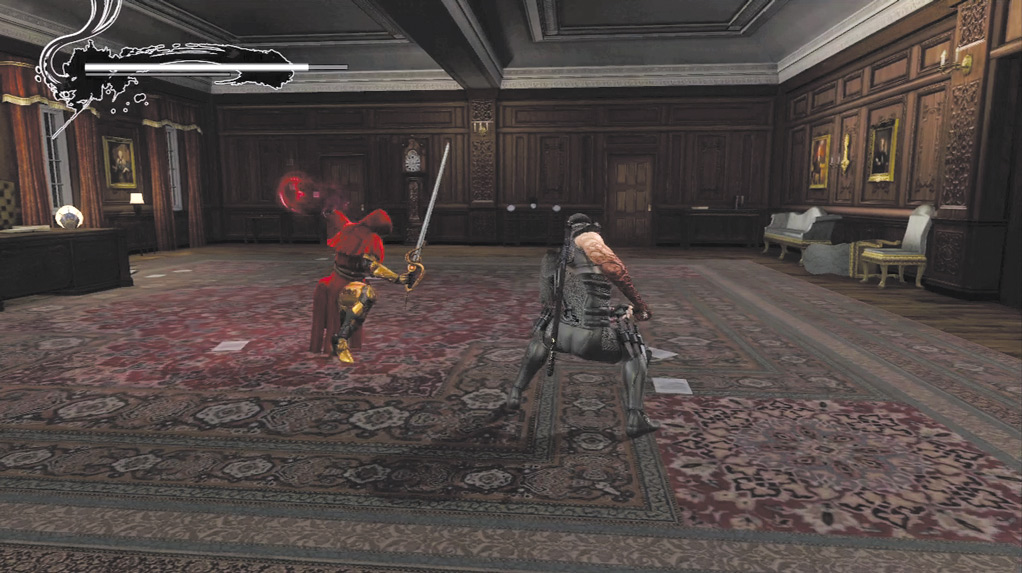
When the Regent of the Mask’s fist glows red, ...
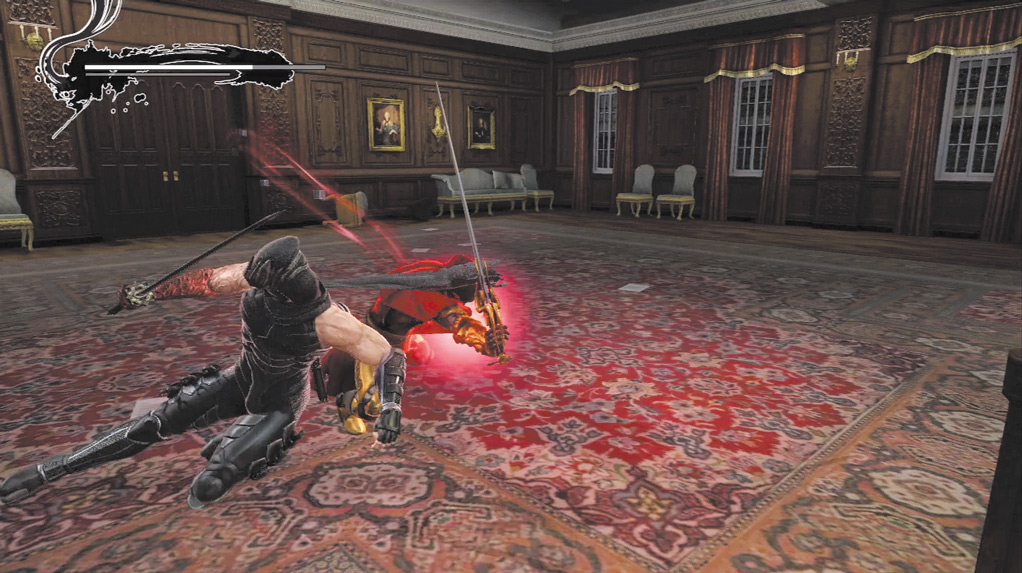
... quickly slide away ...
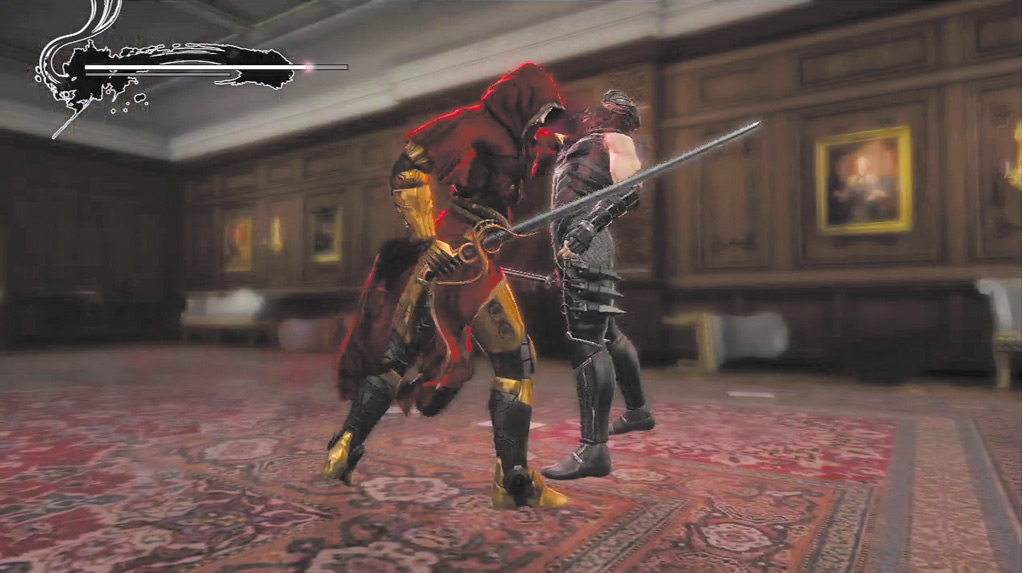
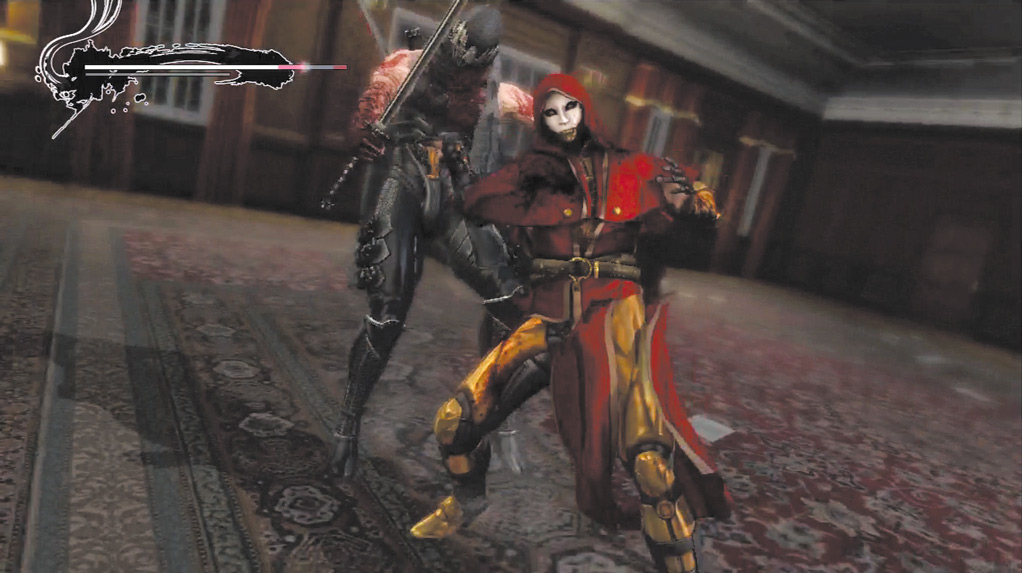
... or take big damage from the grab!
The first attack in his grab combo series is fairly easy to evade if you slide away right after Hayabusa’s attack. The second attack has extremely long range and reduces Hayabusa’s health considerably. It is very important to avoid it. After the second attack misses, use another Wind Run into Flying Swallow.
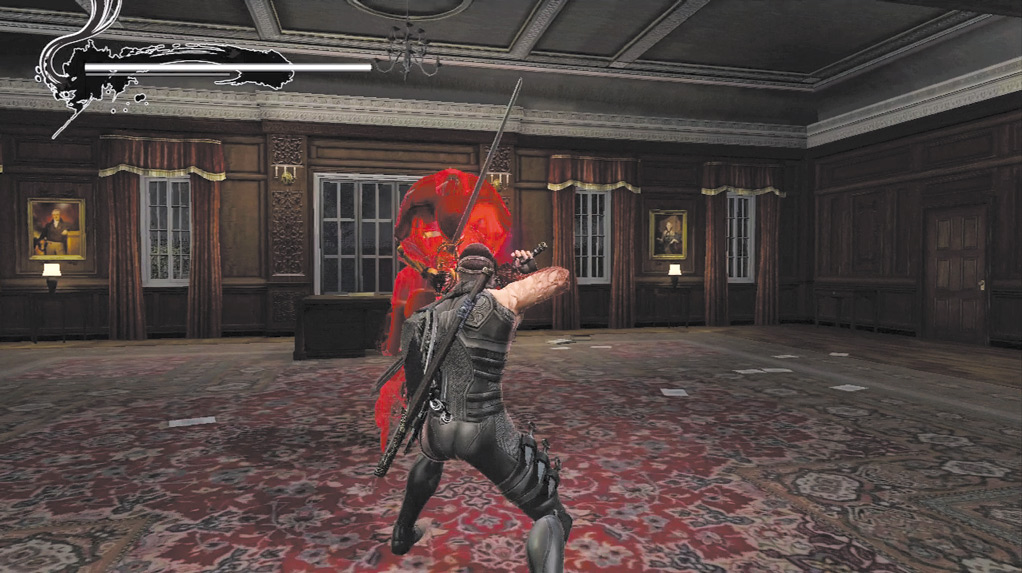
When the Regent of the Mask uses a Wind Run, ...
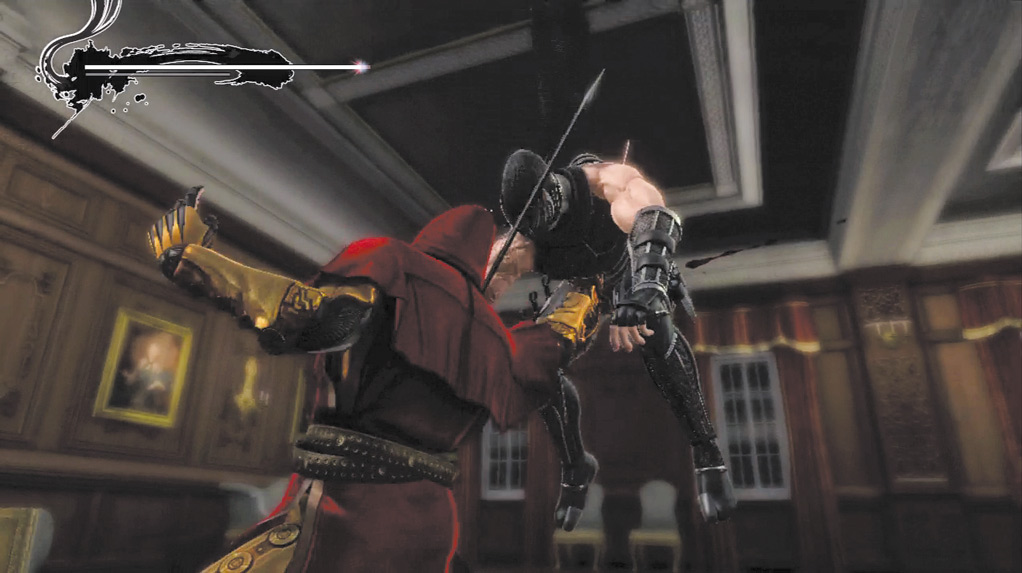
... it results in an Unblockable Grab.
The Regent of the Mask’s new Jumping Grab looks very similar to Hayabusa’s Wind Run, except the shadow images behind the Regent of the Mask are red.
If he uses this attack, slide away from him, then time the Wind Run and Flying Swallow so that the attack connects as soon as the Regent of the Mask lands.
If the Regent of the Mask bends down into a lower stance that looks like Hayabusa’s Ultimate Technique stance, prepare to use a slide to evade. This is the Regent of the Mask’s version of an Ultimate Technique.
It executes very fast and can be difficult to dodge if you’re not prepared. Slide away to escape the first attack, then slide again immediately after. The Regent of the Mask occasionally uses a second attack almost immediately after his first Ultimate Technique attack.
Continue to attack the Regent of the Mask until you’re prompted to rapidly tap Quick Attack (
or
). Repeat this process until the Regent of the Mask is knocked outside, which ends the battle.
Head down the hallway and use the Wall Run on the left wall to get past the first electrical ground area, then Wall Run on the right wall for the second one.
Follow the path and jump to the poles to get across the next sections, then slide into the room just beyond. Take out the two Heavy Soldiers (White) in the room and head through the door. On Master Ninja, a Ghost Soldier joins the two Heavy Soldiers (White).