
Ninja Gaiden 3 Guide Essentials Ninja Enemies
Soldiers
Alchemists
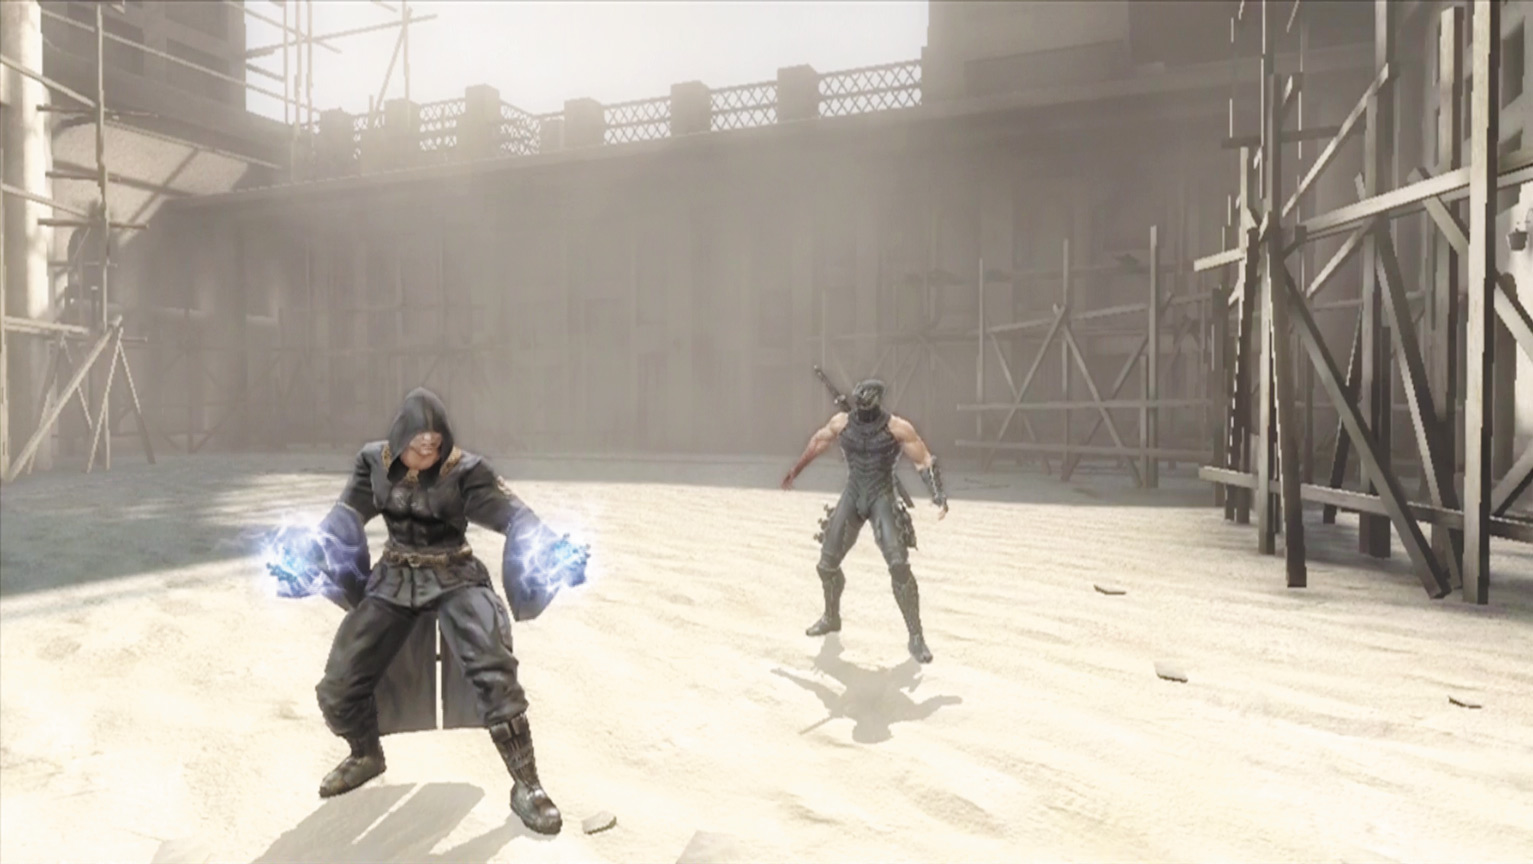
Alchemist
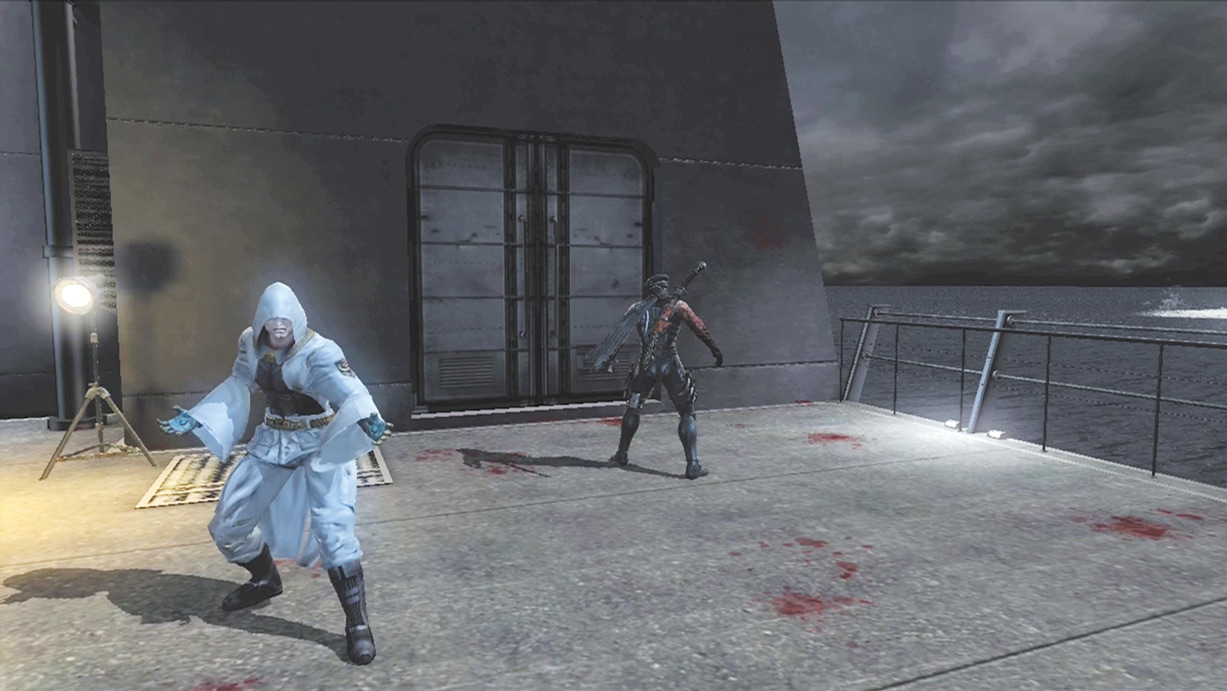
Alchemist (White)
Alchemist Details
First Seen:
Day 2
Class:
Weak
Izuna Drop:
No
Arrows:
No
Alchemist HP:
3,500
Alchemist (White) HP:
4,200
Range:
Long
Power:
4
Priority:
5
Abilities/Weapons:
Unblockable Grab, Magic Brick Shield, Magic Boulder Drop, Ground Slam, Guard Damage, Magic Projectile, Brick Projectile
Alchemists are some of the most difficult enemies to face in Ninja Gaiden 3. They are extremely agile and difficult to catch—so much so that it is not possible to use an Izuna Drop until they are close to death (which is indicated by a blood-stained robe).
In addition, they have the power to create Magic Brick Shields that deflect arrows, shuriken and Quick Attacks.
They can also use an Unblockable Grab that drains Hayabusa’s Health and Ki Gauges. If you leave Alchemists alone, they charge up a Brick Shield and drop boulders on Hayabusa from above (Magic Boulder Drop), shoot an extremely damaging Magic Projectile, shoot a slow Brick Projectile that locks-on to Hayabusa, or teleport above Hayabusa and use a Ground Slam attack.
As if that weren’t enough, even when Hayabusa blocks their attacks he still suffers a small amount of damage.
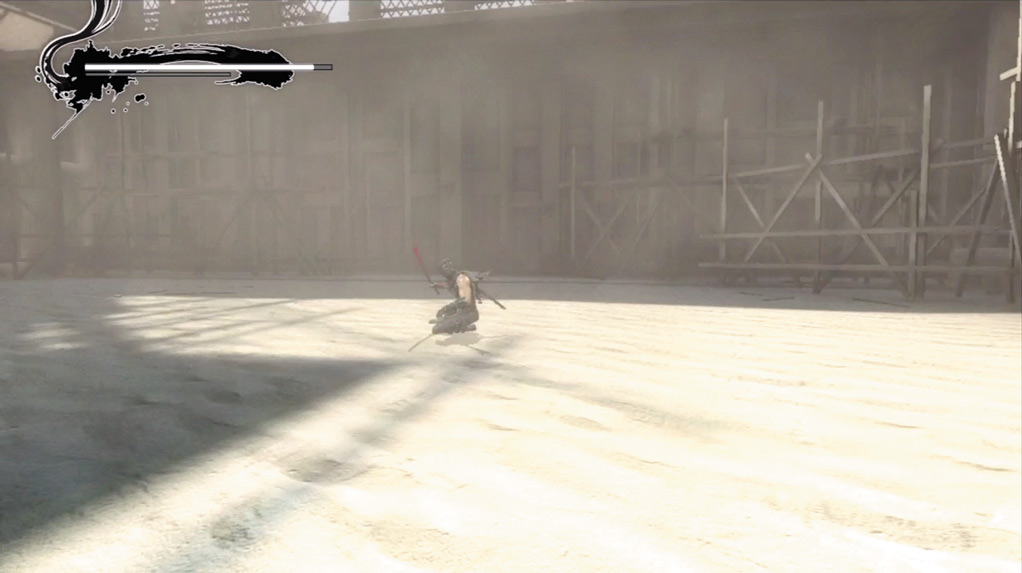
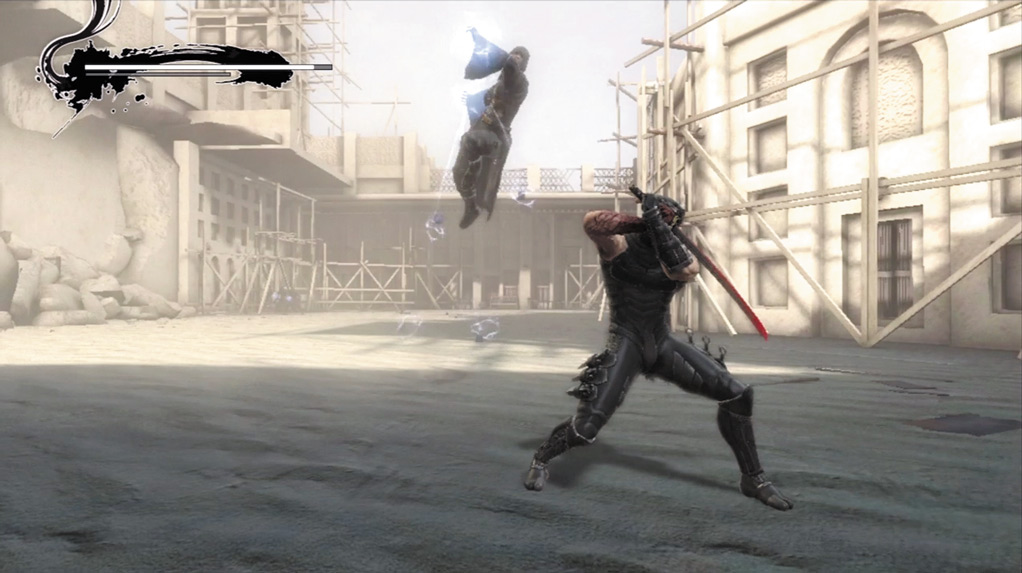
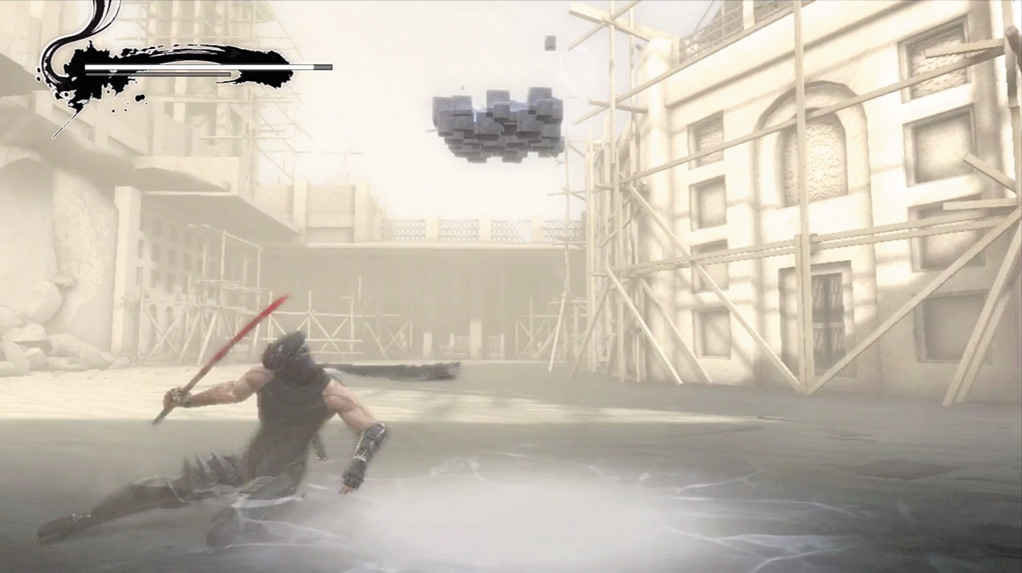
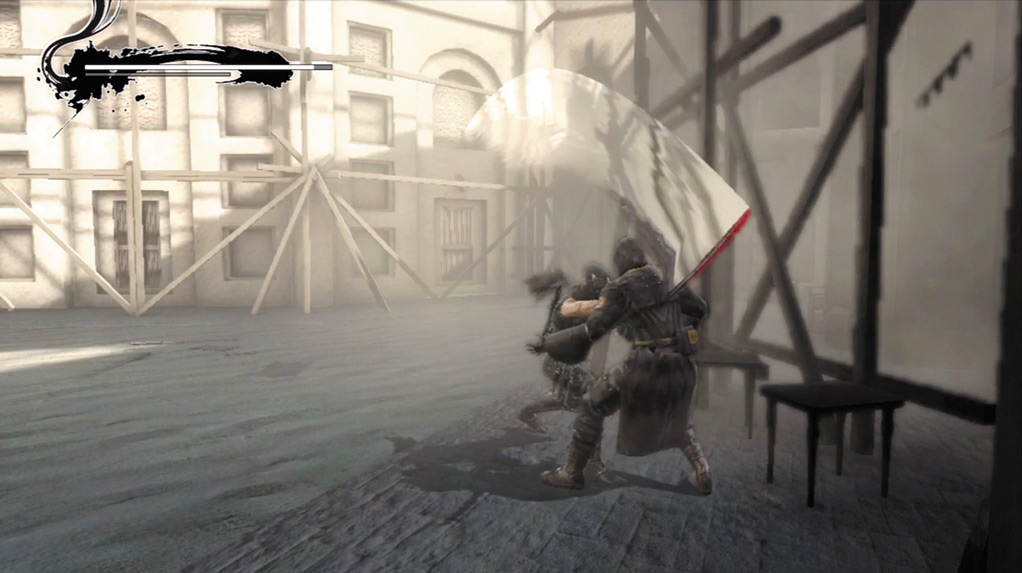
The best way to fight these pesky enemies when they are first encountered is to use a single Strong Attack to break their Magic Brick Shield, then attack with a Quick Attack (
 or
or
 ), Quick Attack (
or
), Strong Attack (
), Quick Attack (
or
), Strong Attack (
 or
or
 ) combo (or a series of Strong Attacks if you face them in Ninja Trial mode).
Later in the game, when Hayabusa is able to use a Strong Attack combo (
or
), use a continuous barrage of Strong Attack combos to take Alchemists down. If the Brick Projectiles track you down, quickly find any Alchemists with glowing black hands and hit them with a Strong Attack. This stops the Brick Projectiles for a short time.
When fighting in a group, try to focus on the same Alchemist until he’s dead. If another Alchemist is close by, slide away until you can isolate the Alchemist and begin attacking again.
In most cases, you can slide to the opposite end of the area and wait for one Alchemist to follow. When he reaches Hayabusa, he’ll attempt an attack.
Slide to avoid the attack, then counter with a series of combos until he dodges an attack, or another Alchemist closes in.
If you attack an Alchemist when other Alchemists are around, there’s a high probability the other Alchemists will either interrupt Hayabusa’s attack, or that Hayabusa will automatically target one of the other Alchemists instead of the one you’re trying to focus on to finish him.
Assassins
Assassin
Assassin (White)
Assassin Details
First Seen:
Day 2
Class:
Weak
Izuna Drop:
Yes
Arrows:
Yes
Assassin HP:
1,600
Assassin (White) HP:
2,100
Range:
Long
Power:
3
Priority:
3
Abilities/Weapons:
Dual Knives, Unblockable Grab, Shuriken Projectile, Unblockable Slide
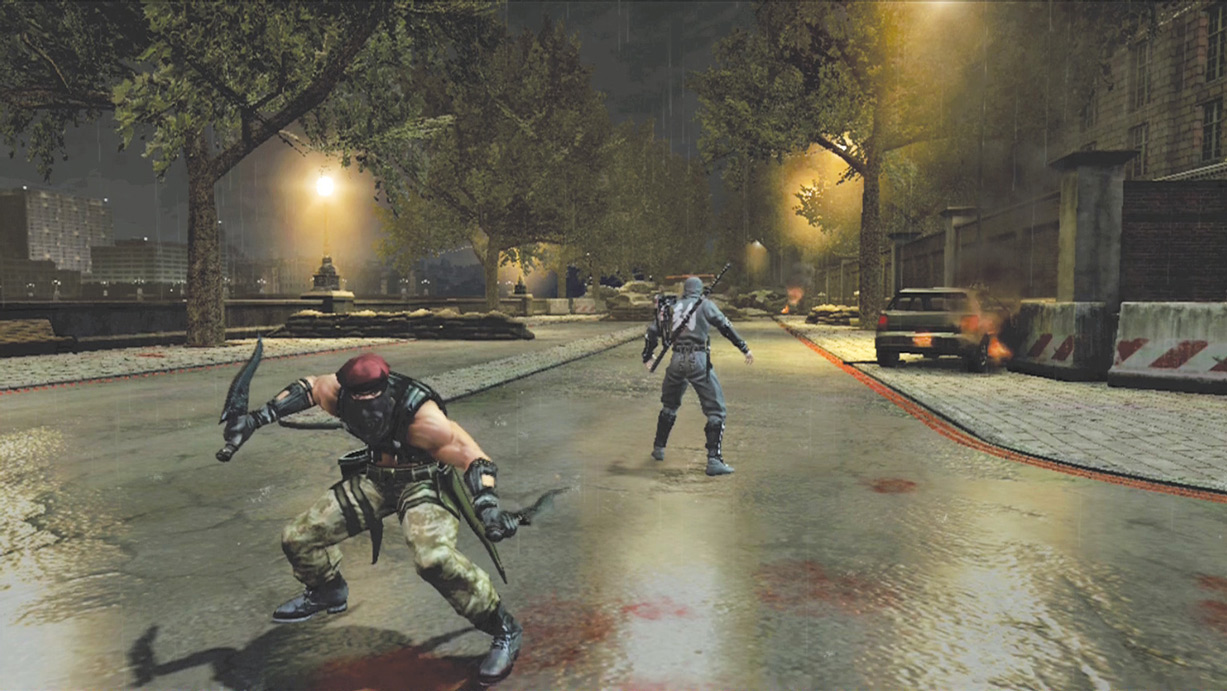
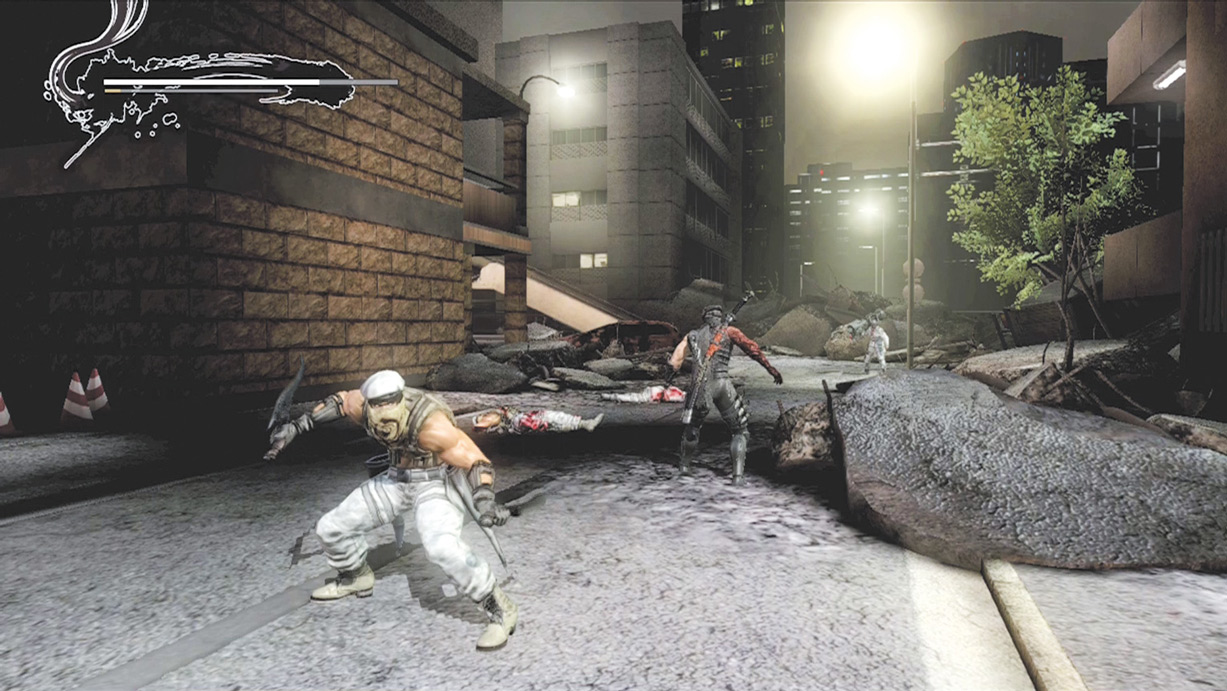
The Assassin is more acrobatic than the other soldiers. At close range he uses his knives to attack Hayabusa, but will also use an Unblockable Grab that has more range than most other grabs.
He can also slide just like Hayabusa, which cannot be blocked. At a distance, the Assassin throws shuriken, which can stop Hayabusa in his tracks.
Each shuriken inflicts a small amount of damage, but if a group of Assassins attack, the damage from several shuriken can add up quickly. In crowded battles, go for the Assassins before most other enemies to make your life a little easier.
If an Assassin is close by, do not remain stationary very long. They look for any opportunity to use their Unblockable Grab.
Heavy Soldiers
Heavy Soldier
Heavy Soldier (White)
HEAVY Soldier Details
First Seen:
Day 1
Class:
Weak
Izuna Drop:
Yes
Arrows:
Yes
Heavy Soldier HP:
2,400
Heavy Soldier (White) HP:
3,200
Range:
Short
Power:
2
Priority:
1
Abilities/Weapons:
Dual Light Batons, Machine Gun
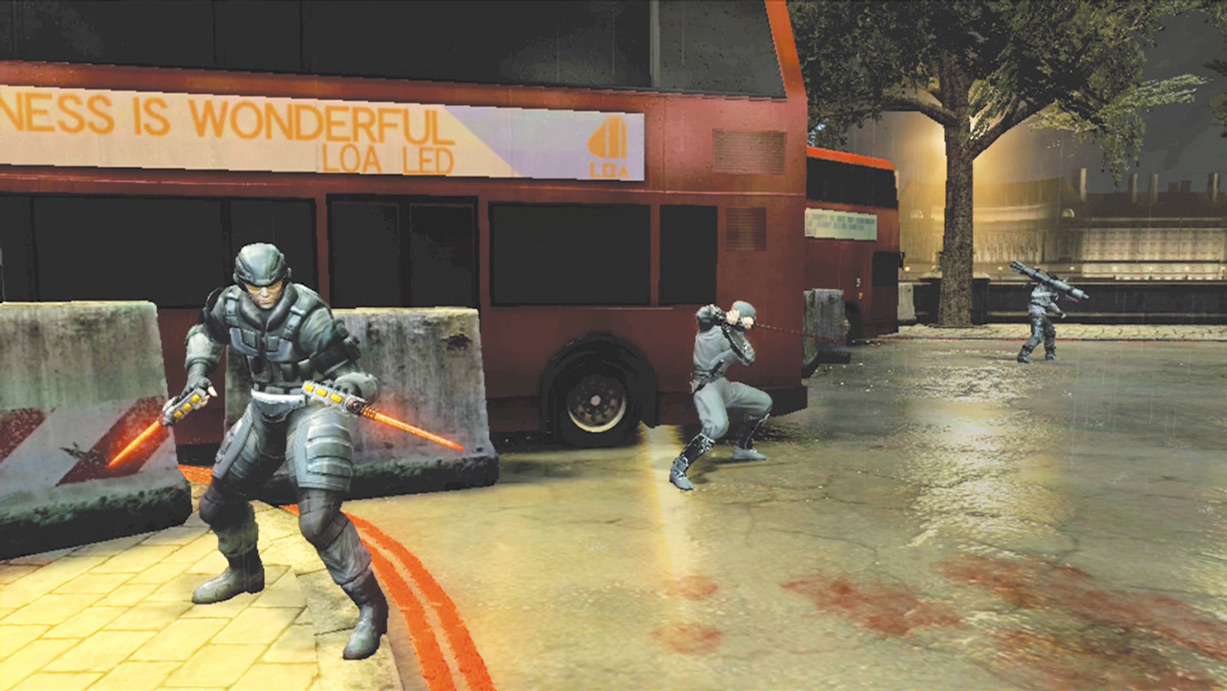
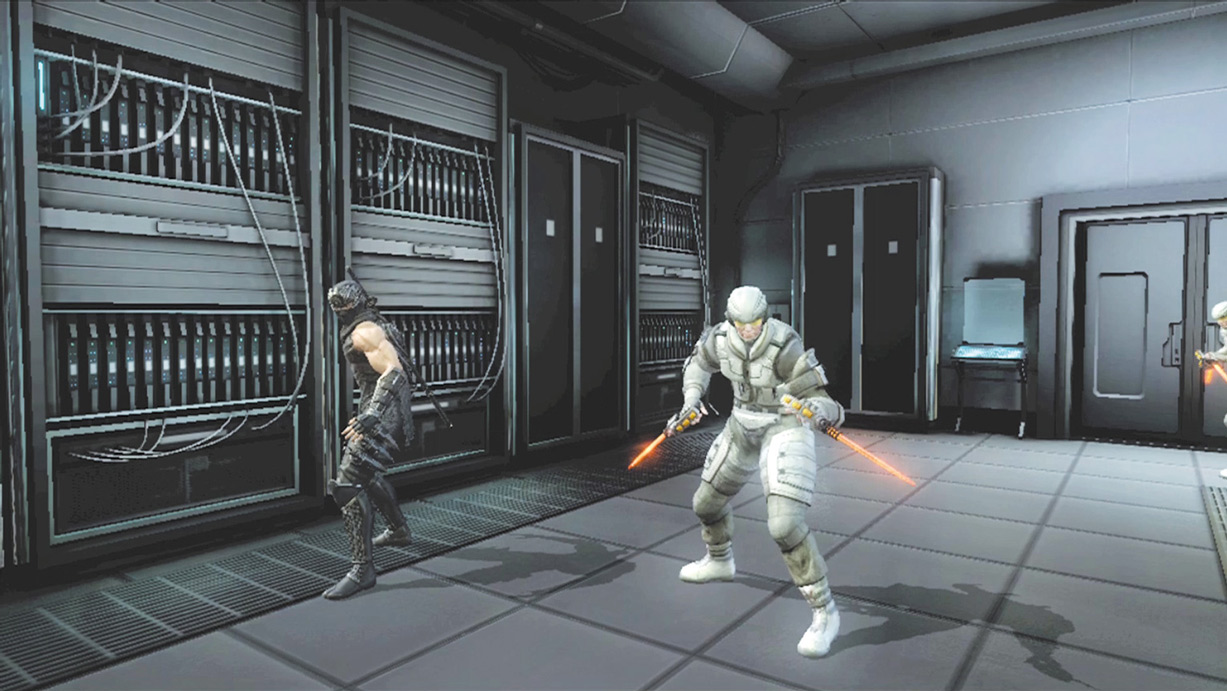
The Heavy Soldier is very similar to a Terrorist, except that he tends to block quite a bit more, even during early levels. When he’s far away from Hayabusa, he uses the machine gun to attack from a distance.
However, like a Terrorist, he is not a threat unless he’s close to Hayabusa, so consider him a close-range fighter. When the Heavy Soldier gets close to Hayabusa, he puts away the machine gun and pulls out two light batons.
The batons are one of the reasons why he blocks Hayabusa’s attacks more often than most of the other soldiers, but they are not a threat. If the Heavy Soldier is blocking a considerable amount of Hayabusa’s attacks, use a Strong Attack or slide to stun him, then attempt an Izuna Drop or Quick Attack combo.
Heavy Soldier (Shield)/Heavy Soldier (Shield-White)/Shield Soldier
Heavy Soldier (Shield)
Heavy Soldier (Shield-White)
Heavy Soldier (Shield) Details
First Seen:
Day 1
Class:
Weak
Izuna Drop:
No
Arrows:
No
Heavy Soldier (Shield) HP:
2,400
Heavy Soldier (Shield-White) HP:
3,200
Range:
Short
Power:
2
Priority:
4
Abilities:
Bombs, Riot Shield, Machine Gun
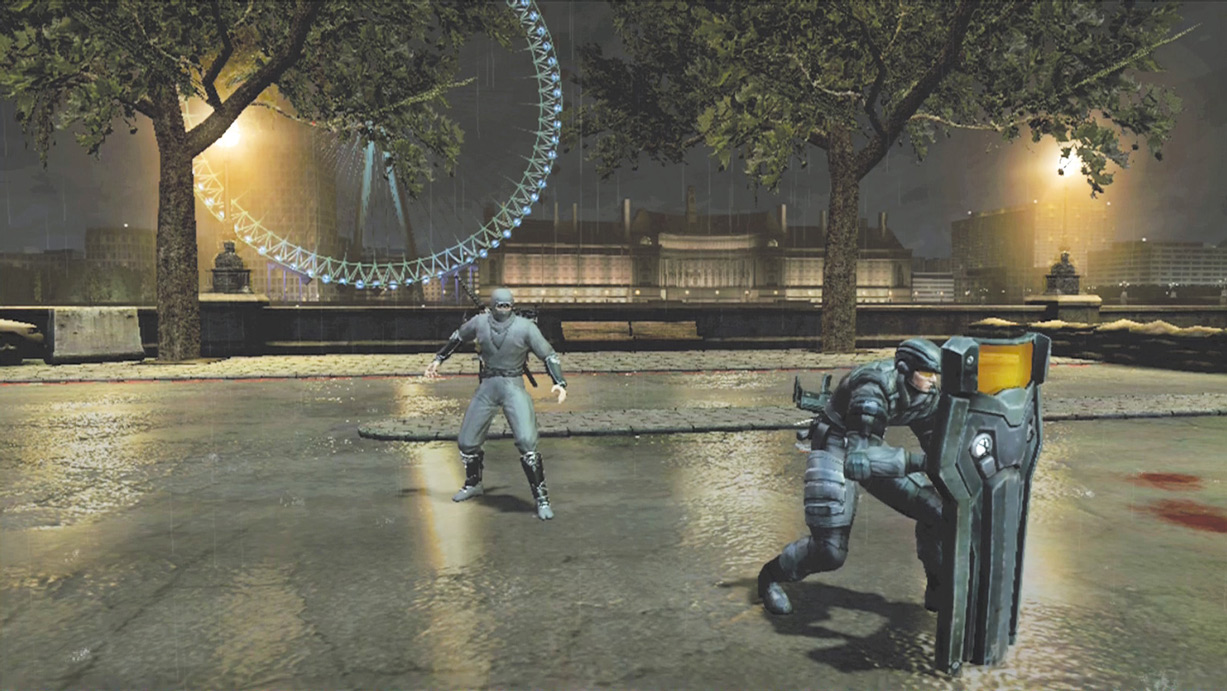
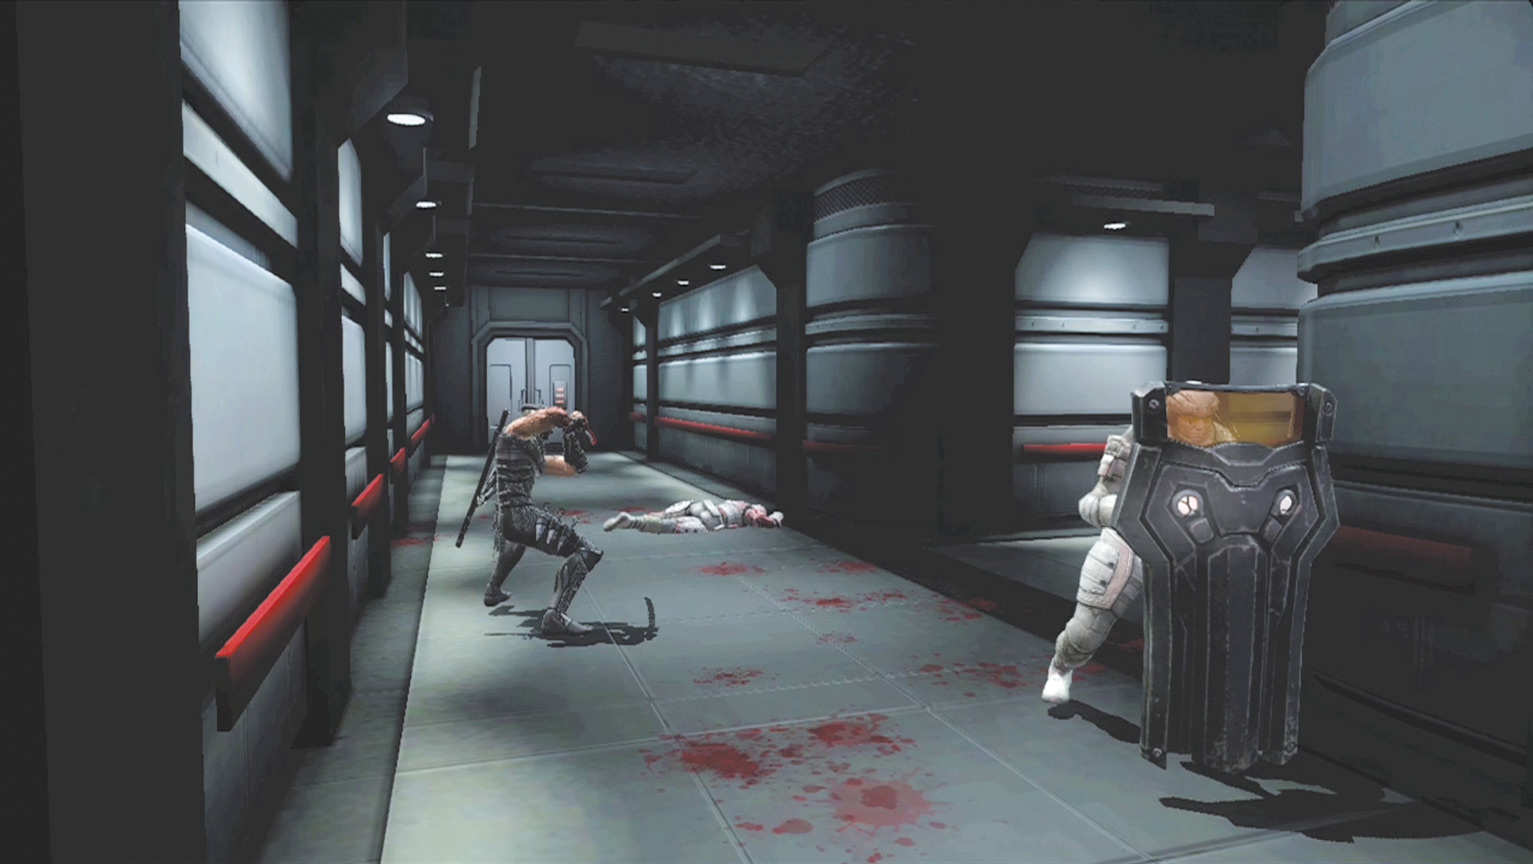
A Shield Soldier is essentially an Heavy Soldier with a riot shield. While he has the shield, Hayabusa cannot knock him into the air or use an Izuna Drop. It’s also not possible to connect with any Quick Attacks. From time to time, a Shield Soldier will drop a bomb on the ground, which beeps and then explodes a few seconds later.
When you see a Shield Soldier, use a Strong Attack to knock the shield away and turn the and turn the Shield Soldier into a normal Heavy Soldier. If you let him keep the shield, he can put a stop to Hayabusa’s momentum during a battle and make it difficult to take out other enemies.
Ghost Soldier
|
|
Ghost Soldier Details
First Seen:
Day 3
Class:
Weak
Izuna Drop:
No
Arrows:
Yes
Ghost Soldier HP:
1,600
Range:
Short
Power:
4
Priority:
4
Abilities:
Invisibility Camouflage, Unblockable Grab, Bombs, Dual Tonfa
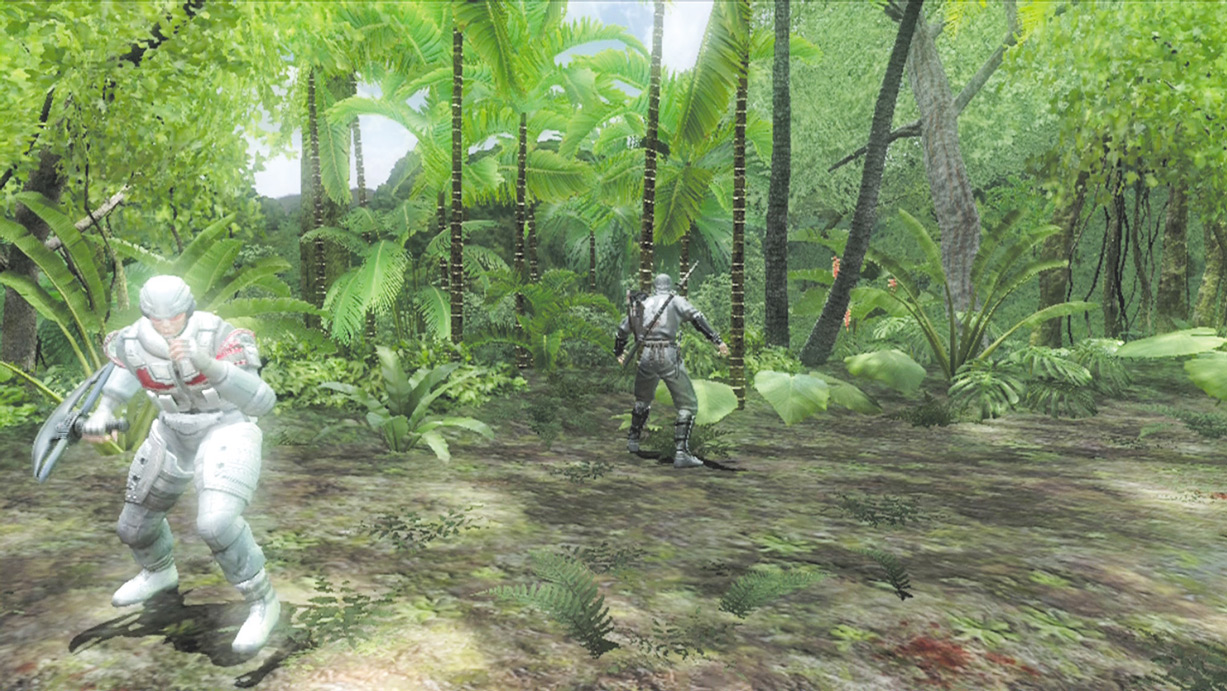
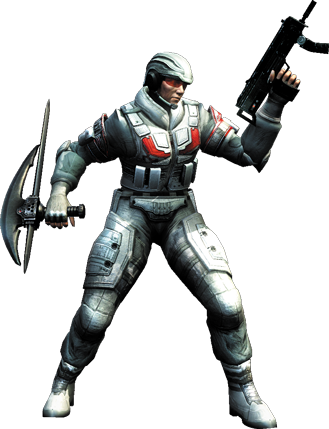
For the most part, Ghost Soldiers are invisible until they decide to attack. While invisible, they drop bombs that beep and then explode after a few seconds. If you see bombs, slide away to avoid the explosion.
They usually do not become visible until they are close to Hayabusa and about to attack with an Unblockable Grab.
However, if you use an arrow (jumping or on the ground) not only will the arrow lock on to an invisible Ghost Soldier, it also makes him somewhat visible. Instead of seeing nothing, you can see a faint outline to determine where they’re hiding.
If the arrow hits, they become fully visible for a short time.
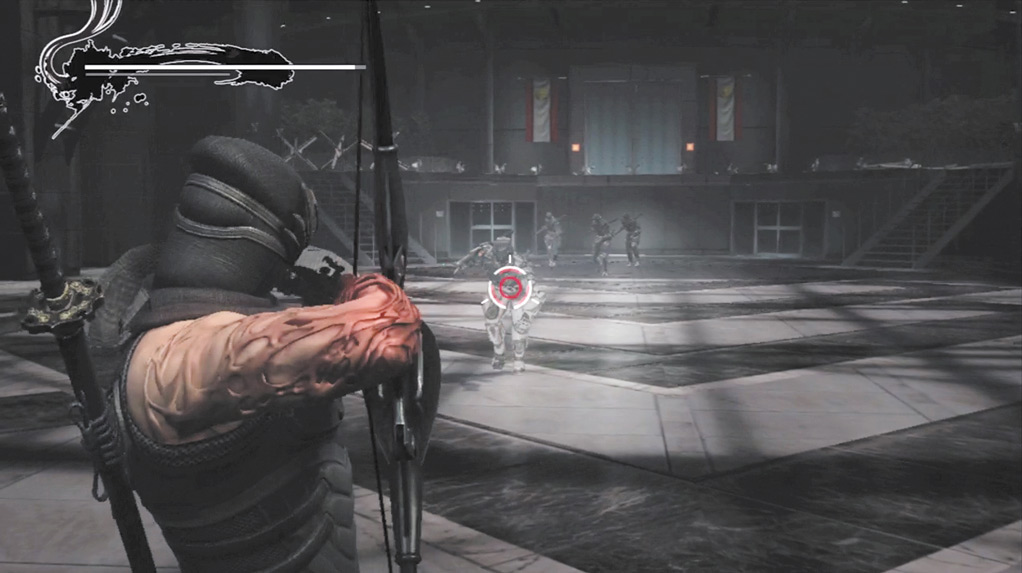
Shoot an arrow at the Ghost Soldiers...
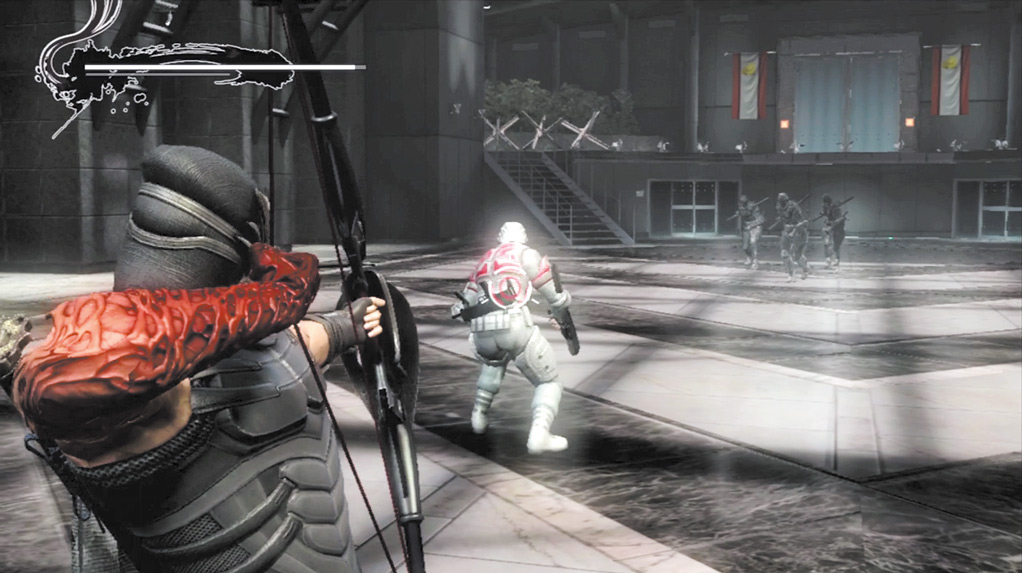
...to make them visible!
It is very difficult to connect an Izuna Drop on a Ghost Soldier. So much so that it’s fair to say you cannot use an Izuna Drop on them, so use Quick and Strong Attack combos instead. When an Ghost Soldier is about to die, he drops a bomb. Use an Obliteration Technique to make Hayabusa invulnerable to the bomb attack.
Heavy Soldier (Jetpack)
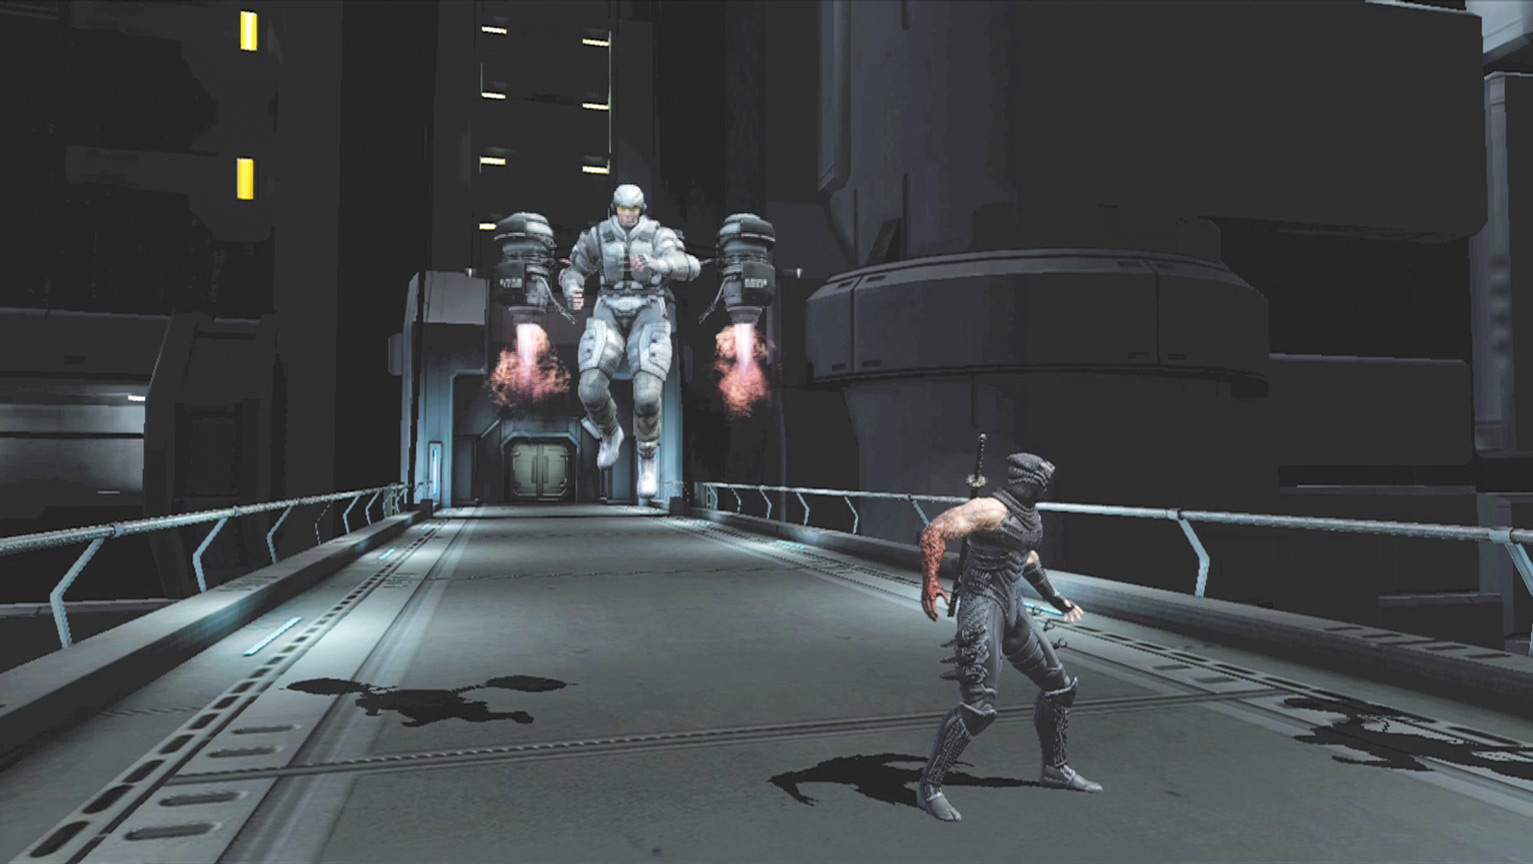
Heavy Soldier (Jetpack) Details
First Seen:
Day 2
Class:
Weak
Izuna Drop:
No
Arrows:
Yes
Heavy Soldier (Jetpack) HP:
400
Range:
Long
Power:
3
Priority:
4
Abilities/Weapons:
Unblockable Flamethrower (air and ground), Machine Gun
Heavy Soldiers (Jetpack) are Heavy Soldiers with a jetpack on their backs. They always attack in groups and from an aerial vantage point. When you see them, jump in the air and use arrows to quickly lock on and take down the Heavy Soldiers (Jetpack).
From a distance, they use a basic machine gun that isn’t much to worry about.
However, if they get close they can be deadly. While in the air, the vertical flames from their jetpacks act like a flamethrower that cannot be blocked. On the ground, the jetpack turns horizontally and the flames continue to act like a flamethrower.
It’s best to take Heavy Soldiers (Jetpack) out as soon as they appear, and not let them land or get anywhere near Hayabusa.
When engaging Heavy Soldiers (Jetpack) on top of a skyscraper or elsewhere high above the ground, try to hit them before they hover over stable ground. If Hayabusa destroys the Heavy Soldier (Jetpack) in this situation, they fall to their doom.
However, if they get over the rooftop or whatever surface Hayabusa is standing on, they’ll land and become Heavy Soldiers.
Terrorist/ Terrorist (White)
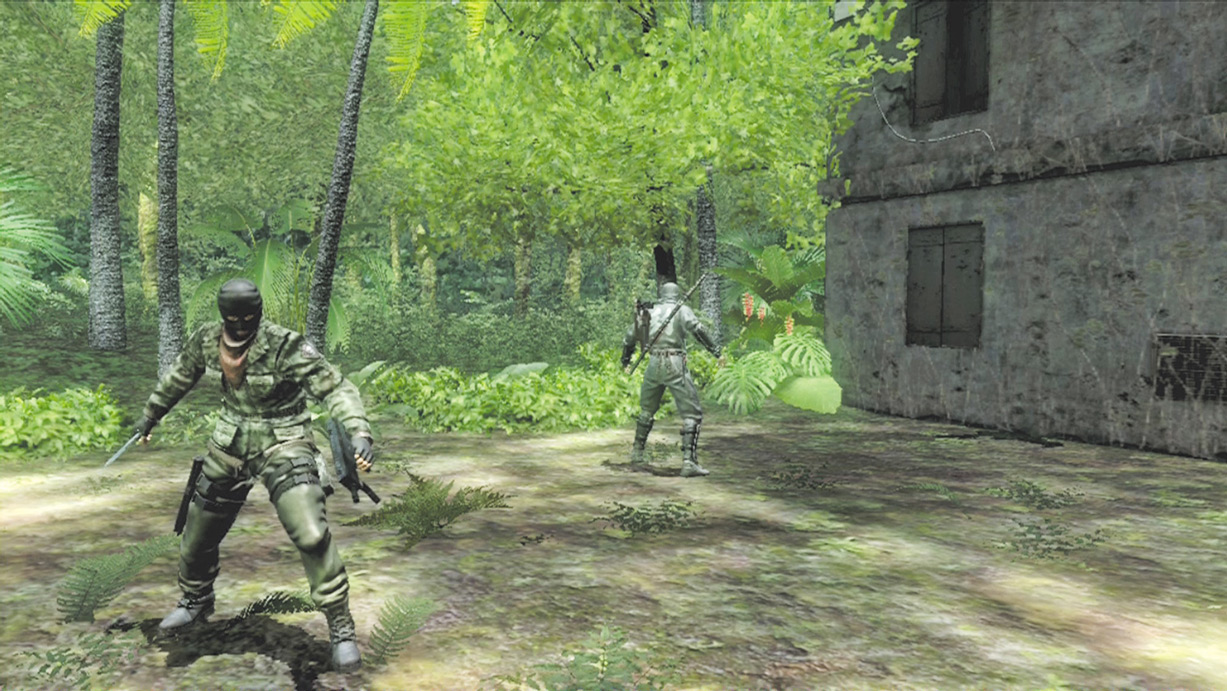
Terrorist
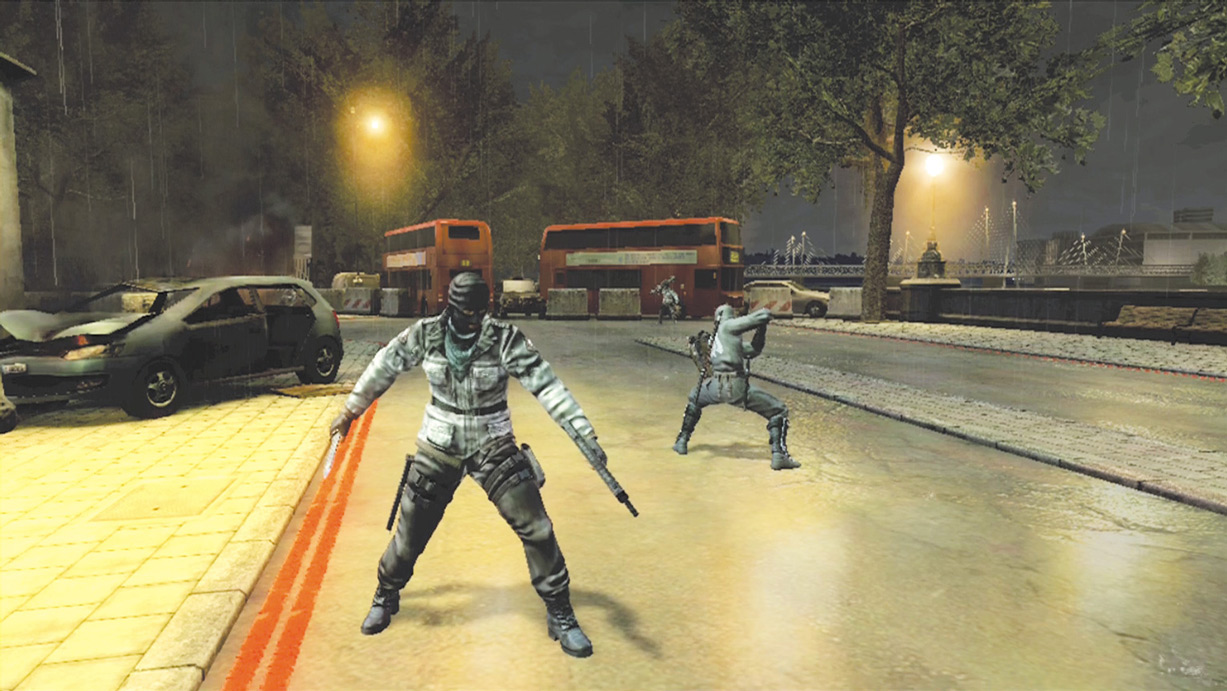
Terrorist (White)
|
|
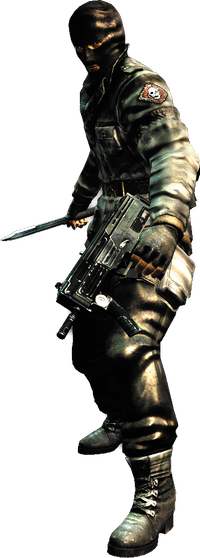
Terrorist Details
First Seen:
Day 1
Class:
Weak
Izuna Drop:
Yes
Arrows:
Yes
Terrorist HP:
1,300
Terrorist (White) HP:
1,800
Range:
Short
Power:
1
Priority:
1
Abilities/Weapons:
Knife, Machine Gun, Unblockable Grab
Terrorists are the most basic soldiers Hayabusa comes across throughout his adventures. These enemies carry a knife and machine gun, but don’t worry about their long-range attack capabilities. For all intents and purposes, they are short-range combatants.
Early on in the game, they do not block anything, and Izuna Drops work against them with ease. However, during later levels, they start blocking sporadically. Use a slide or Strong Attack to break their guard, then try another Izuna Drop. The Flying Swallow also works wonders against these enemies.
Rocket Launcher/Terrorist (Rocket Launcher-White)
Rocket Launcher Details
First Seen:
Day 1
Class:
Weak
Izuna Drop:
Yes
Arrows:
Yes
Rocket Launcher HP:
1,300
Rocket Launcher (White) HP:
1,800
Range:
Long
Power:
3
Priority:
5
Abilities/Weapons:
Rocket Launcher
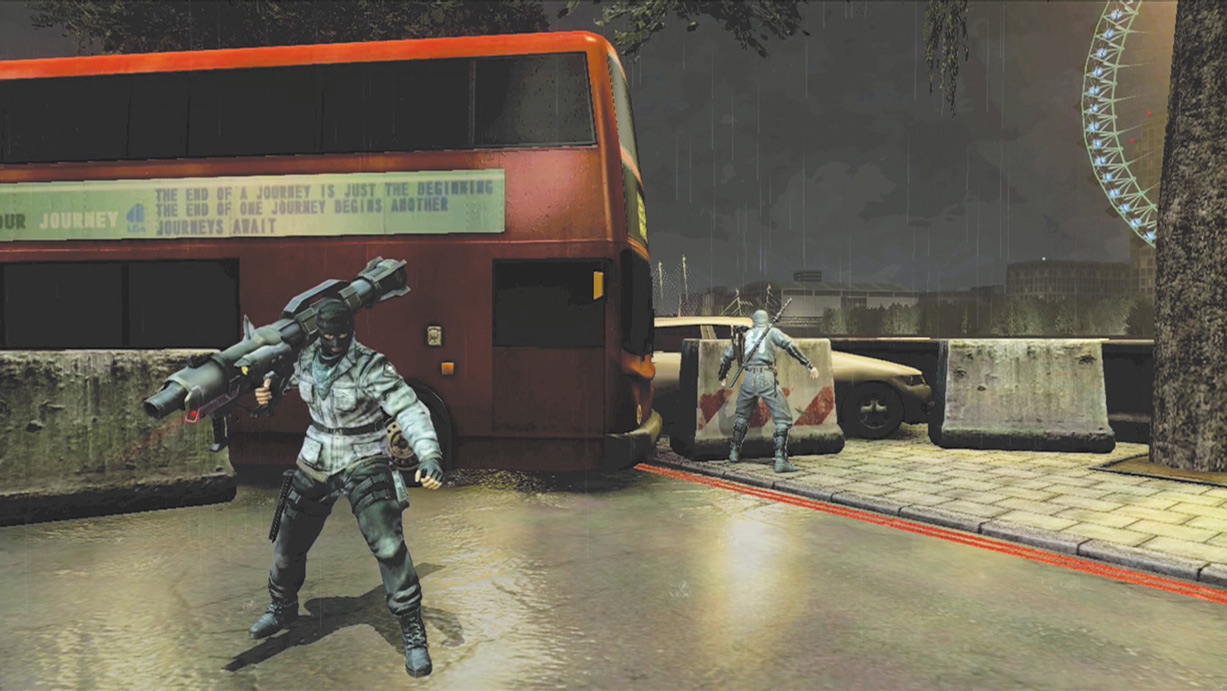
It’s rare to see a Rocket Launcher up close. Under most circumstances, Rocket Launchers stay as far away from Hayabusa as possible and rain missiles down upon him. If you see or hear a missile, jump and use an arrow to lock on to the Rocket Launcher. If Hayabusa jumps, the arrow almost always locks on to the Rocket Launchers above all other enemies.
Usually a single arrow is enough to finish off a Rocket Launcher, but during later levels, it may take two or three arrows. If you attempt an Izuna Drop, in most cases the enemy will be dead before the Izuna Drop comes to an end.
Sandmobile Soldier (Snowmobile Soldier)
Sandmobile Soldier Details
First Seen:
Day 2
Class:
Weak
Izuna Drop:
No
Arrows:
Yes
Sandmobile Soldier HP:
600
Range:
Long
Power:
3
Priority:
5
Abilities/Weapons:
Sandmobile Soldier Charge, Rocket Launcher
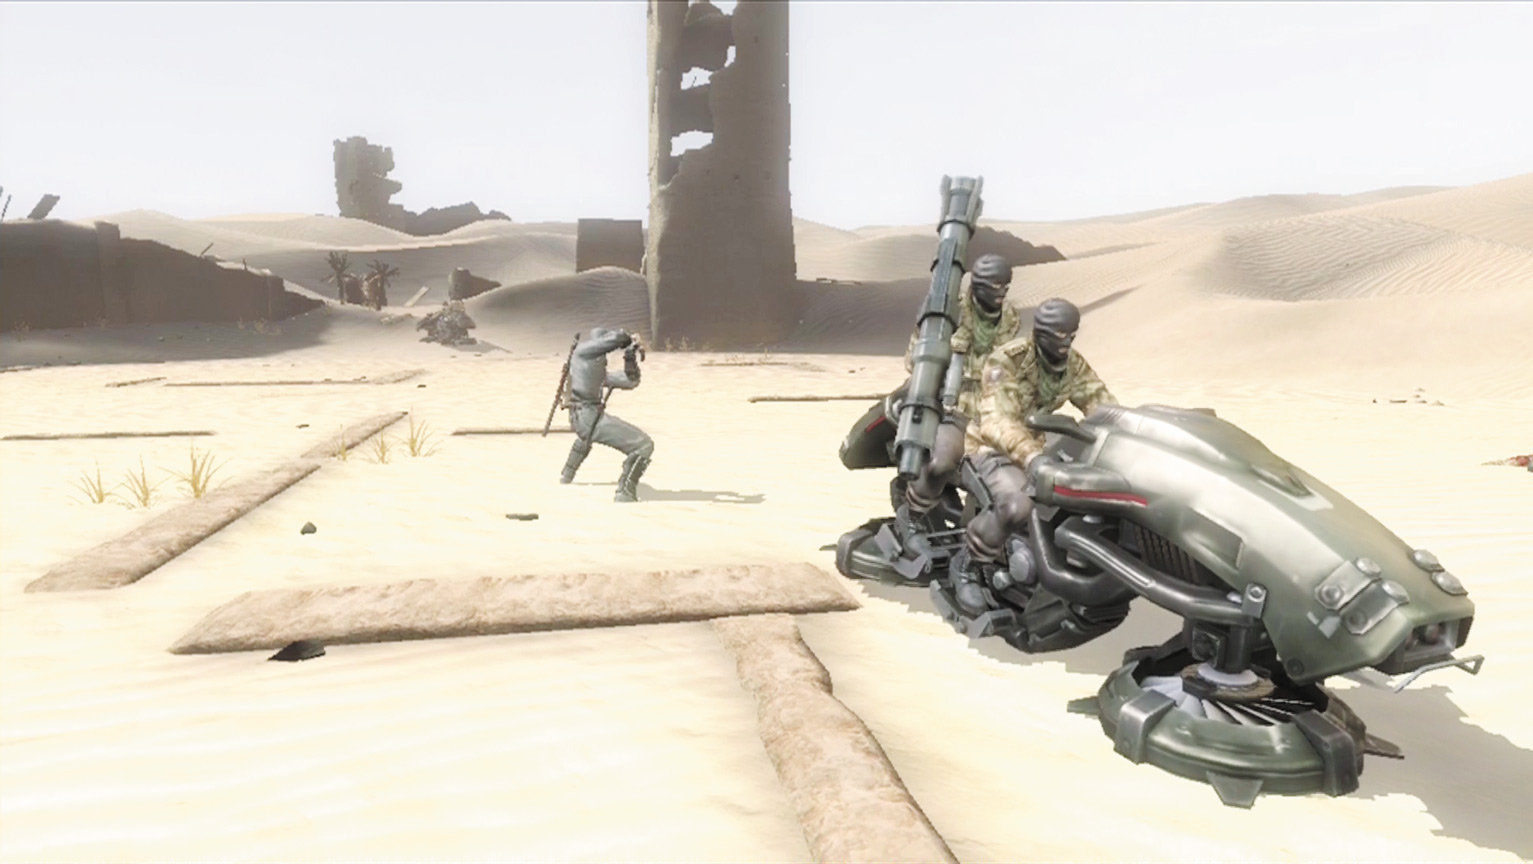
Sandmobile Soldiers don’t show up very often, but when they do, take them out as quickly as possible. They always show up in groups of at least two or three. Use stationary arrows to easily lock on and shoot them down. Shoot only a few arrows at a time, then slide to make sure Hayabusa doesn’t get hit from behind by one of the other Sandmobile Soldiers.
Sliding also avoids the missile attacks that the Sandmobile Soldiers use in addition to trying to run Hayabusa over with the Sandmobile Soldier Charge.
You cannot use Obliteration Techniques on Sandmobile Soldiers, and it’s usually a waste to attempt an Ultimate Technique because it often fails as well. Stick to arrow attacks from a distance to keep Hayabusa safe and take out the Sandmobile Soldiers with ease.
War Dog
War Dog Details
First Seen:
Day 3
Class:
Weak
Izuna Drop:
No
Arrows:
Yes
War Dog HP:
1,000
Range:
Short
Power:
2
Priority:
1
Abilities/Weapons:
Lunge Attack, Unblockable Neck Bite
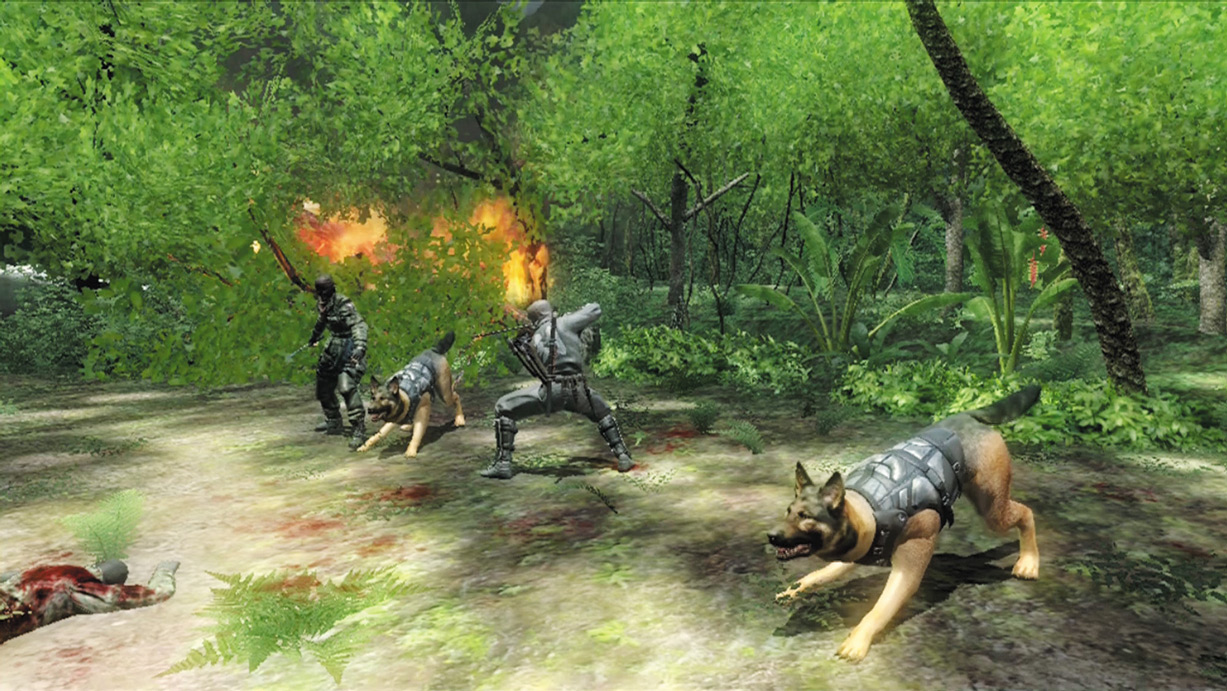
War Dogs attack in packs and can be deadly if not taken care of quickly. While Hayabusa cannot use an Izuna Drop, he can knock the War Dogs into the air.
This allows him to do all of the attacks included in the Izuna Drop combo, except for the final Izuna Drop attack. Completing all but the last attack is enough to kill a War Dog. Use this combo to take them down quickly, but if Hayabusa gets hit, slide away and regroup.
Most of the War Dog’s attacks stun Ryu for a short time. When fighting a pack of War Dogs, the short stun Hayabusa suffers is enough to allow every War Dog within attack range to hit him, and the damage adds up quickly.
When Hayabusa is hit with the Unblockable Neck Bite, escape the War Dog’s grasp to kill it instantly.