
Ninja Gaiden 3 Guide Essentials Ninja Enemies
Basics

Hayabusa battles against an assortment of enemies throughout Ninja Gaiden 3. Most enemies have a variety of abilities and can be difficult to fight unless you understand how to avoid them or defend against them. This chapter covers each enemy and their abilities.
Battle Strategies
While some enemy encounters require specific strategies, most of the time general strategies can be used to dispatch the enemies encountered throughout the game.
- When in doubt, use the Flying Swallow. This basic strategy works early in the game when enemies do not block frequently.
- Against groups of weaker enemies, use the Izuna Drop repeatedly. This keeps Hayabusa high in the air, away from many attacks. While not all enemies are susceptible to the Izuna Drop, those that are can be killed with a single Izuna Drop.
- Hayabusa is invincible during the Obliteration Technique. This is especially useful after an Izuna Drop. If Hayabusa is not close enough to an enemy to perform an Obliteration Technique, slide toward the enemy, then execute it. Hayabusa is invincible during the entire animation of an Obliteration Technique. In addition, at the end of the attack, it is possible to transition directly into an Izuna Drop or Ultimate Technique. The Izuna Drop locks on to nearby enemies, and if you hold Strong Attack toward the end of the Obliteration Technique animation, then release as it comes to an end, the Ultimate Technique cannot be stopped.
- During crowded battles, use Quick Attack combos to initiate a Steel on Bone technique. Following a successful Steel on Bone technique, Hayabusa’s next attack results in another Steel on Bone technique. If the area is crowded enough, Hayabusa can take out several enemies with successive Steel on Bone techniques for an extended period of time.
- When Hayabusa is close to an enemy, do not remain in a blocking state. Most enemies have a grab or throw that cannot be blocked. The longer Hayabusa is blocking next to an enemy, the more likely it is that the enemy will use a grab or throw.
Class
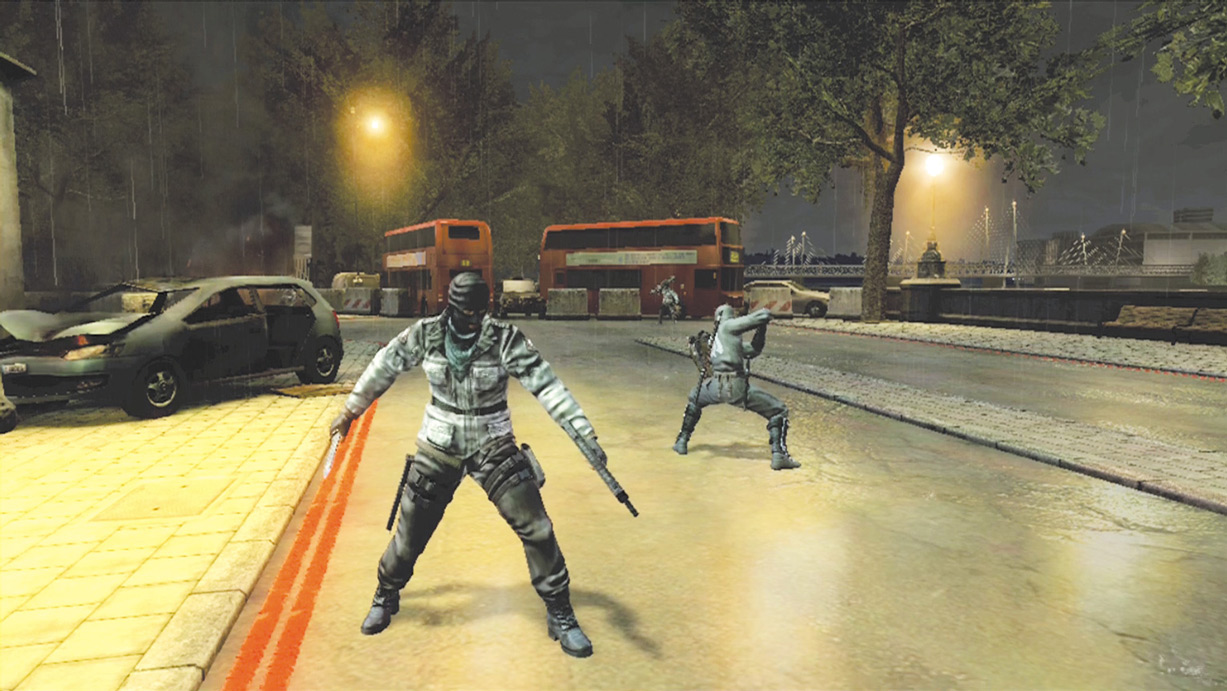
Weak Class
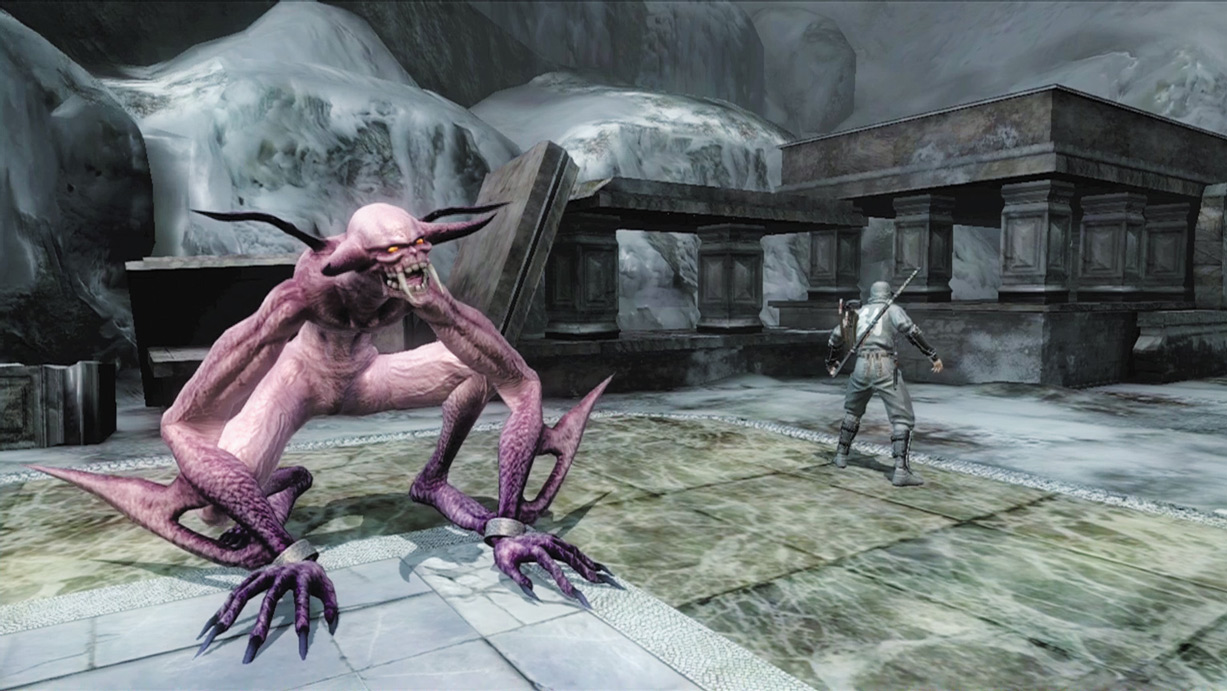
Strong Class
There are two distinct classes of enemies in Ninja Gaiden 3: weak and strong. Weak enemies generally can be knocked into the air and the Izuna Drop can be used on a majority of them.
Strong enemies will often interrupt Hayabusa’s attacks with an attack of their own and usually cannot be Izuna Dropped.
Hit Points
Every enemy has a Health Gauge, just like Hayabusa. However, enemy Health Gauges are not visible, which makes it difficult to determine how many attacks it takes to defeat an enemy.
The hit points (HP) listed for each enemy are a numerical representation of the enemy’s Health Gauge. Compare this number to the damage of Hayabusa’s combos to determine how many attacks it takes to kill each enemy.
Range
Certain enemies can attack from a distance, while others can attack only when close to Hayabusa. Enemies with a long attack range can generally attack as soon as they see Hayabusa. Enemies with a short attack range can attack only when they are close to Hayabusa.
Priority
Almost every time Hayabusa is called into battle, he must fight multiple enemies at once. This is where the Priority rating is most useful. Focus on the enemy with the highest Priority rating, as that is the most dangerous enemy in the group and should be taken out first.
If multiple enemies have the same priority rating, defeat strong enemy types before weak enemy types, and any enemies with a projectile attack before enemies that do not have a projectile attack.
Enemies
Trophy List
|
Enemy |
First Seen |
Class |
Izuna Drop |
Arrows |
HP |
Range |
Power |
Priority |
Abilities/Weapons |
|---|---|---|---|---|---|---|---|---|---|
|
Alchemist |
Day 2 |
Weak |
No |
No |
3,500/4,200 |
Long |
4 |
5 |
Unblockable Grab, Magic Brick Shield, Magic Boulder Drop, Ground Slam, Guard Damage, Magic Projectile, Brick Projectile |
|
Anti-Aircraft Gun Stand CIWS |
Day 3 |
Strong |
No |
No |
1,000 |
Long |
3 |
4 |
Machine Gun, Rocket Launcher |
|
Assassin/Assassin (White) |
Day 2 |
Weak |
Yes |
Yes |
1,600/2,100 |
Long |
3 |
3 |
Dual Knives, Unblockable Grab, Shuriken Projectile, Unblockable Slide |
|
Heavy Soldier
|
Day 1 |
Weak |
Yes |
Yes |
2,400/3,200 |
Short |
2 |
1 |
Dual Light Batons, Machine Gun |
|
Heavy Soldier
|
Day 1 |
Weak |
No |
No |
2,400/3,200 |
Short |
2 |
4 |
Bombs, Riot Shield, Machine Gun |
|
Demon Paracelsus |
Day 8 |
Weak |
Yes |
Yes |
2,100 |
Short |
3 |
3 |
Unblockable Grab, Suicide Explosion, Dive Attack |
|
High Van Gelf Fiend |
Ninja Trials—Leader 01 |
Strong |
No |
No |
2,500 |
Long |
4 |
4 |
Unblockable Grab, Unblockable Lunging Grab, Fireball Projectile |
|
Demon Celsus |
Day 6 |
Weak |
Yes |
Yes |
2,100 |
Short |
3 |
2 |
Unblockable Grab, Suicide Explosion, Dive Attack |
|
Magna Fiend |
Day 6 |
Strong |
No |
Yes |
3,000 |
Long |
3 |
4 |
Unblockable Grab, Jumping Stomp, Scythe Toss, Scythe Combos |
|
Magna Persona Fiend |
Day 6 |
Strong |
No |
Yes |
1,000 |
Long |
3 |
5 |
Laser Projectile |
|
Shadow Fiend |
Ninja Trials—Acolyte 05 |
Weak |
Yes |
Yes |
1,700 |
Short |
2 |
3 |
Unblockable Grab, Teleport |
|
Van Gelf Fiend |
Ninja Trials—Acolyte 05 |
Strong |
No |
No |
2,500 |
Long |
3 |
3 |
Unblockable Grab, Unblockable Lunging Grab, Fireball Projectile |
|
Ghost Soldier |
Day 3 |
Weak |
No |
Yes |
1,600 |
Short |
4 |
4 |
Invisibility Camouflage, Unblockable Grab, Bombs, Dual Tonfa |
|
Homunculus/Moon Child |
Day 4 |
Weak |
Yes |
Yes |
1,300/2,100 |
Short |
1 |
1 |
Unblockable Grab |
|
Heavy Soldier (Jetpack) |
Day 2 |
Weak |
No |
Yes |
400 |
Long |
3 |
4 |
Unblockable Flamethrower (air and ground), Machine Gun |
|
Light Shell Bug |
Day 3 |
Weak |
No |
Yes |
100 |
Short |
1 |
2 |
Unblockable Grab, Lunge Attack |
|
Machine Gun Stand |
Day 7 |
Strong |
No |
No |
1,000 |
Long |
2 |
1 |
Machine Gun |
|
Megaselion/Demon Baphomet |
Day 4 |
Strong |
No |
No |
3,750/4,250 |
Short |
4 |
1 |
Unblockable Grab, Unblockable Lunging Grab, Charge Attack, Rolling Attack, Jumping Attack |
|
Terrorist/Terrorist (White) |
Day 1 |
Weak |
Yes |
Yes |
1,300/1,800 |
Short |
1 |
1 |
Knife, Machine Gun, Unblockable Grab |
|
Ourboros |
Day 4 |
Strong |
No |
No |
2,300 |
Long |
2 |
3 |
Unblockable Grab, Acid Spray, Tentacle Swipe |
|
Terrorist (Rocket Launcher) |
Day 1 |
Weak |
Yes |
Yes |
1,300/1,800 |
Long |
3 |
5 |
Rocket Launcher |
|
Sandmobile Soldier (Snowmobile Soldier) |
Day 2 |
Weak |
No |
Yes |
600 |
Long |
3 |
5 |
Sandmobile Soldier Charge, Rocket Launcher |
|
Spider Aya Ninja |
Day 5 |
Weak |
Yes |
Yes |
1,500 |
Long |
3 |
4 |
Flame Column, Projectile Attack, Teleport Attack, Unblockable Grab, Teleport |
|
Spider Ninja/Archer |
Day 4 |
Weak |
Yes |
Yes |
1,500/1,500 |
Long |
3 |
4 |
Arrow Projectile Attack (Archers only), Bombs (Archers only), Unblockable Grab, Dual Katana |
|
Spider Talon Ninja |
Day 4 |
Weak |
Yes |
Yes |
2,500 |
Short |
2 |
3 |
Unblockable Grab, Bombs |
|
War Dog |
Day 3 |
Weak |
No |
Yes |
1,000 |
Short |
2 |
1 |
Lunge Attack, Unblockable Neck Bite |