
Ninja Gaiden 3 Guide Walkthrough Boss Battles
Abysmo Island
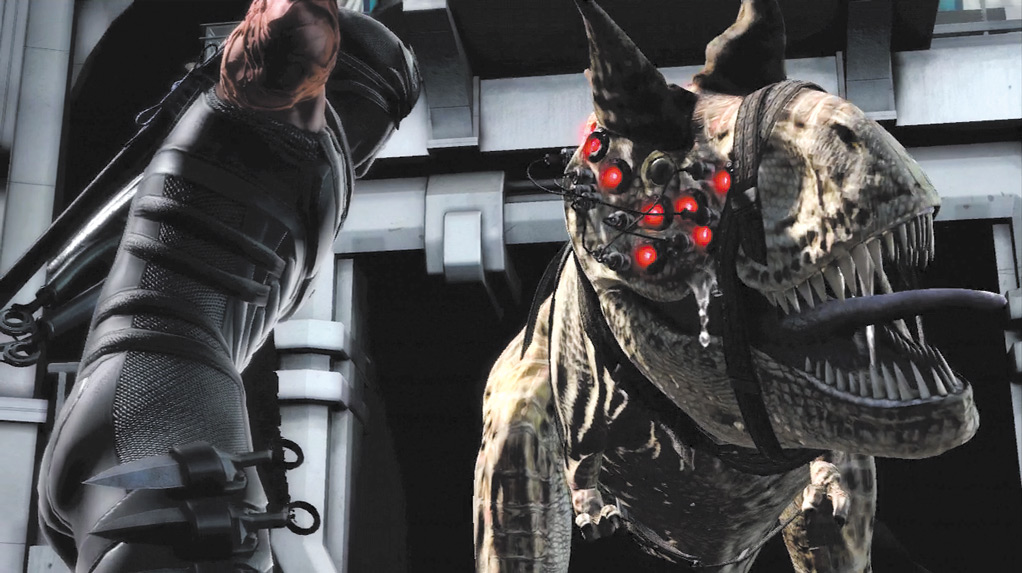
Close Range Abilities: Stomp Attack
Long Range Abilities: Charge Attack, Tail Whip, Sonic Roar, Bite
Strategy: When the battle begins, move to the opposite side of the room and wait for the Gigantosaurus to run toward Hayabusa.
When this happens, slide to either side to avoid the Charge Attack, then quickly slide toward the opposite end of the room.
The Gigantosaurus almost always uses two Charges, then falls to the ground and ends up close to where it started.
Attack the Gigantosaurus with two Quick Attack combos (
 or
 ), then slide in the direction of the Gigantosaurus’s tail.
When the Gigantosaurus begins to rise, it usually uses a Tail Whip attack. However, if Hayabusa runs in the direction of the tail while the Gigantosaurus is grounded, the Tail Whip almost always misses.
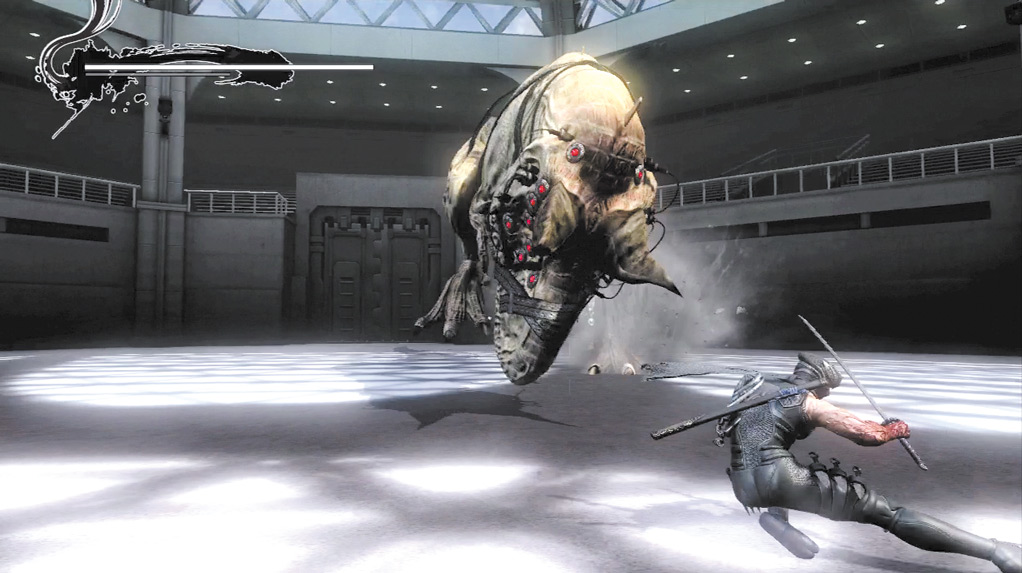
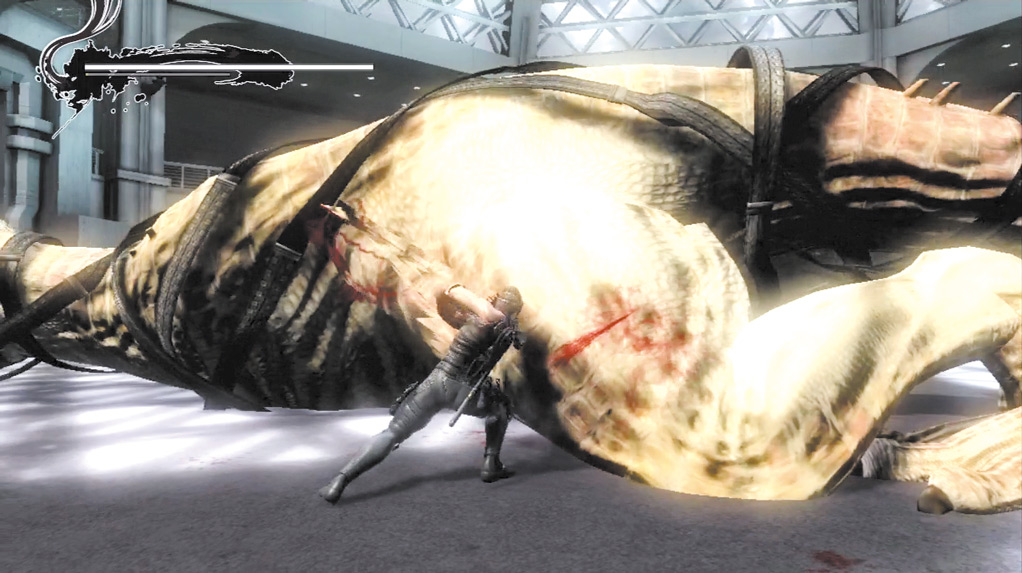
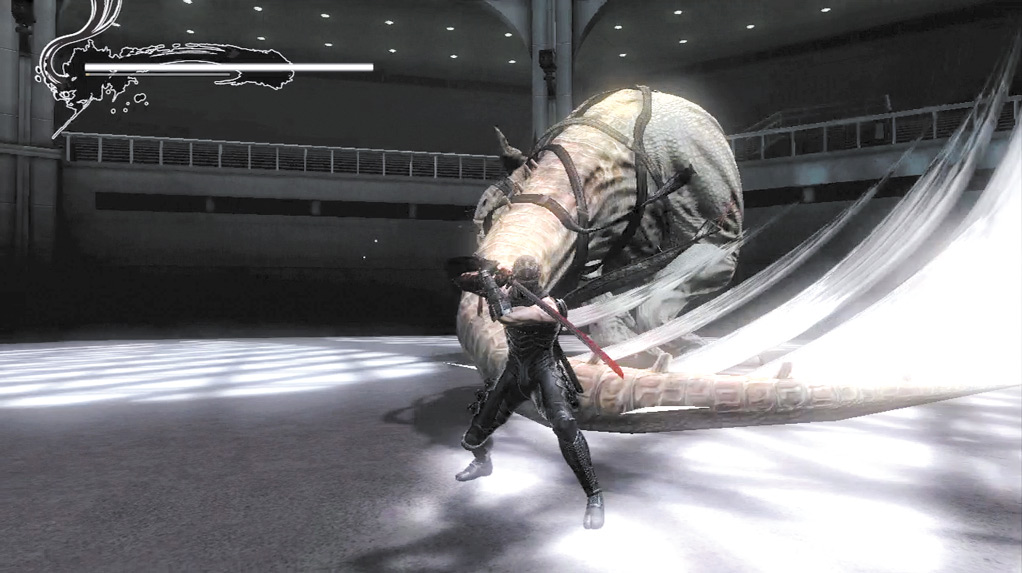
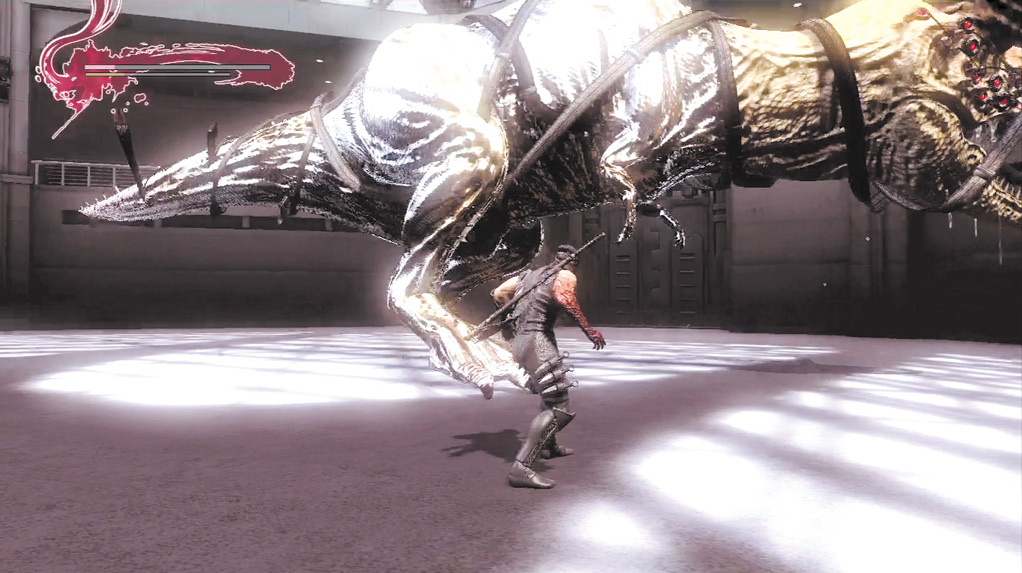
When the Gigantosaurus turns chrome, ...
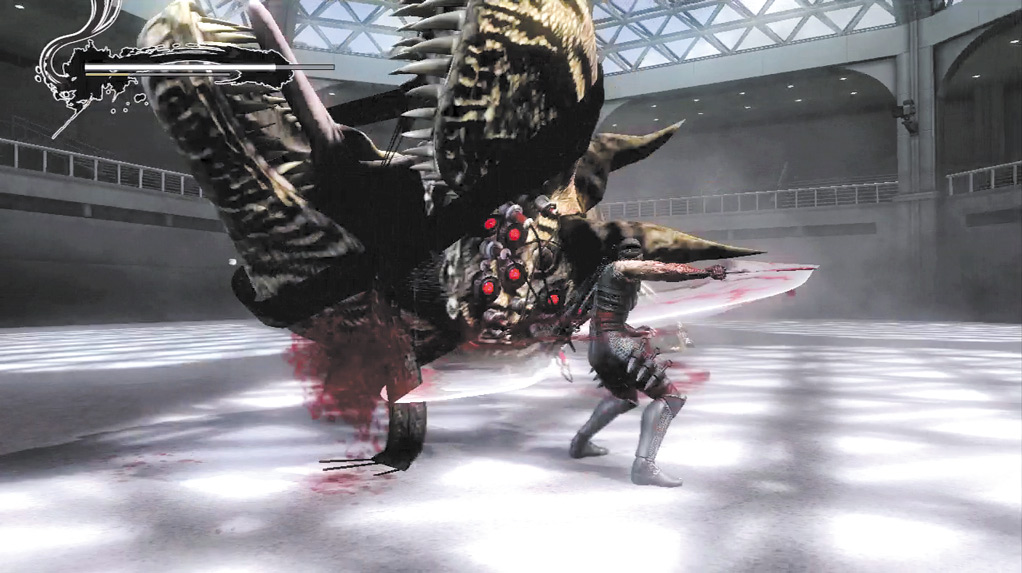
... attack it’s head.
Repeat this process until the Gigantosaurus’s legs turn chrome. When this happens, wait for the Gigantosaurus to Charge again twice and, when it falls, attack its head.
This is the only vulnerable spot on the Gigantosaurus’s body. Be careful to avoid the Tail Whip when the Gigantosaurus gets up. Repeat this process until a short cinematic occurs, followed by a chase scene.
If Hayabusa is close to the Gigantosaurus when it’s not on the ground, stay away from its head. It has a Bite attack that covers most the space directly in front of it and is one of its most damaging attacks.
It also uses a Sonic Roar that is difficult to evade and covers a moderate distance.
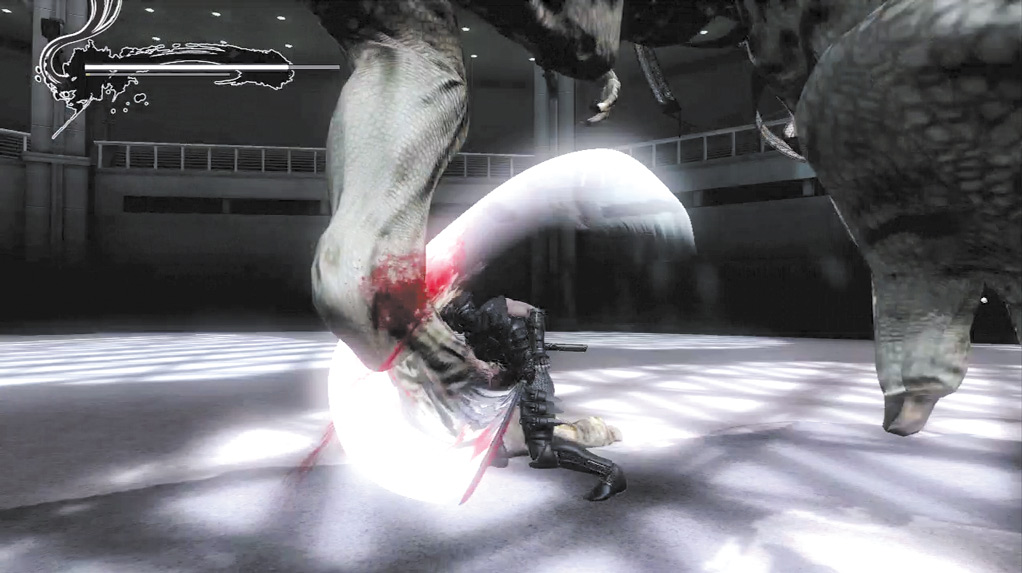
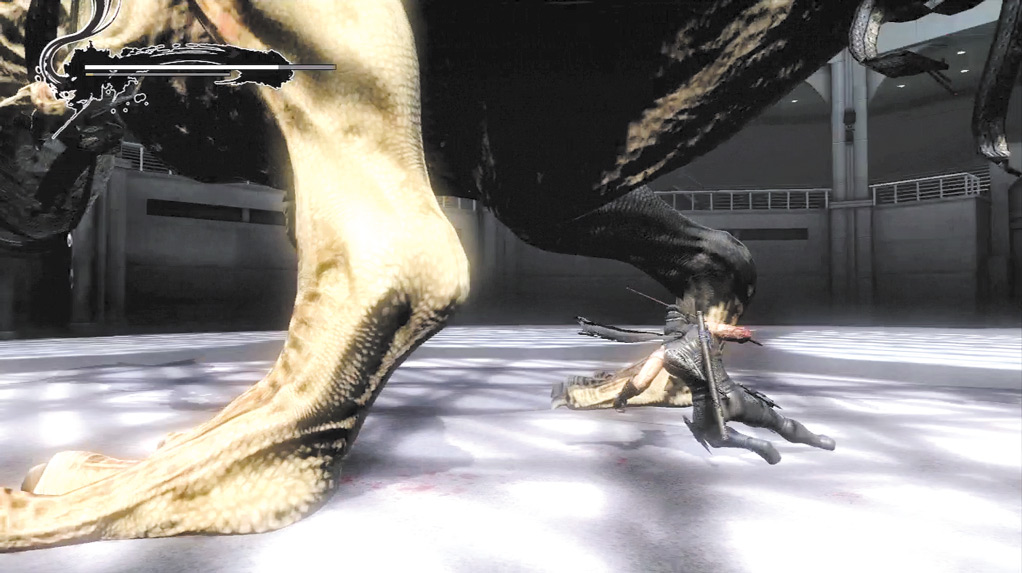
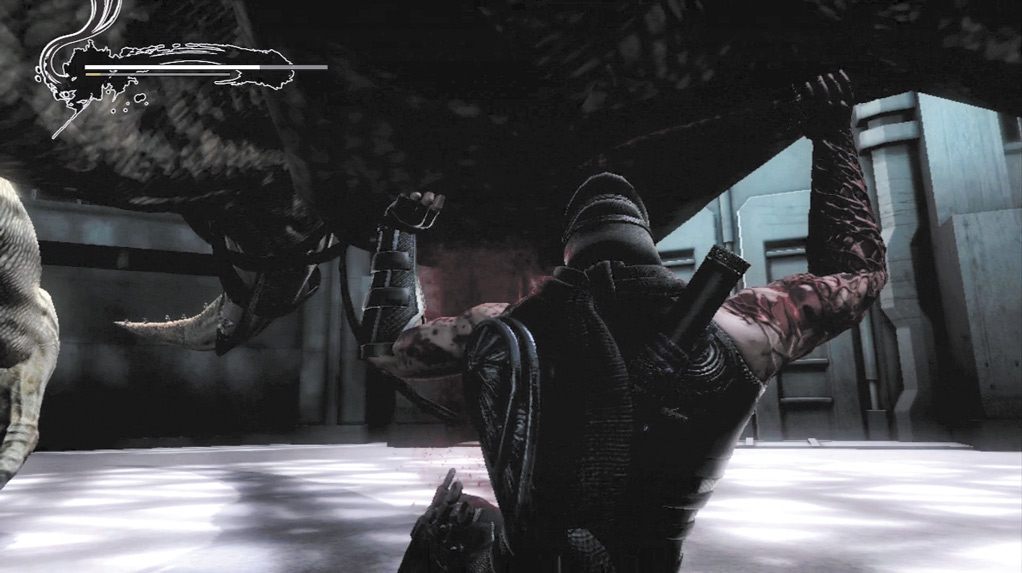
When close to the Gigantosaurus, move under it as quickly as possible. Focus on its legs with one or two Quick Attacks.
As soon as you see one of the legs lift off the ground, slide to the opposite leg and continue attacking with another one or two Quick Attacks.
If you use more than two Quick Attacks, you risk getting caught by the Gigantosaurus’s leg and taking damage.
If the Gigantosaurus raises his leg high into the air, make sure Hayabusa is close to the other leg or else far enough away from the raised leg to avoid the Stomp Attack and resulting shock wave that follows.
Repeat this process until the Gigantosaurus starts charging again, then go back to the original strategy.
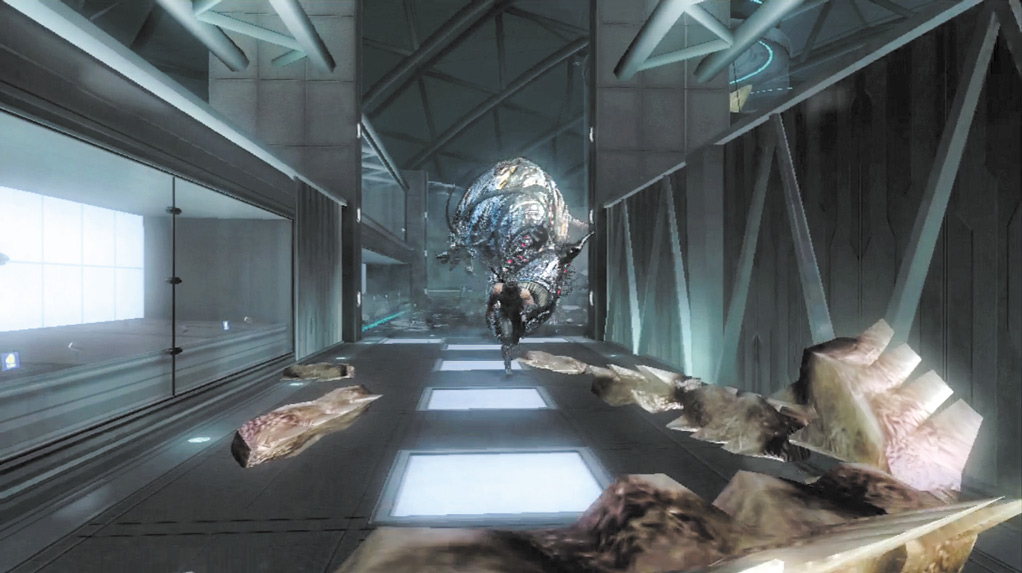
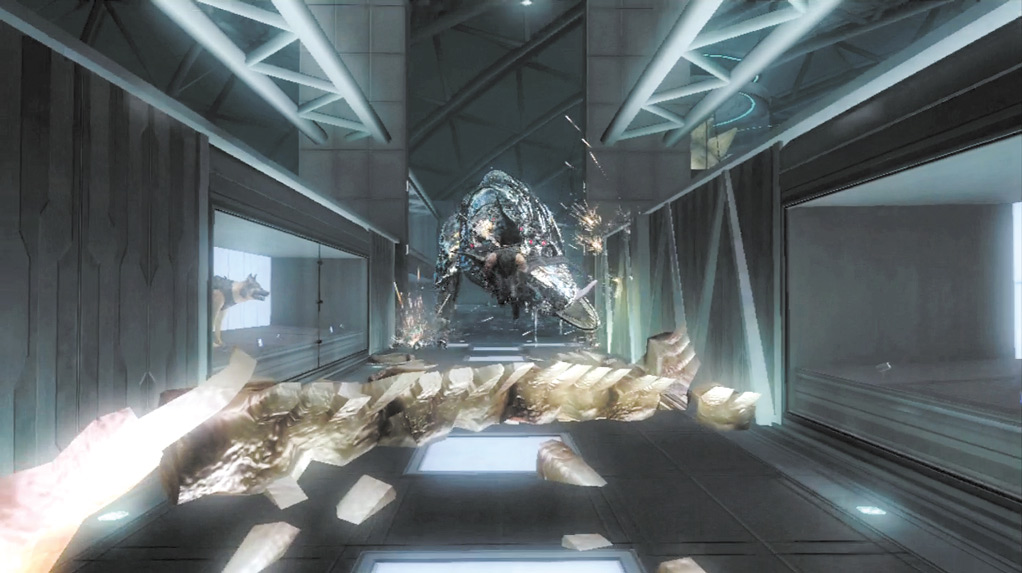
Run toward the camera and, when you see bone fragments on the ground, be prepared to jump over the large bone just ahead.
This happens twice, and it’s followed by a missile that Hayabusa must slide under. After sliding under the missile, shoot an arrow to blow it up when prompted.
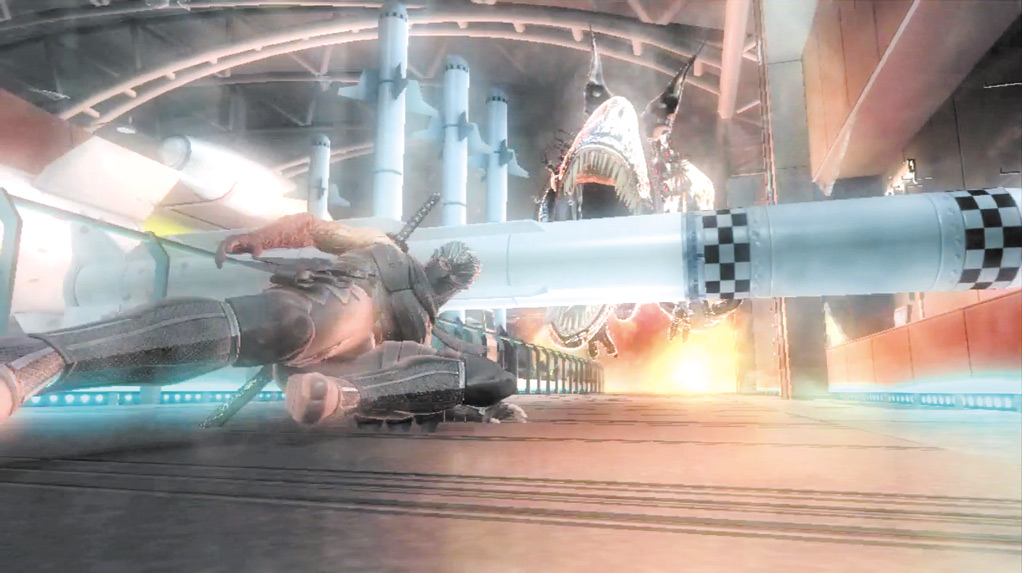
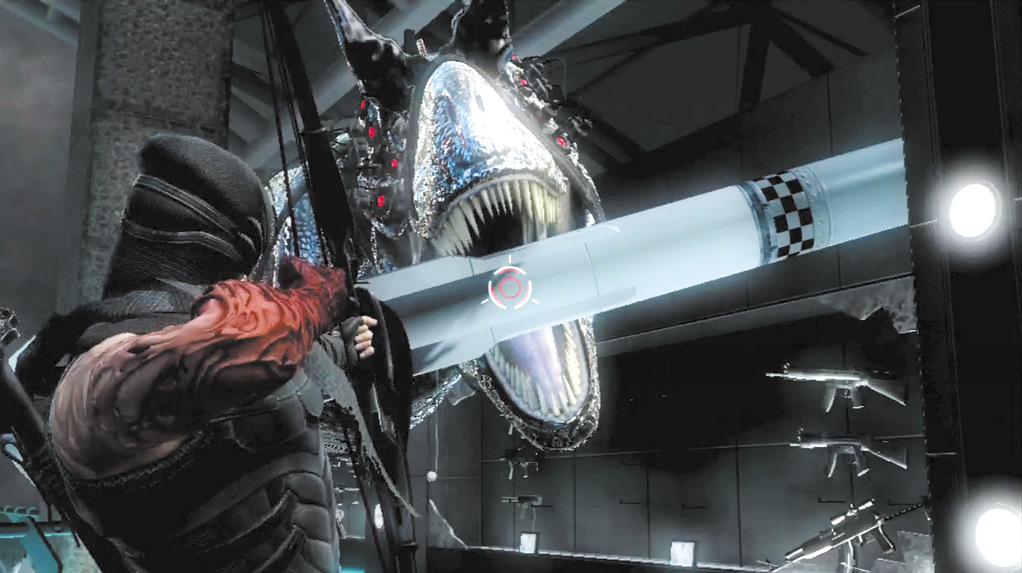
Continue through the double doors at the end of the hallway to engage the Gigantosaurus once again. Slide to the right, then press Strong Attack (
 or
 ) when prompted. Do not drift to the left or right side of the room.
Instead, stay on the opposite side of the Gigantosaurus and around the center of the room so that you have plenty of room to slide to either side when the Gigantosaurus Charges.
Avoid the Gigantosaurus’s Charges and attack its head when it falls to the ground.
When the game begins to move in slow motion, press Strong Attack (
or
) and follow the on-screen prompts to press Strong Attack (
or
) rapidly to take down the Gigantosaurus and initiate another cinematic.


Close Range Abilities: Two-Hit Combo, Three-Hit Combos, Five-Hit Combos, Unblockable Two-Grab Combo, Unblockable Jumping Grab
Long Range Abilities:
Two-Hit Charge Technique
Strategy: This is the second time Hayabusa battles against the Regent of the Mask, and the fight closely resembles the initial battle.
This time the Regent of the Mask has a couple new techniques in the way of a five-hit combo and an Unblockable Jumping Grab attack.
The battle also ends when Hayabusa knocks the Regent of the Mask outside. There’s no continuation like the first battle.
Wait for the Regent of the Mask to approach Hayabusa. Slide away from his first attack, then use the Wind Run into Flying Swallow to attack the Regent of the Mask.
If the attack is parried, quickly slide away to avoid the Regent of the Mask’s counterattack. If the attack is blocked or connects, slide away and wait for the next attack to repeat the process.
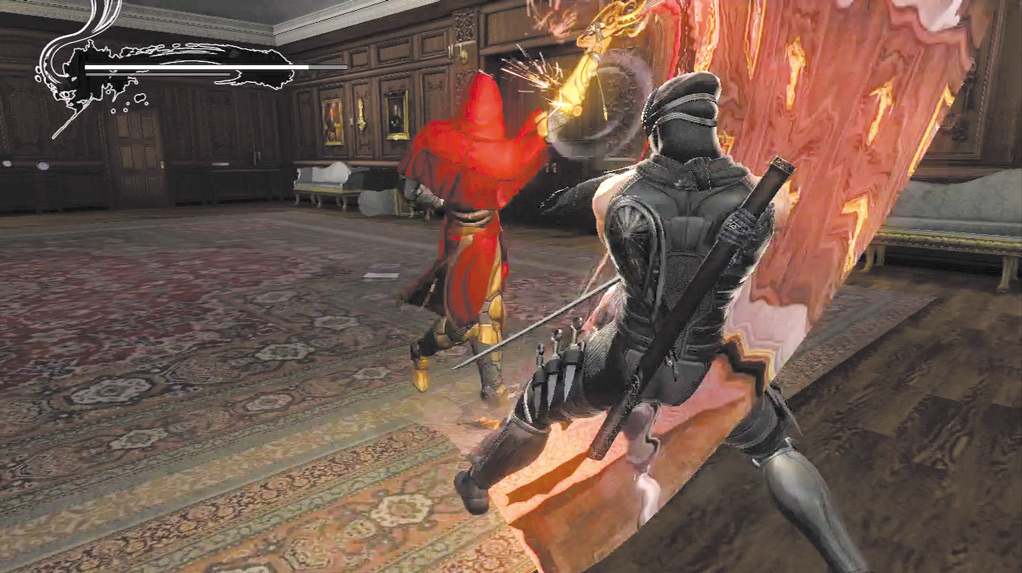
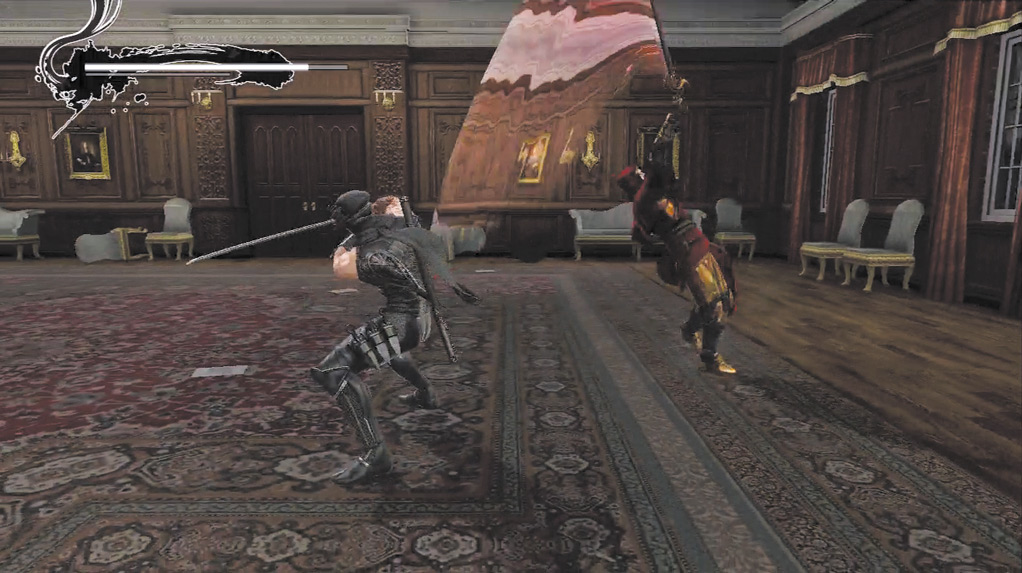
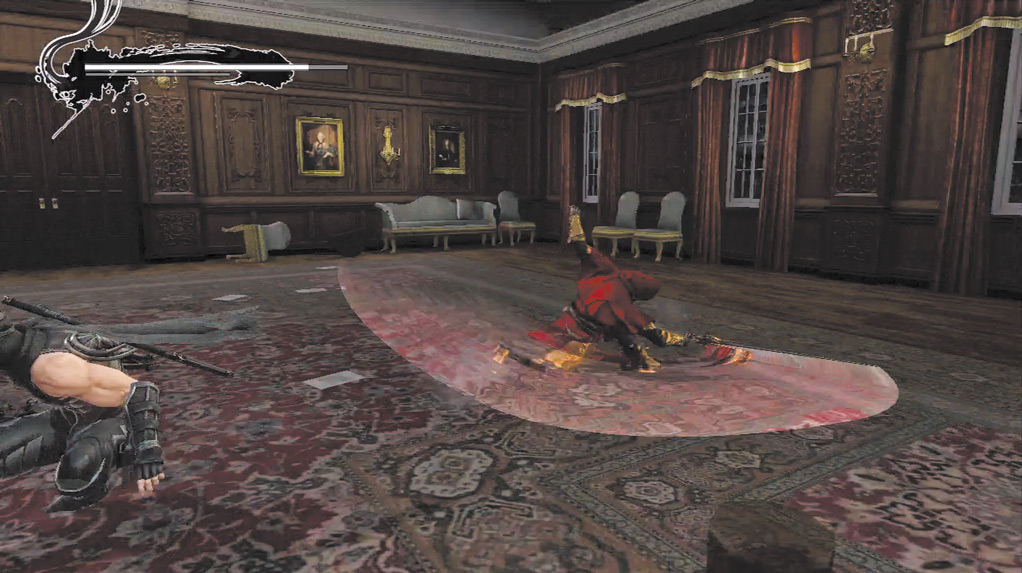
The Regent of the Mask’s new combo.
If the Regent of the Mask uses a five-hit combo (which consists of several vertical spinning attacks at the end), try to use the Wind Run into Flying Swallow before the vertical spinning attacks, or after the attack in the combo (a thrusting attack).
The vertical spinning attacks can knock Hayabusa out of the Flying Swallow.
After attacking, slide away from the Regent of the Mask. If you attack too much, the Regent of the Mask may counter using his Unblockable Grab Combo. If his fist glows red, watch out for the throw combo.
Limit your attacks to no more than three Quick Attacks to avoid this. The only exception is after a sword clash. When this happens, rapidly tap Quick Attack (
or
) as prompted, then follow with four to five Quick Attacks.
Four Quick Attacks is almost always safe, but five can sometimes hit. Pay close attention to the Regent of the Mask during the fifth attack. If his fist glows red, slide away immediately to avoid the throw combo.
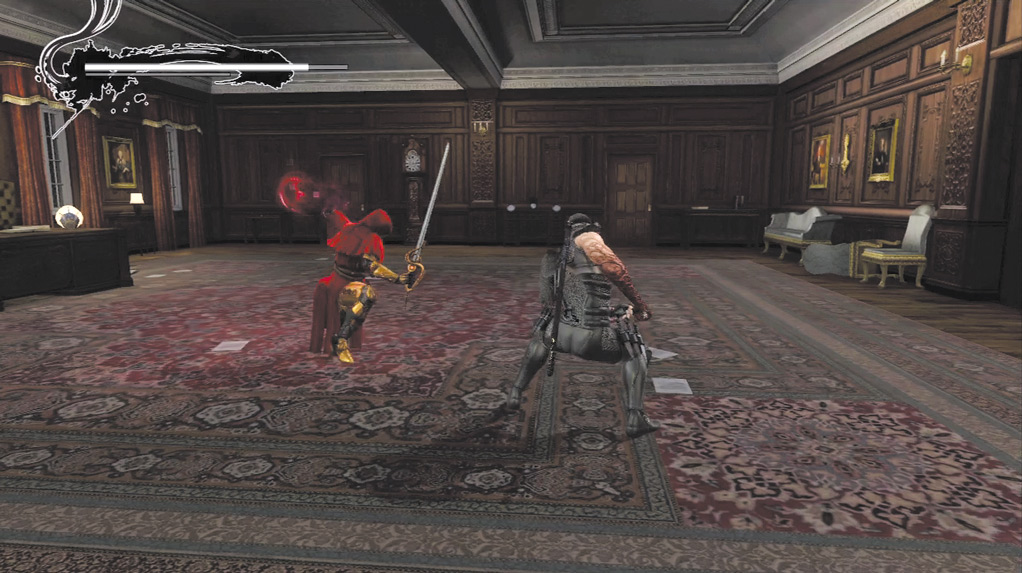
When the Regent of the Mask’s fist glows red, ...
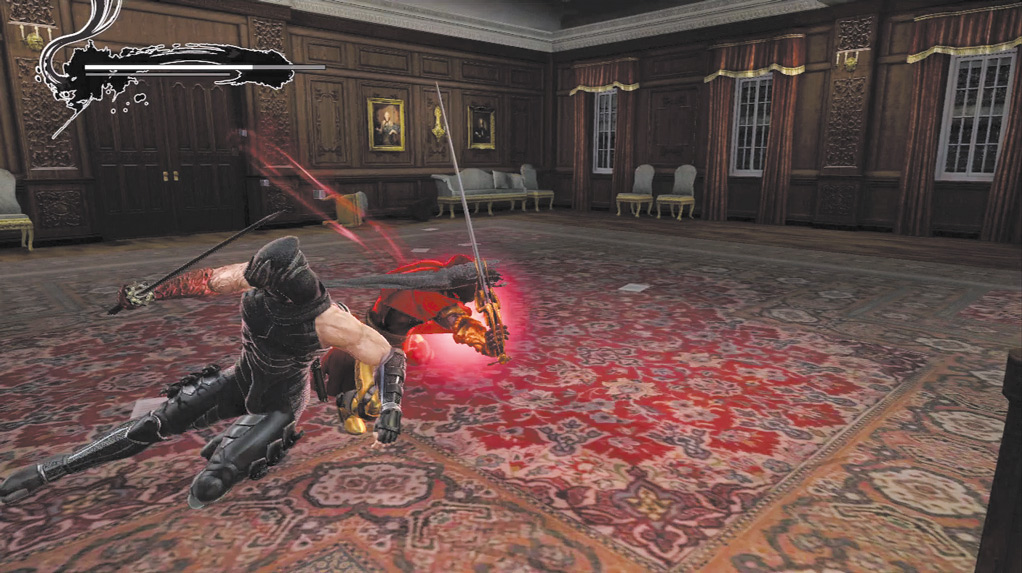
... quickly slide away ...
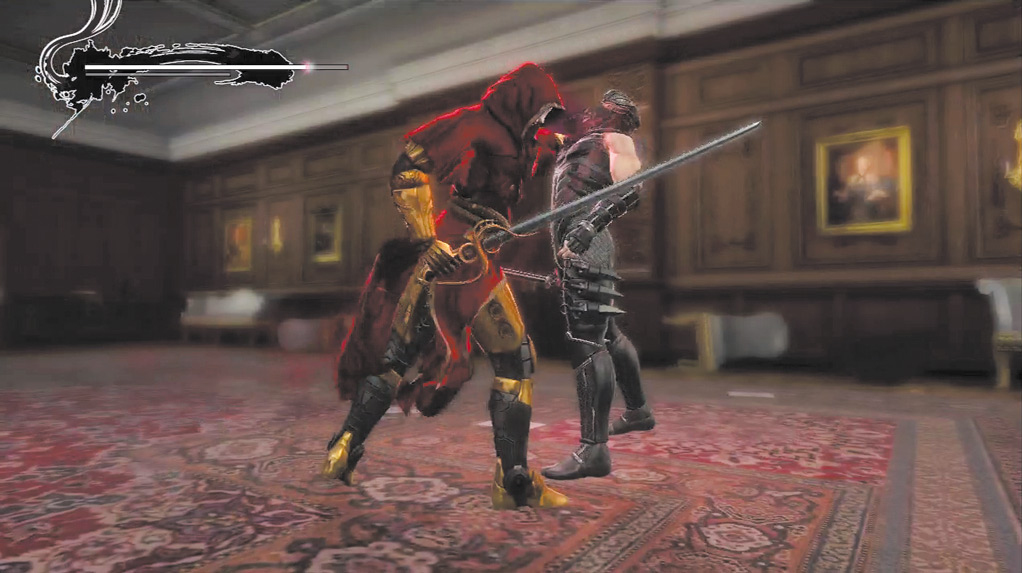
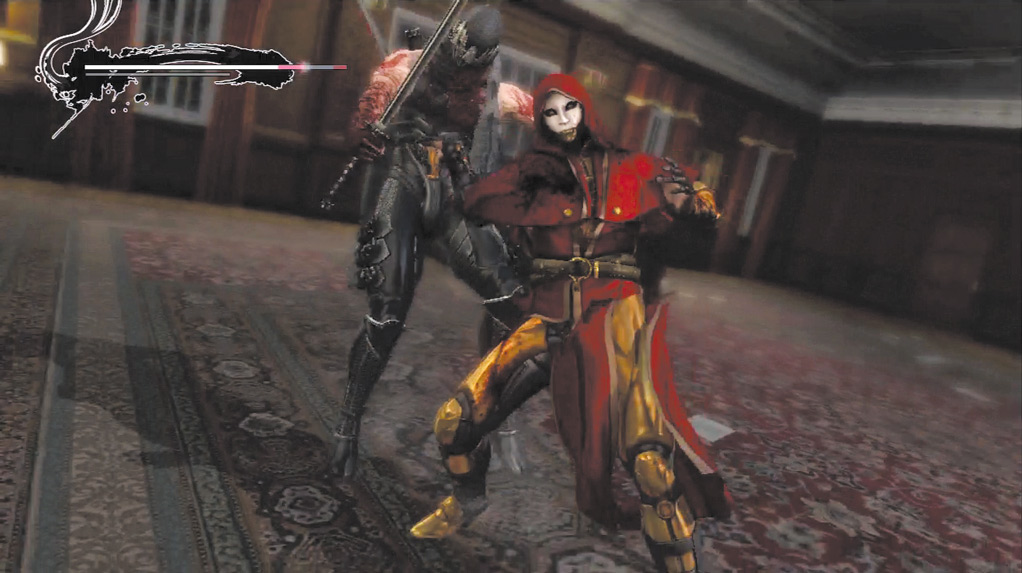
... or take big damage from the grab!
The first attack in his grab combo series is fairly easy to evade if you slide away right after Hayabusa’s attack. The second attack has extremely long range and reduces Hayabusa’s health considerably.
It is very important to avoid it. After the second attack misses, use another Wind Run into Flying Swallow.
The Regent of the Mask’s new Jumping Grab looks very similar to Hayabusa’s Wind Run, except the shadow images behind the Regent of the Mask are red.
If he uses this attack, slide away from him, then time the Wind Run and Flying Swallow so that the attack connects as soon as the Regent of the Mask lands.
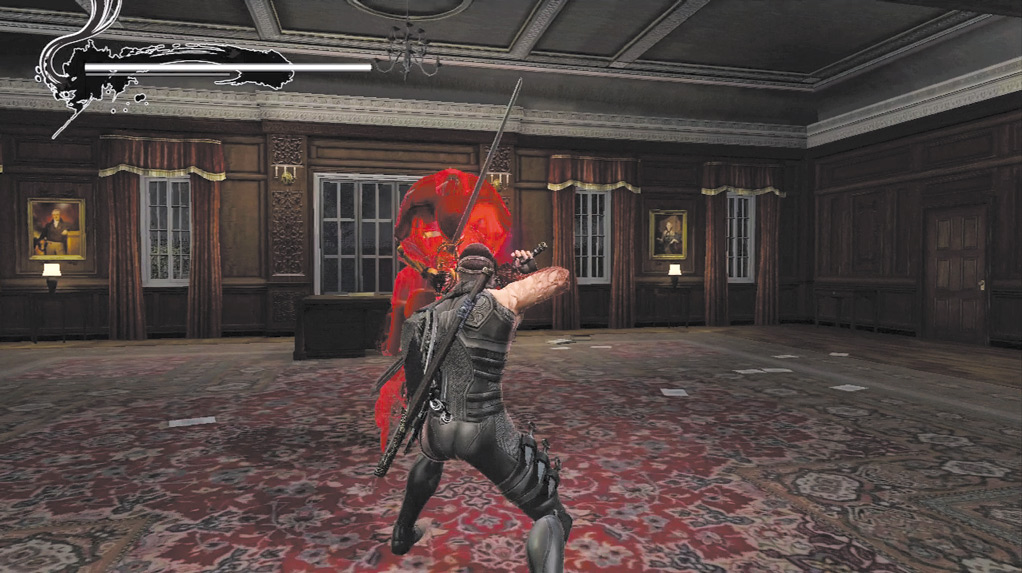
When the Regent of the Mask uses a Wind Run, ...
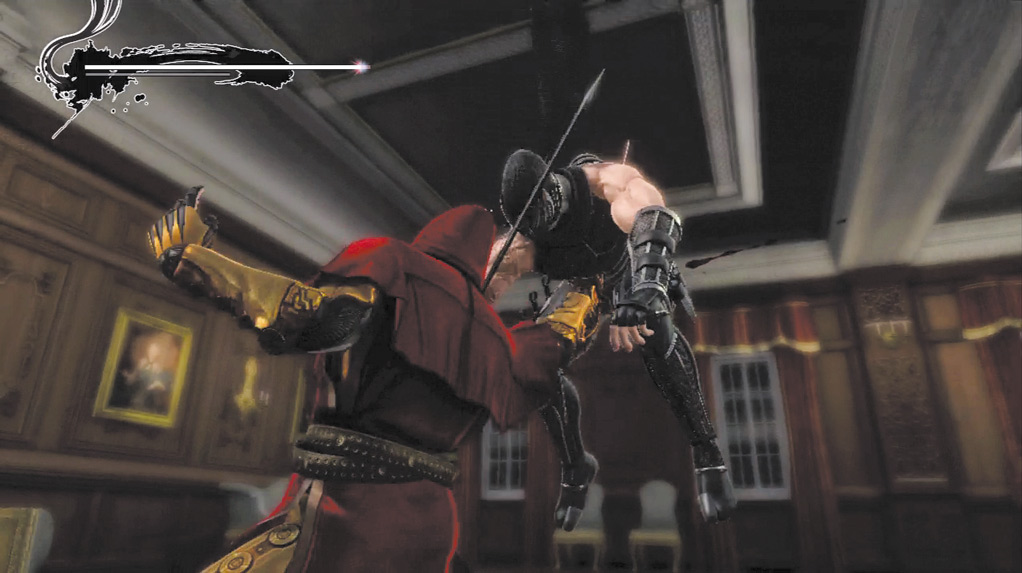
... it results in an Unblockable Grab.
If the Regent of the Mask bends down into a lower stance that looks like Hayabusa’s Ultimate Technique stance, prepare to use a slide to evade. This is the Regent of the Mask’s version of an Ultimate Technique.
It executes very fast and can be difficult to dodge if you’re not prepared. Slide away to escape the first attack, then slide again immediately after.
The Regent of the Mask occasionally uses a second attack almost immediately after his first Ultimate Technique attack.
Continue to attack the Regent of the Mask until you’re prompted to rapidly tap Quick Attack (
or
). Repeat this process until the Regent of the Mask is knocked outside, which ends the battle.