
Ninja Gaiden 3 Guide Walkthrough Boss Battles
Tokyo, Japan
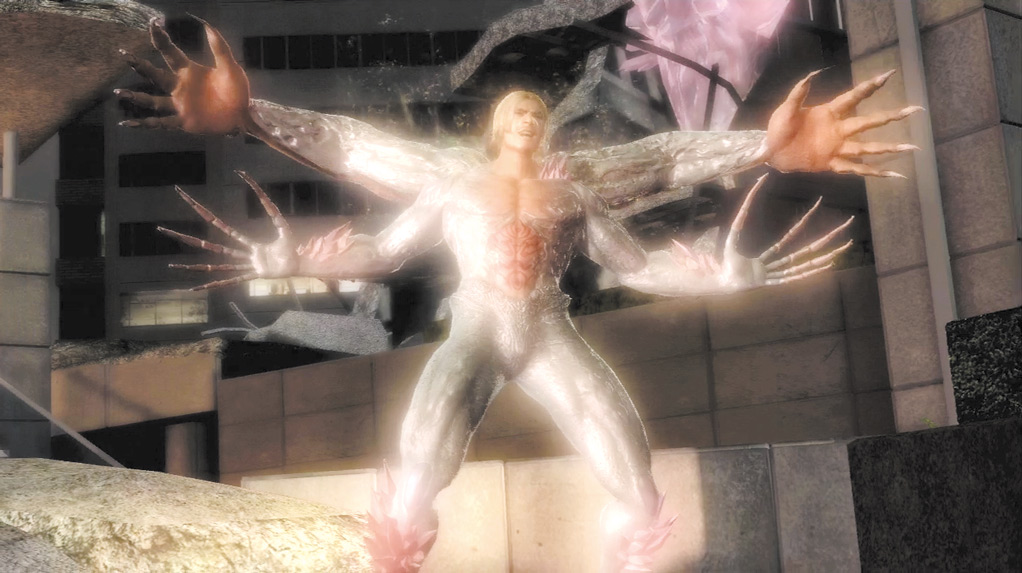
Close Range Abilities: Energy Explosion, Two-Hit Combo, Five-Hit Combo, Unblockable Grab
Long Range Abilities: Projectile, Lasers, Paracelsus Fiends Helpers
Strategy: As soon as the boss battle begins, slide left or right to avoid Cliff’s projectile attack. Stand just outside of Cliff’s immediate attack range and wait for him to initiate a combo.
He generally uses a two- or five-hit combo. Counterattack with a series of Quick Attacks at the conclusion of each combo. If you see Cliff’s arms glow white, quickly slide away to avoid the Unblockable Grab that follows.
Once you have inflicted enough damage, you’re prompted to tap Strong Attack (
 or
or
 ) rapidly to tear off Cliff’s second set of arms. If you react slowly, back away and wait for Cliff’s Energy Explosion.
There’s a large blast radius signified by the glowing circle around Cliff. Stay outside of the circle and wait for Cliff to explode. When he does, quickly slide toward him and use an onslaught of Quick Attacks until he recovers.
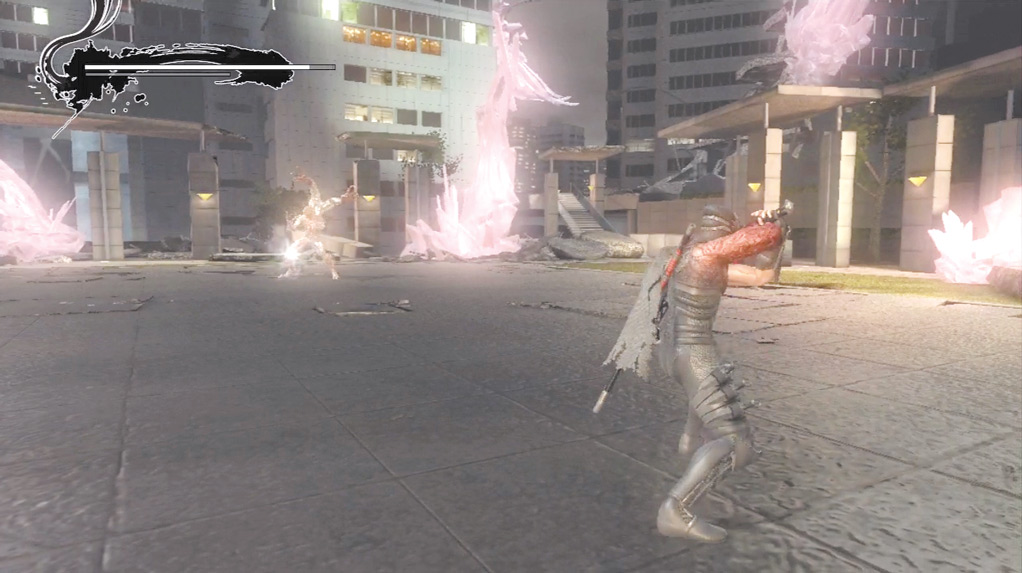
When the battle begins
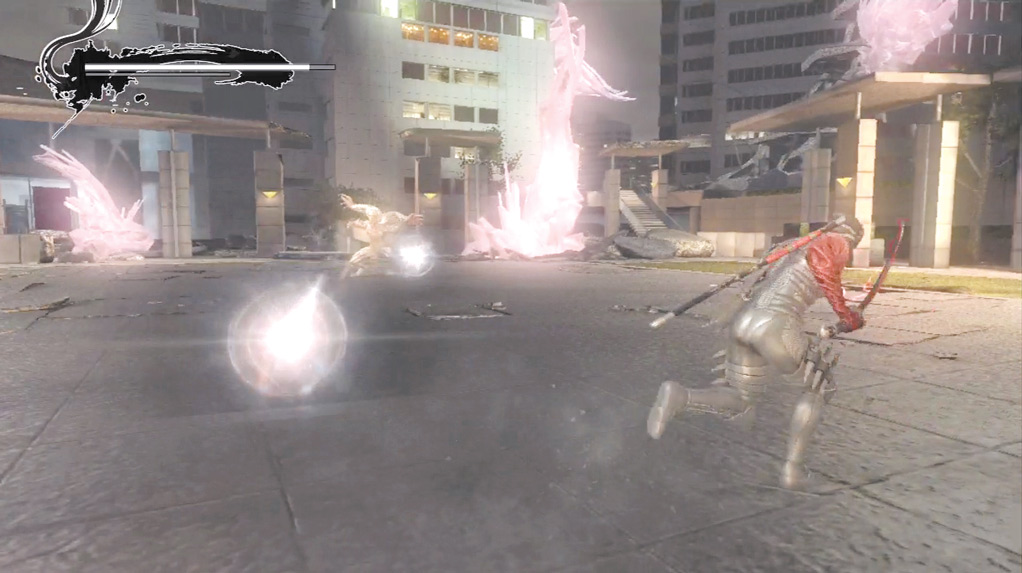
... slide left or right to avoid Cliff’s projectile attack.
Repeat the process until Cliff changes into a flying state. As soon as he’s airborne, slide to dodge any projectile attacks, then shoot an arrow at Cliff. This triggers a brief cinematic and Hayabusa loses his bow. Unfortunately, there’s no way around this.
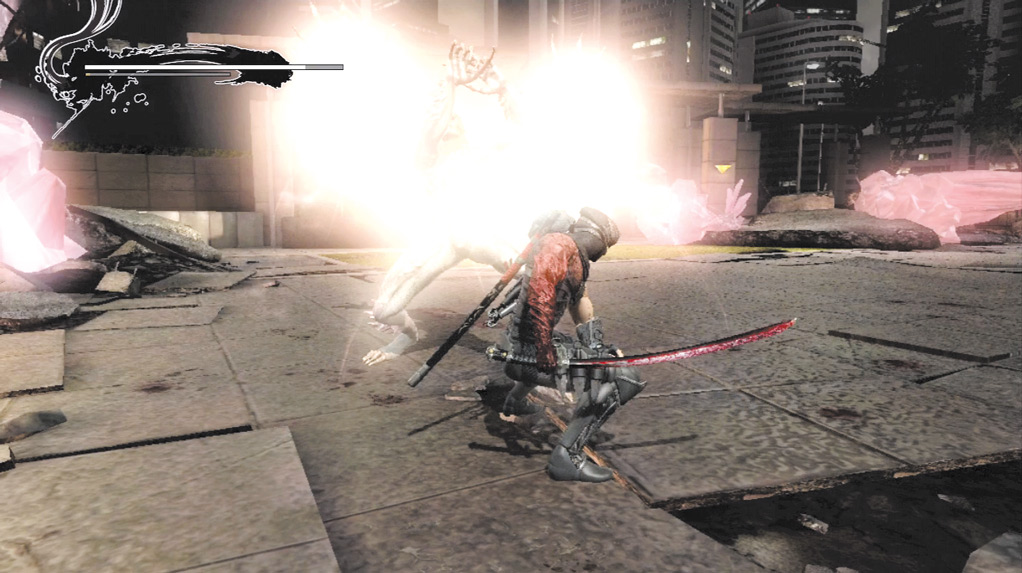
When Cliff glows white ...
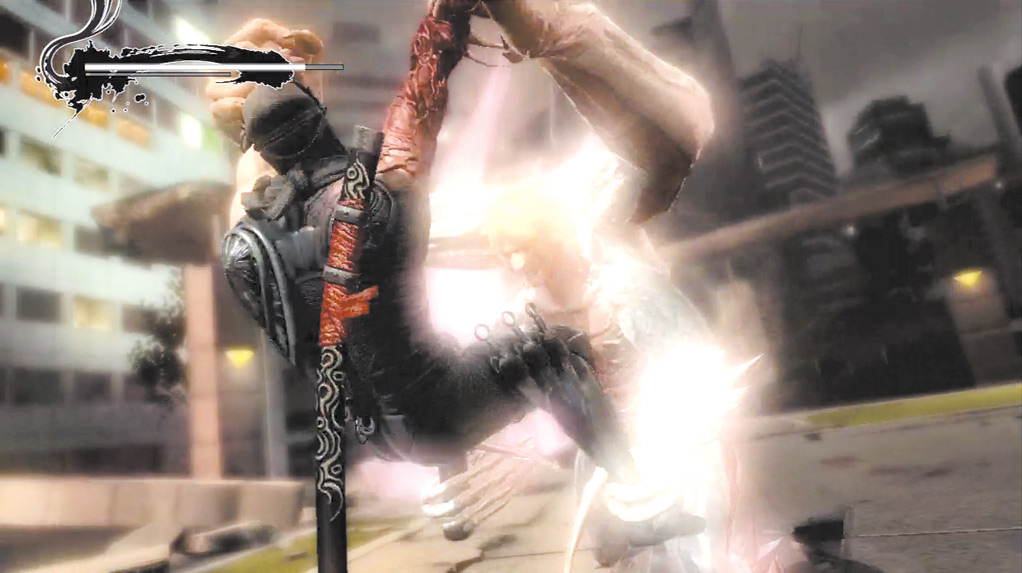
... get away or Hayabusa will be caught in an Unblockable Grab!"
Cliff summons a horde of Paracelsus Fiends while firing lasers and using a Projectile Attack against Hayabusa. Stay clear of the bright patches on the ground as they indicate the trajectory of the laser.
Use Izuna Drops on the Paracelsus Fiends to keep Hayabusa in the air and invulnerable to most of Cliff’s attacks. Kill roughly ten Paracelsus Fiends to build up an Ultimate Technique, then unleash it on the remaining Paracelsus Fiends and Cliff.
When Cliff drops to the ground, attack with a barrage of Strong Attacks. If you can inflict enough damage before Cliff gets back into the air, you’re prompted to press Strong Attack (
or
) and end the battle. If you cannot, more Paracelsus Fiends spawn and you must build up to another Ultimate Technique and try again.

Close Range Abilities: Two-Hit Combo, Three-Hit Combos, Unblockable Two-Grab Combo
Long Range Abilities: Two-Hit Charge Technique
Strategy: This is Hayabusa’s fourth time fighting against the Regent of the Mask and arguably the easiest of the fights.
Hold Block (
 or
or
 ) until Theodore approaches Hayabusa. When he gets close, use the slide to evade his initial attack.
If he uses the three-hit Strong Attack combo, after you evade the first attack, the second will miss, then wait until the last moment to evade the third attack with a slide.
This leaves Hayabusa close enough to connect with a one- or two-hit Strong Attack combo or use a Wind Run into a Flying Swallow.
It is best to use either the Flying Swallow or a single Strong Attack here, but if you’re feeling risky and want to end the battle faster, try a two-hit combo.
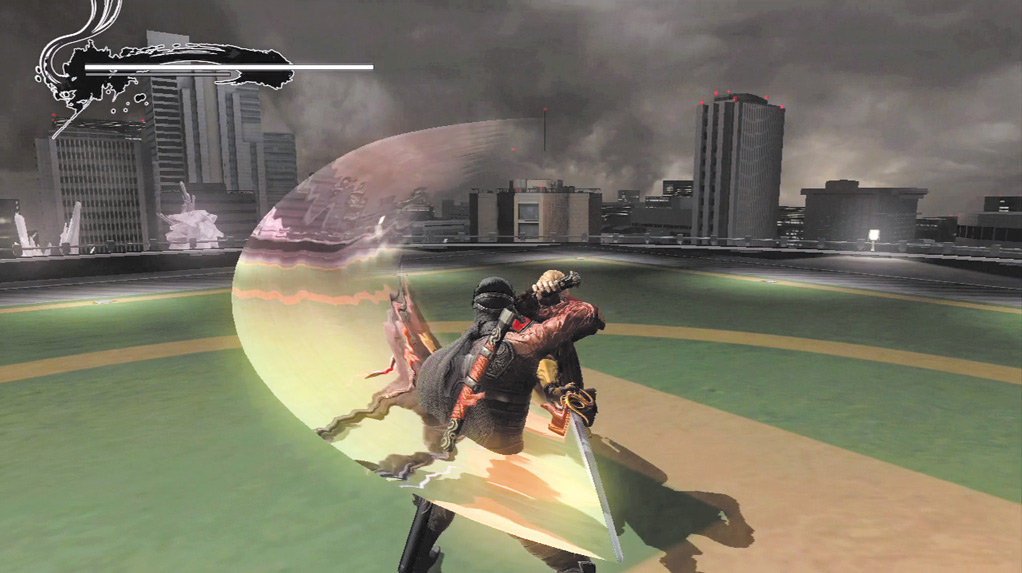
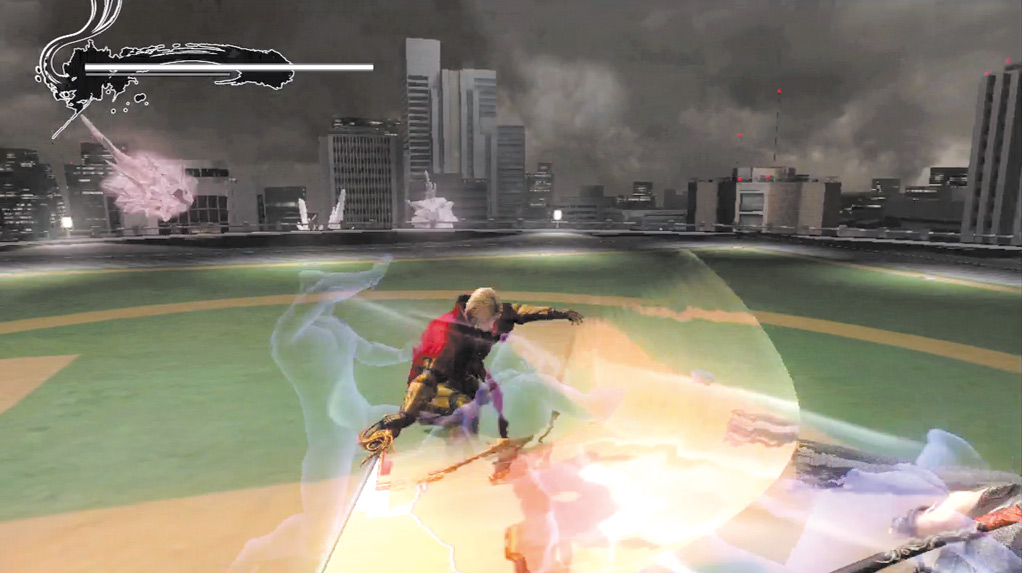
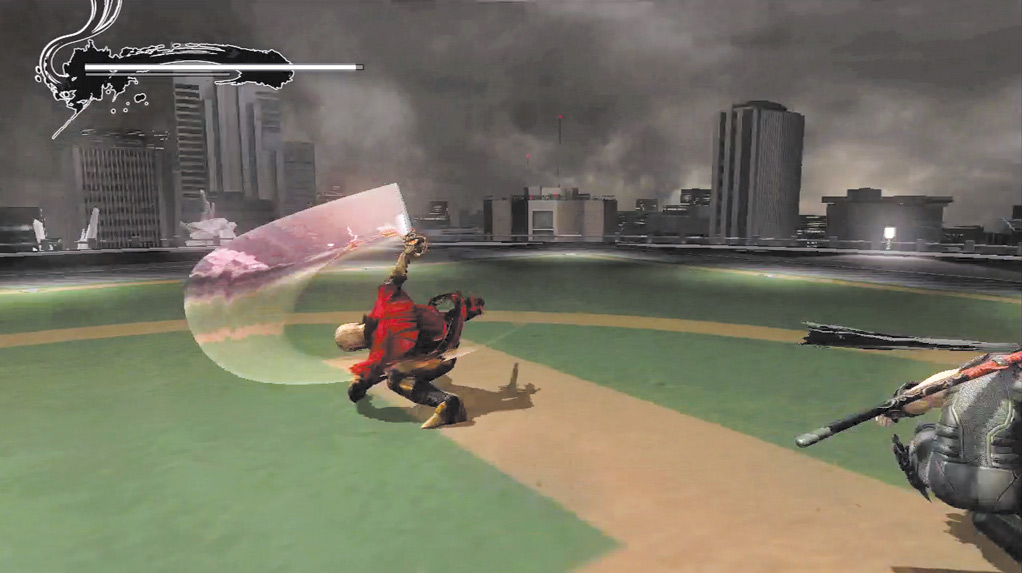
Theodore’s three-hit Strong Attack combo.
Immediately following Hayabusa’s attack, slide away from Theodore. If you only used a single Strong Attack, he won’t have much of a counterattack.
However, if you were risky and tried to go for two hits, he may counter with an Unblockable Two-Grab Combo. If his fist glows red, the attack is coming.
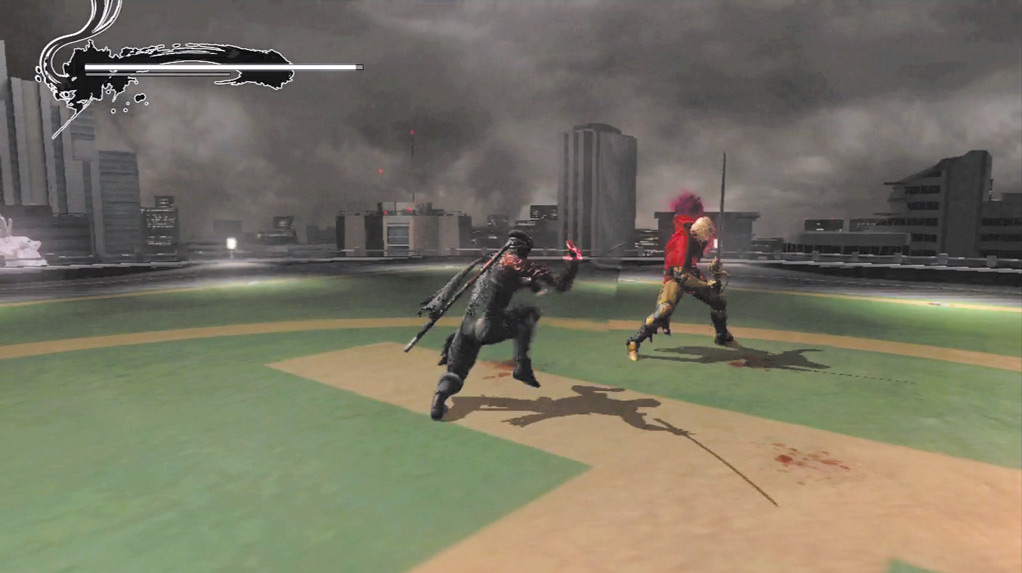
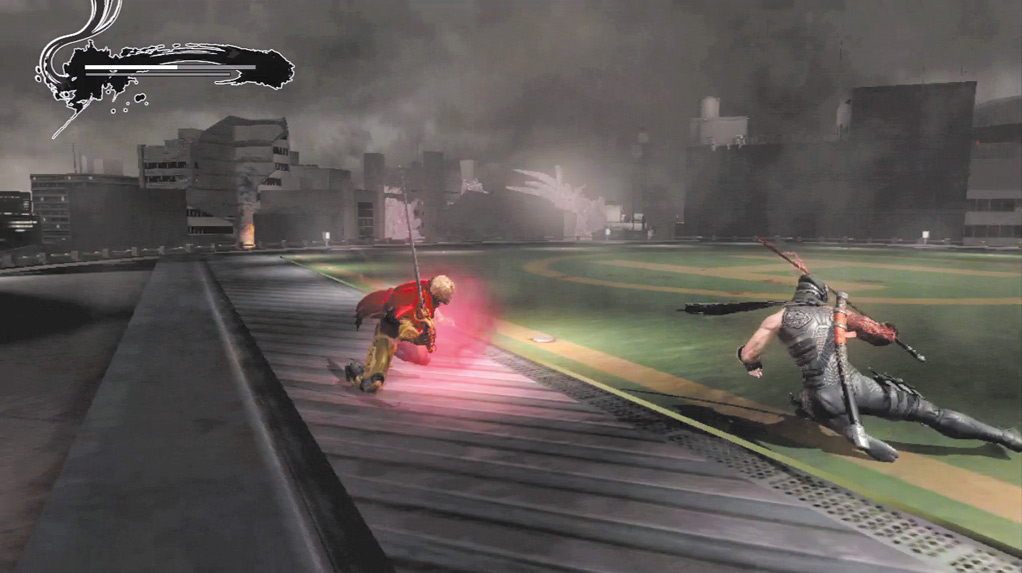
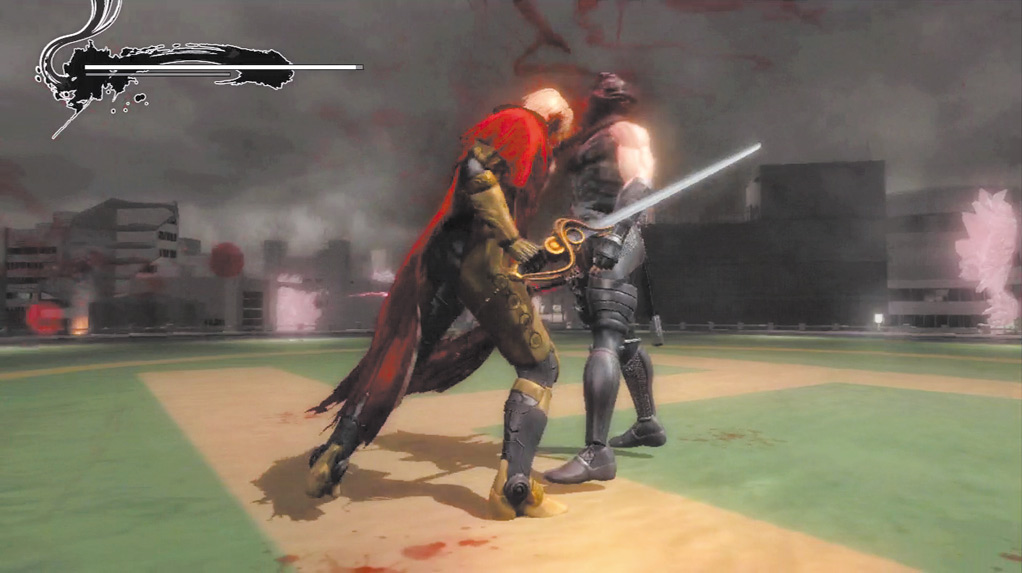
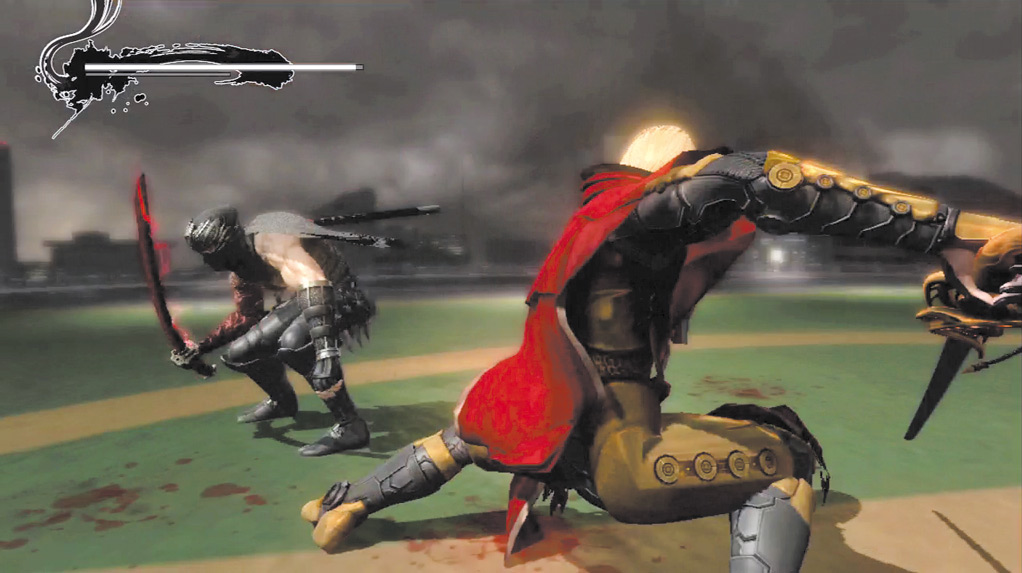
The first attack is easily evaded if you slid away from Theodore immediately following Hayabusa’s attack. If you see the red fist, slide away again as quickly as possible.
The second attack has deceptively long range and inflicts a significant amount of damage.
Theodore uses a few other attack combos, and while it is possible to hit him after dodging the attacks, the timing is very strict.
If your timing is off, Theodore either blocks the attack, or counters with his own attack. If he counters, you do not have time to evade.
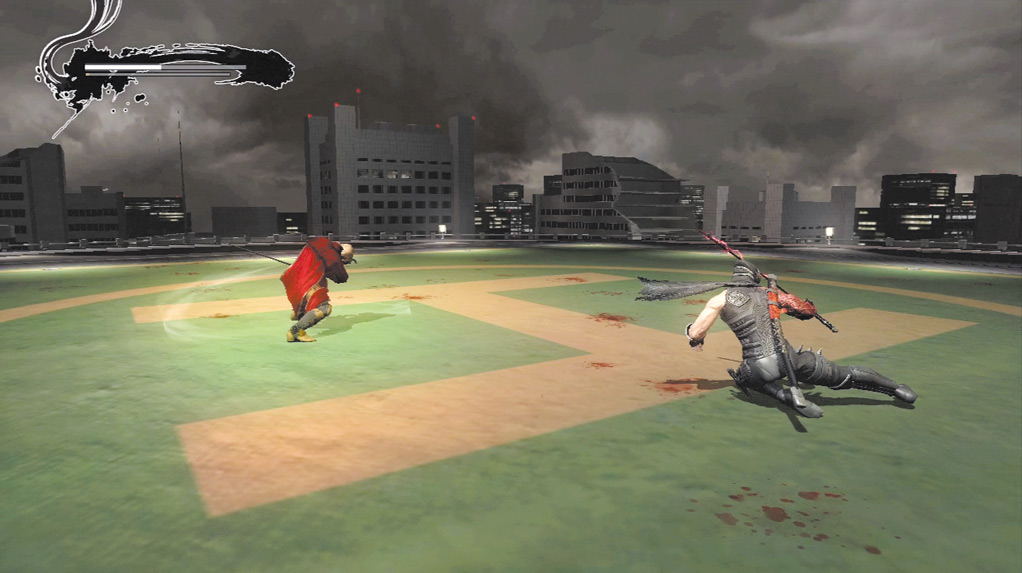
If Theodore lowers his stance ...
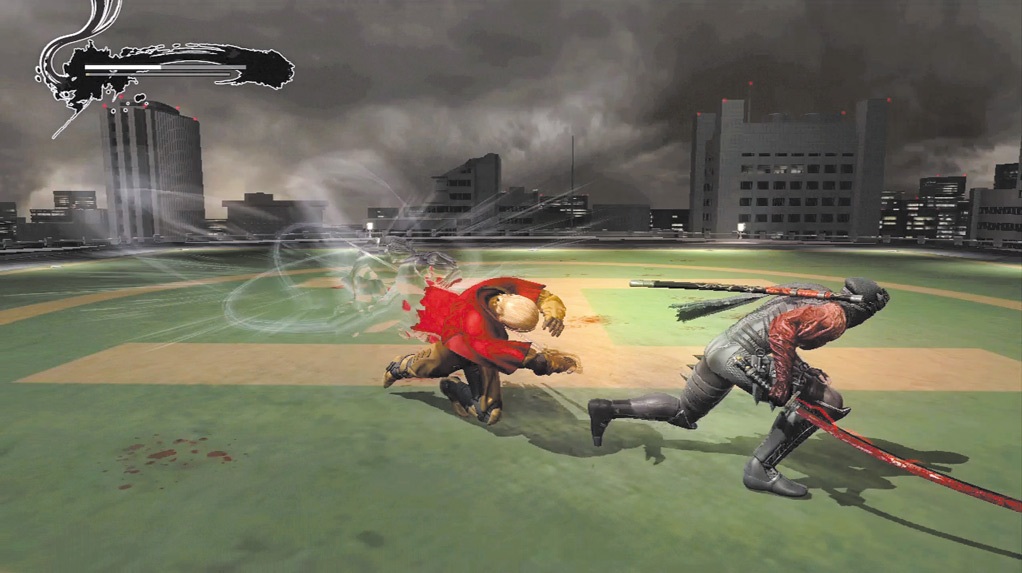
... prepare to evade his Ultimate Technique.
If Theodore lowers his stance and places his sword low to the ground, be ready to evade with a slide. This is his version of an Ultimate Technique.
When he attacks, it comes very fast and is difficult to dodge if you’re not ready. Slide to get away from the first attack, then immediately slide again. Theodore follows the initial attack with a second almost immediately after.
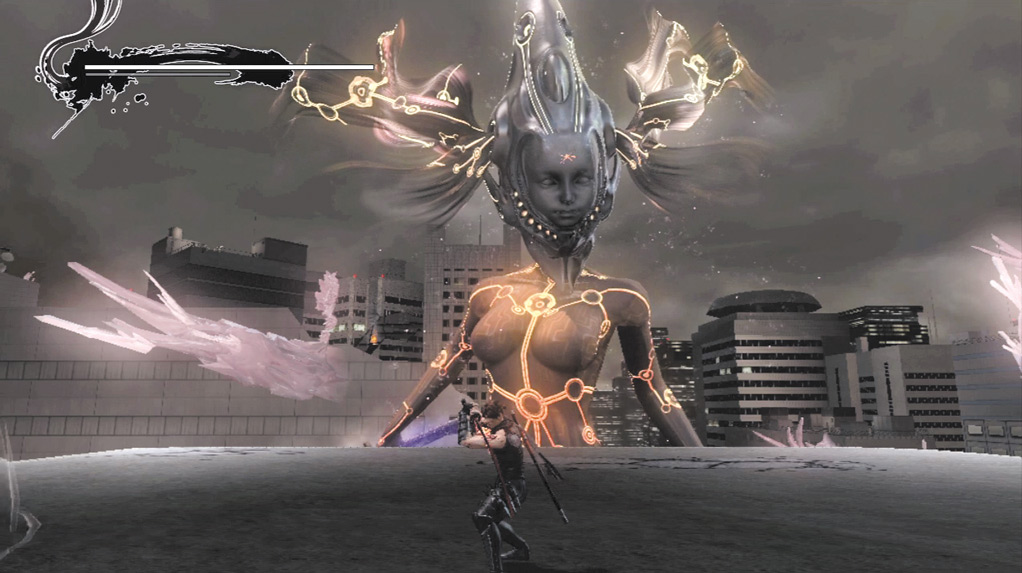
Close Range Abilities: None
Long Range Abilities: Projectile, Arm Slam, Sword Slash
Strategy: After Hayabusa defeats Theodore for the last time, a TBP similar to the one at the beginning of the game takes place.
When prompted: Walk forward, Jump (
 or
or
 ), hold Block (
or
) and press Right on the Left Analog Stick, press Strong Attack (
or
), rapidly tap Strong Attack (
or
), walk forward, hold Block (
or
) and press Up on the Left Analog Stick, press Jump (
or
), press Strong Attack (
or
), then rapidly tap Strong Attack (
or
).
), hold Block (
or
) and press Right on the Left Analog Stick, press Strong Attack (
or
), rapidly tap Strong Attack (
or
), walk forward, hold Block (
or
) and press Up on the Left Analog Stick, press Jump (
or
), press Strong Attack (
or
), then rapidly tap Strong Attack (
or
).
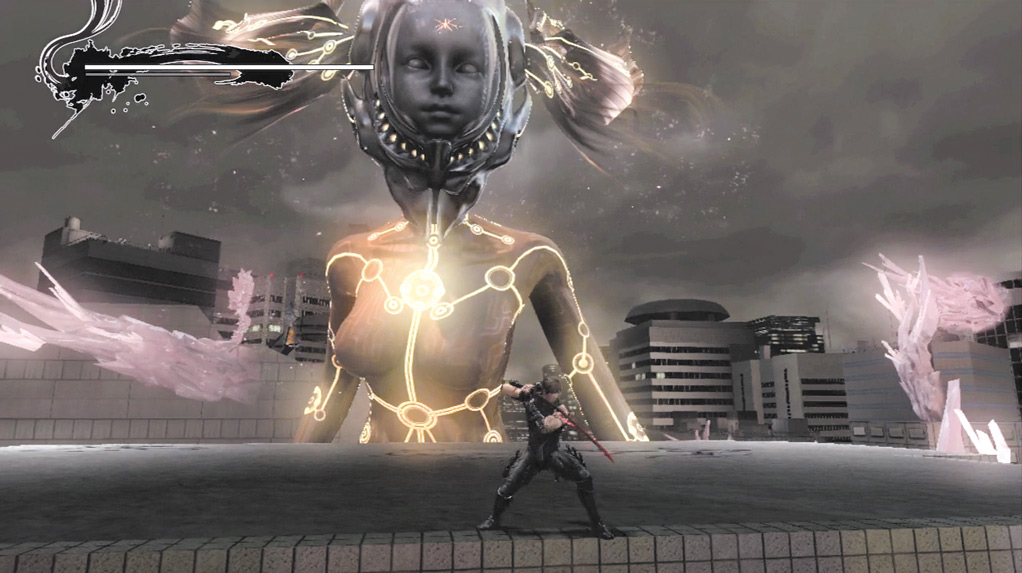
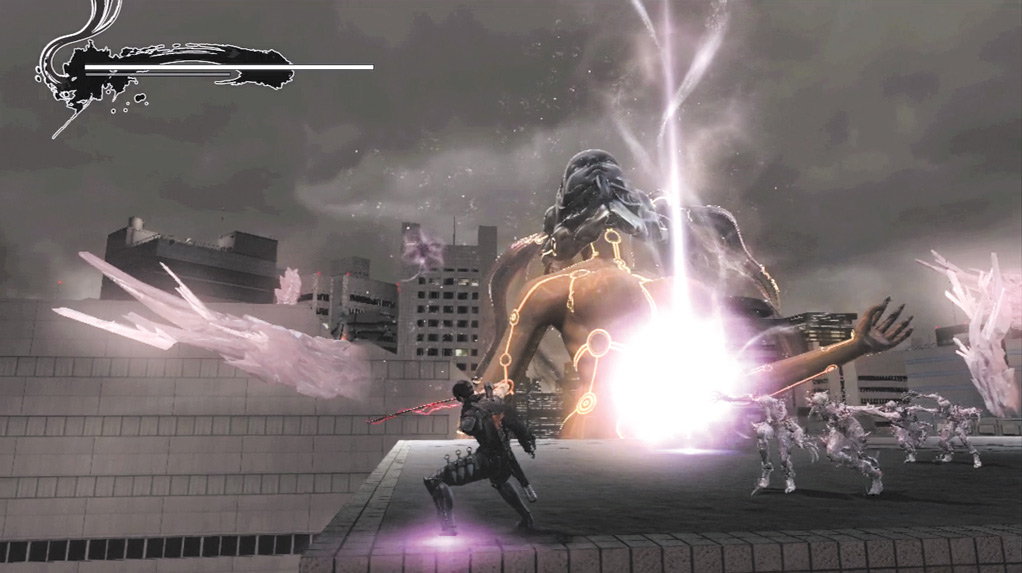
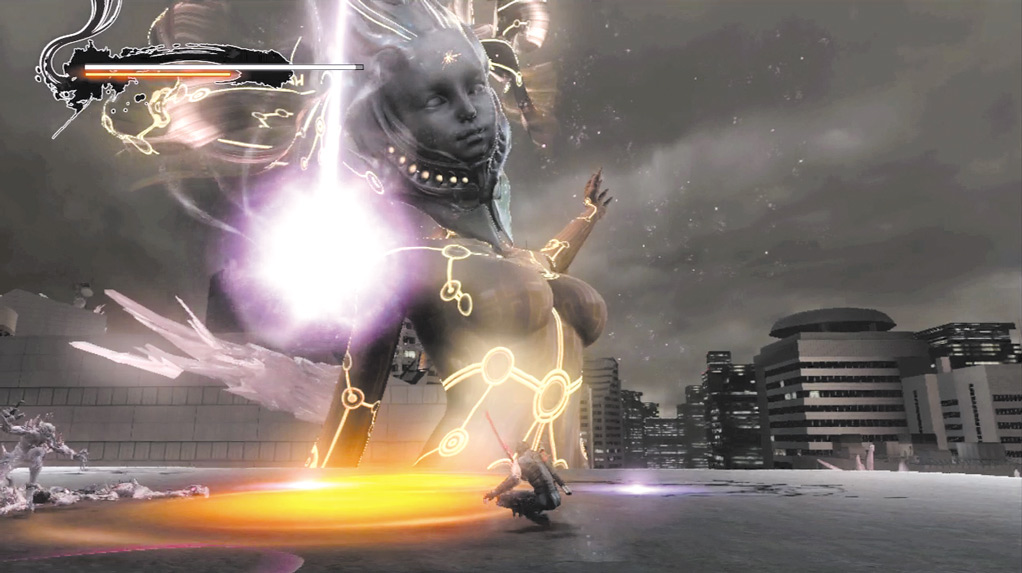
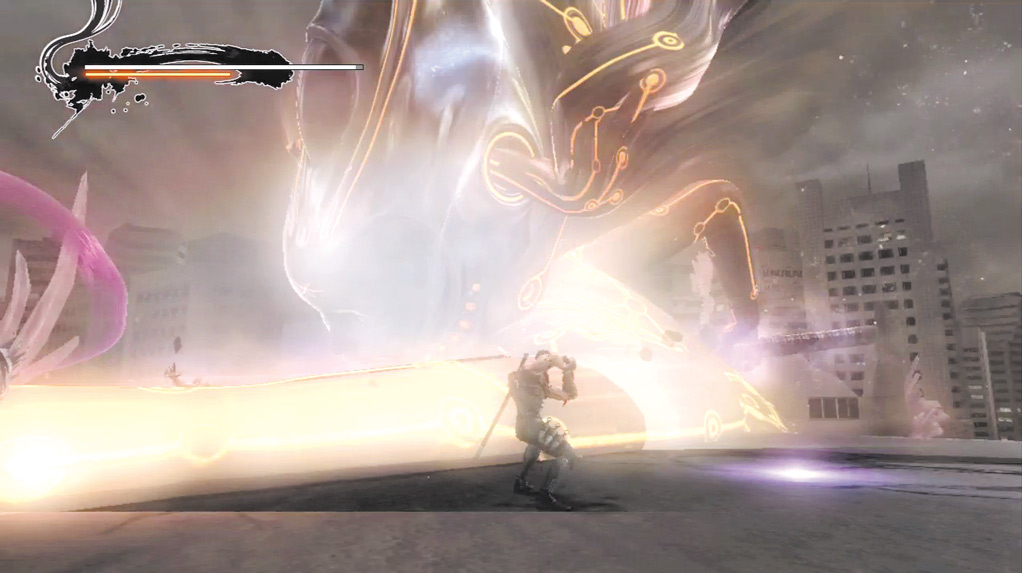
When the TBP concludes, move to the back of the rooftop, closest to the screen. When purple or orange circles appear on the ground, avoid those areas. The circles mark the Goddess’s attack patterns.
Purple circles indicate a projectile attack, while orange circles indicate where the Goddess’s Arm Slam will fall.
At this point, Paracelsus Fiends appear. Stay on the left side of the rooftop to avoid the Goddess’s Arm Slam, and use the Izuna Drop to kill the Paracelsus Fiends quickly.
As soon as Hayabusa’s Ki Gauge is full, use Ninpo to conclude this portion of the boss battle and initiate another TBP.
When prompted: Rapidly tap Strong Attack (
or
), press Block (
or
), rapidly tap Quick Attack (
 or
or
 ), press Strong Attack (
or
), rapidly tap Strong Attack (
or
), run up to the Goddess’s arm and attack it (there is not a prompt for this), press Strong Attack (
or
), attack the Goddess’s head (there is not a prompt for this), then rapidly tap Strong Attack (
or
).
), press Strong Attack (
or
), rapidly tap Strong Attack (
or
), run up to the Goddess’s arm and attack it (there is not a prompt for this), press Strong Attack (
or
), attack the Goddess’s head (there is not a prompt for this), then rapidly tap Strong Attack (
or
).
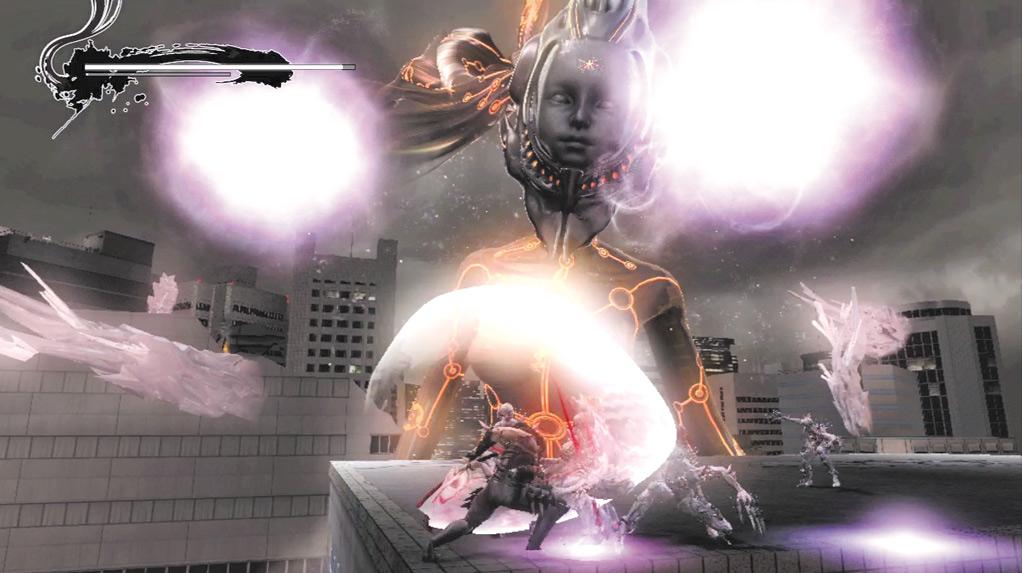
Fight the Paracelsus Fiends on the left side of the rooftop.
After the TBP, Hayabusa is back on the rooftop. Stay close to the screen again and watch out for the purple circles on the ground again.
Stay close to the where the Goddess’s Arm Slam will fall, but far enough away to avoid the attack. The Arm Slam generally occurs three times, with the Goddess leaving her arm on the ground the third time.
However, occasionally the Goddess will leave her arm on the ground on the first and only slam, or on the second of two slams.
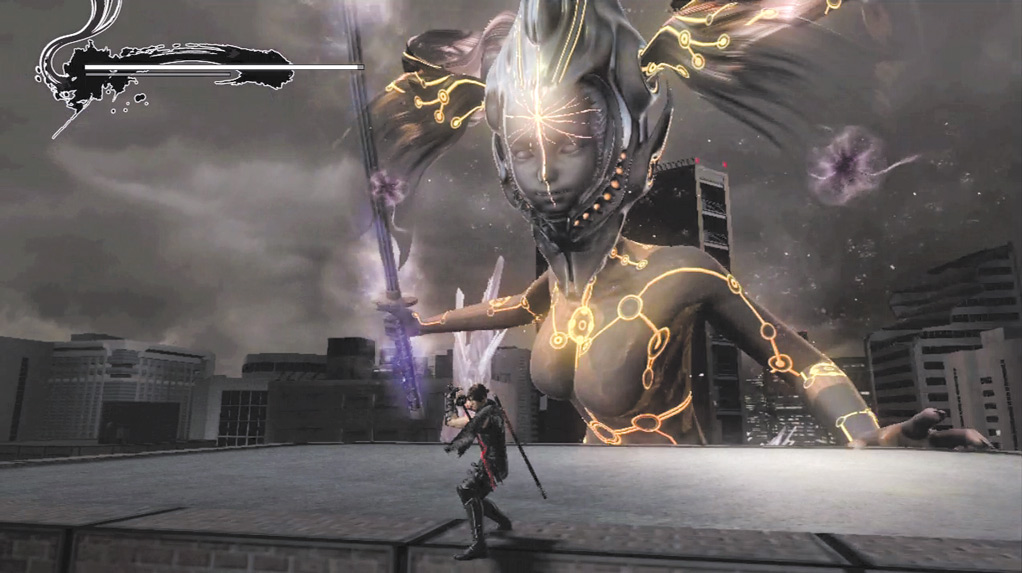
When the Goddess uses her Sword Slash attack ...
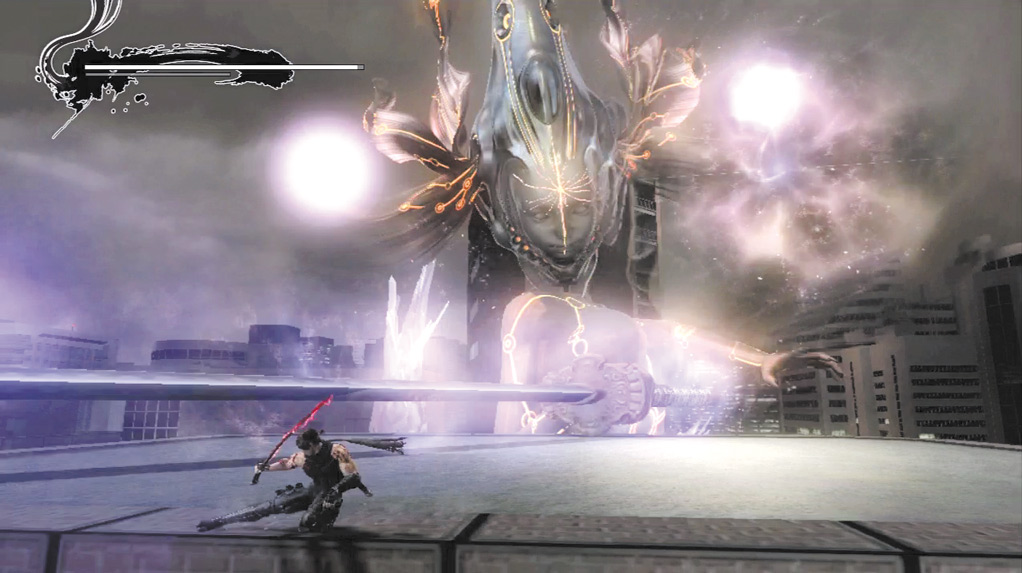
... slide as the attack comes to evade it.
When the arm remains on the ground, quickly slide toward it and attack with Quick Attack combos. Repeat this process until the prompt to rapidly tap Strong Attack (
or
) appears.
After the prompt, and occasionally after any attack on the Goddess’s arm, she reels back and usually attempts anywhere from one to four Sword Slashes. To avoid taking damage from the Sword Slash, Hayabusa must slide as the attack occurs.
The timing is relatively strict, so time the slide well.
After two attack prompts on the Goddess’s arm, stay away from the left side of the rooftop. She slams her arm down and completely destroys it.
If Hayabusa is on the left side of the roof when this happens, he suffers an instant death. Repeat the same process as before, and after two more attack prompts, the Goddess clears out the right side of the rooftop.
Make sure Hayabusa is not on the right side of the roof when this happens.
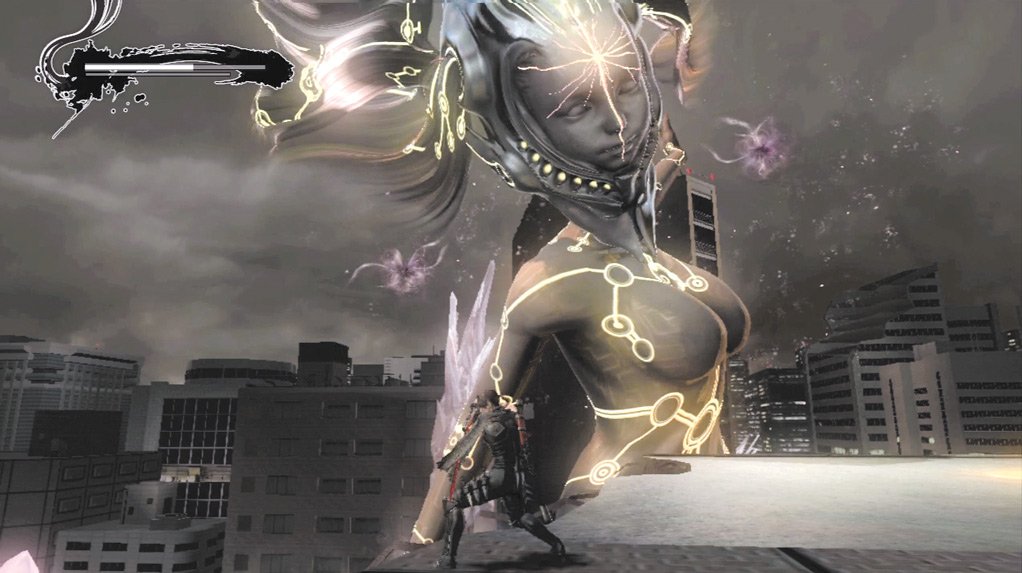
Stay away from either side of the rooftop ...
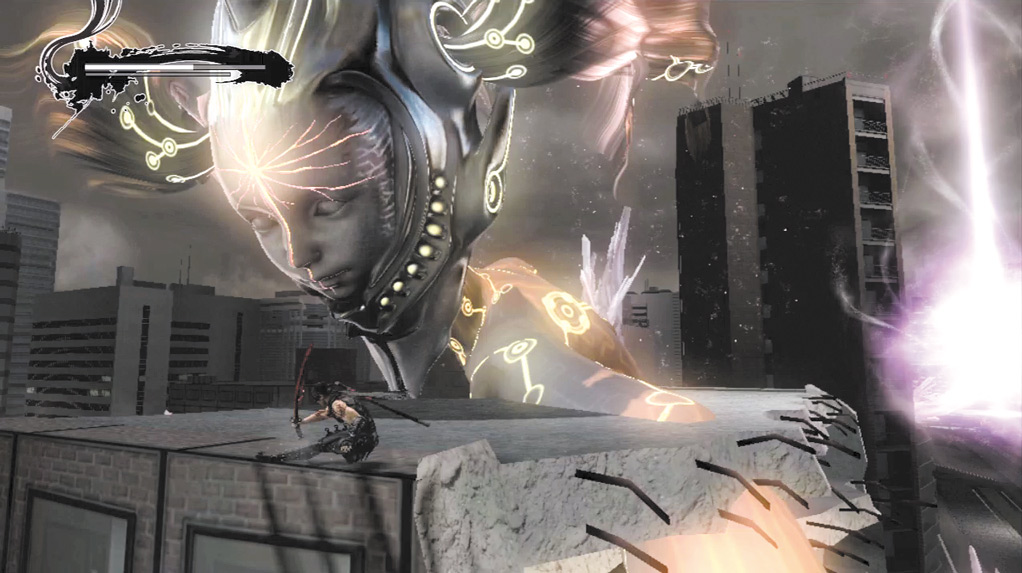
... because the Goddess destroys everything except the center area!
Repeat the attack pattern one last time to initiate the final TBP segment. When prompted: press Block (
or
), press Strong Attack (
or
), then rapidly tap Strong Attack (
or
) to finish off the Goddess.