
Kingdom Hearts HD 1.5 Remix Guide RCoM: Walkthrough Castle Oblivion
Castle Oblivion
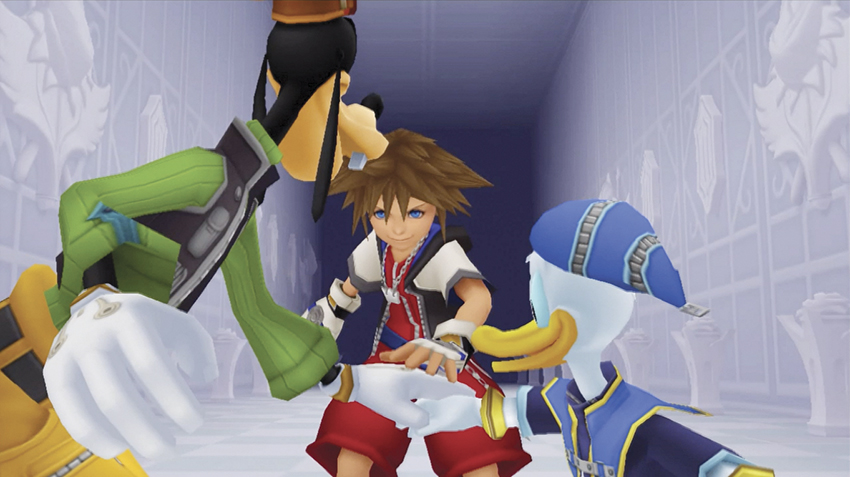
After Sora, Donald, and Goofy all try and deduce the history of Naminé’s good luck charm, the trio agrees to forgive one another and have each other’s back through to the end.
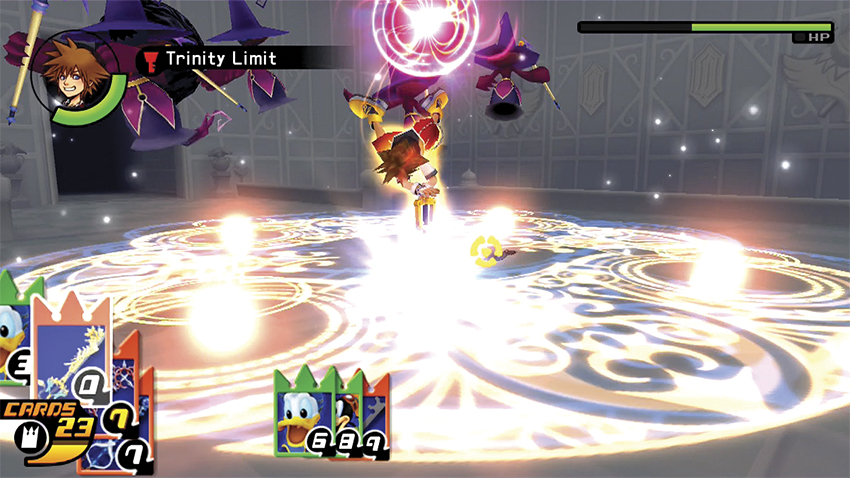
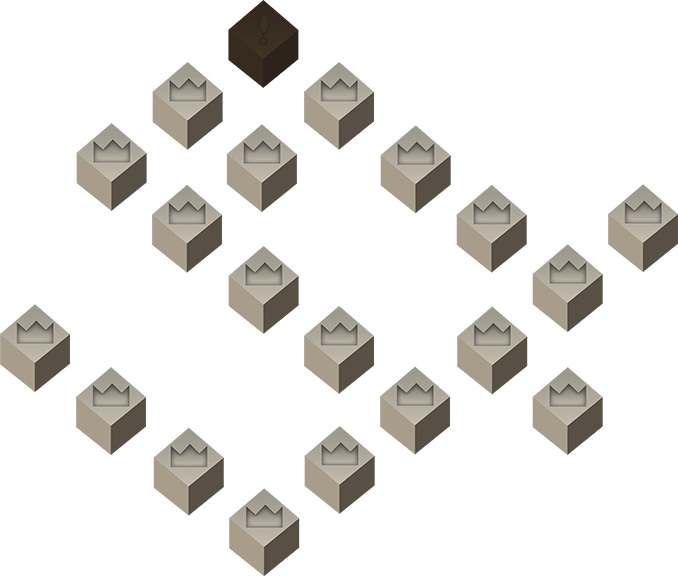
After gaining the Key of Beginnings card, follow the map to the glowing crown room. The Heartless that randomly attack are much more powerful than before, and look a bit more menacing. Regardless of their improved defenses, you should have no trouble dispatching them, which will also bring you a load of experience points. Before you get to the crown door, a very brief cutscene shows Naminé taking care of the Riku Replica, and a figure appearing in the foreground. After the scene, continue on through the next series of rooms, still making the long trek to the first crown door.
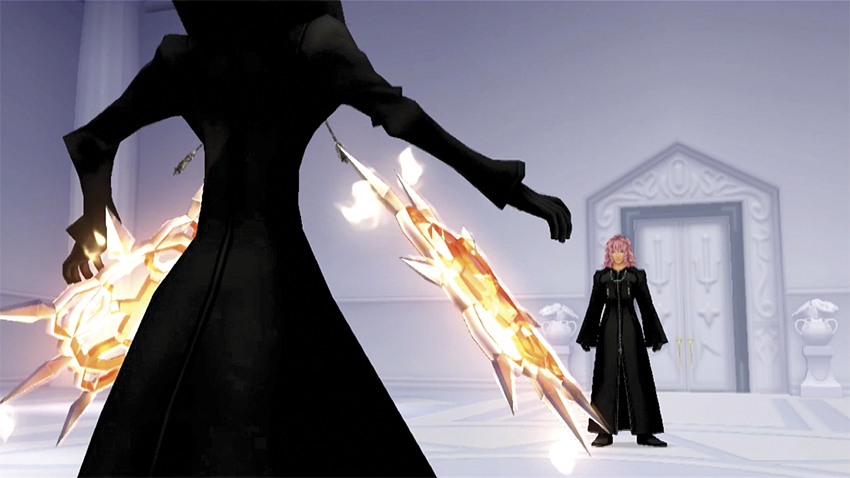
A second cutscene begins, this time between Marluxia and Axel. The two are arguing about each other’s true intentions, and Marluxia calls Axel a traitor. Axel returns the insult, and Marluxia takes Axel for a double agent, which begins an epic fight between the two of them. At the end, continue to make your way to the first crown room on the map. If you can, try and centralize a save point from within the world so that it is easy to access when you are running back and forth though the different rooms. There is going to be some hard fighting ahead, so tread lightly. However, it is recommended to make the room before this crown door into a room with enemies, as you may need to level grind a bit to access the next door. Making a room so close will serve as an easy access point for racking up more cards.
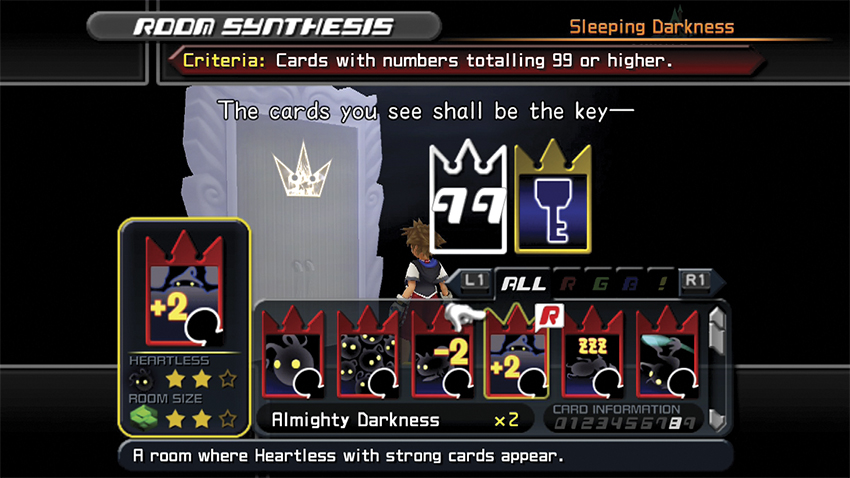
This next special door is especially difficult to enter as you will need a red numbered card, a blue numbered card, and a total of 99 points worth of cards to enter. Yeah, you may need to grind some major levels to have enough points to enter this room. Once this door is opened another scene begins.
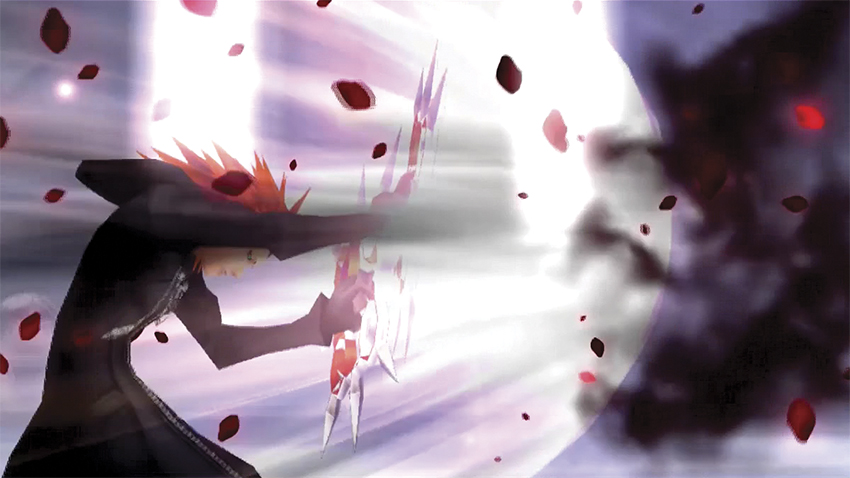
This scene starts off intense, showing Axel and Marluxia going at it. Marluxia senses defeat, and grabs Naminé and holds her as a shield. Just then Sora runs in and Marluxia convinces him that Axel is at fault. Sora misplaces his anger towards Axel and challenges him to a fight, which Axel willingly accepts so as not to lose face.
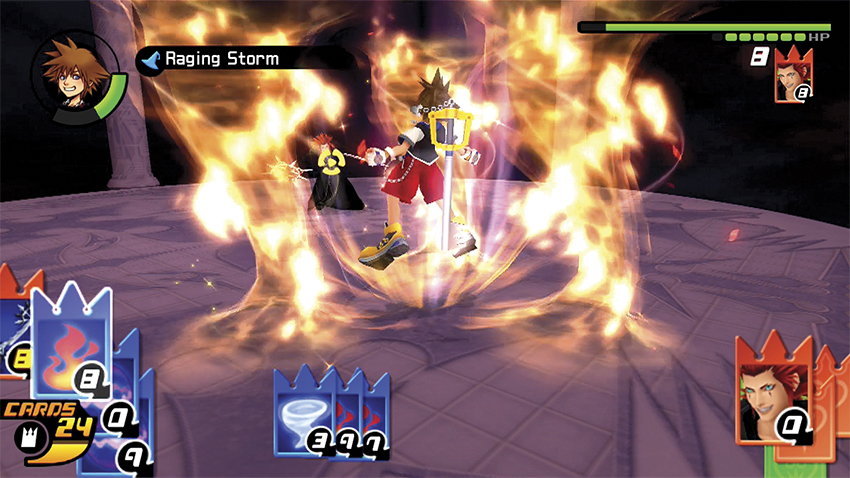
Boss Battle: Axel (Part Two)
Like the last few Organization members, Axel is much more feisty in this battle than the last time you faced him. His health meter is much larger, and his hits do much more damage. He likes to throw fireballs, called Firetooth, which can easily be broken with strong cards or dodged. Axel still uses Fire Wall, another flame attack that expands and explodes over the entire arena.
The majority of this fight relies on the same tactics as before. Axel is still very quick on his feet and will hit you with a barrage of spiked attacks. For the most part in this fight, Axel seems like he wants you to beat on him, as he will sometimes just sit there and wait for you to hit him. Running up on him and using strong combos and Sleights becomes the best tactic, as Axel just sits there for a few beats to let you pummel him.
In the end, Sora gains the Axel Card. After the fight, proceed to the next crown door.
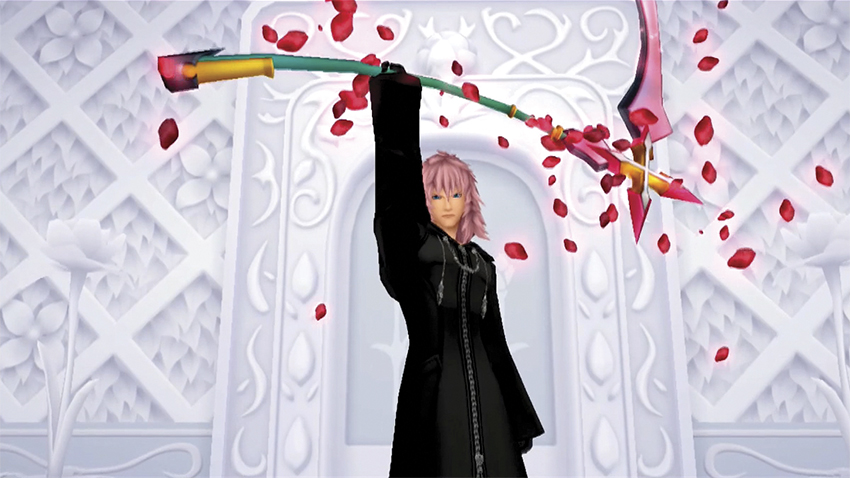
After the fight, Axel tells Sora that he was happy to help out, however before Sora can get much more out of him, Axel disappears. After the scene, continue on to the last room to the north on the map and proceed through the already open door to meet Marluxia. Marluxia congratulates Sora for getting Axel out of the way, and then commands Naminé to erase Sora’s memories. After Naminé refuses, the Riku Replica runs up. Apparently he does not care that his memories were false—protecting Naminé is his only mission. This instigates the first fight with Marluxia, and it is a frantic one.
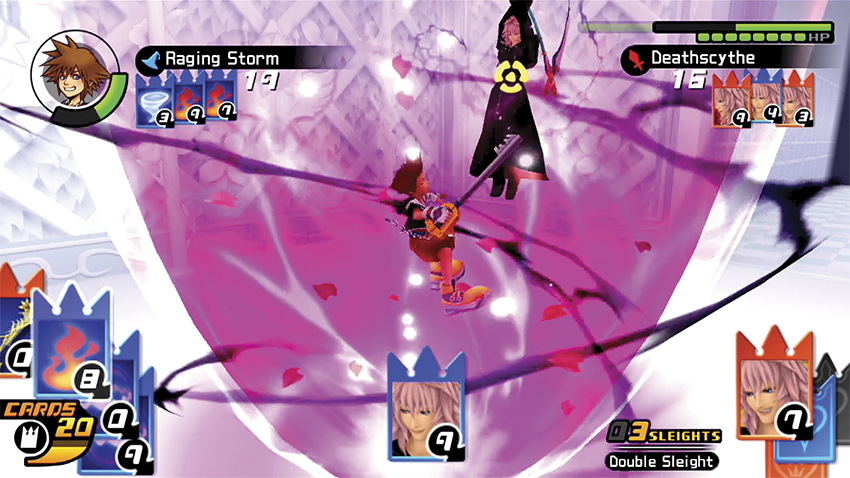
Boss Battle: Marluxia
Every previous battle has come to this point. Every level earned, every Sleight learned, and every card burned has brought you to this moment. Now is the time to utilize every skill imaginable to defeat Marluxia. This guy is tough. Simple as that. Thus finding a strategy that works is very difficult.
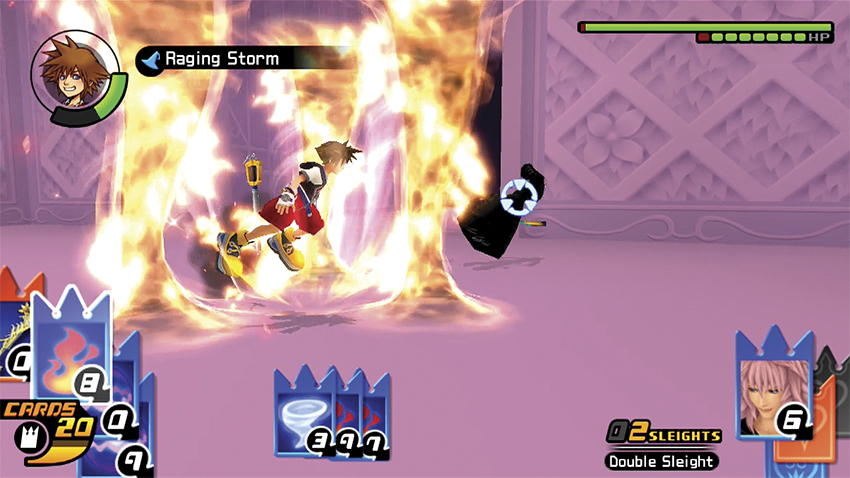
Marluxia uses Blossom Shower, which is borderline insane to dodge, so have a 0 Card ready to break it. Marluxia also uses a pink projectile to fly at your direction, which can be dodged by rolling just before it reaches you. The most interesting attack is one where he moves a bit after a Scythe attack, which breaks all laws of time and space, causing damage without you really knowing it. Deathscythe, however, is a move that ensnares you in a pink shield until Marluxia releases you with a touching slash to the torso. Lastly, Marluxia will throw his Scythe up into the air, turning the sky black, and then command the scythe-shaped bolt back to destroy you. He will use this attack again, however it will be in rapid succession, which is technically a different move.
Marluxia is hard, not because his moves hurt that much, but because it is really difficult to predict or read his next move. This is why it is highly suggested to have at least five Cure Cards on hand as well as some amazingly high numbered Attack Cards. Marluxia is punishing and his moves need to be broken as soon as they are set up.
The good thing about this fight is that Marluxia has very little defense. Hitting him with a three-hit combo takes him down almost an entire life bar.
After the fight, Sora is given the Marluxia Card. Sora also gains a level, and if you have learned all the Sleights up to this point, Sora learns the Ars Arcanum Sleight.
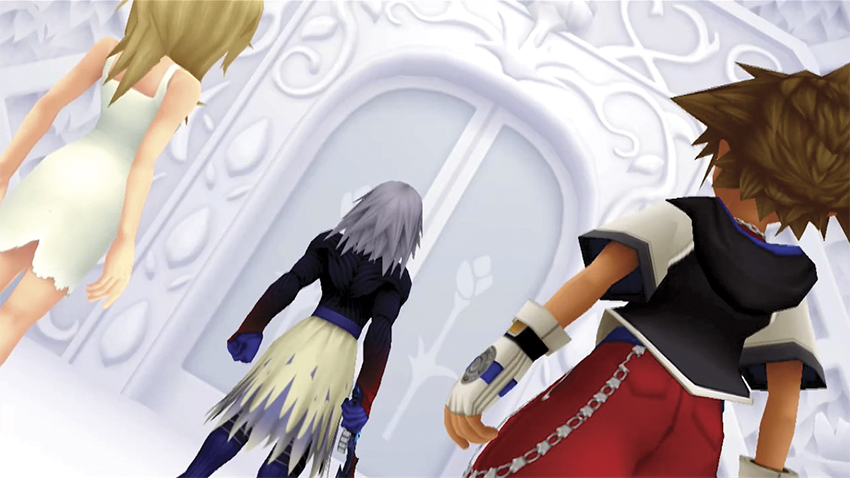
It seems that this Marluxia was merely a well-choreographed illusion that disappears behind the door. Sora tells Riku to hang back with Naminé, then boldly chases after the real Marluxia to engage in another match against the flower-loving member of the Organization. Do not enter the door to face Marluxia without editing your deck to make use of any Sleights and Summon Cards. It is highly suggested to bring three or more Cloud Summon Cards.
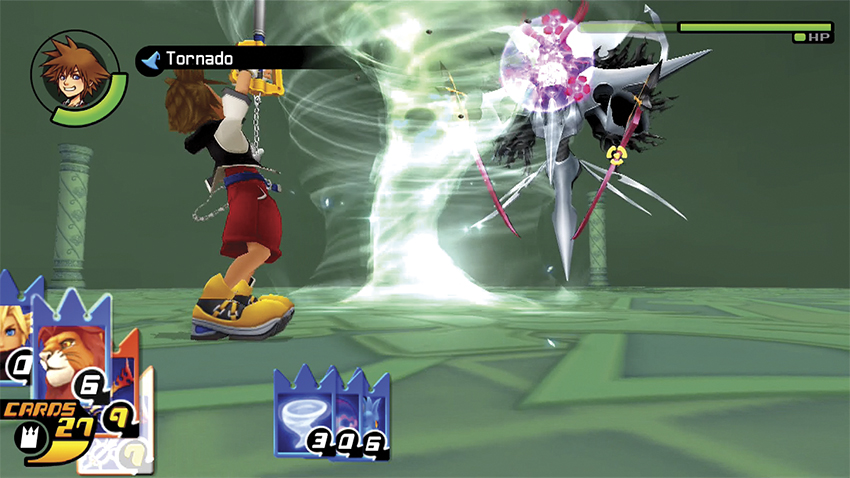
Boss Battle: Marluxia (Part Two)
Marluxia has somehow blossomed into a devilish looking robot that wields two scythes. Do not let his appearance fool you too much. While this fight is time consuming, it is not as devastating as the last fight.
From the beginning, run up and destroy Marluxia’s scythes.
Once the scythes are finished, take the fight to Marluxia’s abdomen. Turn to the Cloud Summon Cards and use them as often as you can when Marluxia stands still.
Repeat this method as many times as you need to bring this pretty boy down.
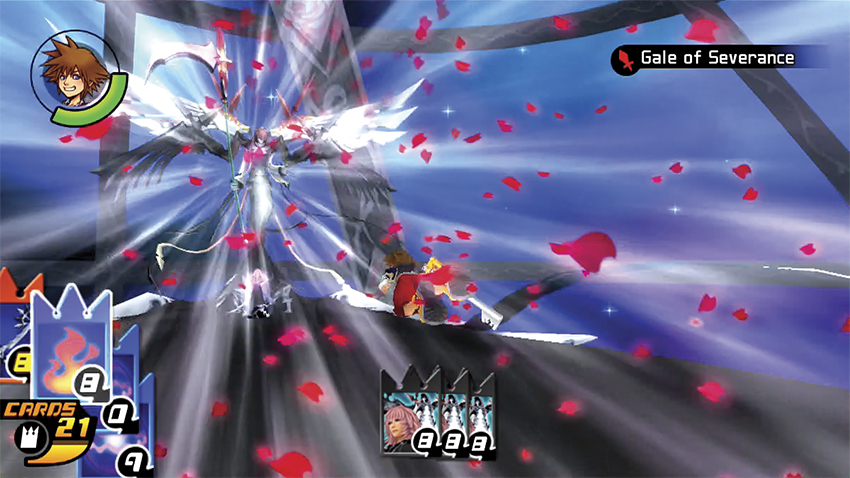
When you thought Marluxia was finally defeated after you defeated his mechanized suit, his third and final form appears. Now he stands before you with a large angel of death creature floating behind him. Marluxia begins by throwing pointed rose pedals at you repeatedly.
His next move is called Gale of Severance, which just uses a gust of wind to push you all the way to the back of the arena.
His main third attack is simply called Doom, which you cannot avoid. It contains you in a magic field and then counts down from six to zero, before you are attacked by his angel of death.
Even after all this his moves are not that damaging, and combos and Cloud Summons still work very well because Marluxia stands in one spot for the entire fight.
Once the battle ends, the last cutscene for Sora begins, so enjoy the ending. For all you diehard fans out there, there is much more left to come, however. After Sora’s ending, it is time to complete the game over again, this time playing as Riku...