
Kingdom Hearts HD 1.5 Remix Guide KHFM: Walkthrough Dive Into the Heart
Dive Into the Heart
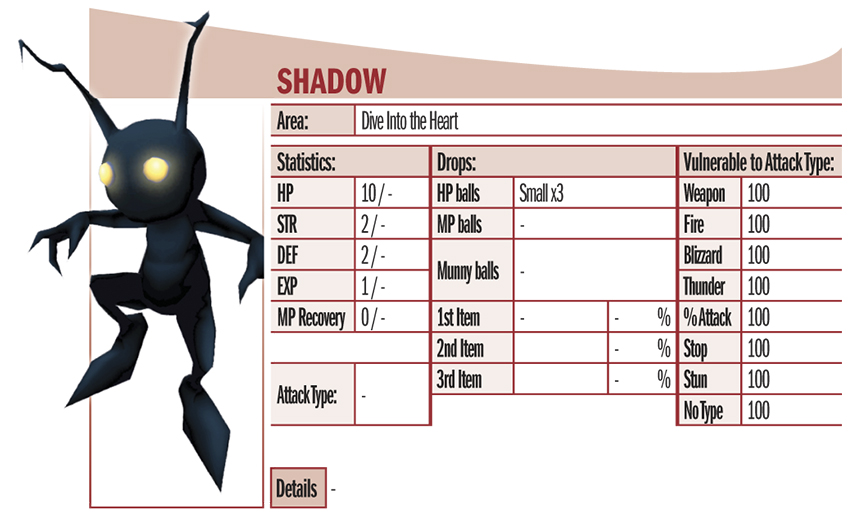
Opponents
| Name | Shadows | Darkside |
|---|---|---|
| HP | 10 | 240 |
Items
| No. | Item | Location | Condition |
|---|---|---|---|
| 1 | Potion |
Objectives
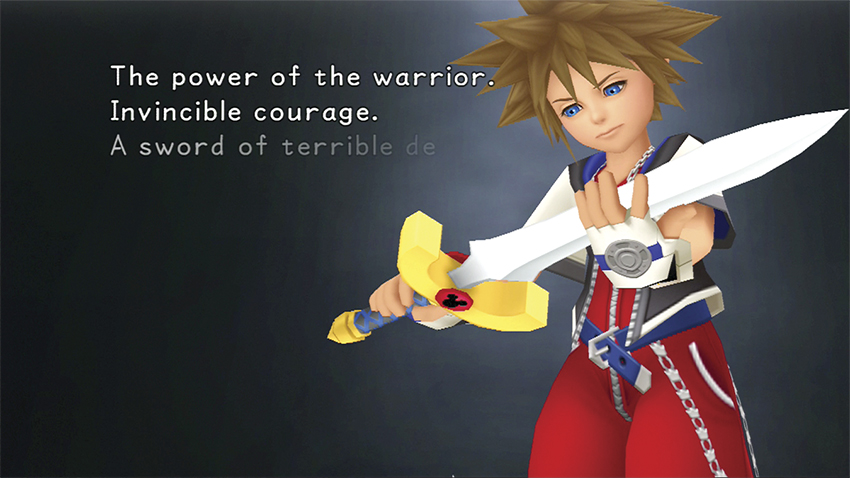
1. Keep one item and sacrifice one item to determine your stats
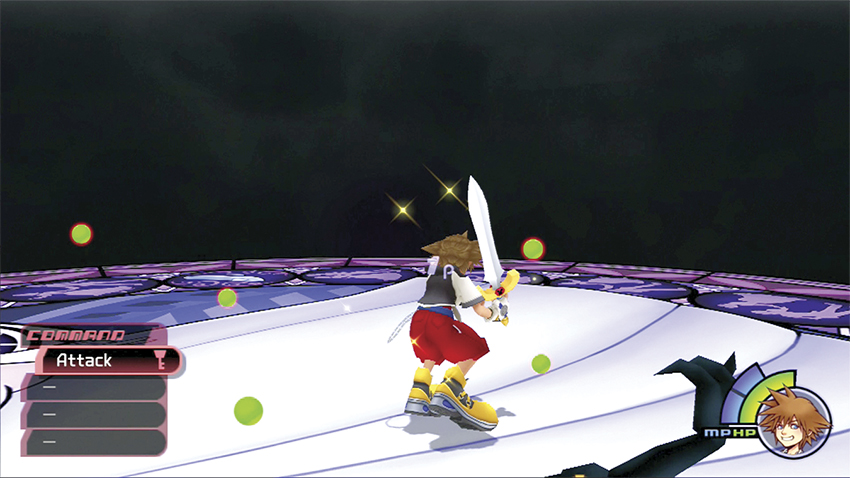
2. Fight the first group of Shadows
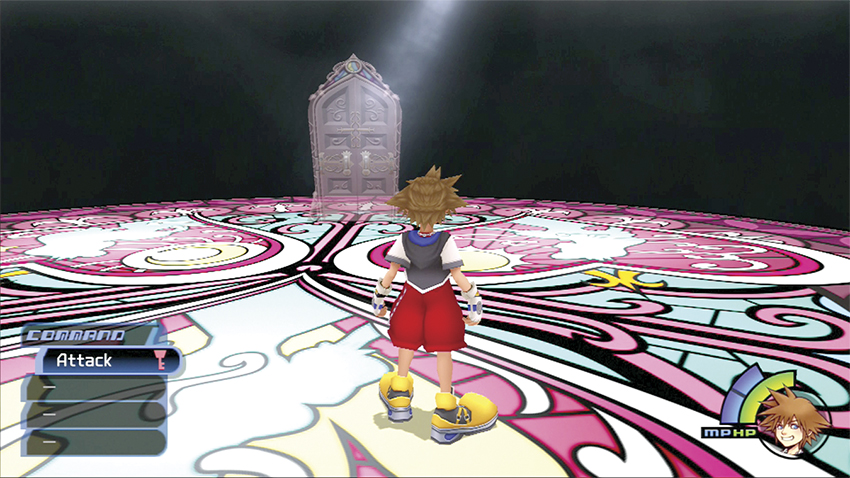
3. Figure out how to open the mysterious door
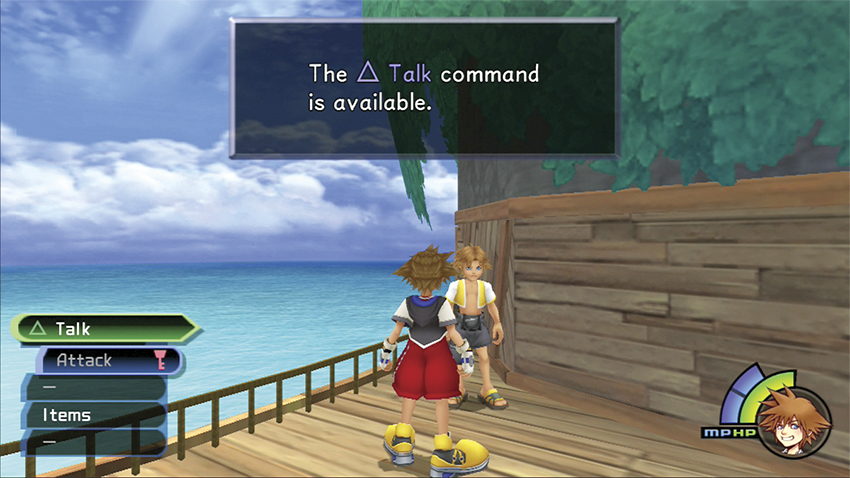
4. Talk to your friends to set your leveling speed
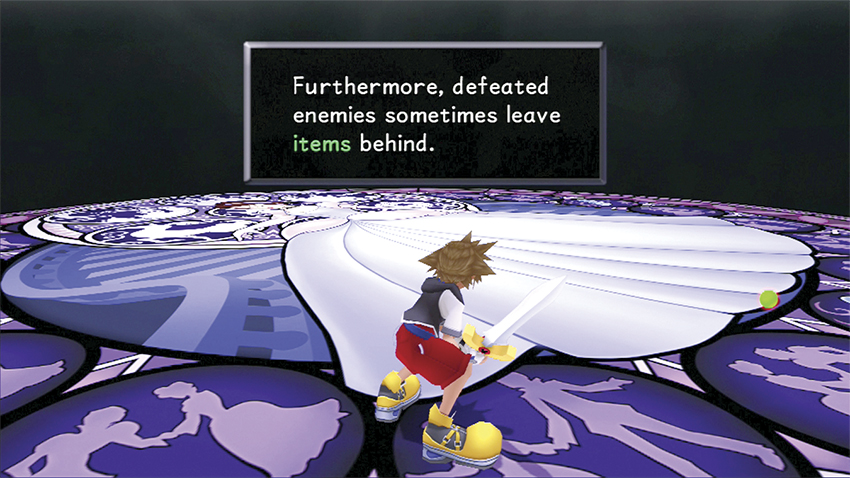
5. Battle the second Shadows group and save at the save point
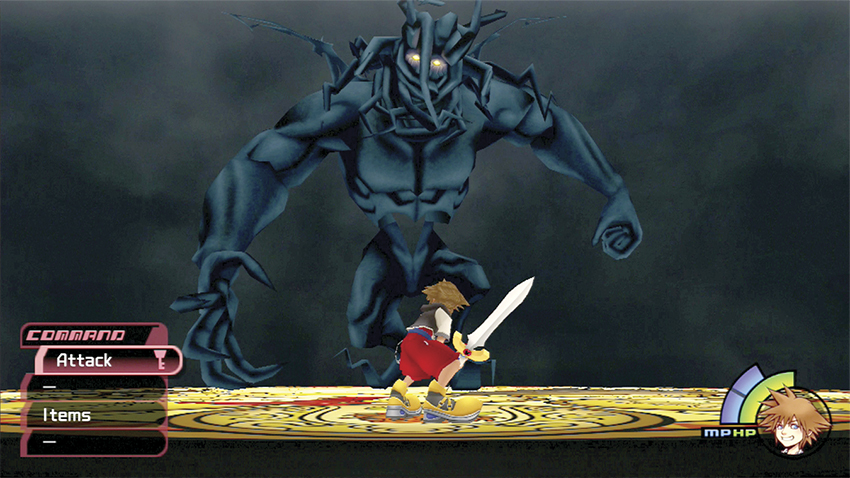
6. Defeat your first boss, Darkside
Step 1: Weapon Selection
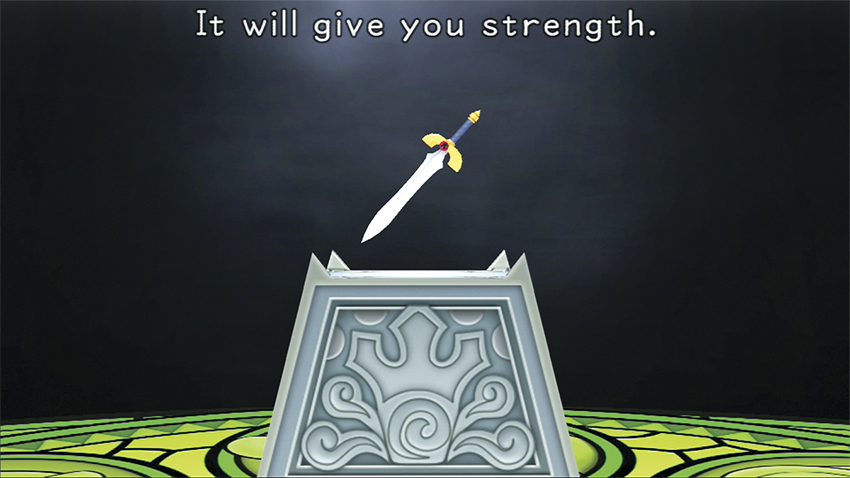
As the game begins, a mysterious voice guides you to create your new main character, Sora. Follow the directions as you’re offered a choice among three items: sword, staff, and shield. You will be asked to select one item and sacrifice another. Jump up on an item’s platform and confirm your choice if it’s the intended item.
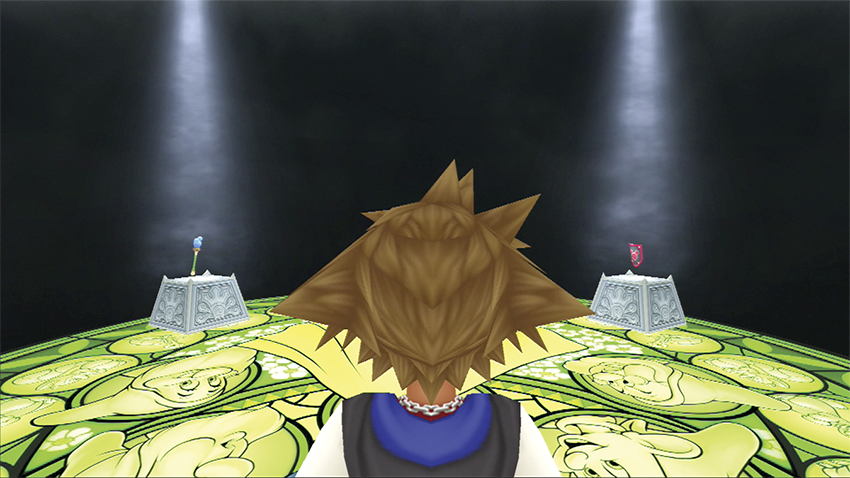
After your choices, the two items that remain determine your starting statistics (see “Sora’s Stats” sidebar). If you want to play more offensively, select the sword, while the shield gives you more defense. Keep the shield if you plan on relying on magic over brawn in future battles. Whichever item you choose to keep will be your starting weapon, though you will gain the more potent Keyblade soon enough, so your weapon look shouldn’t be your primary concern during character creation.
| Keep | Sacrifice | HP | MP | AP | STR | DEF | Weapon |
|---|---|---|---|---|---|---|---|
| Sword | Shield | 18 | 2 | 3 | 6 | 1 | Sword |
| Sword | Staff | 18 | 2 | 1 | 6 | 2 | Sword |
| Shield | Sword | 18 | 2 | 3 | 4 | 4 | Shield |
| Shield | Staff | 18 | 2 | 1 | 5 | 4 | Shield |
| Staff | Sword | 18 | 3 | 3 | 3 | 3 | Staff |
| Staff | Shield | 18 | 3 | 3 | 5 | 1 | Staff |
Step 2: First Battle
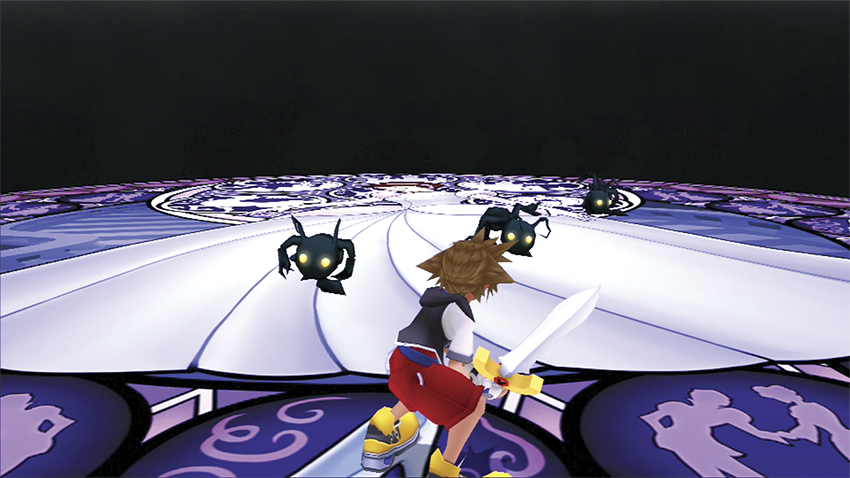
After learning about attacking, hit points (HPs), and magic points (MPs), a group of Shadows threaten you. Shadows are relatively easy to dispatch, though you’ll have to be patient when they flatten out and wait for them to reform so you can strike them. After you vanquish the first one, you learn about targeting before battling the remaining Shadows. Be sure to scoop up the green HP balls the Shadows drop to replenish any lost hit points.
Step 3: Through the Door
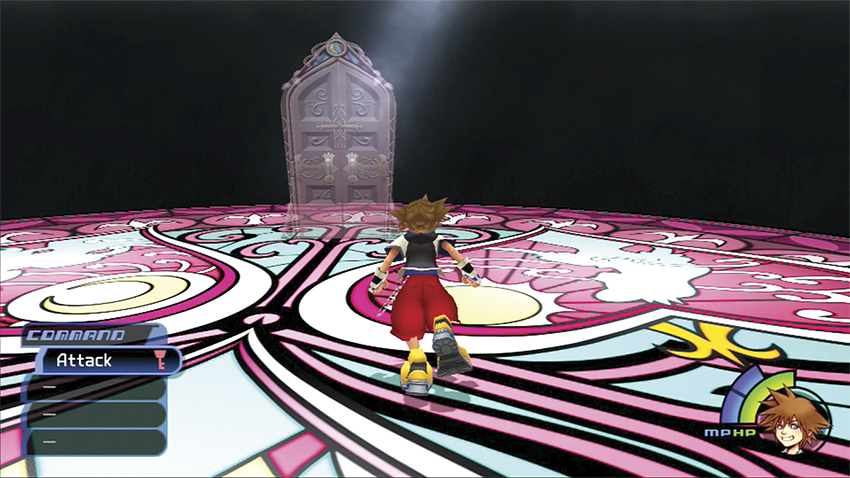
A black vortex sucks you down to the next platform at the conclusion of the first Shadows battle. A translucent door stands near you. Approach the door and examine it.
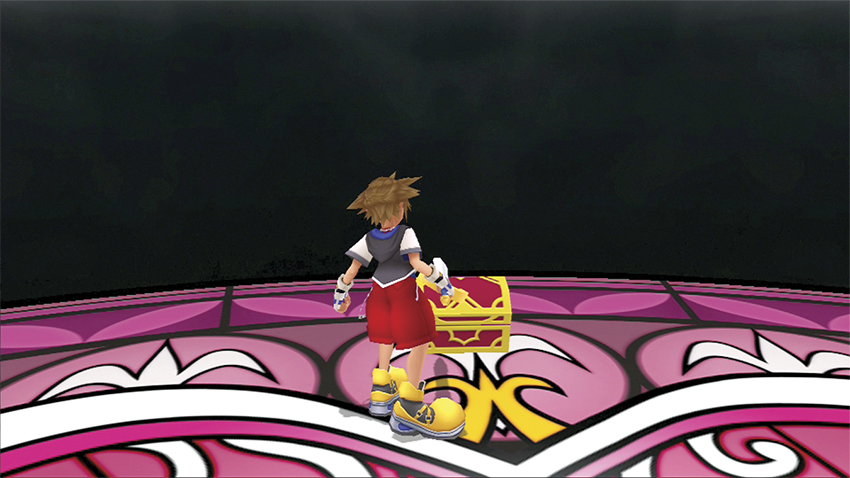
The door won’t open yet, but your action drops a red chest from above. Go over to the chest and examine it as well.
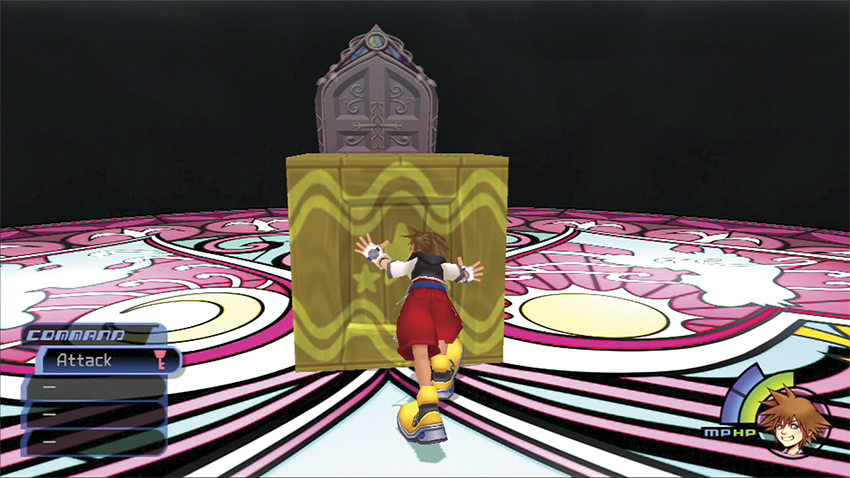
This drops a large crate from above. Walk behind the crate and push it up against the translucent door. Once it’s in position in front of the door, attack the crate to smash it open. You gain a Potion from inside and a barrel appears on the platform.
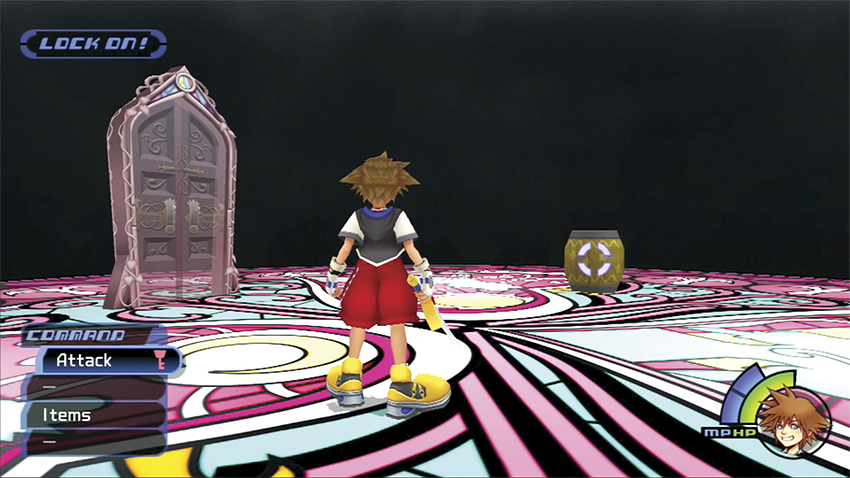
Smash the barrel to solidify the translucent door. You can now access it. Walk over to the door and open it to take you to an important conversation with three of Sora’s friends.
Step 4: Leveling Path
Each of your friends will ask you a question. How quickly you level up from experience will be determined by your answers. This guide assumes that you want to level up as quickly as possible, so the “fast” path is outlined here. If you would like to proceed at an “average” speed or a “slow” speed, see the “Leveling Speed Answer Key” sidebar.
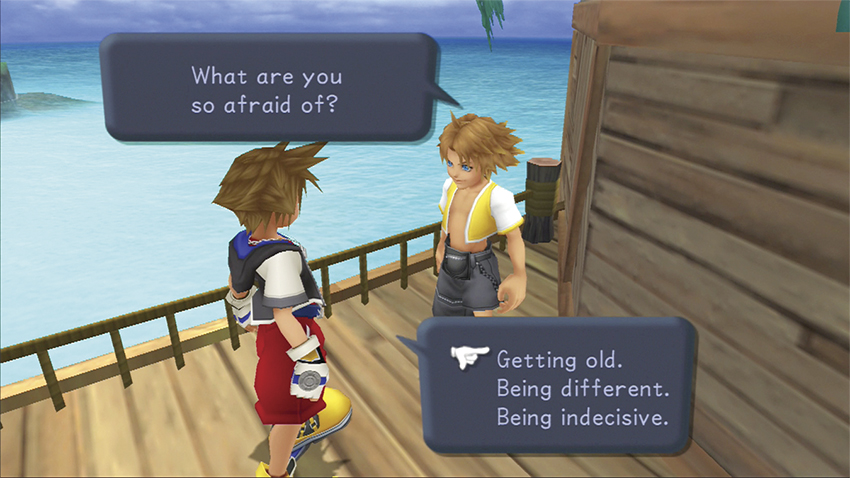
Assuming you want to level up quickly, speak with Tidus first and answer “Getting old,” the first choice (A), when prompted. Ignore “Being different” (B) and “Being indecisive” (C), which generally lead to slower experience growth.
 Tidus
Tidus
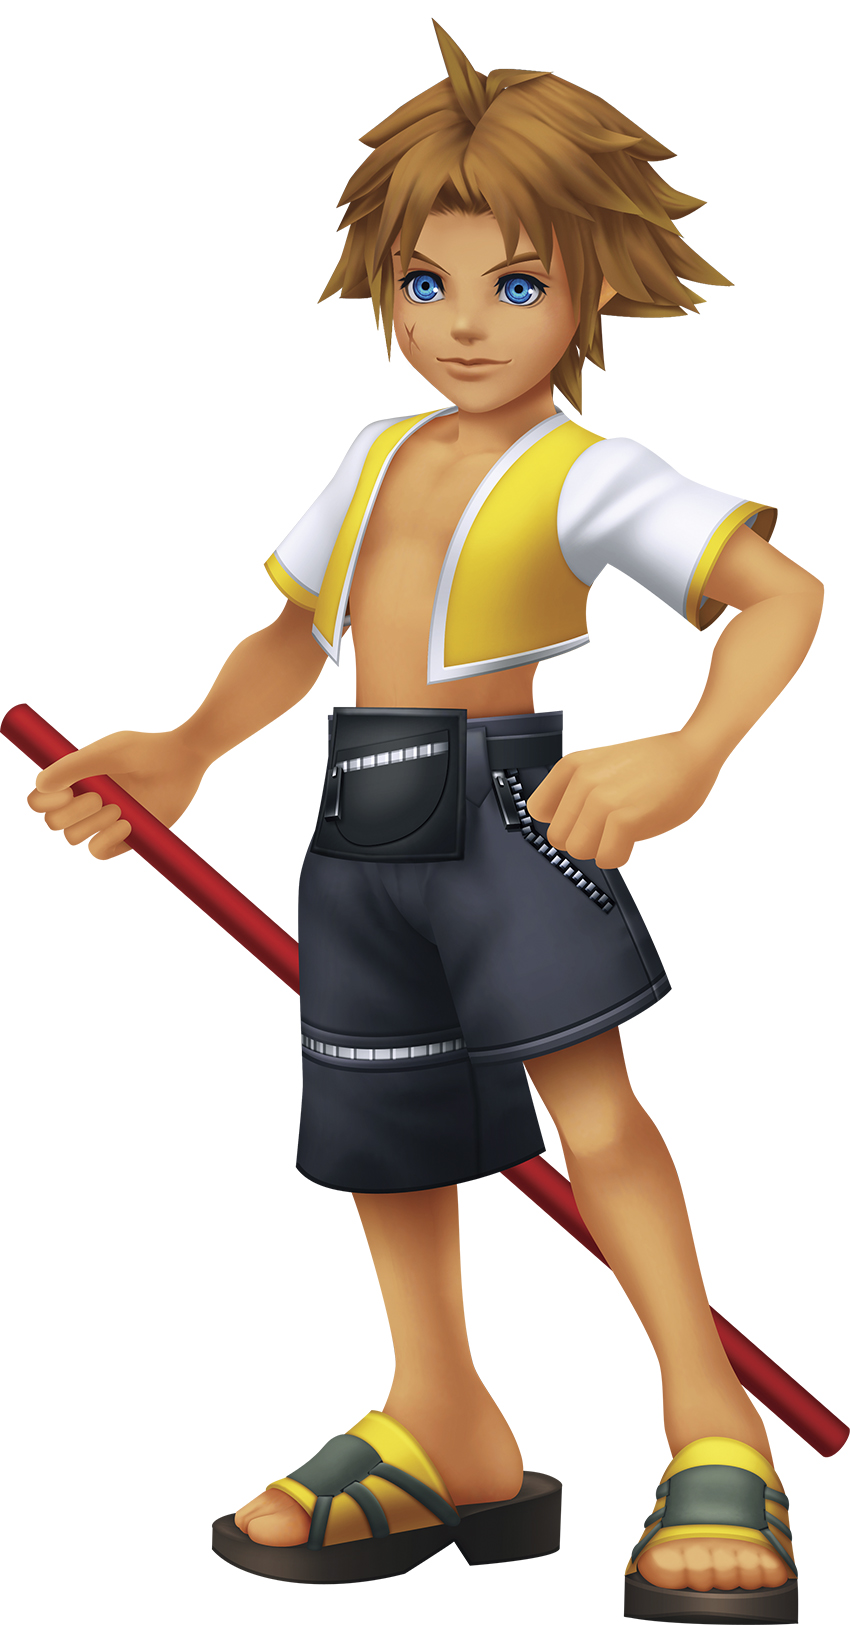
One of the residents of Destiny Islands, Tidus always has a smile for you. Though he considers himself better at most things than everyone else on the beach, Tidus is still a loyal friend to all his Destiny Islands friends. Tidus was the main hero of Final Fantasy X.
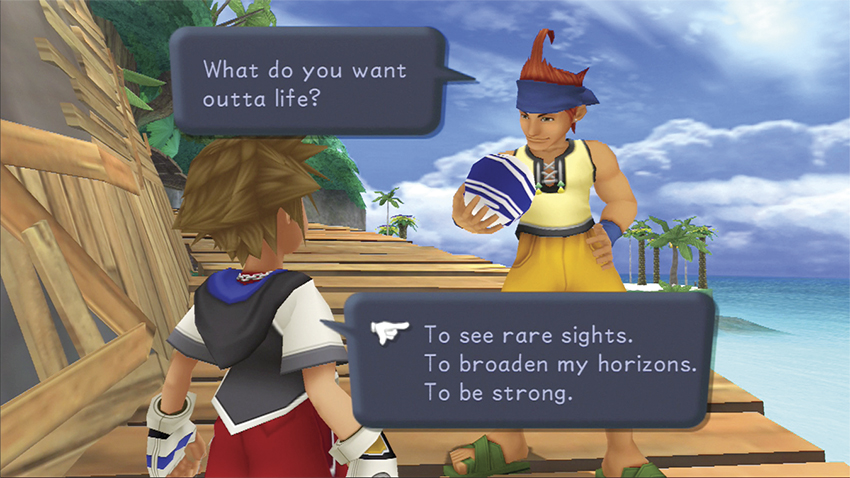
Next, visit Wakka. He asks you what you want out of life. Answer “To see rare sights” (D) to continue your path toward fast leveling. Ignore “To broaden my horizons” (E) unless you want a slower experience growth. It’s possible to answer “To be strong” (F), though in order to work, that requires a specific selection (G) when talking with Selphie.
Wakka
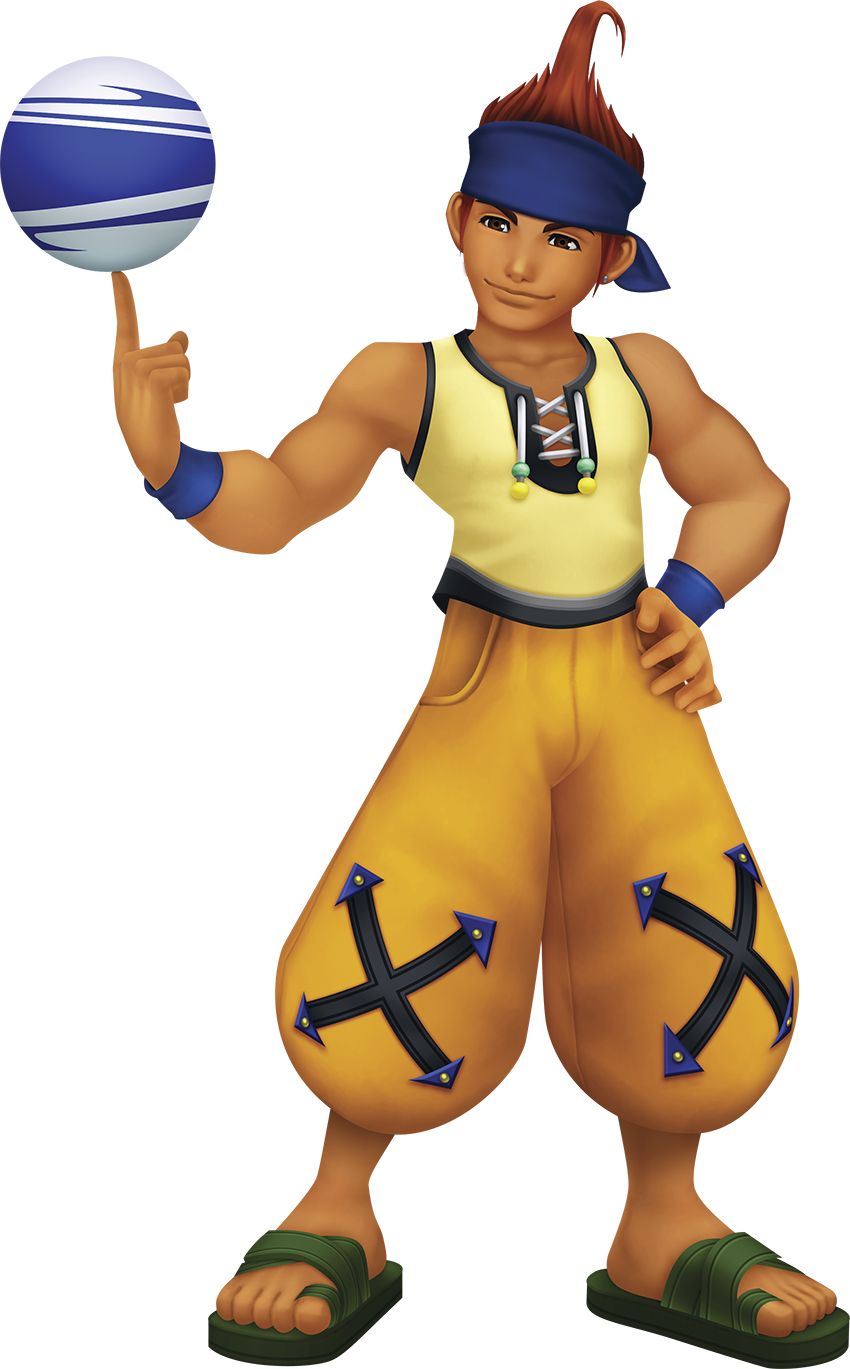
You’ll never see Wakka without his trusty blitzball on the beach. When he’s tossing the ball around or playing big brother to Tidus and Selphie, Wakka hangs out with the rest of the Destiny Islands clan. Wakka originally appeared in Final Fantasy X.
Selphie
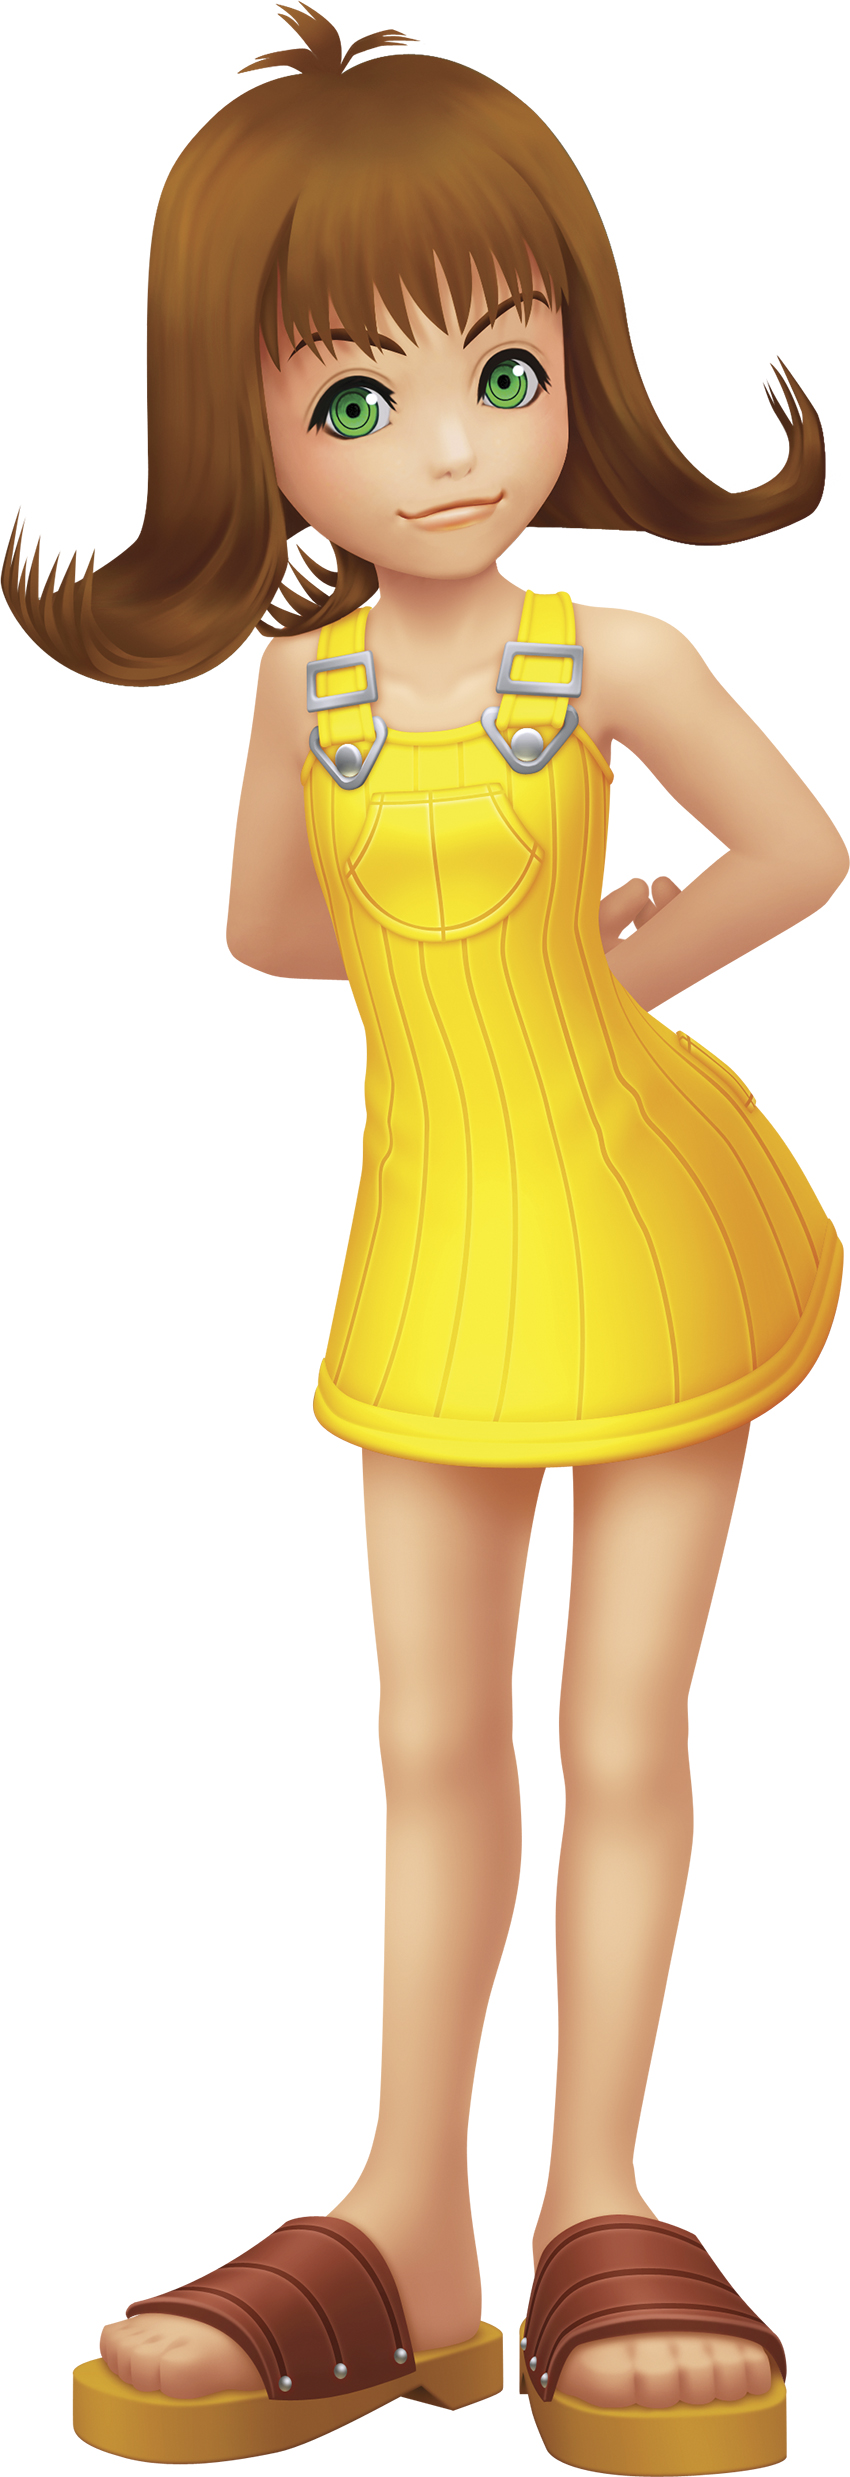
Romantic, impulsive, and spunky, Selphie trains on the beach with her nunchaku. She may look small and demure, but you’d be wise not to underestimate her battle skills. Selphie originally appeared in Final Fantasy VIII.
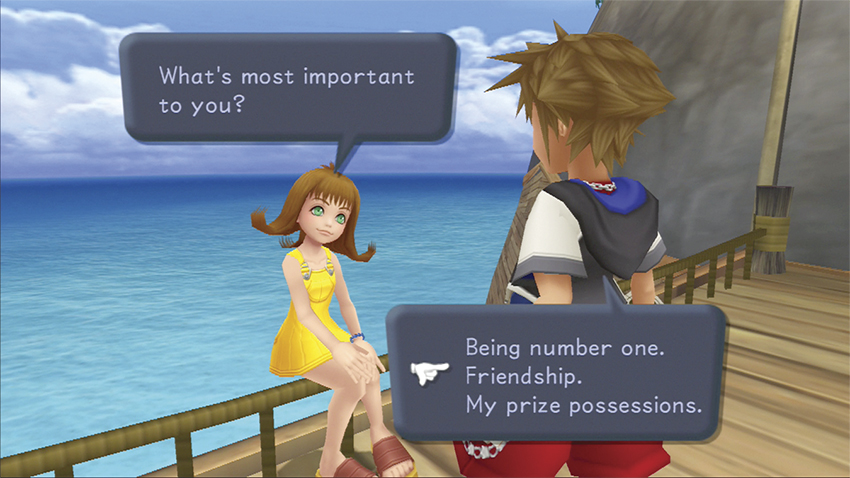
If you answered choice A for Tidus and choice D for Wakka, you can pick any of Selphie’s three answers and you’ll achieve the fast experience path. Be sure to pick “Being number one” (G) for what’s important to you if you answered choice F for Wakka. Otherwise, choice H (“Friendship”) and choice I (“My prize possessions”) lead you down slower experience growth paths.
| Fast Growth | Average Growth | Slow Growth |
|---|---|---|
| ADG | AEH | AFI |
| ADH | AEI | BDI |
| ADI | AFH | BFI |
| AFG | BDH | CDI |
| BDG | BEG | CEI |
| CDG | BEH | CEG |
| — | BEI | CFH |
| — | BFG | CFI |
| — | BFH | — |
| — | CDH | — |
| — | CEG | — |
| — | CEH | — |
Step 5: First Save Point
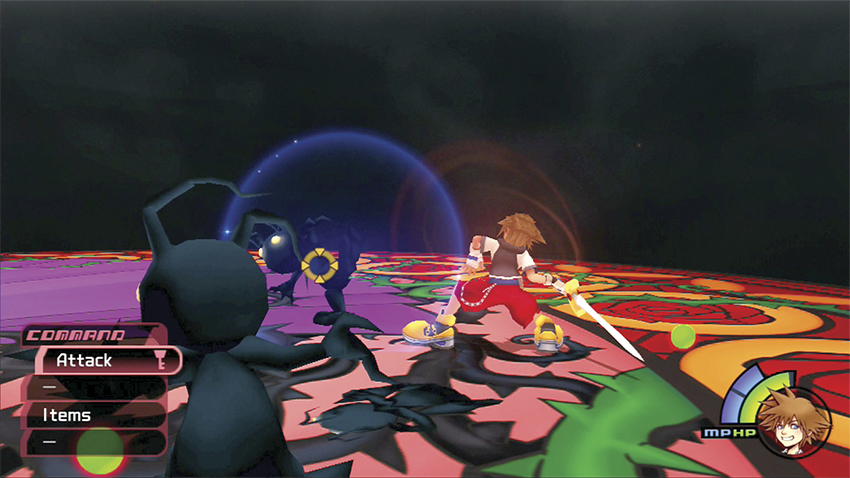
More Shadows attack after your conversations with Tidus, Wakka, and Selphie. Fight through them, grabbing HP balls to recover hit points if you get low. Remember to use the Potion you obtained from the crate if the situation gets dire.
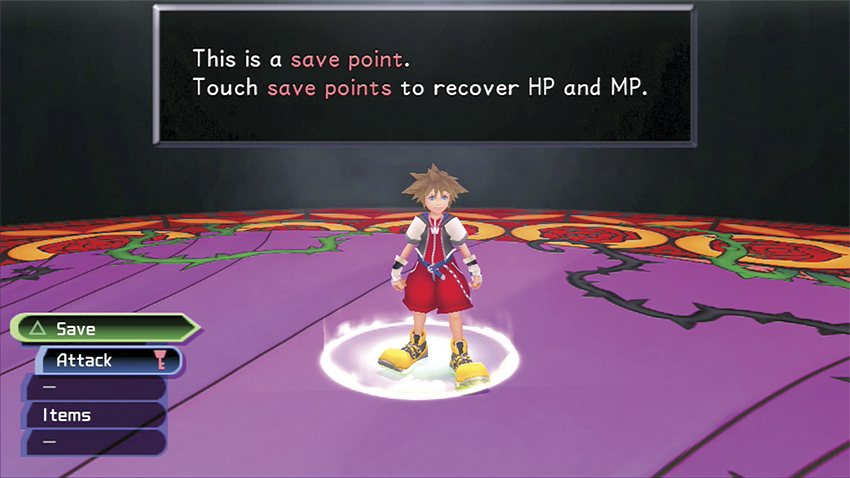
When the save point appears, step into the circle to heal back to full. Save your game before heading into your first boss fight.
Step 6: Darkside
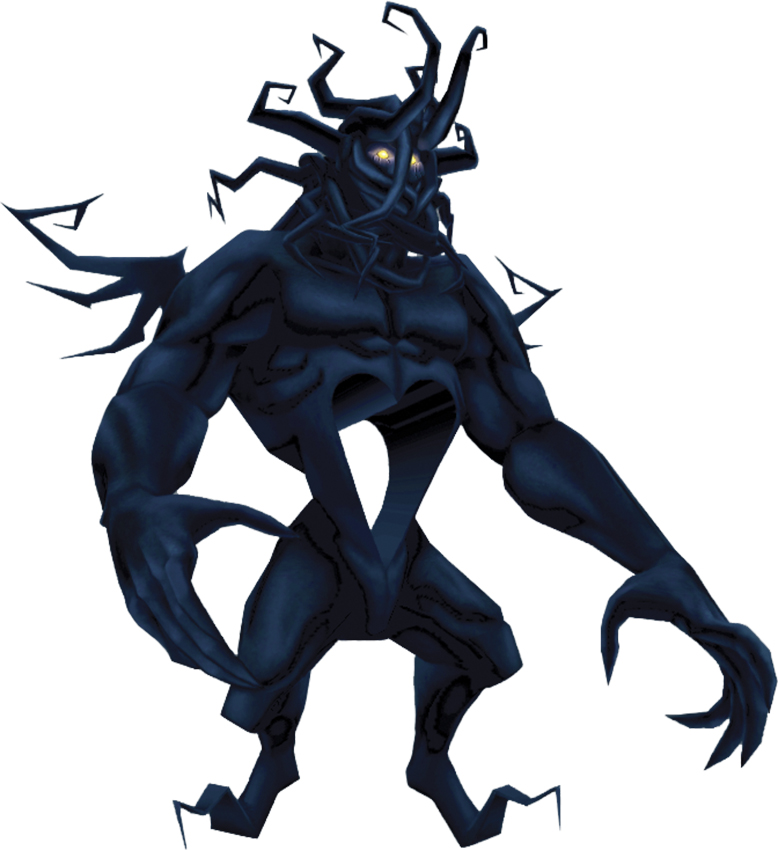
| HP | 240 |
| Strength | 2 |
| Defense | 2 |
| EXP | 18 |
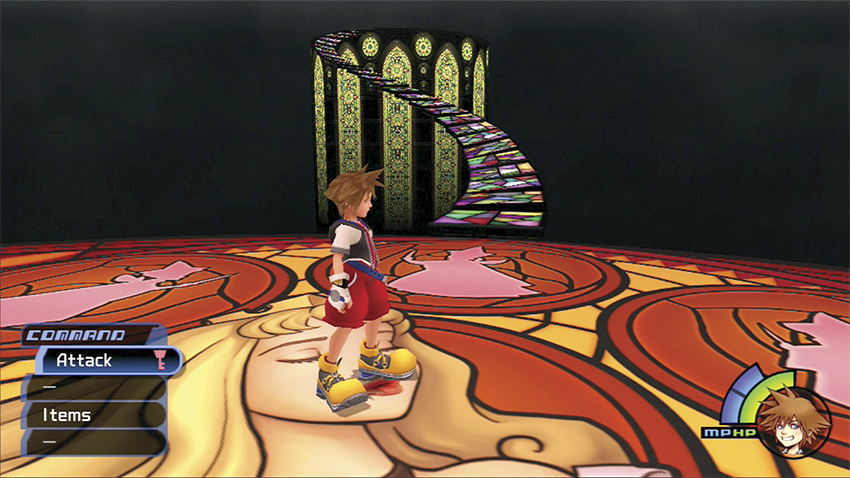
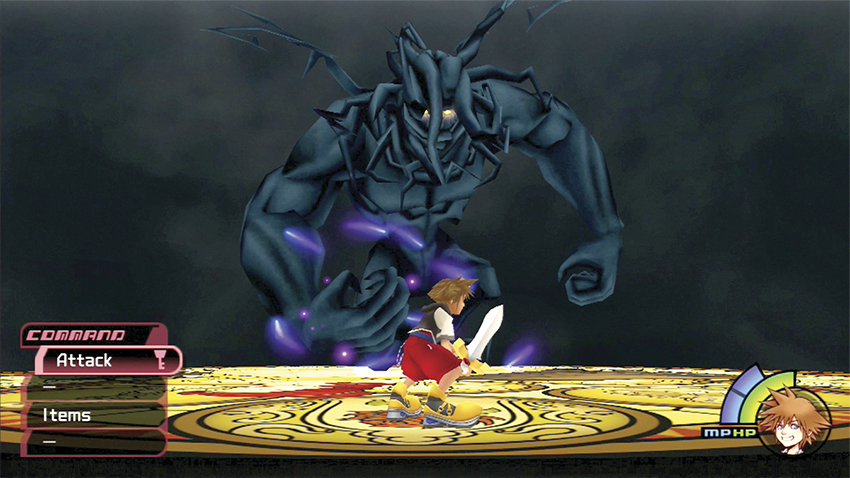
When the rainbow stairs appear, run up them to the final platform where you’ll meet Darkside. The creature rises above you, and try as you might, you can’t leave the circular platform; you must defeat Darkside to survive!
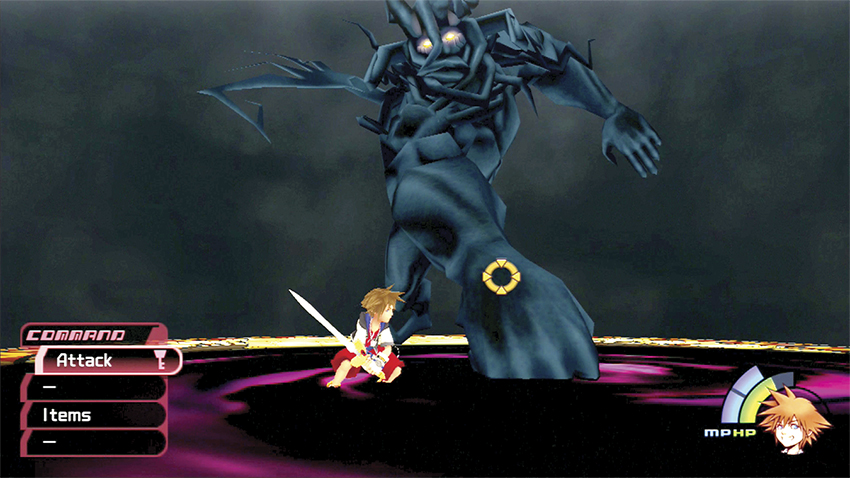
Lock on to Darkside’s hands during the fight. Dodge Darkside’s right fist as he swings his massive attack down on you. When it lands, Darkside’s hand sinks into the platform and remains trapped there for several seconds. Pound away at the hand you’re locked onto and deliver as much damage as you can before Darkside withdraws his hand. Don’t let any Shadows that spawn distract your attacks on Darkside’s hand.
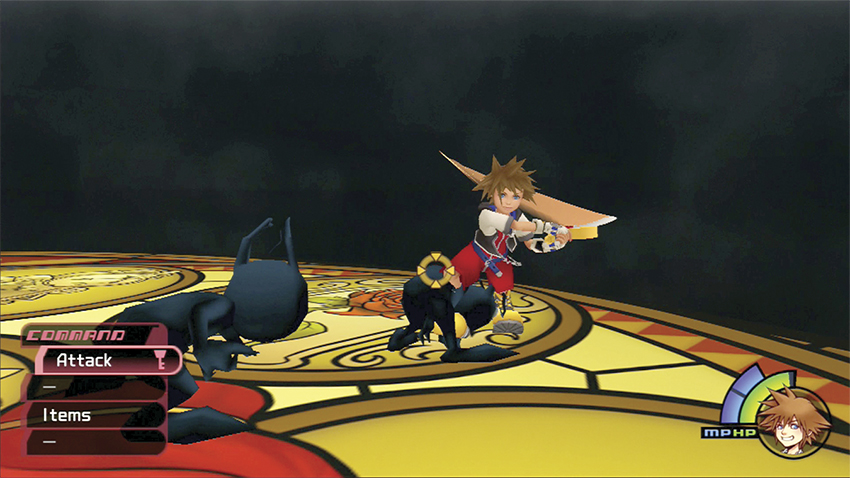
When Darkside withdraws his hand, switch your focus to the Shadows that have oozed out of the inky darkness spread from Darkside’s hand. Smash them quickly to recover hit points from the slain Shadows’ HP balls.
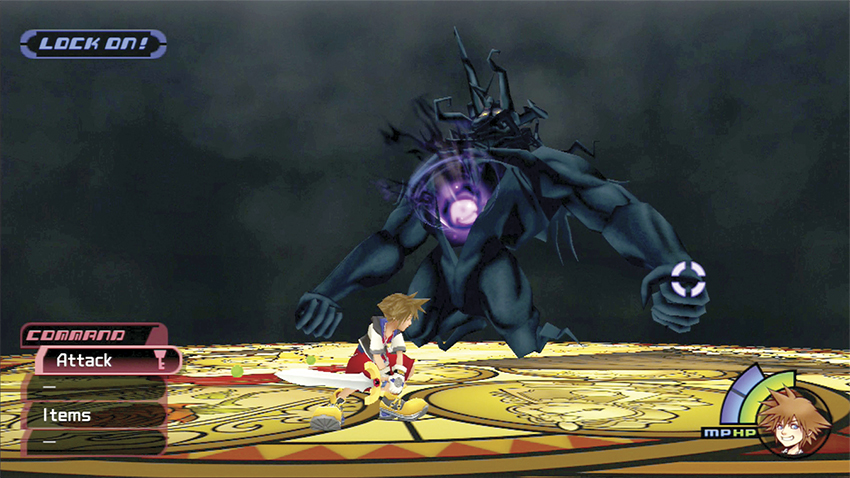
Return your attention to Darkside before he launches his next volley of attacks. When Darkside drops to his knees, he shoots out a series of energy balls from his chest. As the energy balls rocket toward you, jump to the side and avoid as many as possible. If you time it right, you can dodge them all with a full HP meter to assault Darkside again.
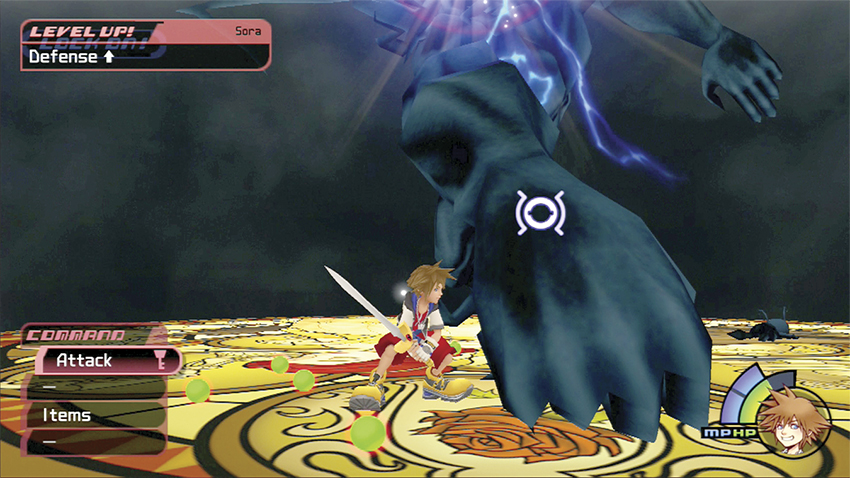
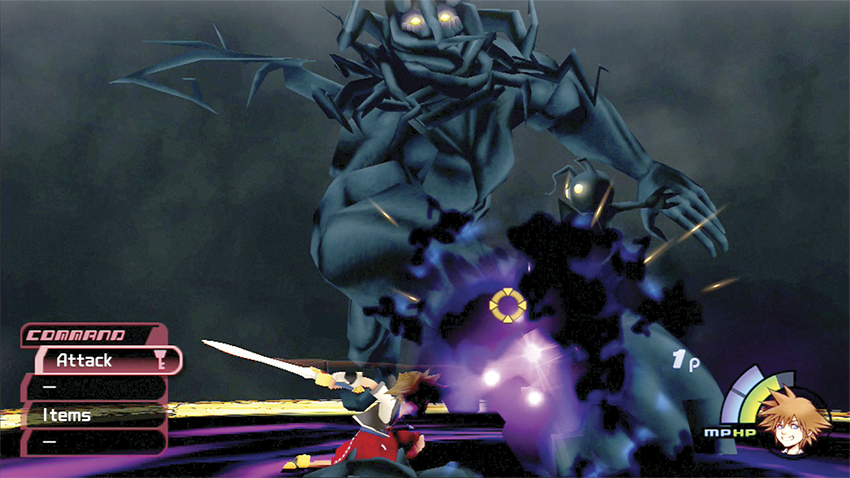
Repeat your tactics until you’ve dealt 240 hit points to Darkside. Though you defeat him, Darkside is not dead; you will fight him again shortly. The boss’s inky blackness swallows you at the fight’s conclusion and deposits you in the most unexpected of locations—a sunny beach!