
Kingdom Hearts HD 1.5 Remix Guide RCoM: Walkthrough Sora’s Story
Sora’s Story
Sora’s Story Disclaimer
Riku’s Story: Reverse/Rebirth

Castle Oblivion
Sora’s back, boys and girls, his coveted Keyblade in hand. While his new venture takes place after the original Kingdom Hearts game, the previous game does not necessarily need to be played to understand exactly what is going on, but will help to understand the recurring characters’ motives and earth-shattering events up to this point.
After starting a new game, you are treated to a rather lengthy opening cinematic, which continues from the point at which the first Kingdom Hearts game ended. During the cutscene, an ominous, cloaked figure from the Organization appears to Sora. The mysterious man delivers a pretty dark omen before disappearing, leaving the quartet to ponder his words. Immediately after, Sora, Goofy, Donald Duck, and Jiminy Cricket make their way to Castle Oblivion. Once they enter, they all have a feeling that King Mickey is around. The ominous figure follows them and relays some interesting information. Just a little memory-swapping, nothing too dangerous. During the scene, the dark figure hands Sora the World Card for Traverse Town. World Cards are a must for inter-world travel. The world selection screen appears, prompting you to select Traverse Town as the first destination.
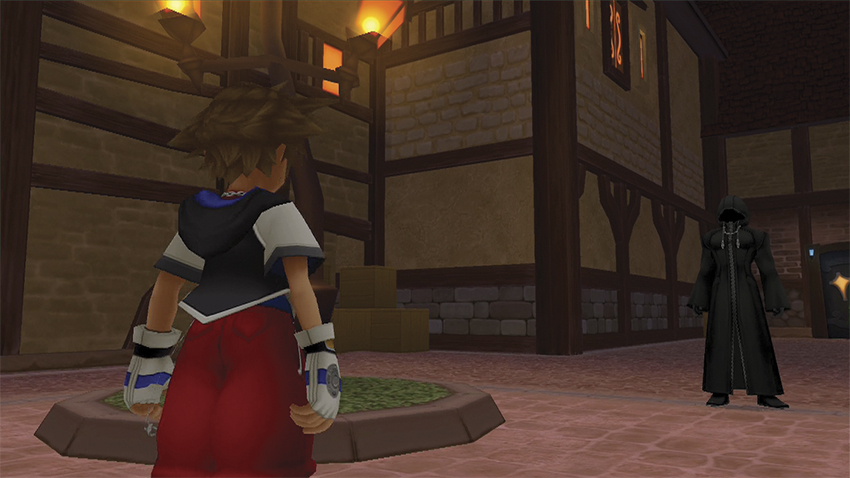
Traverse Town
Upon entering Traverse Town, the strange man in black explains even more about Sora’s predicament. This begins a battle tutorial to get you acquainted with the controls. The tutorial is pretty straightforward, with explanations for using Cards during battle. Each Card performs an attack, while a face Card (like Goofy for example) will enact a special ability. The Donald face Card uses a magic attack, while the Goofy face Card uses attack strength. After completing the tutorial, Sora obtains the Key of Beginnings Card, which is the first of many Cards to be used in the game.
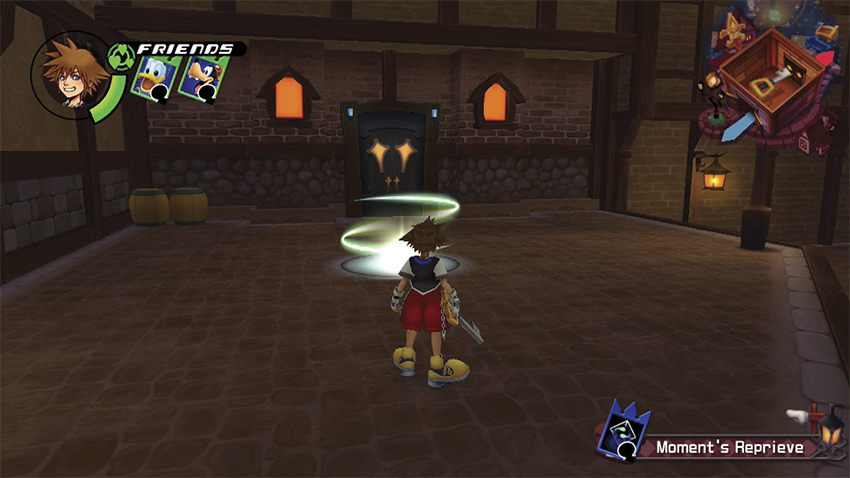
When Sora finally becomes playable, you are free to run, jump, roll, or swing your Keyblade around. A menacing barrel drops down in front of you and must be destroyed. Congratulations! You obtain a Map Card for picking a fight with a barrel. These Map Cards fulfill some very important functions in the game as well as a strategy for getting from one point to the next. On the front of the Map Card is one of three colors: red, blue, or green. Also on the Card will be a picture and a corresponding number. Each Card has a different purpose and will change the characteristics of the room you want to enter based on what is explained on the Card. For instance, if the door requires a red Card with a number 3 on it, you must have that corresponding Card to enter.
As you proceed a Shadow Heartless picks a fight with you. Show it who’s boss and throw a box at its head if you wish.
Once in battle, use whatever Attack Cards you have to finish the job. Beat the enemies into submission to receive a Map Card for your efforts.
You are now able to venture on through the only door in your path. Use the Map Card to pass through the door. Once Sora comes through the other side, the path becomes quite linear and very easy to navigate. A save point appears and a short explanation comes with it.
Press
 while standing on the save point to save your progress up to this point.
Continue through the door by pressing
, then use the correct number Card to enter the next door.
Now a few Shadow Heartless will engage you in combat, depending on which Card you used when creating this room. Engaging in random encounters not only helps Sora level up, thus becoming stronger, but also gives you a chance to collect more Cards to access the upcoming doors. That being said, the Cards you will receive will most likely be red Cards that spawn Shadow Heartless at this point.
When you are ready to move on, you must proceed through the special door with the crown imprinted on the top of the door. Doors with crowns over them require special Cards called Map Cards to open them. Open this crown door with the Key of Beginnings Card to advance the story.
Upon entering the room, Goofy and Donald surprise you by jumping out from behind you. Along with Jiminy, the four of you attempt to understand how you came to be in Castle Oblivion AND Traverse Town at the same time. Jiminy proceeds to explain that this is not the real Traverse Town, and that the Card created Traverse Town inside Castle Oblivion. Sora eloquently shouts that the party must stop talking and move on. Just then, Leon enters the room. Apparently he is having the same problems, because he has no idea who you are and thinks he is in the real Traverse Town. Something is terribly wrong here.
Shortly after the strange conversation, Leon will teach the function of different Attack Cards called Keyblades. Leon begins by explaining Card strengths and breaks, as well as a how-to on using Sleights, an important quality of the game. Leon kindly gives Sora the Simba Summon Card.
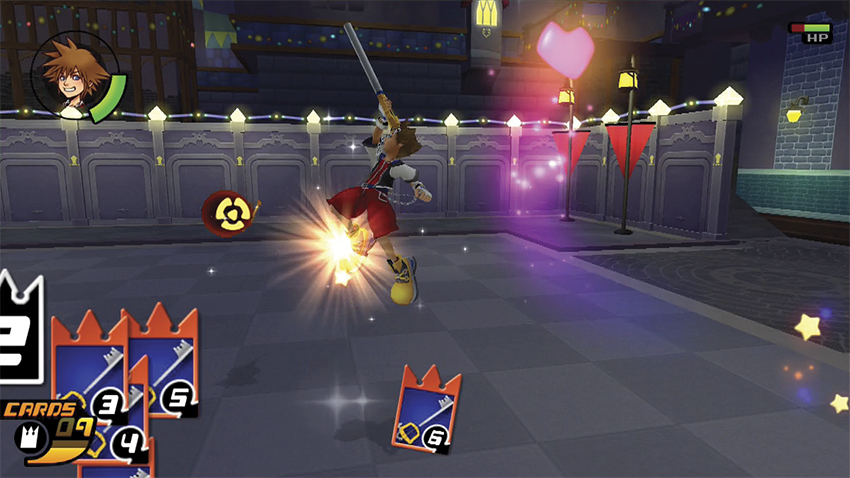
Sora acquires the Key of Guidance Card, which has the exact same function as the Key of Beginnings Card and will be used for opening crown doors. Sora automatically exits the room and appears back in the first area. Now run to the second door and unlock it with the Map Card it specifies and proceed to the next area.
Once inside you will find that whatever was printed on the Map Card is what takes place inside the room, so be cautious of what kind of room you create. At this point, however, you will have a Card that spawns enemies. Avoid them if you wish, or fight them to gain extra experience and a few more Cards. Whatever you decide to do, remember to break the boxes and barrels in the area to gain some Moogle Points and possibly a new Card. Again you are faced with a crown door. Now that the Key of Guidance is in your sweet little hand, you can gain access to enter this crown door as well.
Another scene unfolds with Aerith, Yuffie, and Leon, along with Sora and company, discussing their apparent memory loss. What does it all mean? After the discussion, Sora obtains the Key to Truth Card, which will open the last crown door in the next area. View your map to see the last room and make your way there by opening the last numbered door and finding more Shadow Heartless on the other side. Again you can proceed past them, or attack them while they are the most vulnerable.
After you are ready to proceed, use the Key to Truth Card to open the last crown door and meet up with Cid. After Cid mentions something about a large Heartless that rings the bell in the bell tower, a bell is sounded and a vertically inclined purple machine jumps down in front of you, automatically starting the battle. This Heartless is named Guard Armor, and it is clear he doesn’t like you.
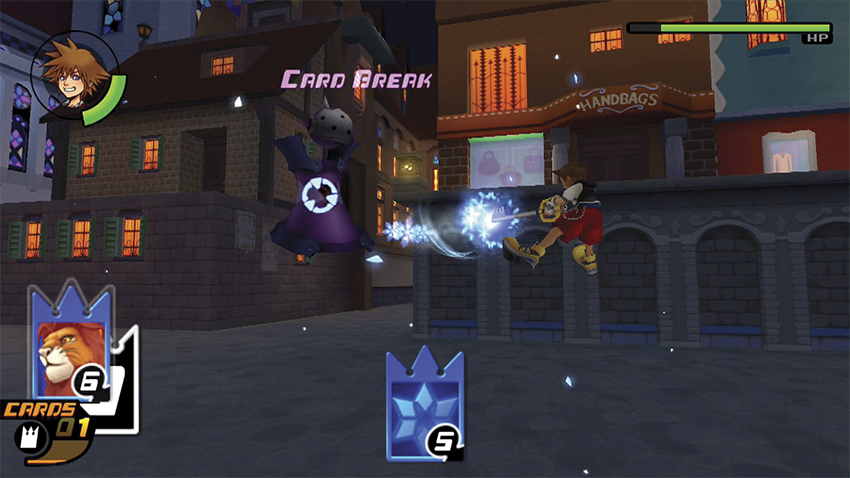
Boss Battle: Guard Armor
Being the first boss, Guard Armor is not overly difficult; simple enough so that players will not verge on the edge of insanity, but not quite a cakewalk either. His body splits into five parts: the body, two arms, and two legs. To defeat this boss, his body parts must be systematically destroyed. Guard Armor’s arms and legs can be overcome by simple Keyblade Card attacks, while healing when necessary.
After Guard Armor’s arms and legs are decimated, focus on the body. Be cautious though. At this point his body will start spinning around at random, making this part a bit tricky. Nevertheless, teach that purple mechanized brute a lesson. Remember to heal when you can and finish him off with some well-placed Keyblade strikes.
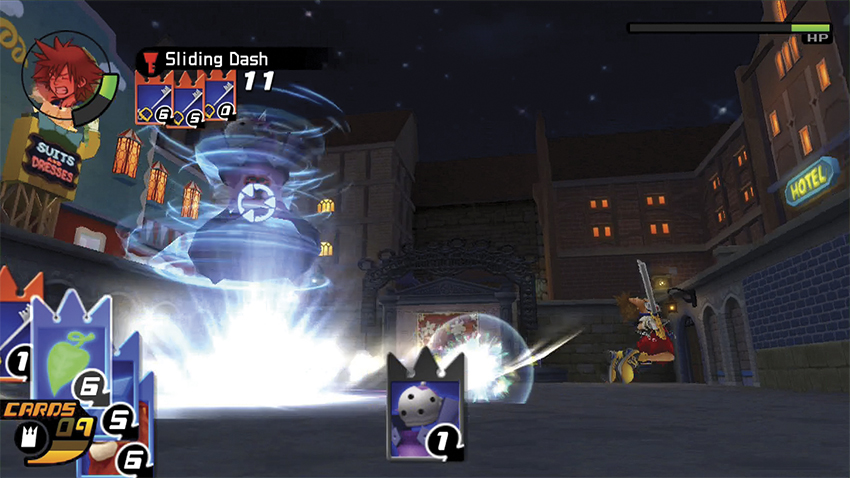
After Guard Armor is defeated, a cutscene follows in which Aerith warns Sora that his memories may be false. Subsequently, Sora is free to continue on his path. Run up the ramp, then finally climb up the ladder. Conveniently enough, a save point is waiting for you at the top of the ladder. Use it and move through the door via a numbered Card.
A cutscene is triggered, and the black figure appears. His tone is a bit more menacing than before, and a new enemy—Axel of the Organization—emerges behind him. Unfortunately for him, you are well equipped to handle him. Your second boss battle begins now!
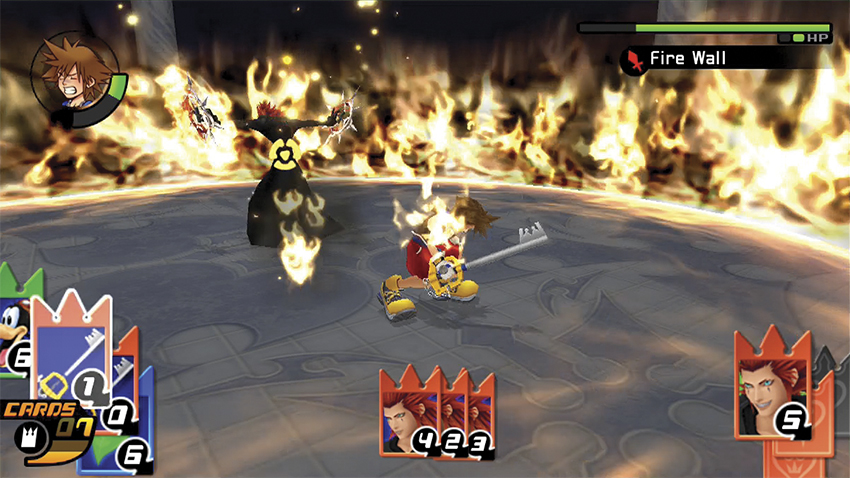
Boss Battle: Axel
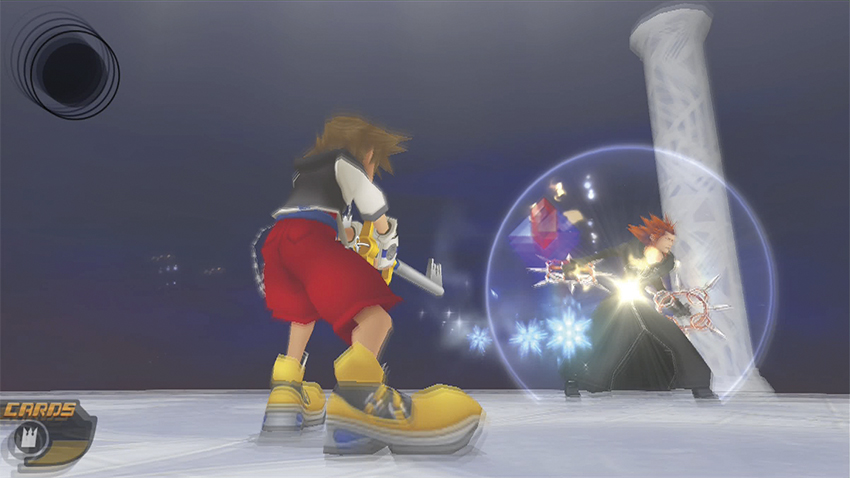
This fight is not very difficult if you maintain the same battle tactic as before, alternating between Attack Cards, Summon Cards, combos when necessary, and the occasional heal Card. Axel performs some nasty flame attacks with his two circular blades, and this is the first boss battle that will use Sleights against you, which can combine on you and inflict significant damage. Rolling and dodging these attacks can be tricky, however Axel announces his stronger moves very openly, giving you enough of an opportunity to anticipate and react. Axel begins by using Fire Wall, which appears exactly as it sounds, making a wall of fire around Sora.
It is best to dodge this if you can, as it will damage you moderately if you don’t. Axel then teleports around you instead of actually moving as you do. Watch out for his other strong attack—Chakram Throw—which can make this fight a bit frustrating if you get caught in its wake. This fight is a short one if you know what you are doing, and can be made shorter if you use Ice Magic Cards, because Axel’s element is fire. Upon achieving victory, you are given a Fire Magic Card for your efforts.
Another cutscene begins and Sora acquires a new World Card like the one you used to enter Traverse Town. Axel reappears and informs you to recall all of your memories so that you may find Riku and King Mickey. His last words remain ominous, warning you that if you find all of your memories, “you may no longer be who you are now.”
Sora finds himself on the first floor of the Exit Hall in Castle Oblivion. Speak with Goofy and Donald if you wish, then sprint up the stairs. A message appears, cautioning you that if you leave the area, all other rooms that have become unlocked will be erased. If you want to return to this floor later you will need all new Map Cards.
At the top of the stairs, yet again you are welcomed by another cutscene. Jiminy attempts to recall Axel’s words and make sense of them. Goofy and Donald prove to be of little help in remembering anything. This is fine, as the truth will be revealed in due time. Before Sora becomes playable again you will receive a PlayStation Trophy called Card of Memories.
You are now on the second floor Entrance Hall. Move forward to gain an explanation of the odd-looking circular object that stands in your path. This is a warp point, and you learn about the concept of warping here. Standing by it while pressing
will open the World Warp menu. Unfortunately this warp ability is of no real use to you at the moment, so you may skip the World Warp menu for now. This skill will be used at greater length later, as it is the key to obtaining some pretty rare Cards.
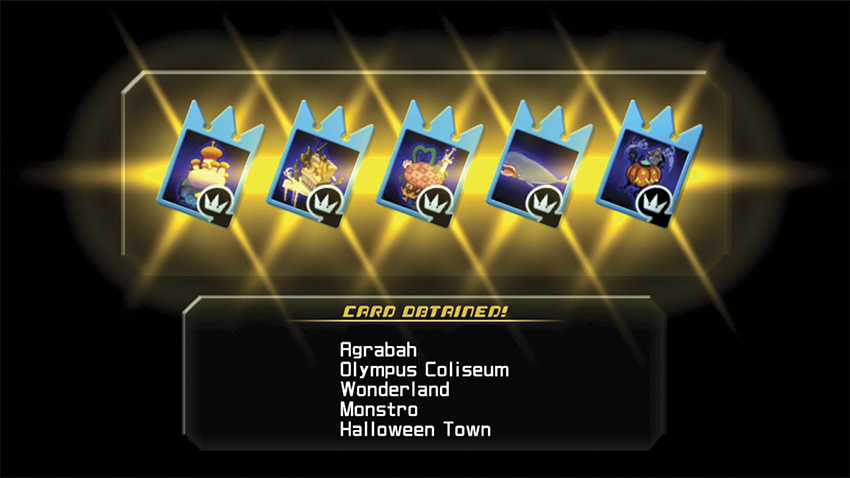
A save point is in the current room, so take advantage of it. Then speak with Donald and Goofy, who are still trying to remember that little something. When preparations are complete, hop, roll, or sprint to the large door at the back of the room. From here you are free to use any one of the five World Cards you received after the fight with Axel and progress through the game via any World Card.
Seeing as you now have free reign to blaze your own trail, this guide will run this course as follows:
Follow along as we journey on to the land of Agrabah!