
Kingdom Hearts HD 1.5 Remix Guide KHFM: Walkthrough Agrabah
Agrabah
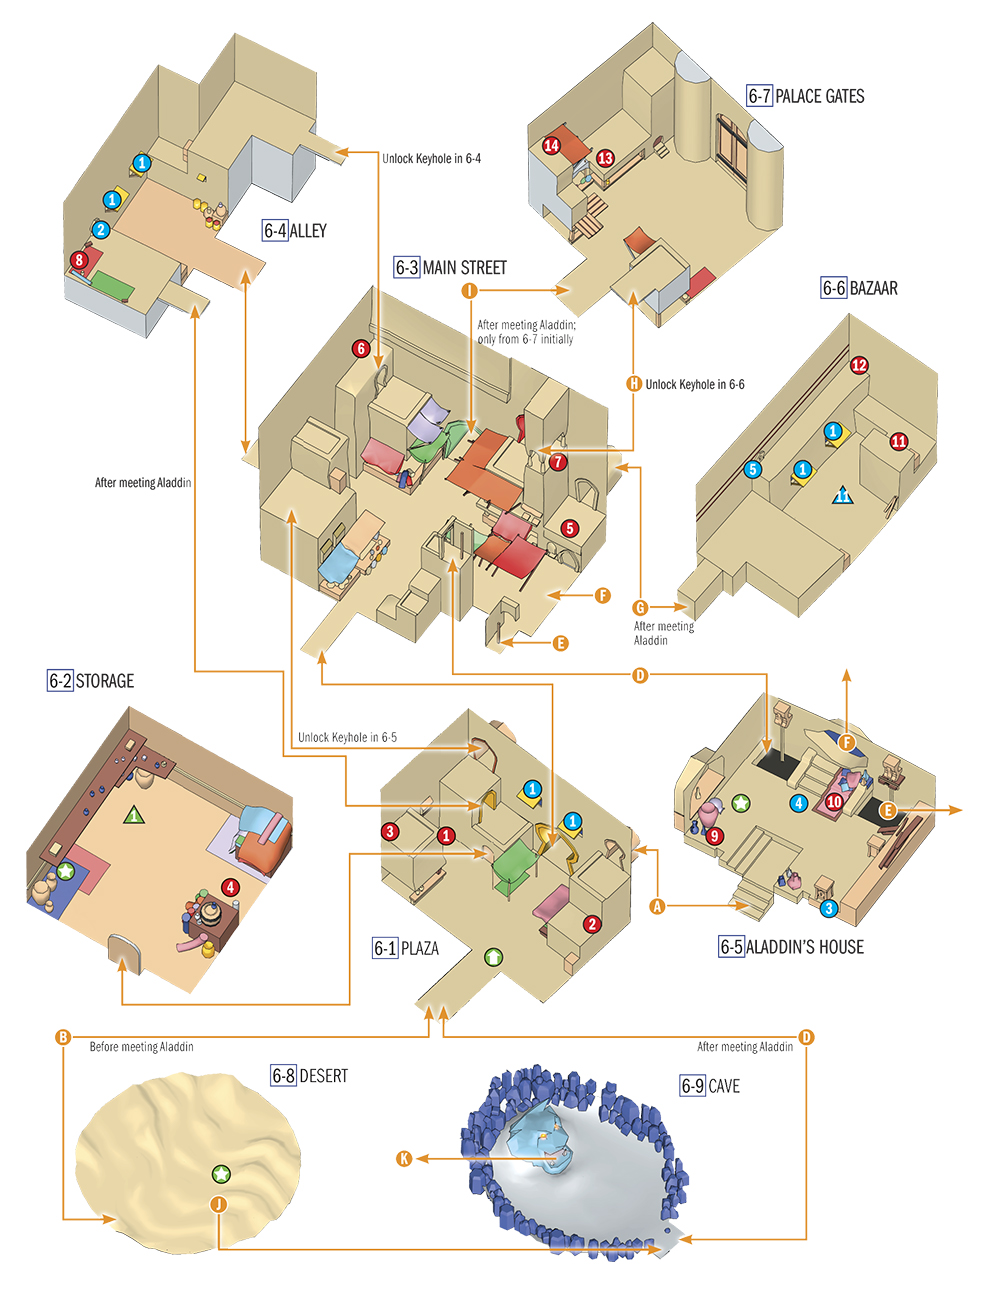
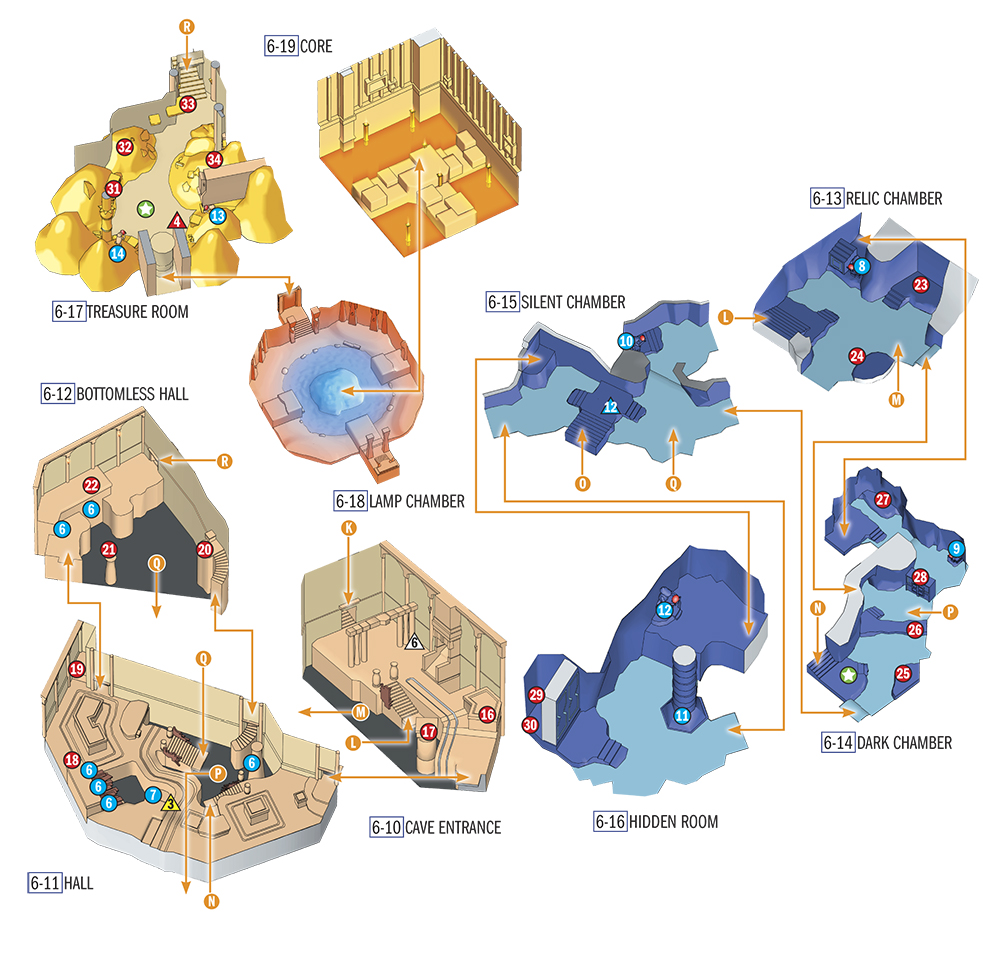
Opponents
| Name | Shadow | Soldier | Large Body | Yellow Opera | Green Requiem | Air Soldier | Bandit | Fat Bandit | Pot Spider |
|---|---|---|---|---|---|---|---|---|---|
| HP | 21 | 24 | 160 | 24 | 15 | 33 | 39 | 240 | 21 |
| Name | Darkball | Wyvern | Wizard | White Mushroom | Black Fungus | Pot Centipede | Tiger Head | Jafar | Jafar-Genie |
|---|---|---|---|---|---|---|---|---|---|
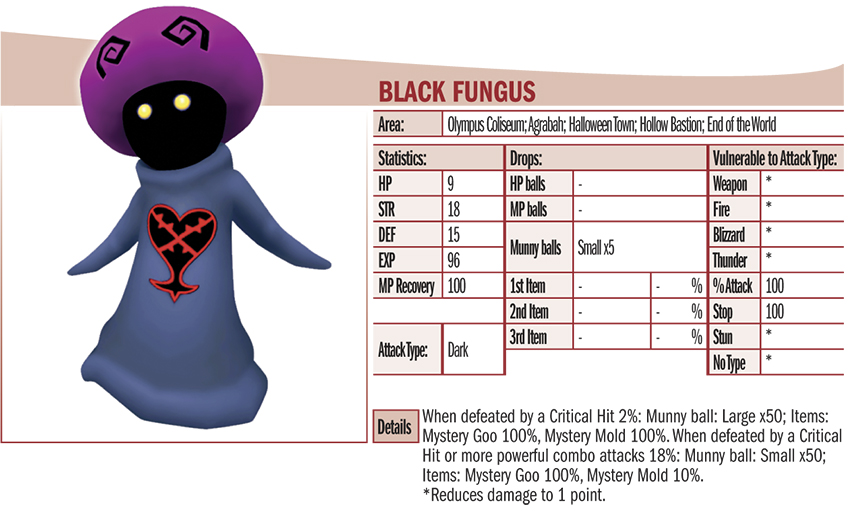
| HP | 60 | 135 | 75 | - | 9 | 600 | 380 | 500 | 750 |
Items
| No. | Item | Location | Condition |
|---|---|---|---|

|
Mega-Potion | 6-1 | - |

|
Mega-Ether | 6-1 | - |

|
Cottage | 6-1 | Jump on the canopies |

|
Mega-Potion | 6-2 | - |

|
Mega-Ether | 6-3 | Jump over the tents |

|
Dark Matter | 6-3 | From 6-1, through the upper archway |

|
Mythril | 6-3 | High Jump or Glide |

|
Mega-Potion | 6-4 | - |

|
Megalixir | 6-5 | - |

|
Scissors-G | 6-5 | - |

|
Thundara-G | 6-6 | See Fig. 3 |

|
Fire Ring | 6-6 | See Fig. 3 |

|
Protera Chain | 6-7 | Through entrance H |

|
Osmose-G | 6-7 | High Jump |

|
Dalmatians 52, 53, 54 | 6-7 | High Jump and Glide |

|
Mega-Ether | 6-10 | - |

|
Dalmatians 49, 50, 51 | 6-10 | Use a barrel (easier: + High Jump) |

|
Elixir | 6-11 | - |

|
Mythril Shard | 6-11 | - |

|
Mega-Potion | 6-12 | - |

|
Elixir | 6-12 | Jump off from the far right (near the exit to 6-11) |

|
Cottage | 6-12 | - |

|
Thunder Ring | 6-13 | - |

|
Mythril | 6-13 | Push down block in 6-12 |

|
Cottage | 6-14 | - |

|
Torn Page | 6-14 | - |

|
Meteor-G | 6-14 | Activate statue 1 in 6-13 |

|
Protera Chain | 6-14 | Activate statues 1 and 2 |

|
Dalmatians 46, 47, 48 | 6-16 | High Jump, Glide, or activate yellow Trinity 3; activate statue 4 |

|
Haste2-G | 6-16 | See item no. 29 |

|
Defense Up | 6-17 | - |

|
Mythril Shard | 6-17 | Activate statue 5 |

|
Shell-G | 6-17 | From item no. 32 |

|
Thundaga-G | 6-17 | Activate statue 6 |
Special Objects
| No. | Prop | Location | Purpose |
|---|---|---|---|

|
Canopy | 6-1, 6-4, 6-6 | Platforms; these fold away if you stand on them too long |

|
Keyhole | 6-4 | Opens passage 6-3 / 6-4 |

|
Keyhole | 6-5 | Opens passage 6-1 / 6-3 |

|
Pedlar | 6-5 | After Pot Centipede battle |

|
Keyhole | 6-6 | Opens passage 6-3 / 6-7 |

|
Water Spouts | 6-11, 6-12 | Sprays water to knock you down to a lower level |

|
Vase | 6-11 | Is moved to 6-15 with yellow Trinity 3 |

|
Statue 1 | 6-13 | Creates stairs from 6-13 to 6-14 |

|
Statue 2 | 6-14 | Lowers the wall underneath item no. 28 |

|
Statue 3 | 6-15 | Opens passage 6-15 / 6-16, upper level |

|
Column | 6-16 | Opens passage 6-17 / 6-18 |

|
Statue 4 | 6-16 | Lowers the wall in front of item no. 29 |

|
Statue 5 | 6-17 | Helps Sora get to item no. 32 |

|
Statue 6 | 6-17 | Helps Sora get to item no. 34 |
Trinities
| Trinity | Location | Purpose |
|---|---|---|

|
6-6 | Mega-Ether + munny |

|
6-15 | Thundara-G |

|
6-17 | Mythril Shard + munny |

|
6-2 | AP Up |

|
6-11 | Moves large vase to 6-16 |

|
6-10 | Comet-G |
Objectives
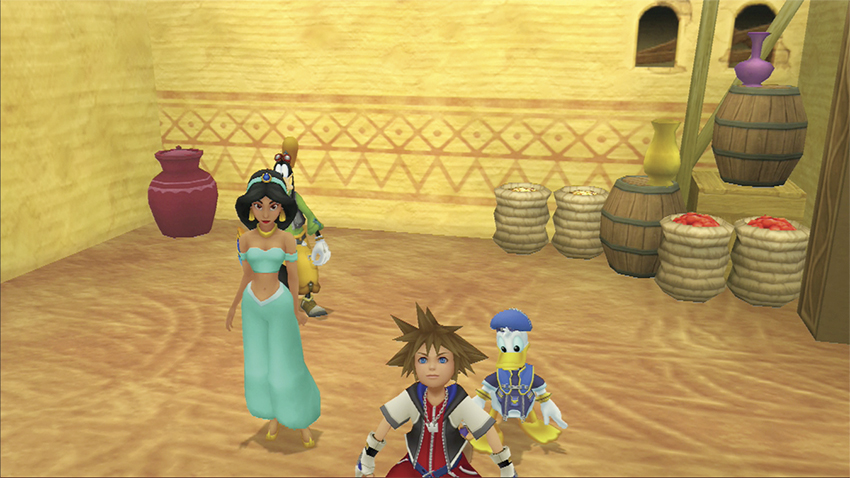
1. Find Princess Jasmine
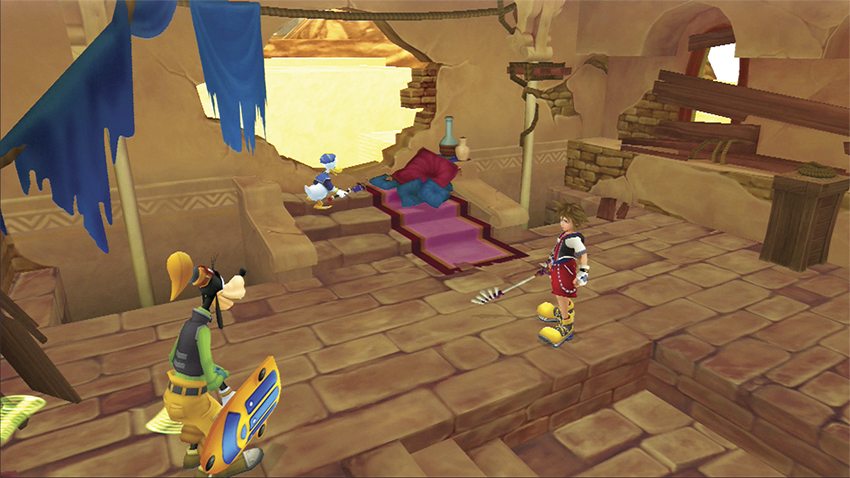
2. Search Aladdin’s House
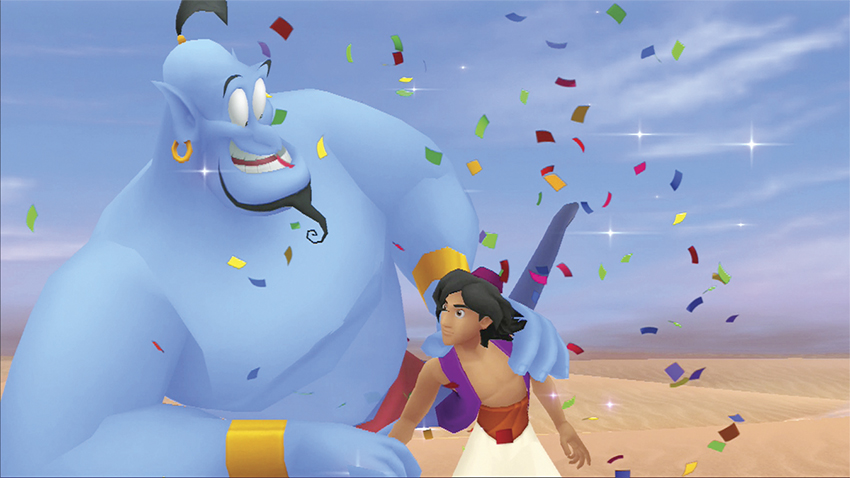
3. Use the Magic Carpet to recruit Aladdin
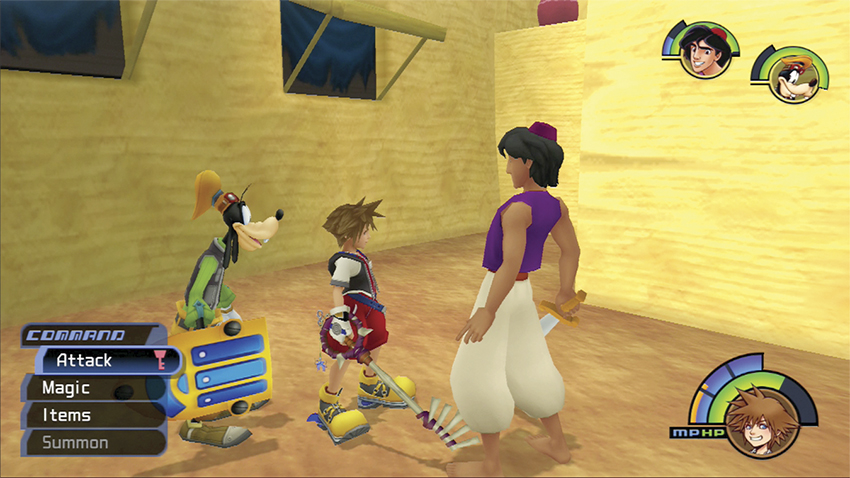
4. Return to the city
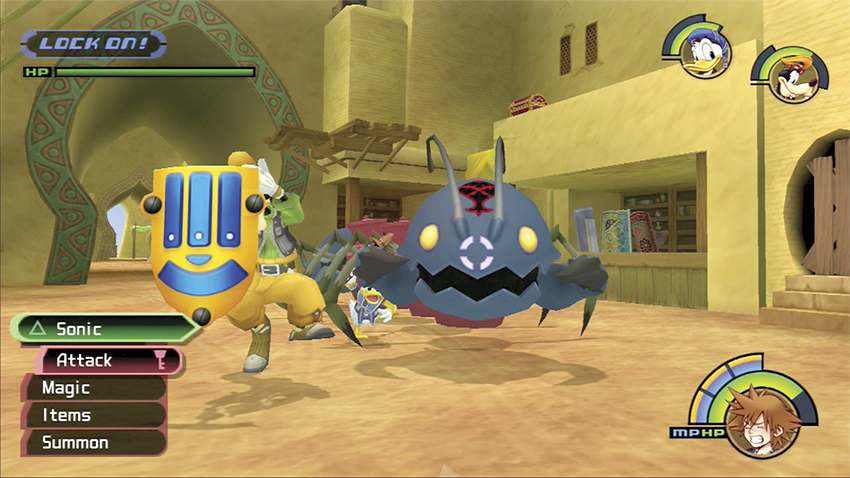
5. Defeat the Pot Centipede
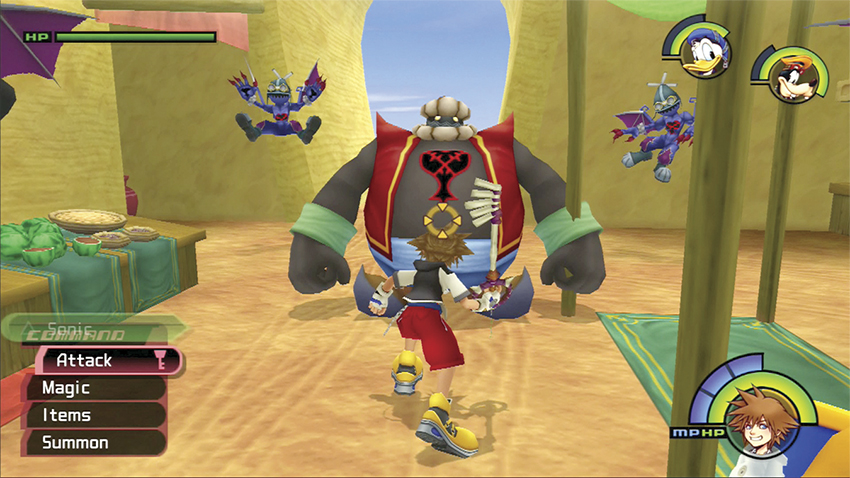
6. Chase after Jafar
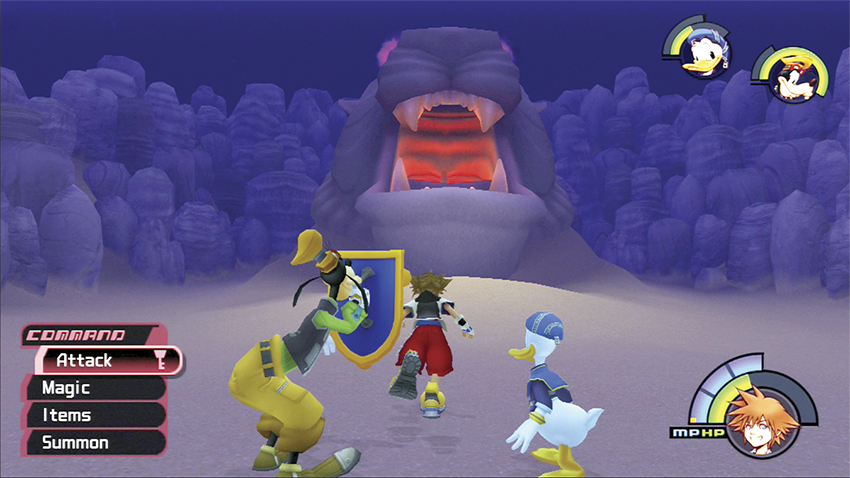
7. Battle the Cave of Wonders Guardian
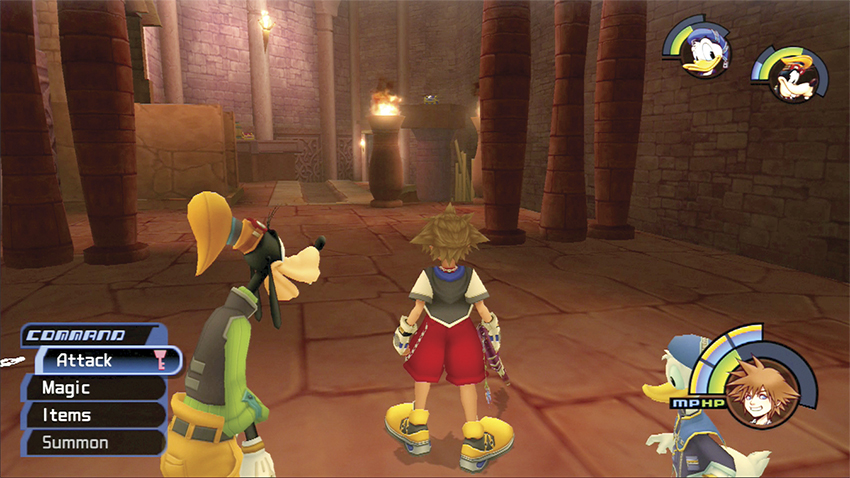
8. Explore the Cave of Wonders’ upper level
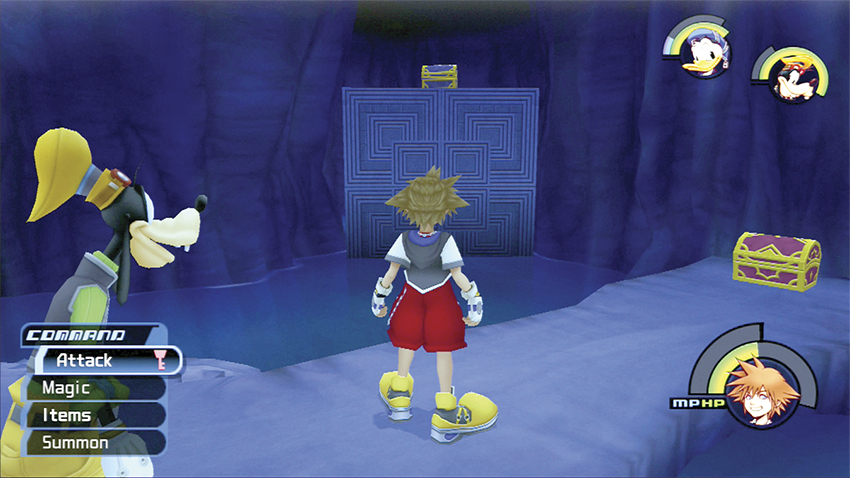
9. Explore the Cave of Wonders’ lower level
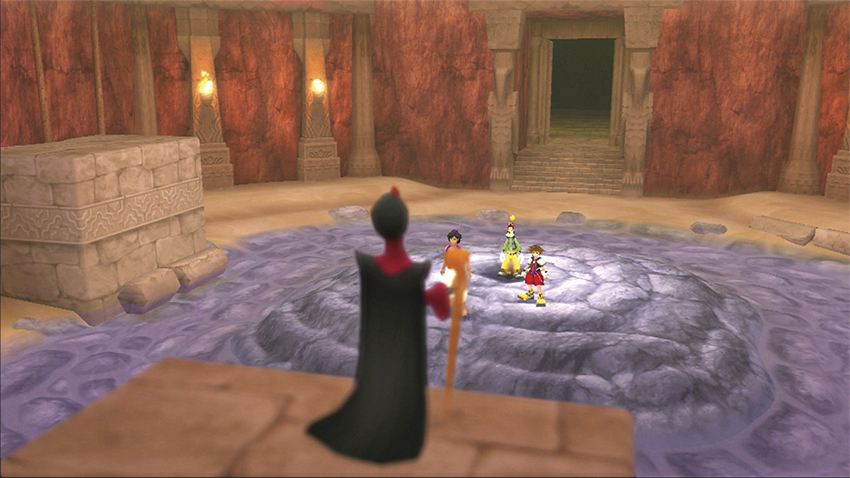
10. Defeat Jafar
11. Overcome the Jafar-Genie
12. Escape the Cave of Wonders
Step 1: Find Princess Jasmine
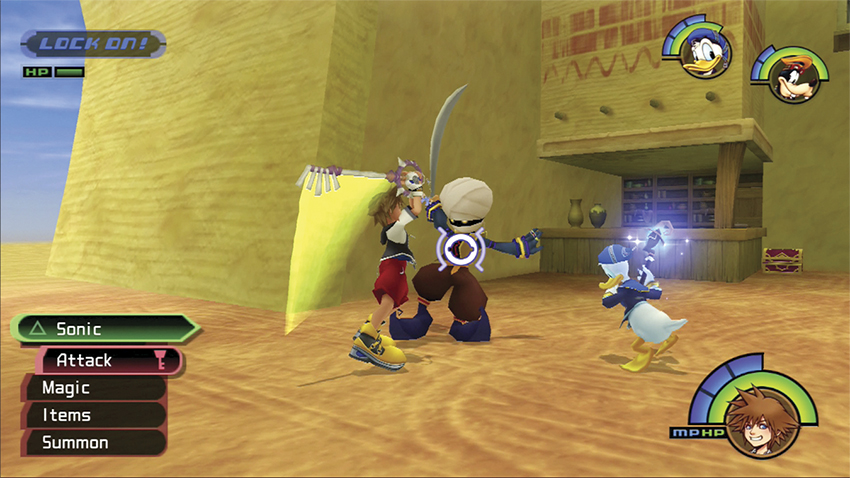
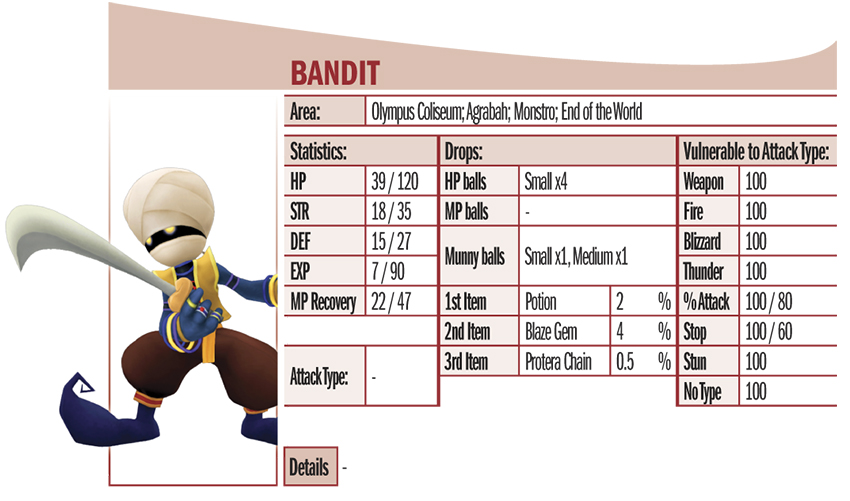
You arrive in Agrabah and are immediately besieged by Bandits. These sabre-wielding opponents can parry straight-on attacks well; it’s best to come at them from the side or behind to score hits. Equip the Counterattack ability as soon as you can to better combat these and other Agrabah opponents.
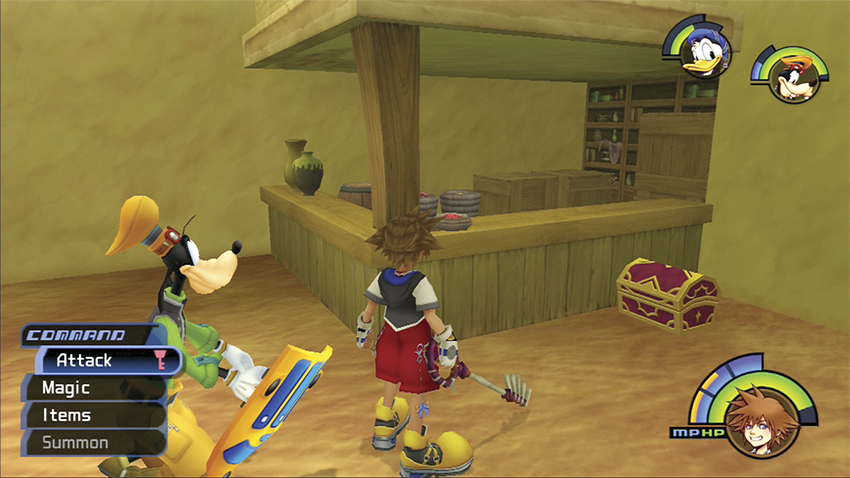
After you’ve dispatched the Heartless in the area, look for a red chest in the corner near the Storage area door. Open the chest for a Mega-Potion.
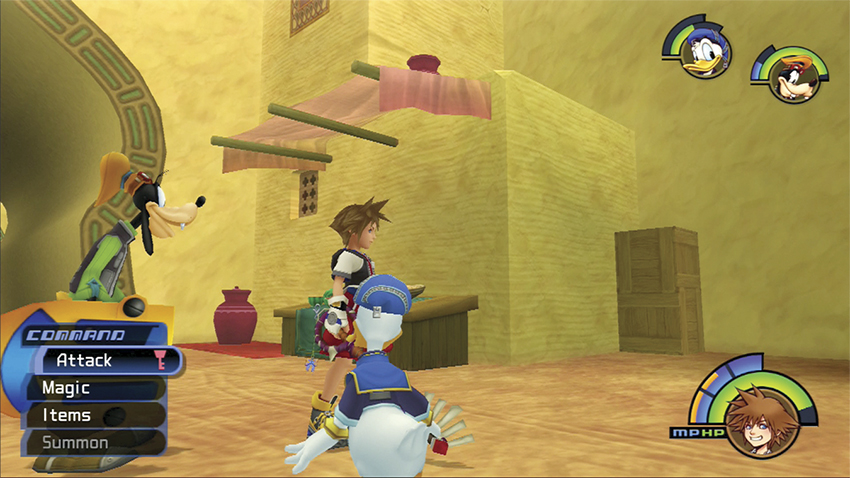
Turn to the other side of the Plaza. Use the tall crate stack in the corner to reach the upper ledge. Open the chest on the ledge for a Mega-Ether.
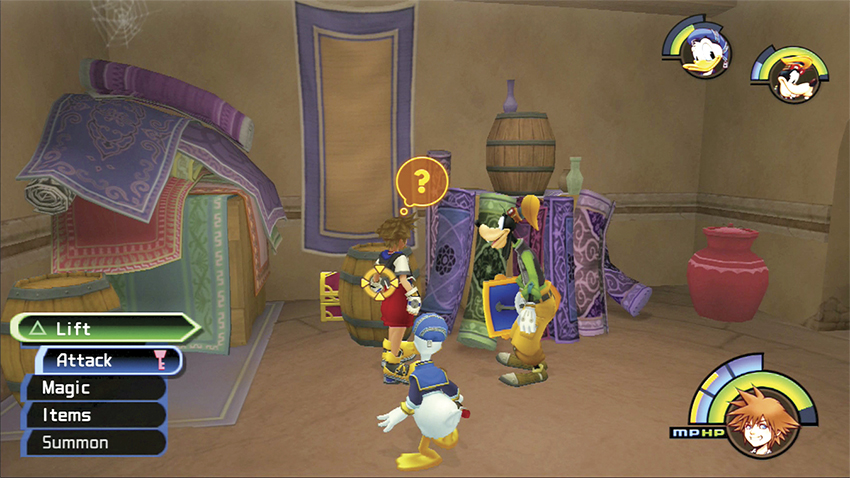
Drop back down and enter the Storage door next to the first chest. Lift the barrel in front of the hanging carpet to discover a red chest behind it. Open the chest for a Mega-Potion.
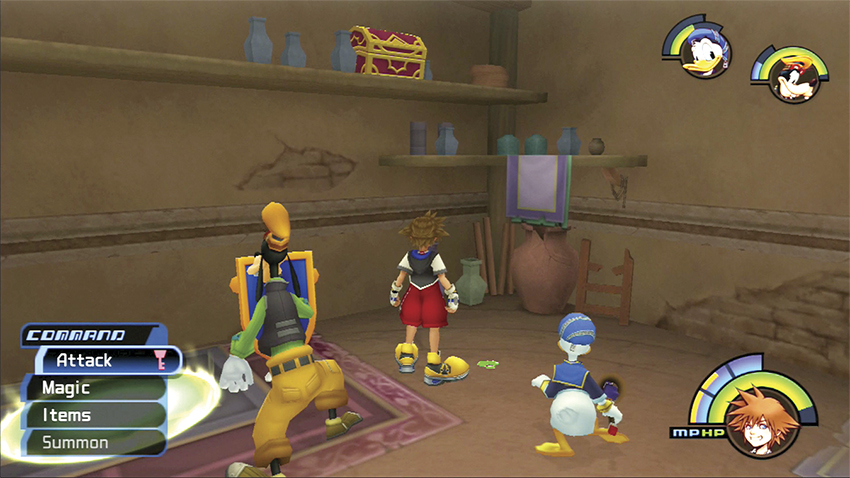
There’s another chest on the shelf in this room, which yields a Power Up, but you won’t be able to access it until you learn how to use a green Trinity Mark.
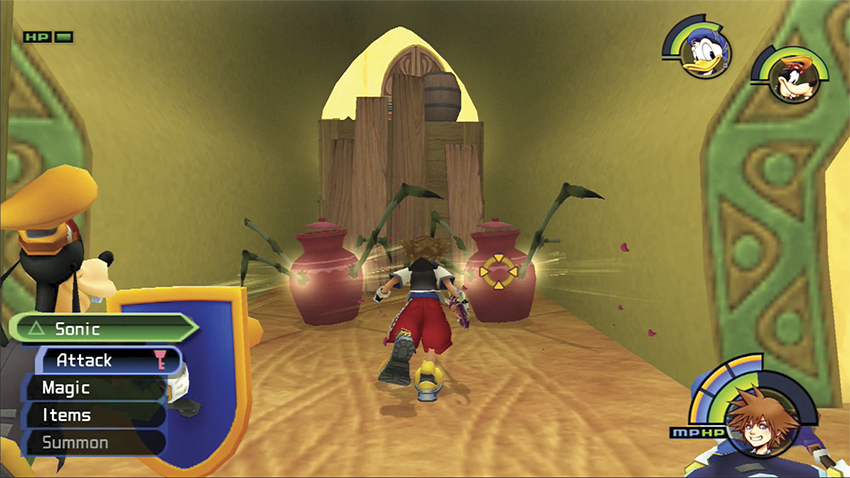
Exit the Storage area and head toward Main Street. More Heartless pour into the area after you, including some new creatures: Pot Spiders. These opponents are camouflaged as normal pots until you approach, then spider legs sprout out of them and they attack. Smash them apart for even more munny.
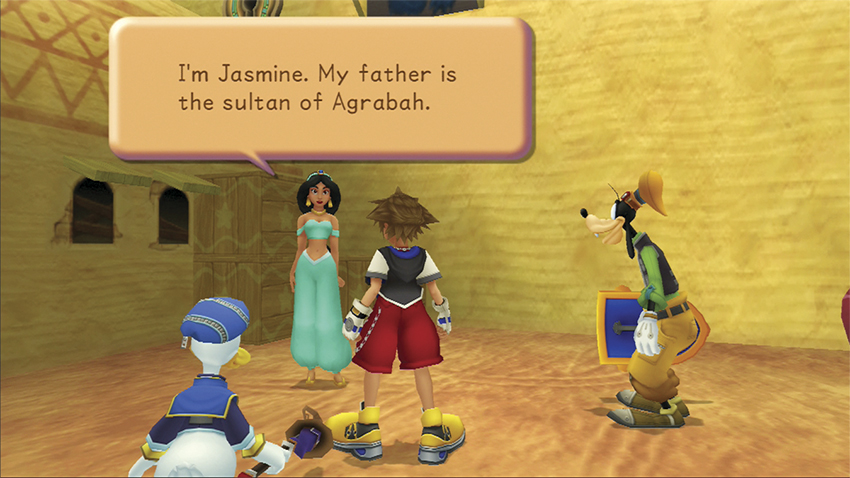
You locate Princess Jasmine in the Alley. She tells you that her father, the Sultan, has been displaced by the evil vizier, Jafar. Before she can offer any aid, Jafar ambushes you, and Jasmine is forced to flee while you hold off Jafar’s Heartless horde.
 Jasmine
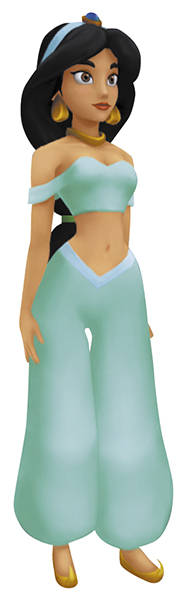
The quick-witted and strong-willed royal princess fled when she realized the vizier Jafar overthrew her father. Joining forces with Maleficent, Jafar has redoubled his efforts to catch Princess Jasmine, unless you can stop him.
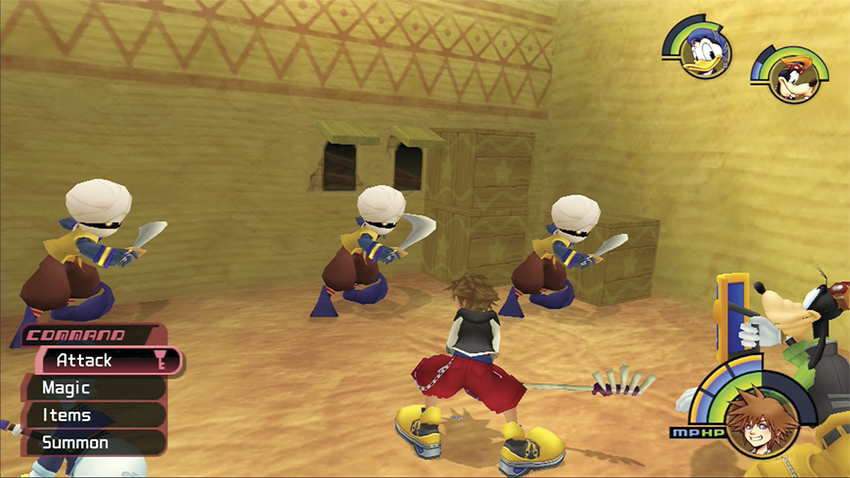
The Alley fight may prove difficult because of the close quarters. Remember that if you leave an area, your opponents will not follow you, though they will likely spawn again if you return.
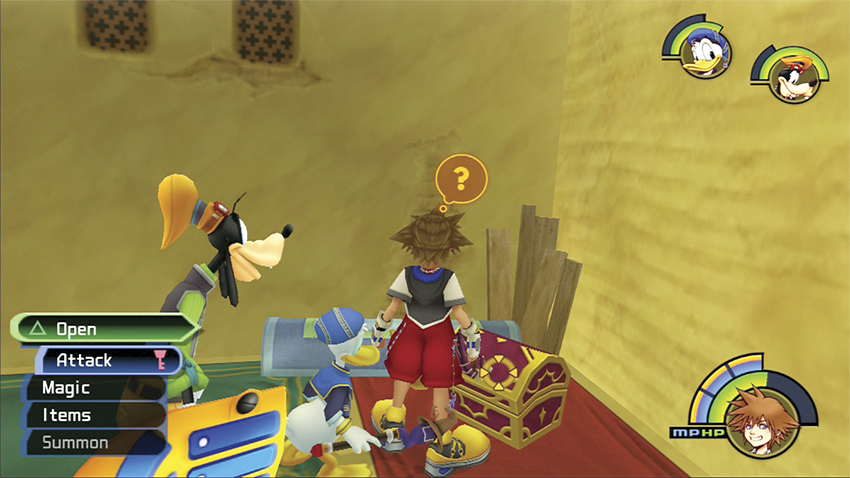
Once the Alley opponents are all down, use the crates stacked near the entrance to gain access to the ledge above. Open the chest in the corner for a Mega-Potion.
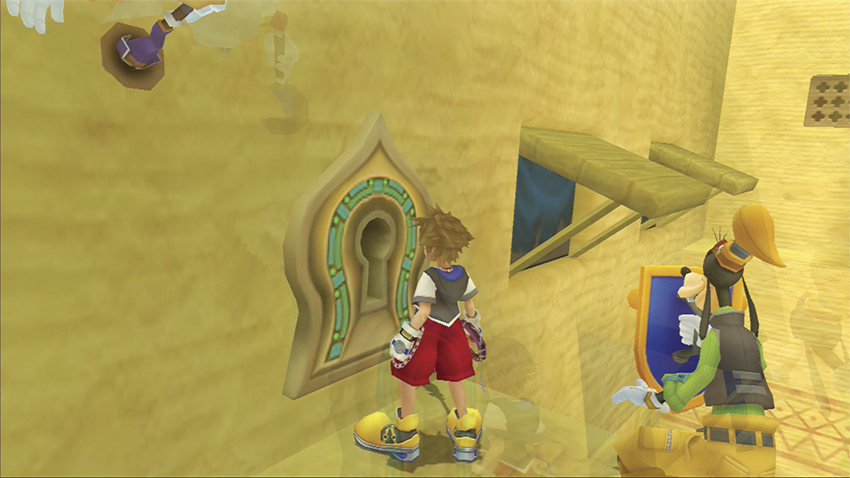
Examine the keyhole in the wall next to the chest. This unlocks the gate back to Main Street on the other side of the Alley ledges.
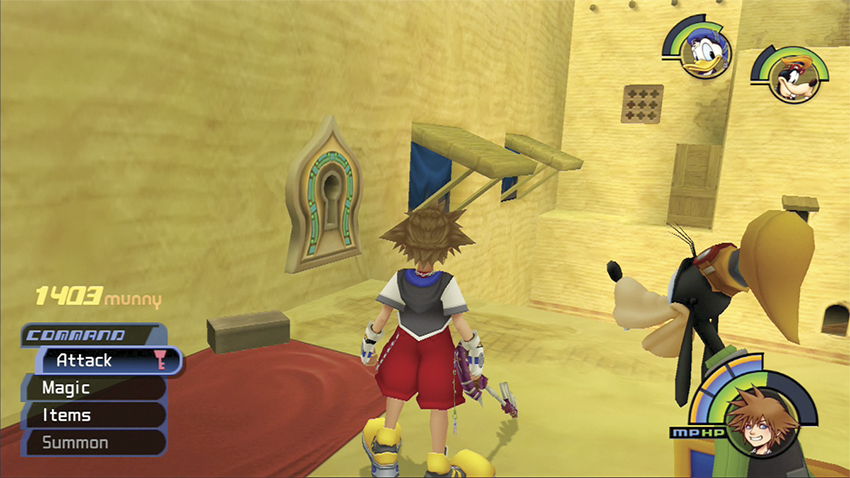
Turn to face two wooden shutters on the wall next to the keyhole. Jump quickly across both to the other side before they close and drop you down to the ground below. On the far ledge, climb the tall crates to a higher ledge and battle Heartless until you can reach the gate back to Main Street.
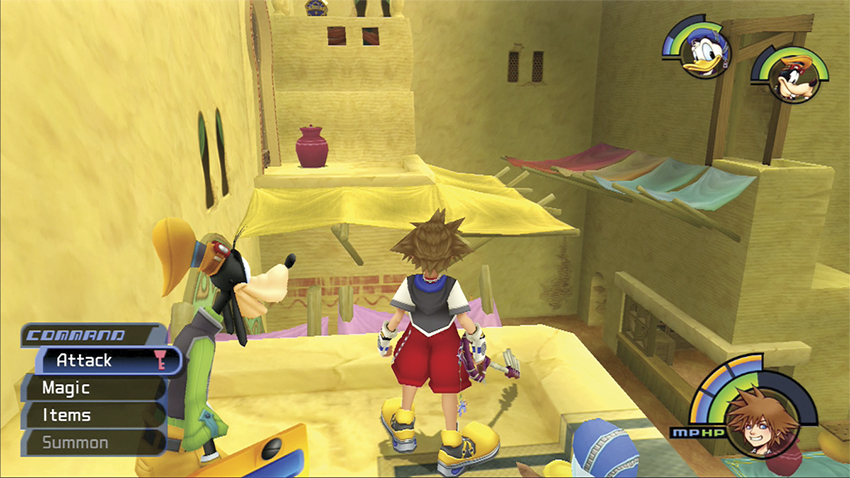
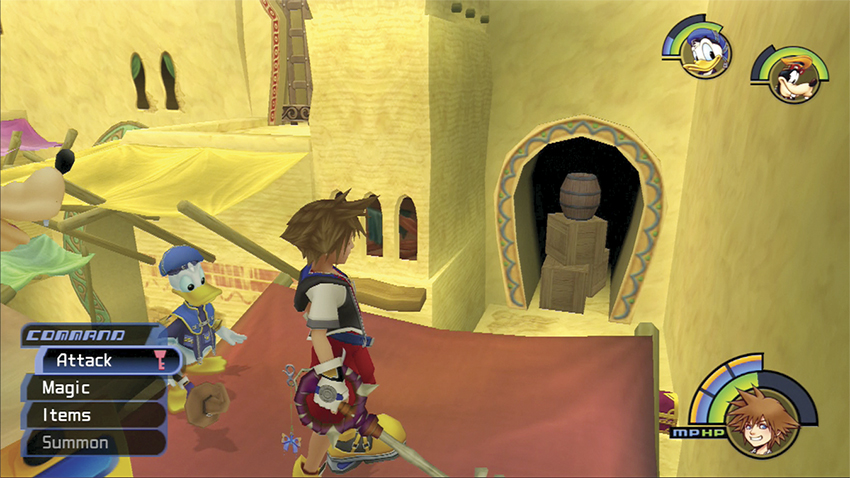
As soon as you enter the small ledge in Main Street, a Pot Spider attacks. Carefully destroy the beast without falling off the tiny ledge. Jump across the gap from pink awning to yellow. Fight the next Pot Spider, then leap across the next series of awnings and stop on the red one. From here you can jump down to a ledge with a red chest that holds a Mega-Ether.
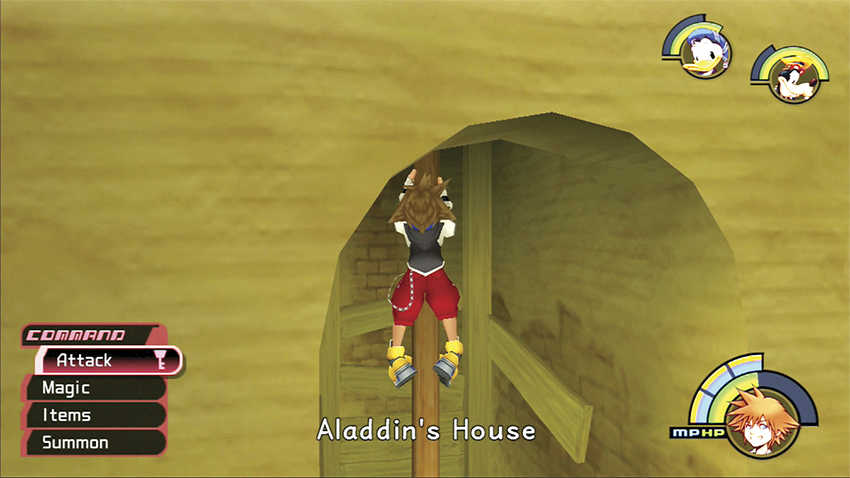
Drop down to the ground. Across the street lies an alcove with a pole. Climb the pole to reach Aladdin’s House.
Step 2: Aladdin’s House
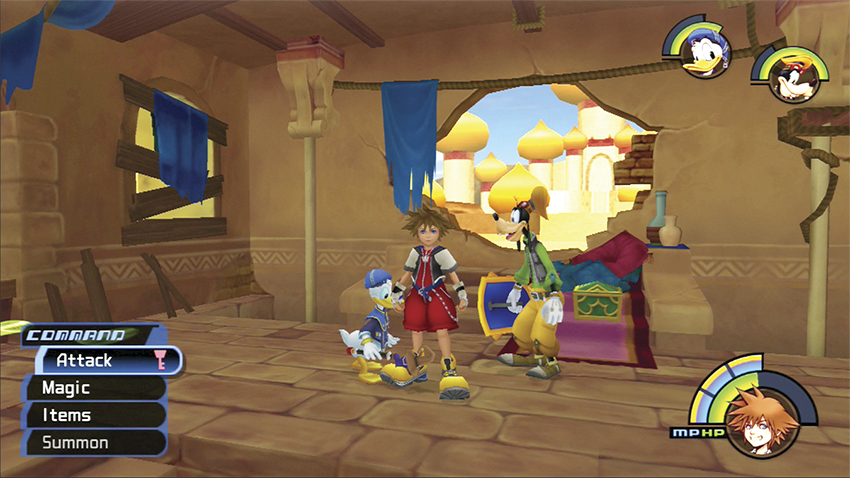
There are two green chests inside Aladdin’s House. The one by the window holds a Scissors-G and the one by the stairs contains a Megalixir.
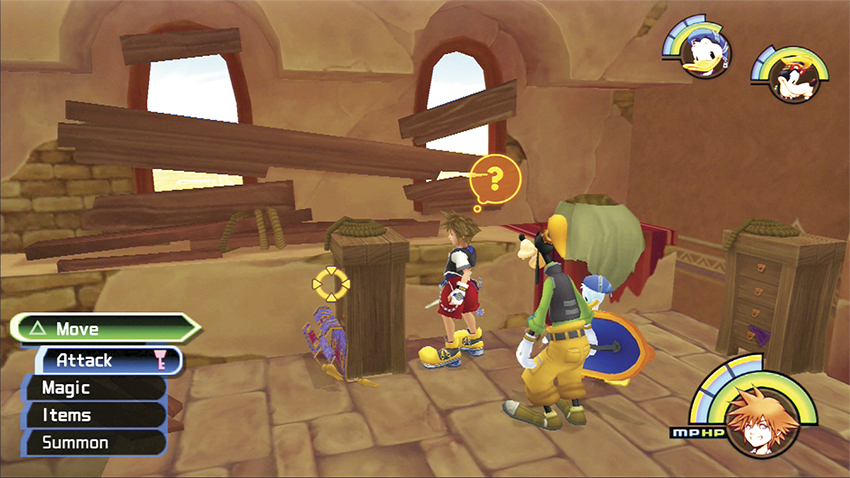
Aladdin’s Magic Carpet is trapped under some furniture. Walk over to the furniture and move it to free the Carpet. It flies out the window, but you notice that it heads toward the Desert.
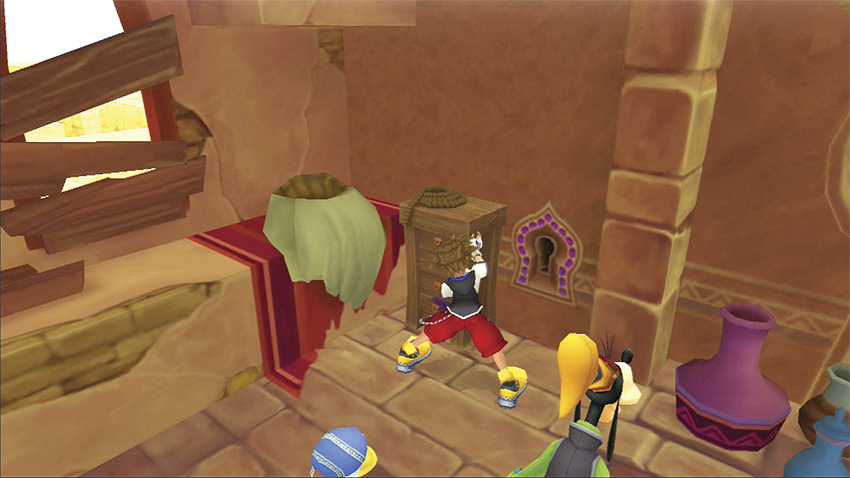
Push aside a dresser next to the wall to reveal another keyhole. Use this keyhole to open a gate in the Plaza.
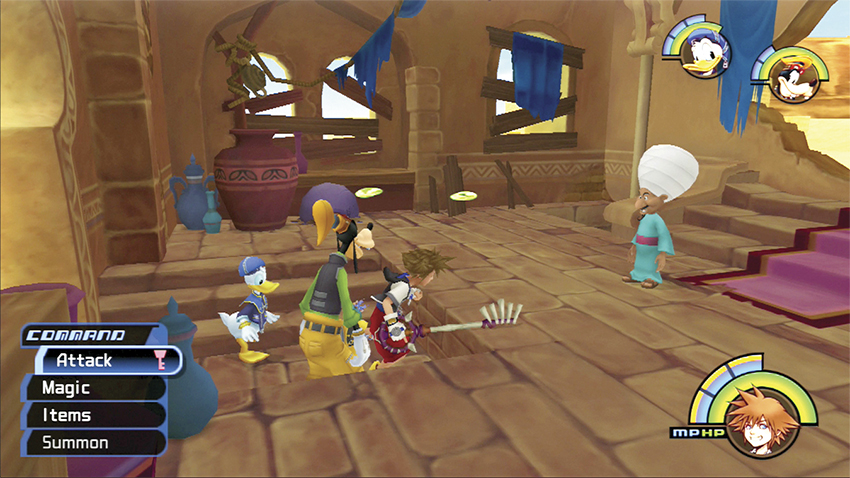
If you leave Aladdin’s House and return after freeing the Magic Carpet, a new vendor appears. He sells potions and a small amount of other items. If you find yourself running low, you can stock up here rather than return to Traverse Town.
Step 3: Recruit Aladdin
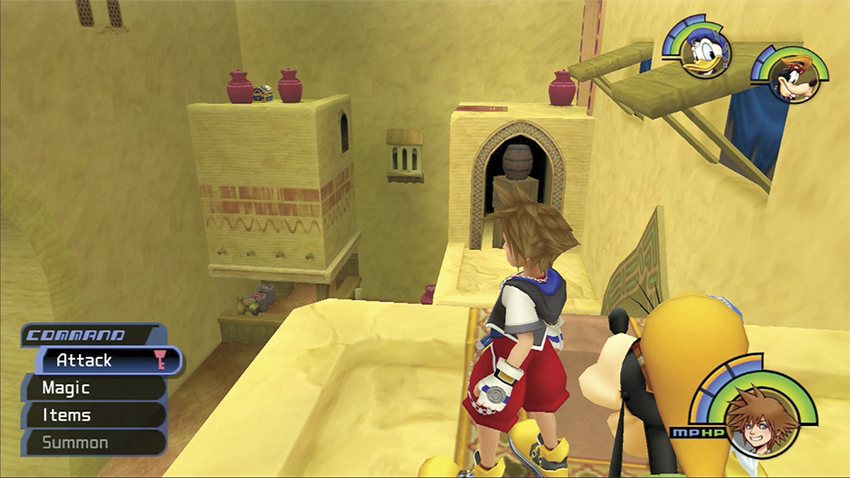
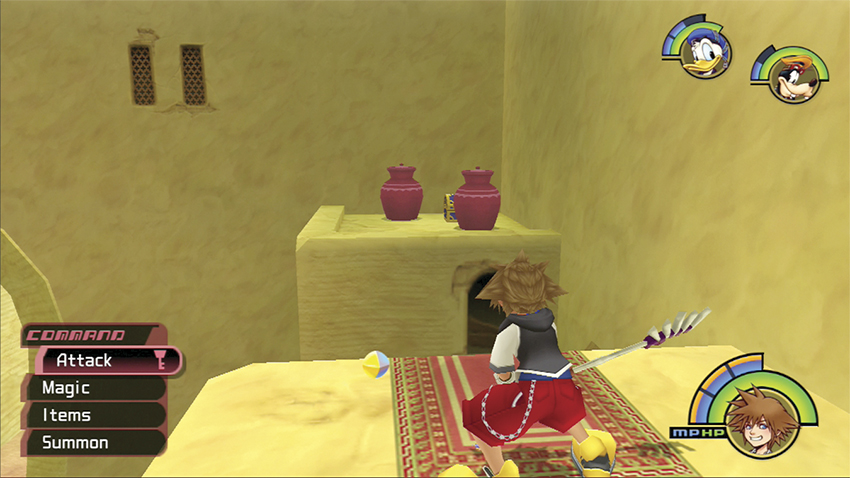
When you leave Aladdin’s House via the stairs, you appear on a ledge high above the Plaza. Jump across the two shutters on the adjacent wall and fight the Heartless on the far ledge. Once they’re cleared, leap across to next ledge where you see two pots. Destroy these two Pot Spiders carefully or knock them off the ledge before opening the blue chest for a Cottage. Jump back to the previous ledge and exit through the Main Street arch.
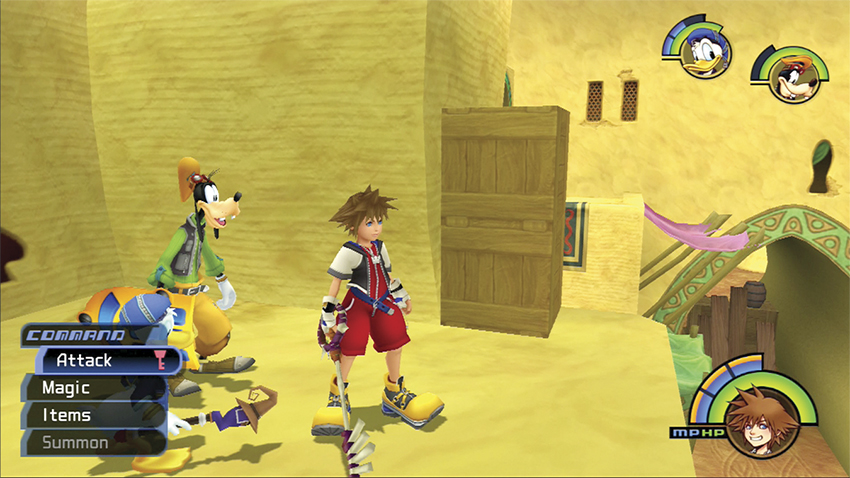
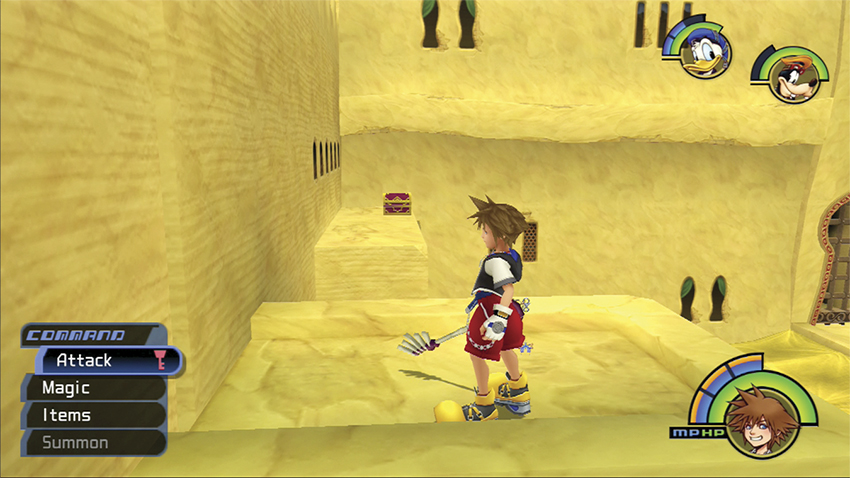
Use the tall crates on the next ledge to reach a higher ledge. Turn to your right and you’ll see a far ledge with a red chest on it. Make the leap across and open the chest for Dark Matter.
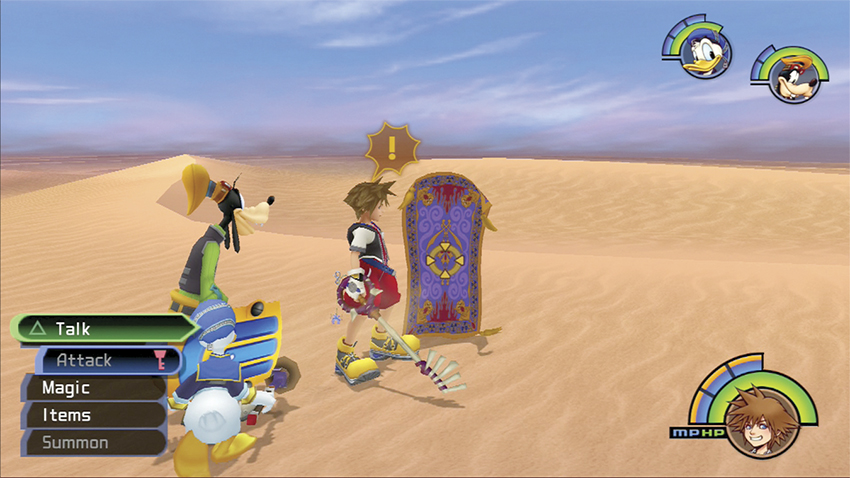
Return to the original entrance and head out into the Desert. The Magic Carpet waits for you there. Save at the nearby save point and climb aboard the Carpet.
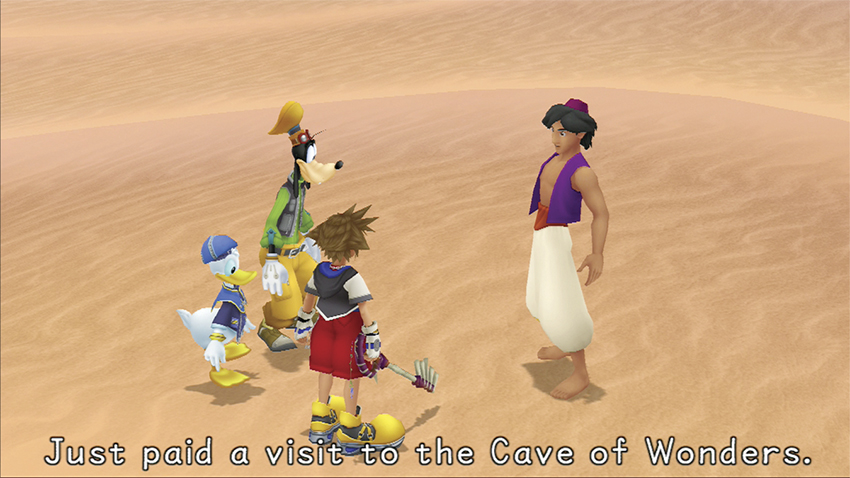
The Magic Carpet takes you right to Aladdin. Alas, he’s in trouble. Beat up on the surrounding Heartless to free Aladdin long enough for him to use his first Genie wish to remove the dire Heartless threat.
Step 4: Return to the City
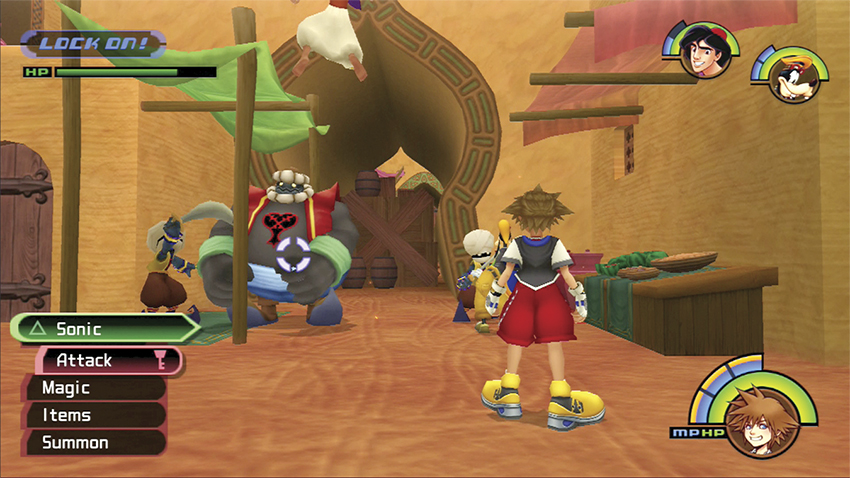
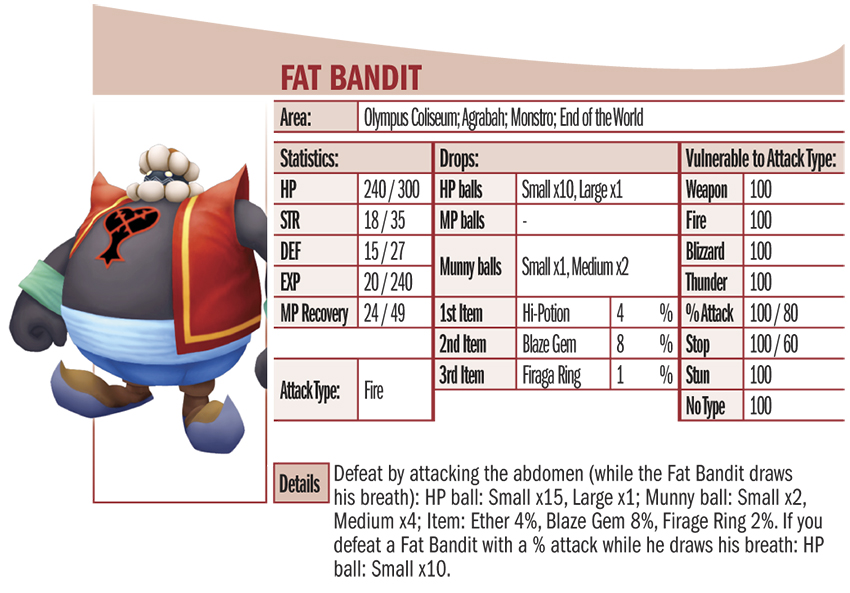
Return to the city and look for Jafar. It won’t be easy. Street access has been blocked to Main Street, so you’ll have to take to the ledges. First, though, defeat all the Heartless in the way. Fat Bandits have joined the assault; treat these oversized opponents similar to how you battle the Large Bodies.
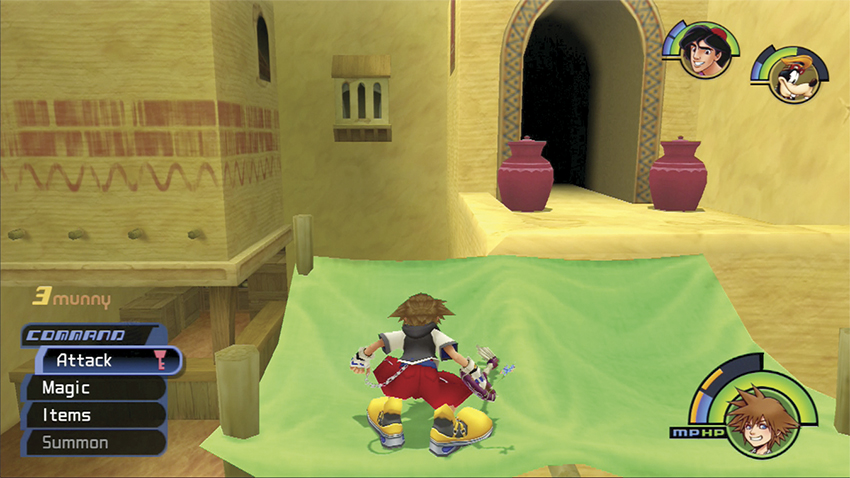
Once the foes have fallen, jump on the crates to the right of the entrance, climb up, then leap from the pink awning to the green awning. Exit to the Alley through the arch on the small ledge.
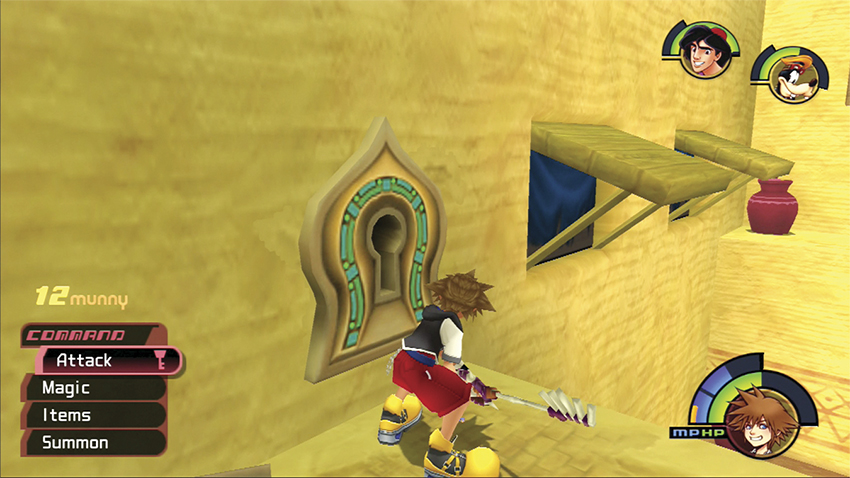
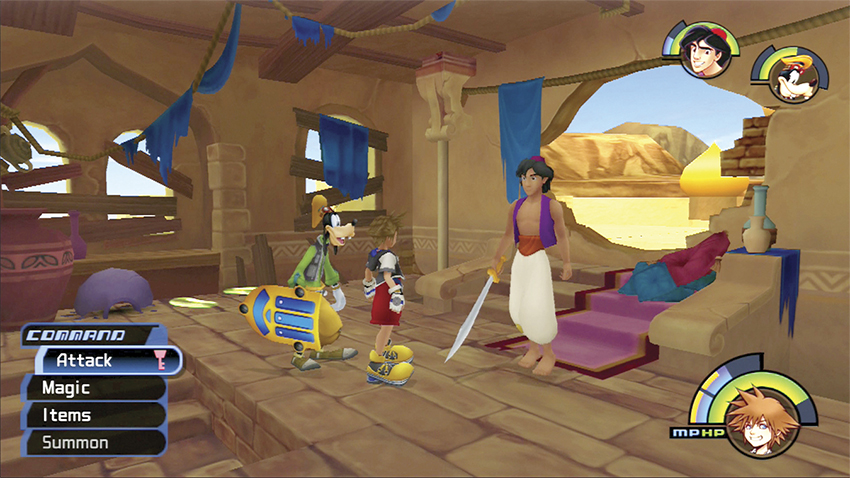
Jump across the shutters you used earlier and sneak through the unlocked gate on the far side to Main Street. Reach Aladdin’s House through either of the poles that enter it.
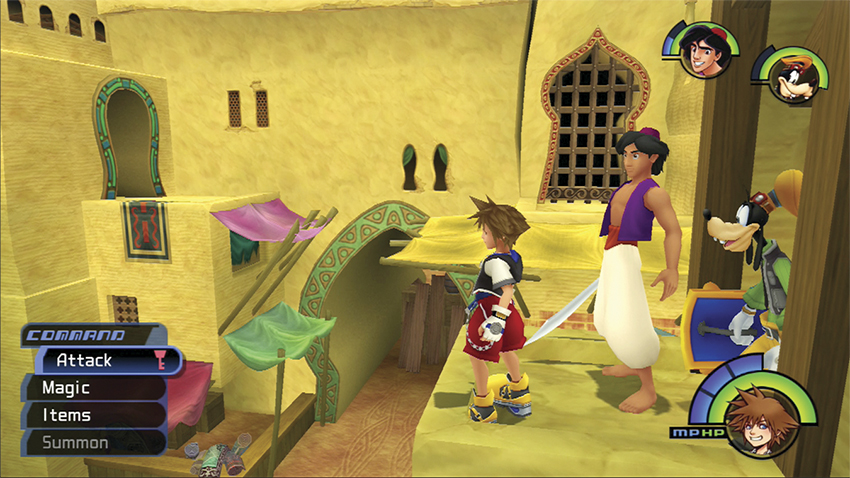
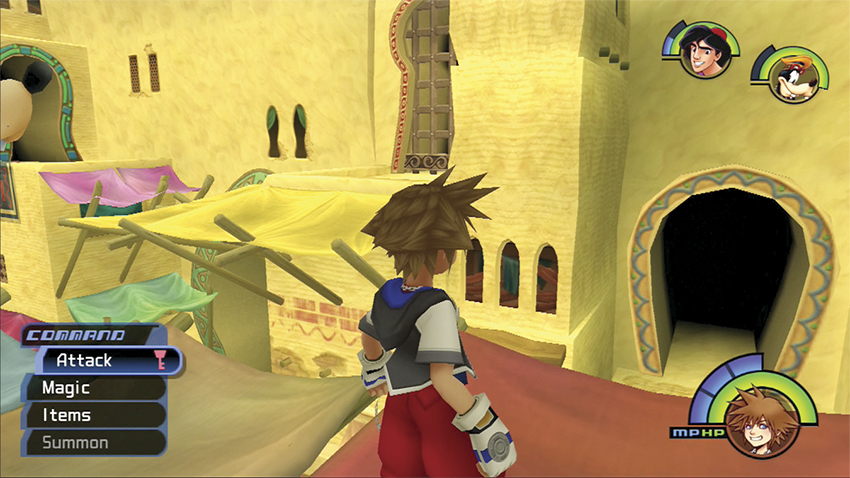
Talk to Aladdin and save at the save point. If you want to collect the blue Trinity Mark in the Bazaar ahead, swap out Aladdin for Donald or Goofy in the party. Climb down the pole next to the save point to reach the small ledge outside Aladdin’s House. Follow the awnings until you end on the red one opposite another arch. Jump across to the ledge and use the arch to reach the Bazaar.
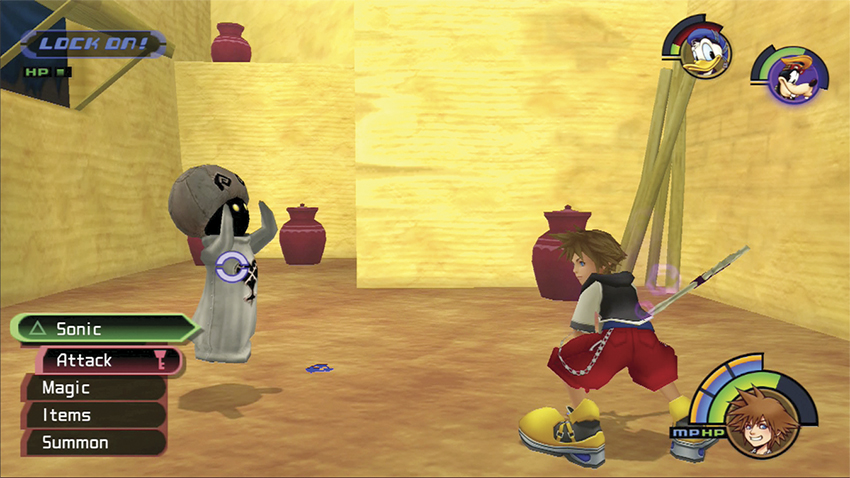
Drop down into the Bazaar and wipe out all the Heartless. The especially deadly Black Fungus guard this area. Don’t get caught in the poisonous cloud these creatures emit or you’ll perish very quickly. Also, when a Black Fungus turns gray, they are invulnerable; they can’t be damaged, so retreat and position for a new assault as soon as it returns to normal color. With the Black Fungus threat out of the way, activate the blue Trinity Mark in the center of the Bazaar. You receive a Mega-Ether.
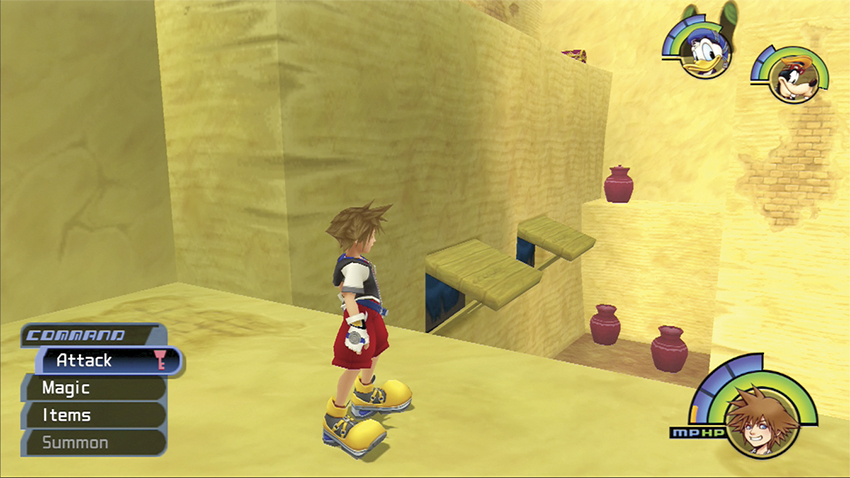
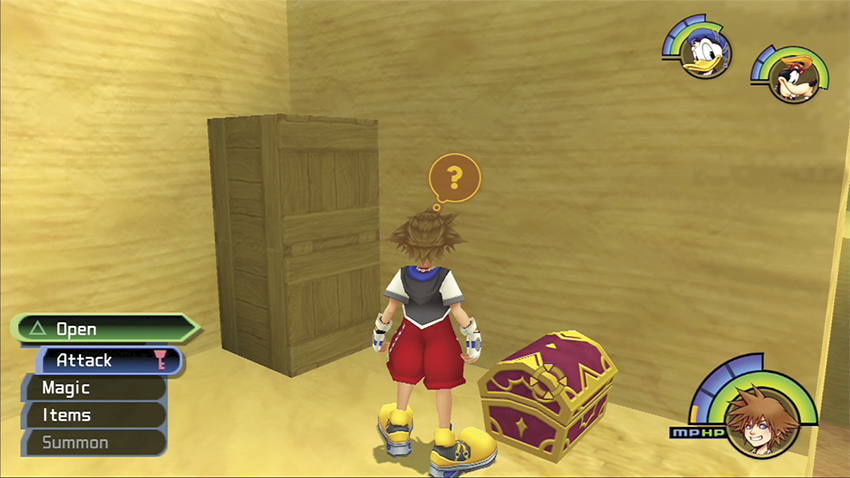
Climb the crates back up to the entrance platform and race across the wall shutters. A red chest hidden around the corner of the far ledge holds a Thundara-G.
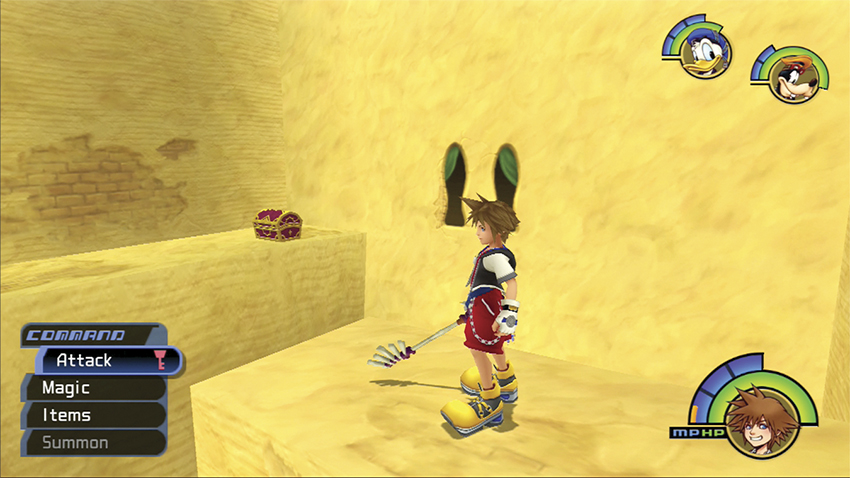
Continue up to the next ledge. Jump across the gap to the far ledge and open the second red chest for a Fire Ring.
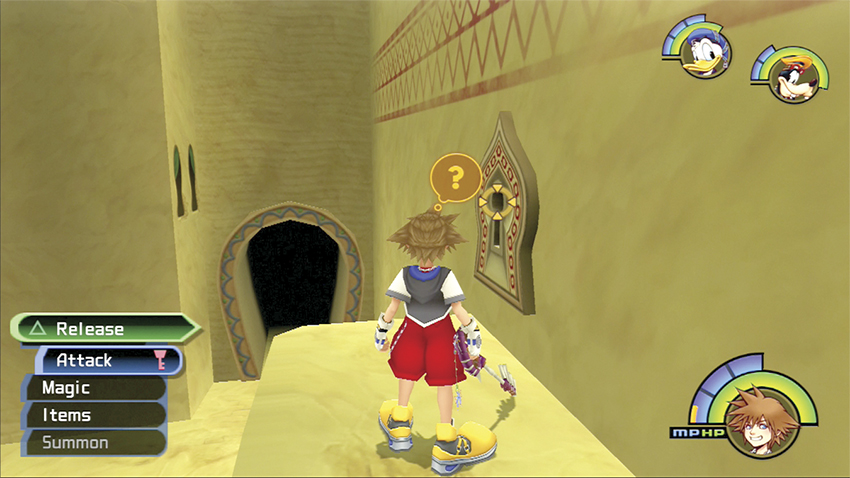
Walk along the ledge you’re on to the opposite end. Use the keyhole in the wall here to open the final gate in Main Street.
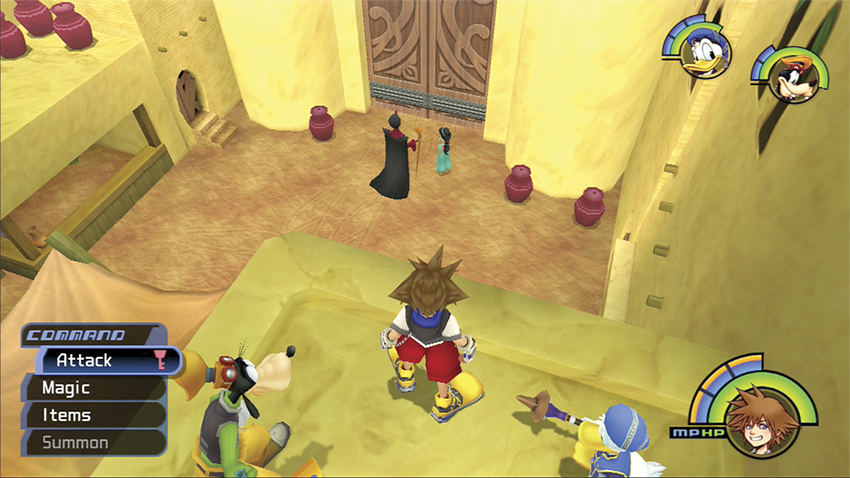
Return to Aladdin’s House for a quick save. Load up on potions and ethers for the coming boss fight. Drop down the pole next to the save point and land on the ledge below. Jump from the blue awning to the yellow awning across the street and enter the arch you just opened through the keyhole. You finally meet up with Jafar and Jasmine again, though the vizier has a mean surprise for you.
Step 5: Pot Centipede
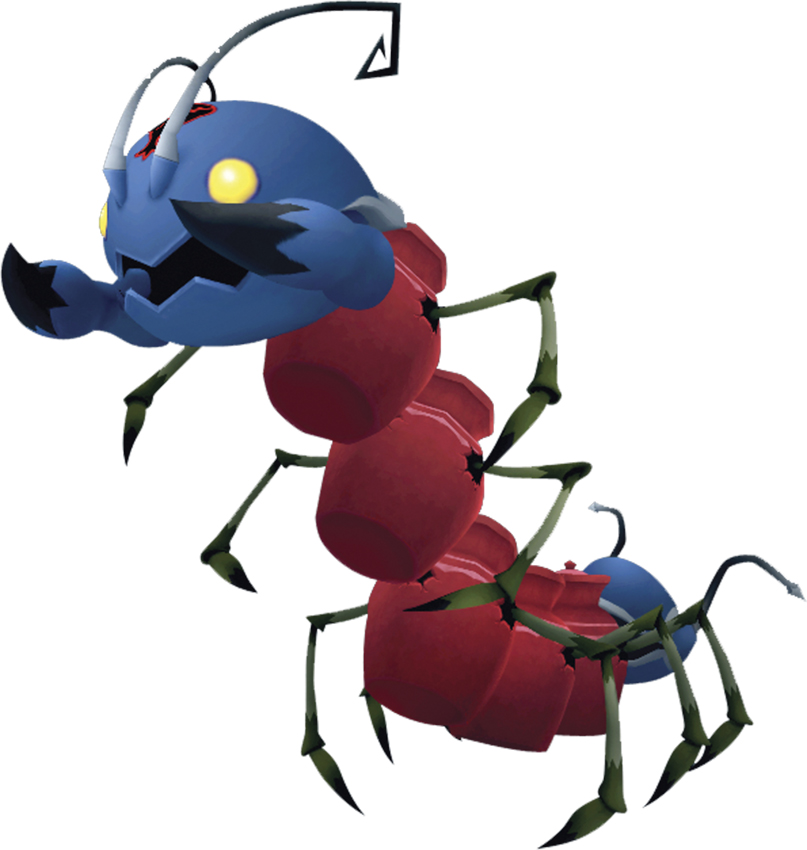
| HP | 600 |
| Strength | 18 |
| Defense | 15 |
| EXP | 250 |
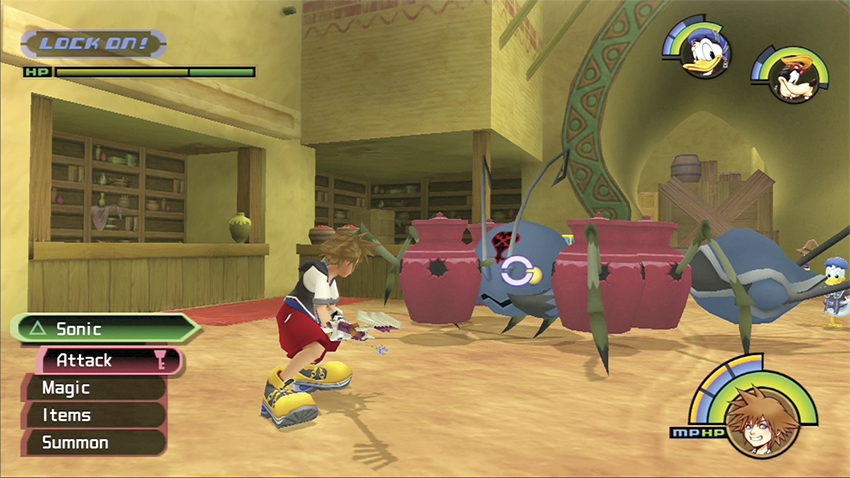
Jafar releases the Pot Centipede on you. The head and tail of the Centipede tries to assemble into a bigger and bigger boss by absorbing the surrounding Pot Spiders in the area. Physical attacks should be your default mode against the Pot Spiders, and if they start assembling into a big Centipede, you can call down Thunder repeatedly on a middle segment to split it apart again.
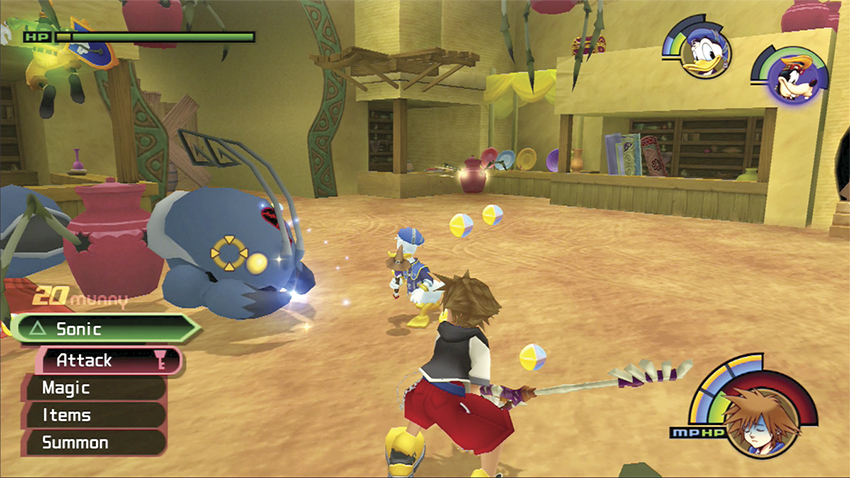
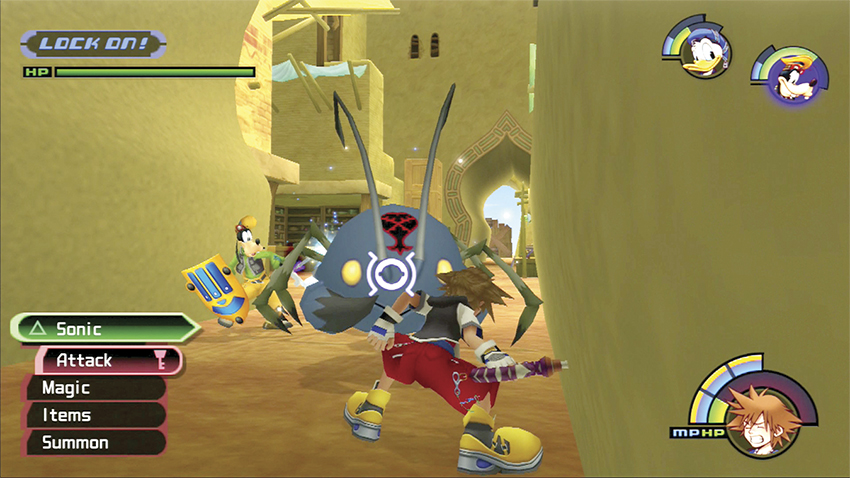
Let your party help corral the Centipede and the Pot Spiders. While they distract the boss, go after the miscellaneous Pot Spiders still milling about. If the Centipede comes after you, play defense and let your companions smash apart Pot Spiders.
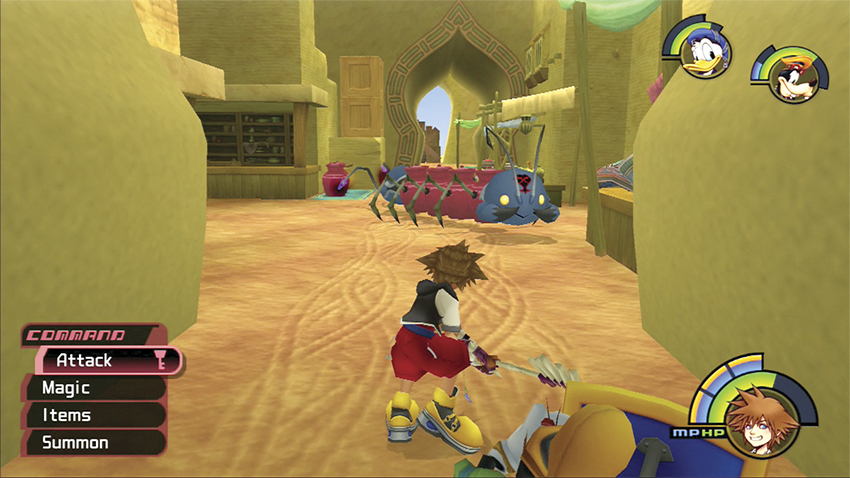
The battle will take you through multiple areas. Keep the Pot Centipede in sight at all times so it doesn’t disappear and begin growing in a new area.
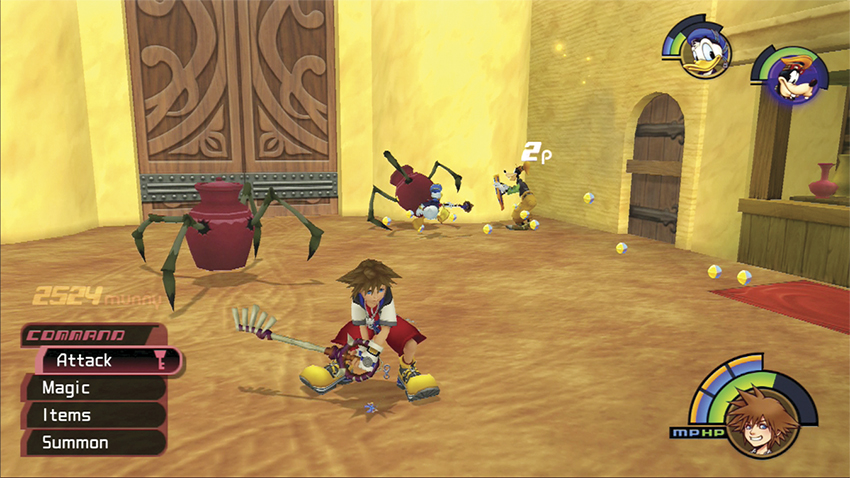
Keep Aero up to minimize damage and continue hunting down the Pot Spiders. The more you destroy, the smaller the Centipede ends up.
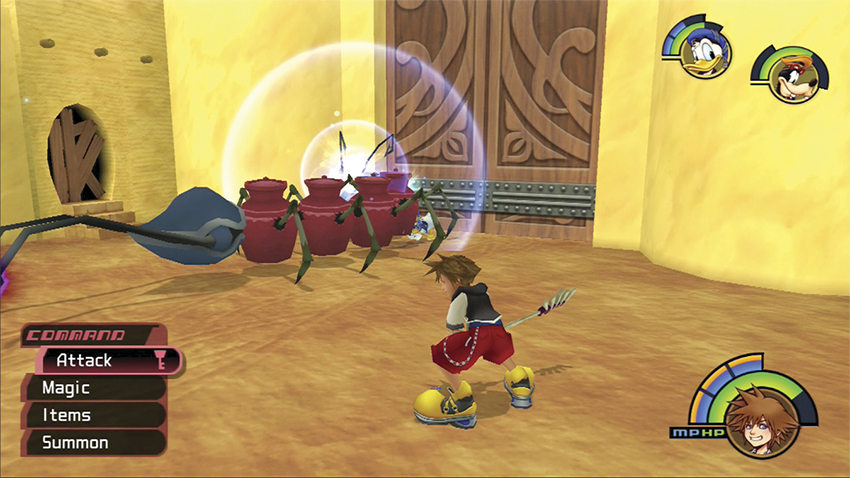
The Centipede’s head and tail share HPs, so loop around and attack the tail if you can. Stay away from the head as you deal steady damage. Eventually, the beast will have no more segments and its health will deplete through your combined assault. You receive the Ray of Light accessory upon victory.
Step 6: Chase After Jafar
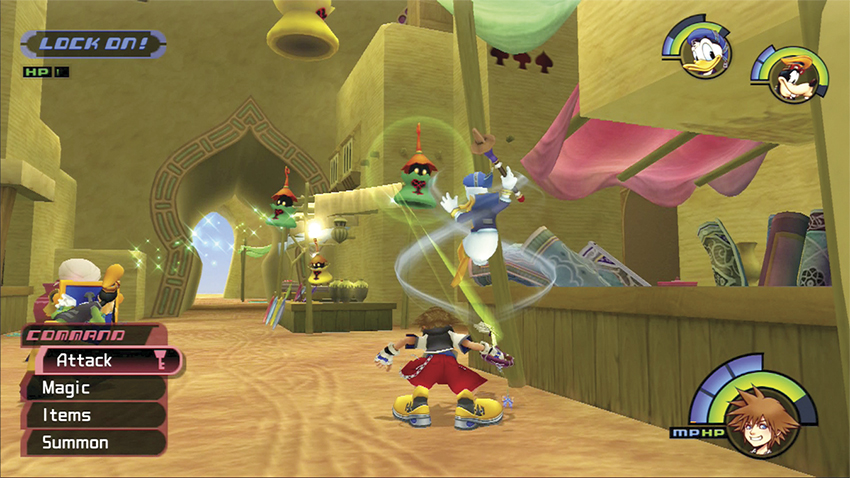
While you’re busy with the Pot Centipede, Jafar kidnaps Jasmine. Cut through the Heartless remaining in the city and return to Aladdin’s House to replenish stock and save.
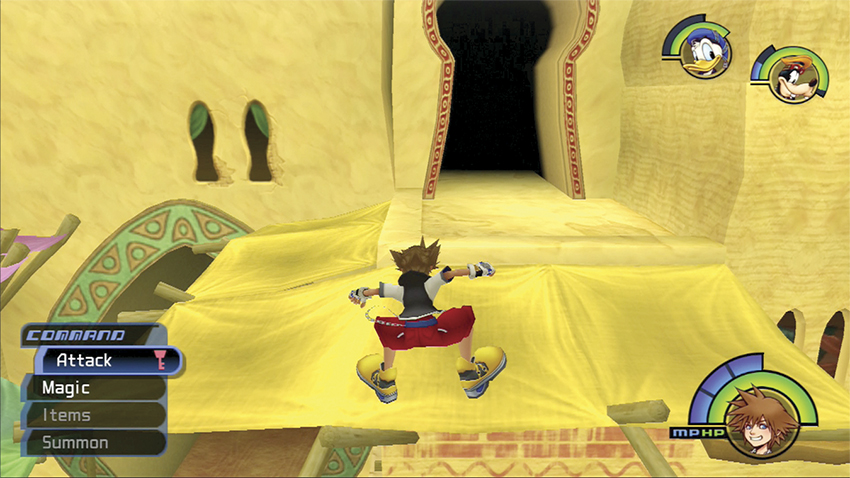
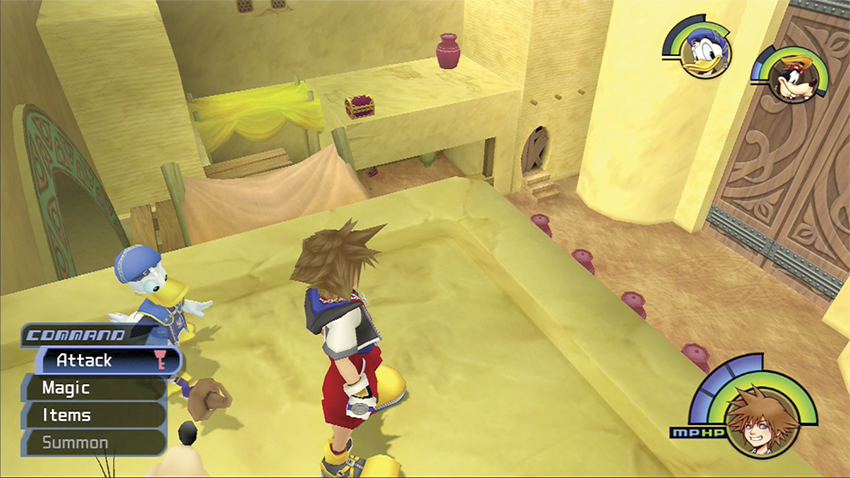
When you exit Aladdin’s House, head toward the Palace Gates’ entrance near the yellow awning. From the high ledge, jump down to the pink awning and then over to the wooden platforms. Leap over to the nearby ledge and open the red chest for a Protera Chain. Drop down and head for the Desert exit. The faithful Magic Carpet will bring you out to where Jafar has fled—the Cave of Wonders.
Step 7: Cave of Wonders Guardian
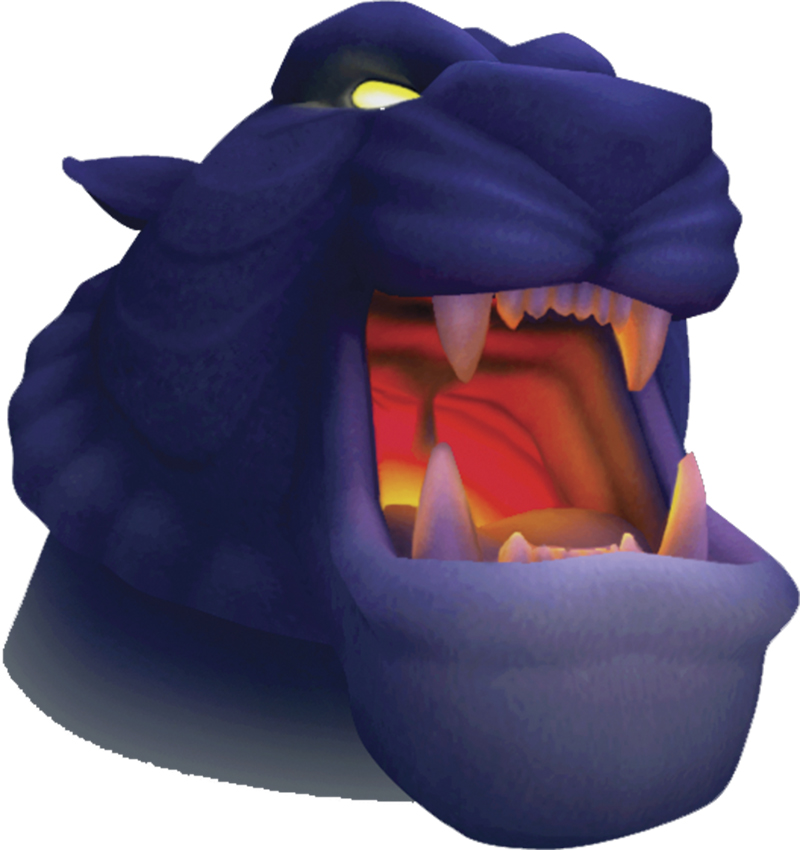
| HP | 380 |
| Strength | 18 |
| Defense | 15 |
| EXP | 400 |
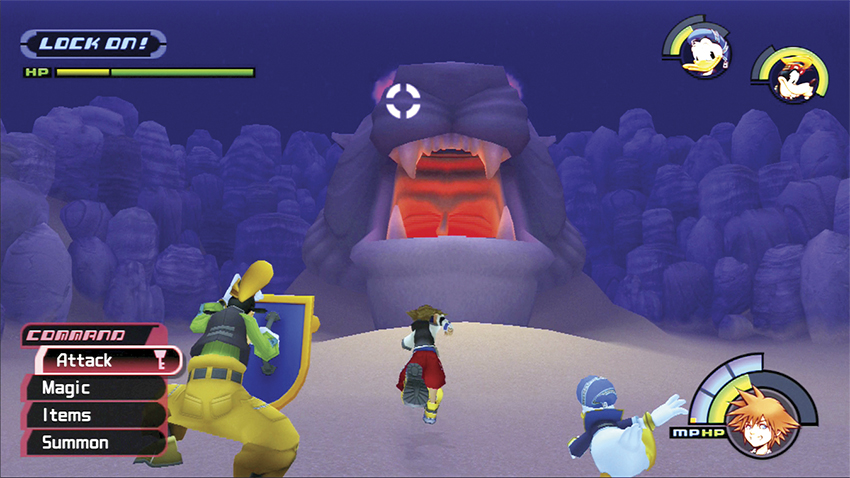
The Cave of Wonders entrance itself attacks you! This Guardian must be defeated before you can enter the caves. Lock onto one the Guardian’s eyes and prepare for a long fight.
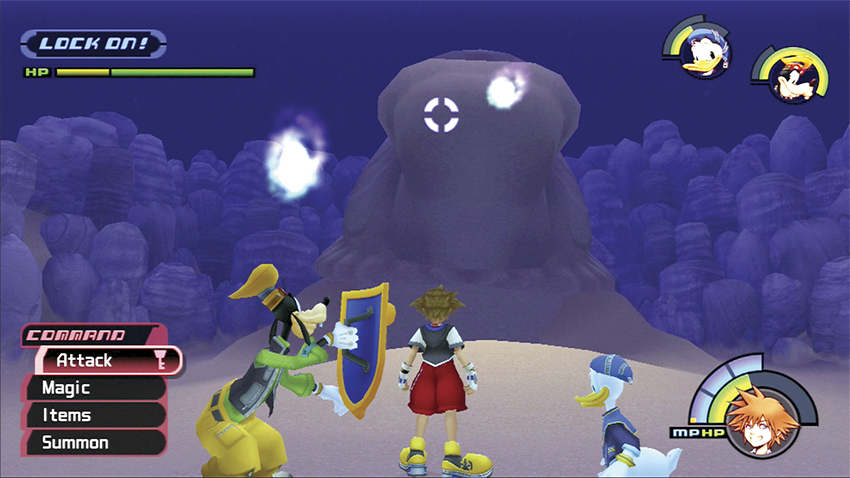
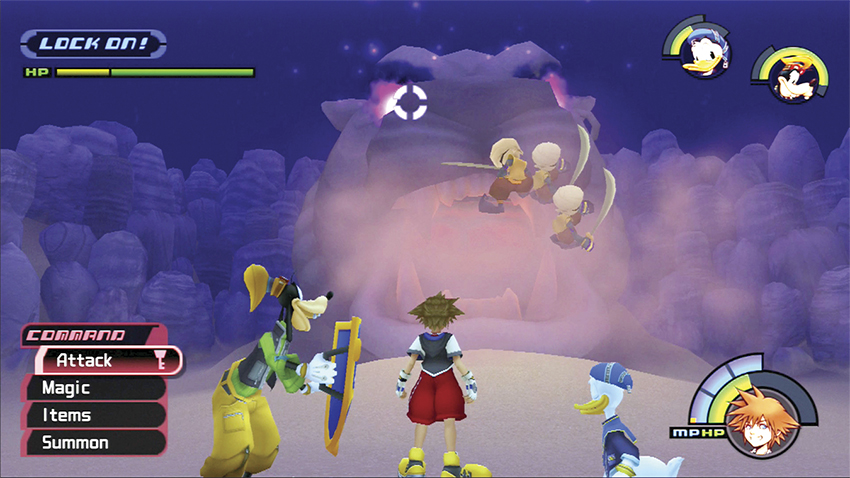
The Guardian spits out white energy balls and Heartless enemies to savage you in the sands. Dodge the energy balls when they veer toward you, and let your party companions handle the normal Heartless. You should concentrate your efforts on the Guardian unless you need to destroy some Heartless for their HP balls.
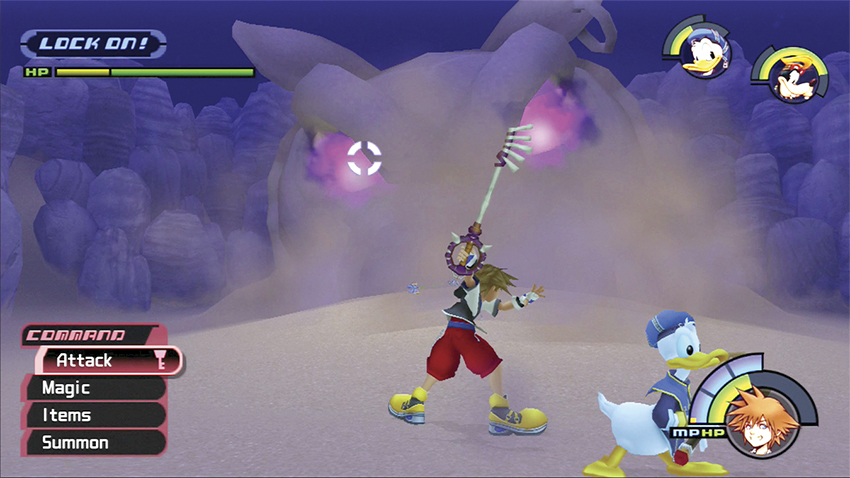
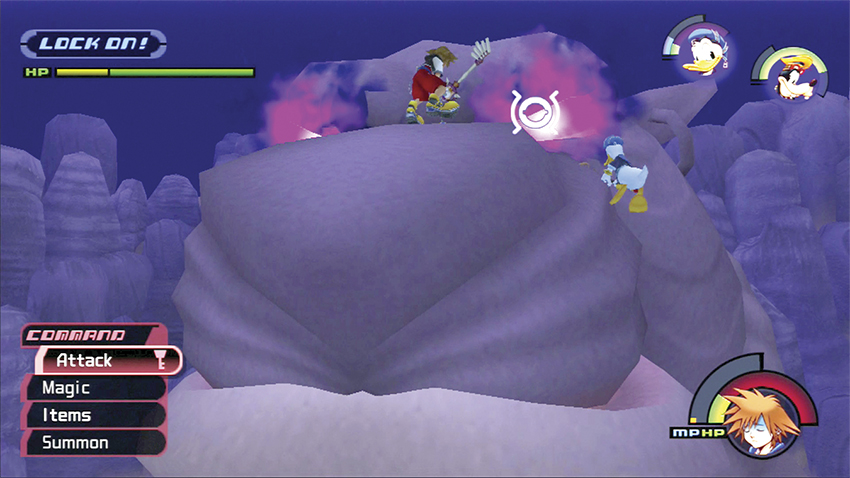
When the Guardian sinks its jaws into the sand it readies a powerful and nearly unavoidable breath blast. The only way not to take damage is to jump on the beast’s nose when it’s in this lowered position. Fortunately for you, that’s exactly where you want to be to deal damage to the Guardian.
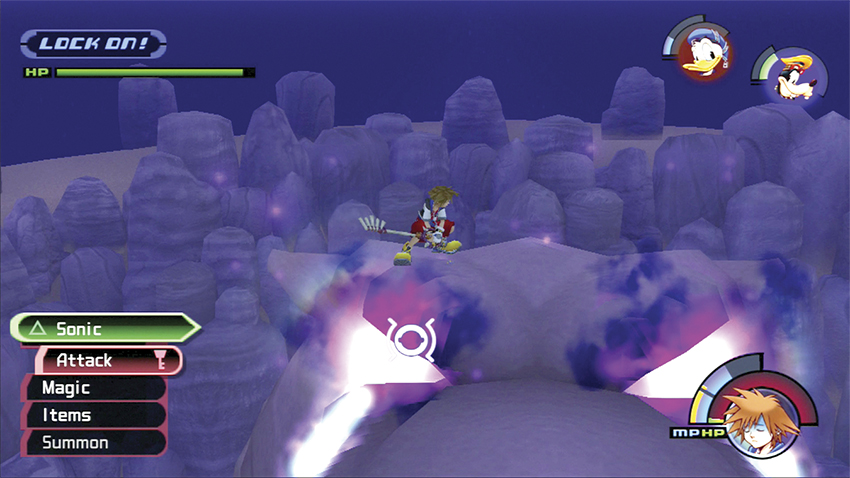
Try to stay atop the Guardian statue as long as possible. Slash away at the eye you have targeted, and if you want to use any magic, rely on Thunder—you don’t have to target the boss specifically and it deals full damage, unlike all the other spell types.
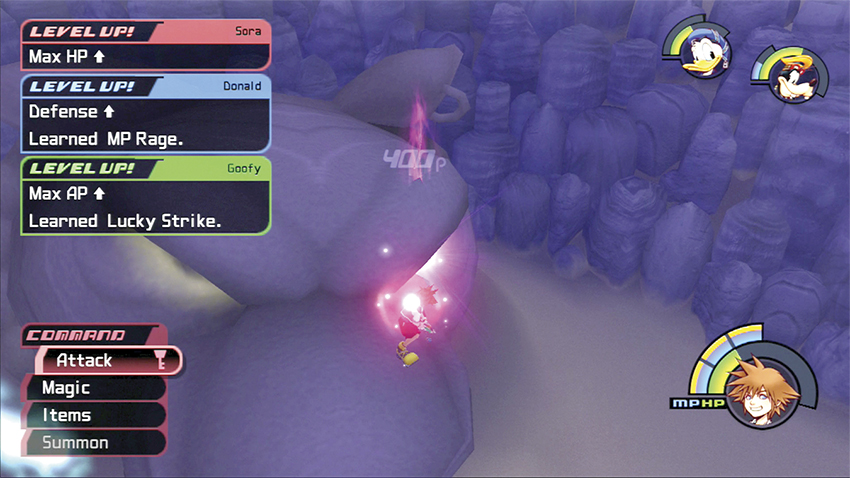
If you fall off, dodge attacks until you can climb back on. Continue crushing the eyes until you drop the Guardian’s health meter all the way down. Finally, the massive statue-creature will cease being a boss and transform into a normal entrance.
Step 8: Explore the Upper Level
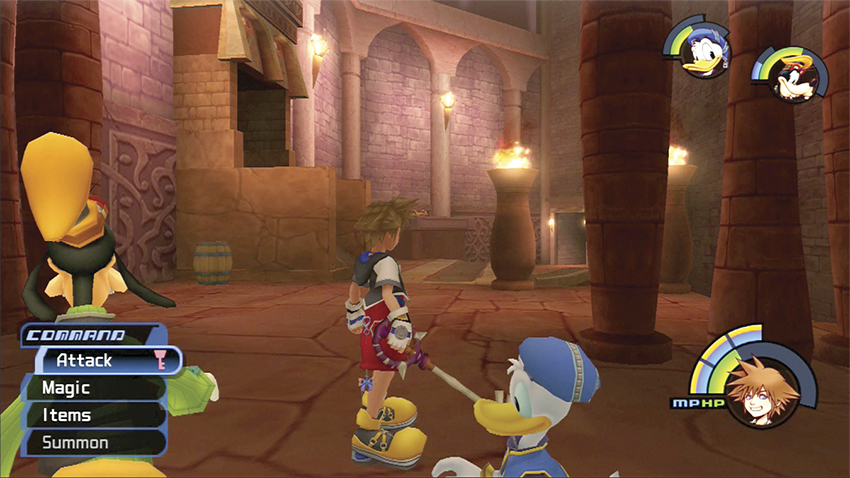
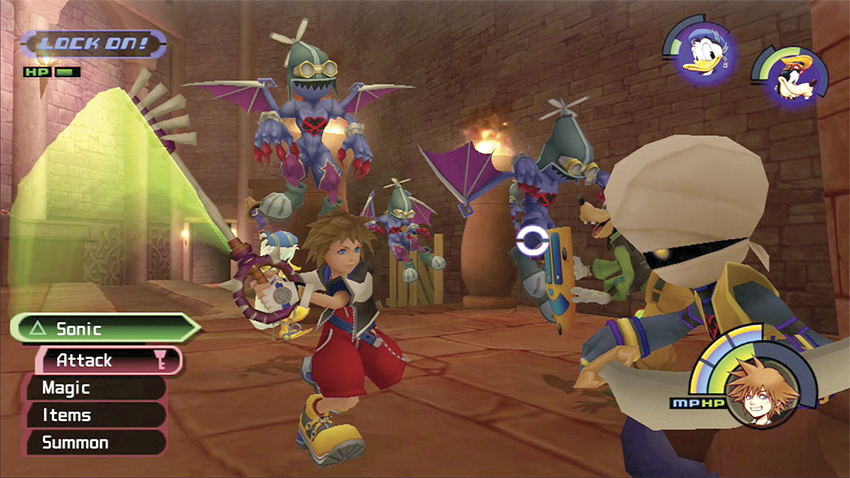
Step up into the Guardian’s mouth and proceed into the Entrance area. Fight back the Heartless that appear as you work toward the left side of the room.
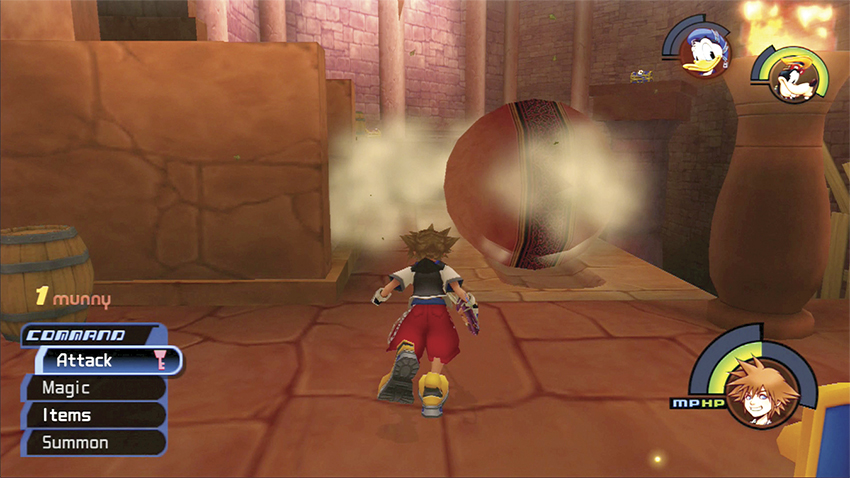
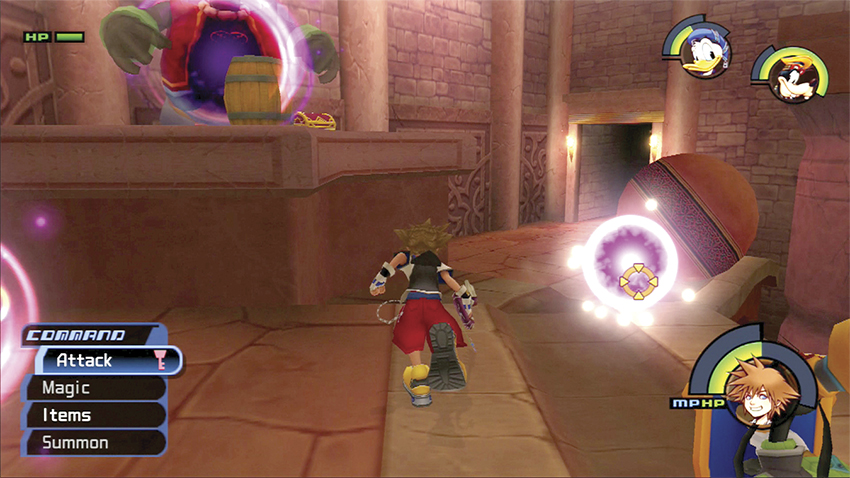
Avoid the big rolling boulder on its track and swat back more Heartless as they materialize. Once you’ve cleared the area, open the red chest on the left platform for a Mega-Ether.
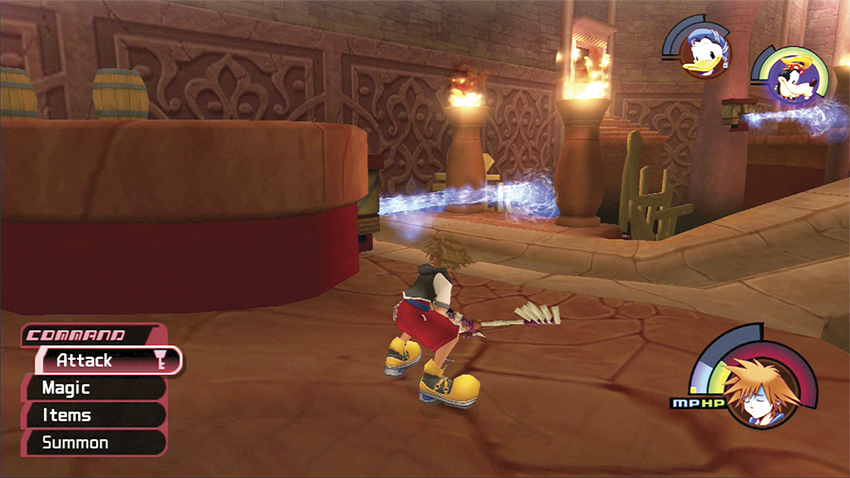
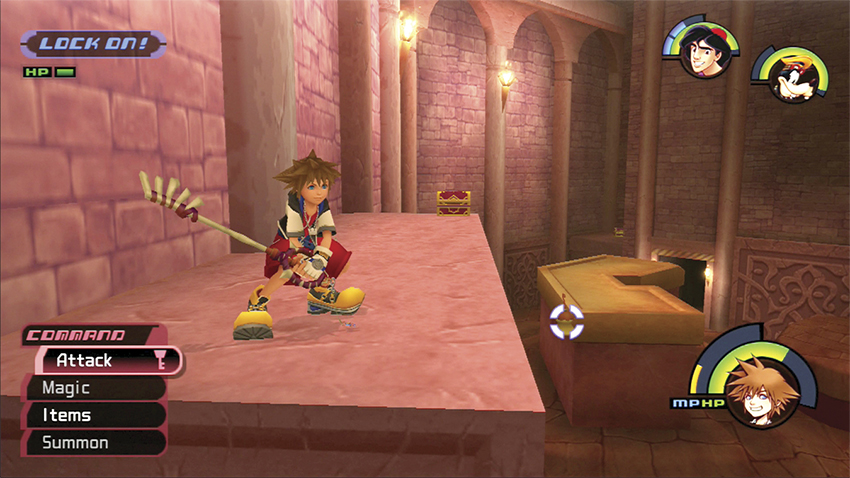
Exit into the Hall. Watch out for the rolling boulders and water jets that can knock you into the chasm. Jump up the barrels to reach the center platform where you’ll discover a red chest with an Elixir.
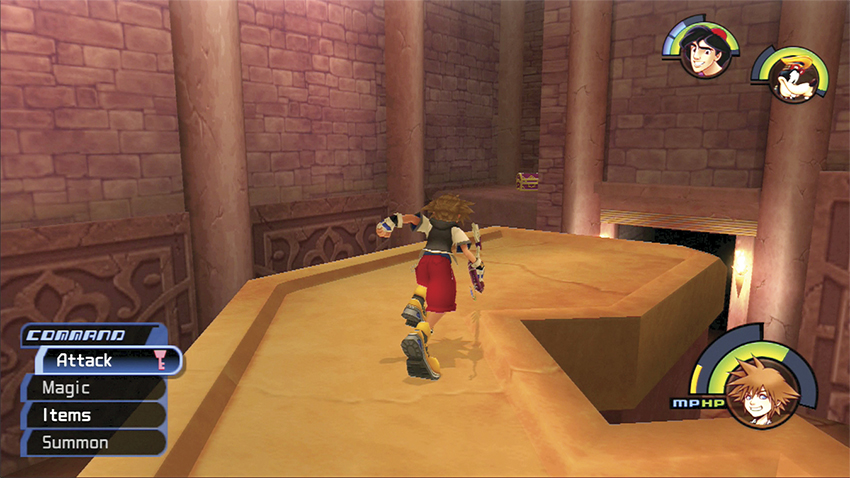
Leap down to the adjacent lower platform and cross it to the far side. Jump from the platform to a corner alcove. Here you’ll find a red chest with a Mythril Shard.
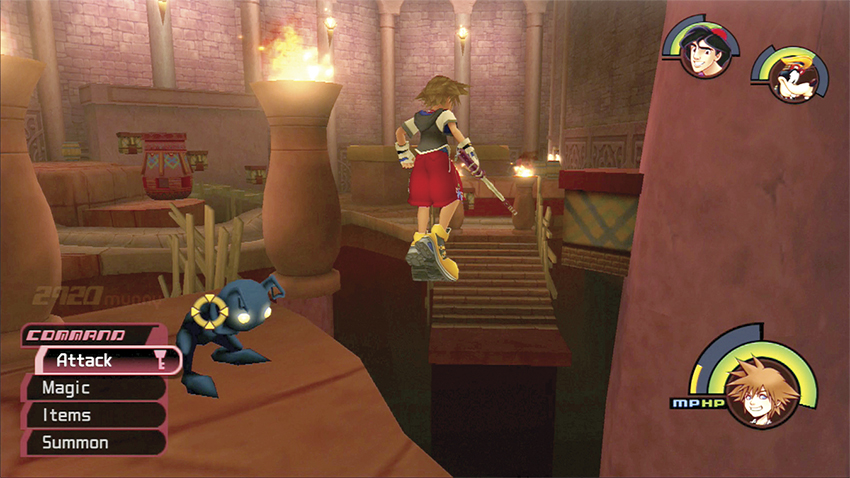
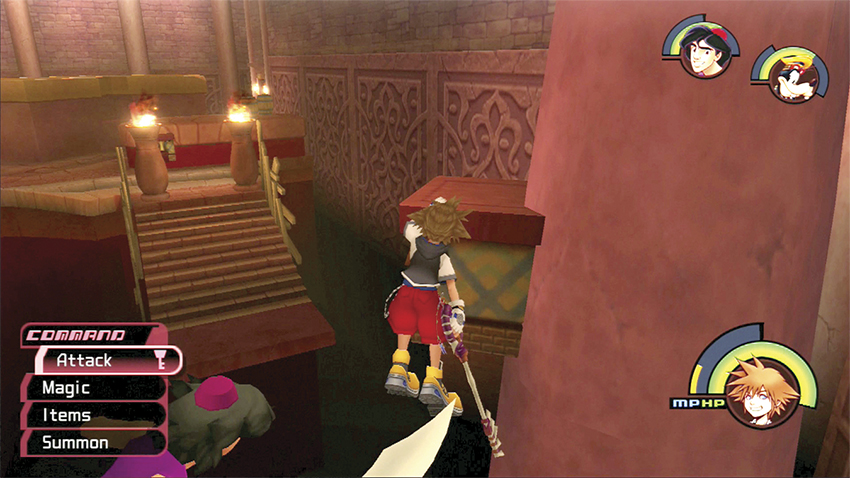
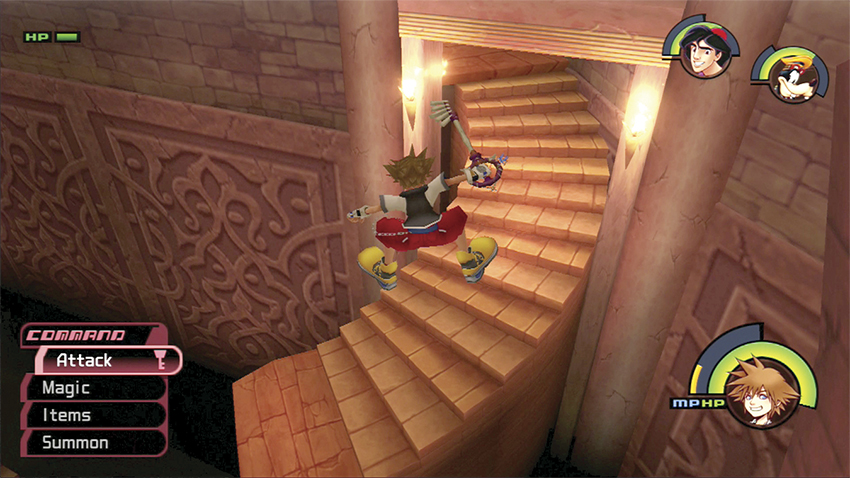
Double back to the Hall’s entrance and move toward the stairs down near the chasm. Make the long leap to a tiny ledge hanging high up on a column, then catapult out and down to the disconnected stairway leading into the Bottomless Hall.
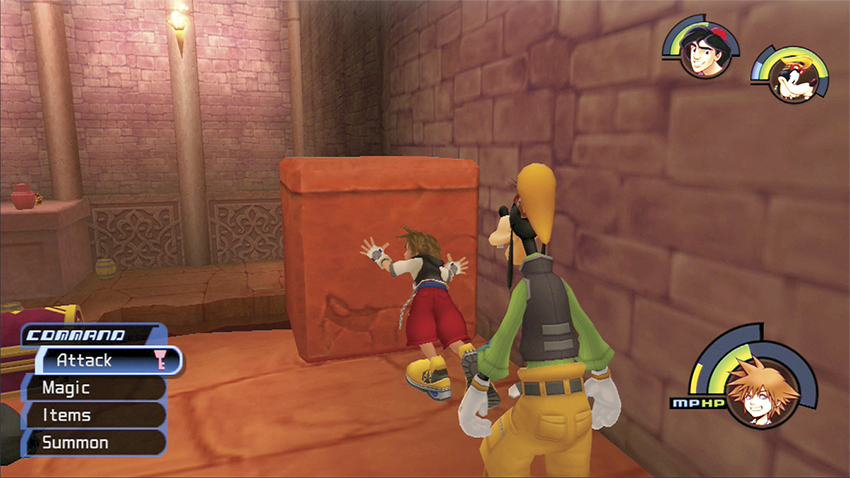
Once on the ledge in the Bottomless Hall, push the stone block until it falls into the depths below.
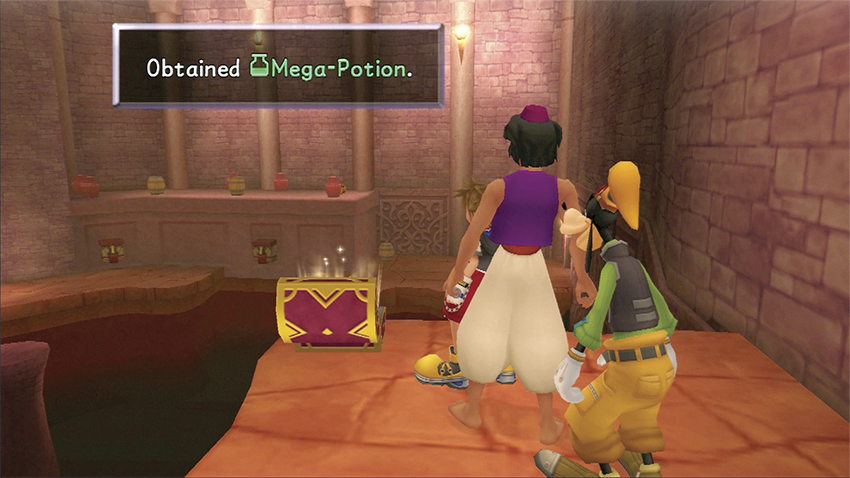
Now open the nearby red chest for a Mega-Potion. Retrace your steps to the Hall and jump back to the main area. Look for the doorway that leads into the larger portion of the Bottomless Hall.
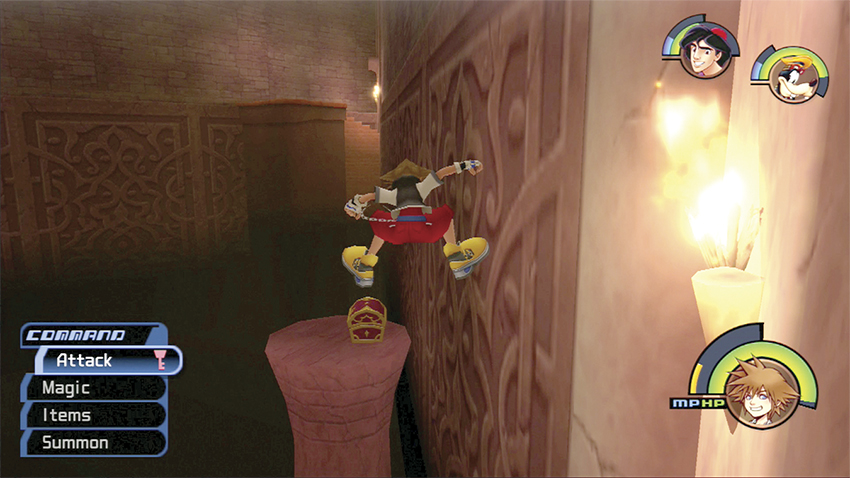
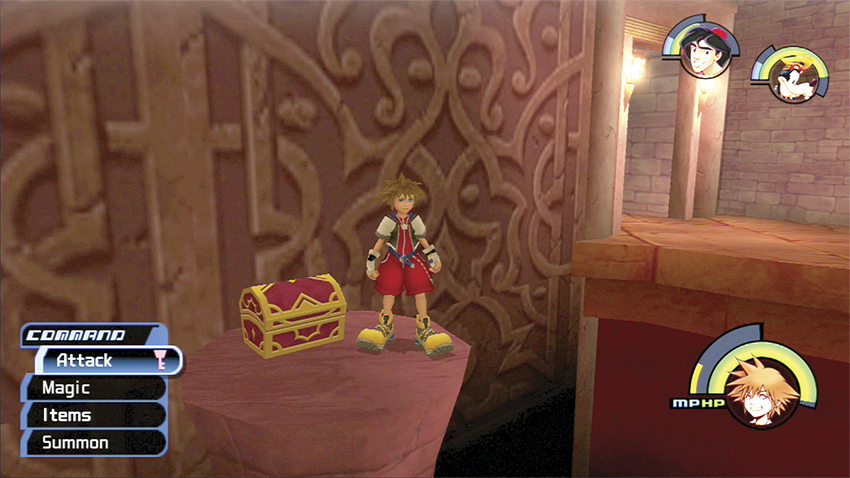
As soon as you enter the Bottomless Hall, turn to your right. A red chest sits atop a thin column out in the middle of the chasm. It’s possible to grab the column lip with a very long jump. Pull yourself up and open the chest for an Elixir.
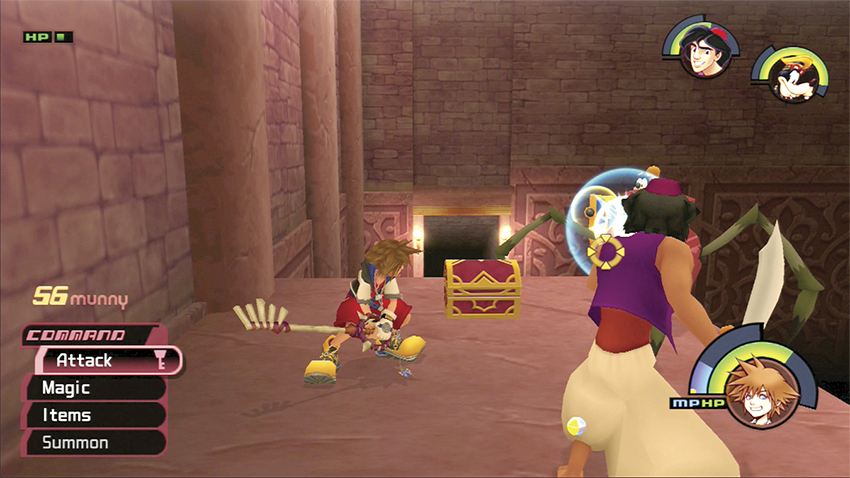
Use the first water spout to reach the platform overhead. You’ll have to battle Heartless on the platform, and your main concern should be not falling off. Once they’re cleared, open the red chest for a Cottage.
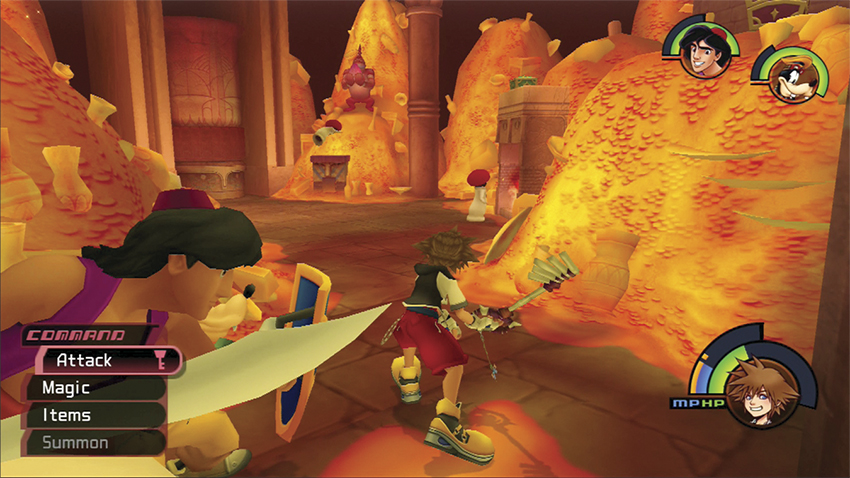
Enter the Treasure Room for some glorious sights—piles of gold everywhere! Interact with the White Mushrooms here to earn Arts items (see the “Mushrooms” chapter for complete details).
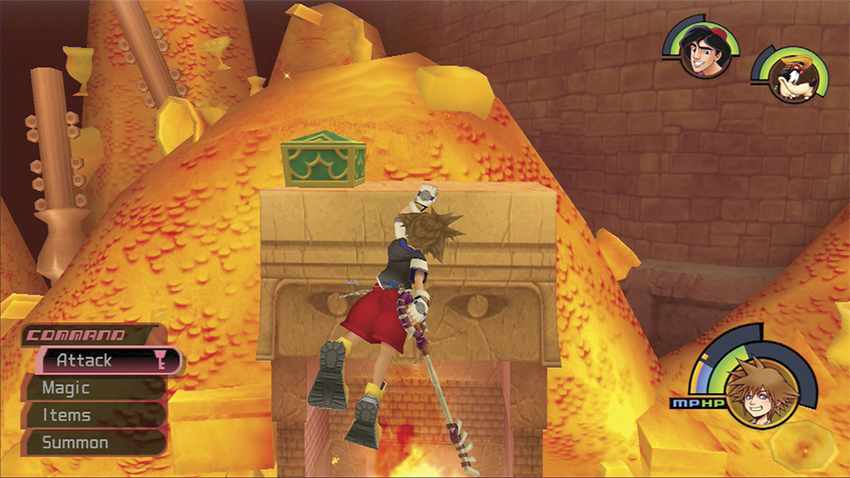
Grab onto the fireplace and pull yourself up atop the gold pile. Open the green chest here for a Defense Up.
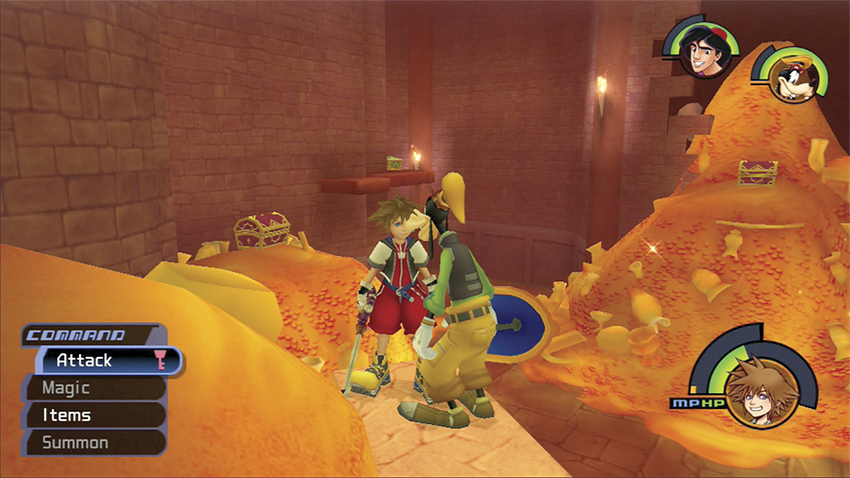
Jump from the fireplace to the nearby gold pile to reach a red chest. Open the chest for a Mythril Shard.
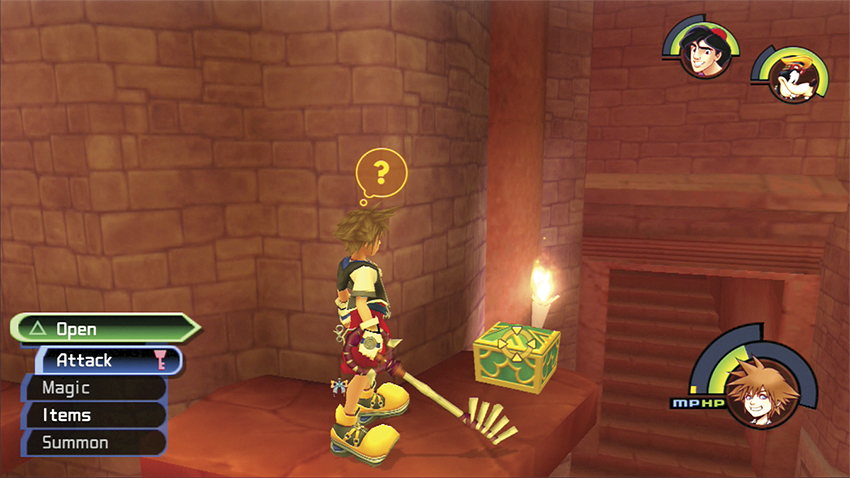
Continue ahead and jump from the gold piles to a couple of small stone ledges. On the last one you’ll find a green chest with Dalmatians 37, 38, 39.
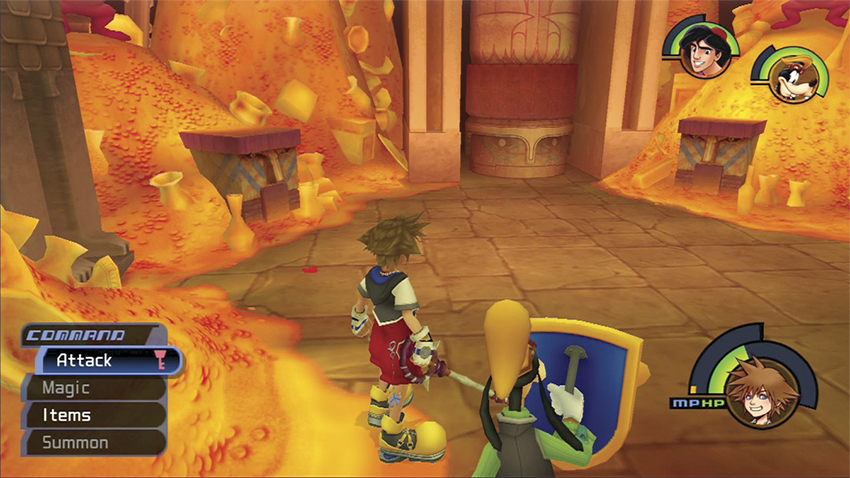
The red Trinity Mark in the middle of the Treasure Room releases a shower of munny and a Mythril Shard.
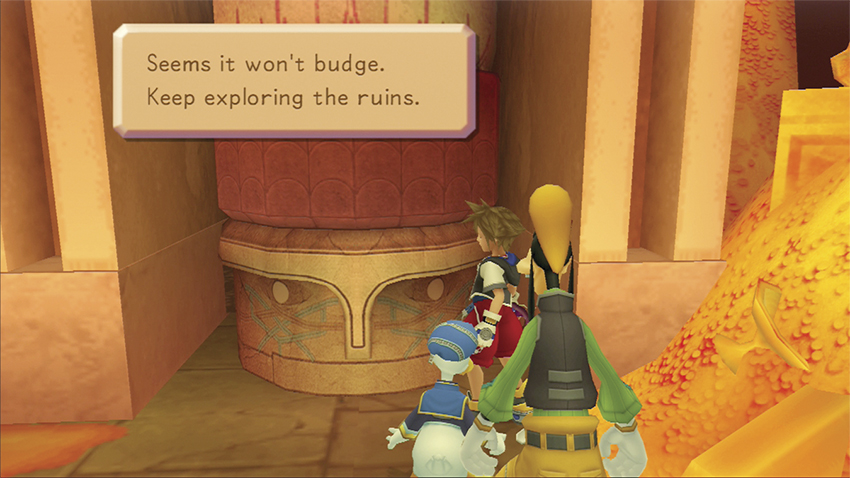
Unfortunately, a pillar blocks the entrance to the Lamp Chamber. It’s time to explore the lower level to figure out how to enter the Lamp Chamber.
Step 9: Explore the Lower Level
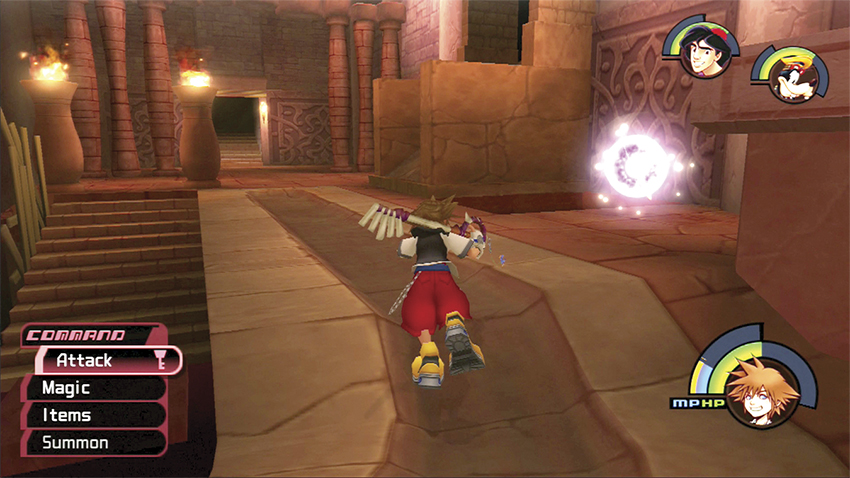
To explore the lower level fully, return to the Entrance and descend the stairs to the Relic Chamber. Note that Aladdin must be in your party to open all the secret areas in the lower level.
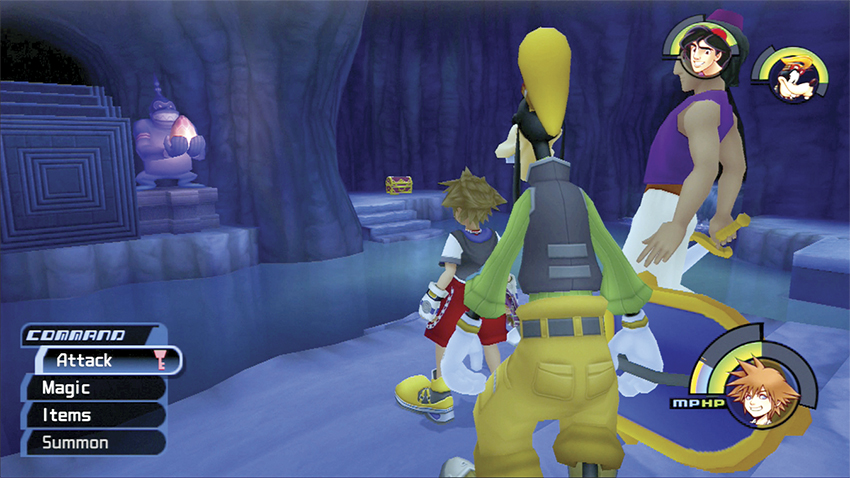
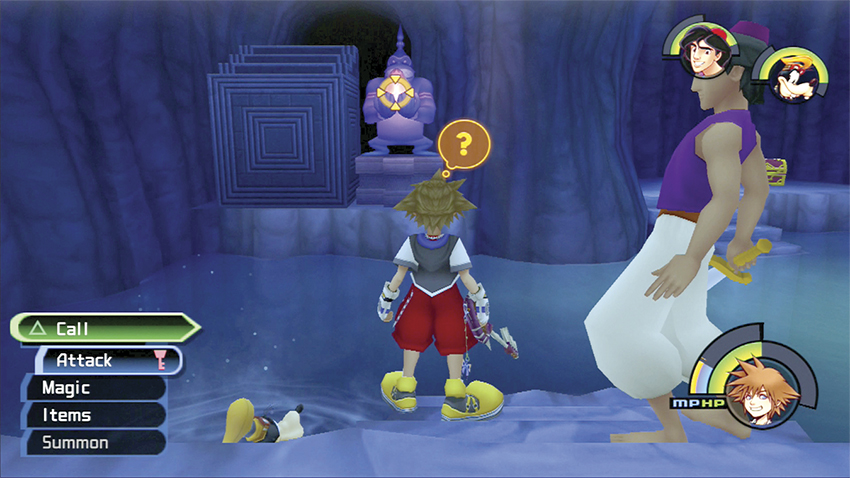
With Aladdin in your party, enter the Relic Chamber and lock onto the monkey statue across the water. Aladdin’s pet monkey, Abu, will jump across the water and activate the gem in the statue’s hands. A secret passage opens on that side.
Abu

Aladdin’s faithful friend, Abu, accompanies him where ever he goes. Abu is small and quick; he’s an ideal ally for the tight underground passages in the Cave of Wonders. He can be distracted by shiny treasure, but since you really need Abu beneath the Treasure Chamber, he won’t be a liability.
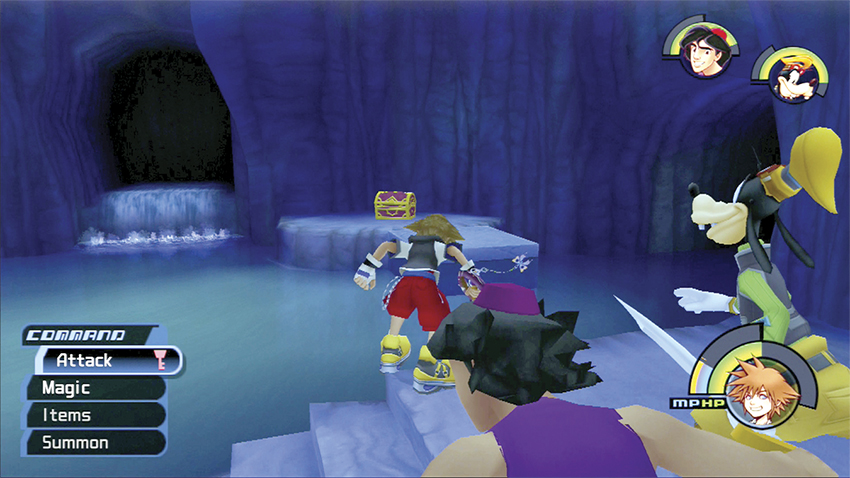
Before you check out the secret passage, leap across the square rock you dropped from the Bottomless Hall above. From the square rock you can hop over to the corner platform with a red chest. Open the chest for Mythril.
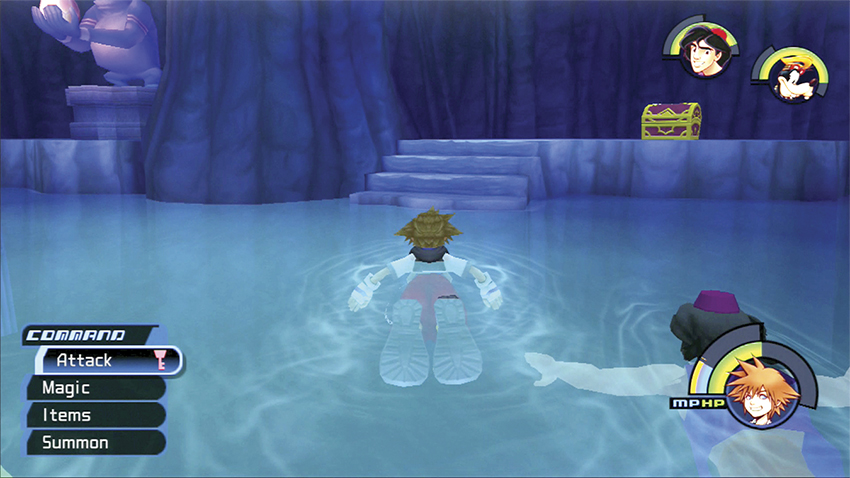
Swim across the water to the second red chest. Open it for a Thunder Ring.
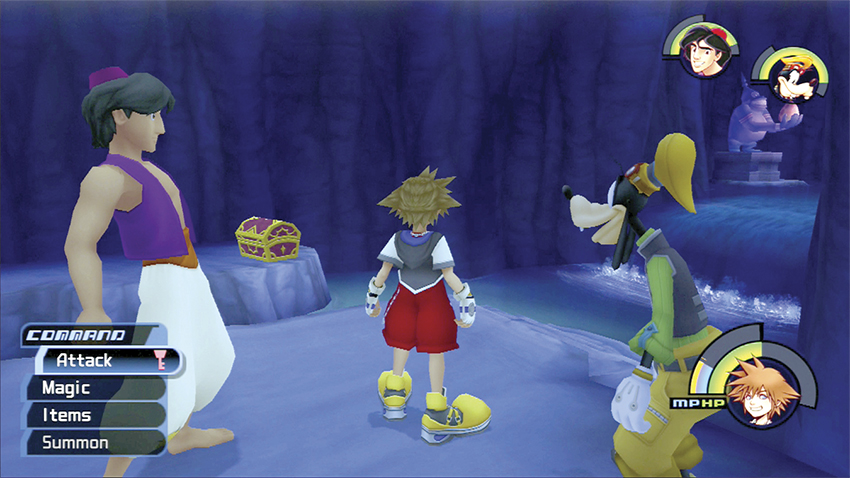
Enter the secret passage to discover a hidden part of the Dark Chamber. Once inside, jump from the initial platform to the adjacent platform and open the red chest there for a Meteor-G.
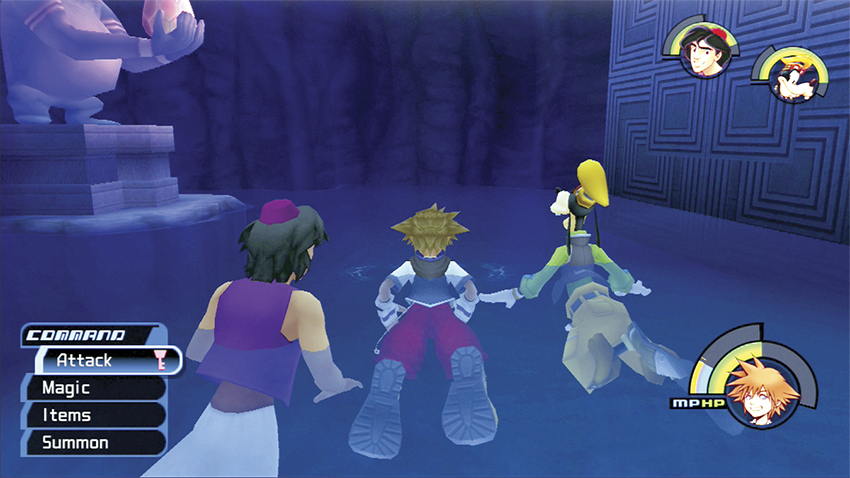
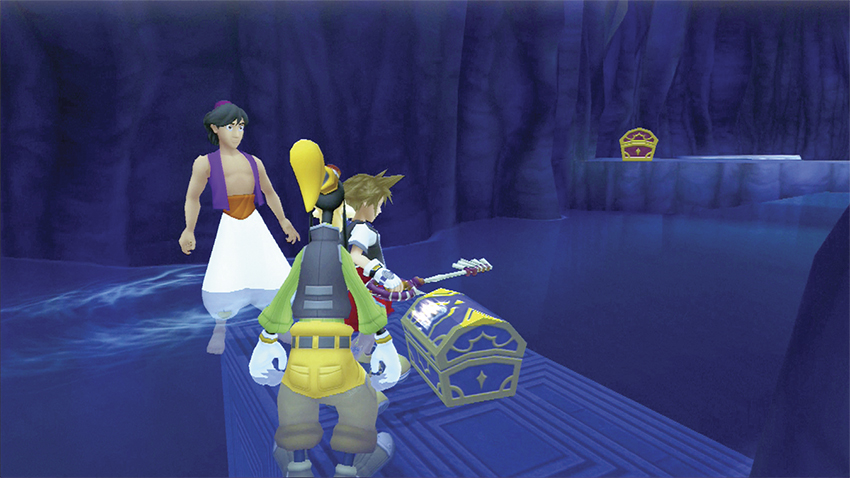
Swim upstream and call Abu to activate the second monkey statue. A secret wall drops to grant access to a new section of the Dark Chamber. Atop the wall lies a blue chest with a Protera Chain.
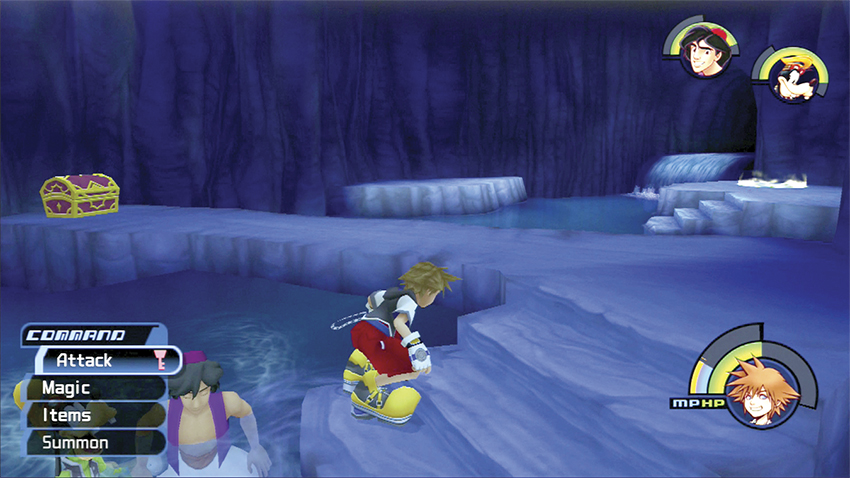
Swim farther into the Dark Chamber and climb the steps to the next platform. Walk out to the far side and open the red chest for a Torn Page that helps you unlock the Hundred Acre Wood. Jump in the water and swim over to the save point.
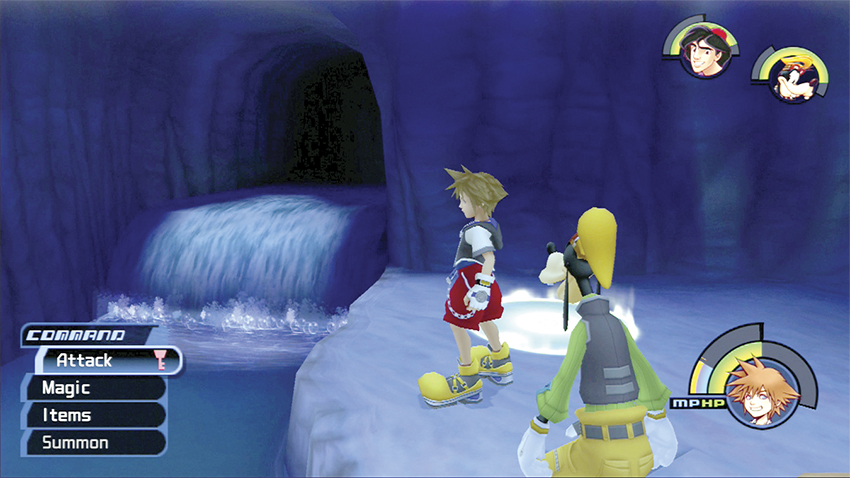
Edge out from the save point and leap across the water to the far platform. Open the chest for a Cottage. Jump back, save, and create a party with Donald and Goofy so you can activate the Trinity Mark in the next room.
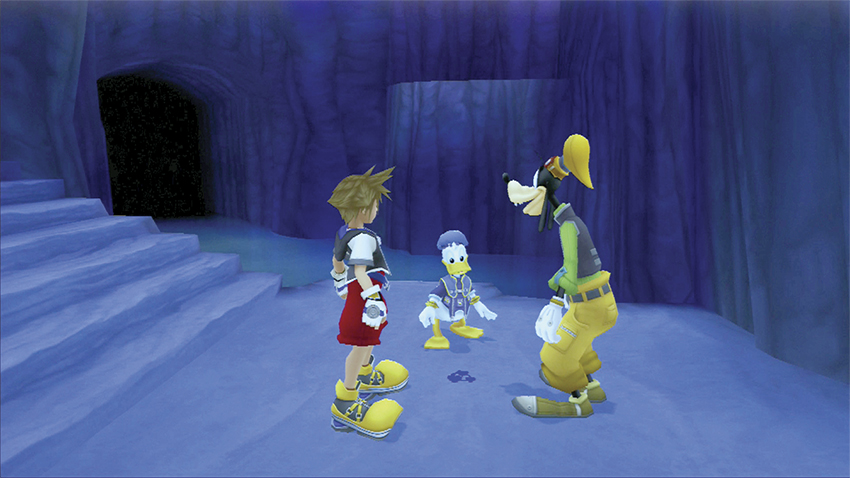
Swim upstream to the Silent Chamber and look for the blue Trinity Mark on the platform between the staircases. Trigger the Mark for a chest with a Thundara-G inside. Swim back to the save point and switch Aladdin into your party, then return to the blue Trinity Mark platform.
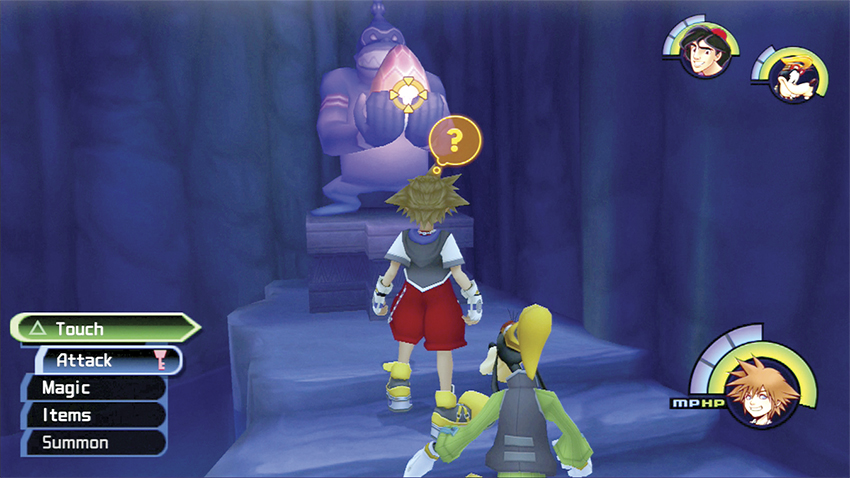
Swim downstream to the third monkey statue. Touch the gem on the statue to open a secret passage high up on the wall. You can’t do anything with this passage until you return with the High Jump ability, but you’ve set it up for when you do.
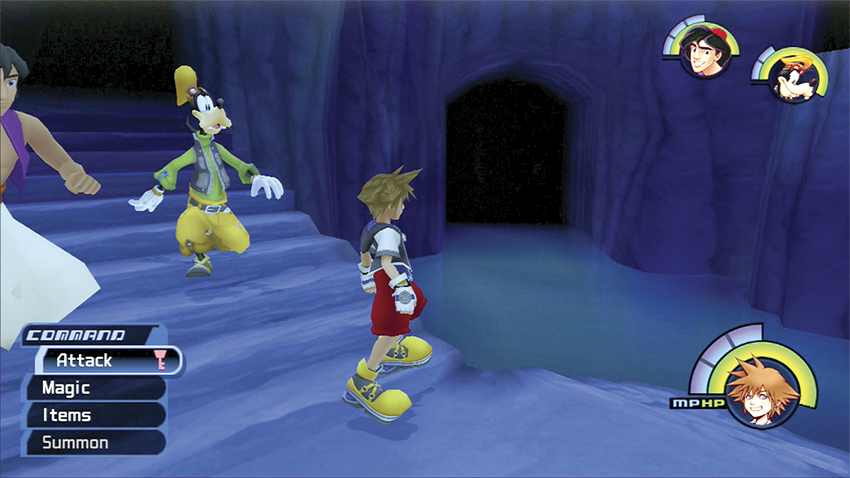
Swim back to the upper portion of the Silent Chamber and dive off the stairs into the side pool. The hard-to-see opening in this pool leads to the Hidden Room.
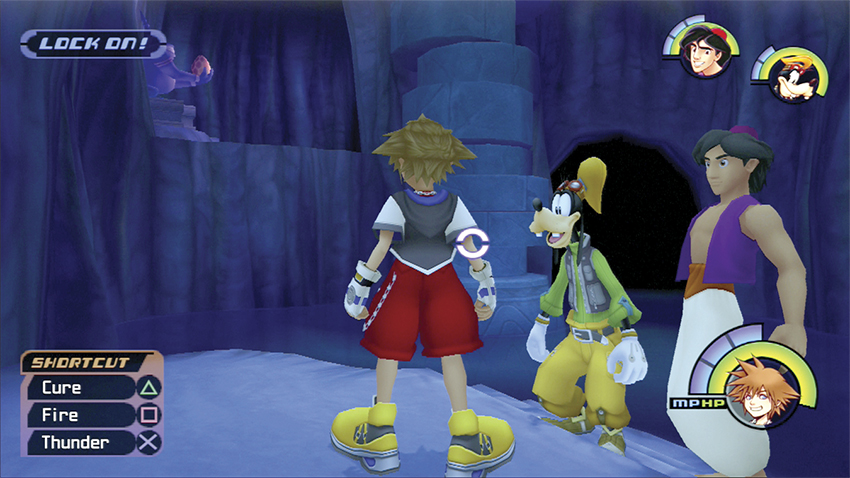
Swim to the platform and then lock onto the nearby pillar. Cast Fire and the pillar will explode, lowering the column blocking the Lamp Chamber above. Swim back to the Silent Chamber, climb the stairs to the Hall, cut across to the Bottomless Hall, and finally take the entrance into the Treasure Room.
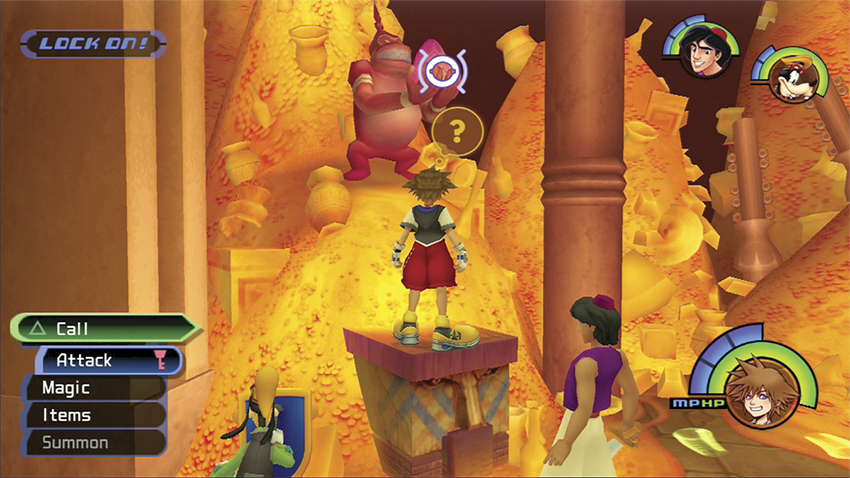
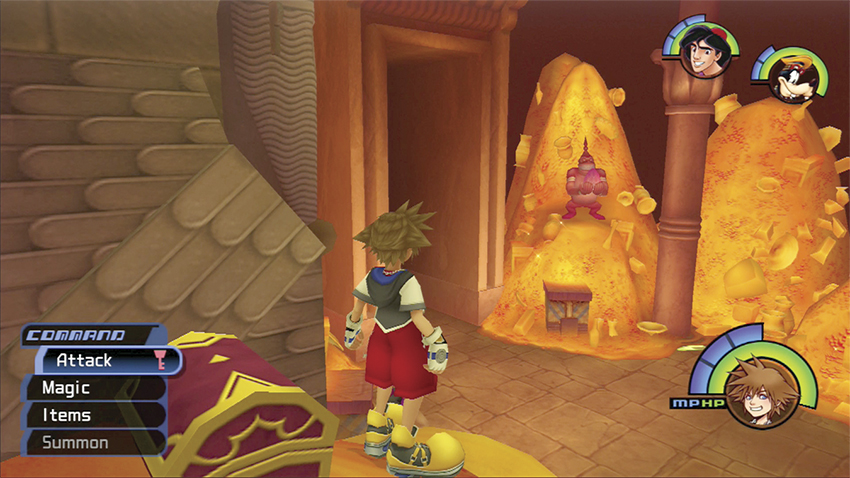
Look for the monkey statue to the right of the Lamp Chamber. Call Abu to activate the monkey statue and it will propel you across the room and up onto a gold pile with another red chest. Open the chest for a Thundaga-G. Save at the nearby save point and prepare for your final encounters against Jafar.
Step 10: Jafar
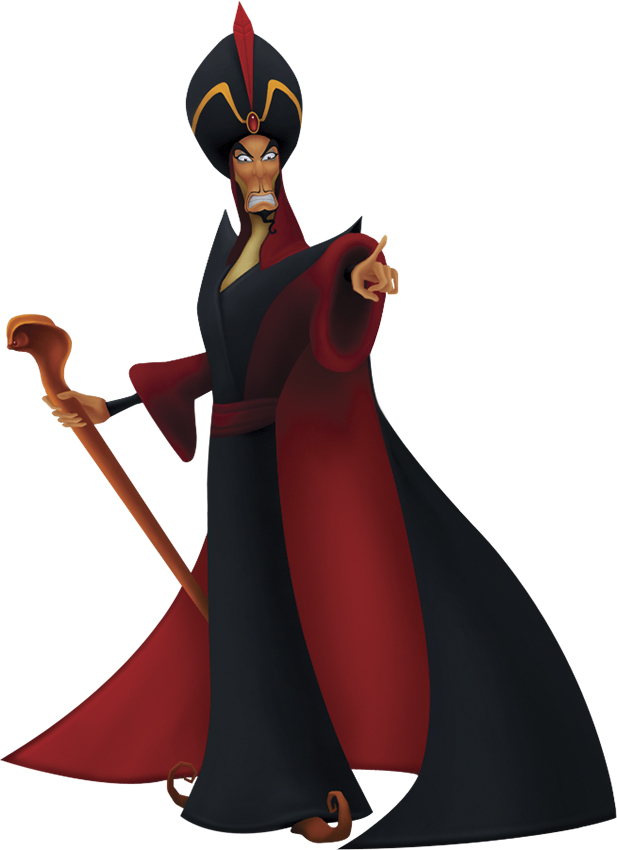
| HP | 500 |
| Strength | 18 |
| Defense | 15 |
| EXP | 600 |
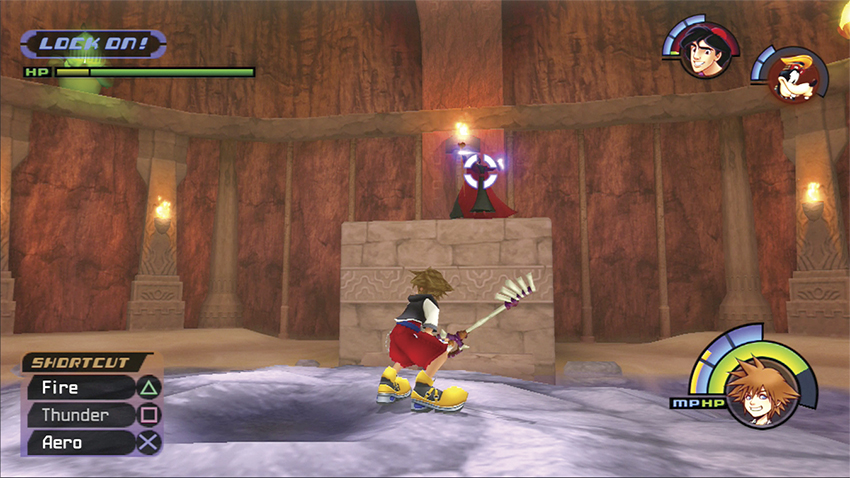
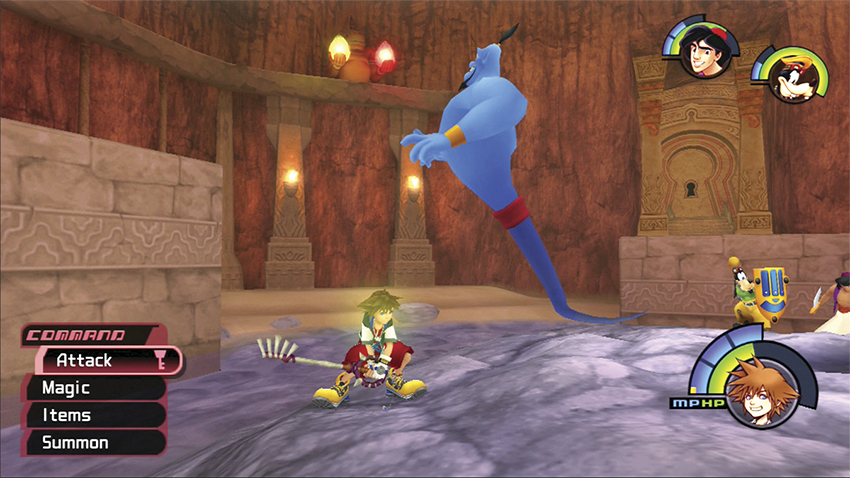
Face to face with Jafar, you find out that the vizier has both Jasmine and Genie, and your once-faithful blue servant is ordered to fight against you. Genie, however, doesn’t want to fight against you; he will only hit you for light damage, and when he does, he releases HP balls for you to recover your lost health. Ignore Genie and concentrate on taking down Jafar.
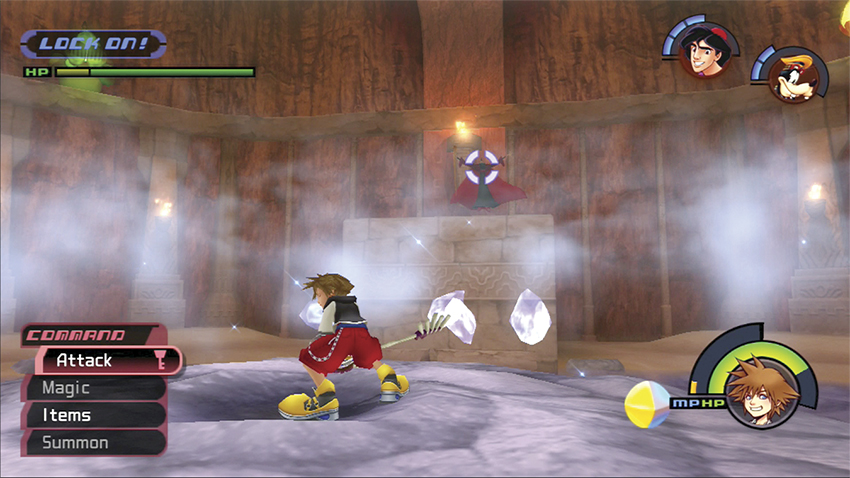
Jafar’s main attack is a fire beam from this staff. As he floats around from platform to platform, dodge the fire beams and wait until he settles before pouncing on him. He may also conjure an ice storm in the middle of the chamber. To skip damage completely, stay on the move and avoid the center of the chamber when you see the ice block forming.
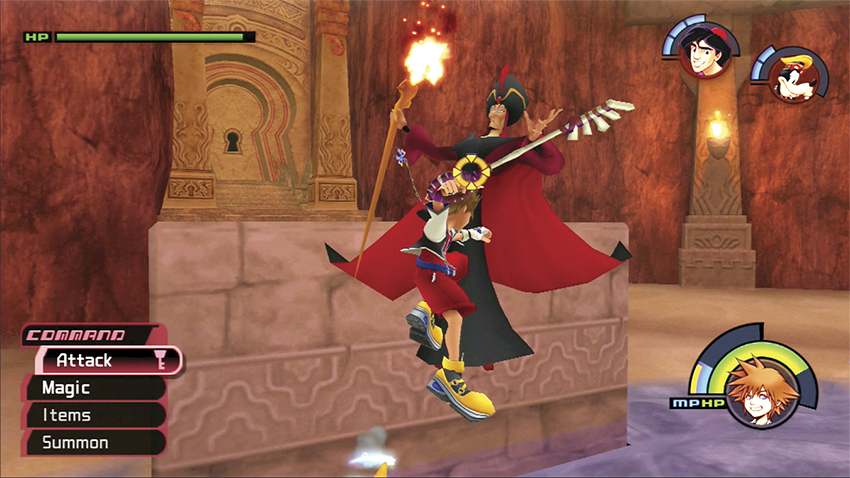
When Jafar turns into a white light, you can’t harm him. Track his movement and wait for him to materialize near the ground. Assault him with as many combos as you can get off before he floats off again.

Stay patient and play defensive until you gradually wear Jafar down. Eventually, the vizier will explode with energy and leave a huge crater in the chamber floor. Jump down into the crater when you are ready for part two of your encounter with Jafar. In the meantime, return to the save point and replenish any spent items. As a reward at the end of this battle, you Blizzard spell upgrades to Blizzara.
Step 11: Jafar-Genie

| HP | 750 |
| Strength | 18 |
| Defense | 15 |
| EXP | 730 |
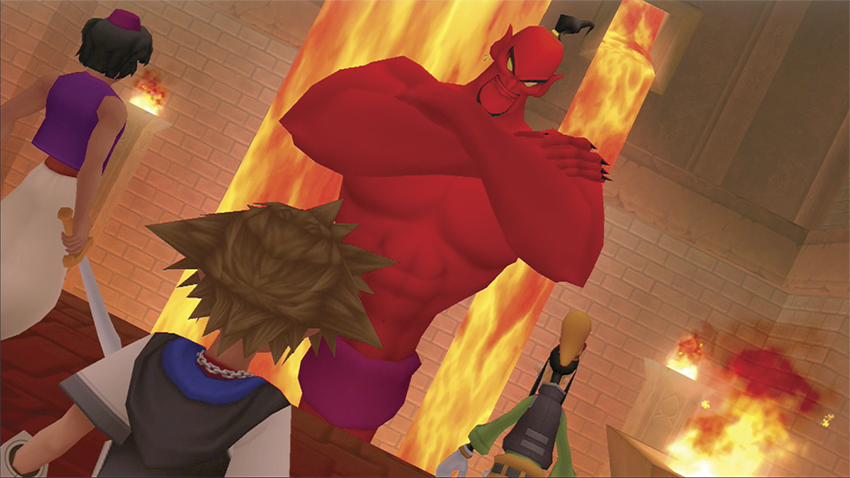
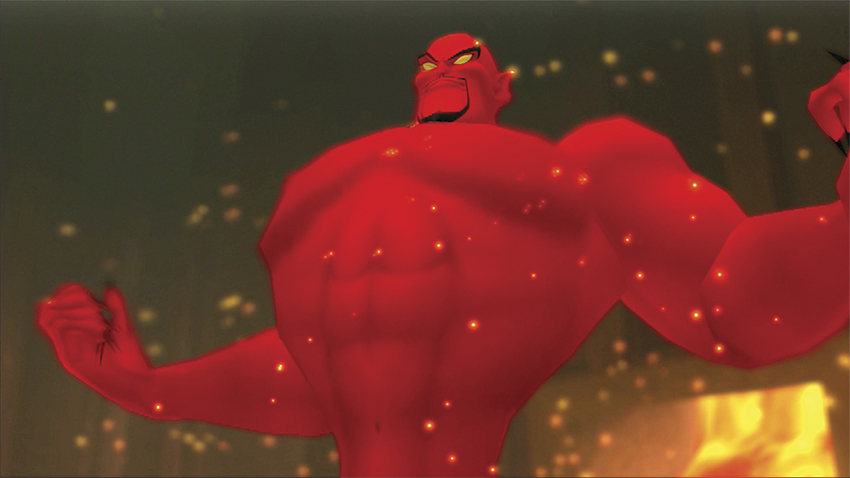
The imposing Jafar-Genie rises from the molten lava after you touch down in the crater. Notice that you start on a central platform with smaller platforms around it. These platforms will move up and down in the lava. Pay attention to where you are at all times.
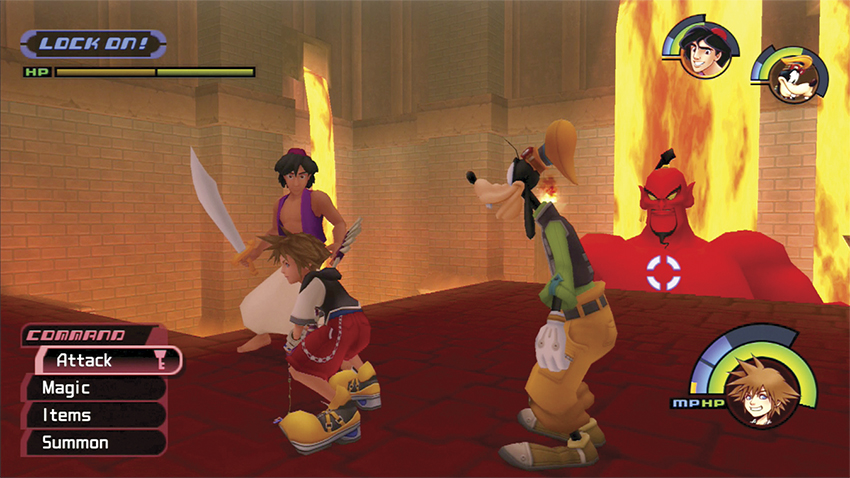
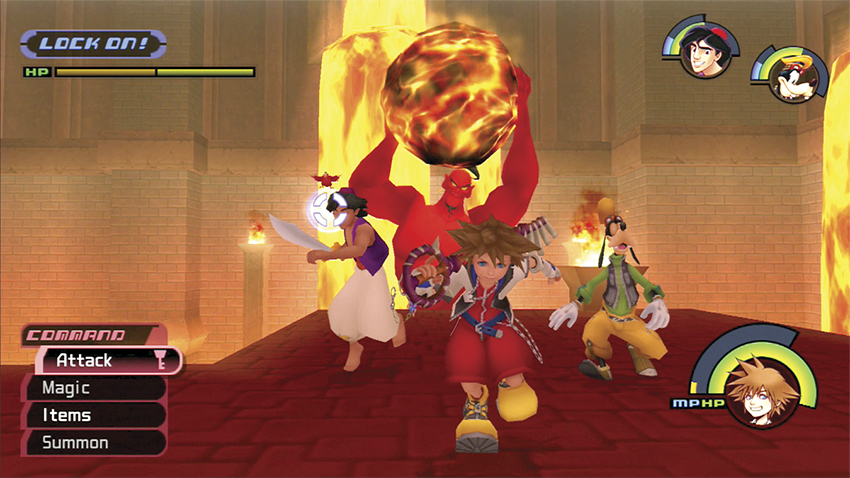
Jafar sinks back into the lava from time to time and rises in new locations. Be on guard that he doesn’t sneak up behind you during the fight. When he reaches down and pulls up a huge fireball, scatter and dodge the fireball at all costs. This attack does huge damage and can obliterate the party if you’re not careful. If another platform is lower than yours, you can avoid fireball damage by temporarily jumping down to the lower platform until the heat dissipates.
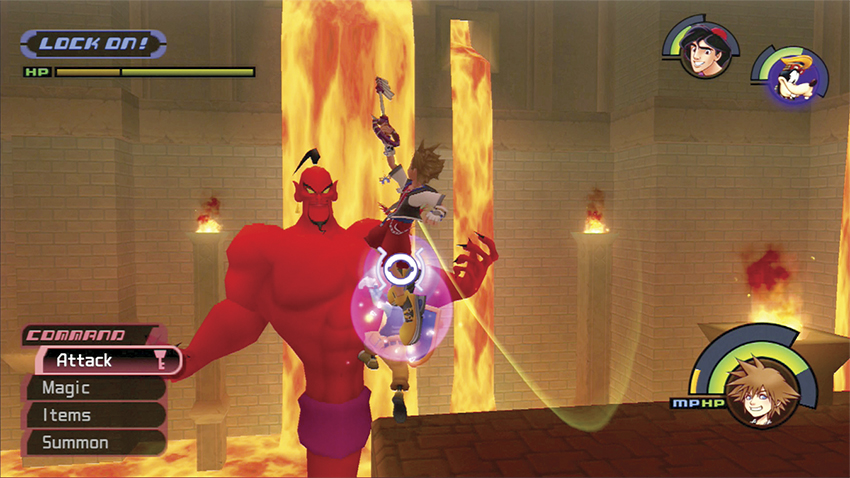
The key to defeating Jafar-Genie, however, is not to target the big boss but his small minion, Iago. The parrot flies around the room with Jafar’s genie lamp, and the lamp and Jafar-Genie share the same HPs! It’s much easier to land blows on the defenseless bird than the powerful genie.
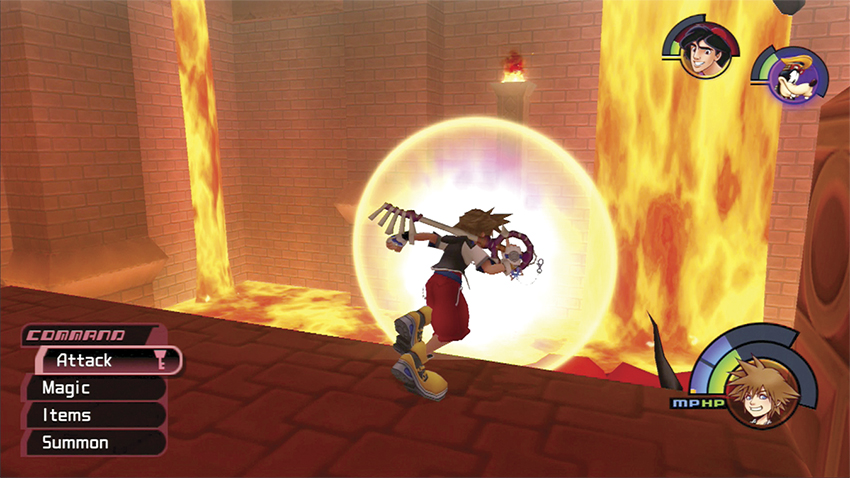
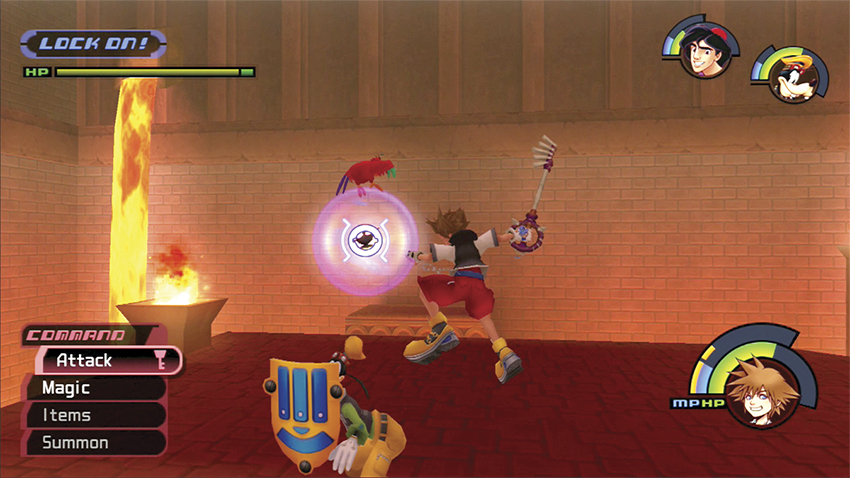
Follow the parrot around the room while dodging Jafar-Genie’s attacks. Wait until Iago flies over one of the higher platforms and launch your attacks on the parrot as long as he’s over stone.
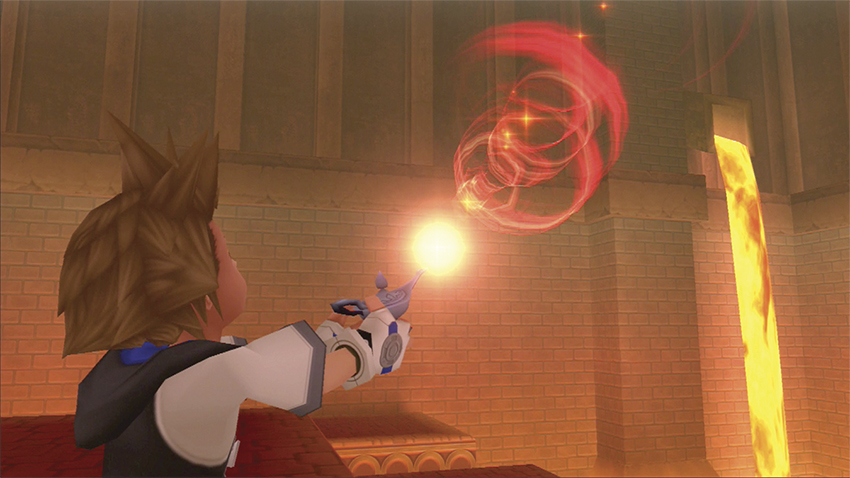
When you get Jafar-Genie’s HPs down to zero, you defeat the evil vizier and trap him in his new lamp. For defeating Jafar, you receive Ansem’s Report 1 and your Fire spell gets upgraded to Fira.
Step 12: Escape the Cave of Wonders
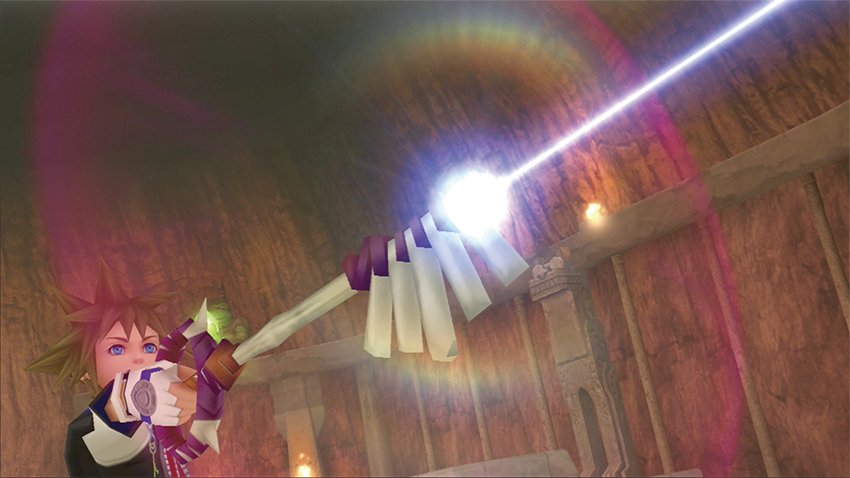
You seal the Agrabah keyhole after your victory over Jafar. Unfortunately, Jasmine is missing and you have a bigger immediate problem—the Cave is collapsing!
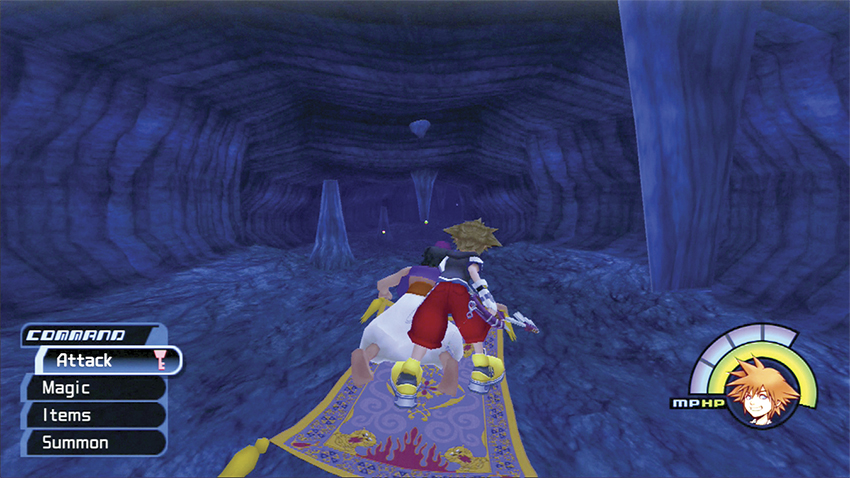
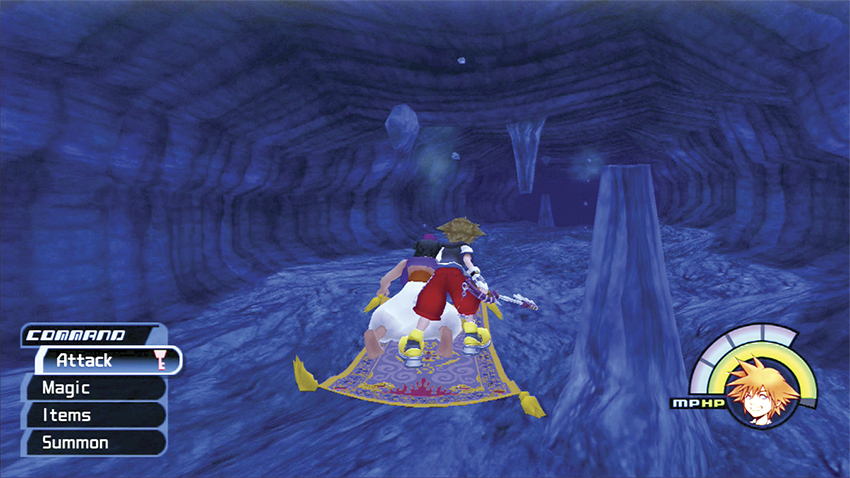
Hop on the Magic Carpet and ride out of the destruction. Steer back and forth to avoid falling rocks and debris.
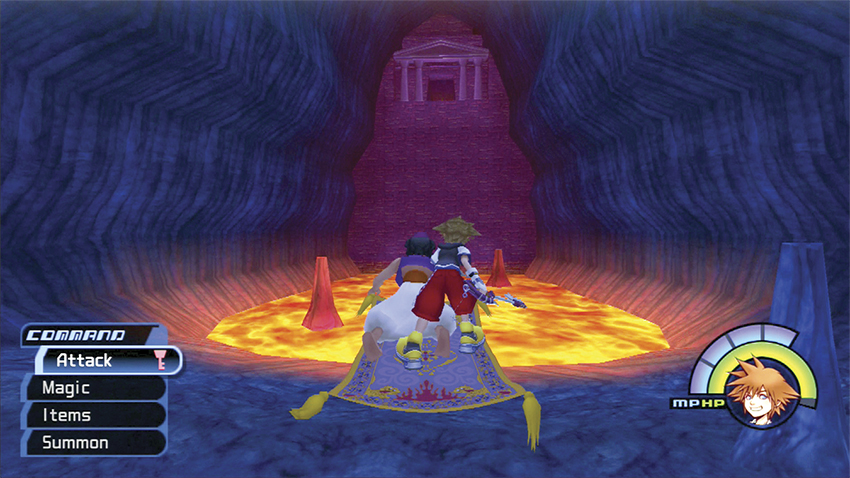
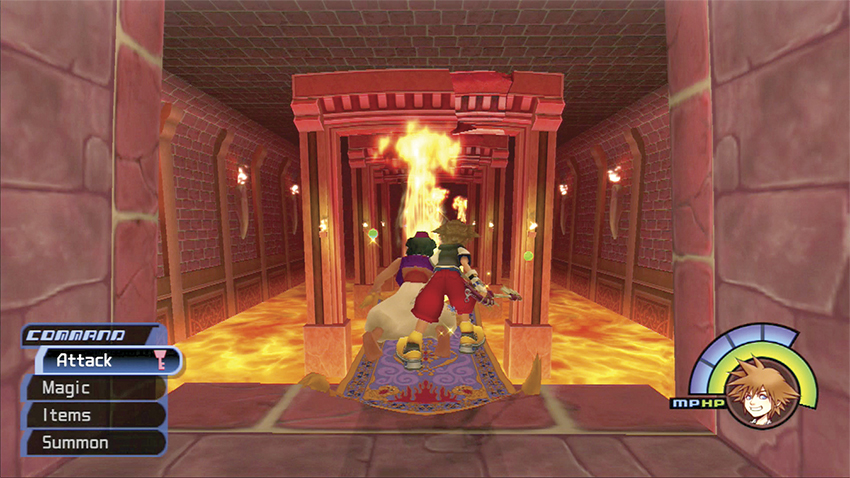
You can also boost your speed or flip over if you need to avoid obstacles. Jet over the fire pits and when you see the exit, zoom out and into the safety of the open desert.
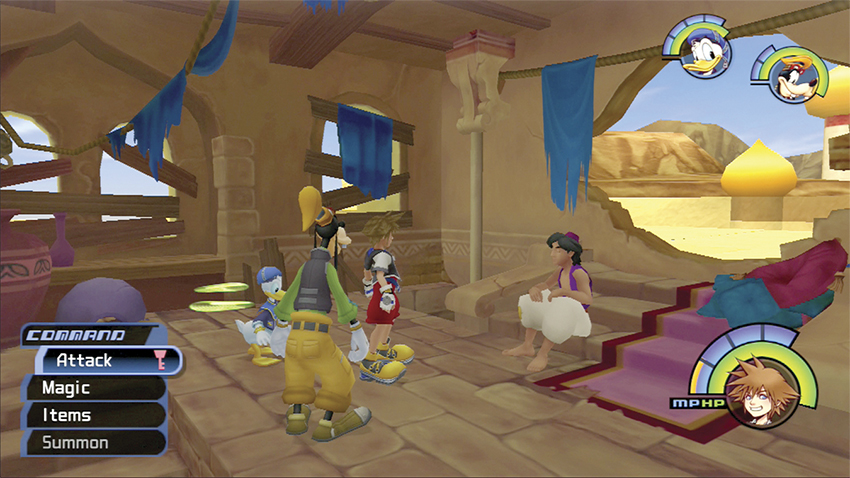
Aladdin takes you back to his house. He frees Genie with his third wish, and Genie agrees to accompany you as an ally in search of Jasmine. Aladdin thanks you for all your help and rewards you with the Three Wishes key chain and the ability to use green Trinity Marks.
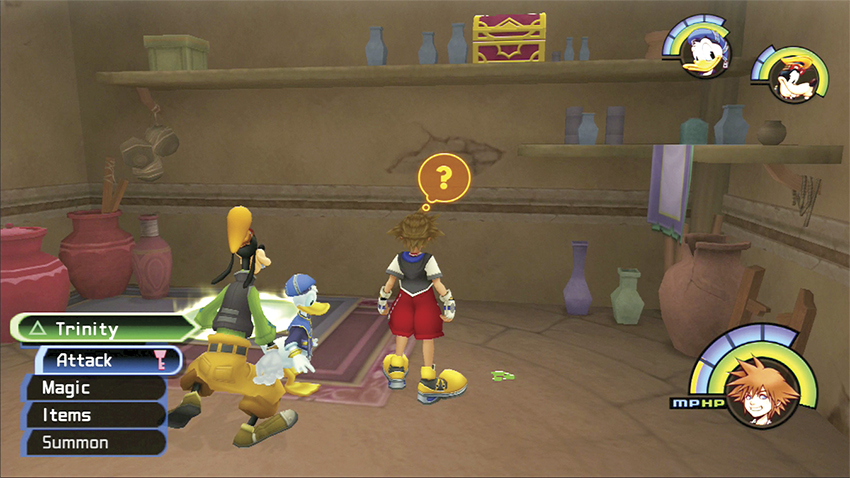
You have one last appointment in Agrabah. Return to the Storage room off the Plaza. Use the green Trinity Mark to access the red chest on the shelf. Inside the chest you receive an AP Up. Save at the save point and prepare for your new trip, though it won’t be to where you expect.