
Kingdom Hearts HD 1.5 Remix Guide KHFM: Walkthrough Traverse Town (Revisited)
Traverse Town (Revisited)
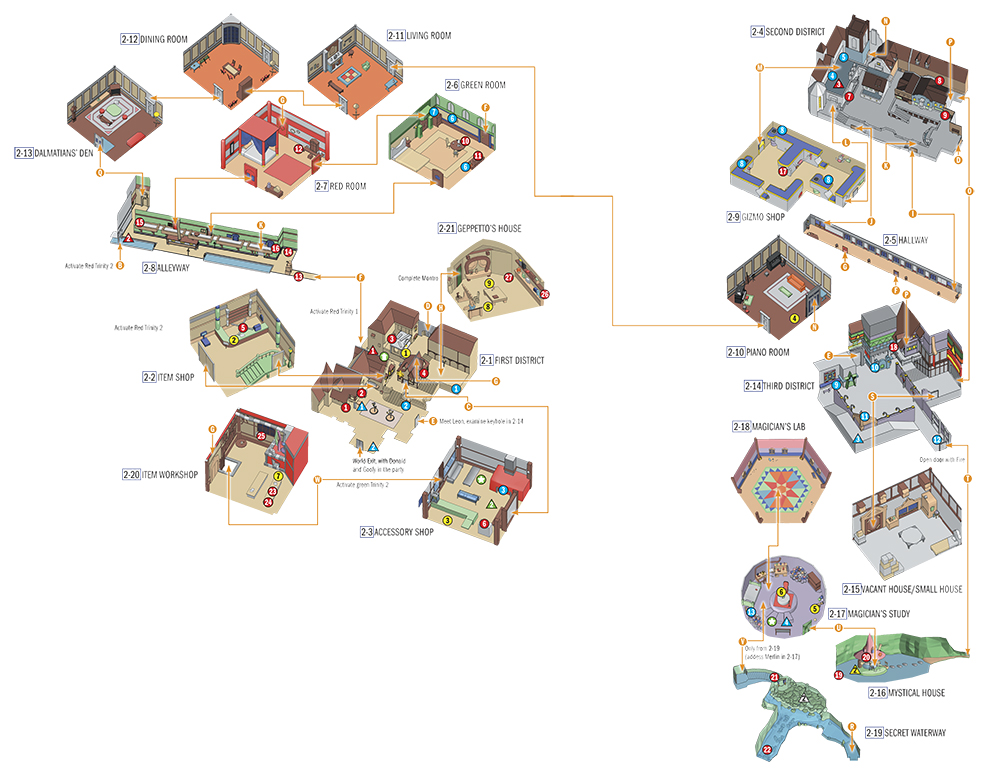
Opponents
| Name | Shadow | Soldier | Large Body | Red Nocturne | Blue Rhapsody | Yellow Opera | Green Requiem | Air Soldier |
|---|---|---|---|---|---|---|---|---|
| HP | 13 | 24 | 160 | 24 | 24 | 24 | 15 | 33 |
| Name | Search Ghost | Darkball | Defender | Wyvern | Wizard | White Mushroom | Leon | Guard Armor | Opposite Armor |
| HP | 45 | 60 | 27-Aug | 135 | 75 | - | 120 | 700 | 900 |
Items
| No. | Item | Location | Condition |
|---|---|---|---|

|
Defense Up | 2-1 | Use Blizzard to extinguish all the candles |

|
Postcard | 2-1 | Activate blue Trinity 1 |

|
Postcard | 2-1 | Open the safe after meeting Leon |

|
Postcard | 2-1 | Climb onto the roof using crates |

|
Postcard | 2-2 | Hit ceiling fan |

|
Mythril Shard | 2-3 | - |

|
Mega-Potion | 2-4 | Jump off roof or from the stone lamp |

|
Mythril Shard | 2-4 | Meet Donald and Goofy |

|
Postcard | 2-4 | Jump off the wall |

|
Elixir | 2-6 | Address Leon or Yuffie |

|
Mythril | 2-6 | Set clock |

|
Pretty Stone | 2-7 | - |

|
Dalmatians 4, 5, 6 | 2-8 | Activate red Trinity 1 |

|
Potion | 2-8 | - |

|
Potion | 2-8 | - |

|
Pretty Stone | 2-8 | - |

|
Postcard x2 | 2-9 | Activate clock |

|
Postcard | 2-14 | Climb roofs in 2-4 and look in the corner |

|
Dalmatians 1, 2, 3 | 2-16 | Use Mermaid Kick or Glide |

|
Power Up | 2-16 | Activate yellow Trinity 2 |

|
Dalmatians 10, 11, 12 | 2-19 | - |

|
Navi-Gummi | 2-19 | Complete Hollow Bastion |

|
Dalmatians 7, 8, 9 | 2-20 | - |

|
Mythril Shard | 2-20 | - |

|
Postcard | 2-20 | Examine poster |

|
Postcard | 2-21 | Examine b owl |

|
Wishing Star | 2-21 | - |
Characters
| No. | Character | Location | Purpose |
|---|---|---|---|

|
Cid | 2-1 | Runs Gummi Shop (after Deep Jungle) |

|
Huey, Dewey & Louie | 2-2 | Run Item Shop, also sell weapons |

|
Cid / Salesperson | 2-3 | Runs Accessory Shop |

|
Pongo & Perdita | 2-10 | Reward the return of Dalmatian puppies |

|
Fairy Godmother | 2-17 | Bestows summon spells |

|
Merlin | 2-17 | Offers training in magic |

|
Moogles | 2-20 | Run Item Workshop |

|
Geppetto | 2-21 | Rewards fighters with model gummi ship blueprints |

|
Pinocchio | 2-21 | Gives frequent visitors a blueprint |
Special Objects
| No. | Prop | Location | Purpose |
|---|---|---|---|

|
Crates | 2-1 | Steps to item no. 4 |

|
Mailbox | 2-1 | Mail Postcards (total of 10) |

|
Fireplace | 2-3 | Light with Fire: chimney emits smoke |

|
Bell Rope | 2-4 | Express Keyhole |

|
Ladder | 2-4 | Can only be used once Donald and Goofy have teamed up with Sora |

|
Pictures | 2-6 | Give hints on time (see item no. 11) |

|
Clock | 2-6 | Hit cogwheel to make item no. 11 appear |

|
Switch | 2-9 | Activates clock (see item no. 17), condition: see cable |

|
Cable | 2-14 | Use Thunder on it to activate switches in Gizmo Shop |

|
Keyhole | 2-14 | Opens gates to First District (2-1) after first encounter with Leon |

|
Statue | 2-14 | Tribute to Lady and the Tramp |

|
Door | 2-14 | Open with Fire |

|
Old Book | 2-16 | Access to Hundred Acre Wood |
Trinities
| Trinity | Location | Purpose |
|---|---|---|

|
2-1 | Teleports to Postcard (item no. 13) |

|
2-1 | Munny |

|
2-14 | Camping Set, munny |

|
2-17 | Mega-Ether, munny |

|
2-1 | Opens passage to Alleyway (2-8) |

|
2-8 | Opens passage to Secret Waterway (2-19) |

|
2-4 | Opens recess with bell rope |

|
2-3 | Opens passage to Item Workshop |

|
2-16 | Power Up (item no. 24) is accessible |

|
2-19 | Orichalcum |
Objectives
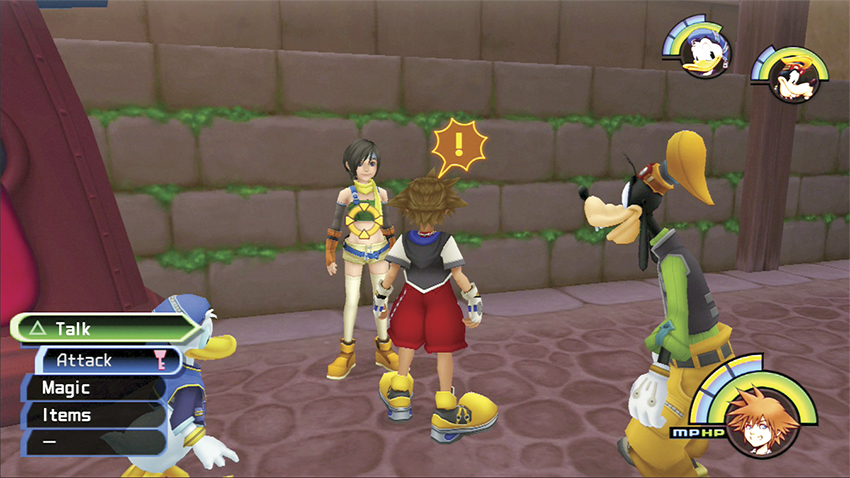
1. Speak with Yuffie and use your first red Trinity Mark
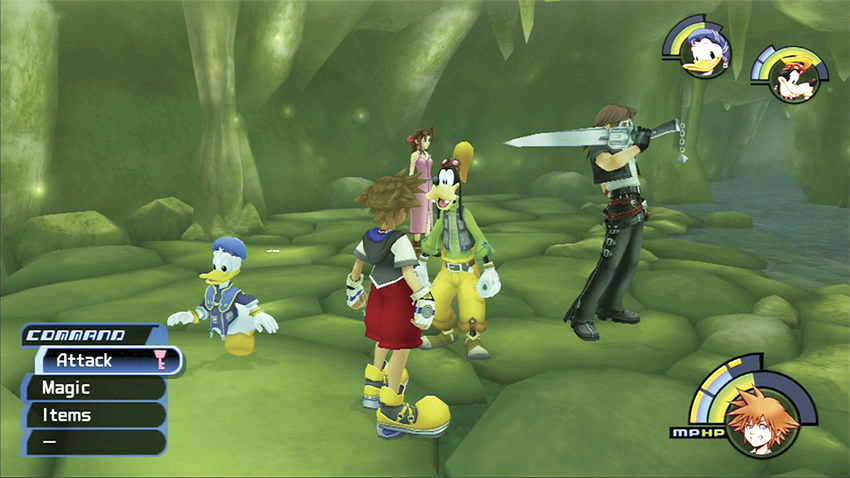
2. Visit the Secret Waterway
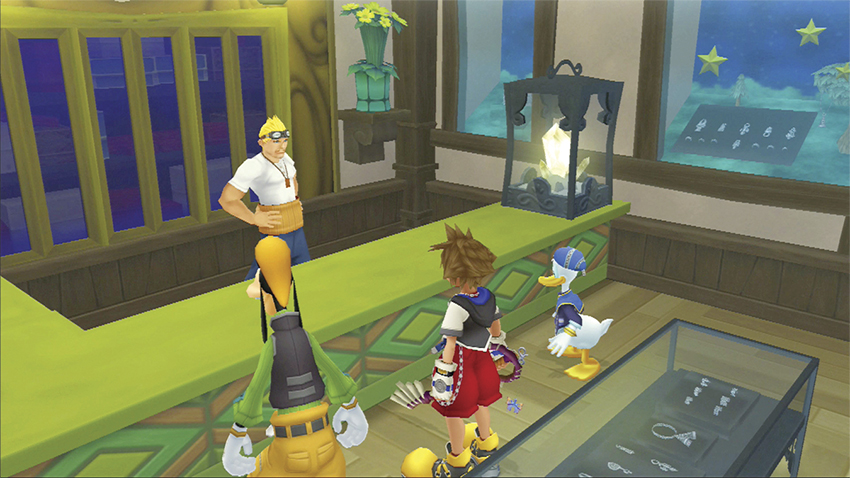
3. Talk to Cid about gummi ships
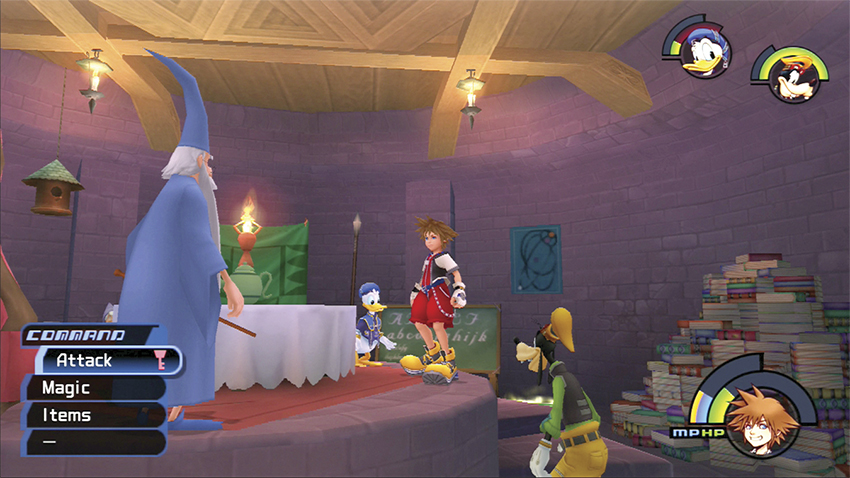
4. Meet up with Merlin and the Fairy Godmother
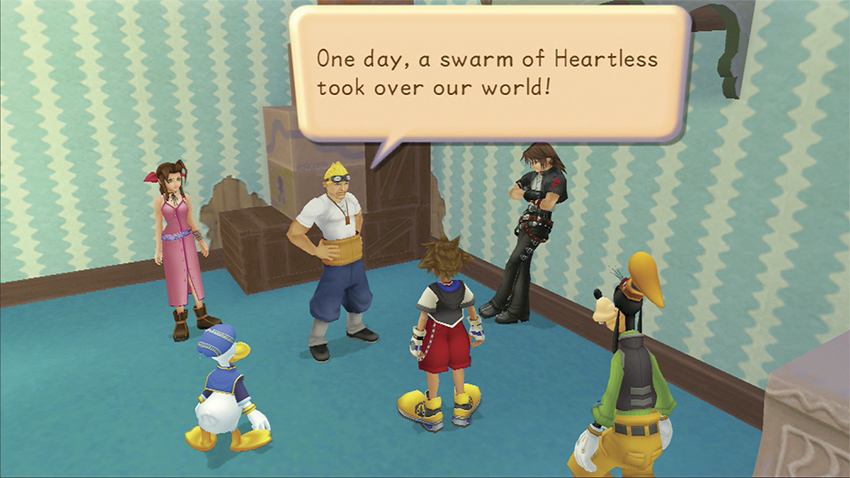
5. Join the others in your hero headquarters
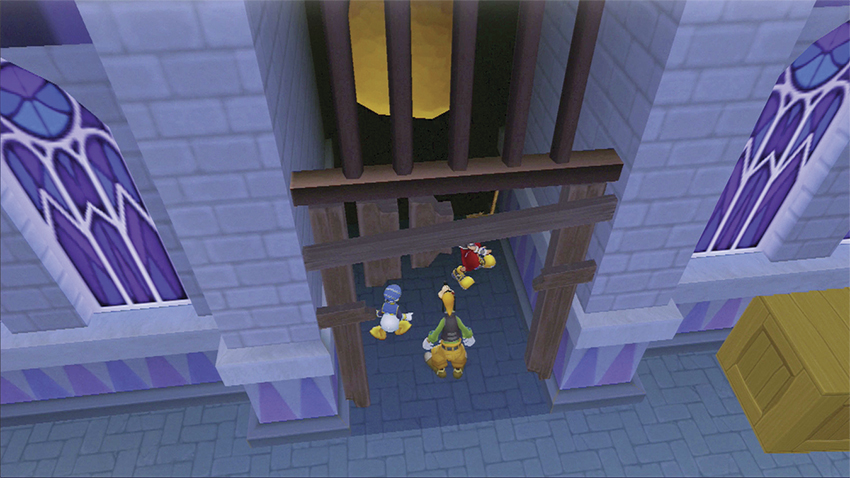
6. Ring the Gizmo Shop bell
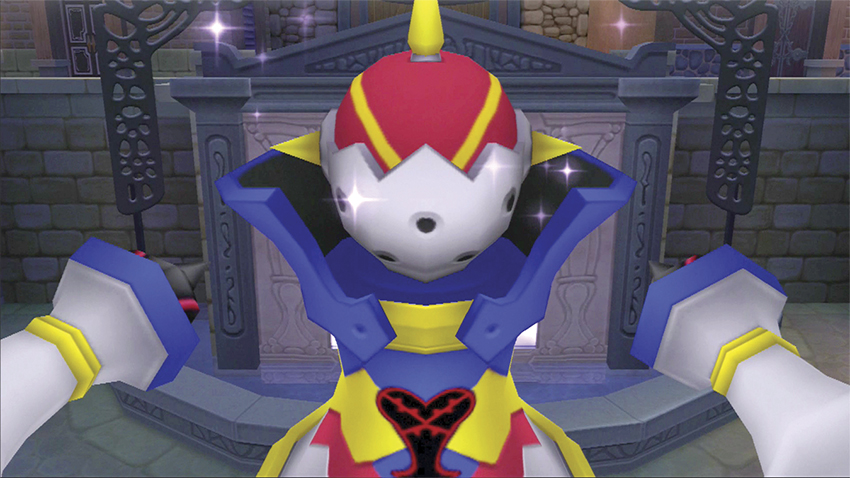
7. Fight the Guard Armor II
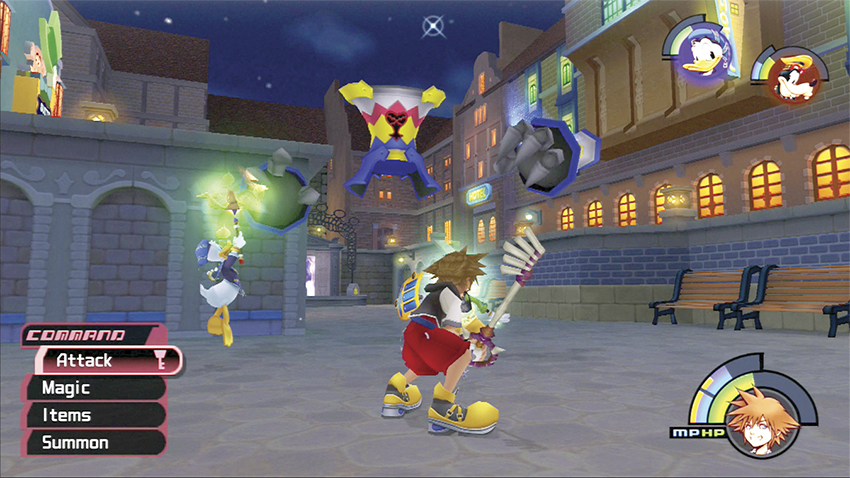
8. Fight the Opposite Armor
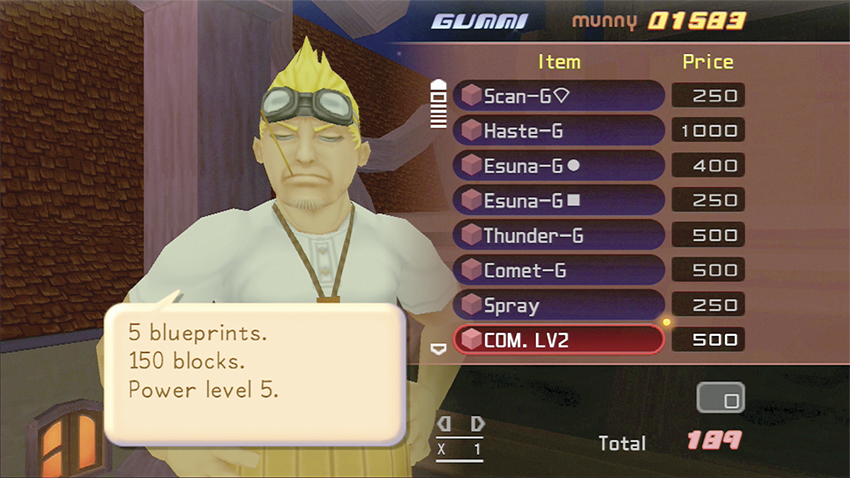
9. Wrap up your business in Traverse Town
Step 1: Yuffie and the Red Trinity Mark
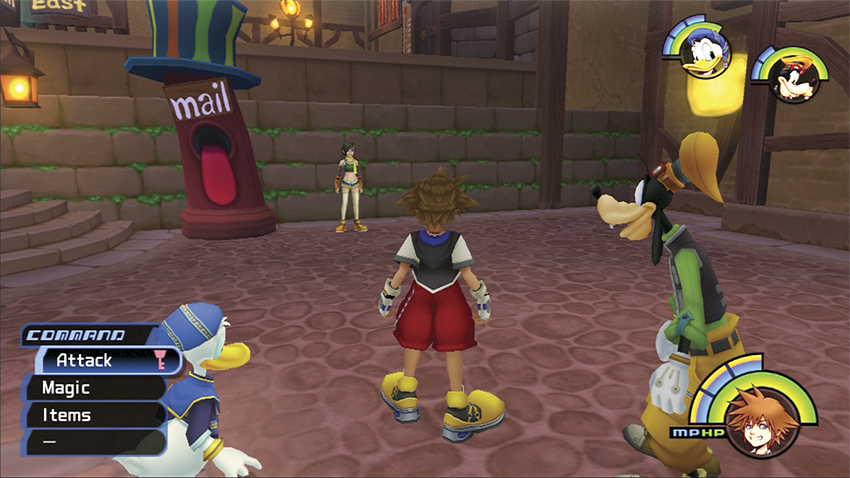
As soon as you arrive in Traverse Town, return to the First District and speak with Yuffie by the mailbox. She gives you a clue to Leon’s location in the Secret Waterway.
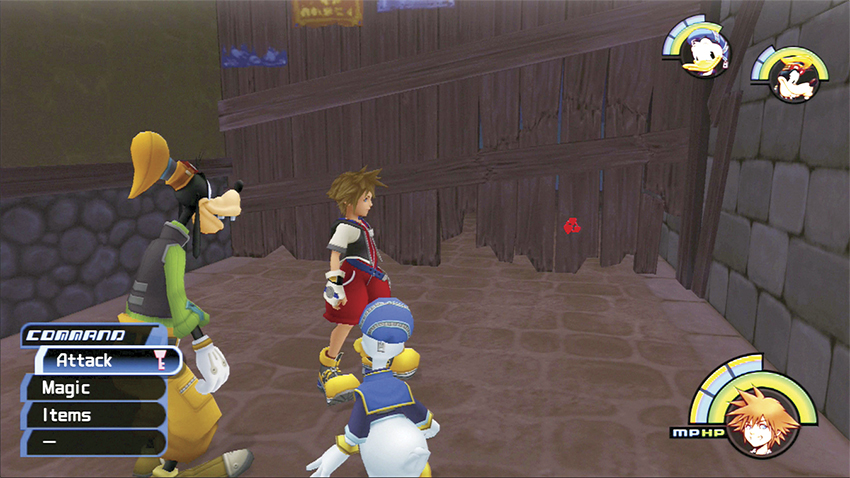
Circle around the Accessory Shop and head back to the alley you originally woke up in the first time you arrived in Traverse Town. Activate the red Trinity Mark on the back wall to open a hole to the Alleyway.
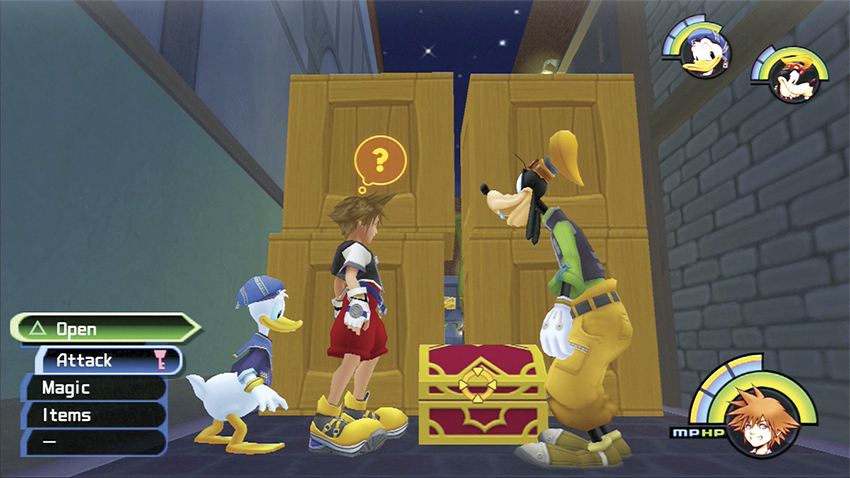
You emerge behind the crates you couldn’t climb on the other side of the Alleyway. This secret access leads you to a red chest which holds Dalmatians 4, 5, 6.
Step 2: The Secret Training Grounds
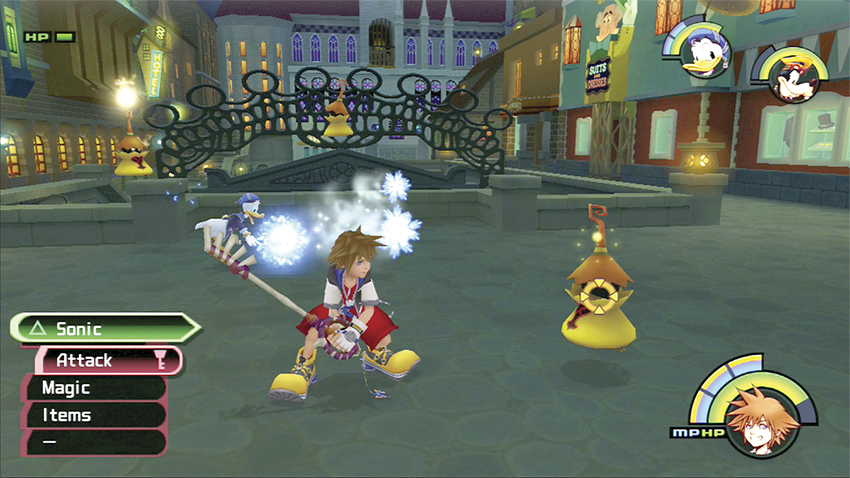
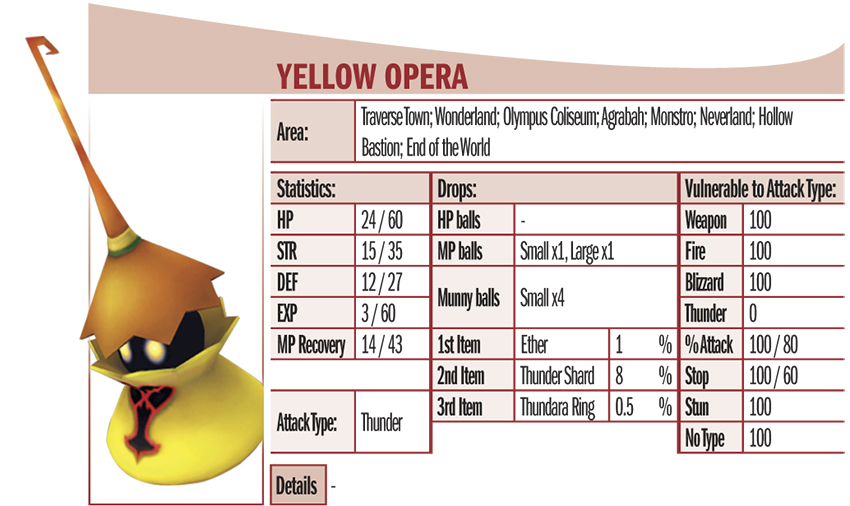
You can’t jump over the crates by the Dalmatian chest, so you’re going to have to go around the long way. Travel to the Alleyway through the doors on the lower level of the Second District courtyard. Beat back any Heartless you spawn along the way, including the Yellow Opera, which you’ll likely encounter for the first time here. As with the other ranged casters, attack them first or else they will deal too much damage from the perimeter. You can use any attack to destroy them, except Thunder magic; Yellow Opera absorb Thunder magic and actually heal from it.
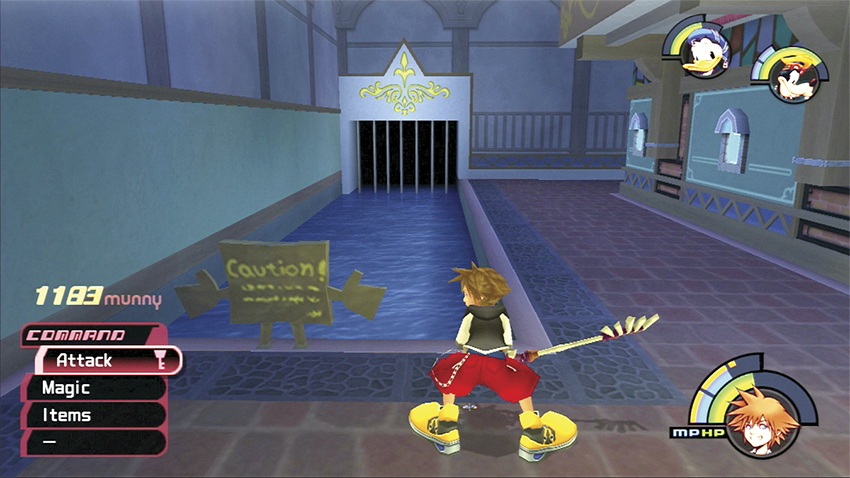
Hop into the long waterway near the back of the alley. Look for another red Trinity Mark underwater in front of the barred passage. Activate the Mark to open the bars and enter the Secret Waterway.
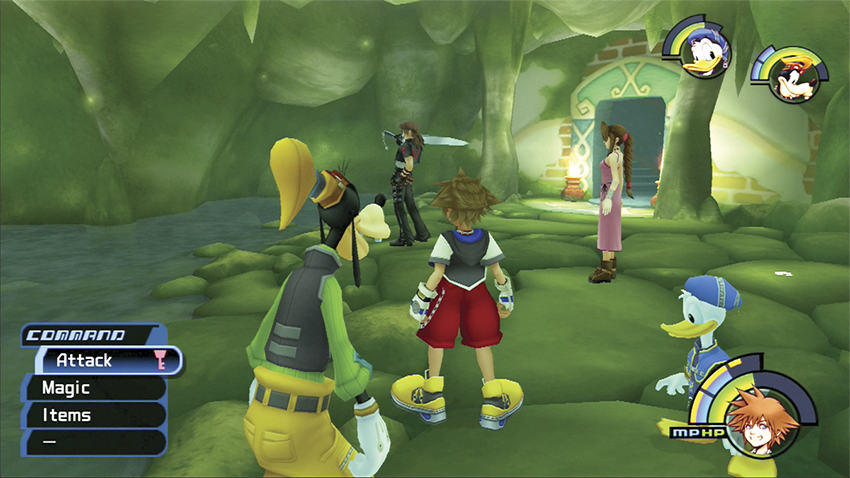
Leon and Aerith train inside the Secret Waterway. Swim over to the shore and speak with Leon twice. He tells you about the worlds’ keyholes and the importance of locking them before the Heartless gain access. Aerith recommends that you speak with Cid to learn more about your Navi-G Pieces, and then Leon hands you the Earthshine item.
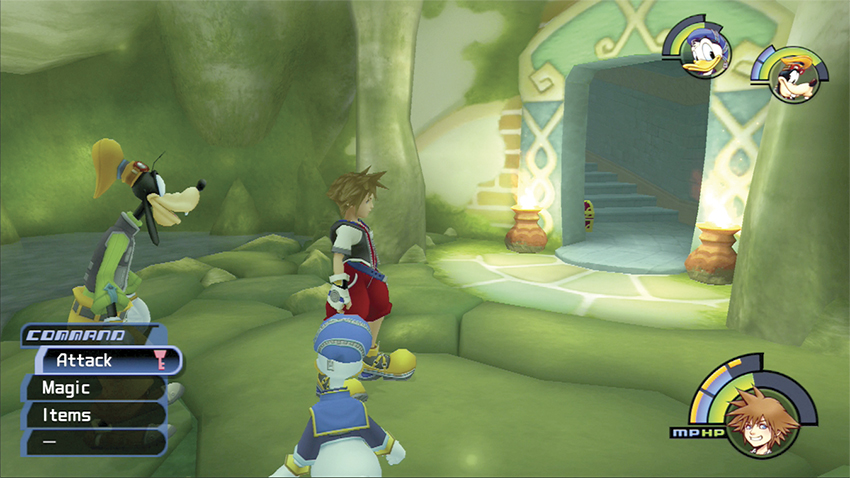
Don’t leave just yet. The doorway behind Leon and Aerith leads up to a dead end; however, a red chest hides inside to the left. Open the chest for Dalmatians 10, 11, 12. Return to Cid in the Accessory Shop back in the First District.
Step 3: Upgrade Your Gummi Ship
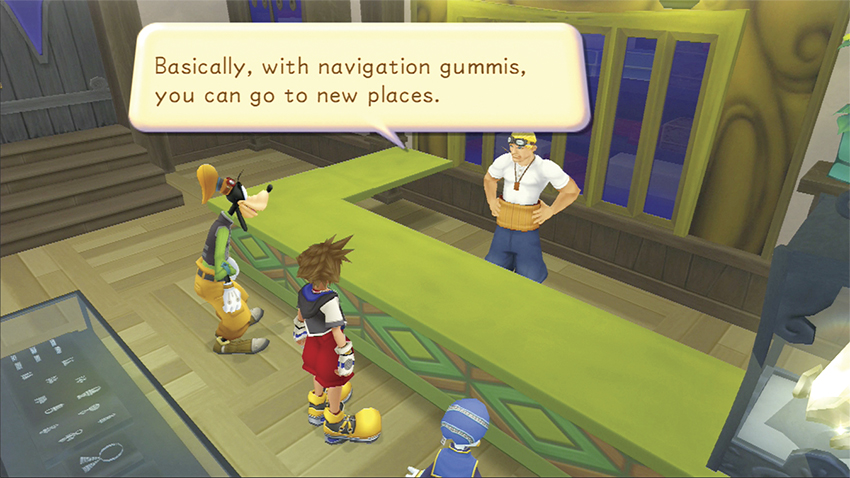
Cid tells you that Navi-G Pieces are navigation gummis that unlock new places on your Navigational Map, and he offers to outfit your ship with these Navi-G Pieces. However, he asks a favor. While he hooks up the new pieces, you must deliver an Old Book to a magician in the Third District. Finally, Cid asks you to meet him at the Vacant House in the Third District after you’ve accomplished your delivery.
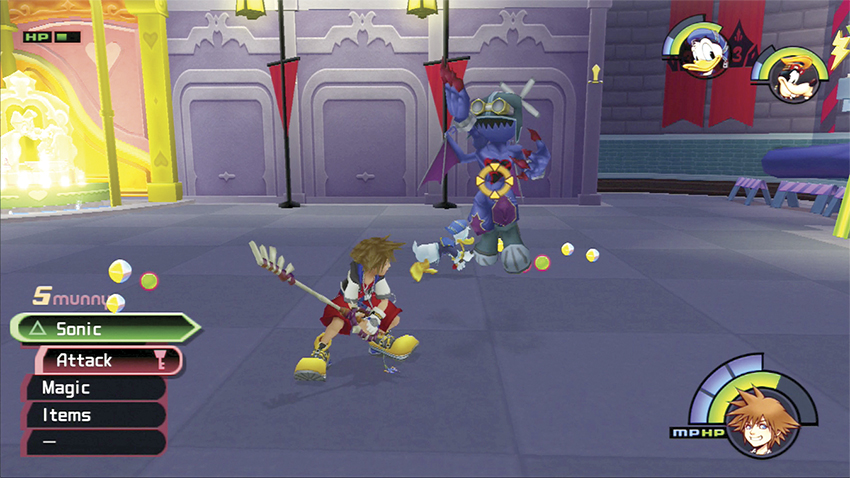
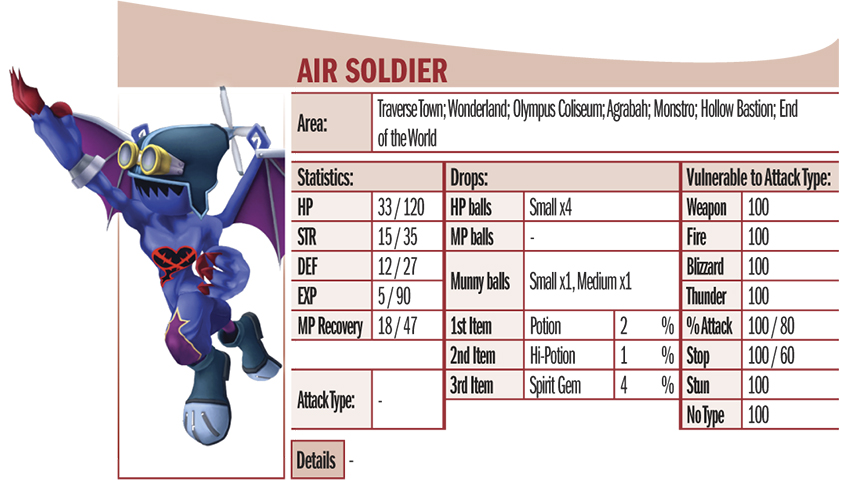
Speaking of the Third District, make your way back there now. Battle the Heartless that materialize in the main courtyard, including the new Air Soldiers. You can use any attack against the Air Soldiers, but it’s best to leap high and swing at them to avoid missing them when they take to the sky.
Step 4: Meeting Merlin
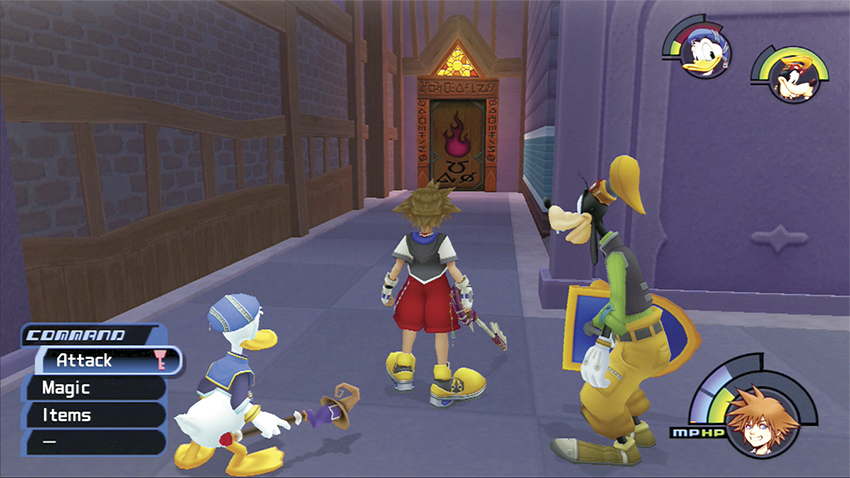
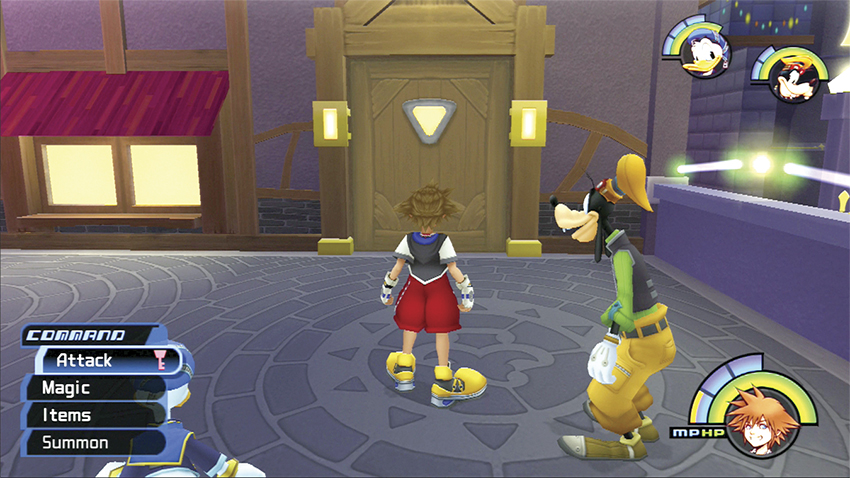
Once all the enemies have been defeated in the Third District courtyard, stand in front of the door with the fire symbol. Ignite the door with your Fire magic and it will unlock.
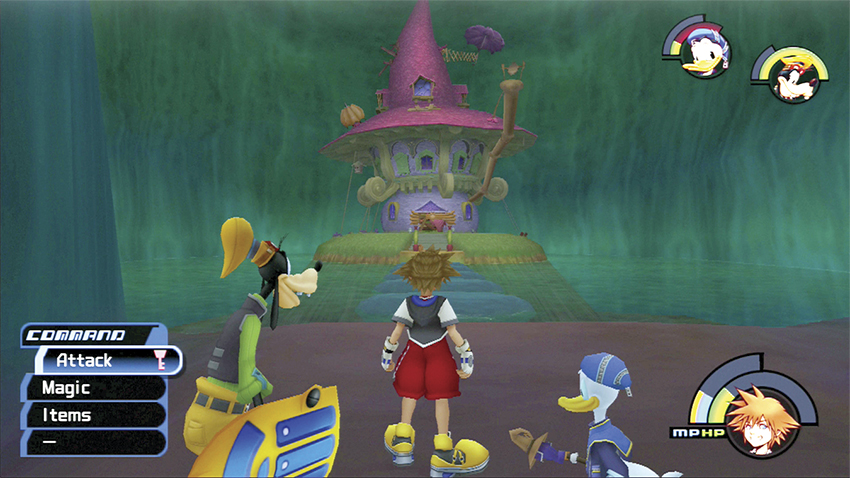
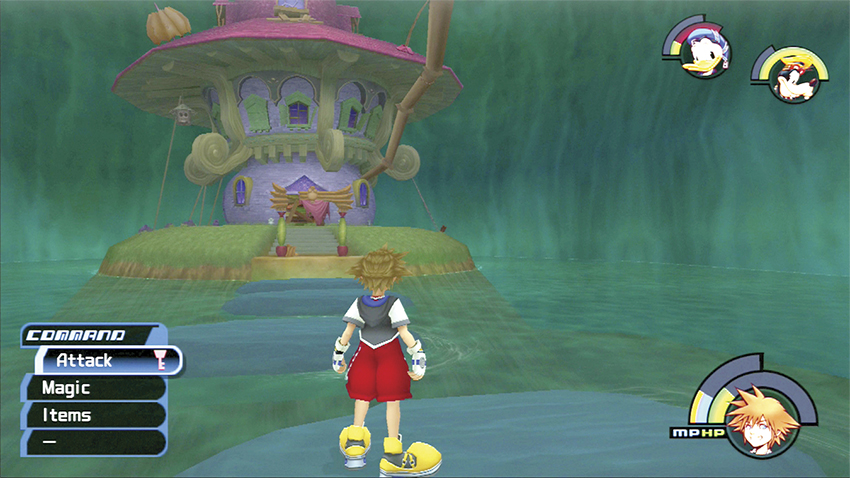
Enter the Mystical House area behind the fire door. A path of stones leads across the water to the central island. As soon as you step on the first stone, however, they begin to move back and forth. Time your jumps so that the next rock is moving back toward you rather than away. If you miss at any time and fall in the water, swim back to the beginning and retry. When you reach the island, circle around the building to the left and enter through a hole in the wall.
 Merlin

At the request of King Mickey, the great magician Merlin has returned to Traverse Town to help thwart the plans of the Heartless. Though he remains inside the Mystical House, Merlin offers magical support when he can. Check back with him after you’ve learned all your basic spells, or any time you return a Summon Gem to Fairy Godmother.
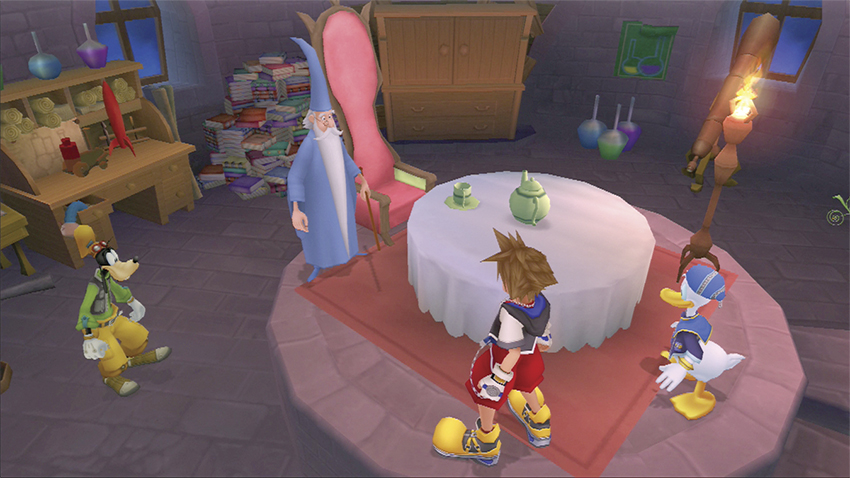
Inside, Merlin introduces himself and the Fairy Godmother. Hand over the Old Book to Merlin after he finishes his introductions. Fairy Godmother then explains that the Earthshine stone you received from Leon is actually a Summon Gem. You can now summon Simba to battle!
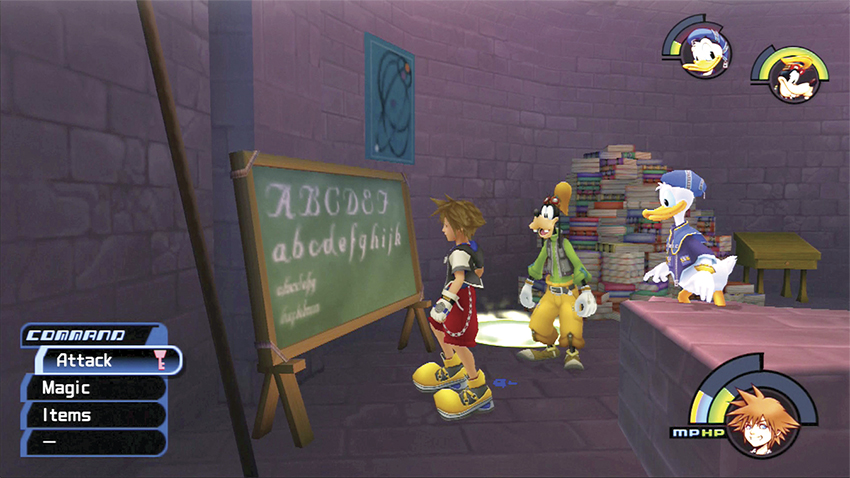
Activate the blue Trinity Mark on the floor next to the chalkboard. Munny and a Mega-Ether rain down on you. Scoop it all up before using the nearby save point.
Fairy Godmother

What looks like a curious pumpkin carriage inside the Mystical House transforms into the gentle and caring Fairy Godmother. You may know her for the guidance she gave Cinderella, but now she is the authority on Summon spells. Any time you receive a new Summon Gem, speak to Fairy Godmother to unlock its power.
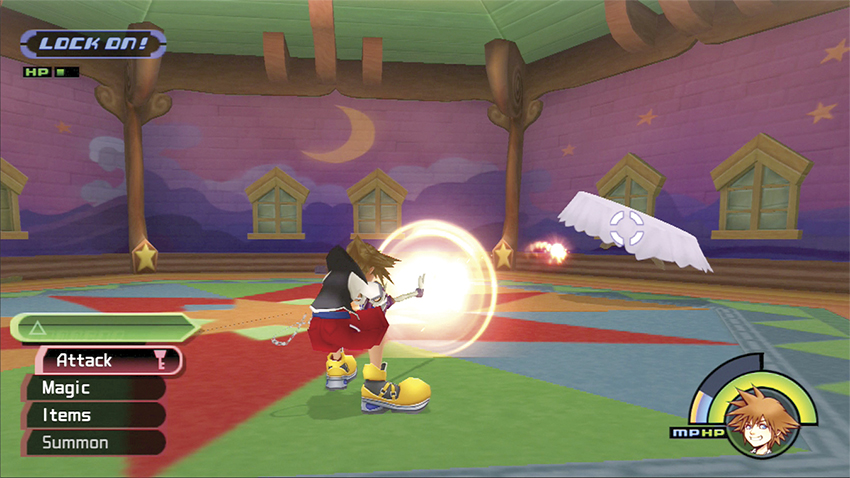
Any time after Merlin’s introduction you can ask him to train your magic skills. He will transport you to a special training room where you can use your magic without any MP loss against stationary or moving furniture targets. Practice your spellcasting until you’ve had enough and then ask Merlin to “Cancel” your practice session.
Step 5: Hero Headquarters
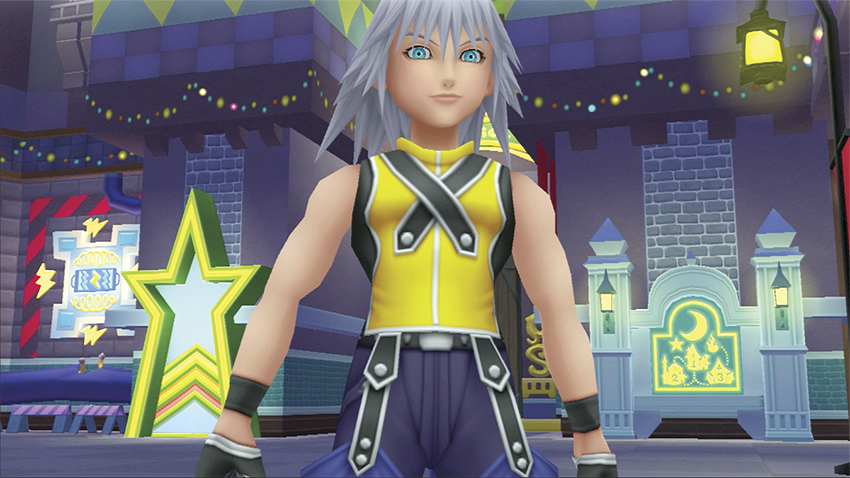
Riku pays you a mysterious visit when you return to the Third District courtyard. Just when you think he’s going to stick around and join your party, he disappears, but will be back later.
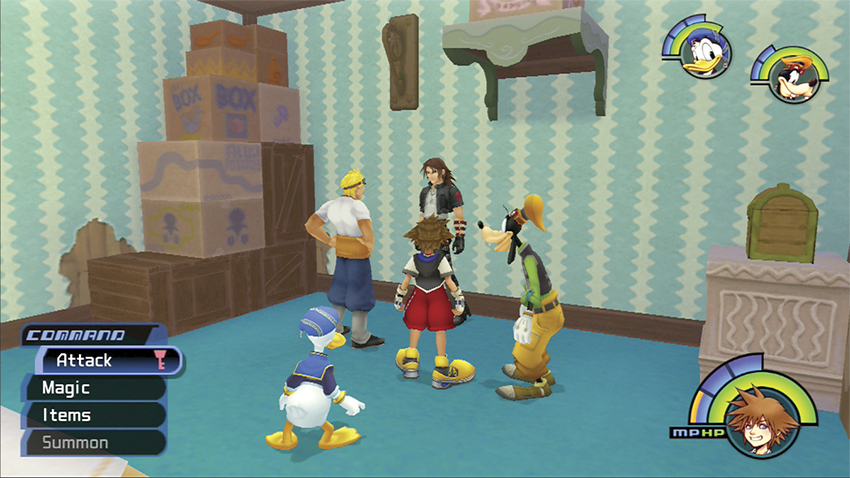
Climb up the stairs to where the Vacant House used to be. It’s all lit up now and has a new title, Small House. Enter the headquarters to find all your allies: Cid, Leon, Aerith, Yuffie. Cid gives you a little history on the Heartless and their master, the wicked Maleficent. He also hands you a Warp-G for your gummi ship, which allows you to warp directly to worlds you’ve already visited—a tremendous time-saver during gummi flight!
Step 6: Gizmo Shop Bells
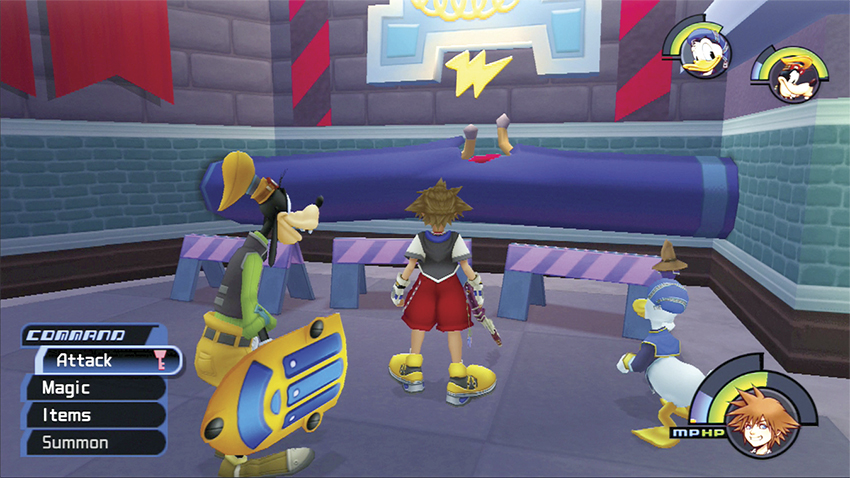
Exit the Small House and eliminate all the Heartless in the Third District courtyard. Once all is clear, cast Thunder magic on the broken circuit in the corner. The Thunder spell connects the fuse and allows you to collect more prizes inside the Gizmo Shop.
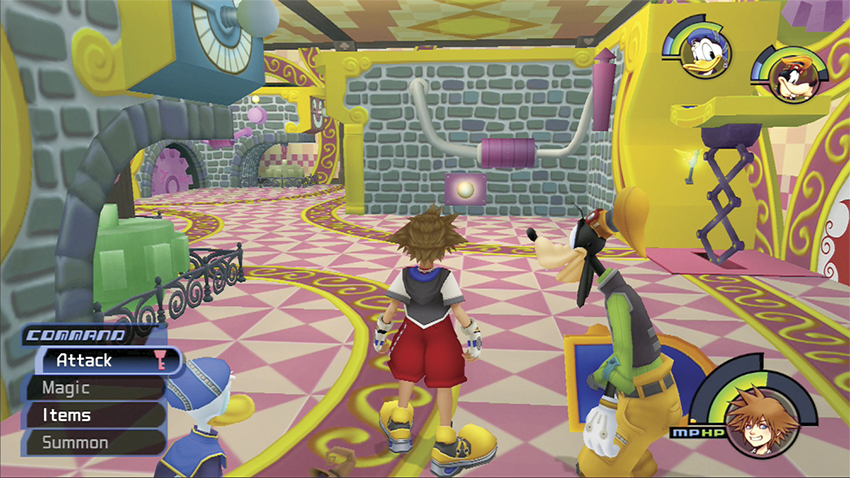
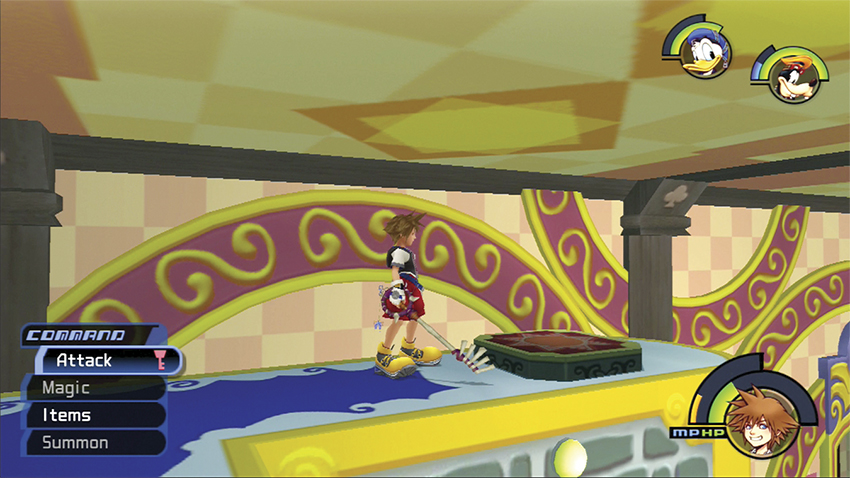
Head back to the Second District and enter the Gizmo Shop. Now that you’ve connected the fuse, three spring platforms have popped up throughout the room. Jump on these platforms to reach the top of the walls. You might feel squashed in the short space near the ceiling, but you can walk along the top of the walls and depress three raised platforms by stepping on them.
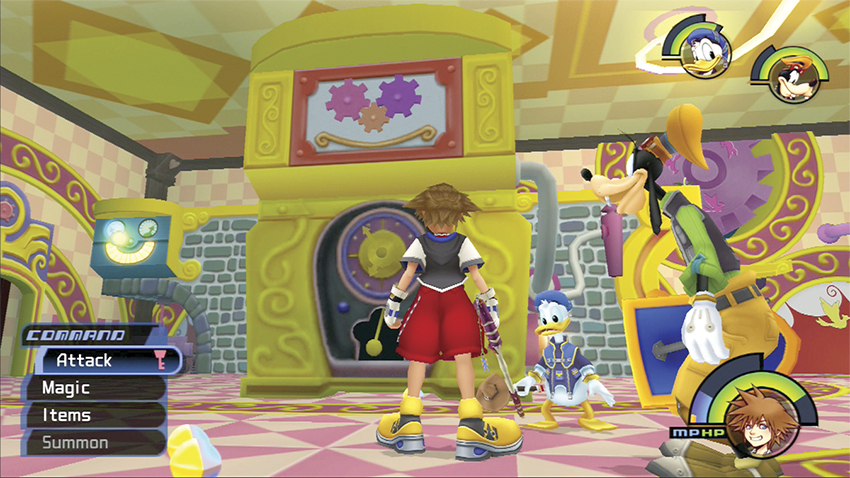
Once you’ve beaten all foes and depressed all three raised platforms, examine the clock in the middle of the room for two postcards.
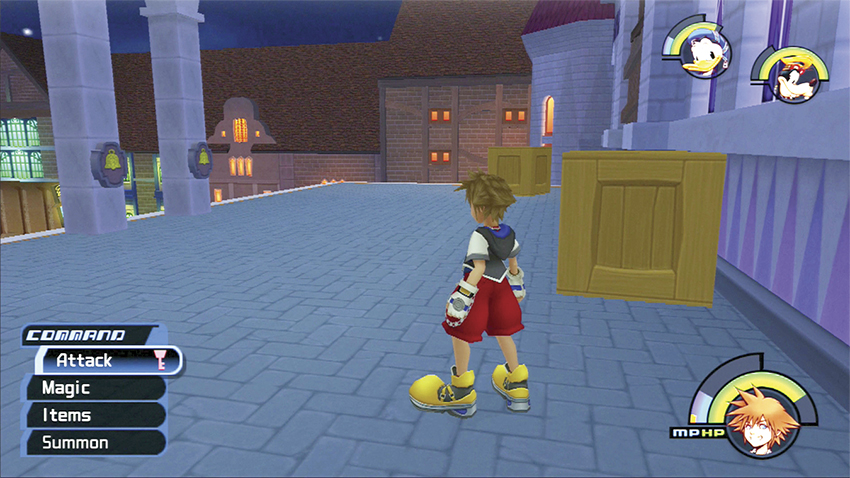
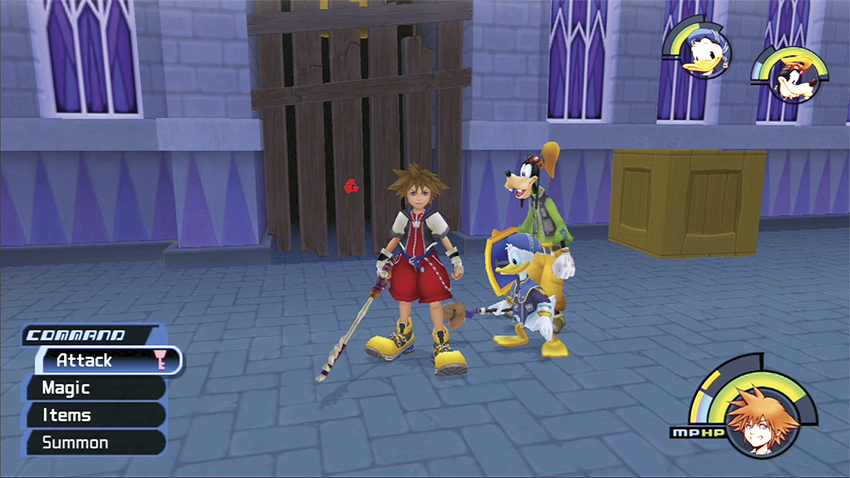
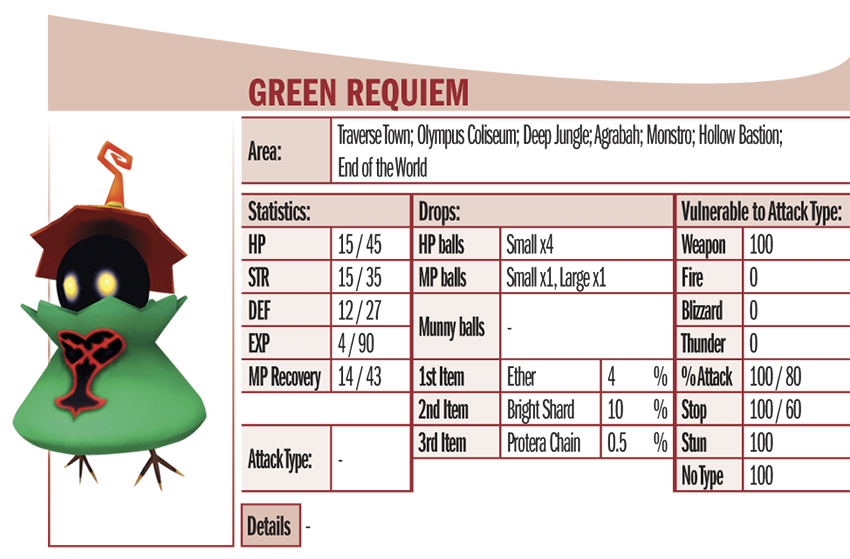
Exit through the back door and climb the ladder up to the roof. Clear the enemies on the roof, careful not to fall off in your zealous assault on any one foe. You will likely encounter the Green Requiems for the first time on the roof. Use physical attacks against these floating fiends since they absorb Fire, Blizzard, and Thunder attacks. When you’ve finished off the Heartless on the roof, activate the red Trinity Mark on the wooden gate and open a hole to the bell.
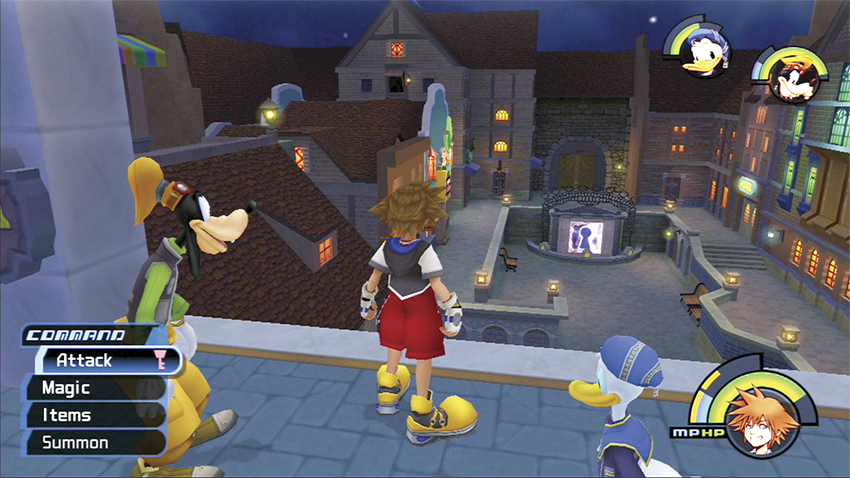
Ring the bell three times. Gaze down at the Second District from the roof and you’ll see the new Traverse Town keyhole in the far fountain. Drop down into the courtyard and prepare for a repeat encounter with a familiar boss.
Step 7: Guard Armor II
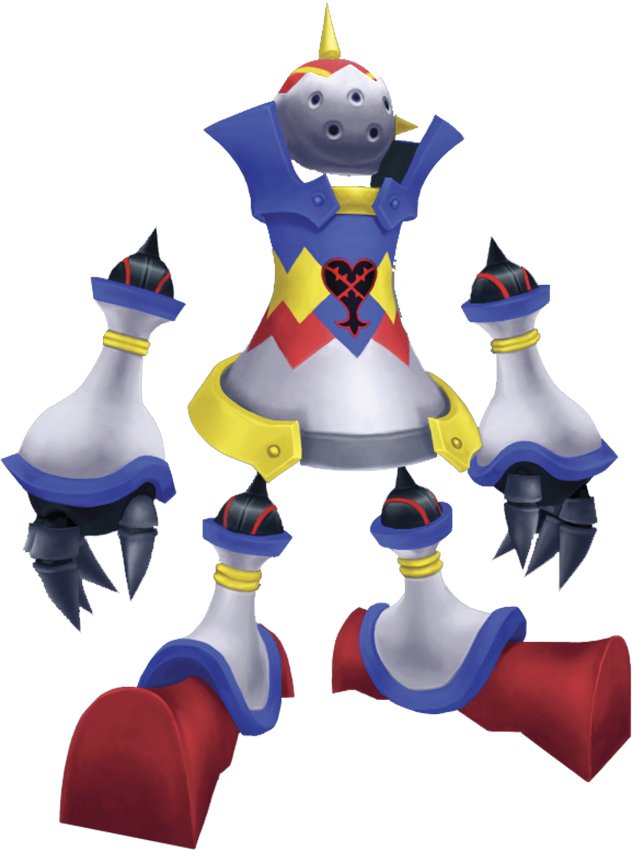
| HP | 700 |
| Strength | 8 |
| Defense | 8 |
| EXP | 110 |
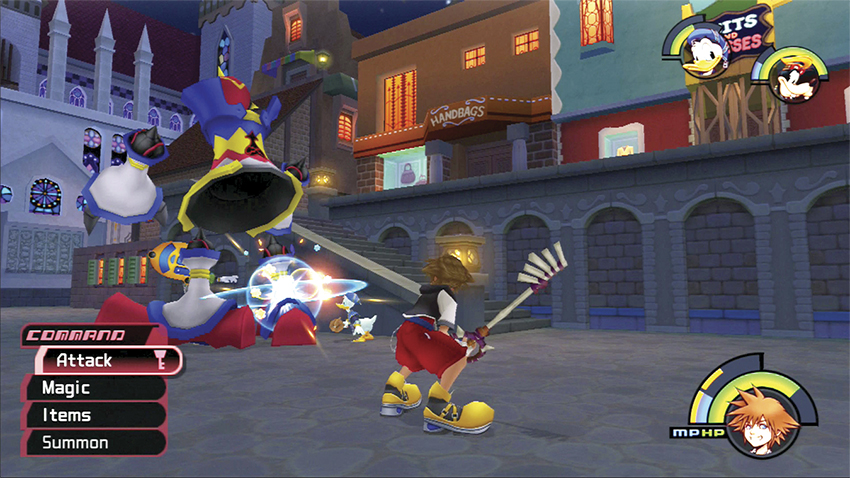
Before you can reach the keyhole, you must defeat the Guard Armor again. Use the same strategy in your first battle against the Armor: lock onto the torso to slowly bring its HP down and, as you destroy the limbs, HP balls will spill out to heal you. Watch out for the Guard’s spinning arms and stomping feet as you leap up and continually strike the torso. Most of the Guard’s attack occur low to the ground; by staying airborne as much as possible you’ll avoid most of its damage.
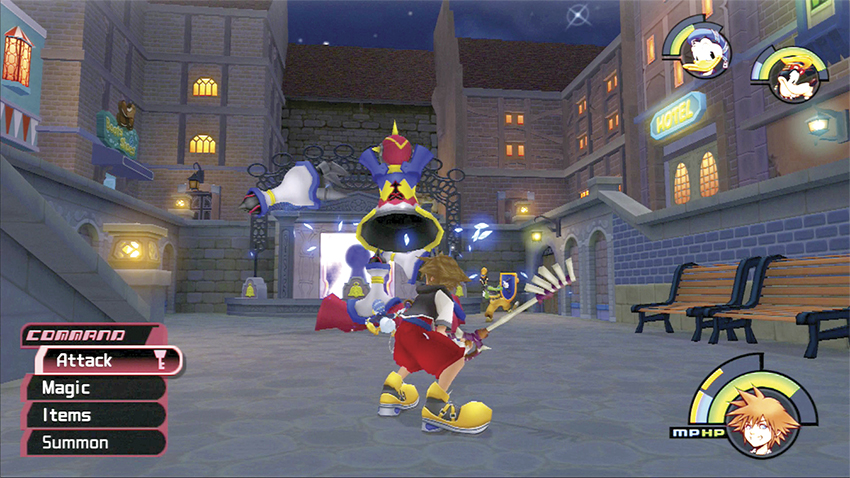
With your enhanced abilities, the Guard Armor will go down quickly. Quicker than you might guess based on its HP, as it crumbles before you fully deplete its HP meter. Unfortunately, it’s not the last boss you’ll fight for control of the keyhole.
Step 8: Opposite Armor

| HP | 900 |
|---|---|
| Strength | 15 |
| Defense | 12 |
| EXP | 390 |
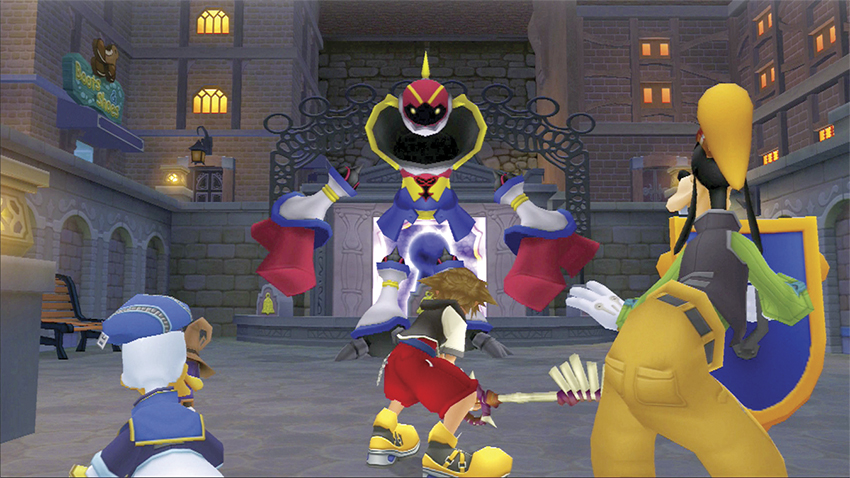
Down but not completely defeated, the Guard Armor transforms into a more powerful keyhole protector. Follow a similar attack pattern against the Opposite Armor, only play more defensively and avoid its massive attacks if you want to survive long enough to crush its metal casings.
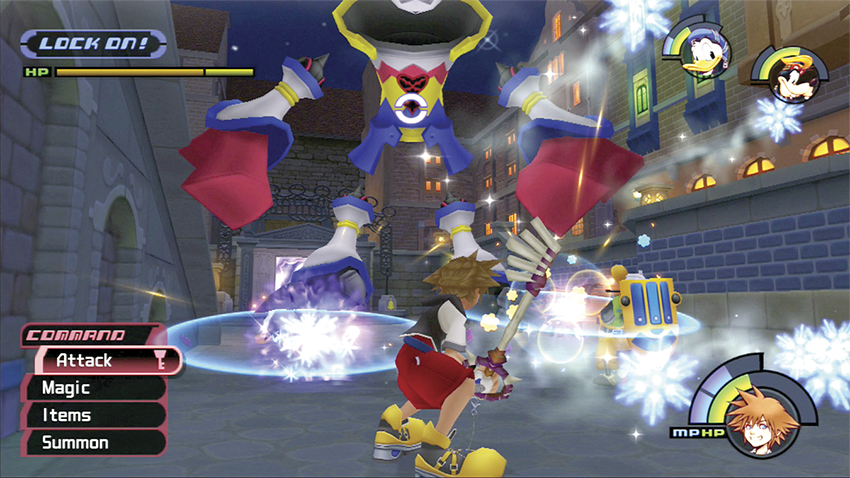
Rely on physical attacks, for the most part, against the Opposite Armor. Blizzard and Fire magic only deal half damage, though Thunder deals full damage and can be used effectively at range without having to specifically target the Armor.
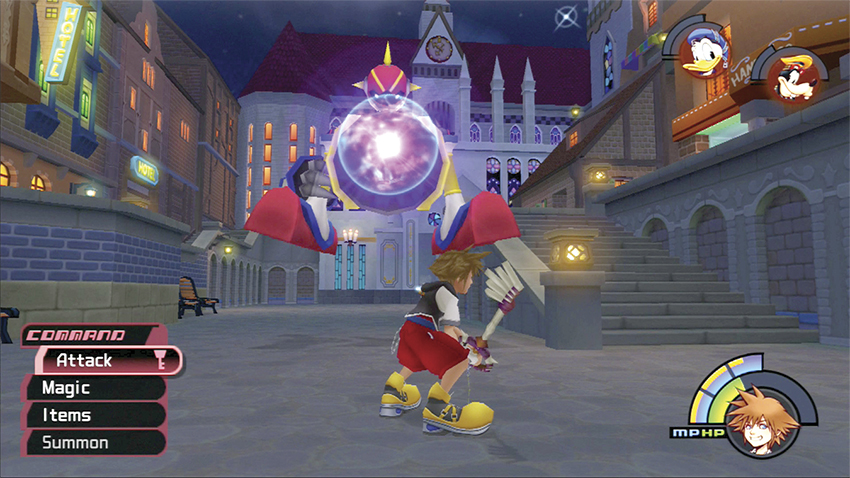
When you see the Opposite Armor, power up its massive torso cannon, stop everything, and prepare to dodge. Either jump over the energy ball or Dodge Roll to the side. You don’t want to get hit by the energy ball multiple times or you’re toast.
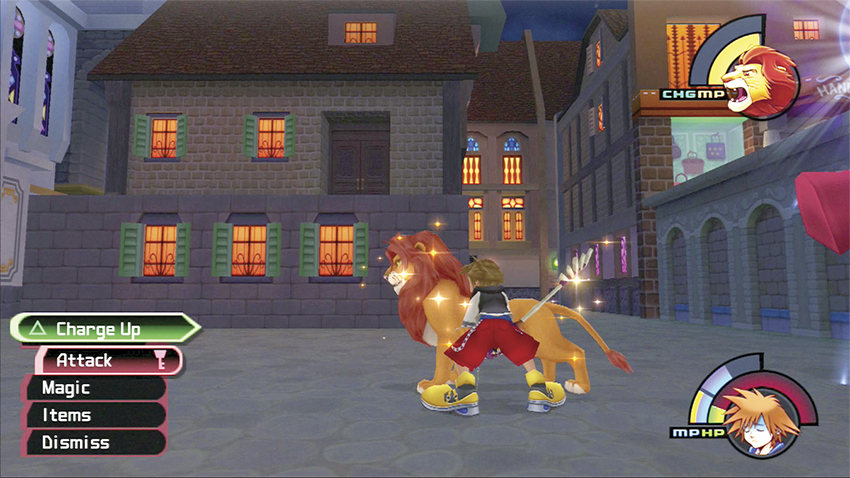
You might even want to Summon Simba into the fight for some extra support from your new ally. Together with Donald and Goofy, your party has more than enough combat prowess to smash the big machine into a pile of nuts and bolts.
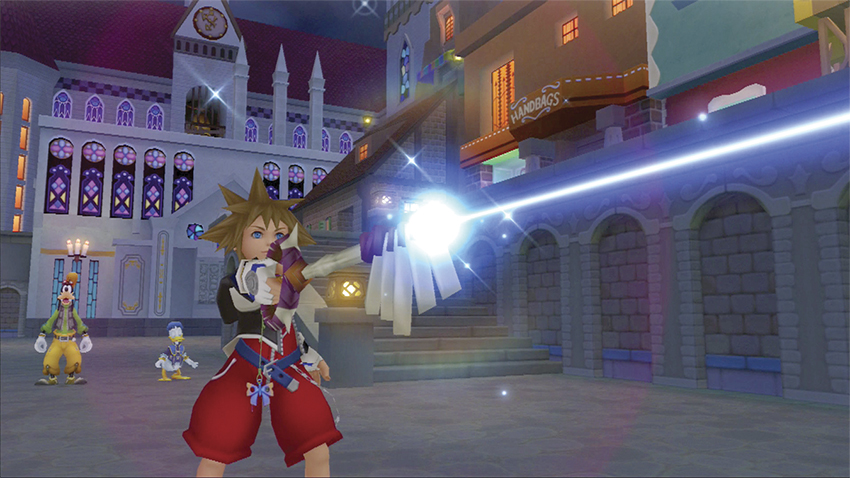
Now you can seal the Traverse Town keyhole. As a reward, you learn the ever-useful Aero spell and gain another Navi-G Piece to broaden your space travels.
Step 9: Finish up Traverse Town
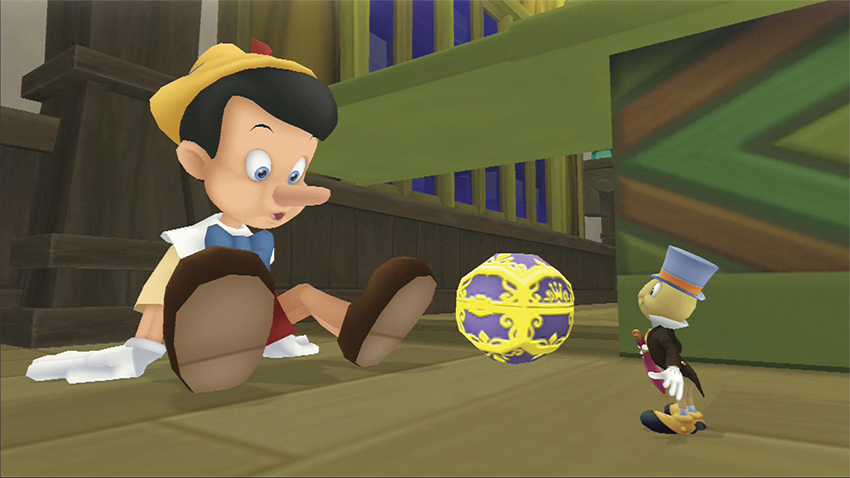
If you want a fun extra scene, visit the empty Accessory Shop and search next to the counter to find Pinocchio. You learn a little bit about the wooden boy and his father, who will soon play a larger role in your adventure.
Pinocchio

Geppetto made a wooden puppet named Pinocchio who was brought to life by the Blue Fairy. To prove that he is worthy of becoming a real boy, Pinocchio must learn about courage, kindness, and, of course, honesty. Every time he tells a lie, his nose grows larger, and only when he learns to tell the truth will he truly get his heart’s desire.
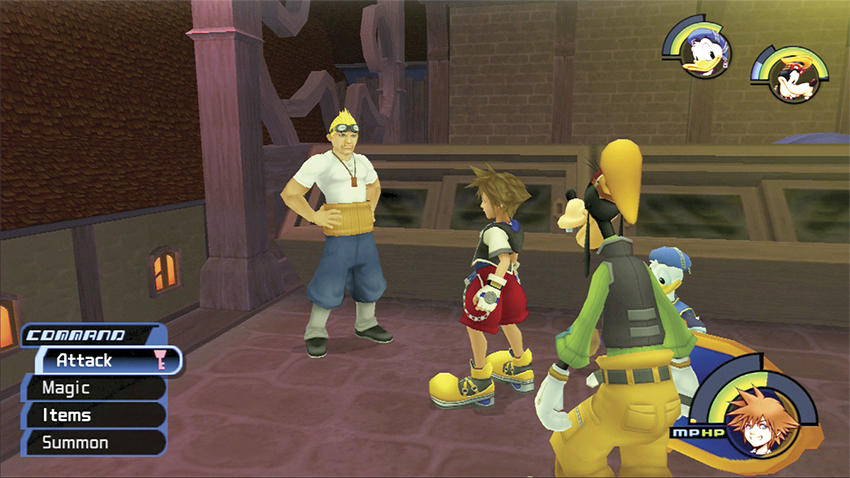
With the keyhole closed, finish up your other errands around Traverse Town. First, find Cid behind the Accessory Shop. He now serves as the gummi vendor; check back with Cid whenever you want new blocks for your gummi ship. Because he’s a nice guy, Cid gives you a Comet-G as a bonus for your ship.
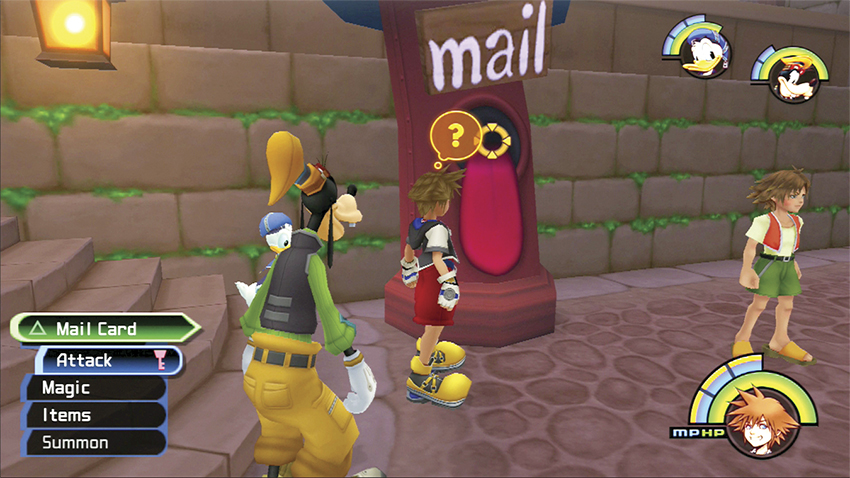
Don’t forget to mail the two postcards you found in the Gizmo Shop. If you’ve successfully found the other six postcards, the seventh and eighth postcards will grant you a Megalixir and Orichalcum, respectively.
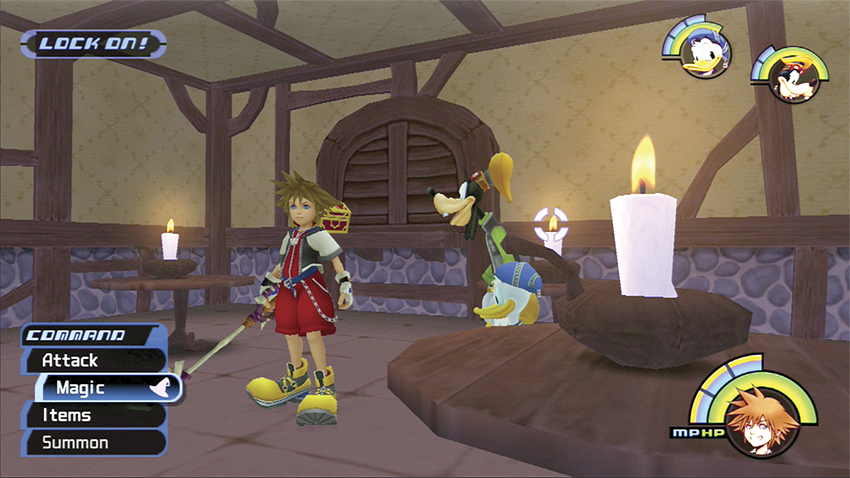
Now that you have the Blizzard spell and you’re back in Traverse Town, you can finally open the red chest in the restaurant next to the First District courtyard. Smash all the chairs in the restaurant to make targeting easier. Lock onto each candle and use Blizzard to extinguish the flames. Once all candles are out, you can open the chest for a Defense Up.