
Kingdom Hearts HD 1.5 Remix Guide KHFM: Walkthrough Halloween Town
Halloween Town
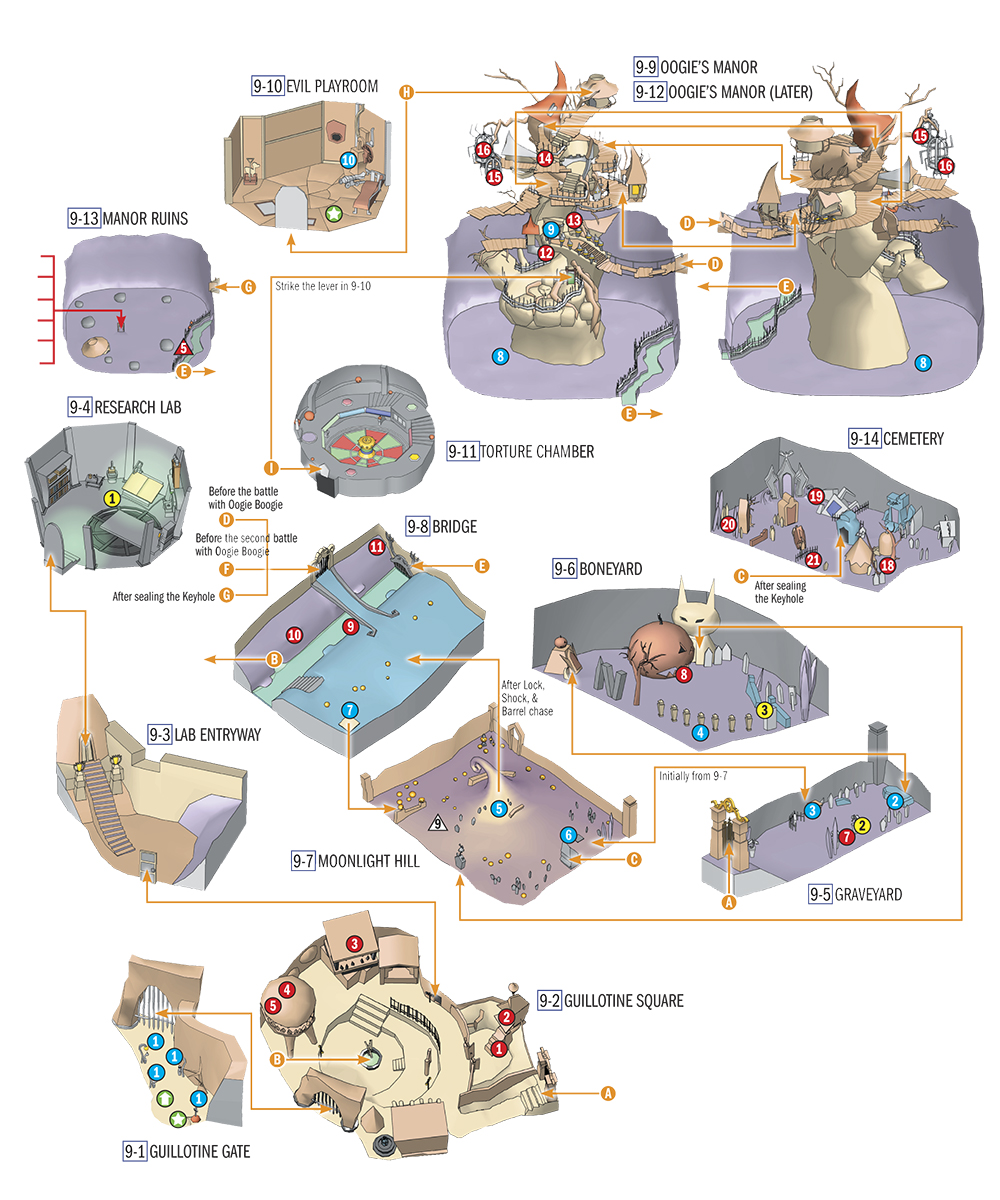
Opponents
| Name | Shadow | Search Ghost | Wight Knight | Gargoyle | Darkball | Wizard | White Mushroom |
|---|---|---|---|---|---|---|---|
| HP | 39 | 45 | 60 | 70 | 60 | 75 | - |
| Name | Black Fungus | Rare Truffle | Lock | Shock | Barrel | Oogie Boogie | Oogie Boogie 2 |
|---|---|---|---|---|---|---|---|
| HP | 9 | - | 150 | 120 | 180 | 450 | 90 (x7) |
Items
| No. | Item | Location | Condition |
|---|---|---|---|

|
>Thundara-G | >9-2 | - |

|
Elixir | 9-2 | Pull the rope near the door 3 times |

|
Power Up | 9-2 | High Jump or Glide |

|
Dalmatians 70, 71, 72 | 9-2 | Glide |

|
Elixir | 9-2 | Glide |

|
Torn Page | 9-4 | Examine bookcase |

|
Forget-Me-Not | 9-5 | Find Sally |

|
Jack-in-the-Box | 9-6 | Complete the tombstone ghost puzzle |

|
Flare-G | 9-8 | - |

|
Meteor-G | 9-8 | - |

|
Defense Up | 9-8 | - |

|
Ether | 9-9 | - |

|
Ether | 9-9 | - |

|
Dispel-G | 9-9 | If you activated the lever in 9-10 |

|
Orichalcum | 9-9 | If you activated the lever in 9-10 |

|
Mega-Ether | 9-9 | Jump from nearby roof |
|
|
Ether | 9-13 | If you did not retrieve the item in 9-9 |
|
|
Ether | 9-13 | If you did not retrieve the item in 9-9 |
|
|
Dispel-G | 9-13 | If you did not retrieve the item in 9-9 |
|
|
Dalmatians 40, 41, 42 | 9-13 | If you did not retrieve the item in 9-9 |
|
|
Mega-Ether | 9-13 | If you did not retrieve the item in 9-9 |

|
Mythril Shard | 9-13 | If you did not activate red Trinity 5 in 9-9 |

|
Holy-G | 9-14 | - |

|
Scissors-G | 9-14 | - |

|
Dark Matter | 9-14 | - |

|
Dalmatians 64, 65, 66 | 9-14 | - |
Characters
| No. | Character | Location | Purpose |
|---|---|---|---|

|
>Dr. Finkelstein | >9-4 | Help him create a “heart” |

|
Sally | 9-5 | Possesses memory (disappears after you encounter her) |

|
Mayor | 9-6 | Helps you obtain surprise (disappears after you encounter him) |
Special Objects
| No. | Prop | Location | Purpose |
|---|---|---|---|

|
>Lanterns | >9-1 | - |

|
Coffin | 9-5 | Passage to 9-6 (after meeting Sally) |

|
Lantern lift | 9-5 | Passage to 9-7 (activate with Fire; after having been to 9-7) |

|
Tombstones | 9-6 | Mayor’s ghost riddle |

|
Switch | 9-7 | Passage to 9-8 (starting with the pursuit of Lock, Shock, & Barrel) |

|
Lantern lift | 9-7 | Passage to 9-5 (activate with Fire) |

|
Lantern lift | 9-8 | Passage to 9-7 (activate with Fire) |

|
Bath tub | 9-9 | Transport to entrance of Oogie’s Manor |

|
Lantern lift | 9-9 | Lift going up |

|
Lever | 9-10 | Opens Torture Chamber door |
Trinities
| Trinity | Location | Purpose |
|---|---|---|

|
>9-9 | >Mythril Shard |

|
9-7 | Comet-G |
Objectives
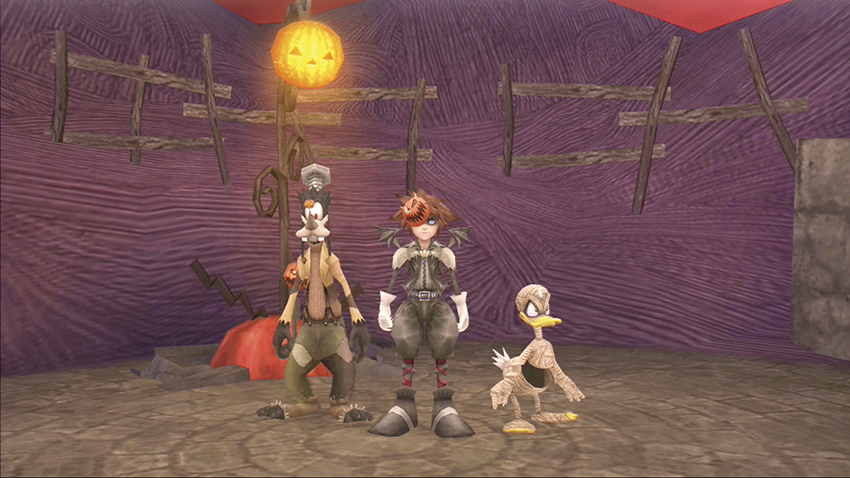
1. Meet Dr. Finkelstein
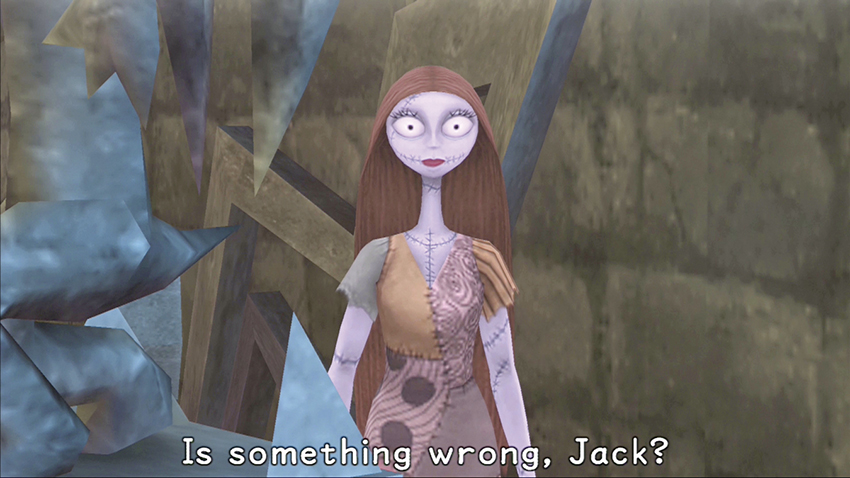
2. Bring missing ingredients to Dr. Finkelstein
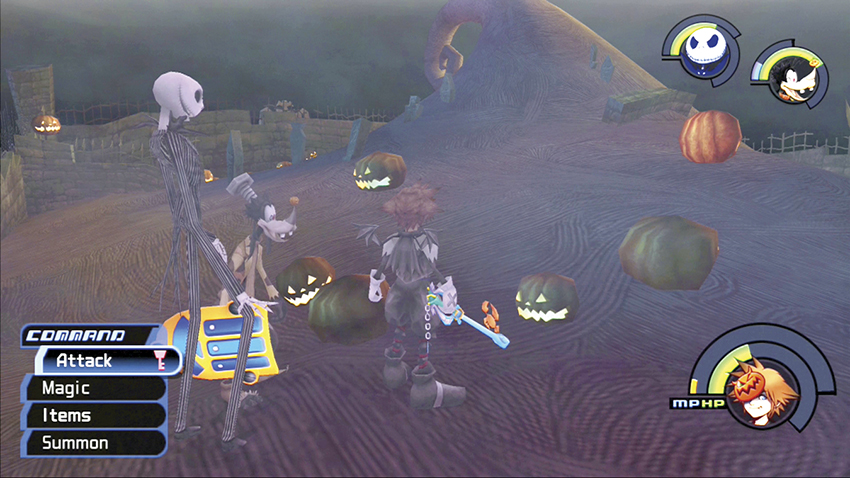
3. Retrieve the heart
4. Defeat Lock, Shock, and Barrel
5. Uncover Oogie Boogie’s hiding place
6. Beat Oogie Boogie
7. Destroy Oogie’s Manor
8. Return to the Ruined Manor
Step 1: Meet Dr. Finkelstein
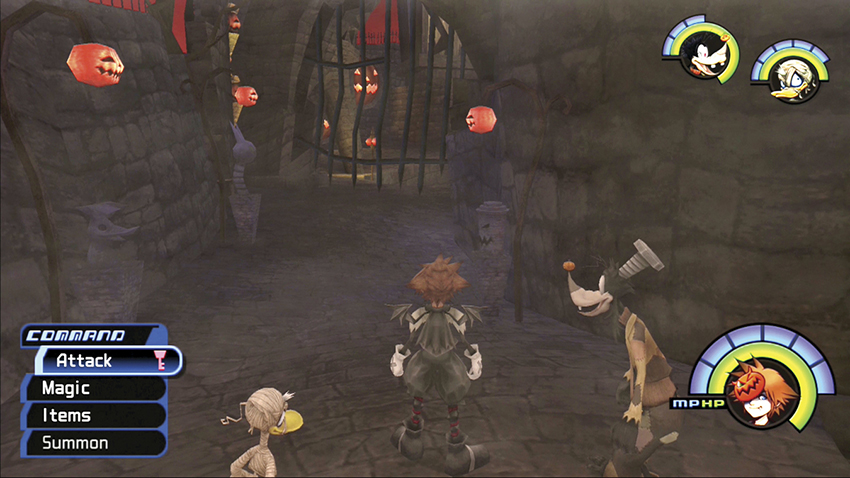
Your next destination is the Battle Level 6 world: Halloween Town. You all put on some spooky costumes to fit right in.
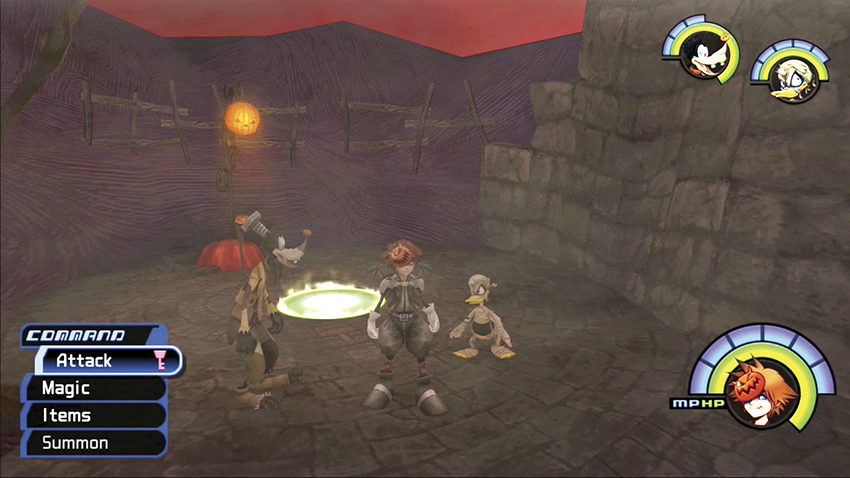
When you arrive, turn around and immediately save at the save point. Use this as your home base for the early part of the game until you find another save point.
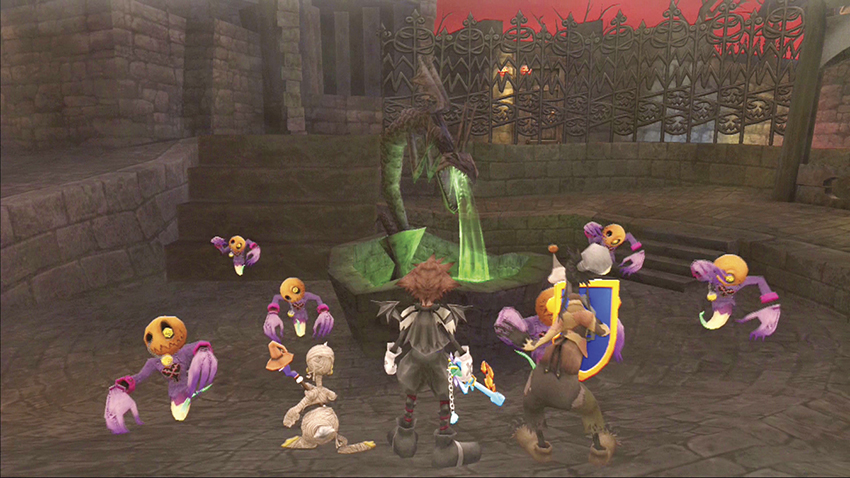
Enter Guillotine Square through the gates. Ignore the Search Ghosts in the courtyard; they’re harmless and waiting for the Halloween Town festivities to begin.
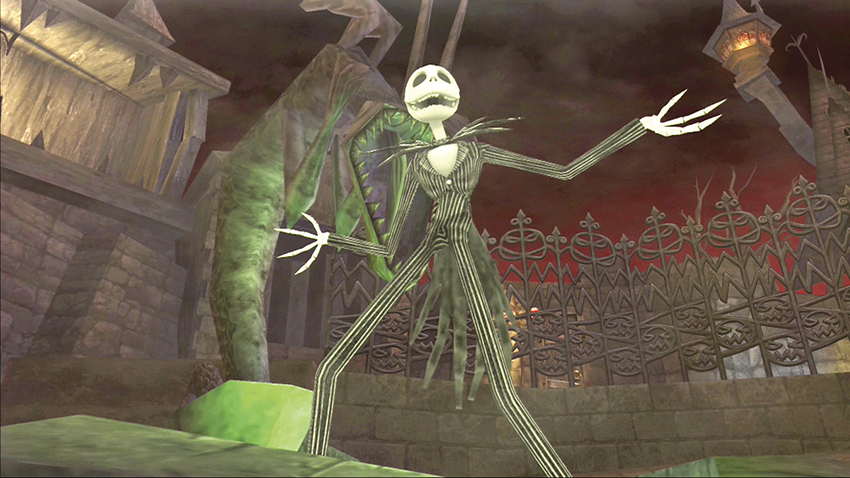
Move to the far side of the courtyard. The Mayor will introduce Jack Skellington, the Pumpkin King and master of the Halloween ceremonies. Jack goes off in search of Dr. Finkelstein to get his opinion on how to make things scarier.
 The Mayor
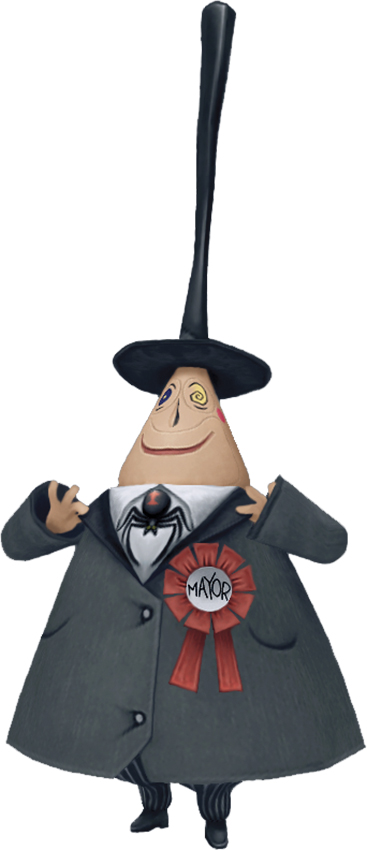
The political leader of Halloween Town literally has two faces, happy and sad, which rotate to show his current emotions. The Mayor relies on Jack Skellington to handle the Halloween festivities while he takes care of other things in the town.
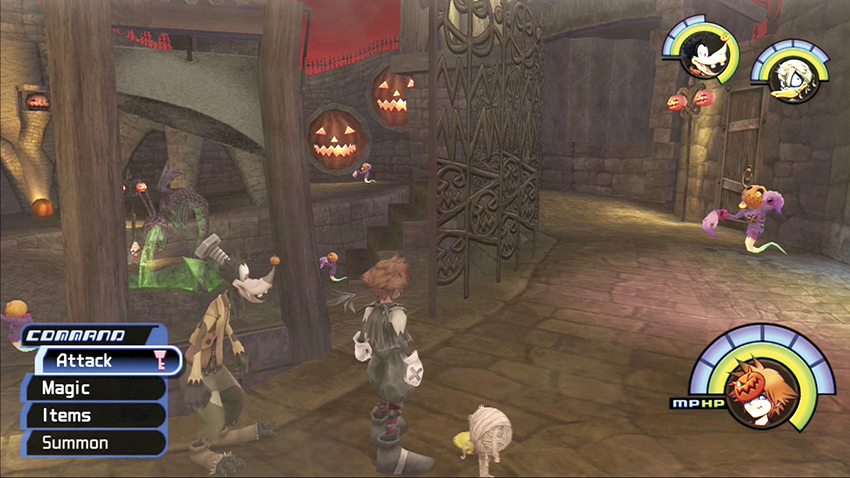
Follow Jack and look for the door to the Lab Entryway. Two jack-o’-lanterns hang on a post next to the door.
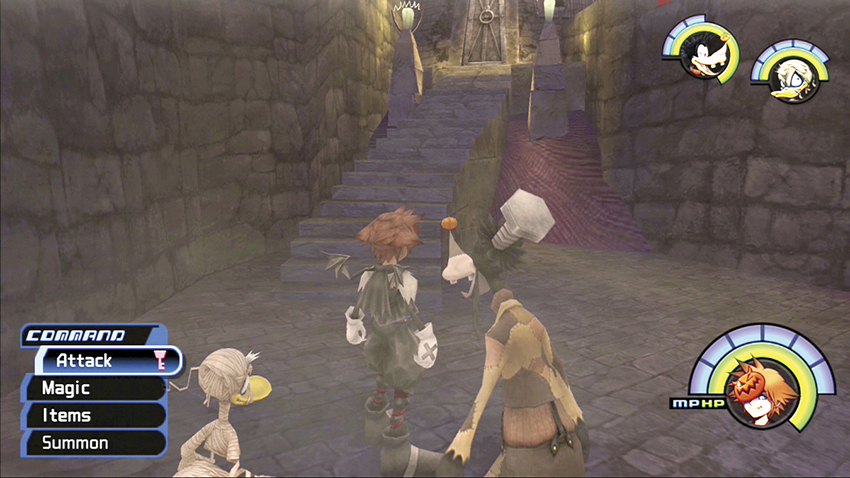
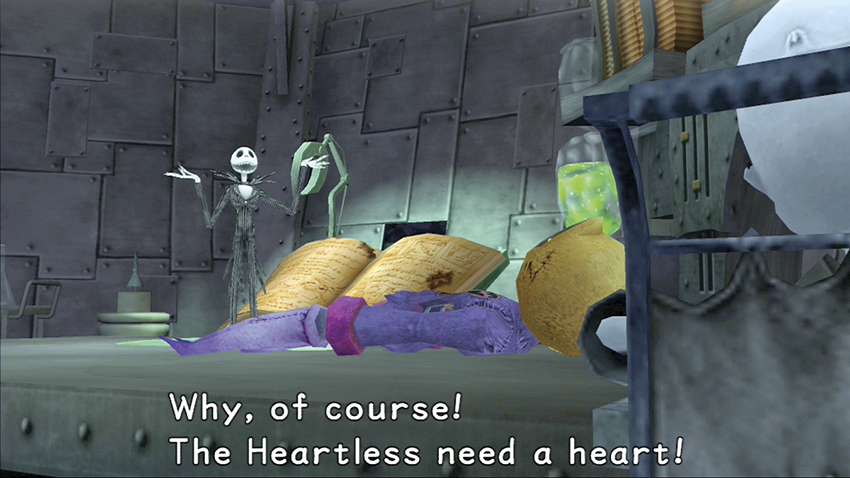
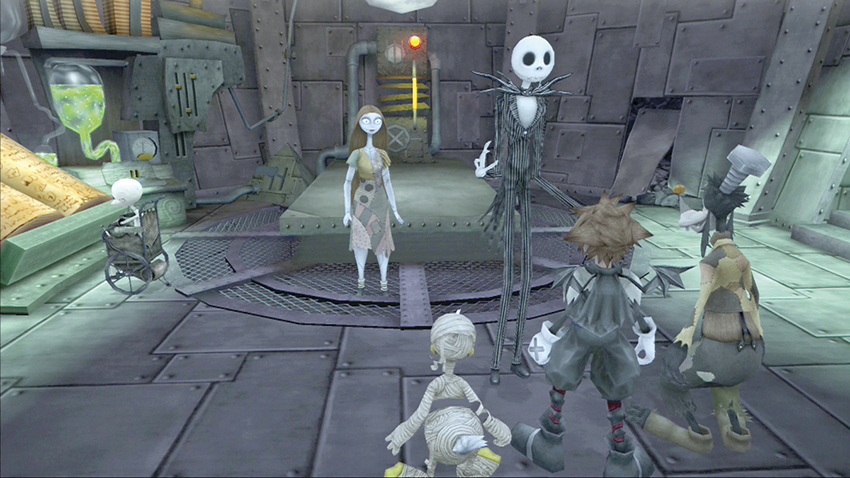
Enter the Lab Entryway and head upstairs to the Research Lab where Jack and Dr. Finkelstein are involved in a weird experiment to animate and control the Heartless. They need a working heart to succeed, but their experiment is missing something. Dr. Finkelstein believes the missing ingredient is “memory,” and he wants to pluck it out of his assistant Sally’s head.
Dr. Finkelstein
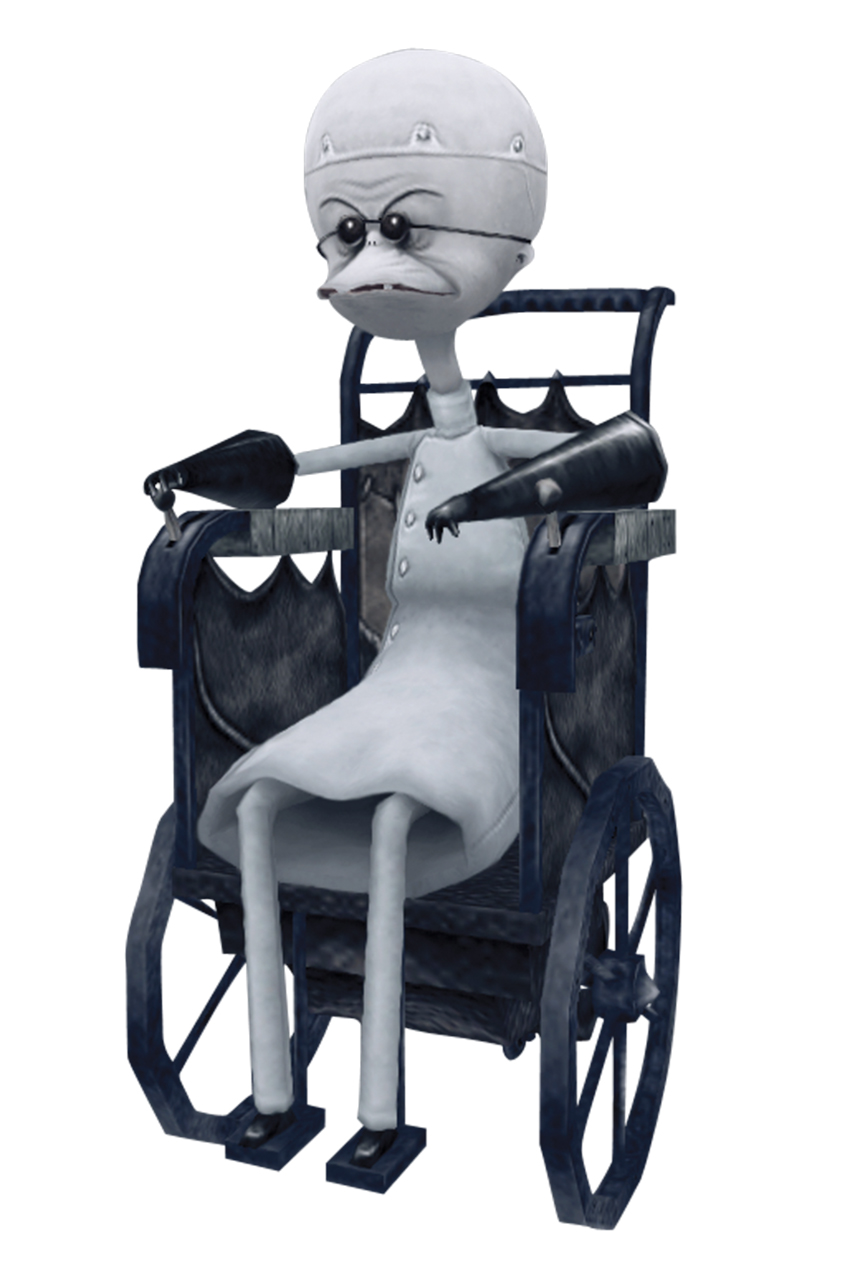
When the Heartless arrived in town, the mad doctor had plenty of new material to work with. His experiment currently centers on controlling the Heartless with a strange-looking heart.
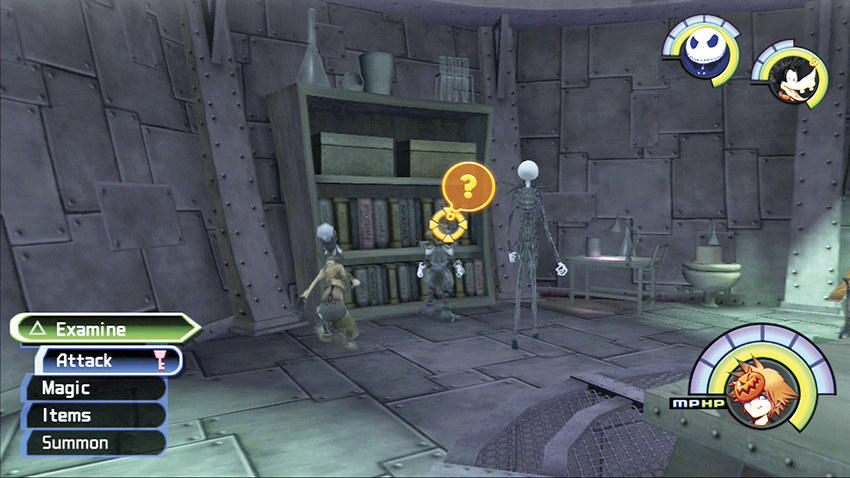
Jack invites you to come along as he goes to find Sally. Once Jack joins your party, search the Research Lab bookshelf for a Torn Page.
Step 2: Bring Missing Ingredients to Dr. Finkelstein
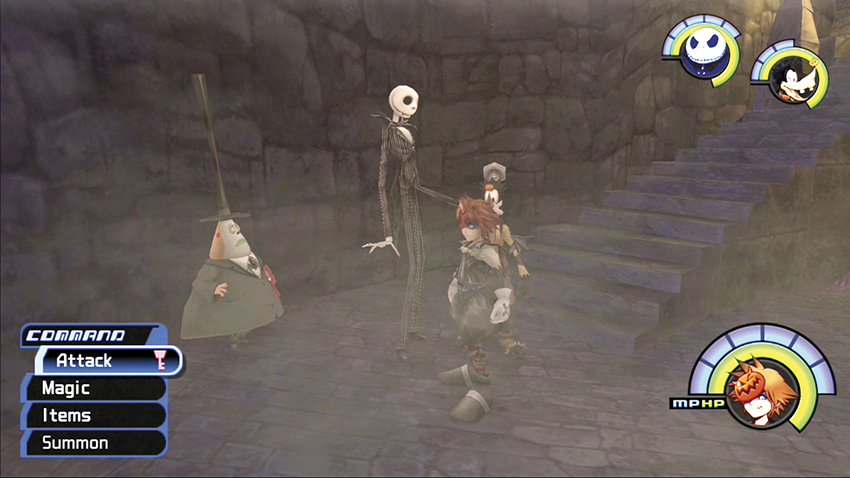
The Mayor corrals you when you leave Dr. Finkelstein. He tells you that the Heartless are now out of control and running amok about the town. You promise him you’ll handle it.
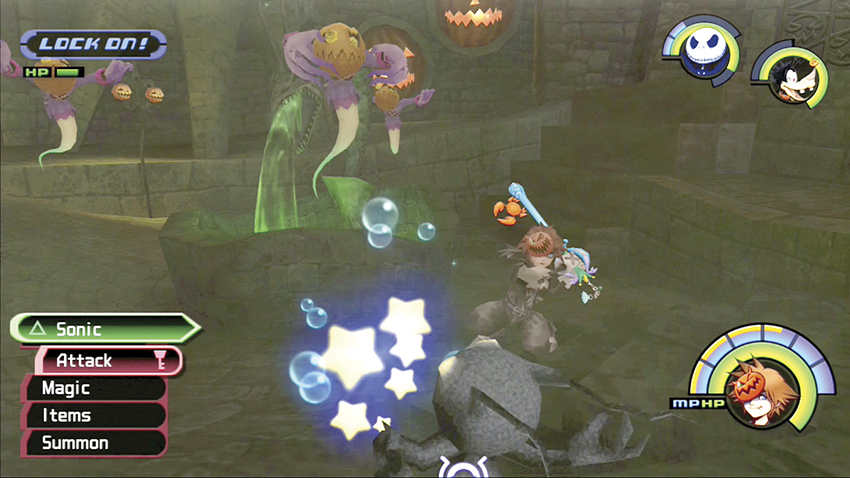
Return to Guillotine Square and clear out the now-angry Search Ghosts. After they’re gone, head into the gated area next to the Lab Entryway.
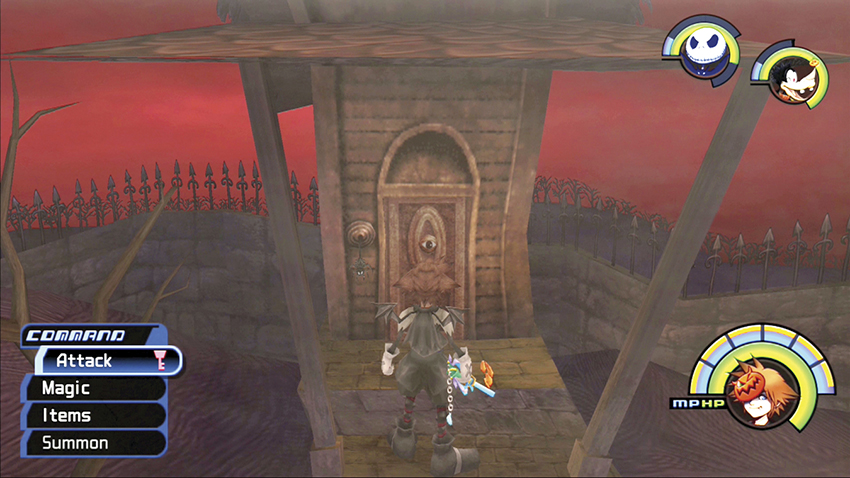
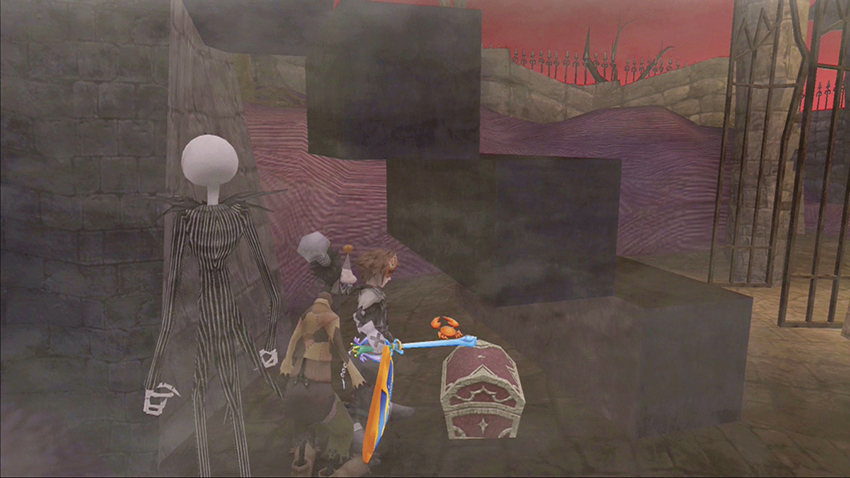
Climb the wooden steps to a door with an eyeball staring back at you. Pull the spider doorbell three times to receive an Elixir. Drop off the side and look beneath the stairs for a chest with a Thundara-G.
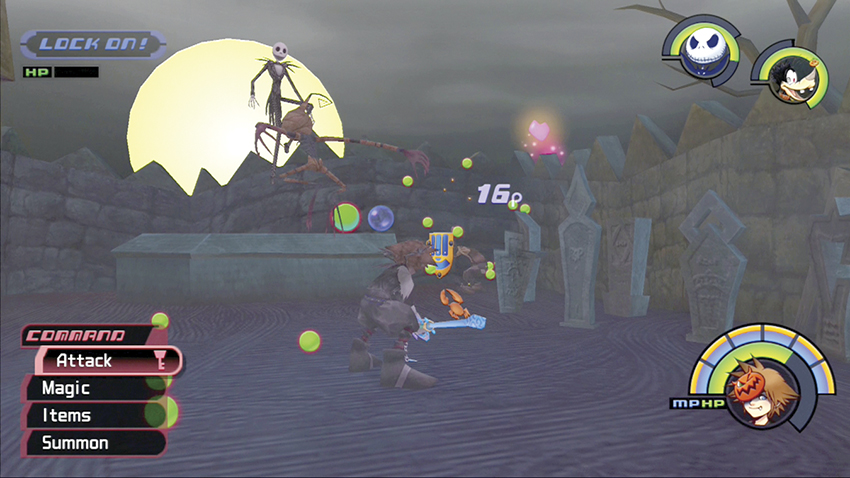
The next gate leads to the Graveyard. Enter and defeat all the Heartless, including the new Wight Knights. Beware their springing attack and use Thunder on them if their acrobatic antics become too much of a headache.
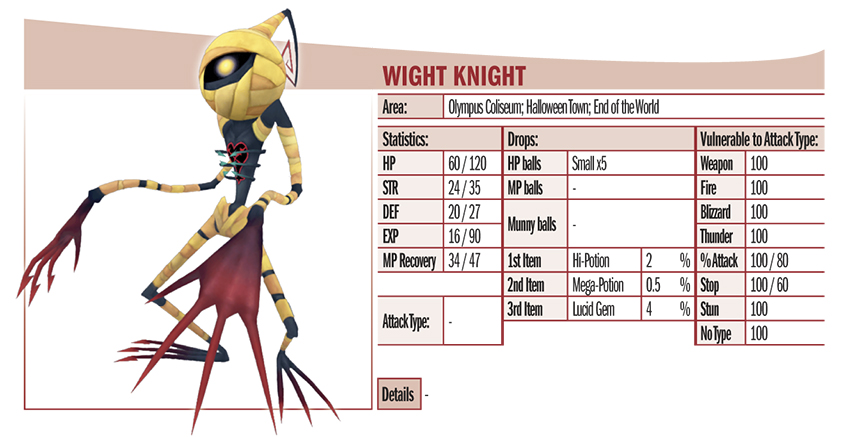
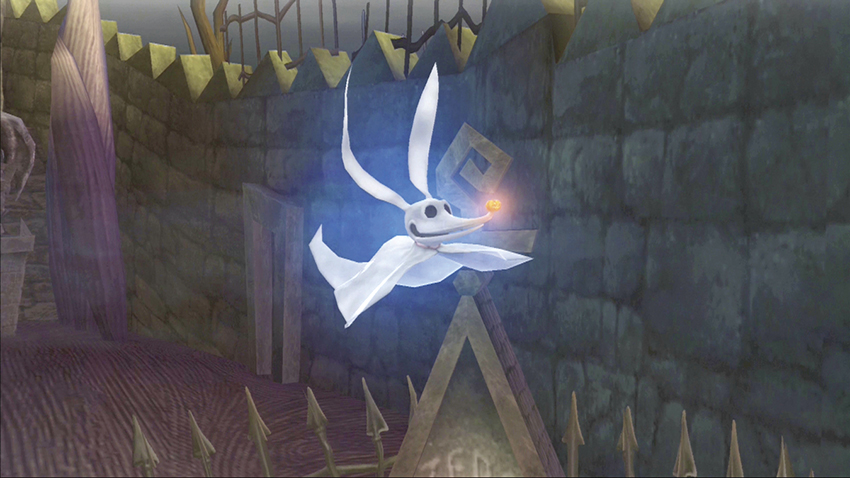
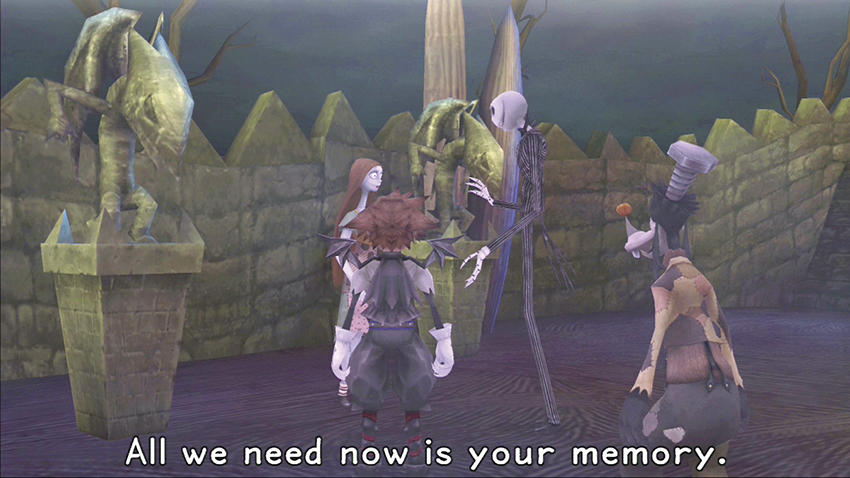
Zero and Sally will emerge from their hiding places only after you’ve dispatched all the Search Ghosts and Wight Knights. Sally reluctantly hands over her memory, a Forget-Me-Not.
Zero

The cowardly ghost dog, Zero, may disappear in the face of danger, but he’s still a loyal pet to Jack. He finds Sally for you in the Graveyard and will prove helpful later.
Sally
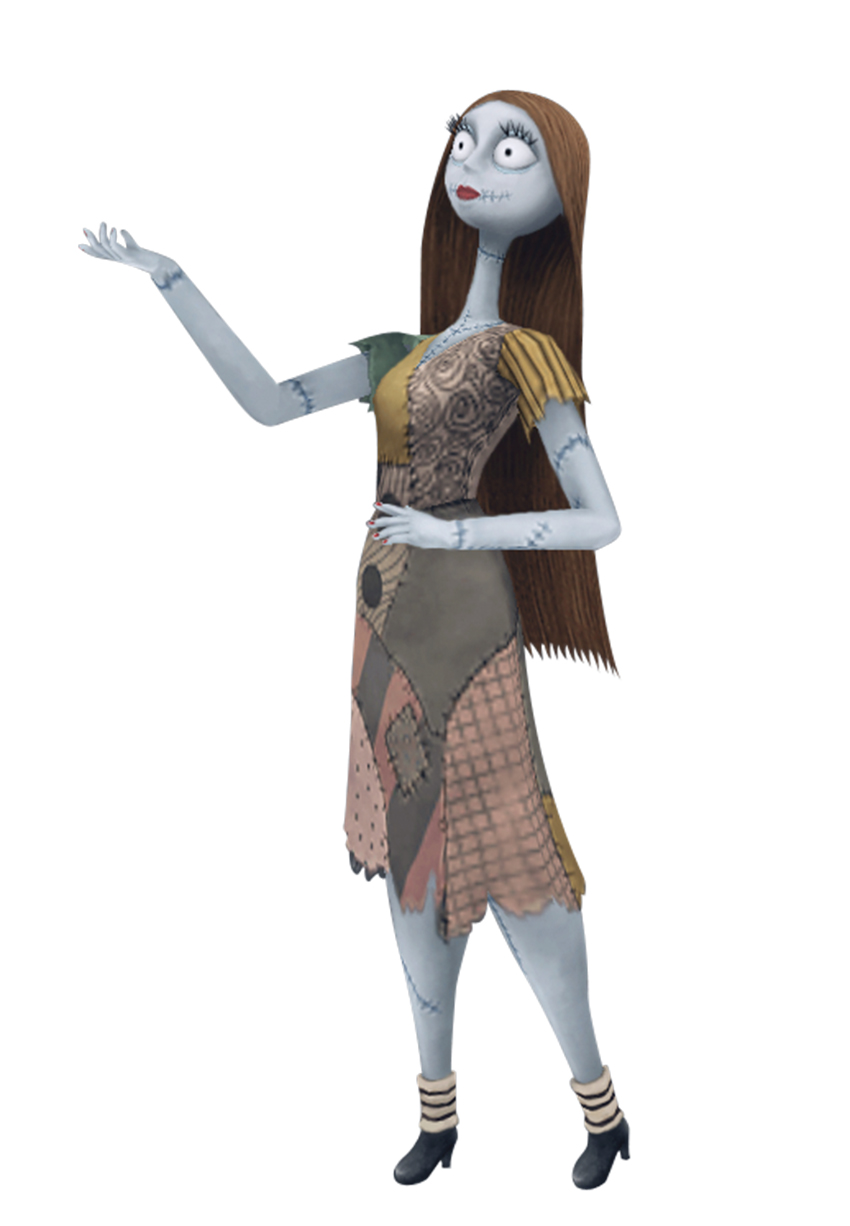
Dr. Finkelstein created Sally, and she serves as his assistant. Sally’s body parts sometimes have a “mind of their own” and come off and move about. Sally cares for Jack and tries to steer his wild schemes toward a safer path.
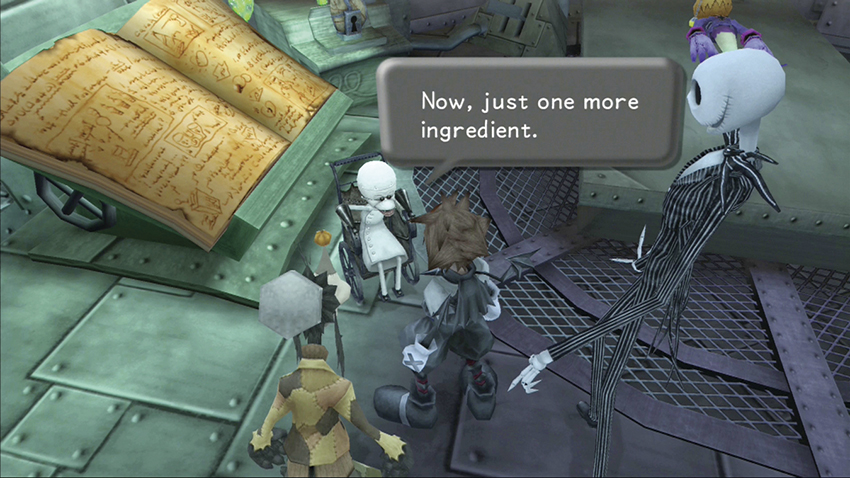
Return to the Research Lab and speak with Dr. Finkelstein. He says he needs one more ingredient to continue with the experiment: “surprise.” He hints that the Mayor will be able to help.
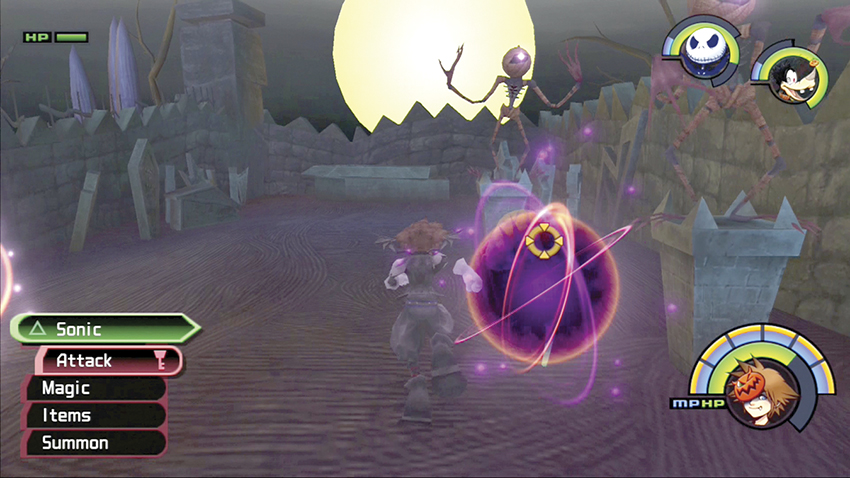
Go back to the Graveyard and vanquish any Heartless that show up. Examine the coffin in the back for a new passage to the Boneyard.
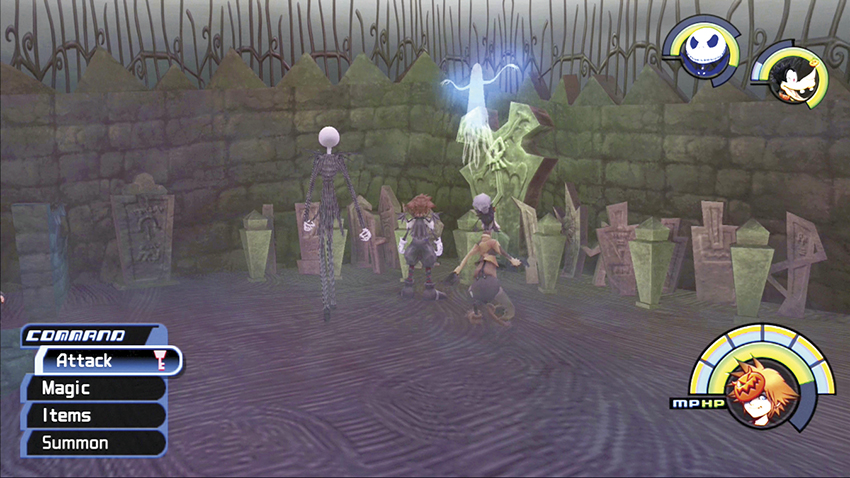
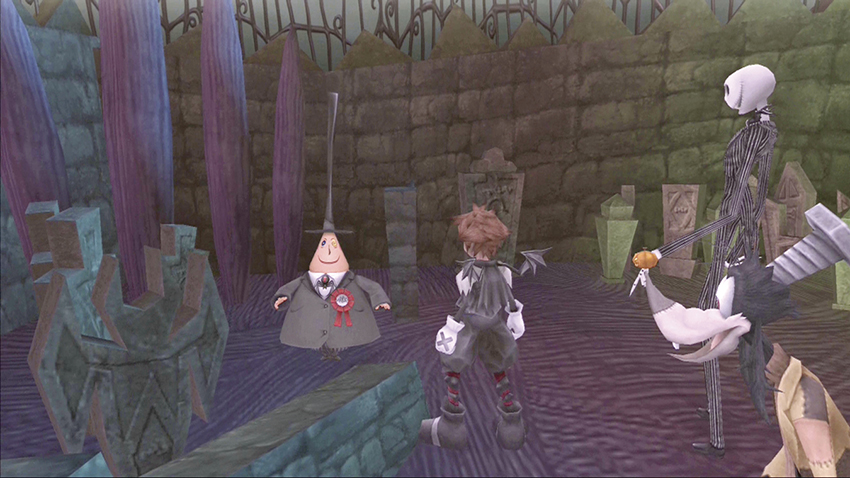
Move around the giant pumpkin and speak to the Mayor on the other end. He offers you a game to earn the surprise. Ghosts will rise out of the tombstones, and if you examine them in the order that they appeared, you win a “surprise.”
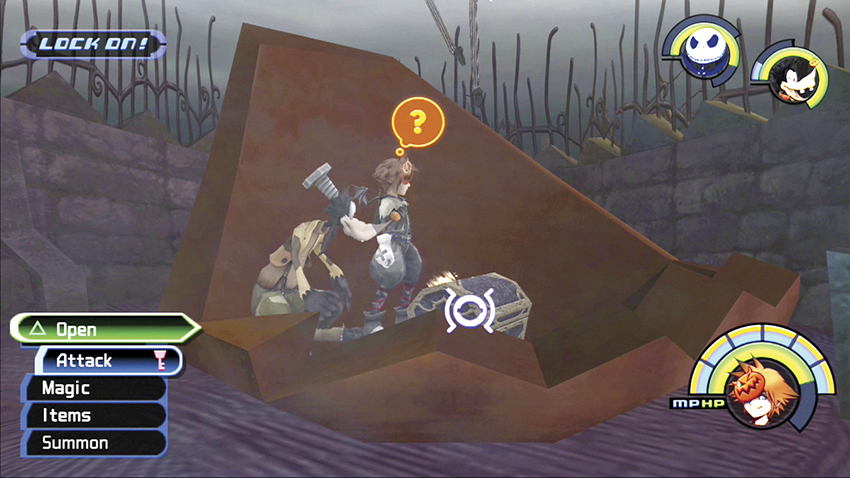
You can try the game as many times as you need to complete it. Once you’ve identified the correct tombstone order, the giant pumpkin explodes and leaves behind a chest inside. Open the chest for a Jack-in-the-Box.
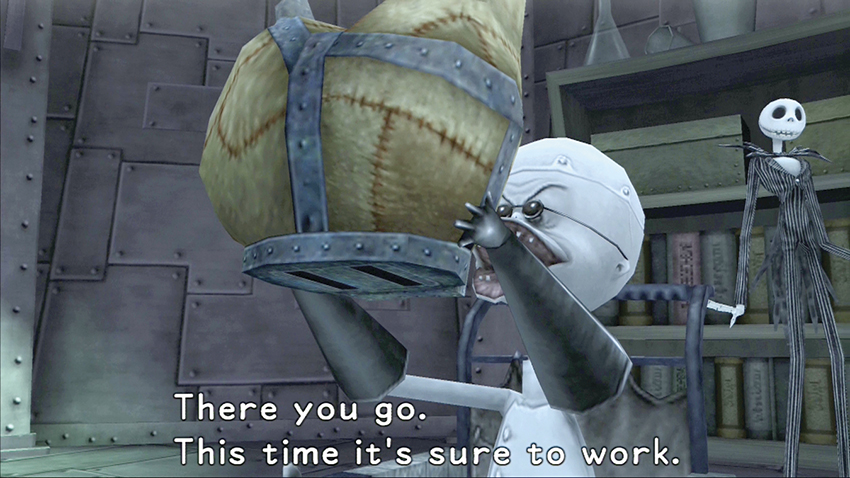
Head back to see the doctor with the second ingredient in hand. Together “memory” and “surprise” succeed in creating a heart for the Heartless. However, before Dr. Finkelstein can use it on the Heartless, Oogie Boogie’s three little minions—Lock, Shock, and Barrel—steal it. You must now track them down to Oogie Boogie’s Manor to retrieve the heart.
Step 3: Retrieve the Heart
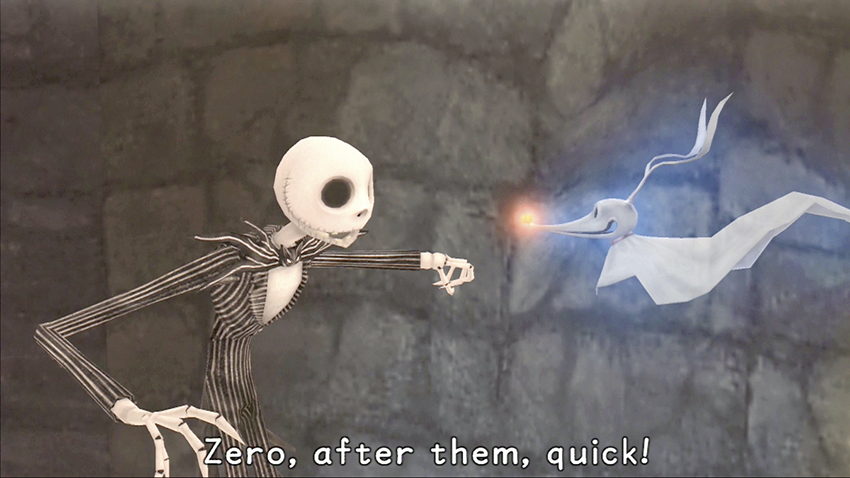
You are going to need Zero’s help to sniff out the missing heart. Follow Zero to the Graveyard, through to the Boneyard, and then open the door in the pumpkin tomb to Moonlight Hill.
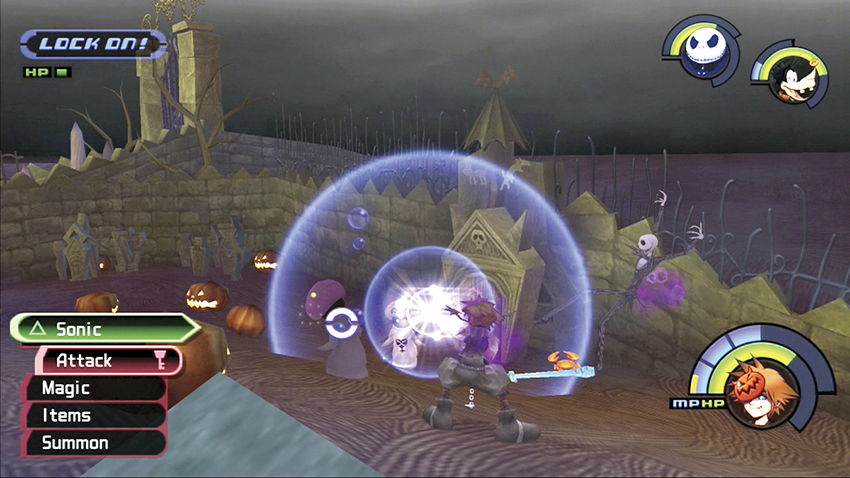
It’s a free-for-all on the Hill if you move around too much. Stay close to the entrance and only move out once you’ve defeated a group of Heartless.
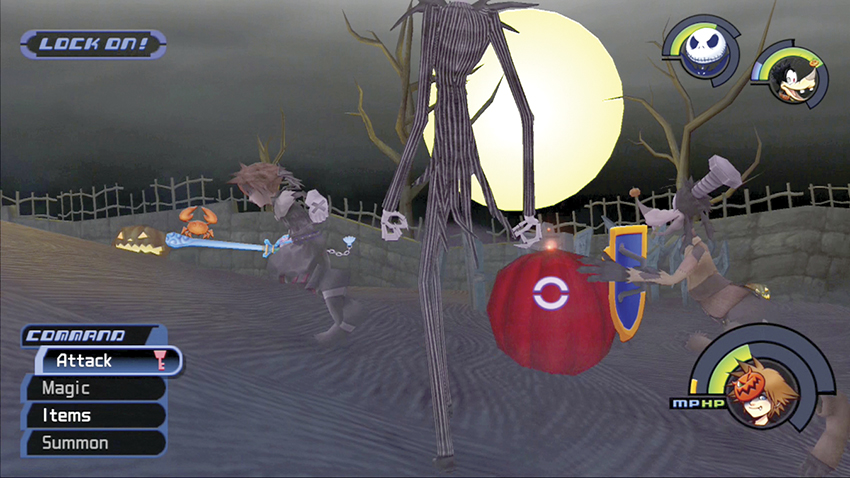
If you want extra ammo against the Heartless, try some pumpkin bombs! You can pick up and throw the pumpkins on Moonlight Hill, or you can strike them and light the pumpkins’ fuses. Just stand back from a pumpkin bomb so you don’t get hit with the splattering shell.
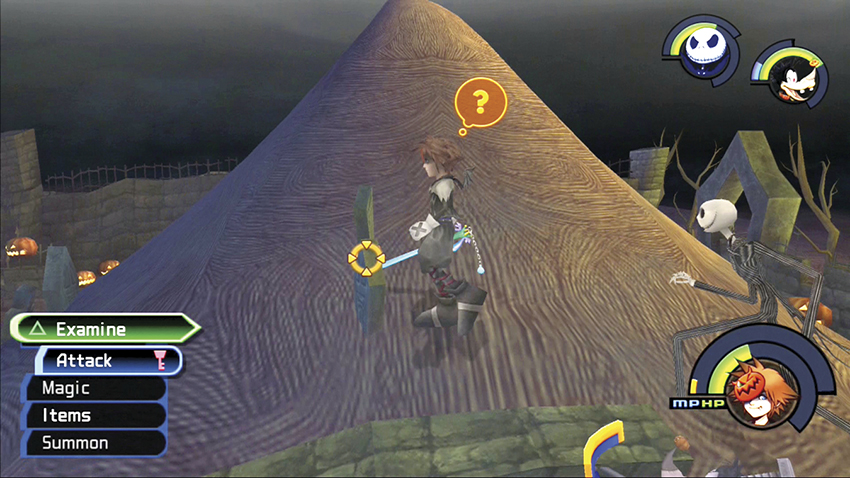
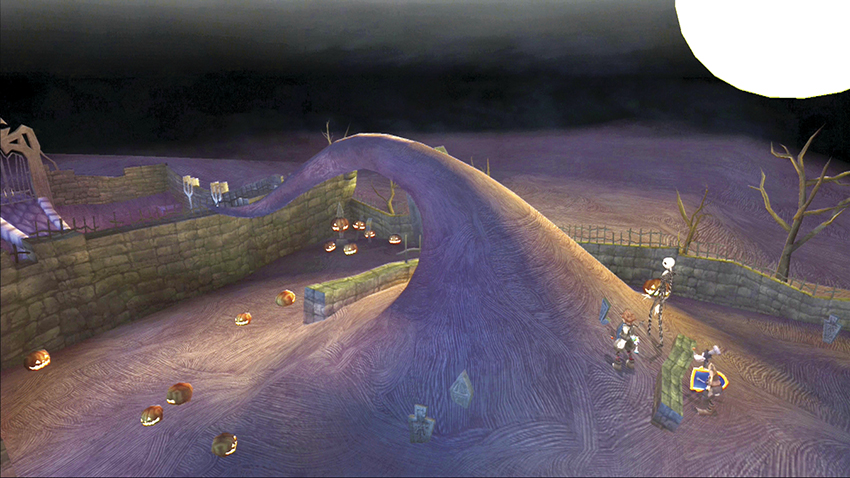
When you can reach the central hill, examine the small tombstone to extend the tentacle part of the hill. After the hill curls out, walk across it onto the Bridge.
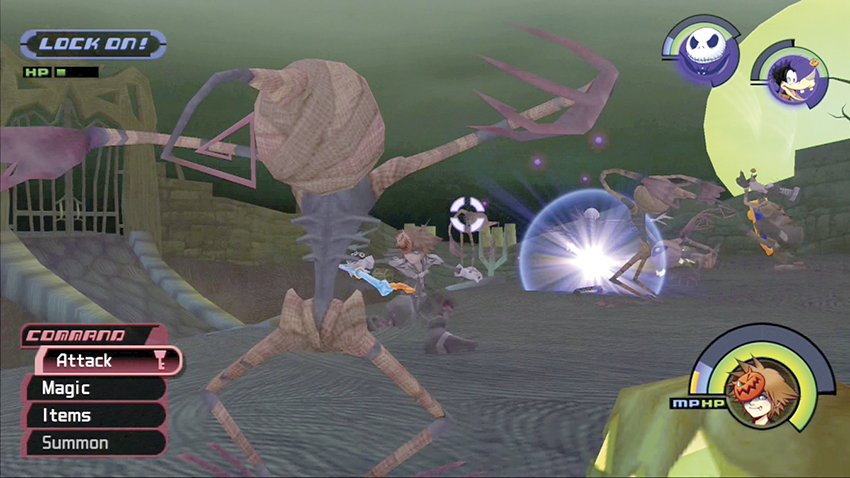
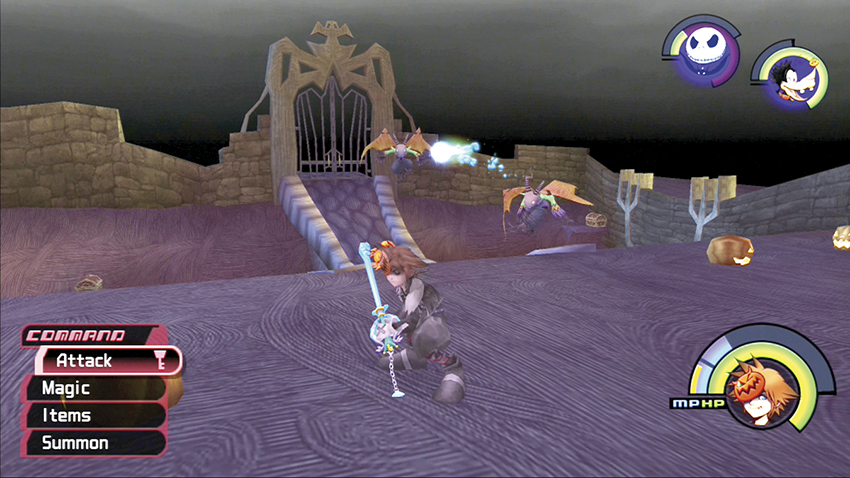
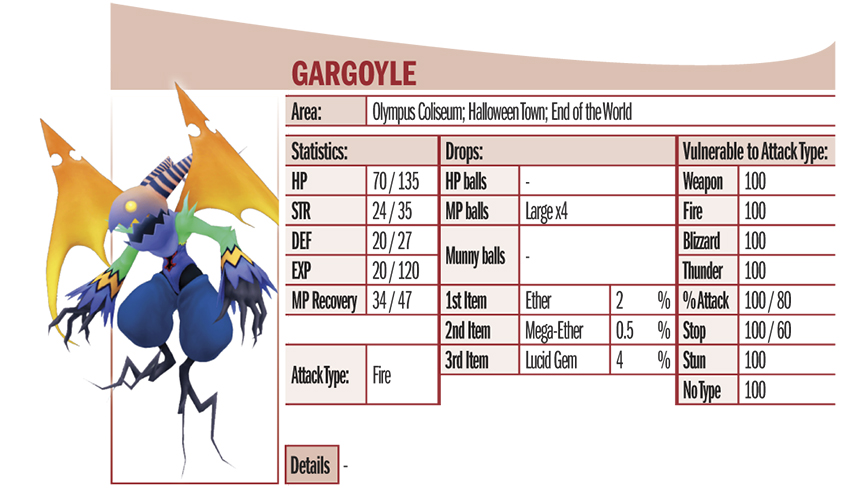
The Bridge teems with more foes. You’ll likely meet the new Gargoyle opponents, who fly and sling fireballs at you. Stay on the upper platform where there’s plenty of room to dispatch your enemies.
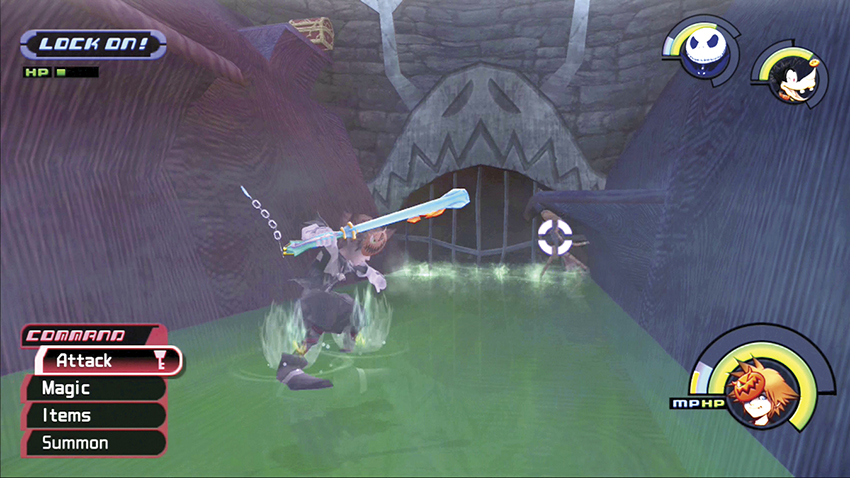
If you fall into the green waterway, get out as quickly as you can. Jump up the small platforms to the top, or use the main stairs to leave before the Heartless pile in and swarm you in the confined space.
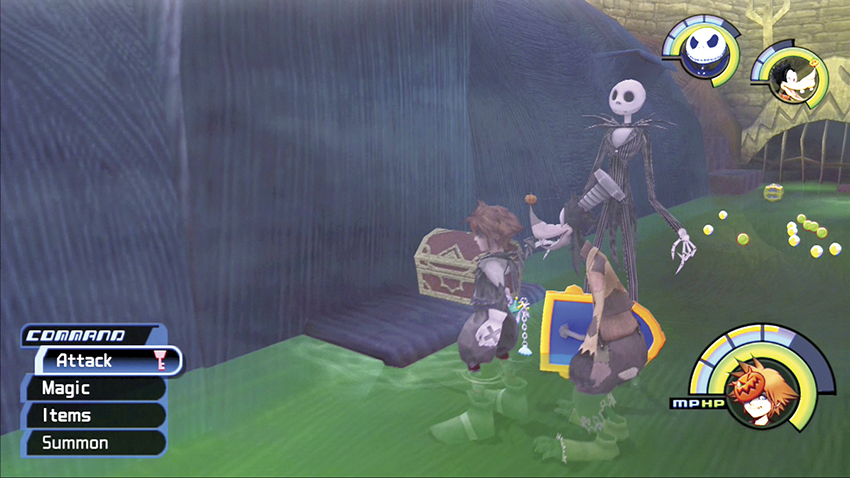
Once the battle ends, drop down under the Bridge and open a red chest for a Flare-G.
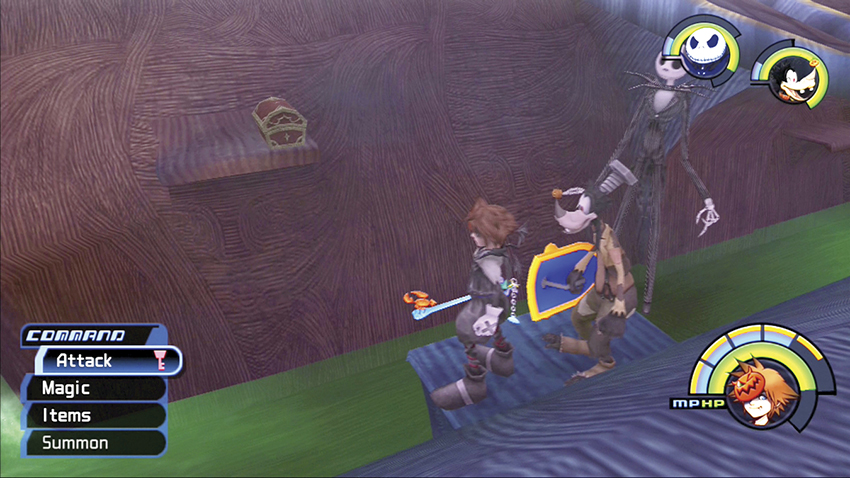
To gain the second chest, stand on the small platform opposite it. Make the long jump across the gap, land on the small platform, and open the chest for a Meteor-G.
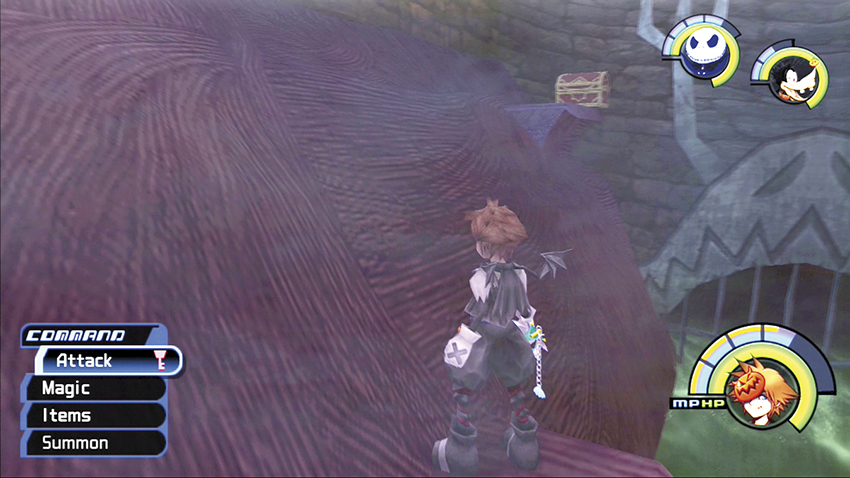
The third chest in the corner is very difficult to reach. Stand on the nearby platform and leap up toward the chest. You can’t reach the chest’s platform, but you can land on a small protrusion just below the platform. From here hop up on the platform and open the chest for a Defense Up.
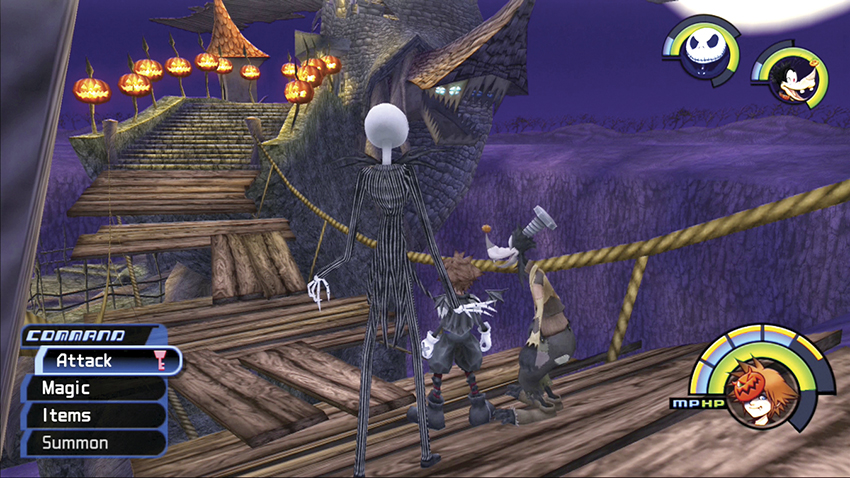
You arrive on the wooden bridge to Oogie’s Manor. All looks quiet—you know better. As soon as you try to cross, Heartless appear to harass you. Dispatch them, careful not to fall off the edge.
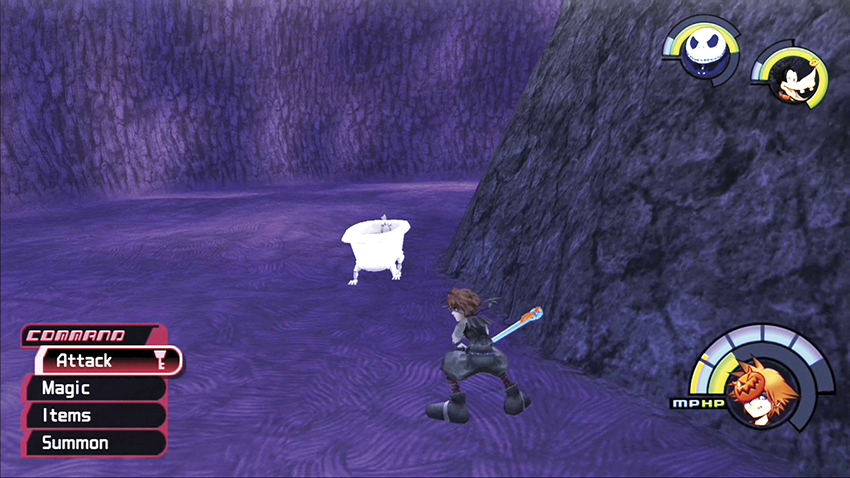
If you fall, look for the white bathtub with legs that Lock, Shock, and Barrel rode into to the Manor. Climb into the white tub and it automatically brings you back up to the wooden bridge in front of Oogie’s Manor.
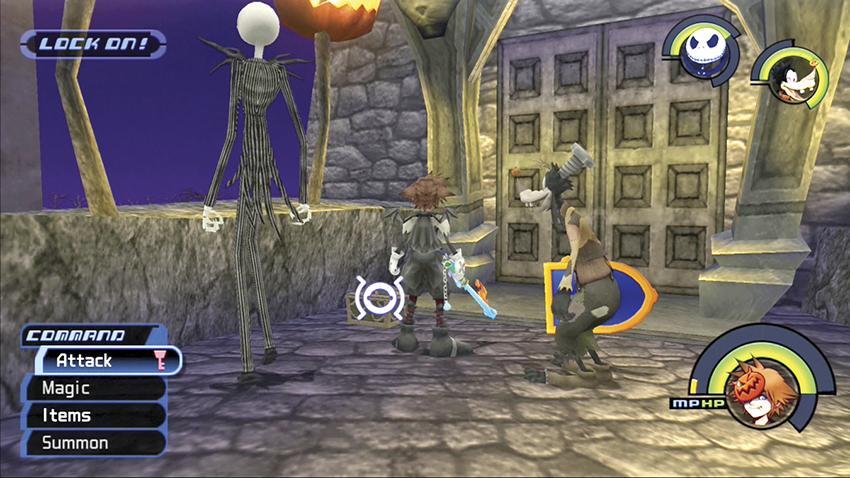
Open the green chest in front of the Manor doors for an Ether. You can get a second Ether from another green chest to the right inside the door.
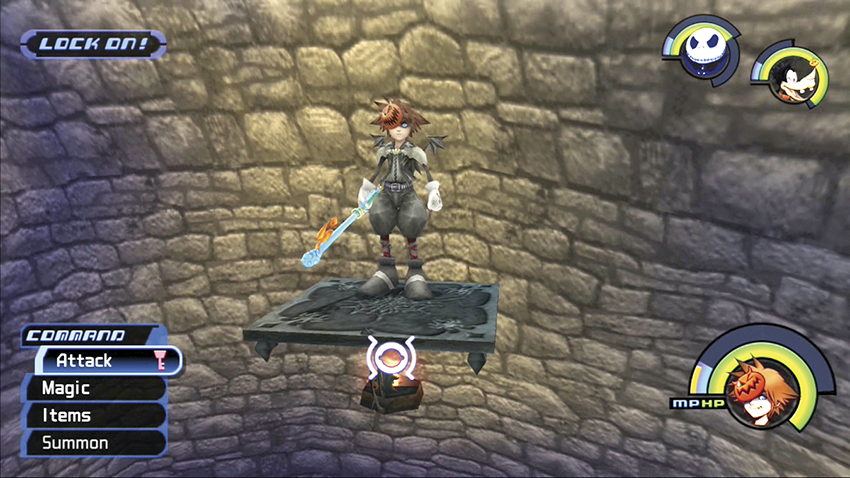
Knock around the Heartless in the Manor’s entrance chamber until all is peaceful. Light the base of the lift platform with Fira and the platform will ascend and descend. Jump on it to rise up to the Manor’s next level.
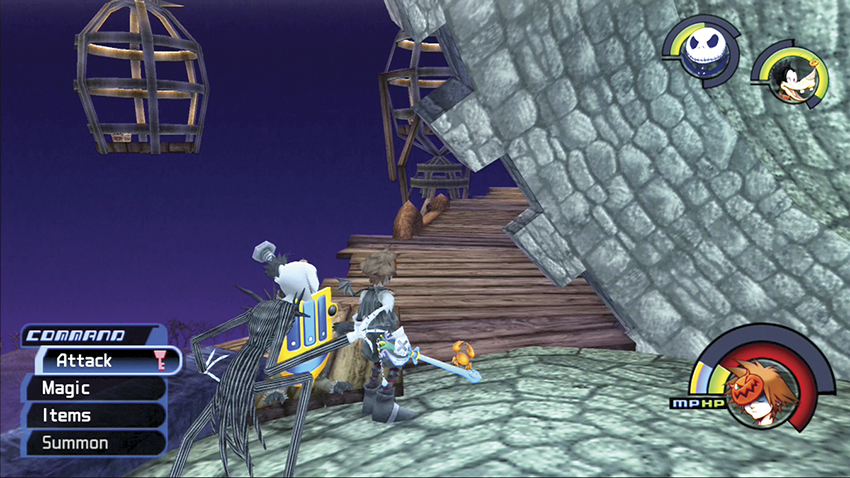
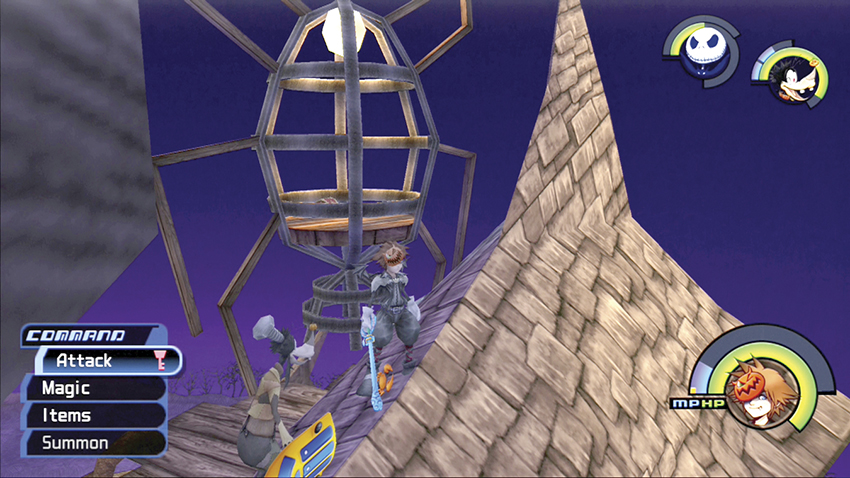
Fight through the Gargoyles and Wight Knights that materialize on the winding platform. When you reach the stone intersection, veer to the left. Jump up on the shack with teeth on your right. Turn around and look out at the hanging cages. Jump over to the cage on the right and open the chest there for a Mega-Ether.
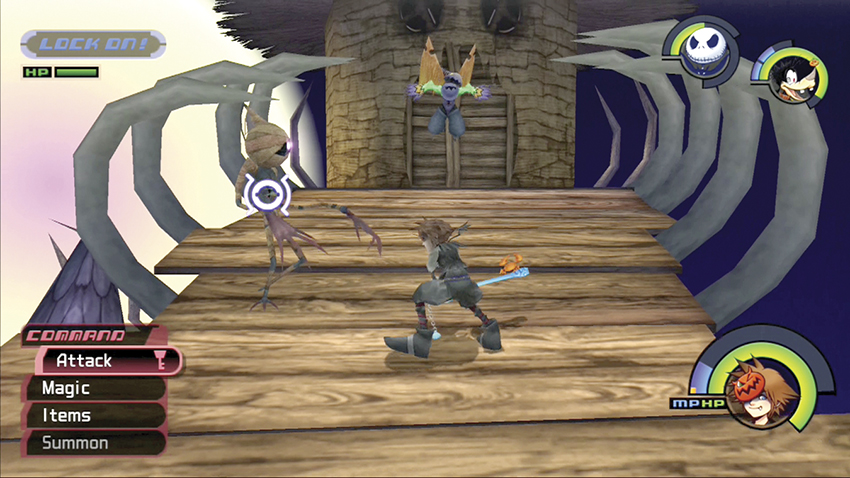
Continue up to the top of the Manor. Smash through the rest of the Heartless, without falling off the platform, and open the top door to enter the Evil Playroom.
Step 4: Lock, Shock, and Barrel
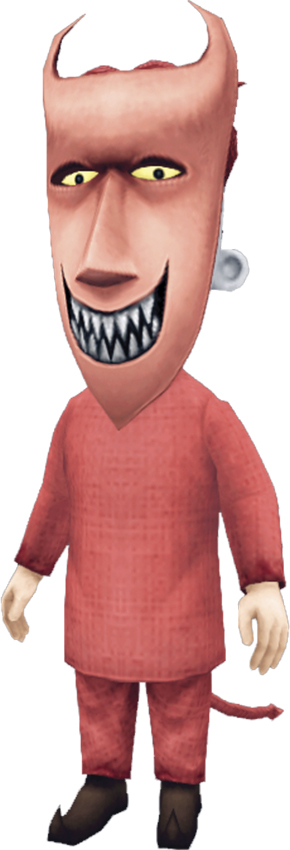
| HP | 150 |
| Strength | 24 |
| Defense | 20 |
| EXP | 180 |
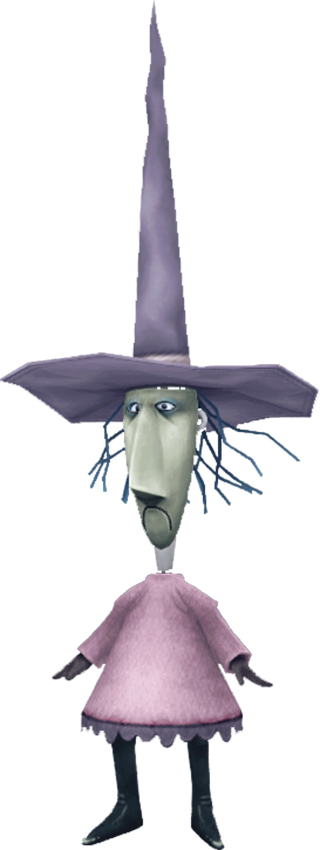
| HP | 120 |
| Strength | 24 |
| Defense | 20 |
| EXP | 120 |
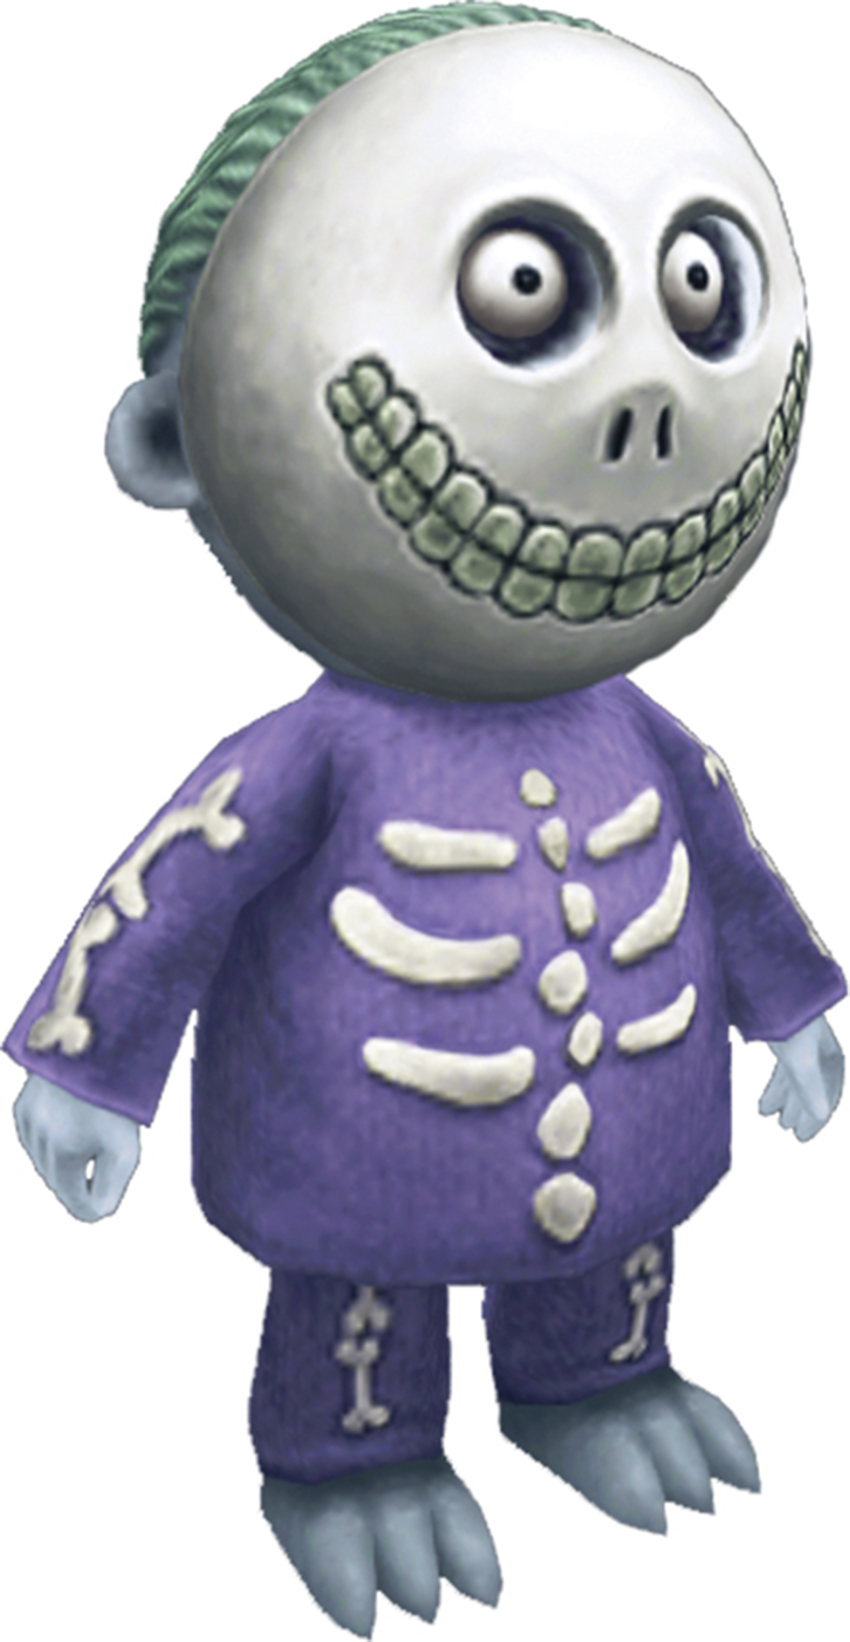
| HP | 180 |
| Strength | 24 |
| Defense | 20 |
| EXP | 240 |
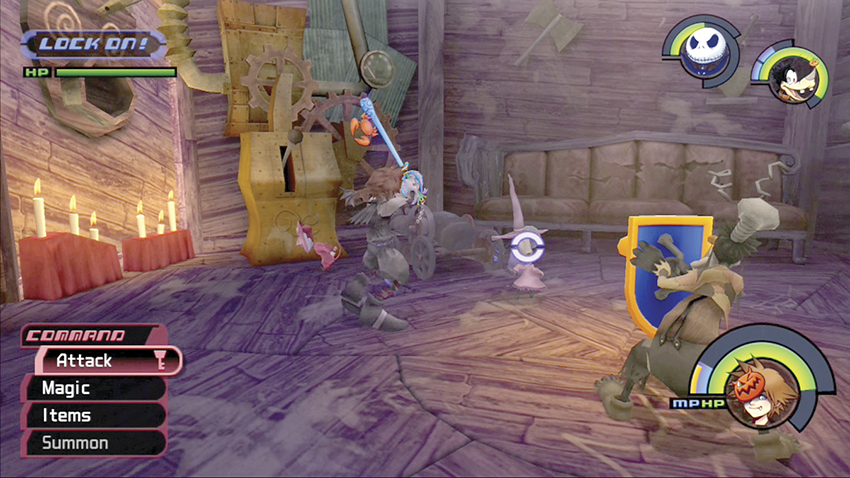
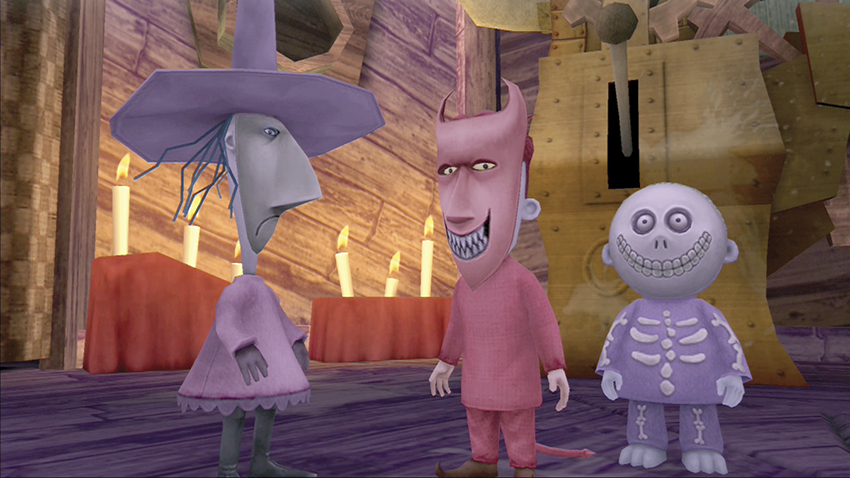
You must defeat all three children to win the fight, although you will only receive full experience for the last one you defeat. The other two children will give you one-tenth experience. If you want the most experience, try to beat Barrel last.
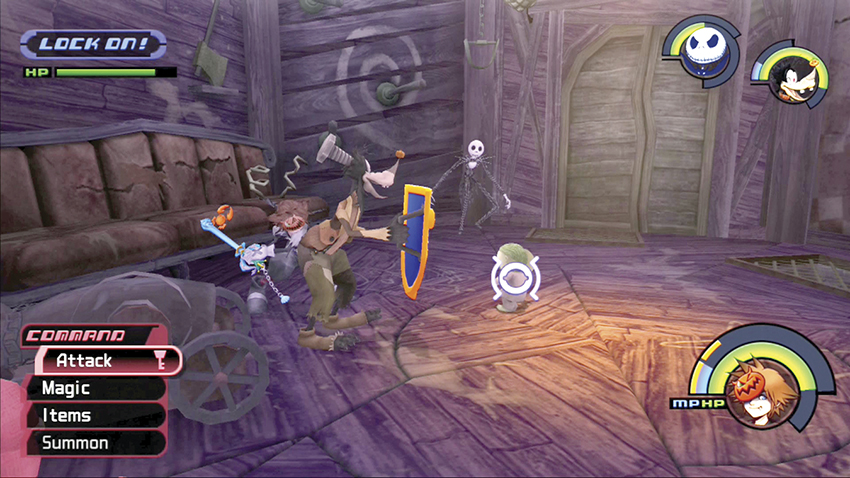
Barrel stays low and damages you with straightforward, ground-based attacks. If he’s not paying attention, he’s the easiest to hit and might be the first one to go.
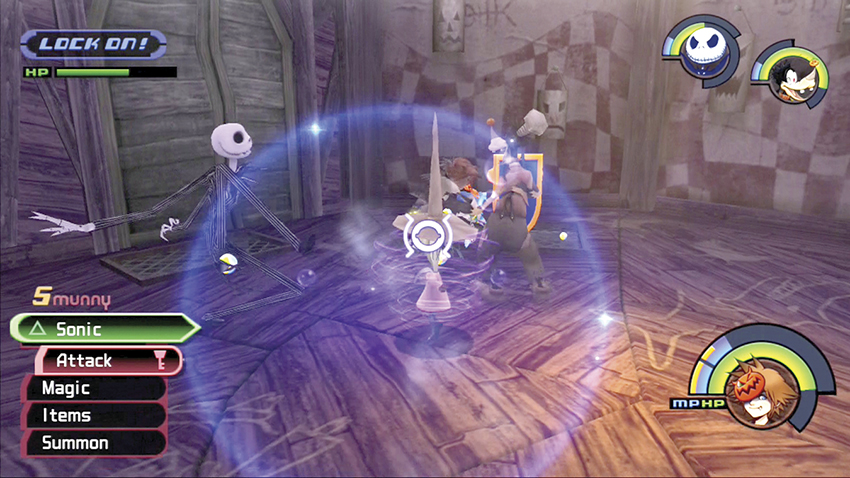
Shock employs a spin attack that damages and repels anyone she runs into. She’s difficult to hit with physical attacks, but Magic attacks work fine.
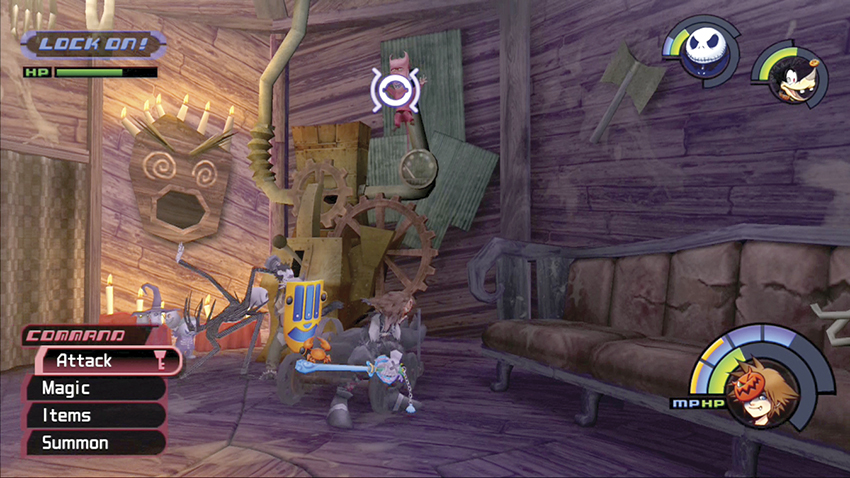
Lock leaps high into the air and attacks from above. He’s the most difficult to pin down, so target him with Fira and Blizzara, or Thunder magic if the others have been beaten and you can freely hammer the area with damage.
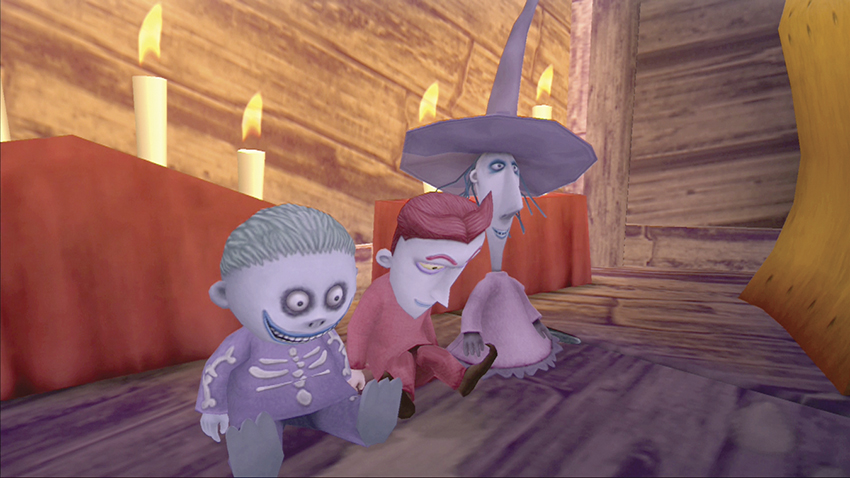
Once all three children have been put in the corner and give up, they will admit that it was Oogie Boogie’s idea to steal the heart. They have already given him the heart, so you must now find the master of the Manor.
Step 5: Uncover Oogie Boogie’s Hiding Place
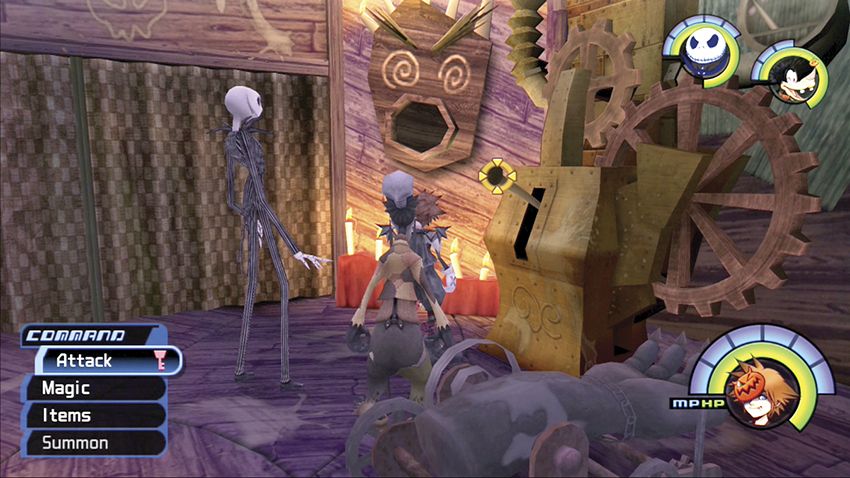
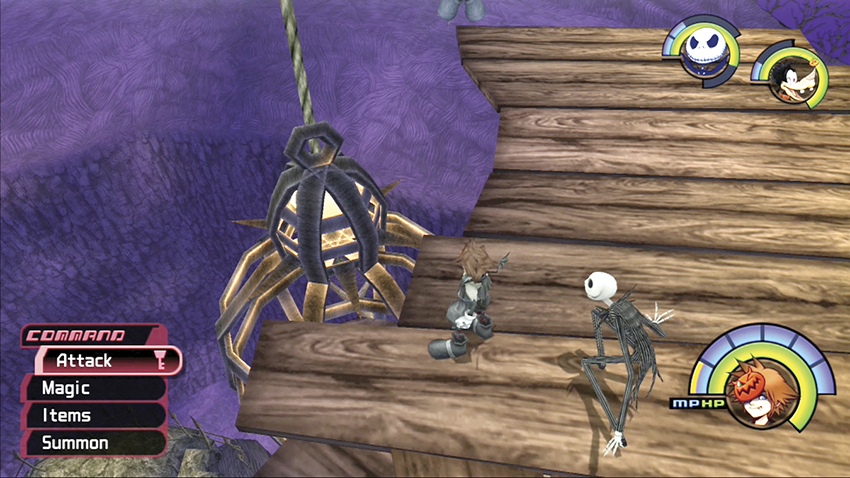
Save in the Evil Playroom and talk to the children. Look for a lever next to Lock, Shock, and Barrel and lock onto it. Attack the lever to start the machinery that lowers the second cage by the shack with teeth.
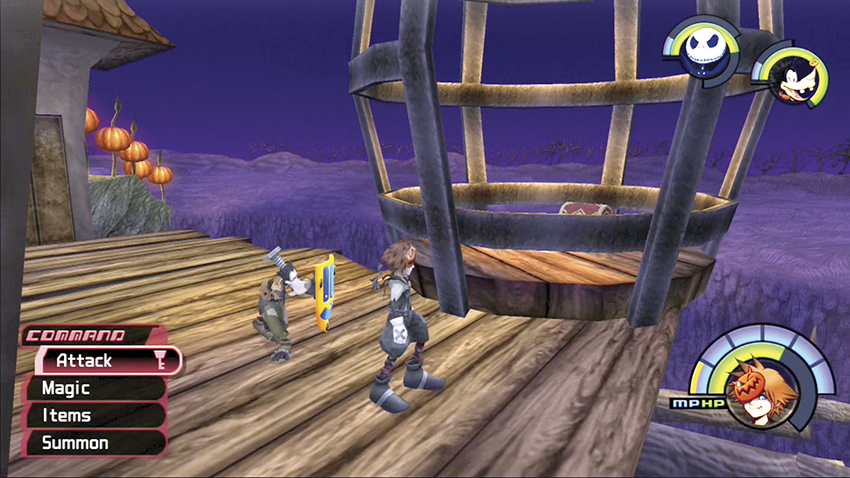
Head outside and drop down to the platform next to the shack with teeth. Trace the second cage’s rope and jump down to where the second cage now rests. Be careful not to fall all the way down to the bottom. Open the chest in the cage for an Orichalcum.
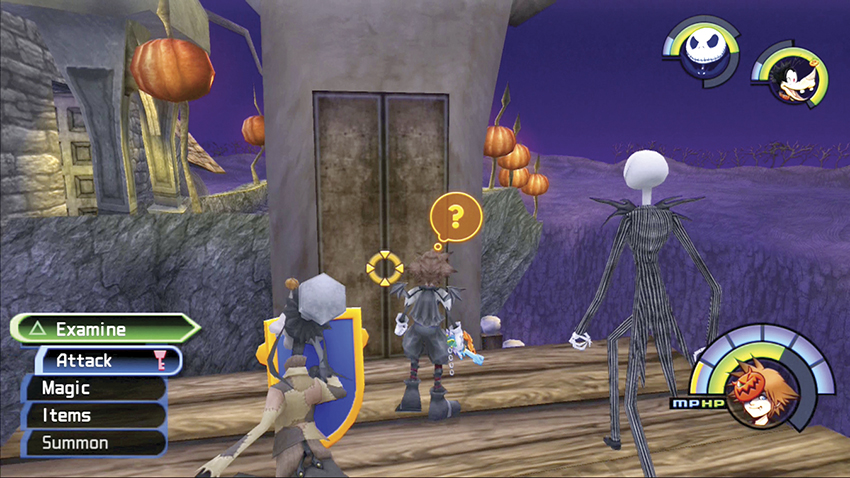
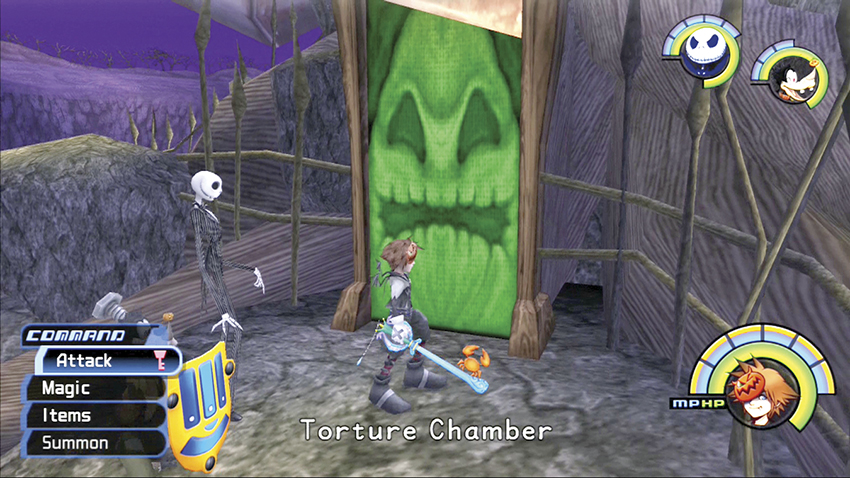
Use the door next the cage to reach an area below the main entrance. Fight the Heartless in this area and then load up your item slots for two difficult boss battles ahead. When you are ready, open the green doors to the Torture Chamber.
Step 6: Oogie Boogie
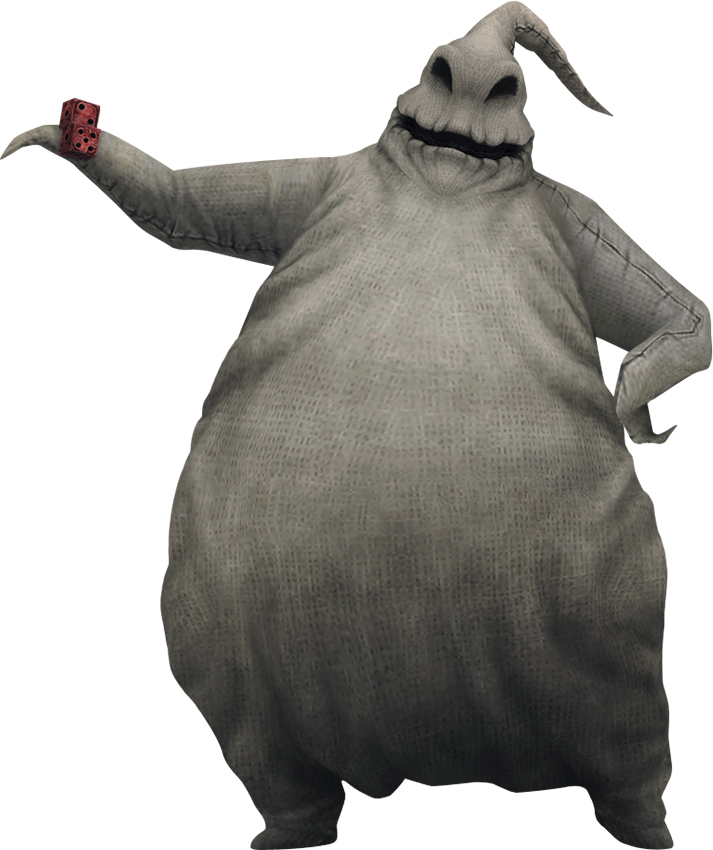
| HP | 450 |
| Strength | 24 |
| Defense | 20 |
| EXP | 2500 |
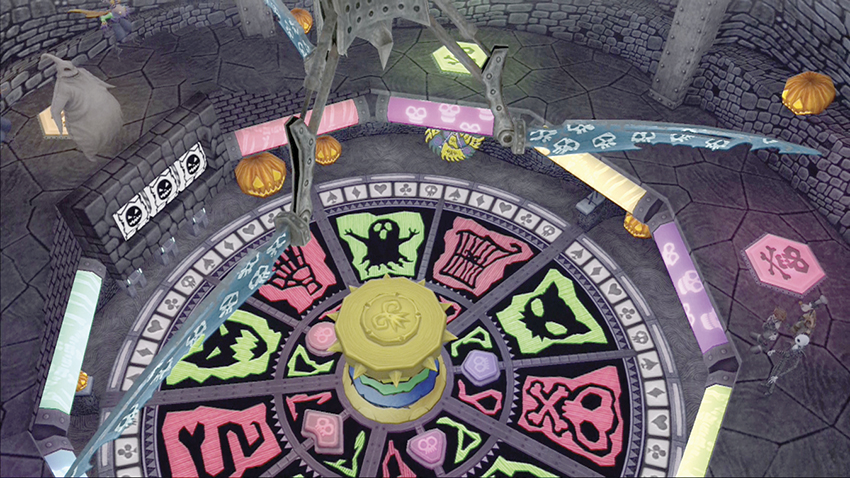
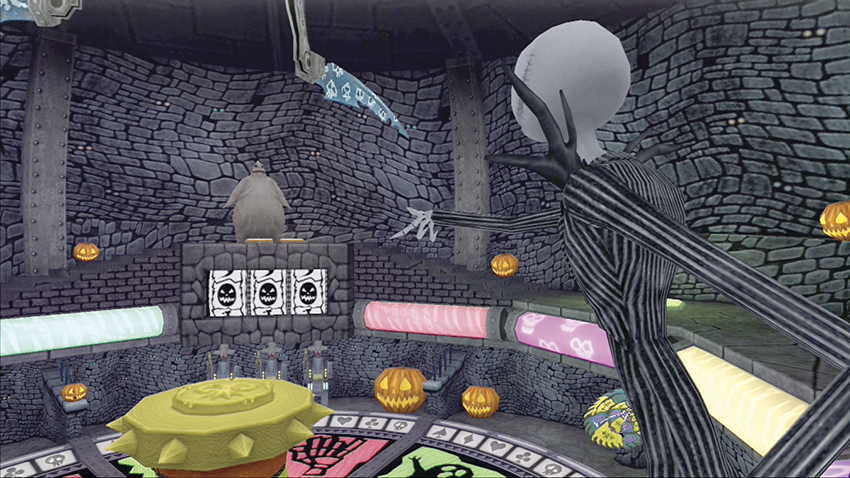
Oogie Boogie isn’t a big scary; it’s his roulette wheel that you have to worry about. The traps and exploding dice can cause major havoc for the unprepared.
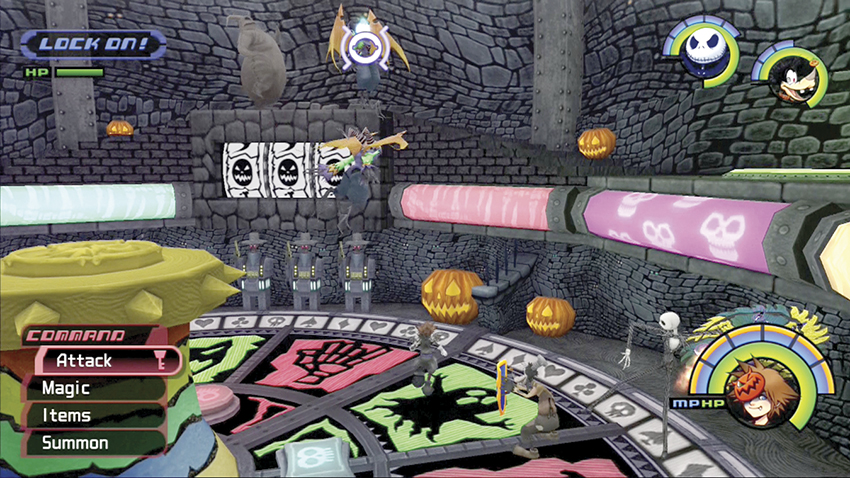
Destroy the pair of Gargoyles that Oogie Boogie sends after you at the start of the battle. They aren’t much more than a distraction, but to escape alive, you have to concentrate on what the roulette wheel is doing.
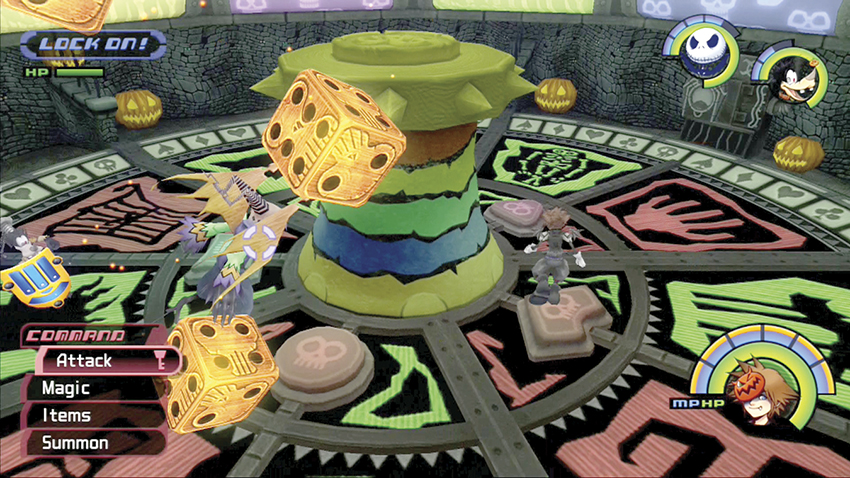
Oogie Boogie will cast dice down on you. These giant dice will either explore (yellow) or trigger a trap (red). Avoid the dice as they fall down, and if they don’t explode, prepare for a trap to spring.
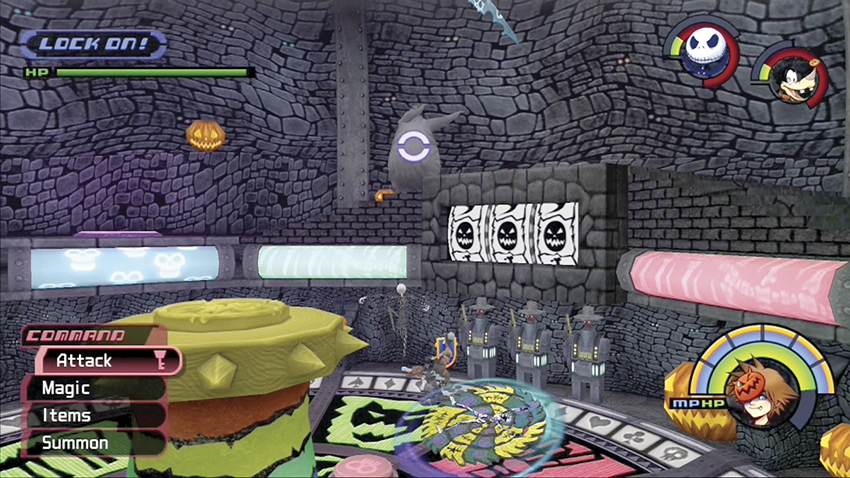
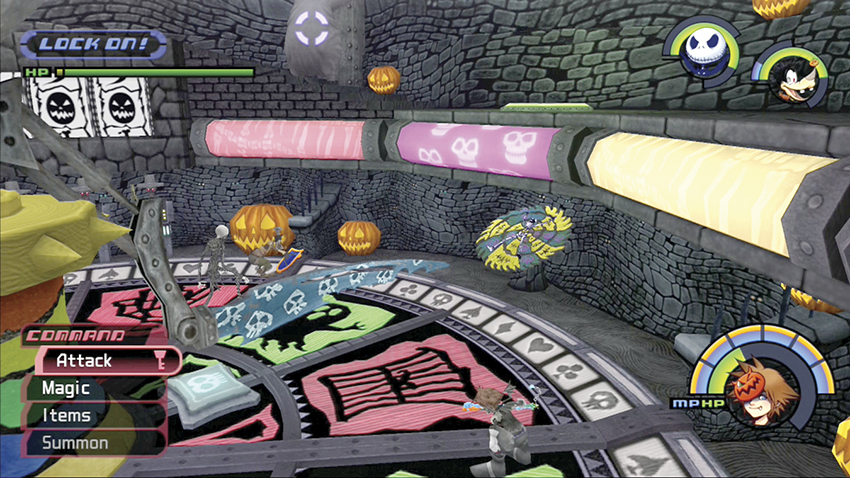
The roulette wheel has three main traps. A spinning buzz saw zooms around the board, which you must jump over to avoid getting cut. Sometimes the large blades will descend from above. One type of blade trap slices along the board, and it’s a simple jump to clear it. The other type of blade trap bobs up and down as it rotates around; find a spot on the board where the blade rises to a high point and stand there so that it misses you on every pass.
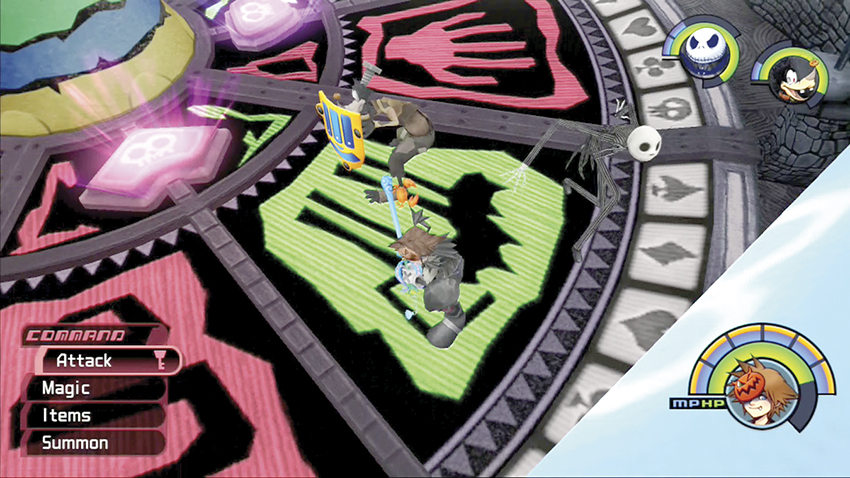
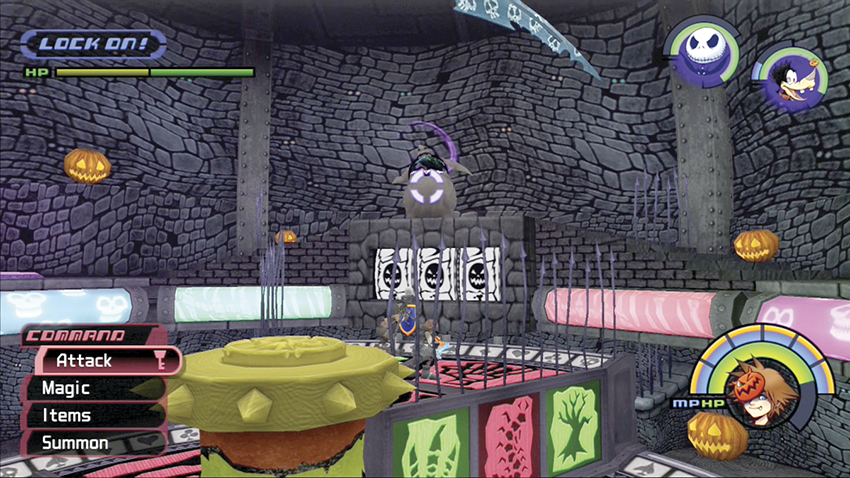
Track Oogie Boogie’s movement as he races around the top of the wheel and taunts you. After each trap, the buttons on the inner part of the wheel will light up. Step on the button that is directly in front of Oogie Boogie. Bars will shoot up in that section and the platform will rise up to where Oogie Boogie awaits.
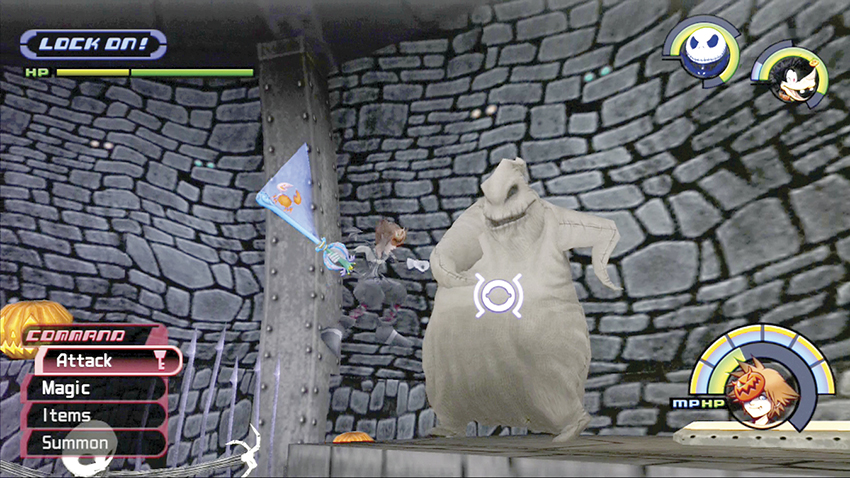
Take advantage of your time on the top of the wheel. If you’ve pressed the correct button, you will end up in the same section as Oogie Boogie. Land as many physical combos on him as you can. After a few, an explosion will blast you back down to the deadly wheel.
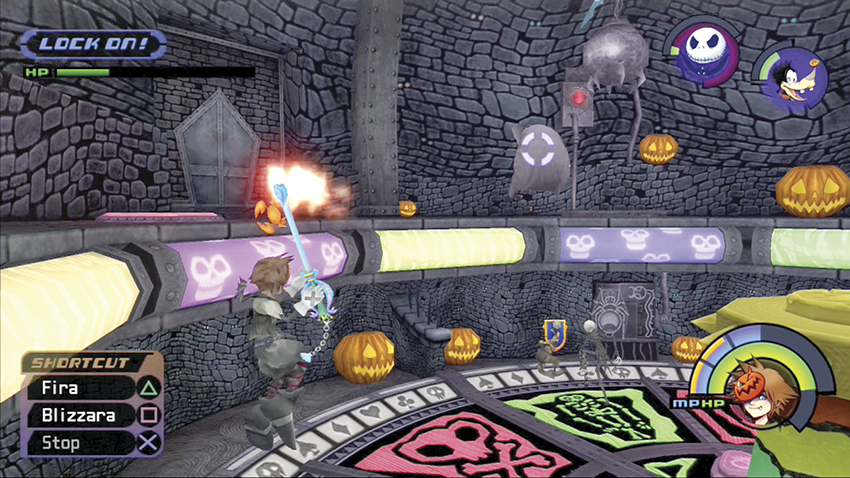
Repeat the process by avoiding traps and pressing the correct lit button to reach Oogie Boogie. If you stand on the far end of the wheel from Oogie Boogie, it’s possible to also hit him with ranged magic for a little extra damage, but it’s the physical pounding close up that will ultimately destroy him.
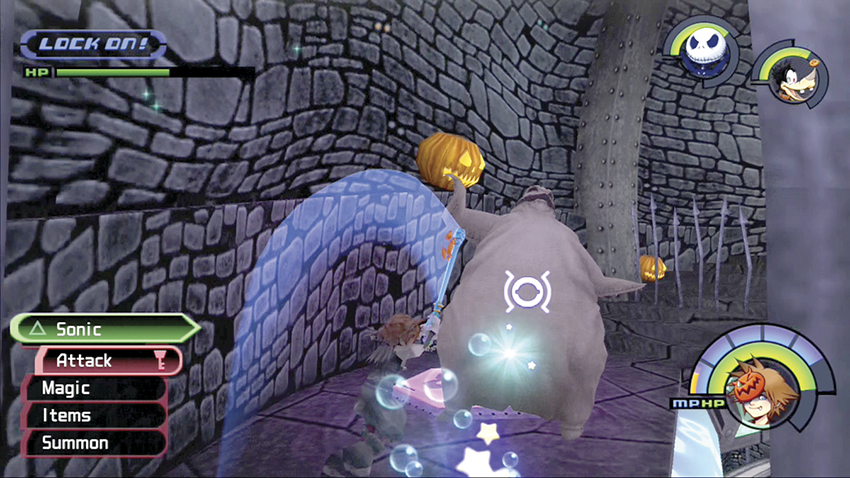
When you finally beat Oogie Boogie, he dissolves into an empty sack filled with fleeing bugs. You discover that Jack and Dr. Finkelstein’s heart didn’t work after all. Collect the Holy Circlet and Ansem’s Report 7 for your rewards.
Step 7: Oogie’s Manor
| HP | 90 (x7) |
| Strength | 24 |
| Defense | 20 |
| EXP | 2500 |
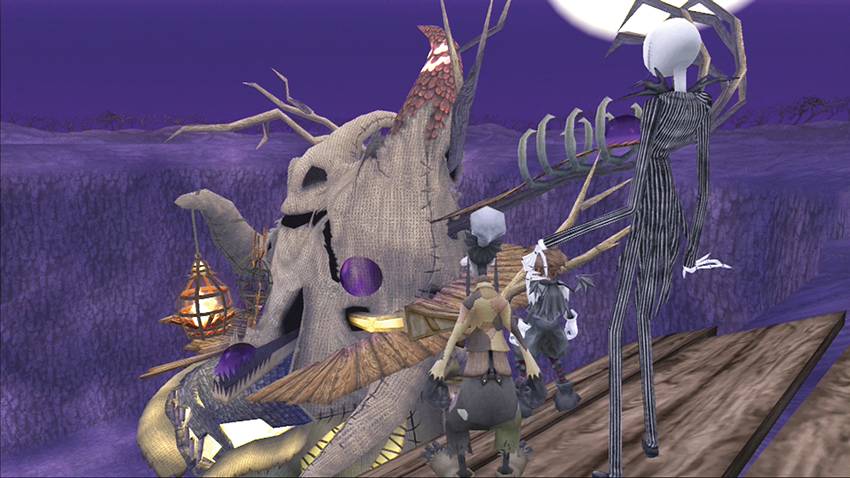
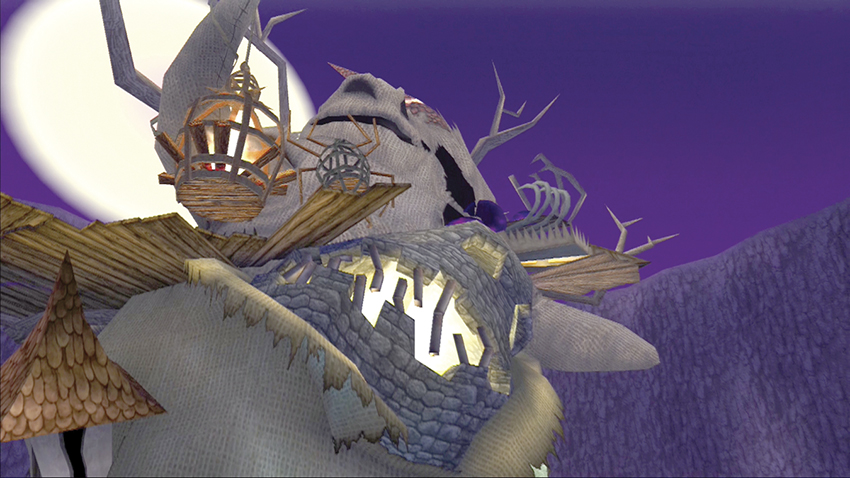
Oogie Boogie might be down, but his Manor is definitely not out for the count. The entire structure uproots itself and comes after you as you try to leave.
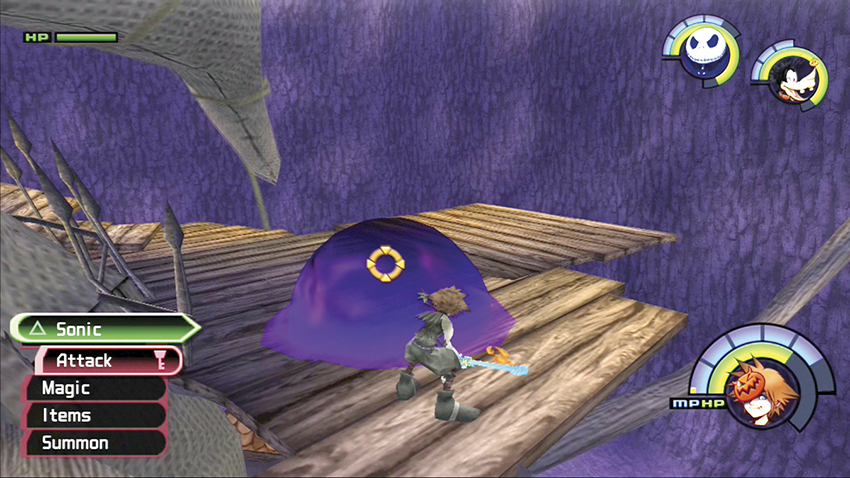
There are seven purple orbs of darkness around the Manor. These are your targets: Destroy all seven to defeat the massive Manor. It’s best to climb to the top of the Manor and destroy those orbs first. The Heartless won’t spawn around you until you’ve destroyed a few of the orbs, and the lower ones are much easier to find and destroy.
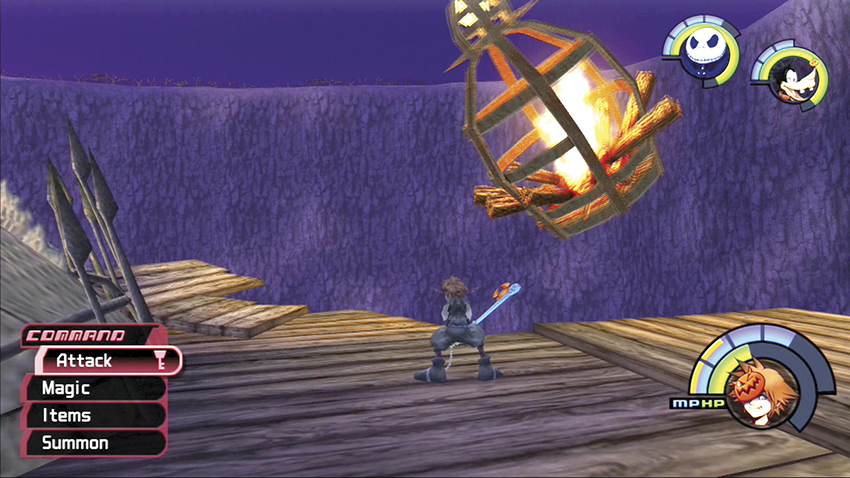
The swinging lanterns will launch fireballs at you. Dodge these fireballs and the swarming Heartless to continue your climb for the orbs of darkness.
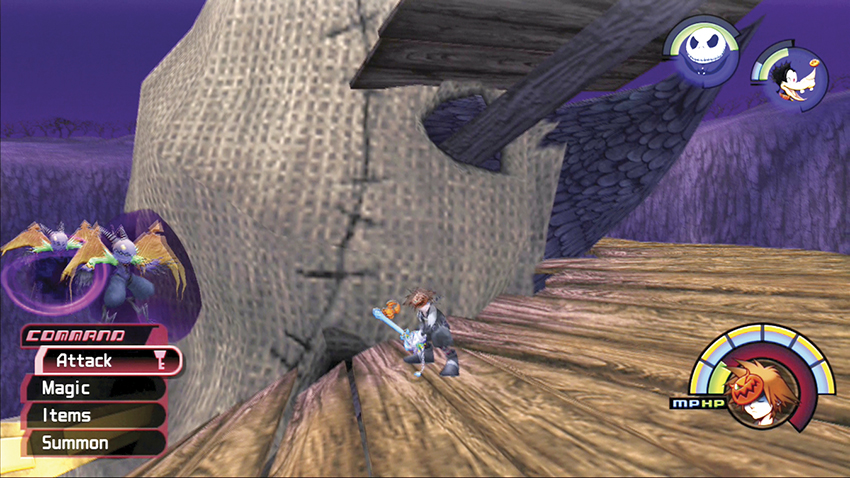
Use the tree roots on the ground to ascend to the lower section of the Manor. Then jump from platform to obstacles as you climb. Remember that the path is not the same as your first trip up the Manor; everything is uprooted and twisted, so you will have to climb up structures on their side and make some difficult leaps to grab onto higher and higher platforms.
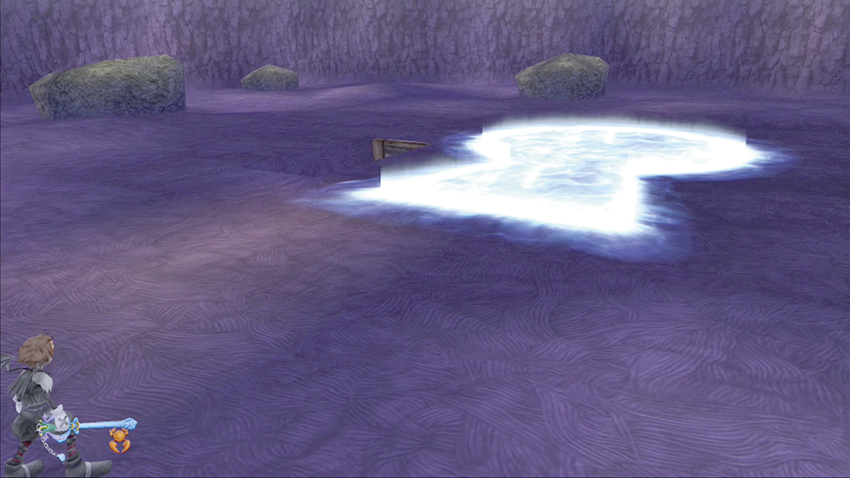
Concentrate on eliminating each of the seven orbs of darkness. When you shatter the last one, the Manor crumbles. You receive the Gravity spell (or the Gravira upgrade, if you already won the Phil Cup Coliseum tournament), and finally seal the keyhole to keep Halloween Town safe.
Step 8: Return to the Ruined Manor
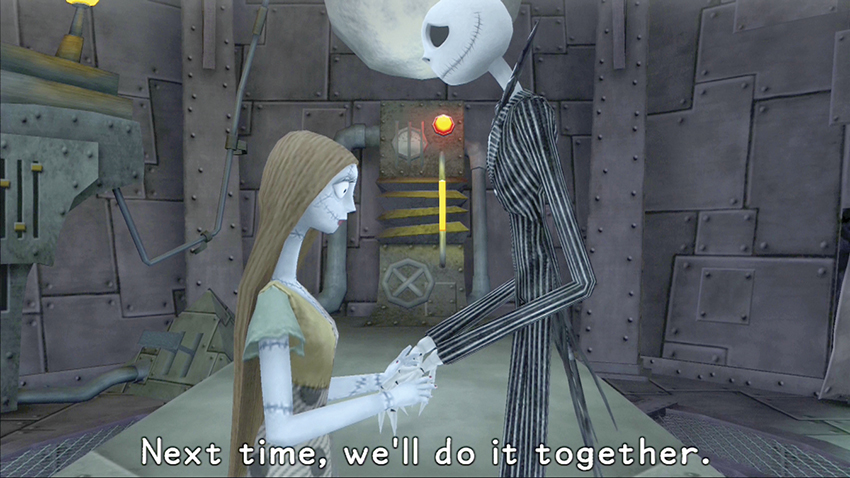
With the collapse of the Manor and the keyhole sealed, the Heartless threat against Halloween Town ends. Jack realizes the error of his ways, and Sally promises to help him organize an even better Halloween party next time. Jack hands you the Pumpkinhead key chain, and after you say goodbye, return to the Guillotine Gate save point to save your progress.
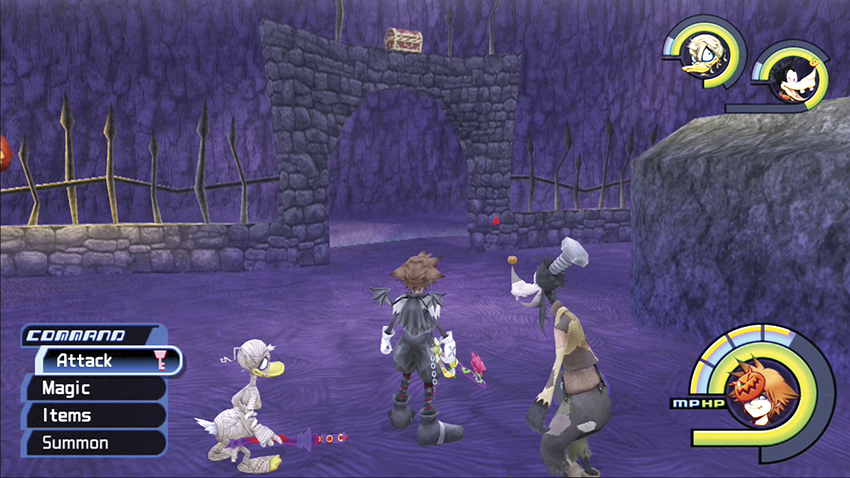
Don’t say farewell to Halloween Town just yet, though. Travel back to the Bridge and cross into what was once Oogie’s Manor. It’s now a vast ruined area. Jump down into the crater and look for the red Trinity Mark on the stone arch by the water. Activate the Mark for a Mythril Shard.
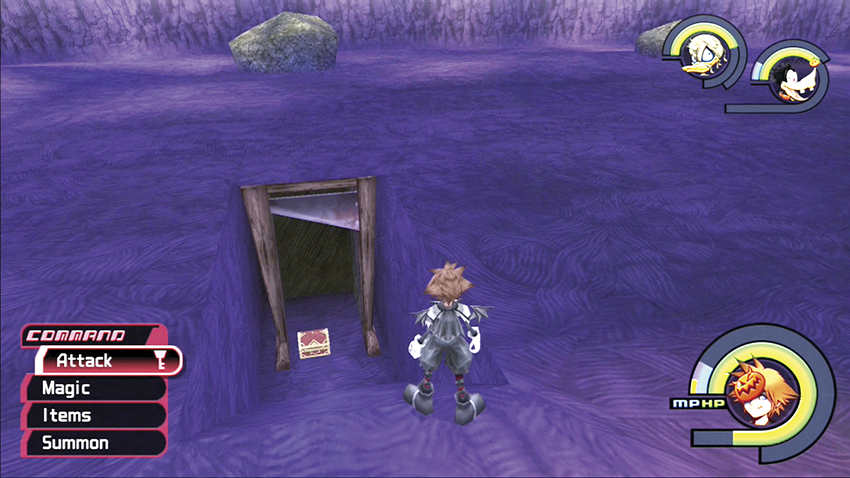
You’ll also find a shaft in the ground a short distance away. Check the shaft for a red treasure chest. Inside you’ll find Dalmatians 40, 41, 42 and possibly any items you may have missed in Oogie’s Manor before its destruction.