
Kingdom Hearts HD 1.5 Remix Guide KHFM: Walkthrough Wonderland
Wonderland
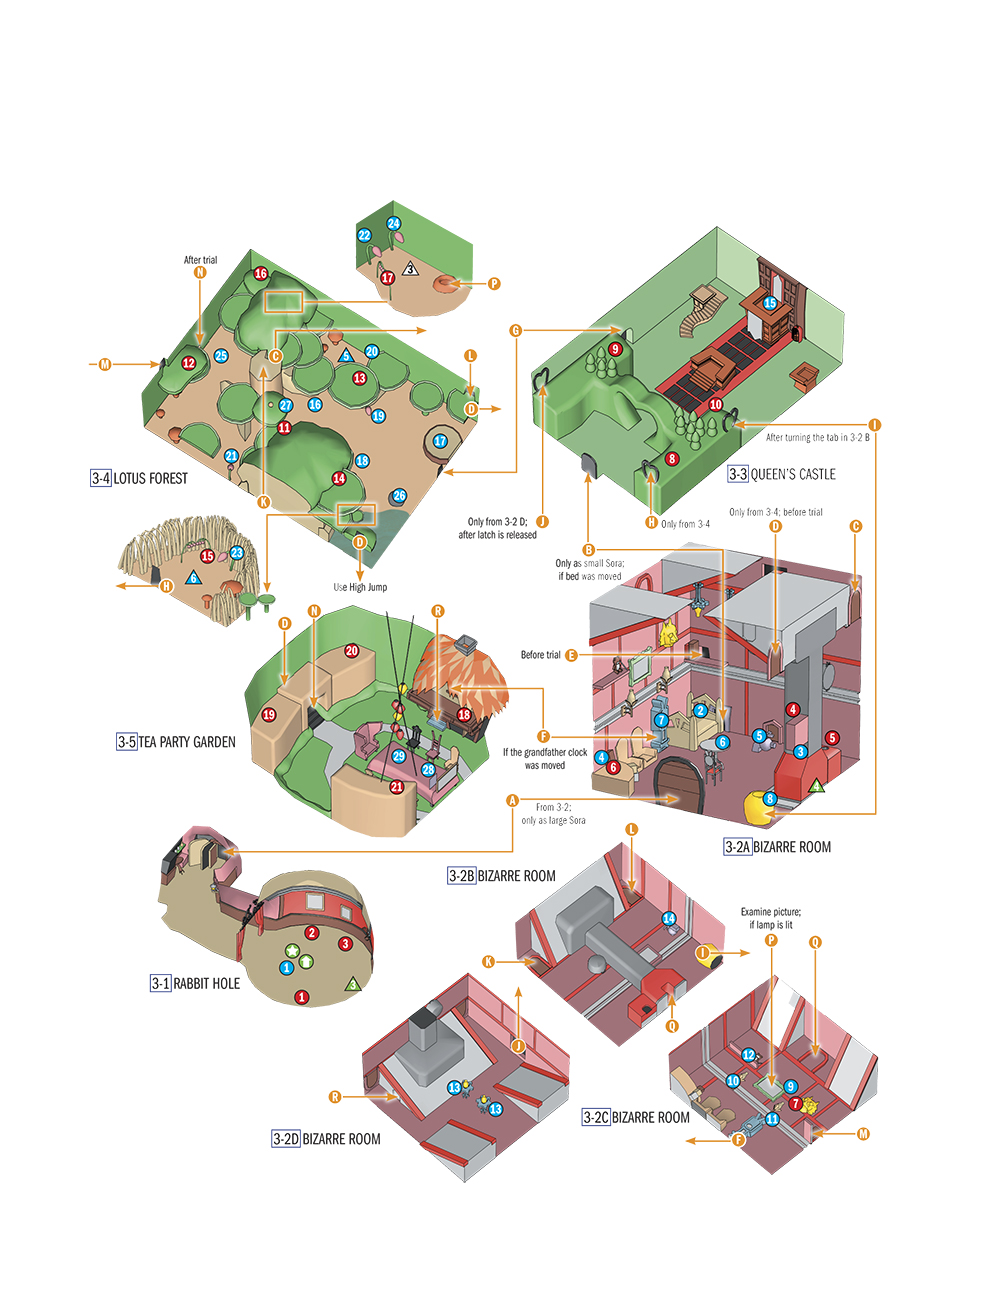
Opponents
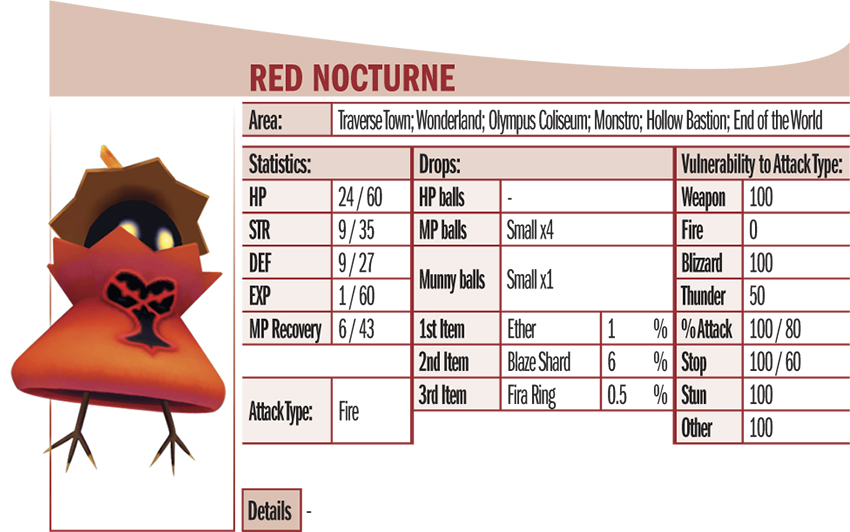
| Name | Shadow | Soldier | Red Nocturne | Large Body | Blue Rhapsody | Yellow Opera | Air Soldier | Darkball |
|---|---|---|---|---|---|---|---|---|
| HP | 12 | 24 | 24 | 160 | 24 | 24 | 33 | 60 |
| Name | Defender | Wizard | White Mushroom | Queen of Hearts | Cards (Spades) | Cards (Hearts) | Tower | Trickmaster |
|---|---|---|---|---|---|---|---|---|
| HP | 240 | 75 | - | 10 | 45 | 60 | - | 600 |
Items
| No. | Item | Location | Condition |
|---|---|---|---|

|
Camping Set | 3-1 | Return from 3-3 and defeat all opponents (before trial) |

|
Megalixir | 3-1 | Defeat all opponents following Kairi’s rescue (after Hollow Bastion) |

|
Mega-Potion | 3-1 | Defeat all opponents after trial (prior to Kairi’s rescue) |

|
Evidence: Claw Marks | 3-2 A | Through entrance D |

|
Evidence: Stench | 3-2 A | Through entrance C |

|
Mythril Shard | 3-2 A | Move teddy bear in 3-2 C |

|
Defense Up | 3-2 C | Light lamp |

|
Dalmatians 13,14, 15 | 3-3 | Through entrance H |

|
Thundara-G | 3-3 | Through entrance J |

|
Meteor-G | 3-3 | Through entrance I |

|
Dalmatians 16, 17, 18 | 3-4 | - |

|
Evidence: Antenna | 3-4 | - |

|
Evidence: Footprints | 3-4 | - |

|
Orichalcum | 3-4 | High Jump |

|
Thundara-G | 3-4 | Attack flower with Thunder |

|
Scan-G | 3-4 | Attack mid-jump |

|
Thundara-G | 3-4 | Attack flower with Thunder |

|
Dark Matter | 3-5 | Through entrance F (behind the grandfather clock) |

|
Flare-G | 3-5 | Through entrance O (High Jump) |

|
Dalmatians 19, 20, 21 | 3-5 | Through entrance O or F (High Jump) |

|
Mythril | 3-5 | Through entrance O (High Jump + Glide) |
| Trinity | Location | Purpose |
|---|---|---|

|
3-4 | Ether, Tent, Potion |

|
3-4 | Camping Set |

|
3-1 | Elixir |

|
3-2 | Mythril Shard |

|
3-4 | Lady Luck |
| No. | Prop | Location | Purpose |
|---|---|---|---|

|
Save Point | 3-1 | Appears after 3-2 is visited |

|
Bed | 3-2 A | Can be moved by large Sora |

|
Flower pot | 3-2 A | Yields Mythril Shard, 2x Potion (if lamps in 3-2 D are lit) |

|
Book | 3-2 A | Is activated by teddy bear in 3-2 C |

|
Doorknob | 3-2 A | - |

|
Bottles | 3-2 A | Enlarge / shrink Sora |

|
Grandfather clock | 3-2 A | Activated by teddy bear in 3-2 A that drops in 3-2 C |

|
Vase | 3-2 A + B | Activated by turning the tap in 3-2 B |

|
Picture | 3-2 C | Activated by lighting lamp; examine to use exit P |

|
Left lamp | 3-2 C | Turn on to open exit P |

|
Right lamp | 3-2 C | Turn on to make Defense Up materialize |

|
Shelf with teddy bear | 3-2 C | Sever supports to drop the teddy bear |

|
Lamps | 3-2 D | Turn on to make flower pot and Trickmaster appear in 3-2 A |

|
Tap | 3-2 B | Turn on to open passage I |

|
Queen of Hearts | 3-3 | - |

|
Tree | 3-4 | Can be rotated by large Sora |

|
Tree stump | 3-4 | Step on it with large Sora to open exit D |

|
Flower 1 (yellow) | 3-4 | Enlarges Sora in exchange for a Potion |

|
Flower 1 (red) | 3-4 | Gives Camping Set in exchange for an Ether |

|
Flower 2 (yellow) | 3-4 | Gives Hi-Potion in exchange for a Potion |

|
Flower 2 (red) | 3-4 | Gives Camping Set in exchange for an Ether |

|
Flower 3 (yellow) | 3-4 | Gives Mythril Shard and munny in exchange for an Elixir |

|
Flower 3 (red) | 3-4 | Gives Mega-Potion in exchange for a Hi-Potion |

|
Flower 4 (yellow) | 3-4 | Gives Hi-Potion in exchange for a Potion |

|
Boulder | 3-4 | Disappears after trial |

|
Boulder | 3-4 | Can be moved by large Sora (appears after trial) |

|
Nut | 3-4 | Shrinks large Sora |

|
Sign | 3-5 | Gives hint relating to chairs |

|
Chairs 1-7 | 3-5 | Yield various surprises |
Objectives
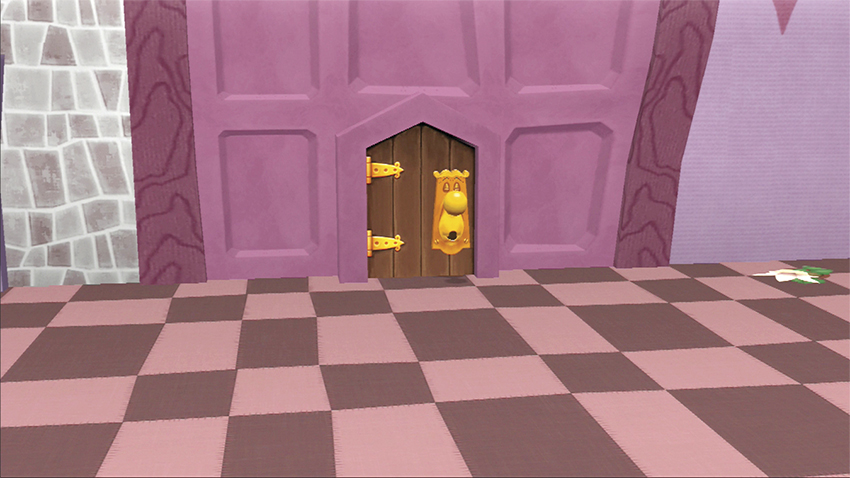
1. Follow the White Rabbit
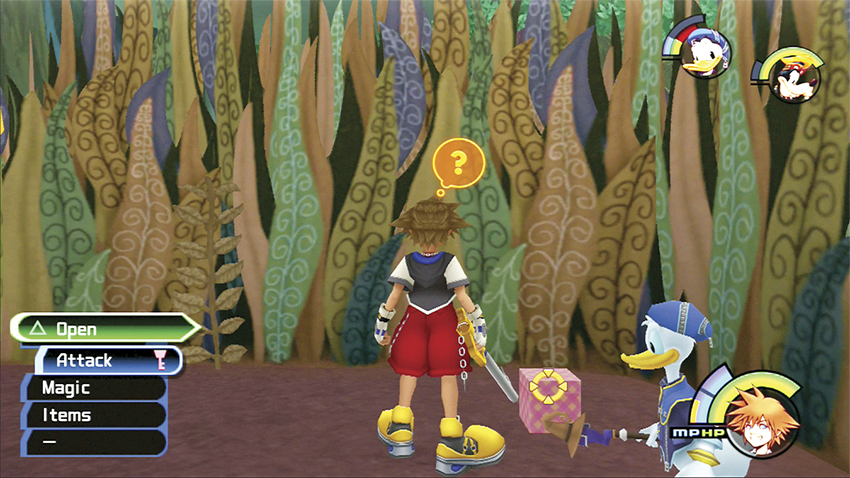
2. Find evidence that will free Alice
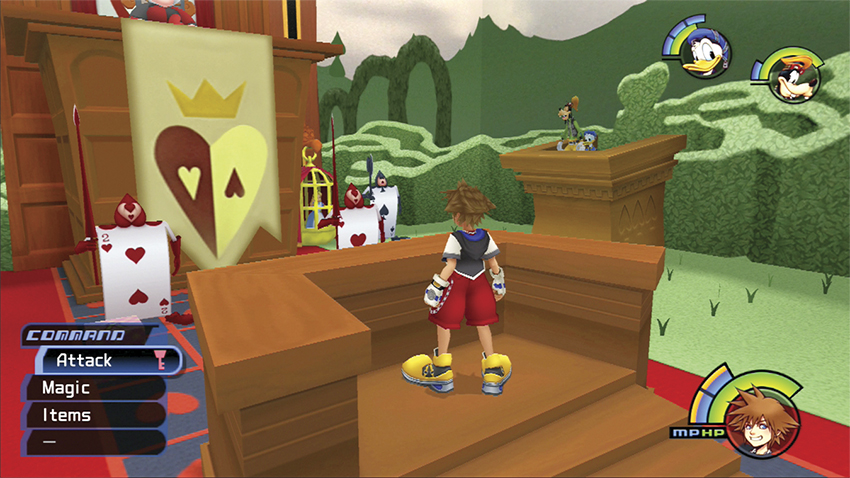
3. Present the evidence to the Queen
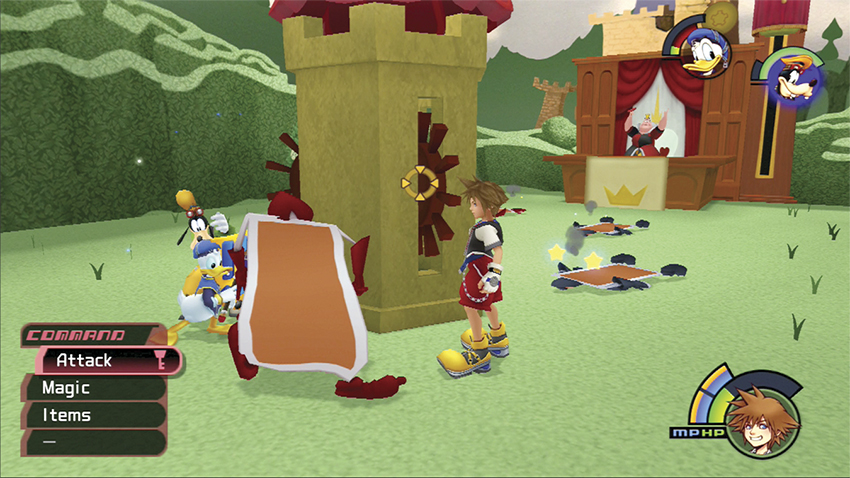
4. Destroy the Crank Tower
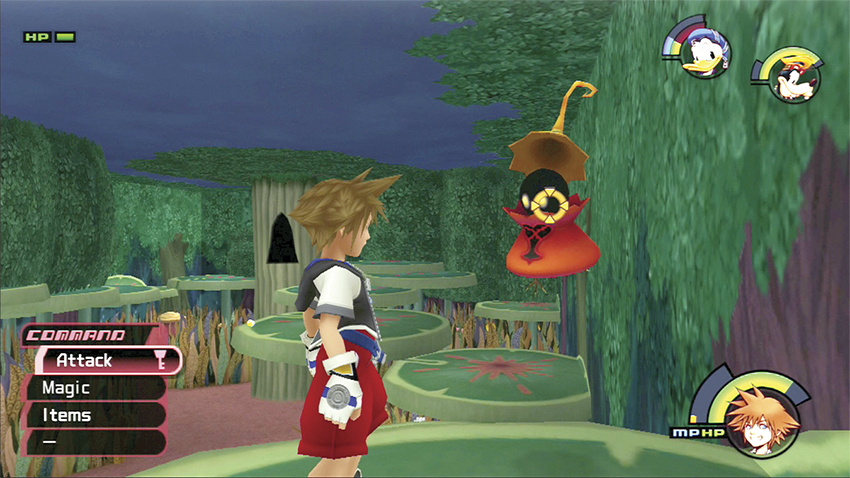
5. Search for the missing Alice
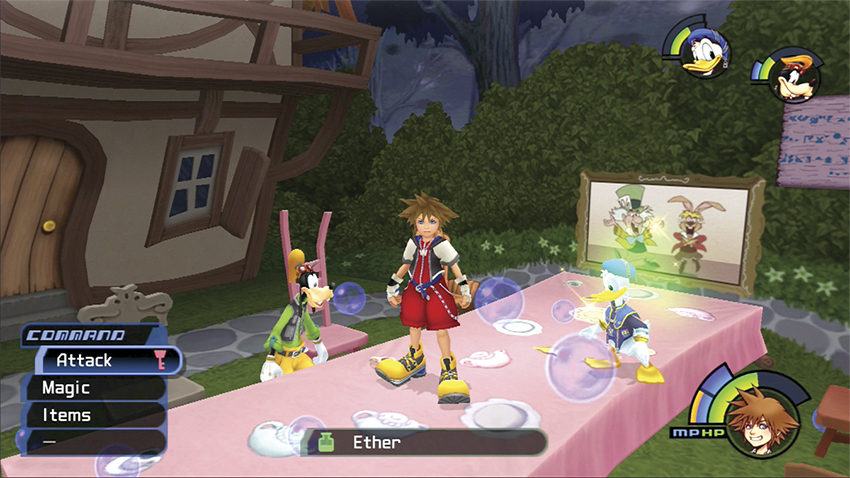
6. Sit down to a tea party
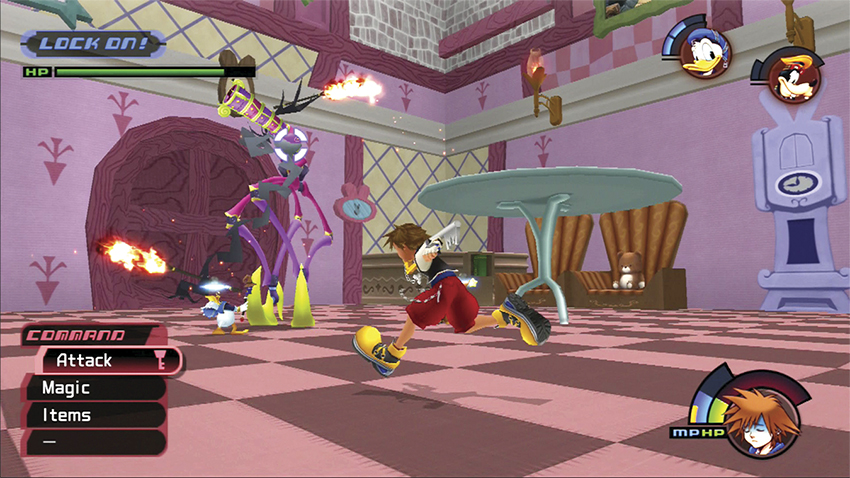
7. Defeat the Trickmaster
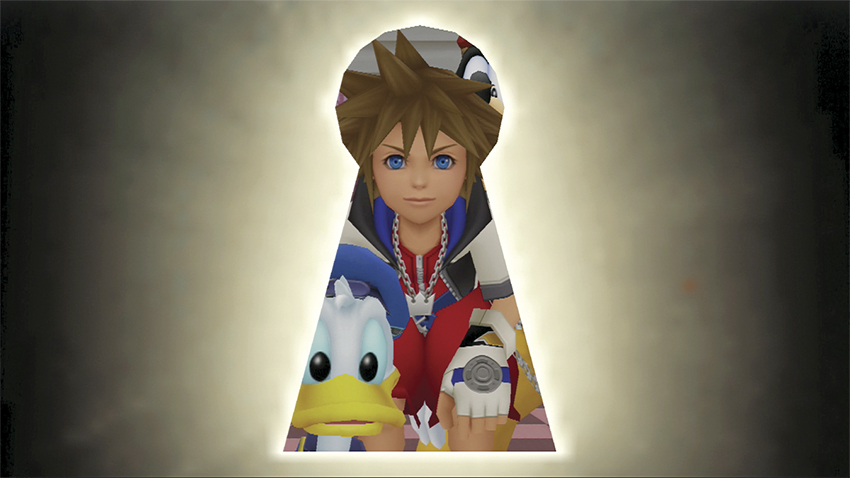
8. Lock down Wonderland
Step 1: Into the Rabbit Hole
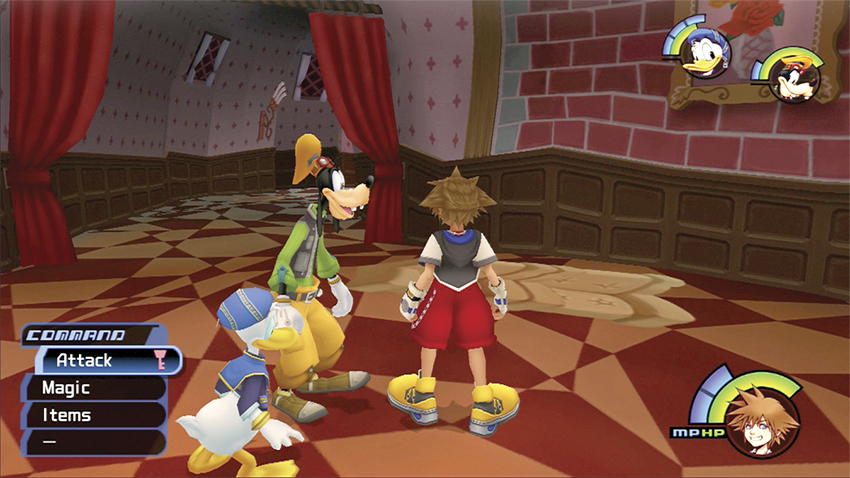
You fall down the Rabbit Hole to enter Wonderland. When you land, the White Rabbit rushes past you and down the hall. Follow the rabbit to the multi-layered door and into the next room.
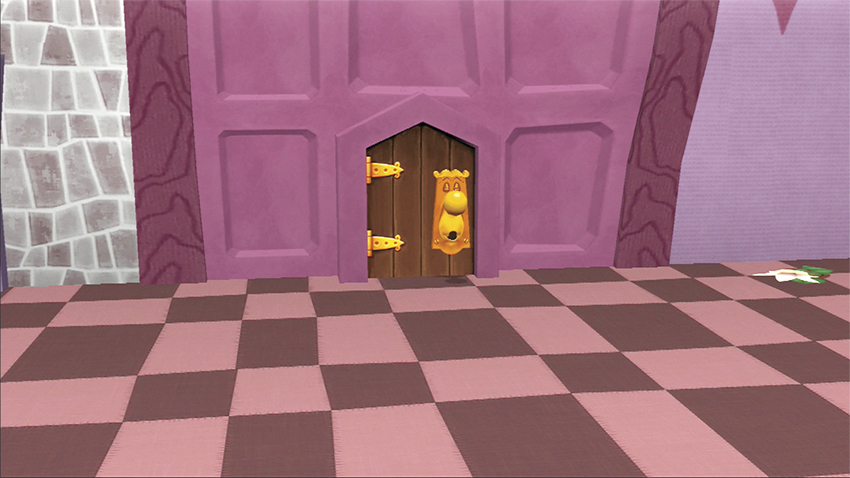
You’ve entered the Bizarre Room, aptly named because you shift size in here and the entire room rotates each time you come for a visit. See maps 3-2A through 3-2D for the room’s various positions throughout your journey. Speak to the talking Doorknob in the Bizarre Room to continue after the White Rabbit.
Doorknob

This drowsy doorknob holds the secrets to growing and shrinking and will share the information with you, if he can stay awake long enough to do so. Talk to him to discover the true entrance to Wonderland. Interestingly enough, the Doorknob did not appear in Lewis Carroll’s book, but did appear in the Disney movie adaptation of the book.
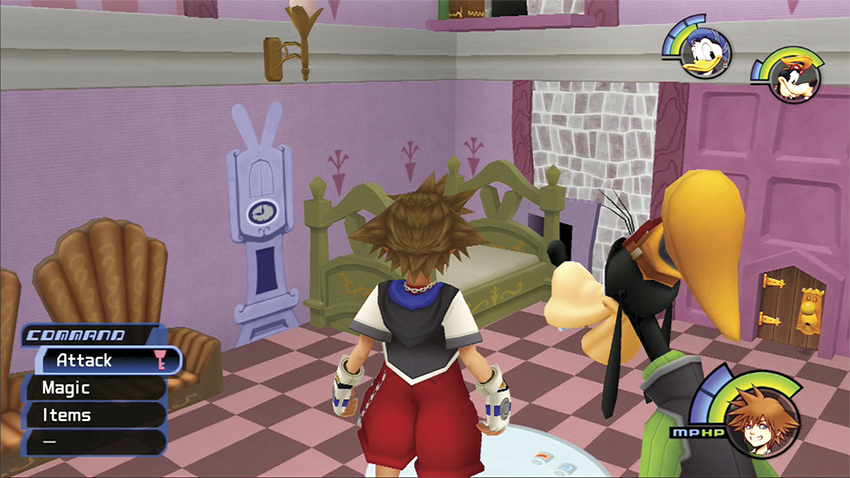
The Doorknob will explain that you must drink the medicine on the table to shrink down small enough to enter Wonderland. However, you need to move the bed first while you are big so that you can access the entrance, a hole in the corner.
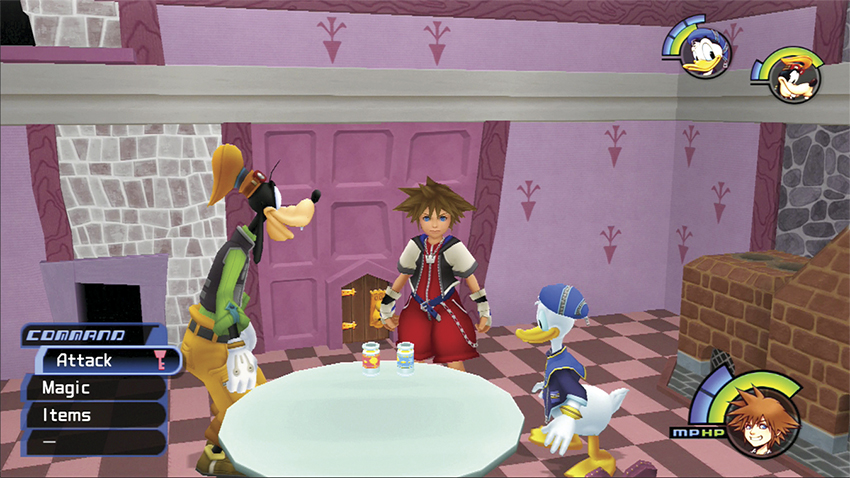
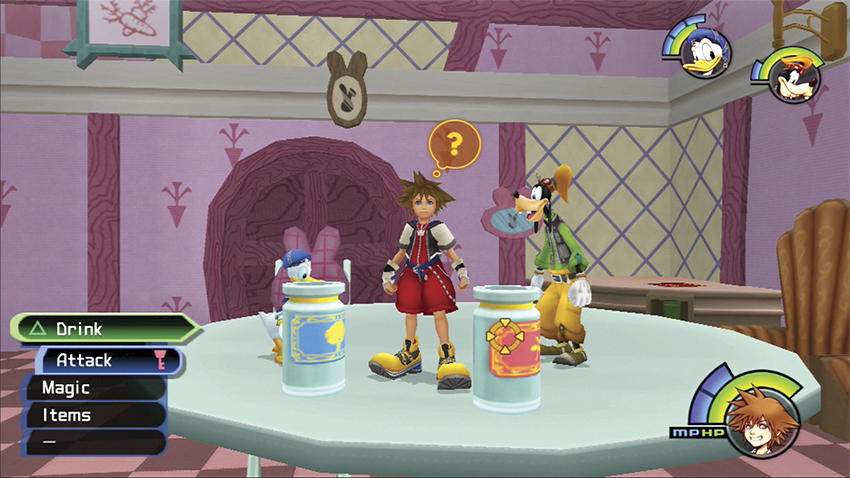
Drink the blue medicine to shrink down to small size. Enter through the Queen’s Castle hole in the wall. On the other side, find the save point and save before continuing on to the Queen of Hearts.
Step 2: Evidence Collection
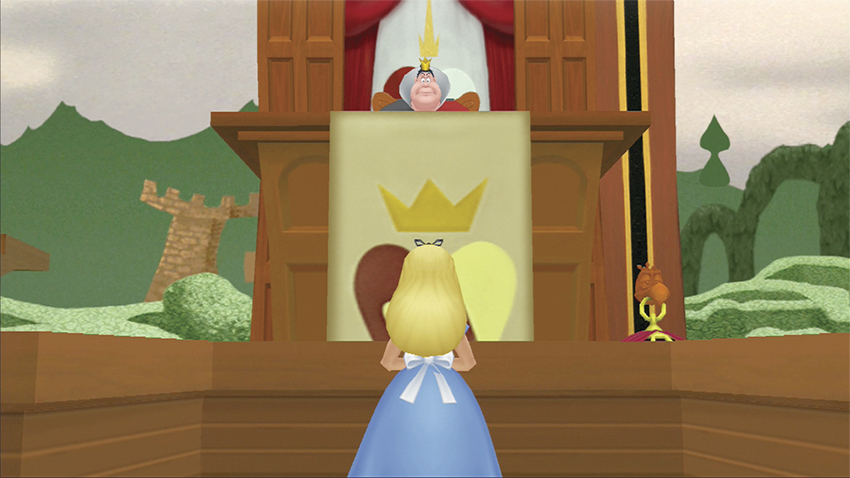
As you enter Wonderland, the Queen accuses Alice of recent problems afflicting the realm. You know better—it’s the Heartless, and you can prove it given time.
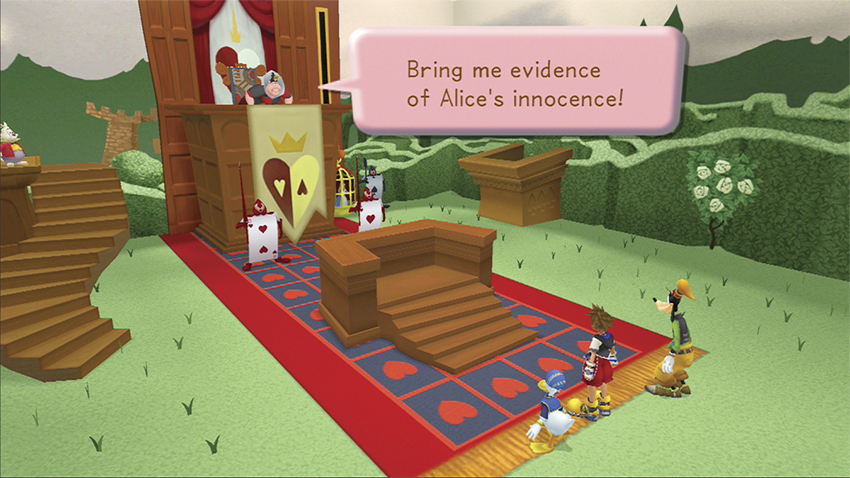
The Queen imprisons Alice and orders you to find proof of the culprits, though she still thinks it’s Alice’s fault. Exit the Queen’s Castle and enter the Lotus Forest.
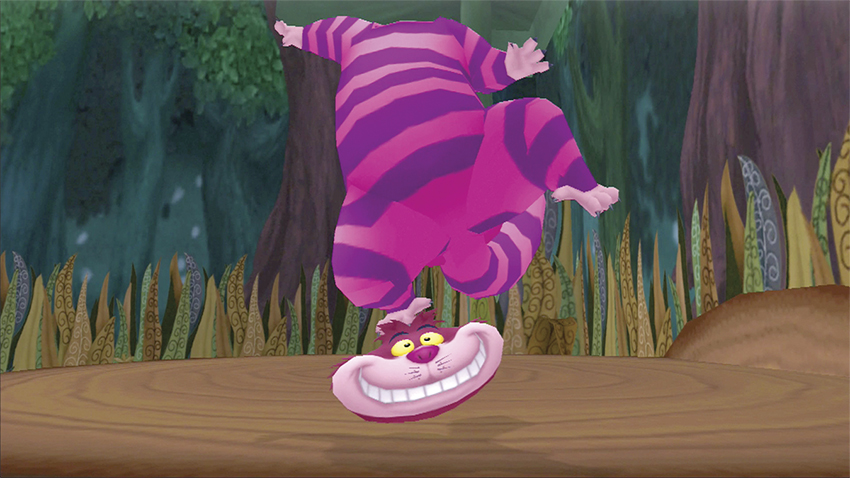
The Cheshire Cat pays you a visit in the forest. In between his cryptic riddles, the Cheshire Cat gives you some clues to recovering evidence of the Heartless in Wonderland.
Cheshire Cat

Is this enigmatic striped cat helping you in Wonderland or purposely confusing you? Always grinning, the Cheshire Cat appears and disappears when he feels like it and loves to talk in riddles. You will need to figure out his riddles to advance in Wonderland.
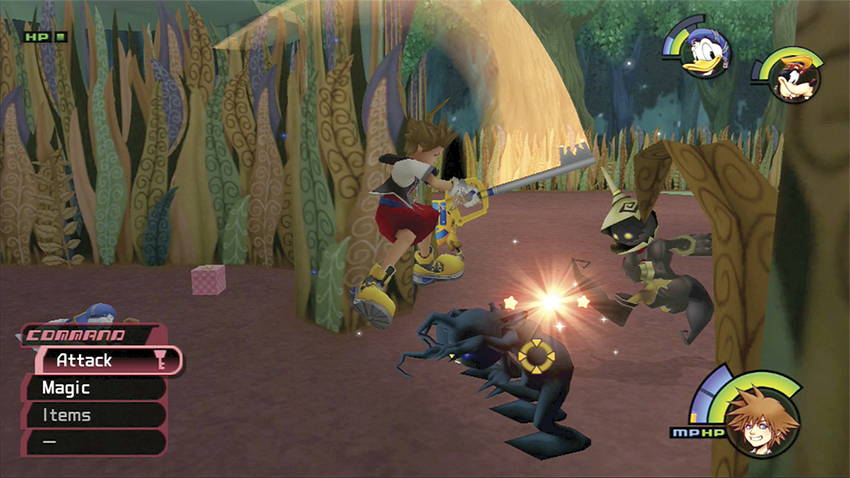
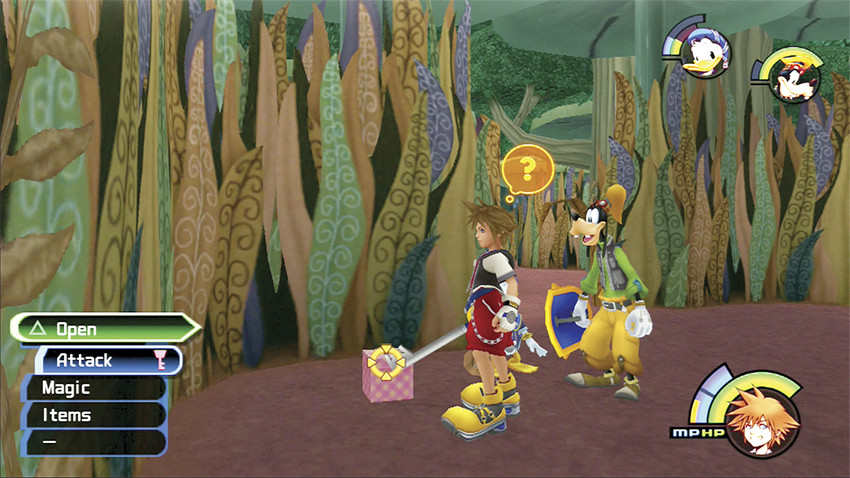
Fight through the Heartless that appear and search the small alcove to the right about midway through the forest. Open the small pink box for your first piece of evidence, the Footprints.
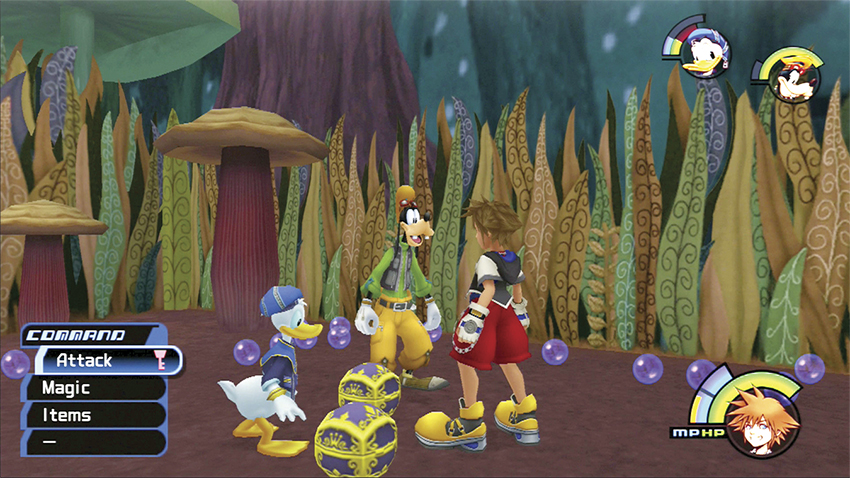
Turn around and use the blue Trinity Mark near the mushrooms to let loose a shower of MP balls, plus a Potion, Ether, and Tent.
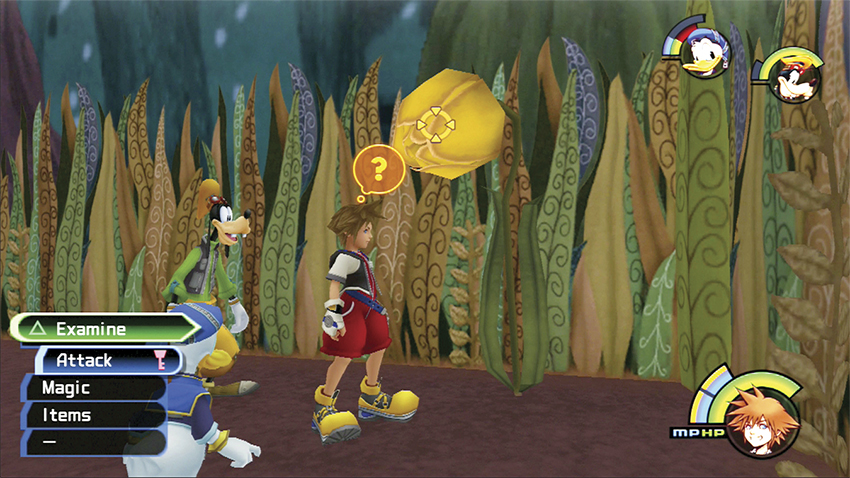
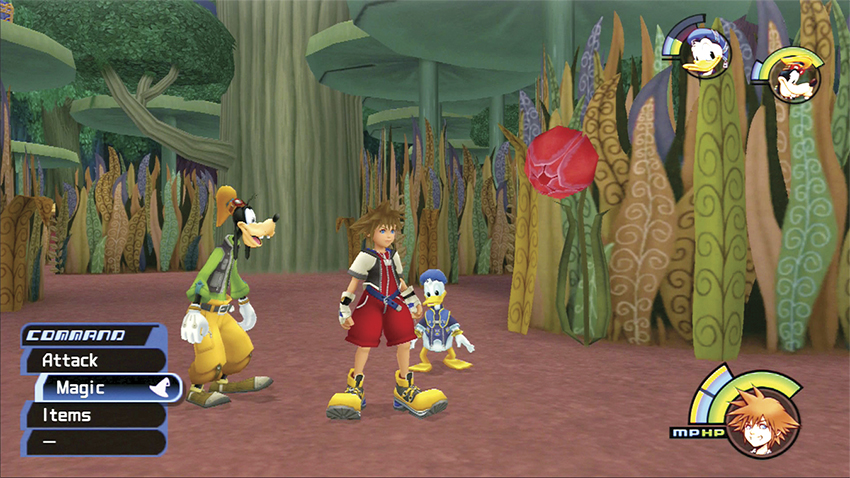
The yellow and red flowers will upgrade certain items if you “feed” them properly. Feed a Potion to the yellow flower in the area and it will spit out Hi-Potion and lots of MP balls. Feed an Ether to a red flower and it will give you a Camping Set with lots of HP balls. Remember that you have to be standing next to the flower and have it auto-targeted in order to give it the item from the Item menu.
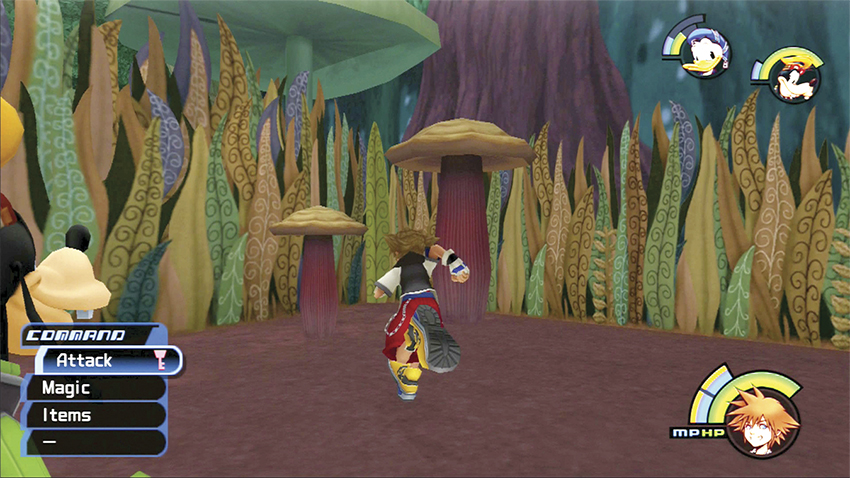
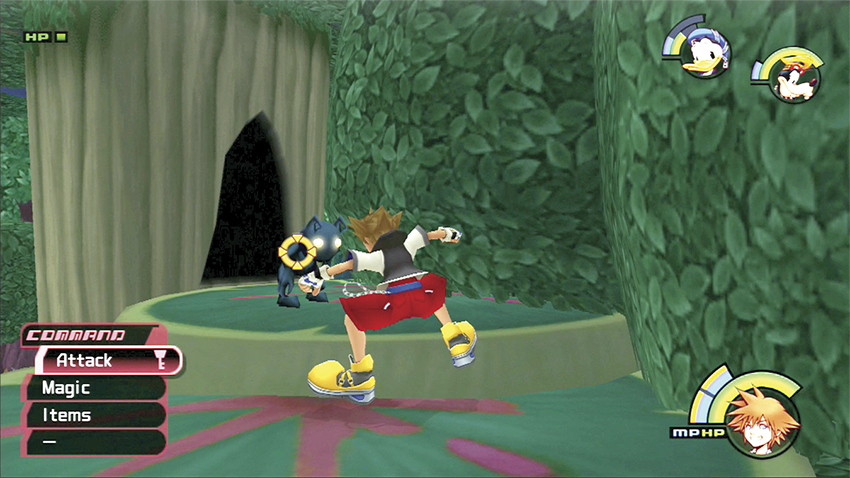
Use the two mushrooms in the same area with the Footprints to reach the tree canopy overhead. Leap from tree platform to tree platform until you reach a doorway in the tree.
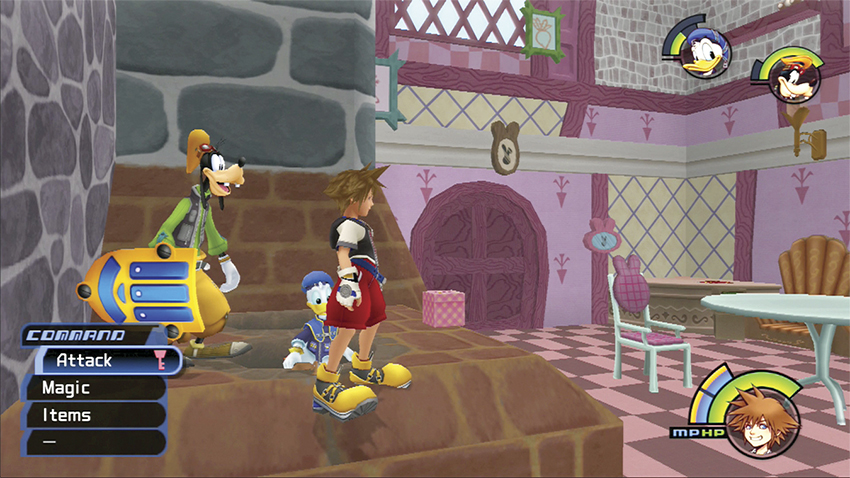
You fall through this opening and land atop the stove in the Bizarre Room. Open the pink box for your second piece of evidence, the Stench. Drop down, return to the Queen’s Castle, and use the save point on your way to the Lotus Forest again.
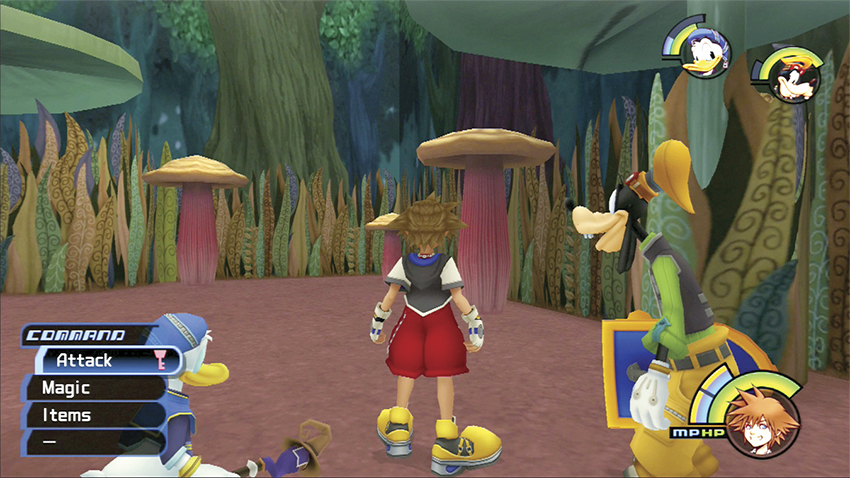
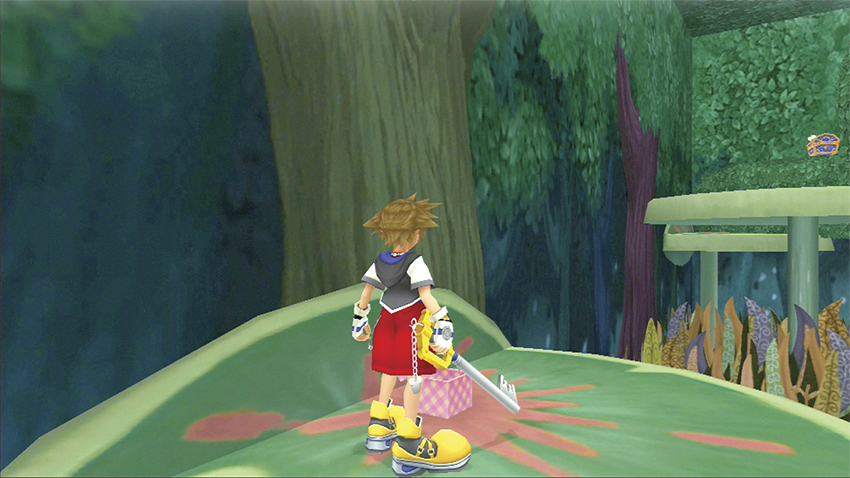
Continue to the back of the forest and find a set of three mushrooms. Jump up to the right and leap onto the first tree platform. Open the pink box for your third piece of evidence, an Antenna.
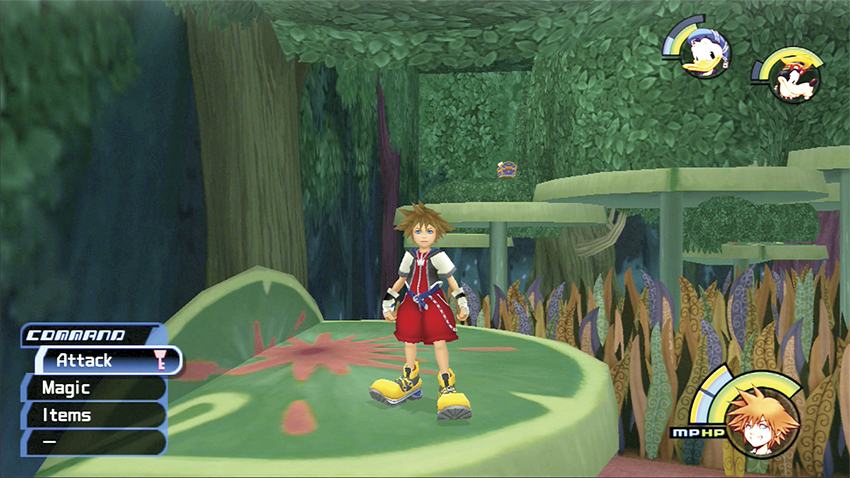
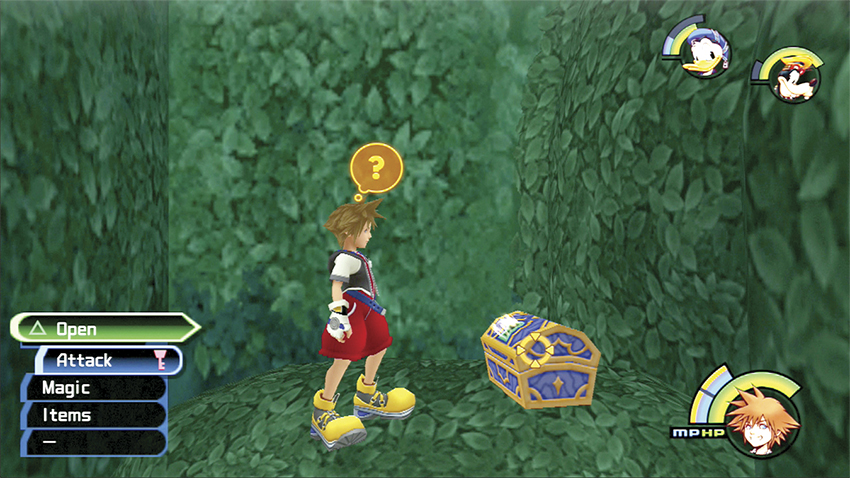
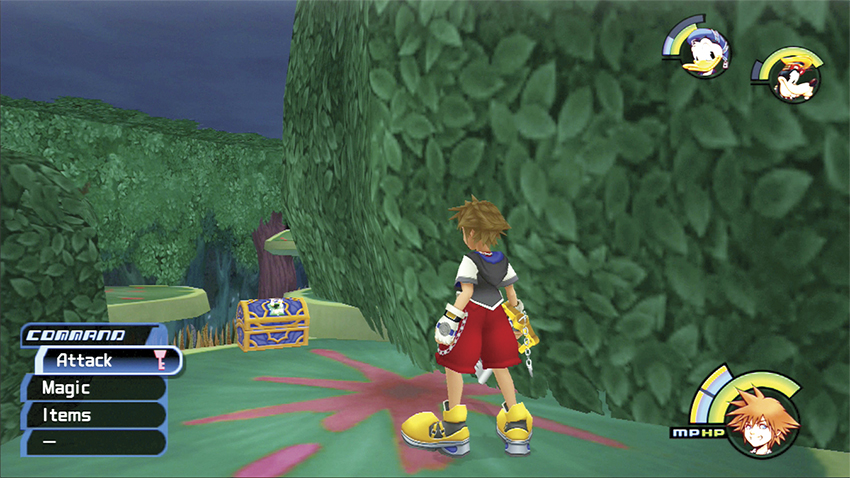
A blue treasure chest rests on the corner tree platform, and it will take a long jump to reach it. Make a long jump off the edge of your current tree platform, and, if you extend at maximum length with an attack in the middle of your arc, you can grab the lip of the corner platform and flip up. Open the treasure chest for a Scan-G gummi block.
Return to the three mushrooms and jump up to the left this time. Ascend the tree platforms to the end where you’ll discover another blue chest with Dalmatians 16, 17, 18.
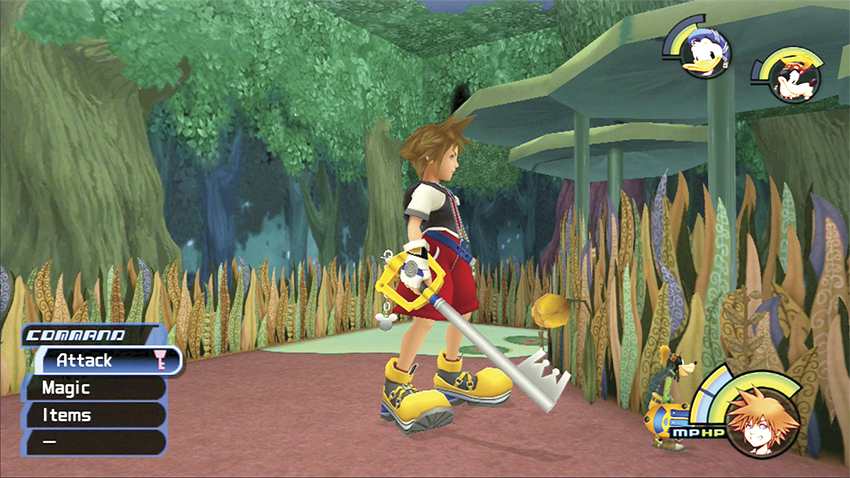
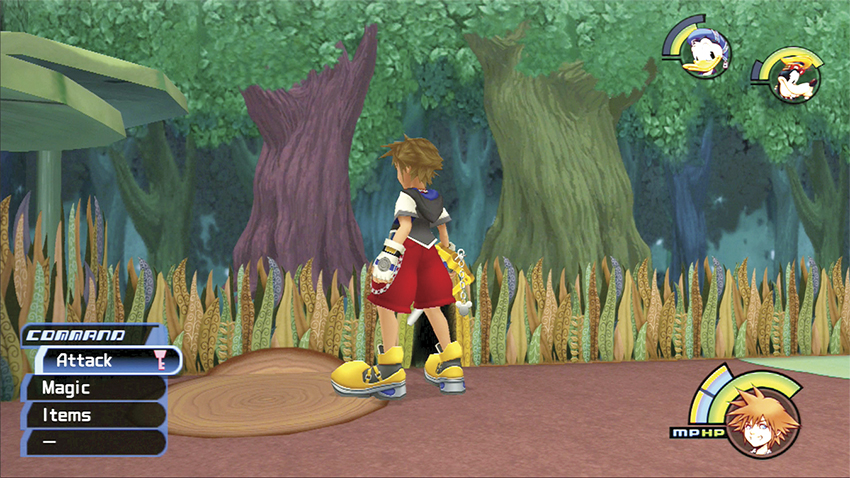
Drop down to the forest floor and give the yellow flower near the entrance a Potion. This returns you to big size. Step on the nearby tree trunk to raise a tree platform overhead.
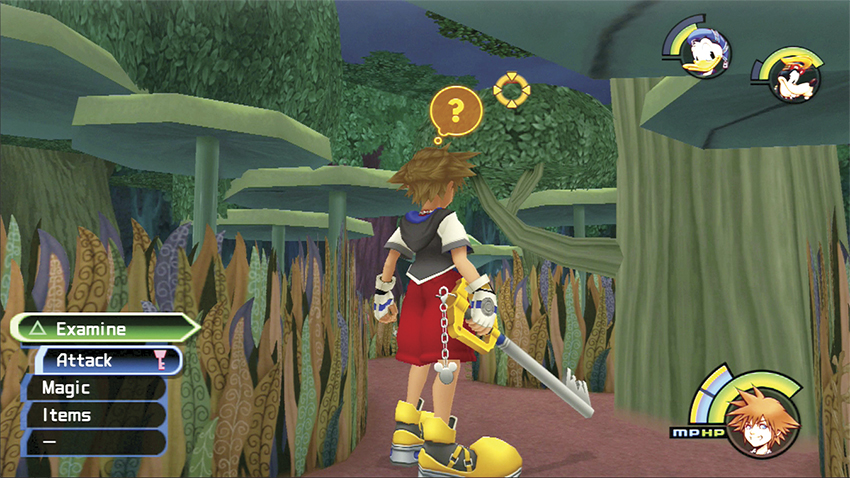
Examine the seed on the tree branch high overhead. Select “Take” to drop the seed to the ground.
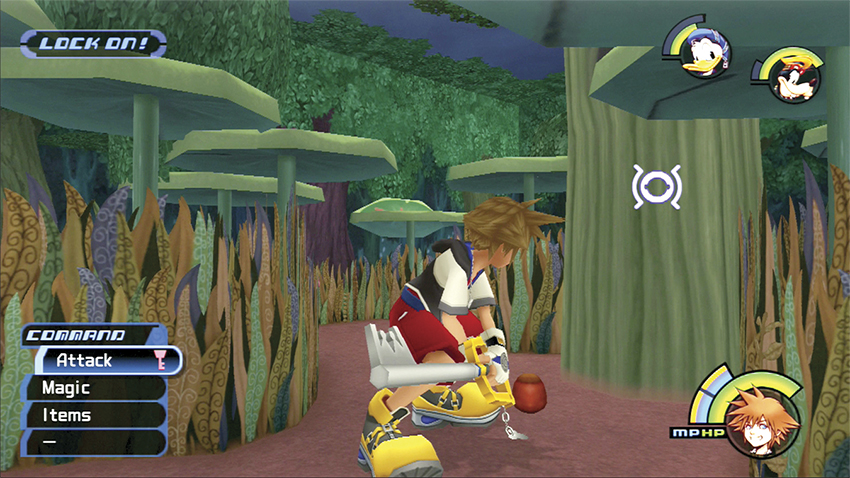
Leave the seed on the ground and target the big tree trunk in front of you. Give it a solid whack, and the whole tree will turn in a new direction. Eat the seed now to return to small size.
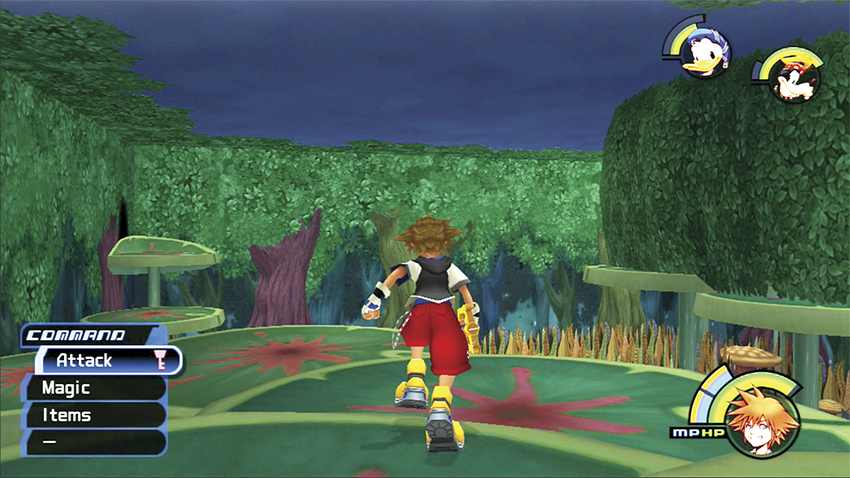
Jump up the two mushrooms to reach the tree canopy. Follow the tree platforms to a new access point to the Bizarre Room.
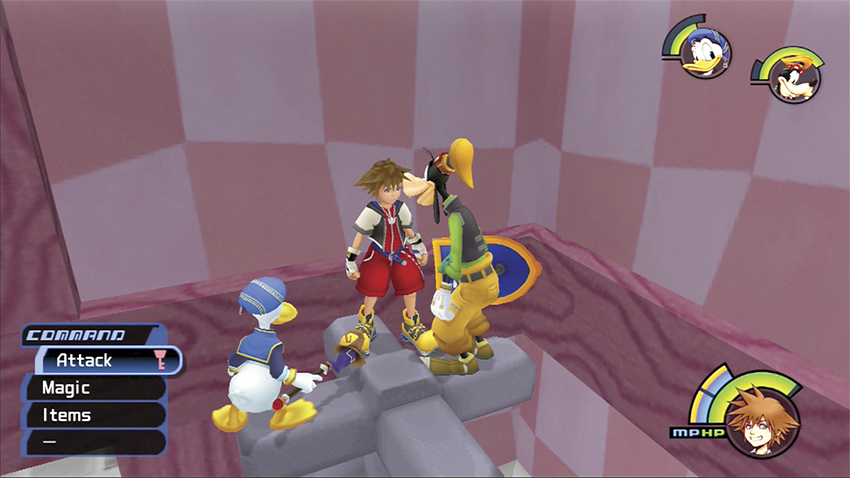
You drop onto a faucet head in the Bizarre Room. Click on first-person view and turn to your right. You’ll see the last pink box on a small shelf.
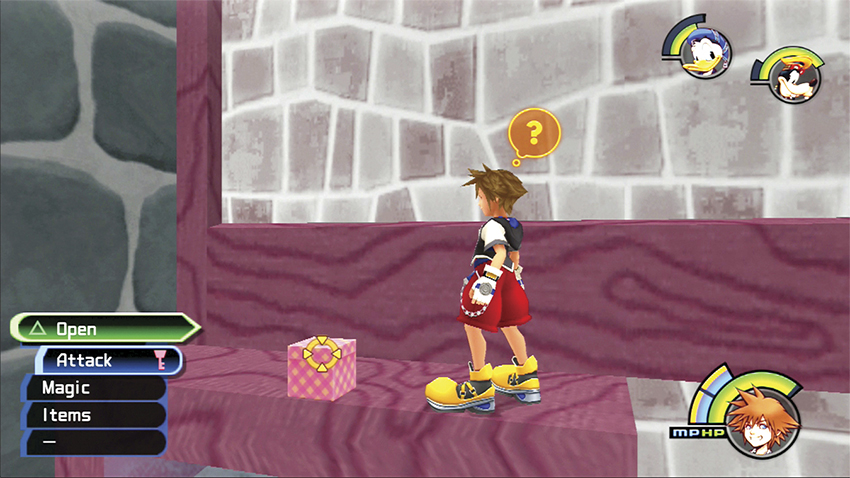
Jump over toward it, grab the ledge, and flip up to open the box and uncover the final piece of evidence, the Claw Marks.
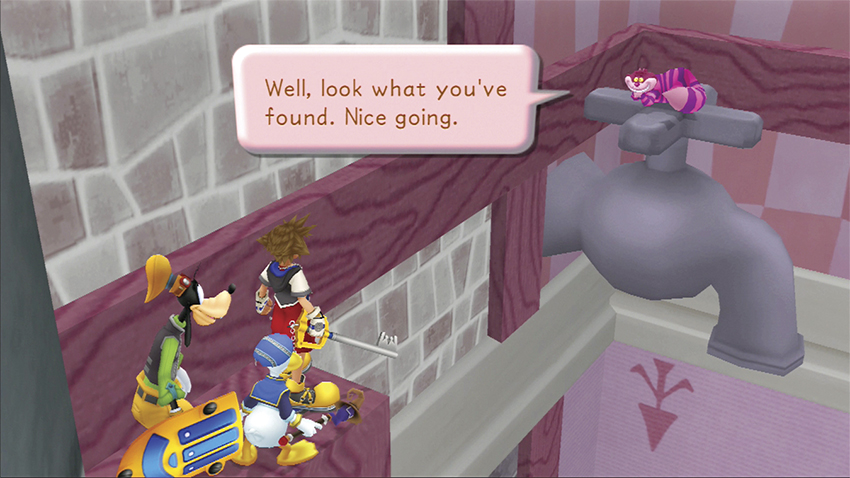
You’ll be happy that the Cheshire Cat appears now. The crazy cat rewards you with the Blizzard spell. Head back to the Queen with all the evidence in hand.
Step 3: The Verdict
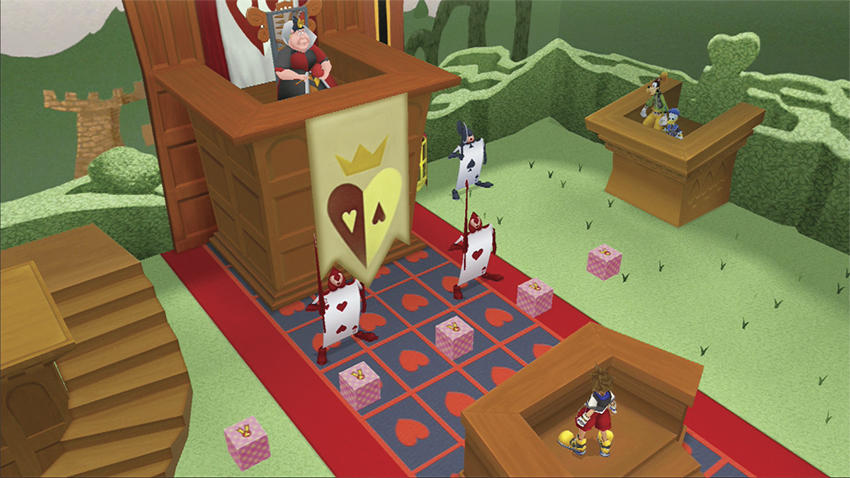
Save your game before you speak with the Heart Cards in front of the Queen to present your evidence. The Queen accepts your evidence, but decides to throw in her own evidence of Alice’s guilt. If you secured all four pieces of evidence, then there will be five boxes randomly displayed in front of you (four good for you, one not good).
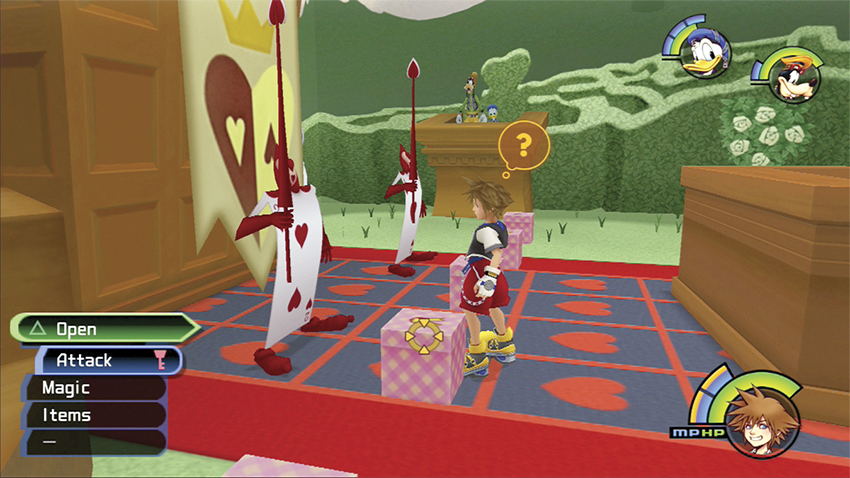
The Queen asks you to pick one of the evidence boxes. You have a four out of five chance of picking correctly if you recovered all the evidence. Less, obviously, if you did not collect all the evidence. If you pick the Queen’s box—whoops!—then Donald and Goofy are imprisoned for the coming boss fight against the cards and the Crank Tower. If you pick one of your evidence boxes, Donald and Goofy remain by your side; however, the Queen doesn’t believe you and sends her guard after you to bring back your heads!
Step 4: Crank Tower
| HP | Special |
|---|---|
| Strength | 0 |
| Defense | 0 |
| EXP | 100 |
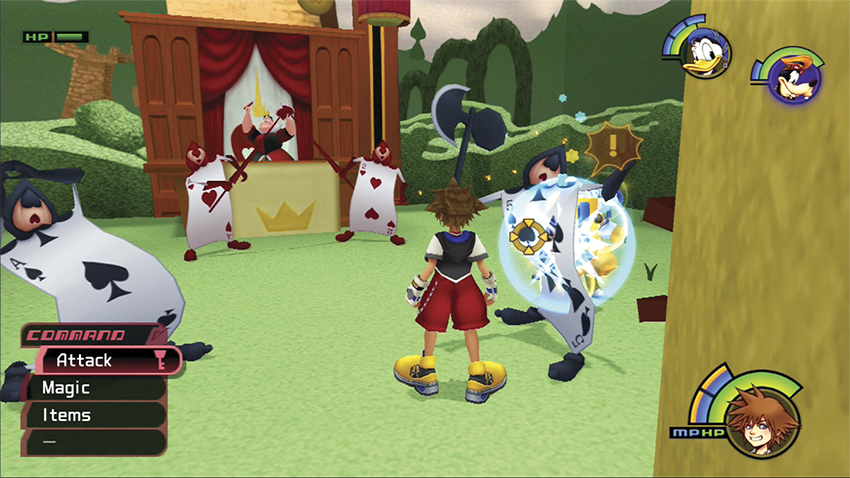
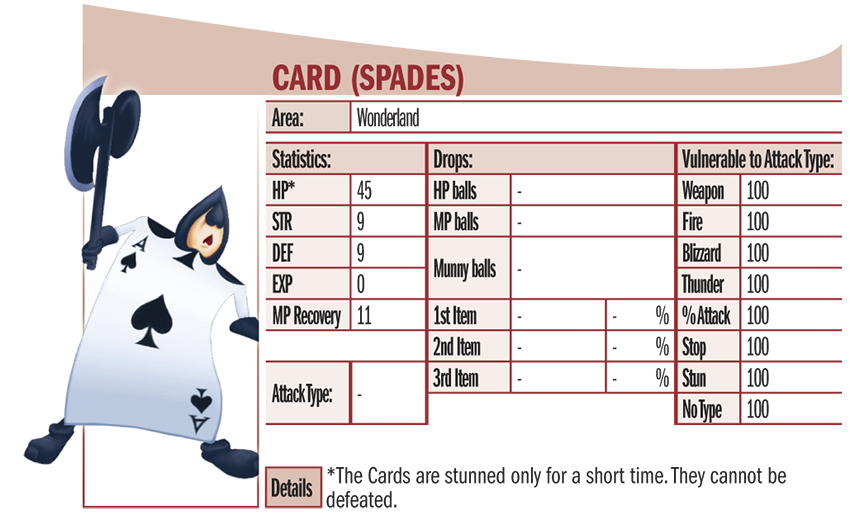
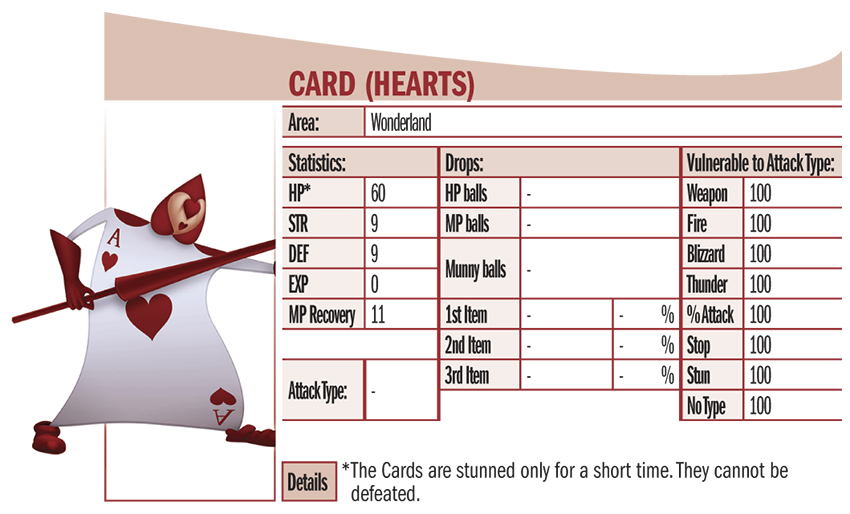
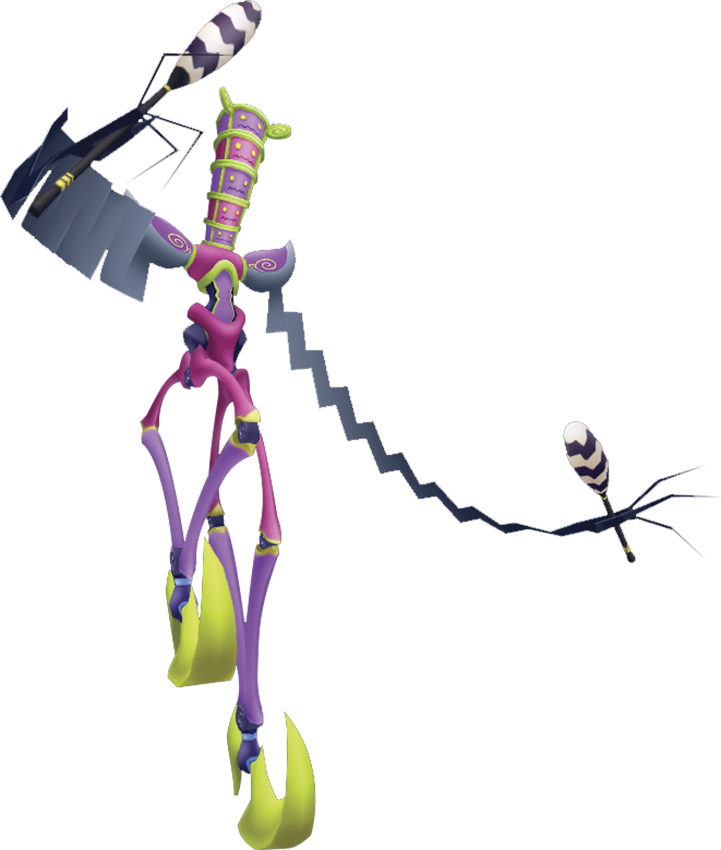
The stationary Crank Tower sprouts up in the middle of the Queen’s lawn at the beginning of this boss fight. The Queen sends her Heart Cards and Spade Cards after you, and you must destroy the Crank Tower to lower Alice’s cage before the cards hack you to pieces.
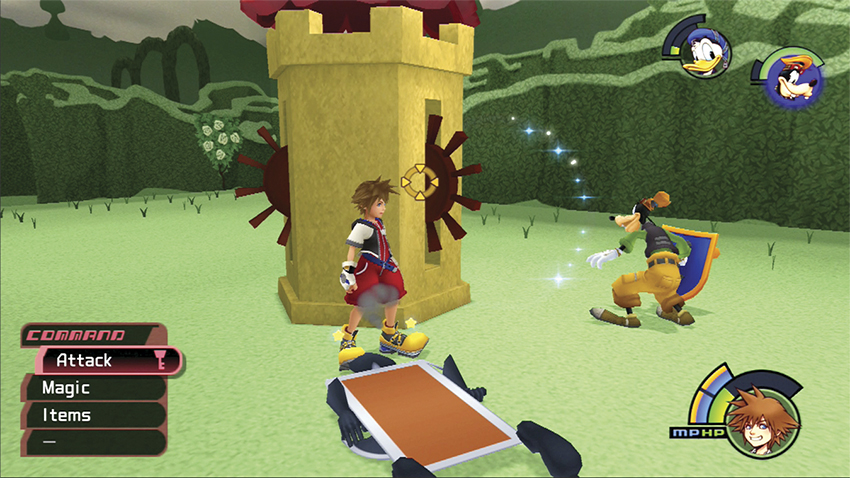
The best strategy is to let Goofy and Donald hold off the Cards as you concentrate on the Crank Tower. The Cards can’t be defeated, only stunned, so you must focus on the Crank Tower at some point or you’ll be overwhelmed. The Tower has three gears that you must destroy before you can dismantle the tower structure itself.
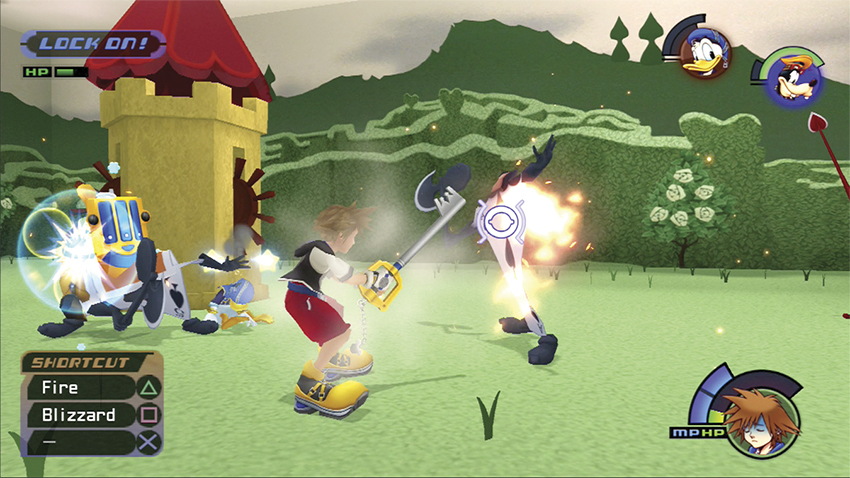
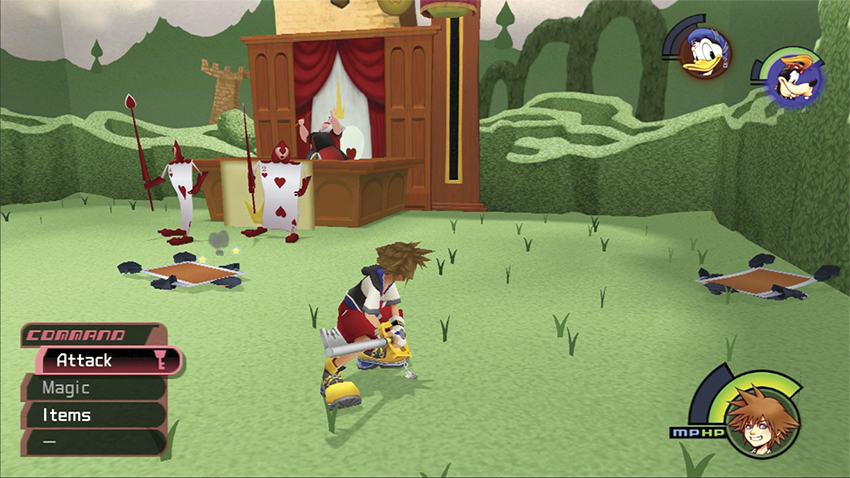
Don’t let the Cards surround you. Your Fire spell can delay a Card’s charge. Also, you can attack the Queen directly. One good hit will send her sprawling and stun all the red cards, giving you valuable seconds to attack the Crank Tower freely.
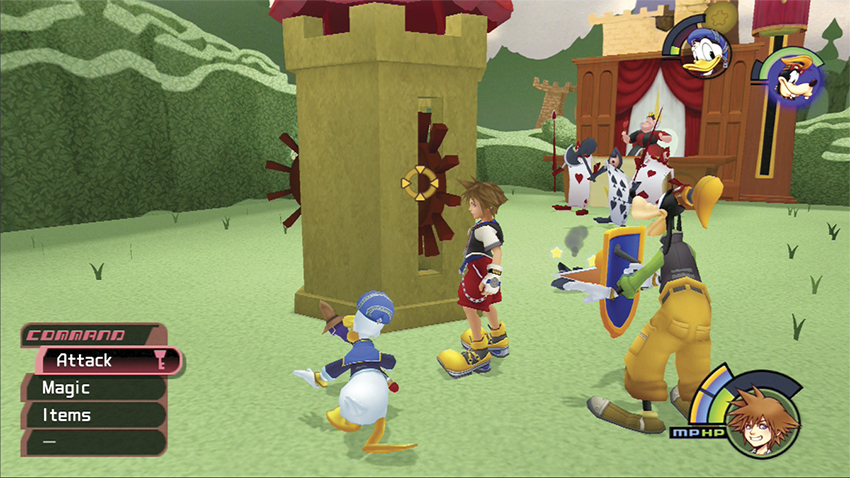
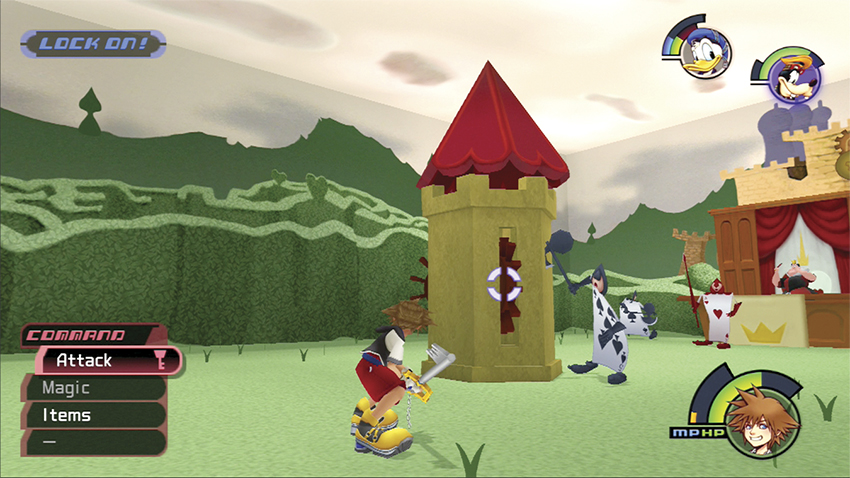
Regroup with Goofy and Donald for protection if your hit points get low. You may to use several Potions during the fight to hang in there long enough to bash the tower down.
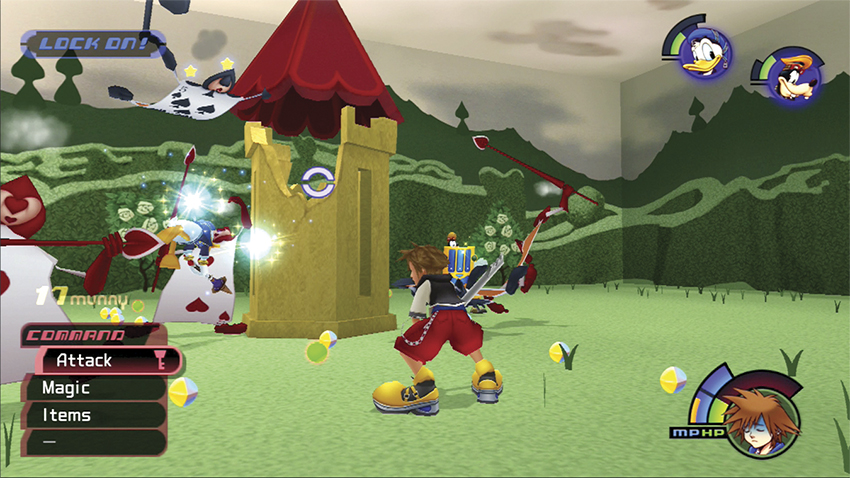
After the gears are destroyed, you can chip away at the Crank Tower base. When you put a large crack in it, munny balls and HP balls spill out. Circle the Tower quickly to gain health and increase your bank account. A few more whacks later and the Crank Tower explodes.
Step 5: After Alice
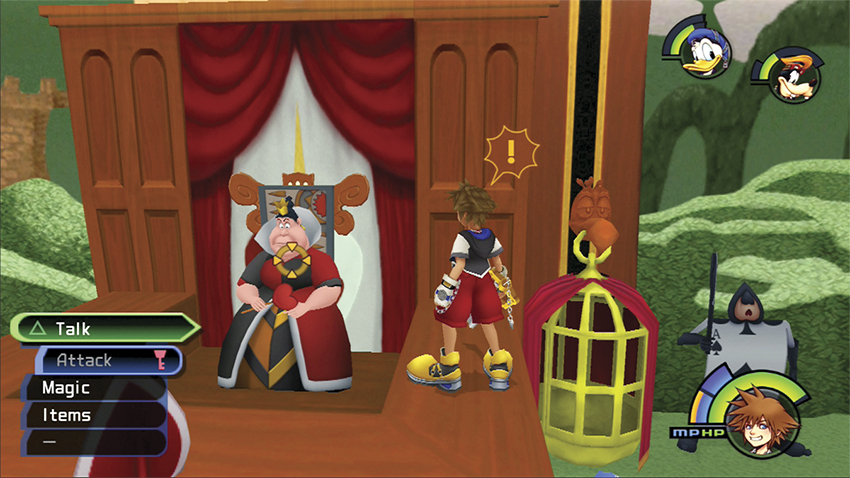
Despite beating the Queen’s guard and smashing the Crank Tower, Alice is gone when the cage lowers. Head back into the Lotus Forest looking for her.
Alice

This daydreaming English girl is wrongfully accused of stealing the royal heart, and it’s up to your party to prove otherwise. You follow Alice throughout Wonderland, and she will play an important role outside of Wonderland too.
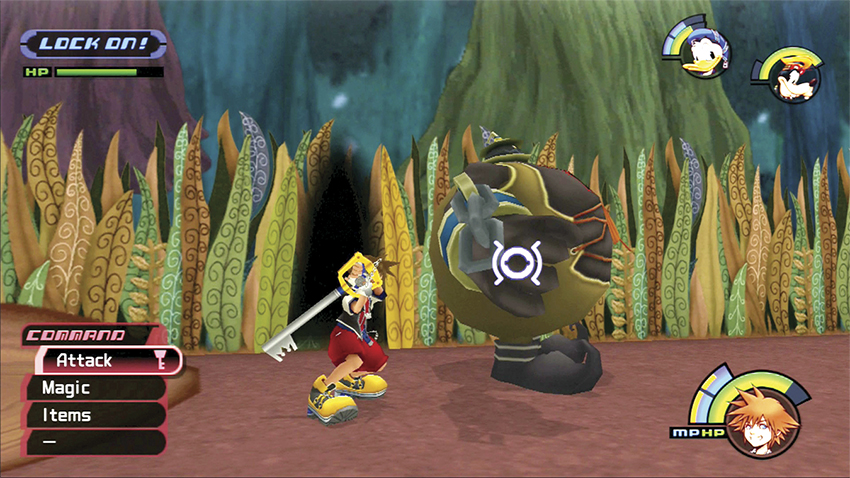
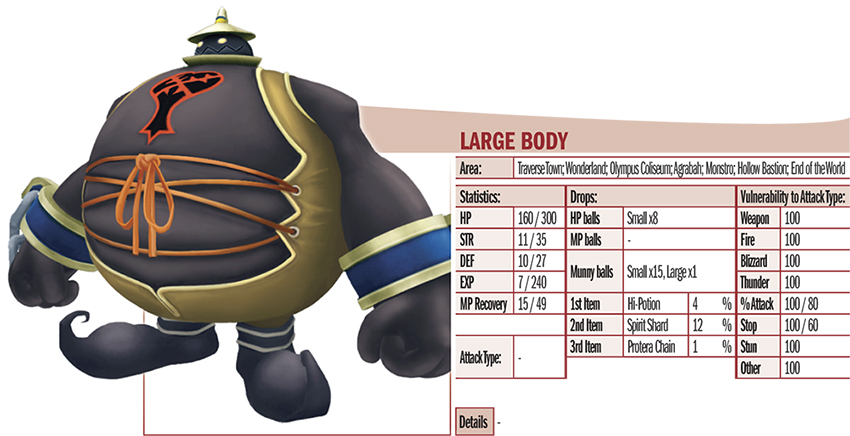
The Cheshire Cat gives you another message, and it moves the boulder blocking the rear exit. Battle the Heartless in the area, including the new Large Body opponents. At first Large Bodies will present a problem for you; they will deflect attacks from the front and counterstrike with a damaging belly smash. Once you get the knack of attacking from behind or leap up and striking the head, you can take down these large brutes without too much pain.
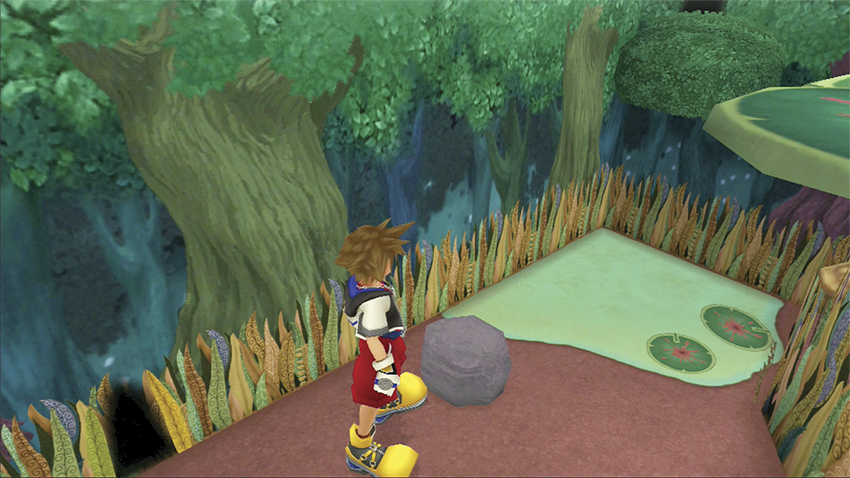
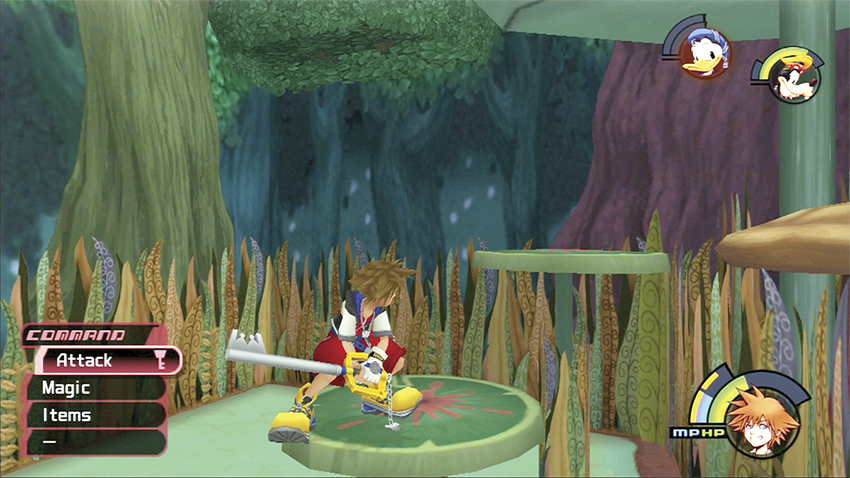
Use the yellow flower near the entrance to grow big and slide the boulder into the pond. Two lily pads rise out of the pond and create steps to reach a hidden area. Before you can jump up the lily pads, hit the tree to turn it and reveal the seed high up in the canopy. Eat the seed to shrink down in size.
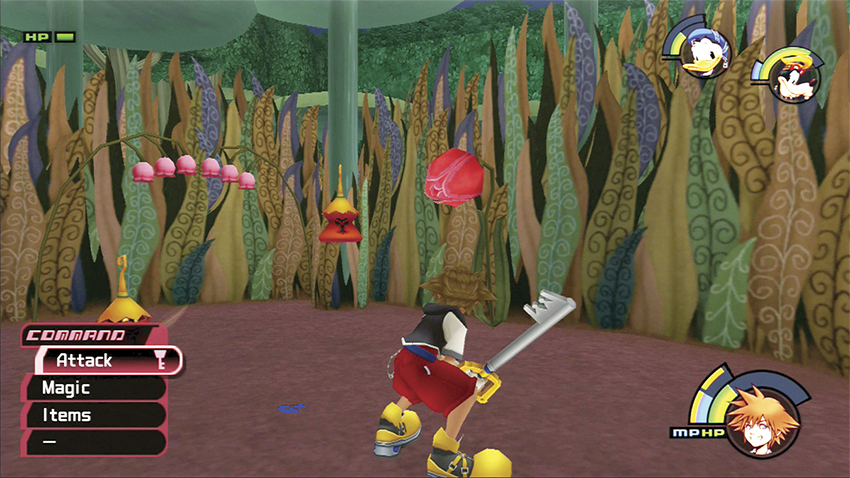
The small enclosed area holds a red flower and a blue Trinity Mark. Feed the red flower a Potion to upgrade to a Mega-Potion.
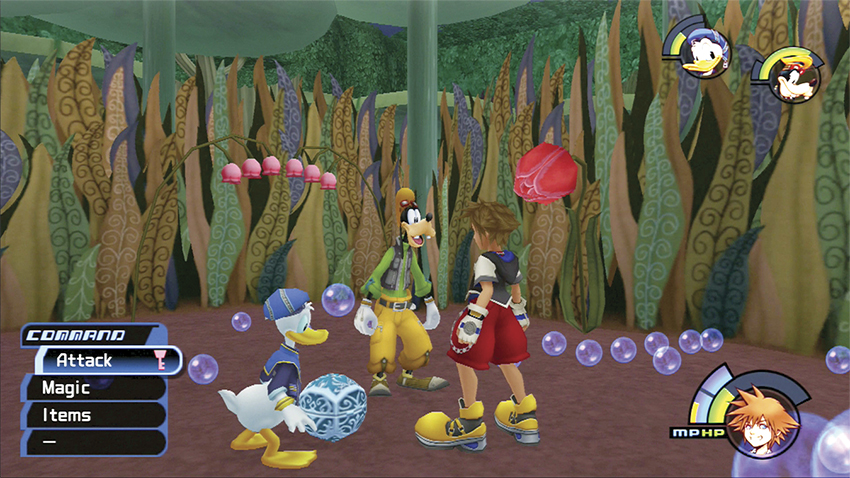
Trigger the blue Trinity Mark for MP balls and a Camping Set. The rack of roses in the area will say “Shock Me” if you hit them, but they will have to wait until later, after you earn Thunder magic.
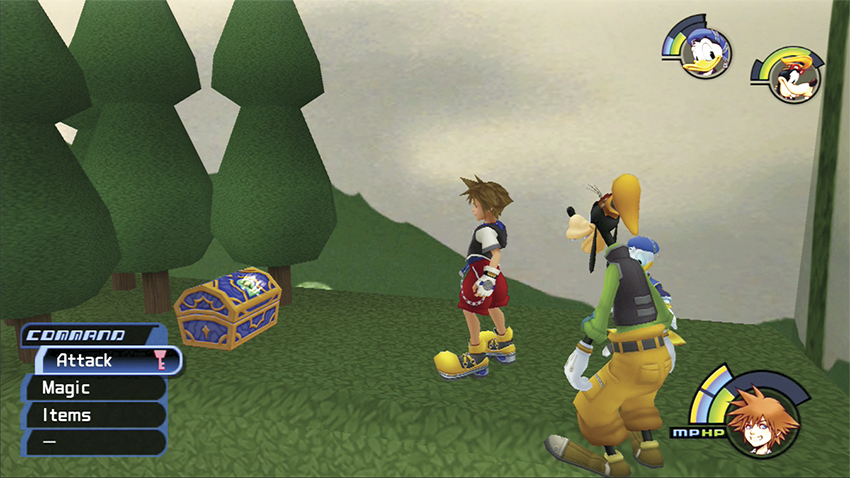
Exit the secluded area to the Queen’s Castle. You emerge on the hedges opposite the save point. Open the nearby blue chest for Dalmatians 13, 14, 15. Drop down and save before returning to the Lotus Forest.
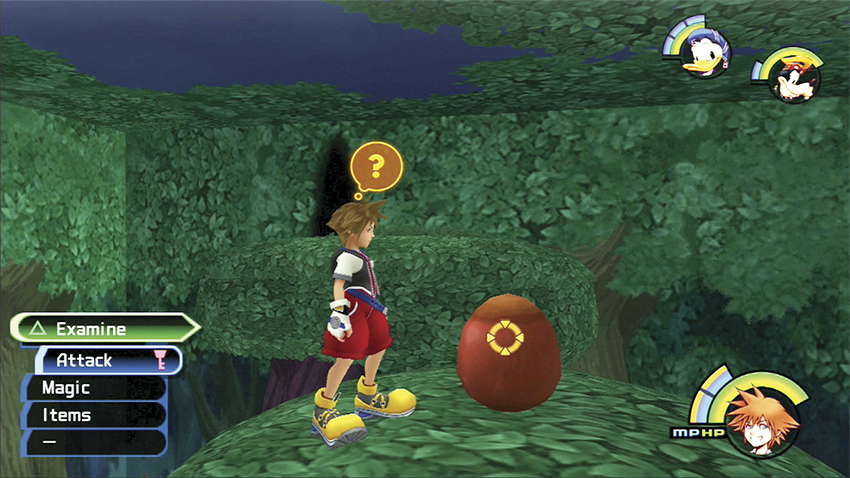
Use the yellow flower to grow big and strike the main tree to rotate its trunk. Grab the seed up high and eat it to shrink again. Jump up the mushroom stools in the back of the forest. Cross the acorn platform and jump to exit high in the back wall.
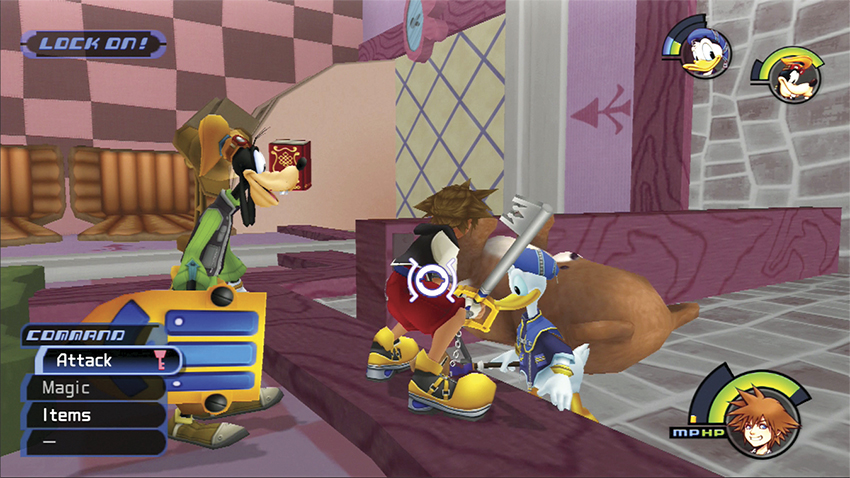
You’re back inside the Bizarre Room, only this time it’s turned on its side. Cross the wall with the two lamps and look for a shelf with a teddy bear. Smash the shelf’s latch to drop the bear into the chair below. The book that was once a drawing in the room now becomes a real book, which will be useful later when you return to the normal Bizarre Room.
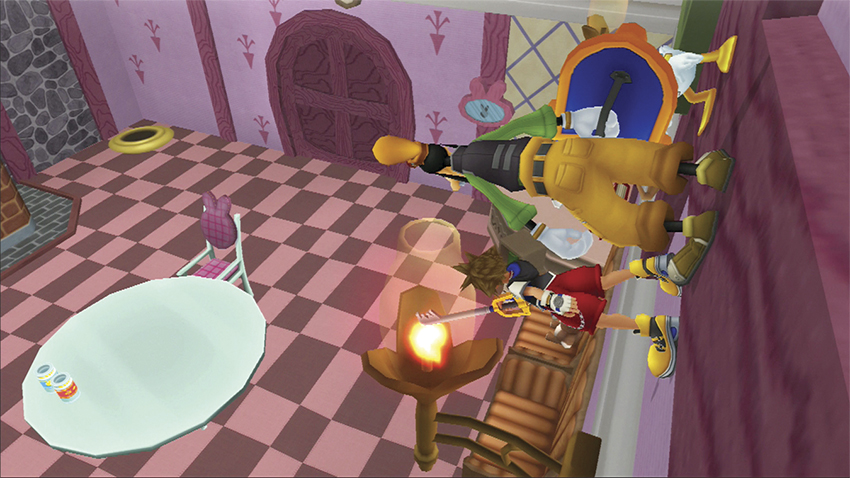
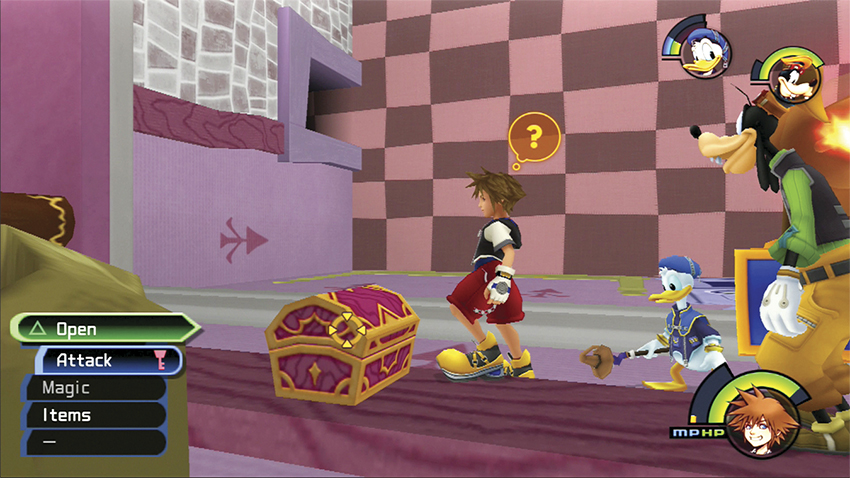
Light the lamp closest to the lion’s head mask. A chest will spit out of the mouth. Open the chest for a Defense Up.
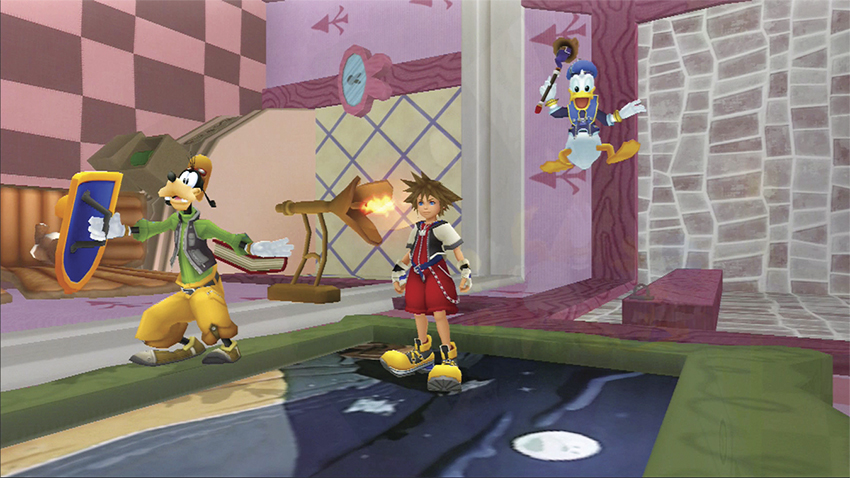
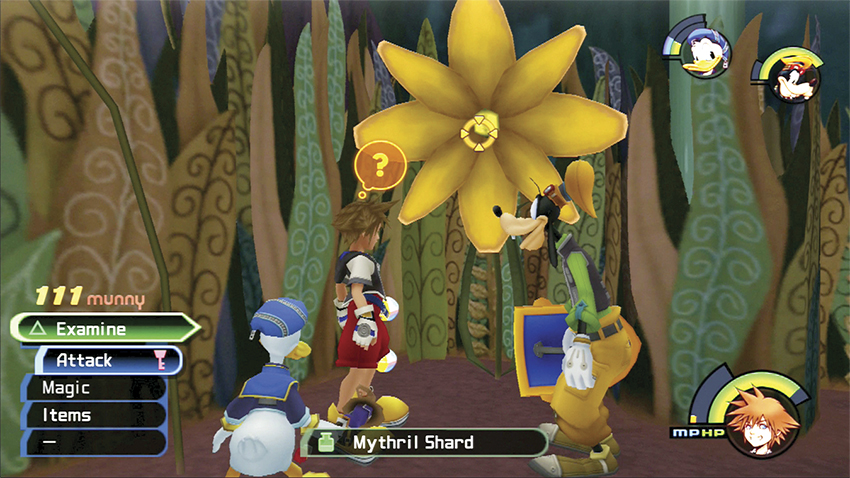
Light the second lamp to turn the nearby blank canvas into a painted scene. Examine the painting to teleport to a hidden area in the Lotus Forest. Feed an Elixir to the left flower in the area to receive a Mythril Shard and some munny. Feed a Potion to the second flower to upgrade it to a Hi-Potion and drop some MP balls. Another rack of roses can be used here later once you become more proficient with your spells. Jump in the small mound to return to the Bizarre Room, then exit through the bookshelf hole back into the Lotus Forest.
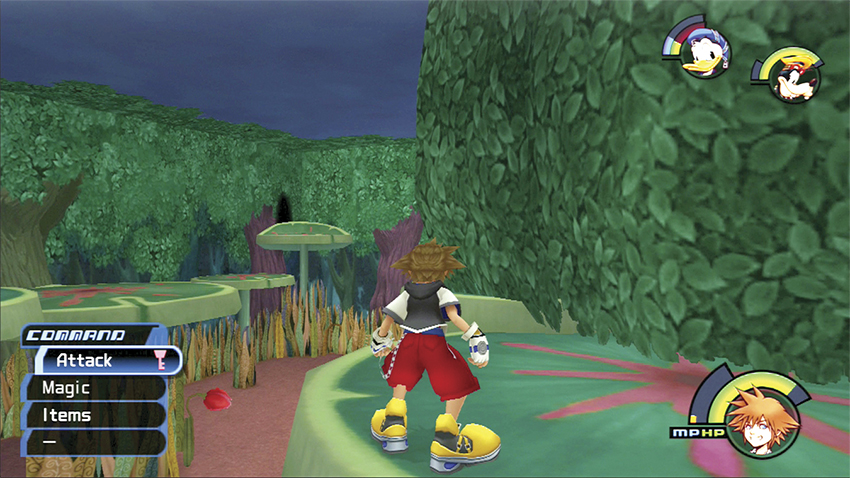
Climb up to the treetops and take the exit above and to the left of the original entrance from the Queen’s Castle.
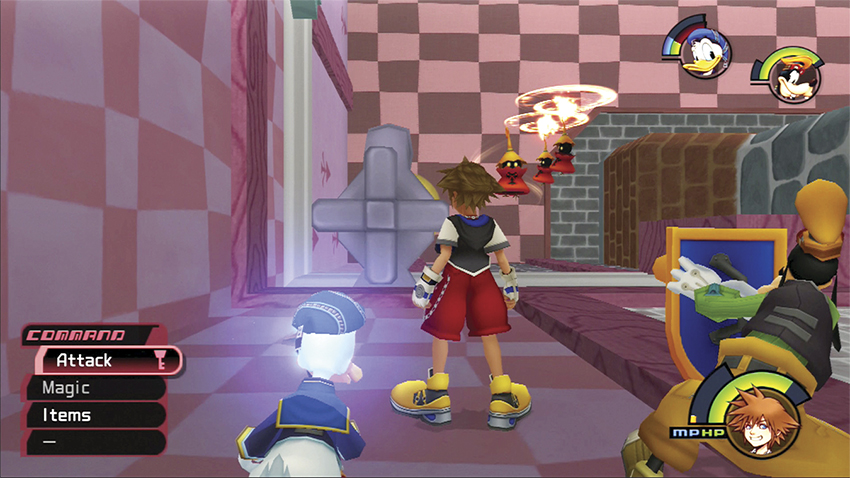
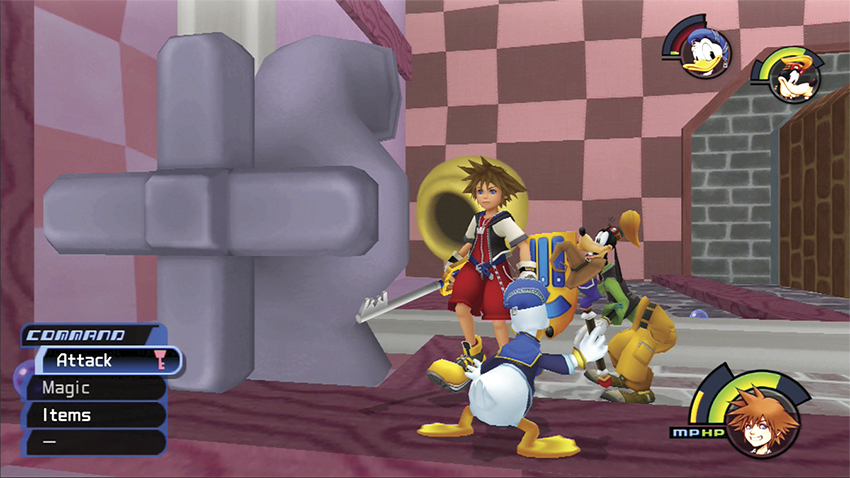
You appear in the Bizarre Room above the water faucet. Dispatch the Heartless in your way and turn the faucet to pour water. The water transforms the drawing of a bucket into an exit.
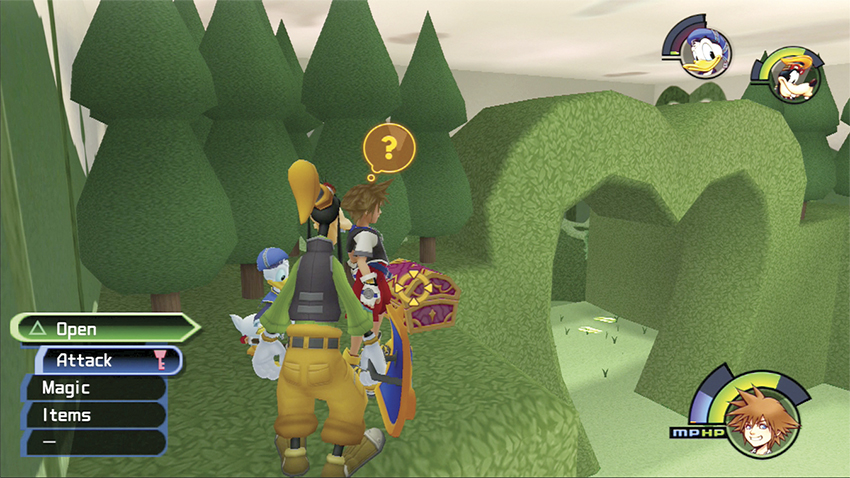
Jump into the bucket to teleport to the top of the hedges once again in the Queen’s Castle. Open the chest at the corner for a Meteor-G.
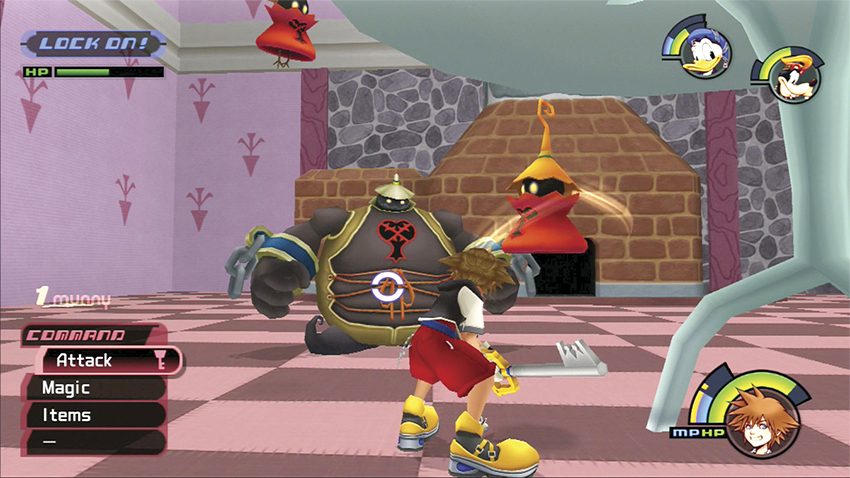
Return to the Bizarre Room through the first doorway by the save point. Clear the Heartless out of the room so that you can reach the table unimpeded.
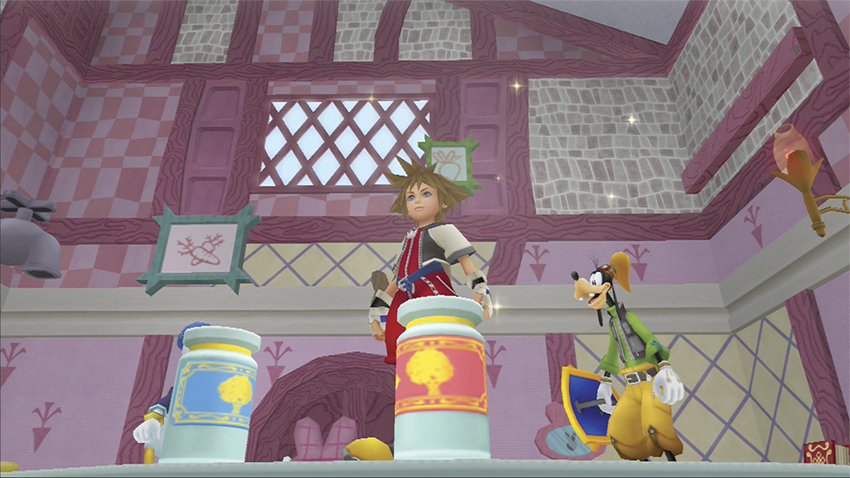
Drink the medicine on the table to return to big size.
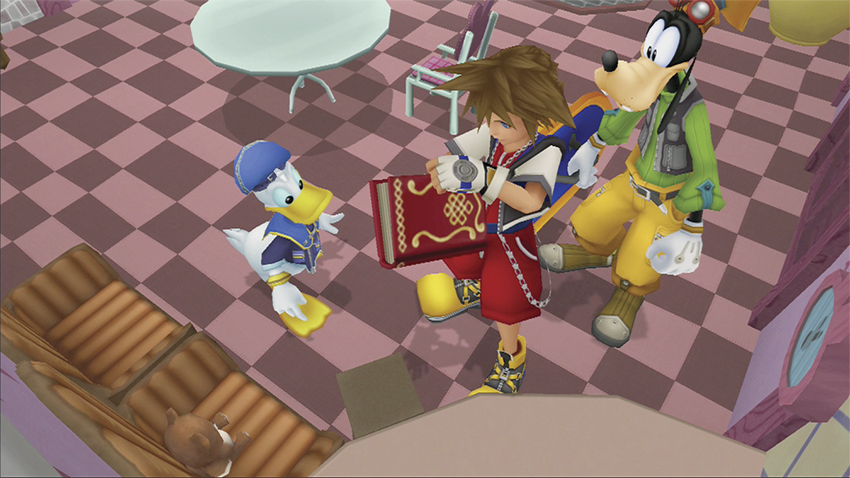
Walk over to the corner and read the book that you made real before. This gives you another Mythril Shard.
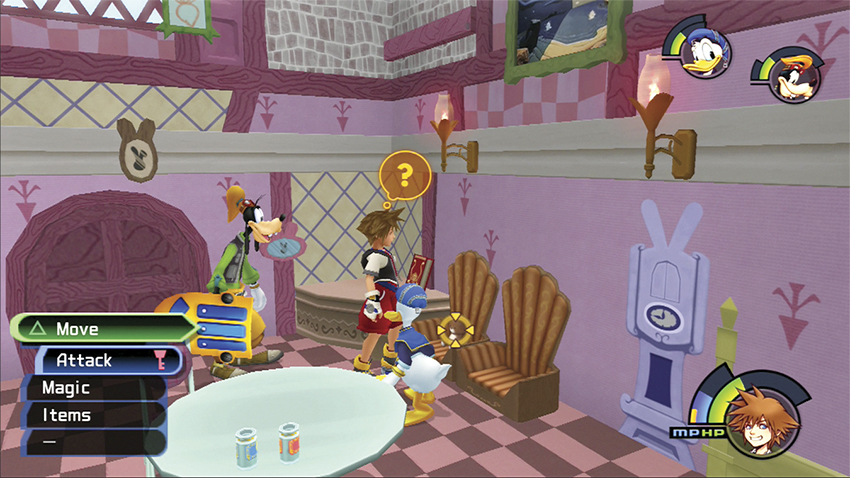
Pick up the teddy bear and place it in the adjacent chair. The clock on the wall becomes three-dimensional.
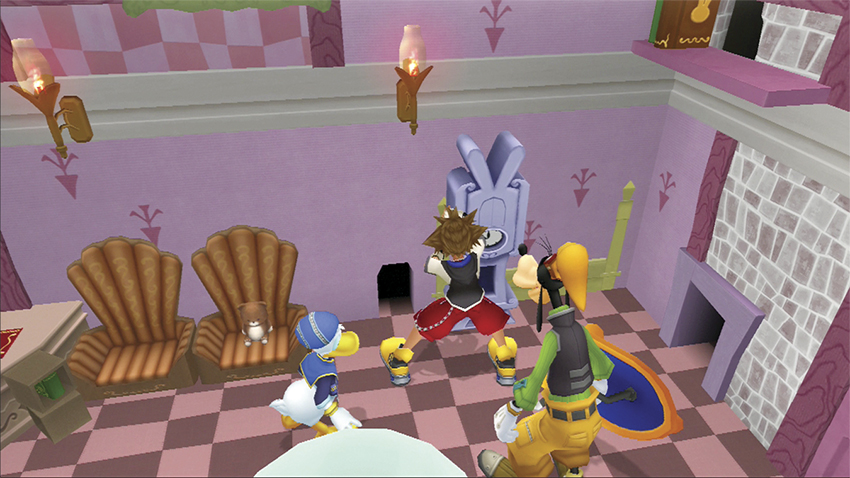
Slide the clock to the side to reveal a secret entrance into the Tea Party Garden.
Step 6: Tea Time
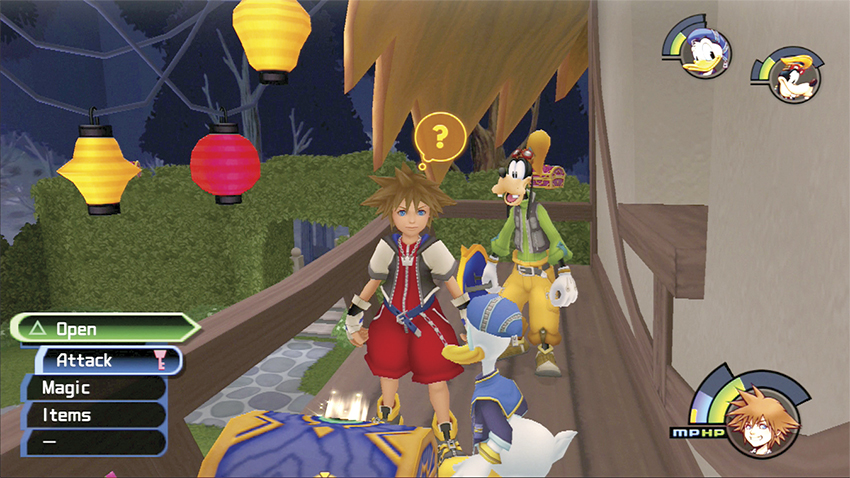
You arrive on a balcony overlooking the tea party. Before you jump down, open the blue chest for Dark Matter.
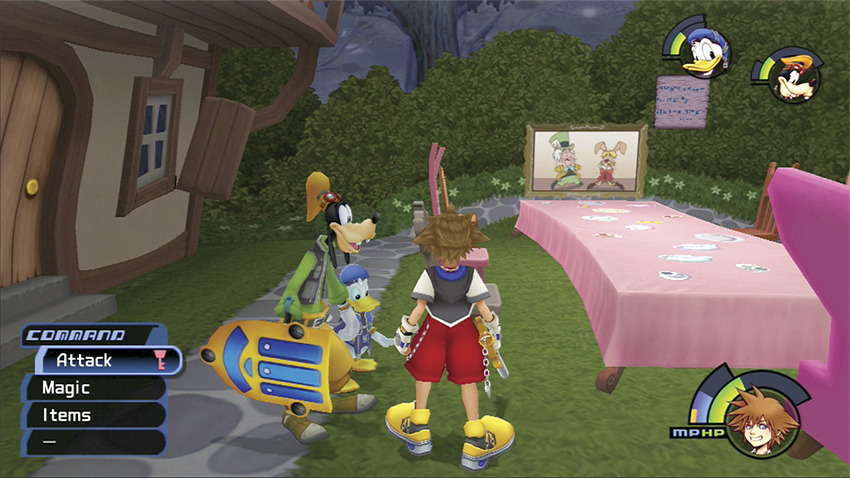
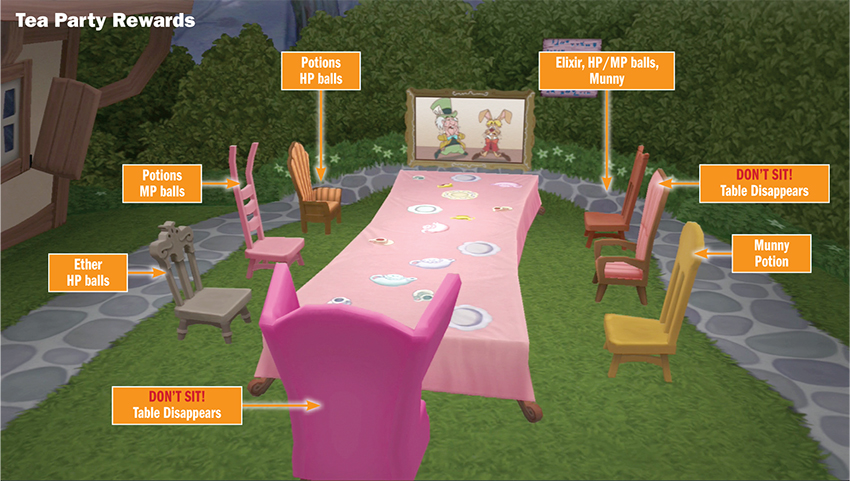
Hop over the railing to reach the tea party table. Read the sign on the garden wall twice to activate the area. You can sit at any of the chairs around the table.
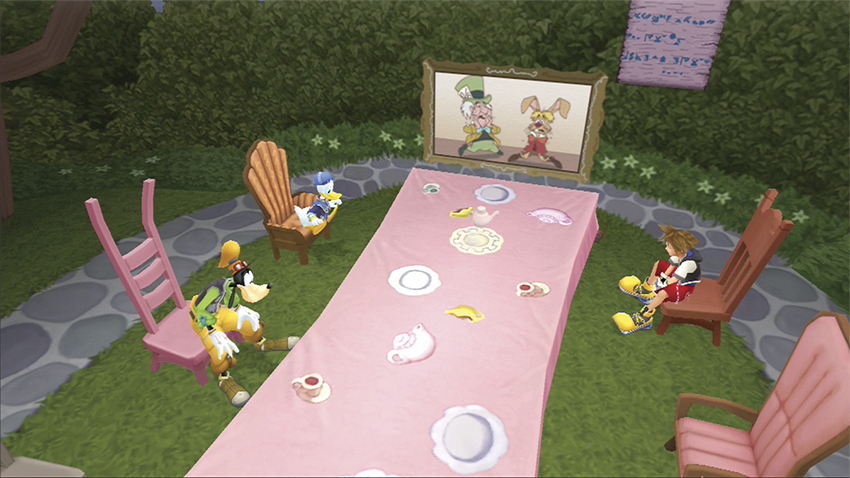
Most will give you rewards; however, two are trapped and will cause the table to disappear and Heartless to materialize. If this happens, you must leave the room and return to reset the table. See the “Tea Party Rewards” for a diagram on where and where not to sit.
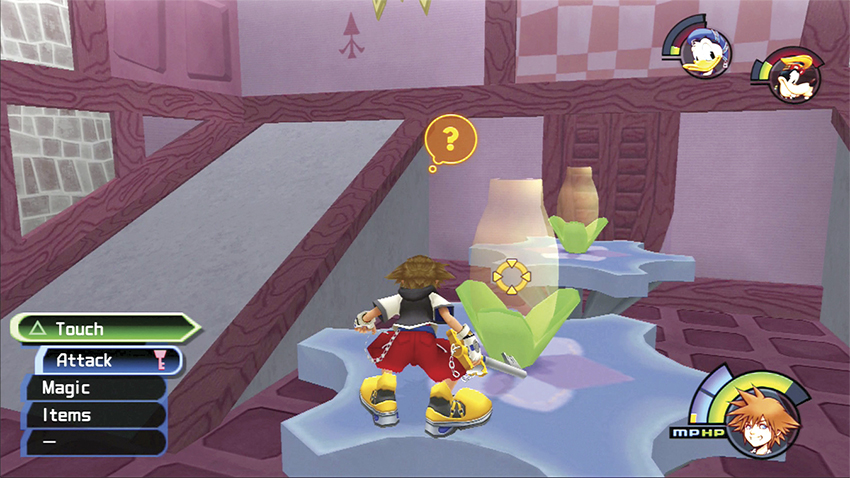
Enter the house next to the tea party when you’re ready to continue. This entrance takes you to the Bizarre Room’s ceiling. Rip through the Heartless in the room, then make your way up the chimney until you overlook the two lamps. Jump across to the first lamp and light it.
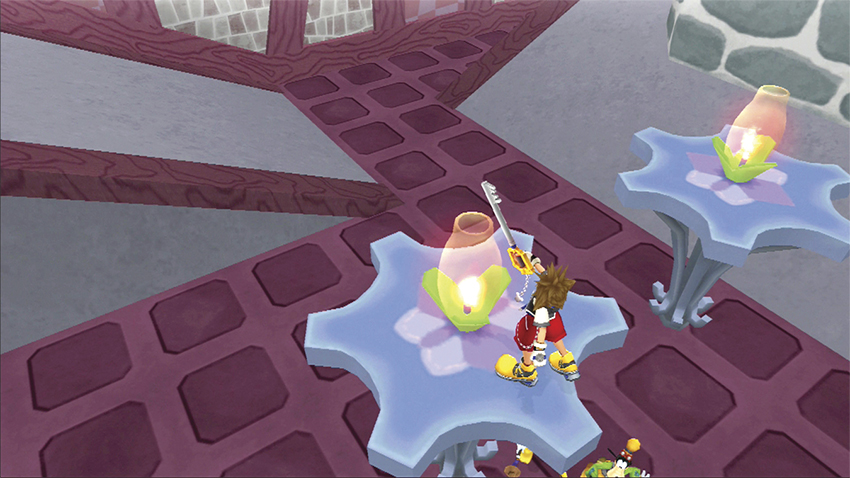
Jump over to the second lamp and light it. The Cheshire Cat appears to offer more clues to your adventures in Wonderland.
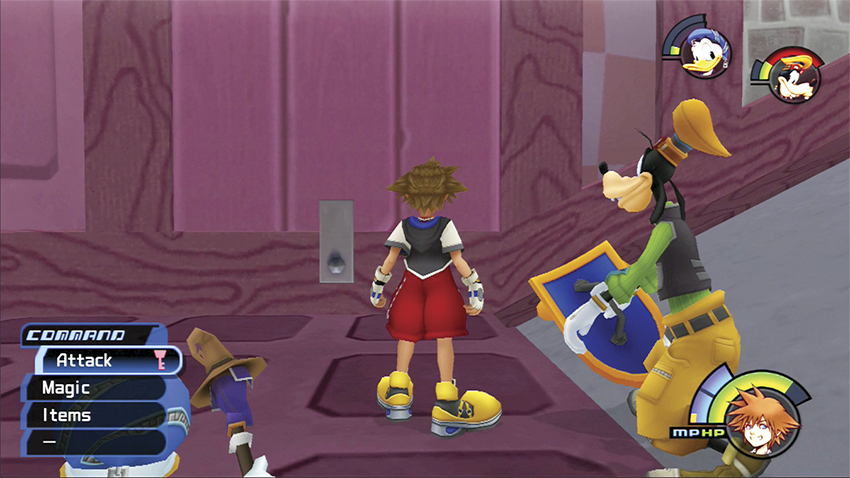
Drop down from the lamps and look for a small gray latch on the “floor.” Release the latch to open a door. Jump through to reach the Queen’s Castle.
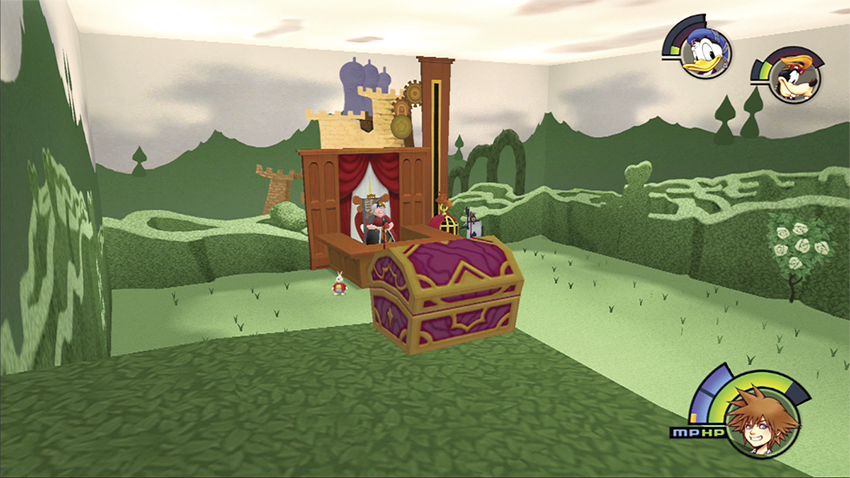
You’re up on the hedges again. Before dropping down, open the chest in the bottom corner to receive a Thundara-G.
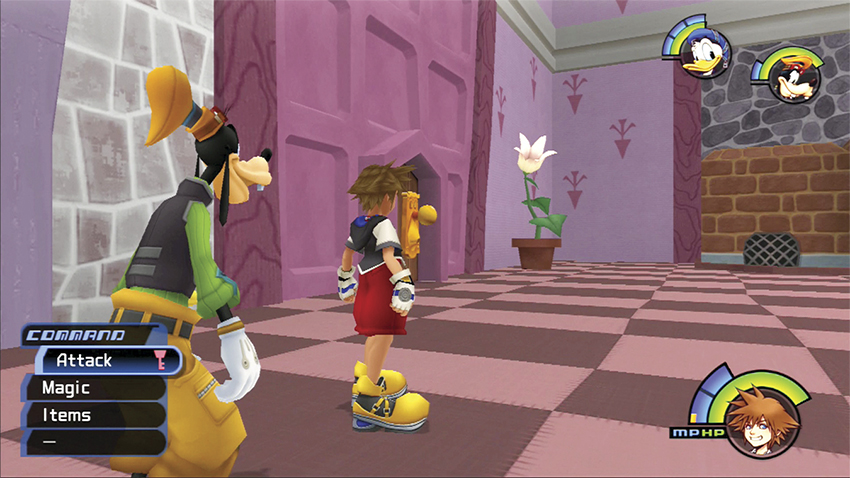
Return to the normal Bizarre Room. A flower has sprouted up in the far corner. Examine the flower for a Mythril Shard, two Potions, and lots of HP balls. Make sure you save at the save point in the Queen’s Castle before you speak with the Cheshire Cat on the table and trigger the final boss fight.
Step 7: Trickmaster
| HP | 600 |
| Strength | 9 |
| Defense | 9 |
| EXP | 150 |
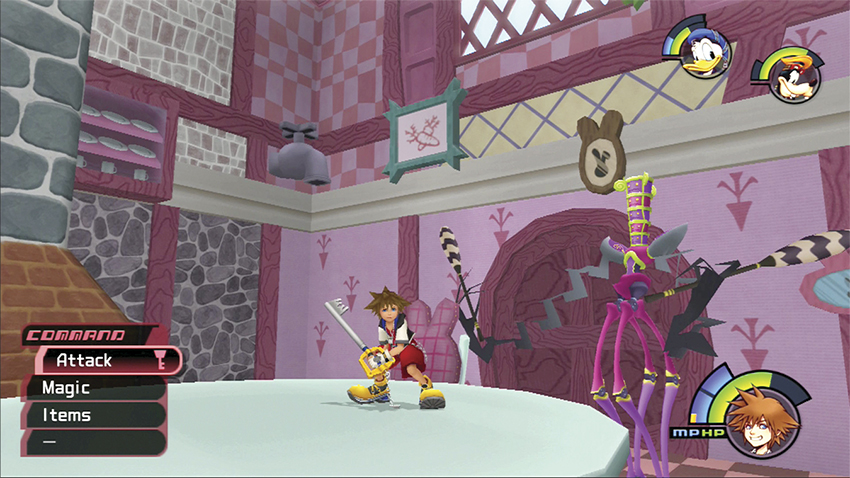
The towering Trickmaster takes you on only if you’re at small size. With a serious height advantage, the boss can knock you around the room easily if you let it. Don’t get caught out in the open; position the table between you and the Trickmaster any time you need a break.
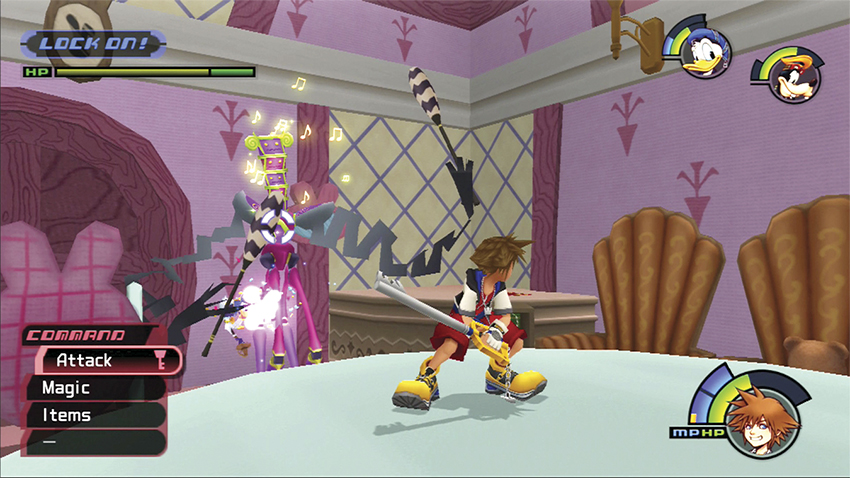
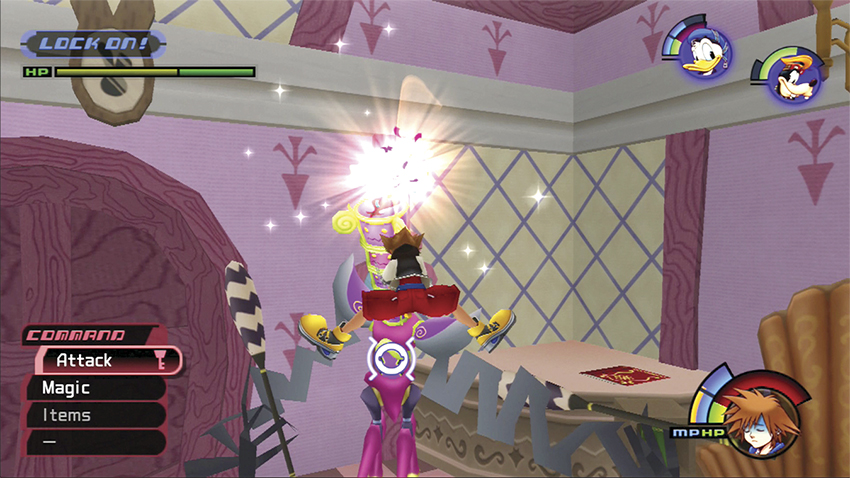
It’s best to use physical attacks against the Trickmaster, and never use Fire magic—that will set the Trickmaster’s juggling stick ablaze for extra damage against you! Lock on to the Trickmaster’s torso, leap off the table, and launch a combo attack on your rapid descent to the floor. Repeat any time the Trickmaster comes in range of the table.
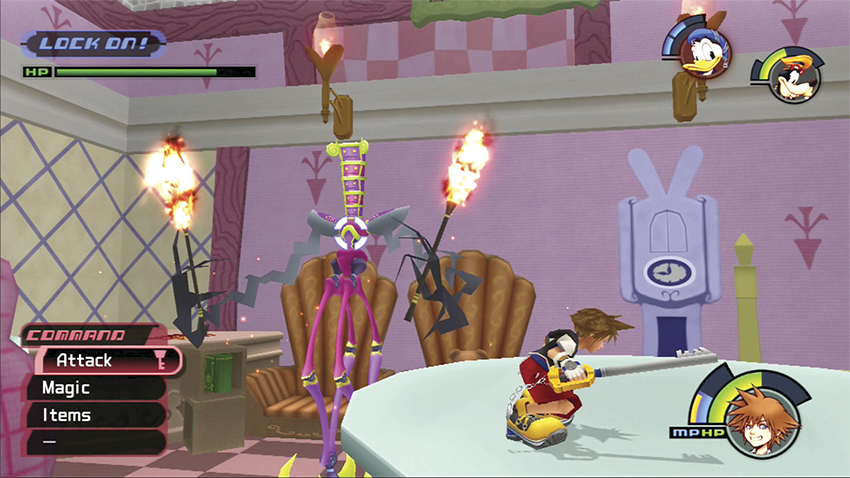
Even if you don’t set the Trickmaster’s juggling sticks on fire, it will find the stove eventually. Once lit, the sticks deal more damage and the Trickmaster can shoot fireballs at you from across the room. When this happens, duck in close so it can’t throw fire and avoid its hyperactive feet. If your physical attacks deal enough damage, the Trickmaster will bend over and become vulnerable for a few seconds. You can target the juggling sticks here and extinguish them with Blizzard, or just wallop the creature while it’s down.
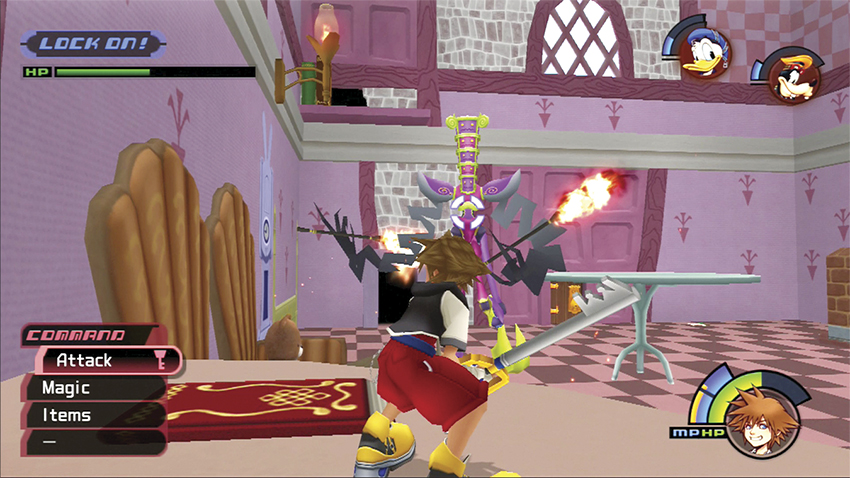
The Trickmaster has five stacked heads, and each one will release HP balls when destroyed. Gather as many as you can to recharge back to full, and leave the remainder for Goofy and Donald to heal up. Unfortunately, the Trickmaster will destroy the chair and table during the battle (though they reappear shortly). If you can’t attack from the table, head to the book table in the corner, which can serve as a launch pad for attacks if you can draw the boss over to you.
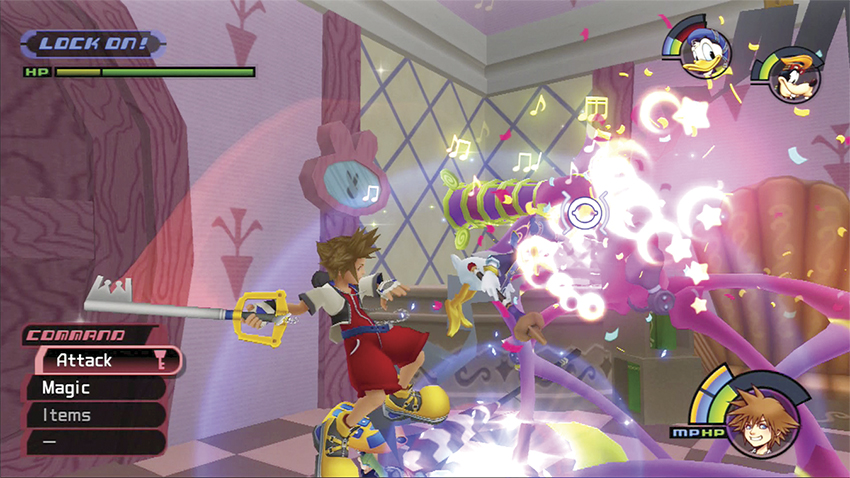
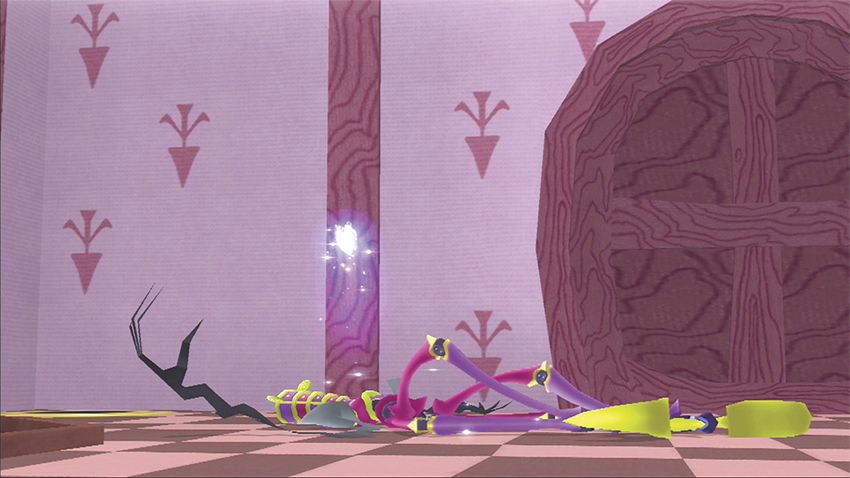
Eventually, you will stack on enough damage to destroy all the Trickmaster’s heads. Rejoice in another victory and claim your prize—the Ifrit’s Horn.
Step 8: Locking Up
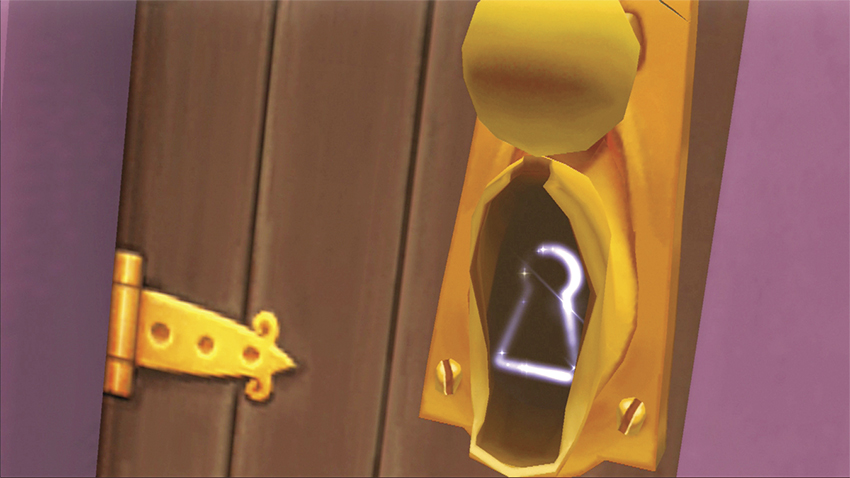
With the Trickmaster defeated, the Doorknob reveals the Wonderland keyhole. You automatically lock this crazy world so that the Heartless will never harm it again. A Navi-G piece drops from the locked keyhole.
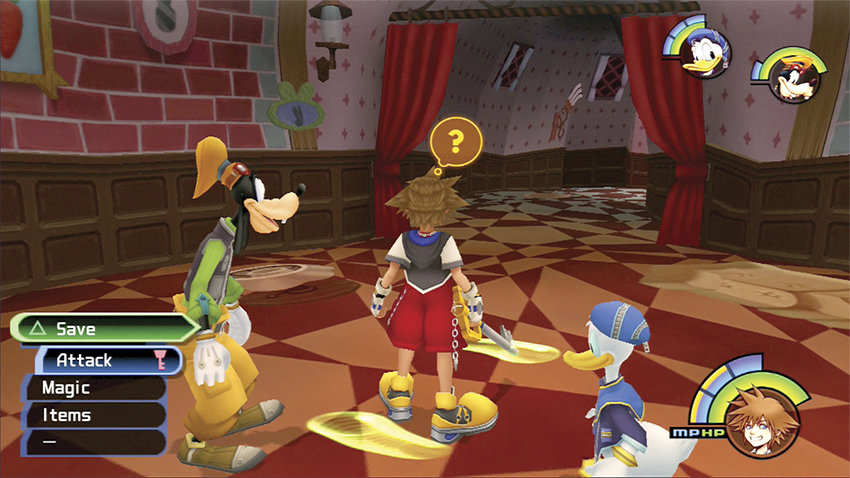
You never found Alice, but you will see her again in your travels. Save at the new save point in the Rabbit Hole and prepare for another space journey in your gummi ship. The Olympus Coliseum awaits.