
Kingdom Hearts HD 1.5 Remix Guide KHFM: Walkthrough Hundred Acre Wood
Hundred Acre Wood
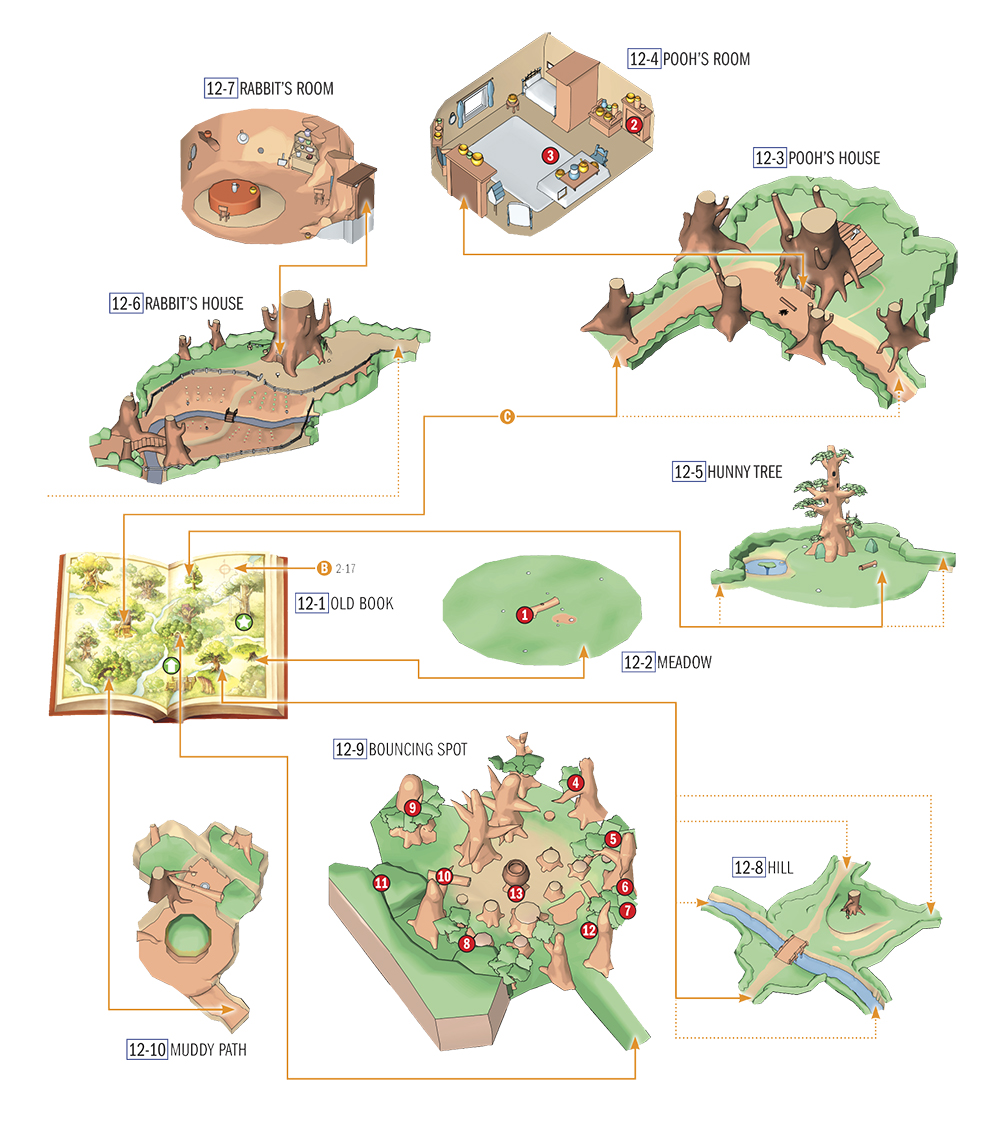
Items
| No. | Item | Location | Condition |
|---|---|---|---|

|
Mythril Shard | 12-2 | - |

|
Elixir | 12-4 | Look in the cupboard |

|
Mega-Ether | 12-4 | Strike chimney in 12-3 |

|
Rare Nut | 12-9 | - |

|
Rare Nut | 12-9 | Activate and jump on the jet of water |

|
Rare Nut | 12-9 | Use the seesaw |

|
Rare Nut | 12-9 | Use the seesaw |

|
Rare Nut | 12-9 | Activate and jump on the jet of water |

|
Shield2-G | 12-9 | Go through the hole in the tree |

|
Mythril | 12-9 | Destroy the tree trunk |

|
Mythril Shard | 12-9 | Activate and jump on the jet of water |

|
Dark Matter | 12-9 | Use the seesaw |

|
AP Up | 12-9 | After the Giant-Pot mini-game |
Objectives
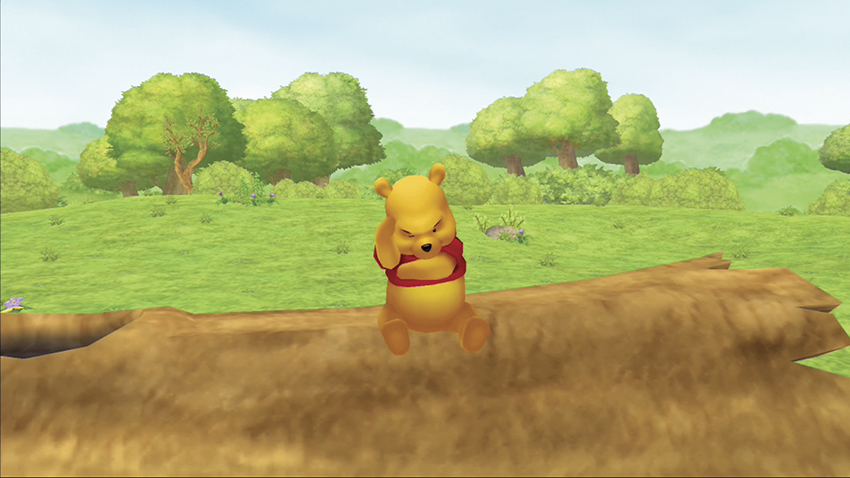
1. Meet up with Pooh
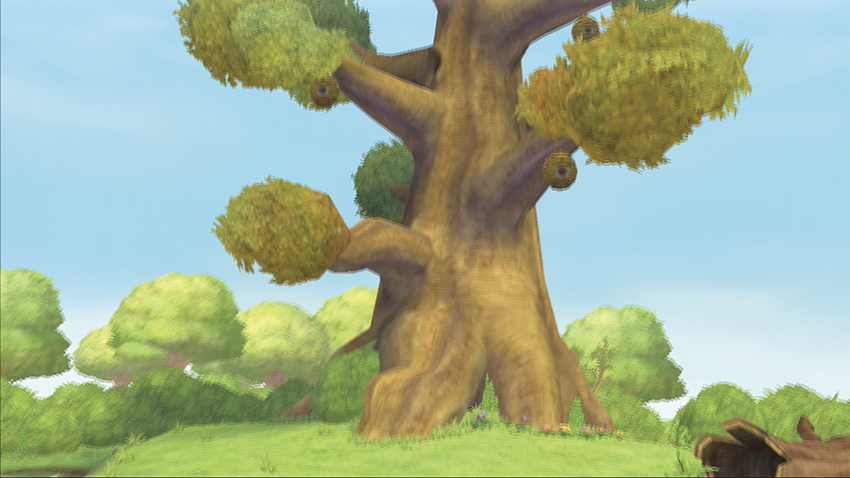
2. Gather honey from the Hunny Tree
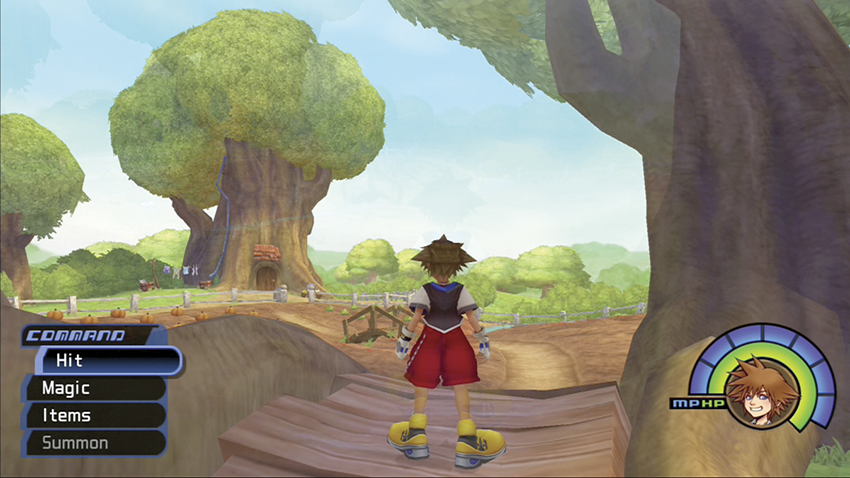
3. Protect Rabbit’s garden
4. Give Pooh a big swing ride
5. Bounce with Tigger
6. Smash the giant pot
7. Reunite all of Pooh’s friends
Step 1: Meet Up with Pooh
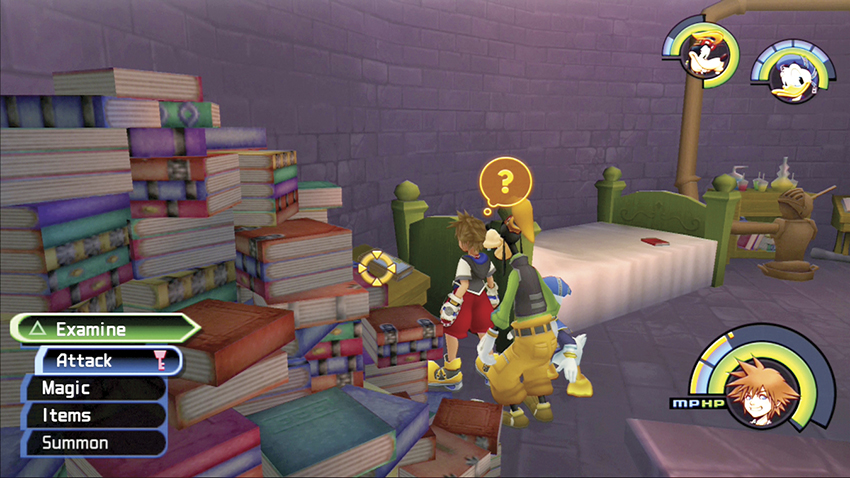
After you seal the Deep Jungle’s keyhole, Cid asks you to deliver the Old Book to Merlin in Traverse Town’s Mystical House. You can examine the Old Book at any time to be magically transported into the Hundred Acre Wood, but you will need Torn Pages to unlock the five areas in the world. You can discover the Torn Pages in any order; the world areas will always unlock in the same order, from Pooh’s House to the Muddy Path. The following table details the location of all the Torn Pages:
TORN PAGES LOCATIONS
| World | Location | Condition |
|---|---|---|
| Traverse Town | 2-10 | Reward for 51 Dalmatians |
| Agrabah | 6-14 | Inside chest |
| Monstro | 7-7 | Inside chest |
| Atlantica | 8-9 | Inside chest |
| Halloween Town | 9-4 | Examine bookshelf |
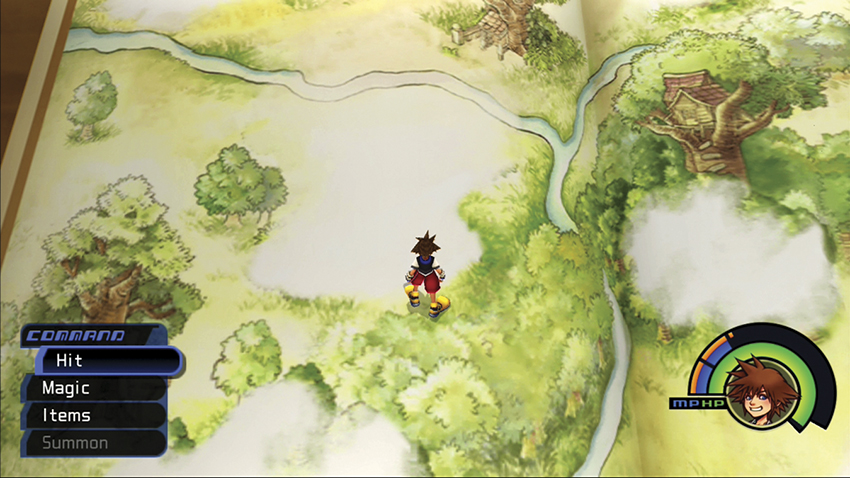
As you might have guessed, the Old Book is about the adventures of Winnie the Pooh and his friends. Once in the book, you literally walk across its pages and examine an illustration to enter that section of the world. If you want to return to the Mystical House, examine the compass in the top-right corner.
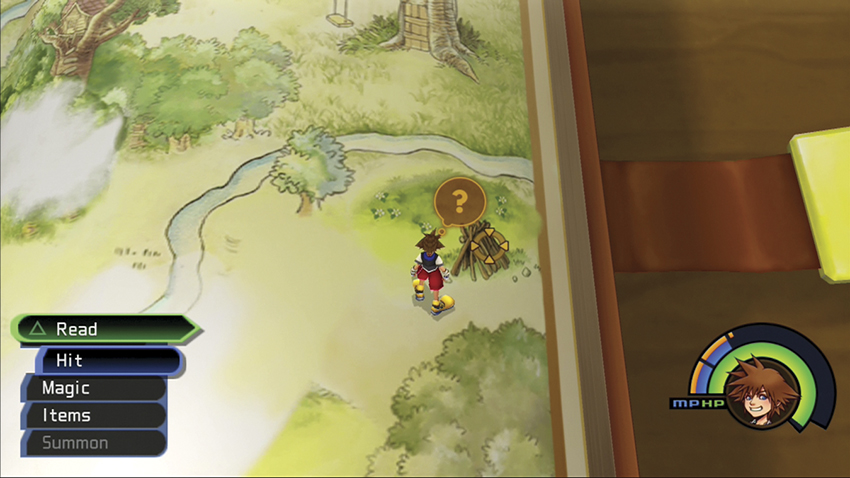
Examine the pile of sticks in the bottom-right corner. This leads you to the Meadow where you’ll first meet Pooh.
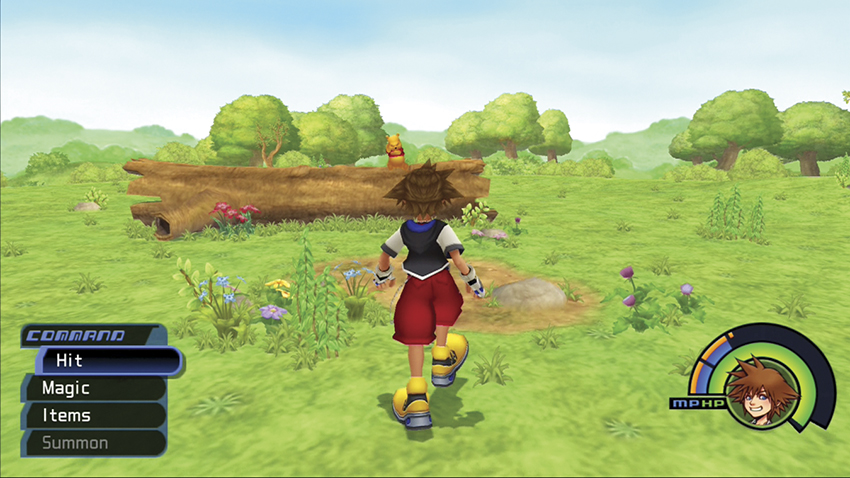
Speak with Pooh. He explains that his friends have begun disappearing, and he is going to need your help to find them all.
 Winnie the Pooh
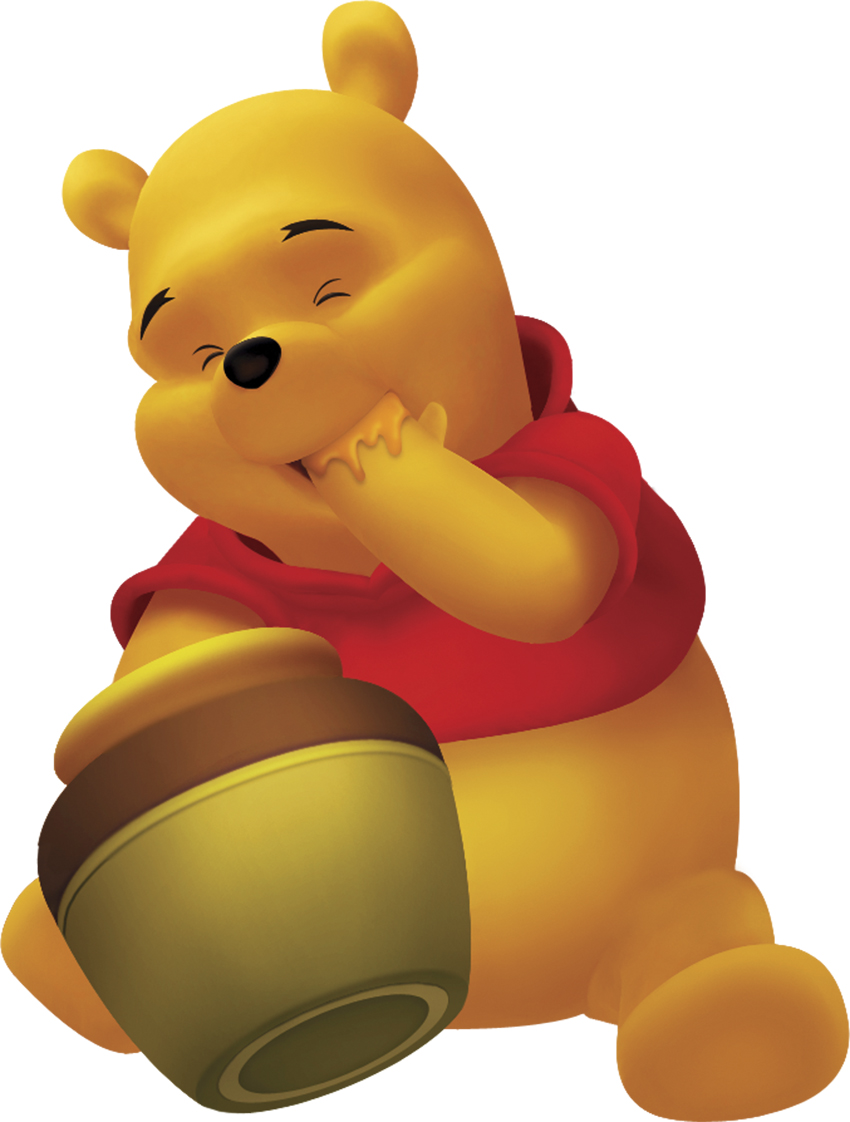
One thing you have to know about this cuddly bear is that he loves honey! A bit absentminded, Pooh puzzles more things out than he gives himself credit for and he never, ever forgets his friends.
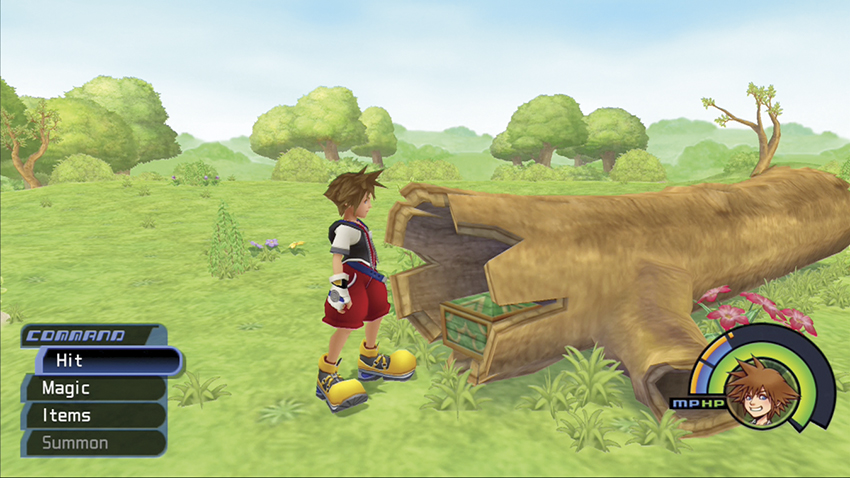
After Pooh leaves, check inside the log for a green chest. Open the chest for a Mythril Shard.
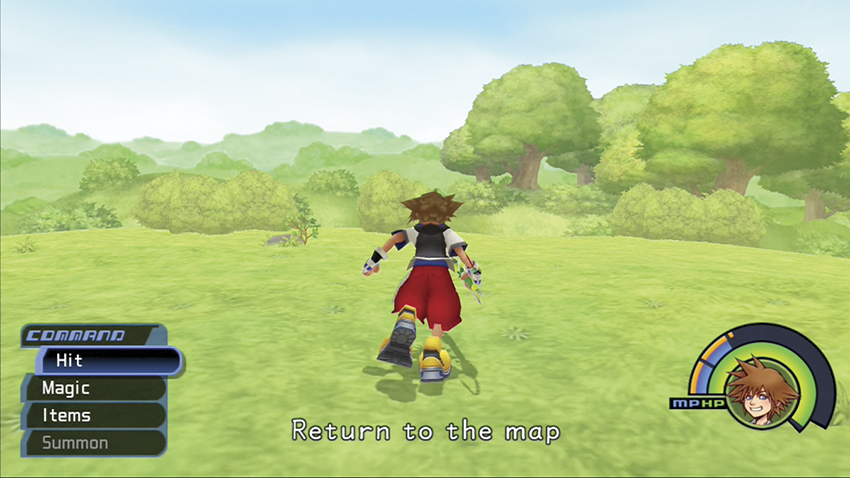
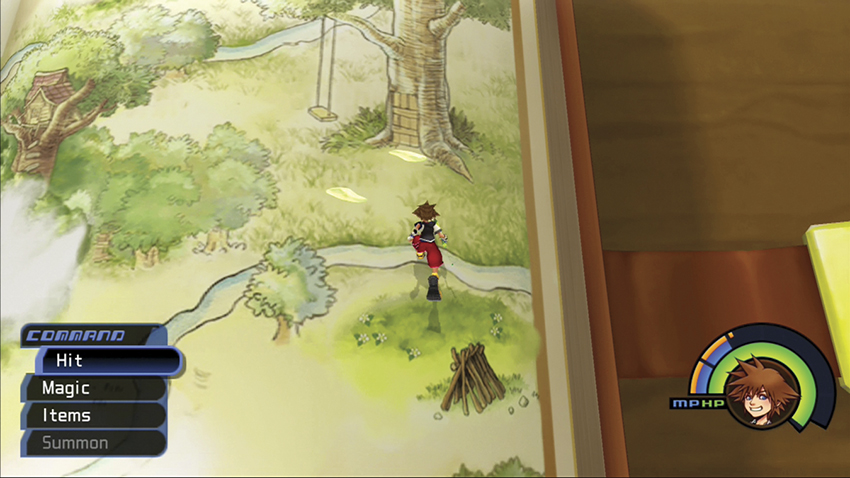
Follow where Pooh left the Meadow. This takes you back to the Old Book pages, where you can choose a new location to visit. Don’t forget to save at the new save point that has appeared above the sticks.
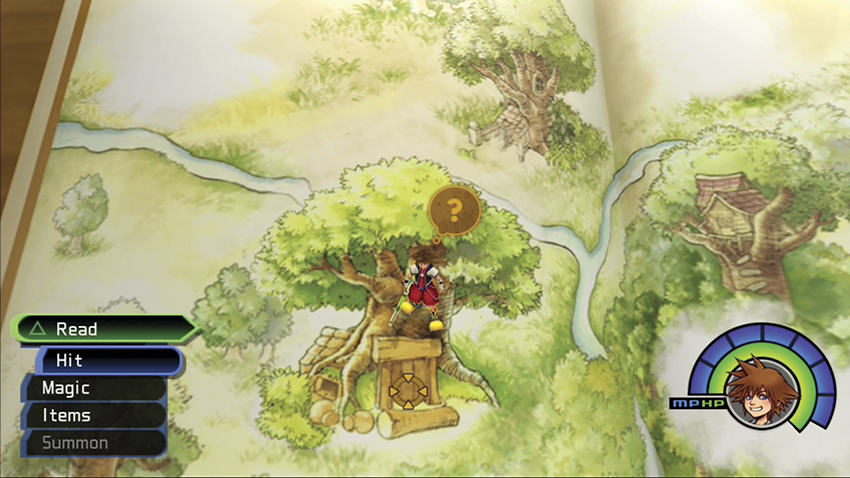
Walk over to the left side of the pages to Pooh’s House (the big tree with honey pots out front). Enter to track down Pooh again.
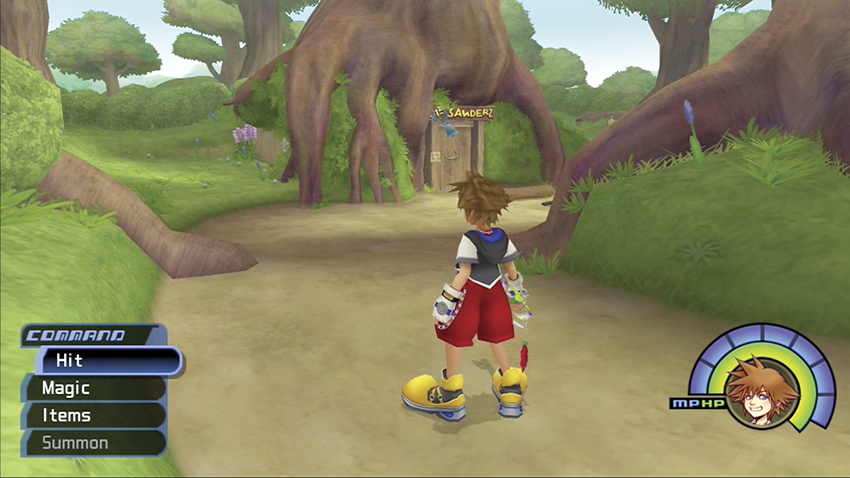
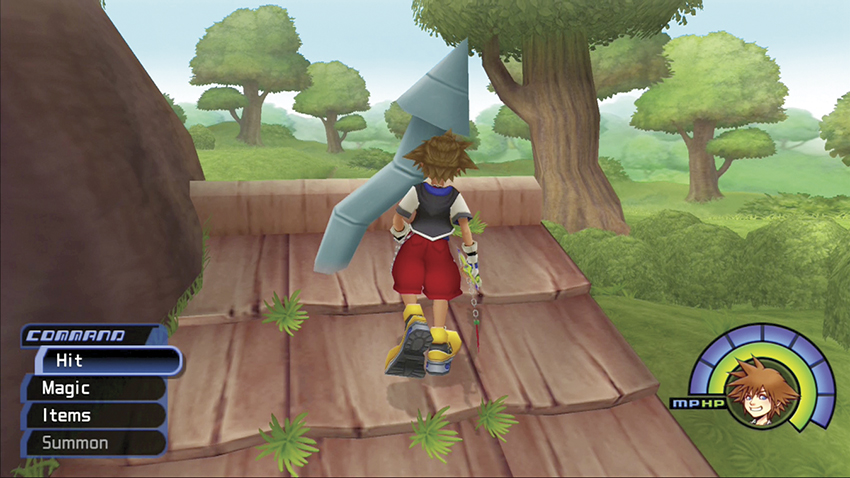
You arrive outside Pooh’s House, but you want to run around back first. Jump up on the roof and knock the chimney pipe to dislodge a special item that lands inside the House.
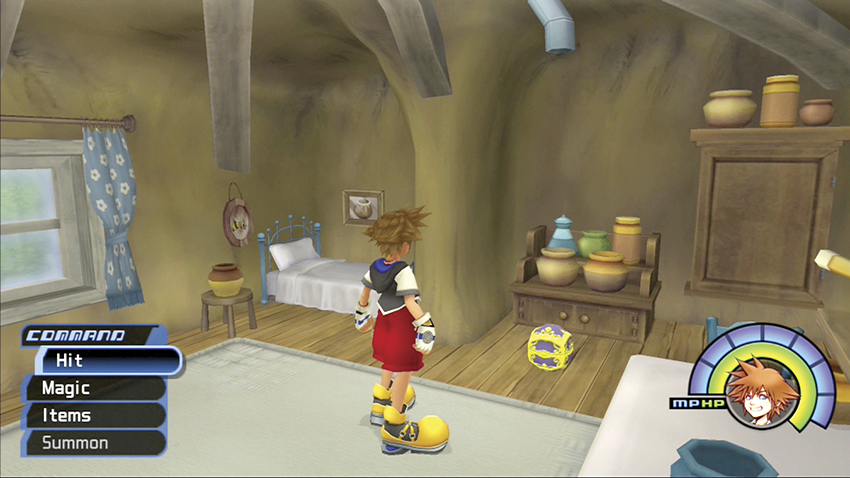
Listen to Pooh tell you about his hunger for honey. When he’s finished, pick up the Mega-Ether that dropped out of the chimney pipe.
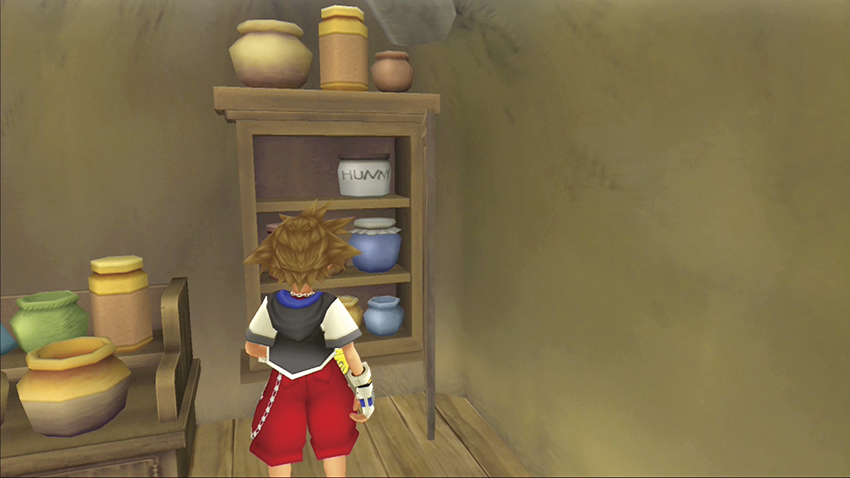
Now walk over to the corner and open the cupboard. An Elixir drops out that you can collect. For fun, you can also examine the clock and open the window.
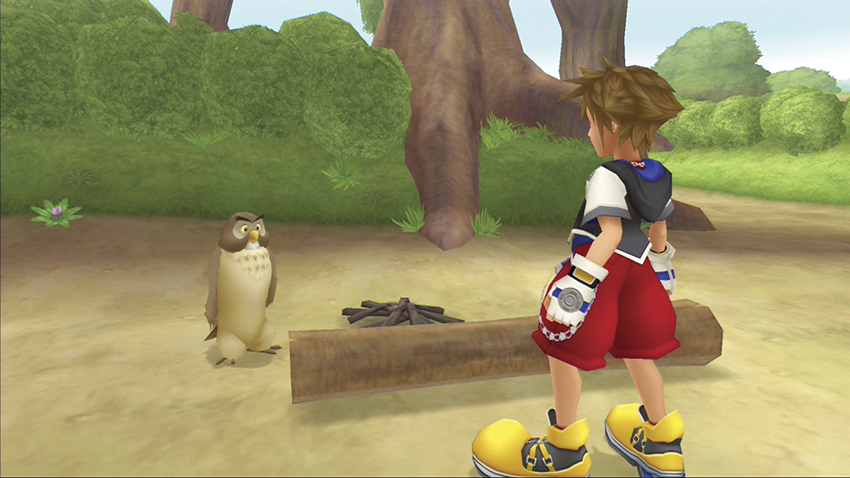
Leave Pooh’s House and talk to Owl. He explains that each Torn Page opens up another chapter in the book and that you should return to the Hundred Acre Wood after discovering a Torn Page.
Owl
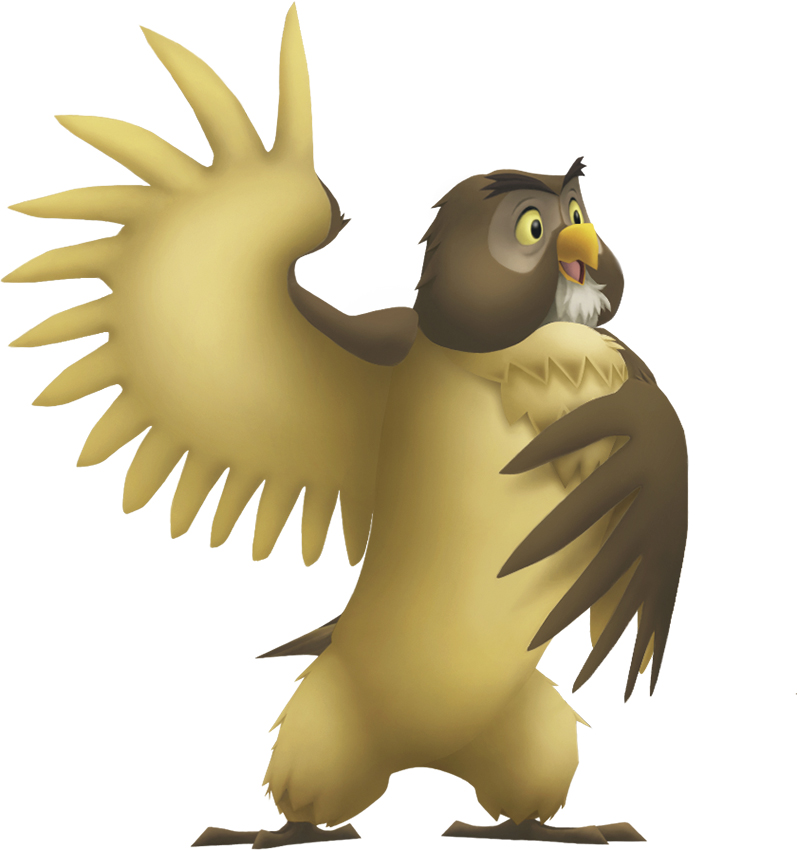
The wisest resident of the Hundred Acre Woods will be your guide to all the games and goings-on within the areas. Owl loves to speak his mind and answer everyone’s questions, but that doesn’t mean he’s always right.
Step 2: The Hunny Tree
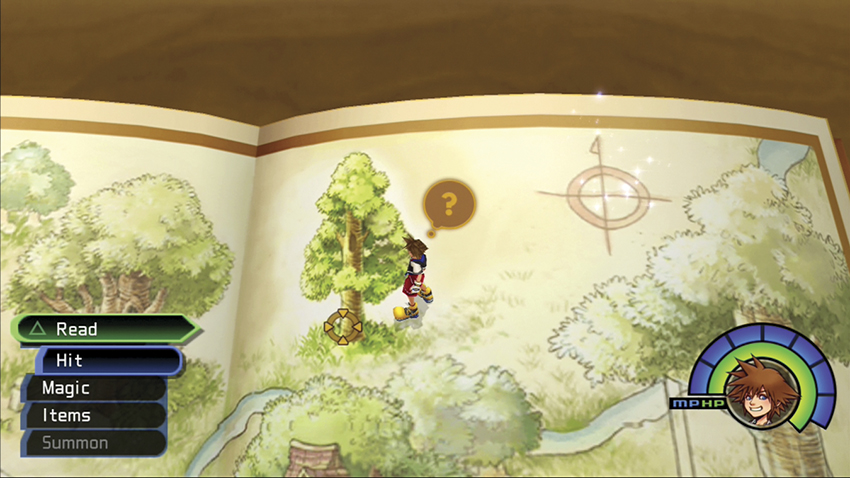
Return to the Old Book when you find the first Torn Page. Head toward the tree near the compass and enter for the Hunny Tree mini-game.
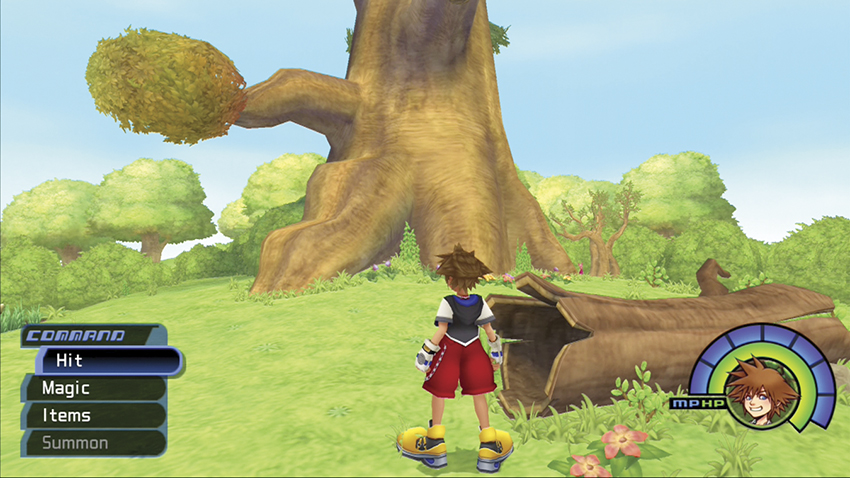
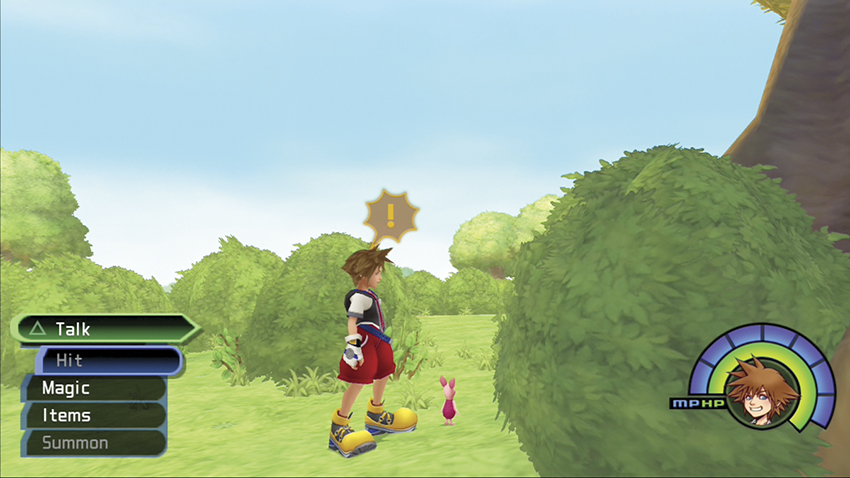
Piglet is lost at the Hunny Tree. He’s very scared of you when you arrive, and Piglet dashes behind the tree to hide. He won’t let you approach him from the front. Instead, run around the tree and sneak up behind him.
Piglet
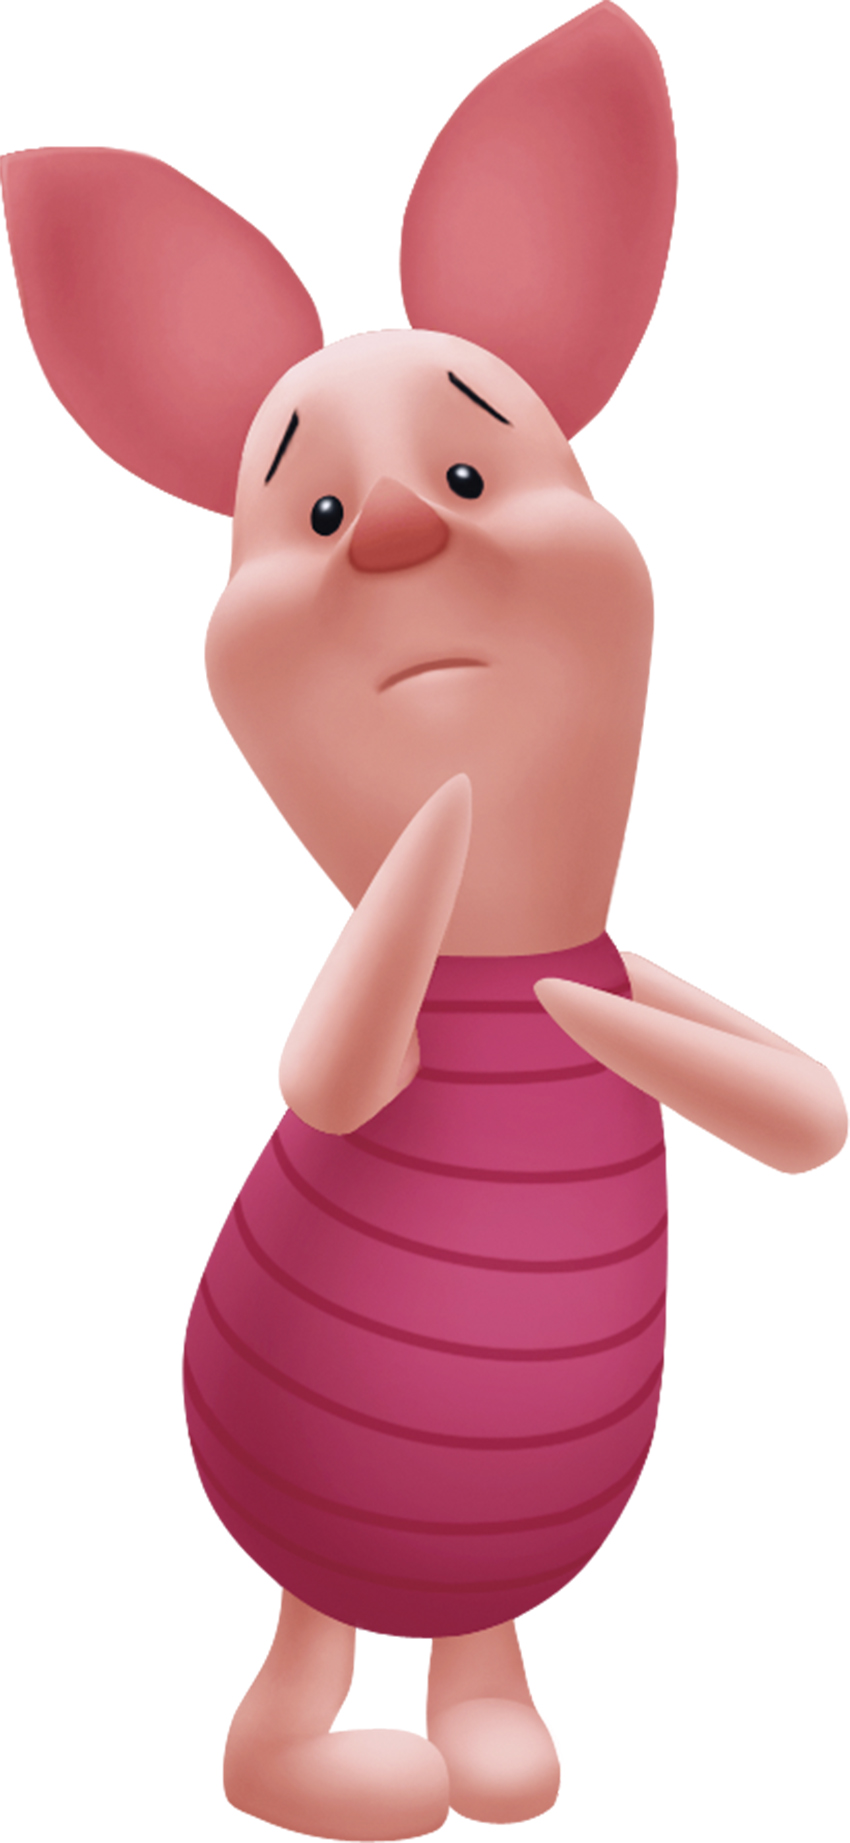
As you learn as soon as you meet him, Piglet is frightened by many things. However, he has a big heart and his good nature is treasured by all his friends in the Hundred Acre Wood, especially his best friend Pooh.
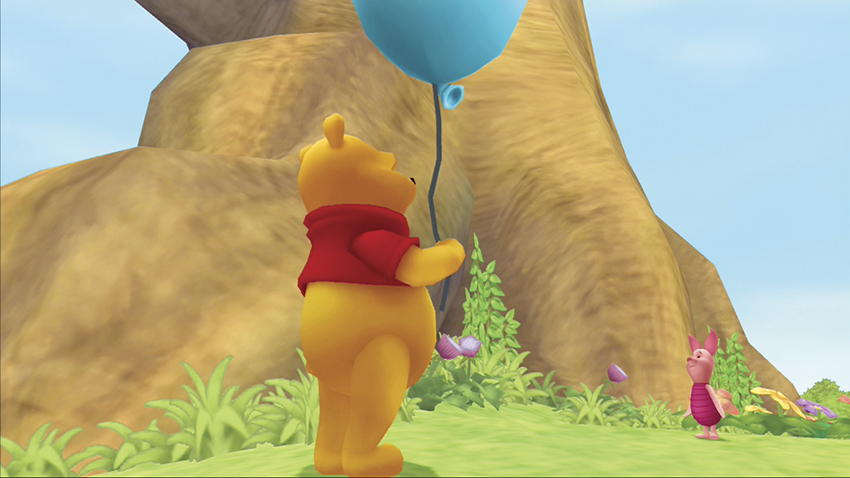
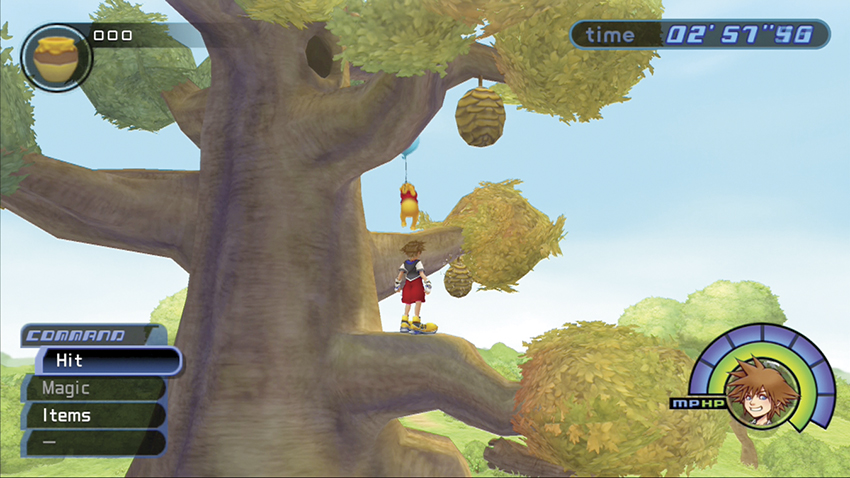
You finally get Piglet to calm down, and when Pooh arrives, Piglet brings Pooh a big, blue balloon to play the Hunny Tree mini-game. Pooh will hold the balloon and float up to the various tree hollows; the higher he floats, the more honey he collects.
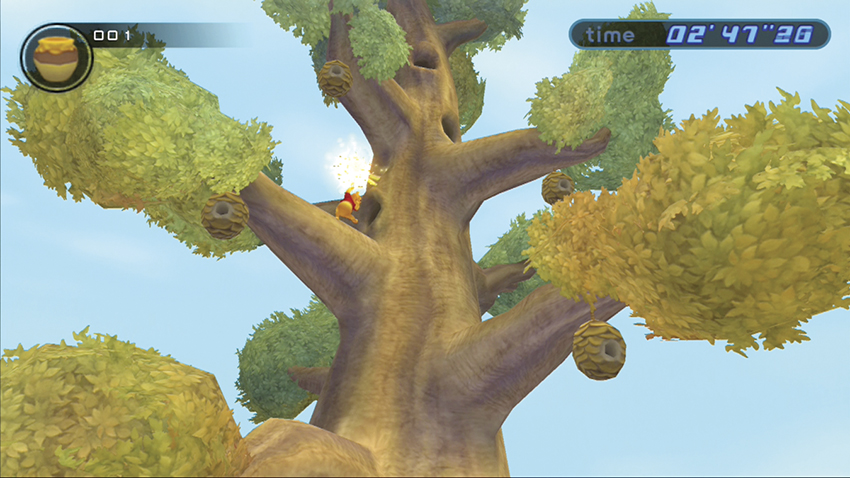
Bees from the beehives will buzz out, and if they touch the balloon, they will pop it and send Pooh tumbling to the ground.
You have three minutes to see how much honey Pooh can collect. When Pooh begins to float up, jump up ahead of him and steady yourself on the adjacent tree branch. Don’t move too much or you’ll fall off and have to climb quickly to swat away the bees in time.
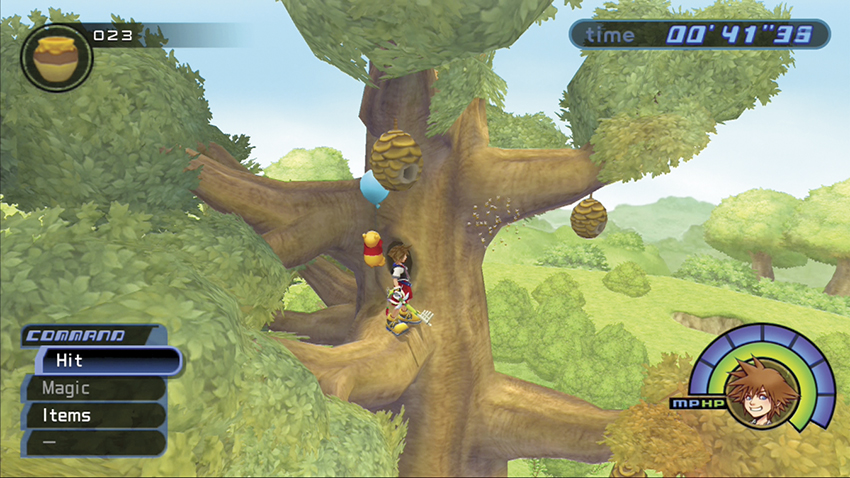
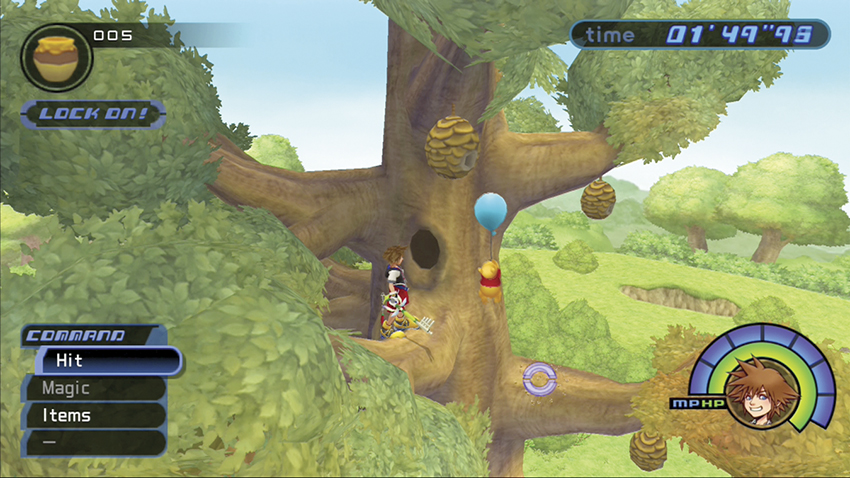
Watch the closer beehives to see which expels bees. Lock on to the bees as they approach and make sure you swat them with your attack. If you jump and attack, it’s best to try and land on one of the branches below you so you don’t plummet all the way down to the ground.
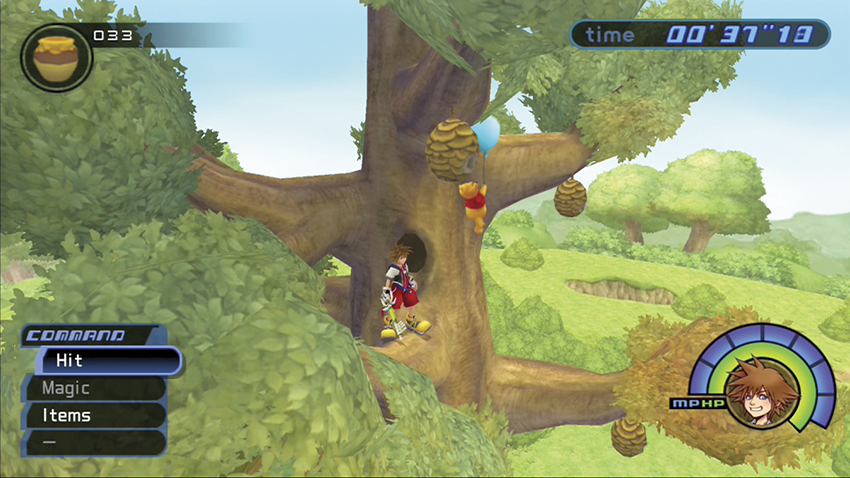
Get Pooh as high up the tree as you can to score more points. Plus, the more honey Pooh scoops up, the happier he’ll be!
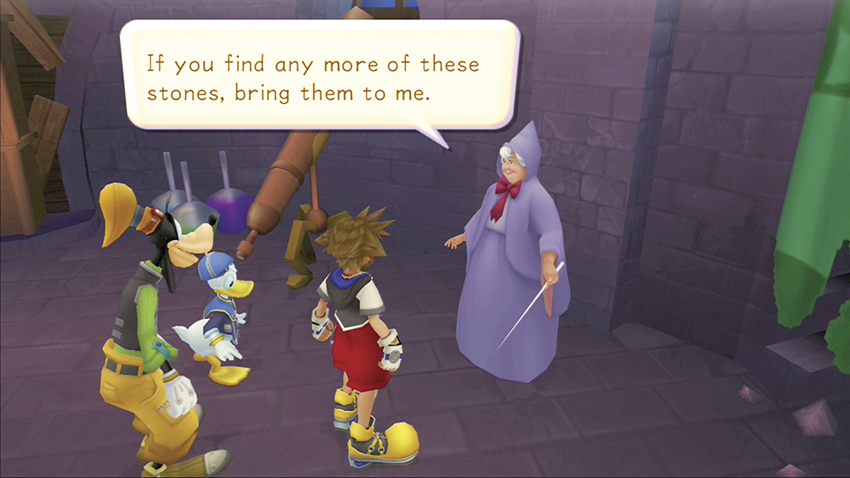
When the mini-game ends, you appear back out on the Old Book pages. The first Torn Page transforms into Naturespark. Exit the Old Book temporarily and speak with the Fairy Godmother next to Merlin. She turns the gem into the Bambi Summons for you. If this is your final summons, you will also receive Donald’s Lord Fortune.
| Location | Charge | Item (Probability) |
|---|---|---|
| Traverse Town | 1x | Hi-Potion (100%) |
| Traverse Town | 2x | Ether (100%), Blaze Shard (40%) |
| Traverse Town | 3+ | Mega-Potion (100%), Blaze Shard (60%), Blaze Gem (30%) |
| Wonderland | 1x | Hi-Potion (100%) |
| Wonderland | 2x | Ether (100%), Front Shard (40%) |
| Wonderland | 3+ | Mega-Potion (100%), Frost Shard (60%), Frost Gem (30%) |
| Deep Jungle | 1x | Hi-Potion (100%) |
| Deep Jungle | 2x | Ether (100%), Thunder Shard (40%) |
| Deep Jungle | 3+ | Mega-Potion (100%), Thunder Shard (60%), Thunder Gem (30%) |
| Agrabah | 1x | Hi-Potion (100%) |
| Agrabah | 2x | Ether (100%), Bright Shard (40%) |
| Agrabah | 3+ | Mega-Potion (100%), Bright Shard (60%), Bright Gem (30%) |
| Monstro | 1x | Hi-Potion (100%) |
| Monstro | 2x | Ether (100%), Lucid Shard (40%) |
| Monstro | 3+ | Mega-Potion (100%), Lucid Shard (60%), Lucid Gem (30%) |
| Halloween Town | 1x | Mega-Potion (100%) |
| Halloween Town | 2x | Mega-Ether (100%), Power Shard (40%) |
| Halloween Town | 3+ | Elixir (100%), Power Shard (60%), Power Gem (30%) |
| Neverland | 1x | Mega-Potion (100%) |
| Neverland | 2x | Mega-Ether (100%), Spirit Shard (40%) |
| Neverland | 3+ | Elixir (100%), Spirit Shard (60%), Spirit Gem (30%) |
| Hollow Bastion | 1x | Mega-Potion (100%) |
| Hollow Bastion | 2x | Mega-Ether (100%), Lucid Shard (40%) |
| Hollow Bastion | 3+ | Elixir (100%), Lucid Shard (60%), Lucid Gem (30%) |
| End of the World | 1x | Mega-Potion (100%) |
| End of the World | 2x | Mega-Ether (100%), Mythril Shard (40%) |
| End of the World | 3+ | Elixir (100%), Mythril Shard (60%), Mythril (30%) |
Step 3: Rabbit’s Garden
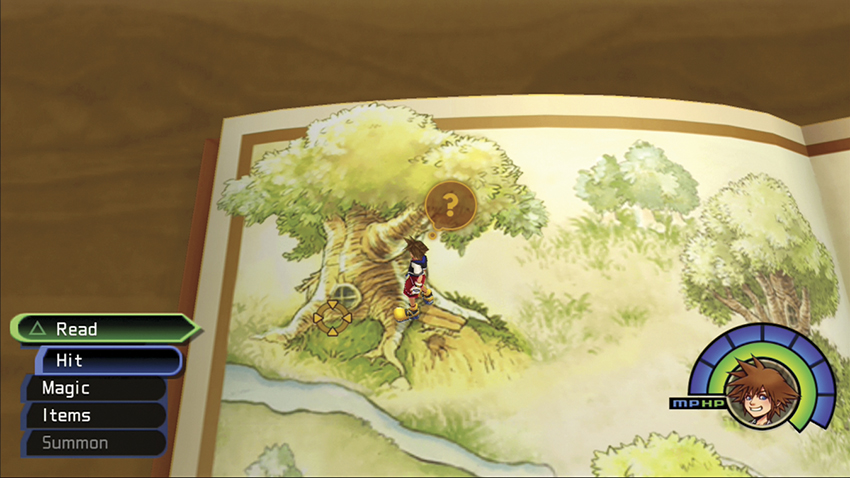
The second Torn Page opens Rabbit’s House. Go to the top-left corner and enter the big tree there.
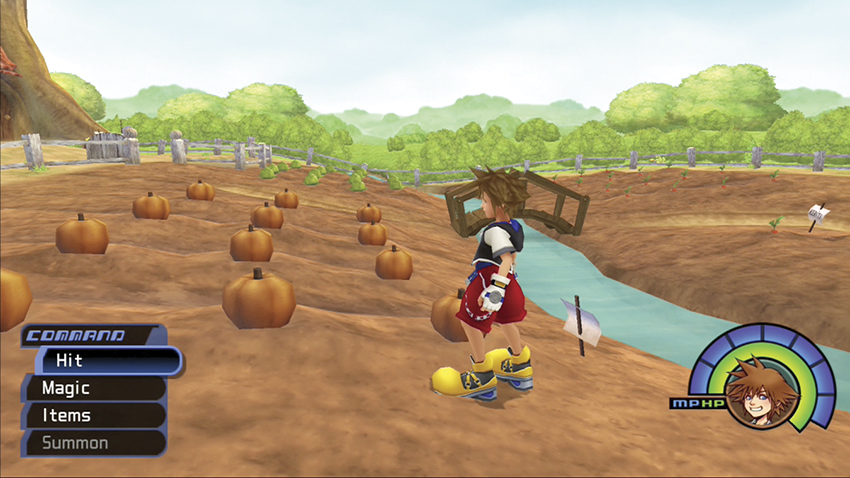
Walk toward Rabbit’s House and stop in his garden. You can pull up the pumpkins and lettuce to discover items.
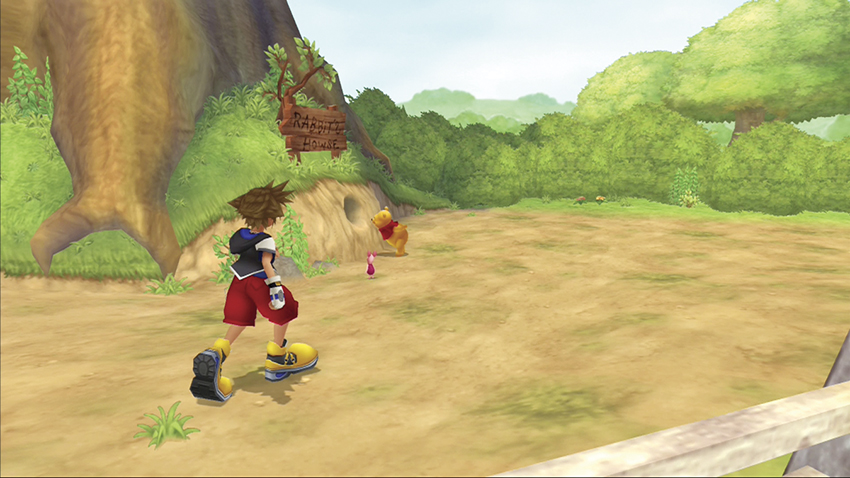
Stop by Rabbit’s mailbox for a nice letter from Pooh, then circle around back to speak with Piglet and Pooh. They are trying to get into Rabbit’s House through the back hole, but Rabbit doesn’t want them to come in.
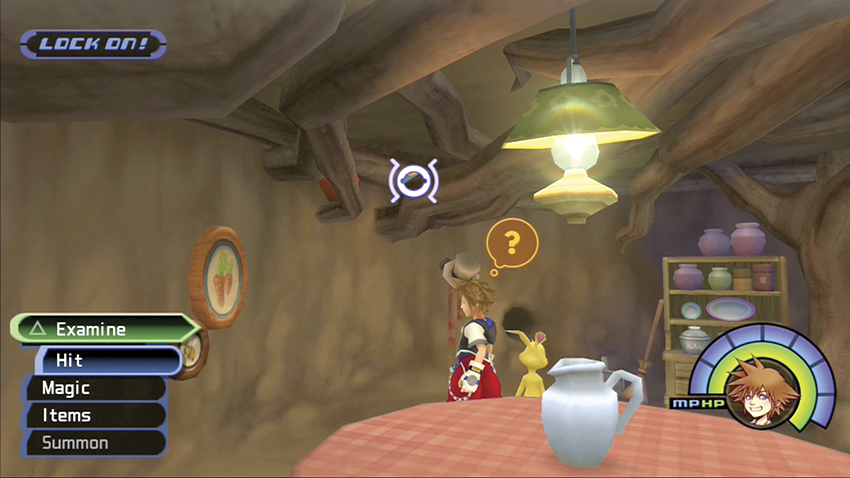
Enter Rabbit’s House and wait for Pooh and Piglet to arrive. When Pooh asks about honey, target the blue honey pot hiding up in the rafters.
Rabbit
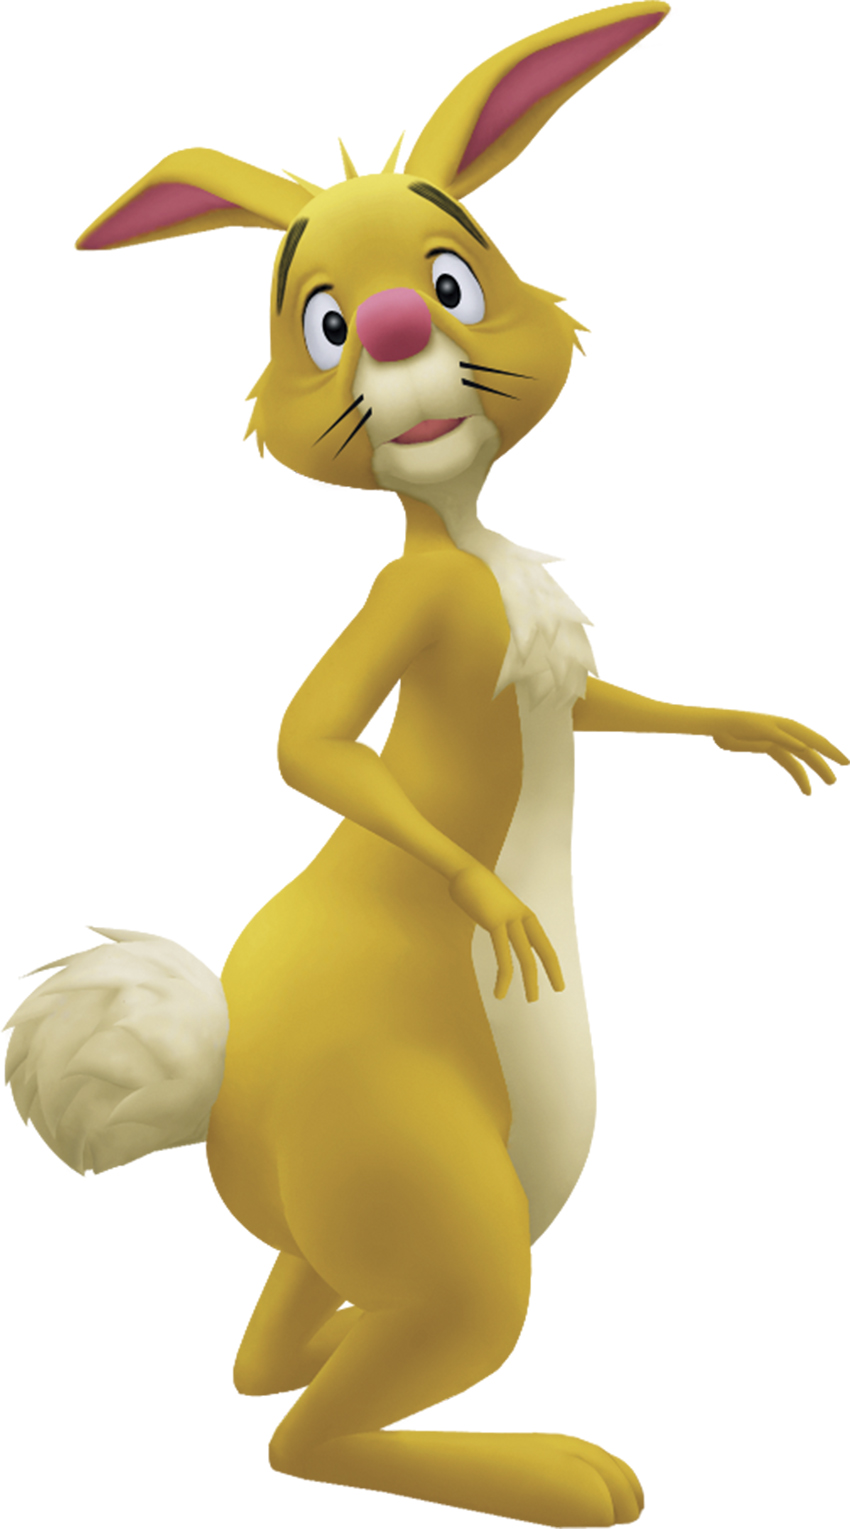
Rabbit doesn’t always want company, especially when that company is Pooh, who wants to eat all of Rabbit’s honey. The hard-working Rabbit has grown a beautiful garden, which might just get wrecked if you can’t save it.
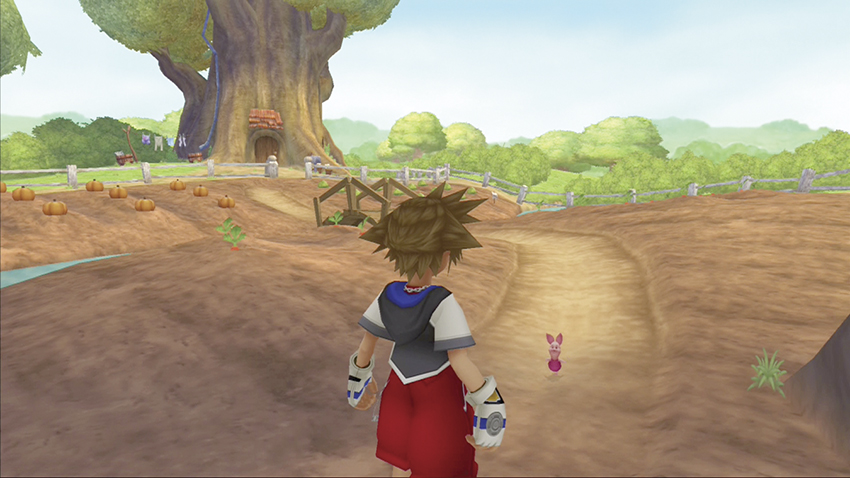
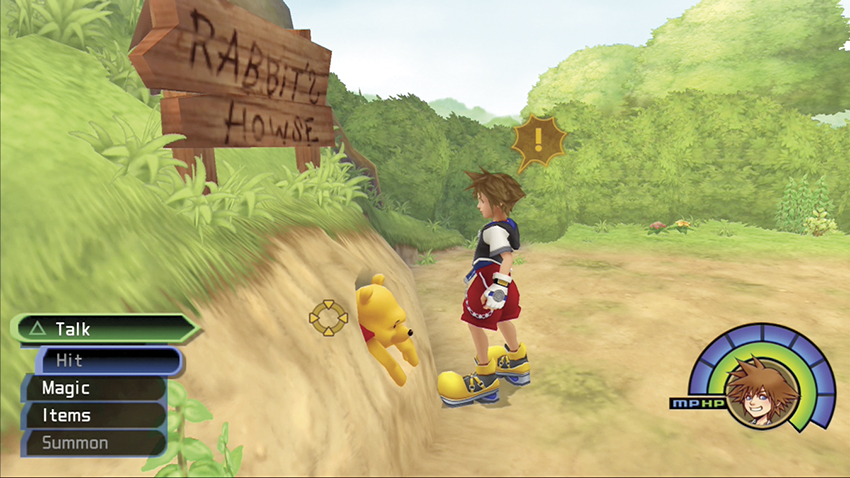
Rabbit reluctantly offers Pooh some honey, and Pooh sits down for a snack. Leave the house and head for the exit back to the Old Book pages. Piglet, however, will stop you before you go. Pooh is stuck and needs your help. Circle around back again and talk to him.
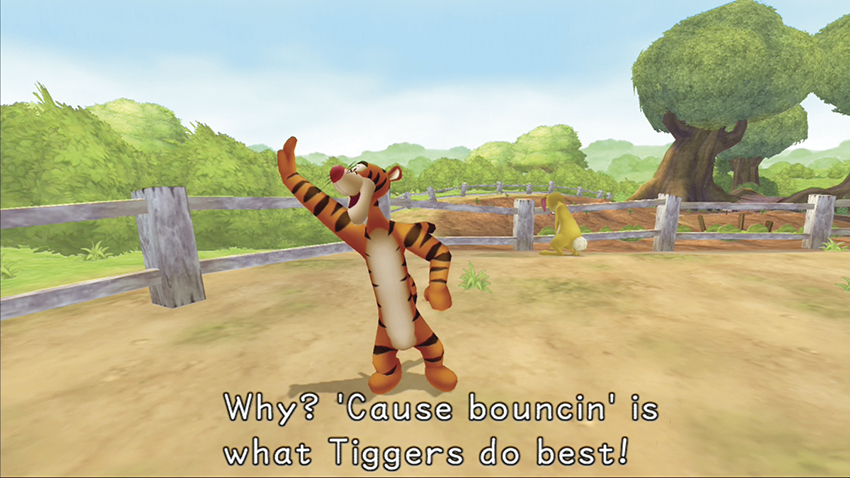
Rabbit needs carrot top juice from the vegetables in his garden in order to slim Pooh down. However, Tigger bounces into sight and pronounces that Rabbit’s garden is his new bouncing spot. If he bounces on the vegetables, you won’t be able to squeeze Pooh out of the hole.
Tigger

No one loves to bounce more than Tigger! Although overly exuberant at times, Tigger has a playful soul and means well. He can’t find his bouncing spot, so when you first meet him, Tigger figures Rabbit’s garden is as good a spot as any.
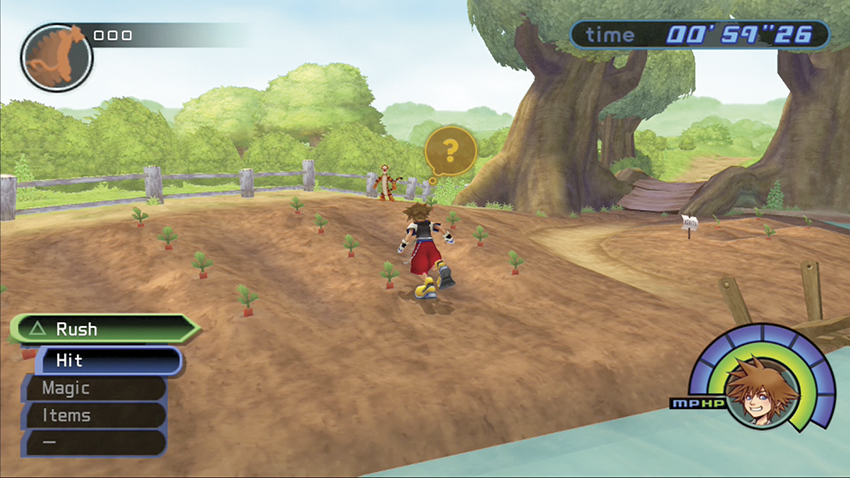
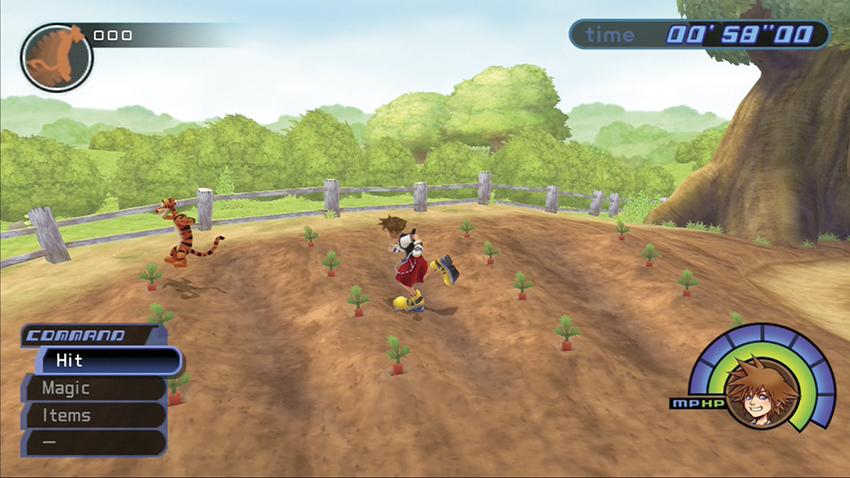
In this mini-game you have one minute to prevent Tigger from squashing as many vegetables as you can. Tigger will leap up into the air and land on a carrot; if he lands on the same carrot twice, it’s lost.
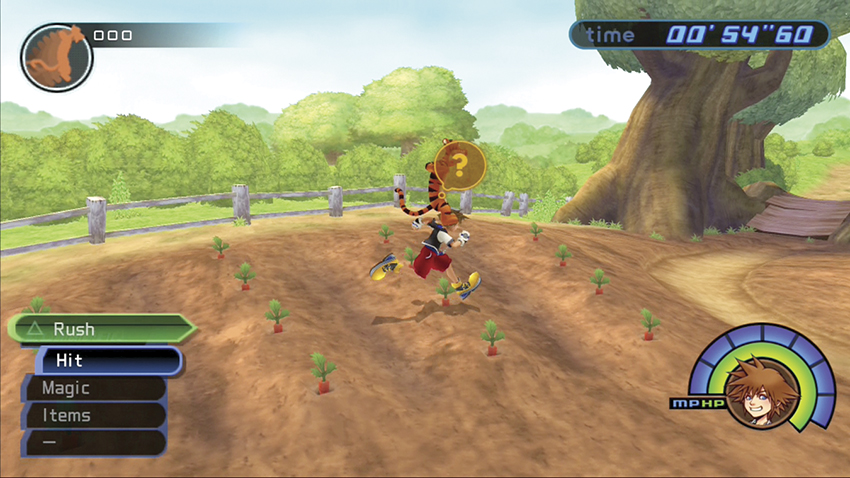
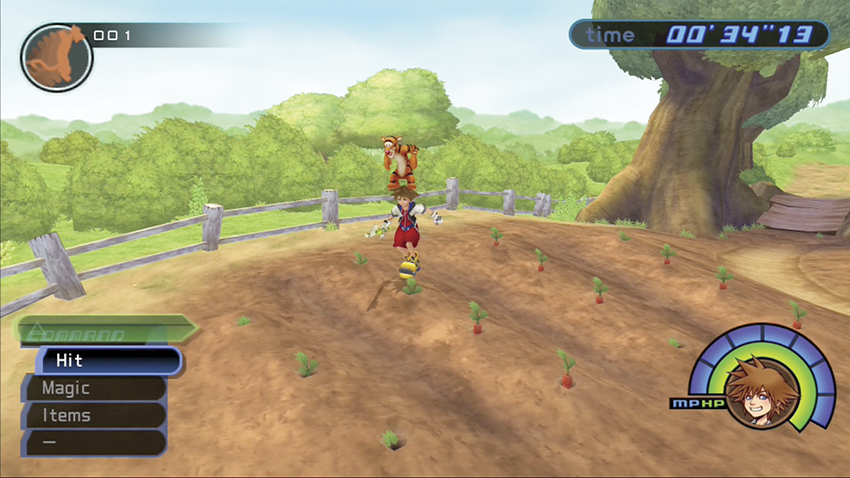
In order to stop Tigger from landing on a carrot, you must predict which one he will bounce on and stand over it before he reaches it. Each time you do, you gain a point. You only need one point to complete the mini-game and continue on with the story.
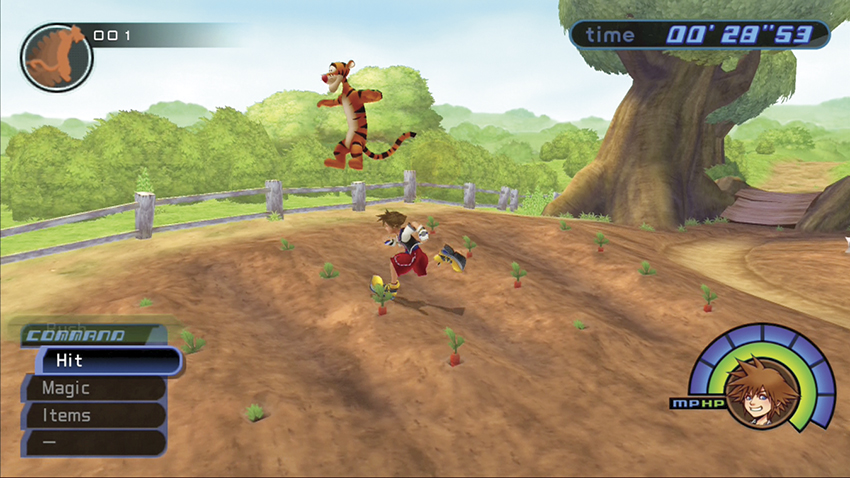
You can rack up high scores by using the Rush command. If you are facing in the direction that Tigger is heading, trigger the Rush command to zoom there ahead of Tigger and block him.
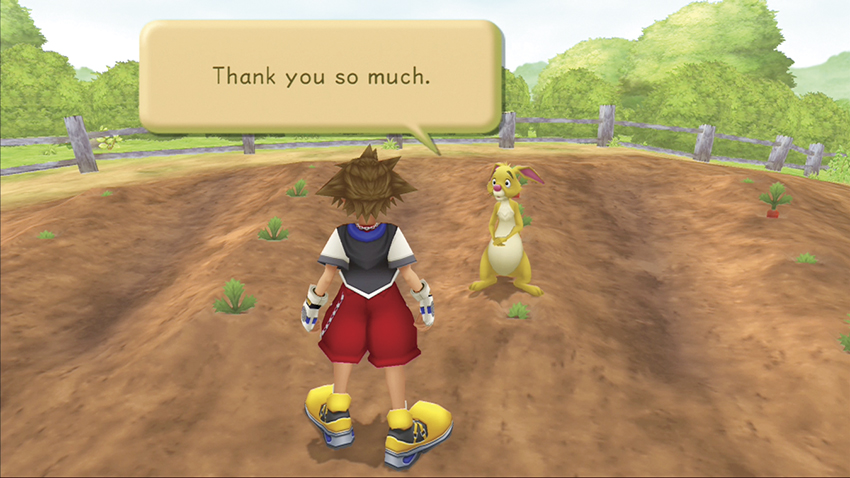
When the mini-game ends, head inside the house and talk to Pooh. You push him out of the hole, and your mission is complete. You return to the Old Book pages and the Torn Page transforms into a Mythril Shard.
Step 4: Pooh’s Swing
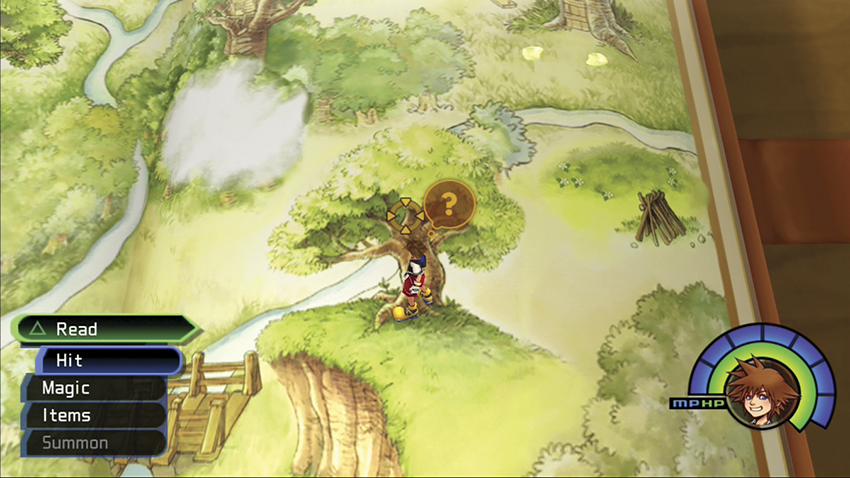
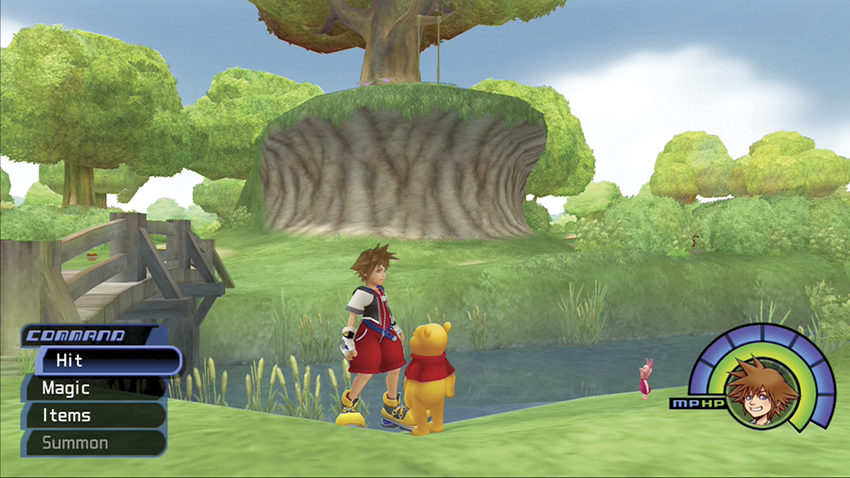
Once you have the third Torn Page, a tree with a swing appears in the lower-right corner of the Old Book pages near the bridge. Enter to find Pooh and Piglet on the bridge talking to Eeyore drifting downstream.
Eeyore
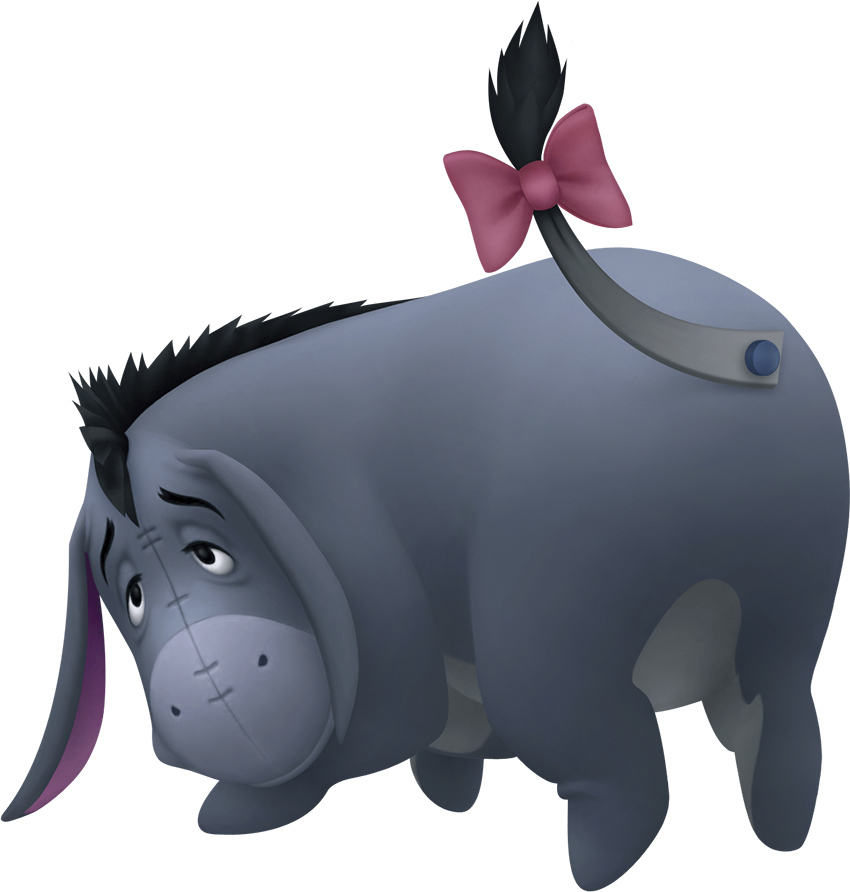
The timid and pessimistic donkey Eeyore is very polite and doesn’t want to bother anyone, but he needs help when you first meet him in the water. Even after you pull him out, you will have to help him find his missing tail.
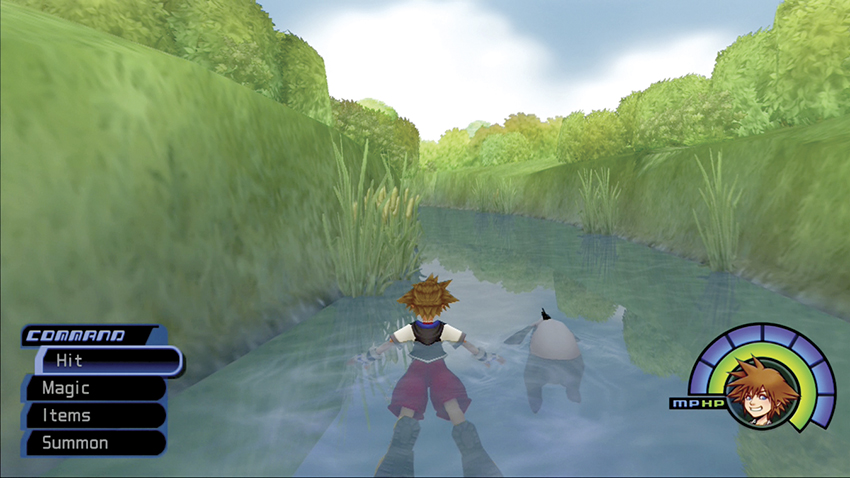
You have to save Eeyore before he drifts too far downstream. Jump into the water and swim over to the donkey to save him.
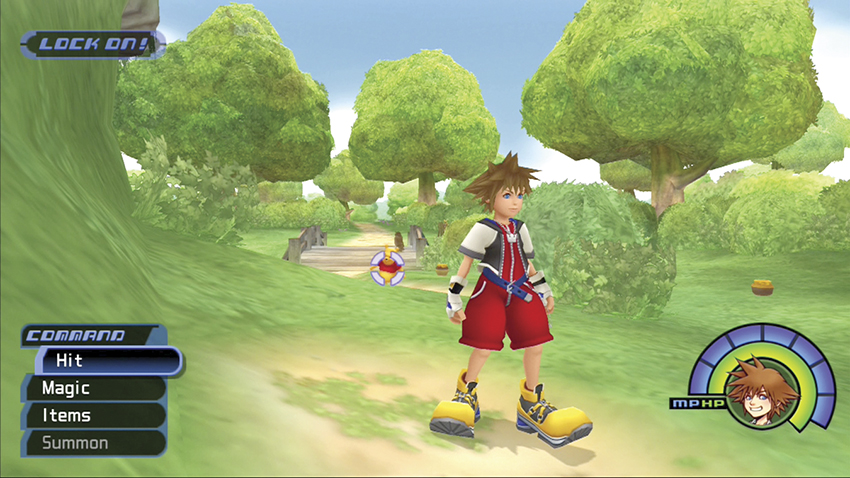
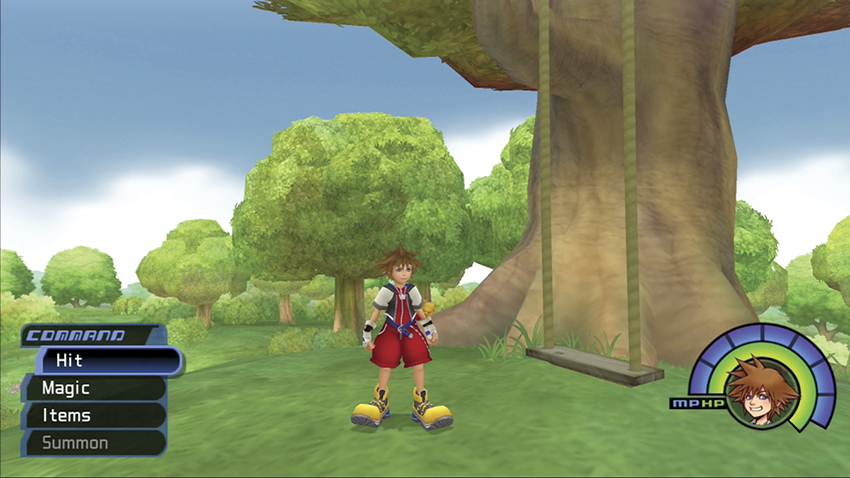
Next, you must lead Pooh to the tree swing. Lock onto Pooh and he will follow you. Patiently lead Pooh over the bridge, up the path, and up the hill to the swing. The hungry bear will likely stop for a honey snack along the way.
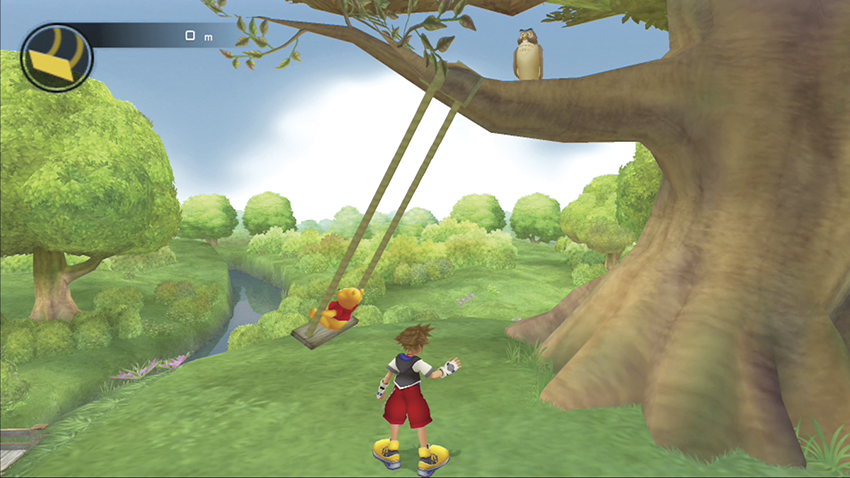
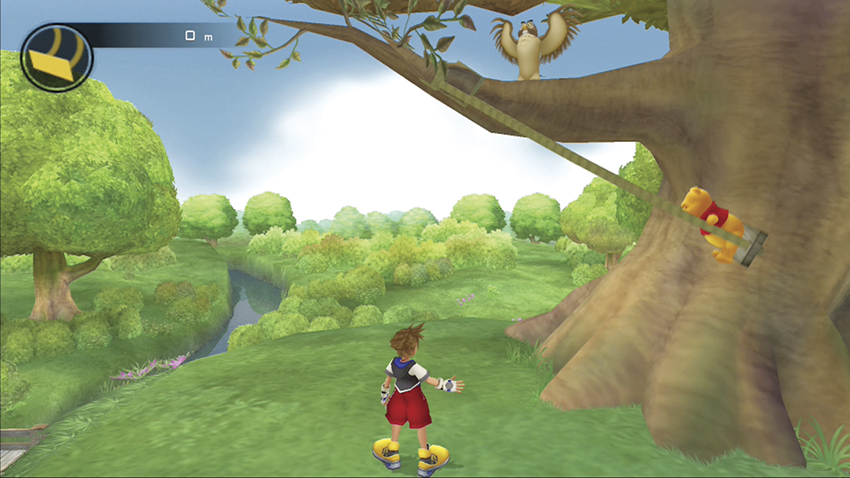
Owl instructs you on how to use the tree swing. Push Pooh exactly when Owl raises his wings. Mistime your pushes and Pooh could fly out of the swing too short or too long.
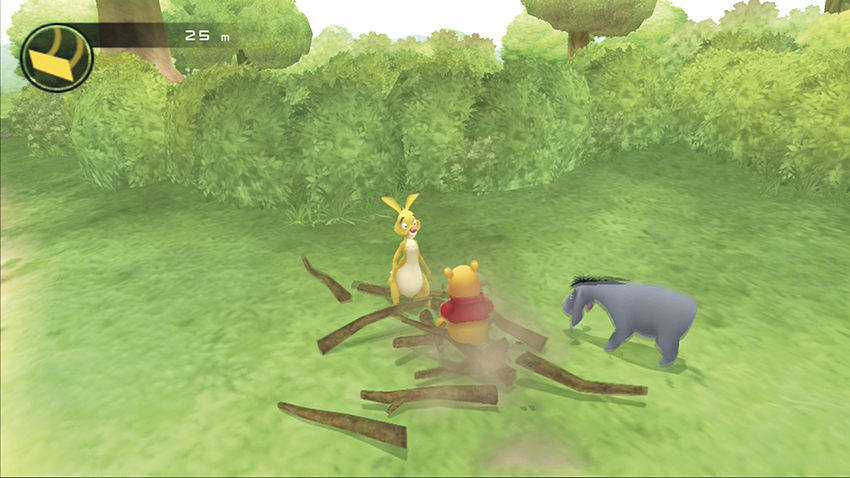
Your goal is to hit Eeyore’s makeshift stick house in the distance. If you do, it shatters apart and you complete the mini-game. As a reward for finishing the mini-game, your Stop spell is upgraded to Stopra.
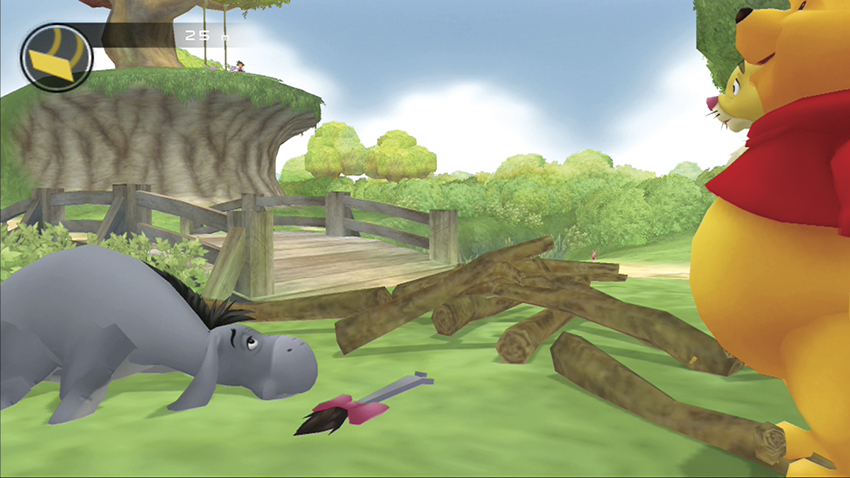
When you shatter the house apart, Eeyore finds his missing tail. Once it’s fashioned back on, you exit to the Old Book pages, but don’t leave yet.
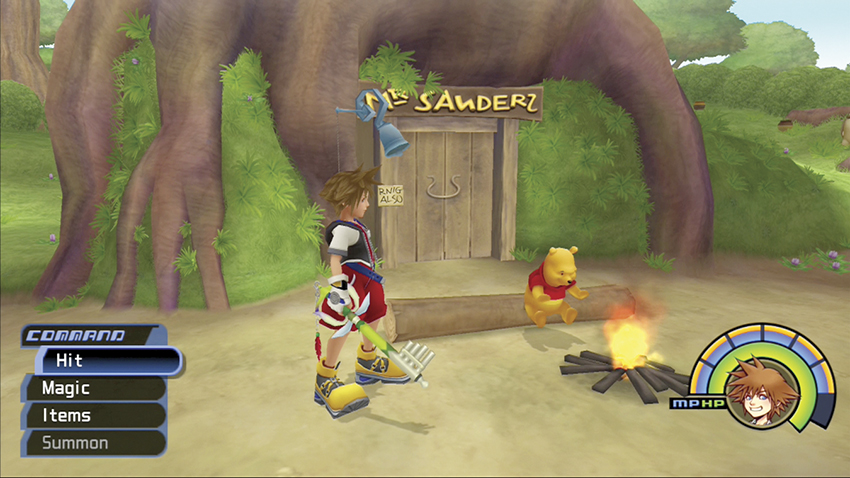
Return to Pooh’s House instead. You’ll find Pooh huddling in front of the sticks outside his front door; he’s cold from swinging too much. Light the sticks with your Fira spell and Pooh gives you Mythril.
Step 5: Tigger Bounce
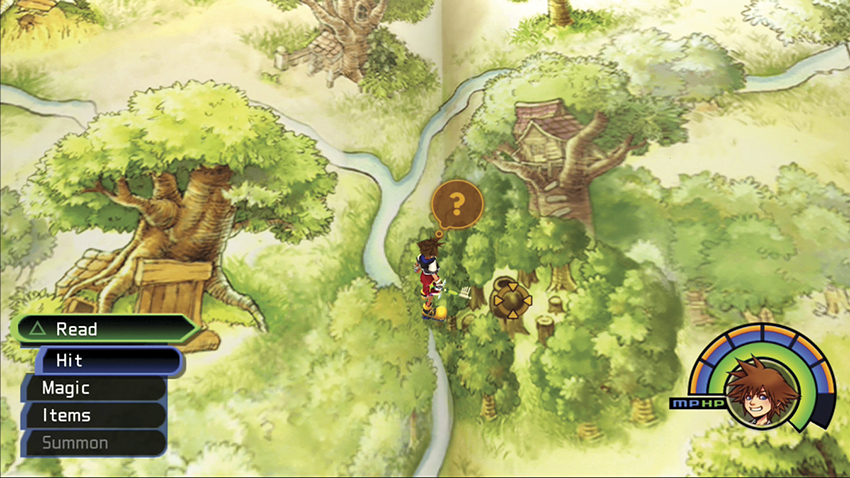
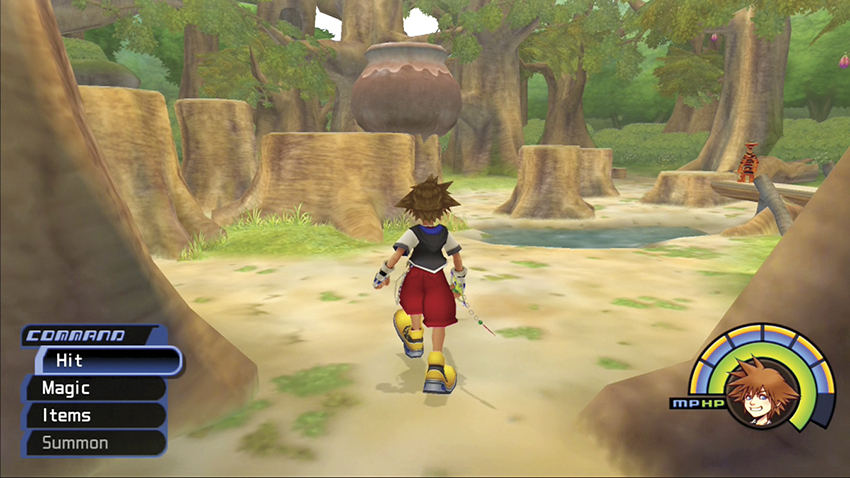
The fourth Torn Page reveals a tree-stump clearing near the center of the Old Book pages. Enter to find Tigger and Roo bouncing to their hearts’ content in the woods.
Roo
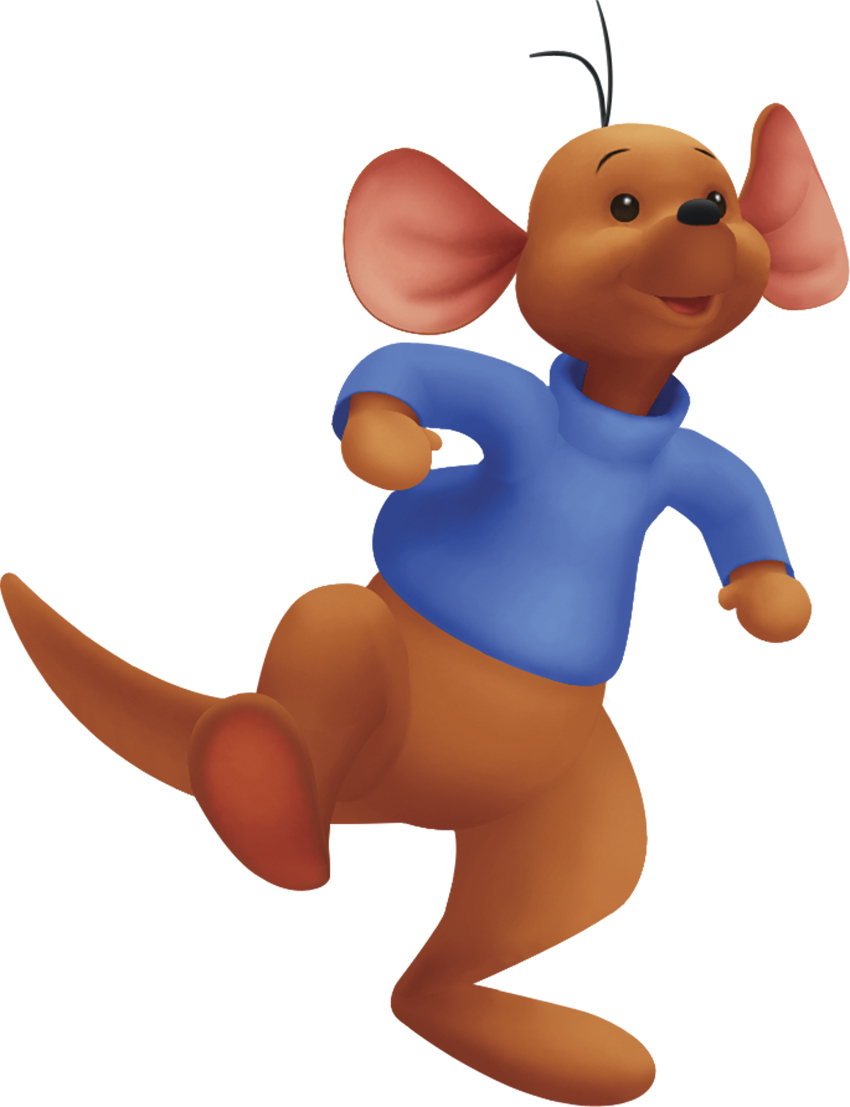
The energetic little kangaroo loves to bounce and hopes to out-bounce his idol Tigger someday. Fearless and friendly, Roo makes a great pair with Tigger and both will help you bounce as high as them.
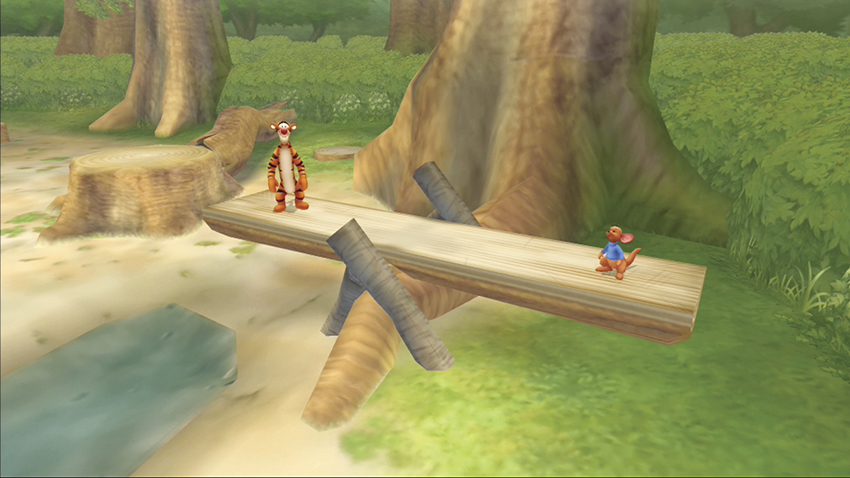
Speak to Tigger and he will challenge you to a series of bouncing exercises. See the “Tigger’s Bounce Challenges” map for the exact route of each challenge.
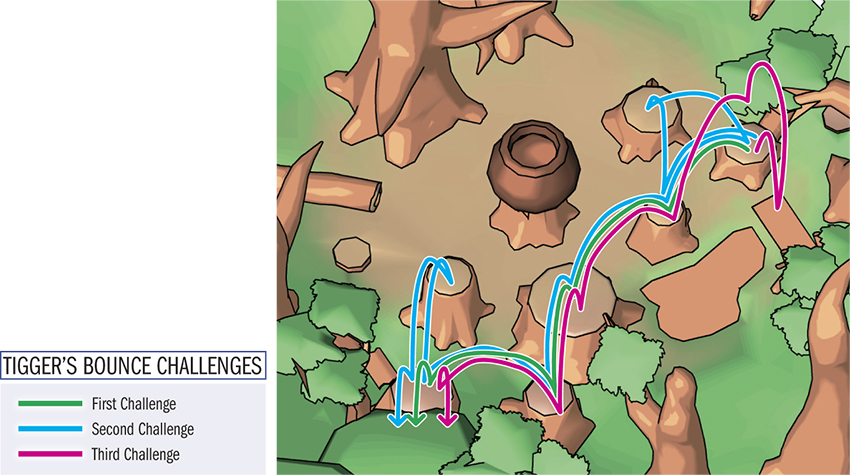
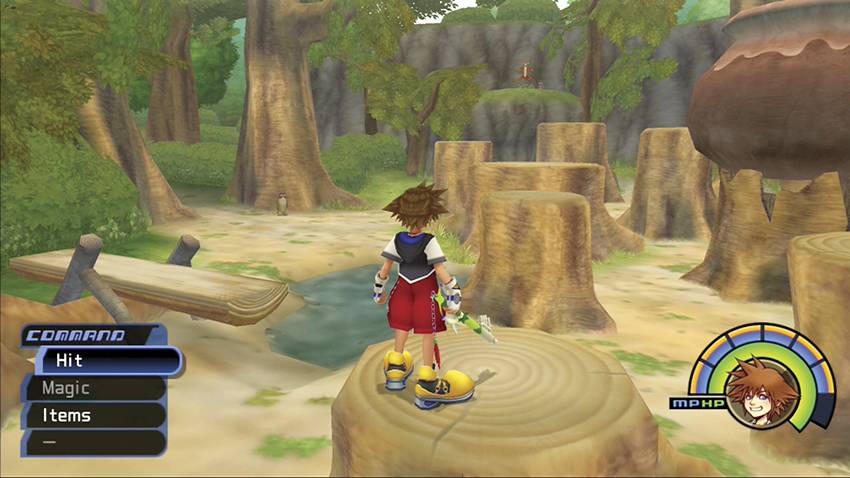
The first challenge is a straightforward jump across the stumps to the hill where Tigger and Roo finish. So long as you land on each stump and follow the same path Tigger and Roo took, you’ll complete it easily.
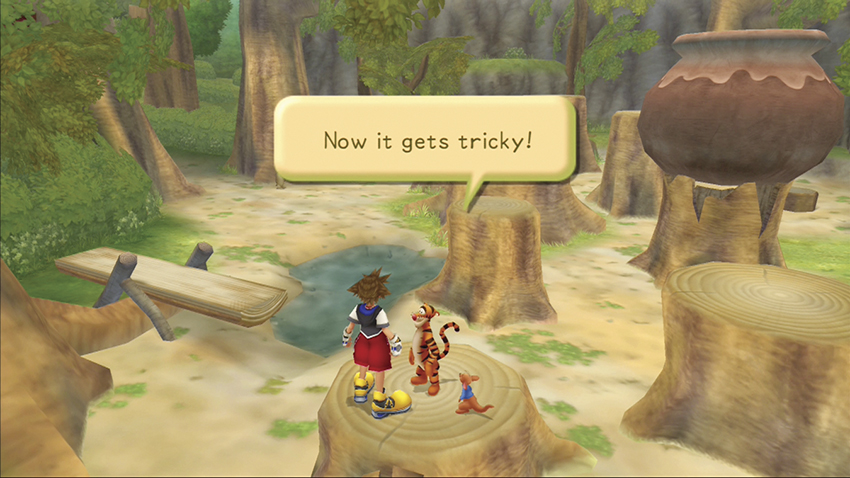
The second challenge gets trickier. Tigger and Roo make a loop on the stumps in front of the starting stump and then head for the hill. Follow their path exactly to complete the challenge.
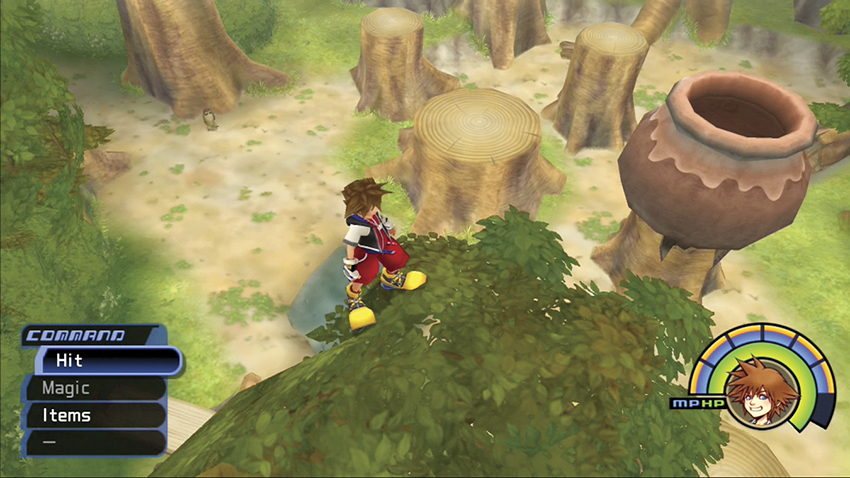
The third challenge takes you up into the tree. You must jump on the seesaw, let Roo catapult you up to the tree branch above, then jump back down to the stumps and follow Tigger’s route to the hill. Follow Tigger’s path exactly to complete the challenge.
Step 6: Tigger’s Giant Pot
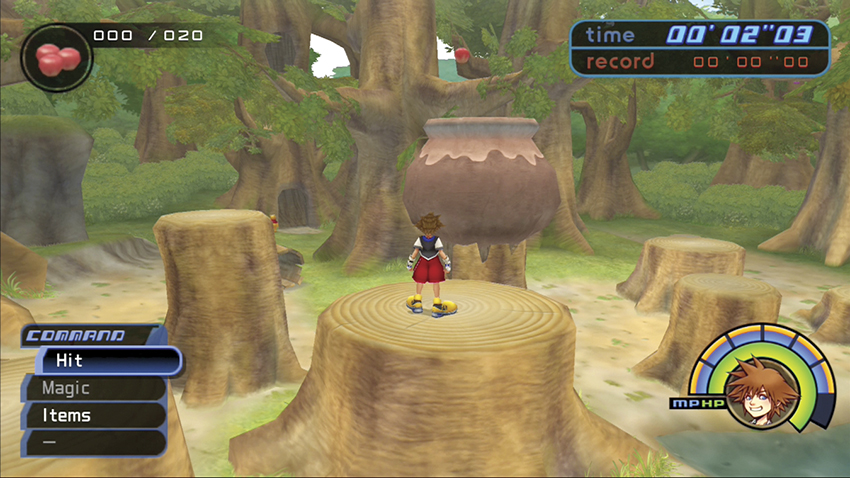
Talk to Roo after you complete Tigger’s bouncing challenges. You immediately enter Tigger’s Giant Pot mini-game.
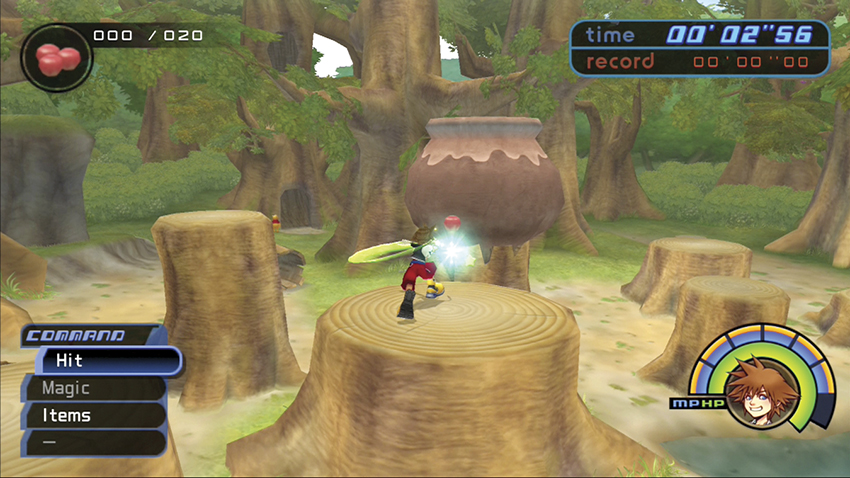
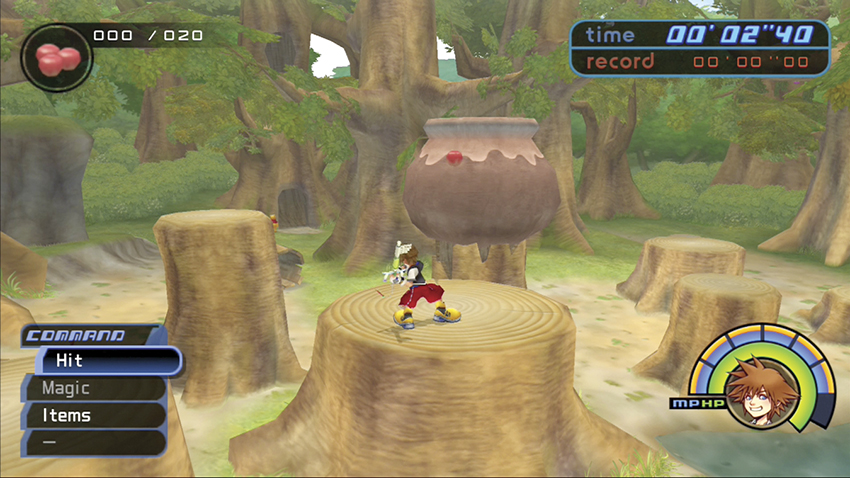
Tigger throws nuts at you from the big pot. You must whack them back at the pot to eventually shatter it. Time your swing so that the nut is about a Keyblade’s length from you when you strike it.
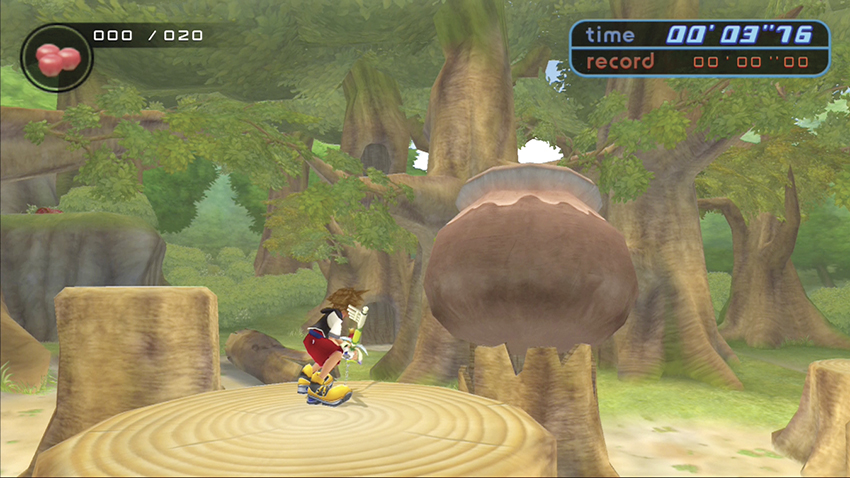
Stand in the middle of your stump and reposition yourself after each swing so that you don’t accidentally fall off the stump. If you do, run over and talk to Roo to restart the mini-game.
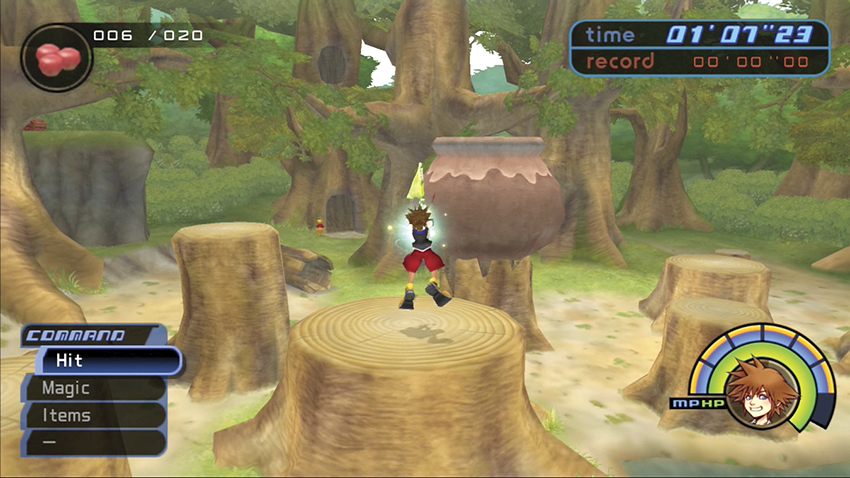
A score of 20 or more shatters the pot. If you strike nuts in midair you may score more points per hit, but be careful that your momentum doesn’t carry you off the stump. You can use the lock-on feature to track the nuts better.
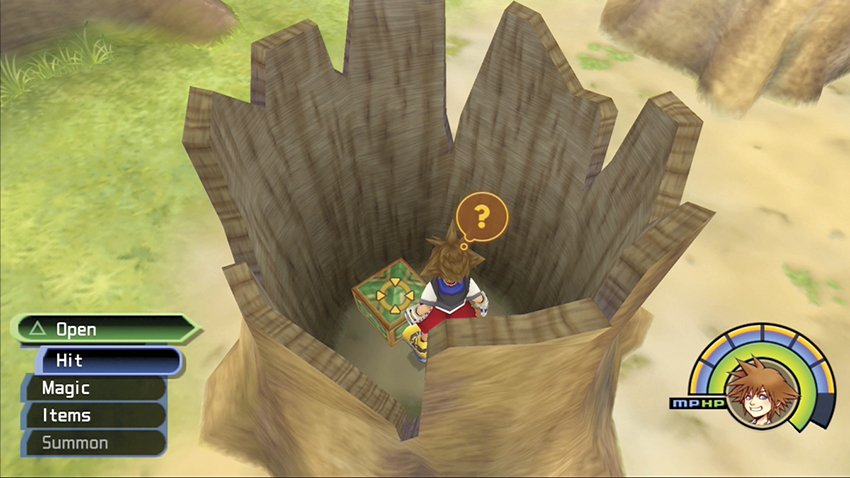
After the pot shatters, jump inside the remaining stump. Open the green chest hidden within for an AP Up.
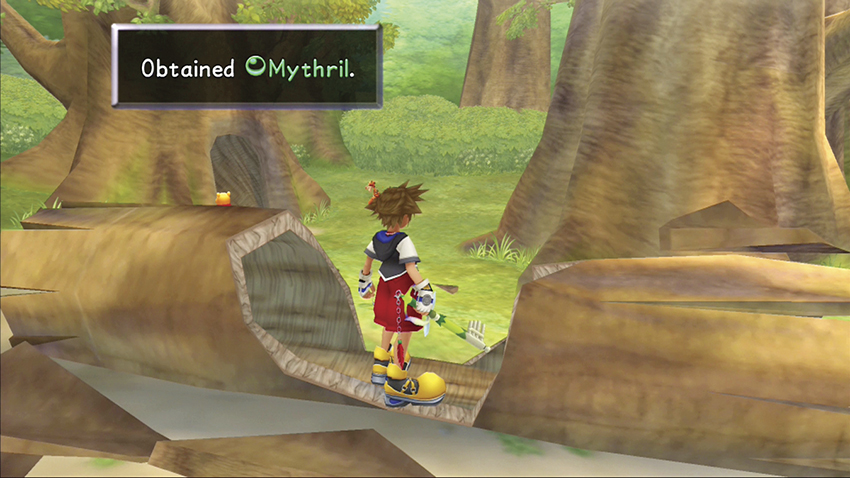
Head over to the log near Pooh. Lock onto the middle of the log and cut it in half with a mighty swing. Collect a piece of Mythril inside.
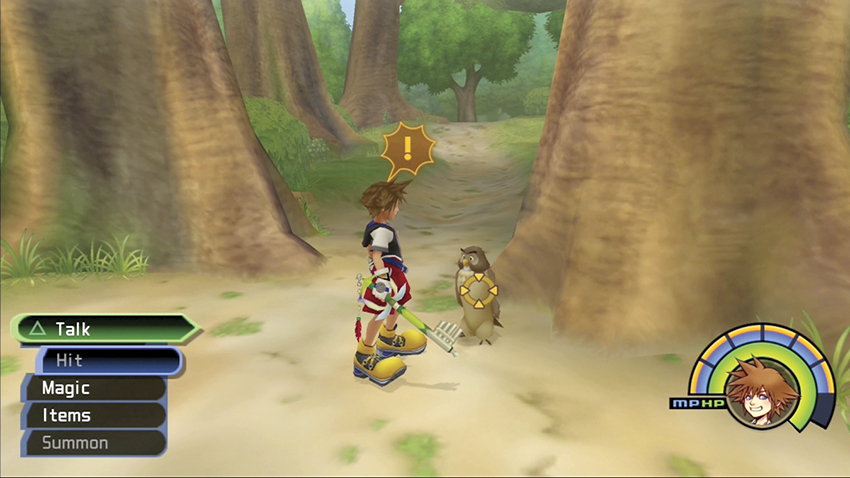
Find Owl and talk to him about the Rare Nuts in the area. Owl will trade you prizes for each Rare Nut you return to him. Now speak with Tigger to activate the seesaw.
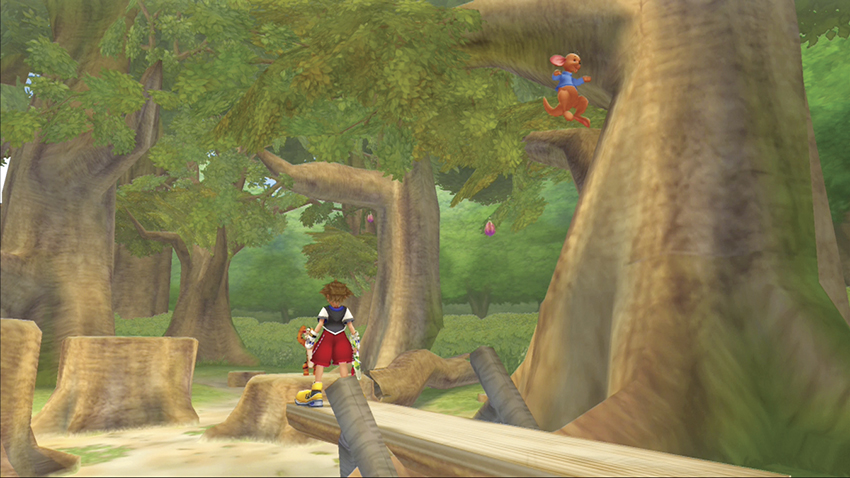
Tigger and Roo both operate the seesaw, and each will send you to a separate tree branch. Begin with Roo and have him shoot you up to the tree branch overhead.
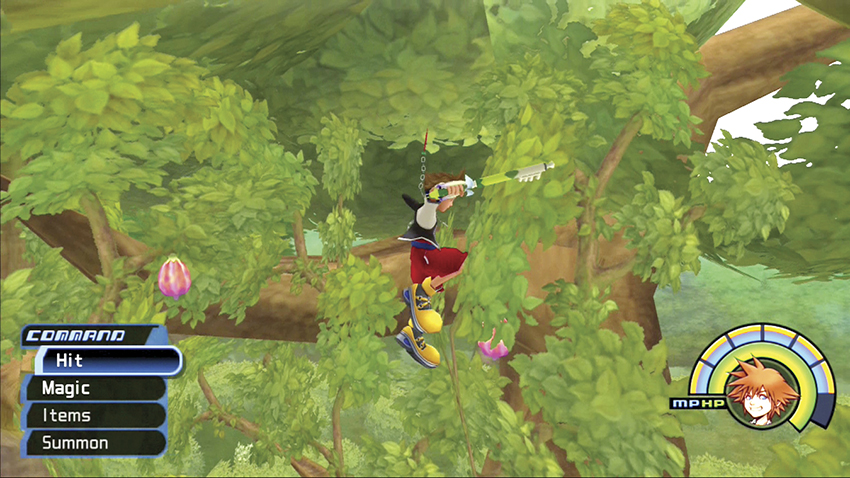
Land on the branch and pluck one of the two pink Rare Nuts hanging over your head. Return to Owl and he rewards you with a Power Up.
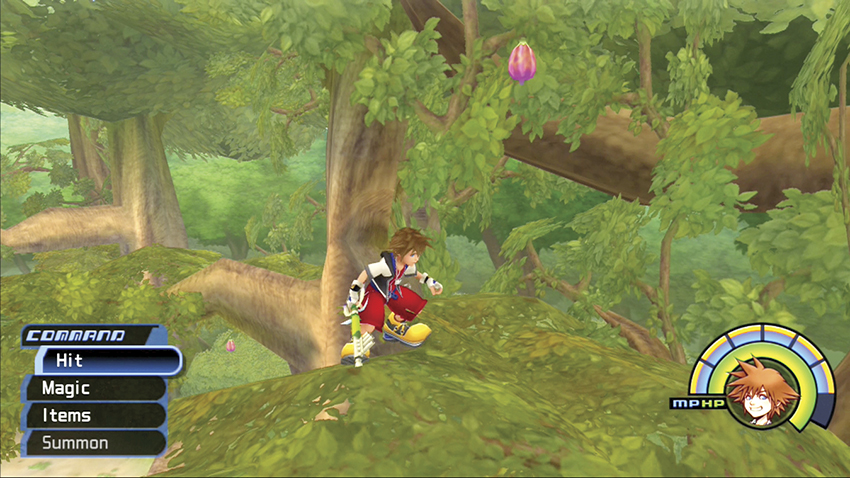
Repeat the process and grab the second Rare Nut up on Roo’s tree branch. Owl hands you a Defense Up.
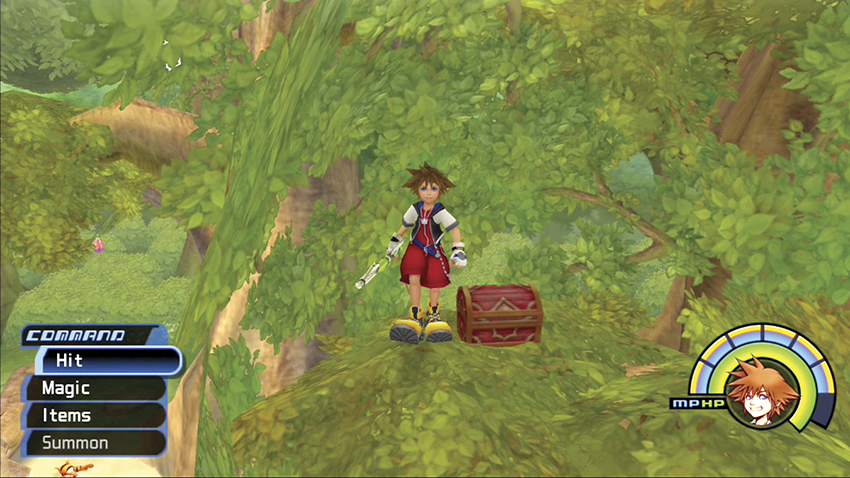
Jump back up to Roo’s tree branch. Inch to the edge and you’ll see that the tree branch below holds a chest. Drop off the edge and Glide to the hidden chest for a Dark Matter.
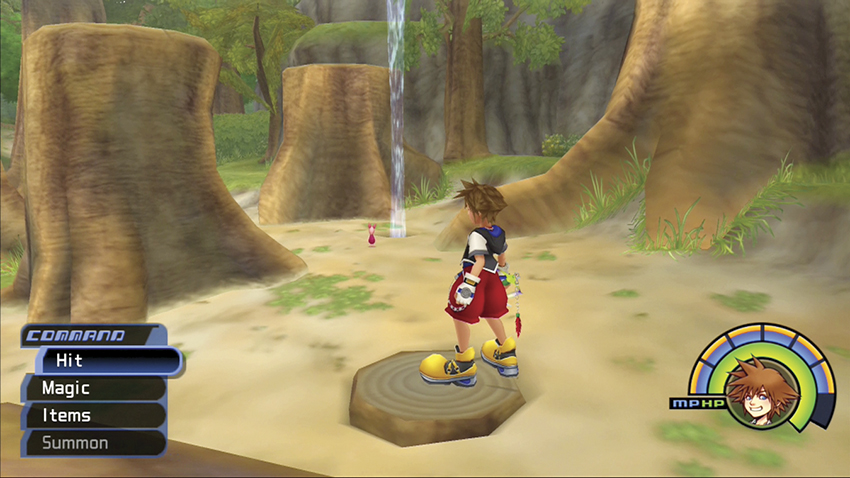
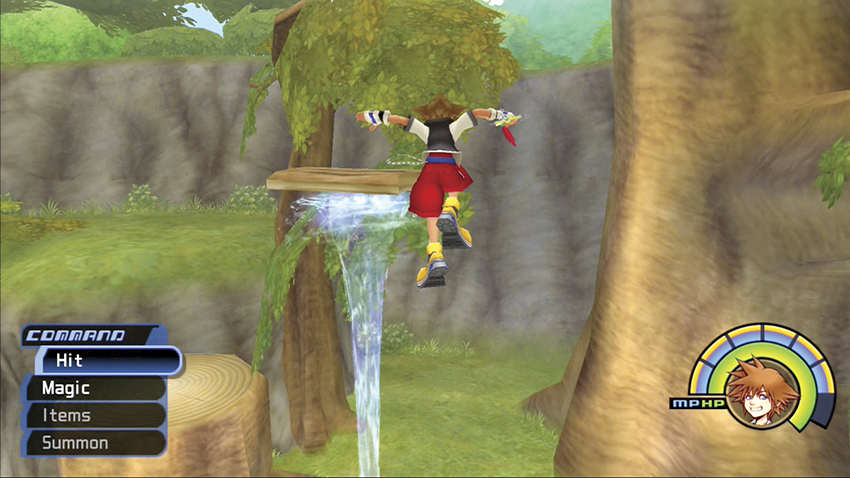
Find the tree stump near Piglet and stand on it. A water geyser next to Piglet shoots up in the air and carries a wooden platform atop it. Use the stumps to leap up and grab the platform.
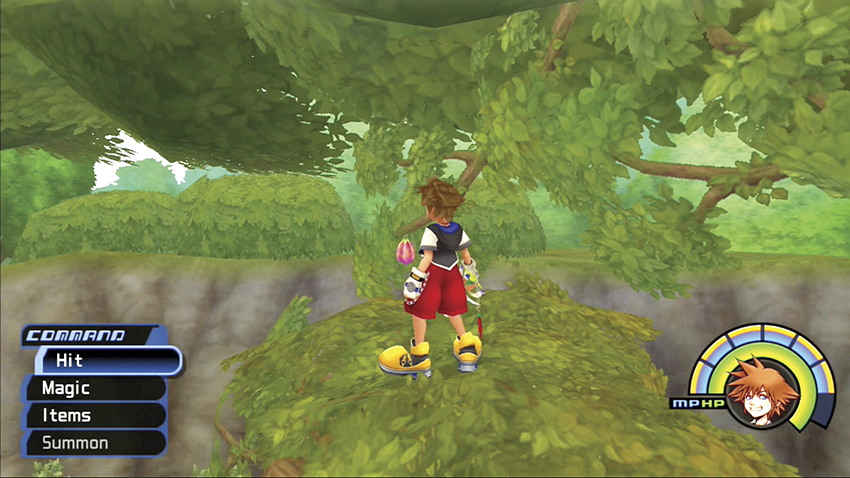
From the platform, jump over to the nearby tree and fetch a Rare Nut from the branch. Return your third Rare Nut to Owl for a Mythril Shard.
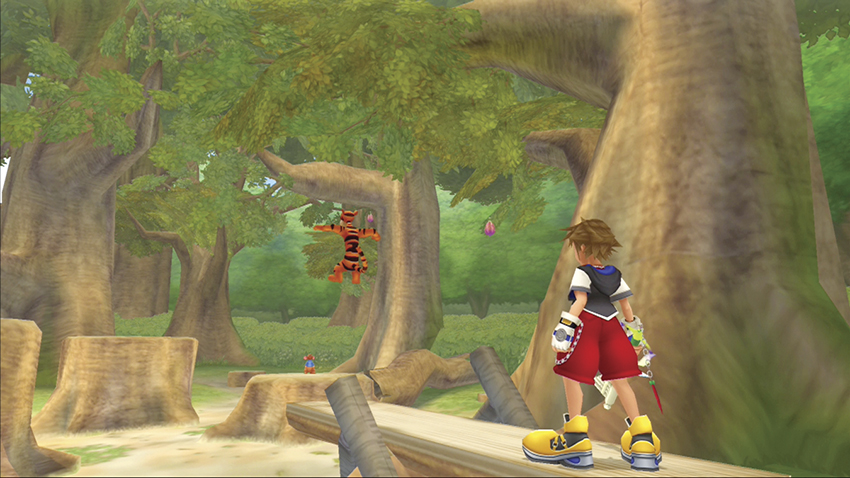
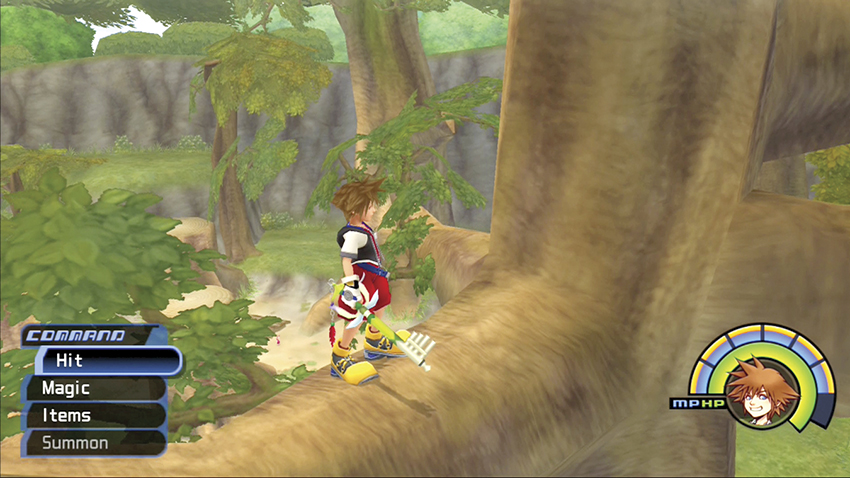
Now it’s Tigger’s turn to help you out. Choose Tigger as your partner on the seesaw and land on Tigger’s branch.
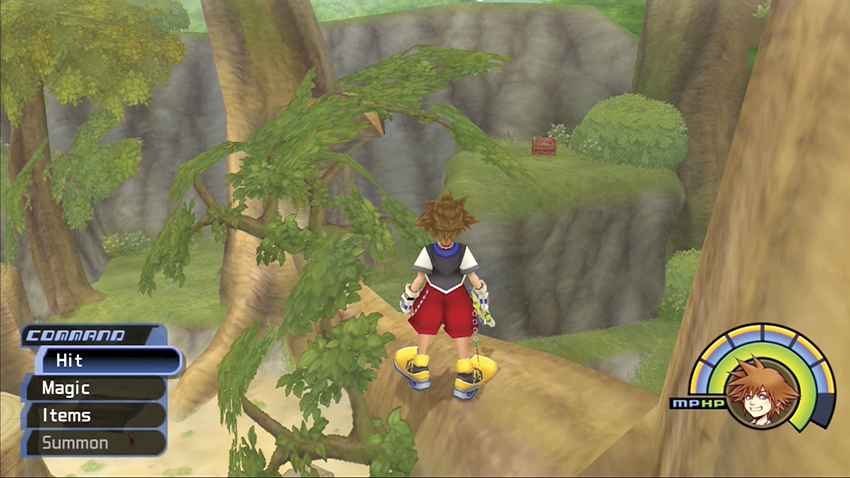
Jump over to the branch on your left and look for a plateau at the edge of the area with a red chest. Glide over to the plateau and open the chest for a Mythril Shard.
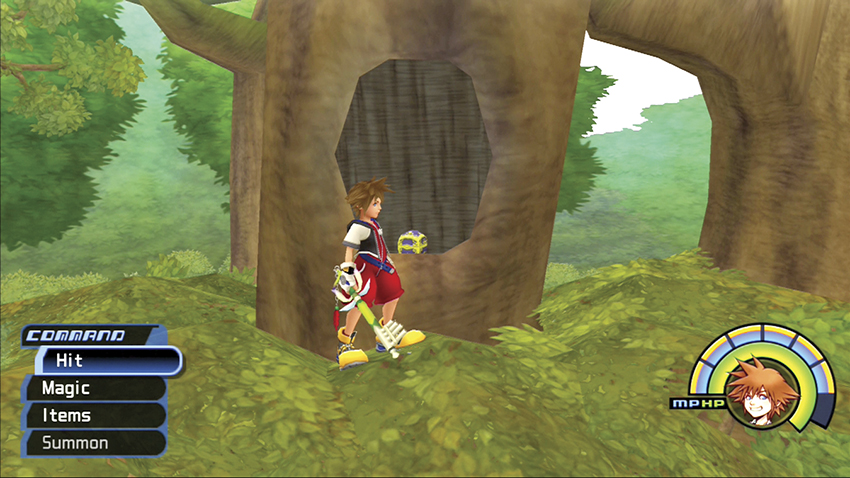
Turn and face the tree with Pooh standing at its base. Glide over to this tree’s branches. Walk along them carefully until you see the hollow. Reach inside the hollow to knock a Shield2-G down to where Pooh stands and then go retrieve it.
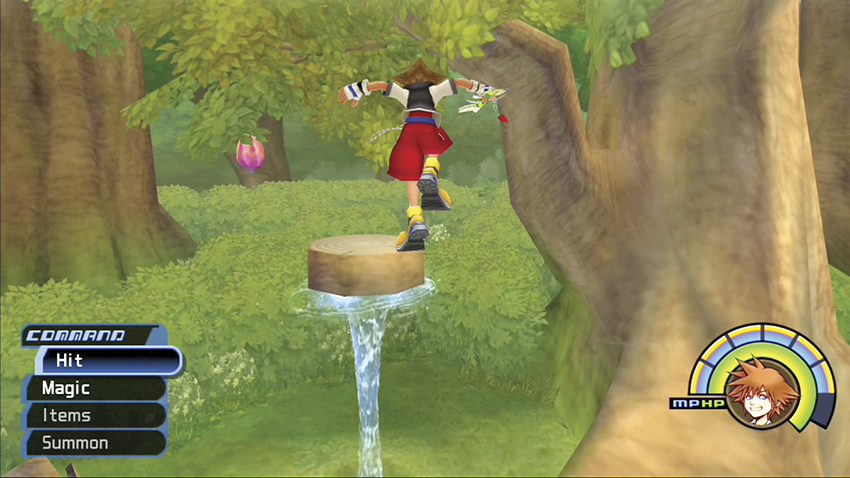
Run over to the opposite side of the area. Step on the circular tree stump here to shoot a nearby tree stump up in the air on another water geyser. Leap on this floating tree stump and grab the hanging Rare Nut in the tree branch overhead. Return the fourth Rare Nut to Owl for an AP Up.
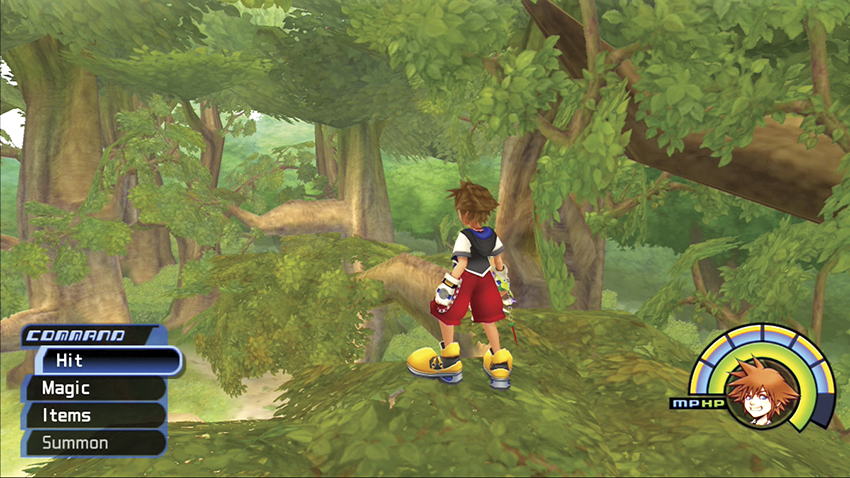
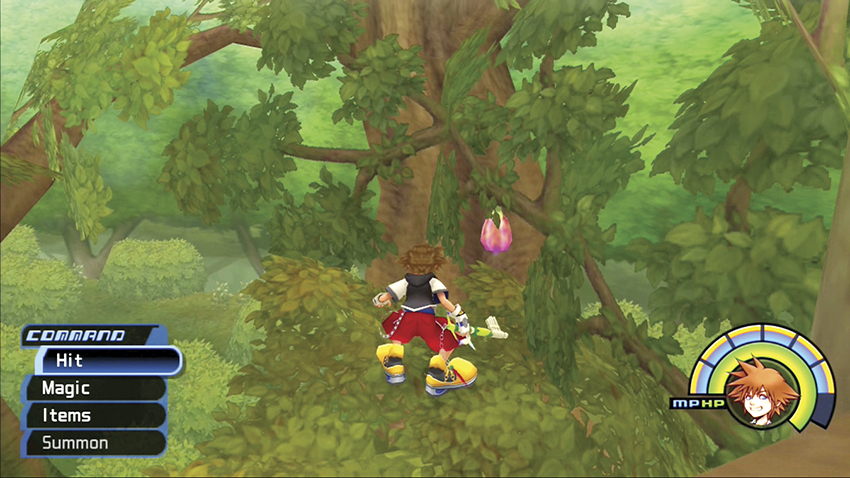
You can see the last Rare Nut from the seesaw in the distance. Have Roo bounce you up into the trees and then Glide across to the far trees and land next to the Nut. Return it to Owl for an Orichalcum.
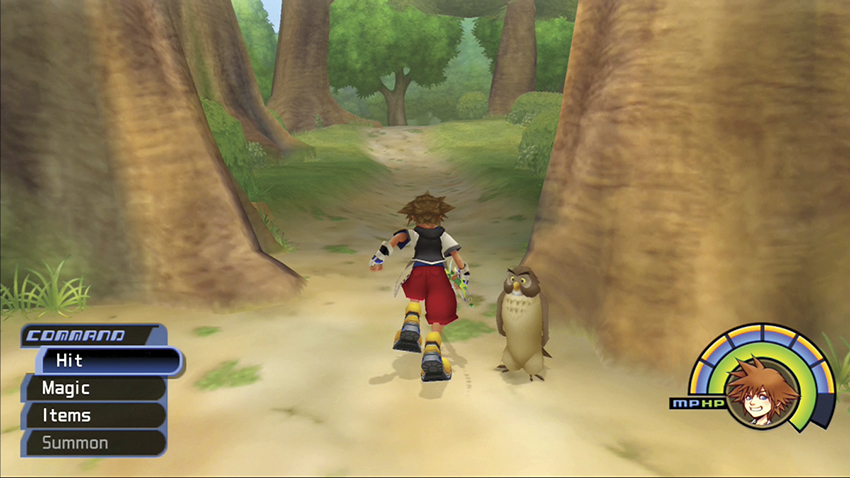
Leave the area via the path behind Owl. When you reach the Old Book pages, your Torn Page transforms into Mythril.
Step 7: Pooh’s Muddy Path
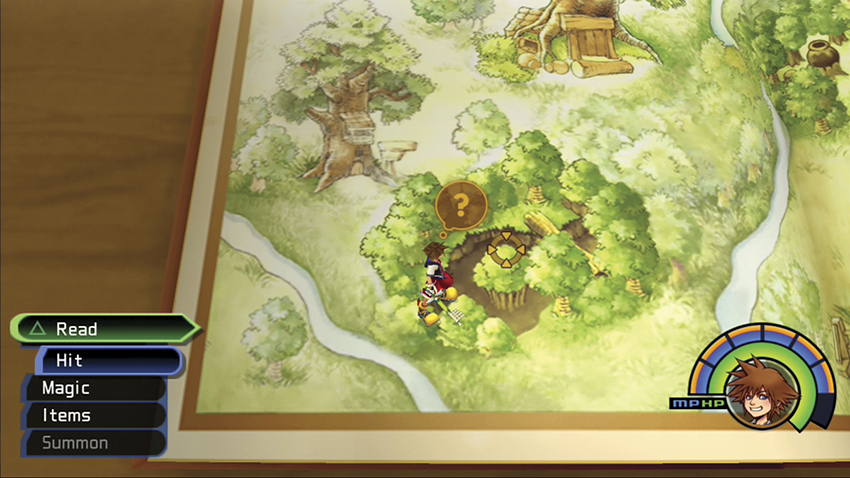
The final Torn Page unlocks the Muddy Path in the bottom-left corner of the Old Book pages.
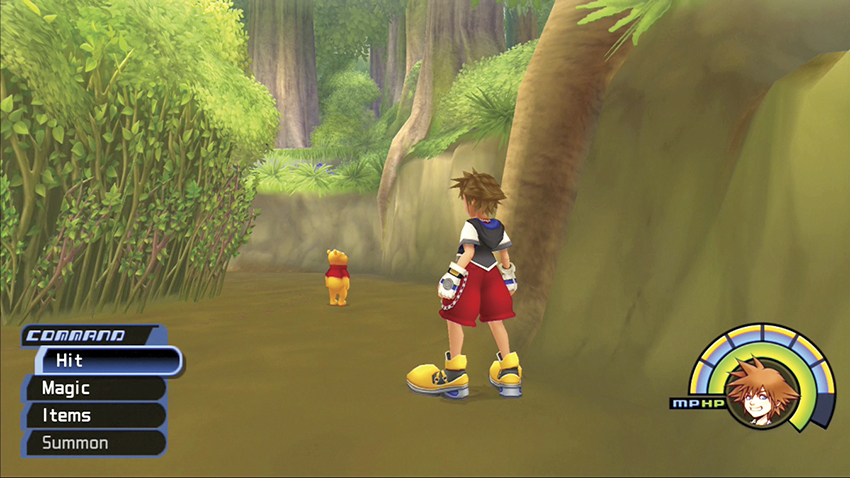
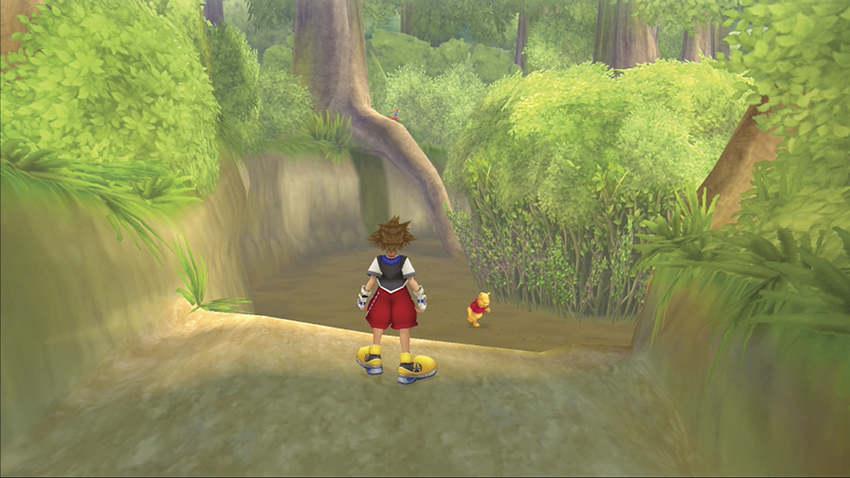
Pooh has lost his friends again, and now he’s following his own footsteps along a Muddy Path to try and find them all. You must reunite all of Pooh friends to finish this mini-game.
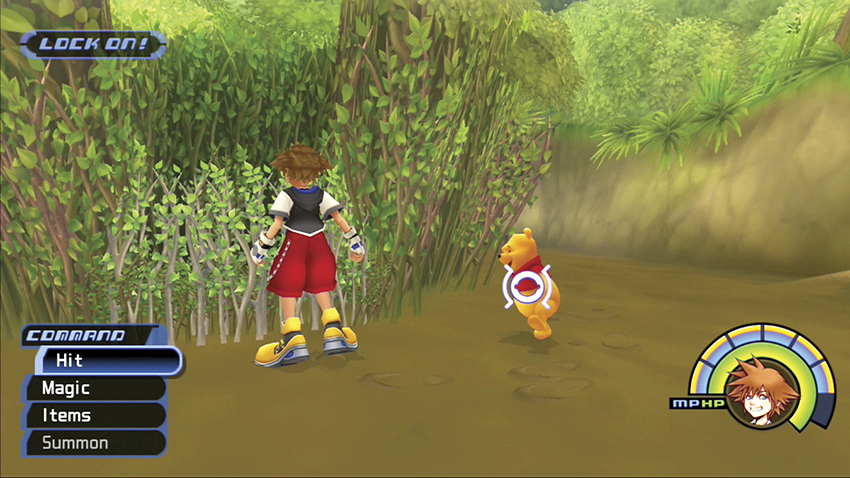
Lock onto Pooh and let him follow you around the large bush in the middle of the Muddy Path. When you reach the entrance to the bush’s hidden alcove and examine it, you find Eeyore.
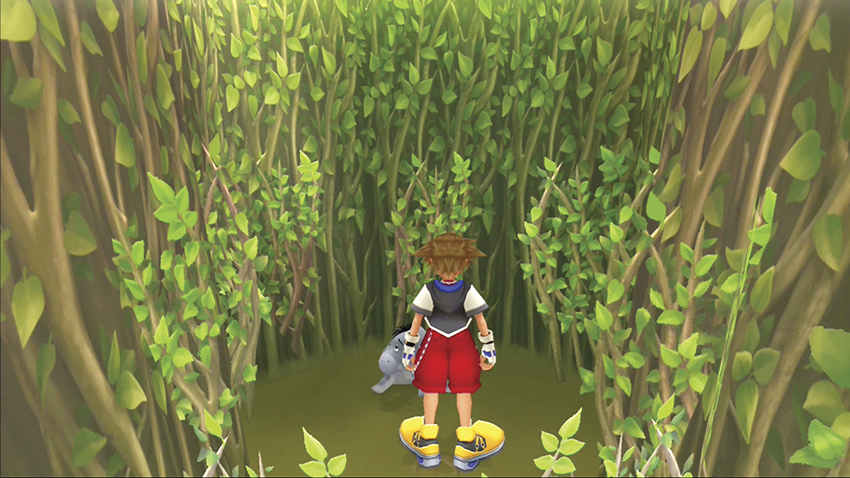
Speak to Eeyore. He’s looking for more sticks to build a house, and you decide that the alcove Eeyore is in makes the perfect place to reunite all of Pooh’s friends. With Eeyore already safe inside, it’s time to bring Pooh to all his other friends.
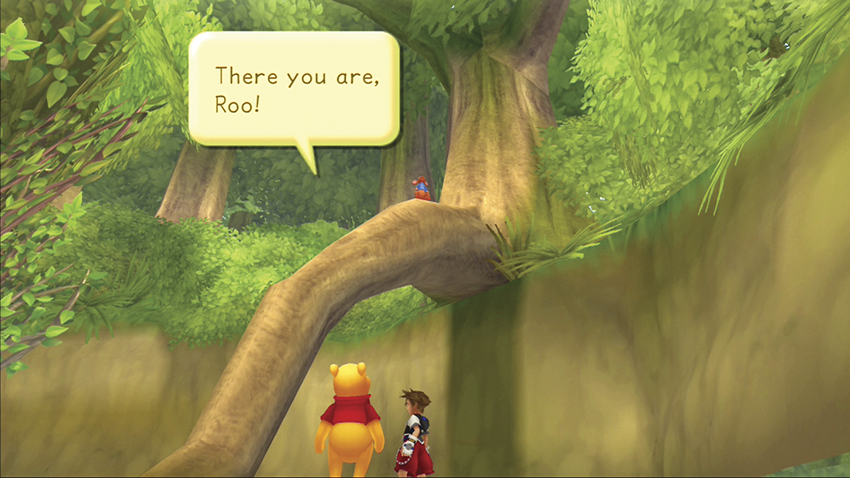
Lock onto Pooh again and have him follow you a short distance behind the bush. Roo stands up on the long tree root overhanging the Muddy Path. Speak to Roo when he drops down and convince him to stay with Eeyore in the bush alcove.
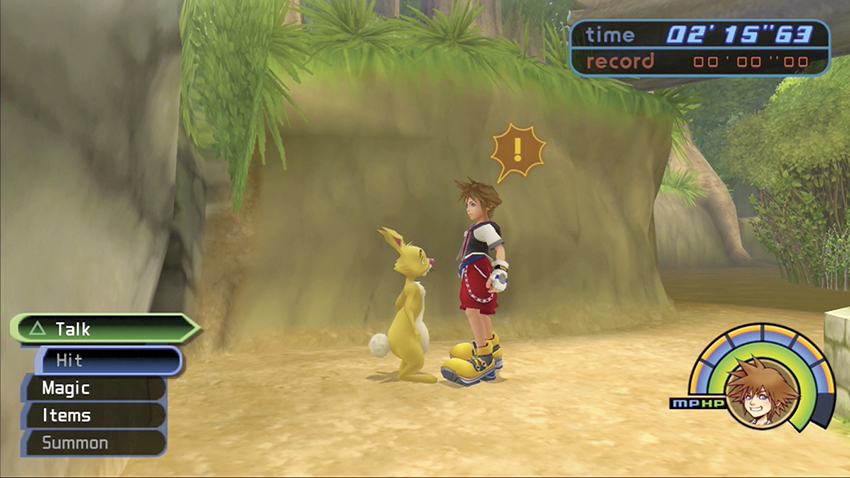
Walk over to the three holes in the stone wall in the back of the area. Wait patiently for Rabbit to emerge from one of the holes and quickly talk to him. Convince him to join the others back at the bush alcove.
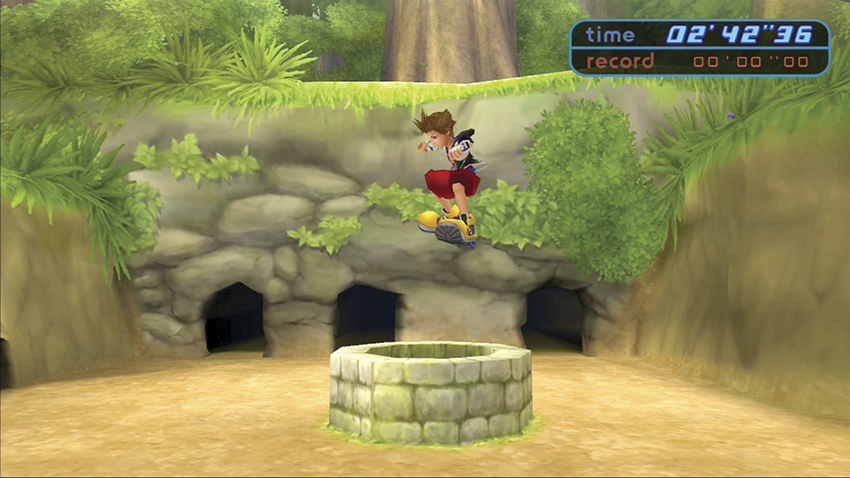
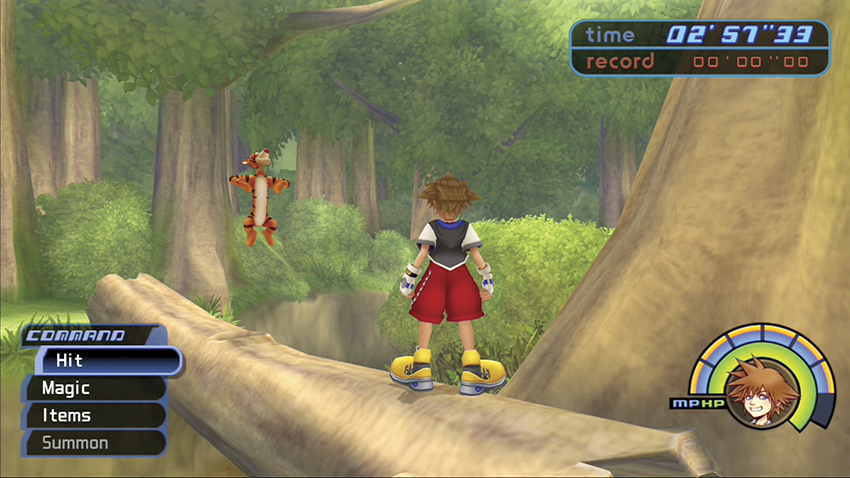
Move over to the well in front of the rock wall. Air rises out of the well and you can float on the well air to reach the log above. Stand on the log and wait for the bouncing Tigger to approach. Talk to him to send him safely to the others.
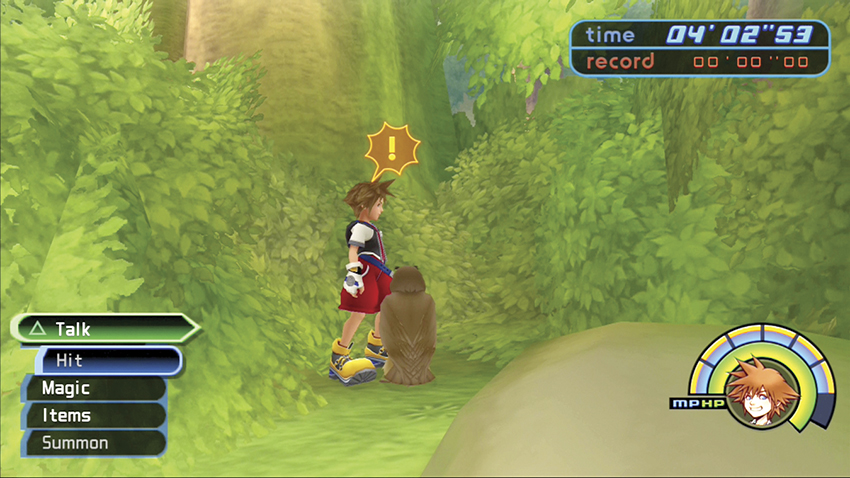
Use the well again to reach the log. Cross the log and jump up on the back platform with the tree (Piglet hides inside). Leave Piglet for now and wait for Owl to fly down and land in the grass next to the tree. Talk to him to send him back to the others.
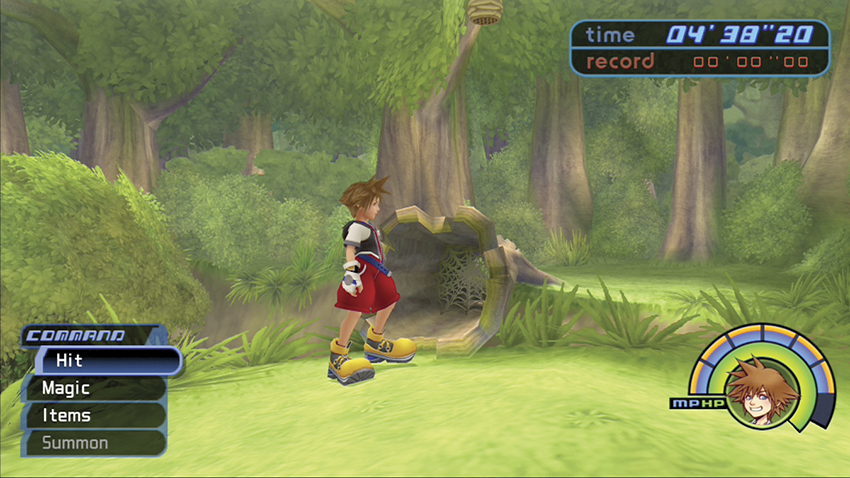
The last friend, Piglet, is the toughest to convince to return to safety. Remember, he’s hiding out in the tree, and he won’t come out unless he sees Pooh. Use the well to float up to the log and then peer inside. Burn the web that blocks the log’s interior with any of your Fire spells.
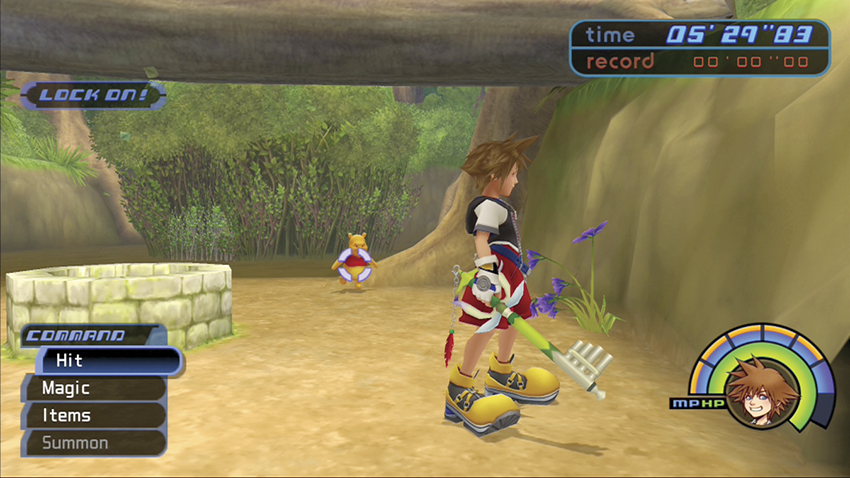
Drop back down to the Muddy Path and lock onto Pooh. Walk him over to the purple flowers by the well. The butterflies on the flowers will lift Pooh up to the next level.
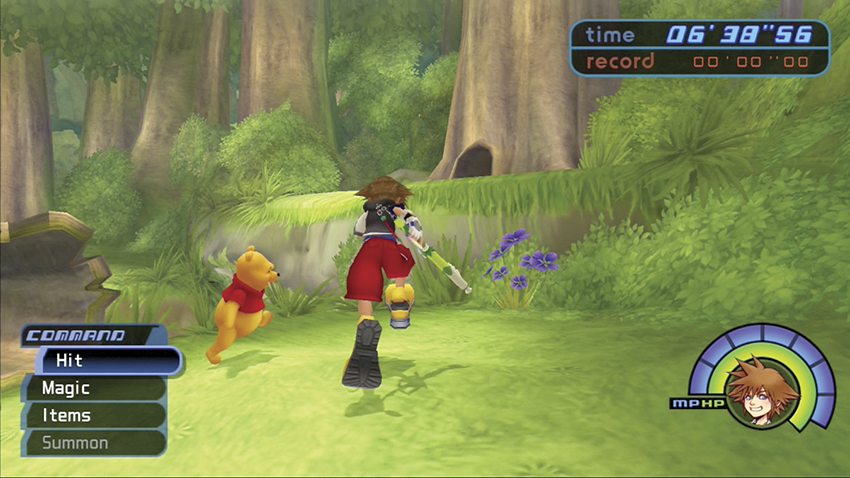
Lock onto Pooh so that he follows you across the log. On the other side, guide Pooh to the second set of purple flowers. They will take him up to the back level.
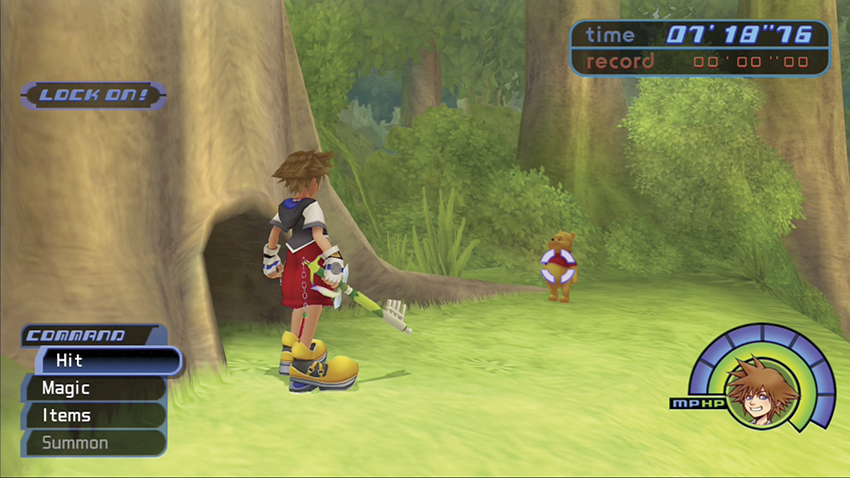
Walk Pooh over to the front of the tree. He will crawl inside and convince Piglet to finally come out.
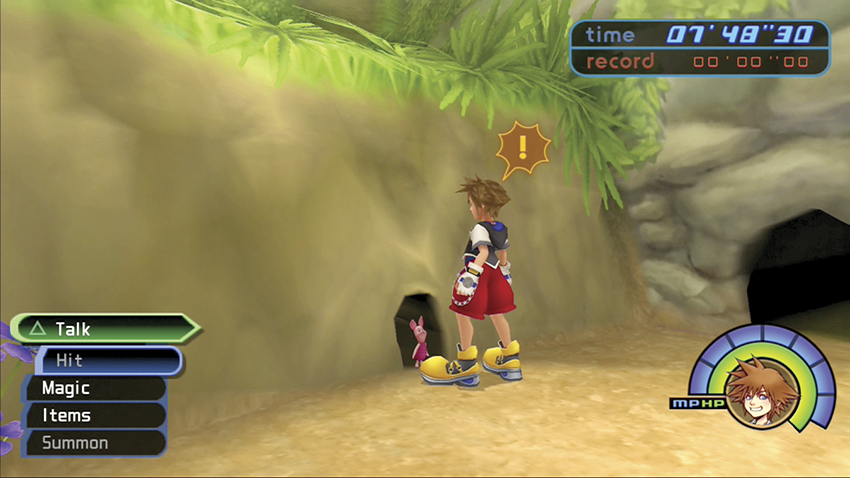
Drop down to the small hole next to the well. Piglet emerges and will speak to you. Ask him to join the others back at the bush.
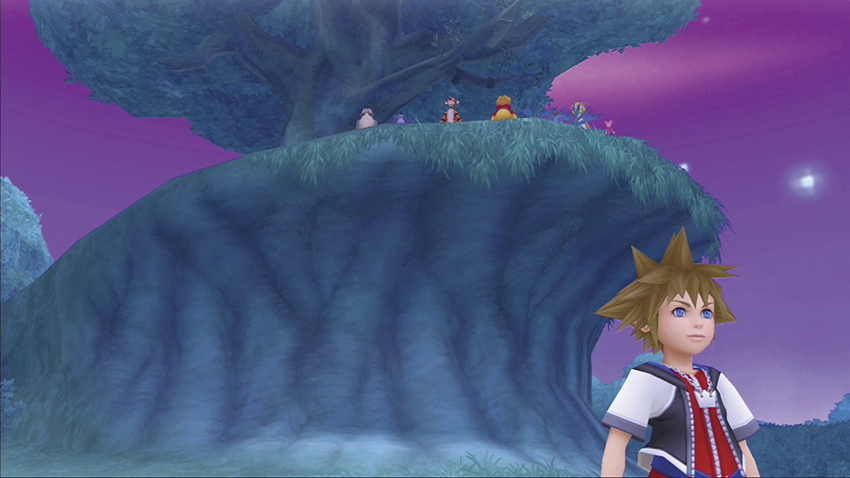
With Pooh and all his friends reunited, your mini-games in the Hundred Acre Wood are complete. You seal the world’s keyhole and leave the Old Book, though you can always return to replay the mini-games if you like. For all your hard work, you receive the impressive EXP Ring.