
Kingdom Hearts HD 1.5 Remix Guide KHFM: Walkthrough Hollow Bastion
Hollow Bastion
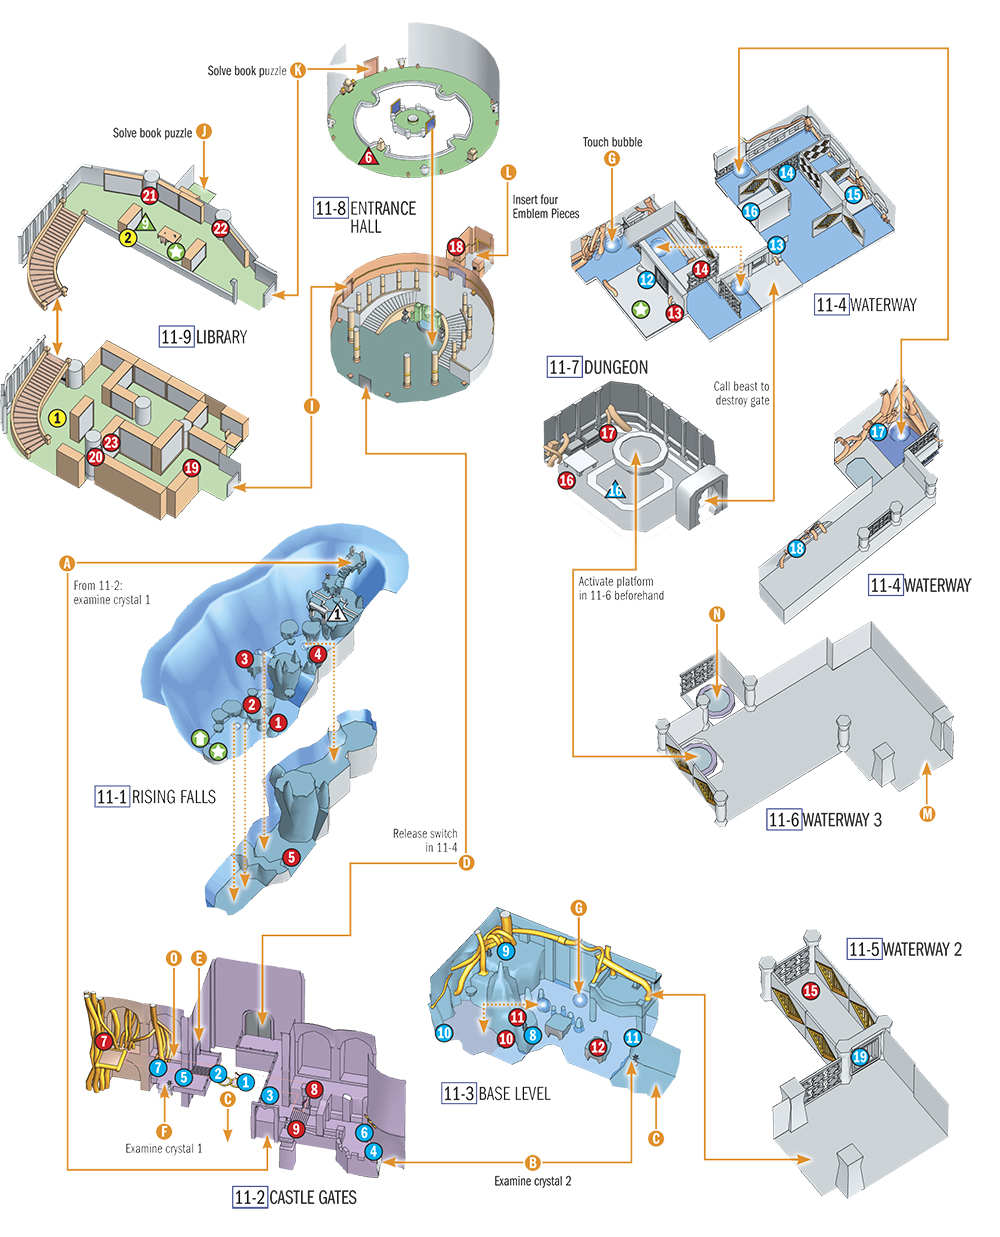
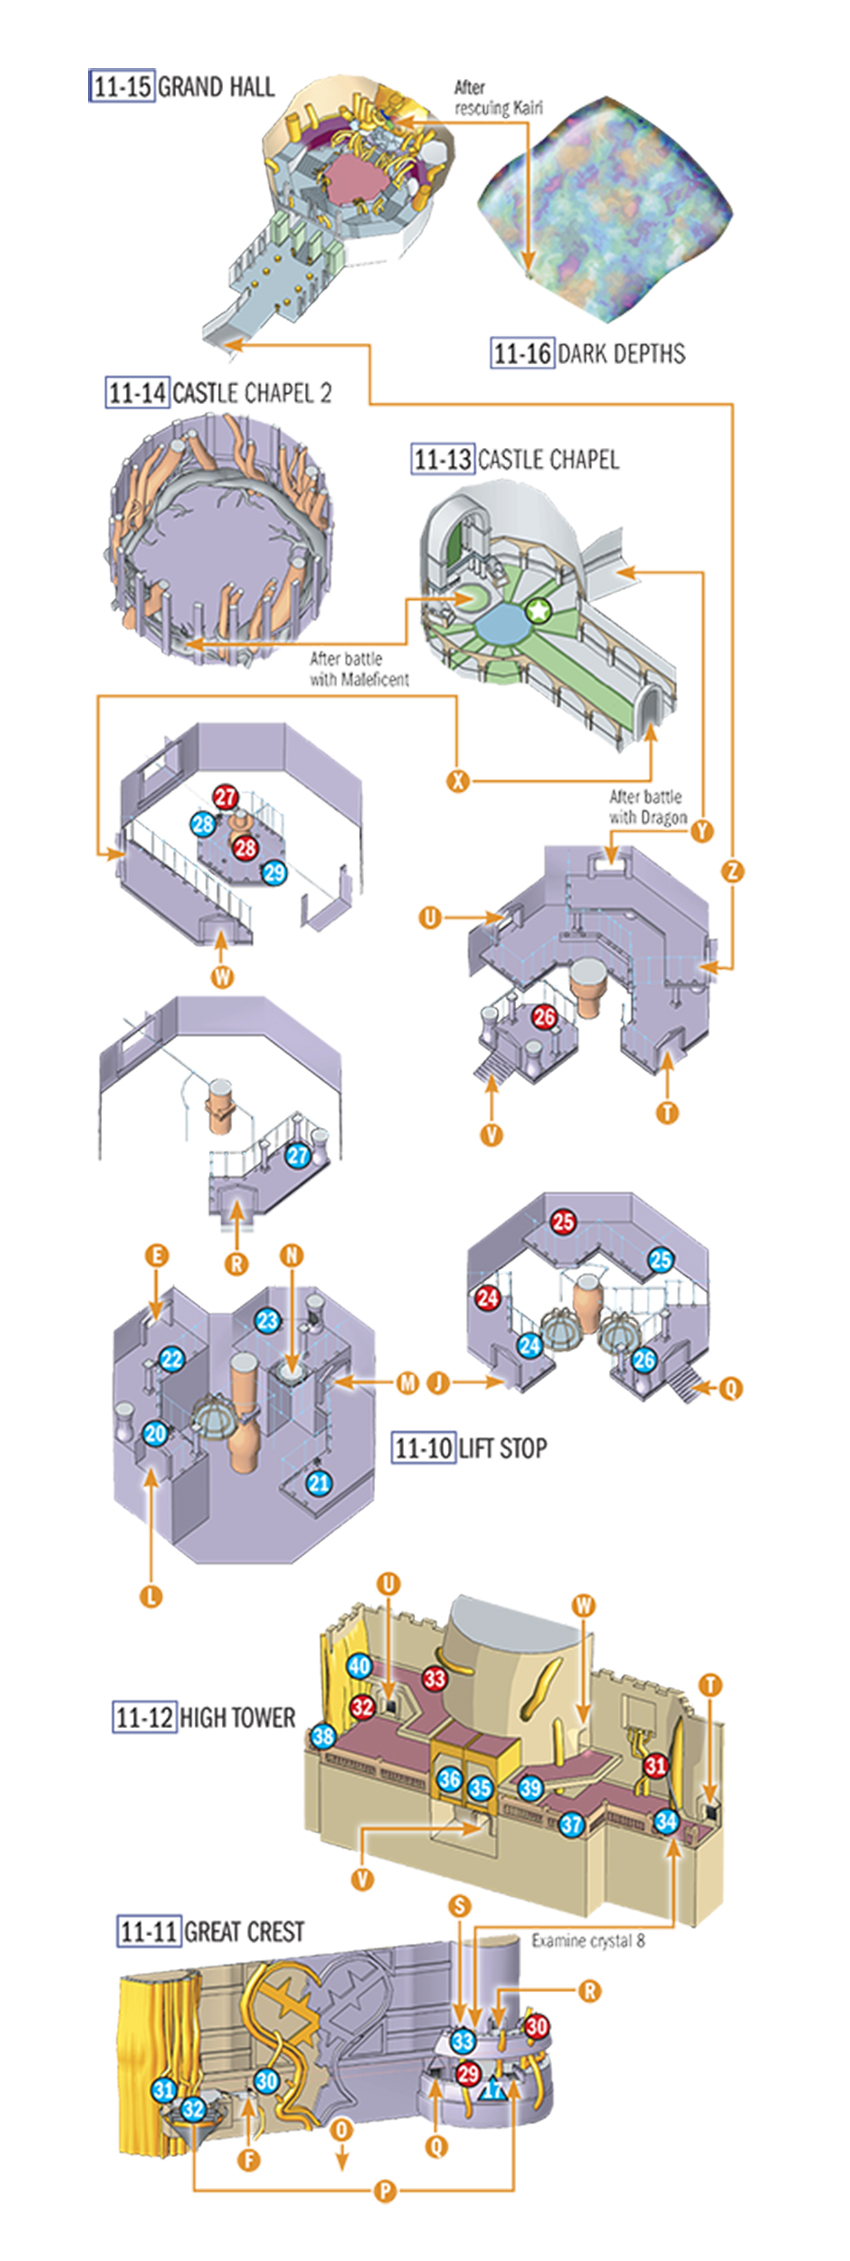
Opponents
| Name | Shadow | Soldier | Large Body | Red Nocturne |
|---|---|---|---|---|
| HP | 54 | 24 | 160 | 24 |
| Name | Blue Rhapsody | Yellow Opera | Green Requiem | Air Soldier |
|---|---|---|---|---|
| HP | 24 | 24 | 15 | 33 |
| Name | Darkball | Defender | Wyvern | Wizard | Black Fungus |
|---|---|---|---|---|---|
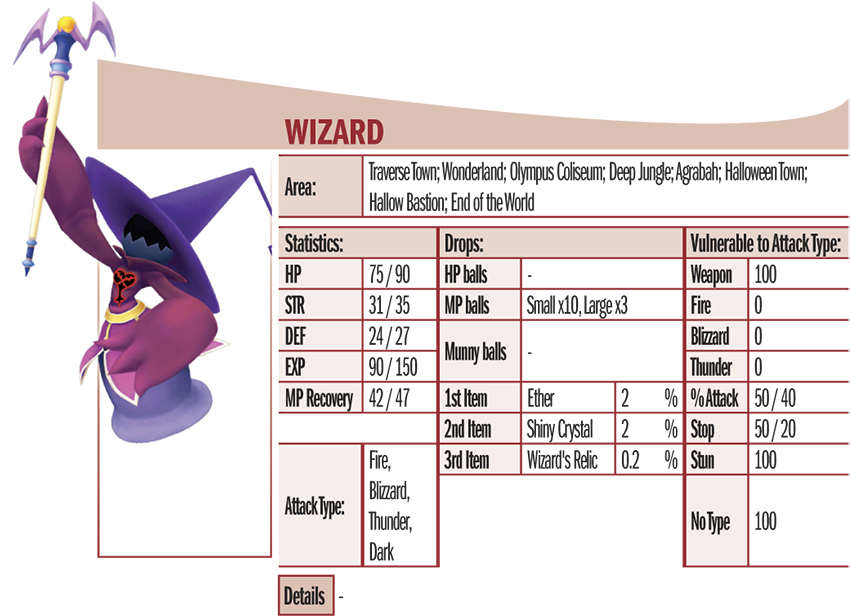
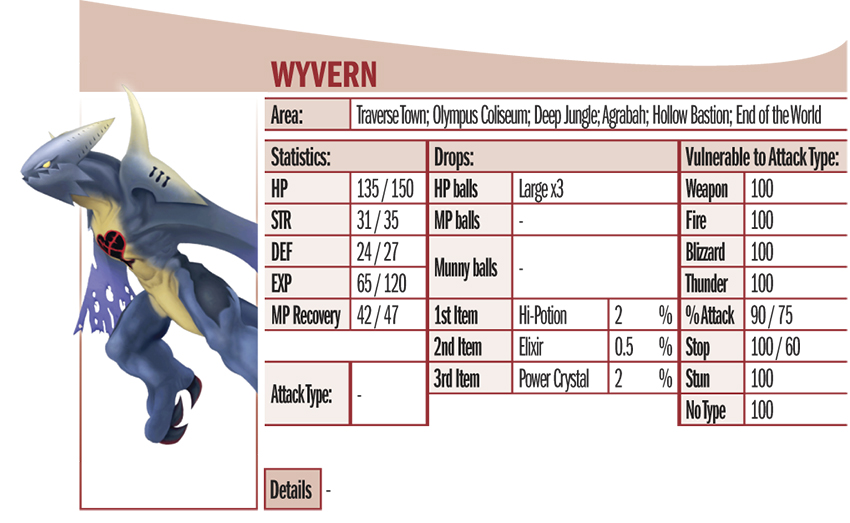
| HP | 60 | 240 | 135 | 75 | 9 |
| Name | Riku (Sword) | Maleficent | Dragon | Riku (Keyblade) |
|---|---|---|---|---|
| HP | 500 | 900 | 1200 | 900 |
Items
| No. | Item | Location | Condition |
|---|---|---|---|

|
Life-G | 11-1 | - |

|
Meteor-G | 11-1 | - |

|
Blizzara Ring | 11-1 | - |

|
Megalixir | 11-1 | - |

|
Dalmatians 91, 92, 93 | 11-1 | - |

|
Defense Up | 11-1 | After rescuing Kairi |

|
Dalmatians 94, 95, 96 | 11-2 | Lower the platform with Gravity |

|
Haste2-G | 11-2 | Activate platforms 1 + 2 |

|
Orichalcum | 11-2 | Activate platforms 1 + 2 |

|
Mythril | 11-3 | - |

|
Thundara-G | 11-3 | - |

|
Paper-G | 11-3 | - |

|
Fira Ring | 11-4 | - |

|
Dark Matter | 11-4 | Freeze bubble with Blizzard |

|
Thundaga-G | 11-5 | Call the Beast to destroy gate |

|
Ultima-G | 11-7 | - |

|
Thundaga-G | 11-7 | - |

|
AP Up | 11-8 | Climb up small ledge on right-hand pillar |

|
Ultima-G | 11-9 | - |

|
Elixir | 11-9 | Turn pillar |

|
Mythril | 11-9 | Turn pillar |

|
Mega-Potion | 11-9 | Turn pillar |

|
AP Up | 11-9 | Turn pillar |

|
Dalmatians 97, 98, 99 | 11-10B | Gravity |

|
Orichalcum | 11-10B | Gravity |

|
Float-G | 11-10D | Gravity |

|
Ultima-G | 11-10E | Gravity |

|
Thundaga-G | 11-10E | Gravity |

|
Thundaga-G | 11-11 | - |

|
Orichalcum | 11-11 | - |

|
Thundara Ring | 11-12 | Gravity |

|
Osmose-G | 11-12 | Gravity |

|
Megalixir | 11-12 | - |

|
Dark Matter | 11-15 | After rescuing Kairi |

|
Oblivion | 11-15 | After rescuing Kairi |

|
Dalmatians 61, 62, 63 | 11-15 | After rescuing Kairi |
Characters
| No. | Character | Location | Purpose |
|---|---|---|---|

|
Aerith | 11-9 | Hands over Ansem’s Reports 2, 4, 6, and 10 (following both Kairi’s rescue and battle with Behemoth) |

|
Belle | 11-9 | Hands over Divine Rose (after Kairi’s rescue) |
Special Objects
| No. | Prop | Location | Purpose |
|---|---|---|---|

|
Platform 1 | 11-2 | Activate with crystal A |

|
Platform 2 | 11-2 | Activate with crystal B |

|
Crystal 1 | 11-2 | Takes you to 11-1 |

|
Crystal 2 | 11-2 | Takes you to 11-3 |

|
Crystal 3 | 11-2 | Takes you to 11-11 |

|
Crystal A | 11-2 | Activates platform 1 |

|
Crystal B | 11-2 | Activates platform 2 |

|
Ice switch 1 | 11-3 | Creates platform |

|
Ice switch 2 | 11-3 | Creates platform |

|
Ice switch 3 | 11-3 | Creates platform |

|
Crystal 2 | 11-3 | Takes you to 11-2 |

|
Gate | 11-4 | Call Beast to destroy it |

|
Switch 1 | 11-4 | Moves gate |

|
Switch 2 | 11-4 | Moves gate |

|
Switch 3 | 11-4 | Moves gate |

|
Switch 4 | 11-4 | Moves gate |

|
Switch 5 | 11-4 | Tackes you to a higher level |

|
Switch 6 | 11-4 | Unlocks main entrance in 11-2 |

|
Gate | 11-5 | Call Beast to destroy it |

|
Crystal 4a | 11-10A | Takes you to 4b or 4c |

|
Crystal 4b | 11-10A | Takes you to 4a |

|
Crystal C | 11-10A | Change-over switch for crystal 4a |

|
Crystal D | 11-10A | Mythril + MP |

|
Crystal 5a | 11-10B | Takes you to 5b or 5c |

|
Crystal 4c | 11-10B | Takes you to 4a |

|
Crystal 6 | 11-10B | Takes you to 11-10C |

|
Crystal 6 | 11-10C | Takes you to 11-10B |

|
Crystal 5b | 11-10E | Takes you to 5a |

|
Crystal 5c | 11-10E | Takes you to 5a |

|
Crystal 3 | 11-11 | Takes you to 11-2 |

|
Crystal E | 11-11 | Activates platform 3 |

|
Platform 3 | 11-11 | Takes you from crystal E to P |

|
Crystal 7 | 11-11 | Takes you to 11-12 |

|
Crystal 7 | 11-12 | Takes you to 11-11 |

|
Block 1 | 11-12 | Move with crystal F |

|
Block 2 | 11-12 | Move with crystals G and H |

|
Crystal F | 11-12 | Lowers block 1 |

|
Crystal G | 11-12 | Lowers block 2 |

|
Crystal H | 11-12 | Raises block 2 |

|
Crystal I | 11-12 | Change-over switch for crystal 5a |
Trinities
| Trinity | Location | Purpose |
|---|---|---|

|
11-7 | Mega-Potion, Cottage, Mega-Ether, HP |

|
11-8 | Emblem Piece |

|
11-9 | Azal vol. 3 |

|
11-1 | Thundaga-G |

|
11-11 | Megalixir, Cottage (x2), MP |
Objectives
1. Meet the Beast
2. Find a way into the castle
3. Navigate the sewers
4. Defeat Riku
5. Organize the Library
6. Assemble the Heartless insignia
7. Ascend the castle
8. Defeat Maleficent
9. Slay the Dragon
10. Defeat Riku II
11. Become a Shadow!
12. Return to Traverse Town
13. Back to Hollow Bastion
14. Defeat the Behemoth
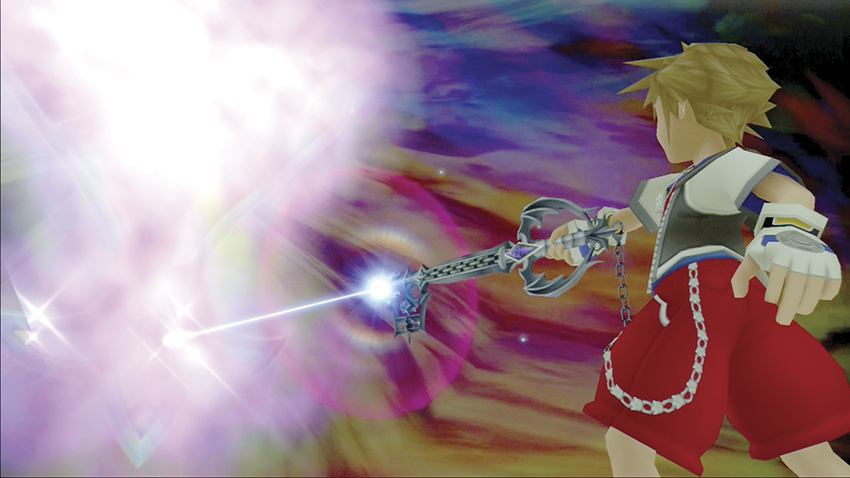
15. Seal Hollow Bastion
Step 1: Meet the Beast
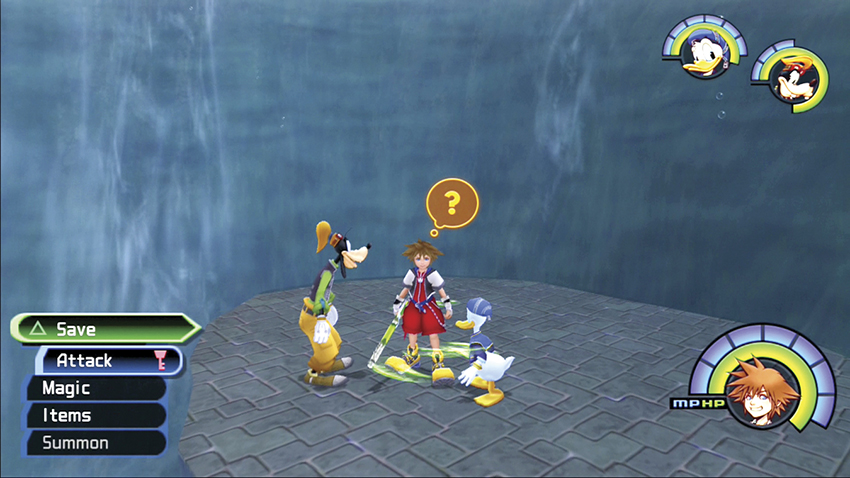
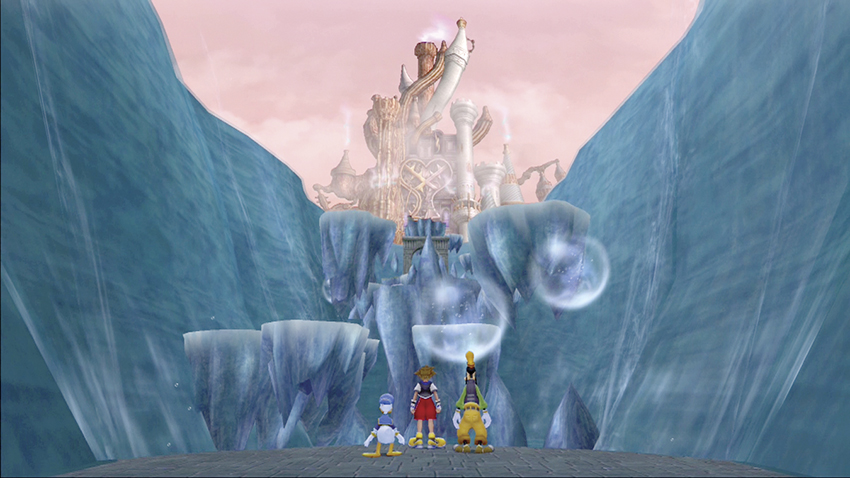
Steer your gummi ship on a course to the Battle Level 9 world, Hollow Bastion. You’ll descend in Rising Falls on a platform with a save point. Save before heading out across the water, which you can walk on.
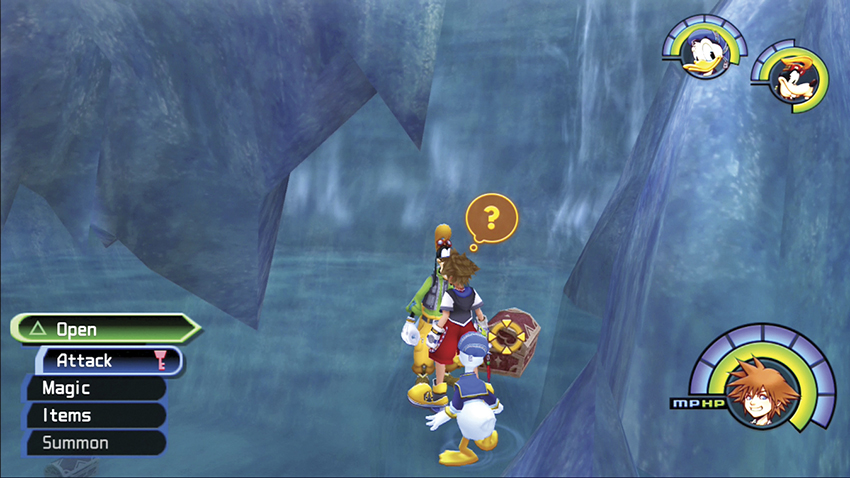
Search for a chest straight ahead and in a clump of rocks. Open the chest for a Life-G.
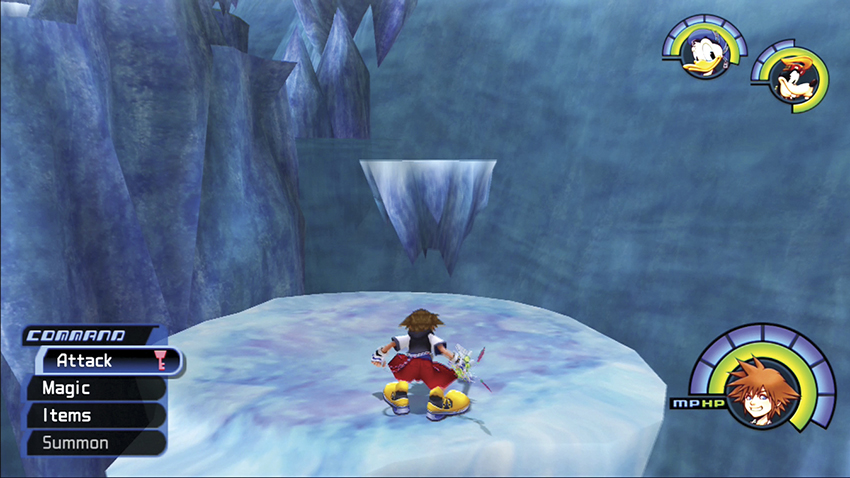
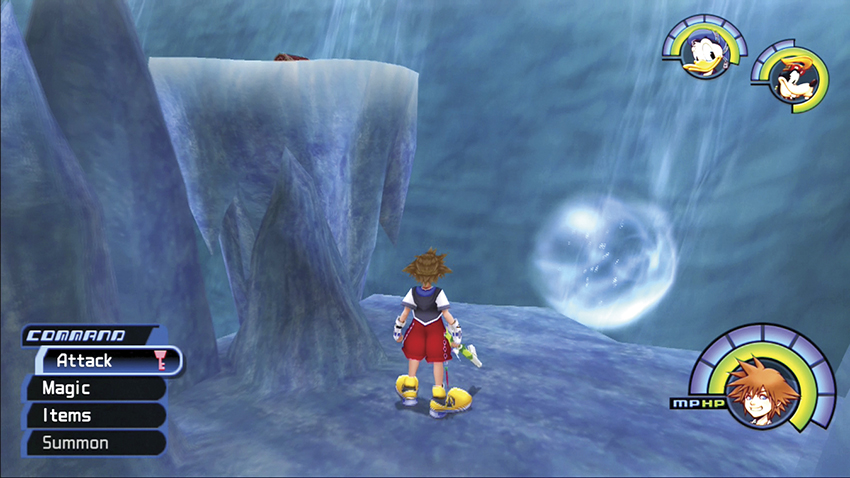
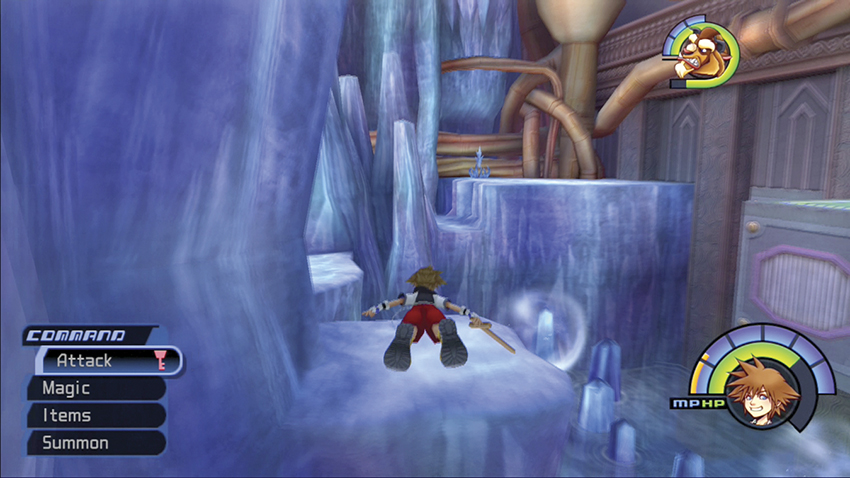
Double back to the save point platform. Glide over to the nearest ice platform, and jump from platform to platform up to a moving ice block. Jump on this ice block and let it carry you up to an easy jump to the central floating rock. On the other side of the rock, leap off and into the floating bubble.
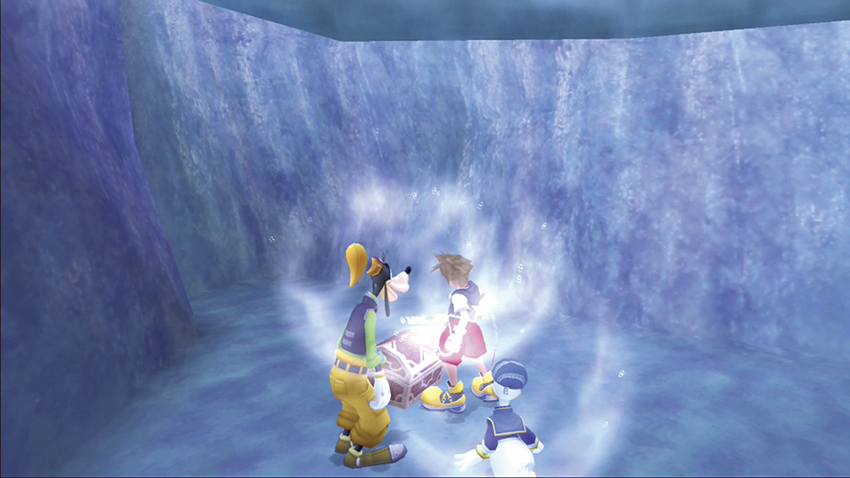
You’re encased in large bubbles in an underwater section of the caverns. Head to your right and open the red chest for a Meteor-G.
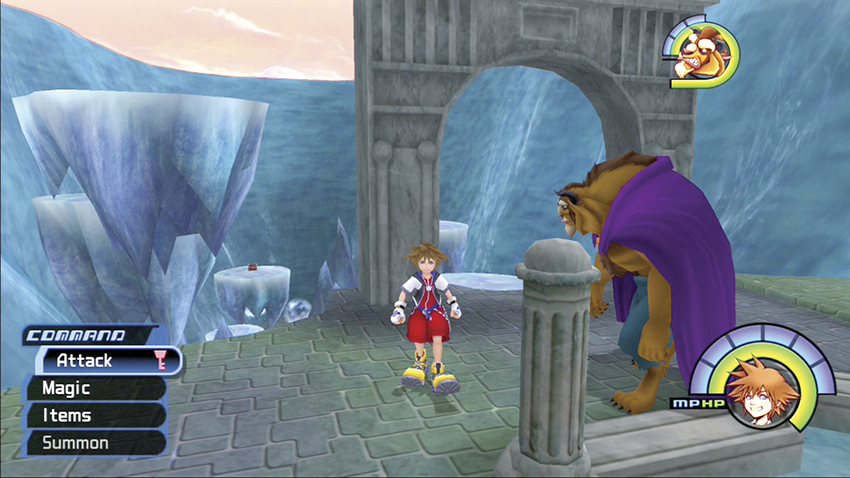
The bubbles take you up and out of the water next to the save platform. Retrace your jumps up the ice platforms and continue upwards until you meet the Beast. Riku ambushes you and takes the Keyblade, leaving you with a plain wooden sword. Donald and Goofy are forced to follow Riku and you are left with just the Beast in your party.
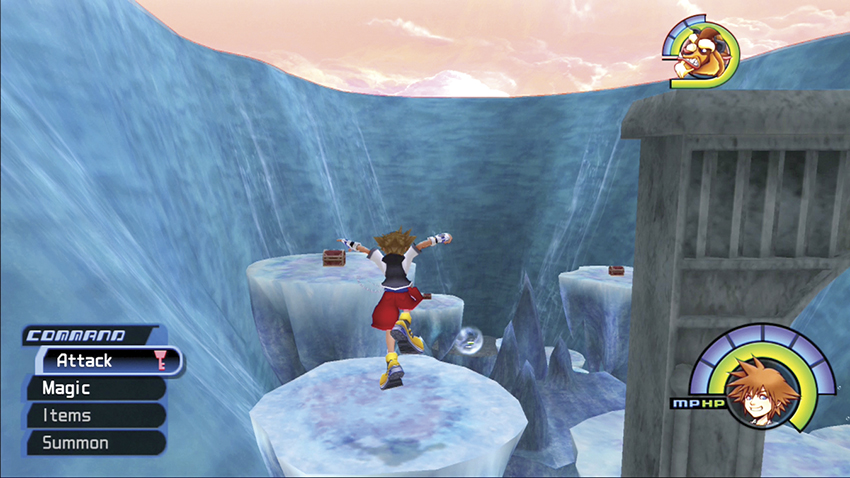
There are three chests on floating rocks high over Rising Falls. Glide over to the moving platform closest you, then Glide over to the first chest for a Megalixir.
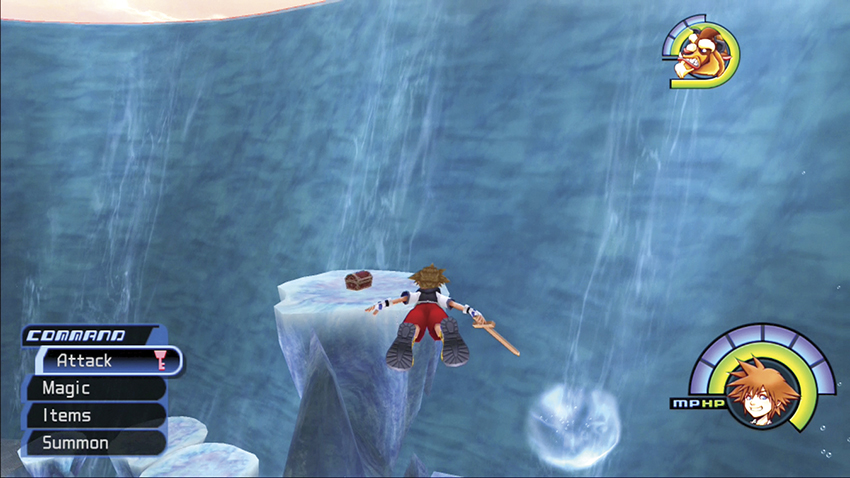
Glide to the next platform for a Blizzara Ring inside the chest.
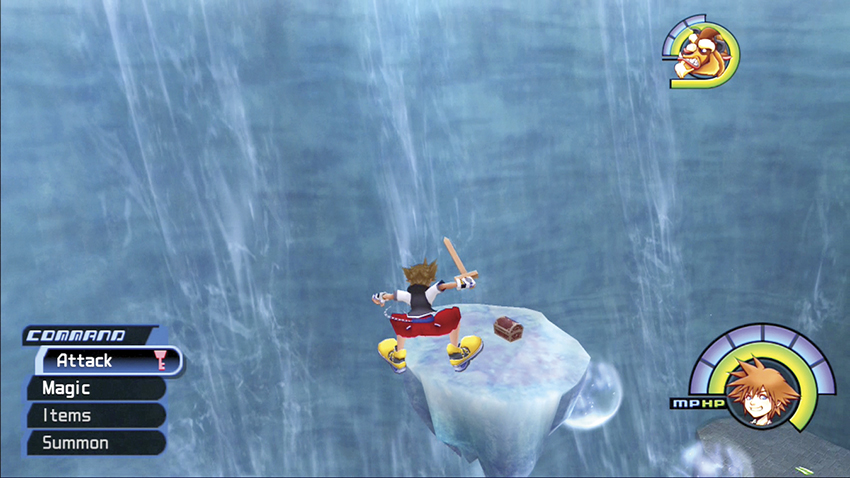
To release Dalmatians 91, 92, 93, Glide down to the final rock platform with a chest and open it.
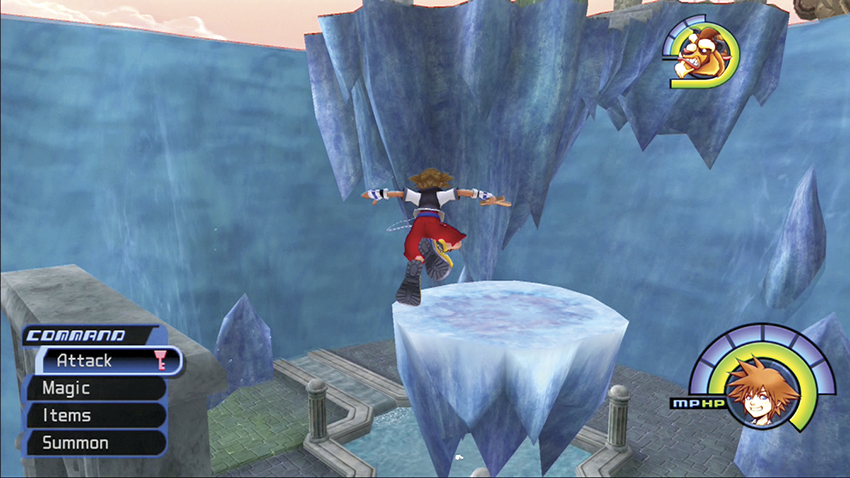
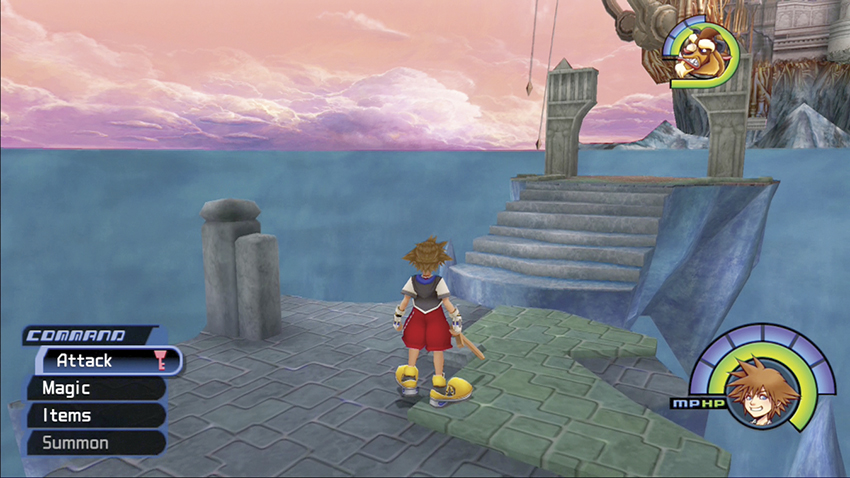
Return to where you met the Beast and jump onto the closest moving platform. Glide over to the next moving platform and use that to reach the very top platform. Walk up the stairs and a magic platform will come fetch you to the Castle Gates.
Step 2: Find a Way into the Castle
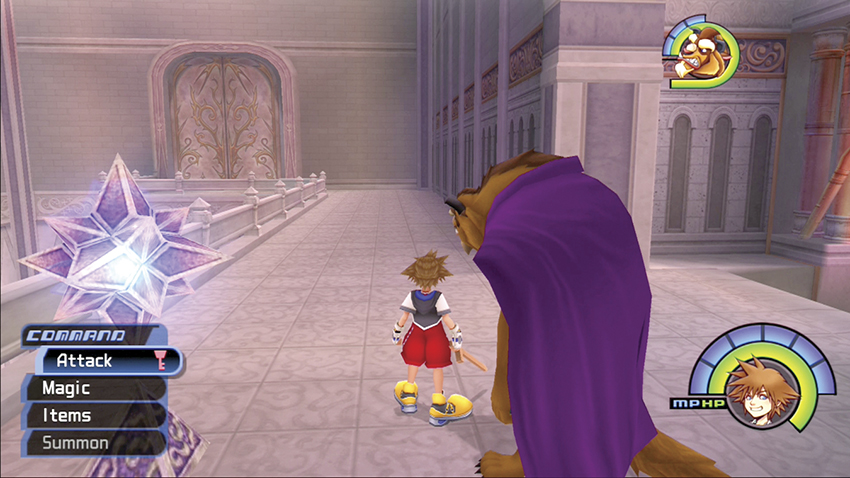
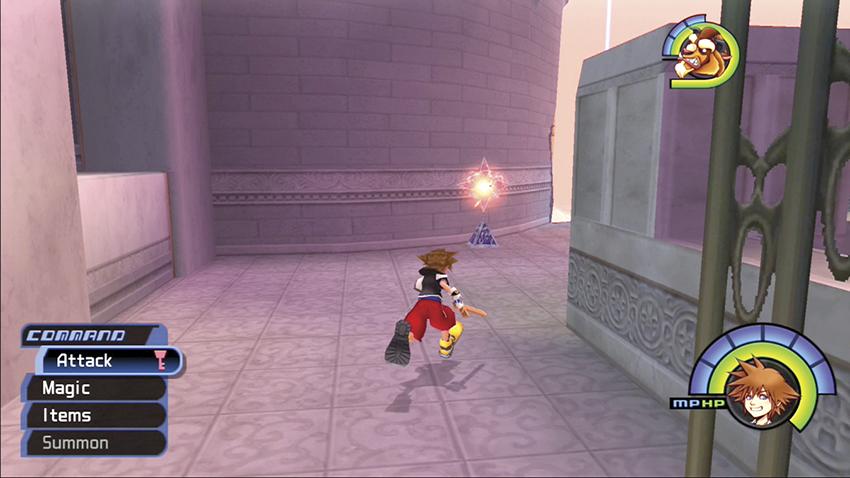
The main gates of the castle are sealed, but you can take the right steps to another magic platform. Use the closest red crystal to activate one of the magic platforms, then use the second blue crystal to ride the platform down to the Base Level.
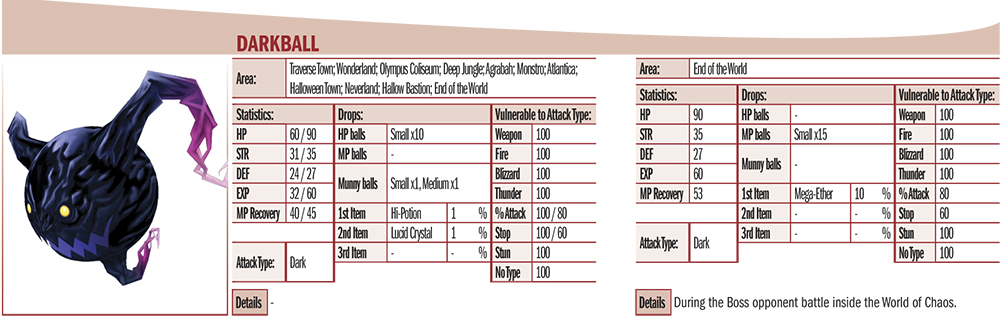
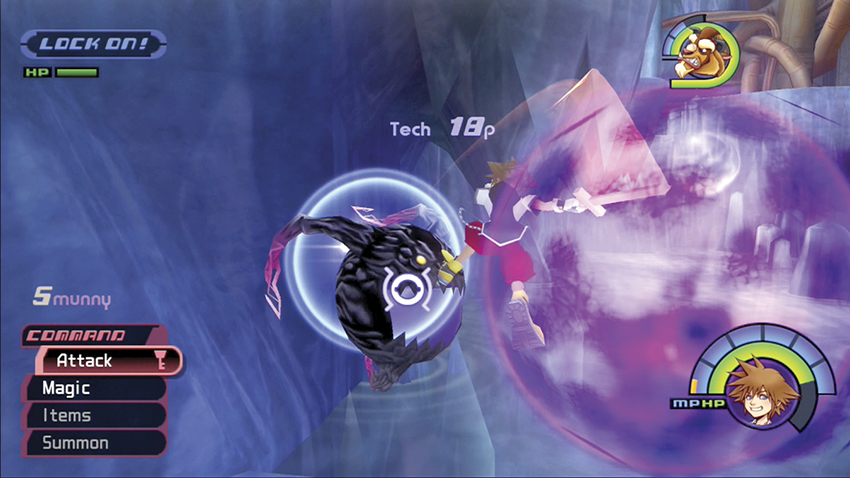
New Darkball foes attack en masse. Let the Beast do the heavy lifting here; you only have a wooden sword and he deals heavy damage with his brute mitts.
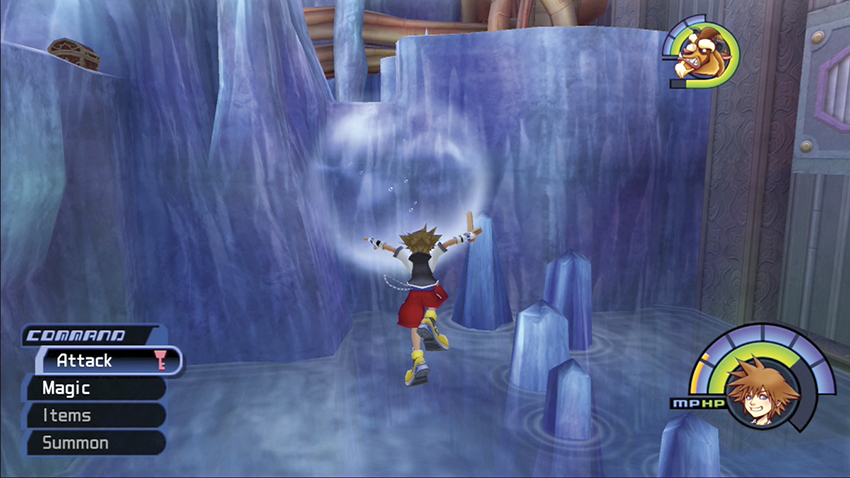
Use the higher bubble on the left to scoot behind the rocks.
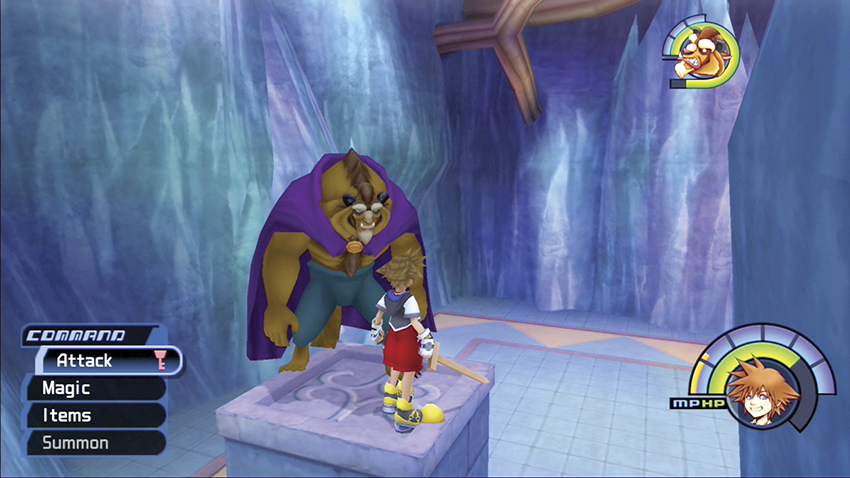
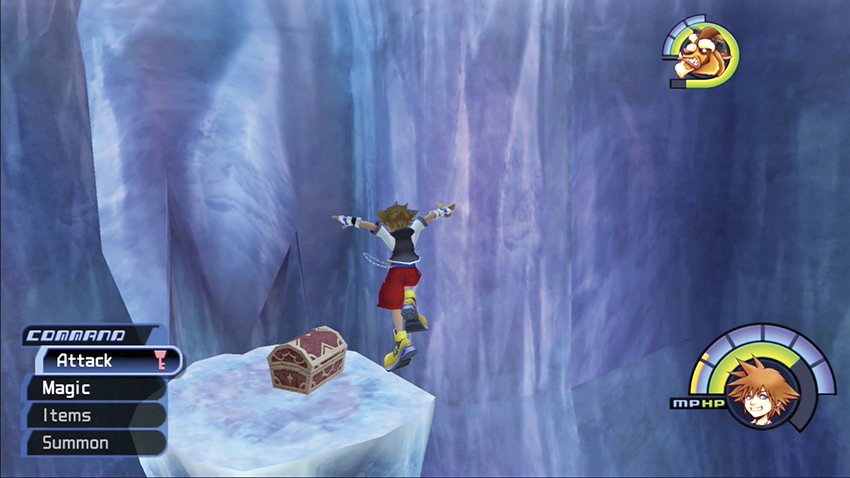
Stand atop the square platform in the hidden area and jump to a side ledge with a red chest. Open the chest for a Mythril.
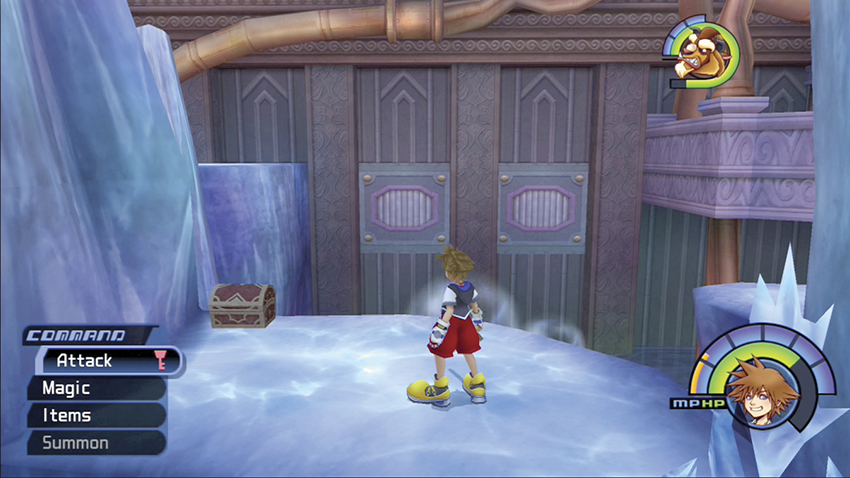
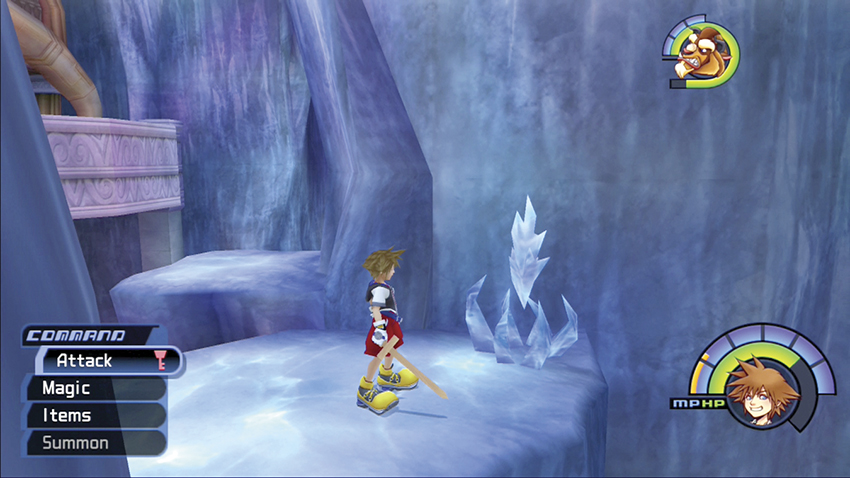
Turn around and jump to the nearby cliff. Open the chest atop for a Thundara-G. There’s also an ice switch on the platform. Cross over to it and release the switch to move a large block on the opposite wall.
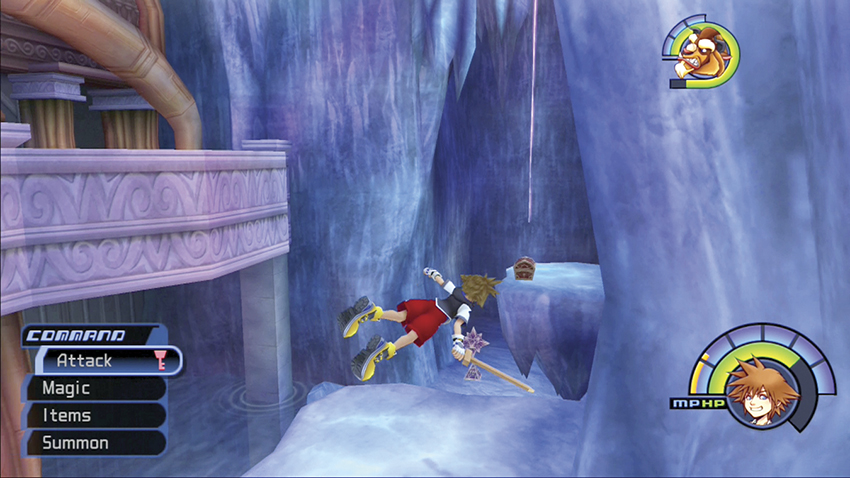
Face where the block slid out of the wall. Glide out and turn right to follow the wall until you reach a lone platform with another red chest. Open the chest for a Paper-G.
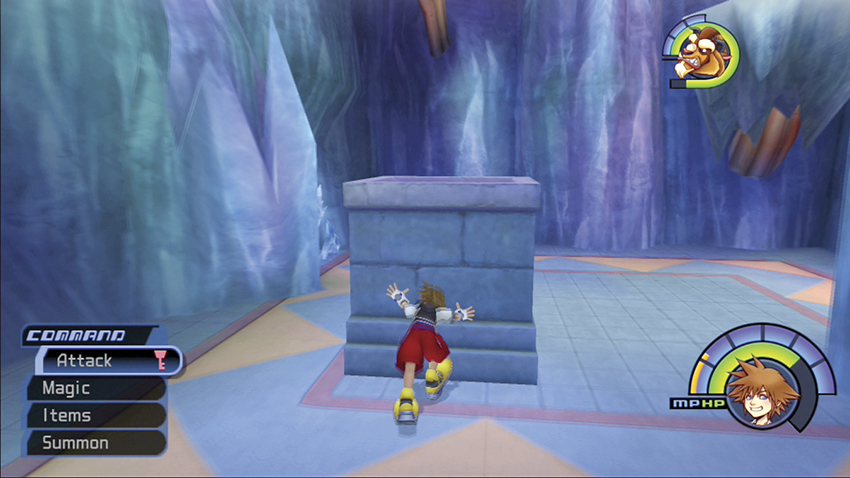
Return to the square platform. Push it across the tiled floor until you can use it to jump up to the higher platforms next to the far wall.
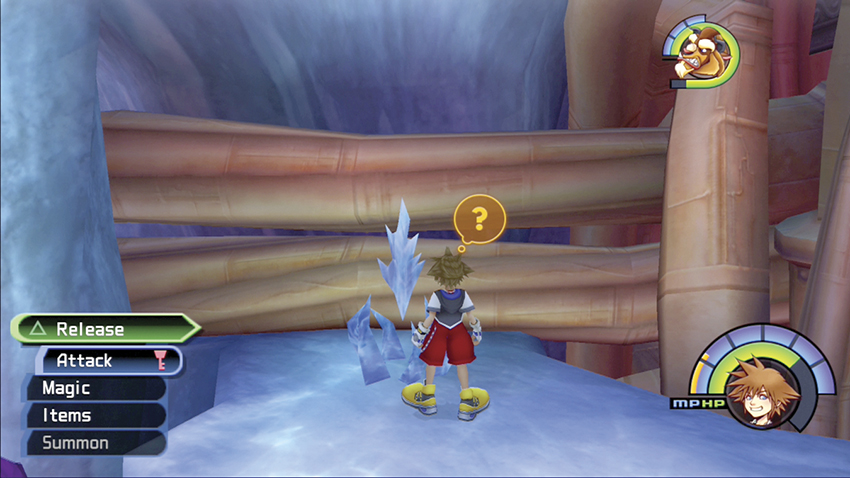
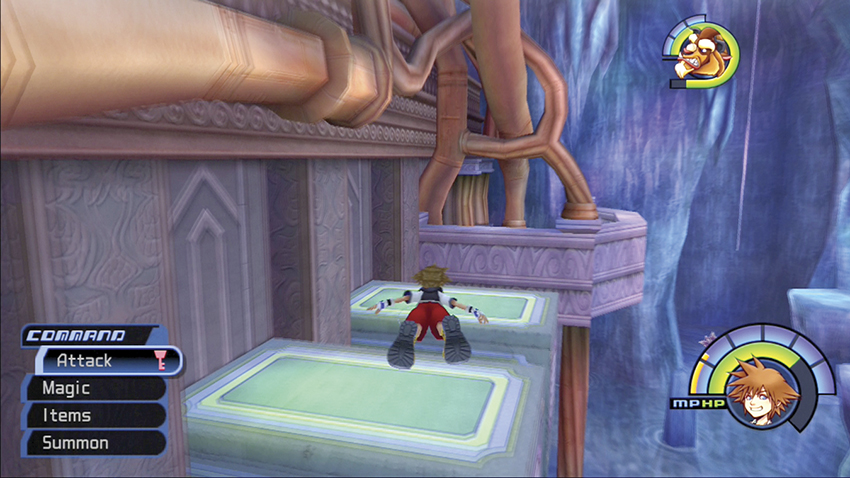
Look for another ice switch on the top platform. Release the second large block and Glide across to the balcony. Take the entrance to the Waterway.
Step 3: Navigate the Sewers
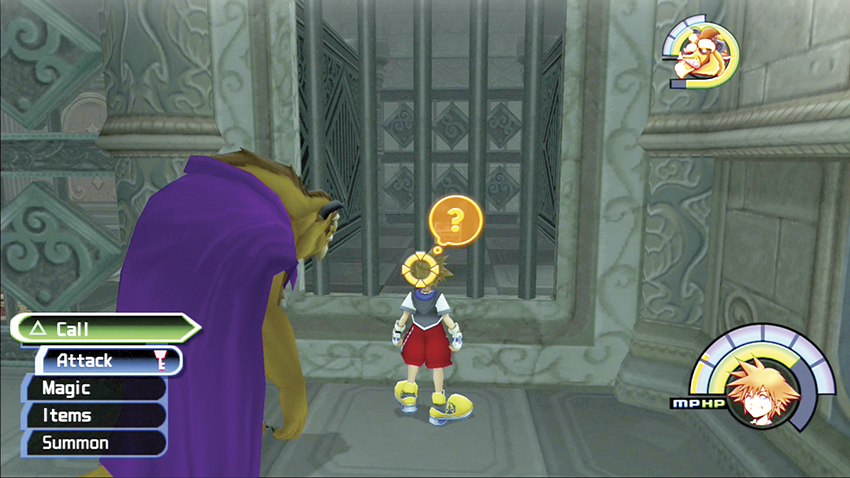
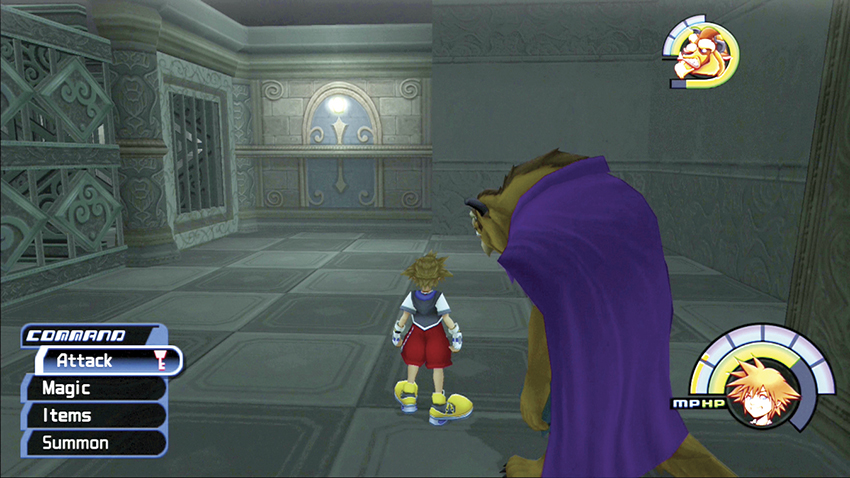
Proceed to the corner of this next small room, where you’ll see a chest behind a locked gate. Call upon the Beast and he will bust a hole through the wall into the side room. Open the red chest here and gain a Thundaga-G.
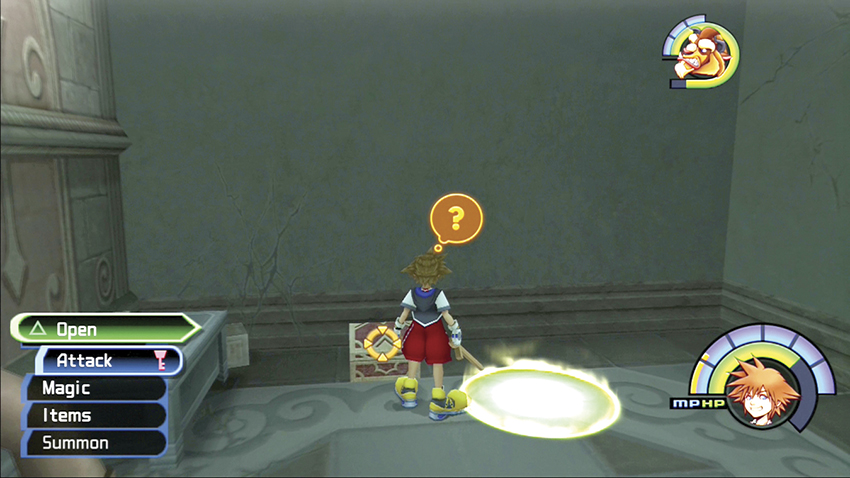
Return to the Base Level and jump into the second, lower bubble to enter a new area of the Waterway. Open the red chest for a Fira Ring and use the adjacent save point.
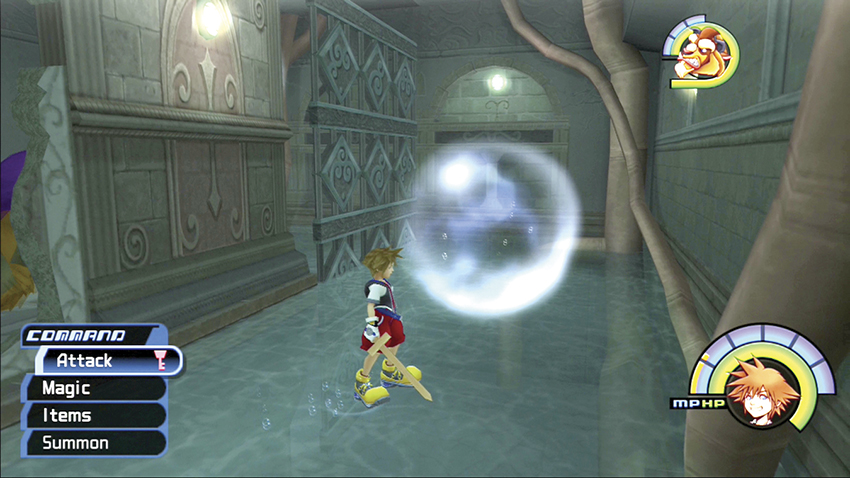
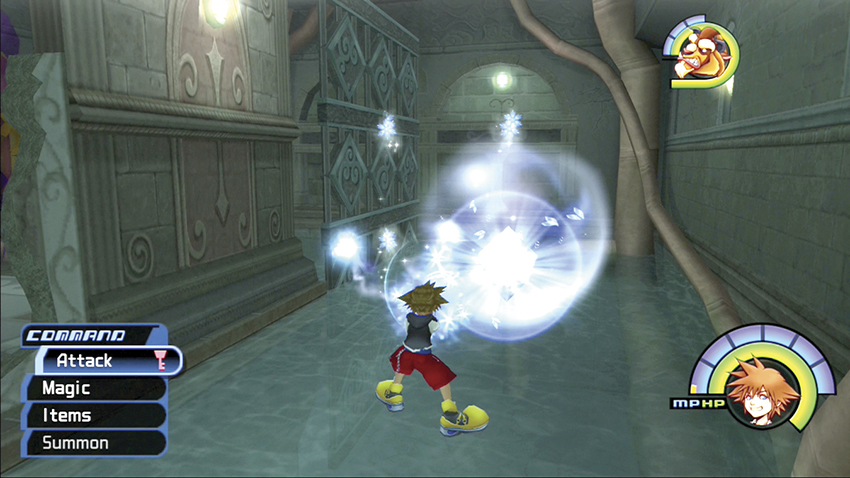
Break the nearby wall with the Beast again. Step into the corridor and cast your Blizzard spell on the bubble. Cold turns the bubbles into temporary ice platforms. Use the ice platform to leap up and grab the top of the wall above the hole and flip up. Glide over to the left to a small platform with Dark Matter in the chest.
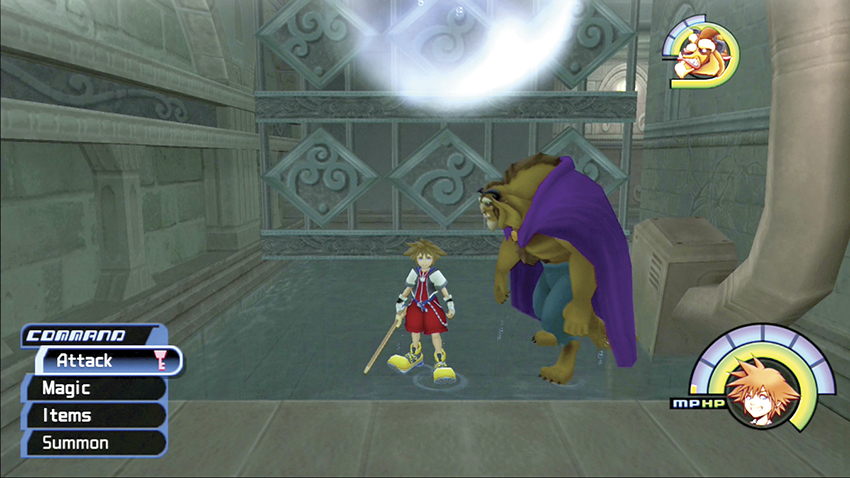
Return to the bubble in the hallway. Jump into it and let the bubble take you under the grate into the next area.
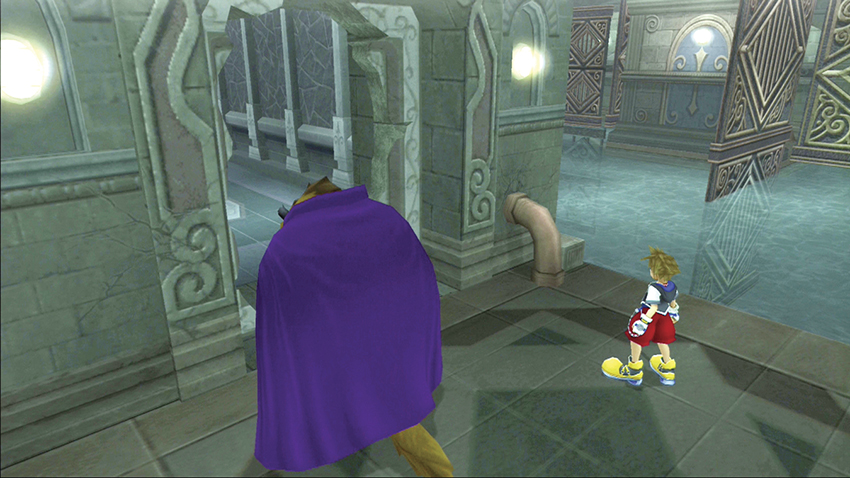
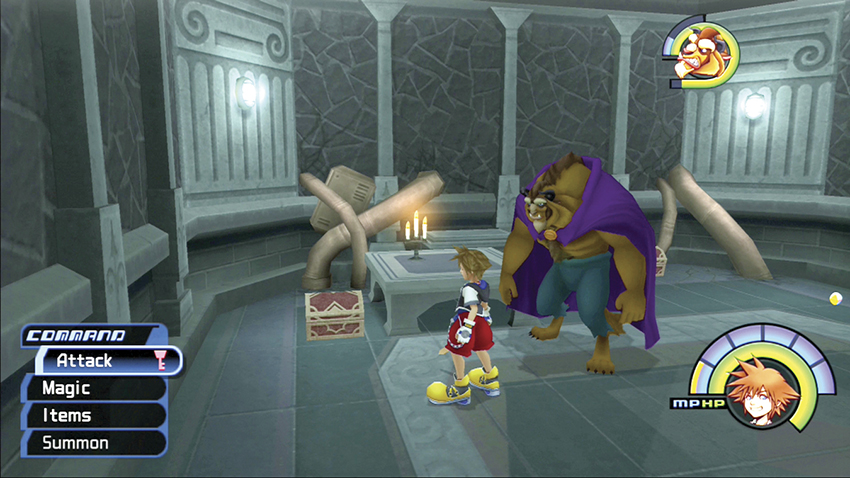
Call upon the Beast to destroy another wall; this one creates an entryway into the Dungeon. Wade through the Heartless in the Dungeon and note the blue Trinity Mark here for when you can return with Donald and Goofy. Open the chest on the left for an Ultima-G and the chest on the right for Thundaga-G.
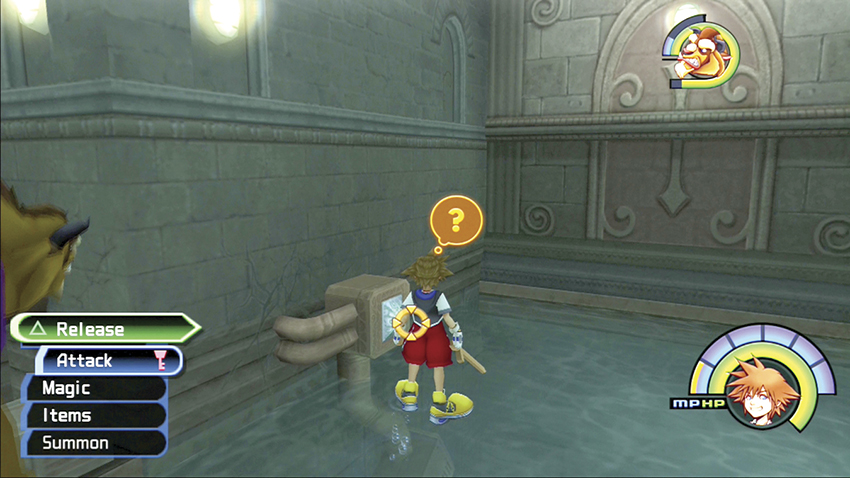
You next have to navigate through a maze of shifting gates. Head around the corner to the left and pull the crystal switch to open a gate across the room.
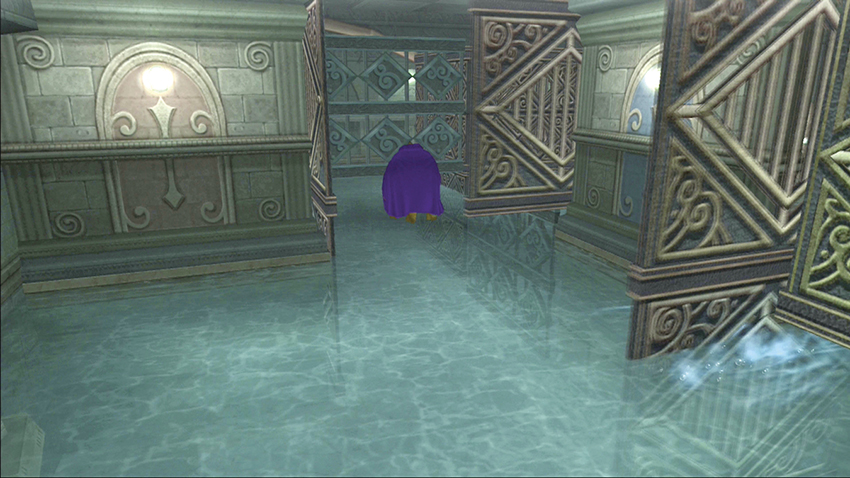
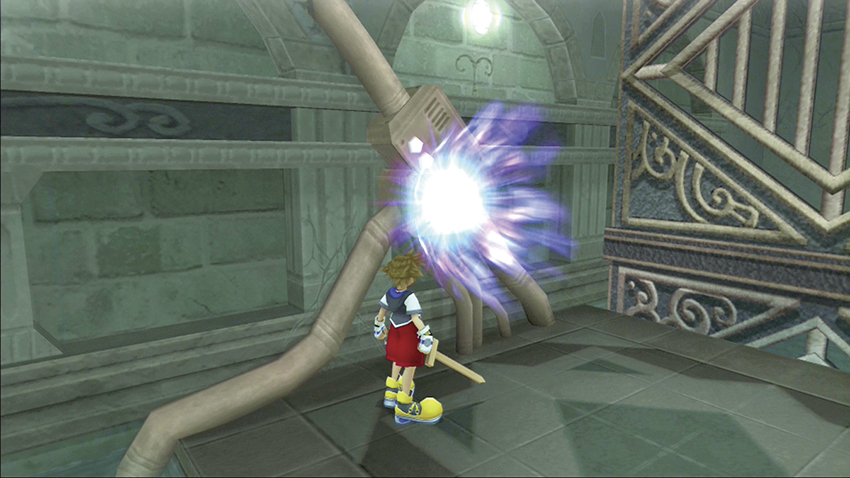
Continue to the second crystal switch. Pull it and the gates will box you in. Go around the corner to the right and use the third crystal switch to open the gate at the end.
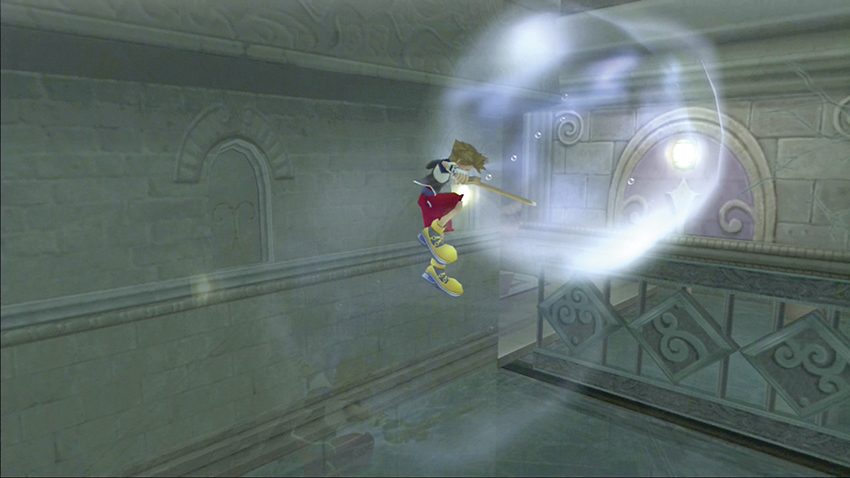
Pull the crystal switch on the floor and wait for the gate to slide open. Jump in the bubble to slip under the next gate and into a new area.
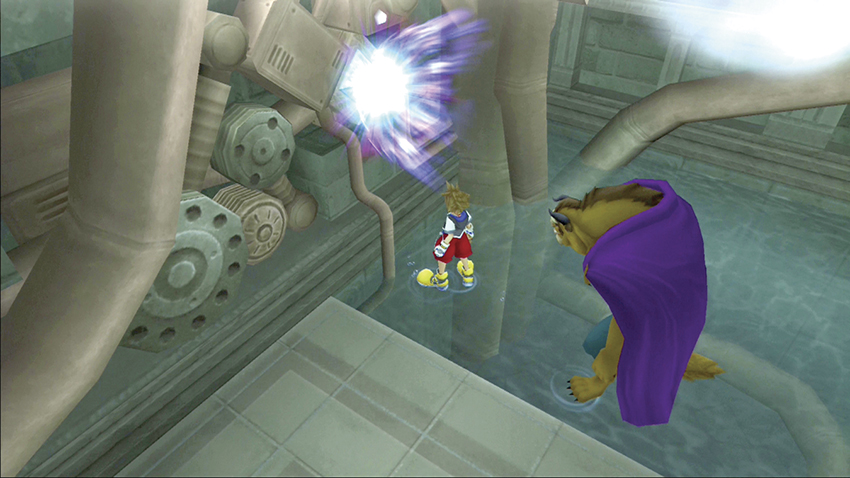
The next crystal switch activates a rising platform. Jump on and ride it to the next level.
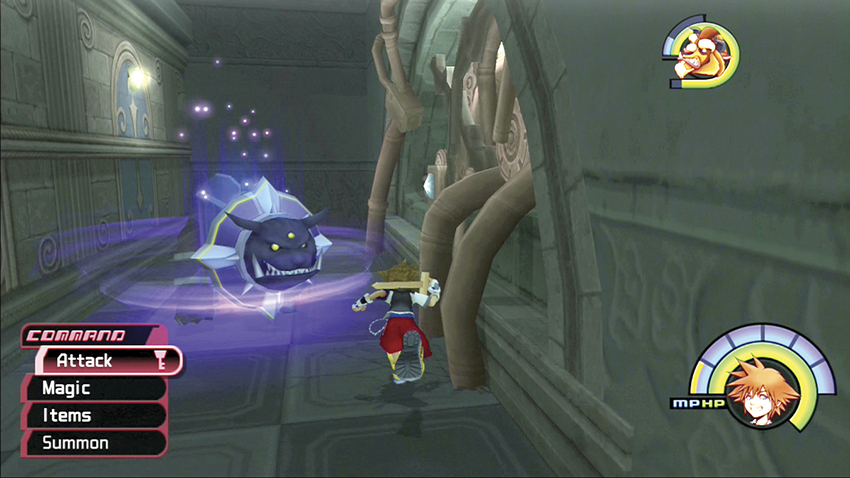
Face off against a new opponent, a Defender, in the very tight corridor. Jump behind the Defender so you don’t take much damage and let the Beast deal with it from the front.
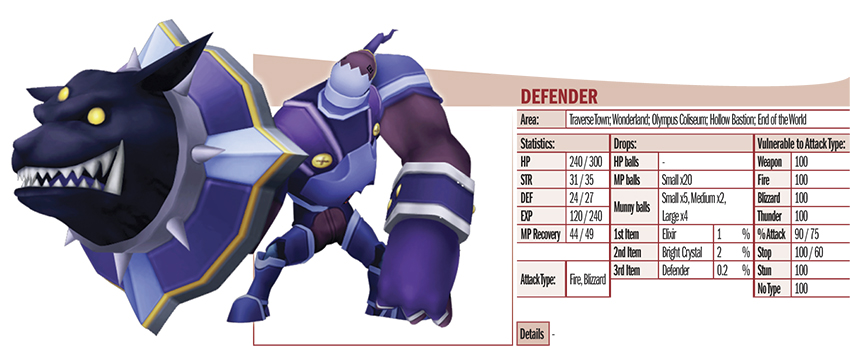
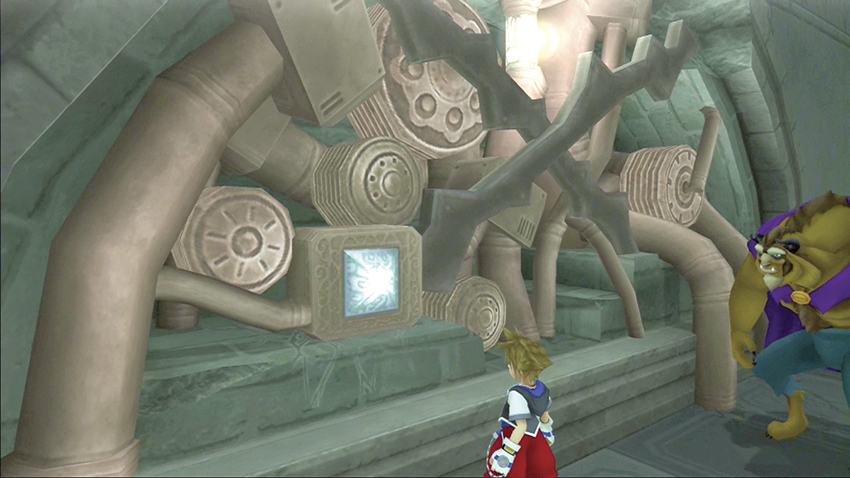
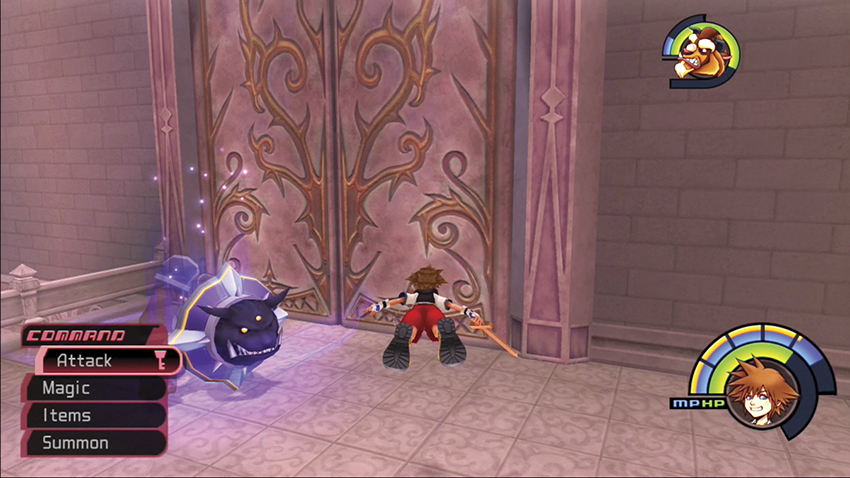
Pull the crystal switch on the machine next to the Defender. You hear gears grinding and a message pops up to tell you that the Castle Gates are open. Return to the outside balcony where you took your first magic platform ride and battle through Defenders, Darkballs, and Shadows to reach the main entrance to the castle.
Step 4: Riku
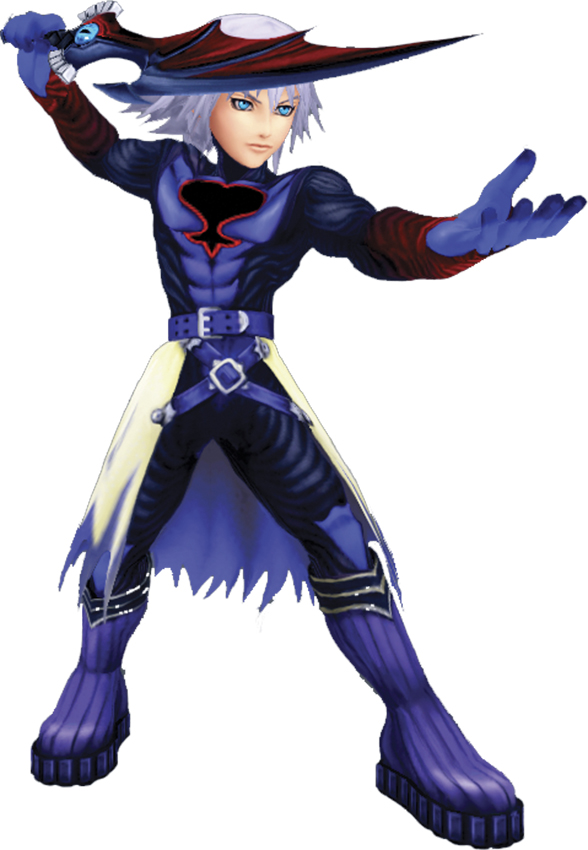
| No. | Book |
|---|---|
| HP | 500 |
| Strength | 31 |
| Defense | 24 |
| EXP | 2000 |
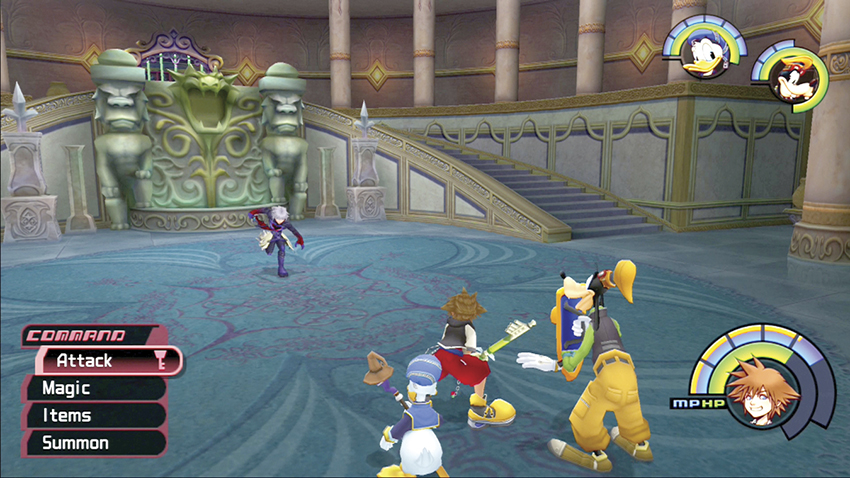
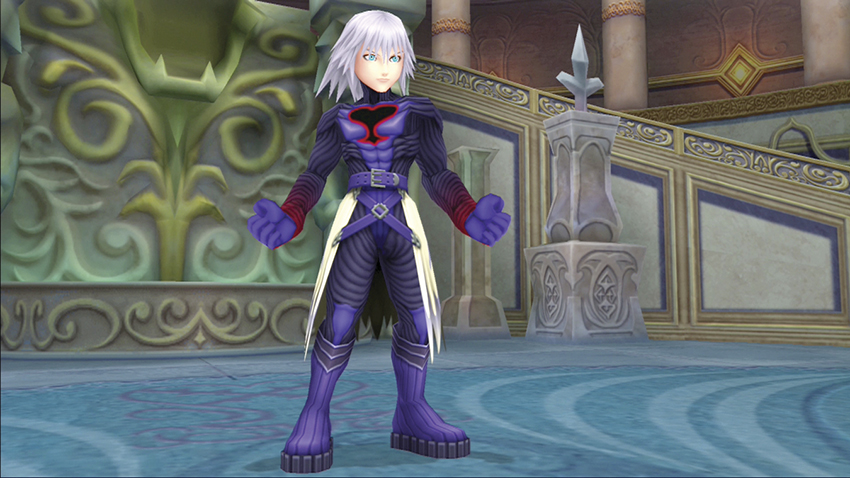
As soon as you enter Hollow Bastion, Riku confronts you. The Beast tramps off after some Heartless, but Goofy and Donald rejoin you for the fight. Even better, your heart wins out over Riku’s and you gain the Keyblade back for the battle.
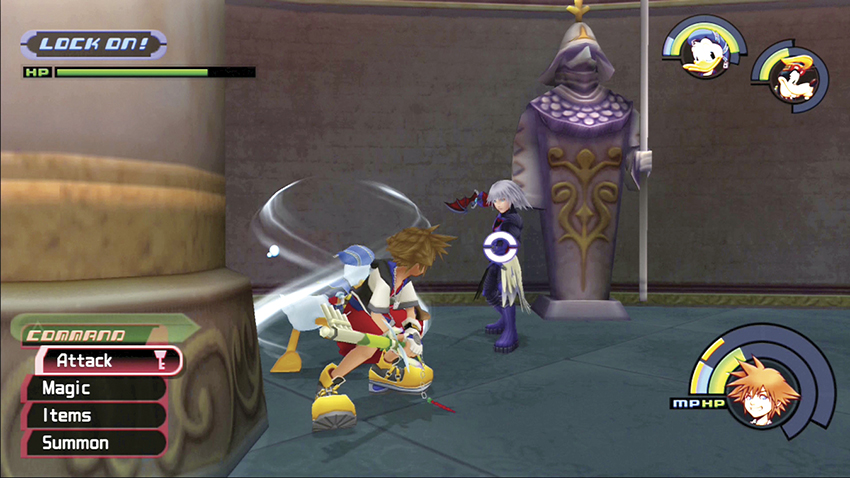
Riku relies on a sliding attack and aerial combos to deliver his damage. When you see him poised to strike, Dodge Roll out of the way. If you can dodge behind him, you can set up a quick counterattack with some combos of your own.
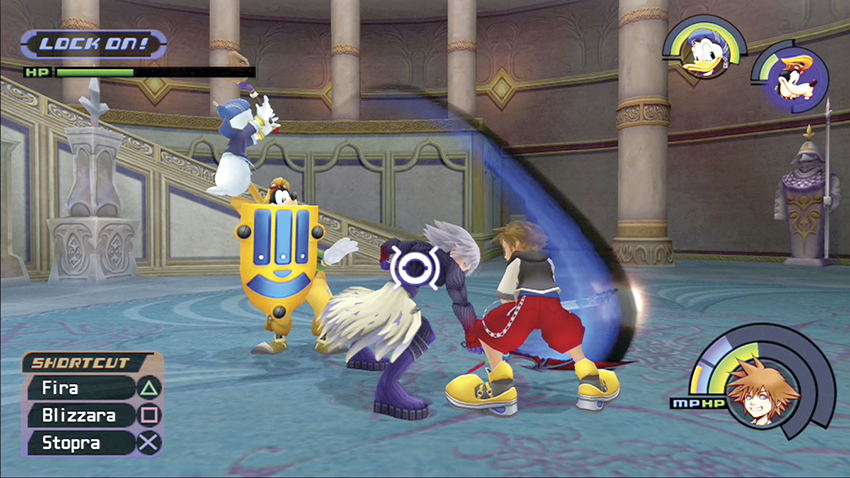
Just because you wrestled the Keyblade away from him doesn’t make Riku less dangerous. He is even faster than when you squared off against him on the Destiny Islands beach. Donald and Goofy will help you out, but you may need to drink a potion to regain HP or retreat if he gets in too close.
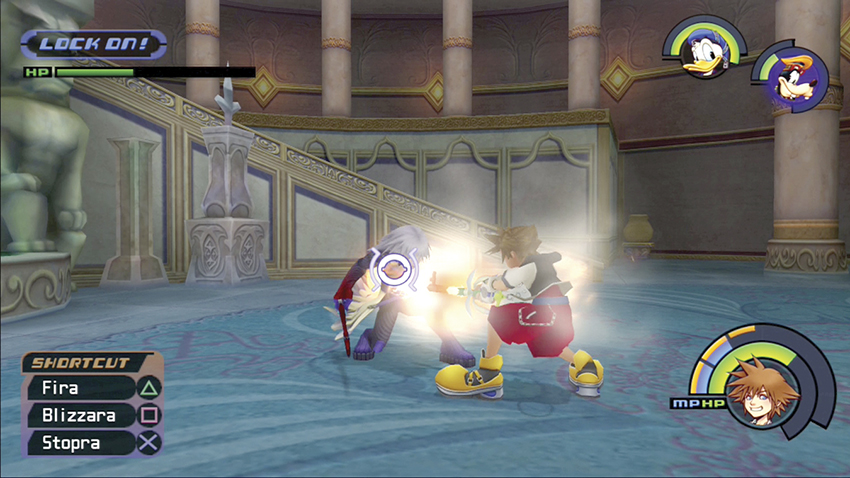
Don’t use magic against Riku; he will just absorb it and heal. Keep up a steady array of physical combos and special abilities to whittle his HP meter down. When you drop him to zero, Riku will flee. You don’t get him yet, but you do gain the ability to use white Trinity Marks. The Beast returns at the end of the fight, and you can choose a new party.
Step 5: Organize the Library
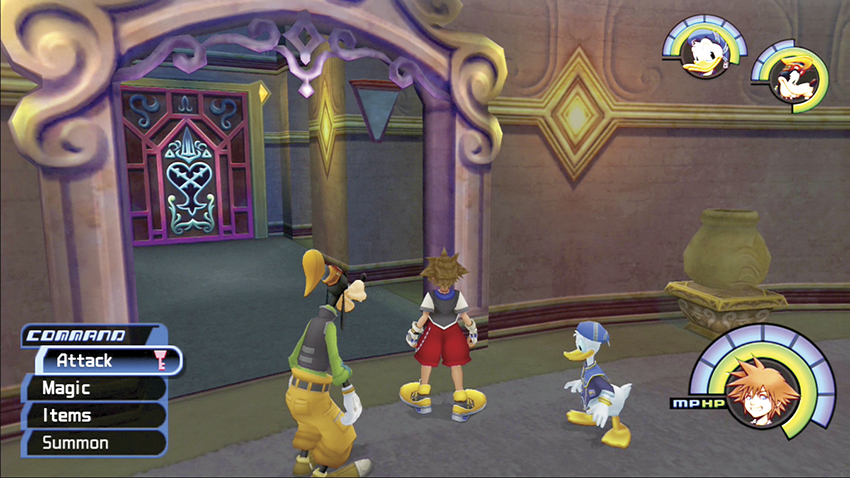
When Riku leaves, you find yourself in the Entrance Hall. Climb the steps to the open doorway and head inside the small room. Examine the door engraved with four Heartless insignia. You note that it has four empty slots, but can’t open it yet.
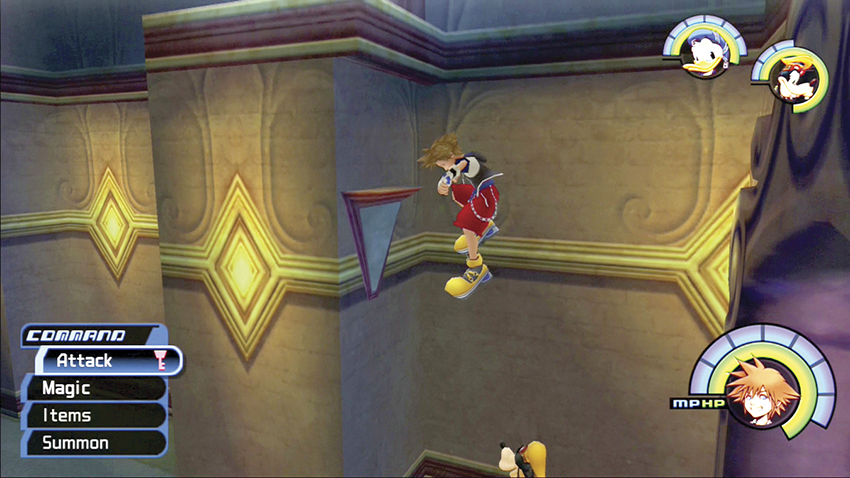
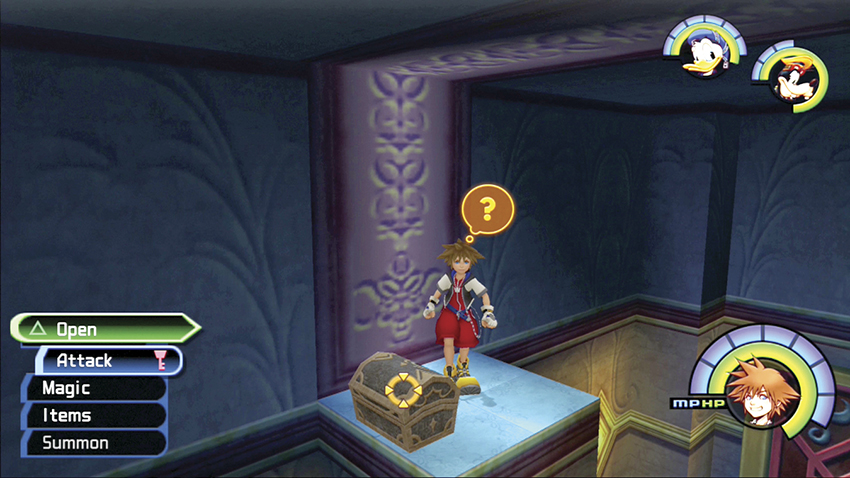
Return to the doorway. Facing the Heartless door, turn slightly to your right, and find the nearest square column. There’s a wall sconce on the closest column face, which you must jump up and grab. Flip up to the top of the column, then turn to your left and jump across to the next column for a chest that holds an AP Up.
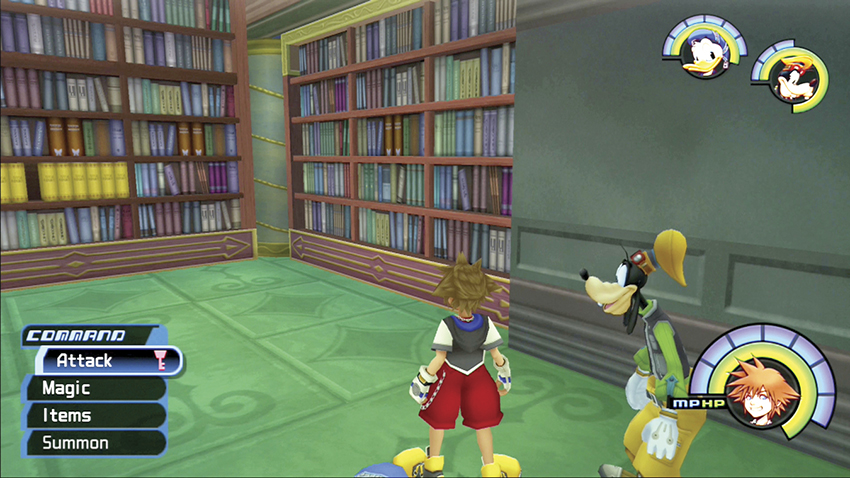
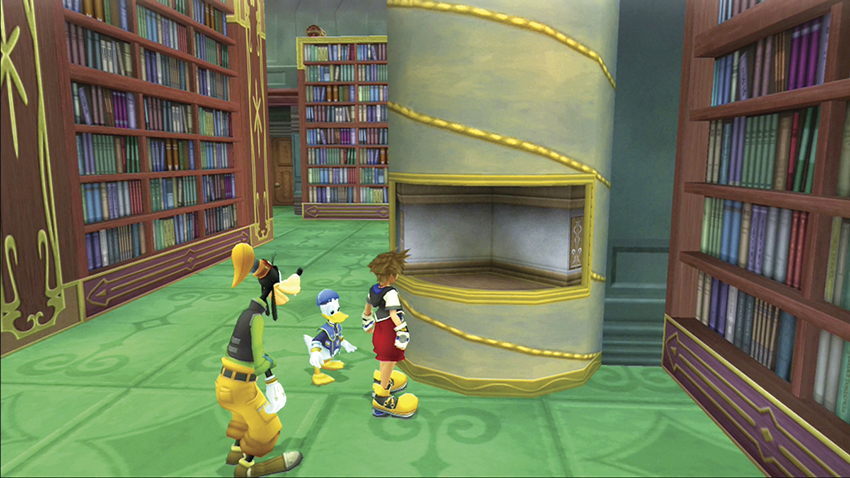
Circle around the Entrance Hall balcony until you find the Library’s wooden doors and enter. The Library is full of items, secrets, and a complex puzzle to open the doors to other areas. Ultimately, you must slot misplaced books on their shelves in alphabetical order. Refer to the maps on this page for the exact position of all items and objects.
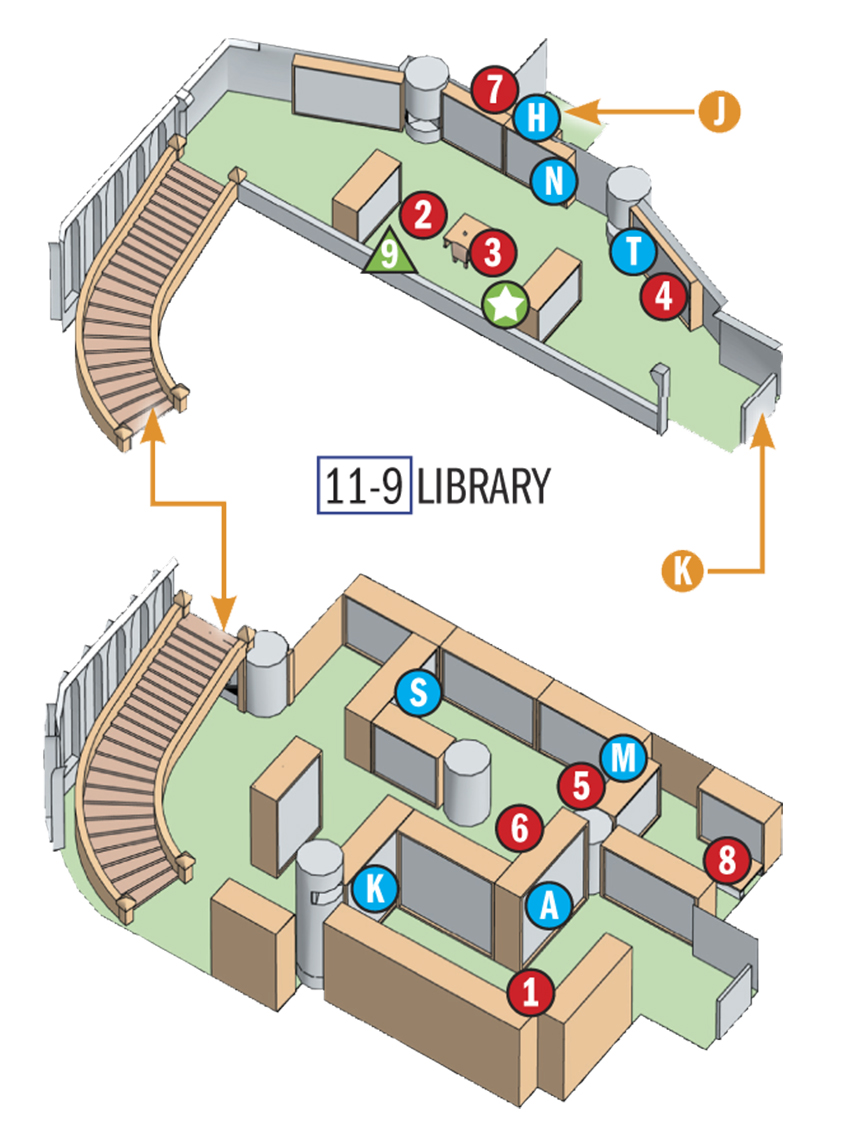
LIBRARY BOOK ORDER
| No. | Book |
|---|---|
|
|
Khama vol. 8 |
|
|
Azal vol. 3 |
|
|
Theon vol. 6 |
|
|
Mava vol. 6 |
|
|
Salegg vol. 6 |
|
|
Nahara vol. 5 |
|
|
Mava vol. 3 |
|
|
Hafet vol. 4 |
LIBRARY SHELVES
| Location | Object |
|---|---|

|
Shelf A |

|
Shelf H |

|
Passage K |

|
Shelf M |

|
Shelf N |

|
Shelf S |

|
Shelf T |
Book 1: Khama Vol. 8
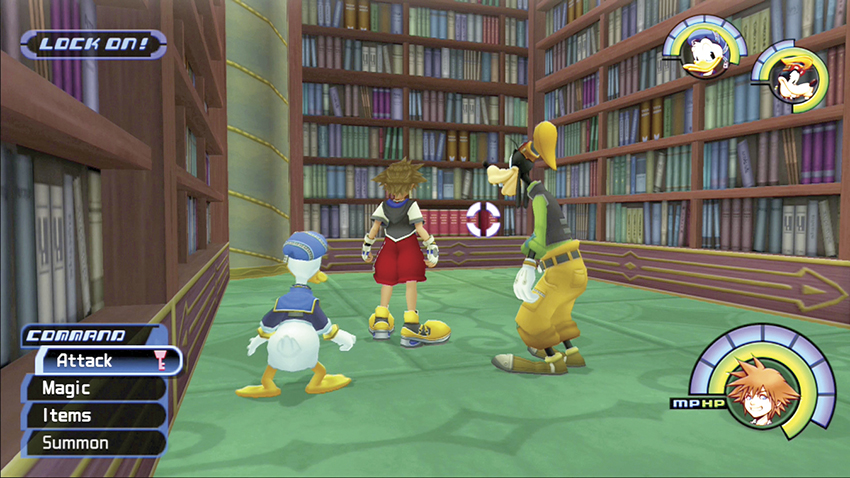
Examine the book on the ground to the left of the entrance. It’s Khama vol. 8. Target lock the red books on the opposite bookshelf and put the book back into the open slot to reveal a secret passage ahead.
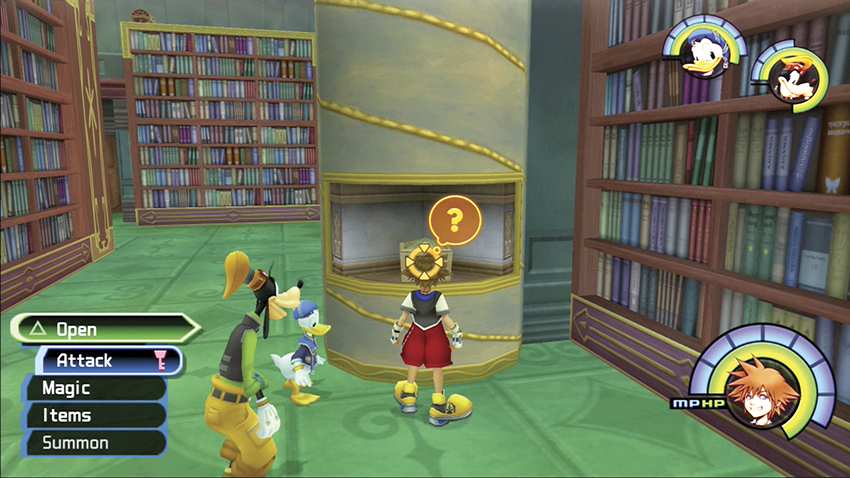
Examine the pillar next to you. Spin the shelf inside the pillar and wait for it to stop. A green chest will appear if you’re lucky. Otherwise, keep spinning until it appears. Open the chest for an Elixir.
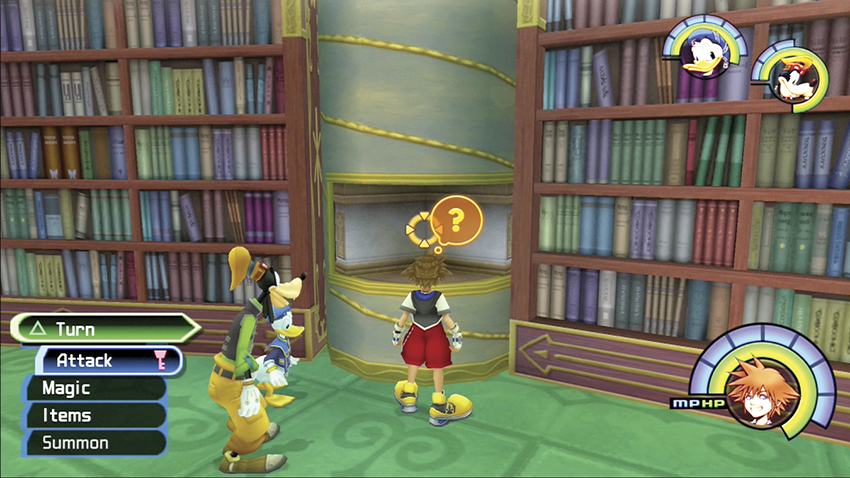
Head up the stairs and look for a second spinning column. Give it a whirl until you land on the green chest. Open it for a Mythril. A third spinning column next to it offers up a Mega-Potion.
Book 2: Azal Vol. 3
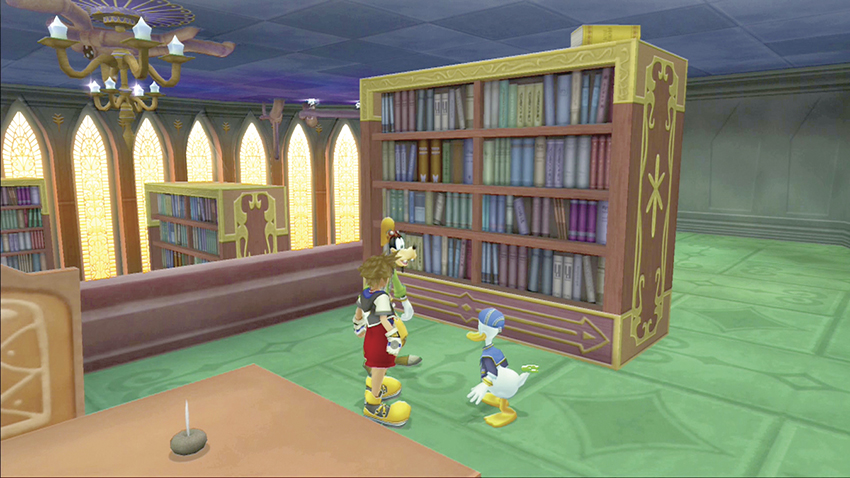
Turn around and find the green Trinity Mark next to the desk. Activate it to dislodge Azal vol. 3 from the top of the nearby shelf. Hold onto it for now.
Book 3: Theon Vol. 6
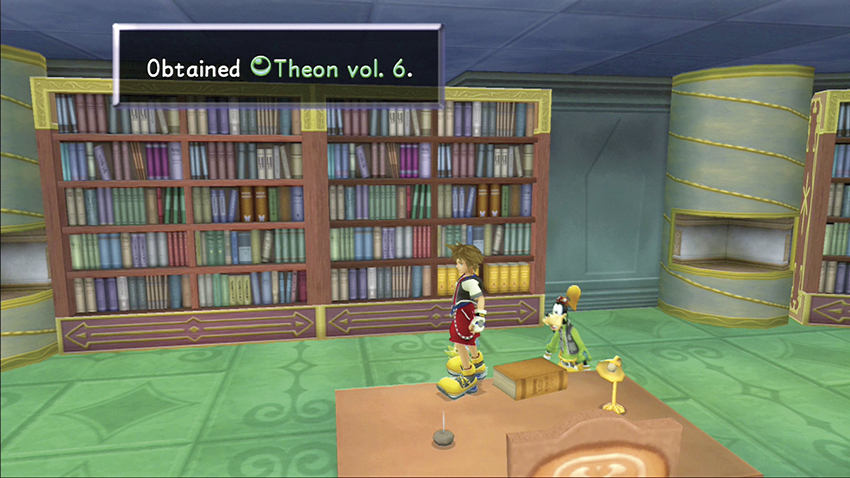
Jump up on the table to retrieve Theon vol. 6. Remember that you can use the save point next to the desk at any time.
Book 4: Mava Vol. 6
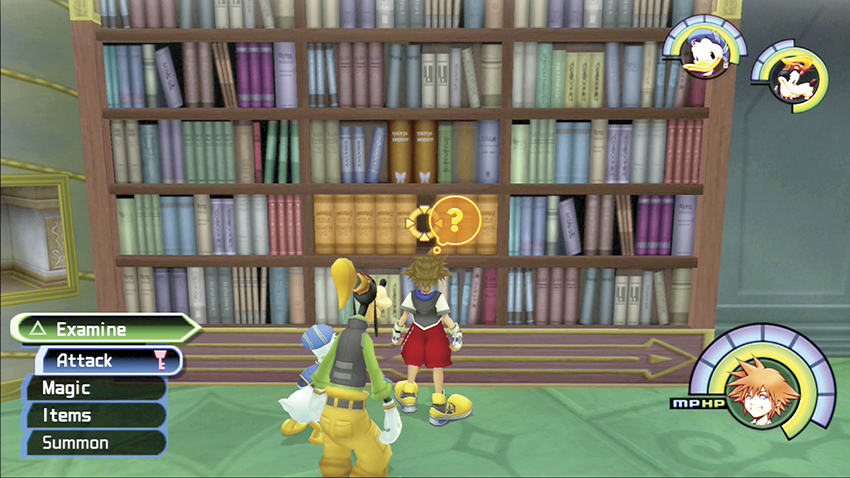
Move past the third spinning column to the bookshelf with one green book among a series of brown books. Pull out the green book to obtain Mava vol. 6. Replace the slot with Theon vol. 6.
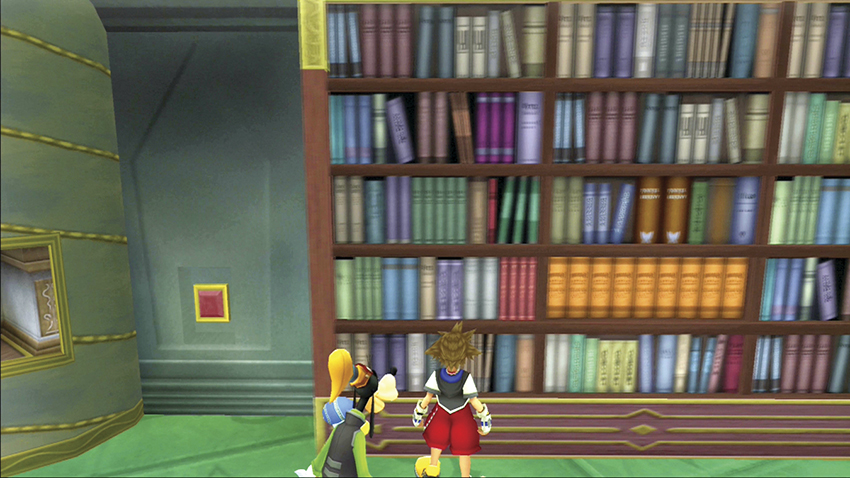
The bookshelf slides open to reveal a secret button. Press the button to open the door to the Entrance Hall’s upper balcony. Don’t enter the new door yet.
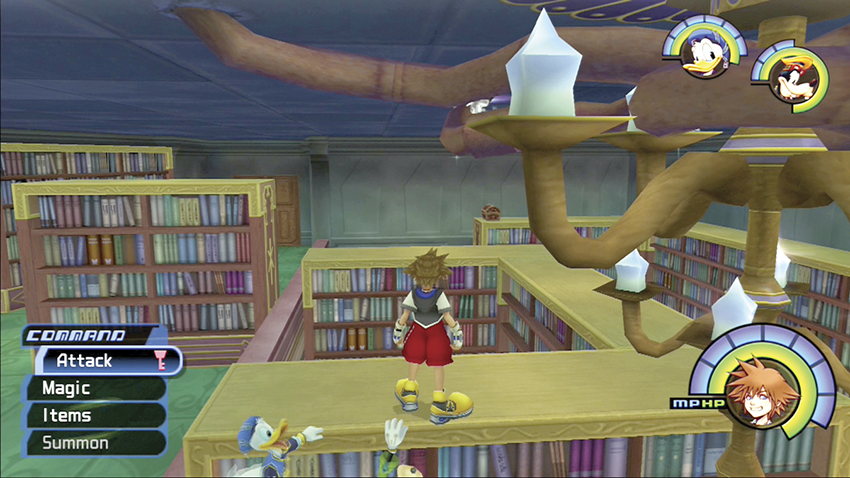
Jump over the balcony railing and on top of the first-floor bookshelves. Glide across the room to a chest atop the far shelf with an Ultima-G inside.
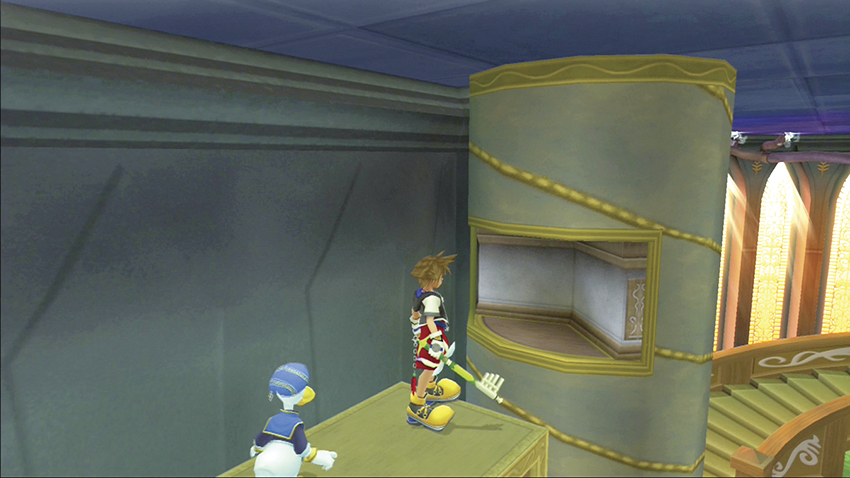
Stay atop the bookshelves and follow the wall until you get to a fourth spinning column. Spin it until you gain an AP Up.
Book 5: Salegg Vol. 6
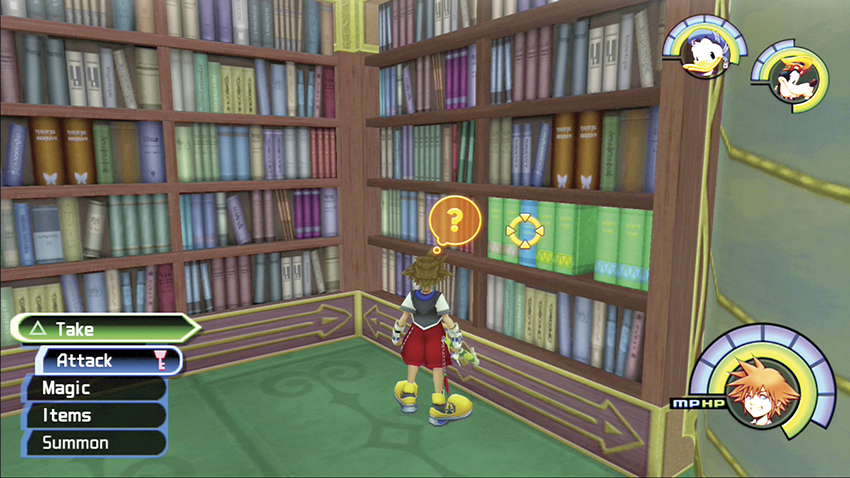
Glide back toward the save point and drop down in a square gap in the bookshelves before you reach the balcony. Take the blue Salegg vol. 6 volume from amidst the green books. Turn around and place your new volume in a slot amidst blue books on the opposite shelf. The bookshelf now slides aside.
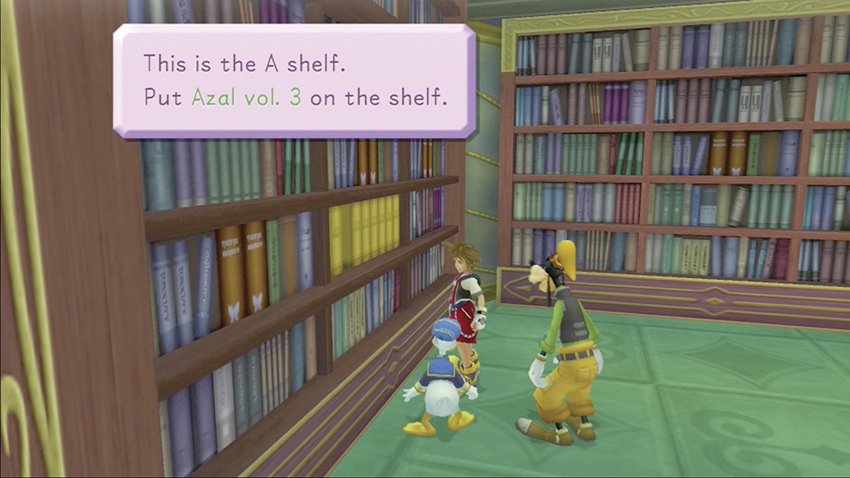
Walk around to the entrance area and look for a bookshelf with a series of yellow books. Place the Azal vol. 3 volume in the empty slot. The library bookshelves shift around again.
Book 6: Nahara Vol. 5
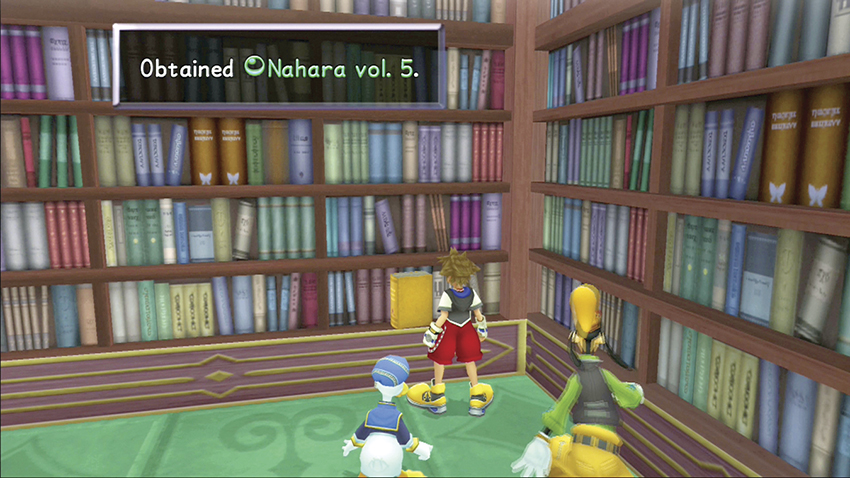
Head around to the other side of the bookshelves you just moved and look for a yellow book standing up on the bottom shelf. Pick it up for Nahara vol. 5.
Book 7: Mava Vol. 3
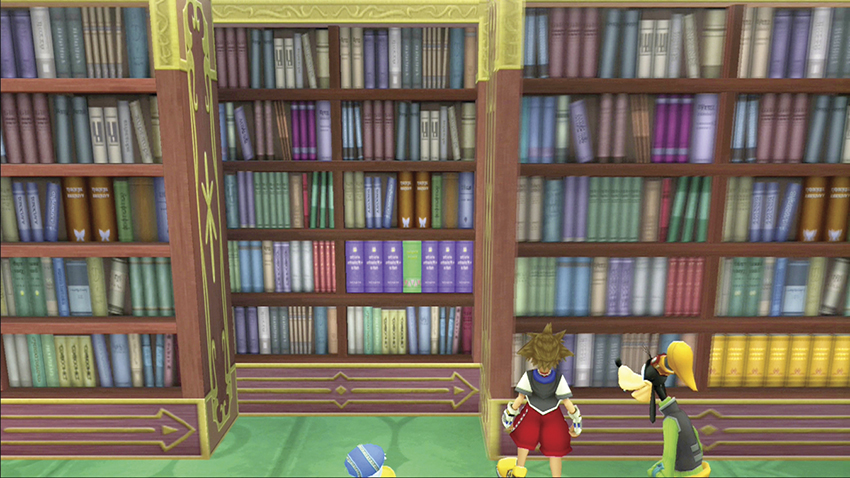
Return upstairs and place Nahara vol. 5 in the book row across from the desk. A new bookshelf is revealed; take Mava vol. 3 from it.
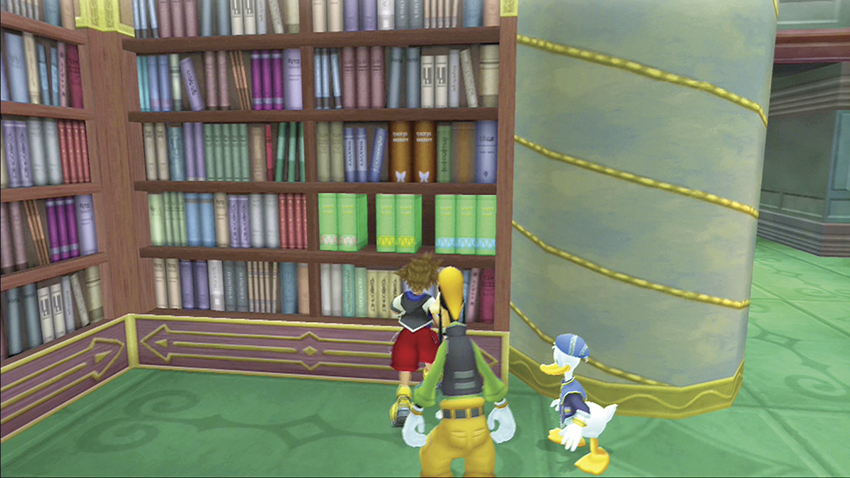
Jump back down to the first floor and find the green book row with two slots missing. Place both Mava volumes in the empty slots. The bookshelf swings open to reveal a secret area.
Book 8: Hafet Vol. 4
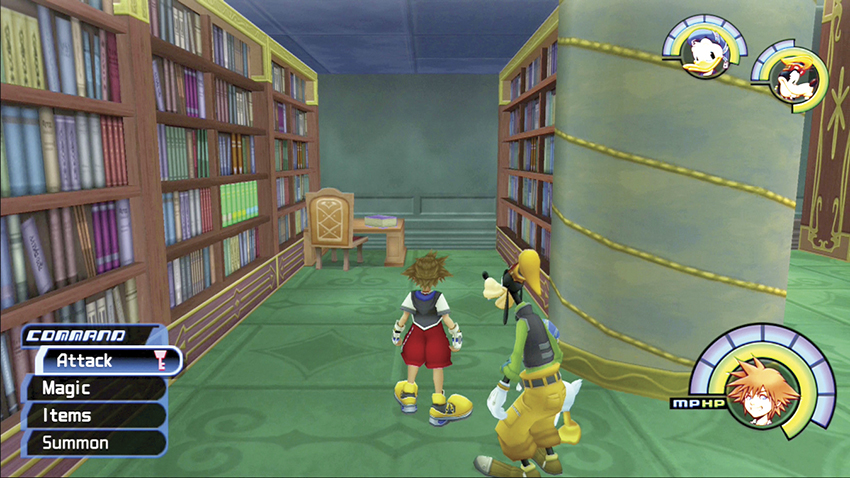
The book on the table in the secret area is Hafet vol. 4.
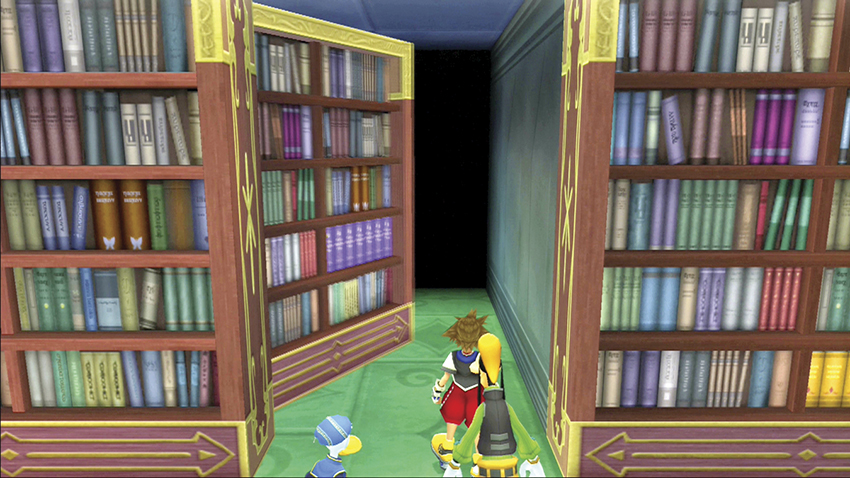
Return upstairs and place the purple volume in the empty slot near the desk. A secret passageway to the Lift Stop reveals.
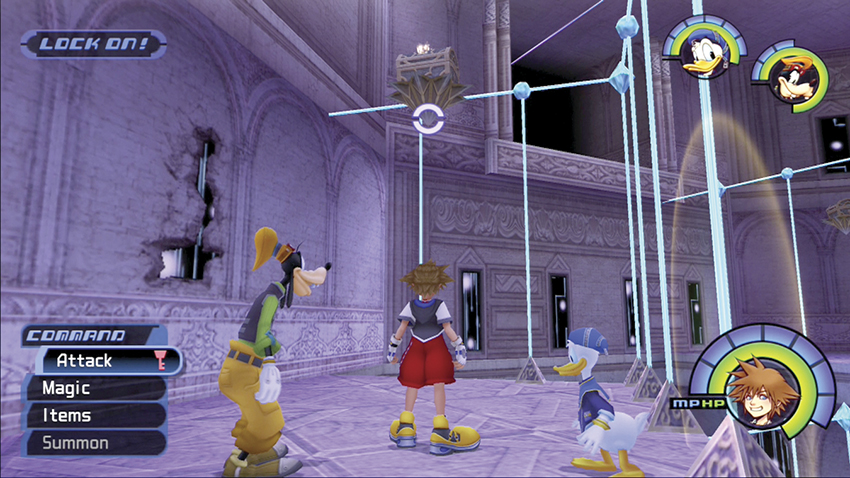
Enter the Lift Stop. Use your Gravity spell on a chest floating high overhead. The chest will lower to reveal Dalmatians 97, 98, 99.
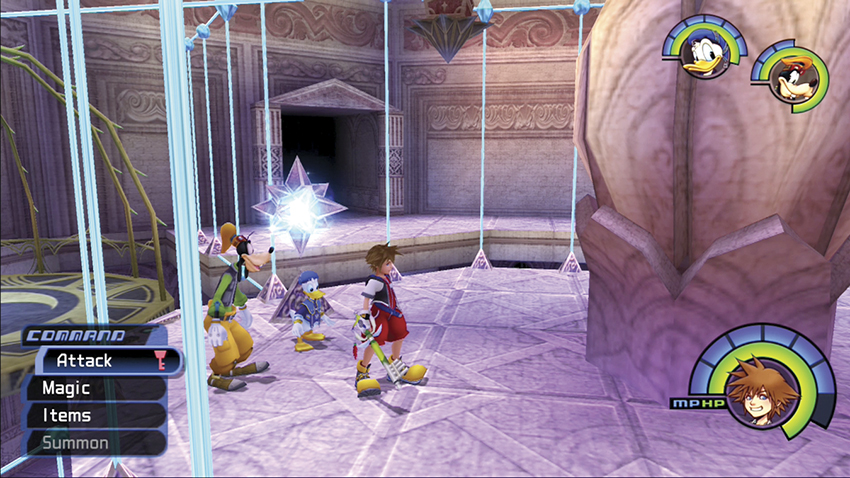
Access the crystal in the room to call a magic platform to you. Ride the platform to an exclusive high area above your same room. Again, use your Gravity spell to bring down a chest with an Osmose-G. Return to the Library and then use the second-floor door to access the Entrance Hall.
Step 6: Assemble the Heartless Insignia
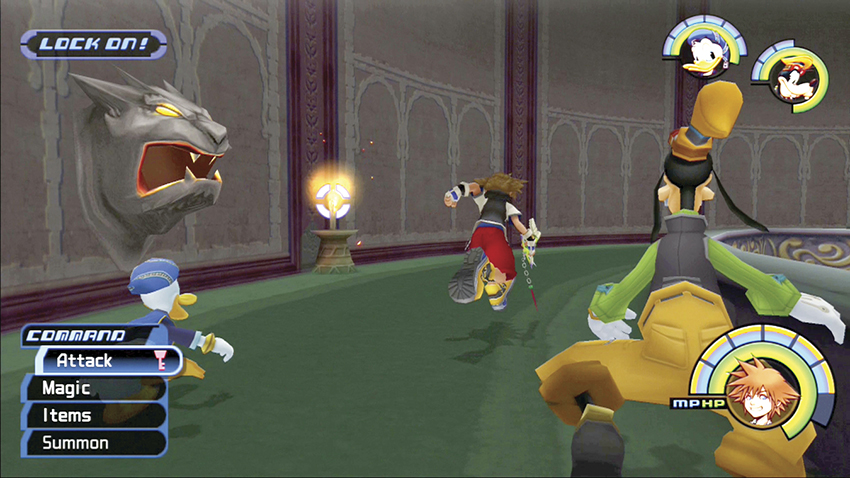
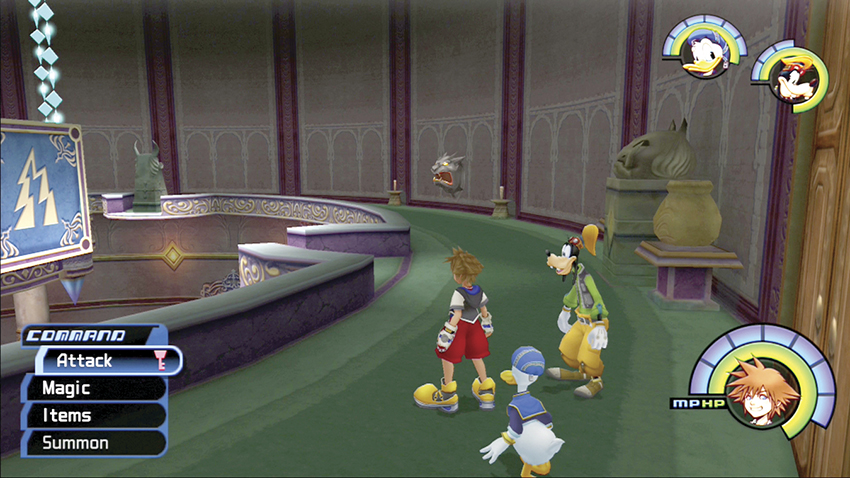
You need to complete several tasks in the Entrance Hall to obtain the four Emblem Pieces that open the Heartless Insignia door. First, move around the balcony and light all the candles with your Fire spell. This extinguishes the flames in the large central brazier.
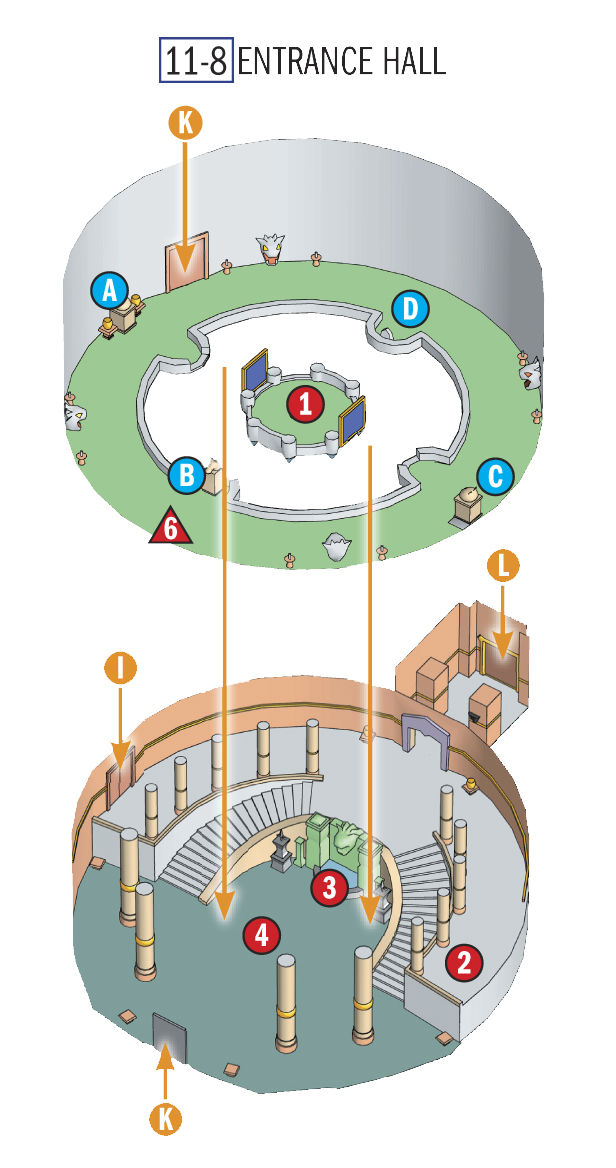
HEARTLESS EMBLEM PIECES
| No. | Book |
|---|---|
|
|
Emblem Piece |
|
|
Emblem Piece |
|
|
Emblem Piece |
|
|
Emblem Piece |
LIBRARY SHELVES
| Location | Object |
|---|---|
|
|
Statue 1 |

|
Statue 2 |

|
Statue 3 |

|
Stone |
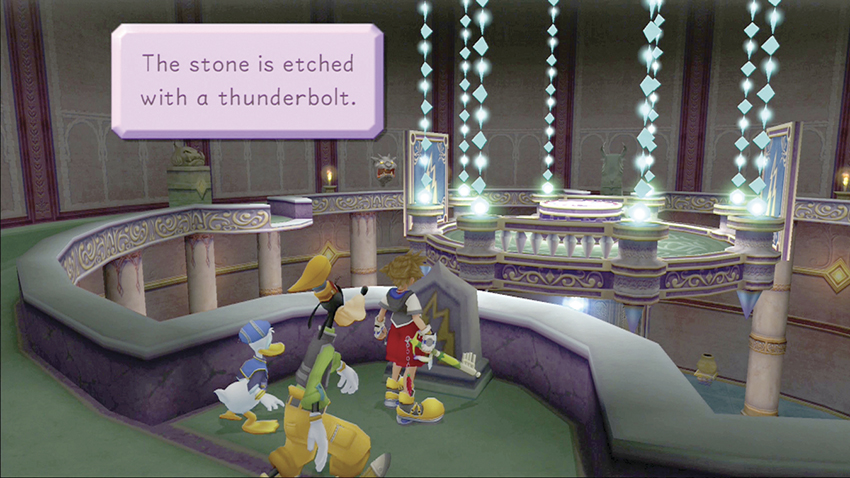
Continue clockwise around the balcony from the entrance to find a small stone etched with a lightning bolt. Use your Thunder spell on the stone to lower two platforms near the center platform.
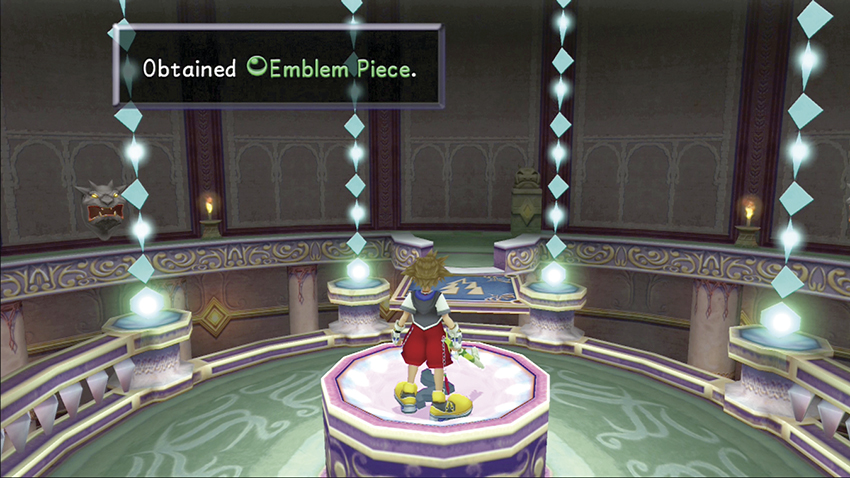
Glide over to the central platform or use the rising and lower platforms you just activated. Grab the first Emblem Piece from the extinguished brazier.
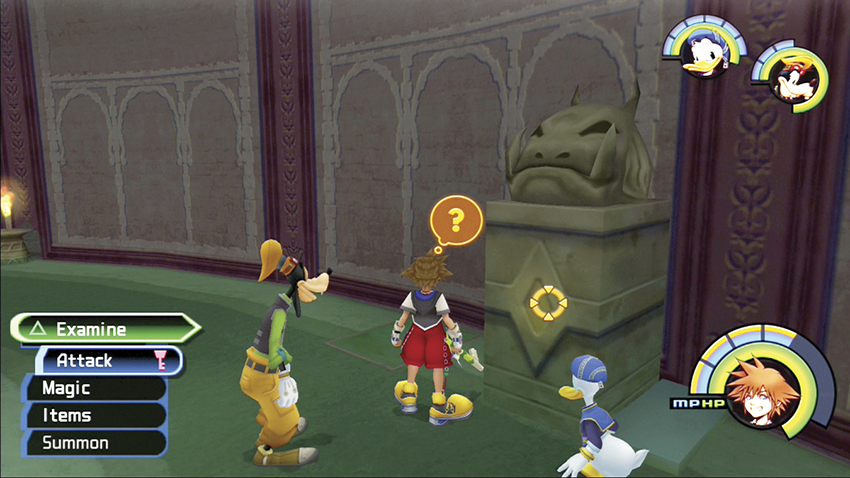
Head to the balcony opposite the library doors and look for a stone statue of a tusked creature. Push the statue to reveal a chest with the second Emblem Piece directly below on the lower balcony.
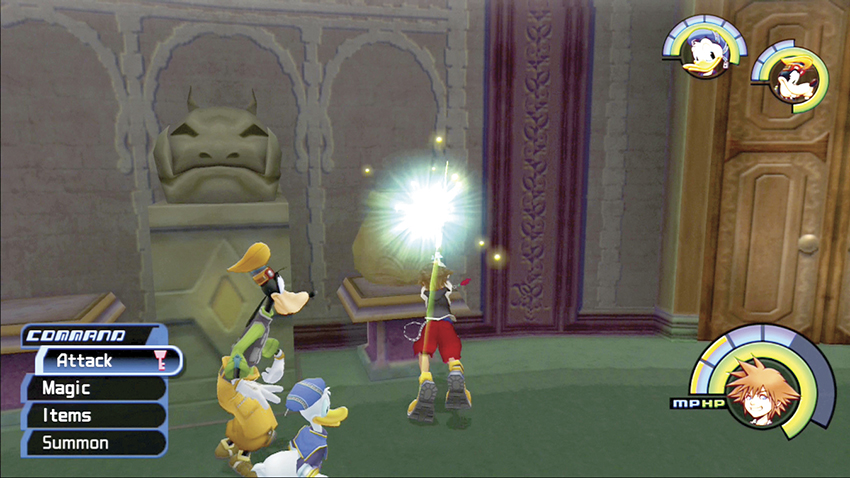
Another tusked statue with a vase on each side decorates the wall by the Library door. Smash both vases to spit the third Emblem Piece out of the fountain below.
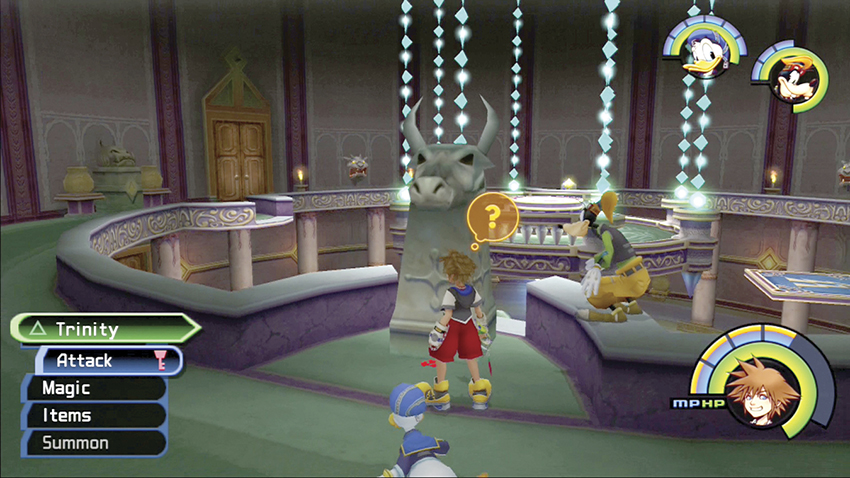
Find the bull-headed statue and use the red Trinity Mark to knock the statue to the floor below. It shatters to reveal the fourth Emblem Piece.
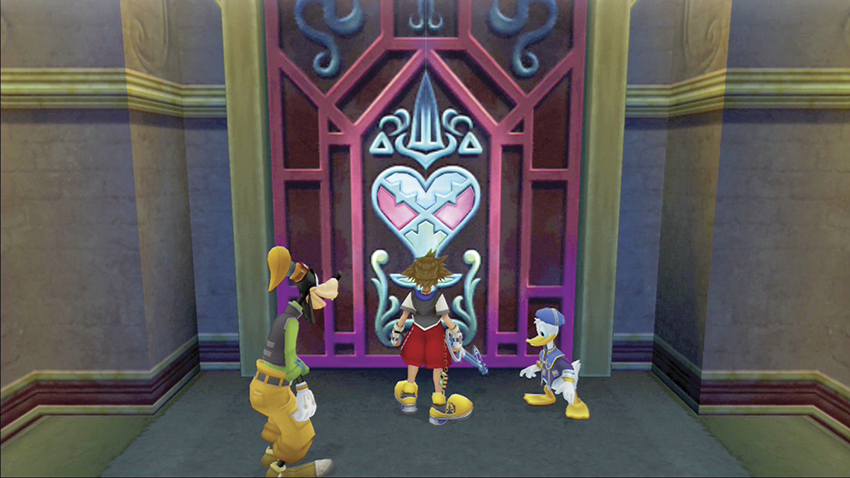
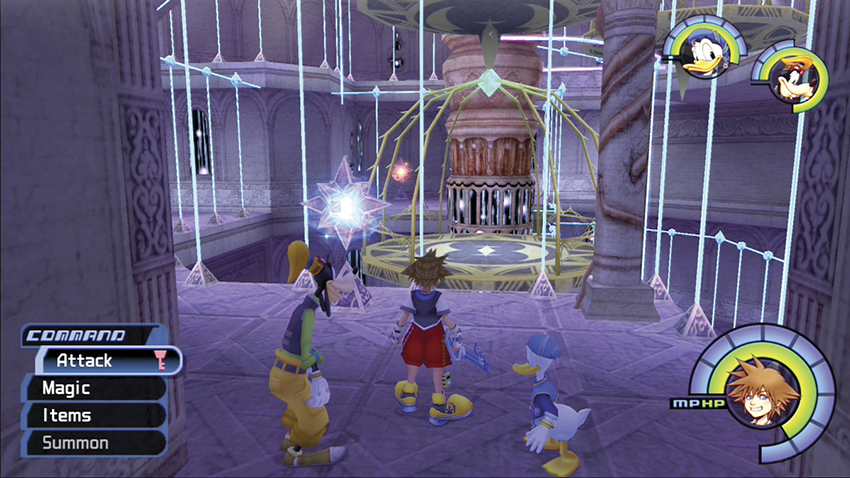
Enter the area with the Heartless Insignia door and place all four Emblem Pieces into the door. You will be transported to the entrance to the Lift Stop. Here your long journey begins to climb the castle.
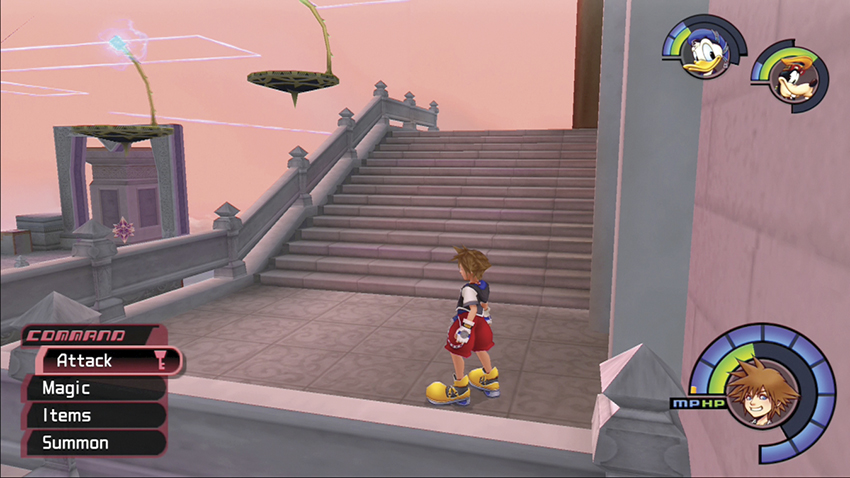
Step 7: Ascend the Castle
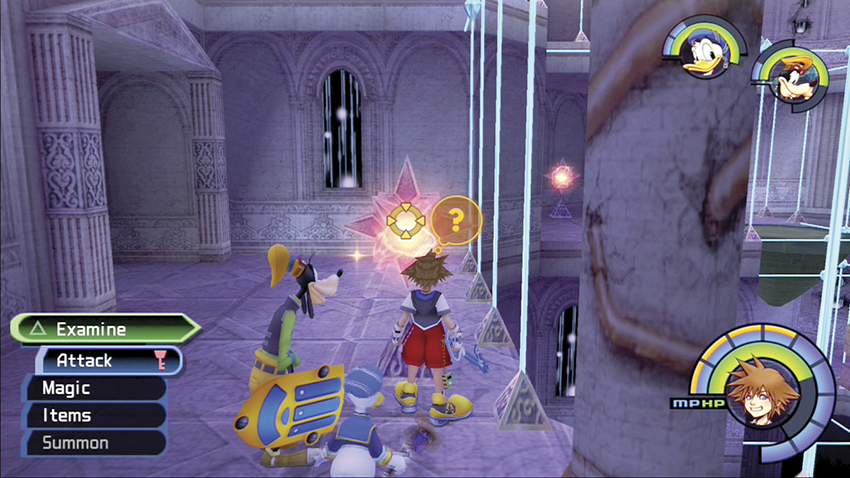
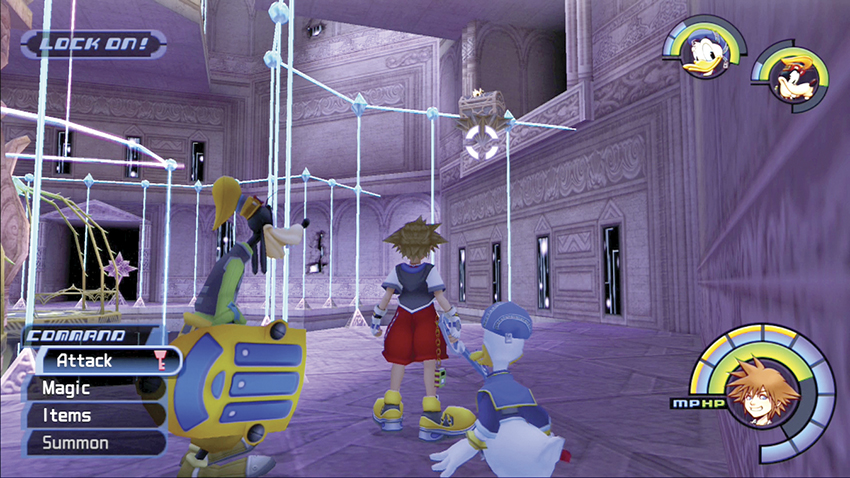
In the Lift Stop, walk to the second, red crystal and turn it blue. The nearby magic platform will now travel up instead of down. Examine the first crystal by the door to rise to the level above. Use your Gravity spell on the chest her to lower it for an Orichalcum. Return to the entrance ledge.
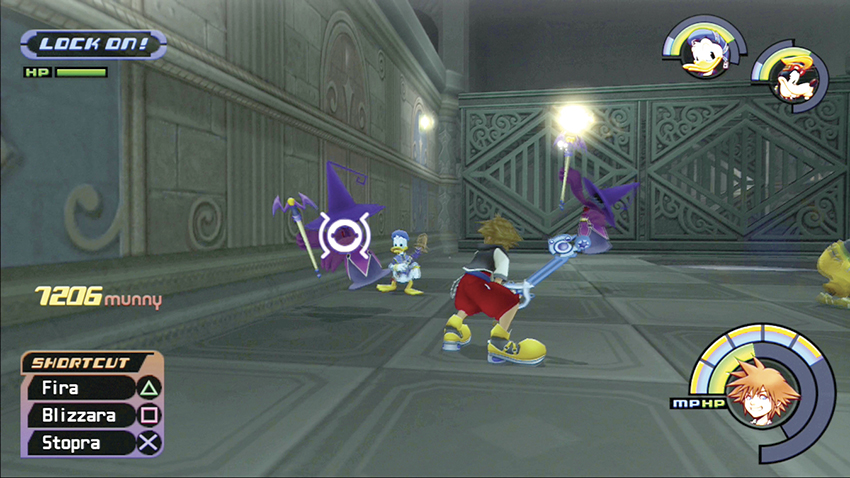
Switch the crystal again so that the magic platform brings you down to a new entrance to the Waterway. Battle through Defenders and the new Wizards in the area. Jump on the rising platform to the right and return to the Lift Stop.
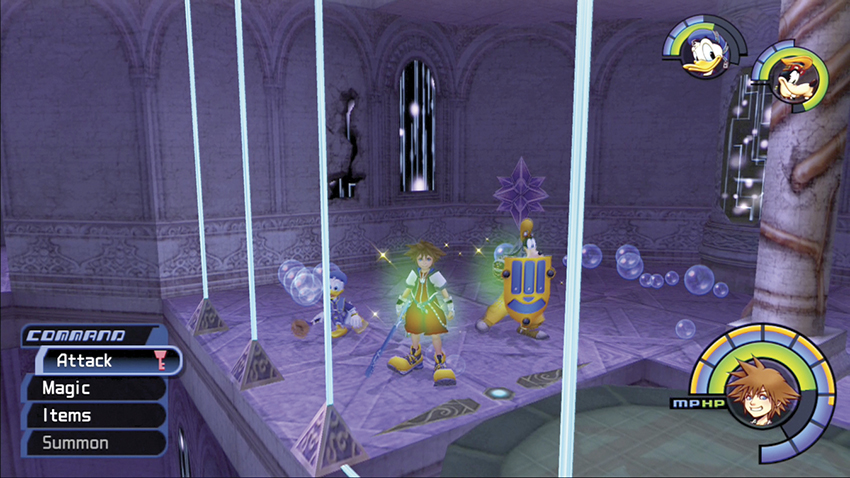
Examine the red crystal in this small area to release a ton of MP balls and a Mythril. Ride back down to the Waterway, and use the other platform in the room. It descends to the Dungeon.
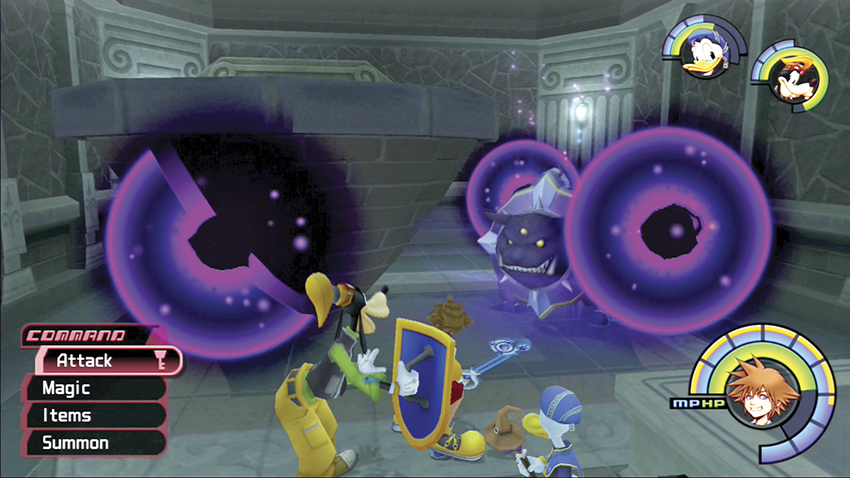
With Donald and Goofy in your party, you can now access the blue Trinity Mark you missed before. It releases a Mega-Ether, Cottage, and a Mega-Potion. Gather the items up and then retrace your steps to the entrance ledge in the Lift Stop.
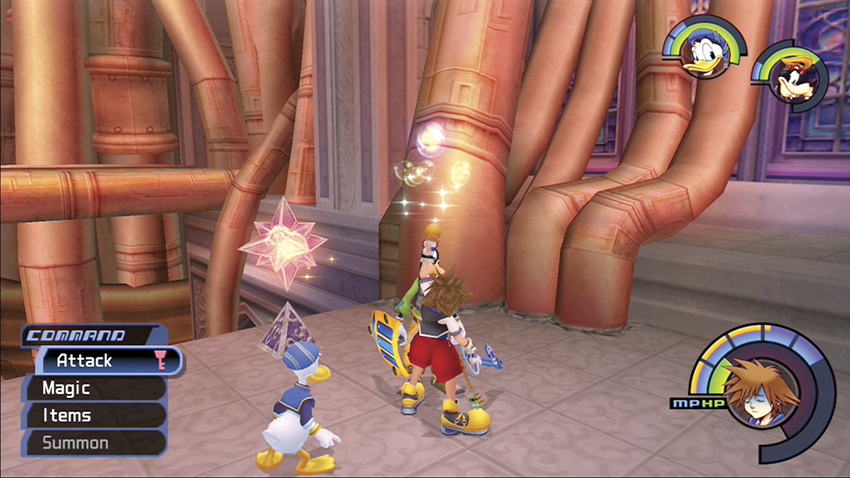
Go past the crystals and take the Castle Gates door (do not go back through the Entrance Hall and out to the Castle Gates that way). Fend off the flying Wyverns here without sending yourself over the balcony railing. If the Wyverns circle in close, your Fire spell or Thunder spell work the best. Round the corner and activate the red crystal.
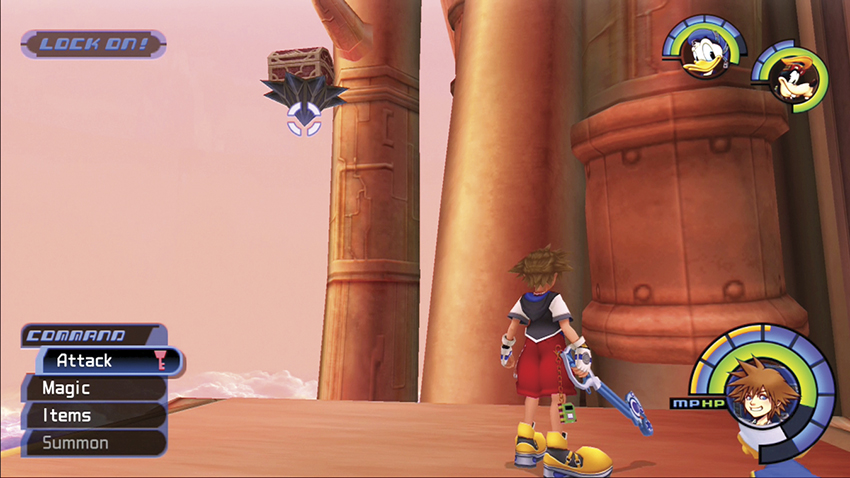
A magic platform moves overhead. Jump up to this platform and then Glide over to the orange platform with a chest floating high above it. Cast your Gravity spell to lower the chest and free Dalmatians 94, 95, 96.
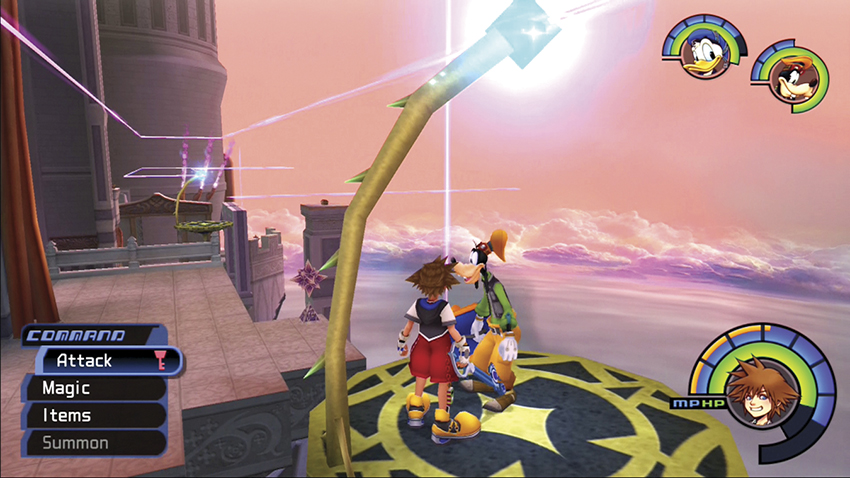
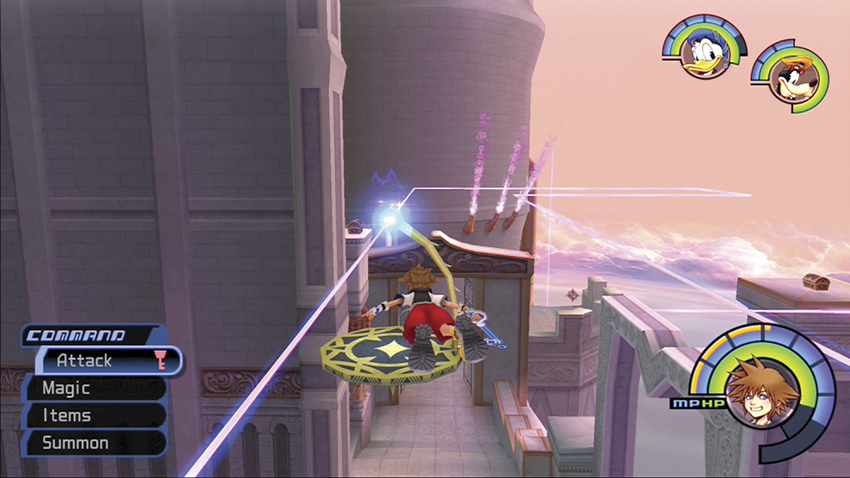
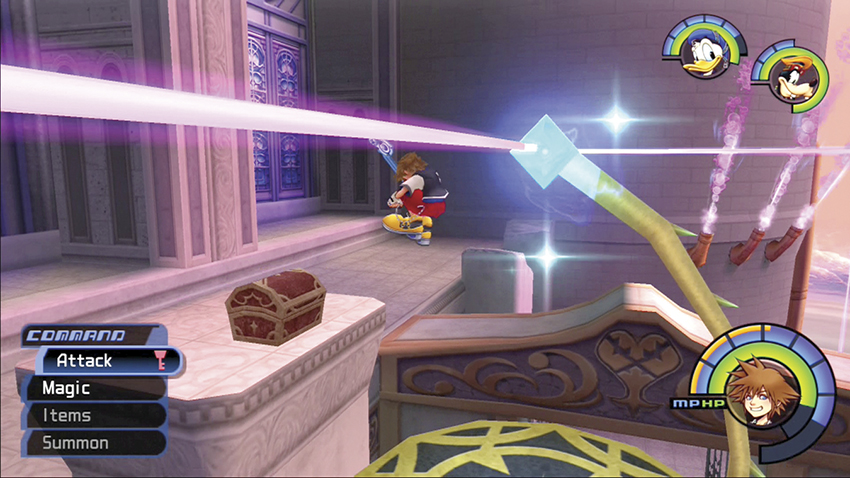
Take your time finding the next chest. Jump back up on the magic platform and wait until it comes close to a second magic platform back where you entered. Glide across to the second platform until you reach the corner. Leap up at the corner and land on a small ledge with a chest. Open the chest for a Haste2-G.
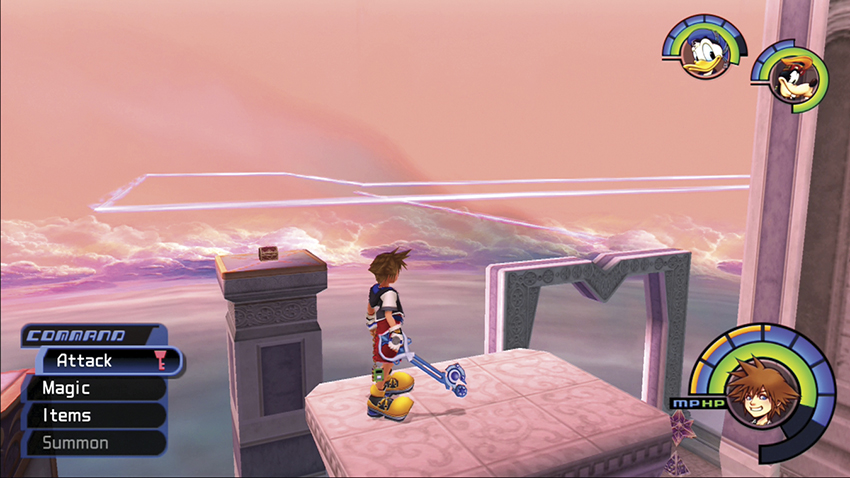
Jump back on the magic platform and watch for a floating column. Glide over to the floating column and open the chest there for an Orichalcum.
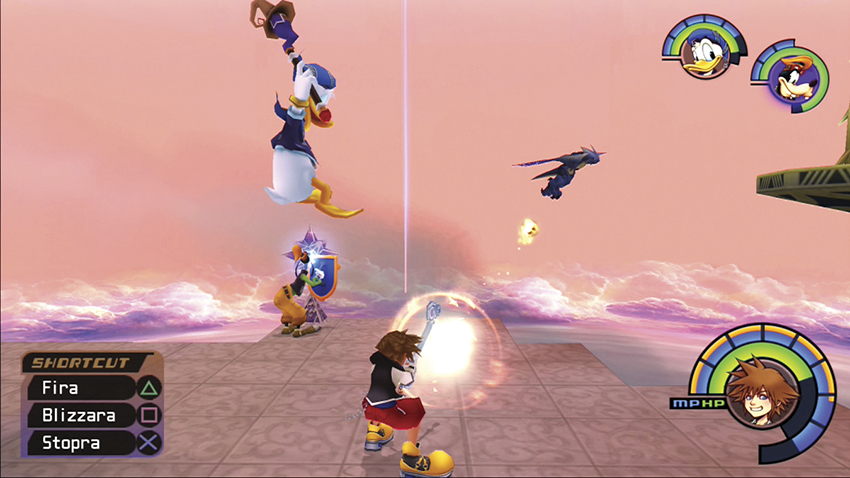
Ride the magic platforms back to the area near the orange platform. Defeat more Heartless on the way. Examine the blue crystal out on the edge of the ledge to ascend to the next level.
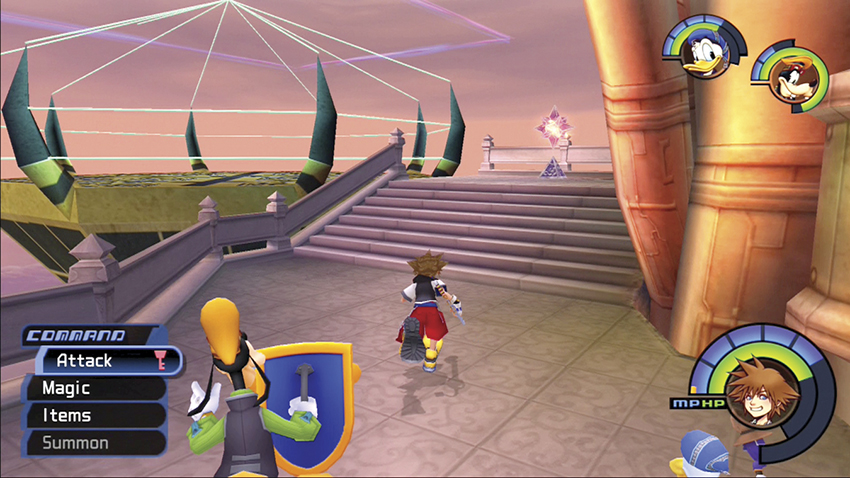
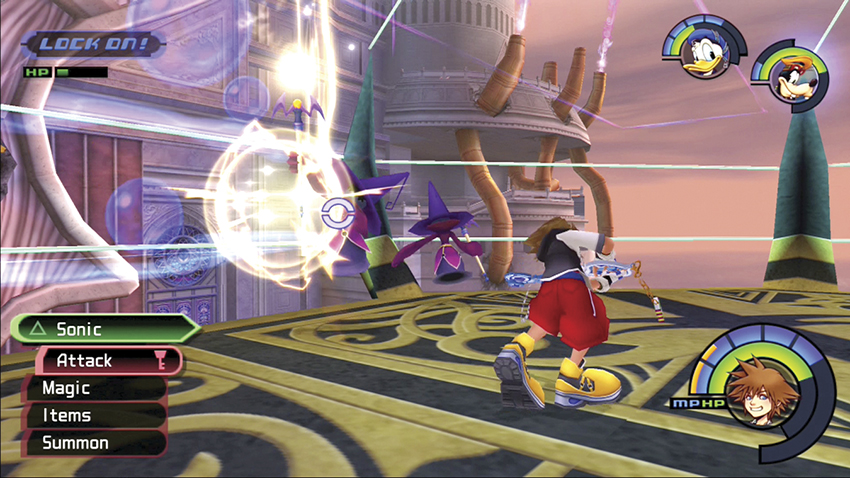
Take the stairs to the next red crystal. Hop on the platform and watch as it moves along the outside of the castle. When the Wizards appear, trash them all to make a new crystal appear in the middle. Activate that crystal.
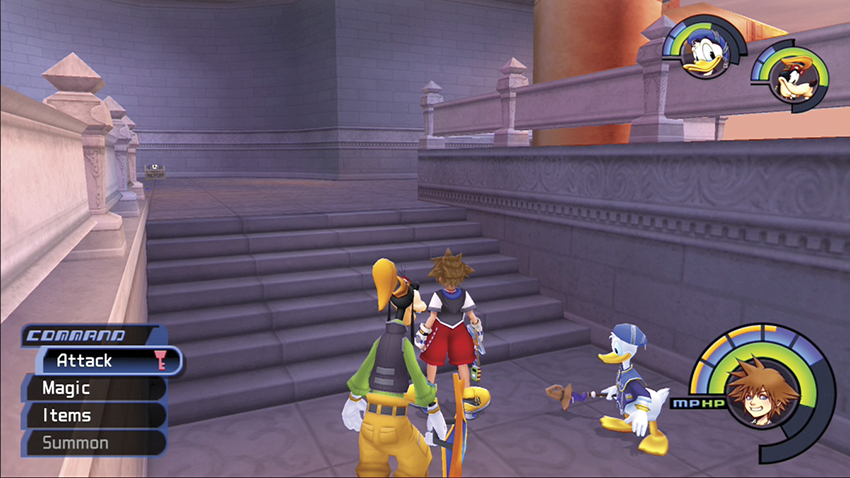
The platform drops you off at a new set of stairs. Climb the stairs and open the chest straight ahead for a Thundaga-G. Activate the blue Trinity Mark in front of the chest for a Megalixir and two Cottages.
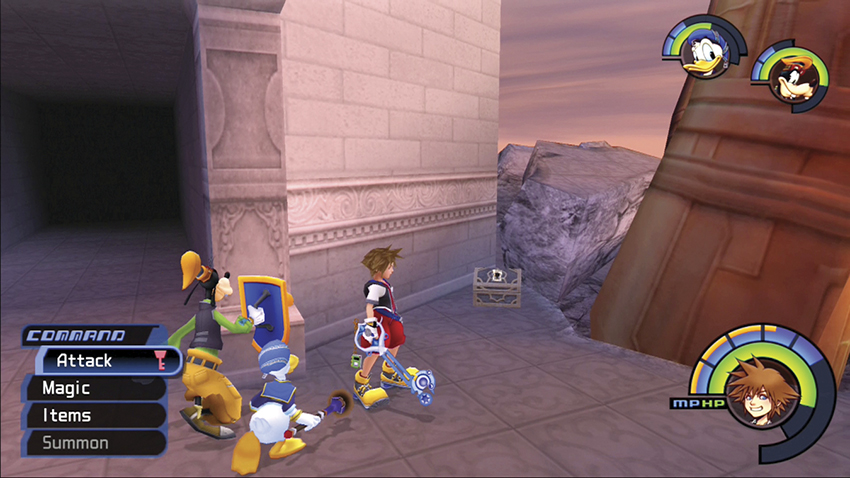
Take the side stairs down to the new Lift Stop entrance. Use the blue crystal to take the magic platform up. Head out through the new Great Crest access. Turn left at the doorway to find a chest with an Orichalcum.
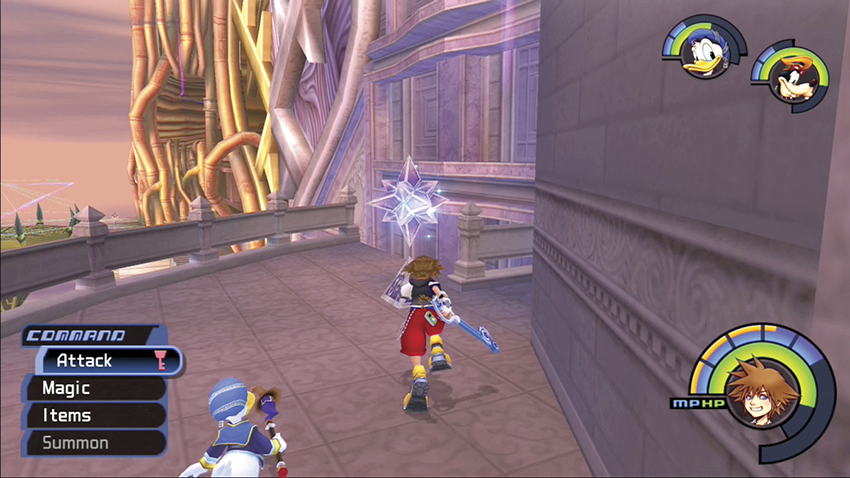
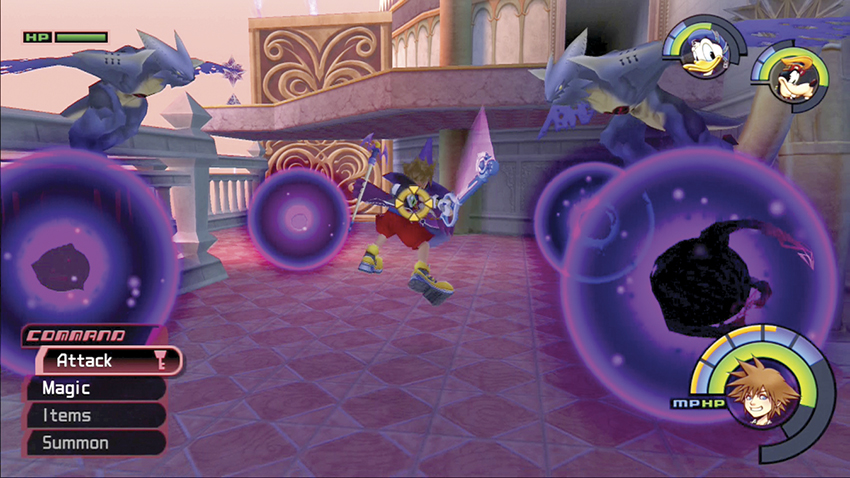
Examine the blue crystal to take a ride up to the next level. Rip through the Heartless in the area. You can ignore the red crystal for now.
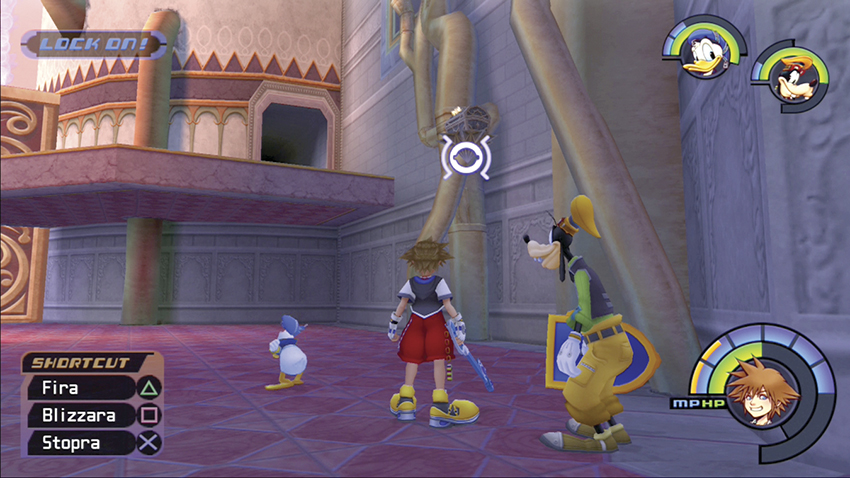
Cast your Gravity spell on the floating chest to bring it down to the floor. Open it for a Thundara Ring.
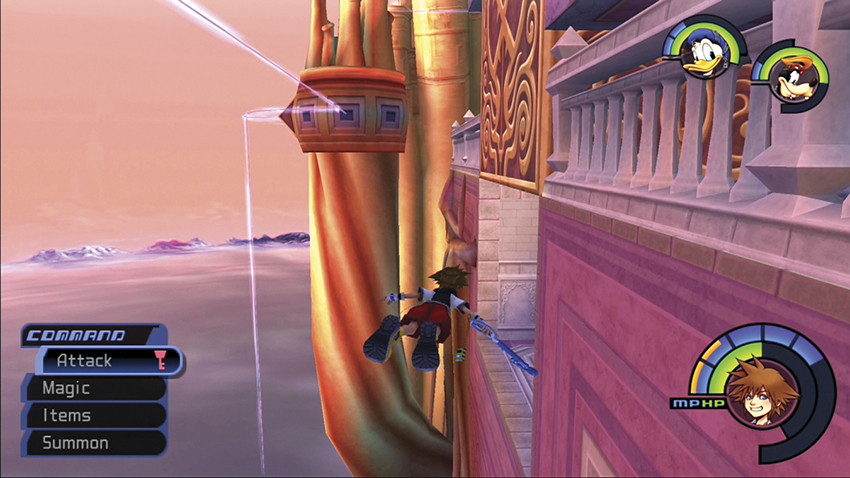
A hidden doorway lies below. To reach it, return to where the first platform dropped you off and take a leap of faith. Jump off the edge and Glide along the castle until you see an opening under the two massive blocks in the center of the area. Fly in to this area and enter a new Lift Stop area.
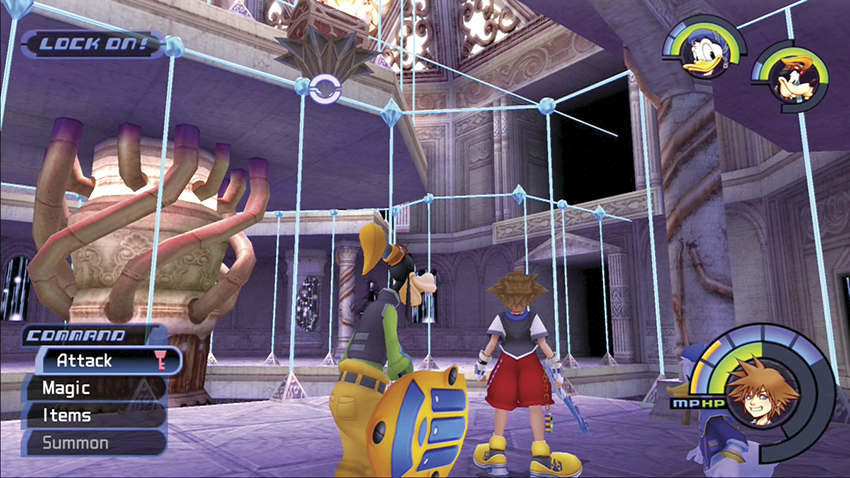
Cast your Gravity spell on the chest floating overhead in this small area. Open the chest for the Royal Crown.
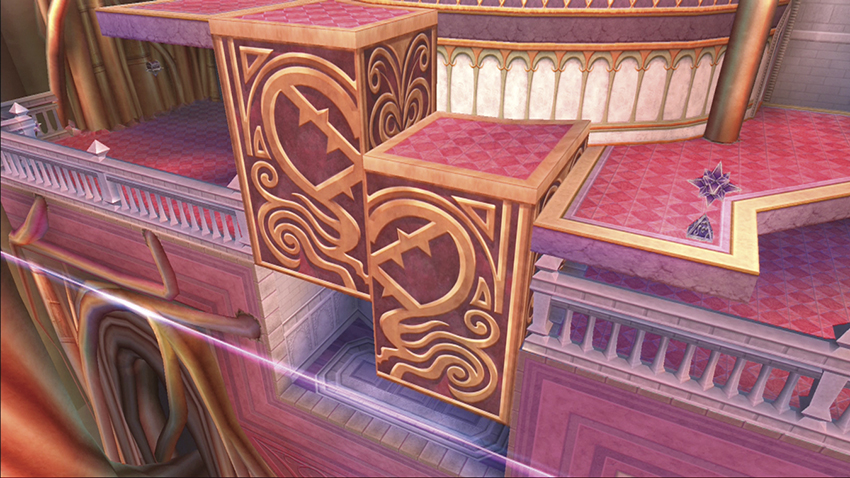
When you leave, Glide as far to the left as you can. You will fall down to the level below where it is easy to return to the High Tower area. Back up top again, activate the red crystal to lower the first half of the huge block.
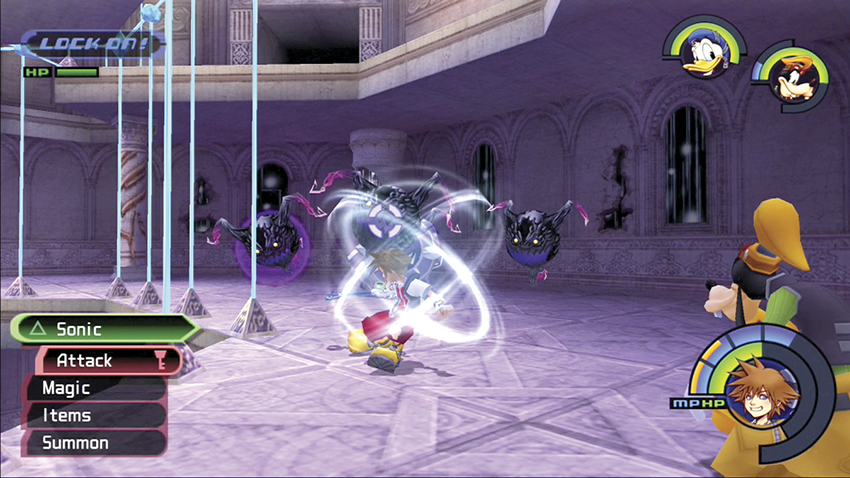
Enter the doorway in the area to go back into the Lift Stop. Battle through the Heartless that appear and use the exit on the far side to take you to the other side of the High Tower area.
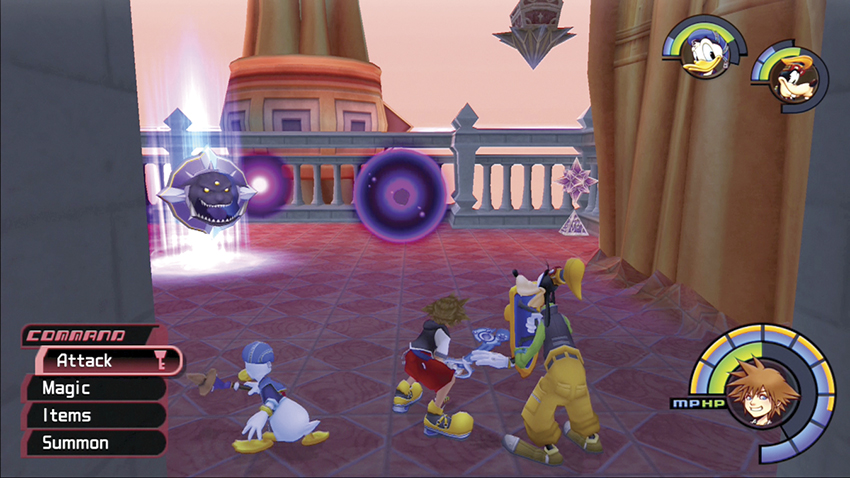
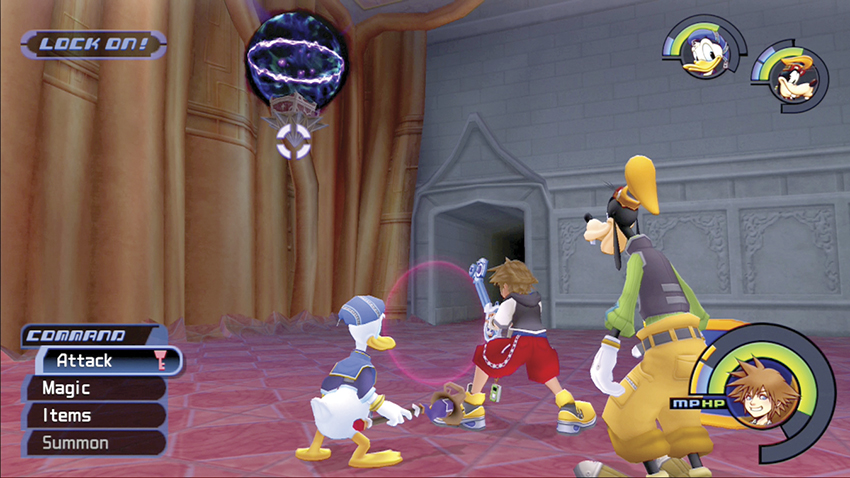
Trounce all the opponents out on the High Tower balcony and then use your Gravity spell on the floating chest. Open the lowered chest for an Osmose-G.
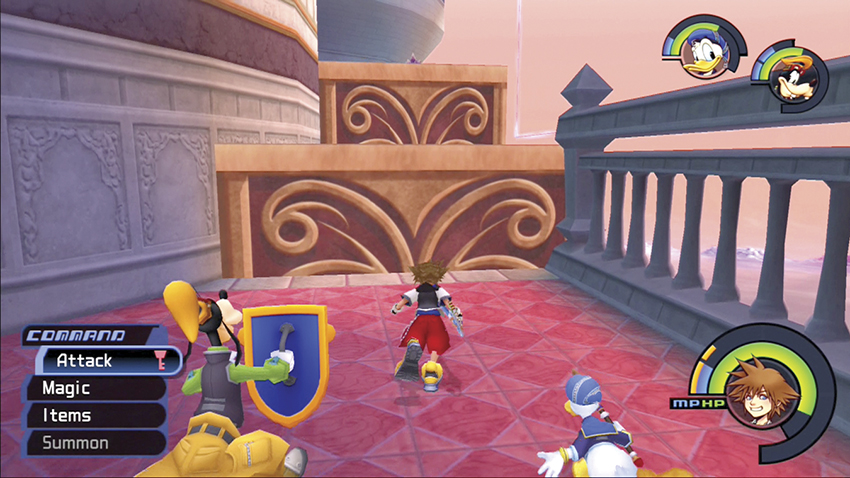
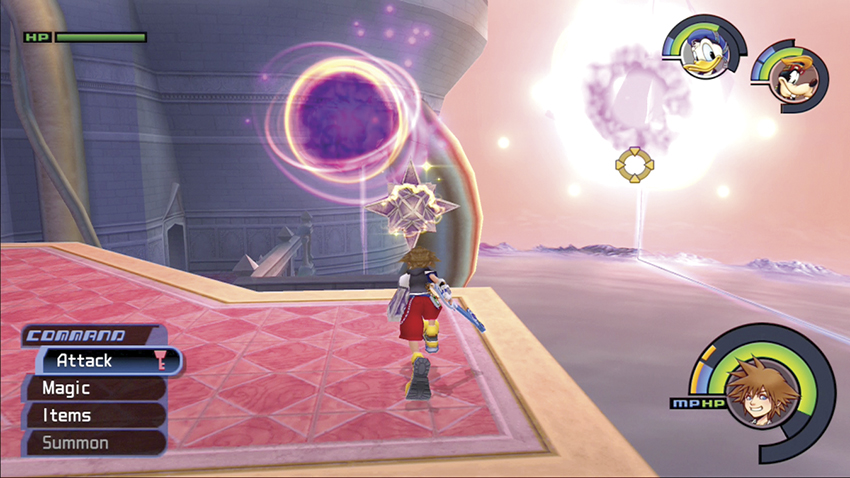
Examine the red crystal to lower the second half of the massive block. Use the blocks as stepping stones and jump up to the higher balcony. Fight through the Heartless—extra careful not to fall off here—and use the yellow crystal to raise the second block back up.
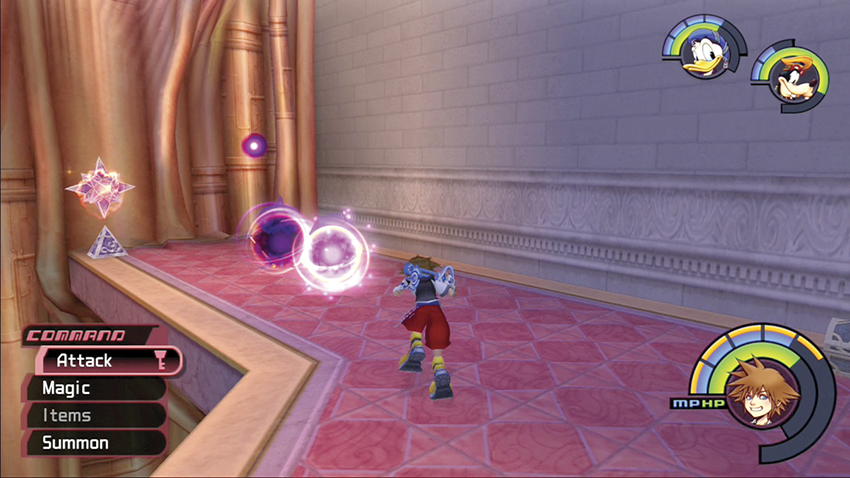
Climb up to the higher level and activate the crystal here as soon as you dispatch all the Wizards and Wyverns trying to knock you over the edge. This crystal opens a new path for the magic platform at the Lift Stop off the secret room in the Library.
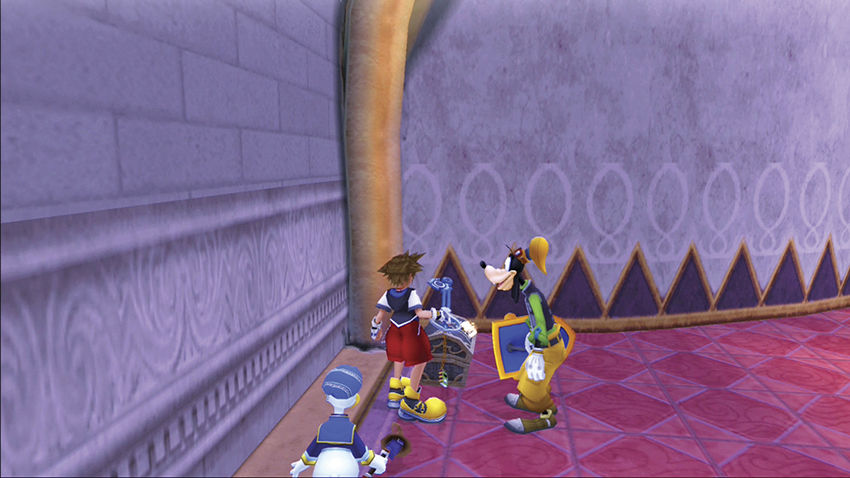
Open the chest in the corner for a Megalixir.
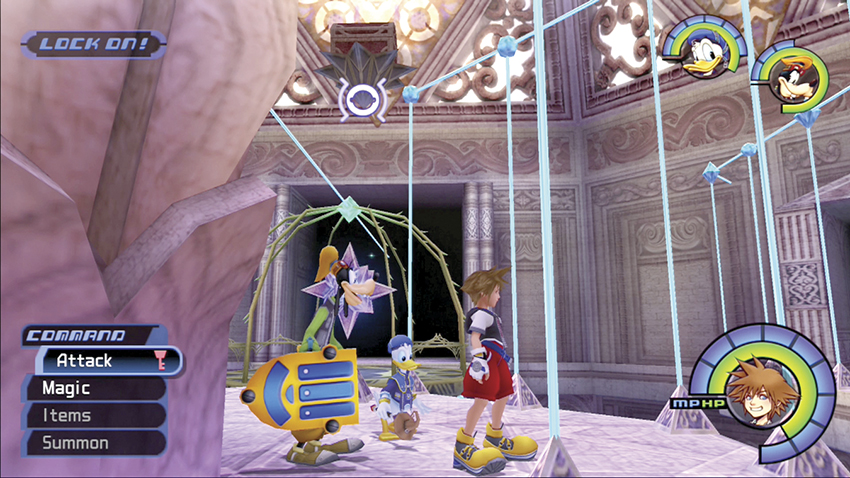
If you want to get a new special item, return to the Library and enter the secret room. Take the new platform path to a hidden area. Use your Gravity spell on the chest there for the Ramuh Belt.
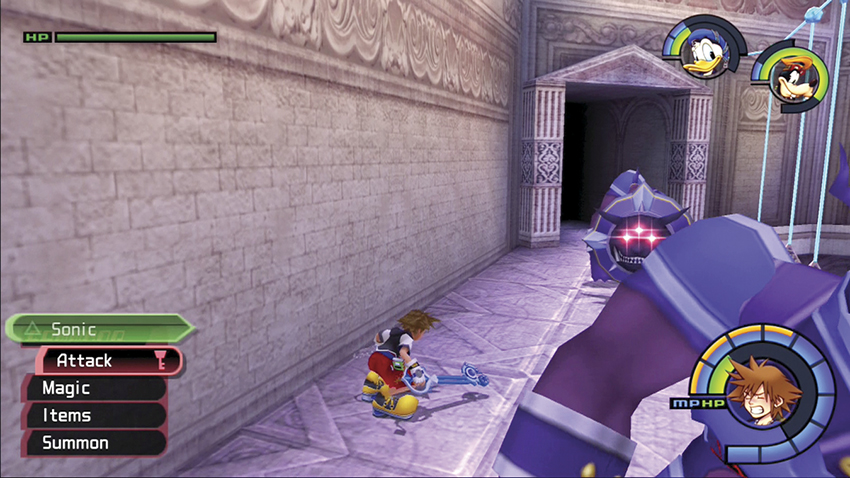
Return back up to the High Tower area. Enter the door around the corner from the massive blocks. Cross the short Lift Stop corridor to the Castle Chapel entrance.
Step 8: Maleficent
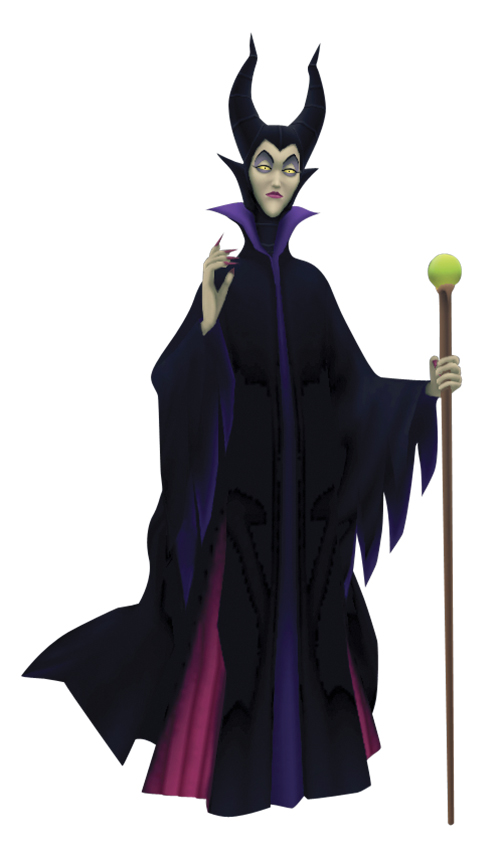
| HP | 900 |
| Strength | 31 |
| Defense | 24 |
| EXP | 6000 |
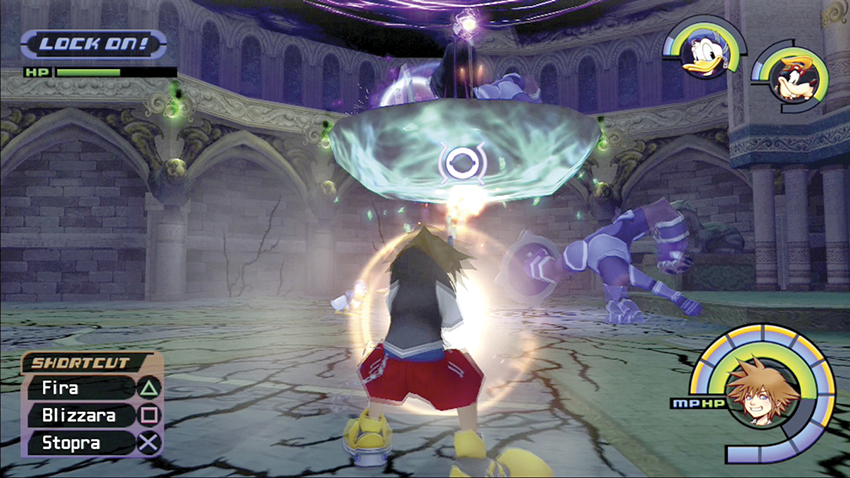
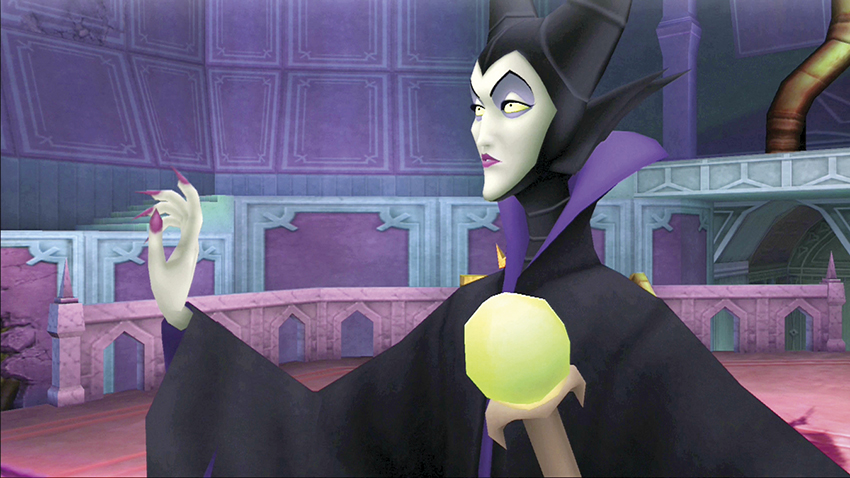
You square off against Maleficent in the Castle Chapel. She rides a glowing green platform with a set of HP all its own. The key to the battle is to constantly attack Maleficent’s platform when it’s up in the air to bring it down. Only when Maleficent is on the ground is she vulnerable to damage.
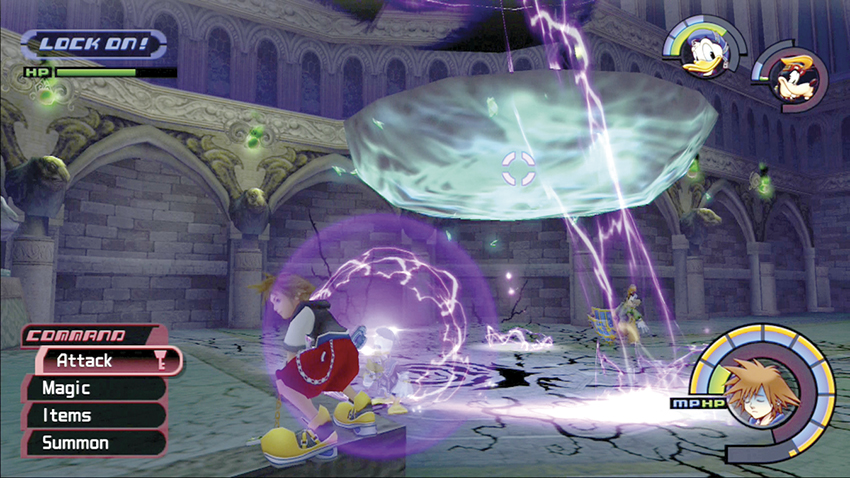
Maleficent will use her purple lightning attacks and blue meteor swarms to drive you away and deal serious damage. Dodge Roll away from the lightning, or sit under her floating platform, where it’s difficult for her to target. Meteors will fly down the Chapel at you on one side or the other, so keep to the opposite side and Dodge Roll if a collision seems eminent.
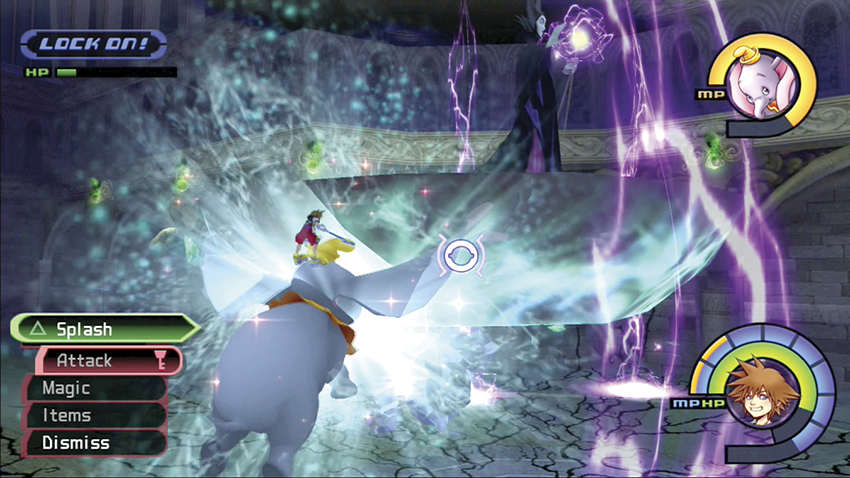
You might want to summon some reinforcements for this battle. Summons like Dumbo can fly up to Maleficent and his water attack can hose her down. Bambi’s MP balls are a great resource if you’re casting a lot of magic during the fight.
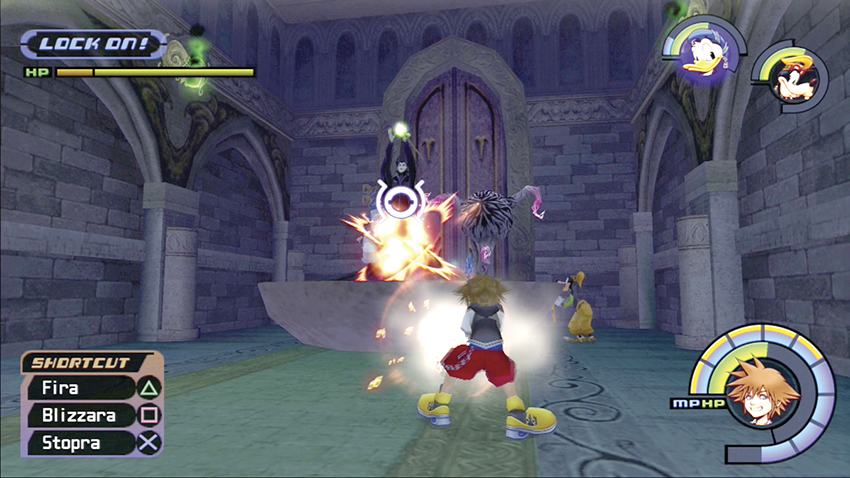
Fire away at Maleficent with your ranged spells or get up close with combos when her platform drops near you. Ignore her Heartless minions as best you can; only deal with them if you want some more MP balls to drop. Pour on the damage and you can drive Maleficent into retreat. For your victory, you receive Donald’s Cheer ability and Ansem’s Report 5.
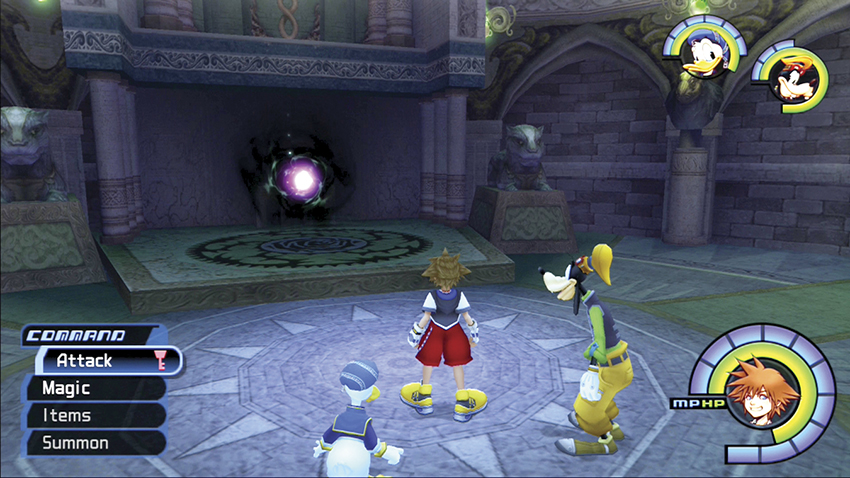
Maleficent is beaten, but not defeated. She retreats through a portal, leaving you time to explore the Castle Chapel. Make sure you save your game at the save point and stock up on items before confronting Maleficent’s Dragon.
Step 9: Dragon
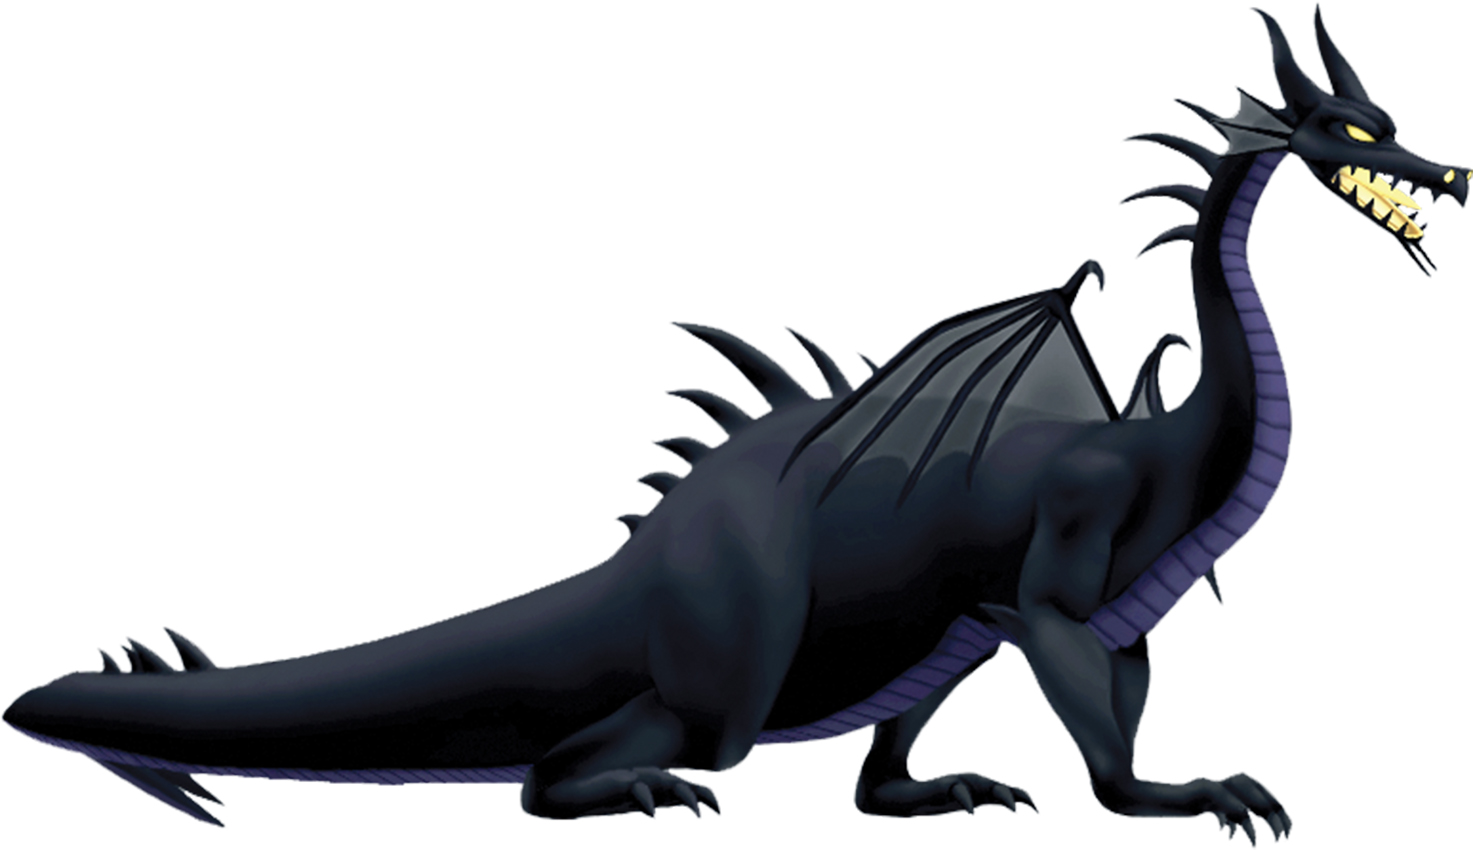
| HP | 1200 |
| Strength | 31 |
| Defense | 24 |
| EXP | 6000 |
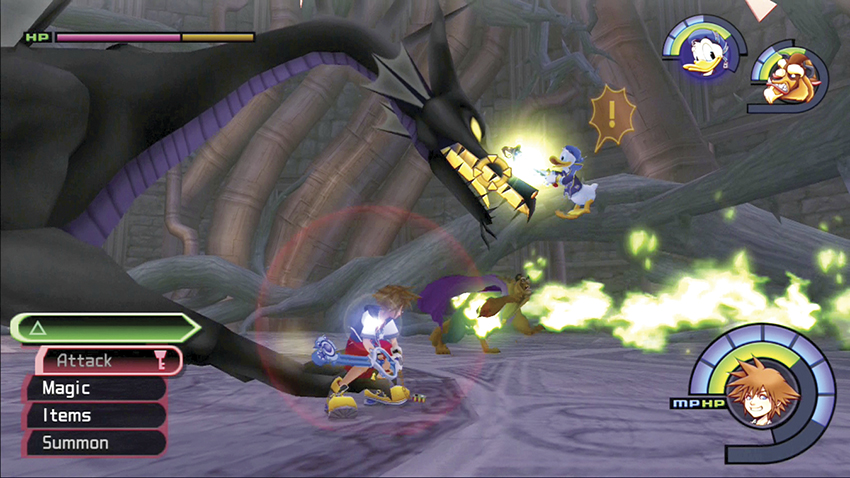
This is one of the toughest boss fights of the game, so it’s time to do a little customizing. Load up your item slots with Ethers and Megalixirs. Equip abilities like Strike Raid and Ars Arcanum for extra punch, even if you have to remove minor abilities to do so (you can always switch back later). Most likely, you’ll want to add the Beast to the party instead of Goofy. Finally, make sure your magic shortcuts are set to use Aero and Cure spells as often as needed.
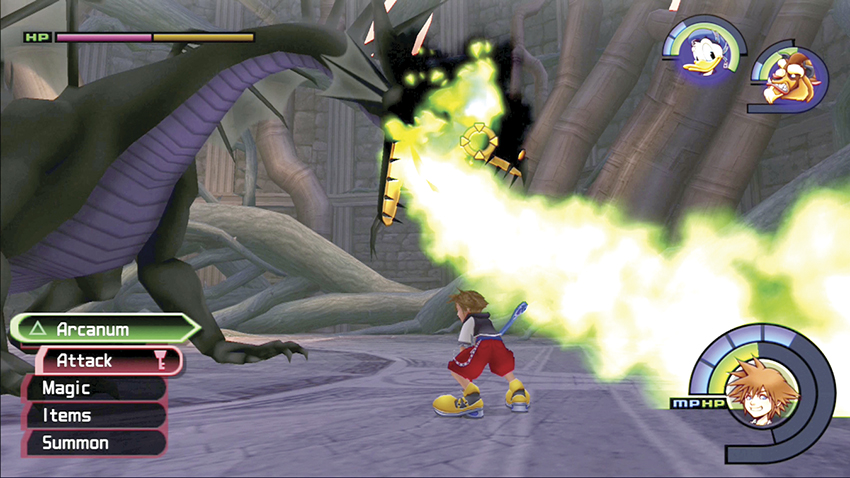
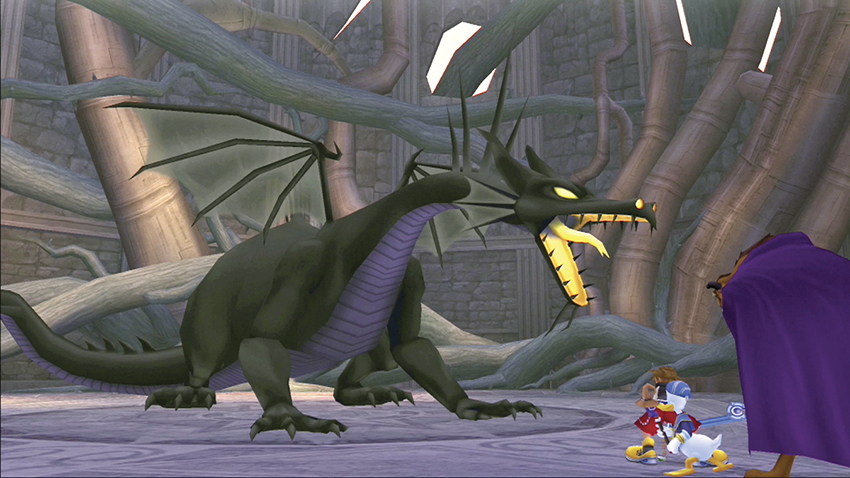
Avoid the area in front of the Dragon at all costs. The Dragon’s fire breathing roasts anything in its long range, and you don’t want to be standing around there. If it attempts to stomp you with its shock wave attack, jump up and Glide out of harm’s way.
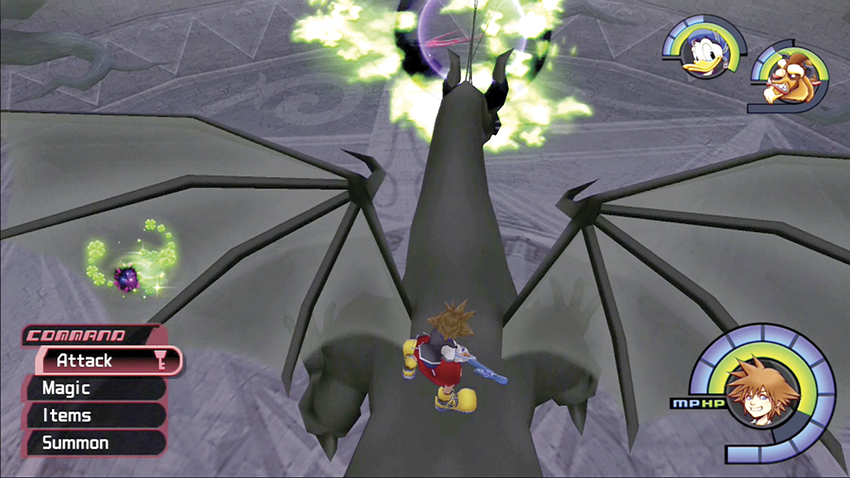
To unleash maximum damage, jump up the Dragon’s rear legs and climb on its back. Run up the length of its spine and trigger Strike Raid when its head reaches your level. Keep chaining combos, and when the “Raid” command appears, perform it quickly. If you can execute this several times, the final “Judgment” command appears for max damage.
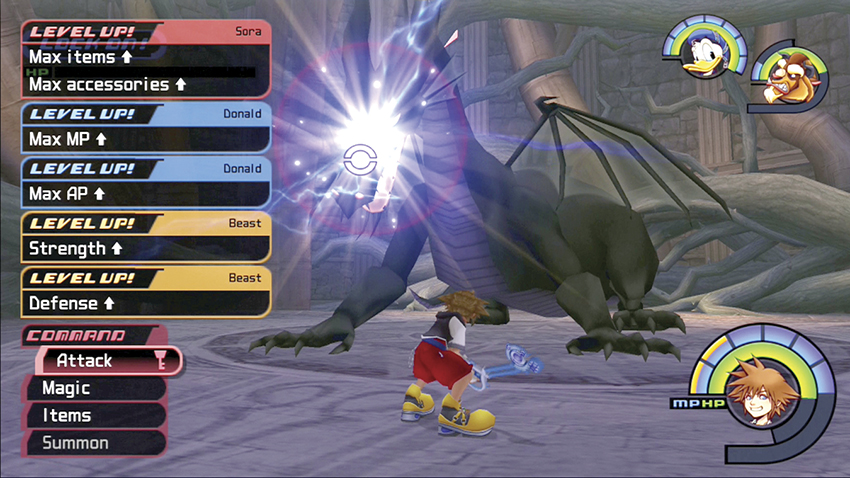
You will need to replenish magic often. Pop your Ethers and Megalixirs and continue the assault. The longer you stay on the Dragon’s back, the better. If you get thrown off and can’t climb back on, use Ars Arcanum from the ground to strike at the Dragon’s nose. After this tremendous fight, you’re rewarded with the Fireglow gem.
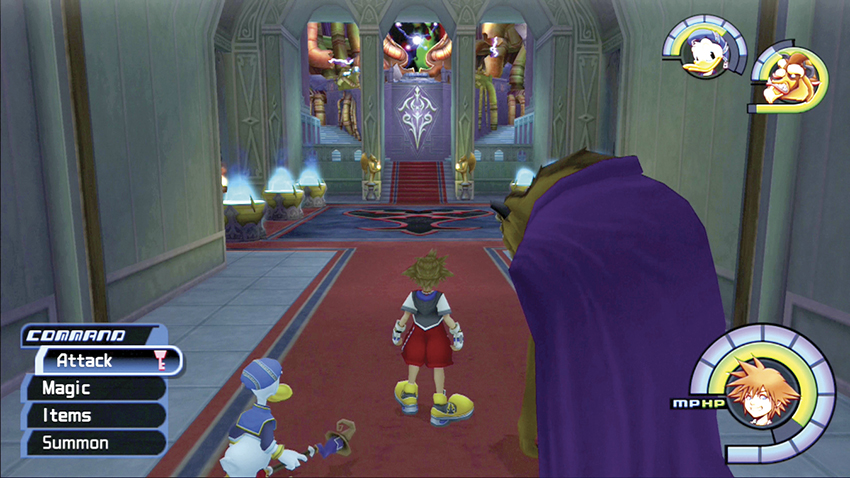
Exit through the glowing portal and back to the main section of the Castle Chapel. A new passageway opens next to the save point. Before you move to the next boss fight, you will have to customize to beat a super-fast foe. Load up on the Guard, Counterattack, and Ars Arcanum abilities if you don’t already have them active; your Cure spell should be a magic shortcut; and trade out whatever key chain you have for the Olympia. Save your game and head through the new passage and into the Grand Hall entrance on the short Lift Stop ledge.
Step 10: Riku II
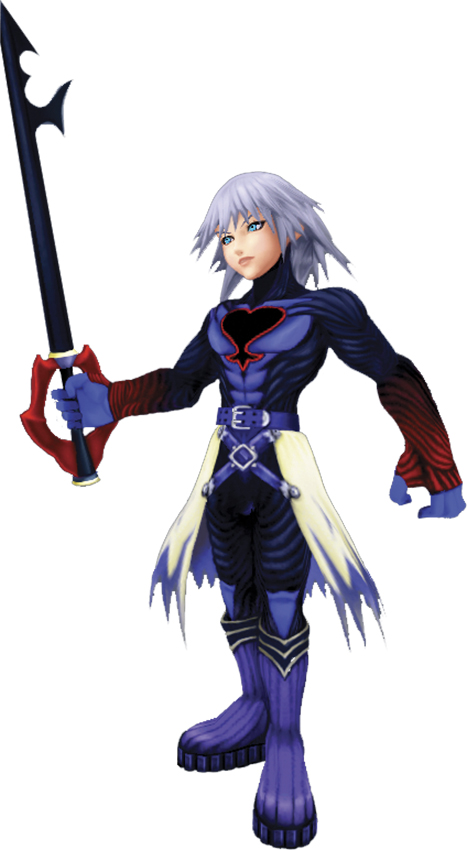
| HP | 900 |
| Strength | 31 |
| Defense | 24 |
| EXP | 8500 |
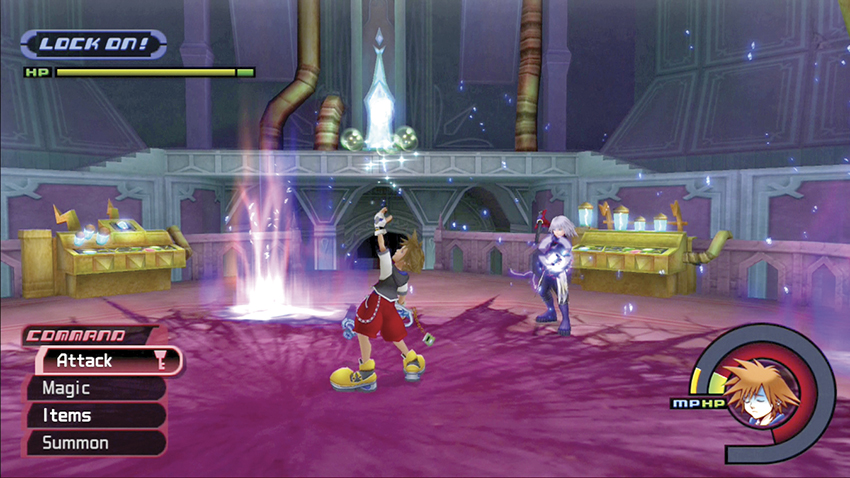
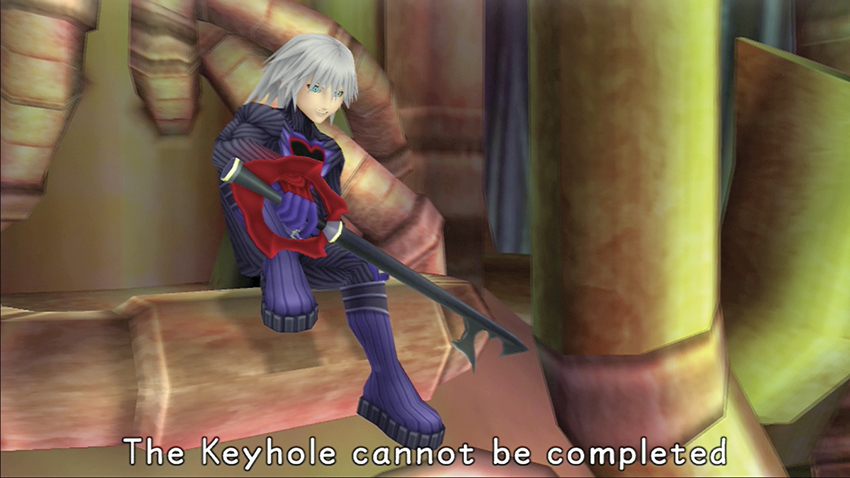
Riku moves so quickly that you may as well forget about casting lengthy spells, which will bounce right off of him, anyway. Fire off a quick Cure spell when below half-health, but other than that, you’re going to have to rely on your fighting tactics and special abilities. Oh, and it’s just you, with no companions, against Riku.
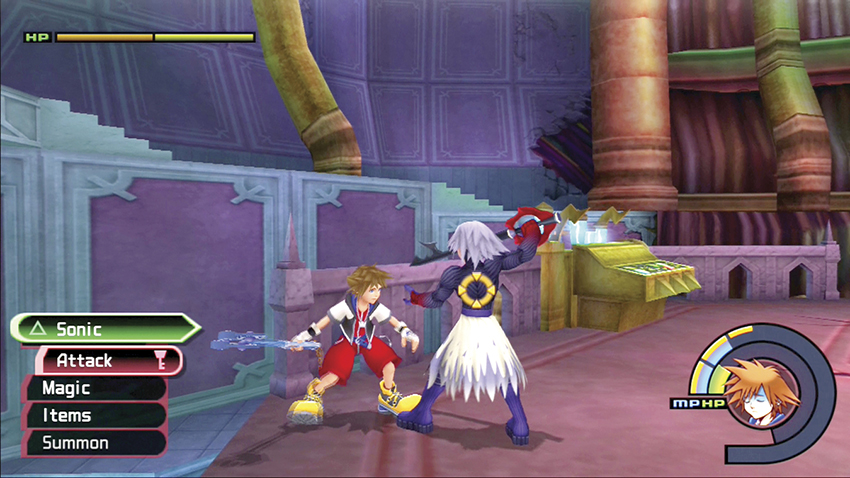
Be on your Guard against his attacks. Use the Guard ability to deflect Riku’s attacks, and the Counterattack kicks in. If timed well, you will recover quickly and land a series of blows before Riku himself can recover.
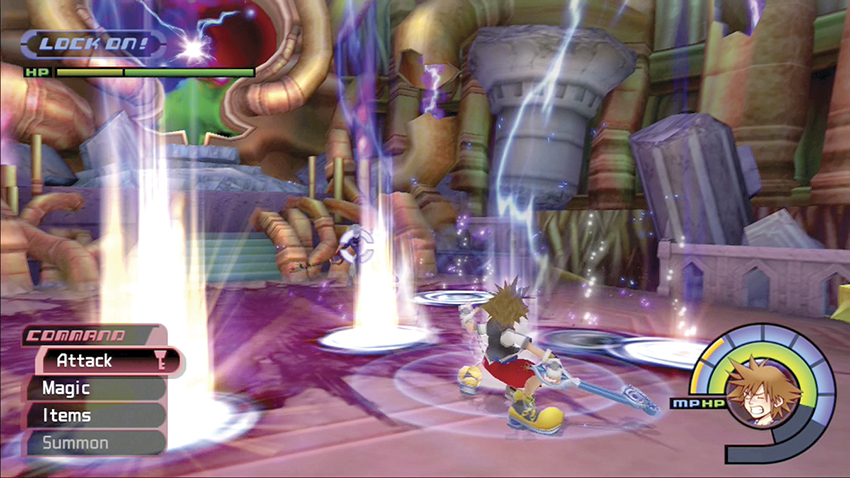
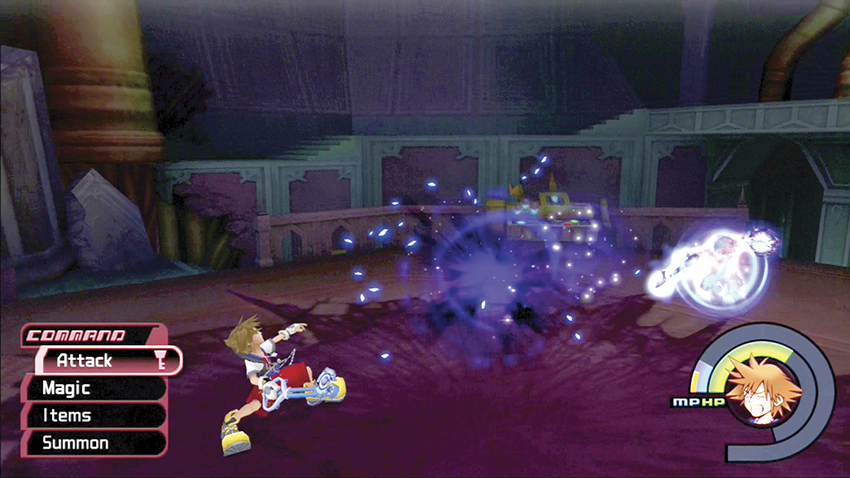
Riku’s two other attacks hurt. He has an attack that resembles Strike Raid, where he throws his blade at you. It’s possible to deflect it back at him, but it’s usually smarter to dodge. When Riku powers up, High Jump and Glide to stay airborne and avoid his rapid-fire attacks back and forth across the battlefield.
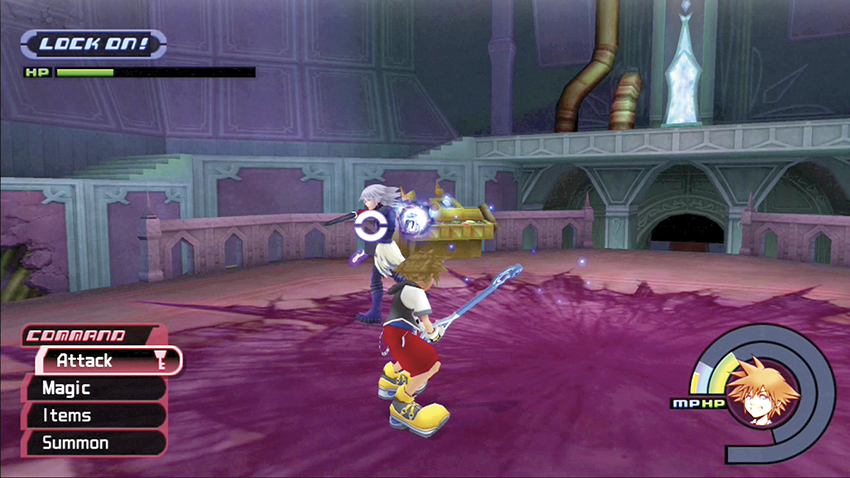
If you can daze Riku even for a moment, get in close and trigger Ars Arcanum. When you show him who is the true master of the Keyblade, you send him fleeing and you lay claim to the Ragnarok ability.
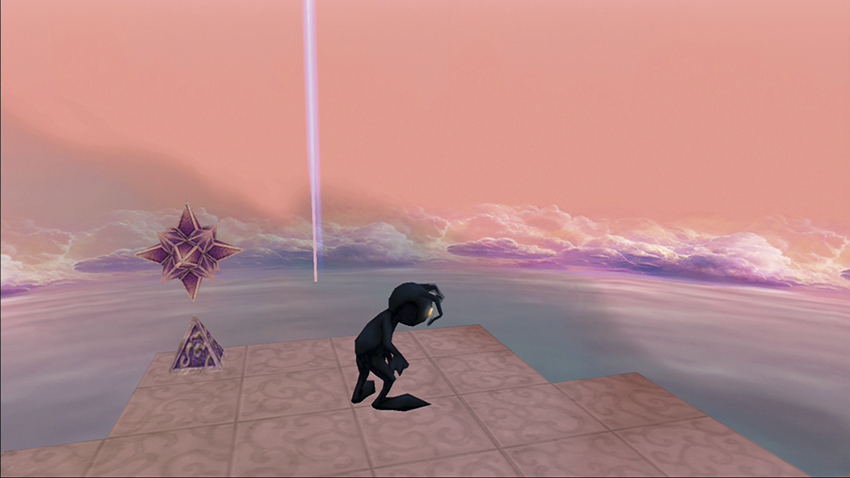
Step 11: Become a Shadow!
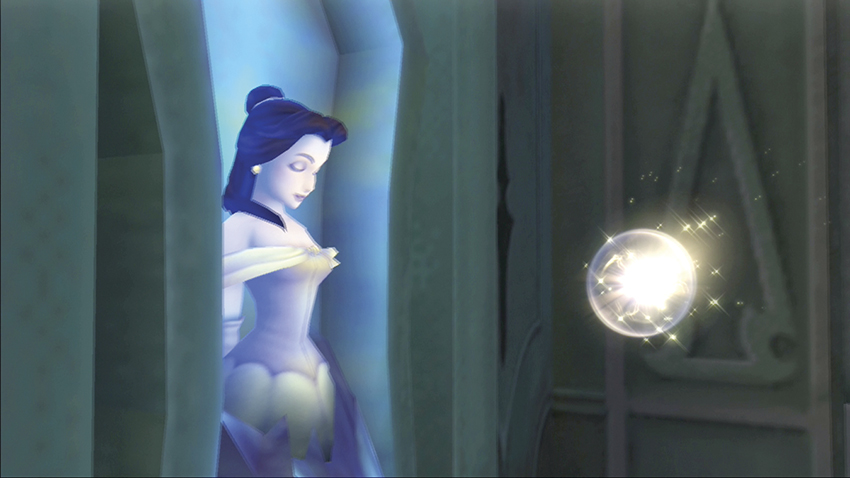
You manage to give the princesses back their hearts, but possibly at the cost of your own—you reform as a Shadow with no idea how to escape your dark fate.
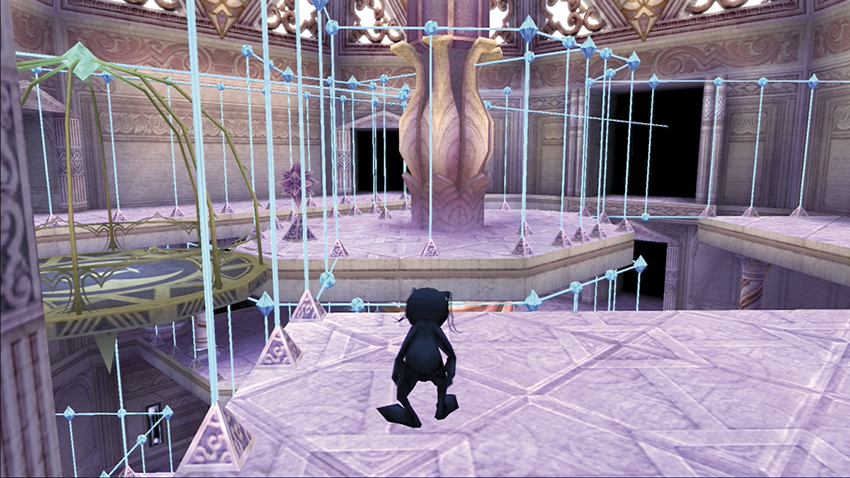
You control a Shadow until you can reunite with your friends. No Heartless will attack you as a Shadow. You just have to descend the castle as quickly as possible. The fastest method is to jump off the outer ledges until you reach the bottom level.
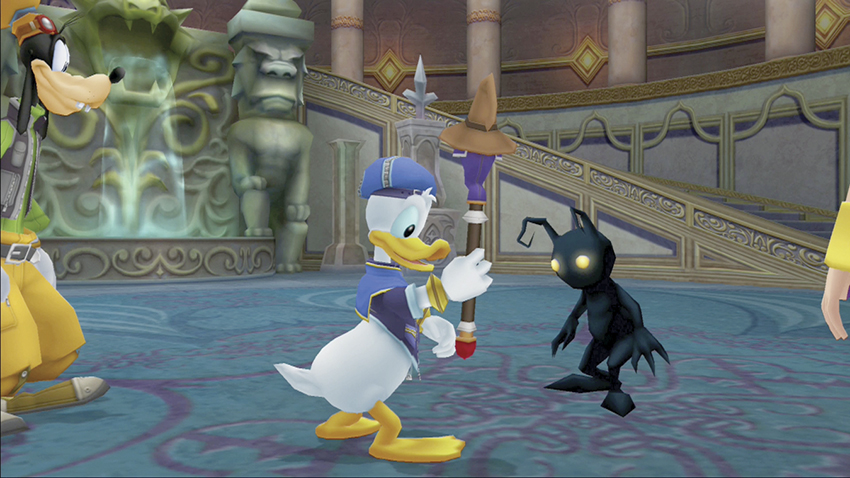
Track Donald, Goofy, and Kairi to the Entrance Hall. You will revert back to your normal form just in time to drive some real Shadows away. You say farewell to the Beast for now as you head back to Traverse Town.
Step 12: Return to Traverse Town
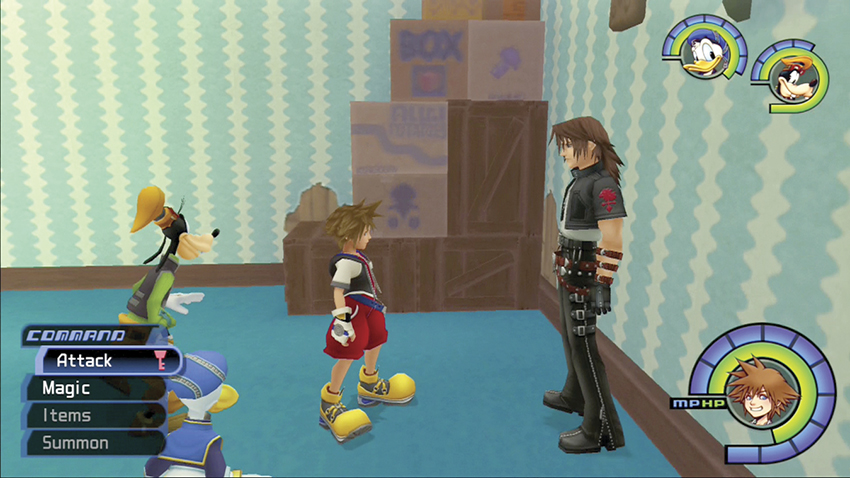
You automatically return to Traverse Town to the secret headquarters where you fill in Leon, Yuffie, and Aerith on what’s been going on.
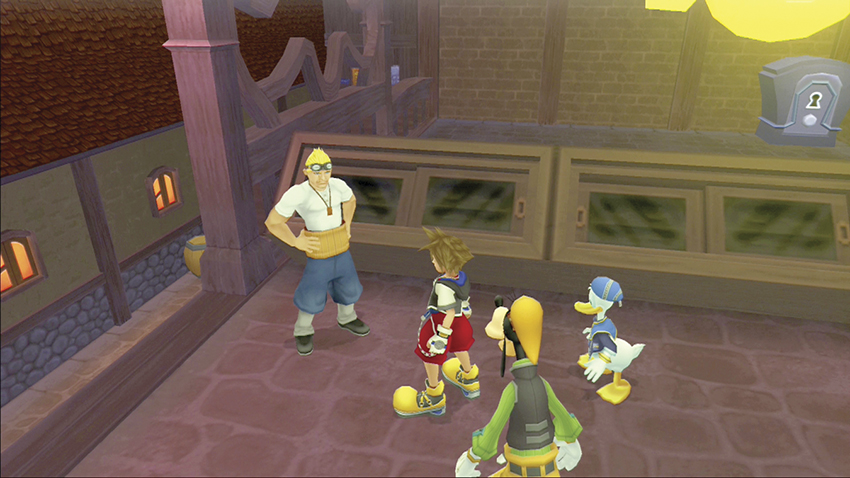
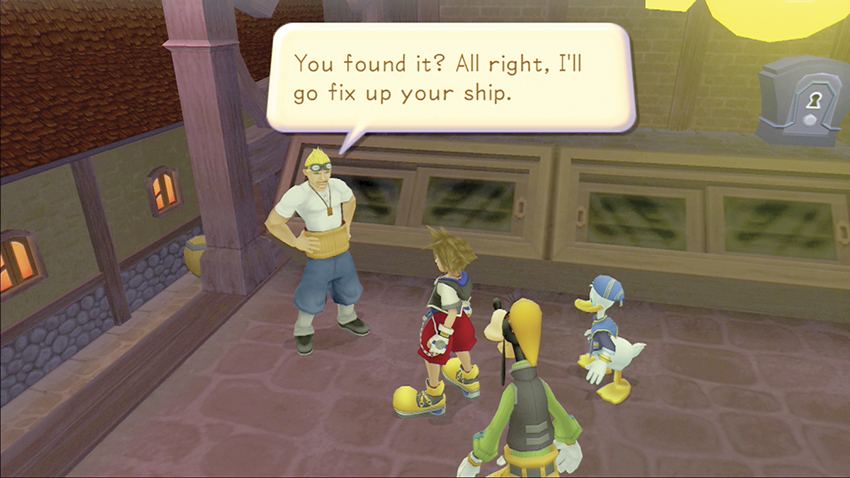
Next, go see Cid behind the Accessory Shop. He sends you to the Secret Waterway at the back of the Alleyway to pick up a new gummi block for your ship. This way, when you return to Hollow Bastion, you can avoid all the Heartless that are pouring into space around the world.
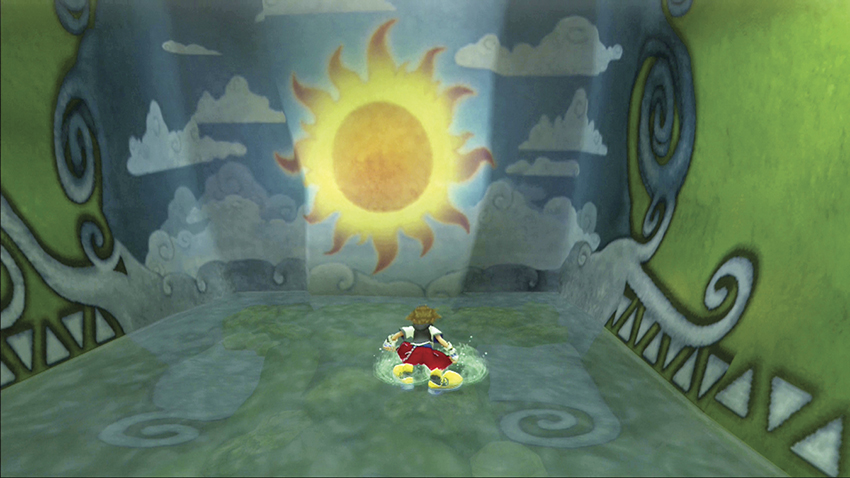
Head to the Secret Waterway and speak to Kairi on the shore. She gives you hints about the mysterious mural in the alcove. Swim out to the mural and recover a special Navi-Gummi for your ship.
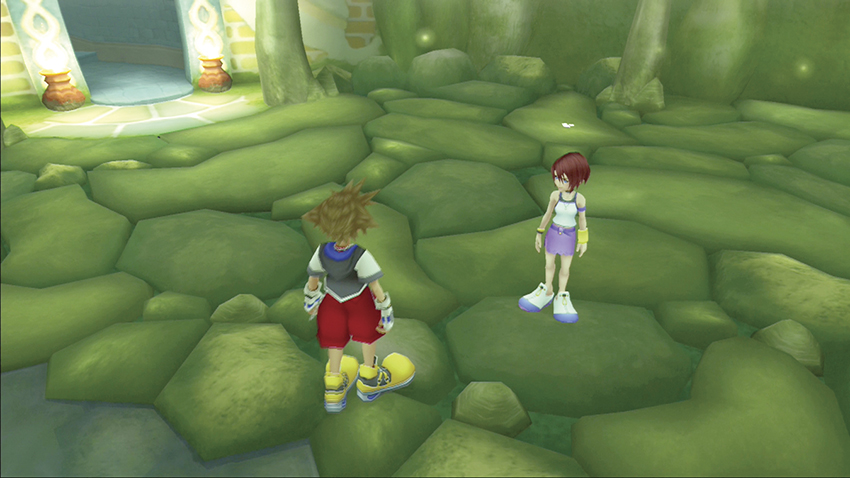
Talk to Kairi again on the shore. After some talk about getting Riku back, she gives you the Oathkeeper key chain.
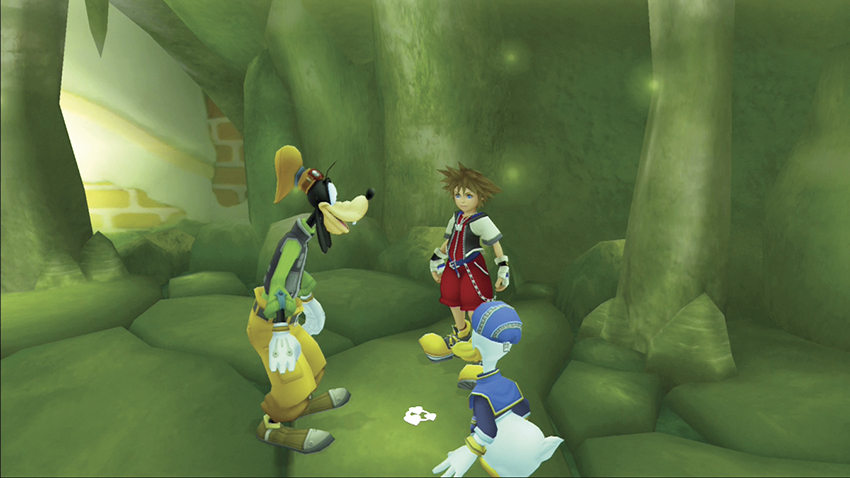
Use the white Trinity Mark behind Kairi to gain an Orichalcum.
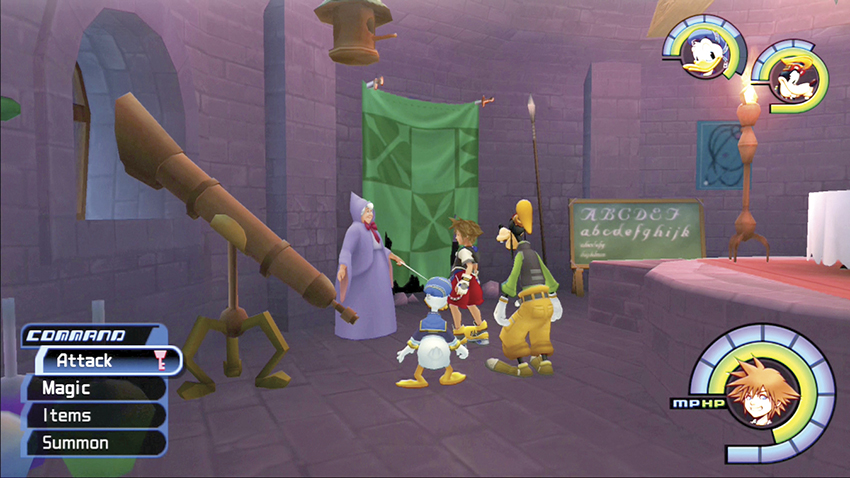
Take the stairs in the Secret Waterway up to the Magician’s Study. Speak with the Fairy Godmother and she will transform the Fireglow gem into a Mushu summon.
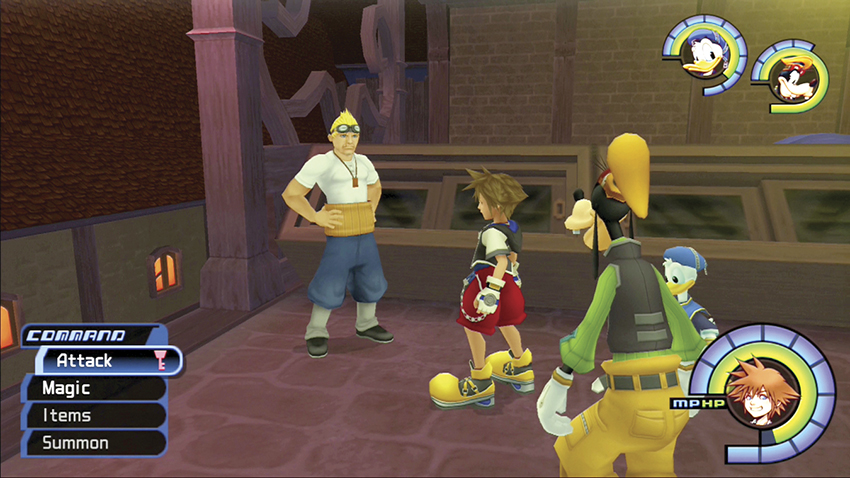
Seek out Cid once again. He offers to fix up your ship with the new Navi-Gummi for no costs. After he’s done, stock up on anything you need in Traverse Town and warp back to Hollow Bastion.
Step 13: Return to Hollow Bastion
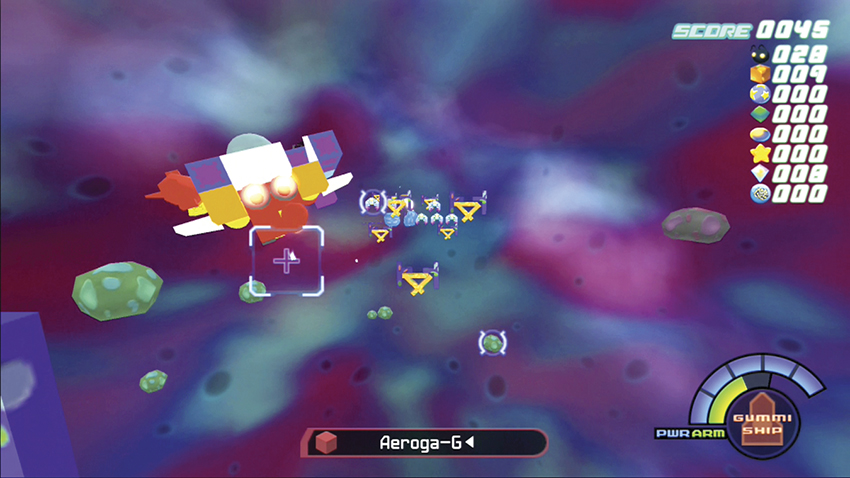
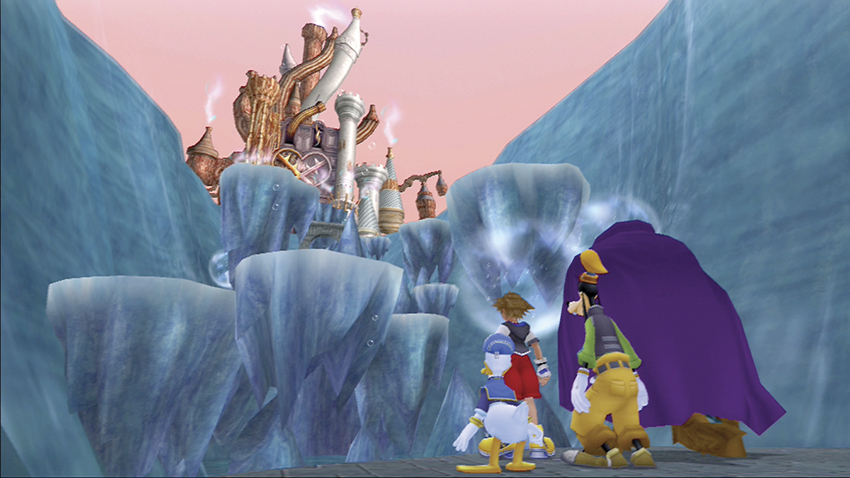
Use the new warp hole next to Traverse Town to zoom directly to Hollow Bastion. Note that the Battle Levels of many of the worlds have now doubled and the Heartless types in each world have expanded. It’s gotten tougher to travel around.
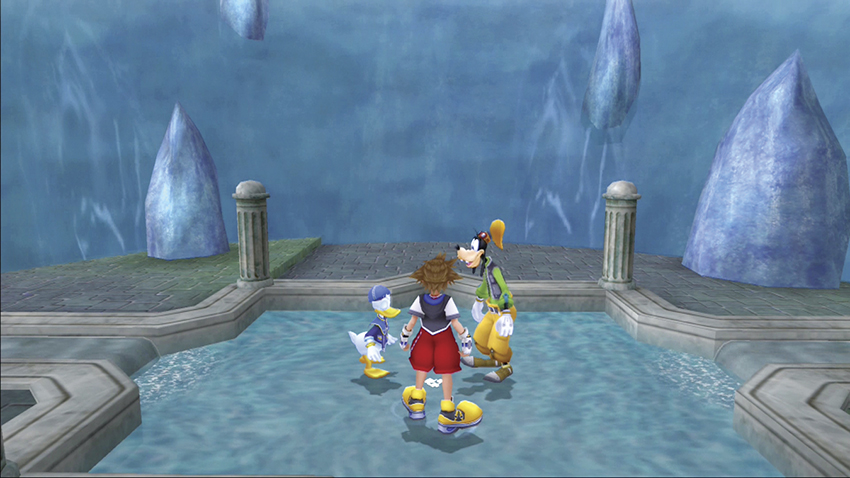
You meet the Beast at Rising Falls. You might want him in your party for his brawn, but hold off for now—you need Donald and Goofy for the white Trinity Mark in the pool at the top of Rising Falls. Jump and Glide up the platforms and activate the white Trinity Mark for a Thundaga-G.
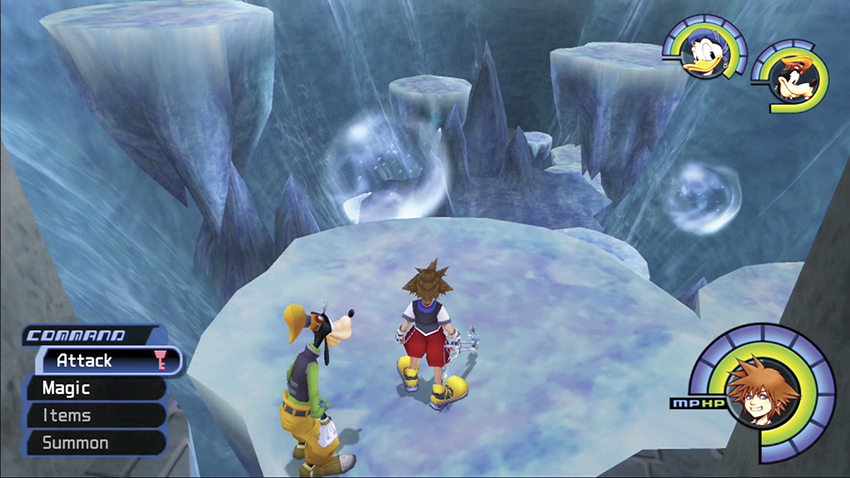
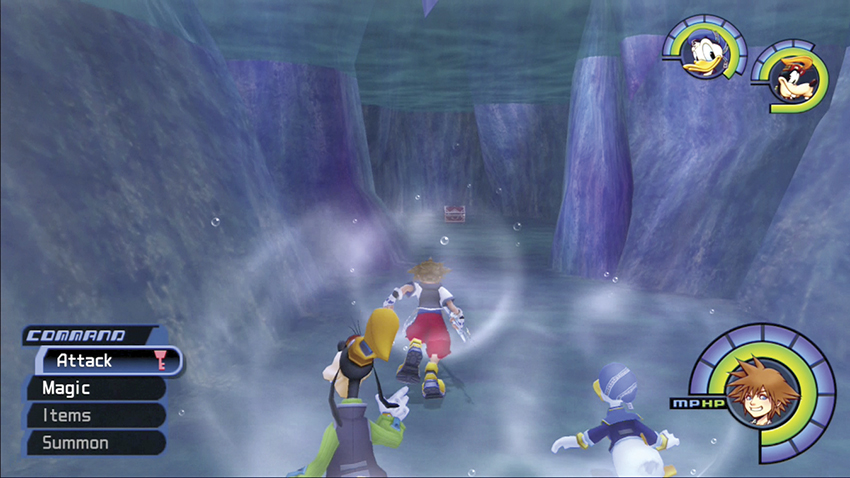
Turn to your right and head through the stone arch. Glide out and into the new bubble on the left that’s appeared since your last visit. The bubble takes you to a secret underwater area with a red chest. Open the chest for a Defense Up.
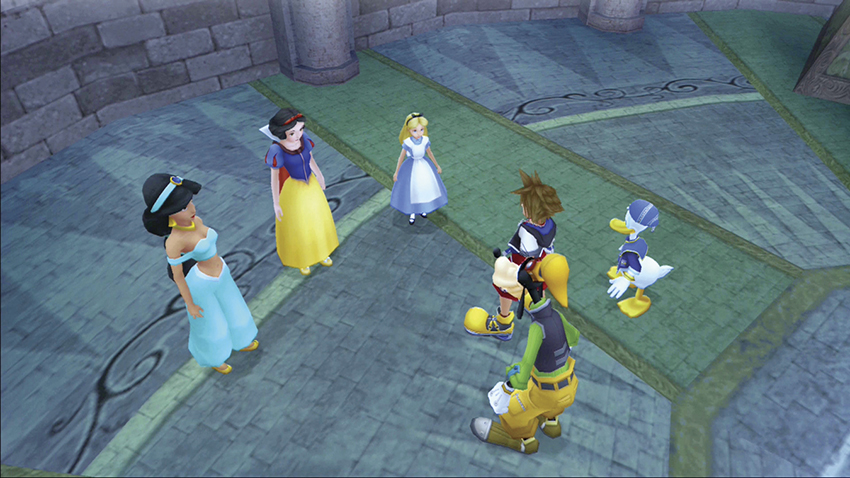
Now it’s time to speak with the princesses. Battle your way back up to the Castle Chapel. Speak with the five princesses standing around the Chapel (Belle is in the Library; Kairi is back in Traverse Town). They urge you to seal the Hollow Bastion keyhole before too much more darkness seeps in.
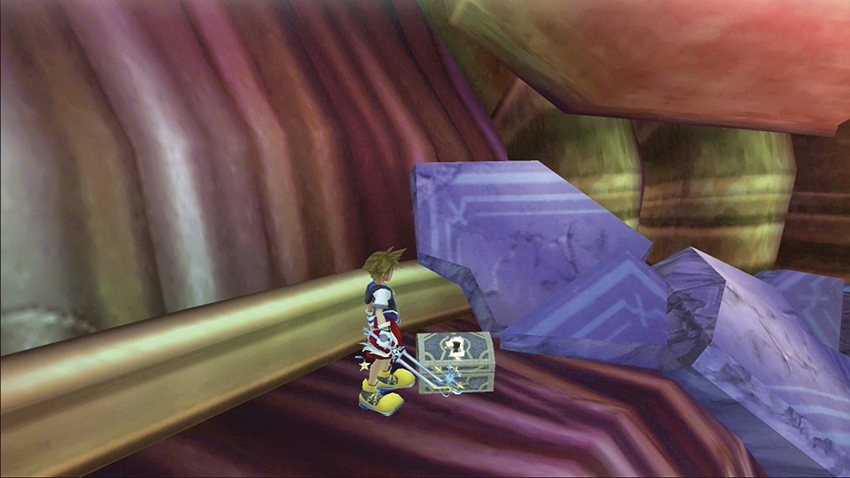
Enter the Grand Hall through the passageway by the save point. Fight through all the Heartless in the room and then head to the back-left corner near the machinery. A chest tucked in the corner releases Dalmatians 61, 62, 63.
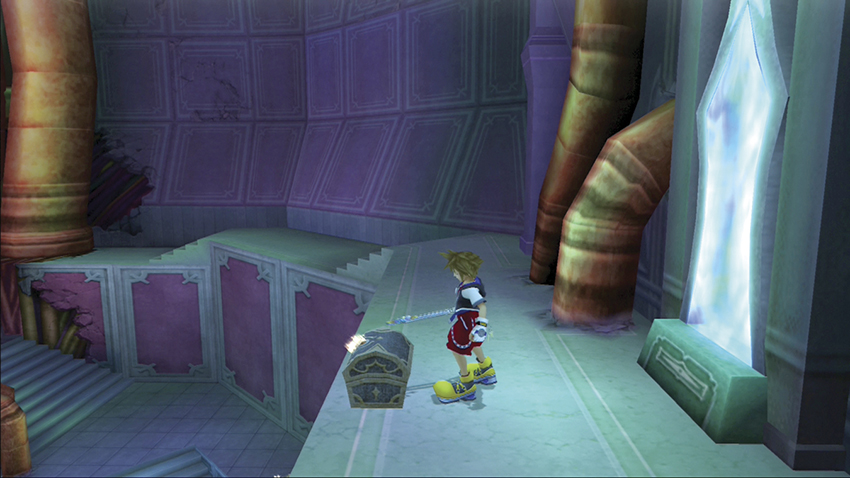
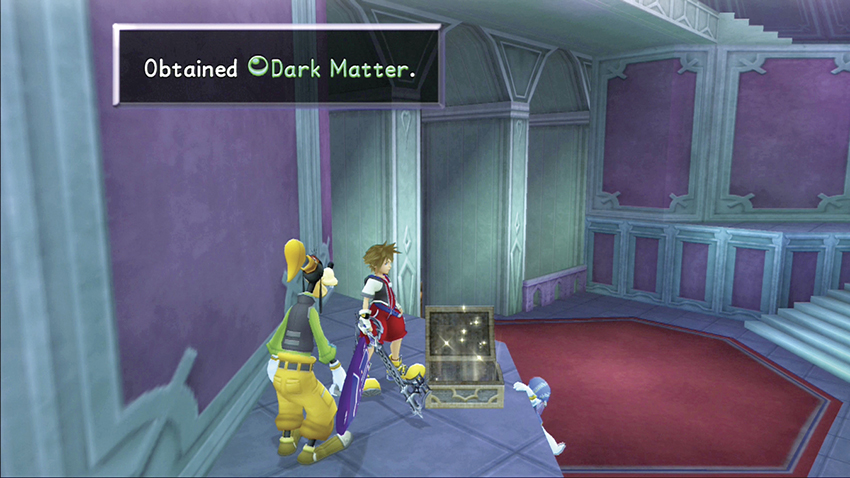
A second chest near the same balcony by the glowing window holds the Oblivion key chain. A third chest on the ledge below contains Dark Matter. Return to the save point and load up on items for the Hollow Bastion’s final boss fight.
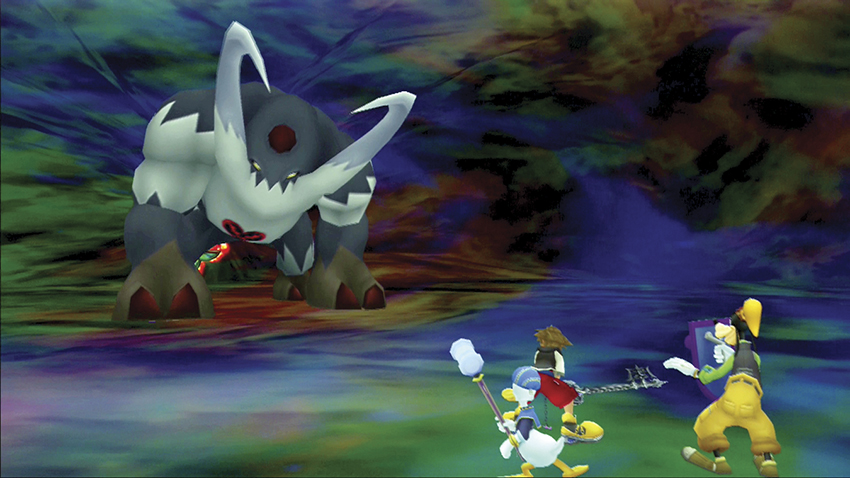
Step 14: Behemoth
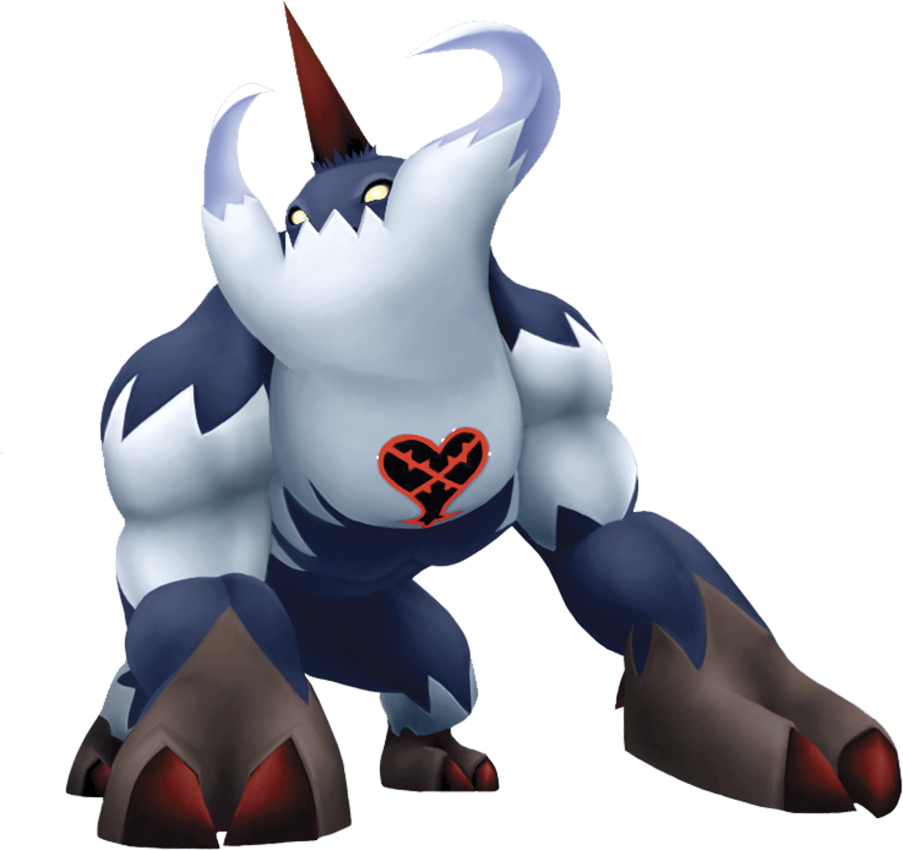
| HP | 1350 |
| Strength | 35 |
| Defense | 27 |
| EXP | 16000 |
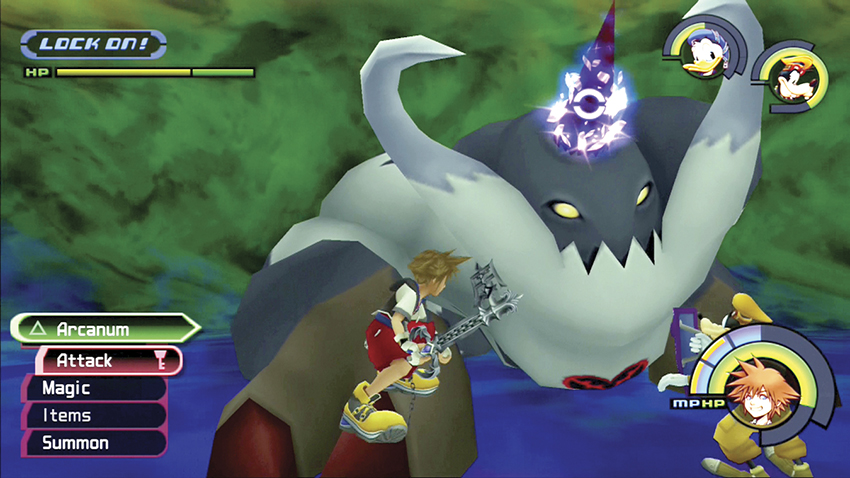
You will have to bring this Behemoth down with nothing but your Keyblade and abilities. It’s immune to all your magic spells. Don’t stand out in front of its frontal attacks, and when you see its horn start glowing and forming an energy ball, duck underneath the Behemoth for cover from the damage.
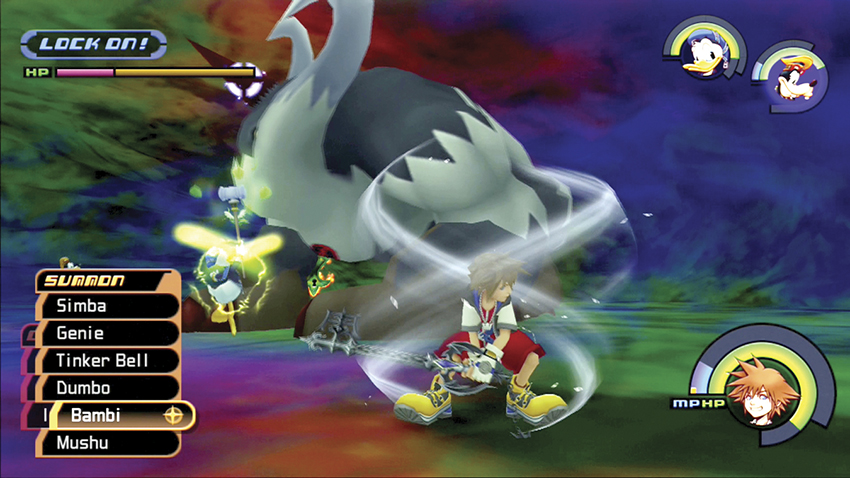
You may not have your offensive spells, but you have your defensive ones. Cast your Aero spell to reduce damage and your Cure spell to heal back HP after any brutal Behemoth assault.
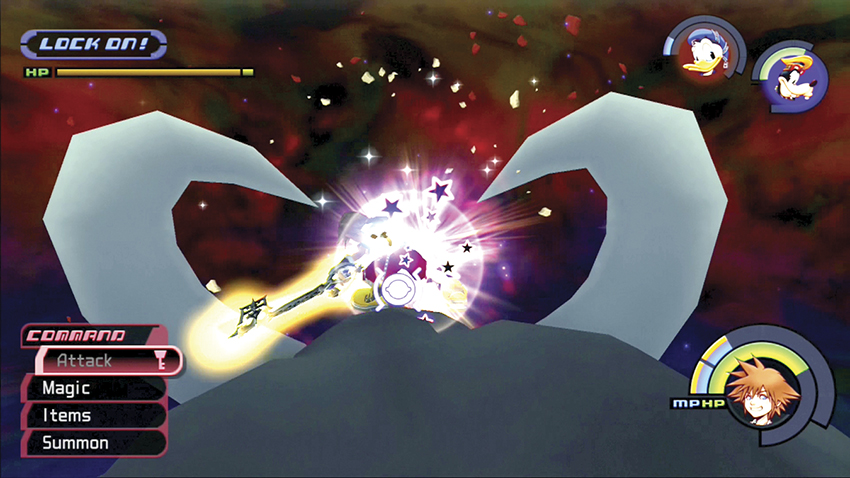
The best way to deal damage is to climb up on its back. Glide behind the Behemoth and use its legs to jump up to its back. Position yourself behind the horn and massacre it with combo after combo. You can do more damage by triggering an ability like Ars Arcanum; however, sometimes your flurry will carry you off the Behemoth.
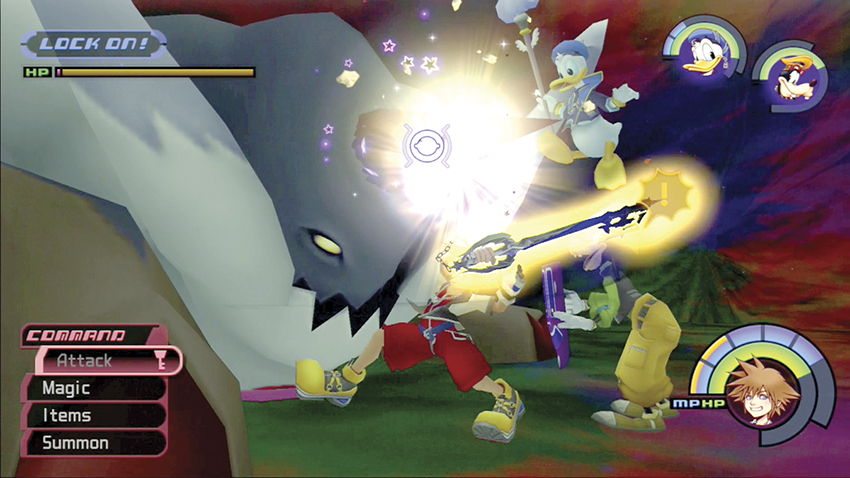
When the Behemoth slouches forward, strike the horn as many times as you can. When it rears back up again, circle around to its back and repeat your attack pattern. It has a ton of HP, but your weapons and abilities are dealing more damage, so it won’t be too long before you tumble the titan. You earn an Omega Arts for your victory.
Step 15: Seal Hollow Bastion
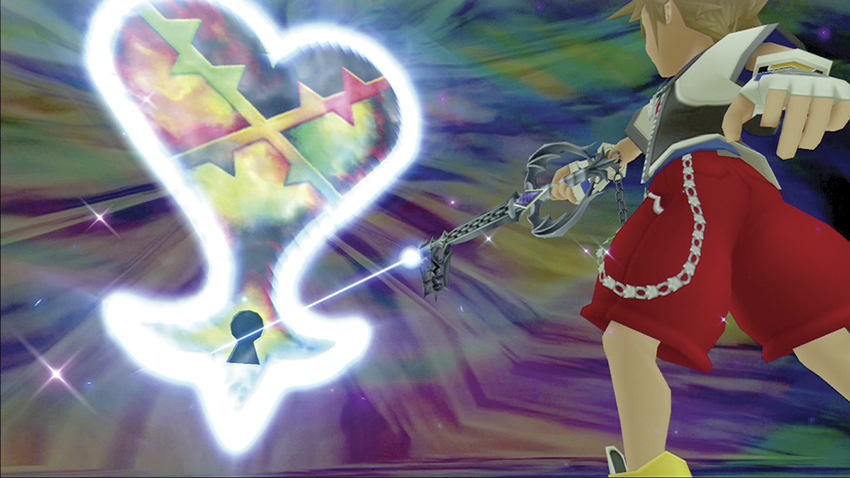
You finally manage to seal the Hollow Basion keyhole with the Behemoth’s demise. As a reward, the princesses upgrade your Fire spell to Firaga.
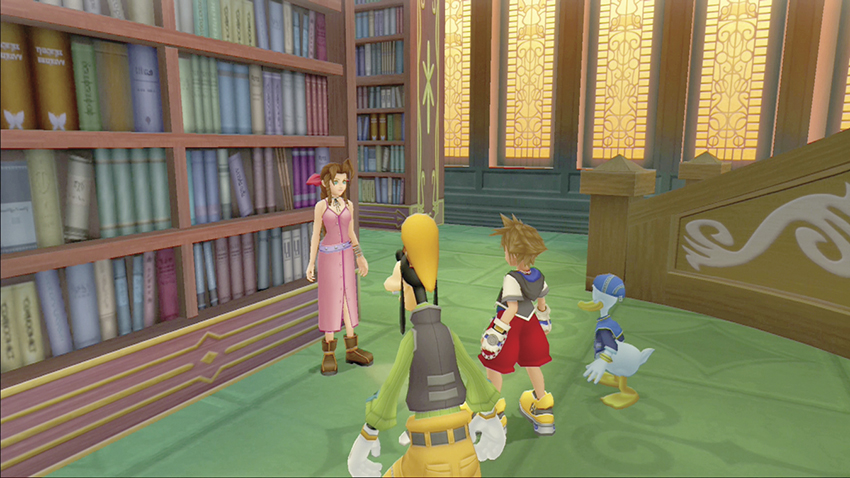
Return to the Library, where a surprise visitor has gifts for you. Aerith stands in front of the bookshelf by the stairs. She hands you Ansem’s Reports 2, 4, 6, and 10. Speak to her two more times to upgrade your Cure spell to Curaga.
 Belle
Belle
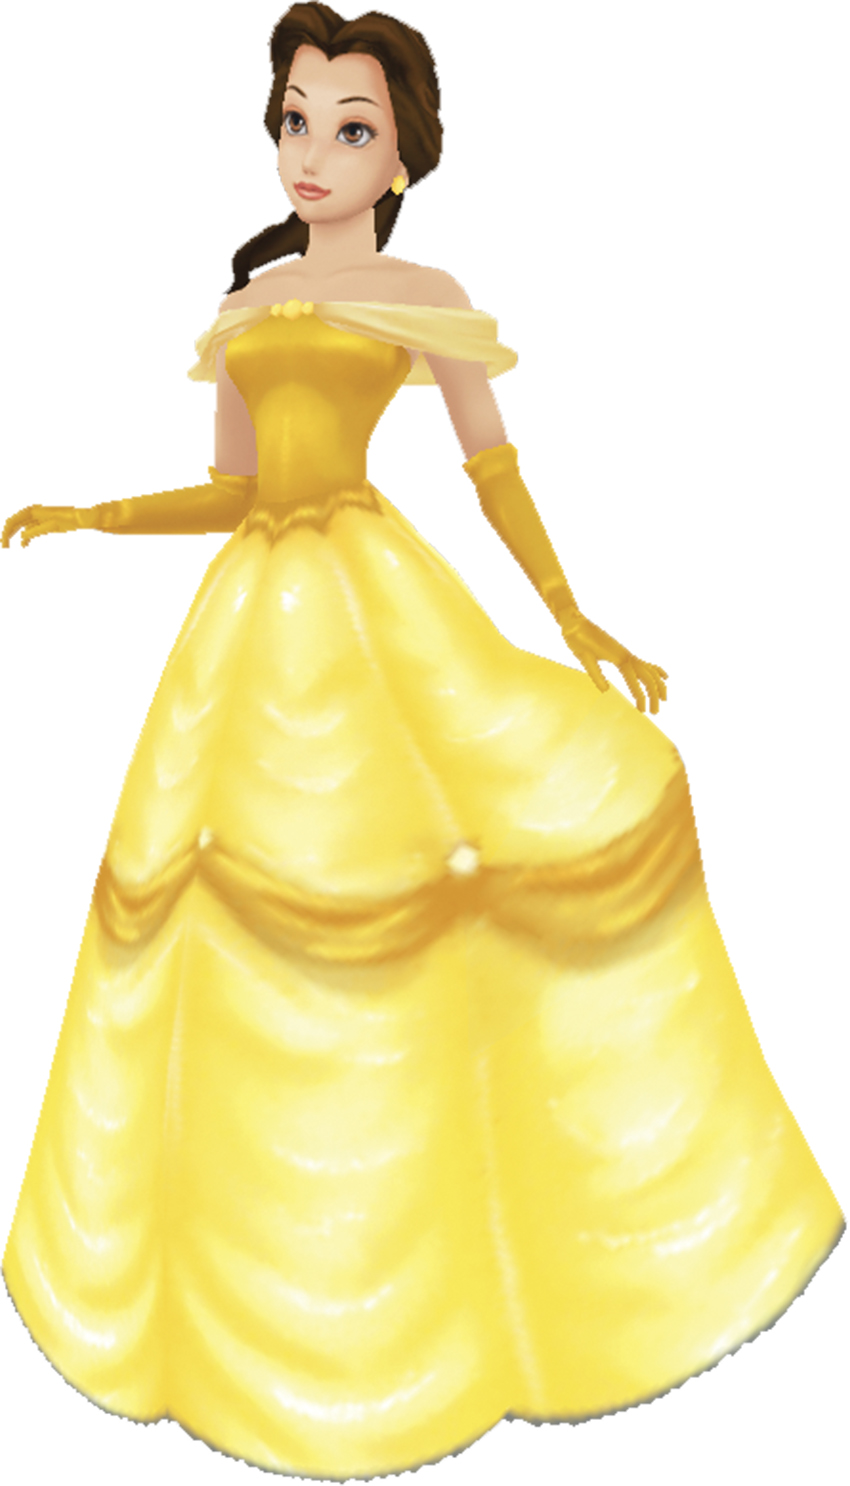
The Beast’s true love, Belle, is one of the seven princesses used to open the Hollow Bastion keyhole. Belle can see beyond the Beast’s hideous features and into his noble heart.
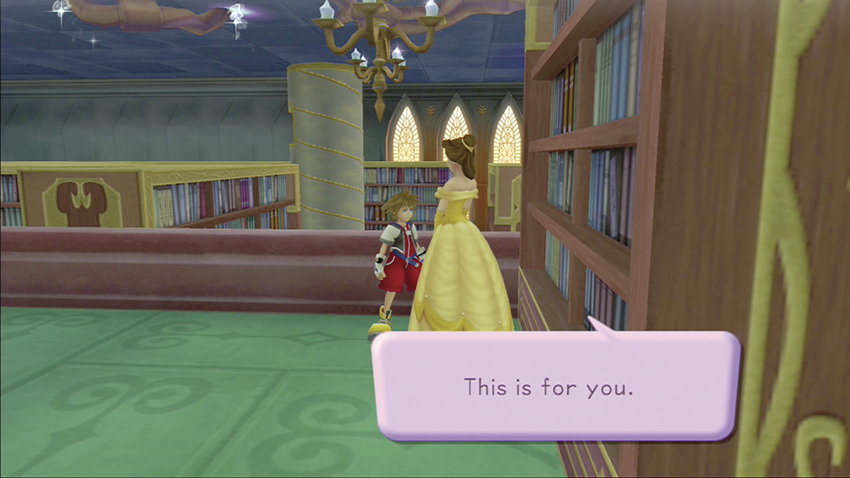
Continue upstairs and speak with Belle. She gives you the Divine Rose key chain.