
Kingdom Hearts HD 1.5 Remix Guide KHFM: Walkthrough Atlantica
Atlantica
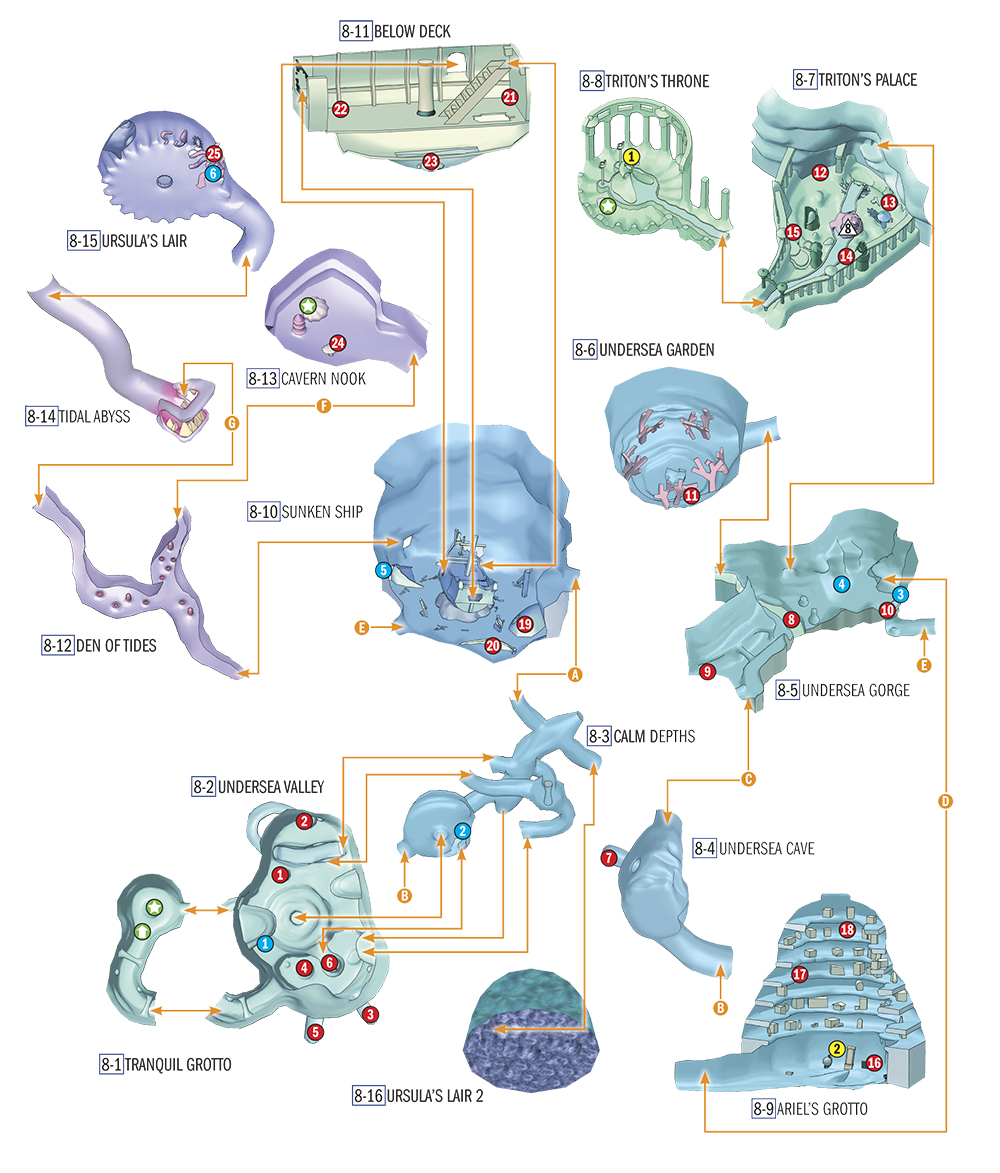
Opponents
| Name | Search Ghost | Sea Neon | Sheltering Zone | Screwdriver | Aquatank | Darkball | White Mushroom | Shark | Jetsam / Flotsam | Ursula | Ursula 2 |
|---|---|---|---|---|---|---|---|---|---|---|---|
| HP | 45 | 29-Jan | 90 | 48 | 120 | 60 | - | 200 | 60 | 450 | 900 |
Items
| No. | Item | Location | Condition |
|---|---|---|---|

|
Elixir | 8-2 | Open white shell (by hitting it) |

|
Cottage | 8-2 | Open white shell (by hitting it) |

|
Mega-Ether | 8-2 | Open white shell (by hitting it) |

|
Mega-Potion | 8-2 | Open white shell (by hitting it) |

|
Mythril | 8-2 | Open white shell (by hitting it) |

|
Mythril Shard | 8-2 | Open red shell (by using Fire magic) |

|
Cottage | 8-4 | Open white shell (by hitting it) |

|
Mega-Ether | 8-5 | Open white shell (by hitting it) |

|
Mythril Shard | 8-5 | Open blue shell (using Blizzard magic) |

|
Orichalcum | 8-5 | Dislodge chest from below |

|
Mega-Potion | 8-6 | Open white shell (by hitting it) |

|
Mega-Ether | 8-7 | Open white shell (by hitting it) |

|
Cottage | 8-7 | Open white shell (by hitting it) |

|
Elixir | 8-7 | Open white shell (by hitting it) |

|
Mythril Shard | 8-7 | Open giant yellow shell (using Thunder magic) |

|
Mega-Potion | 8-9 | - |

|
Cottage | 8-9 | - |

|
Torn Page | 8-9 | - |

|
Elixir | 8-10 | - |

|
Mythril Shard | 8-10 | - |

|
Mythril Shard | 8-11 | - |

|
Crystal Trident | 8-11 | - |

|
Mythril | 8-11 | Open white shell (by hitting it) |

|
Mega-Ether | 8-13 | Open white shell (by hitting it) |

|
Mythril | 8-15 | Open giant shell using Sea Urchin |
Characters
| No. | Character | Location | Purpose |
|---|---|---|---|

|
Triton | 8-8 | - |

|
Flounder | 8-9 | Gives hints on next task |
Special Objects
| No. | Prop | Location | Purpose |
|---|---|---|---|

|
Dolphin | 8-2 | Takes Sora to 8-10 (after swimming with dolphin in 8-5) |

|
Sea Urchin | 8-3 | Opens passage to 8-1 (attack with Fire) |

|
Treasure Chest | 8-5 | Blocks passage E (can be moved from 8-10) |

|
Dolphin | 8-5 | Swims to 8-2 (after you have visited 8-9) |

|
Switch | 8-10 | Opens passage to 8-12 (only in Sebastian’s presence) |

|
Sea Urchin | 8-15 | Opens giant shell revealing item no. 25 (destroy with Fire after battle against Ursula) |
Trinities
| Trinity | Location | Purpose |
|---|---|---|

|
8-7 | Orichalcum |
Objectives
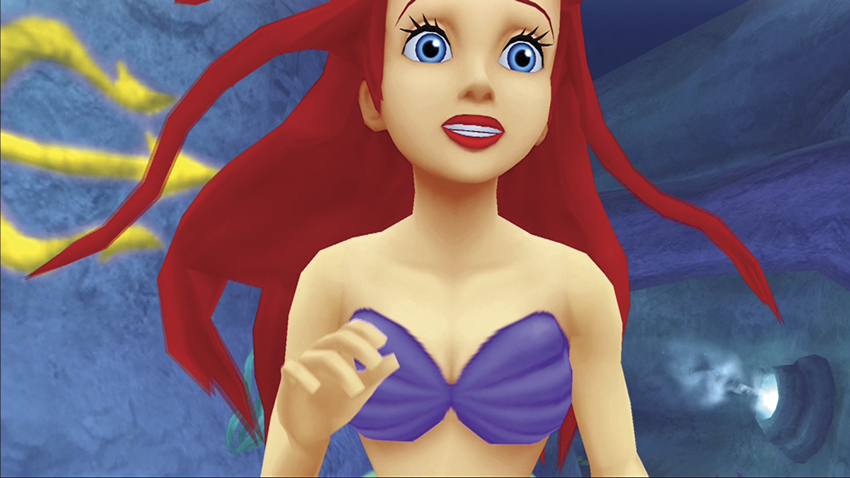
1. Recruit Ariel
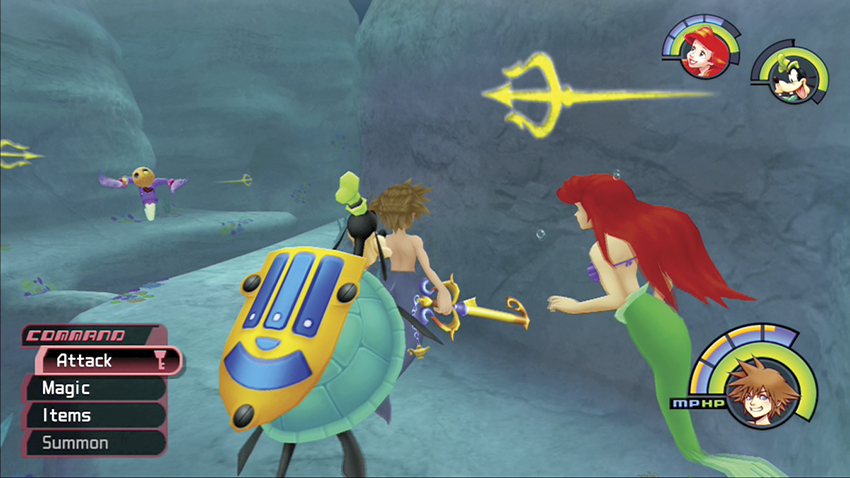
2. Follow the golden tridents to the Palace
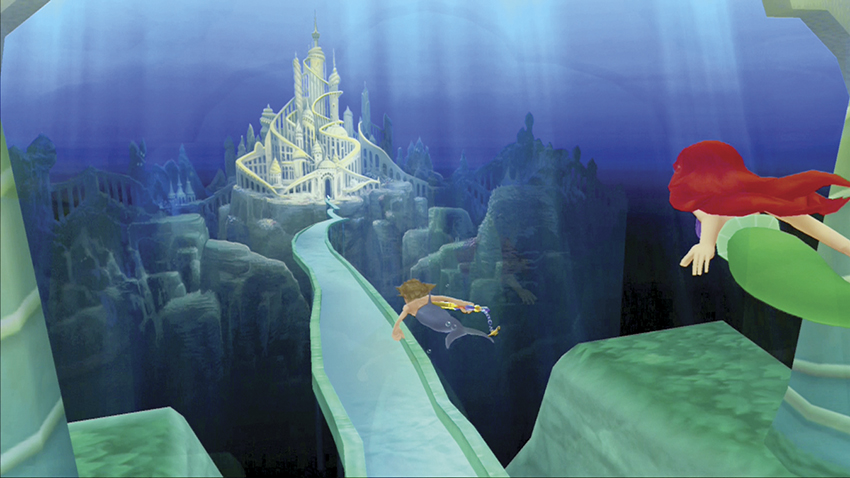
3. Speak with King Triton and head to Ariel’s Grotto
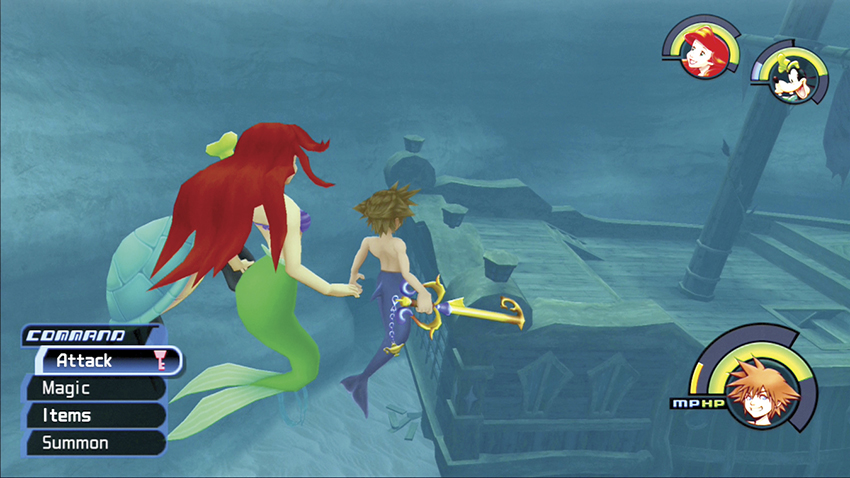
4. Find the Sunken Ship
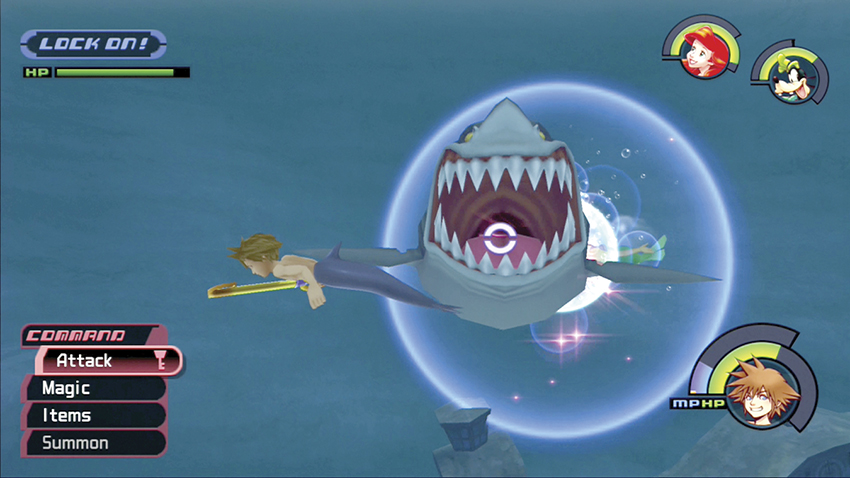
5. Defeat the Shark
6. Uncover the Den of Tides
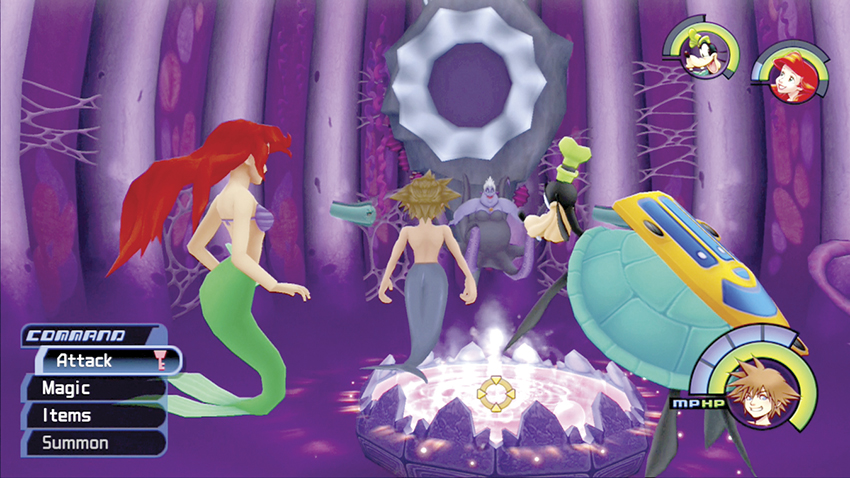
7. Battle Ursula
8. Battle Ursula a second time
9. Lock up Atlantica
Step 1: Recruit Ariel
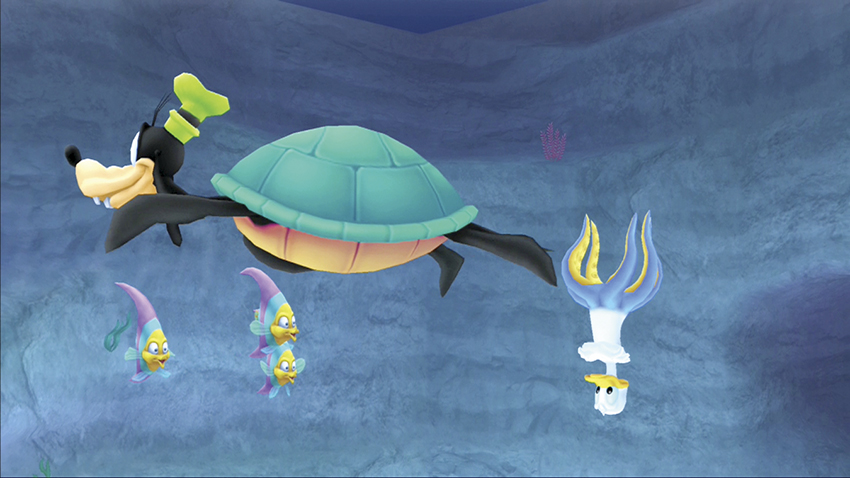
To reach Atlantica, plot a course on the Navigational Map for the Battle Level 5 world below and to the right of Agrabah. To make things easier in this water world, Donald transforms you all into aquatic creatures.
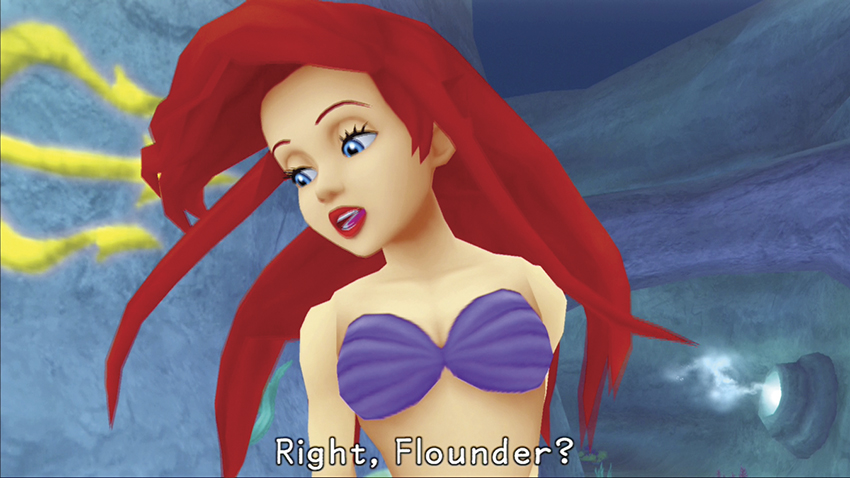
Meet up with Ariel in the Tranquil Grotto. It’s tranquil while Ariel greets you and notices that you can’t swim well yet, but it won’t be tranquil for long.
 Sebastian
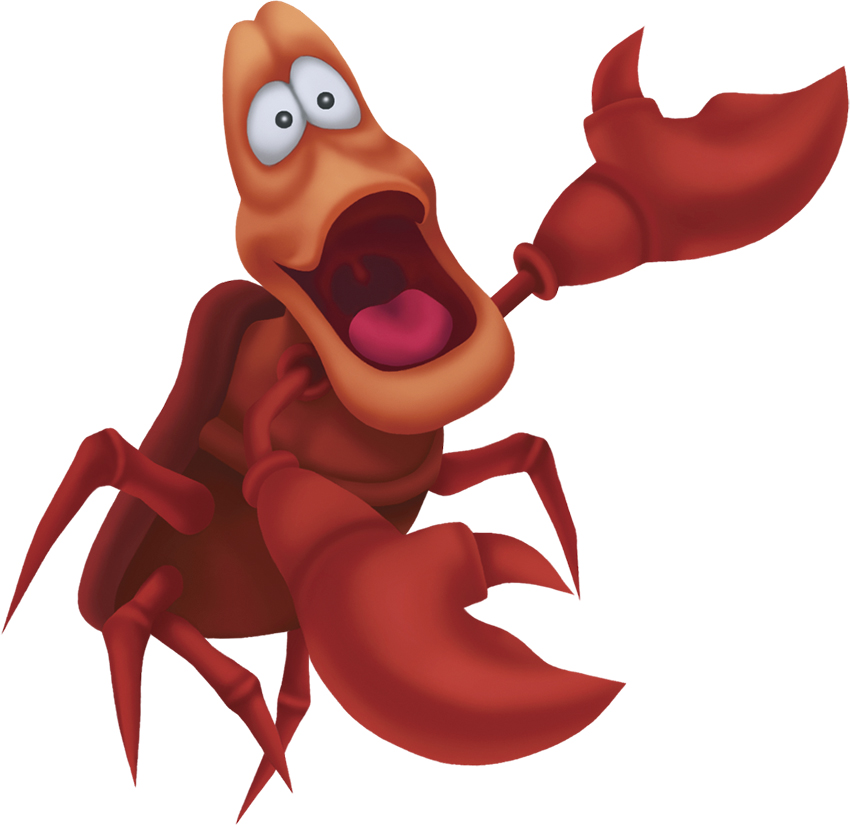
You might not guess it, since he’s a crab and all, but Sebastian is a musical genius and the concert master for Atlantica. This nervous crab follows Ariel around, always anxious if Ariel does anything against King Triton’s wishes.
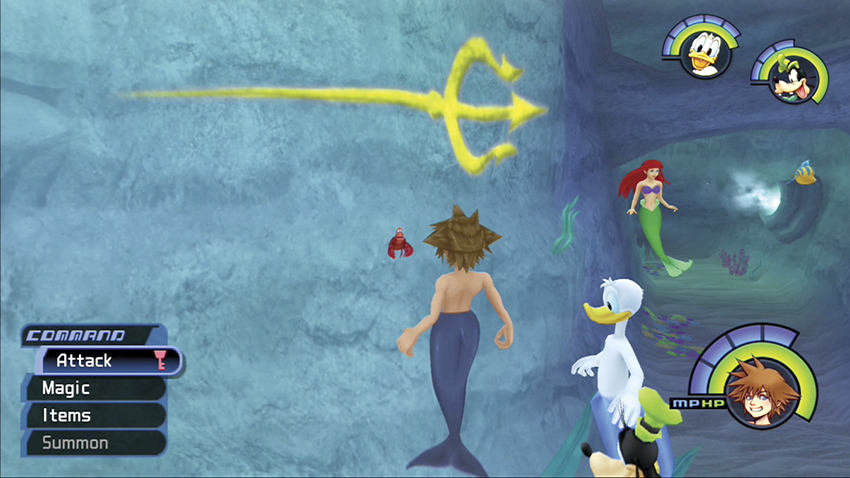
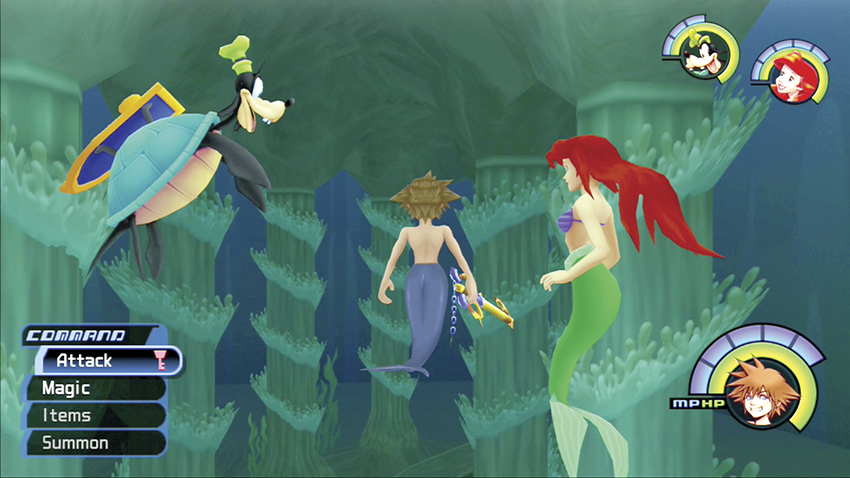
Follow Flounder around as Sebastian gives you a swimming tutorial. Get used to swimming up and down and using the whole three-dimensional space of each room.
Flounder
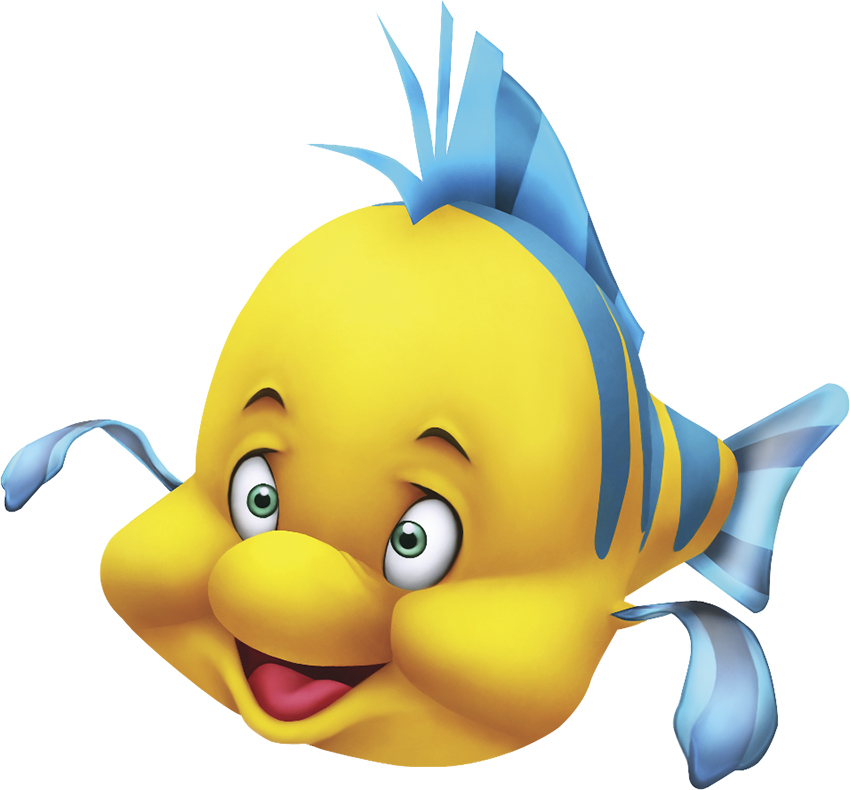
Ariel’s best friend sticks by her side through thick and thin. The little guy helps you learn how to swim and defies his small size with a big heart.
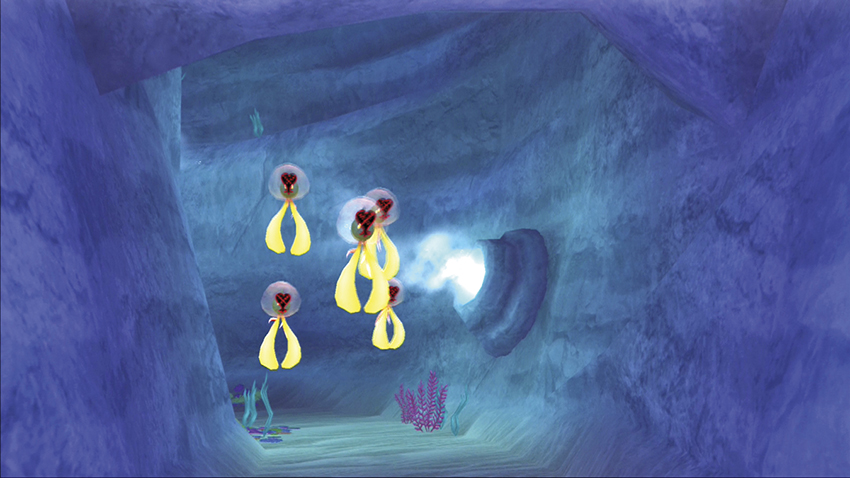
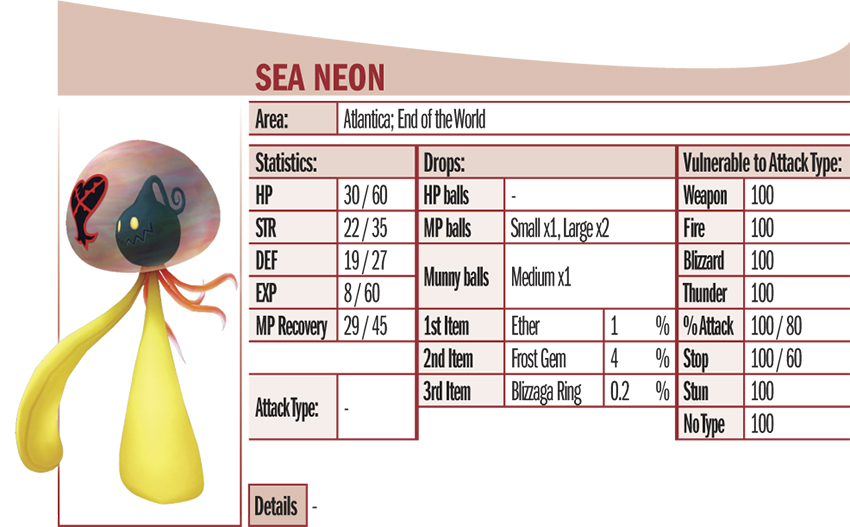
Sea Neons approach at the end of your swimming lesson. You can use any of your spells underwater to eliminate them, or practice your swimming and whack away at them.
Step 2: Follow the Golden Tridents to the Palace
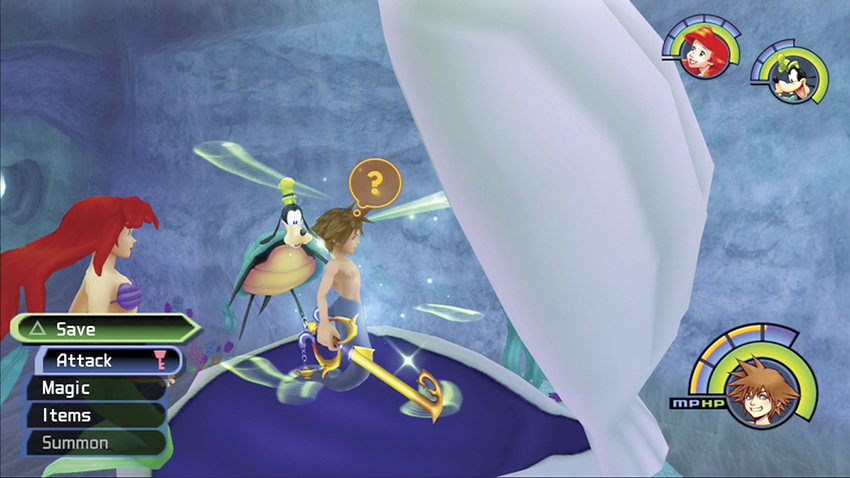
After you battle with the Heartless, strike the giant clam shell to reveal a save point. Save your game and add Ariel to your party.
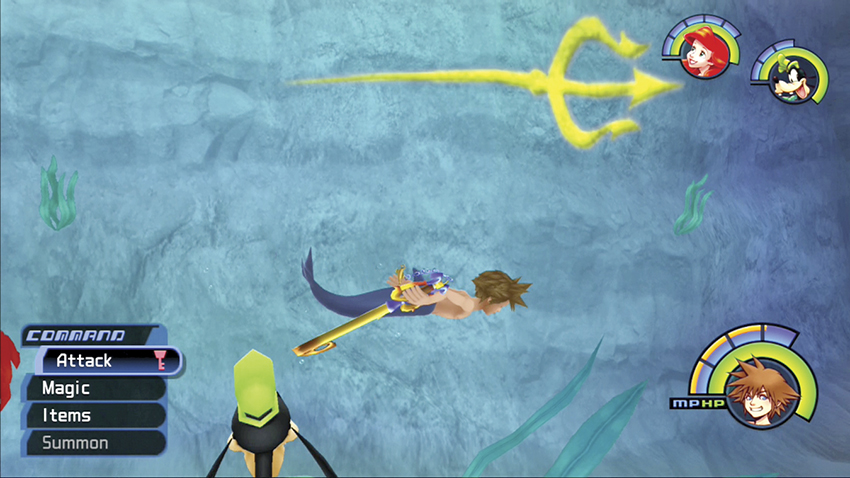
Follow the golden tridents to Triton’s Palace. If you get disoriented at any point in your travels, look for the golden tridents on the walls to point you in the right direction. Swim ahead and enter the Undersea Valley.
White Clam Shell: Physical Attack
Red Clam Shell: Fira
Blue Clam Shell: Blizzara
Yellow Clam Shell: Thunder
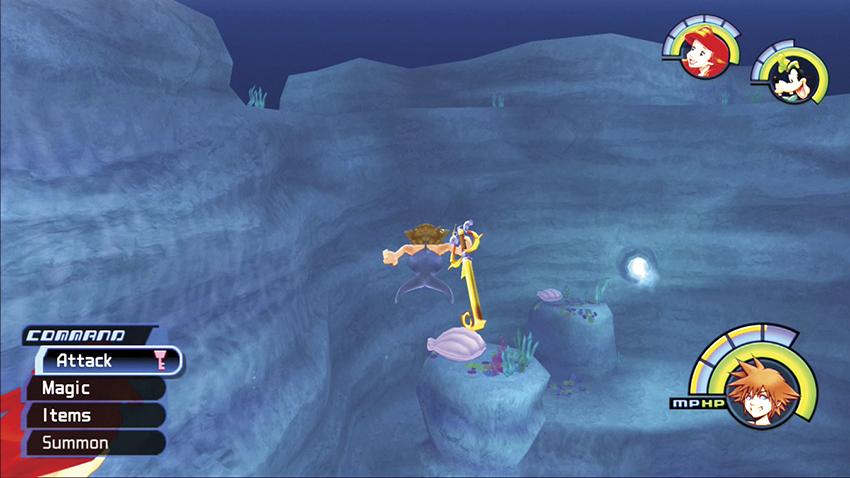
Collect some more items before continuing toward the Palace. Swim across to your left and look for a clam shell on a tall rock column. Strike the white clam shell to open it for an Elixir.
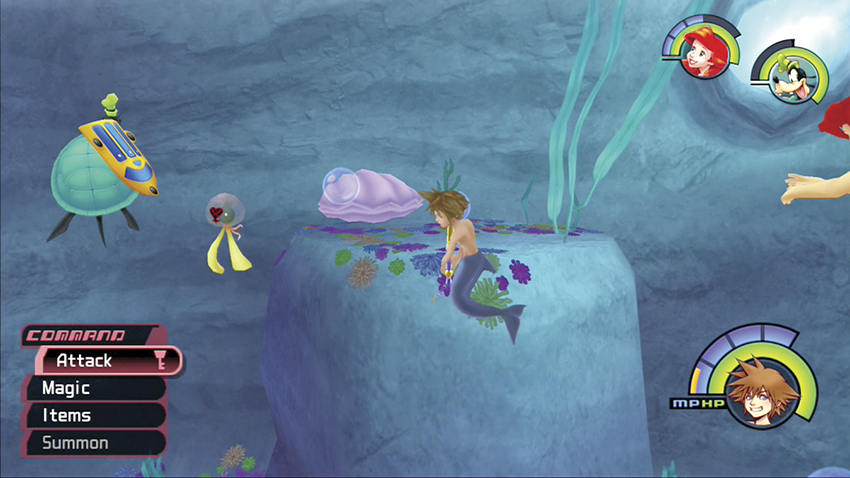
Now descend to the nearby shelf with another white clam shell. Open the shell for a Cottage.
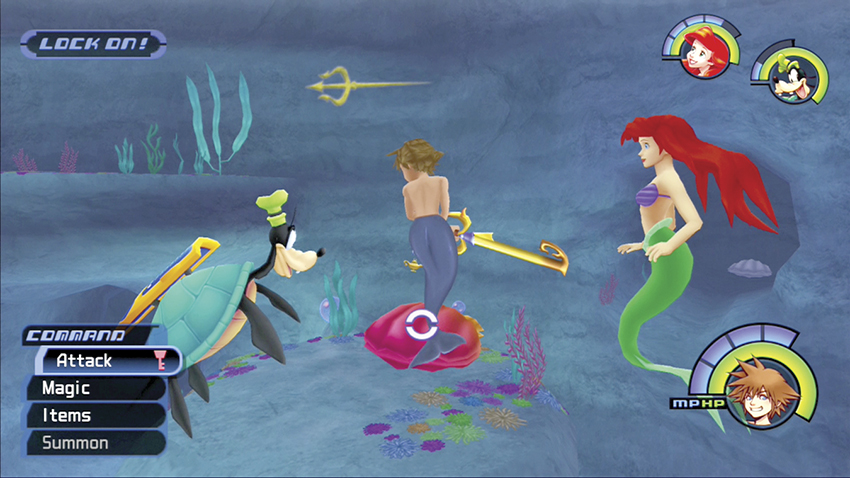
Swim across the central portal and look for a red clam shell. Fight through any Heartless that spawn and open the clam shell with your Fira spell for a Mythril Shard.
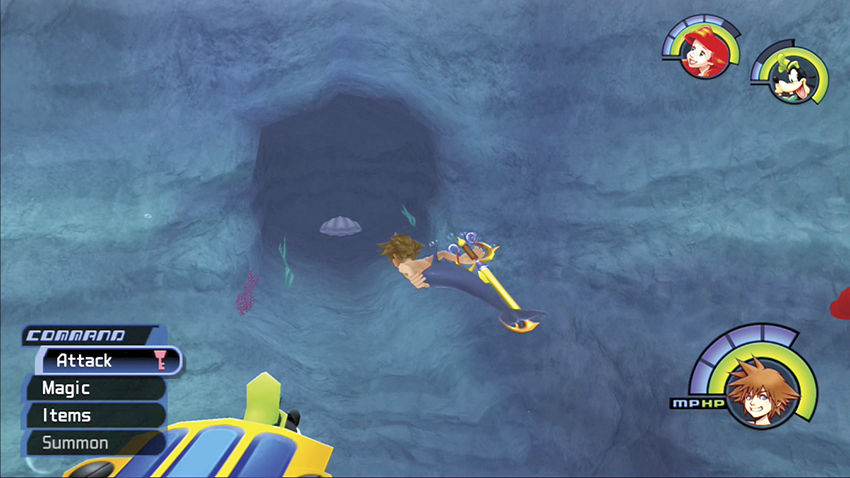
Proceed straight ahead to a deep alcove with a white clam shell in the back. Open the clam shell for a Mega-Ether.
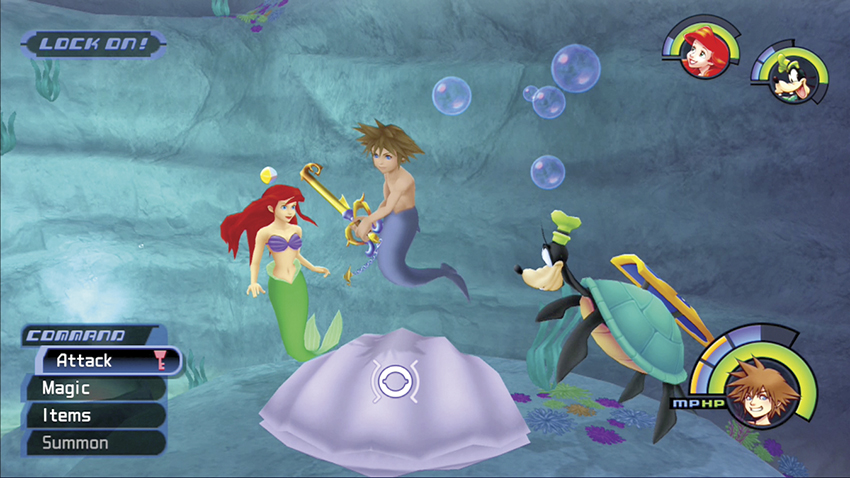
You can recover a Mega-Potion from a white clam shell by swimming down near the sea floor and checking the raised platform.
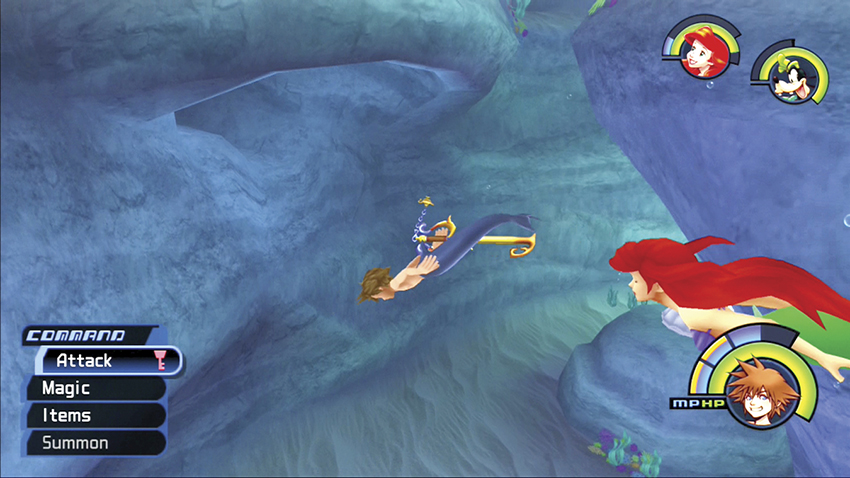
From the raised platform, swim up and look for a hidden alcove inside a semi-circular outcropping. The white clam shell inside holds Mythril.
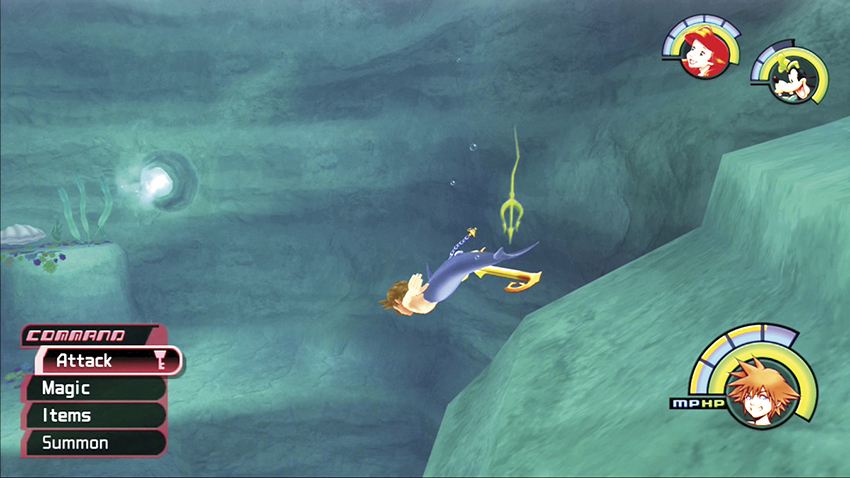
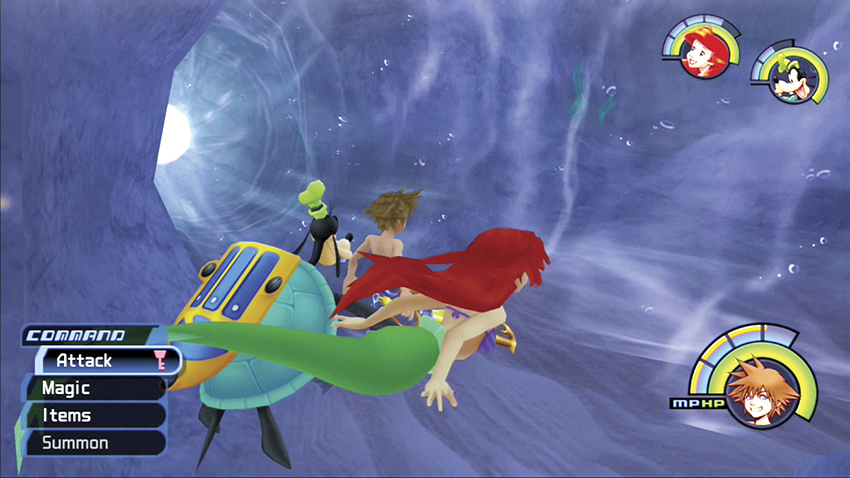
Leave the Undersea Valley by following the golden tridents down into the deep trench. The lower cave leads to a swift current. Push into the swift current and stay to the right to enter the next cave. If you get pulled too far, the swift current will drag you back to the Undersea Valley.
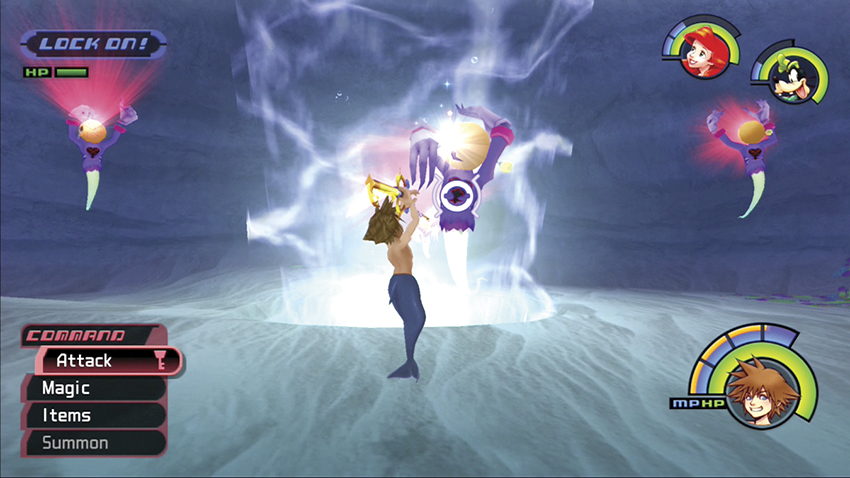
Destroy the Heartless in the circular cave, but make sure you don’t get pulled into the upward current. Continue to the other side to enter the Undersea Cave.
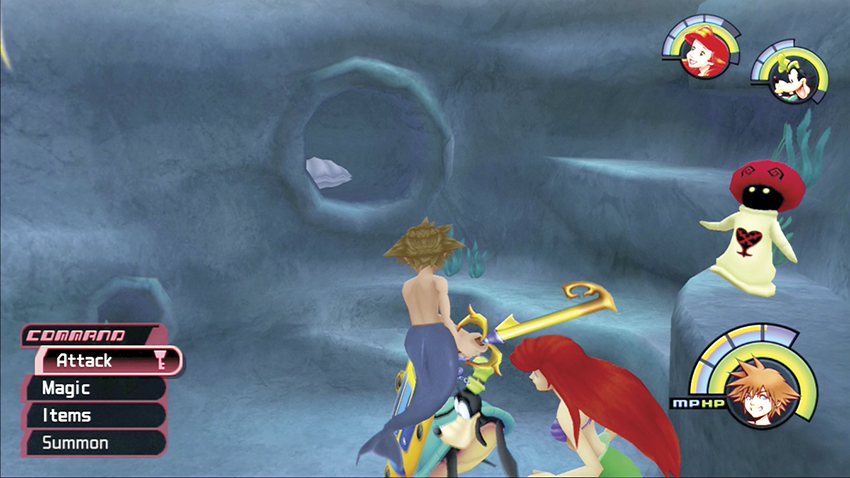
In the Undersea Cave, swim toward the exit and search the alcove below for a clam shell with a Cottage. You may encounter White Mushrooms in here; if you want to play charades with these creatures, see the “Mushrooms” chapter for more details.
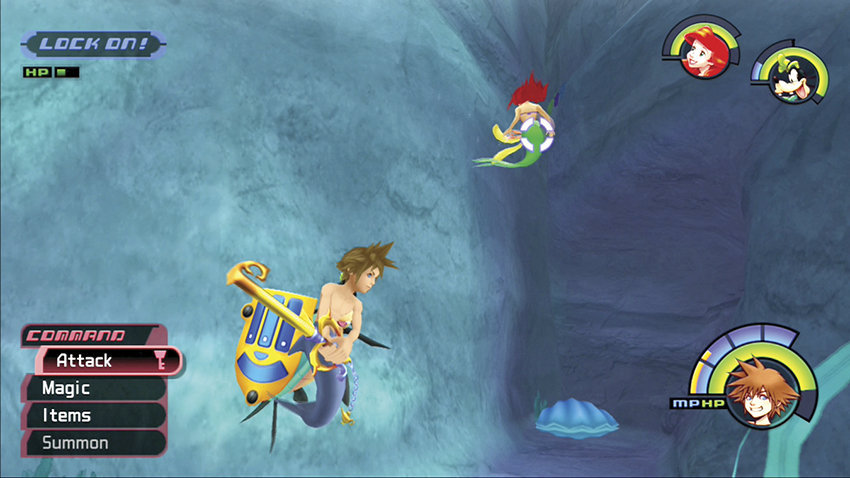
Swim into the Undersea Gorge. Ignore the golden tridents for now and head down to the sea floor. Look left for a small alcove with a blue clam shell in it. Use Blizzara on the shell to open it for a Mythril Shard.
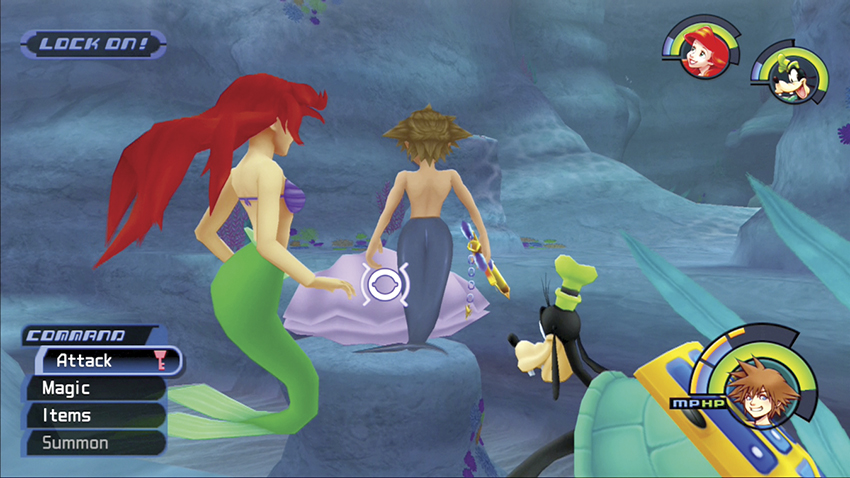
Follow the wall into the next area to your left leaving the calm shell. Beat back the Heartless and open the white clam shell here for a Mega-Ether.
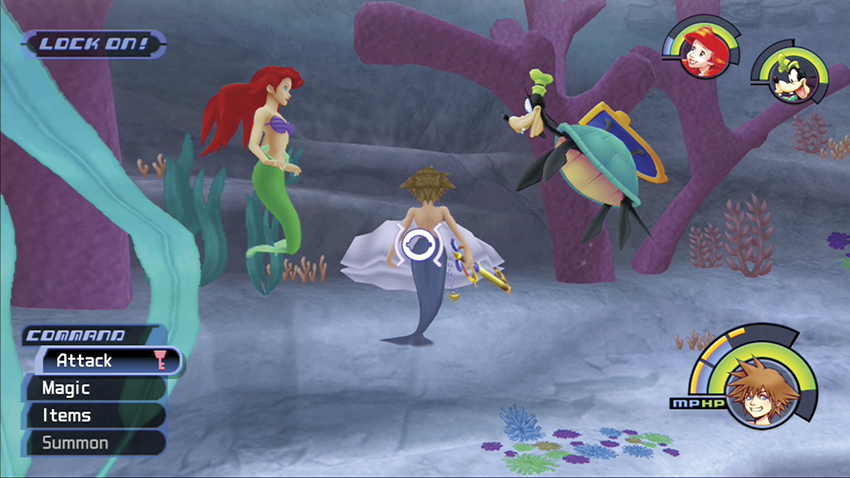
Head back toward the Triton’s Palace entrance, but don’t go in yet. Swim to a small cave to the left to enter the Undersea Garden. Open the clam shell inside for a Mega-Potion.
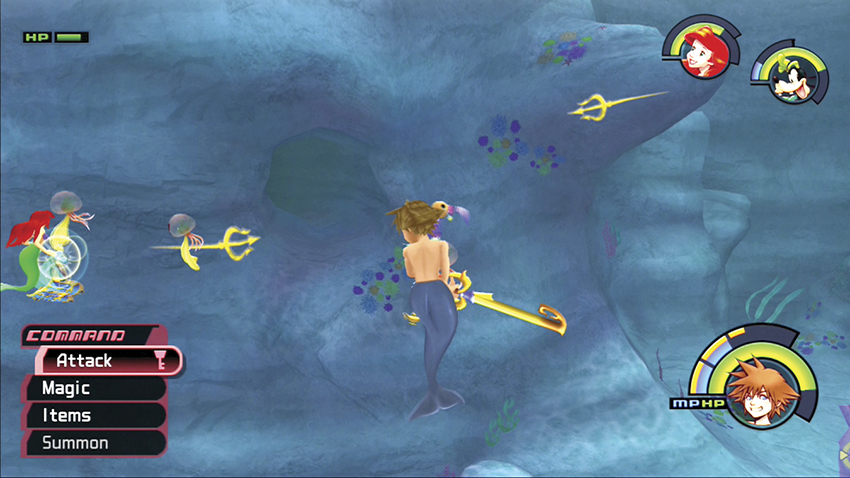
Return to the cave marked with a golden trident on either side. This is the entrance to Triton’s Palace.
Step 3: King Triton and Ariel’s Grotto
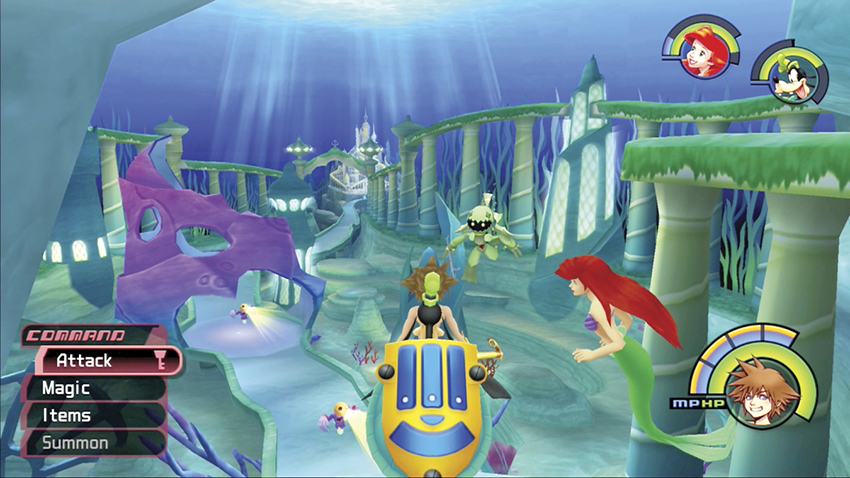
Enter Triton’s Palace and defeat the Heartless within. A new opponent appears, the Screwdiver; it can be dealt with normally except for Thunder magic, which it absorbs.
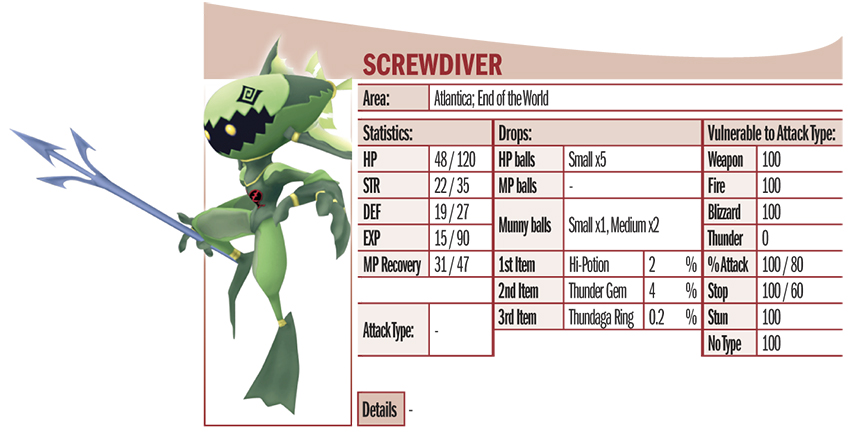
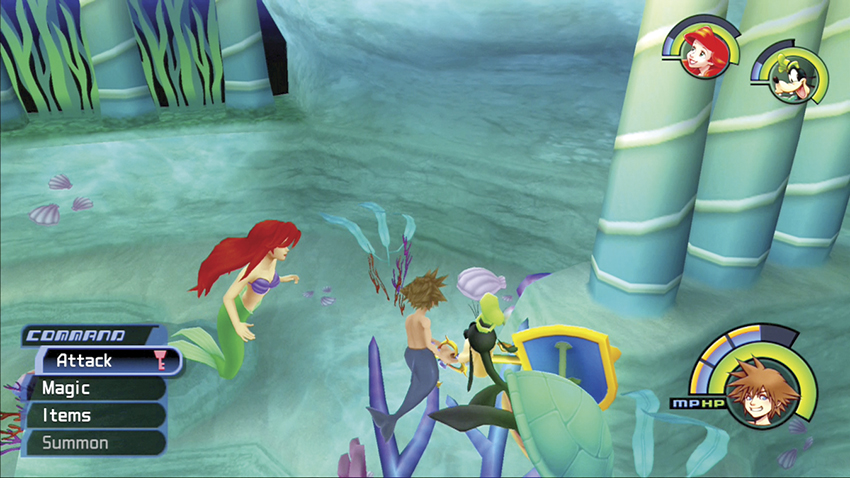
Three clams on the sea floor hold items for you. Descend from the entrance to locate a white clam shell nearby with a Mega-Ether.
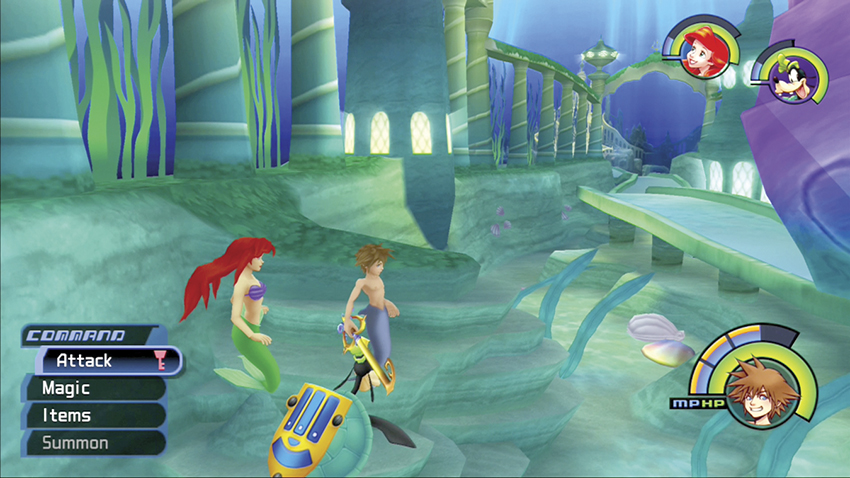
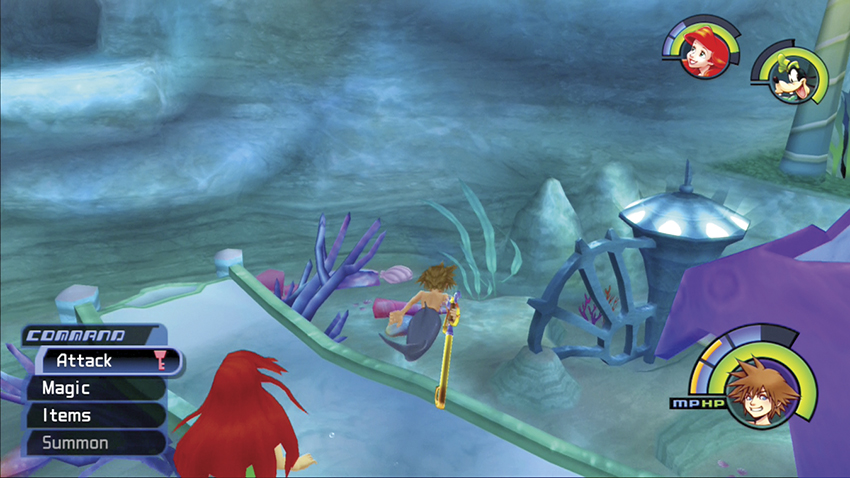
Two more clams on the sea floor disclose an Elixir and a Cottage.
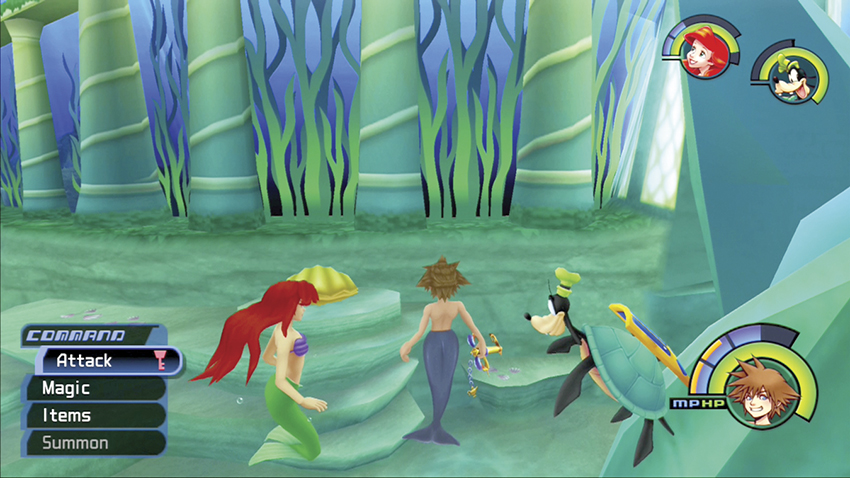
Swim up to the higher platform and use Thunder to open the yellow clam shell. Inside you’ll find a Mythril Shard.
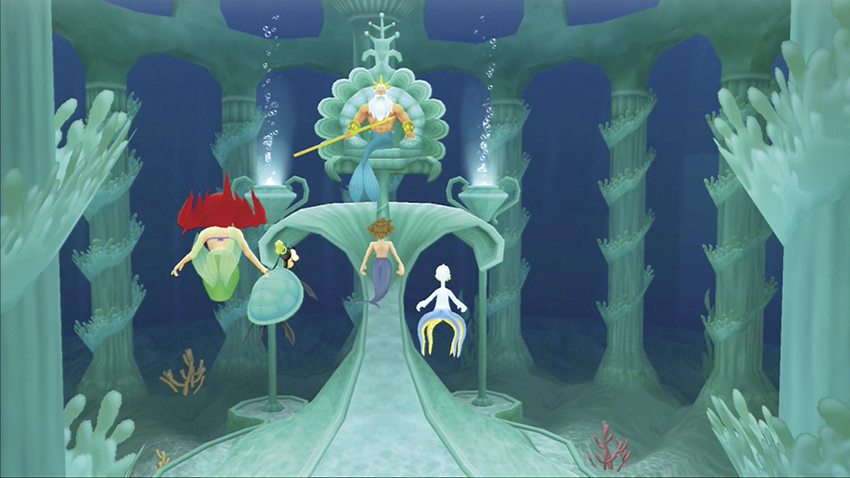
Speak with King Triton. He’s unhappy with Ariel swimming around with all the Heartless invading. He has his suspicions that Ursula is behind the recent Heartless menace, but can’t prove anything yet.
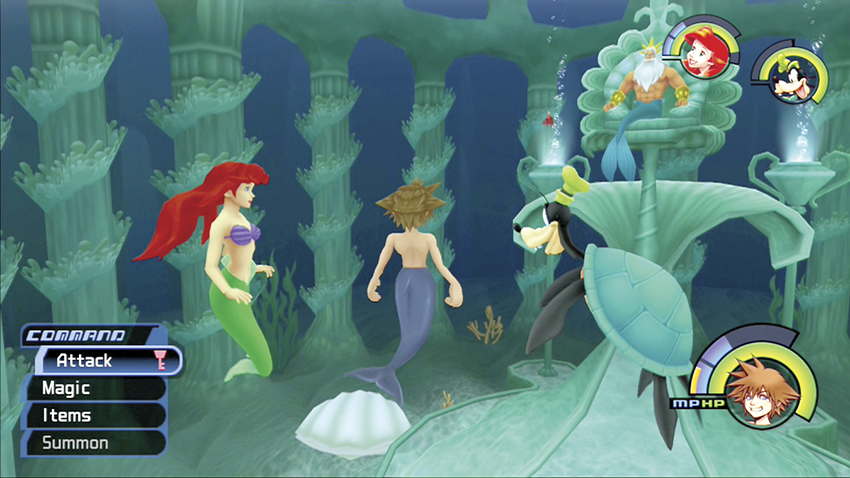
After speaking with King Trition, you’ll be returned to the Triton’s Palace area. Double back to Triton’s Throne and strike the clam on the sea floor to the left of King Triton. The clam will open to reveal a save point. Use it to save your progress.
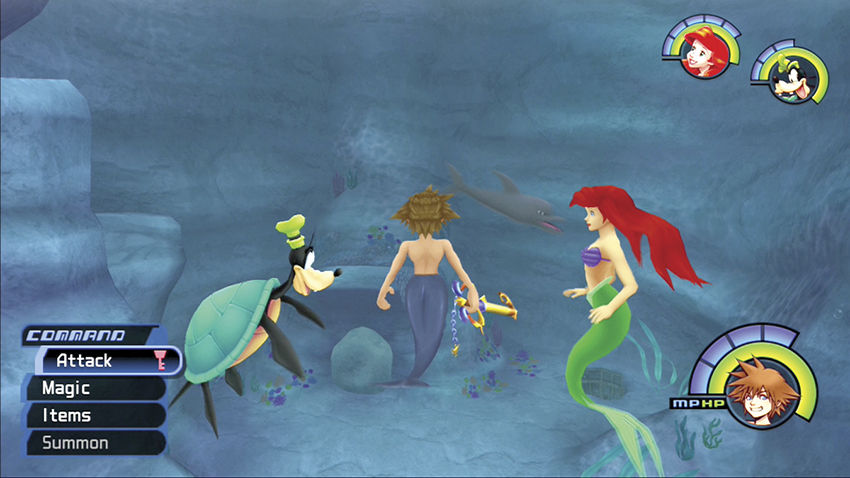
Retrace your path to the Undersea Gorge. A dolphin swims around in here, and you need it to travel to the Undersea Valley where it will prove very useful to you. Catch a ride on its back; when you leave, the dolphin will swim to the Undersea Valley, ready for your next trip.
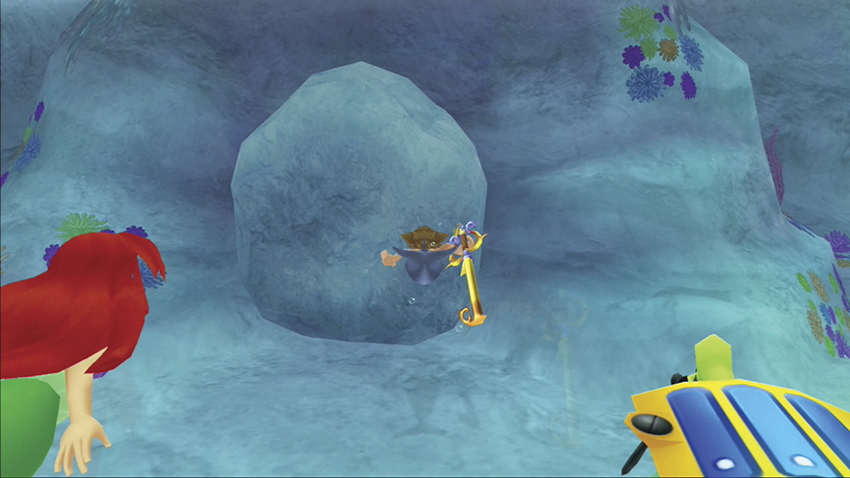
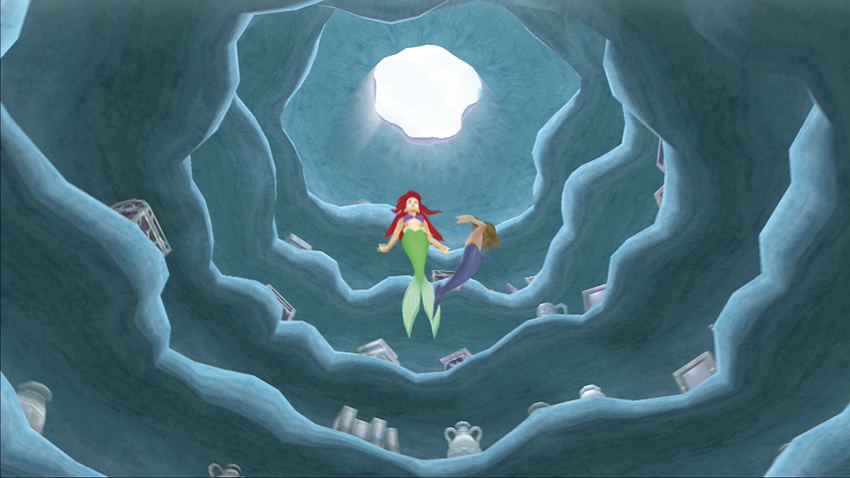
Look for a large rock next to an oversized chest near the sea floor. Push this rock aside to enter Ariel’s Grotto.
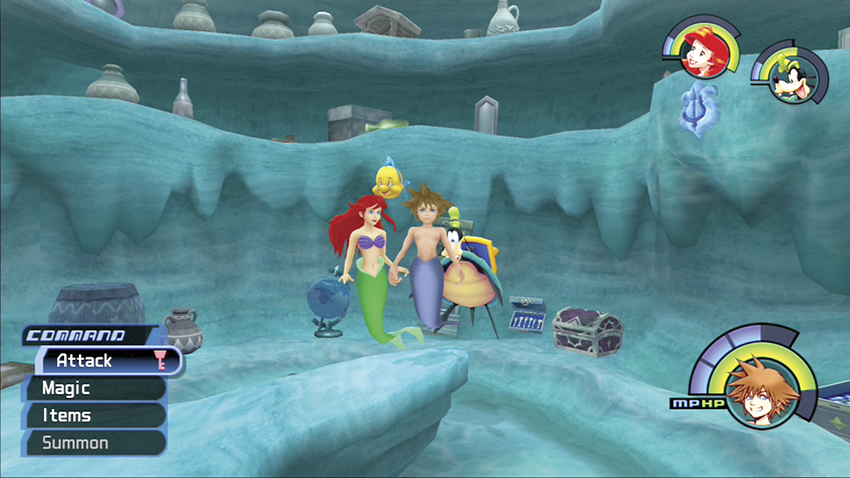
Ariel holds all her special trinkets in the Grotto. Open the chest on the bottom level for a Mega-Potion. Smash a barrel on the right side of the room for an Ether.
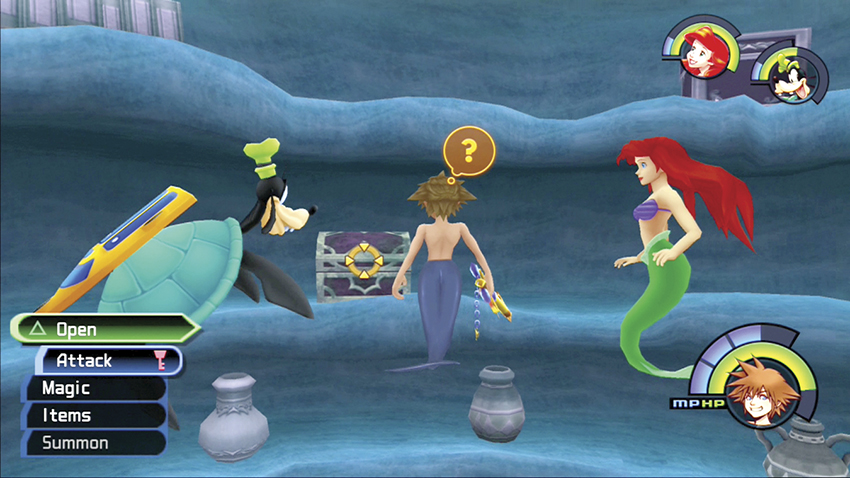
Float about halfway up for a second chest. Open it to gain a Cottage.
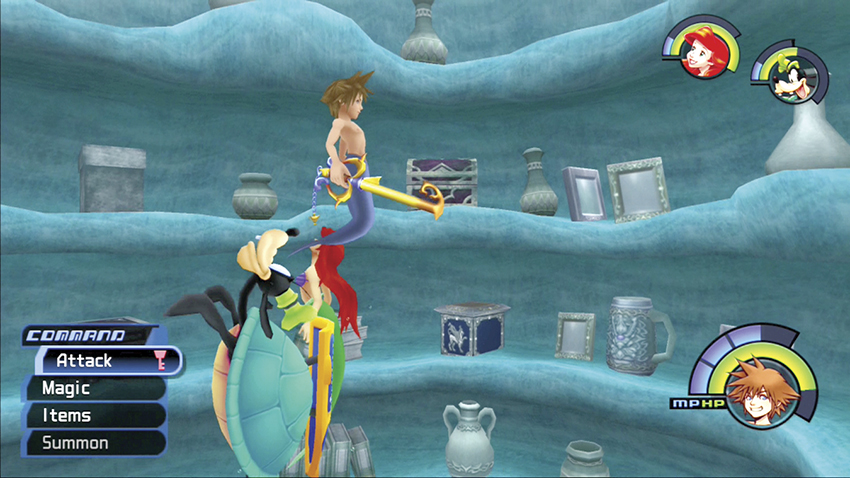
Near the top you’ll find a third chest. Open this chest for a Torn Page, which you can use in Merlin’s Old Book to unlock another area in the Hundred Acre Wood.
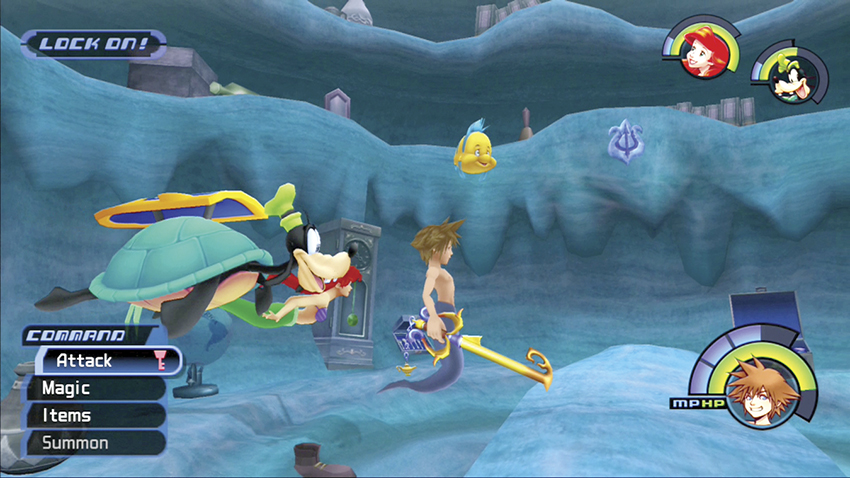
Swim over to Flounder and talk to him. He tells you about the swift current and how the dolphin is the only creature who can swim against it. To reach some of the chambers against the current, you’ll need the dolphin’s help.
Step 4: The Sunken Ship
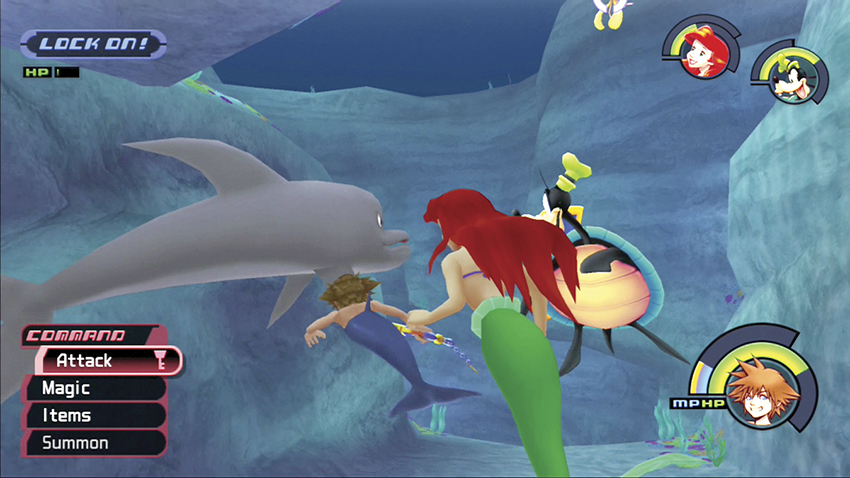
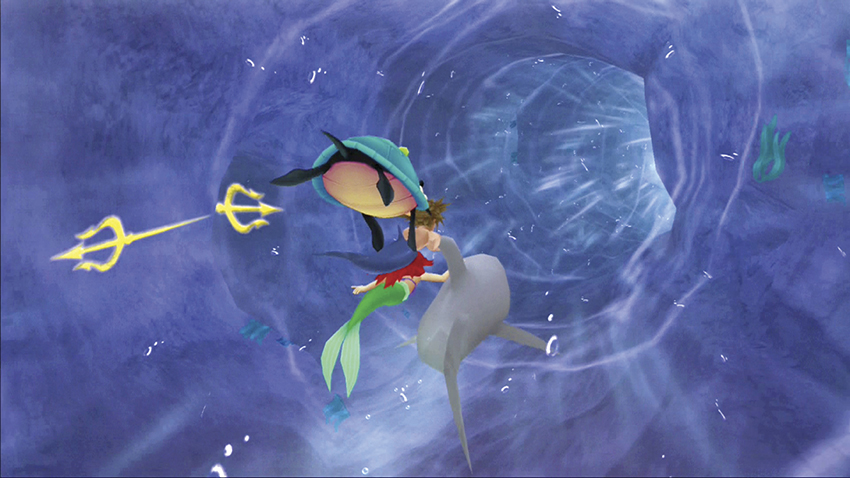
Return to the Undersea Valley and chase away all the Heartless in the area. As the dolphin swims by, grab on for a ride against the current to the Sunken Ship.
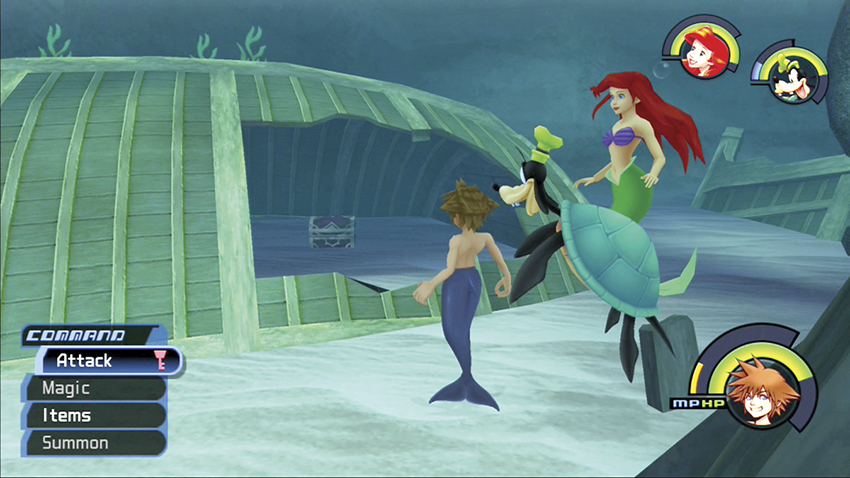
The impressive Sunken Ship spreads out before you. However, you don’t want to check it out yet. Instead, swim down and look for a smaller capsized boat with a hole in its hull. Enter through the hole and open the chest inside for an Elixir.
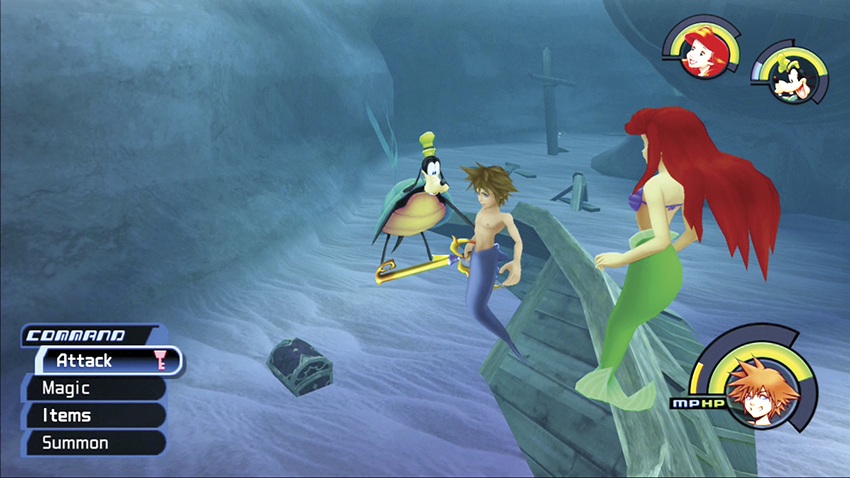
Another chest lies nearby half-submerged in the sand. Exit the capsized boat and search the sea floor to the left for the chest that holds a Mythril Shard.
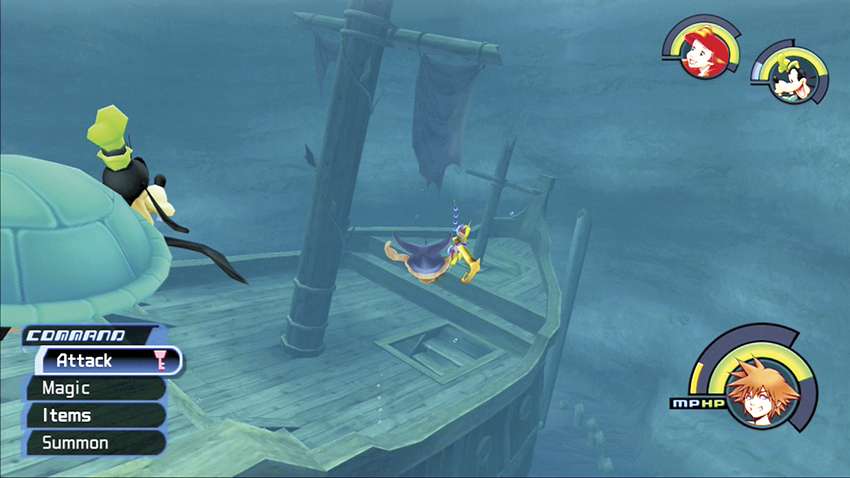
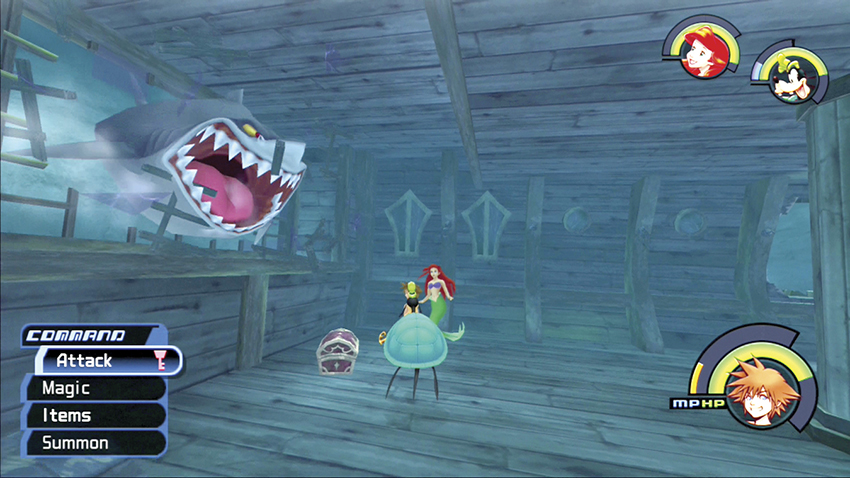
To enter the Sunken Ship, swim through the stairs on the deck. Inside, you’ll see a chest near the window. As you approach, a giant Shark breaks through the glass and tries to chomp you in half. Luckily, it’s too big for the window and retreats. You’ll have to deal with it in a minute, but for now, open the chest for the Crystal Trident.
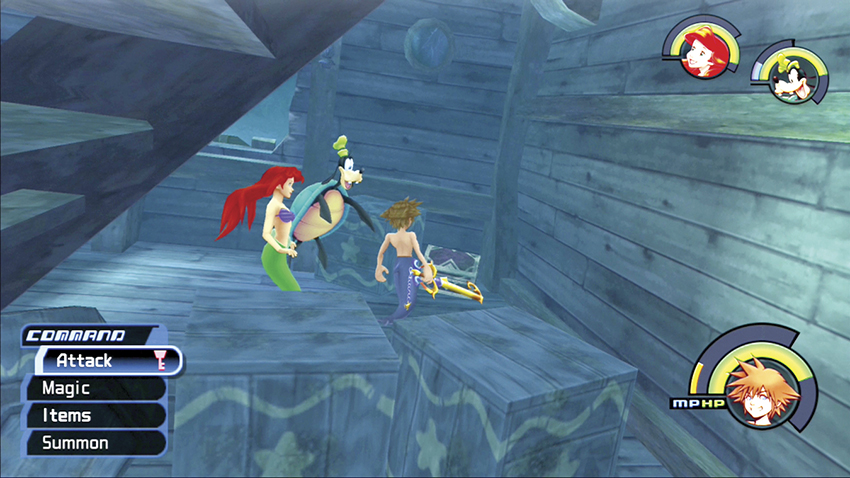
Turn around and head to the back corner. A chest sitting in the gloom holds a Mythril Shard.
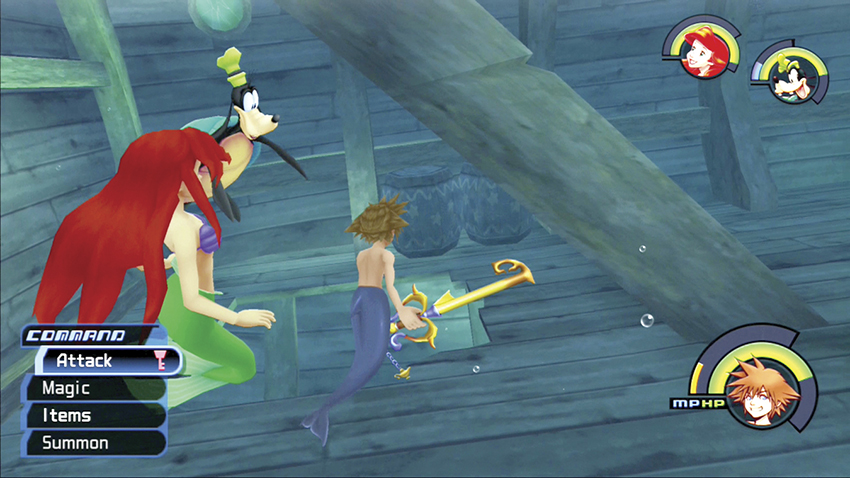
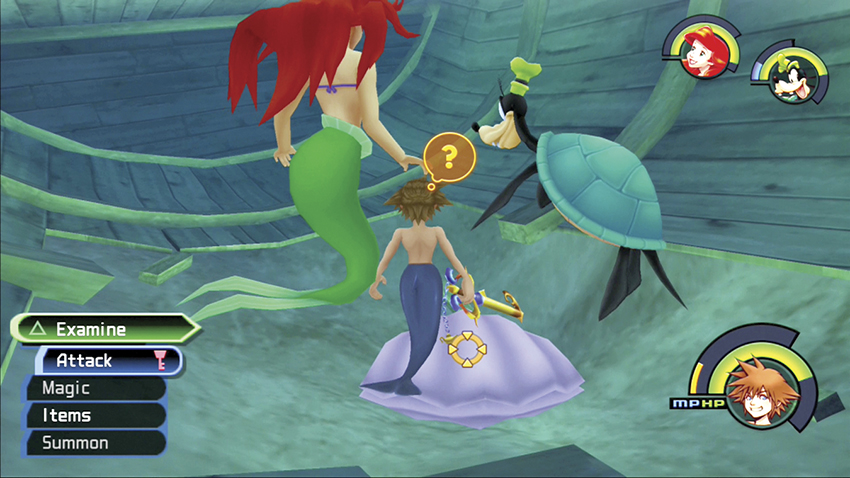
Shatter the boxes under the stairs to reveal a hidden hole that leads down to the ship’s broken underside. Strike the clam in the sand to open it for Mythril.
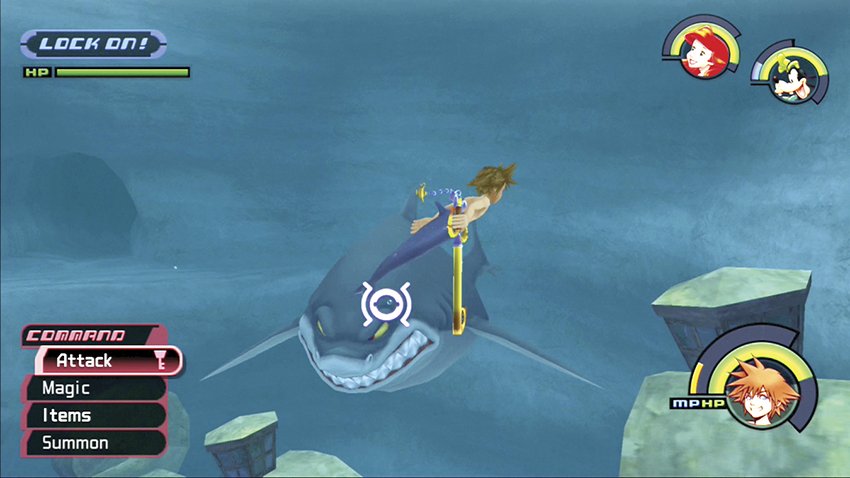
As you exit the Sunken Ship, you can gain big experience and a few items by defeating the Shark. Otherwise, you can try to escape by swimming quickly to the cave exit by the cross-shaped mast stuck in the sea floor.
Step 5: The Shark
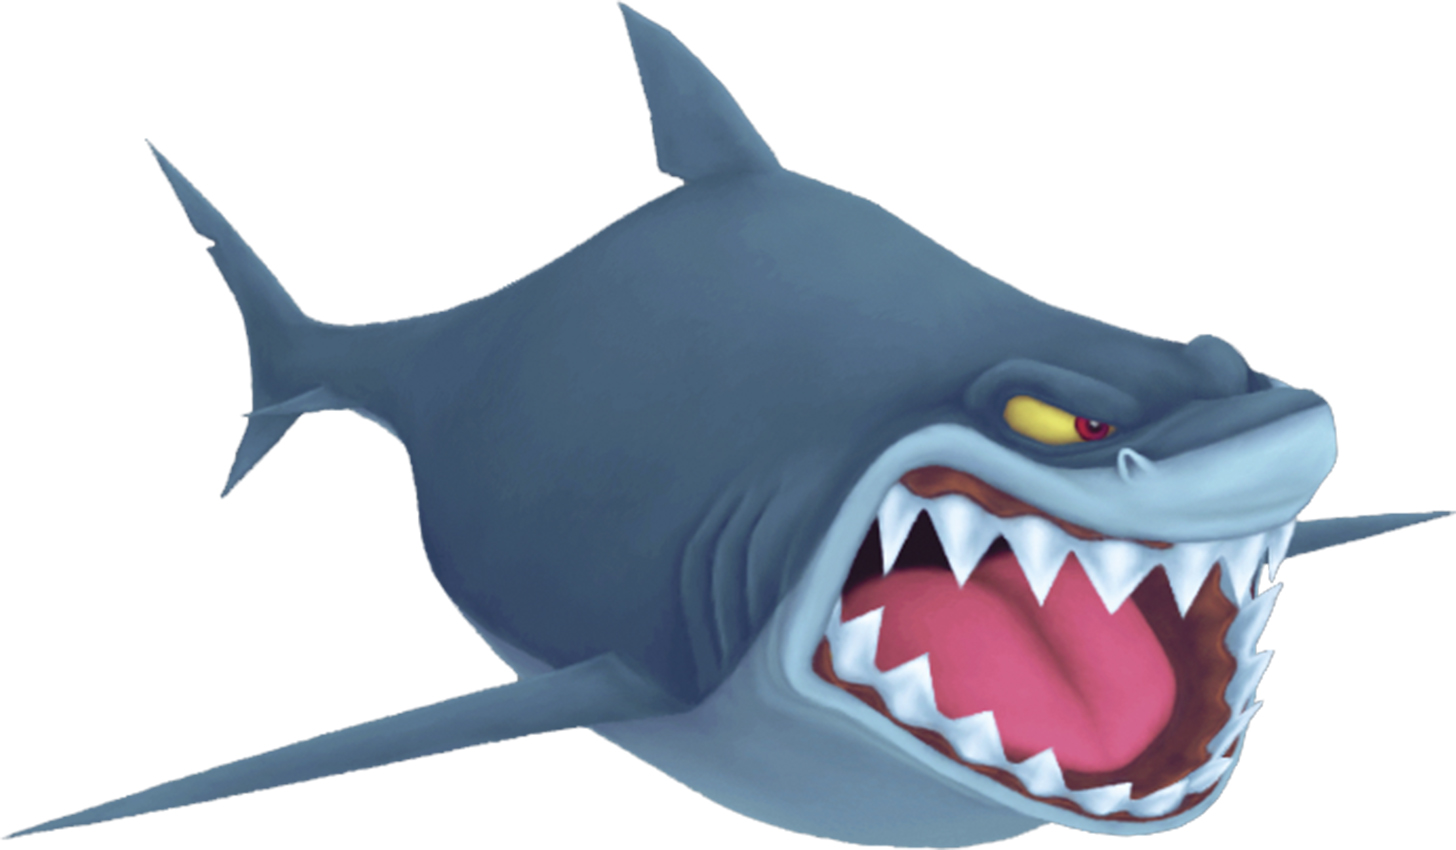
| HP | 200 |
| Strength | 22 |
| Defense | 19 |
| EXP | 100 |
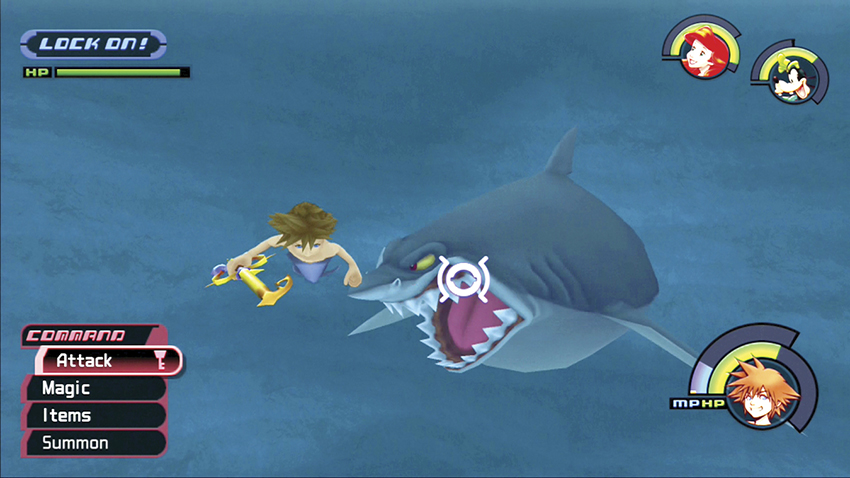
The Shark bites hard. Stay away from its mouth at all costs, even if you have to forgo a few attacks. At range you can use Thunder freely for full damage, but it only takes half damage from Fira and Blizzara.
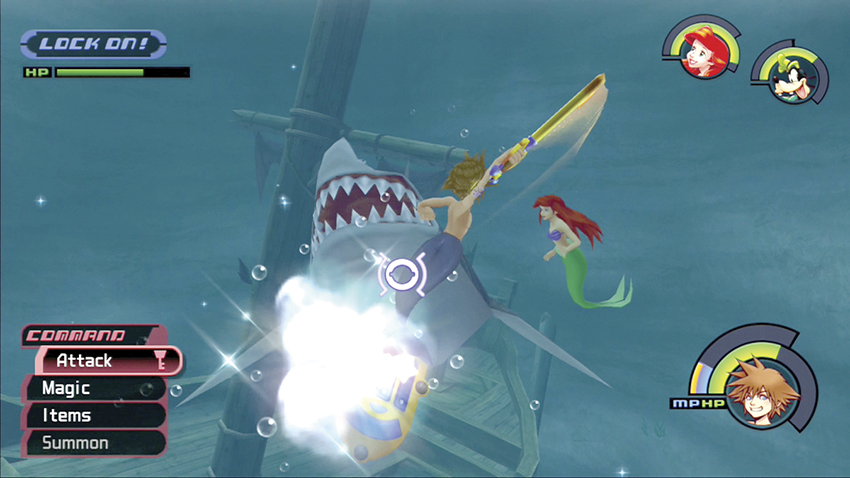
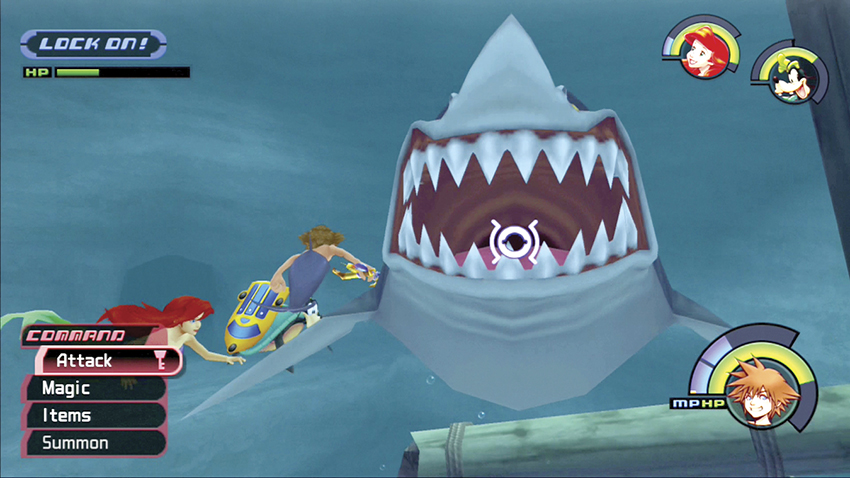
If you can stun it for a moment, slip to the Shark’s side or behind it for a better position. Lay into its body as it tries to swim around and get at you.
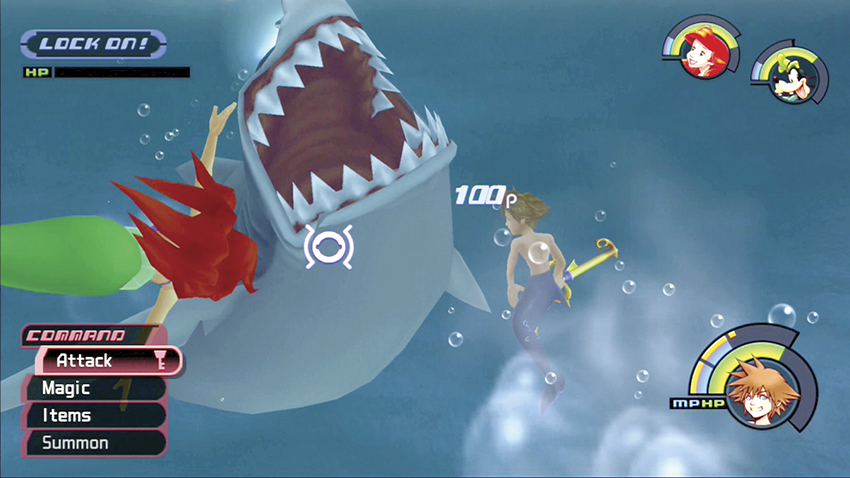
Your combined party strength should overwhelm the Shark. After the big beast sees stars and flees, swim around and collect an Ether, Mega-Potion, and Hi-Potion.
Step 6: Uncover the Den of Tides
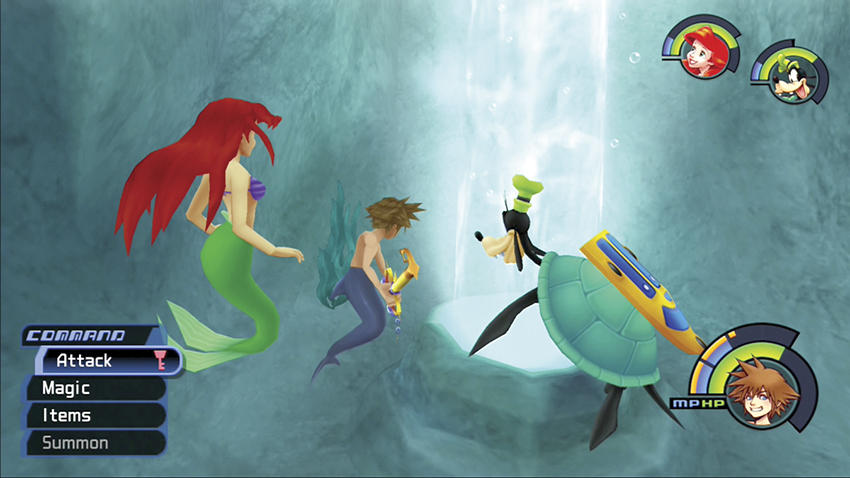
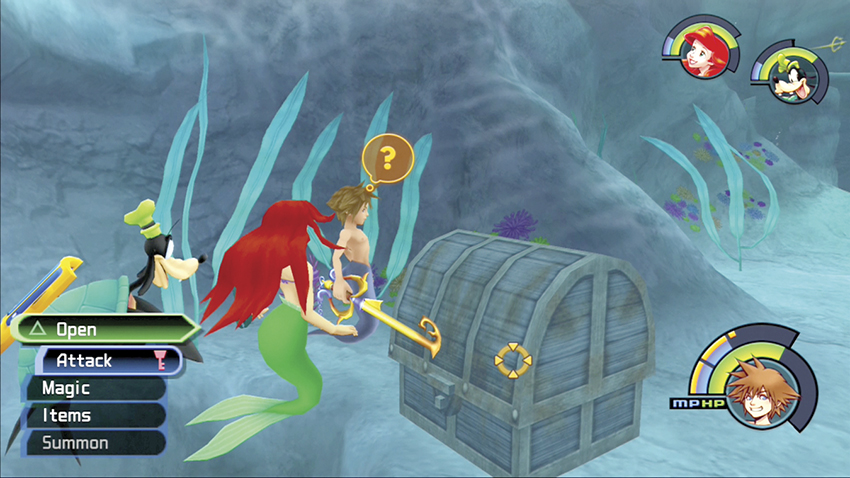
Leave the Sunken Ship through the small cave in the back of the chamber leading to the Undersea Gorge. Strike the lit platform to shoot a swift current upward. Swim into the current to knock aside the oversized chest next to the entrance to Ariel’s Grotto. Open the chest for an Orichalcum.
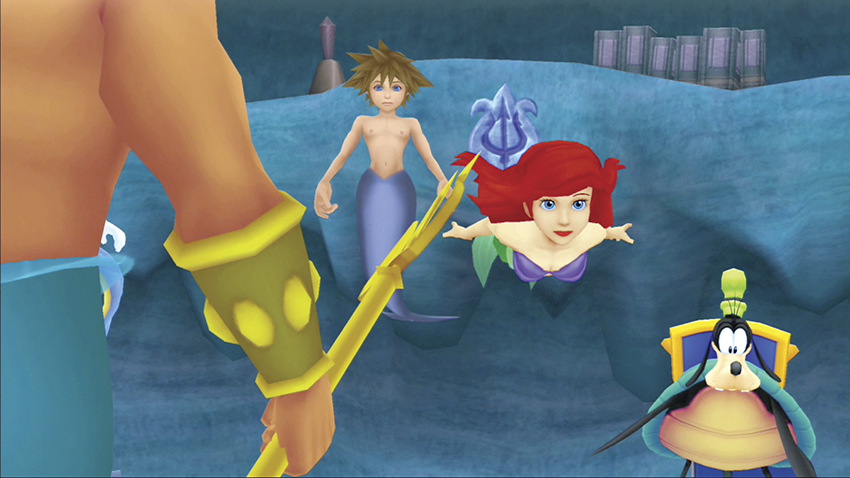
Enter the nearby Grotto and place the Crystal Trident in the wall indentation that’s meant to hold it. King Triton arrives; he is not happy about what you’ve been up to. He drives Ariel away.
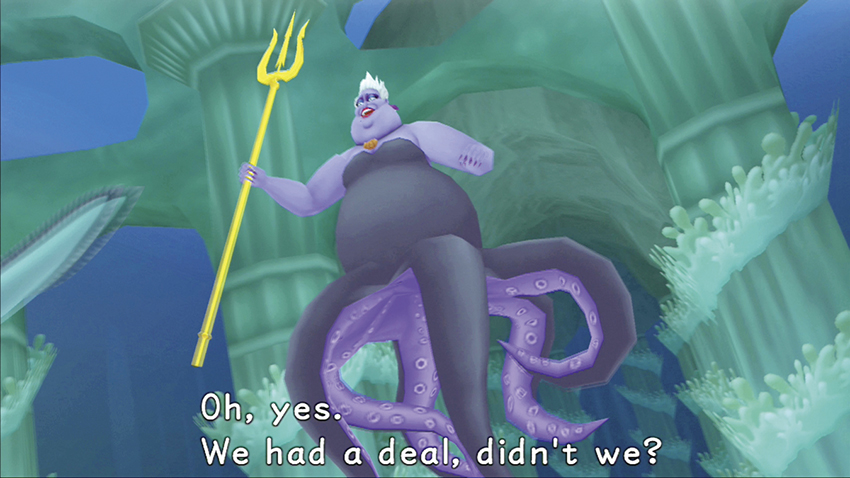
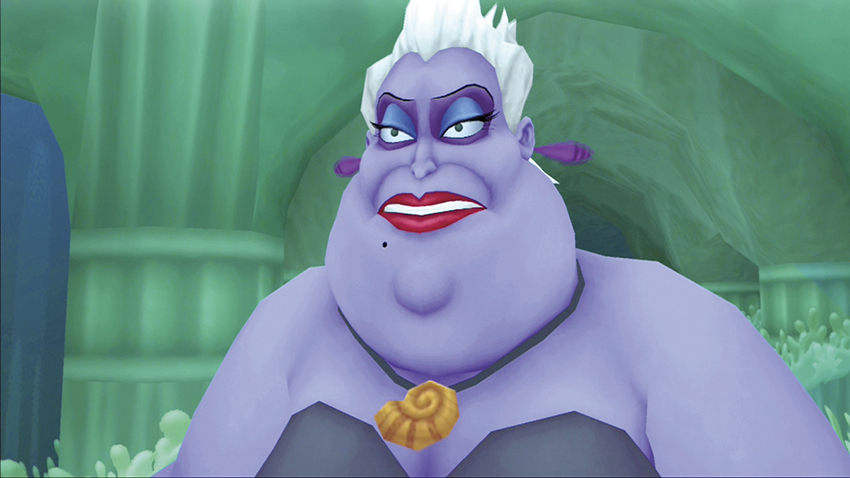
Ursula tricks Ariel into helping her get King Triton’s trident. You stop Ursula from hurting the king and his daughter; however, she gets away for now. You must hunt down Ursula and regain the trident.
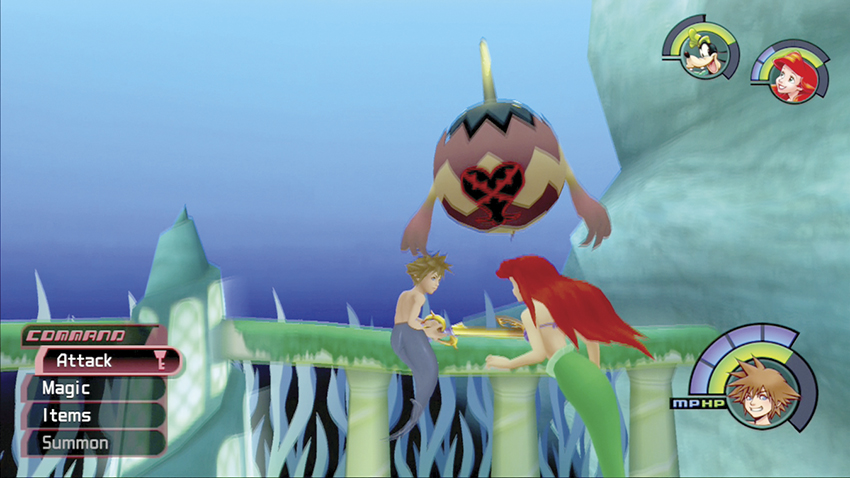
Save in Triton’s Throne and head toward the Sunken Ship again. Along the way you’ll likely encounter another new Heartless, the Aquatank. Avoid its attacks from close range and instead blast it with Fira or Thunder.
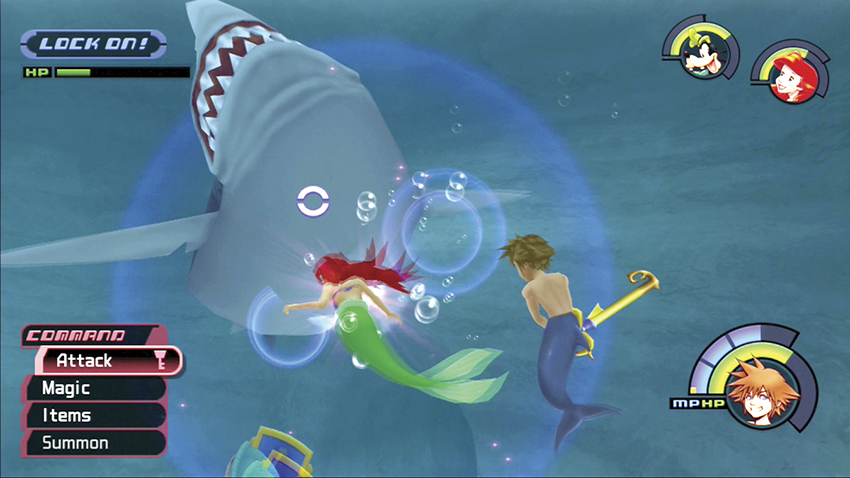
Back in the Sunken Ship area, the Shark will be patrolling again. Take care of him the same way you did before. It’s the exact same fight with the same rewards at the end.
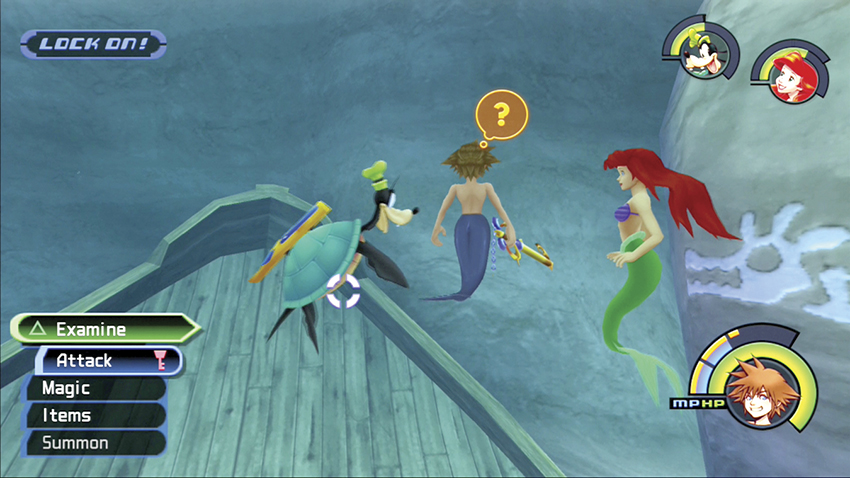
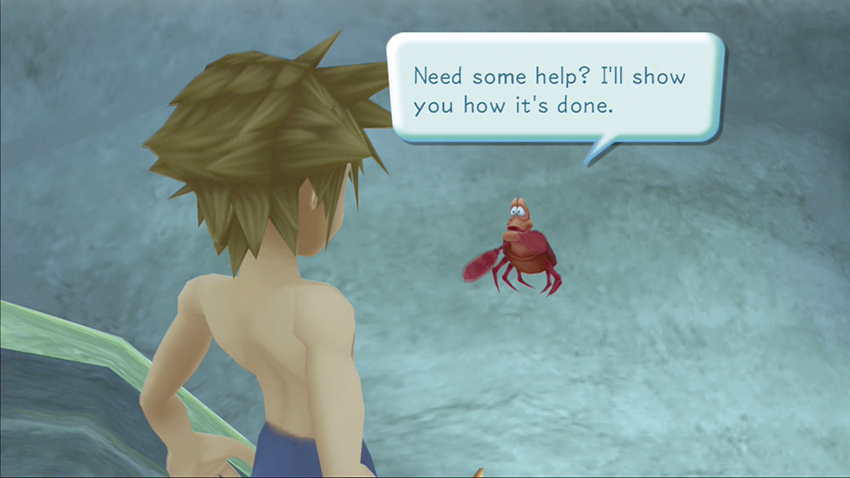
After the Shark flees again, swim toward the large rock with the blue design on it. There’s a switch you need behind an overturned boat next to the rock, but you can’t reach it. You need Sebastian’s help. Call on him and he’ll press the switch to lower the rock and open a hidden tunnel to the Den of Tides.
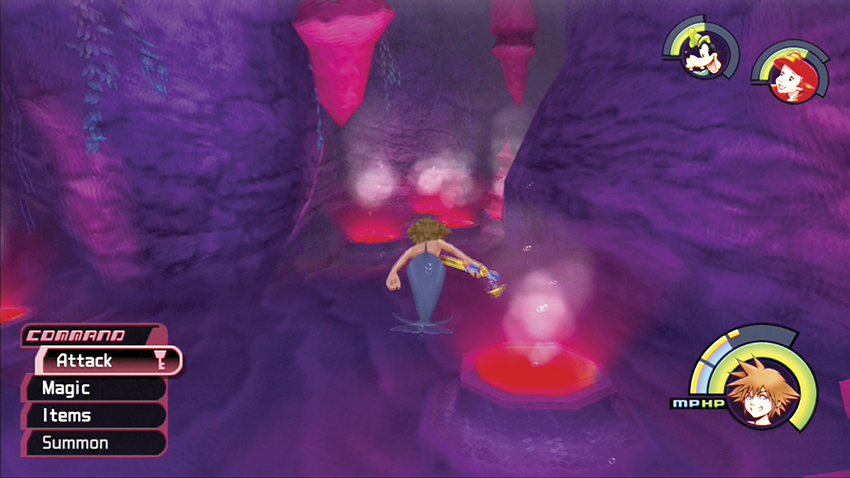
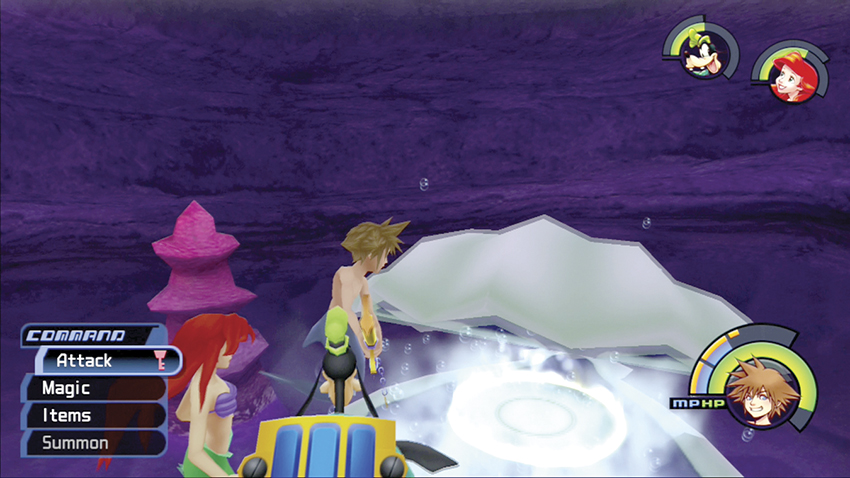
Fight through the Heartless in the Den of Tides and take the right fork. The right path leads into the Cavern Nook, where you’ll find a clam with a Mega-Ether and another save point in the second clam.
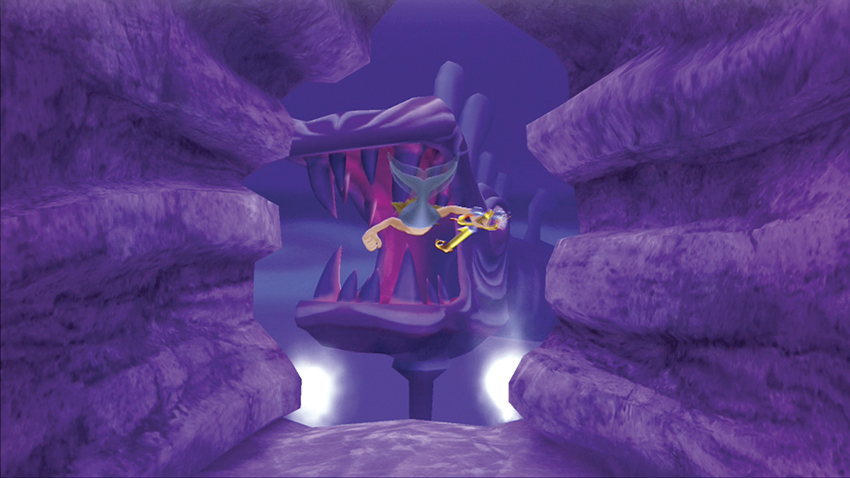
Pick your party and make sure you’re stocked up on items before departing for the first of two boss fights against Ursula. Exit the Cavern Nook and take the other path toward the Tidal Abyss.
Step 7: Ursula I
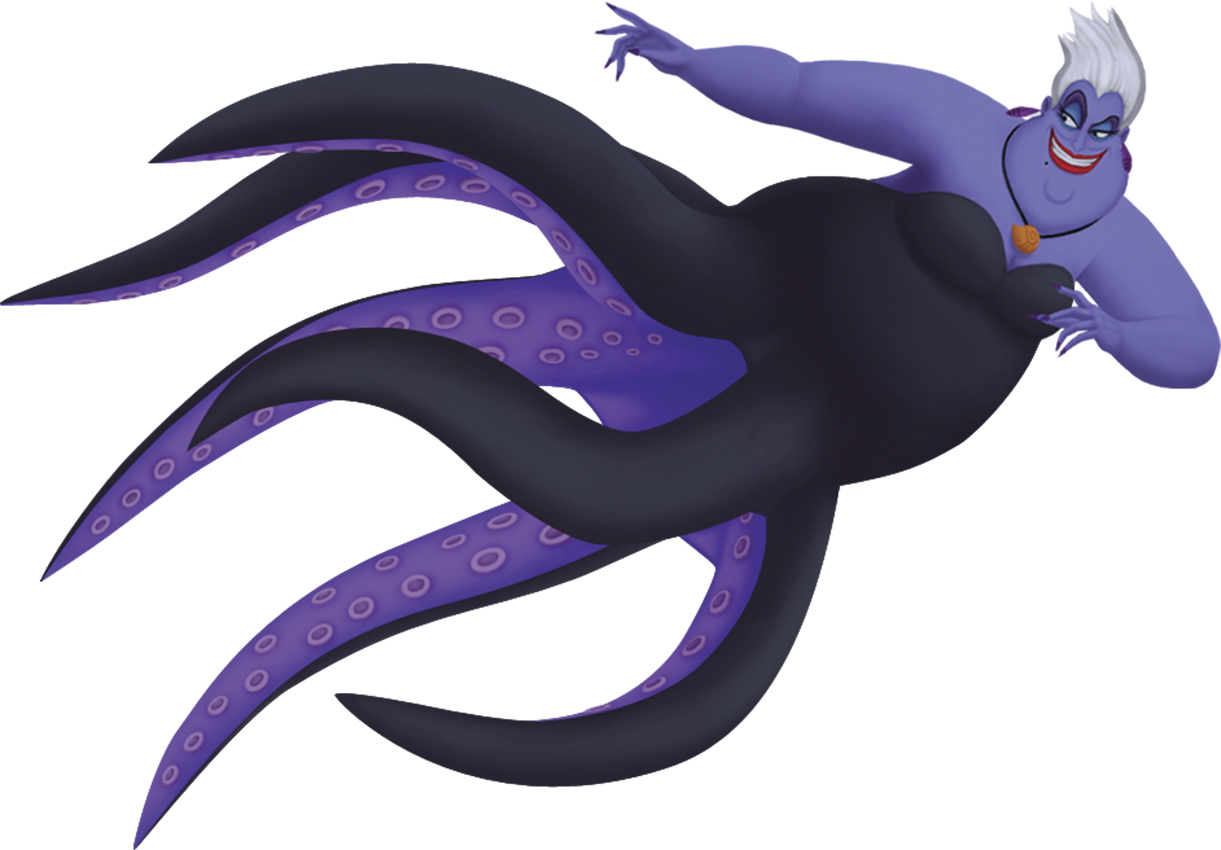
| HP | 450 |
| Strength | 22 |
| Defense | 19 |
| EXP | 1000 |
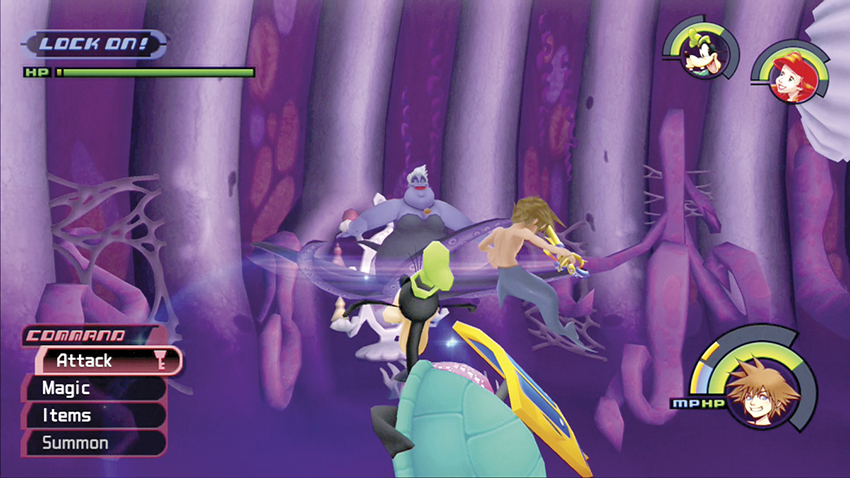
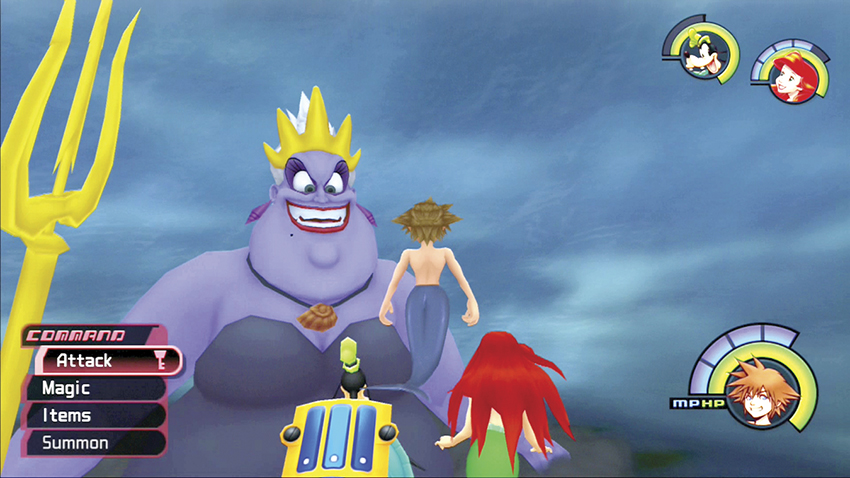
Swim into Ursula’s Lair to combat the Tentacle Queen. Ursula assaults you directly with her spinning tentacles that will knock you around the chamber if you get too close. Swim up and down to avoid them quickly, since they have a long reach and it’s hard to avoid them moving side to side.
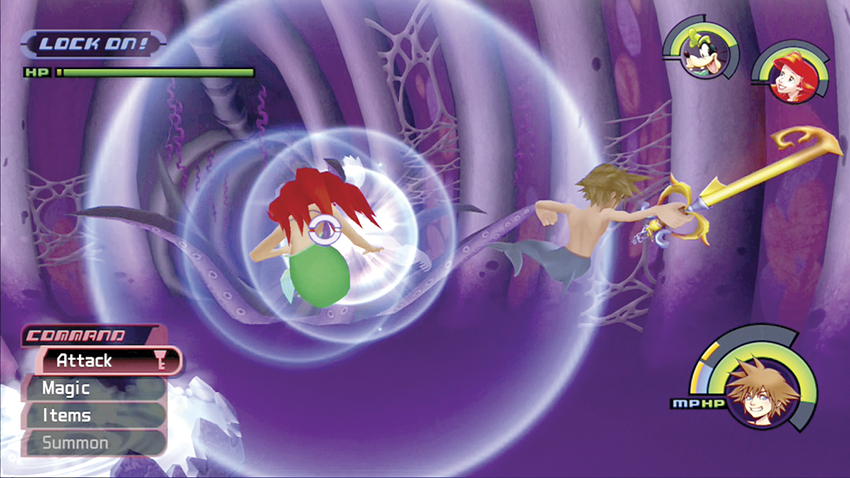
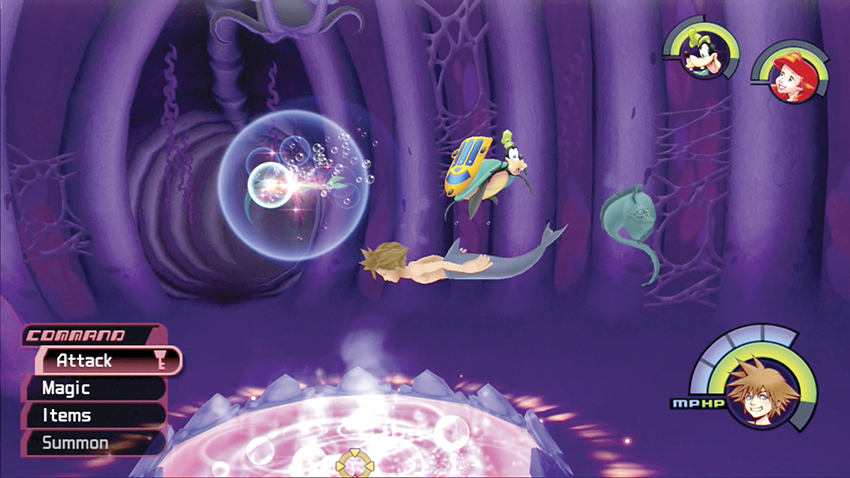
Let your companions handle Ursula as you use the clue King Triton gave you earlier to beat her: Ursula’s magic is tied into the cauldron! Avoid Flotsam and Jetsam as they nip at you and swim close enough that you can target the cauldron.
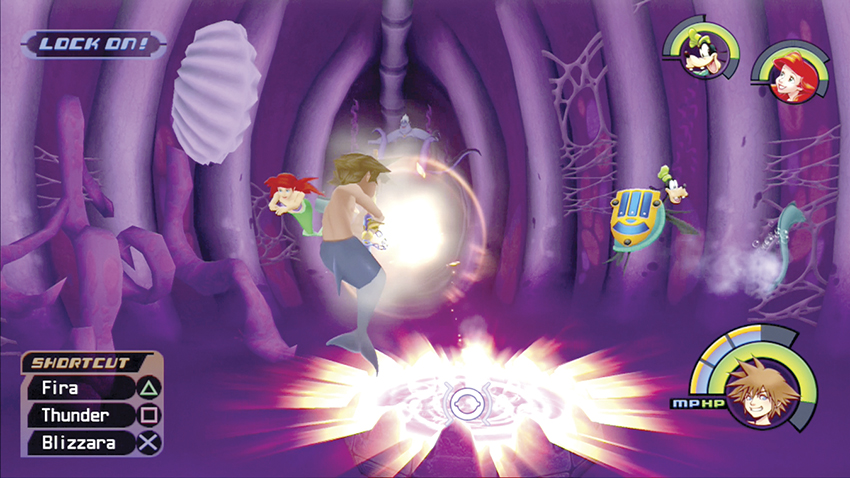
Pump enough of your own magic into the cauldron and it explodes, stunning Ursula. Any of your magic spells will work, and if you get low on MPs, drink an Ether or trounce Flotsam or Jetsam for MP charge.
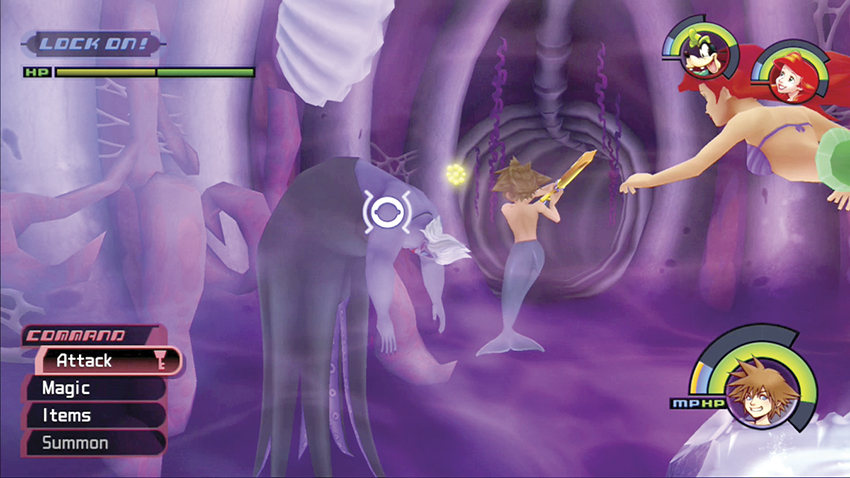
When the cauldron explodes, immediately jet over to Ursula and hit the Tentacle Queen with as many combos as you can land. She has very high defenses and she will regenerate Flotsam and Jetsam if you knock them out, but the cauldron explosions render Ursula defenseless and with enough damage you’ll force her to flee.
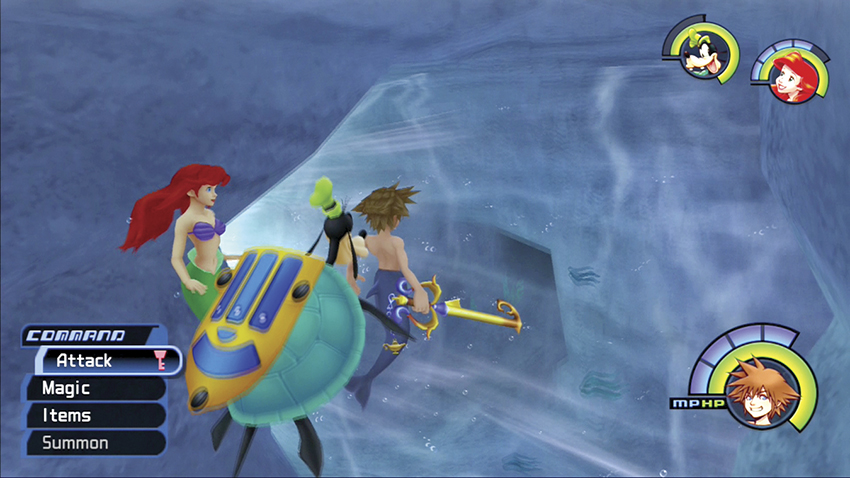
You’ll have to chase after Ursula because she still has King Triton’s trident. After the battle, you earn the shared ability Mermaid Kick. Equip it so you can swim against the current and follow Ursula to her second lair off of the Calm Depths. If you like, return to the Cavern Nook first for a quick save and restocking.
Step 8: Ursula II
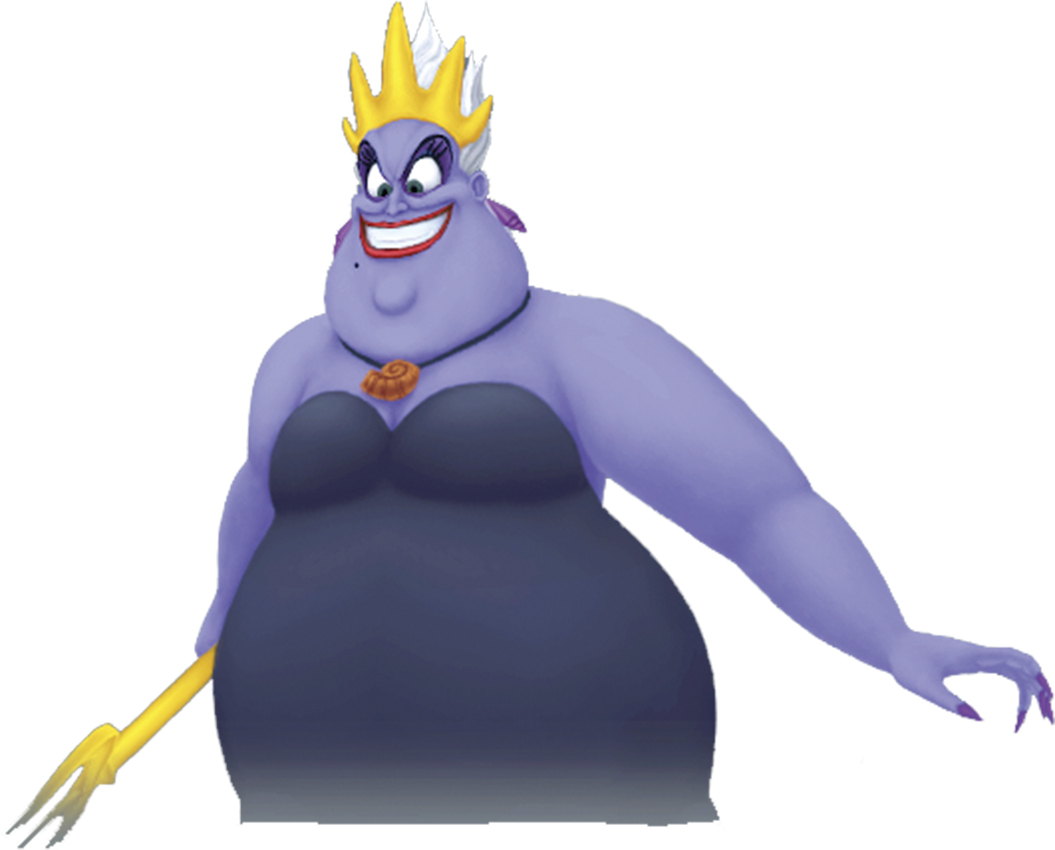
| HP | 900 |
| Strength | 22 |
| Defense | 19 |
| EXP | 1500 |
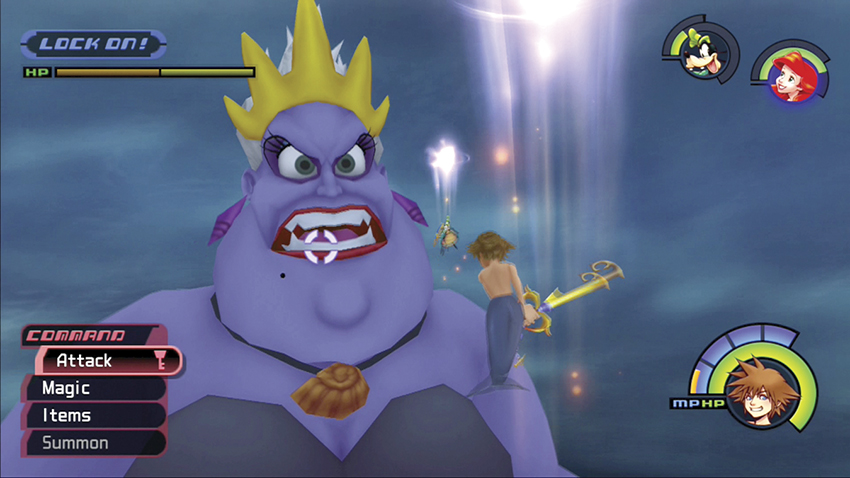
Your second battle with Ursula is quite a bit different. For starters, she’s grown huge! You don’t have to worry about her spinning tentacles, but she has a host of more powerful attacks to avoid.
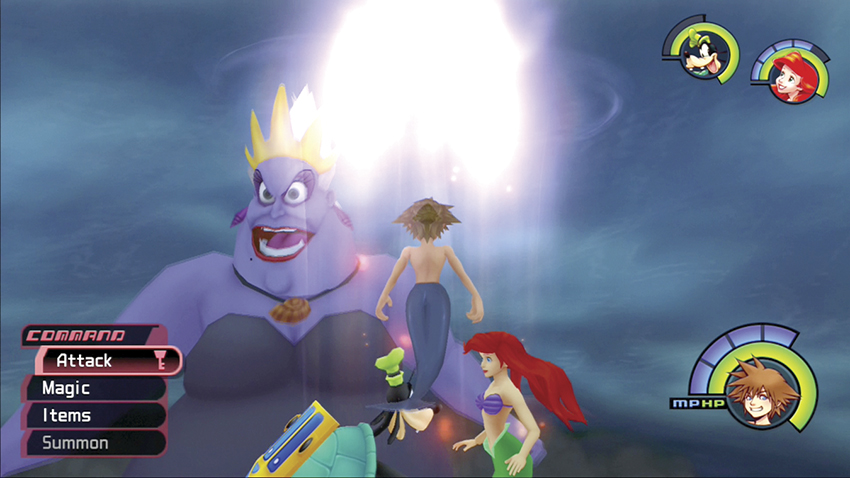
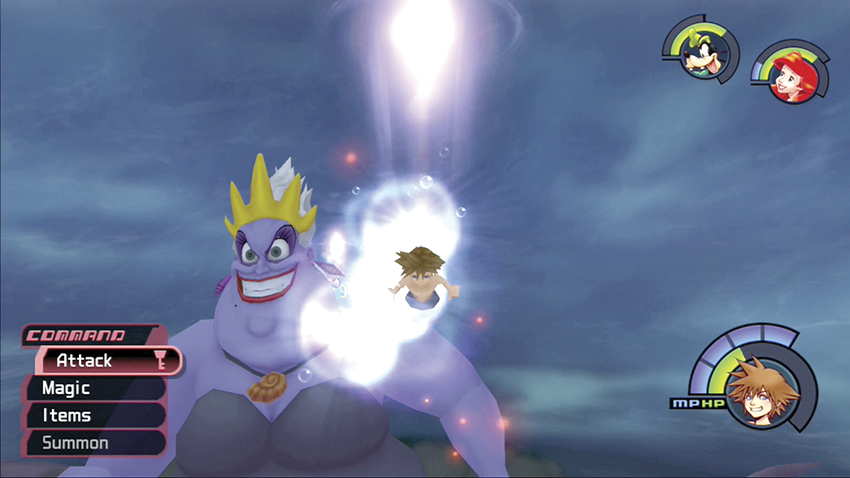
Two of Ursula’s attacks can be dodged, though all are most easily avoided by swimming away at high speeds with Mermaid Kick. When you see a white light appear overhead, jet from side to side as the damaging light seeks to track you. Ursula also spews out white energy balls that you can dodge around while you position for a counterattack.
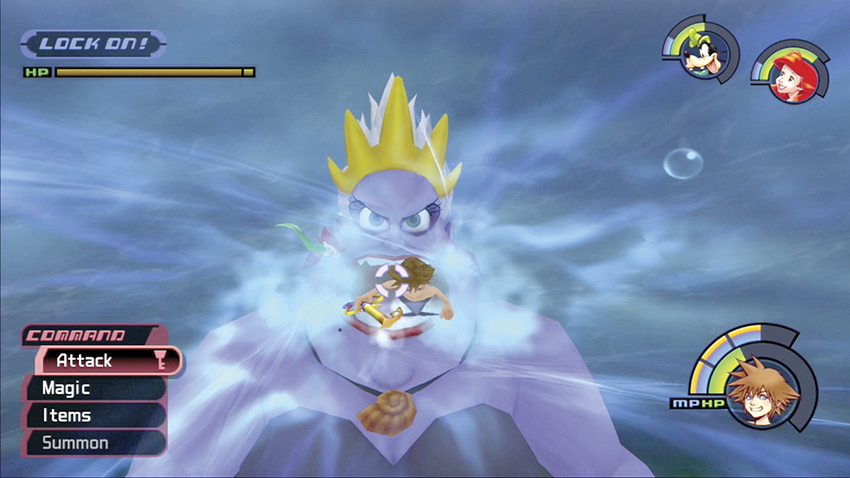
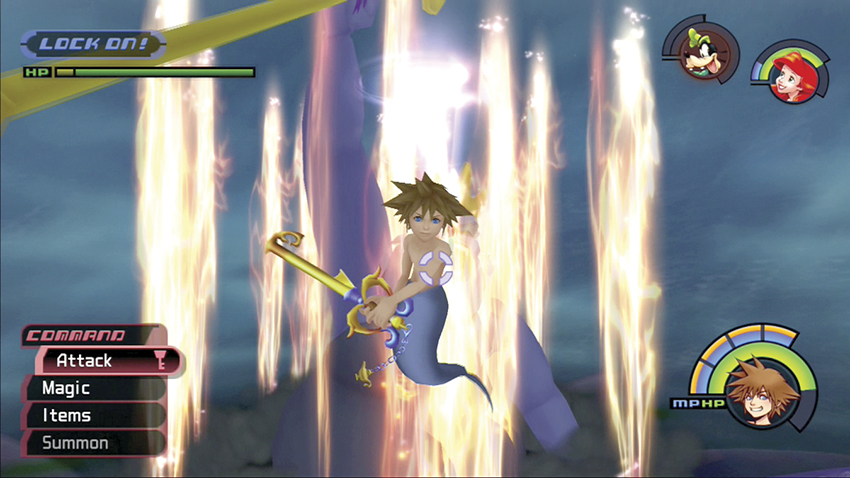
More dangerous are her other two attacks. When she opens her mouth wide and begins to suck in water, swim away immediately. If you fail to clear her mouth, she will bite down for massive damage. When Ursula raises the trident high, kick away from her quickly to avoid the curtain of fire that she conjures all around herself.
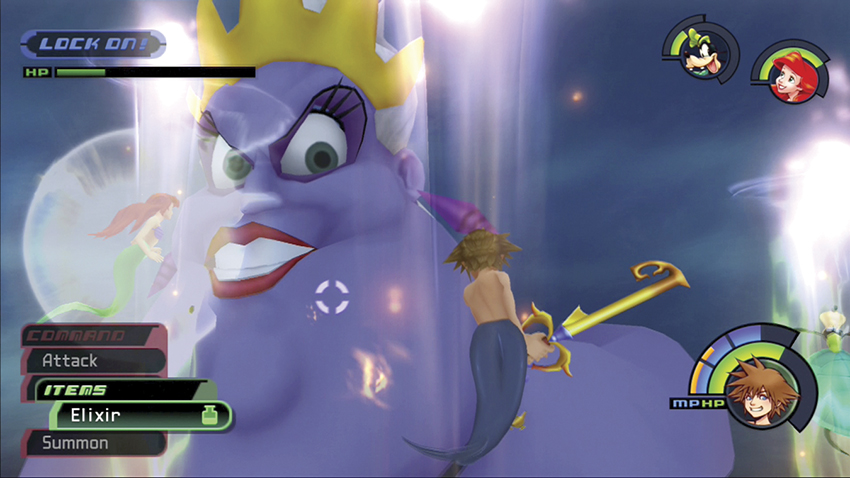
If you find yourself taking lots of damage, throw up an Aero spell on yourself. Aero will let you get in close to deal damage while taking less yourself.
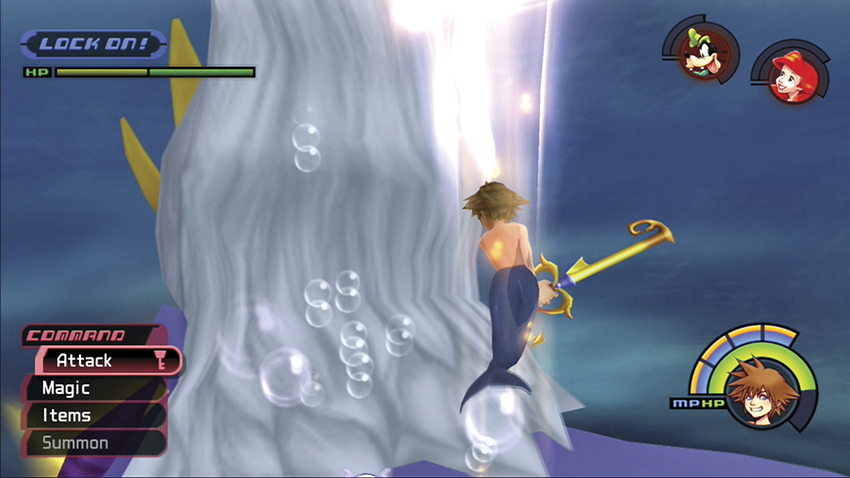
The key to defeating Ursula is to get around behind her head and whack away. She will constantly turn to face you. It’s difficult to stay behind her, but even if you connect with the sides of her face, you can slowly deal lethal damage with less risk to yourself.
Step 9: Lock Up Atlantica
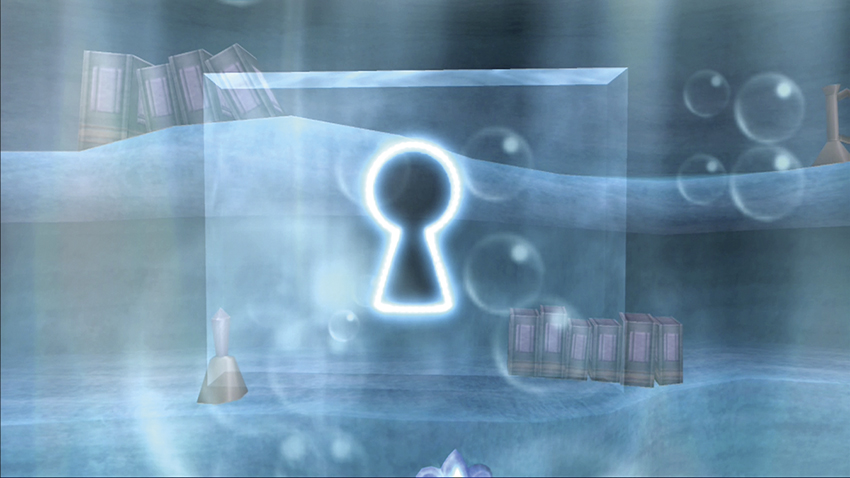
After Ursula’s fall, you return the missing trident to King Triton. You’re rewarded with the Thundara upgrade to your Thunder spell and you gain Ansem’s Report 3. Swim back to Ariel’s Grotto and seal the world’s keyhole when it appears.
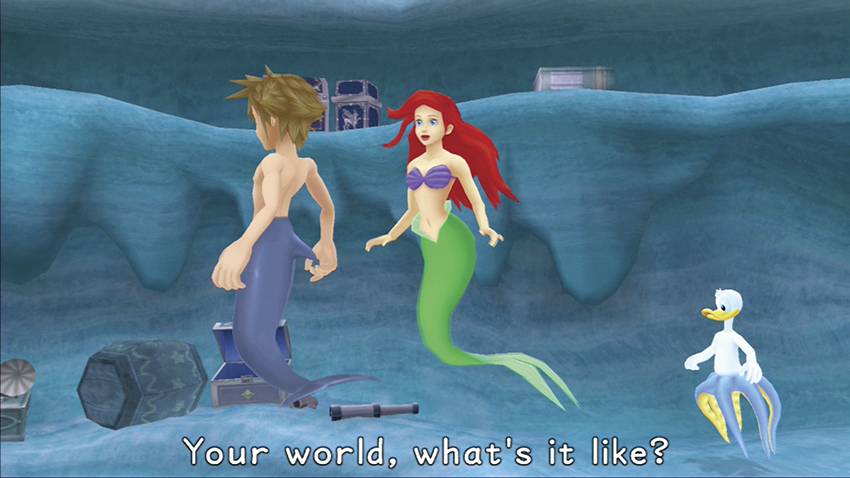
You say goodbye to Ariel; however, she has one last surprise for you. She hands you the Crabclaw key chain as a thank you. Return to Triton’s Throne and use the save point there to climb aboard your gummi ship for the next trip.