
Kingdom Hearts HD 1.5 Remix Guide KHFM: Walkthrough Traverse Town
Traverse Town
Opponents
| Name | Shadow | Soldier | Large Body | Red Nocturne | Blue Rhapsody | Yellow Opera | Green Requiem | Air Soldier |
|---|---|---|---|---|---|---|---|---|
| HP | 13 | 24 | 160 | 24 | 24 | 24 | 15 | 33 |
| Name | Search Ghost | Darkball | Defender | Wyvern | Wizard | White Mushroom | Leon | Guard Armor | Opposite Armor |
|---|---|---|---|---|---|---|---|---|---|
| HP | 45 | 60 | 240 | 135 | 75 | - | 120 | 700 | 900 |
Items
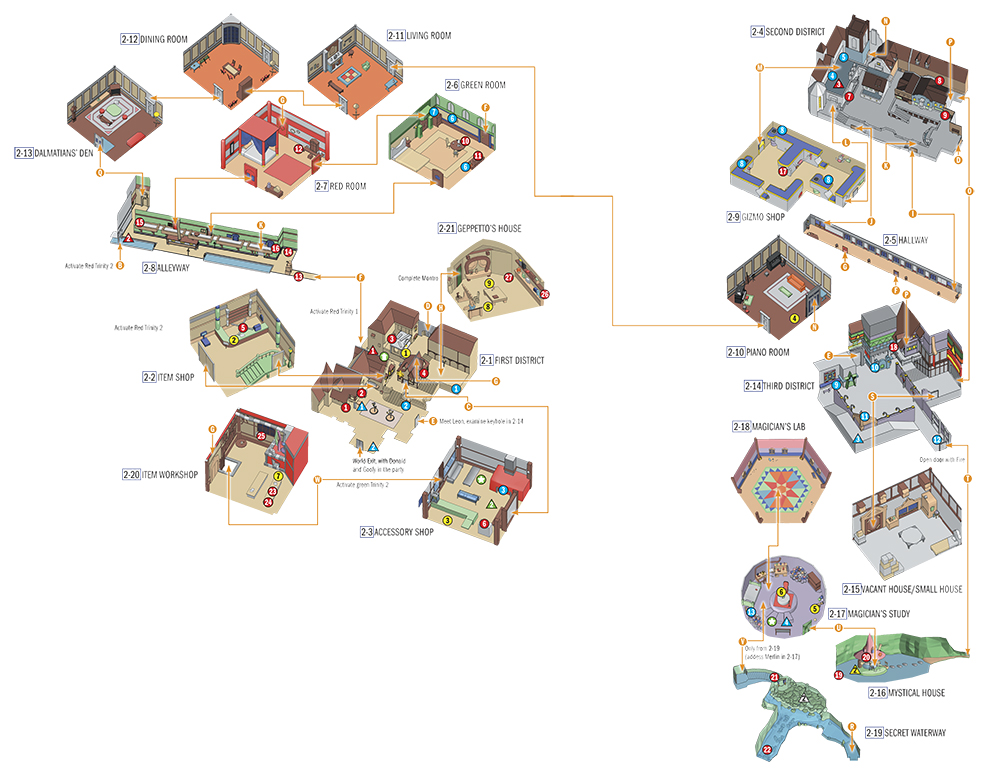
| No. | Item | Location | Condition |
|---|---|---|---|

|
Defense Up | 2-1 | Use Blizzard to extinguish all the candles |

|
Postcard | 2-1 | Activate blue Trinity 1 |

|
Postcard | 2-1 | Open the safe after meeting Leon |

|
Postcard | 2-1 | Climb onto the roof using crates |

|
Postcard | 2-2 | Hit ceiling fan |

|
Mythril Shard | 2-3 | - |

|
Mega-Potion | 2-4 | Jump off roof or from the stone lamp |

|
Mythril Shard | 2-4 | Meet Donald and Goofy |

|
Postcard | 2-4 | Jump off the wall |

|
Elixir | 2-6 | Address Leon or Yuffie |

|
Mythril | 2-6 | Set clock |

|
Pretty Stone | 2-7 | - |

|
Dalmatians 4, 5, 6 | 2-8 | Activate red Trinity 1 |

|
Potion | 2-8 | - |

|
Potion | 2-8 | - |

|
Pretty Stone | 2-8 | - |

|
Postcard x2 | 2-9 | Activate clock |

|
Postcard | 2-14 | Climb roofs in 2-4 and look in the corner |

|
Dalmatians 1, 2, 3 | 2-16 | Use Mermaid Kick or Glide |

|
Power Up | 2-16 | Activate yellow Trinity 2 |

|
Dalmatians 10, 11, 12 | 2-19 | - |

|
Navi-Gummi | 2-19 | Complete Hollow Bastion |

|
Dalmatians 7, 8, 9 | 2-20 | - |

|
Mythril Shard | 2-20 | - |

|
Postcard | 2-20 | Examine poster |

|
Postcard | 2-21 | Examine bowl |

|
Wishing Star | 2-21 | - |
Characters
| No. | Character | Location | Purpose |
|---|---|---|---|

|
Cid | 2-1 | Runs Gummi Shop (after Deep Jungle) |

|
Huey, Dewey & Louie | 2-2 | Run Item Shop, also sell weapons |

|
Cid / Salesperson | 2-3 | Runs Accessory Shop |

|
Pongo & Perdita | 2-10 | Reward the return of Dalmatian puppies |

|
Fairy Godmother | 2-17 | Bestows summon spells |

|
Merlin | 2-17 | Offers training in magic |

|
Moogles | 2-20 | Run Item Workshop |

|
Geppetto | 2-21 | Rewards fighters with model gummi ship blueprints |

|
Pinocchio | 2-21 | Gives frequent visitors a blueprint |
Special Objects
| No. | Prop | Location | Purpose |
|---|---|---|---|

|
Crates | 2-1 | Steps to item no. 4 |

|
Mailbox | 2-1 | Mail Postcards (total of 10) |

|
Fireplace | 2-3 | Light with Fire: chimney emits smoke |

|
Bell Rope | 2-4 | Express Keyhole |

|
Ladder | 2-4 | Can only be used once Donald and Goofy have teamed up with Sora |

|
Pictures | 2-6 | Give hints on time (see item no. 11) |

|
Clock | 2-6 | Hit cogwheel to make item no. 11 appear |

|
Switch | 2-9 | Activates clock (see item no. 17), condition: see cable |

|
Cable | 2-14 | Use Thunder on it to activate switches in Gizmo Shop |

|
Keyhole | 2-14 | Opens gates to First District (2-1) after first encounter with Leon |

|
Statue | 2-14 | Tribute to Lady and the Tramp |

|
Door | 2-14 | Open with Fire |

|
Old Book | 2-16 | Access to Hundred Acre Wood |
Trinities
| Trinity | Location | Purpose |
|---|---|---|

|
2-1 | Teleports to Postcard (item no. 13) |

|
2-1 | Munny |

|
2-14 | Camping Set, munny |

|
2-17 | Mega-Ether, munny |

|
2-1 | Opens passage to Alleyway (2-8) |

|
2-8 | Opens passage to Secret Waterway (2-19) |

|
2-4 | Opens recess with bell rope |

|
2-3 | Opens passage to Item Workshop |

|
2-16 | Power Up (item no. 24) is accessible |

|
2-19 | Orichalcum |
Objectives
1. Meet Cid in the Accessory Shop
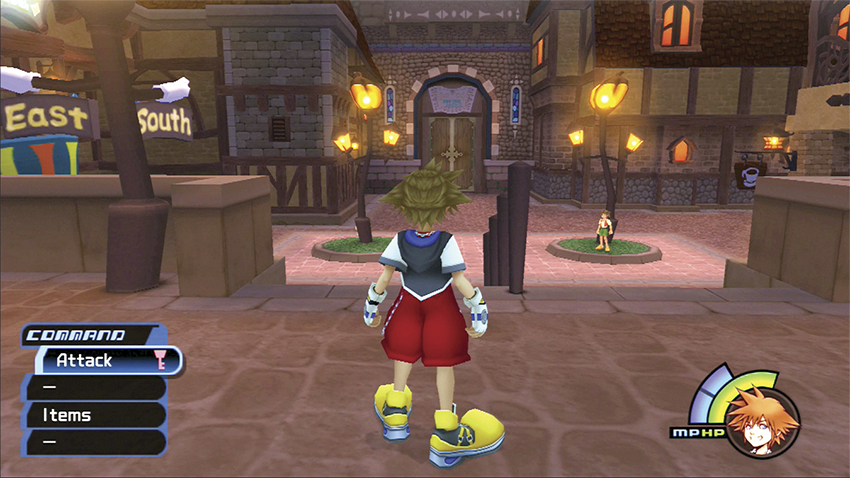
2. Explore the first two districts
3. Return to the Accessory Shop and battle Leon
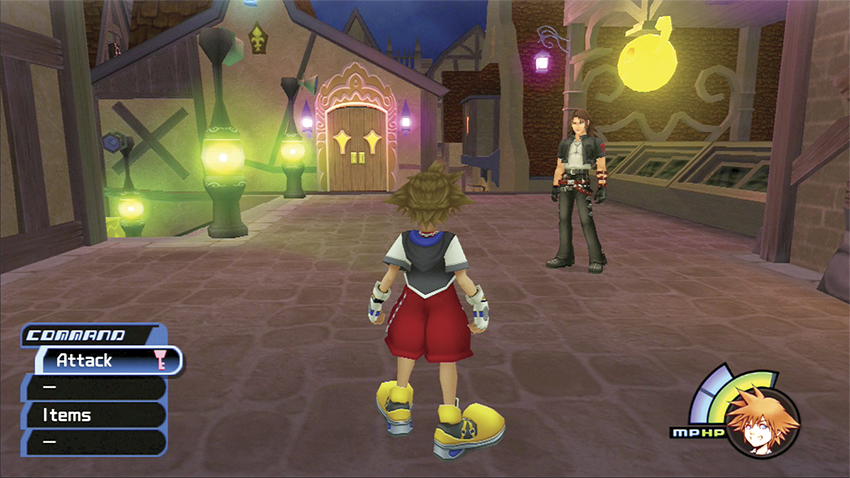
4. Team up with Leon, Yuffie, and Aerith
5. Join forces with Donald and Goofy in the Third District
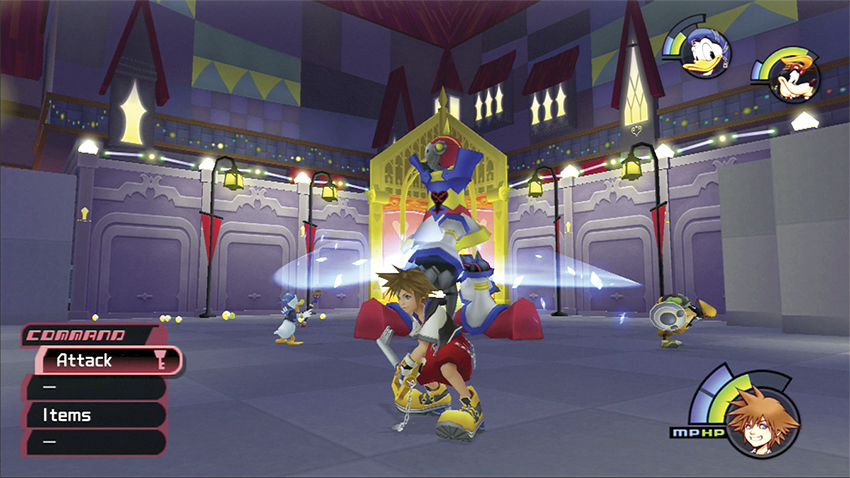
6. Dismantle the Guard Armor
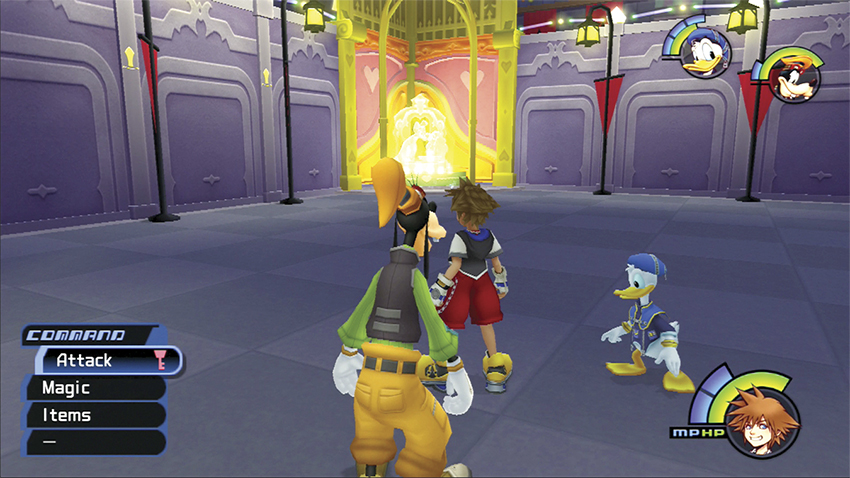
7. Gain more rewards from the town
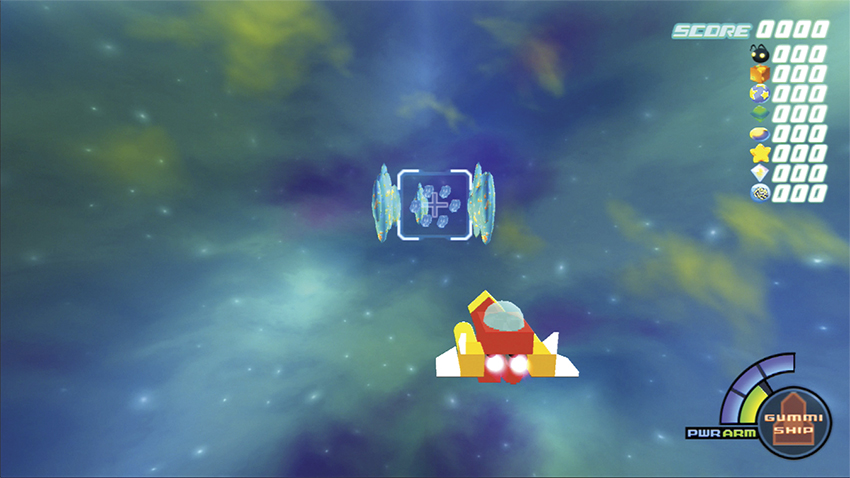
8. Fly the gummi ship
Step 1: Meet Cid
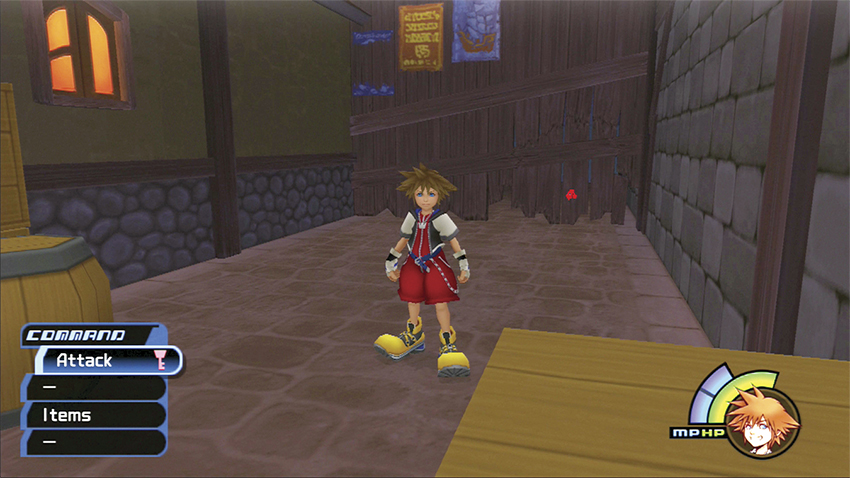
You awake in an alley inside Traverse Town’s First District—licked awake, by the way, by none other than Donald’s and Goofy’s faithful hound, Pluto. Unfortunately, he scampers off before you can identify your future allies—that will have to wait until later in the Third District. For now, ignore the red Trinity Mark at the back of the alley (which you open later) and head out into the town square area.
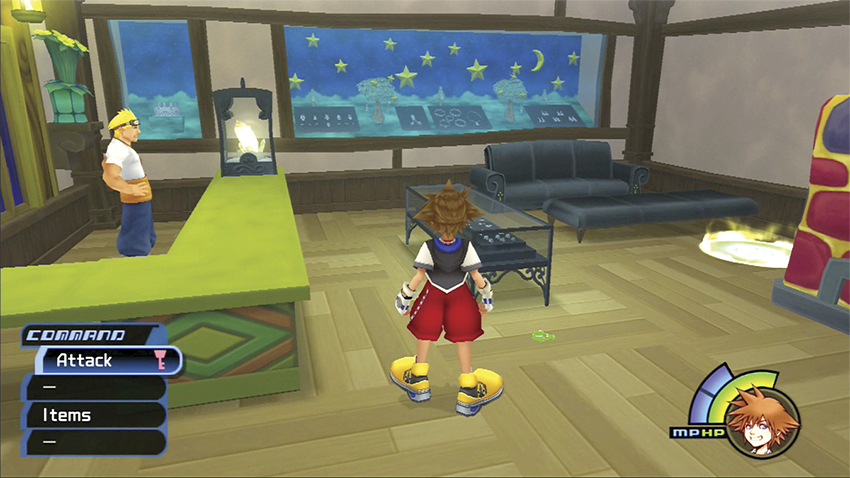
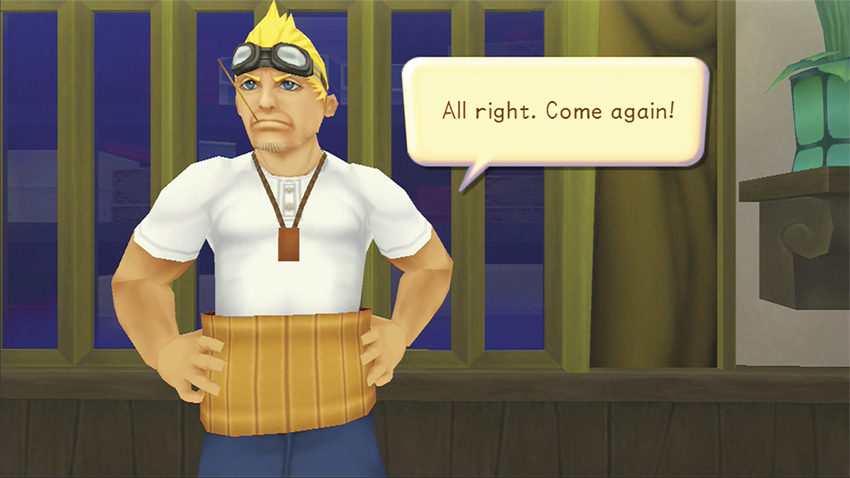
There are several patrons around the square, and you can talk to them to learn more about Traverse Town. However, the person you really have to talk to is Cid, and he’s located in the Accessory Shop around the corner from the starting alley. Enter the shop, use the save point in the corner, and then speak with Cid behind the counter. He encourages you to search Traverse Town for your missing friends. You can also buy beneficial equipment from the Accessory Shop.
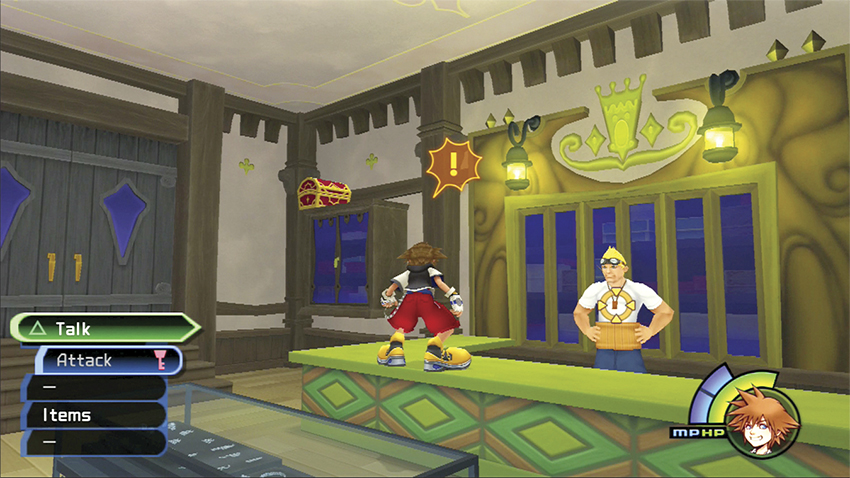
Now jump up on the counter in front of Cid and turn toward the corner to your left. A red chest rests on a cabinet high up. Make the leap to the cabinet and open the chest for a Mythril Shard.
Initial Offerings
| Item | Price |
|---|---|
| Protect Chain | 300 |
| Fire Ring | 450 |
| Blizzard Ring | 450 |
| Thunder Ring | 450 |
| Ability Stud | 600 |
| Obsidian Ring | 1000 |
After Agrabah
| Item | Price |
|---|---|
| Protera Chain | 800 |
| Fira Ring | 1200 |
| Blizzara Ring | 1200 |
| Thundara Ring | 1200 |
| Chaos Ring | 1800 |
After Rescuing Kairi
| Item | Price |
|---|---|
| Element Ring | 4800 |
| Protega Chain | 2800 |
| Firaga Ring | 4000 |
| Blizzaga Ring | 4000 |
| Thundaga Ring | 4000 |
| Firagun Band | 8000 |
| Blizzagun Band | 8000 |
| Thundagun Band | 8000 |
Cid

Engineer and pilot Cid owns the Accessory Shop in Traverse Town. His true passion, though, is gummi ships, and as your adventures continue, you’ll rely on Cid’s gummi connections to outfit your ships. Cid originally appeared in Final Fantasy VII.
Step 2: Explore the First Two Districts
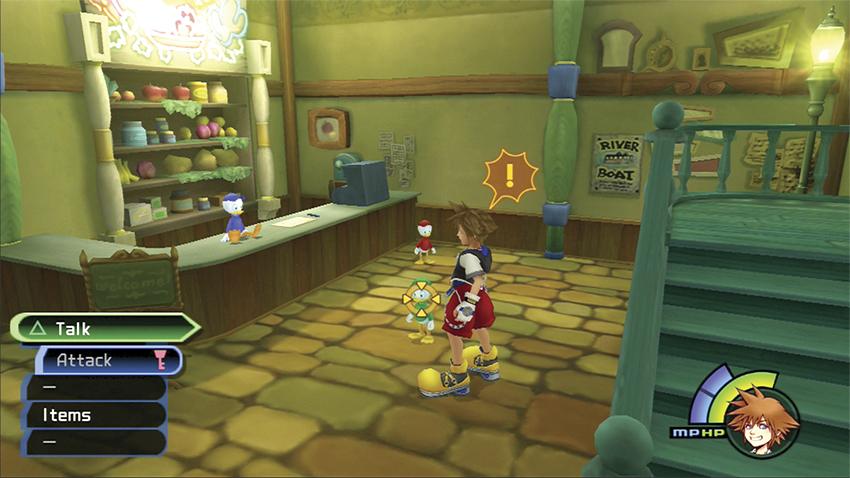
Leave the Accessory Shop and when you exit out to face the town square, turn right and walk across to Huey, Dewey, and Louie’s Item Shop. You may not have munny to spend at this point, but you’ll be back often to stock up on Potions, Hi-Potions, and Ethers.
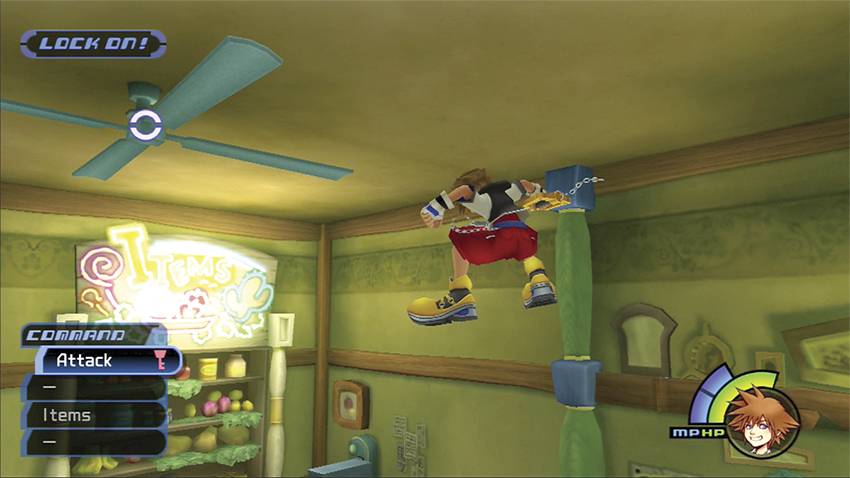
All is not lost, though. Lock on to the ceiling fan, leap off the stairs toward the counter, and swing your Keyblade to connect with the fan on your way down. Strike it true and you’ll release your first Postcard. Mail postcards in the town square at the mailbox for helpful rewards.
Initial Offerings
| Item | Price |
|---|---|
| Potion | 60 |
| Hi-Potion | 150 |
| Ether | 200 |
| Tent | 250 |
After Donald and Goofy in party
| Item | Price |
|---|---|
| Morning Star | 300 |
| Warhammer | 450 |
| Smasher | 450 |
| Stout Shield | 450 |
After Agrabah
| Item | Price |
|---|---|
| Camping Set | 500 |
| Orichalcum | 5000 |
| Shooting Star | 800 |
| Magus Staff | 1200 |
| Silver Mallet | 1200 |
| Gigas Fist | 1200 |
| Mythril Shield | 800 |
| Golem Shield | 1200 |
After rescuing Kairi
| Item | Price |
|---|---|
| Wisdom Staff | 4000 |
| Grand Mallet | 4000 |
| Onyx Shield | 2800 |
| Adamant Shield | 4000 |
Huey, Dewey, and Louie



Donald Duck’s three nephews have stayed out of mischief long enough to open up a shop. Huey (wearing red) acts the leader, Dewey (wearing green) manages the details of the shop, and Louie (wearing blue) sells and buys items at the counter.
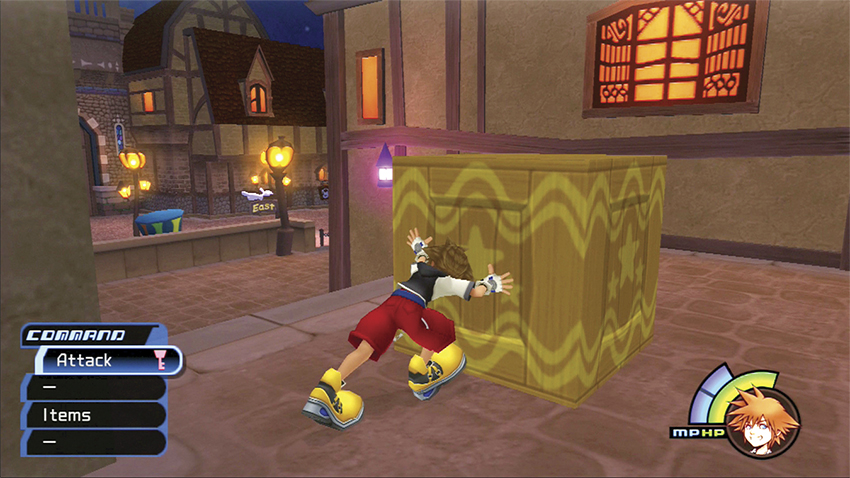
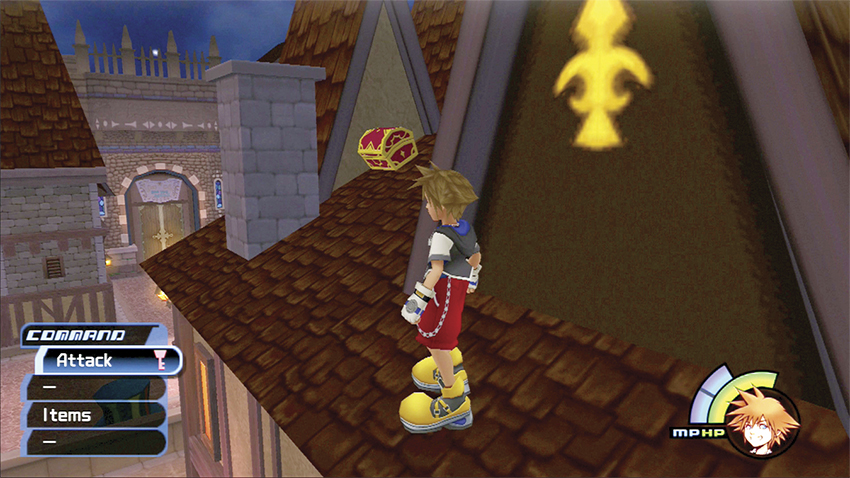
Exit the Item Shop after obtaining the postcard and run around the Accessory Shop corner. Head up the stairs and turn right. Position yourself behind the large crate and push it across the courtyard until it rests against the Accessory Shop’s outer wall. Use the crate to jump up to the roof and open the nearby chest for a second Postcard.
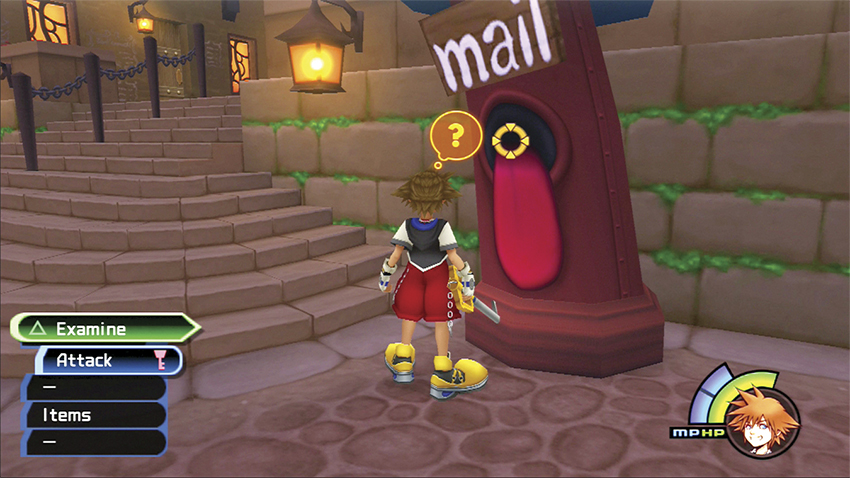
Now that you have two Postcards, return to the town square and examine the mailbox. Each time you send a Postcard, you receive a nice reward for your kind action. It doesn’t matter what order you find the Postcards in; you will receive your rewards in the same order. Before you leave Traverse Town and head off in your gummi ship for the first time, you will be able to collect 6 of the 10 Postcards.
Postcard Rewards
| Item | Price |
|---|---|
| 1st | Cottage |
| 2nd | Mythril Shard |
| 3rd | Mega-Potion |
| 4th | Mega-Ether |
| 5th | Mythril |
| 6th | Elixir |
| 7th | Megalixir |
| 8th | Orichalcum |
| 9th | Defense Up |
| 10th | Power Up |
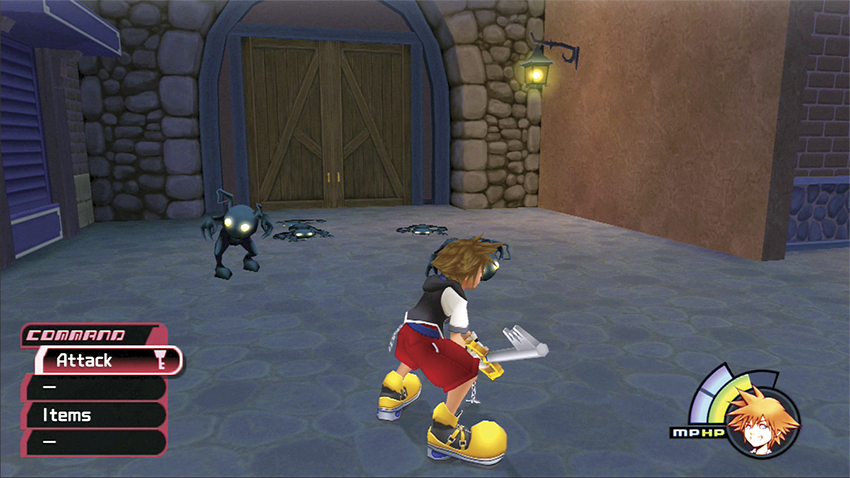
Set off for the Second District. You can find its double doors up the stairs behind the Accessory Shop building. As you enter the new district, Shadows attack. These opponents are slightly tougher than the ones you fought on Destiny Islands, but they offer something substantial the previous Shadows did not—munny! Heartless now drop munny when destroyed, so you can gather wealth by hunting Heartless after Heartless.
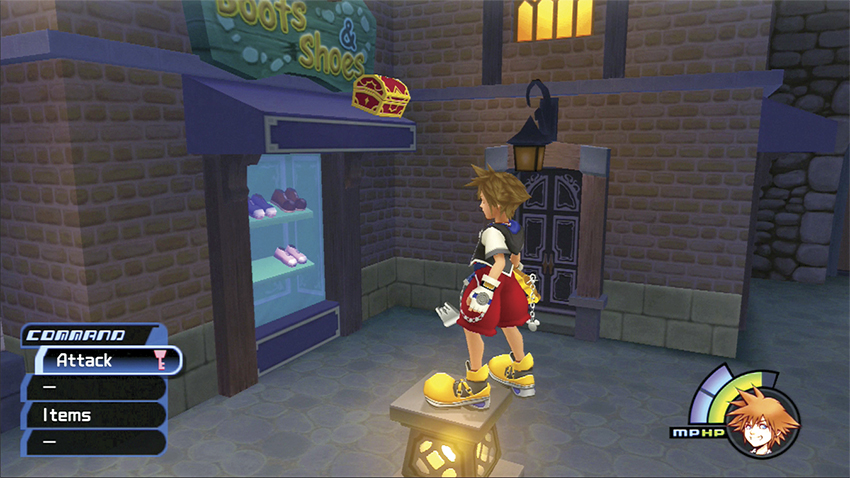
Once you’ve dispatched the Shadows in your way, look for a chest on the awning above the Boots & Shoes window. Jump atop the corner lantern in front of the window, then leap across the street to grasp the awning and flip up to the chest. Your acrobatics earn you the third Postcard.
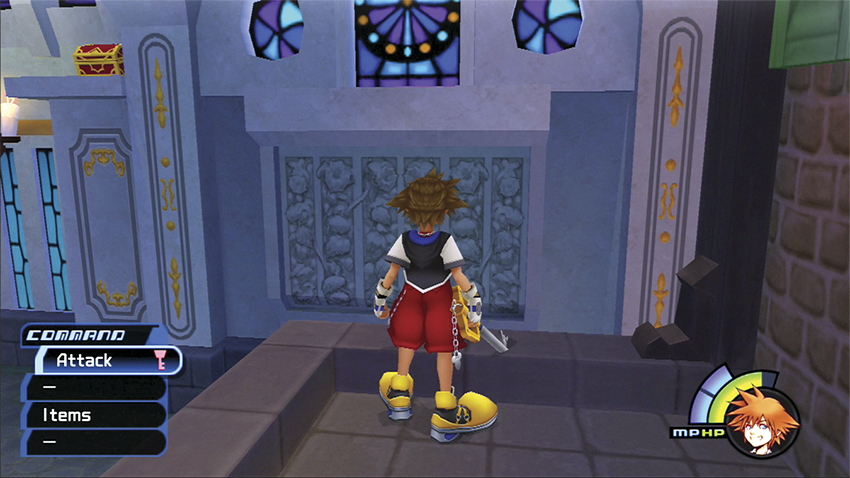
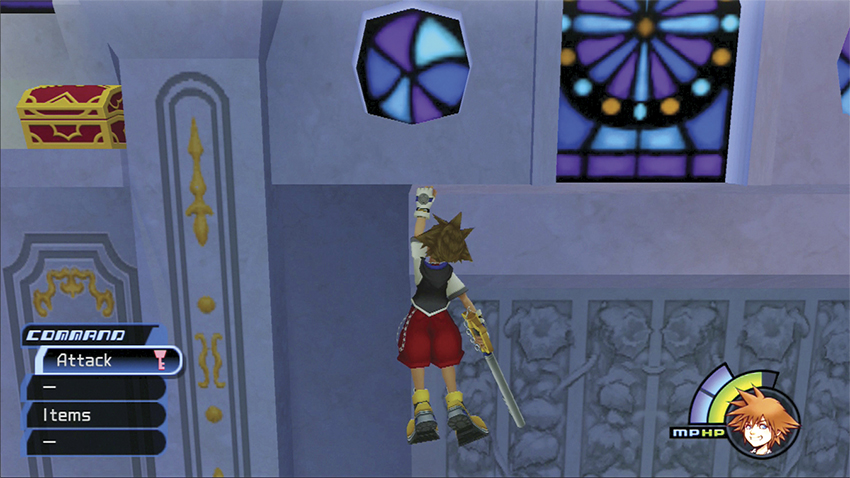
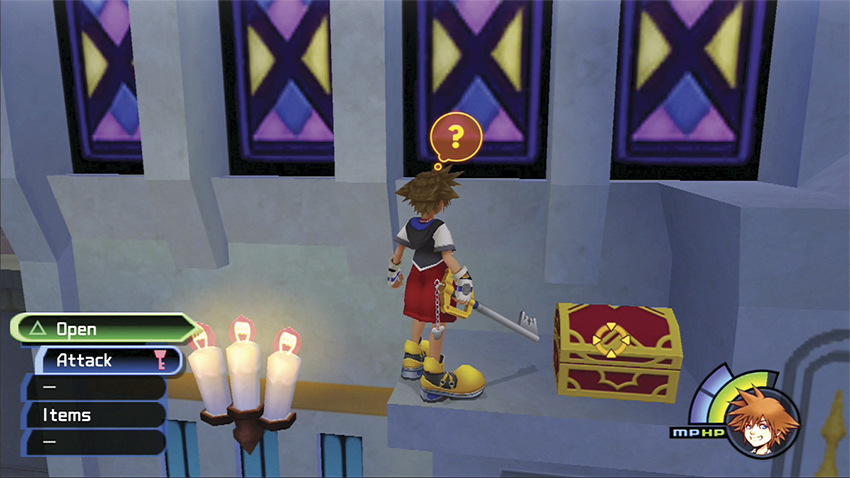
There’s another chest on the far side of the Second District courtyard. Stand on the ledge in front of Gizmo Shop’s stained-glass windows. Jump from this ledge to the ledge under the stained glass. Flip up to this second ledge, then hop across to the small ledge on your left. The red chest opens to reveal a Mega-Potion.
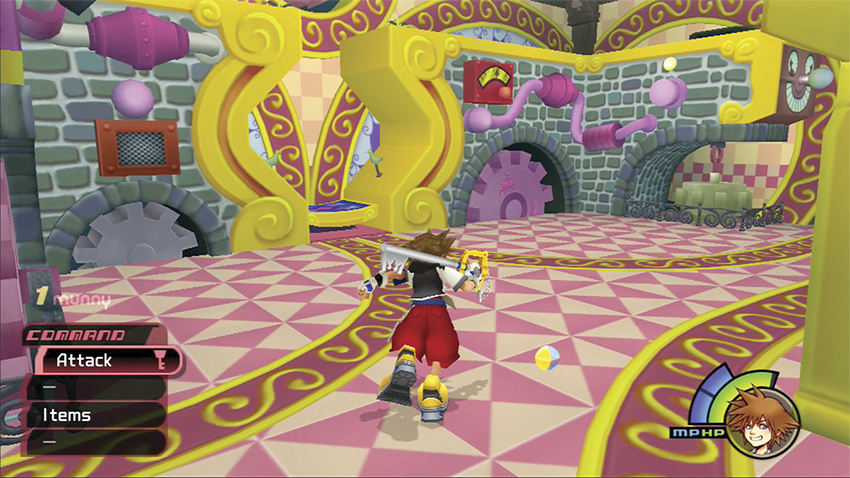
Feel free to enter the Gizmo Shop or the Hotel for more enemy battles. The more opponents you wipe out, the wealthier you’ll become, and the more you can stock up on equipment upgrades and items before you leave Traverse Town. As you enter one of these buildings, notice that Donald and Goofy are looking for a fellow named Leon. Eventually, all your paths will cross.
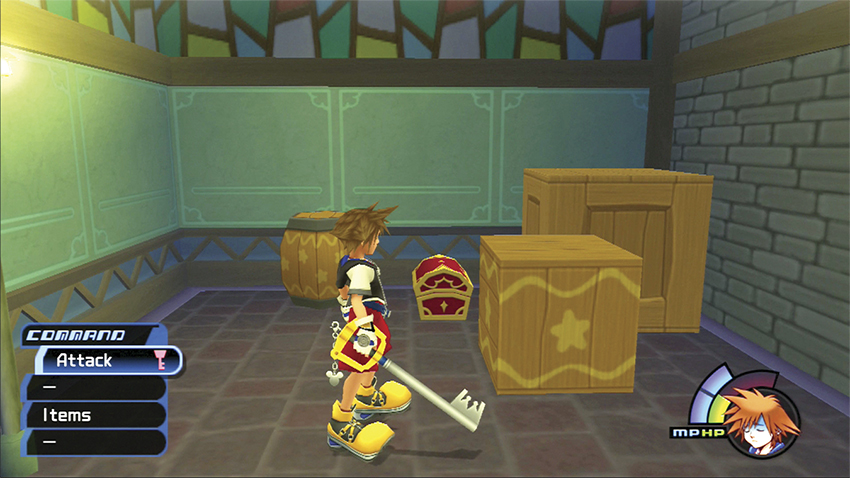
More treasure awaits in the Alleyway, which you can find by entering the double doors in the lower section of the Second District courtyard, immediately under the Hotel’s neon sign. Turn the corner in the alley and search for a chest behind the pile of crates. Find it and you gain a Potion.
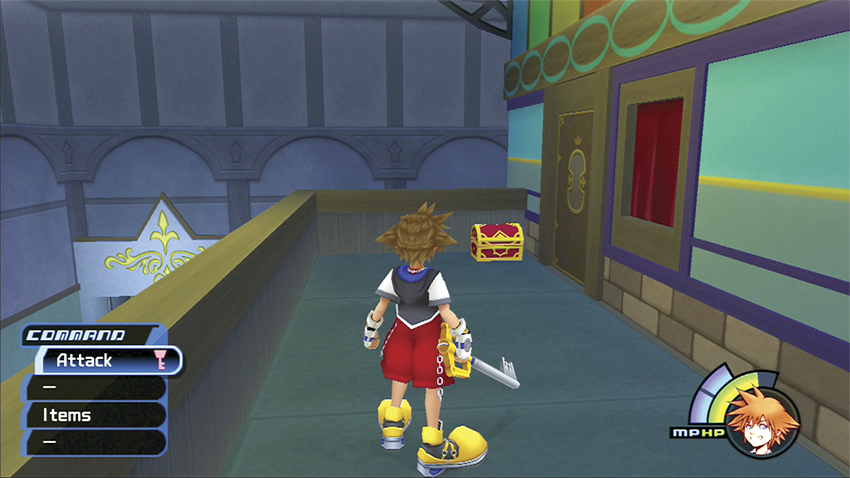
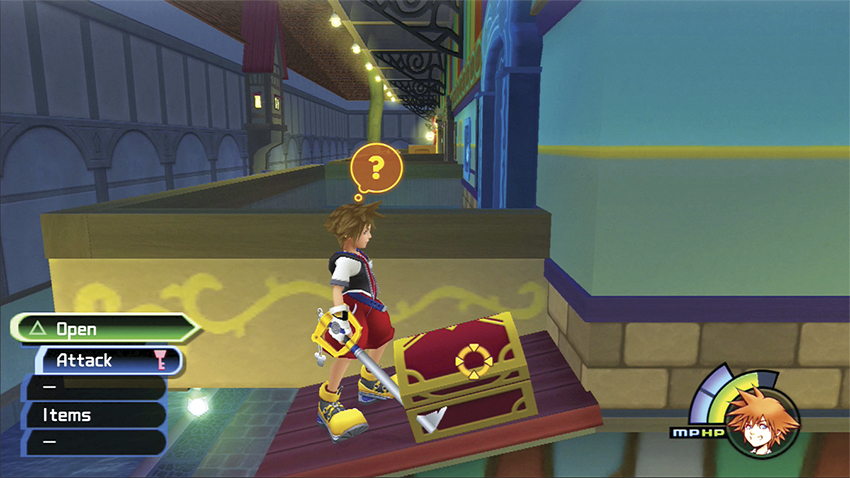
Continue battling Shadows and make your way to the low-hanging roof toward the far side of the Alleyway. Use this roof to gain access to a series of balconies outside the Hotel. Jump to the far-left balcony for a Potion and head to the far right for a chest with a Pretty Stone. This chest can be difficult to see unless you hop up on the balcony ledge and drop down onto the small roof below.
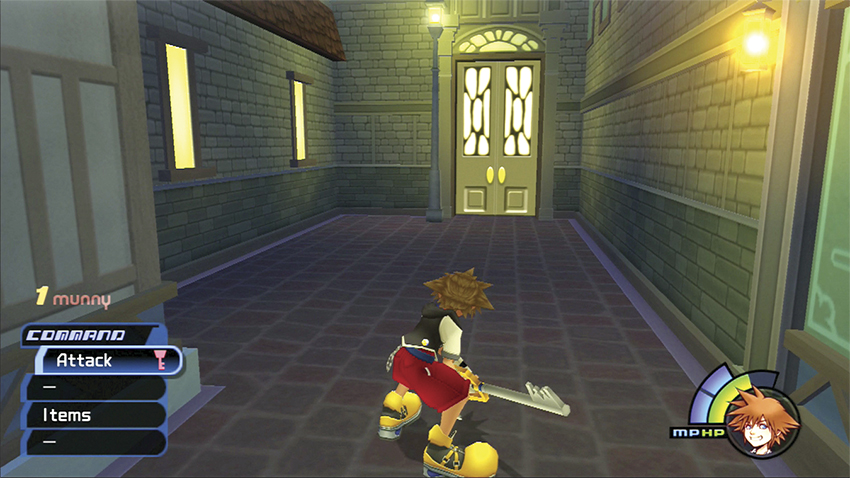
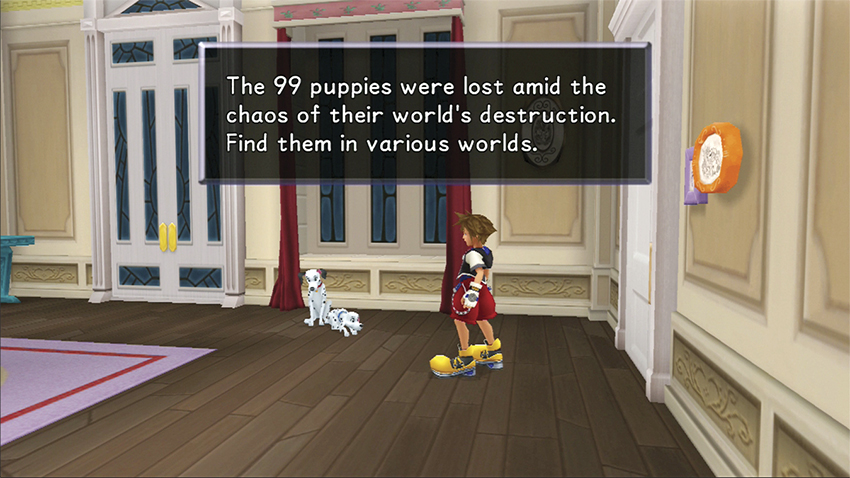
Continue down the Alleyway to the tall, lit doors at the end. Pass through the empty Dalmatians’ Den, Dining Room, and Living Room inside the Dalmatians’ House until you reach Perdita and Pongo in the Piano Room. They are upset that their 99 pups are missing, and if you rescue the puppies from their hiding places across the various worlds and return here, mama and papa will reward you with useful items. For a list of all the Dalmatian locations, see the “Dalmatians” chapter later in the guide. Head back to the First District and mail your new Postcard when you reach the town square.
DALMATIAN REWARDS
| Number of Puppies | Rewards |
|---|---|
| 12 | Curaga-G |
| 21 | Firaga-G |
| 30 | Thundara-G |
| 42 | Mythril Shard |
| 51 | Torn Page, Mythril |
| 60 | Megalixir |
| 72 | Orichalcum |
| 81 | Ultima-G |
| 90 | Ribbon |
| 99 | Full gummi set, Aero spell upgrade |
Step 3: Leon
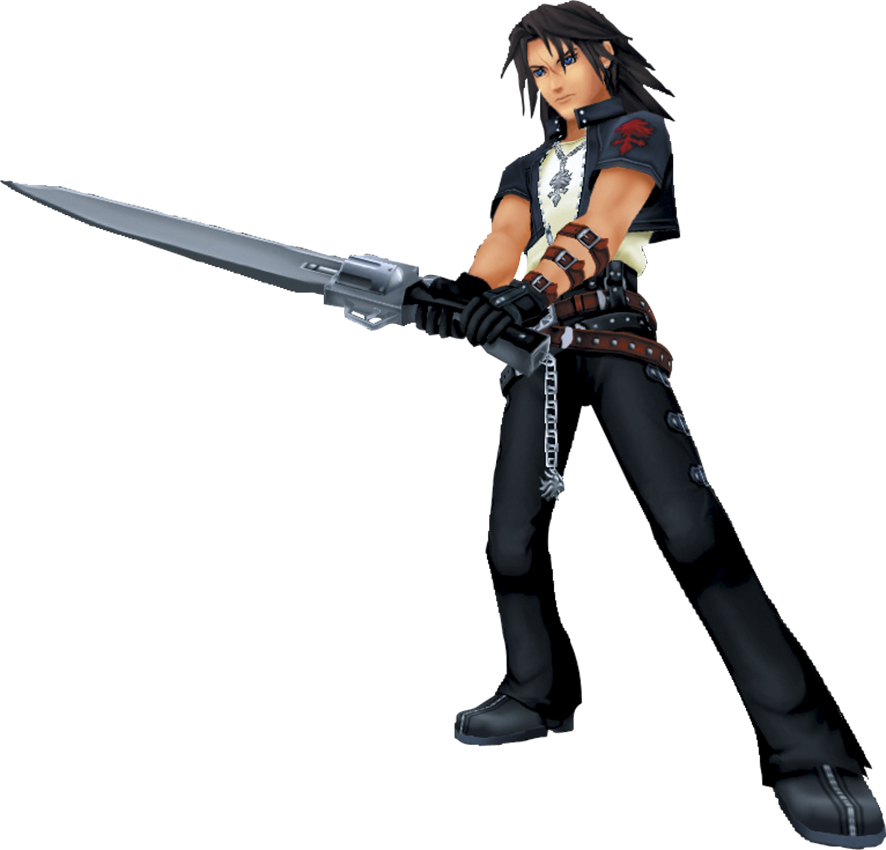
| HP | 120 |
|---|---|
| Strength | 8 |
| Defense | 8 |
| EXP | 30 |
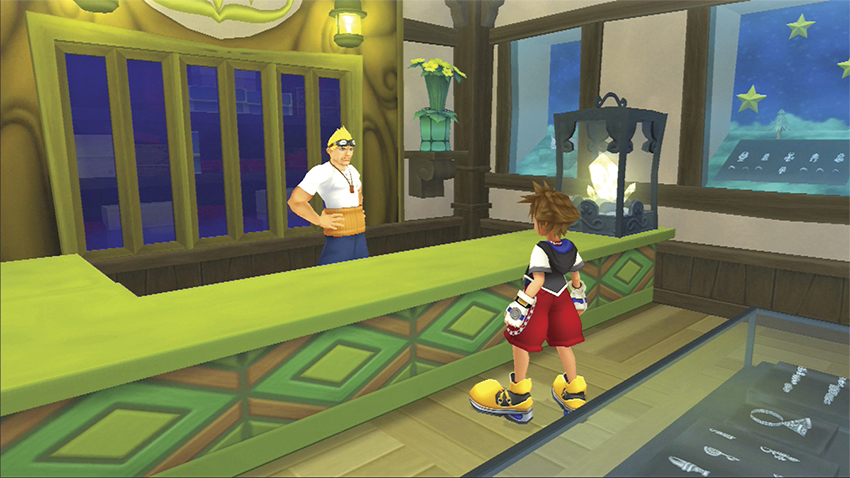
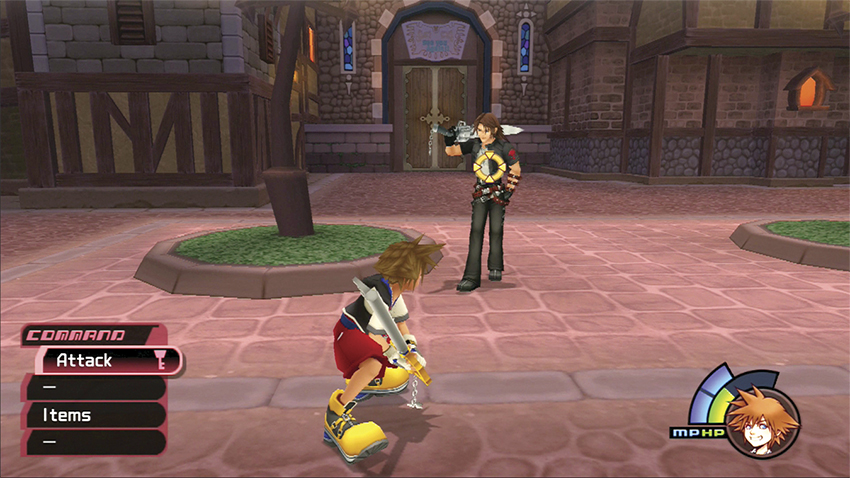
Return to Cid in the Accessory Shop, and he will tell you to keep searching for your friends. Save before you leave the shop because you’re about to fight your next boss.
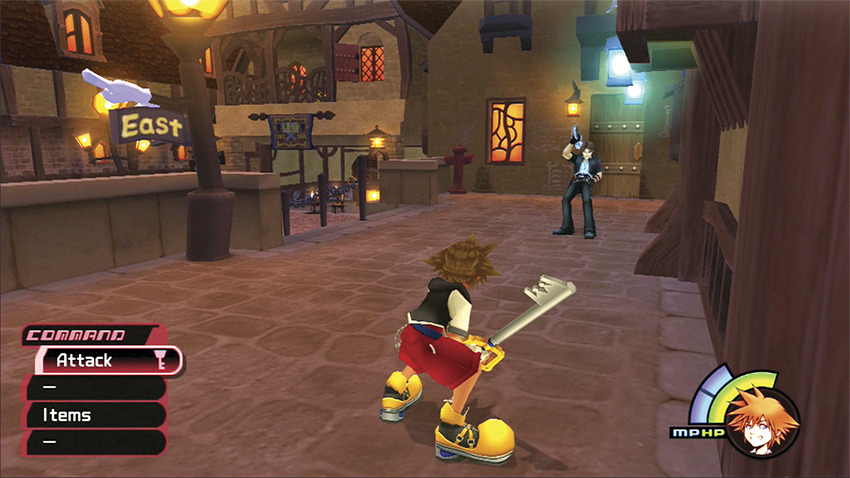
Leon is on your side—he just wants to test out whether you are worthy to wield the Keyblade—so losing this battle won’t end the game, though winning it will net you an extra Elixir later when you meet up with all the heroes.
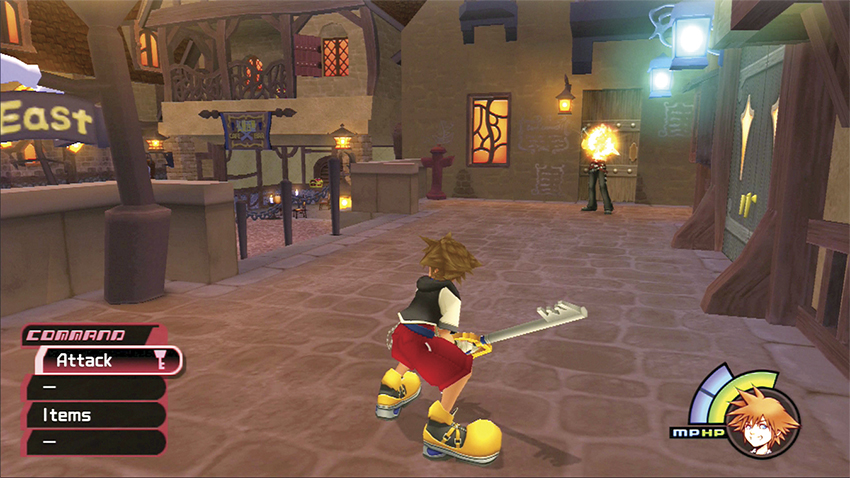
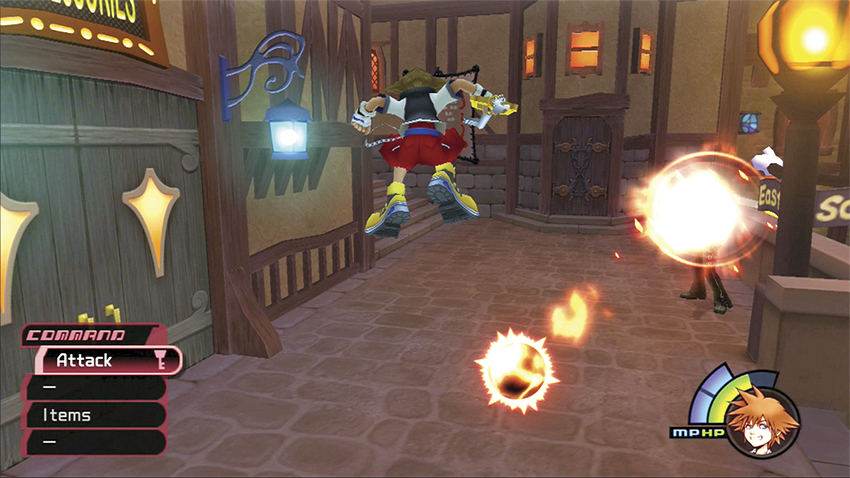
At range, Leon casts a formidable fireball that blows you away quickly if you stand in its way. When you see him spin fire out of the air, prepare yourself and jump to one side or the other as the fireball launches toward you.
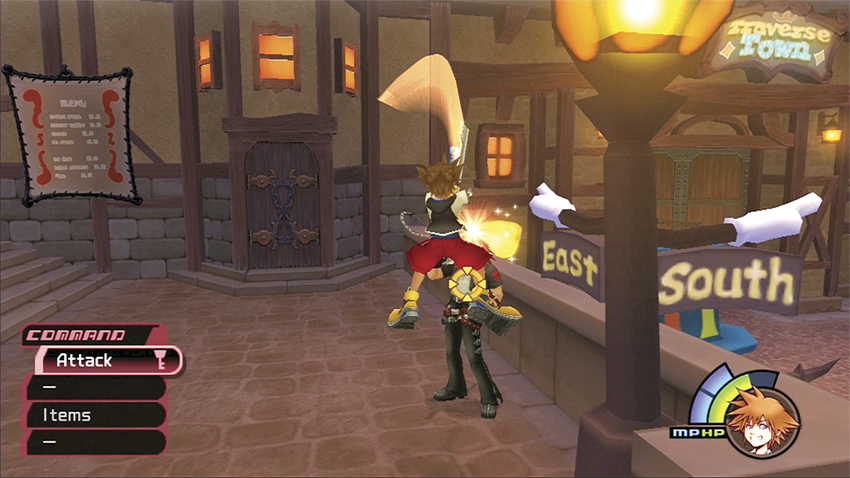
In those few seconds after his attack, Leon is vulnerable; take two or three swings and then back out of melee range for another round.
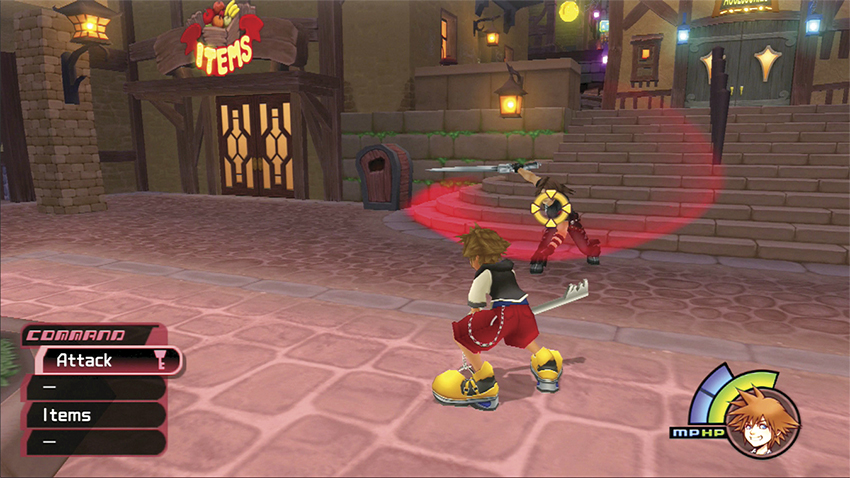
Leon’s sword attack can be even more vicious if you stand still. Back away from the slicing blade and only counterattack when you’re sure he can’t hit you.
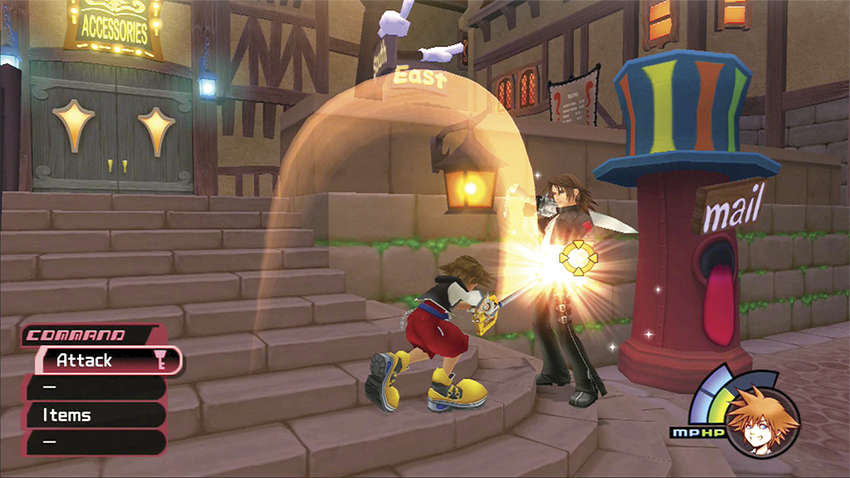
If you’re patient and counterattack after every fireball blast, you can beat Leon. Whether you win or lose, the story progresses and you’ll become allies after the battle.
Step 4: Three Heroes More

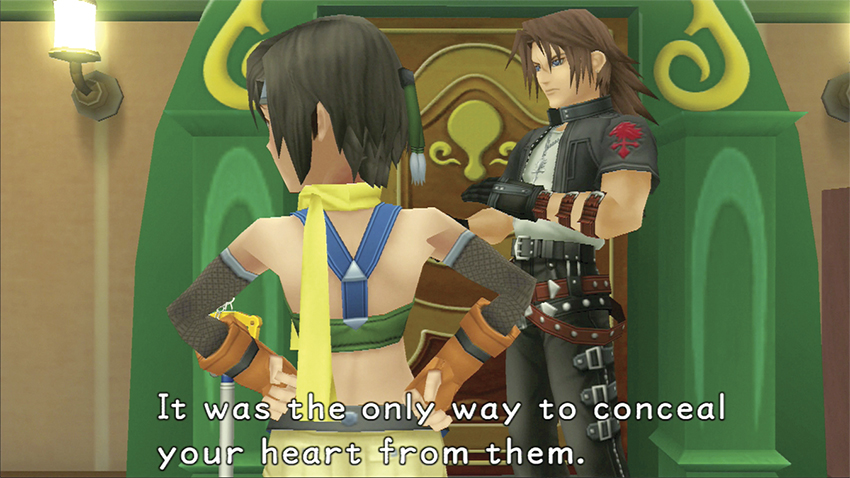
You wake up after the fight with Leon in the Hotel’s Green Room. While you’re in Traverse Town, we see Riku trapped in a strange, icy place, and your new friends Leon and Yuffie explain some of what’s been happening with the Heartless and vanishing worlds.
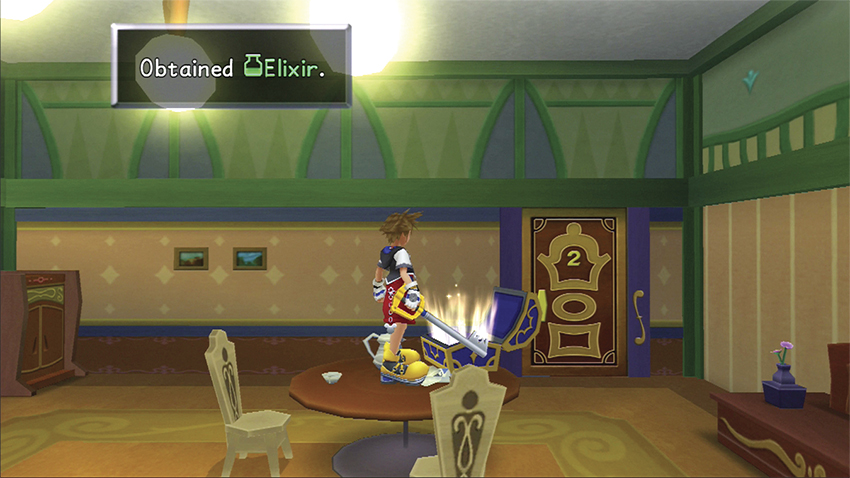
Yuffie also explains that the Keyblade can unlock special chests. Jump up on the table and try your new ability on the blue chest there. You discover an Elixir.
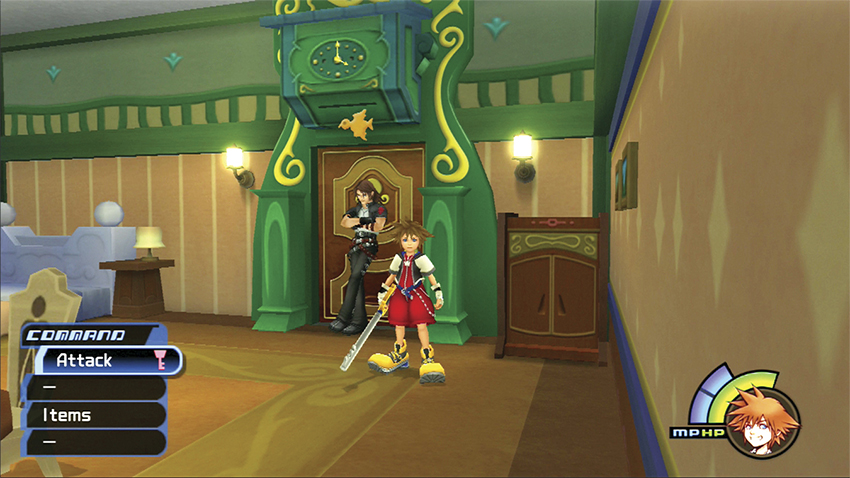
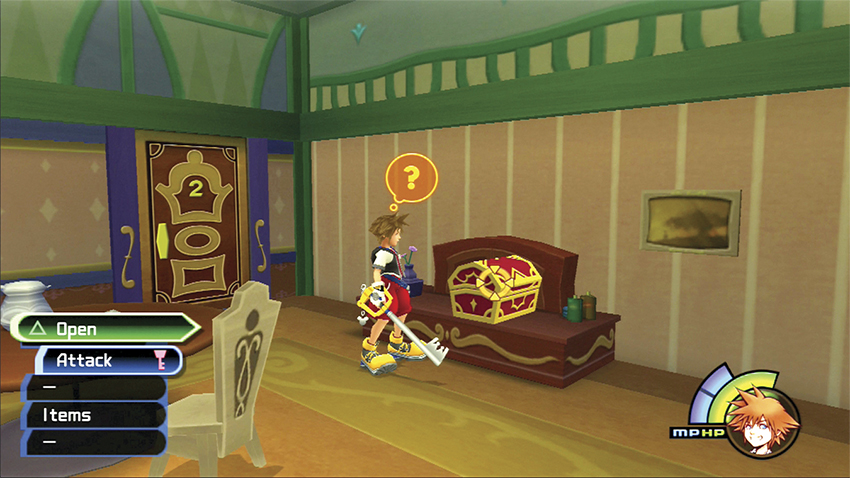
There’s also a hidden item in the room. Face Leon and stand on the right side of the clock over the doorway. Jump up and strike the clock with the Keyblade; this advances the clock by an hour. Continue striking the clock until you reach 7:00. A chest appears on the opposite side of the room with Mythril inside.
Leon
You may know him by a different name: Squall Leonheart. The main hero in Final Fantasy VIII, Leon graduated from the SeeD academy and became the captain of a highly trained warrior squad. Unfortunately, Leon was not able to stop the Heartless from destroying his home and is seeking a second chance here in Traverse Town.
Yuffie
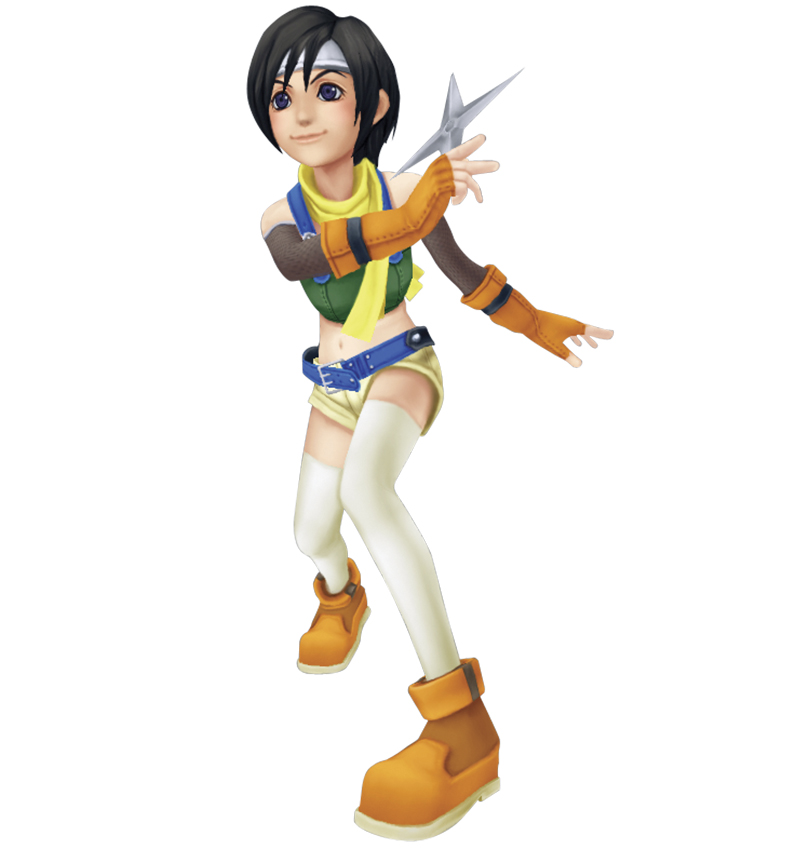
A great and powerful ninja—at least she likes to think so—Yuffie is never far from Leon and Aerith as they plot to thwart the Heartless. Yuffie originally appeared in Final Fantasy VII.
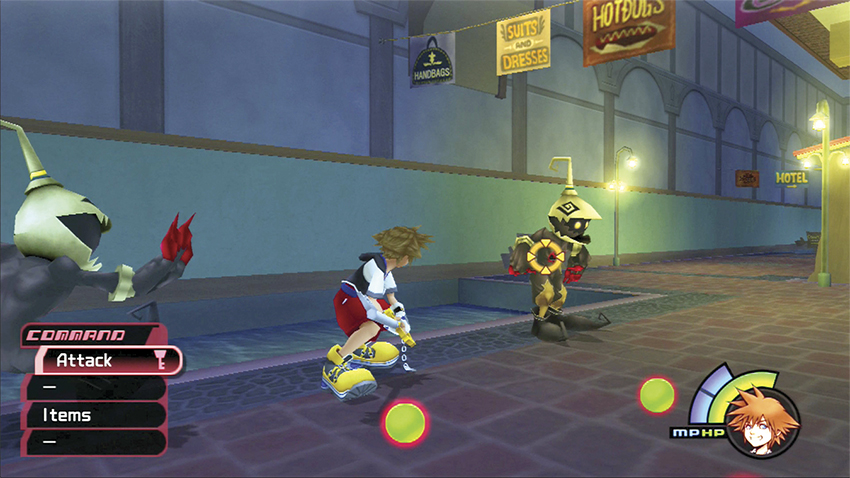
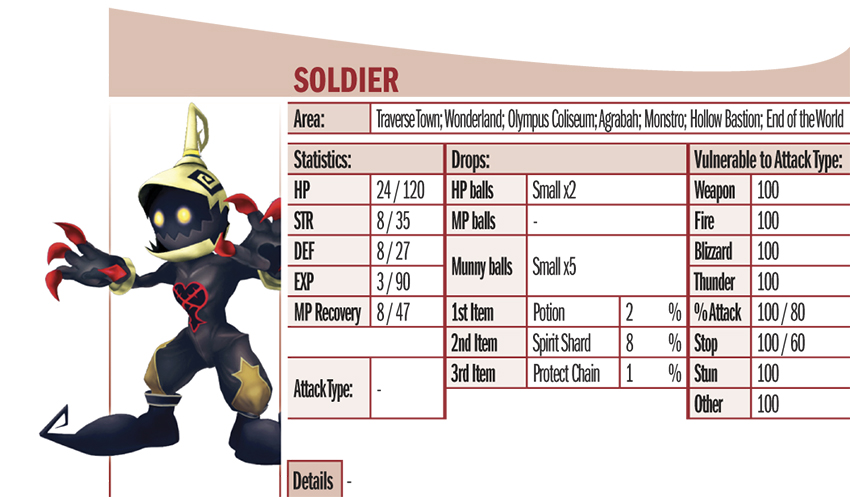
Speak to Leon when you’re ready to leave the Green Room. Suddenly, the Heartless attack, and with a new creature this time: Soldiers! You can choose to run with Leon, or hang back and fight the Heartless for extra experience. The Soldiers have twice as many hit points as their Shadow brethren, but you’ll also enjoy more experience and a greater chance at item drops.
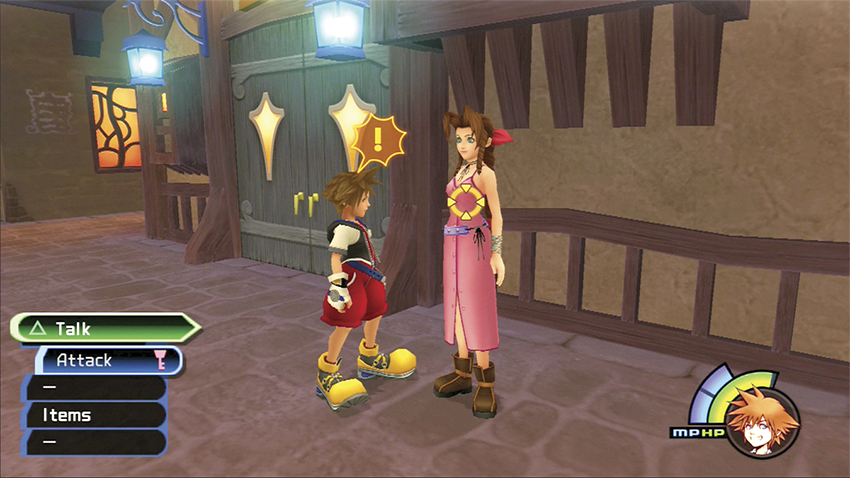
Loop back to the First District town square and climb the stairs to the front of the Accessory Shop. Speak with Aerith standing outside the door and she’ll give you a Mega-Potion for your recent efforts against the Heartless.
Aerith

This gentle flower girl lost her world to the Heartless, but hasn’t given up hope that this great evil can be stopped. While Leon and Yuffie befriend you, Aerith allies with Donald and Goofy. Aerith was originally in Final Fantasy VII.
Step 5: Party Central
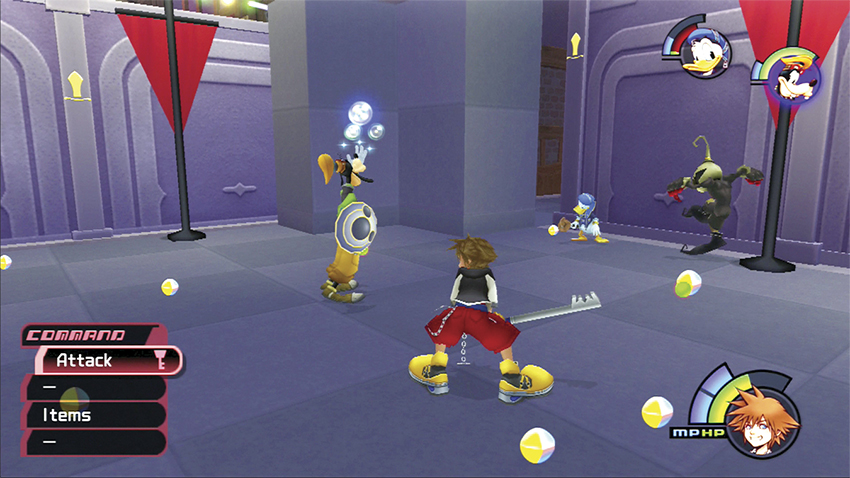
Load up on more Potions and save at the Accessory Shop before venturing forth. Fight your way to the Third District door at the far end of the Second District courtyard. Only a few steps into the Third District brings you—literally—in contact with Donald and Goofy, as they come crashing down on you from above. Fight the Heartless with Donald and Goofy at your side, and get used to working together as a team and having three times the abilities and combat prowess! At the close of this battle, the big boss of the world arrives.
Step 6: Guard Armor
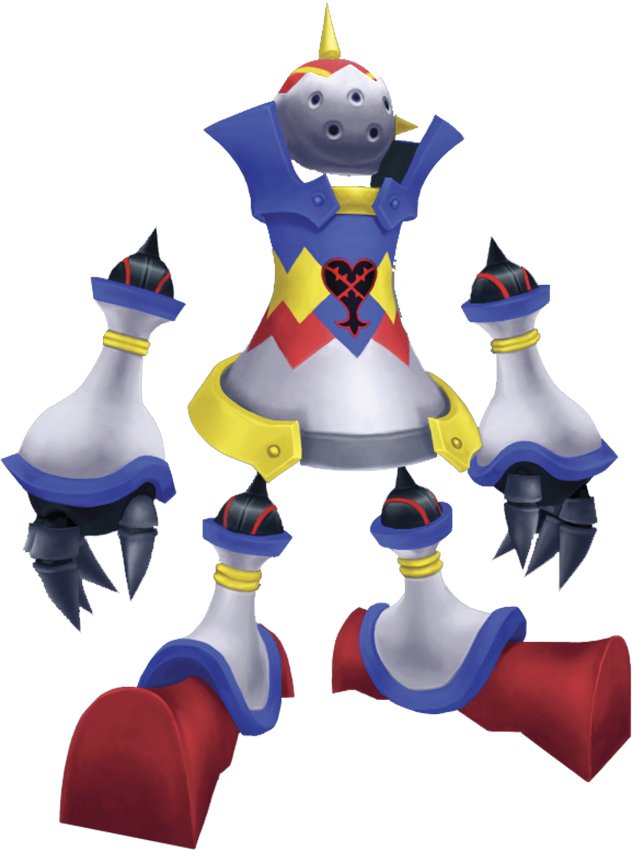
| HP | 700 |
|---|---|
| Strength | 8 |
| Defense | 8 |
| EXP | 110 |
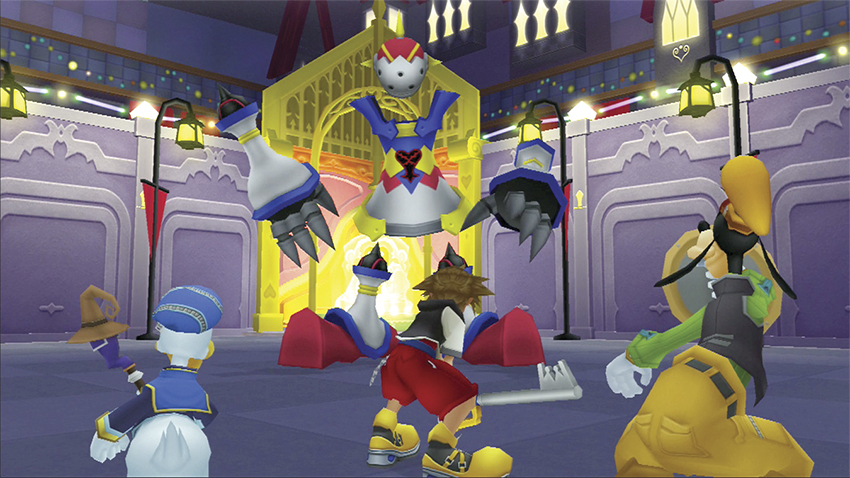
The giant Guard Armor is comprised of five different targets to lock on: two arms, two legs, and the torso. To keep it simple, lock onto the torso. As you destroy the limbs, HP balls will spill out to heal you, so if you’re low on health, switch to an extremity. However, while you swing at the more durable torso, you will inevitably hit the limbs and destroy them first even while damaging the torso.
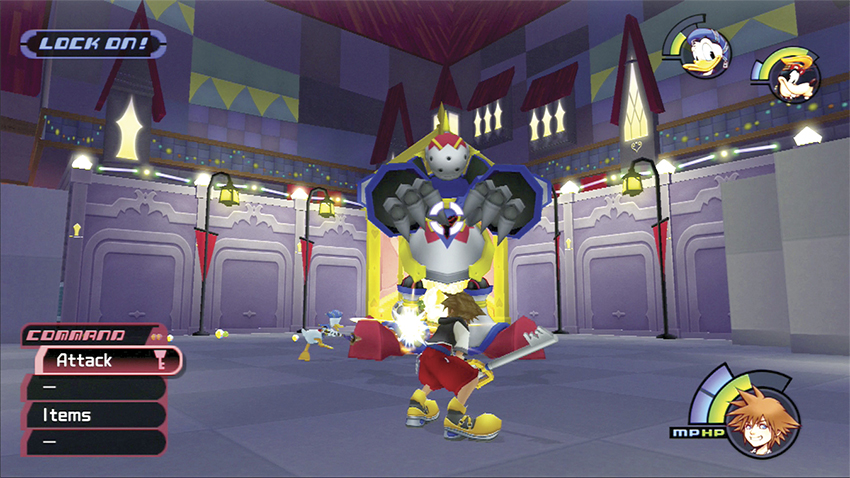
As your first boss fight with a full party, pay close attention to Donald and Goofy in the battle. Their health meters are in the top right above yours in the bottom-left corner. You might think about healing them with Mega-Potion if one or both are out of the fight. Take what you learn in the battle and use it to customize Donald’s and Goofy’s combat behaviors in the future to better match your play style.
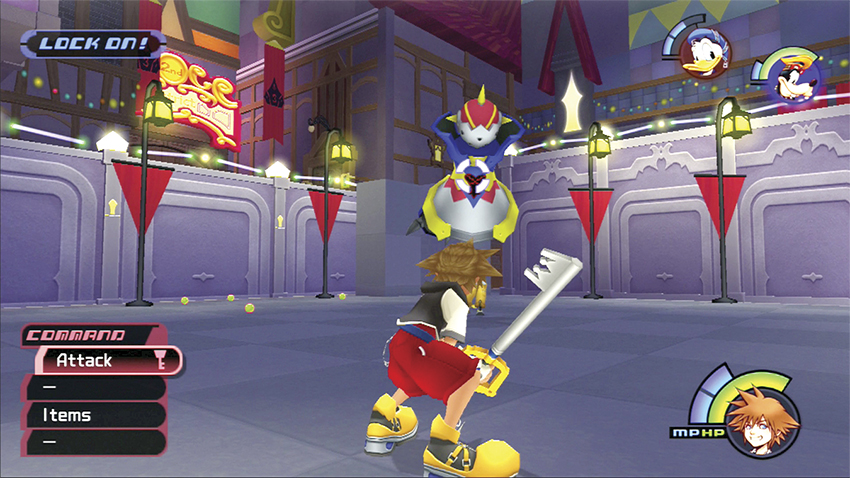
Watch out for the Guard’s spinning arms and stomping feet as you leap up and continually strike the torso. Most of the Guard’s attacks occur low to the ground; by staying airborne as much as possible you’ll avoid most of its damage.
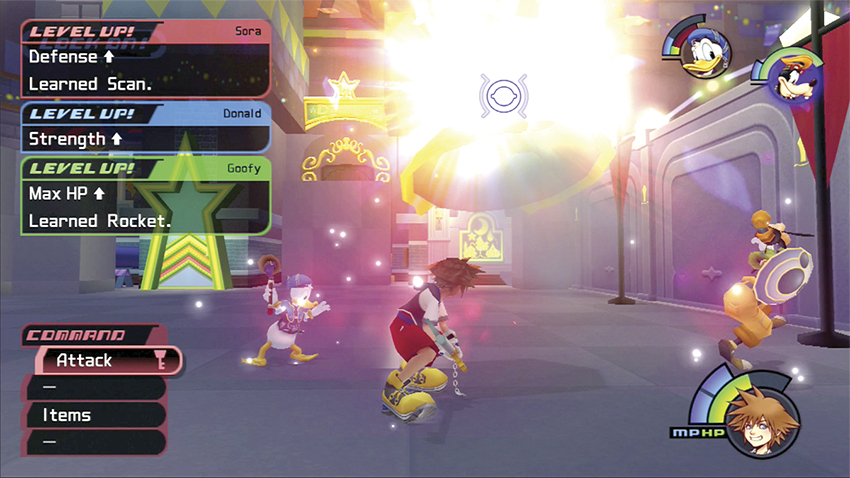
Keep up the constant shots against the torso. Eventually, you will destroy both arms and legs, leaving the torso and head alone. Press the attack with combos, and if you’re low on HP, use Potions. You can always buy more at the Item Shop. Once you’ve dealt 700 hit points, the torso explodes. Victory earns you the Brave Warrior.
Step 7: Rewards Galore
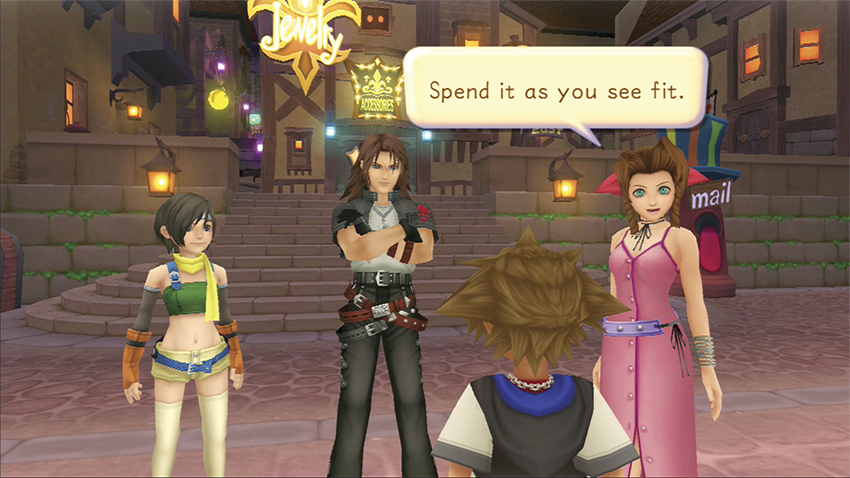
Following the destruction of the Guard Armor, the heroes gather together and prepare you for your coming adventures. Leon, Yuffie, and Aerith give you 500 munny, plus Leon hands you an Elixir if you beat him in the earlier boss fight.
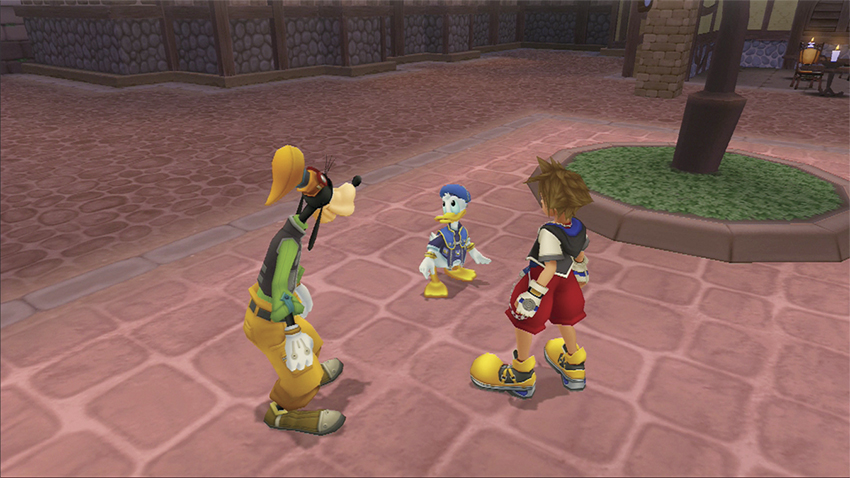
Donald and Goofy have rewards too. Donald gives you the Fire spell, which automatically configures to your combat shortcuts. Goofy teaches you the Dodge Roll ability.
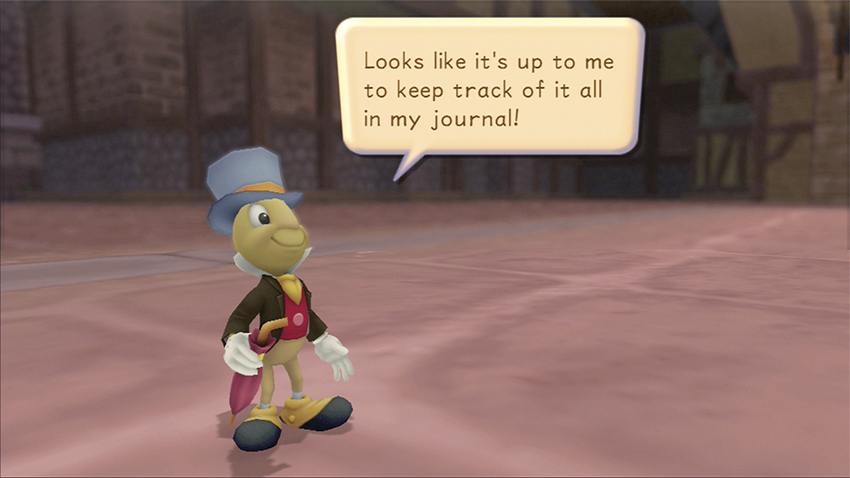
Jiminy Cricket also joins the party. He’s not a fighter, but he will chronicle your story in the Journal option on the Main menu.
Jiminy Cricket

Jiminy Cricket was Pinocchio’s wise friend in the classic 1940 film, Pinocchio. He’s still a wise friend, only this time to Donald and Goofy on their journey to locate King Mickey and the Keyblade. Jiminy tracks all story events, characters, and Heartless in your Journal.
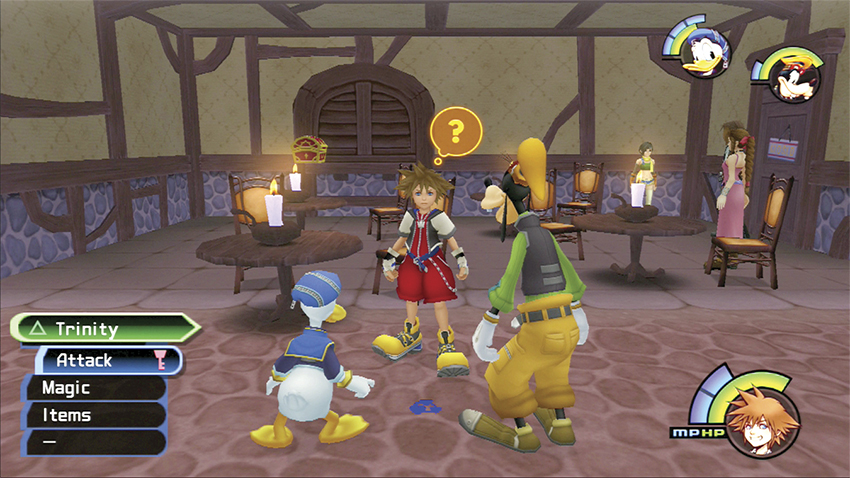
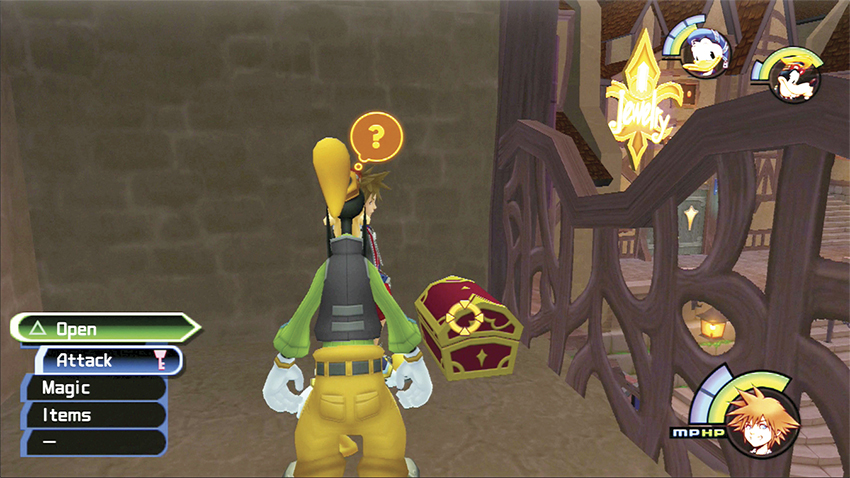
With Donald and Goofy in your party, you can now activate blue Trinity Marks. Look for the first blue Trinity Mark in the town square in front of the restaurant. Examining it teleports you up to the restaurant balcony where you can open a chest with the fourth Postcard.
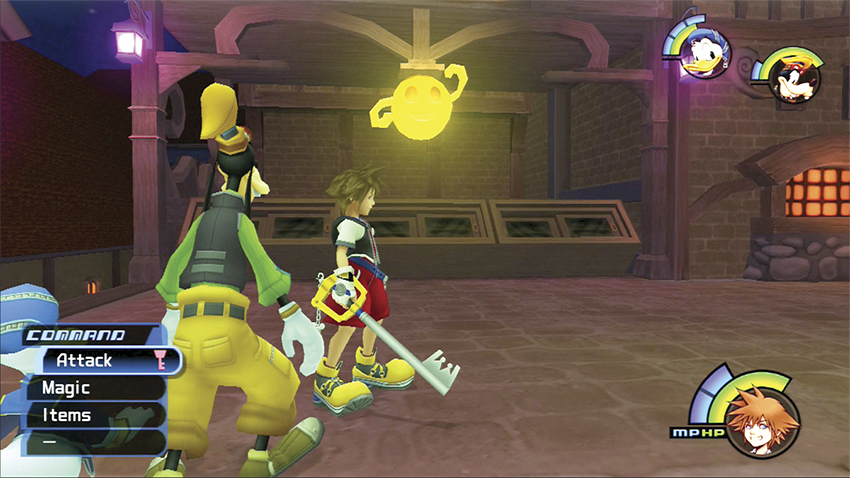
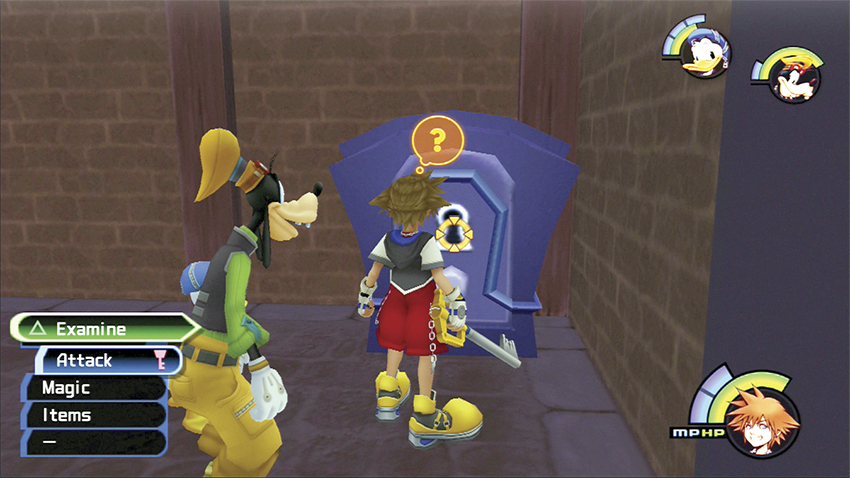
Wind back up the stairs to the glowing smiley face behind the Accessory Shop. Hop over the short wall and approach the blue safe in the back corner of this small area. Open the safe for the fifth Postcard. Return to the mailbox to collect your gifts.
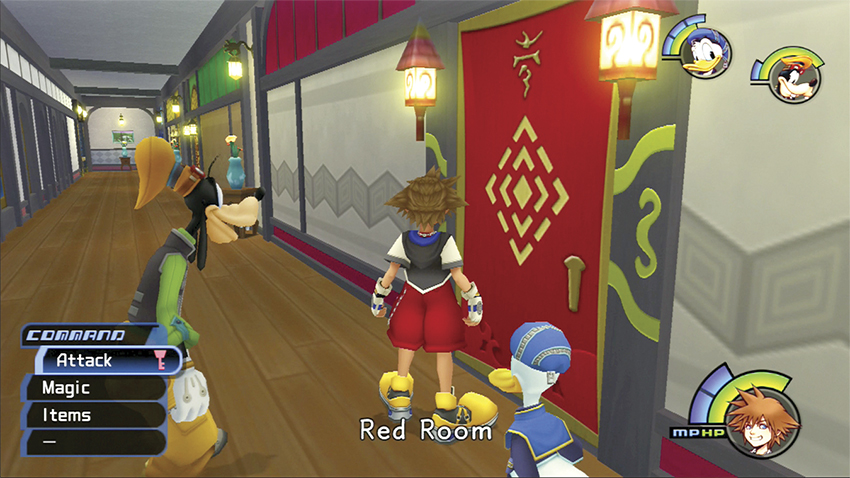
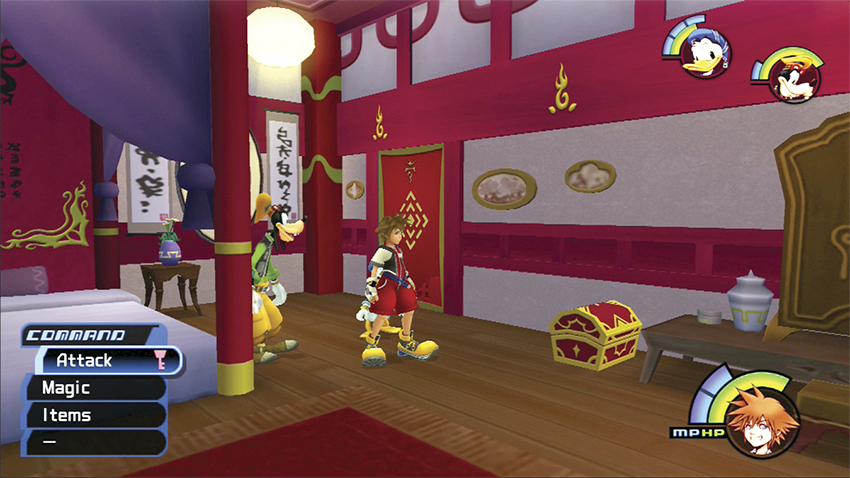
Now head back out to the Second District and enter the Hotel. Find the Red Room door and check inside the room for a chest with a Pretty Stone.
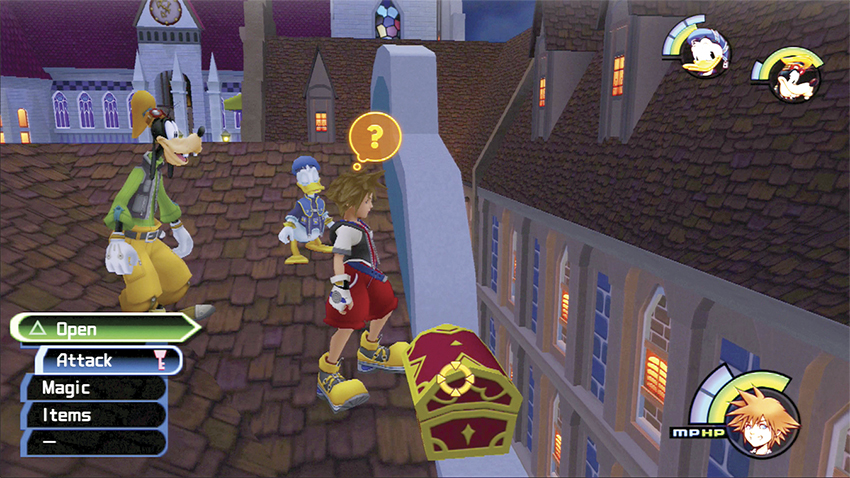
Now that you have Donald and Goofy with you and the Guard Armor has been defeated, the ladder on the landing in the back of the Gizmo Shop can be accessed. Climb the ladder to reach the roof and head to your left. Jump over to the next set of rooftops and look for a chest on the left side above the Third District entrance. Open the chest for a Mythril Shard.
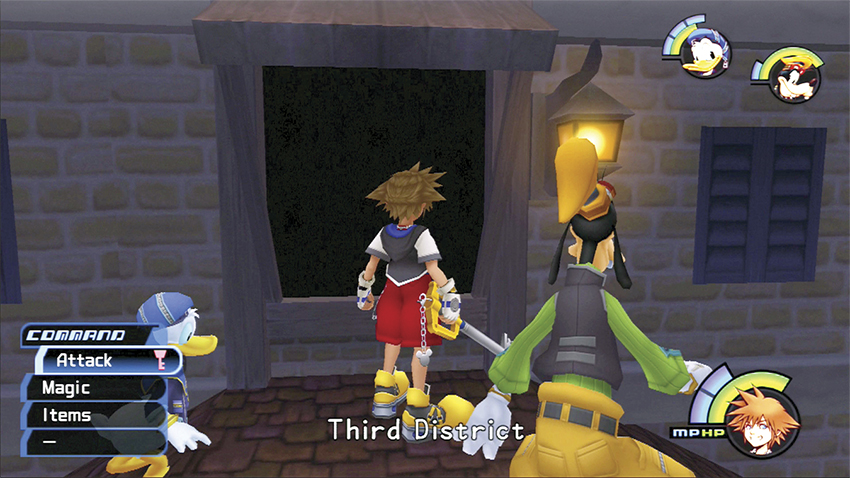
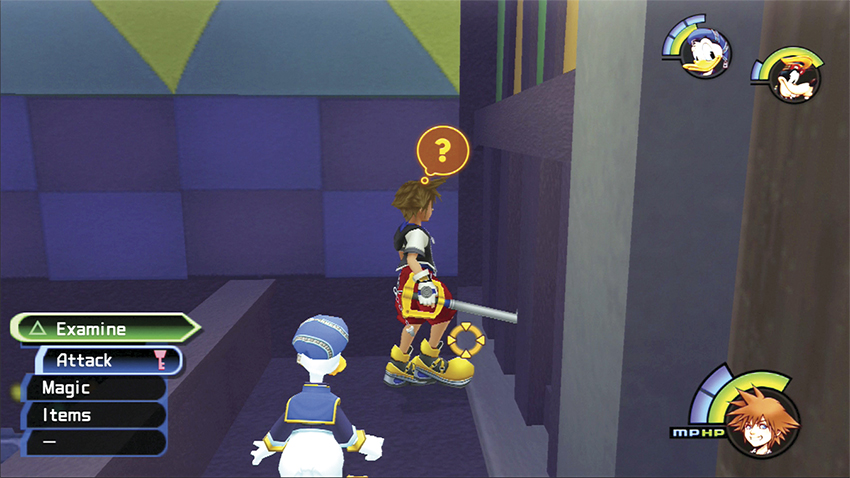
On the same roof, enter the small access panel to the Third District. This brings you out to a secluded balcony overlooking the Third District courtyard. While standing on this balcony, press your target lock to locate a hidden item in the corner—the sixth Postcard. Don’t forget to drop it in the mail before you leave Traverse Town.
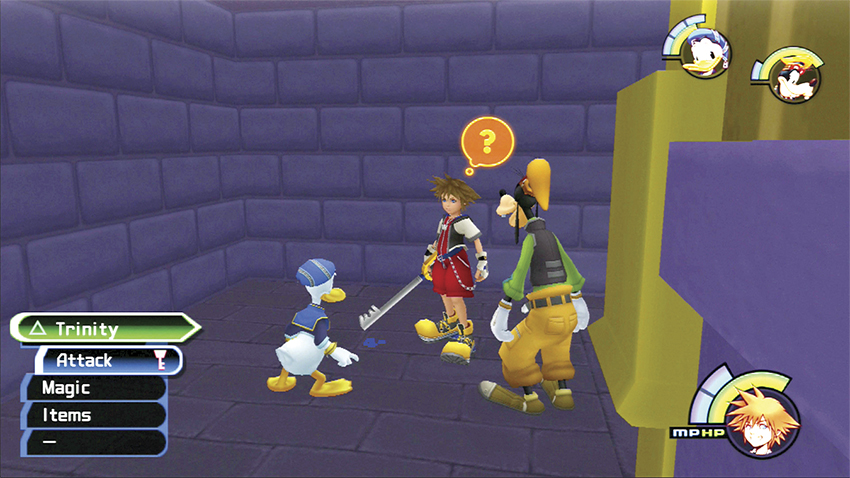
Drop down into the Third District courtyard and climb the ramp that leads behind the Lady and the Tramp shrine. Look for another blue Trinity Mark on the floor. Activating it drops a lot of munny and a Camping Set.
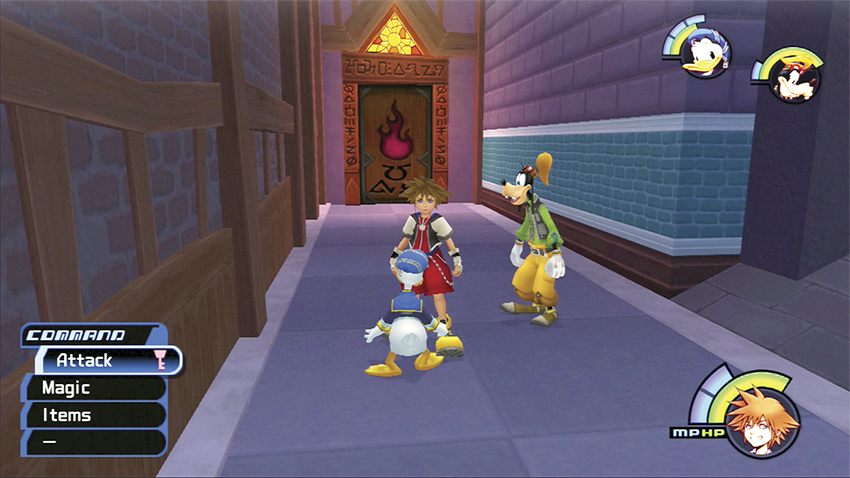
There’s one door you haven’t checked yet. Now that you have the Fire spell, you can open it. Shoot a blast of fire at the flame symbol on the door and you’ll gain access. This leads to the Mystical House (map 2-16), but more will open up later so it’s best to explore this area when you return to Traverse Town after the next three worlds.
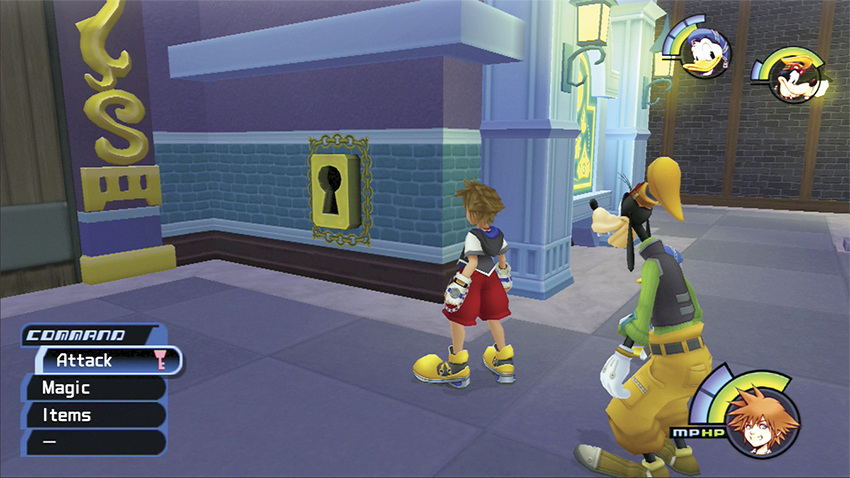
Stop by the lock near the First District door in the Third District. Use the Keyblade on the lock to open a shortcut back to the town square.
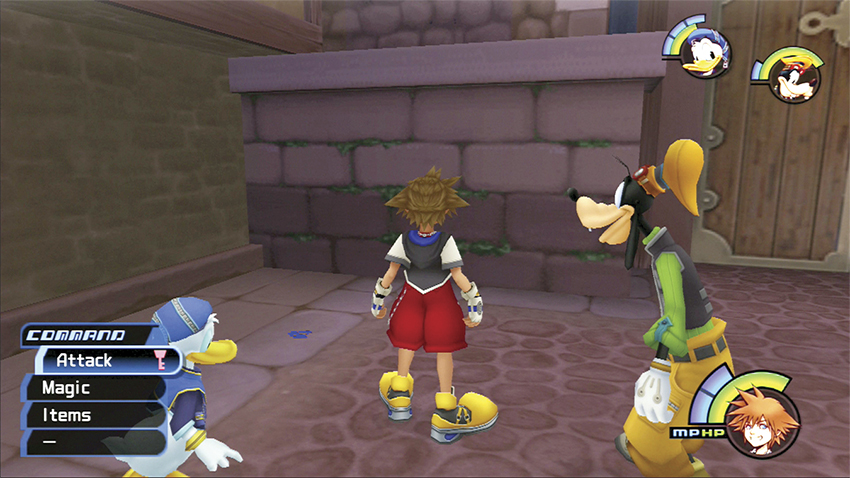
Trigger the final blue Trinity Mark near the exit from Traverse Town. Prepare to scoop up lots and lots of munny balls.
Step 8: Into the Gummi Ship
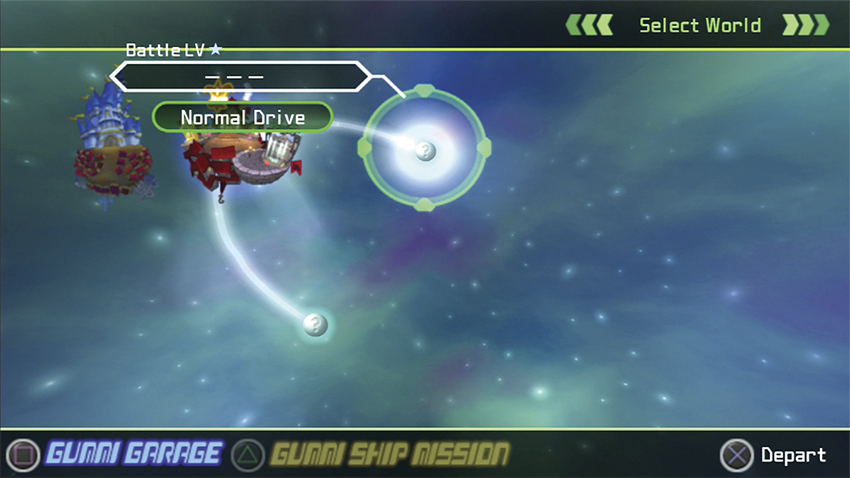
Once you’ve explored all of Traverse Town and spent your munny on equipment upgrades and items, it’s time to journey out into the stars. You can reach your gummi ship in two ways: through the exit double doors in the town square or via the save point in the Accessory Shop. You’ll generally want to use save points to access your gummi ship so that you can save before departing an area. See the “Gummi Garage” chapter for more details on gummi travel and building the ideal gummi ship.
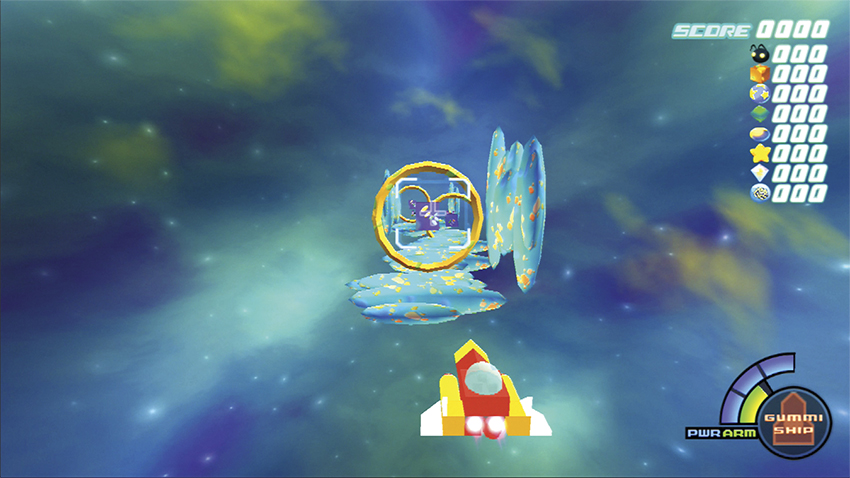
Choose the one-star world on your navigational map and set off for Wonderland. This first gummi trip is easy enough if you carefully avoid enemy ships and obstacles, or use your simple cannon to blow threats out of the sky. Once in orbit around Wonderland, you can land only to quickly find yourself in the middle of a race to chase down a white rabbit!