
Kingdom Hearts HD 1.5 Remix Guide KHFM: Walkthrough Deep Jungle
Deep Jungle
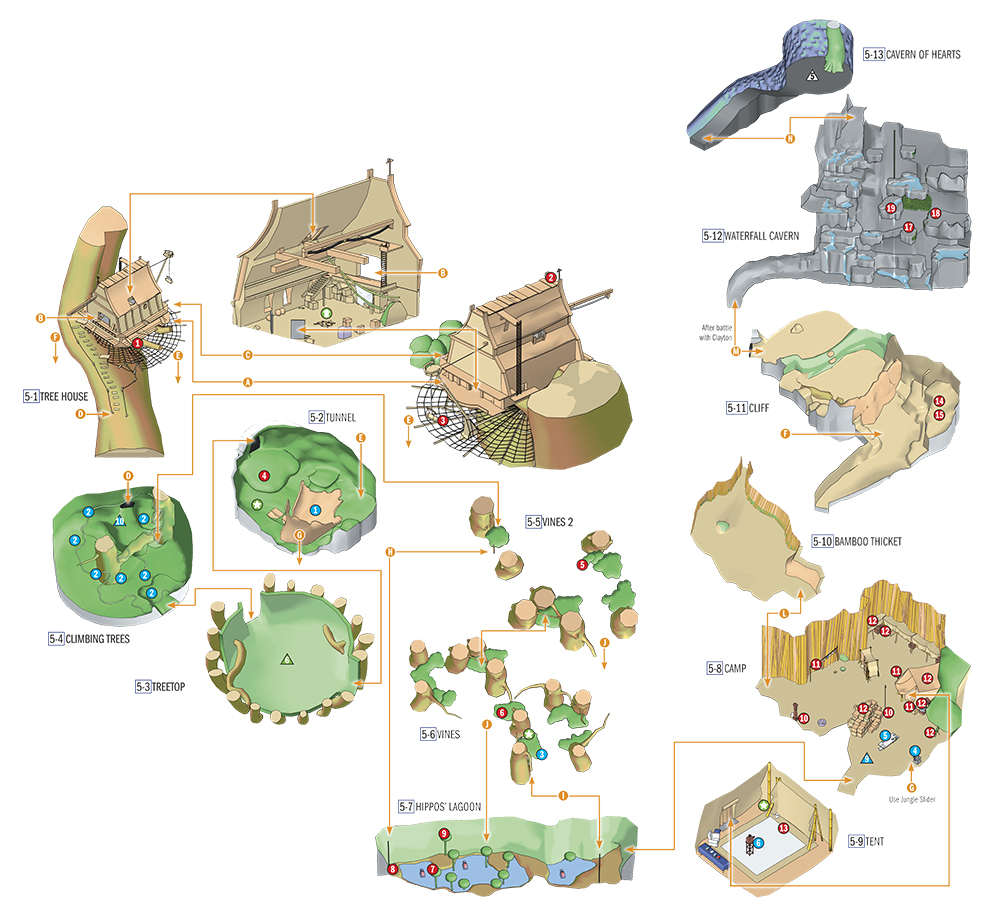
Opponents
| Name | Shadow | Green Requiem | Powerwild | Bouncywild |
|---|---|---|---|---|
| HP | 18 | 15 | 30 | 18 |
| Name | Darkball | Wyvern | Wizard | White Mushroom |
|---|---|---|---|---|
| HP | 60 | 135 | 75 | - |
| Name | Sabor | Clayton | Stealth Sneak |
|---|---|---|---|
| HP | 90/180 | 250 | 750 |
Items
| No. | Item | Location | Condition |
|---|---|---|---|

|
Mega-Potion | 5-1 | - |

|
Protera Chain | 5-1 | - |

|
Mythril | 5-1 | Jump from the roof of the treehouse and attack with Keyblade 4-5 times |

|
Mega-Ether | 5-2 | - |

|
Dalmatians 28, 29, 30 | 5-5 | - |

|
Mythril | 5-6 | - |

|
Mega-Potion | 5-7 | - |

|
Dalmatians 25, 26, 27 | 5-7 | - |

|
Meteor-G | 5-7 | Attack with the Keyblade while jumping |

|
Recipe Card | 5-8 | - |
|
|
Recipe Card | 5-8 | - |

|
Research Note | 5-8 | - |
|
|
Research Note | 5-8 | - |
|
|
Research Note | 5-8 | - |

|
Slide | 5-8 | - |
|
|
Slide | 5-8 | - |
|
|
Slide | 5-8 | - |
|
|
Slide | 5-8 | - |
|
|
Slide | 5-8 | - |
|
|
Slide | 5-8 | - |

|
Mythril Shard | 5-9 | - |

|
Mega-Potion | 5-11 | - |

|
Mythril Shard | 5-11 | - |

|
Mythril Shard | 5-12 | - |

|
Dalmatians 31, 32, 33 | 5-12 | - |

|
Mythril | 5-12 | - |

|
Orichalcum | 5-12 | - |
Characters
| No. | Character | Location | Purpose |
|---|---|---|---|

|
Jane | 5-9 | Various story updates |
Special Objects
| No. | Prop | Location | Purpose |
|---|---|---|---|

|
Jungle Slider | 5-2 | Mini-game (after sealing off the world) |

|
Wilted flower | 5-4 | Open all with magic to stop enemies from appearing |

|
Vine Jump | 5-6 | Mini-game |

|
Cooking Pot | 5-8 | Find 2 Recipe Cards |

|
Lab bench | 5-8 | Find 3 Research Notes |

|
Slide projector | 5-9 | Show Tarzan 6 Slides |
Trinities
| Trinity | Location | Purpose |
|---|---|---|

|
5-8/td> | Dalmatians 34, 35, 36 |

|
5-4 | Thundara-G |

|
5-3 | Mythril Shard + HP |

|
5-13 | Orichalcum |
Objectives
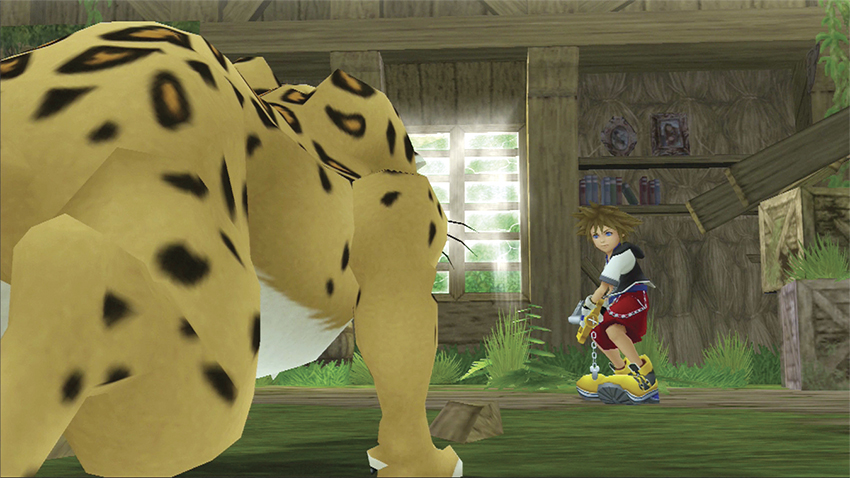
1. Defeat Sabor I
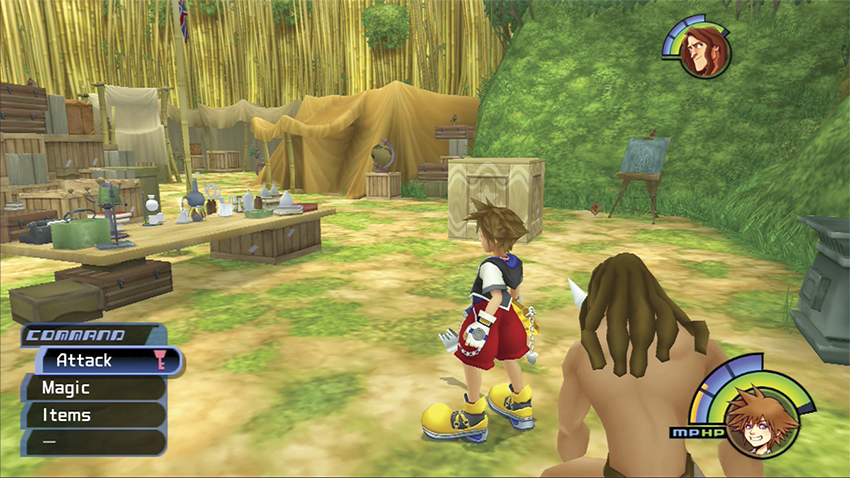
2. Meet Tarzan and find Jane

3. Collect the recipes, notes, and slides
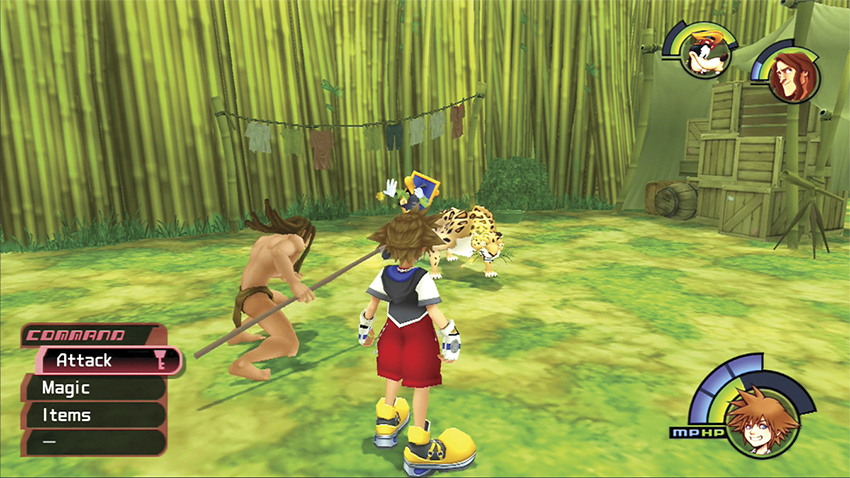
4. Defeat Sabor II
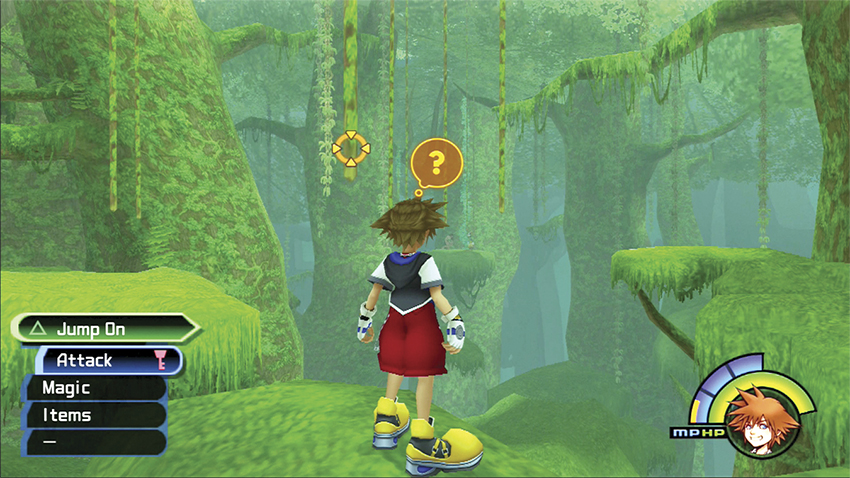
5. Use the vines to find Kerchak
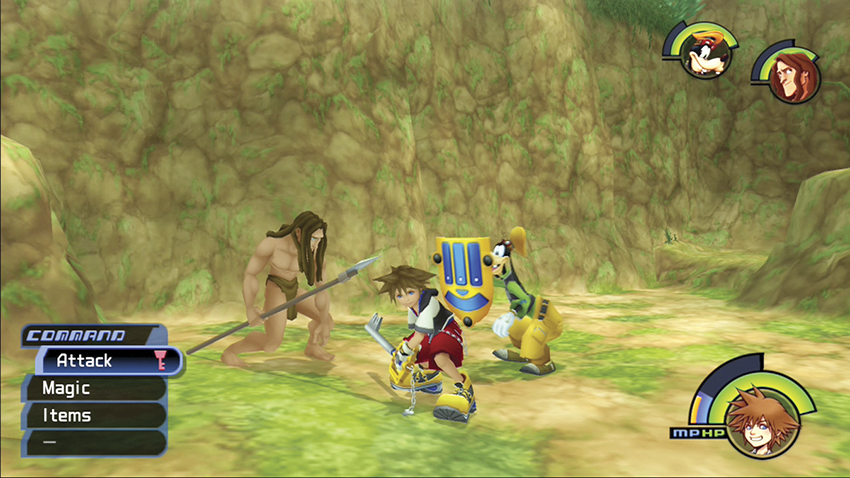
6. Defeat Sabor III
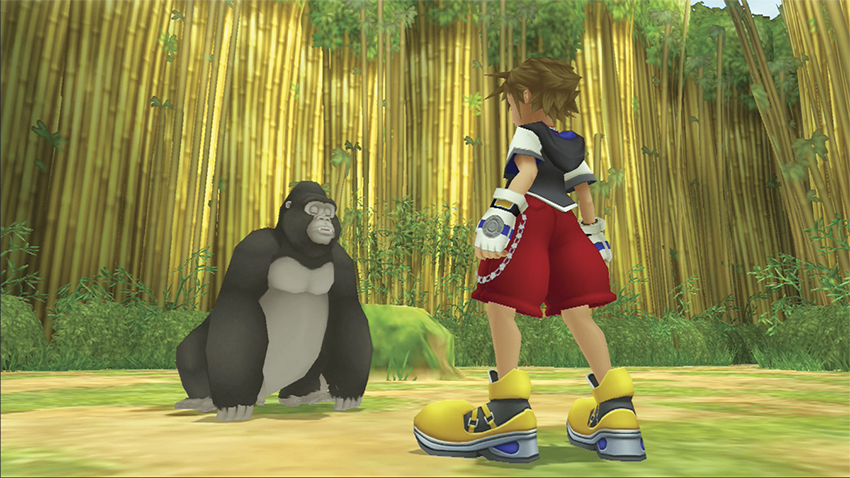
7. Rescue the gorillas
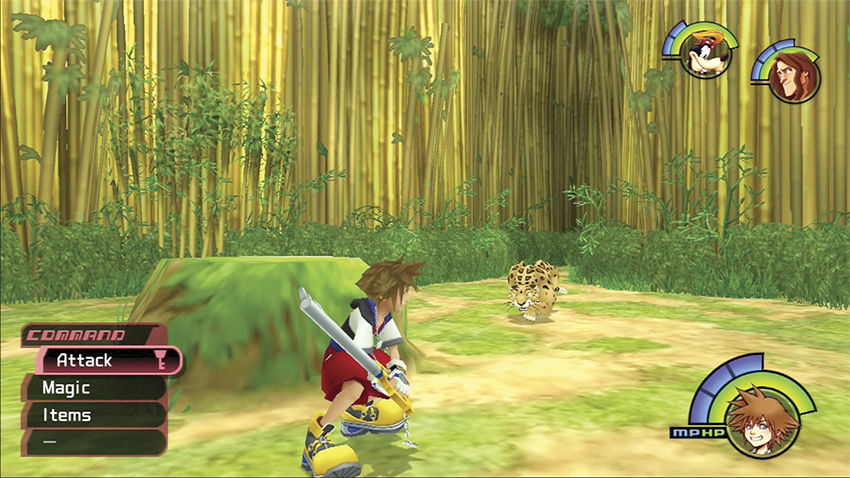
8. Defeat Sabor IV
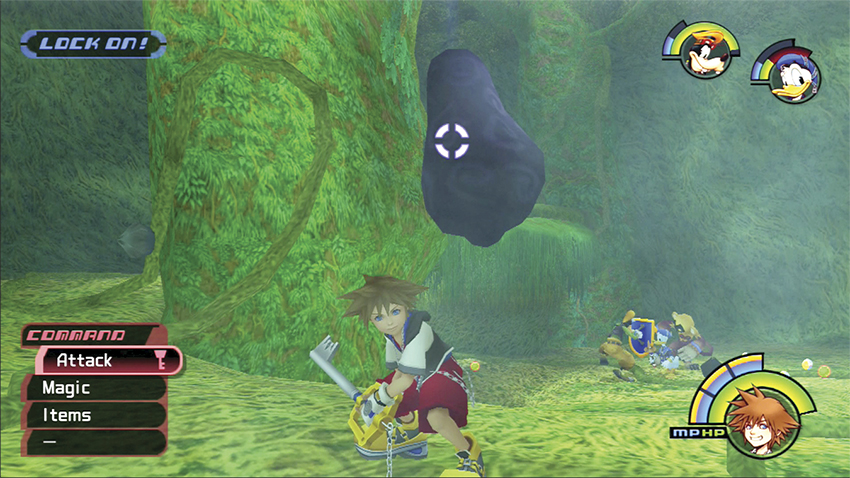
9. Save Jane
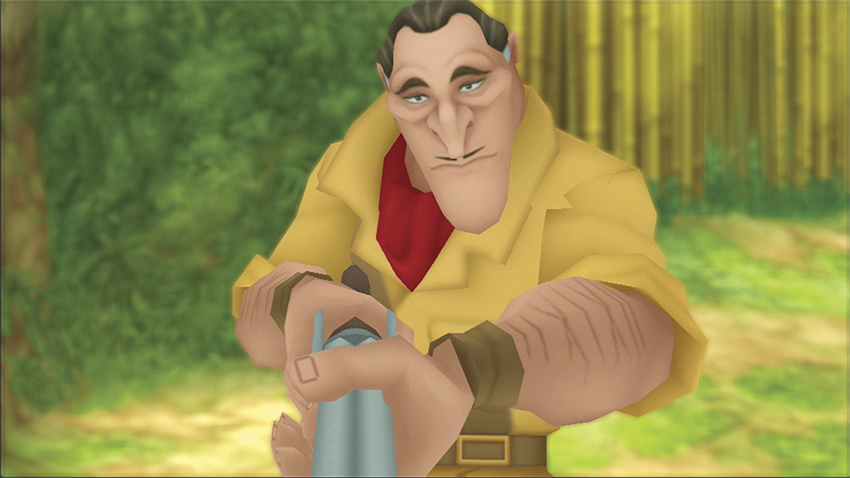
10. Square off against Clayton
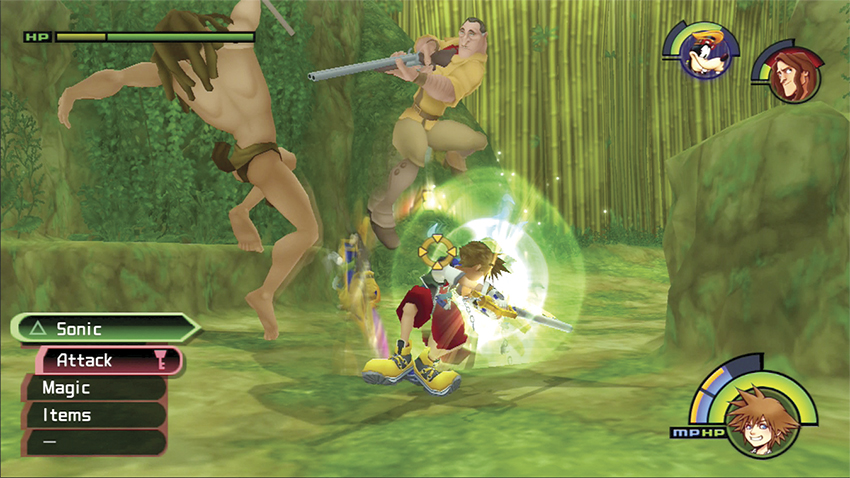
11. Defeat Clayton and Stealth Sneak
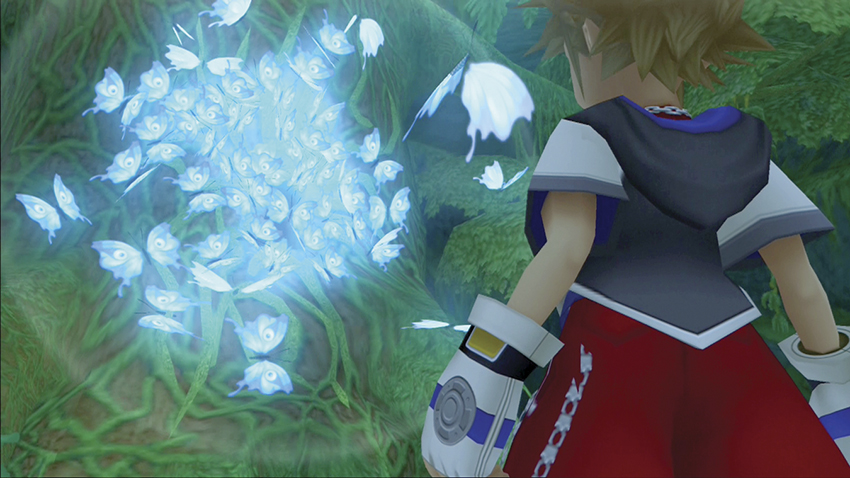
12. Lock the Deep Jungle
Step 1: Sabor I
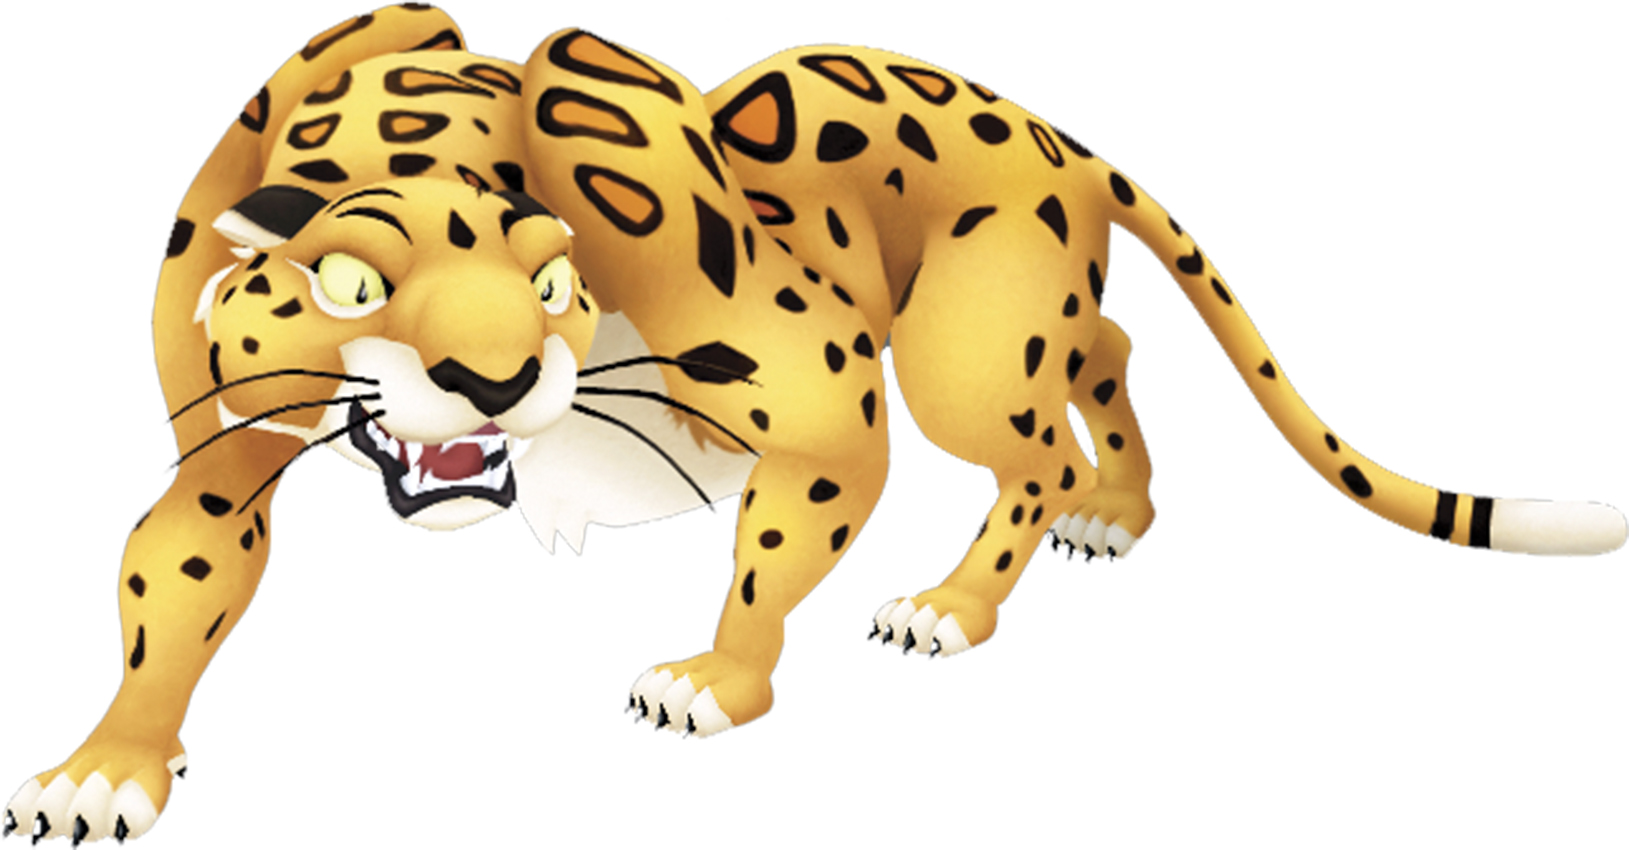
| HP | 90 |
| Strength | 12 |
| Defense | 11 |
| EXP | 15 |
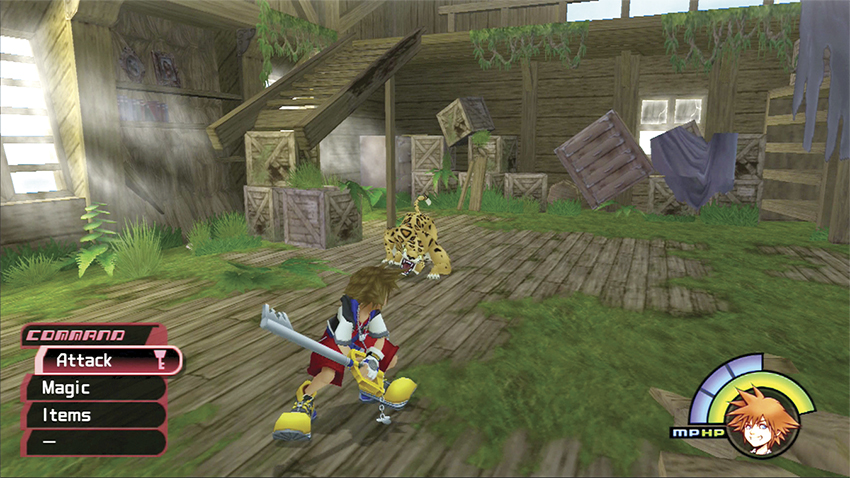
As you enter Deep Jungle orbit, the gummi ship crashes and you get separated from Donald and Goofy. Even worse, you land in the Tree House and are immediately attacked by the menacing leopard, Sabor.
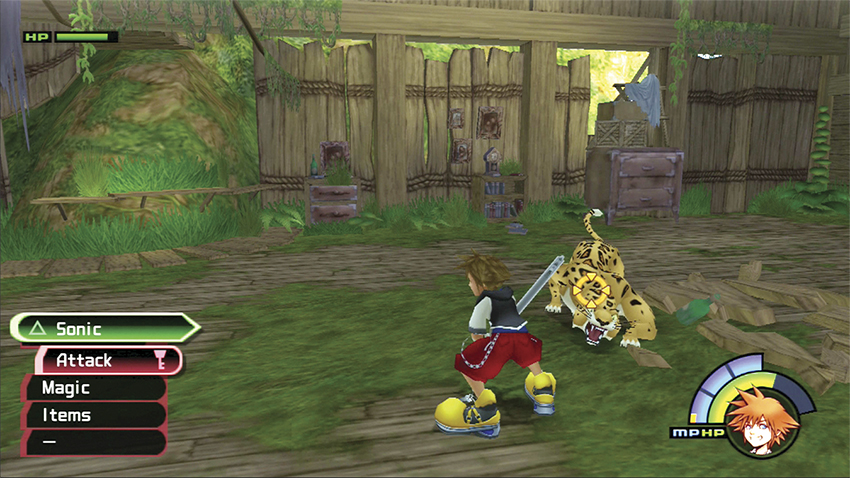
Sabor moves extremely fast. Use your Dodge Roll ability to slip to the side when she lunges, then try to slip behind her for a quick attack. Sabor likes to jump, so jumping up to avoid an attack doesn’t always work.
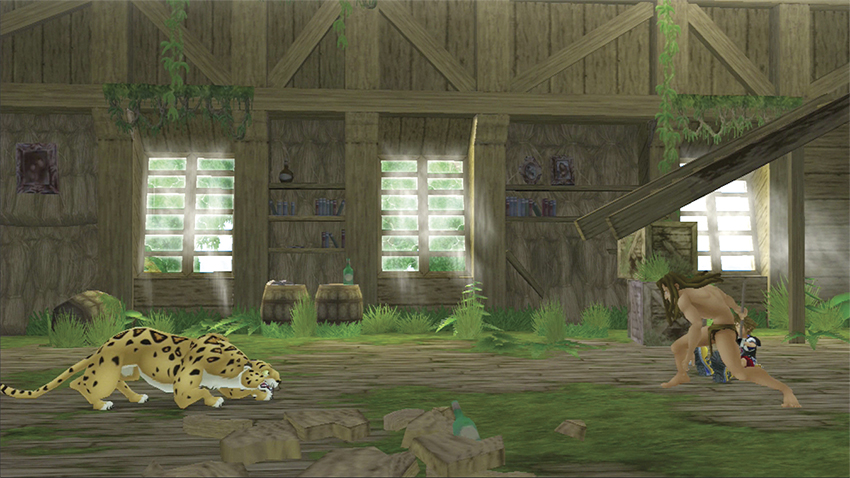
Stay patient and land one attack combination at a time before rolling back out of harm’s way. You don’t have to win this battle to continue the story—at the end of the fight Tarzan arrives to stave off the leopard and send it crashing out of the Tree House window and into the jungle where you will see her again.
Step 2: Tarzan and Jane
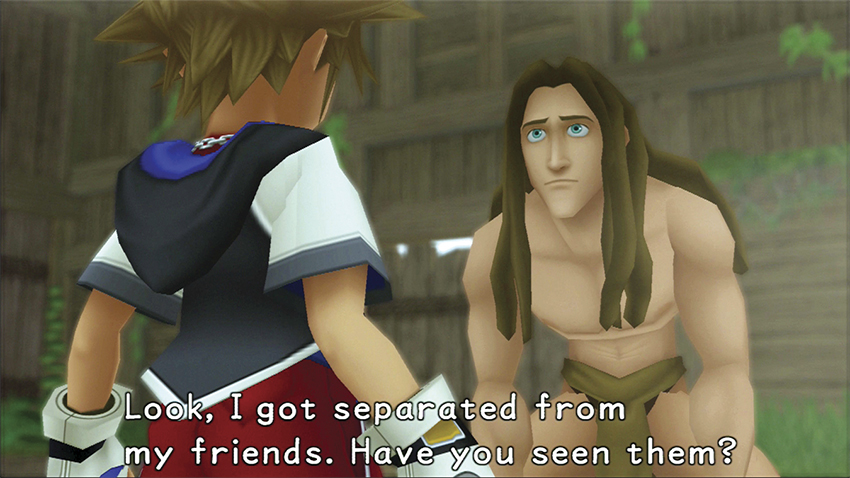
Tarzan is a world hero. Unlike most other characters, he joins your party and has powerful abilities just like you. Tarzan can also use equipment and items. For the complete rundown on all heroes, flip to the “Heroes” chapter.
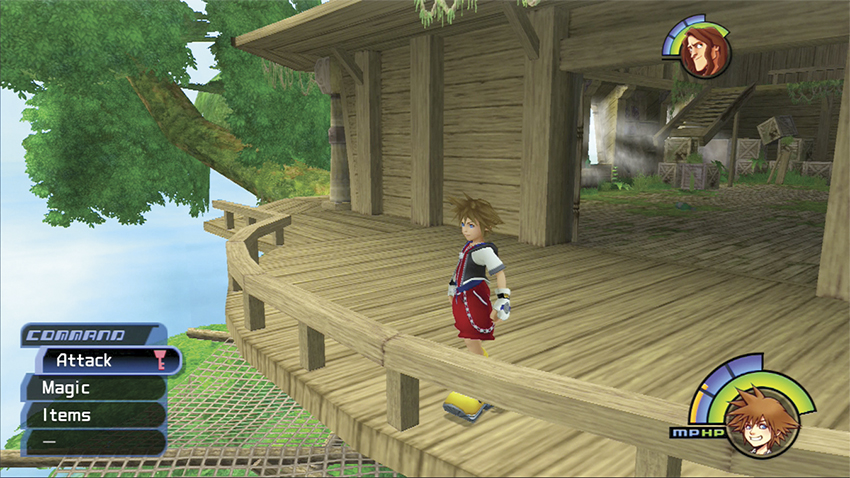
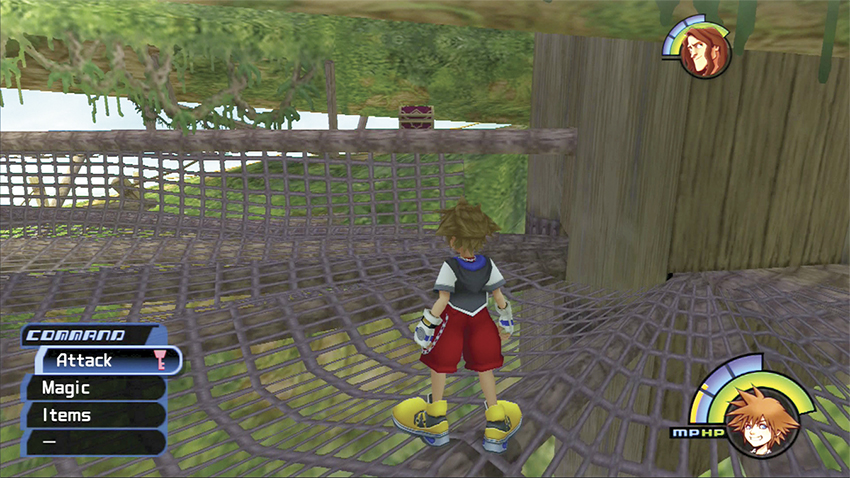
Follow Tarzan over the Tree House wooden railing and drop to the netting level below. Don’t jump off the edge just yet. Instead, turn to the right and search for a chest atop one of the long masts near the path to the Climbing Trees. Open the chest for a Mega-Potion.
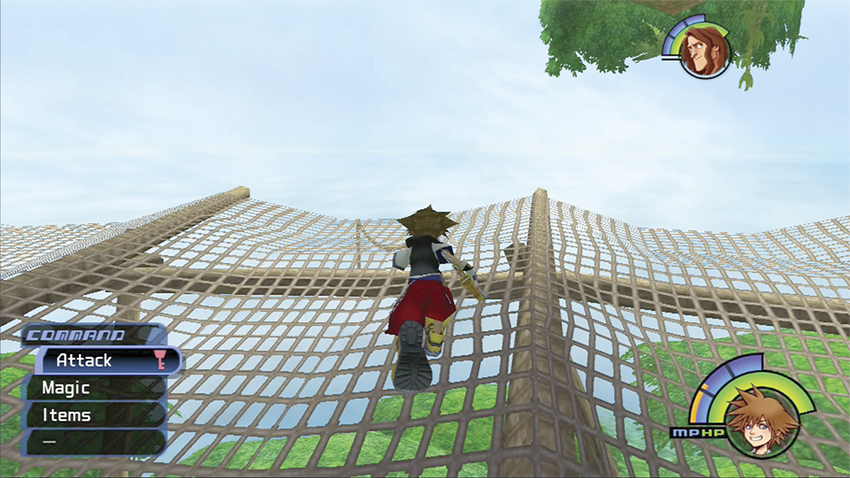
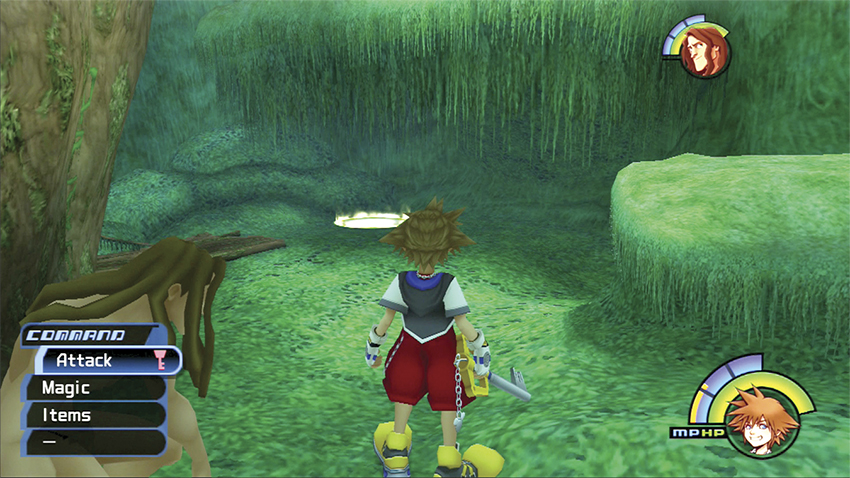
Now it’s time to take a leap of faith. Tarzan jumped off the Tree House and fell into the tree canopy below; do the same. Despite the great height, you won’t be hurt; you land in the Tunnel area without a scratch.
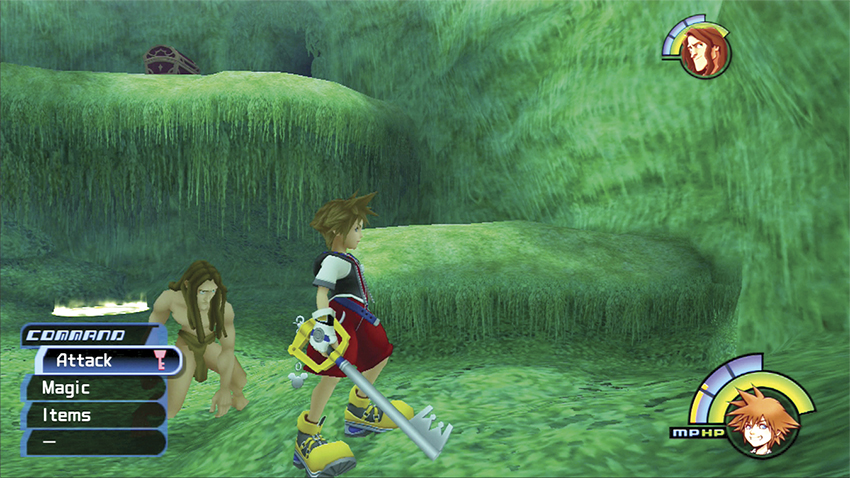
In the Tunnel, jump up to the first small ledge and then up to the second ledge above the save point. Open the chest on the ledge for a Mega-Ether.
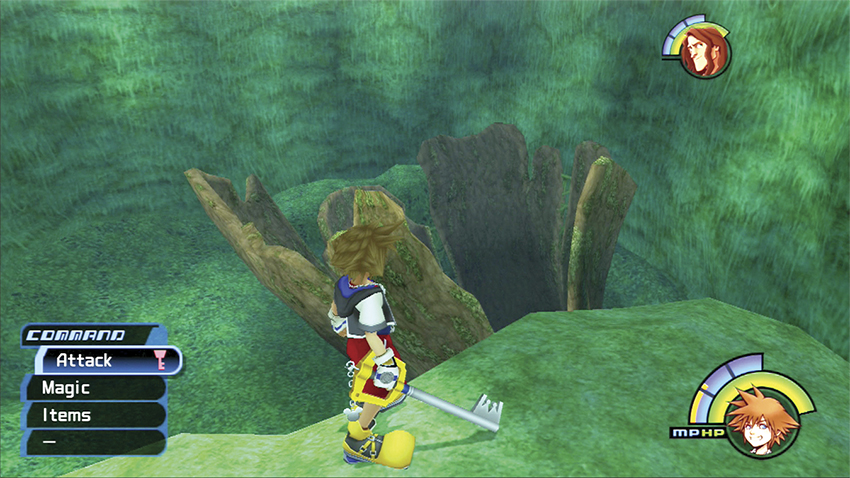
There are two exits from the tunnel. You can use the top exit to enter the Treetop area and explore some of the upper jungle levels. However, because we want to find Jane next, it’s best to jump onto the log for some tree surfing.
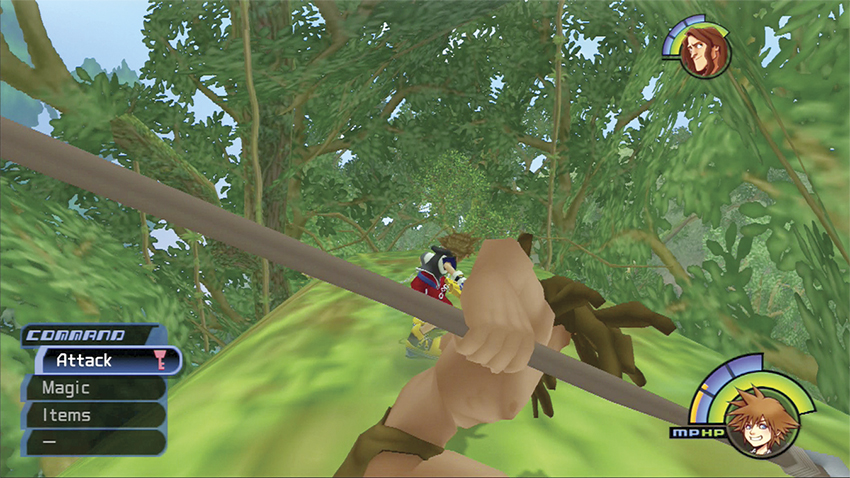
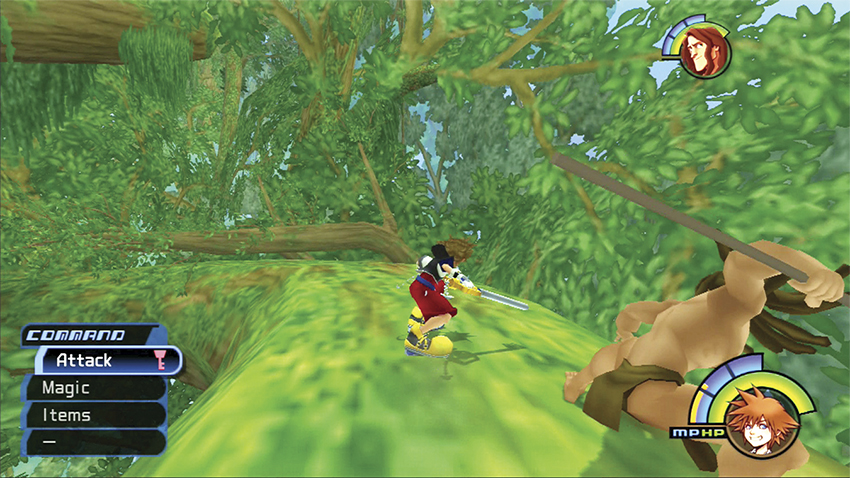
You quickly build up speed as you tree surf down the long, sloping tree branches. You can’t fall off the path, though you can steer left and right to avoid obstacles. About halfway down the path, you will have to jump over two trees in a row. If you go for a normal jump, you will likely crash into the second tree; better to execute an attack while in midair to extend your jump and clear both trees. When you reach the end, you automatically catapult off the tree slope and land safely in the Camp area.
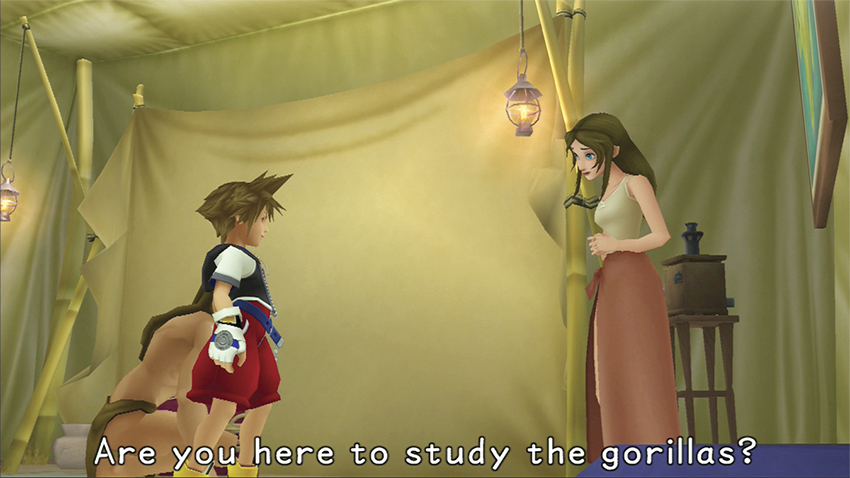
Enter the tent to your right when you arrive. Inside you’ll find Jane Porter and the veteran hunter, Clayton, who serves as Jane’s expedition guide. In the tent, you also reunite with Donald and Goofy, who hand you the Protect-G they found.
 Jane Porter
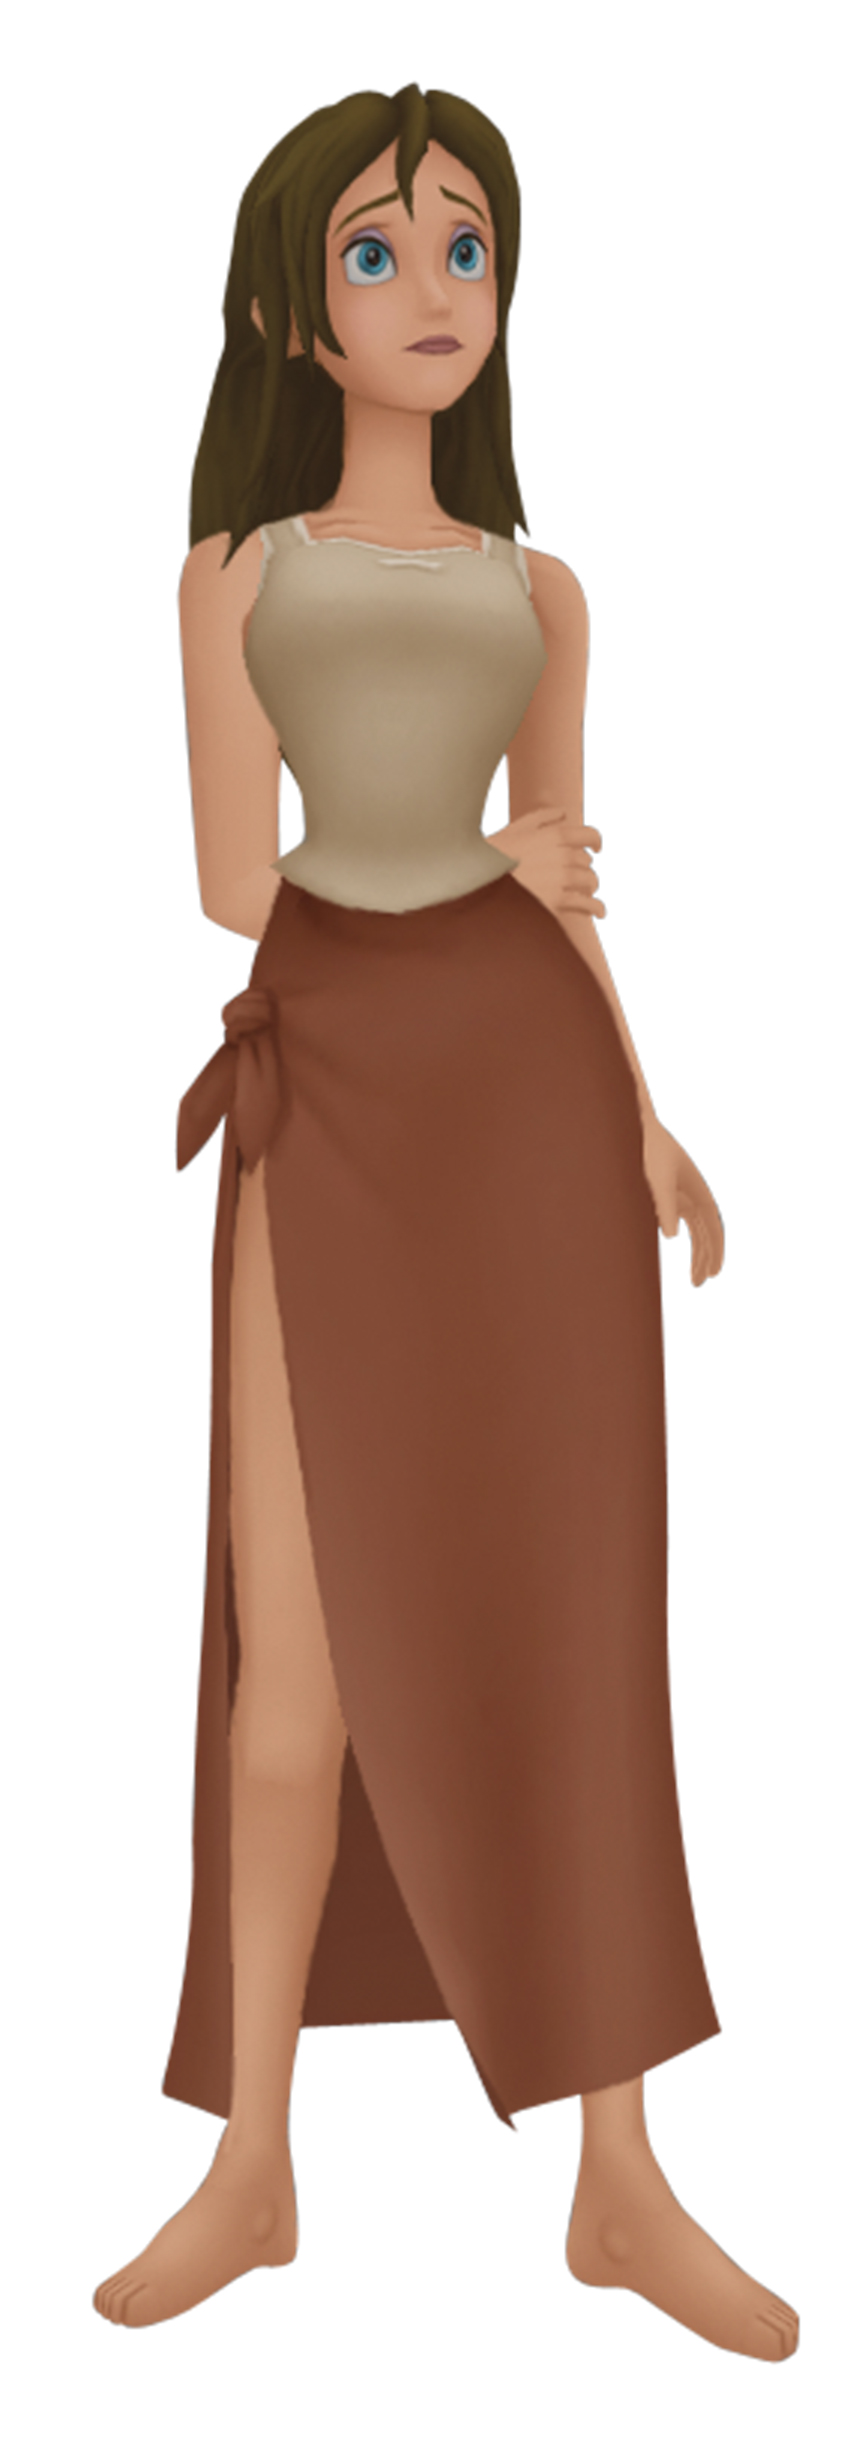
The researcher Jane Porter has come to the jungle to study gorillas in their natural habitat. Courageous and intelligent, Jane explores the jungle despite the dangers and is intent on learning how to help the animals. She befriends Tarzan and is able to translate some of his native tongue for you.
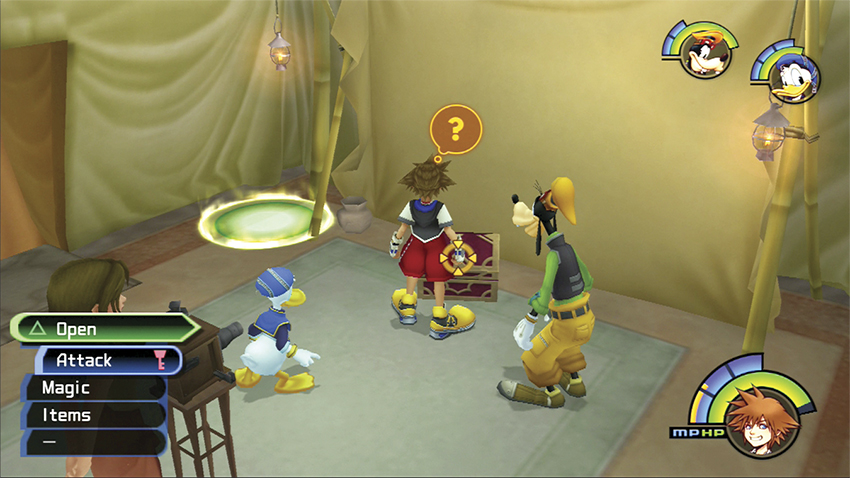
Use the save point in the tent. Now you have a choice of which three characters to take along on each stage of the journey; since there is a blue Trinity Mark just outside the tent, invite Donald and Goofy into the party. Open the chest in the tent to recover a Mythril Shard. Speak to Jane once more before leaving the tent.
Step 3: Collect Recipes, Notes, and Slides
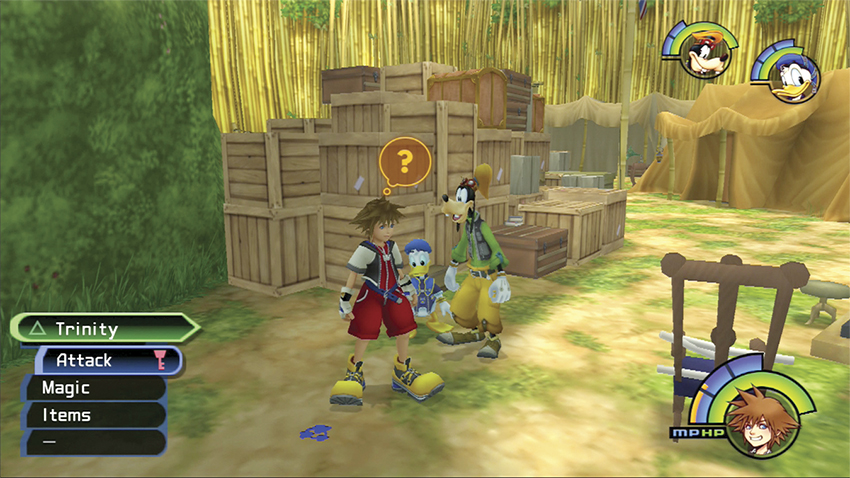
Exit the tent and search for the blue Trinity Mark past the central pile of crates toward the Hippos’ Lagoon entrance. Activate the Mark to reveal a chest with Dalmatians 34, 35, 36.
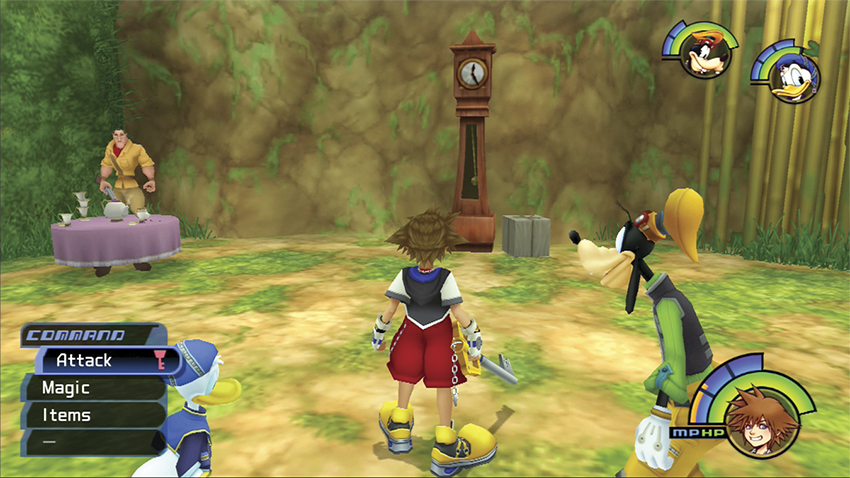
Before you retrieve the slides Jane asked for, you can collect various recipes and research notes for rewards. Start with the recipes; the first one is hidden inside the grandfather clock next to Clayton.
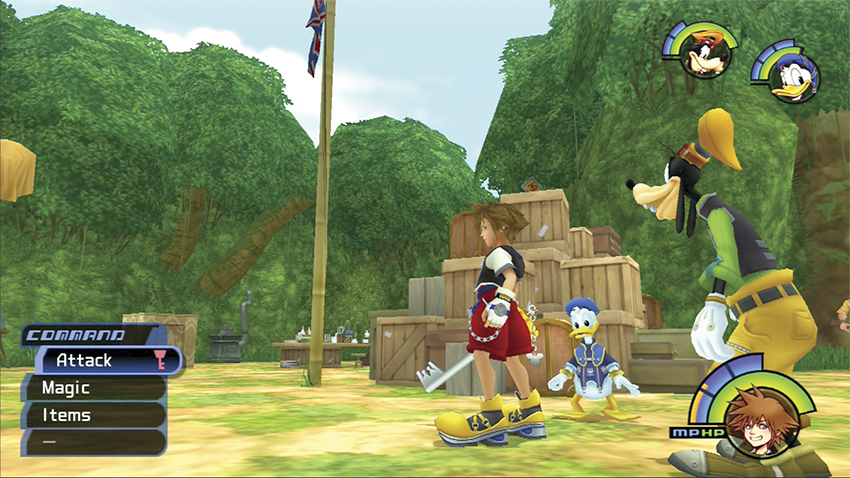
Gather the second recipe from the base of the camp flag pole.
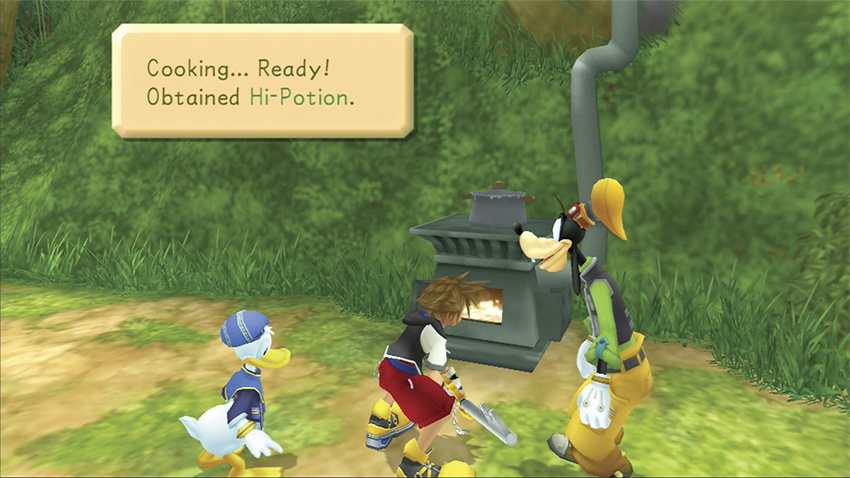
Head to the stove on the side of the camp. Strike the door to open it, target the inside, then cast Fire into the empty stove. It lights, and you automatically contribute a Potion to the cooking experiment (if you have one). After a moment, the Potion transforms into a Hi-Potion.
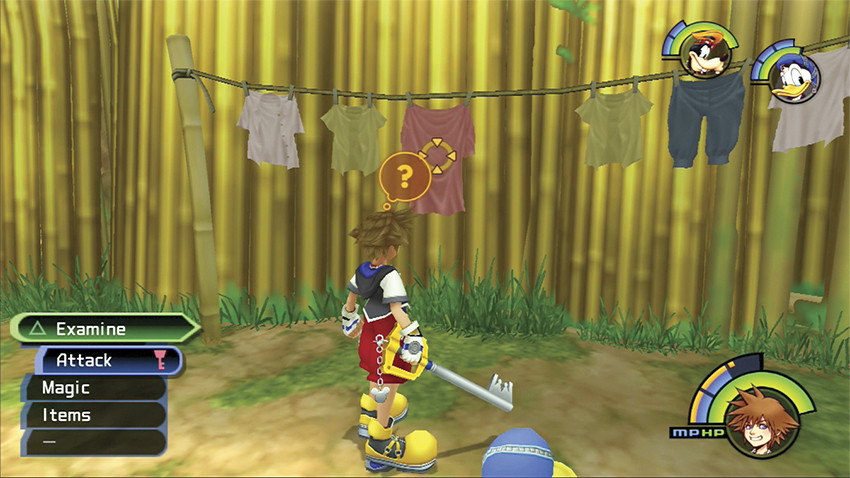
Search for the research notes next. Examine the pink shirt on the clothesline for the first note.
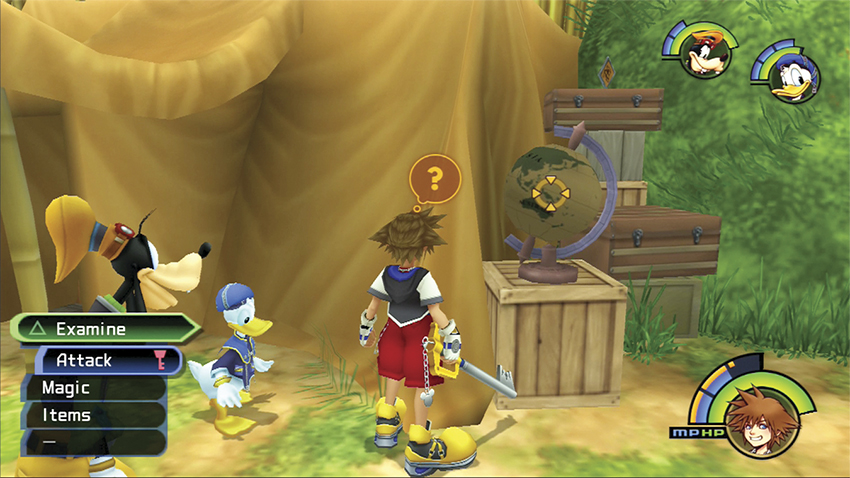
The second research notes lies next to the glove to the right of the tent opening.
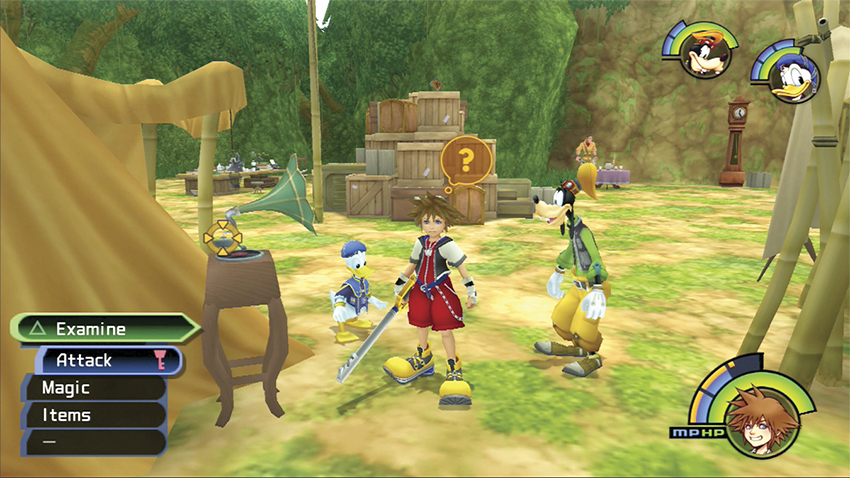
The third research note sits on the table with the gramophone to the left of the tent opening.
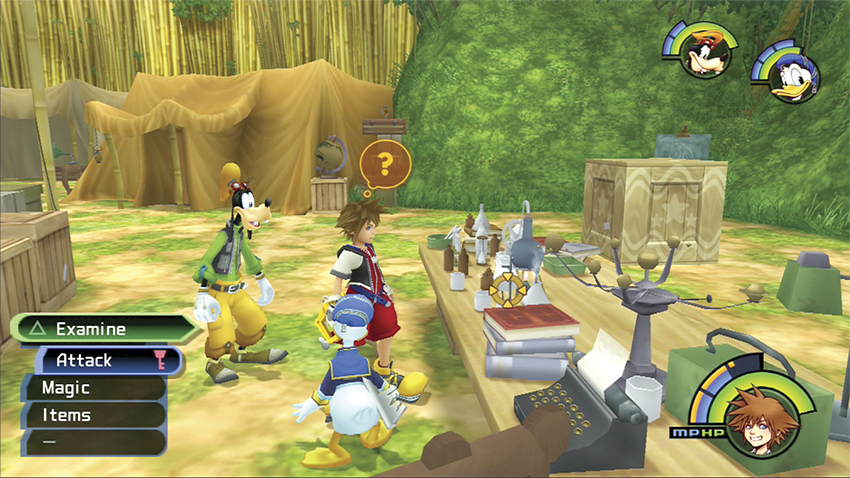
Examine the test tubes on the outdoor table. You automatically place a Potion in a beaker (if you have one) and starting up the lab experiment gives you two Ethers.
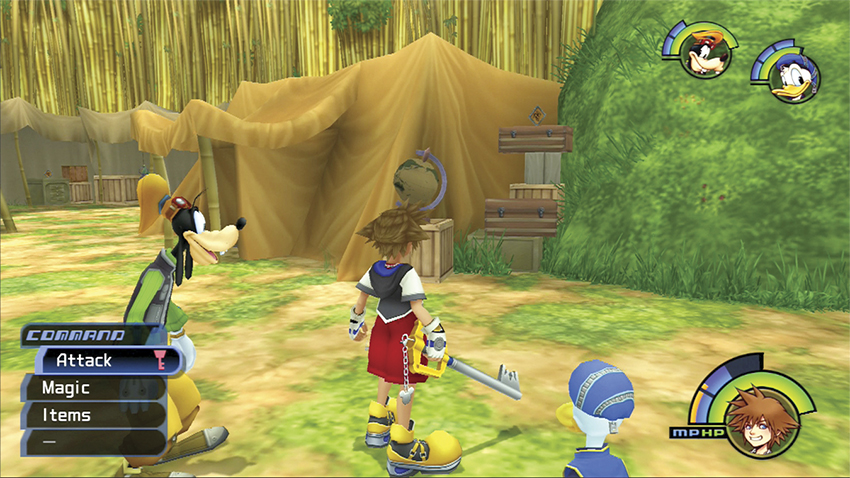
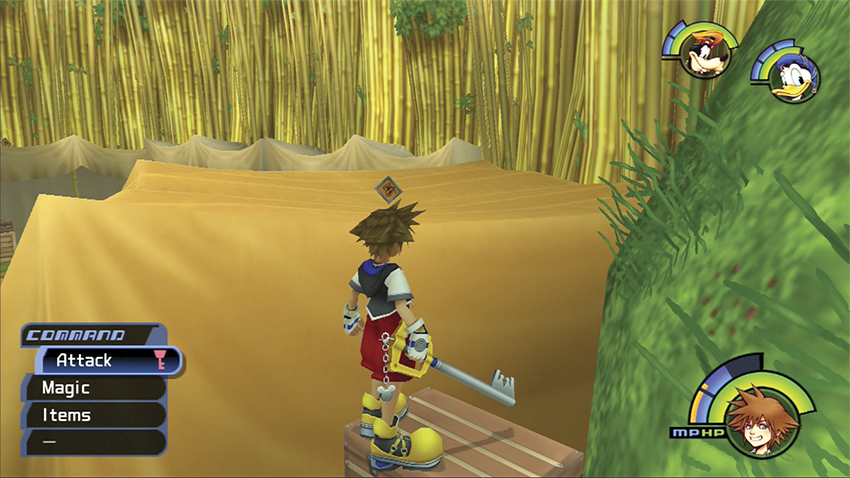
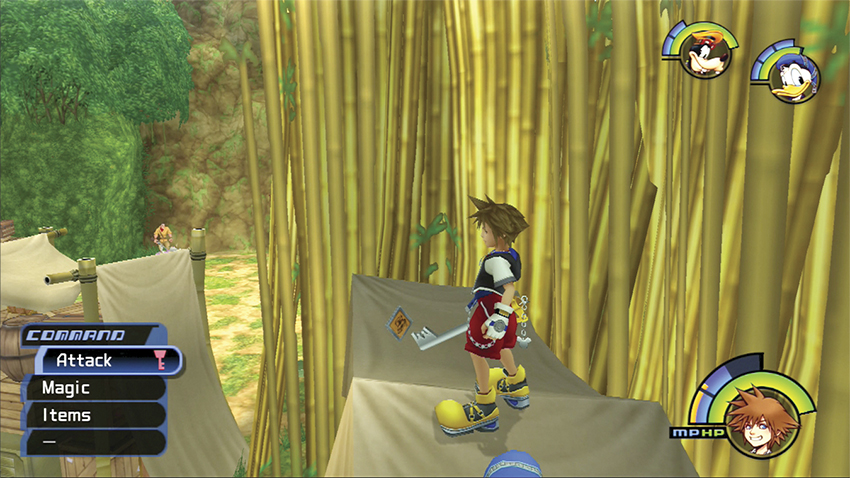
Finally, search the grounds for the six missing slides. You need to climb up the tent to gather the first three. Collect the first slide on the crates to the right of the tent opening, the second slide atop the main tent, and the third slide by following the tent awnings to the very end near the Bamboo Thicket side.
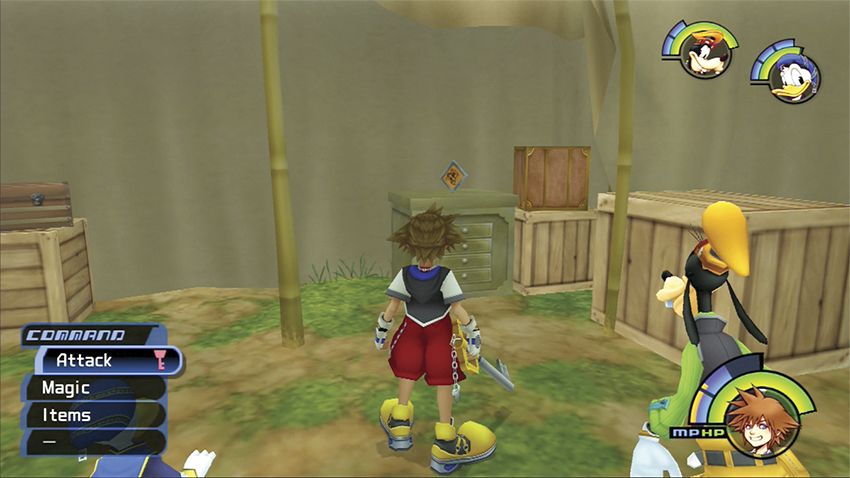
Drop off the awning and look for the fourth slide under the canopy in the corner. Snatch it off the file cabinet next to the crates.
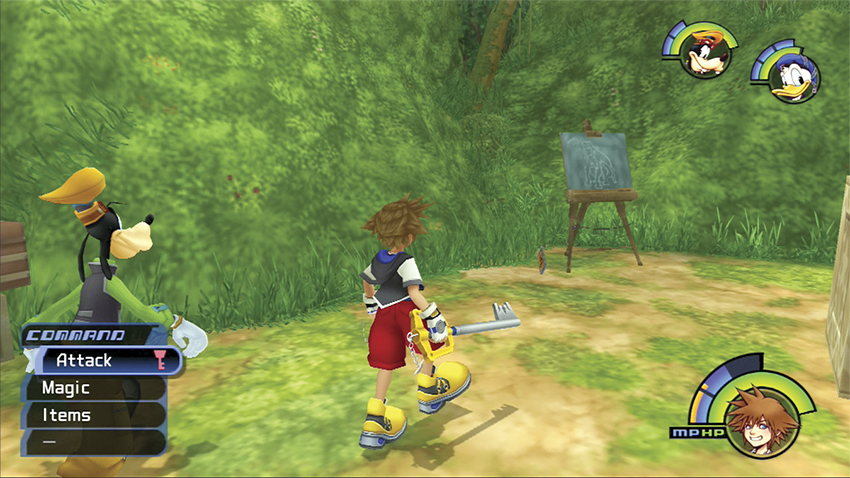
The fifth slide sits on the ground next to the chalkboard.
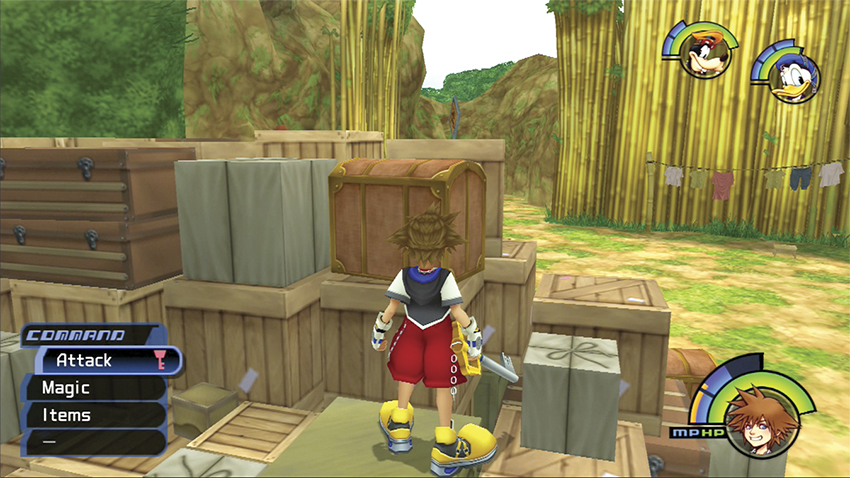
Hop up on top of the big pile of crates and boxes in the middle of the tent. The sixth slide rotates atop one of the crates on the end closest to Clayton.
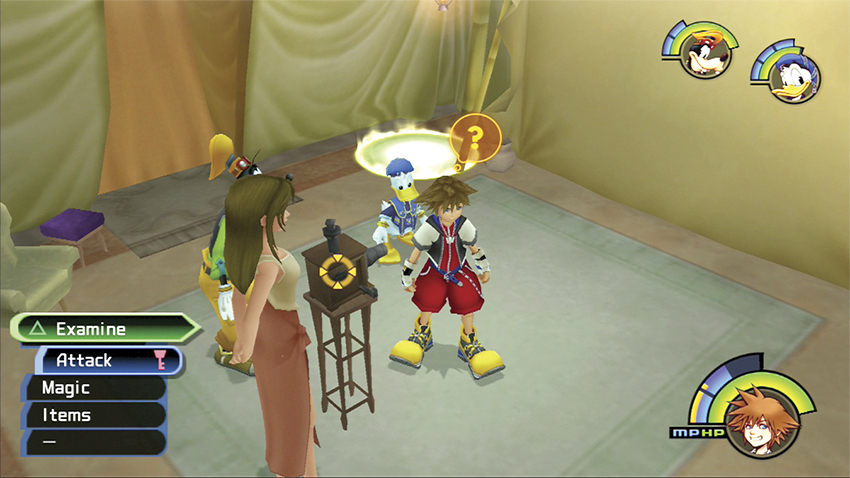
Return to the tent and switch on the projector. You watch all six slides, but nothing jogs Tarzan’s memory for your missing friends’ locations. Clayton convinces everyone that they must be with the gorillas, and Tarzan offers to lead you to them. Access the save point and switch out Donald or Goofy for Tarzan. If you want a melee-heavy party, swap out Donald; if you want a bit of magic to supplement your attack, swap out Goofy. Save before leaving the tent.
Step 4: Sabor II
| HP | 90 |
| Strength | 12 |
| Defense | 11 |
| EXP | 15 |
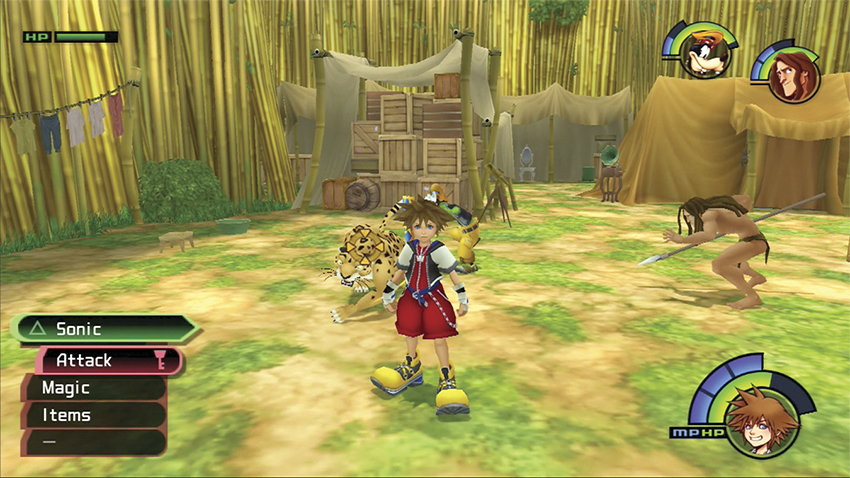
Sabor ambushes you as soon as the party exits the tent. If you have Tarzan and Goofy in your party, they will prove strong defenders to block the big cat from attacking you relentlessly. Plan your tactics similarly to the first fight against Sabor.
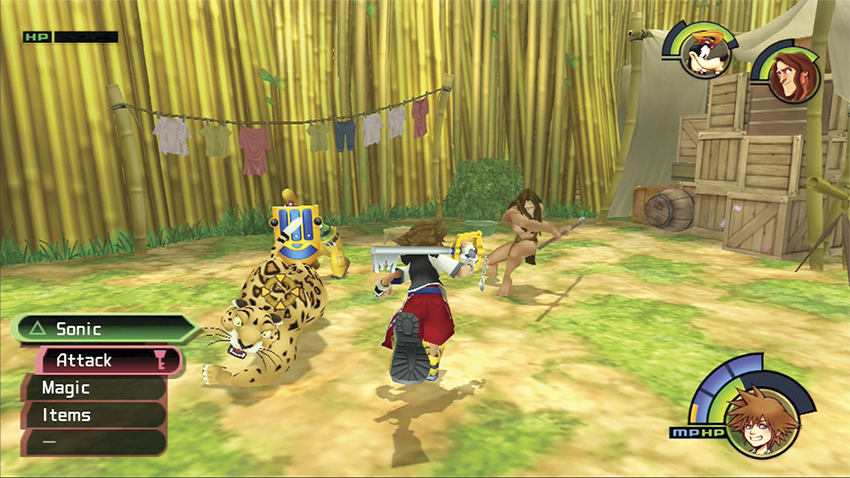
Use Dodge Roll constantly to sidestep Sabor’s attacks; position yourself behind or to the side of the cat for counterattacking. Watch that you don’t get stuck next to the crates or other obstacles about the campsite; on the flip side, if your party can trap Sabor against crate stacks, you can pile on more damage than normal. Keep up the offensive pressure to send the leopard scurrying away.
Step 5: Swinging Vines
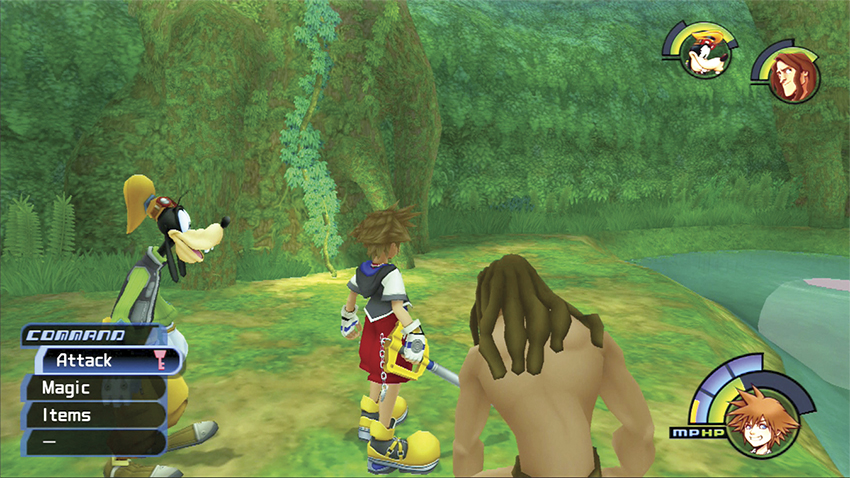
Once you drive Sabor off again, enter the Hippos’ Lagoon. Stand on the first grass plot and notice the ivy climbing the wall to your left; you’ll use that ivy to climb out of the area when you’re finished collecting everything.
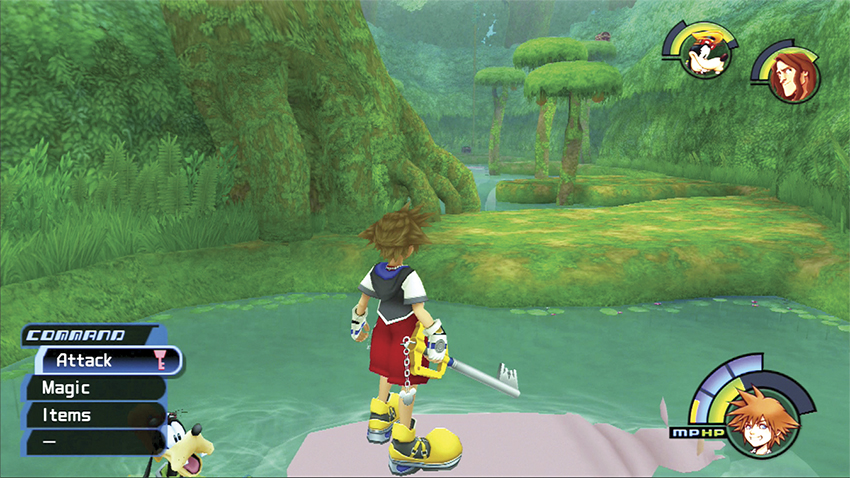
Jump on the back of the hippo floating in the first pond. Aim for the far bank and make the leap across to dry land.
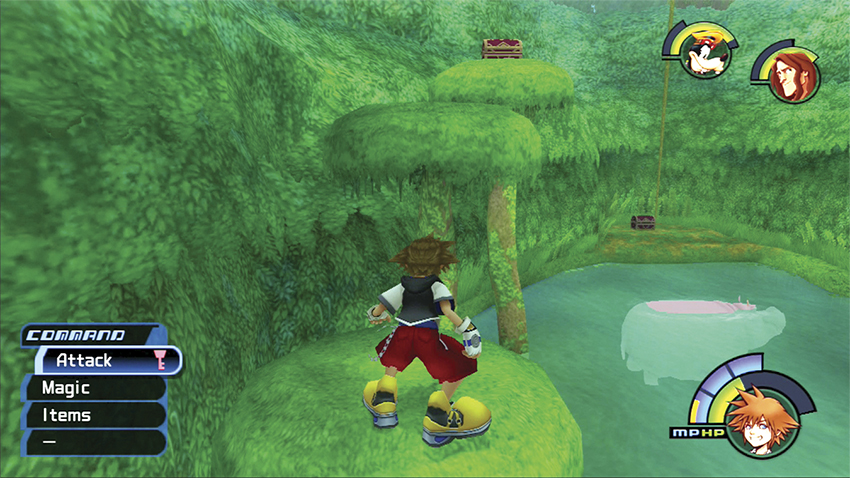
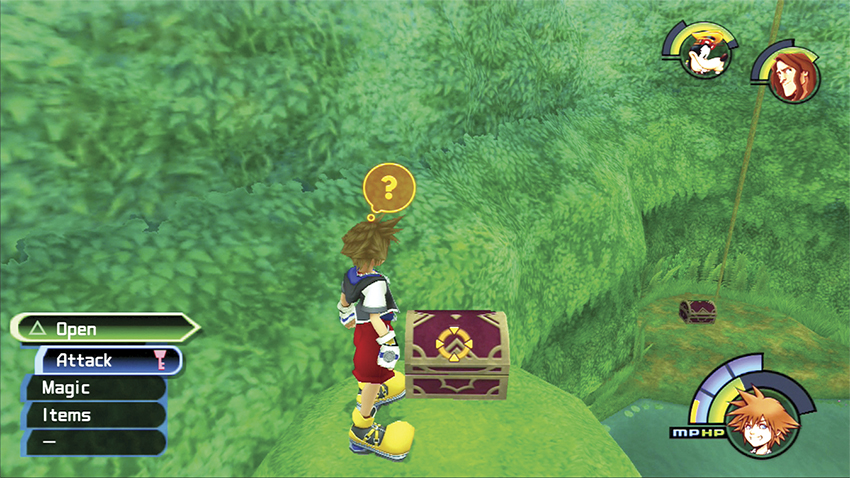
Dive into the next pond and swim to the land to your left. Climb out of the water and hop up on the first tree platform. Turn toward the far end of the Hippos’ Lagoon and look for a red chest two platforms above you. Jump up there to claim your Mega-Potion reward.
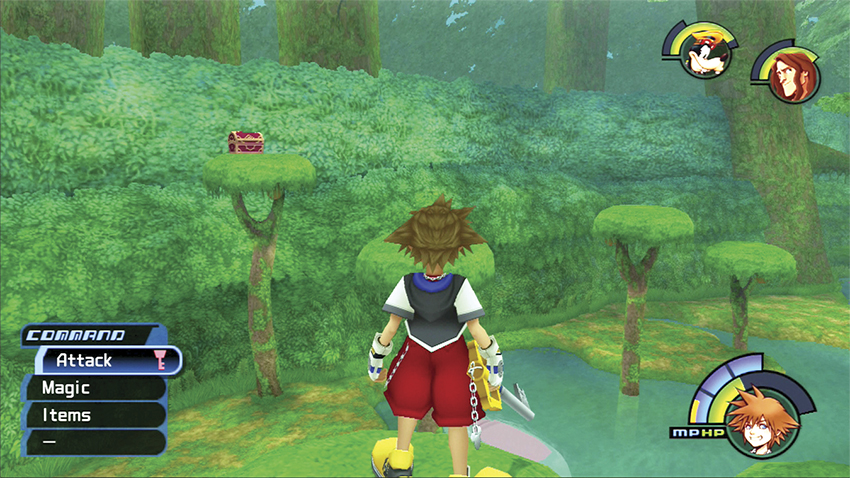
Return to the previous tree platform. Turn to look on the opposite side of the Lagoon and you’ll spot a treasure chest on the highest tree platform. It may not look like it, but you can jump from your current platform across the pond to the tree platform next to the hippo that sinks and rises in the water. Do a long jump and attack near the end of the leap to extend the jump onto the far tree platform. Make one more jump up to the highest platform and open the chest for a Meteor-G.
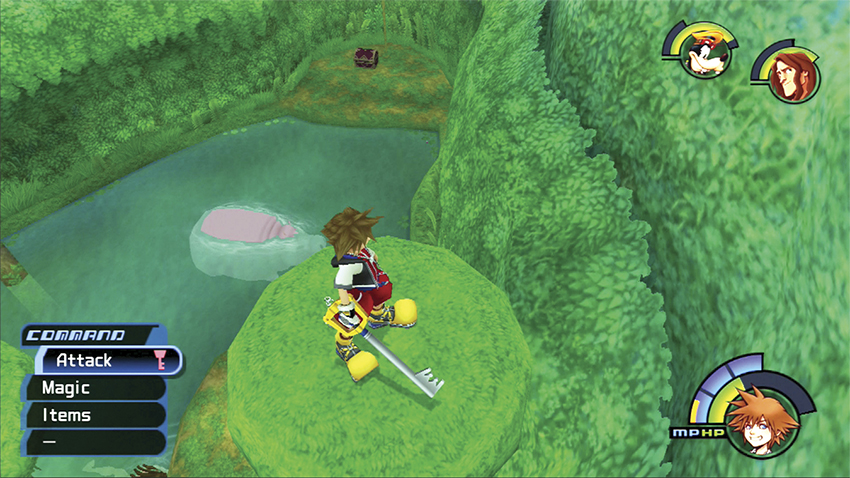
Standing high up on your platform, look down and make the long leap down to the back of the floating hippo near the far end of the Lagoon. Jump from the hippo’s back to the far shore and open the treasure chest there for Dalmatians 25, 26, 27.
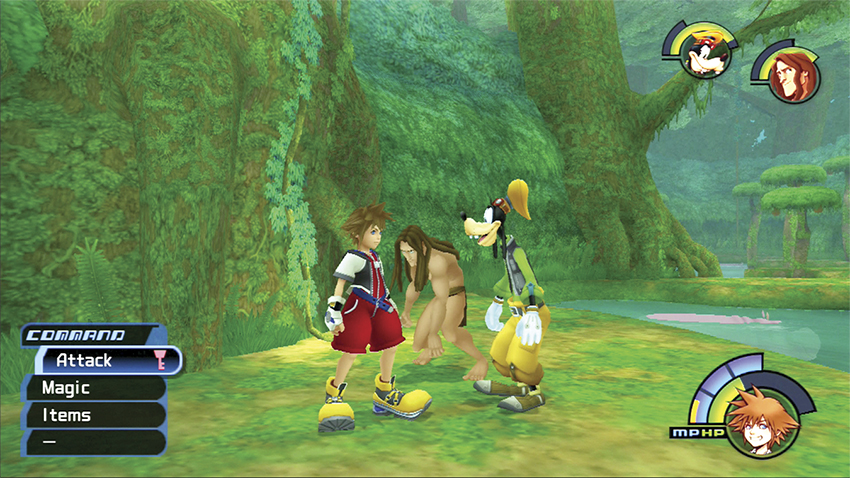
You can climb two tree vines to reach the Vines area above. Because you don’t want to miss a whole area, return to the land near the entrance and climb that vine to the next area.
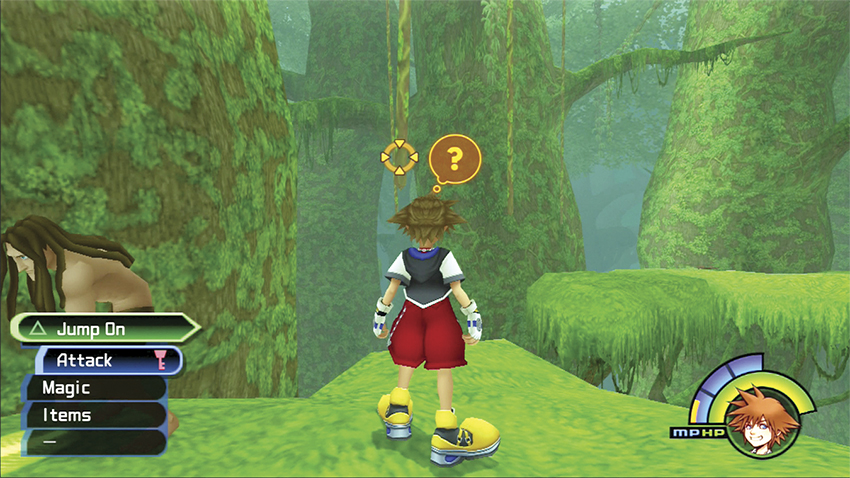
Save at the save point and prepare for some vine swinging! When you auto-target a vine, jump up and grab it and let your momentum swing back and forth.
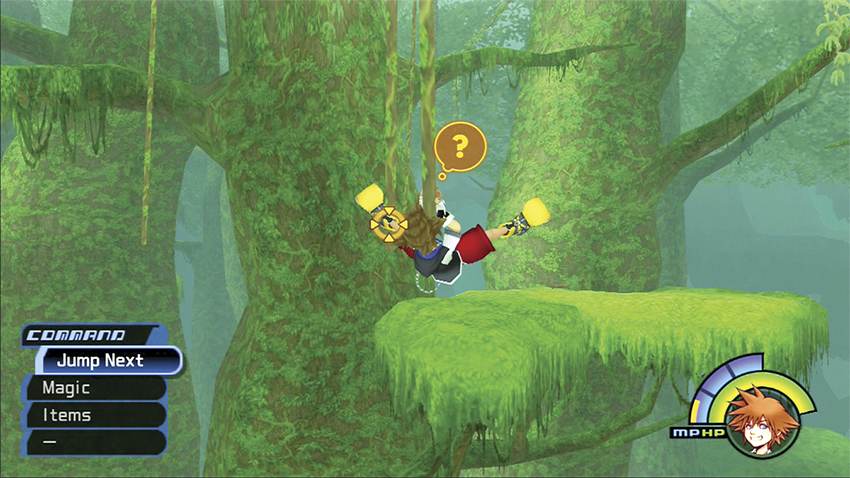
As you do, a target will appear on vines that are available to swing on; you can jump back and forth to these vines to swing from tree platform to tree platform.
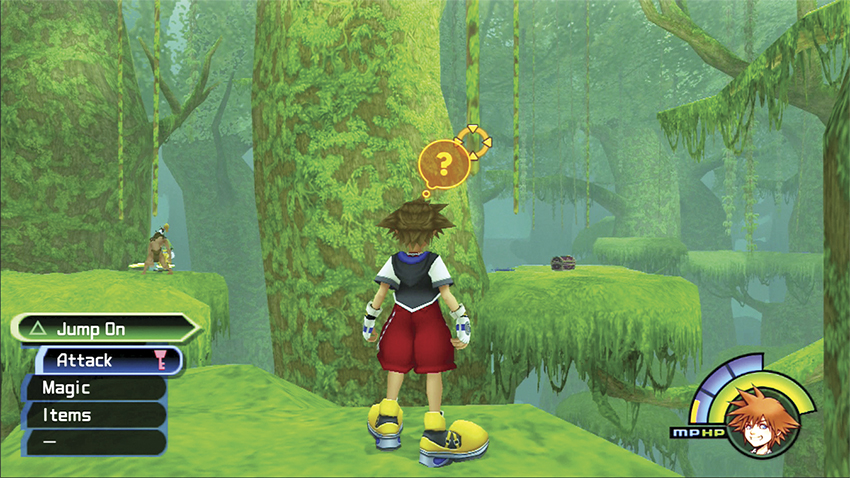
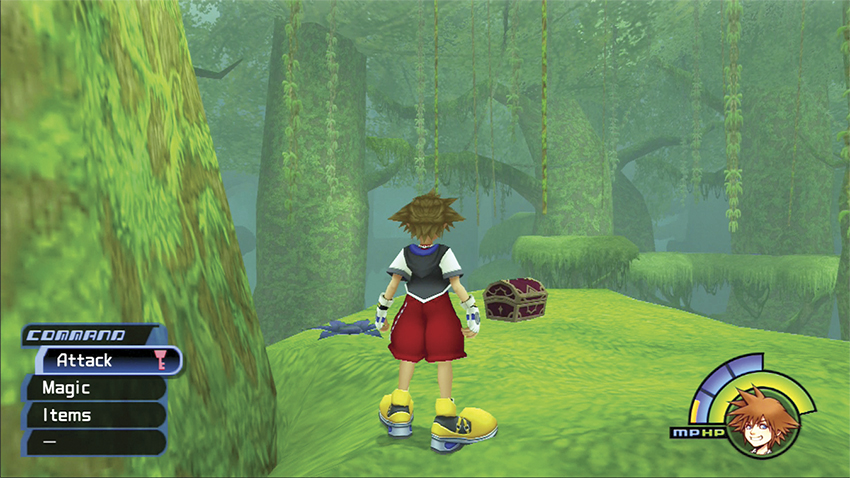
Moving from vine to vine, swing to the center tree branch and search to the right of where you left your party behind. You’ll see a treasure chest partially hidden behind the large tree ahead. Swing over and open the chest to receive Mythril.
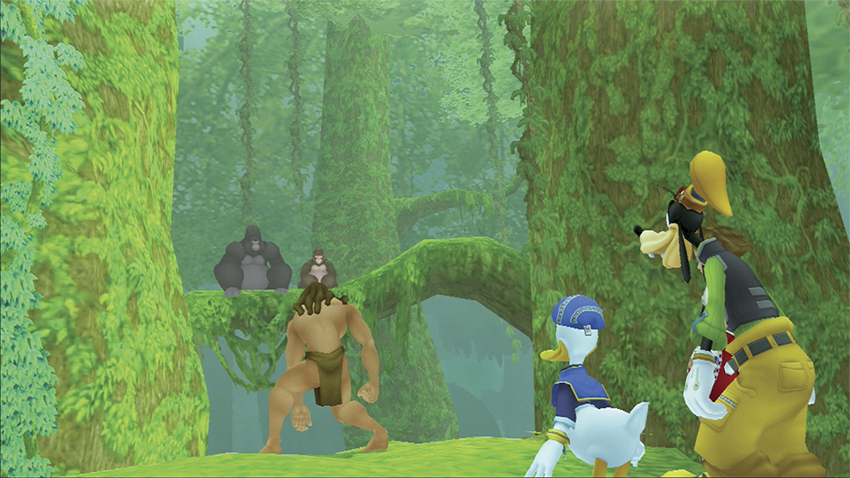
Grab the vine on the other side of the chest and swing over a long line of treetops. Look for a spot that goes between two trees and under a branch for the entrance to the Vines 2 area. When you enter, Tarzan speaks to Kerchak and then the big gorilla wanders off toward the Tree House.
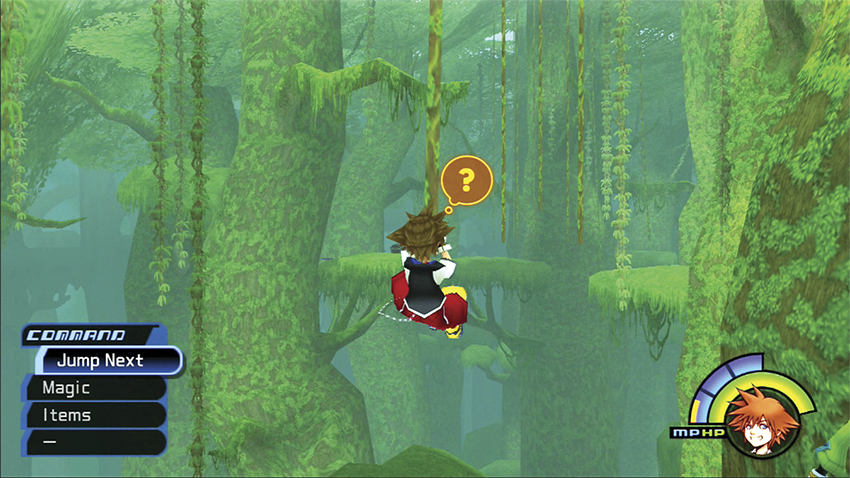
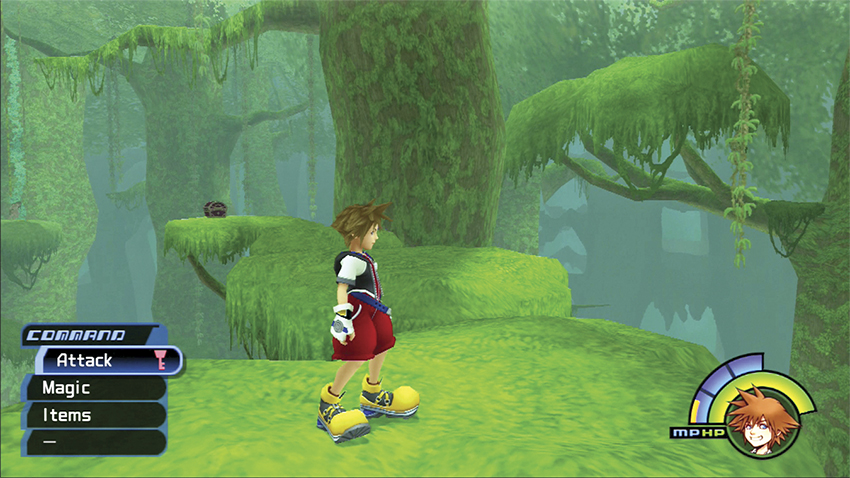
Jump up and grab the nearest vine. Swing over to the nearby platform and jump over to the final tree platform on the end. Here you’ll find a treasure chest which releases Dalmatians 28, 29, 30.
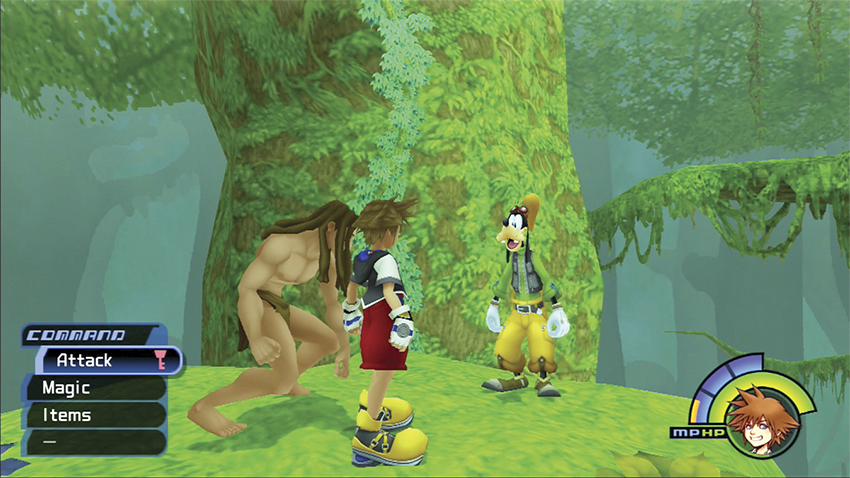
Return to the platform with your party. Climb the vine on the nearby tree to enter the Climbing Trees area.
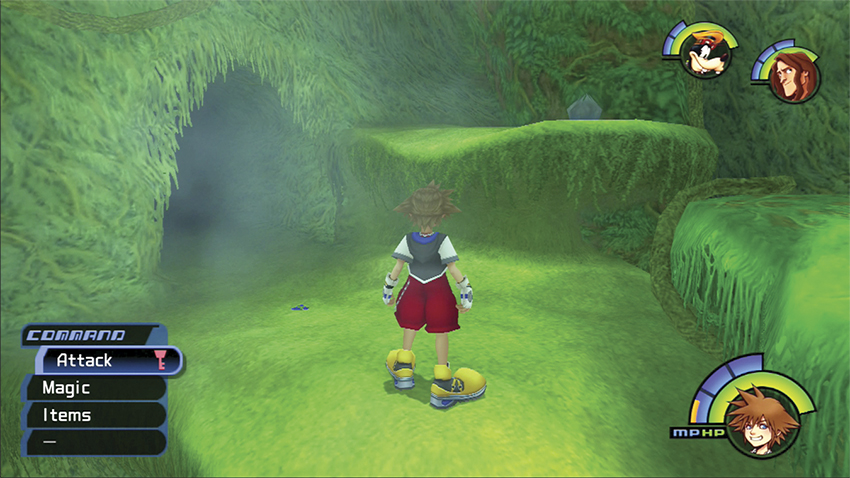
Circle around the central tree until you reach the gap. Jump the gap and use the blue Trinity Mark to gain a Thundara-G. If Tarzan is in your party, you can use the exit on the opposite end of the area to go through the Treetop area to find the save point in the Tunnel and swap him out for Donald.
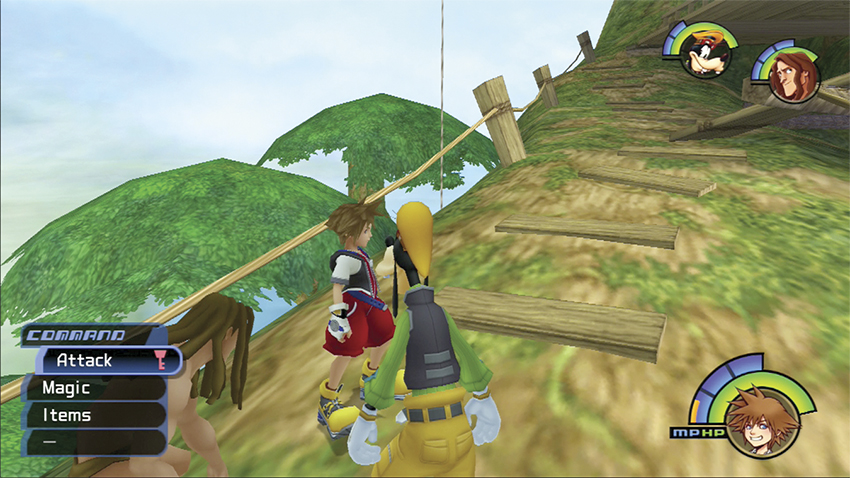
Enter the Tree House from the Climbing Trees’ exit next to the Trinity Mark. You arrive just in time to interrupt Clayton from silencing one of the baby gorillas, though Kerchak is now extremely wary of all of you. To take a shortcut to your next encounter, head over to the path leading to the Climbing Trees, but instead of walking down the path, jump over the side railing. This drops you safely into the Cliff area.
Step 6: Sabor III
| HP | 90 |
| Strength | 12 |
| Defense | 11 |
| EXP | 15 |
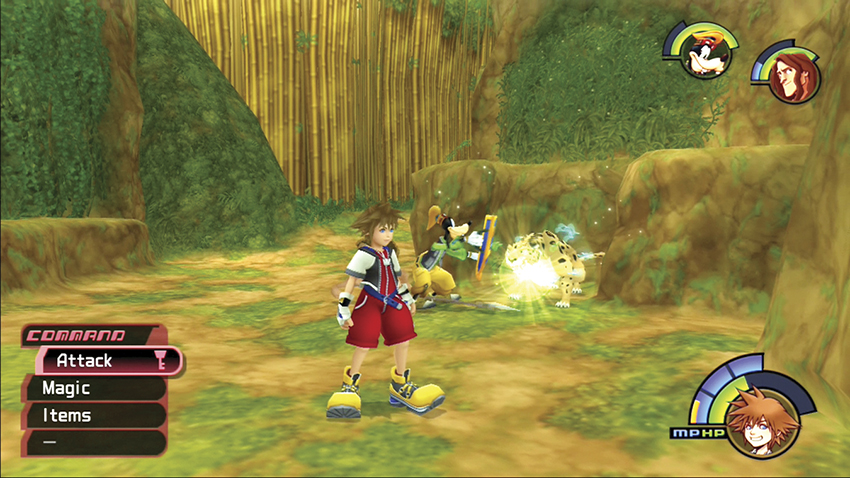
When you drop into the Cliff area, Sabor pounces. In the area’s close confines, dodging is essential. Once again, Dodge Roll becomes invaluable if you want to escape heavy damage from Sabor’s claws.
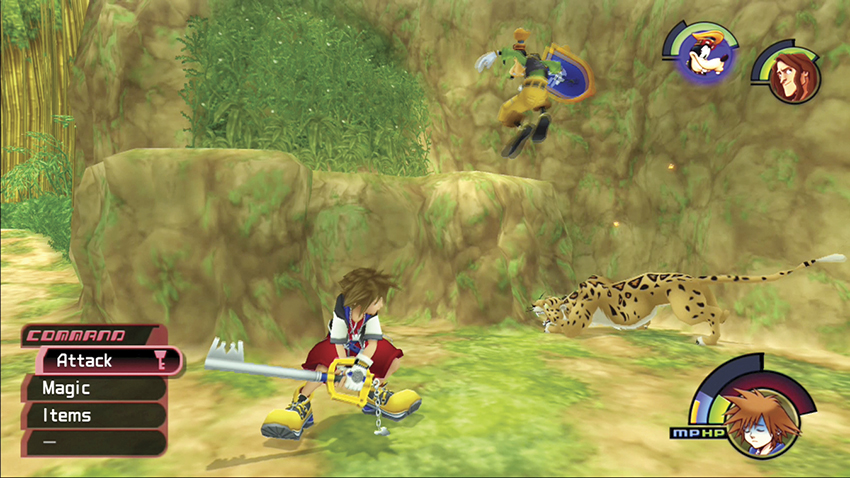
Tarzan is huge help against Sabor here. Combined with Goofy, they can hold off Sabor while you dodge her leaps and counterattack with magic or quick strikes here and there. It won’t take long to drive Sabor off into the undergrowth.
Step 7: Gorilla Rescue
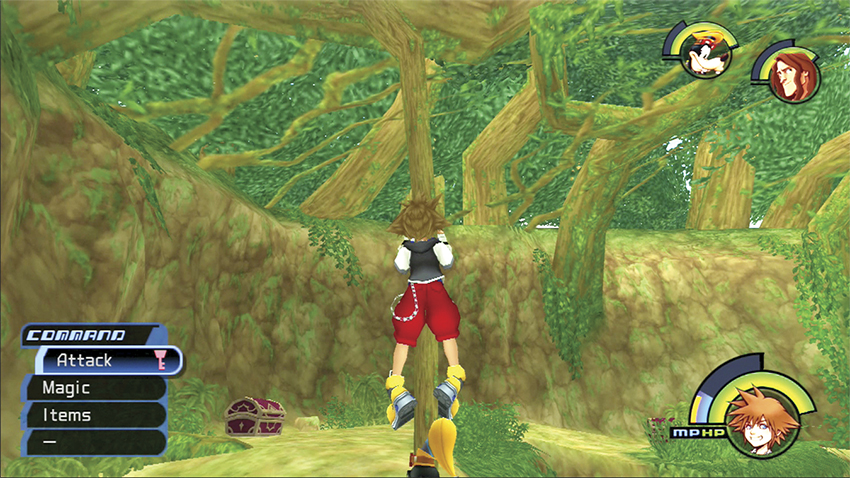
Before you leave the Cliff area, climb the vine next to the back ledge. Atop the ledge you’ll discover two chests, one with a Mythril Shard and one with a Mega-Potion.
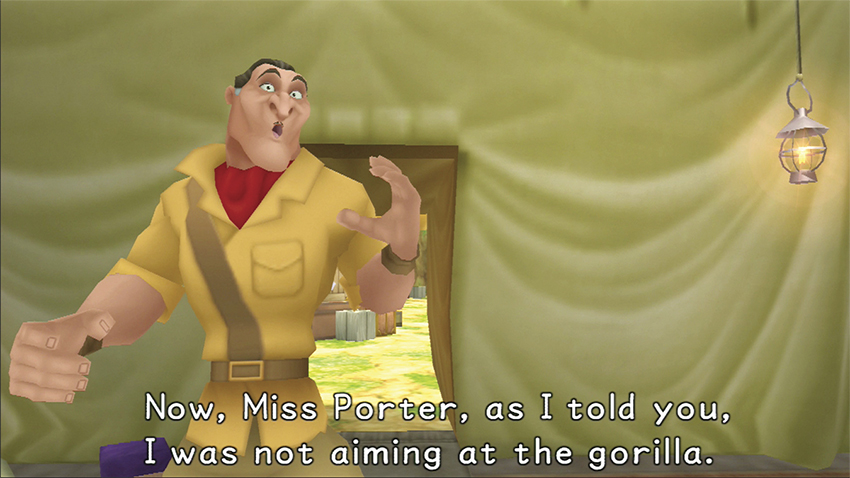
Back at the Tent, Clayton tries to talk his way out of his attack on the gorillas, but no one is listening. He leaves the expedition to strike out on his own. The Heartless are about to invade the jungle, so add Tarzan to your party for some extra muscle before you leave the Tent.
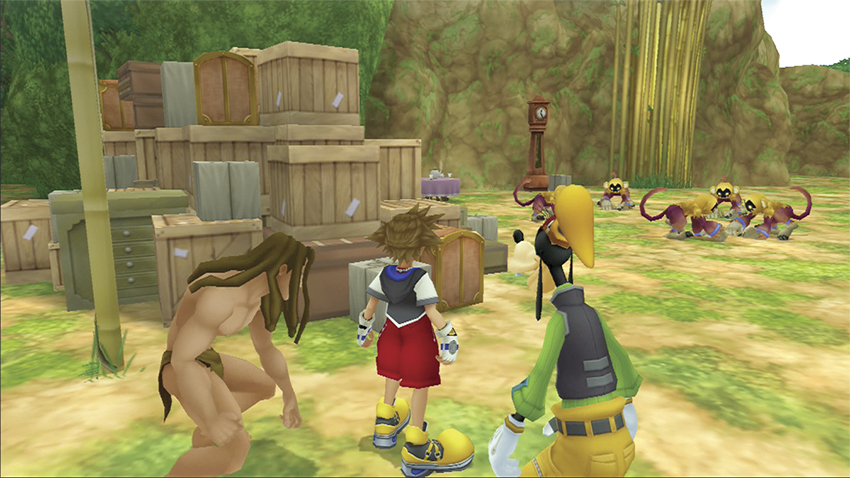
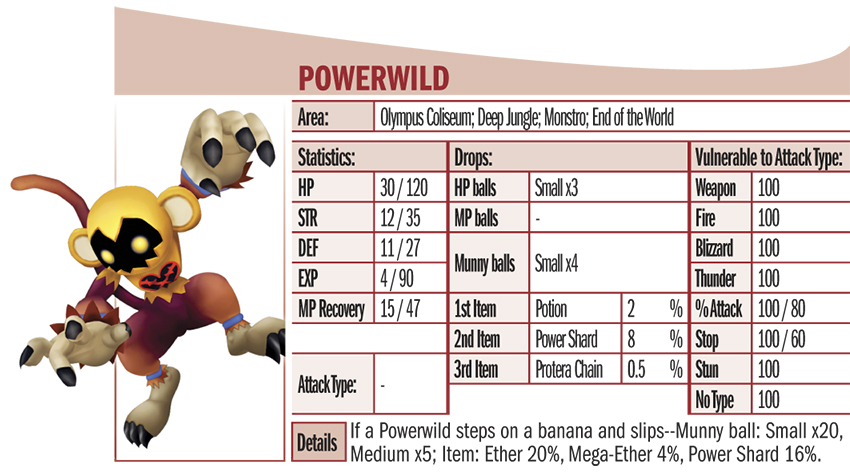
When you exit the Tent, you see a gorilla surrounded by a new Heartless opponent—a Powerwild. These monkey-like Heartless bounce around and can hit you from all sides if you stand still in the battlefield. Keep on your toes and use area-effect abilities as often as possible. As soon as you beat all the Powerwilds in the campsite and save the gorilla, you gain a Protect-G as a reward.
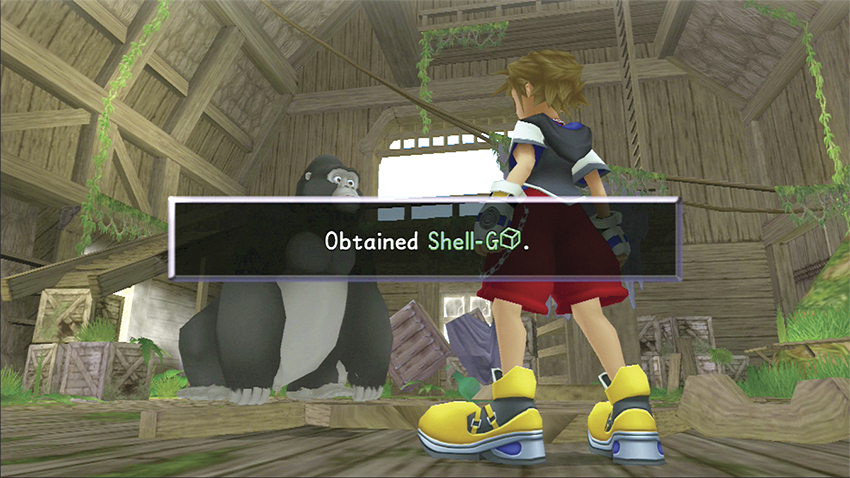
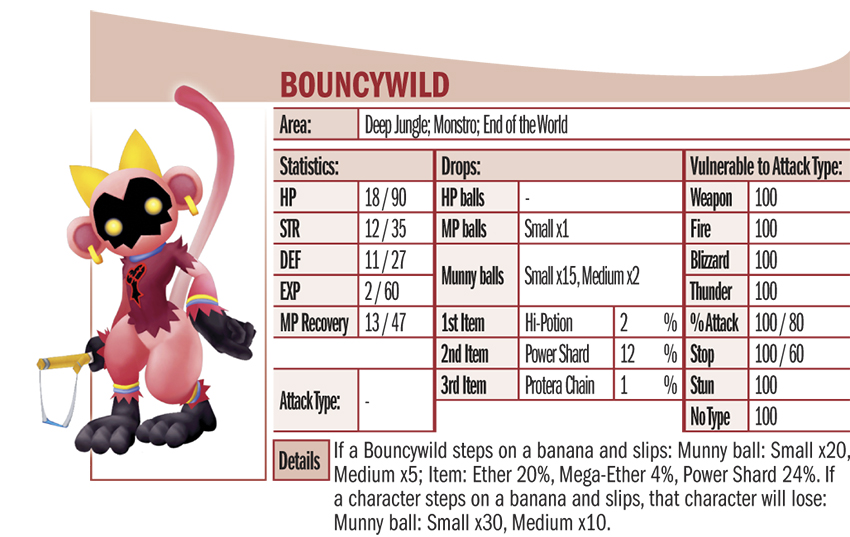
Continue rescuing gorillas in the four remaining areas: Bamboo Thicket, Cliff, Climbing Trees, and Tree House. You receive a Fire-G in the Bamboo Thicket, an Aeroga-G in the Cliff, another Aeroga-G in the Climbing Trees, and a Shell-G in the Tree House. You may run into some Bouncywilds during your Heartless combats. If so, attack them first to nullify their ranged slingshots against your party; when you defeat them, they explode into loads of munny. Return to the Tent after you’ve collected all your rewards and talk to Jane again. Save and select your favorite party configuration for the final boss fights ahead.
Step 8: Sabor IV
| HP | 180 |
| Strength | 12 |
| Defense | 11 |
| EXP | 150 |
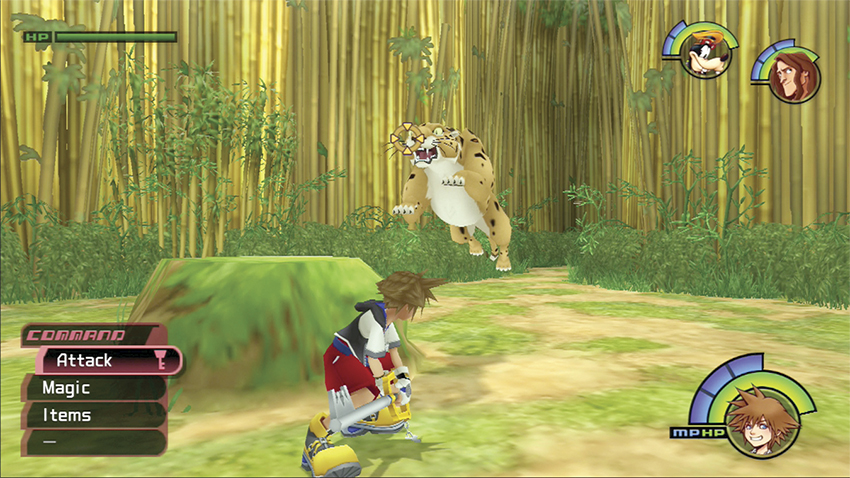
It’s time for the final confrontation with Sabor after you find Clayton’s pipe. With twice as many hit points as previous battles, Sabor will be a tough foe to best this time around.
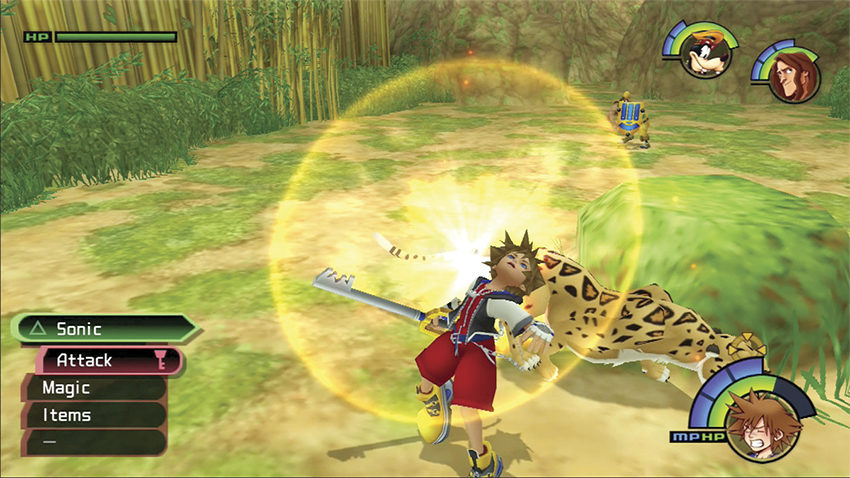
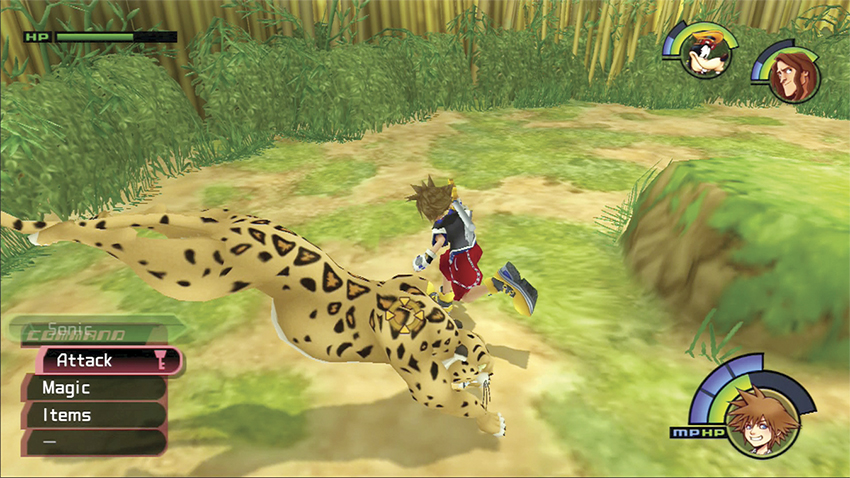
As with all other Sabor battles, the big cat moves fast. Don’t let her get behind you or she’ll chomp a huge chunk of your hit points away. Dodge to the side and roll behind her to get off your own attacks. Use Tarzan or Goofy as defensive shields if you need a second to orient yourself or drink a potion.
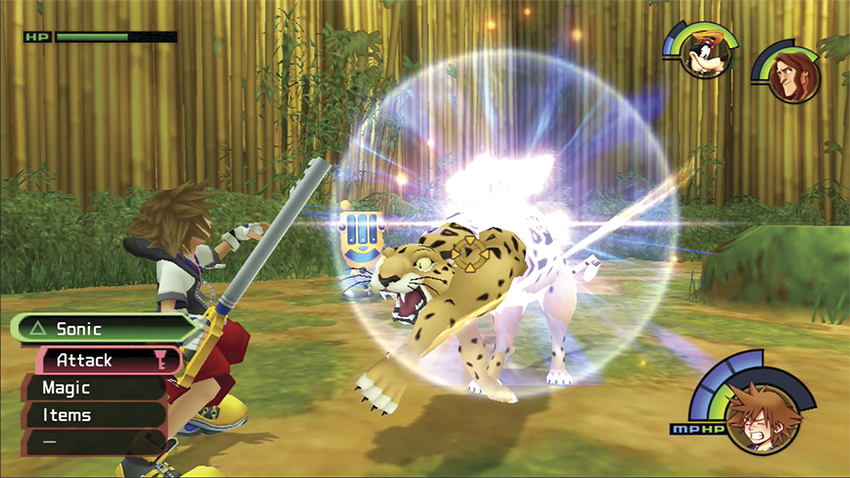
Activate spells or special abilities whenever you get a chance to target the swift Sabor. In the end, she will fall and you’ll have made the jungle that much safer. Your reward for the four boss battles is the White Fang.
Step 9: Save Jane
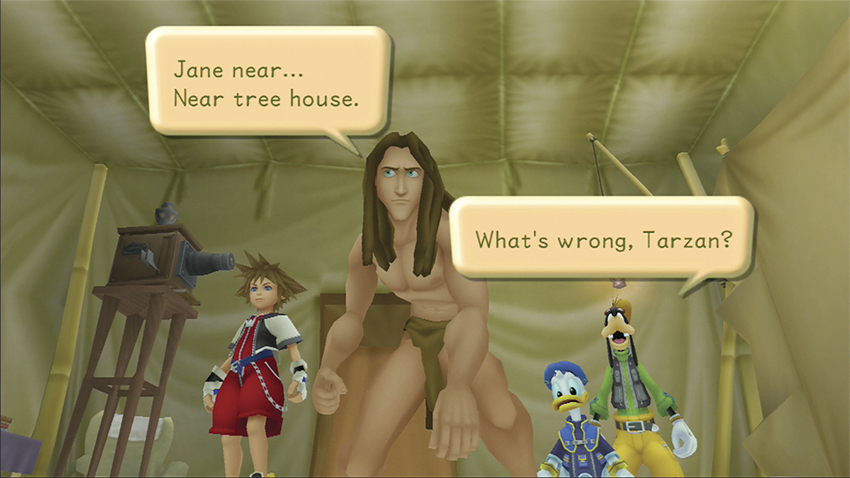
Back at the Tent, Jane and the gorilla Terk have been kidnapped. Tarzan senses that they have headed toward the Tree House, so that’s the direction you should take too.
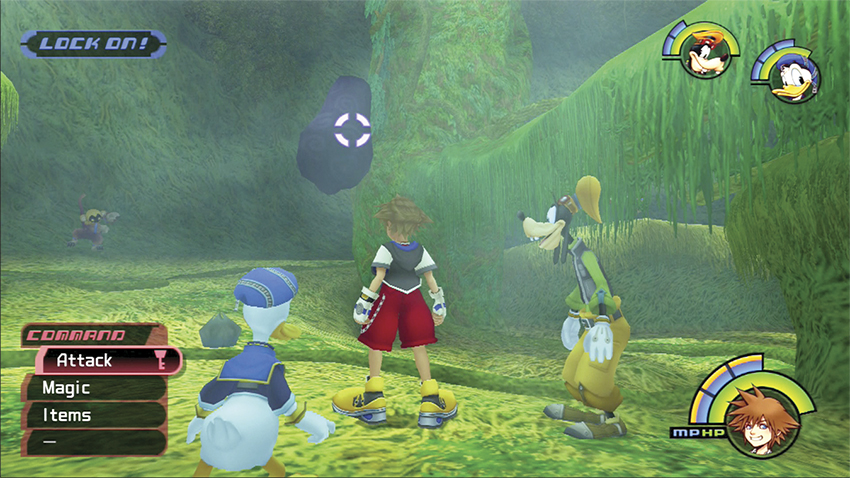
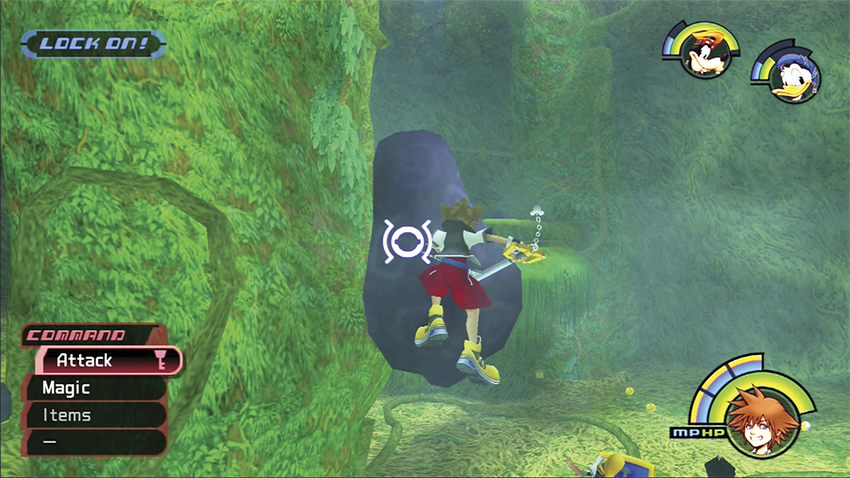
Wave after wave of Heartless will assault you in the Climbing Trees area. You can’t beat them through standard combat. Instead, lock on the grotesquely huge black fruit growing on the main tree. While the others hold off the Heartless, leap up and slash at the black fruit until it explodes. Jane tells you that Clayton kidnapped them and is now headed to hunt down all the other gorillas. Leave Jane safe here and return to the Tent for a final save before the last boss fights.
Step 10: Clayton
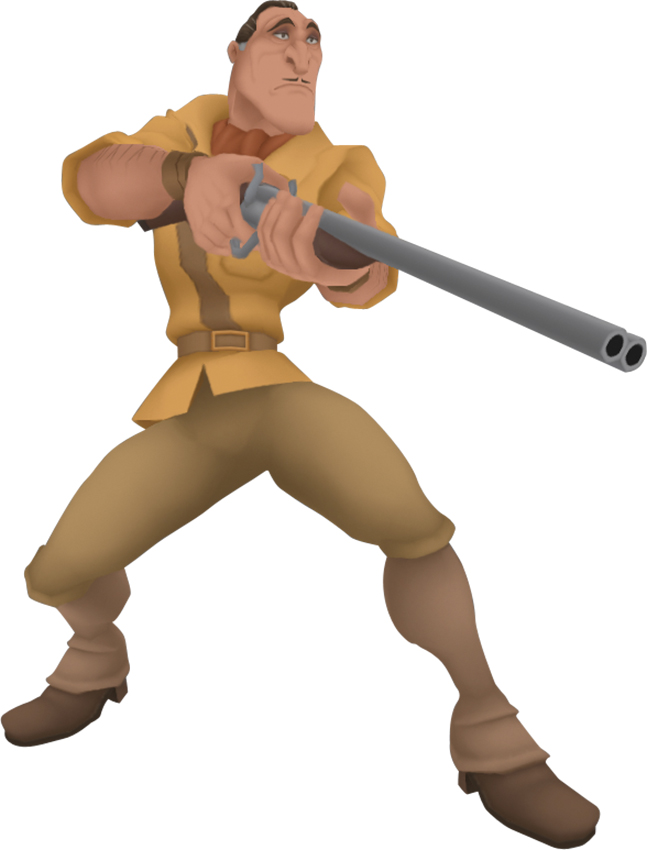
| HP | 250 |
| Strength | 12 |
| Defense | 11 |
| EXP | 240 |
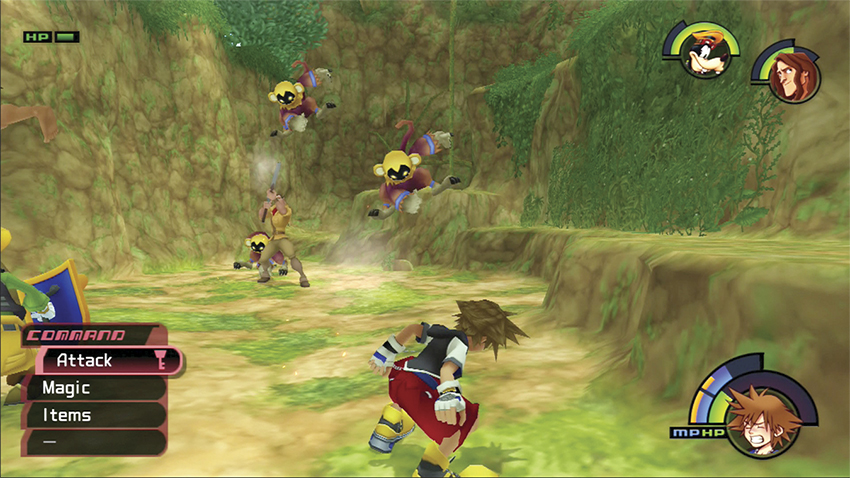
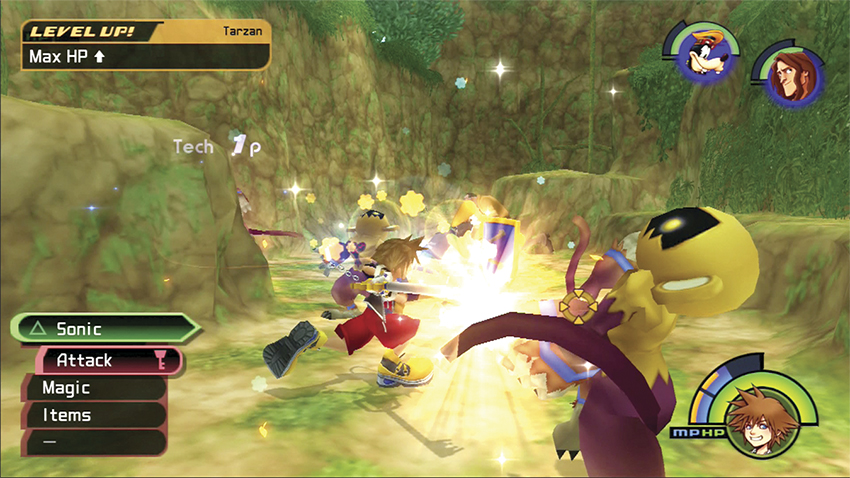
The good news is that you only have to bring Clayton down to half his hit points to end part one of the boss fight against the veteran hunter. The bad news is that he has a horde of Powerwilds to run interference for him. Swat the initial rush of Heartless aside and track down Clayton as soon as possible.
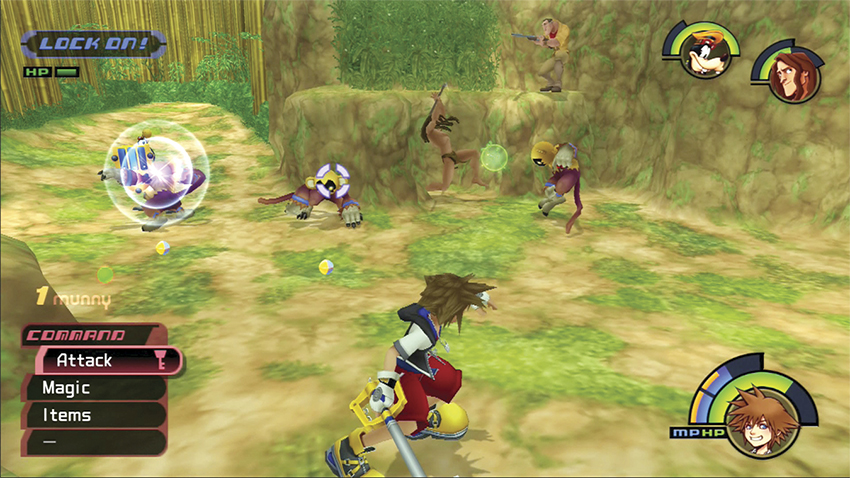
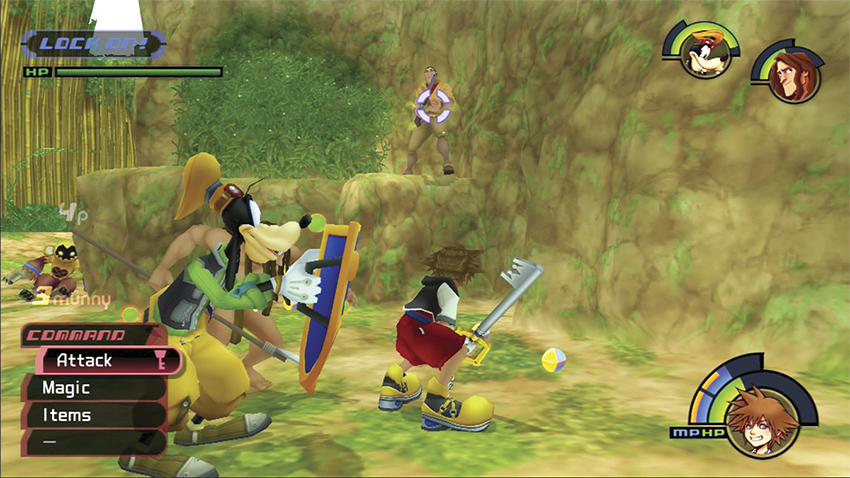
While the rest of your party deals with the Powerwilds, lock onto Clayton and concentrate all your efforts on bringing him down. Clayton jumps around agilely, making it difficult to strike him with combos, and he likes to hide atop the upper ledges and shoot down on you. Leap up after him to force him down to the ground and Dodge Roll if he aims at you.
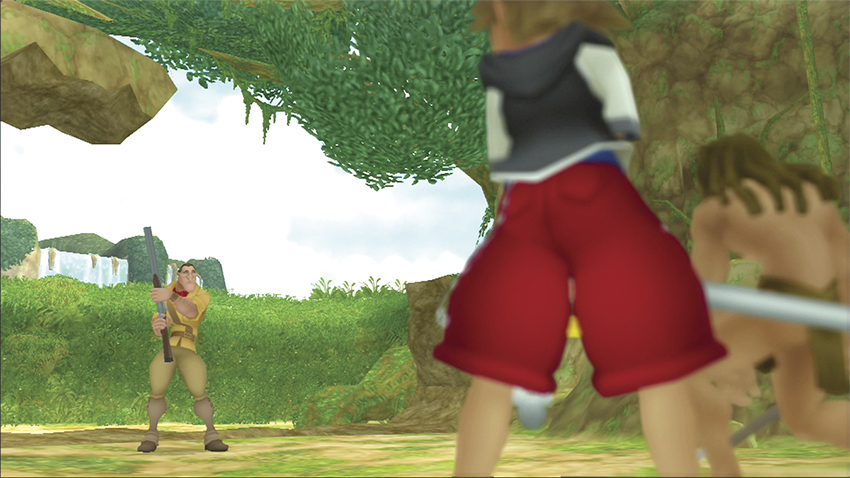
When you cut him down in half, the first battle ends. However, the cliff wall behind Clayton detonates and his pet invisible mount rumbles onto the battlefield.
Step 11: Clayton & Stealth Sneak
| HP | 250 |
| Strength | 12 |
| Defense | 11 |
| EXP | 240 |
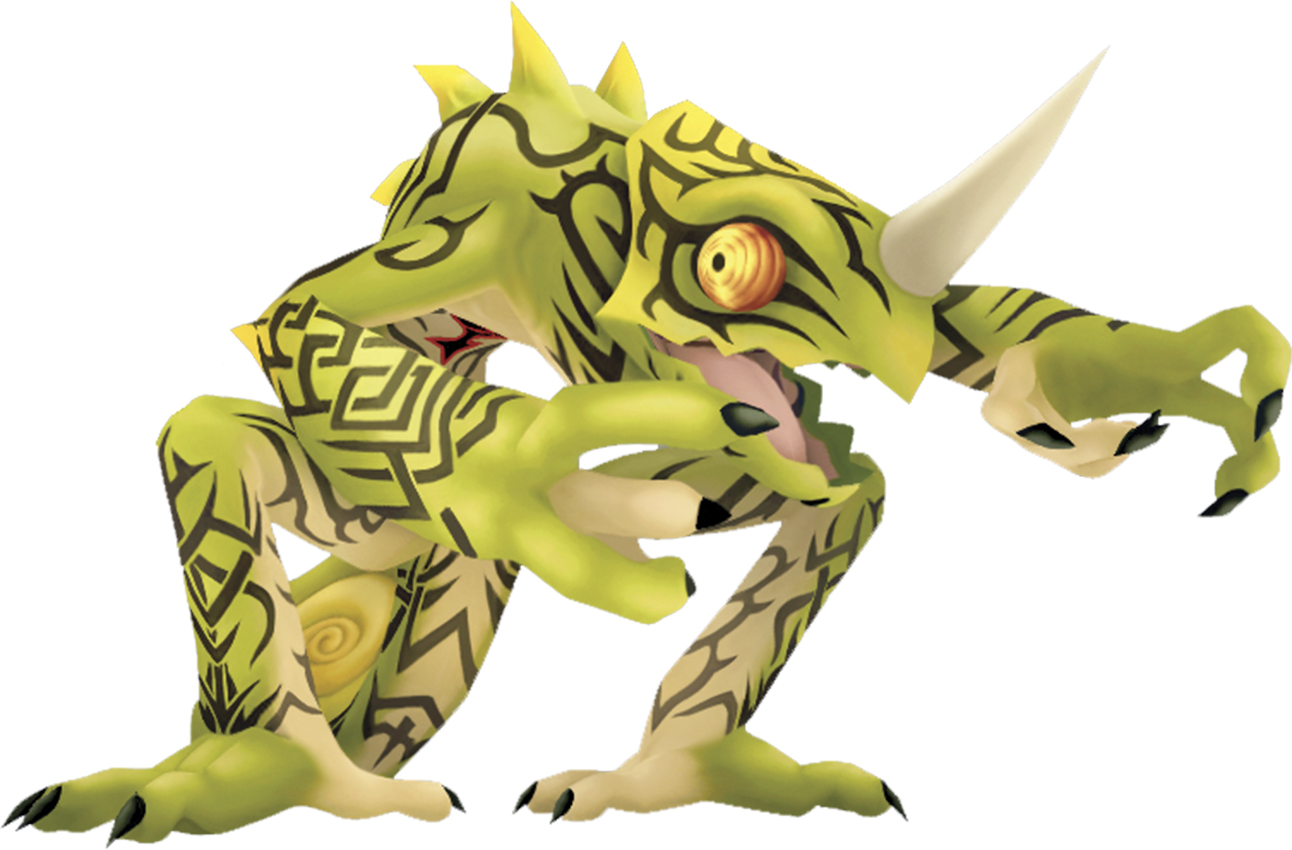
| HP | 750 |
| Strength | 12 |
| Defense | 11 |
| EXP | 30 |
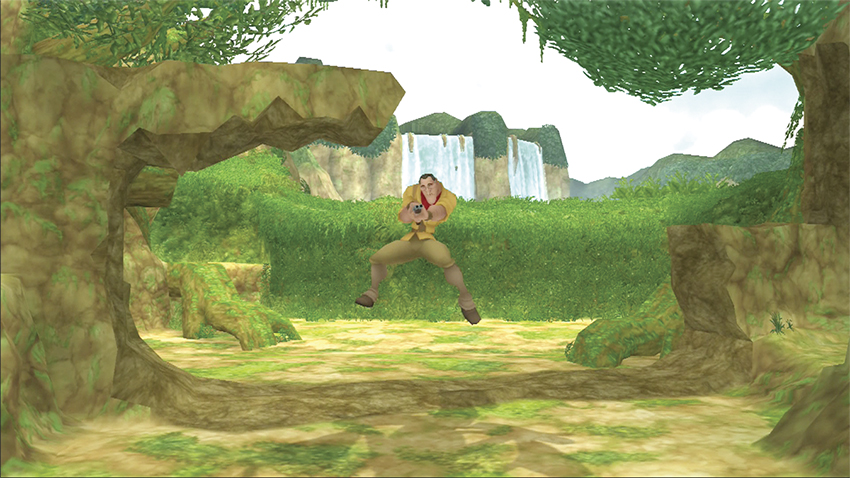
Clayton rides atop the invisible Stealth Sneak. Lock onto the creature and use Clayton as your guide to its position. If Clayton isn’t pointing his gun at you, then you’re in a good spot; it’s even better if you see Clayton’s back.
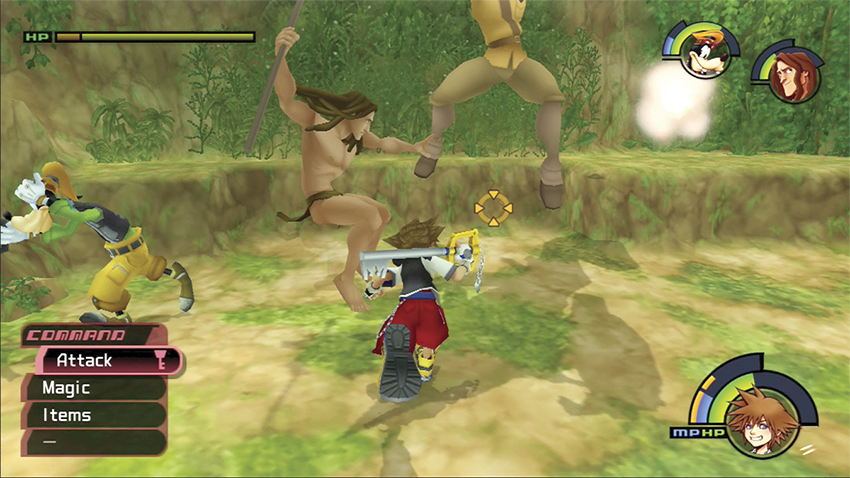
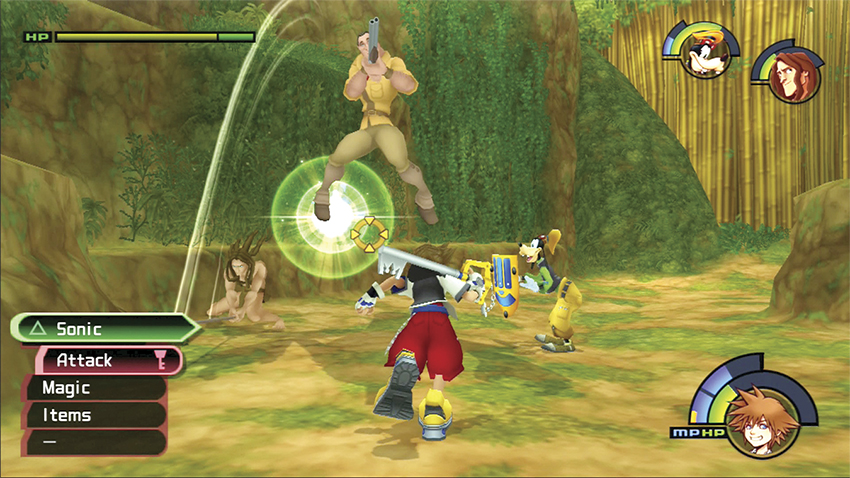
Surround the Stealth Sneak with your party and pound away at the beast. If you have the Scan ability, you’ll see the creature’s HP total in the top left of your screen. Its first yellow bar indicates when it’s invisible; remove that yellow bar with damage and the Stealth Sneak turns visible.
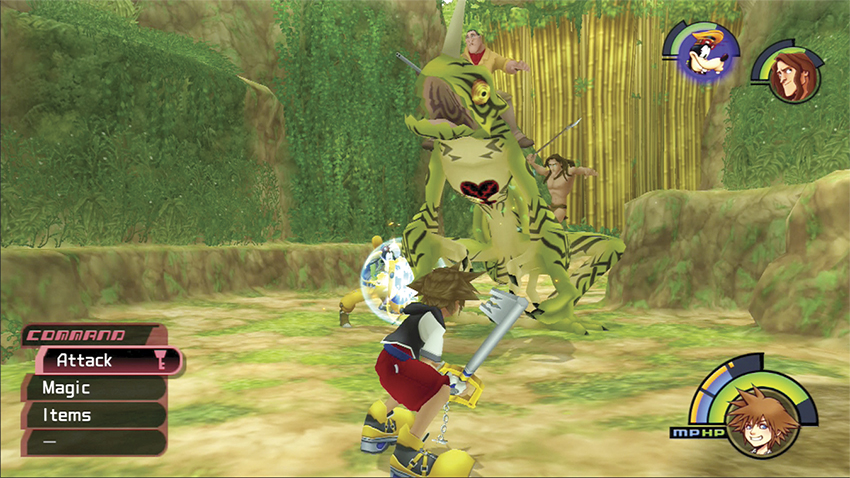
Once the Stealth Sneak is visible, Clayton dismounts. You have two difficult targets to worry about now. Stay with the Stealth Sneak and watch for when it hunches over. This signifies a charge; use your Dodge Roll or jump to move away from its mouth and attack from the sides or rear.
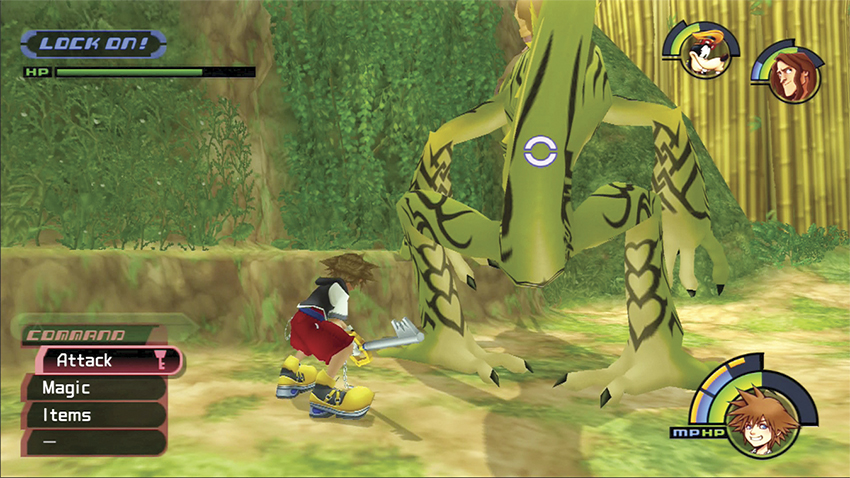
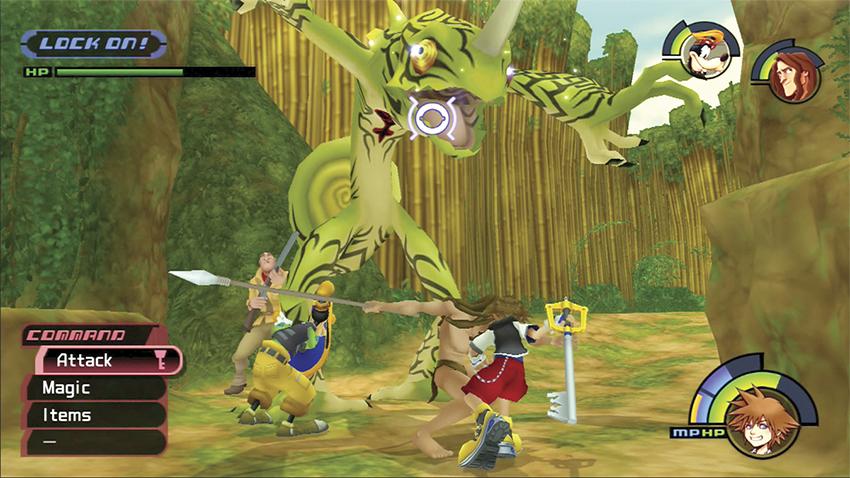
Continue your assault and drink a potion if you or your companions drop low on hit points. At range, cast your magic until you’ve used it up. Switch to close combat then and regain some MP before repeating the process. Once the Stealth Sneak is down, you only have to deal with Clayton.
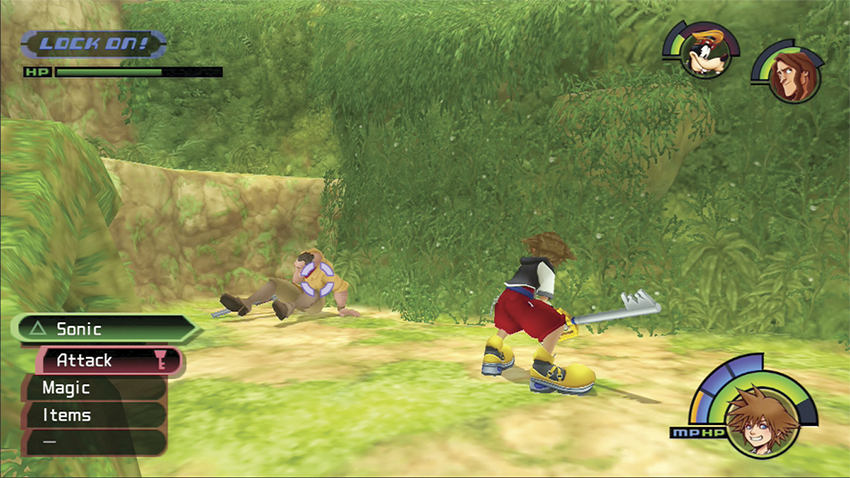
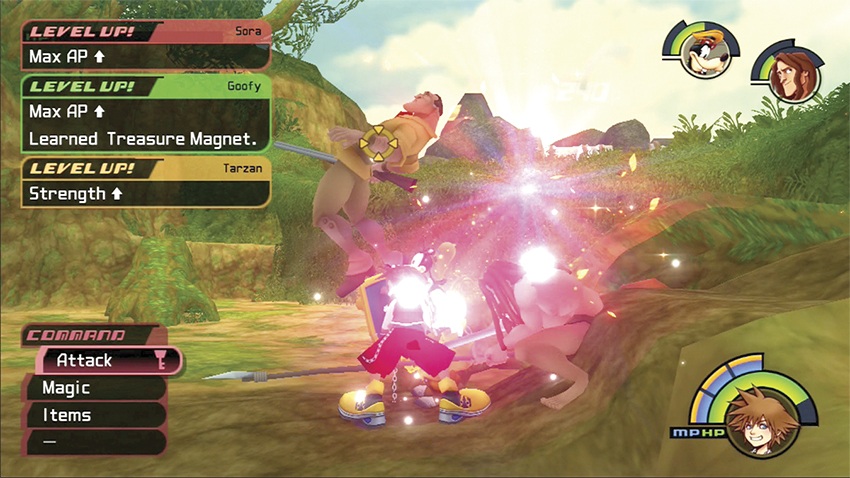
Rely on the tactics you used earlier to defeat Clayton. With your previous success and the defeat of the heftier Stealth Sneak, Clayton won’t last long. You receive the Cure spell at the end of the battle.
Step 12: Lock the Jungle
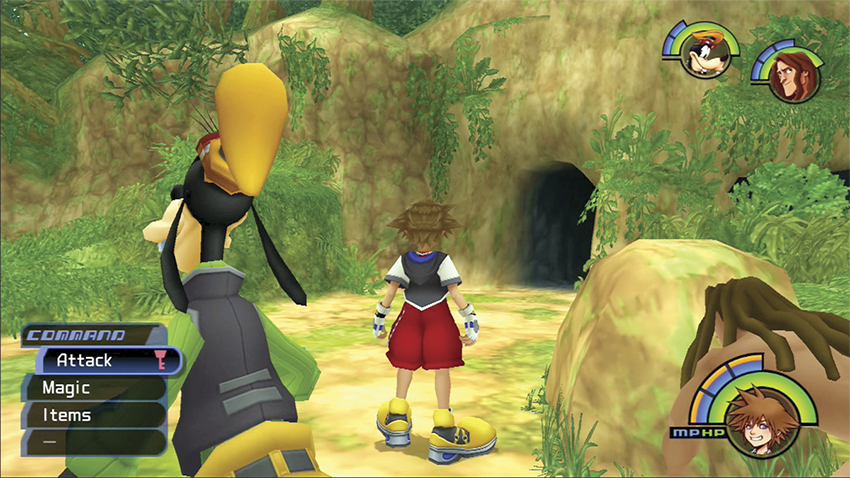
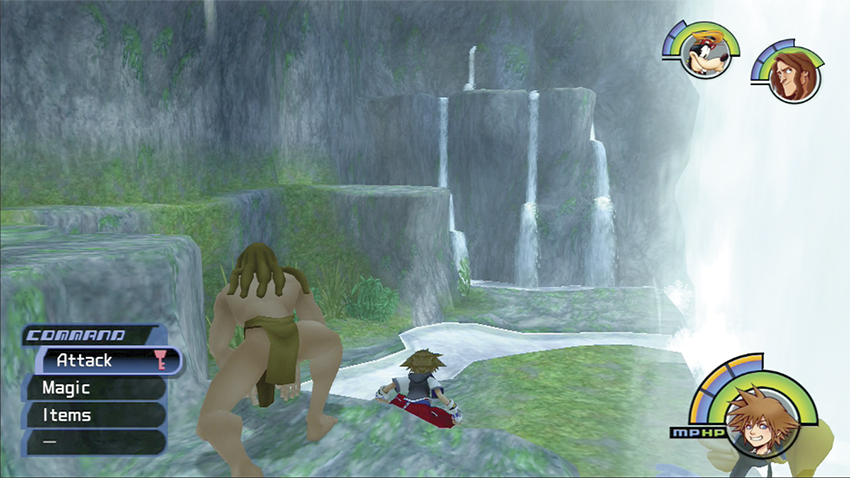
For saving the gorillas from Clayton, Kerchak throws everyone up on the ledge next to the Waterfall Caverns. Enter the caves and walk past the waterfall.
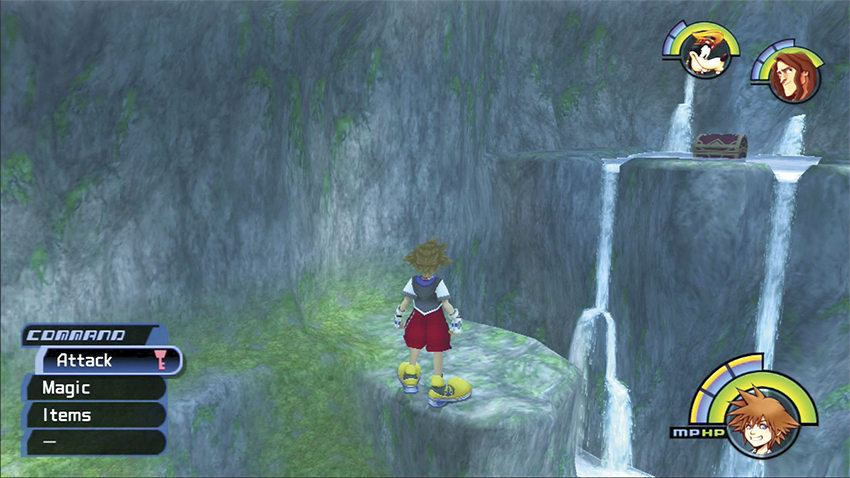
Continue up the ledges until you reach the back ledge. Sitting in the pool is a red chest with a Mythril Shard.
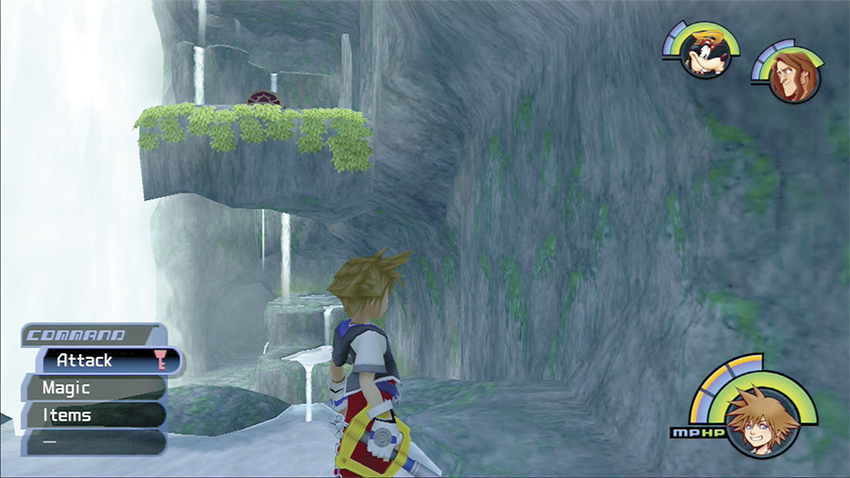
Turn around and look up at the adjacent moss-covered ledge. Leap out and up, grab the ivy, and flip up to the ledge. A chest on this ledge gives you Dalmatians 31, 32, 33.
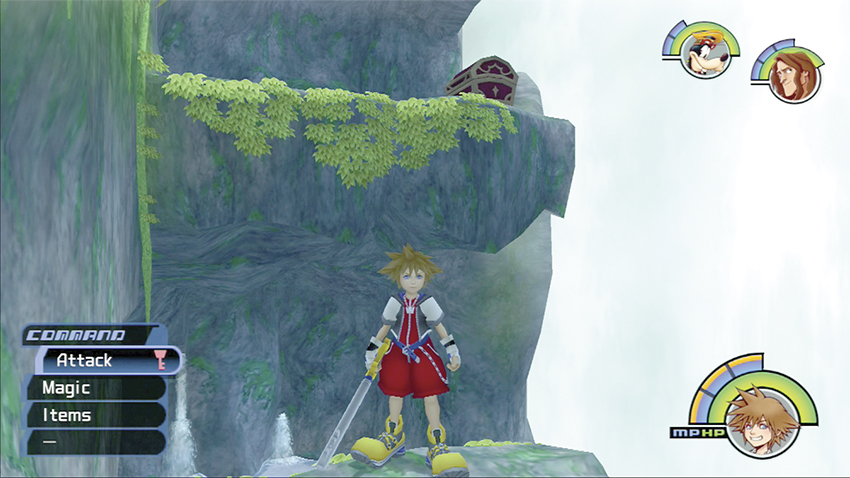
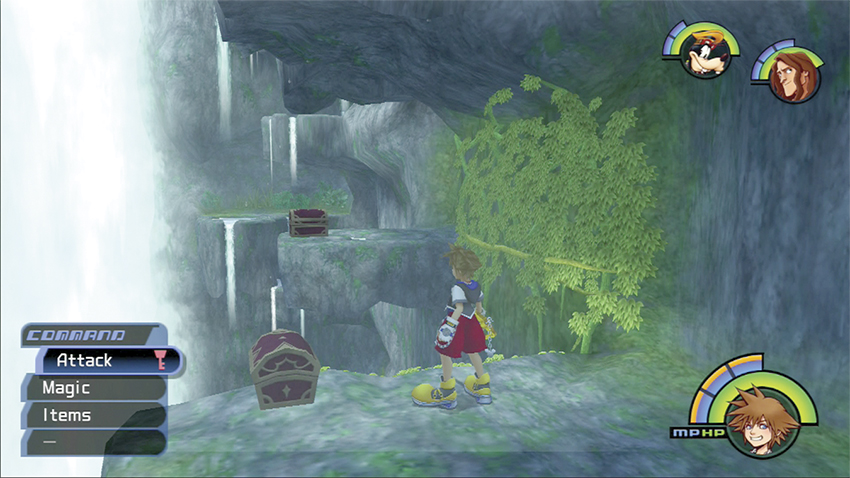
Turn around and leap up to the next moss-covered ledge above you. A chest on this ledge offers you Mythril.
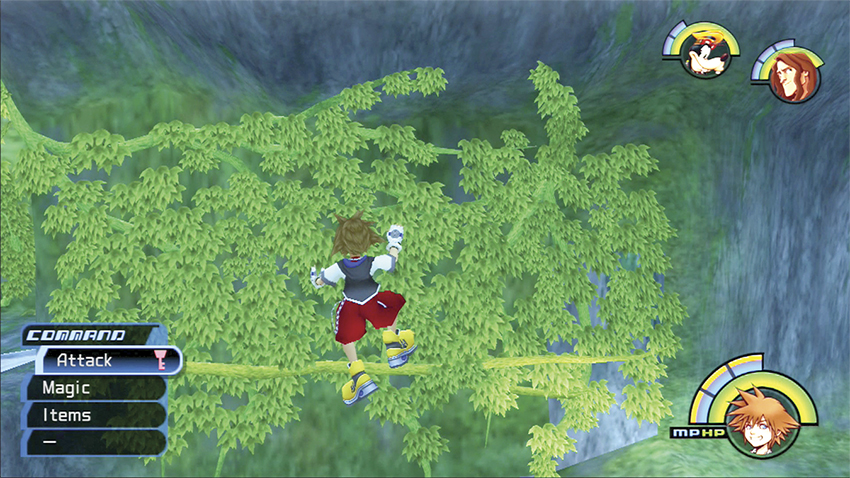
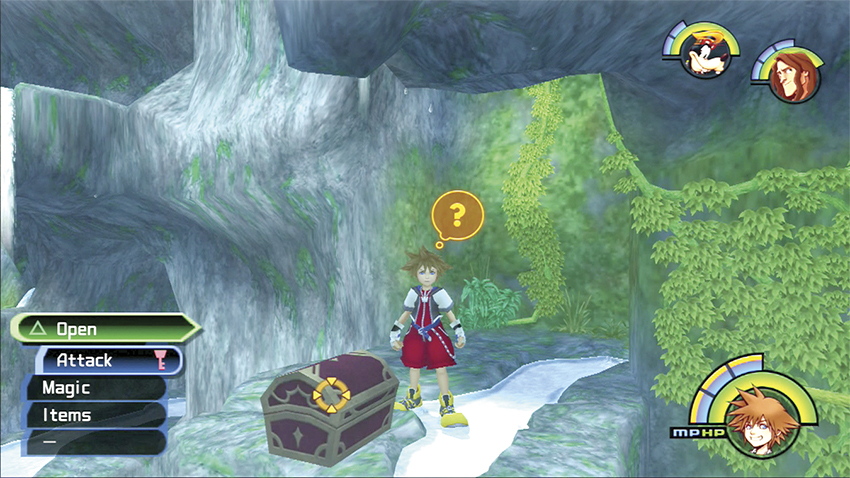
Notice a wall of moss spanning the ledge with your current chest and the next chest on the nearby ledge. Grip this moss and climb across it horizontally until you’re close to the far ledge. Hop off the moss and land on the ledge. Open the chest there for Orichalcum.
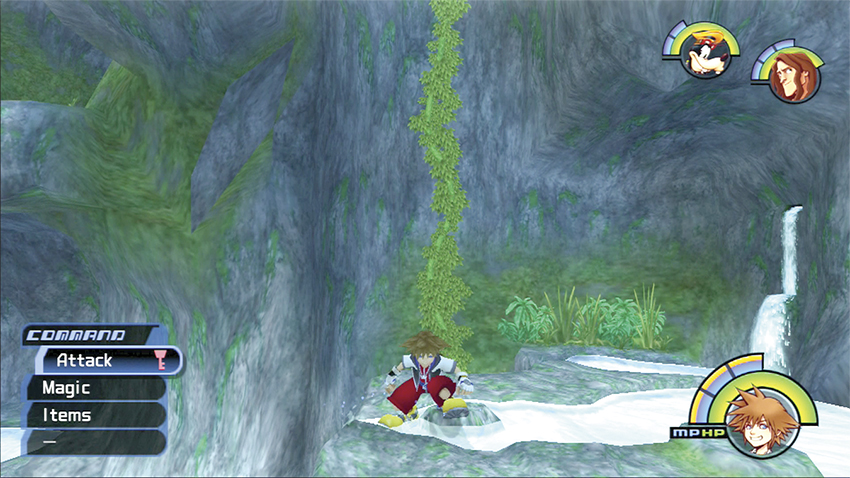
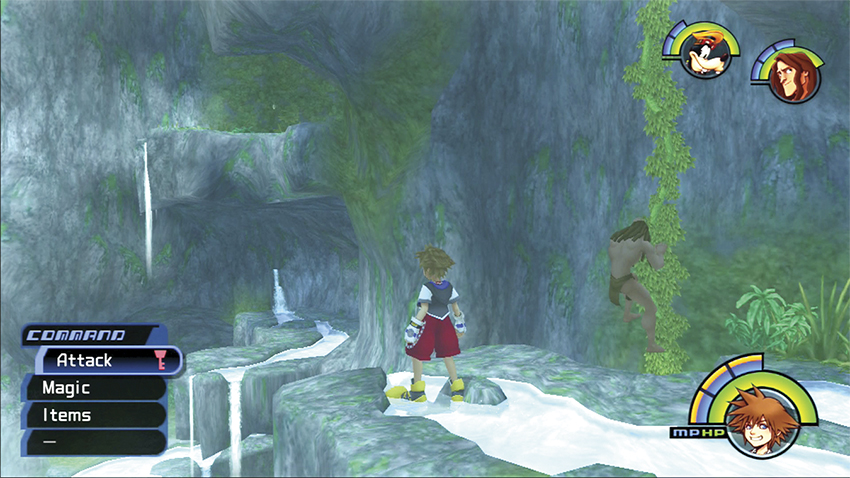
Climb up the vine on the wall behind the chest. Near the top, leap backward off the vine and land on the nearby ledge.
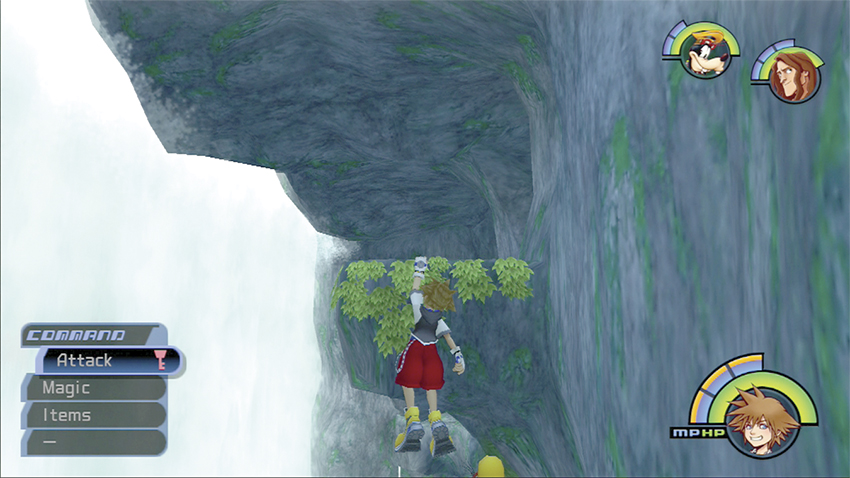
Look up for the tallest ledge and leap up to grab the edge. Pull yourself up for an overlook of the entire cavern.
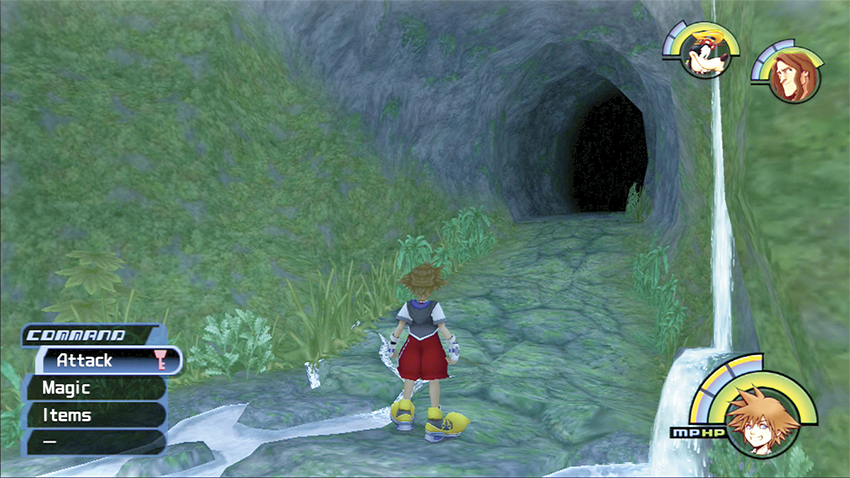
From the tallest ledge, leap off to the outcropping back toward the entrance. The path leads up to a mysterious exit.
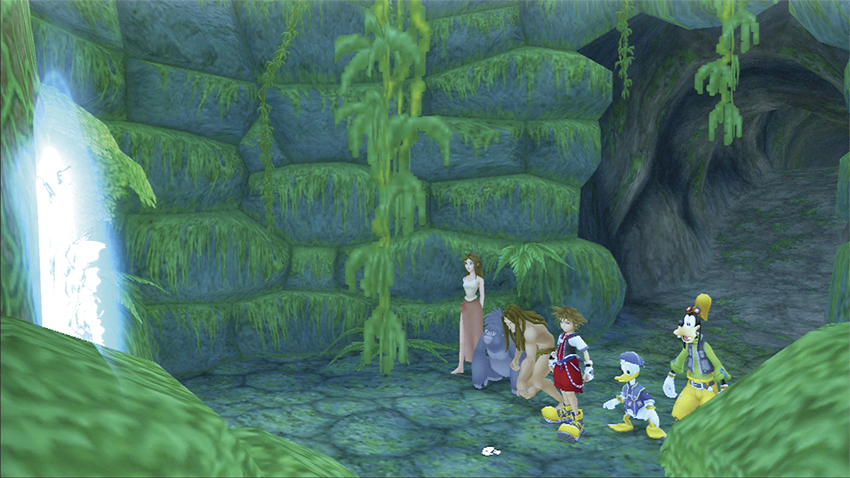
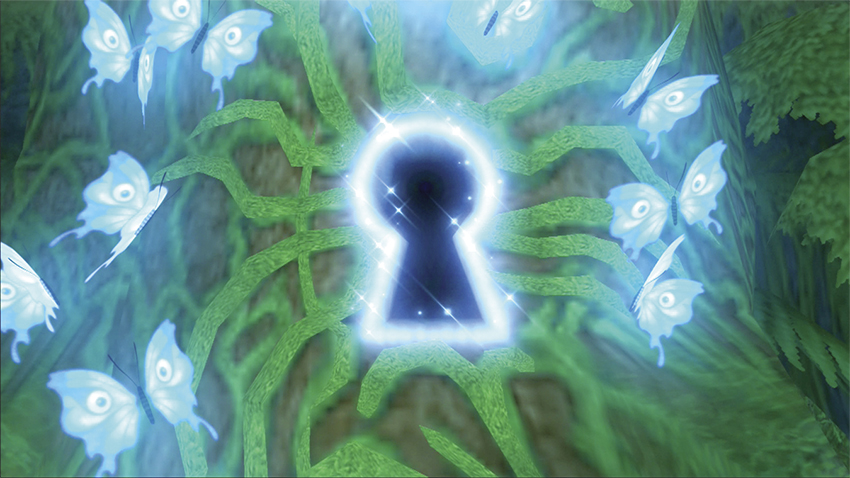
You discover the Deep Jungle’s keyhole in this secret area. As soon as you seal it off, you receive another Navi-G Piece. Before you depart the world, Tarzan hands you the Jungle King key chain. Equip it for an upgrade to your weapon. You also learn how to unlock red Trinity Marks. It looks like it’s time to revisit Traverse Town to collect what you missed and unlock some brand-new areas.