
Kingdom Hearts HD 1.5 Remix Guide KHFM: Walkthrough End of the World
End of the World
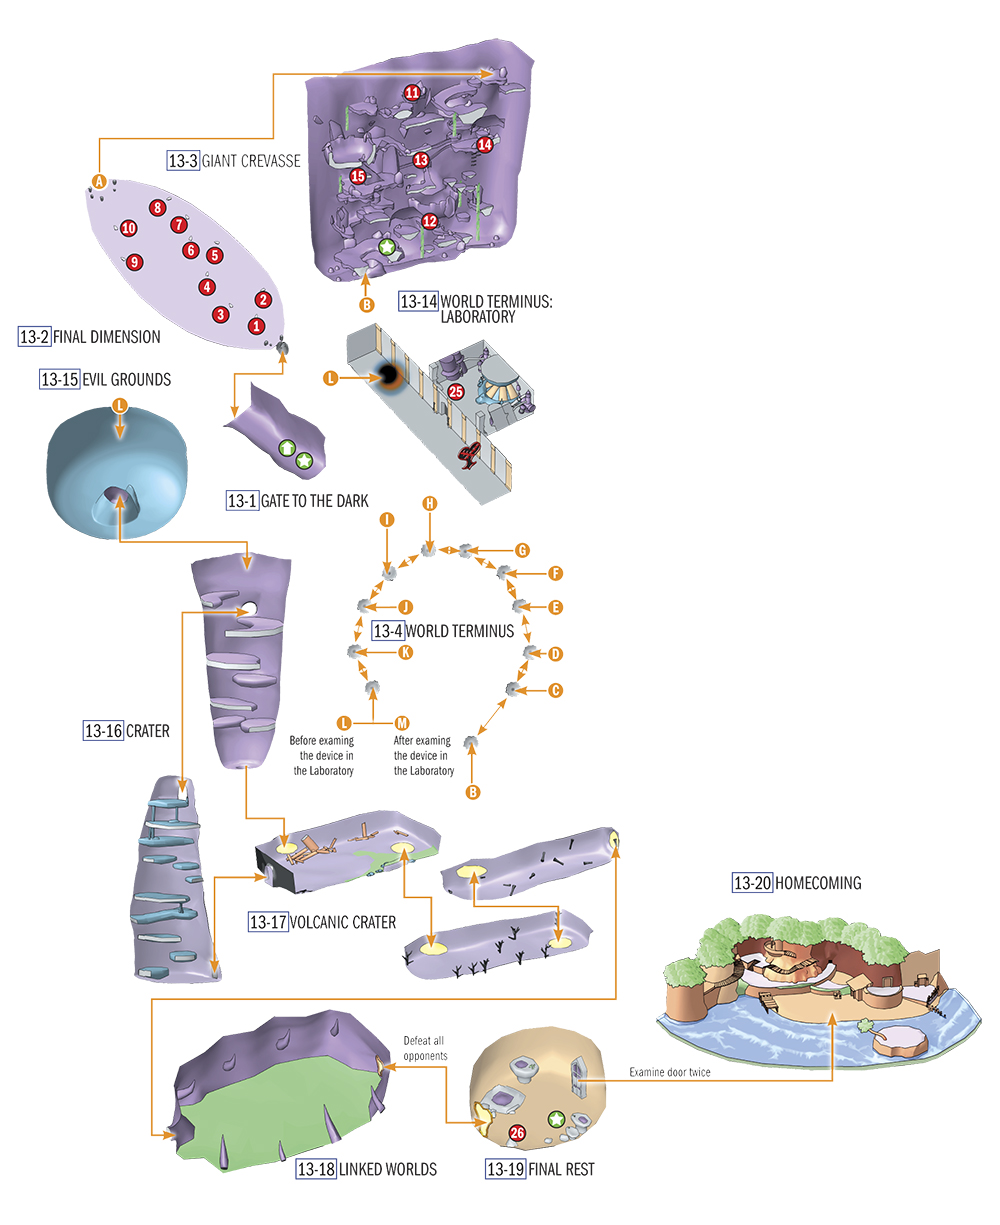
Items
| No. | Item | Location | Condition |
|---|---|---|---|

|
Mythril Shard | 13-2 | - |

|
Pretty Stone | 13-2 | Defeat opponents |

|
Mega-Potion | 13-2 | - |

|
Mythril | 13-2 | Defeat Behemoth |

|
Elixir | 13-2 | - |

|
Mythril Shard | 13-2 | - |

|
Pretty Stone | 13-2 | Defeat opponents |

|
Cottage | 13-2 | - |

|
AP Up | 13-2 | Defeat opponents |

|
Gale | 13-2 | Defeat opponents |

|
Dark Matter | 13-3 | - |

|
Full-Life-G | 13-3 | - |

|
Ultima-G | 13-3 | - |

|
Haste-G | 13-3 | - |

|
Drill-G | 13-3 | - |

|
Spirit Gem | 13-5 | - |

|
Thunder Gem | 13-6 | - |

|
Frost Gem | 13-7 | - |

|
Bright Gem | 13-8 | - |

|
Blaze Gem | 13-9 | - |

|
AP Up | 13-10 | - |

|
Lucid Gem | 13-11 | - |

|
Mighty Shield | 13-12 | - |

|
Megalixir | 13-13 | - |

|
Elixir | 13-14 | - |

|
Megalixir | 13-19 | - |
Opponents
| Name | HP |
|---|---|
| Sheltering Zone | 240 |
| Screwdriver | 120 |
| Aquatank | 300 |
| Wight Knight | 120 |
| Gargoyle | 135 |
| Pirate | 120 |
| Darkball | 90 |
| Defender | 300 |
| Wyvern | 150 |
| Wizard | 90 |
| Behemoth | 1050 |
| Invisible | 300 |
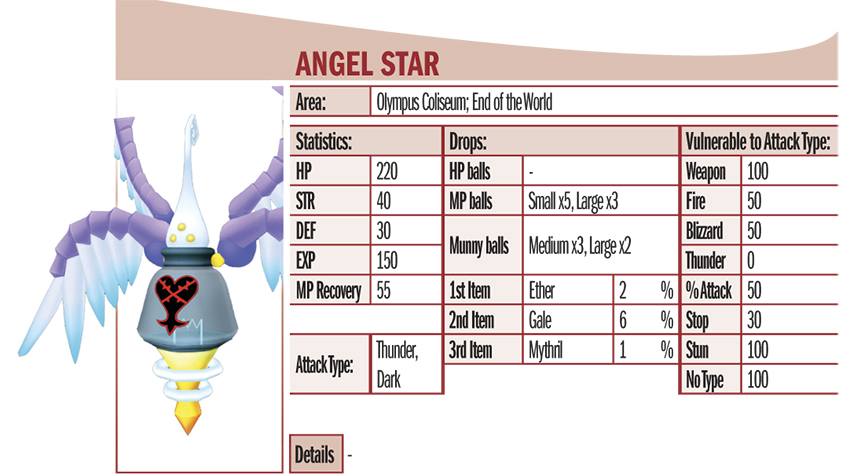
| Angel Star | 220 |
| White Mushroom | - |
| Black Fungus | 9 |
| Rare Truffle | - |
| Chernabog | 1500 |
| Ansem | 1500 |
| Darkside | 900 |
| Ansem 2 | 1200 |
| World of Chaos | 1500 |
Objectives
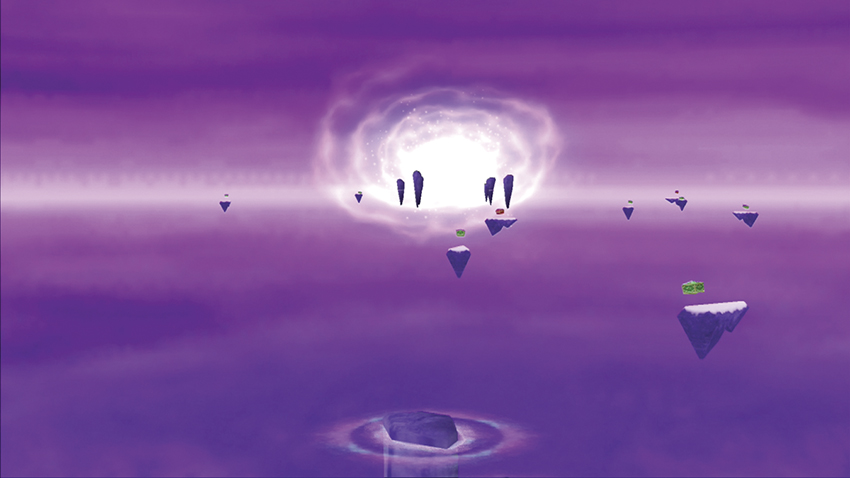
1. Trek through the Final Dimension
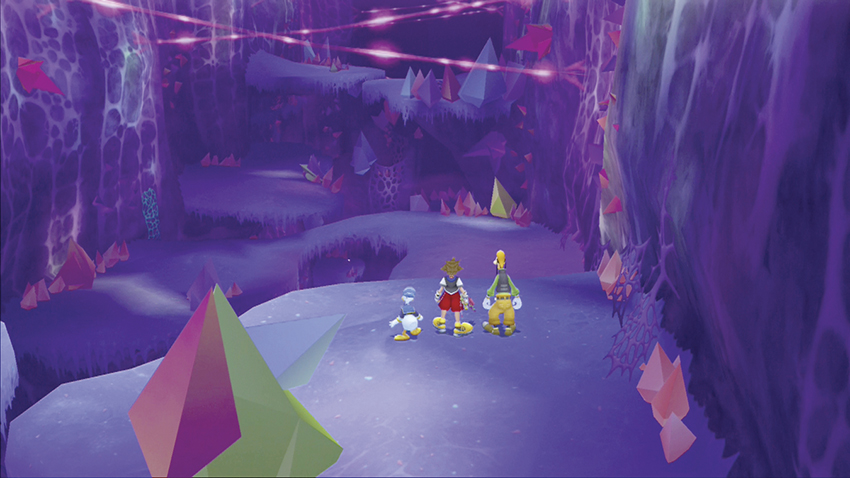
2. Scour the Giant Crevasse
3. Revisit all the worlds
4. Defeat Chernabog
5. Survive till the Final Rest
6. Defeat Ansem
7. Defeat Darkside
8. Defeat Ansem II
9. Destroy the World of Chaos
10. Destroy the Room Core
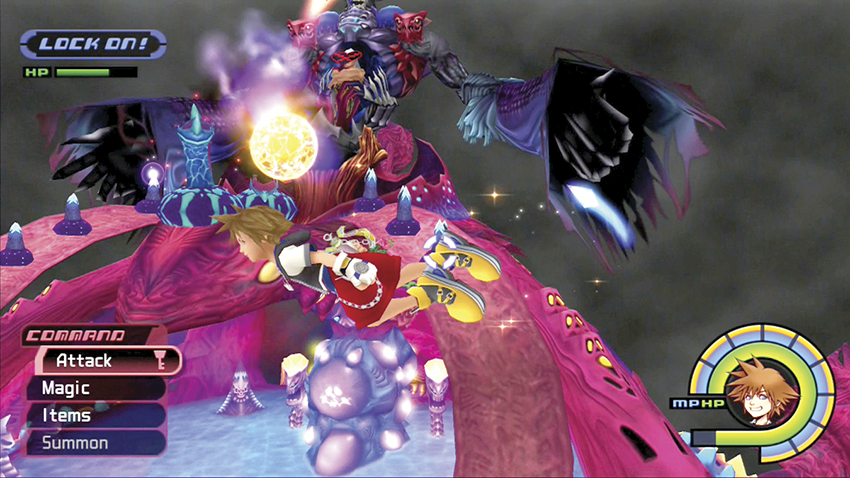
11. Destroy the Artillery
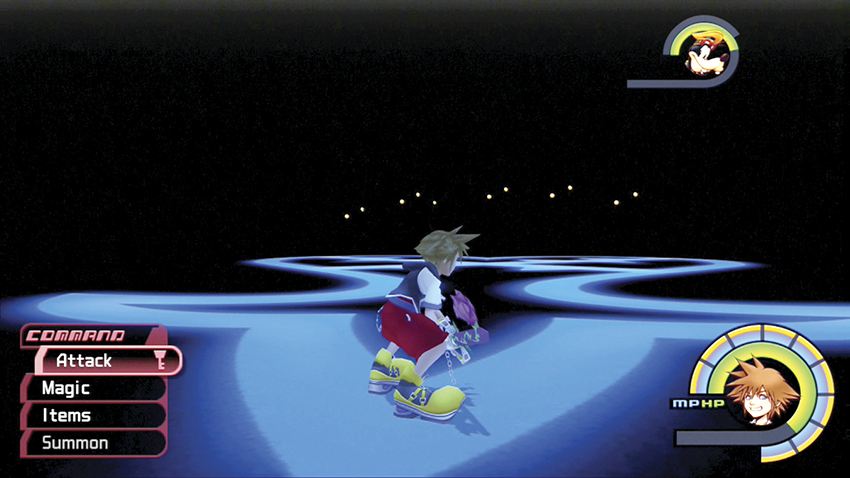
12. Destroy the Room Core II
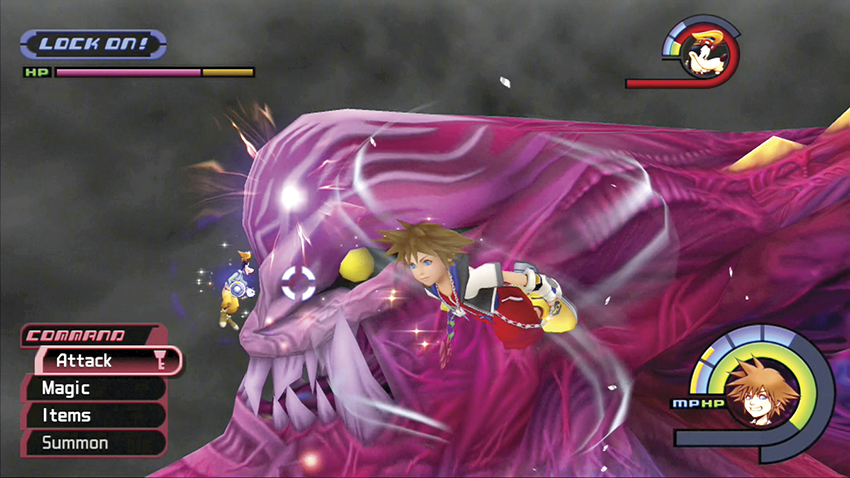
13. Defeat the Face
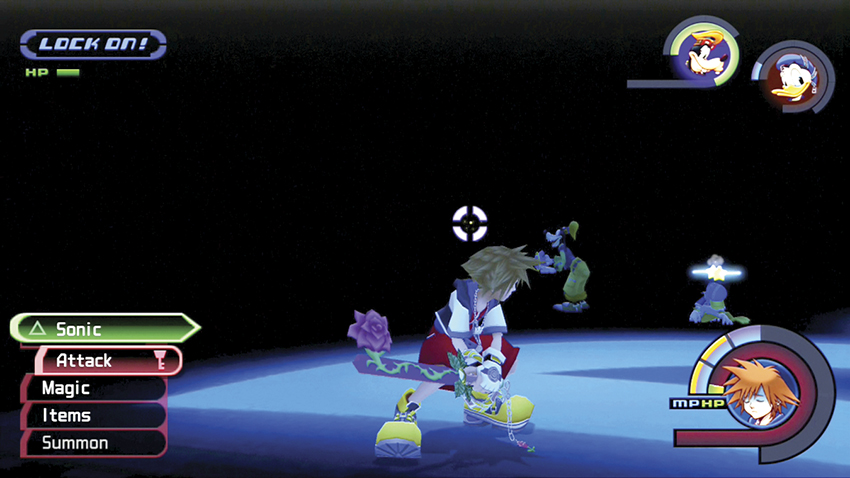
14. Destroy the Room Core III
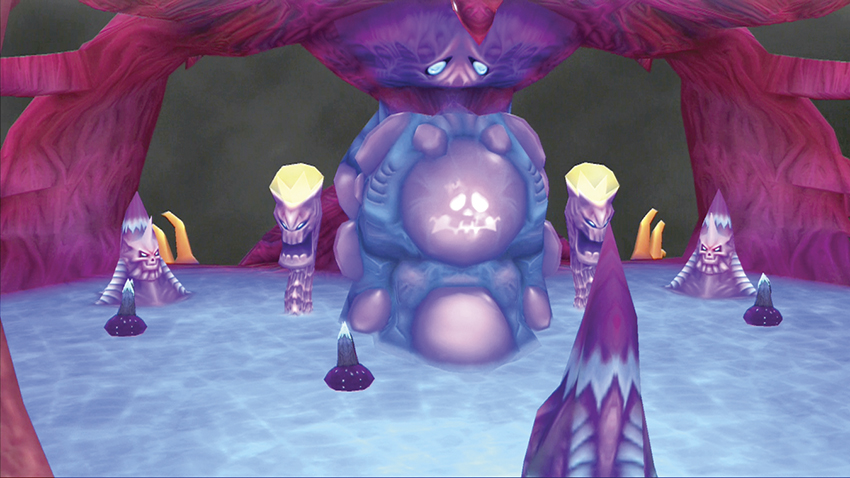
15. Destroy the Main Core
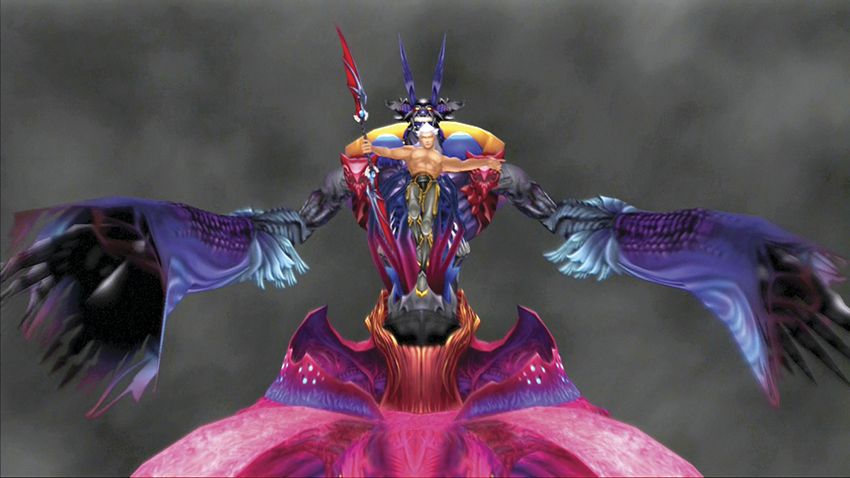
16. Defeat Ansem III
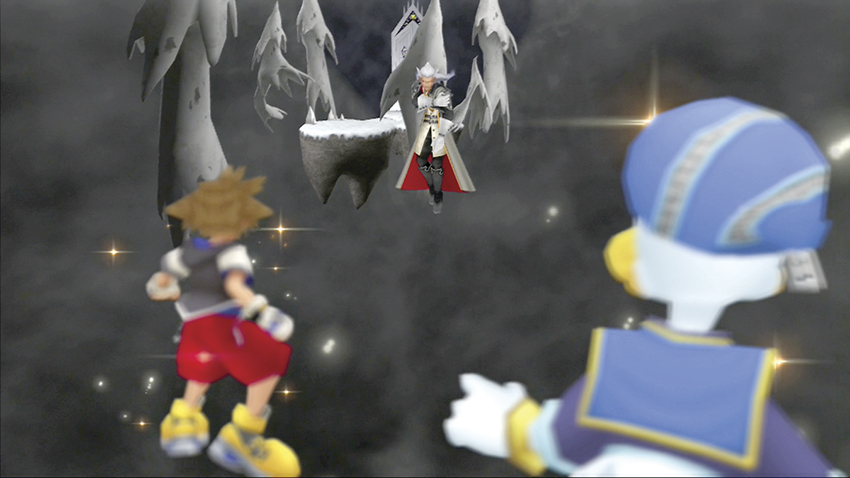
17. Complete the game!
Step 1: Trek Through the Final Dimension
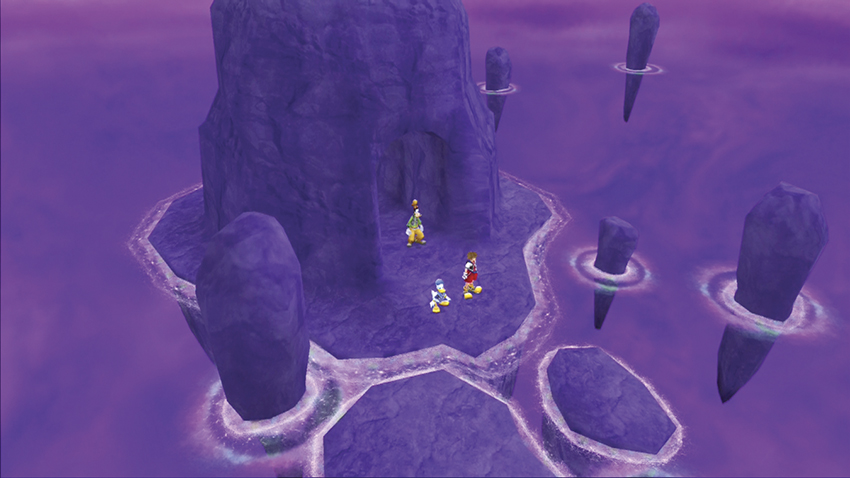
It’s highly recommended that you’re at least Level 50 and you’ve won the Hercules Cup at the Olympus Coliseum before attempting the End of the World. Some of the tougher “normal” opponents are more like mini-bosses, and you’ll face off against more bosses, and in a row, than almost all the other worlds combined. If you’re ready for a grueling grind through the Heartless, proceed.
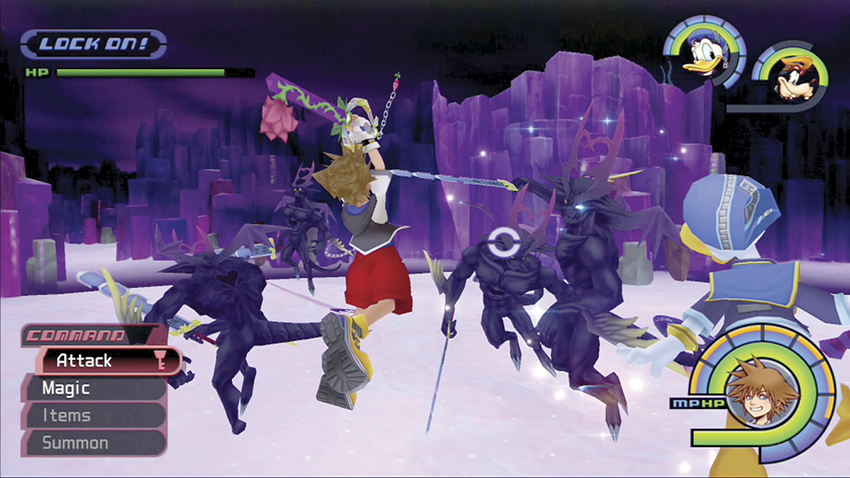
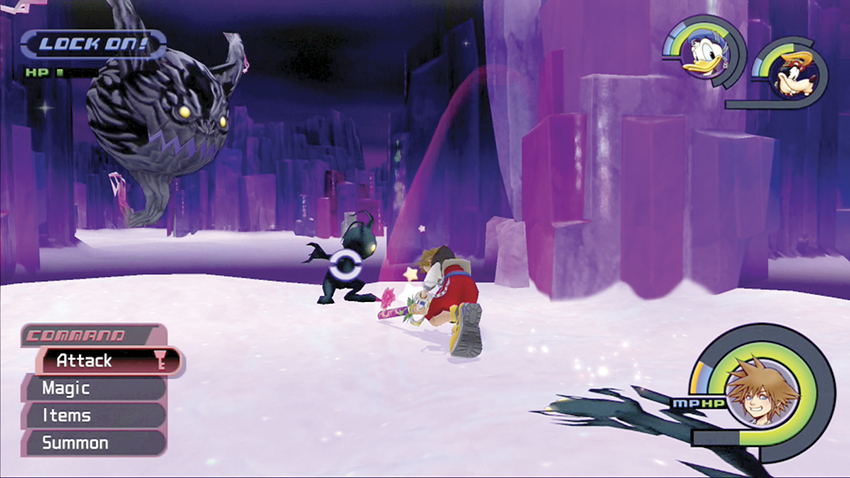
After you save at the save point in the entrance cave, walk forward until a black sphere drops from the sky and swallows you. The sphere transports you to an icy landscape filled with Invisibles. Battle these Heartless as you would other aerial opponents, except that they have a lot more HP. They disappear too, and if an Invisible dissipates into smoke and encircles you, immediately Dodge Roll to avoid damage.
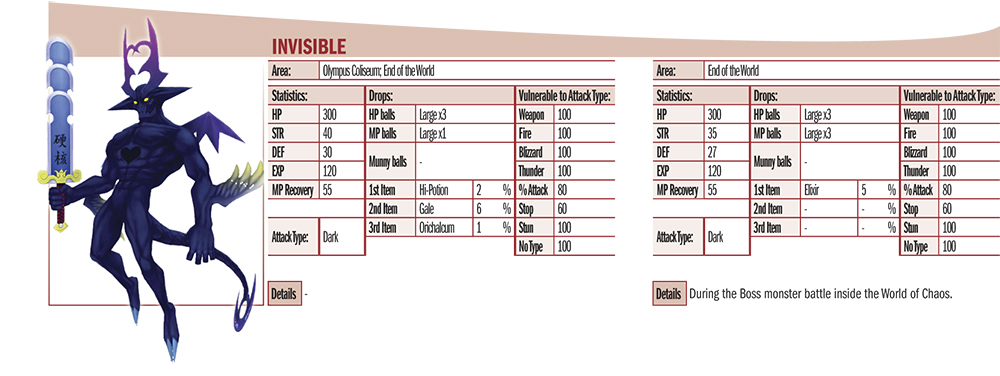
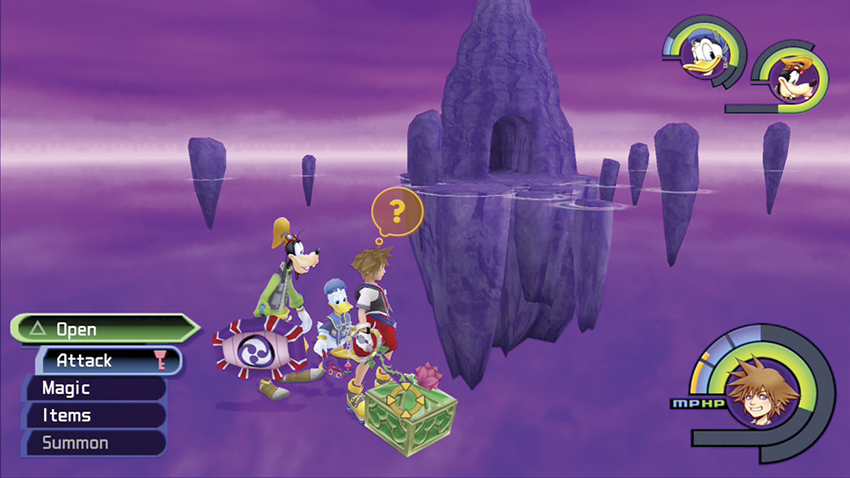
Once you defeat the Invisibles, head toward the green chest off to the side. This transports you back to the Final Dimension landscape where you can open the green chest for a Mythril Shard.
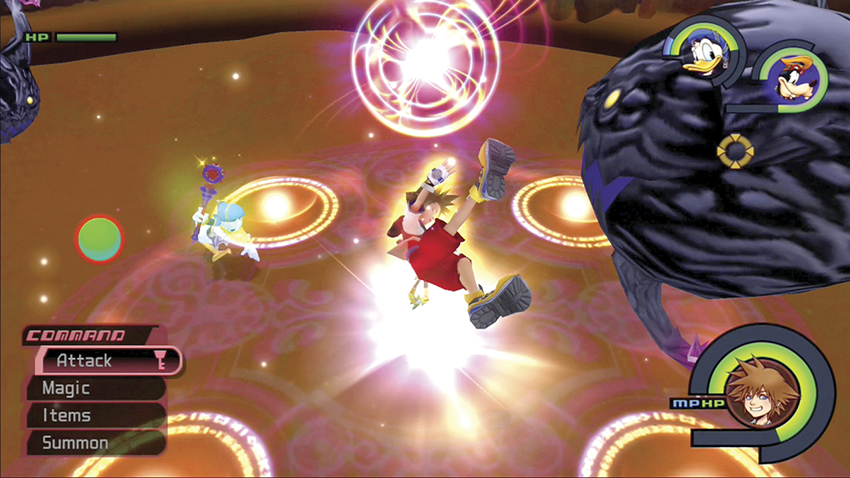
Each floating rock in the area looks like an arrow. Follow the “arrows” to successfully navigate to the far side. Continue across the clear surface—you won’t fall through—and head for the next floating rock off to the right. Open the green chest here to teleport to another battlefield with Darkballs and Invisibles. Victory earns you a Pretty Stone from the chest.
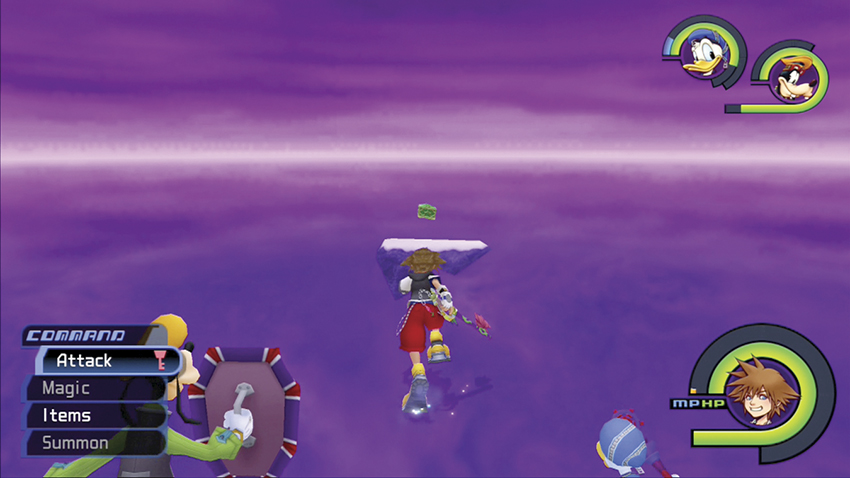
Follow the path straight across to the next island with a green chest. Open the chest for a Mega-Potion.
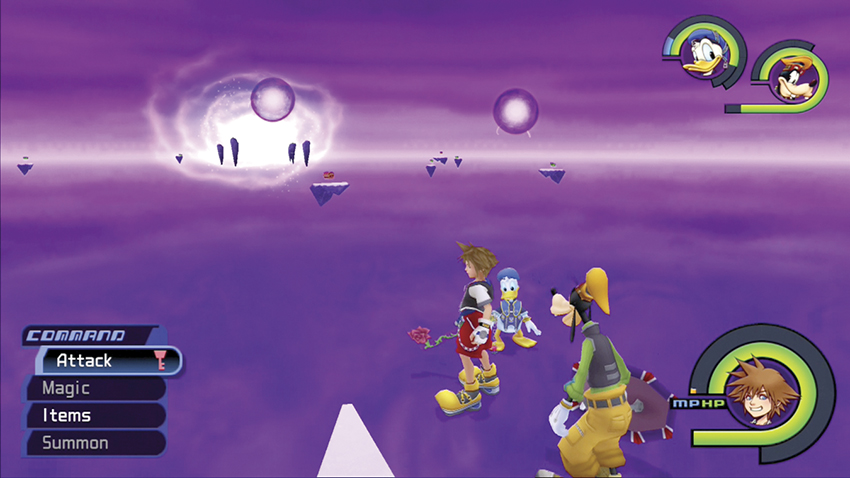
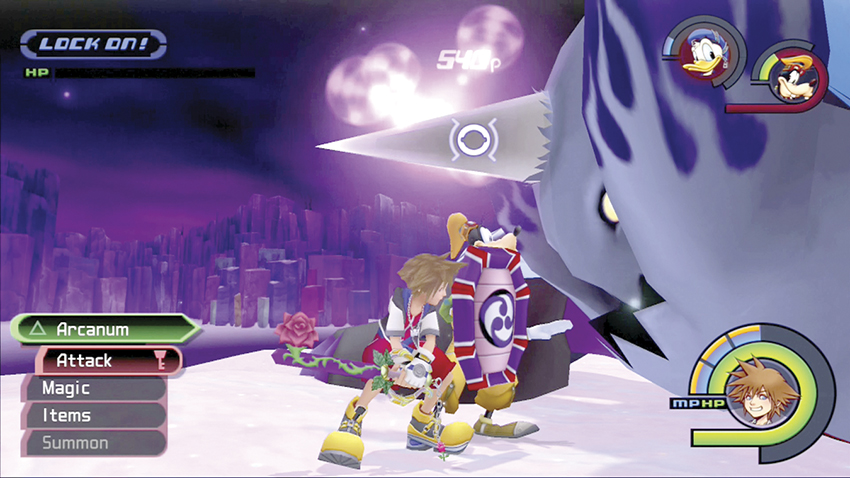
Continue on to the island ahead with the red chest. Open the chest to be whisked to a battlefield with a Behemoth. As you’ve done before, avoid the front of the creature and dodge under it when the Behemoth’s horn explodes with energy. Climb up its back and hammer away at its horn to deliver deadly damage. You receive Mythril for your efforts.
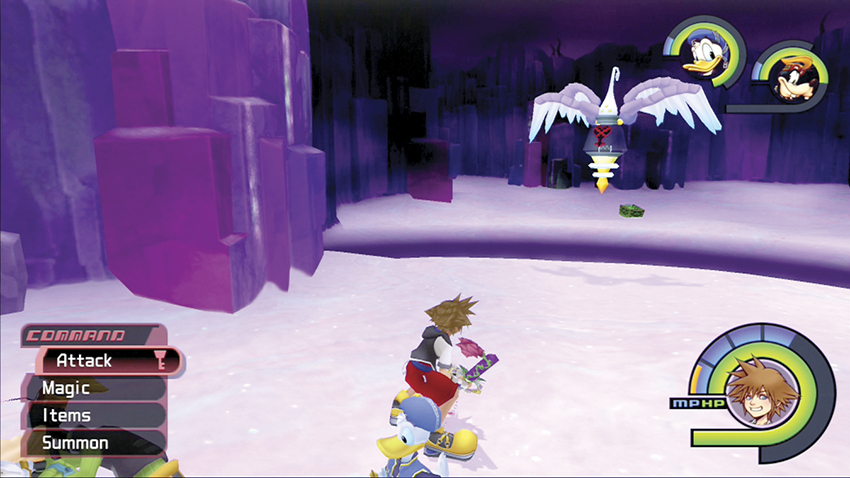
Angel Stars assault you on the next island. When these creatures close their wings and shield themselves, they are invulnerable. Prepare to switch on and off targets depending on which Angel Stars can be hit. When they launch their roving ground attacks, take to the air and swat them from up high. You receive an Elixir when you return to the Final Dimension purple landscape.
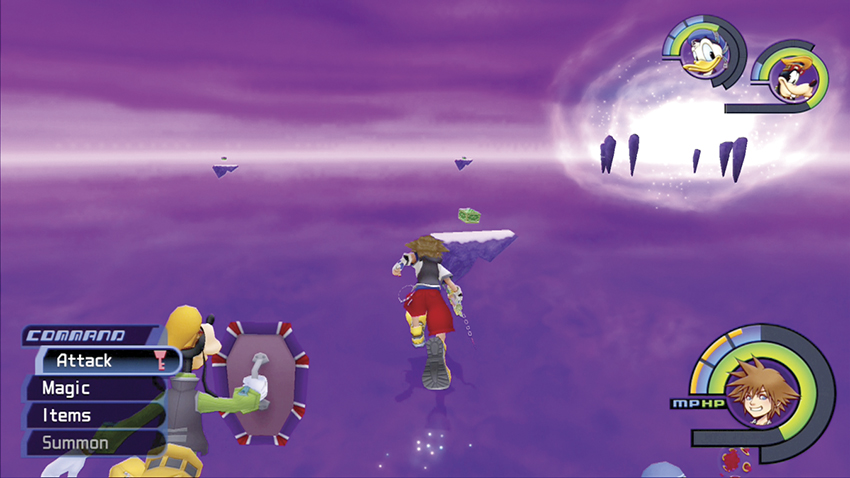
Gain a Mythril Shard at the next island with a green chest.
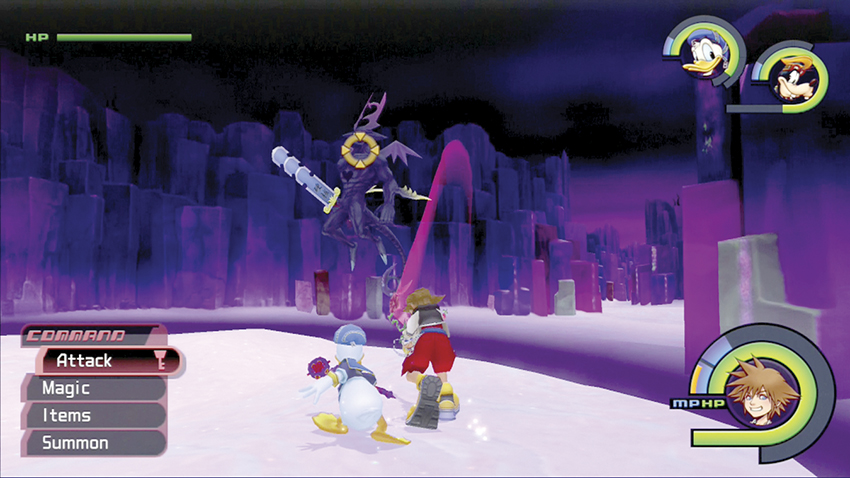
The seventh island holds a green chest that transports you to another confrontation with Invisibles and Angel Stars. When you beat them, you return and gain a Pretty Stone.
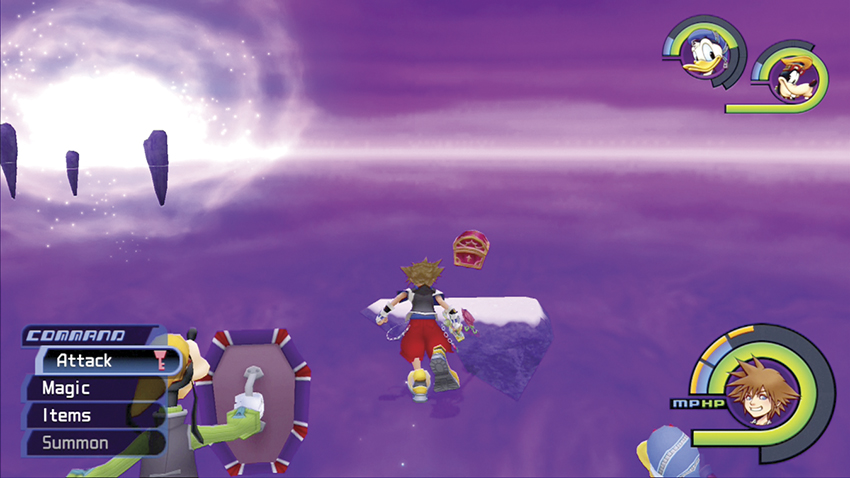
Cross the island with the red chest. You don’t have to fight any opponents this time. Simply open the chest for a Cottage.
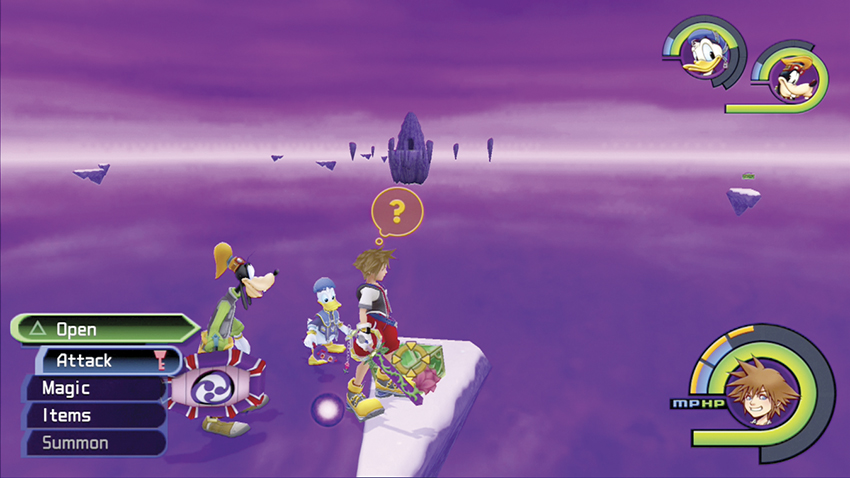
Cross the area to the final two green chests. Defeat the Heartless guarding these chests to receive an AP Up and a Gale.
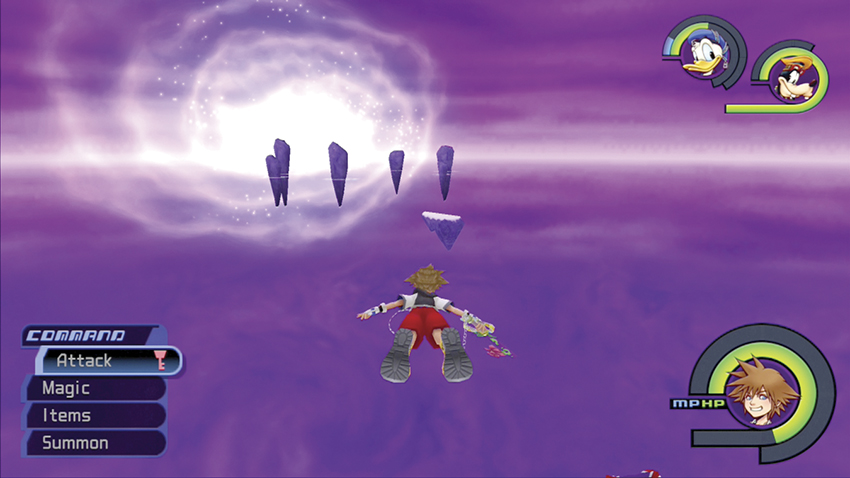
Enter the white light at the end of the Final Dimension landscape. You have to defeat another Behemoth to continue; you should have this opponent strategy down pat by now.
Step 2: Collect Everything in the Giant Crevasse
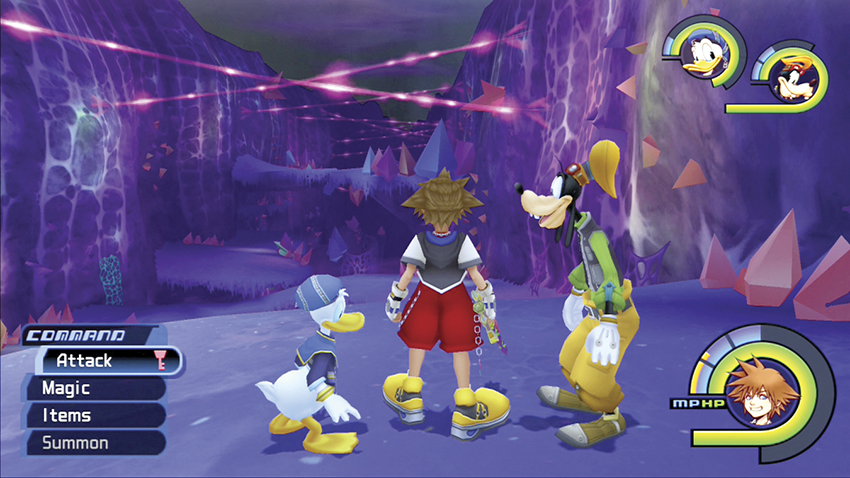
You don’t have to defend against many opponents in here, so concentrate on good Glides and precise jumps to collect all the items in the area. If you fall, climb back up by the green webbing on the walls or leap back up via ledges.
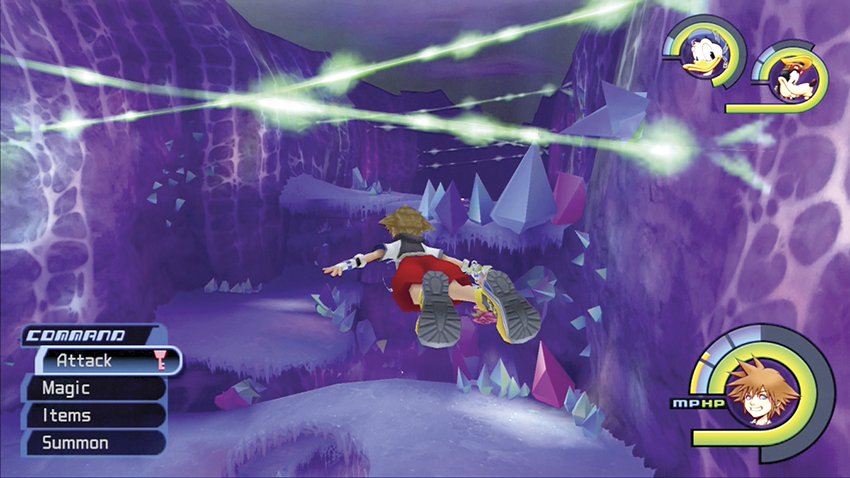
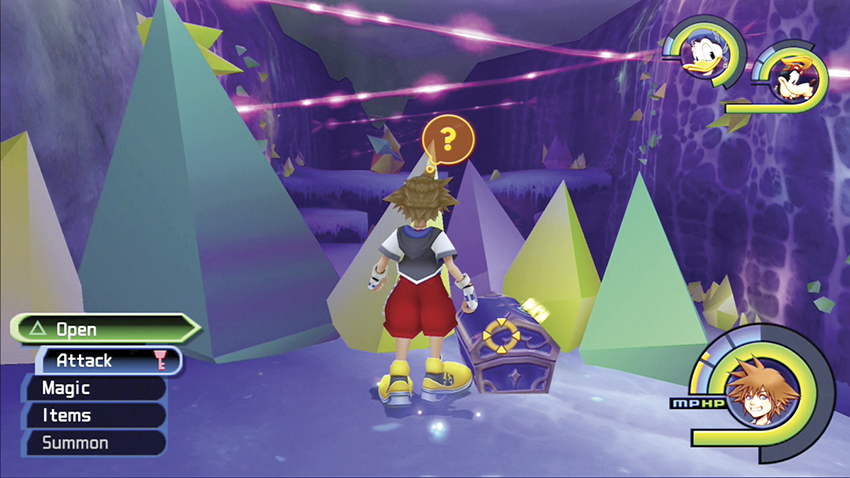
Glide from the entrance platform to the crystal-covered far platform. It’s a difficult Glide because it’s so far away. If you can’t grab the ledge, continue past it and grab the green webbing on the wall to your right. Climb up to the top ledge and jump off. Glide from this platform to get at the crystal-covered platform from behind. A blue chest on the crystal-covered platform holds Dark Matter.
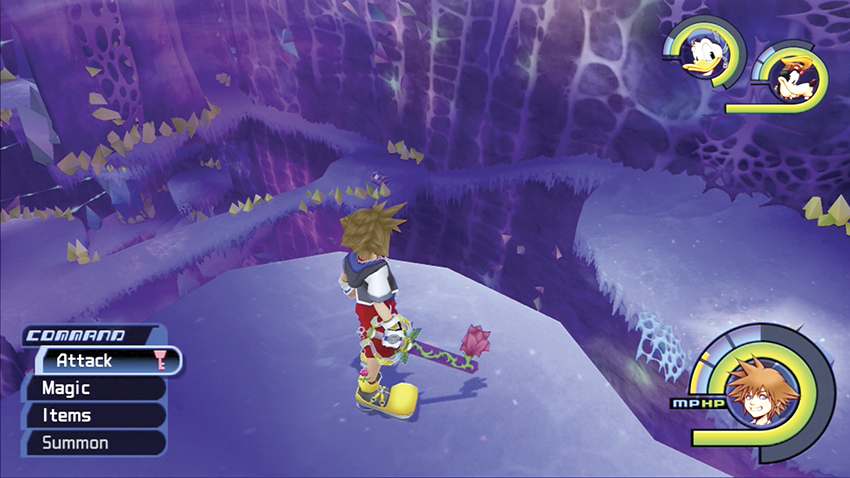
Glide back toward the entrance and drop down a few platforms to an easy-to-reach blue chest containing an Ultima-G.
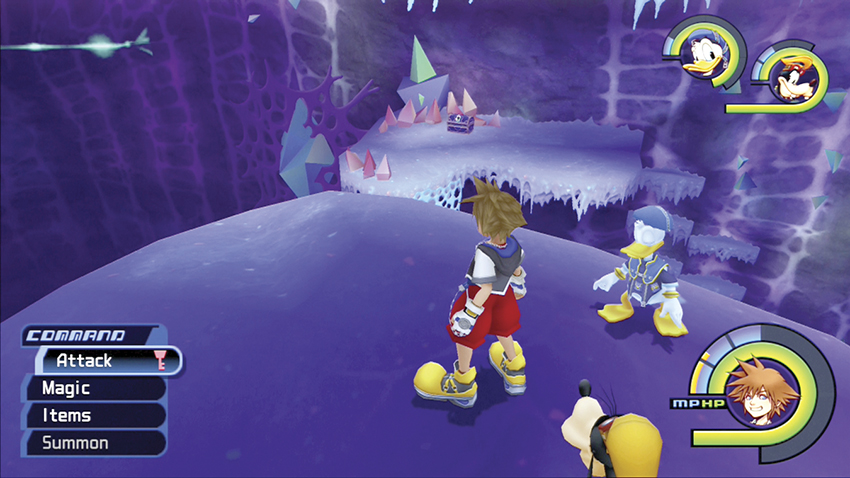
From your current position, Glide to the far end of the Crevasse and look for another blue chest on a small side ledge. Open the chest for a Drill-G.
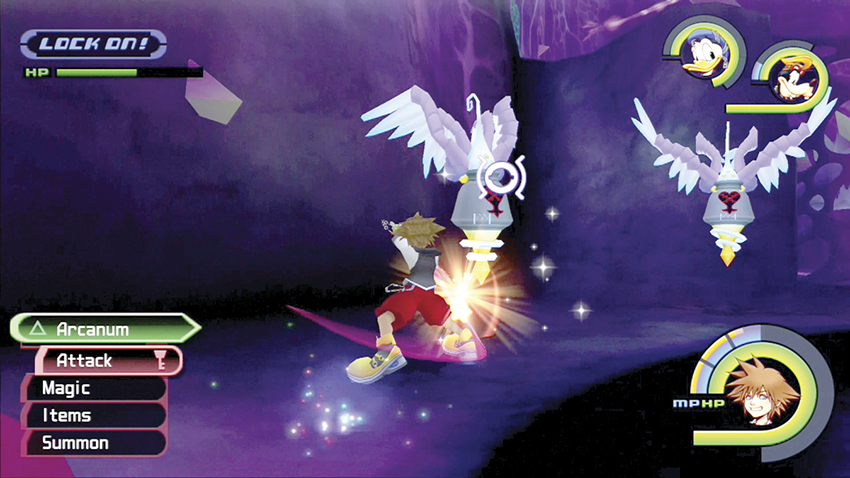
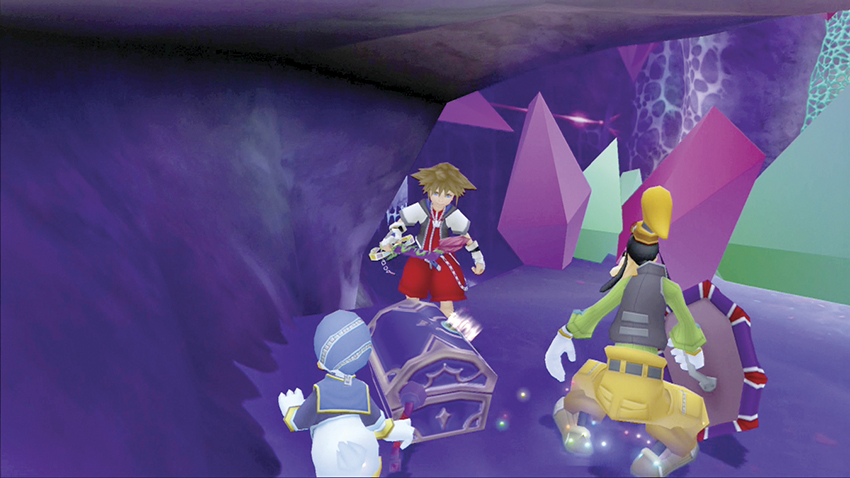
Glide down to the other side of the Crevasse and drop into a skull-like rock formation. Inside you’ll encounter a nest of Angel Stars. Defeat the stars and drop down the hole in the floor to find the blue chest. Open it for a Full-Life-G.
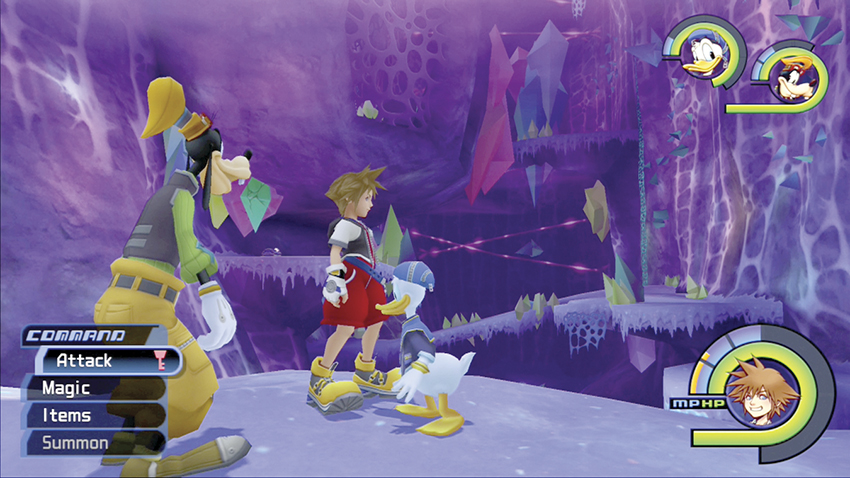
To gain the final item in the area, look for a wide “basket” formation high up in the Crevasse. Glide over to it and drop inside to battle Darkballs and Invisibles. Defeat them to make a rock disappear, enabling you to get the chest below with a Haste-G.
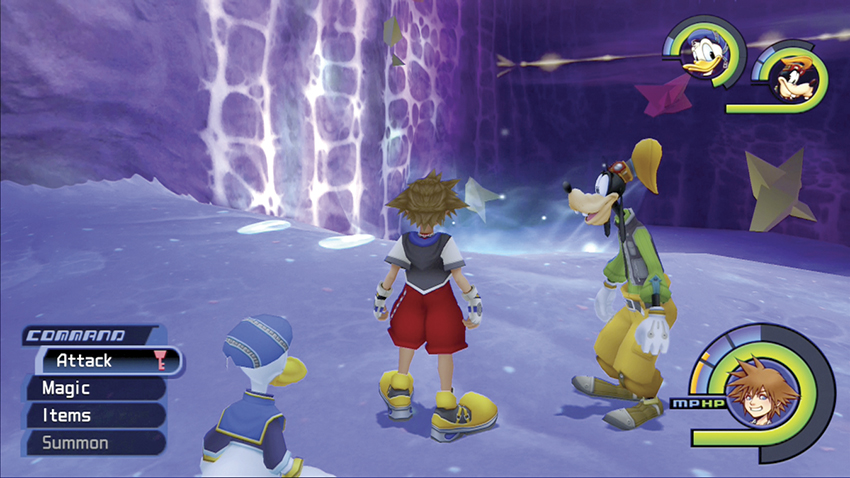
Glide down to the save point near the bottom. Save your game and then jump into the white portal to teleport to the next area.
Step 3: Revisit All the Worlds
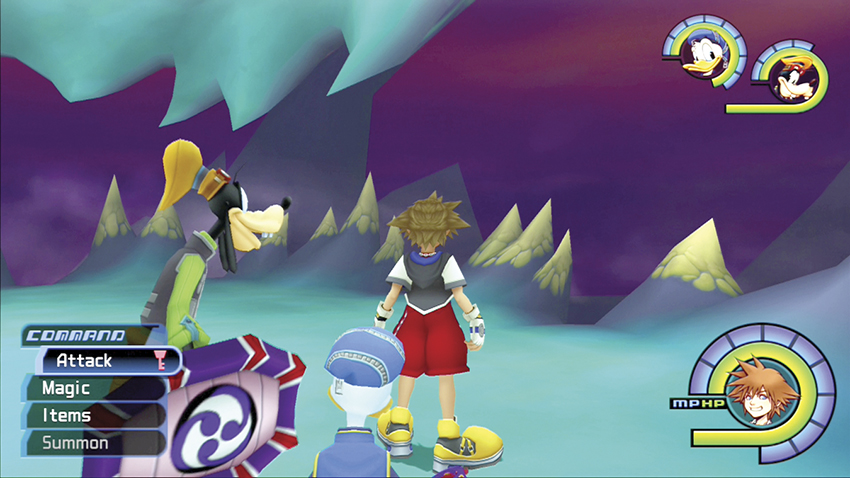
You’ve reached the World Terminus, the place where the Heartless enter all the worlds. Move across the toothy platform and touch the floating ball of light on the far side.
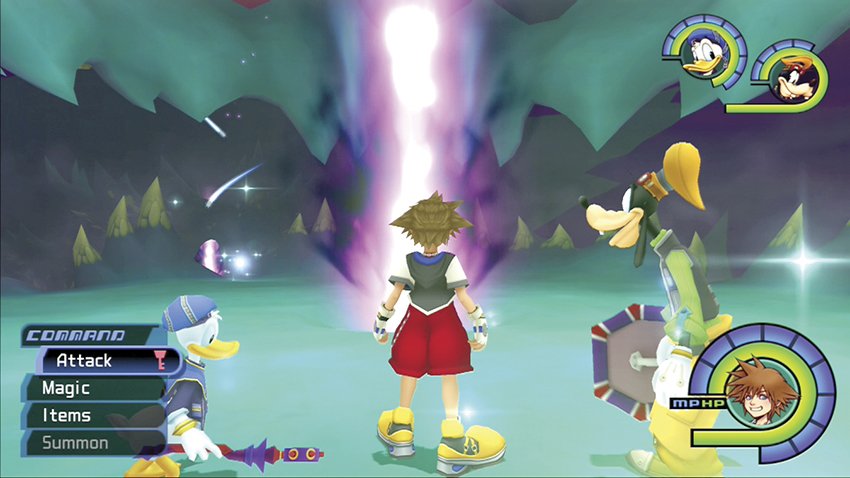
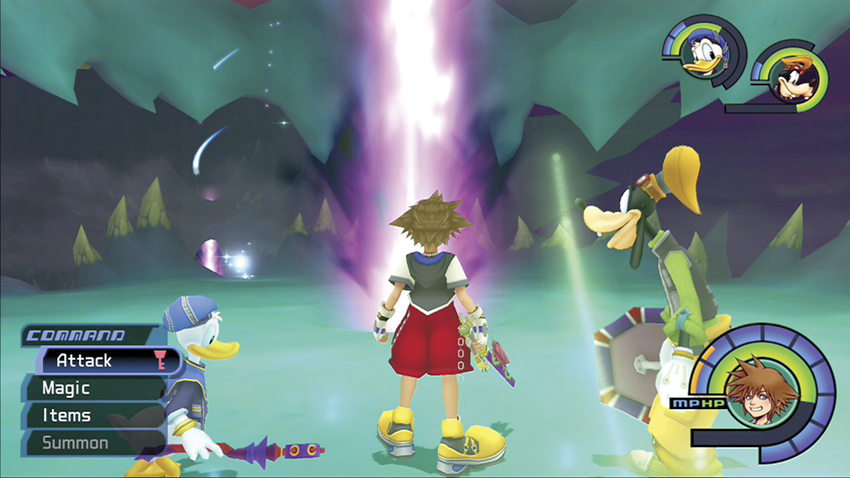
You teleport to the next area where a purple shaft of light shoots up from the ground. Each time you enter one of these purple shafts of light, you will be teleported to a new world, as you revisit all your earlier stomping grounds and stomping partners—namely, your Heartless opponents.
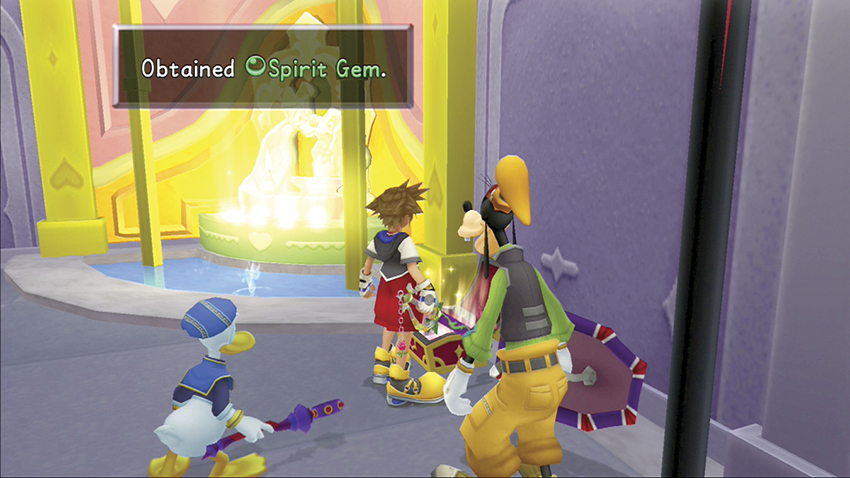
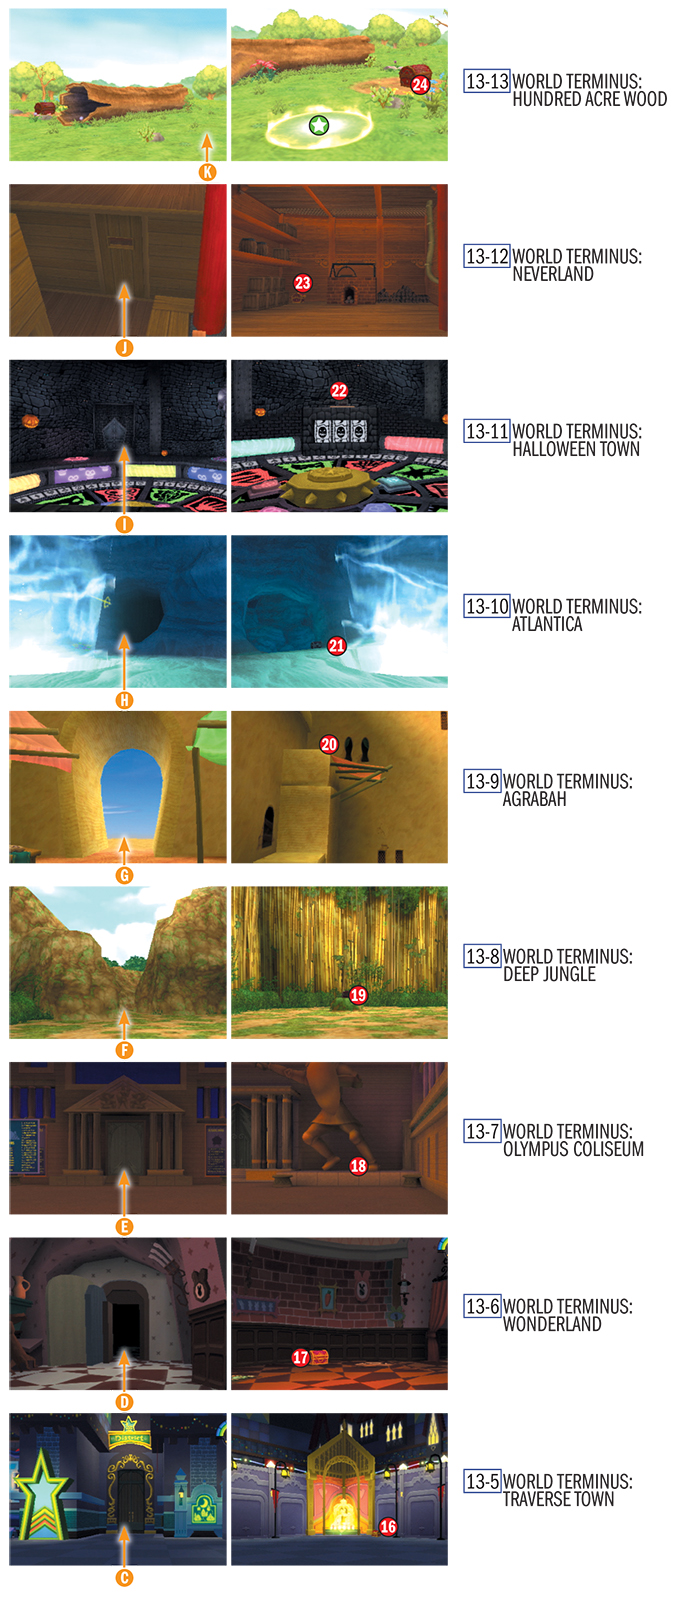
You appear in Traverse Town’s Third District. Battle several groups of the opponents you first discovered in Traverse Town: Shadows, Soldiers, and Large Bodies. Each time you appear in a new World Terminus area, you will battle the opponents native to that world. When you defeat all the Traverse Town opponents, open the red chest near the fountain for a Spirit Gem. Leave via the main doors and return to the World Terminus crater. Step into the next blue light to teleport to the next area.
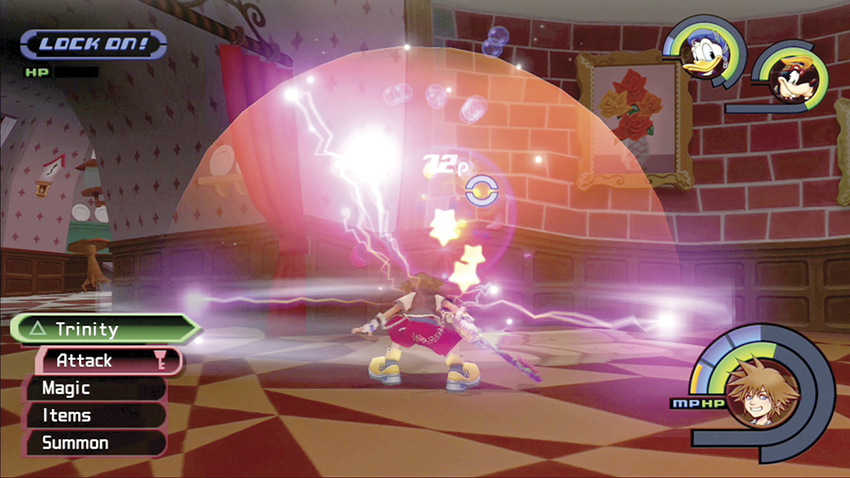
Walk into the purple light to teleport to the Rabbit Hole in Wonderland. Crush the opponents that spawn and then open the red chest for a Thunder Gem. Return to the World Terminus through the door you would use to enter the Bizarre Room.
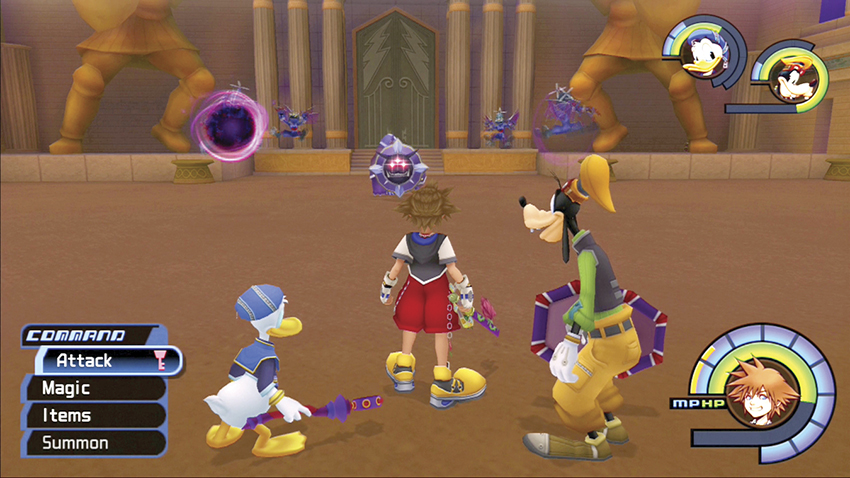
You appear at the Coliseum Gates next. Smash all the enemy waves in front of the Coliseum, and then check behind the right statue’s back foot for a chest with a Frost Gem. Use the Coliseum’s standard exit to return to the World Terminus.
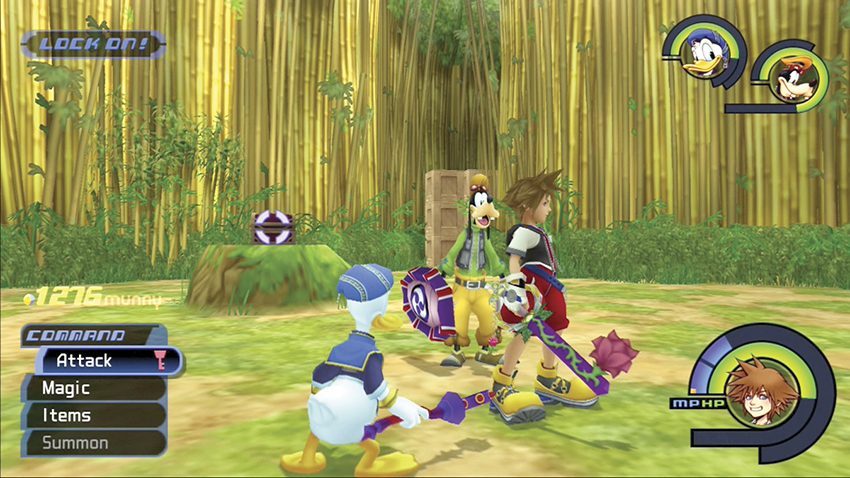
Next, you teleport to the Deep Jungle. Rip through the Heartless amidst the bamboo and recover a Bright Gem from the red chest on the stump. Return to the World Terminus through the campsite exit.
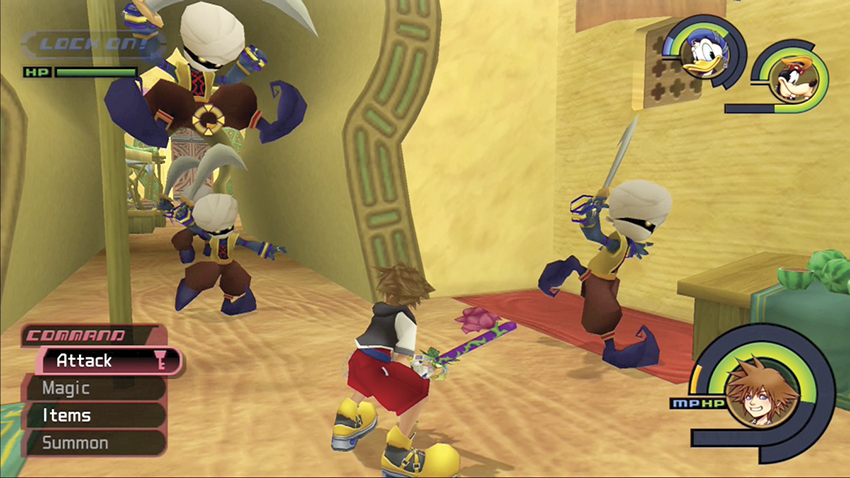
You visit Agrabah next. You must battle through three sections of the city and eliminate all Agrabah opponents you see. When you’re finished clobbering the locals, climb to the highest level in the Palace Gates area to discover a chest with a Blaze Gem. Return to the World Terminus through the way you came in.
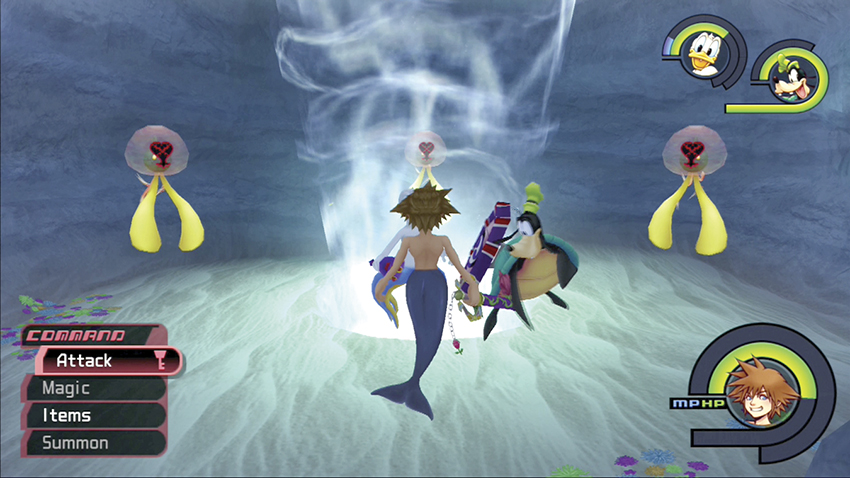
Now it’s time to swim around Atlantica again. Defeat the water-based Heartless and open the nearby chest for an AP Up. Return to the World Terminus through the cave marked with the golden trident.
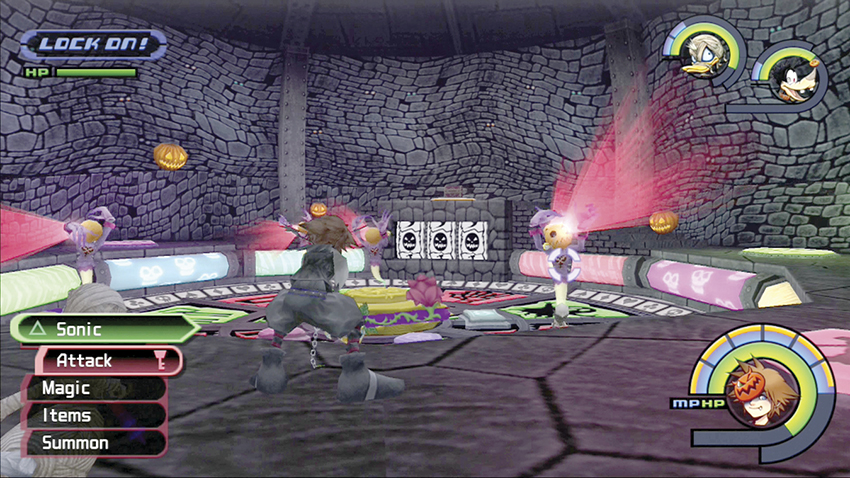
Return to Oogie Boogie’s roulette wheel for your next fight. Take care of the Halloween Town Heartless and open the nearby chest for a Lucid Gem. Return to the World Terminus through the main door.
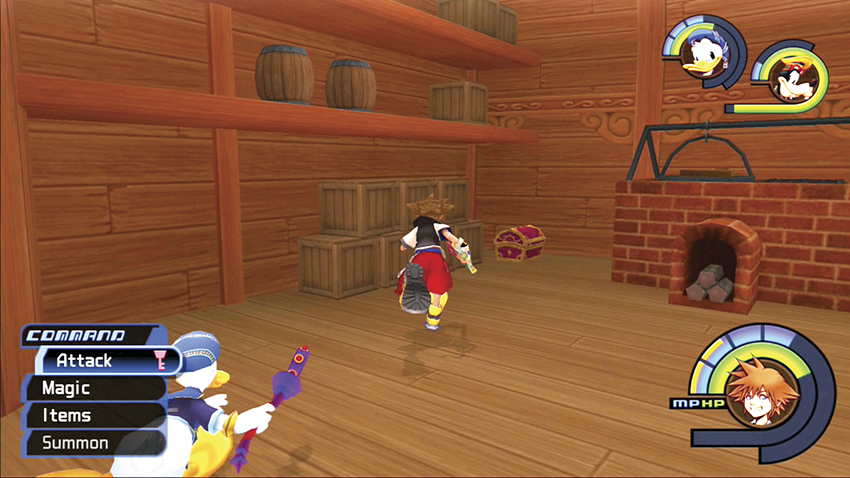
The next purple light drops you off in the Hold 2 on Captain Hook’s ship. Climb the ladder and battle through your Neverland nemeses on the upper level. Open the chest next to the fireplace for a Mighty Shield. Upgrade Goofy’s equipment if necessary. Exit back to the World Terminus by opening the door to where the save point used to be located.
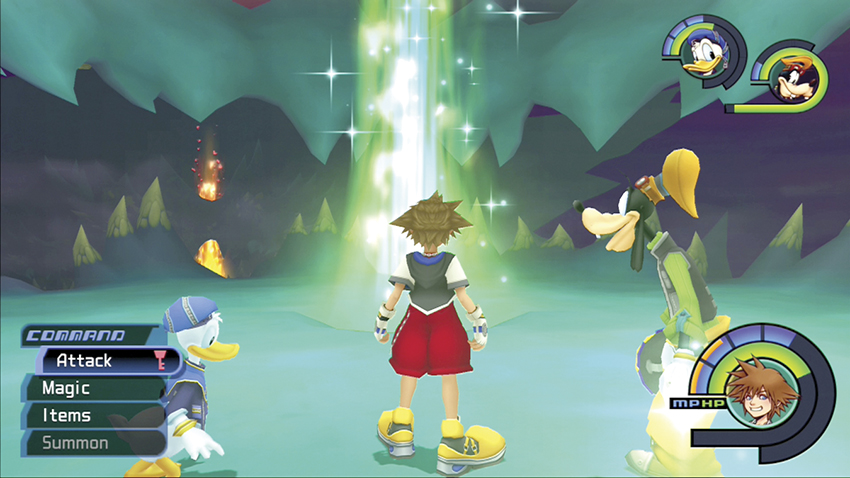
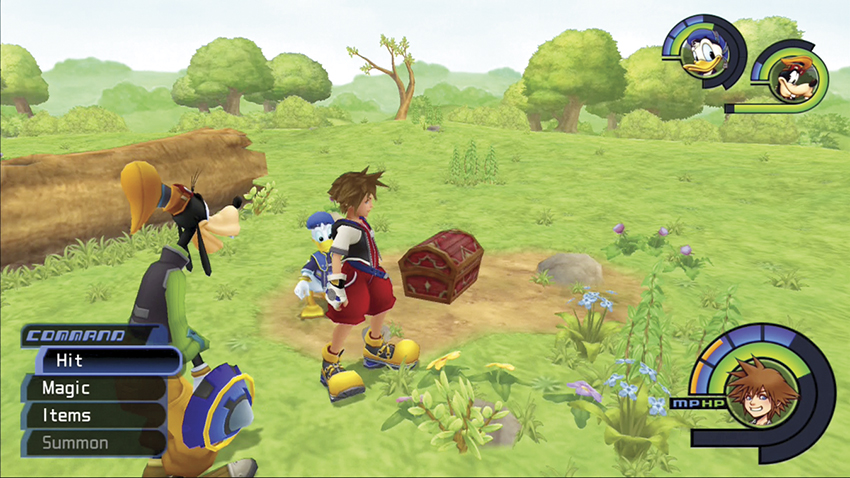
The last shaft of light is green and represents the Hundred Acre Wood. Step inside to be transported to the Meadow. There are no opponents here, so relax and open the chest for a Megalixir. Save at the adjacent save point and prepare for stiffer struggles ahead.
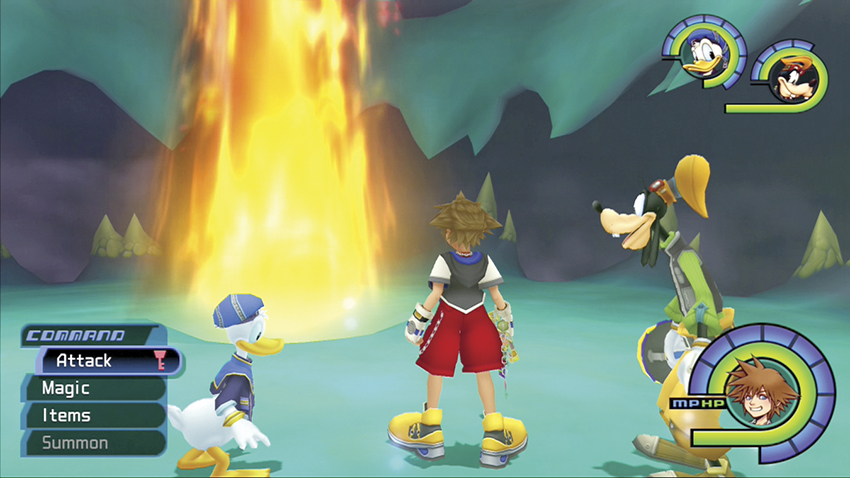
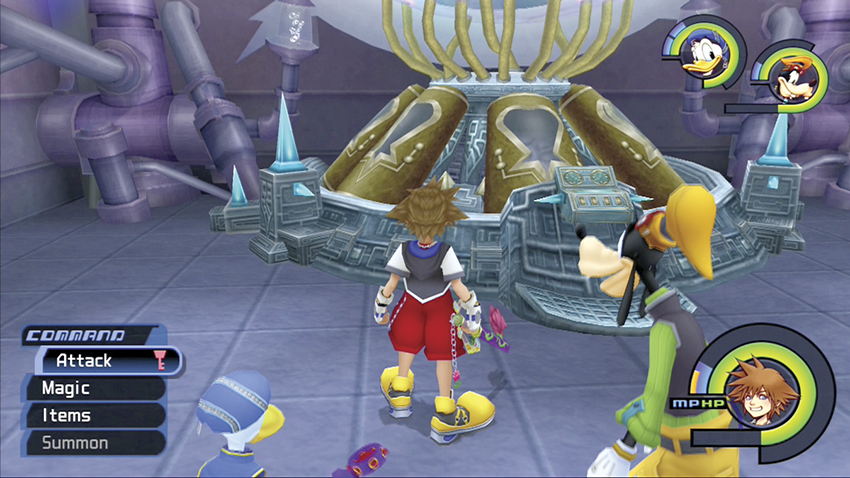
Proceed to the next crater and enter the flame pillar. In the hallway with the Heartless symbol on the far wall, defeat the Heartless that pile in and then step through the side door that opens. Pick up an Elixir from red chest in the room before examining the lab machine. Beat more opponents and jump back through the burning hole from which you originally entered the hallway.
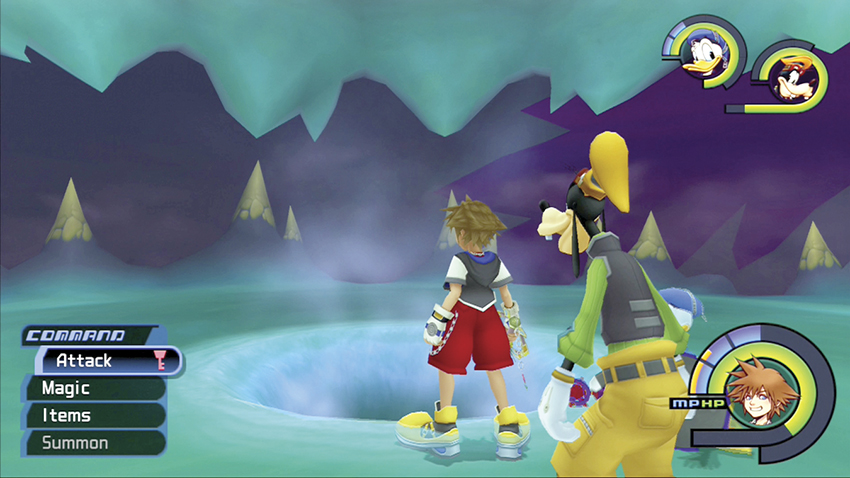
You may want to return to the Meadow to save and stock up on items. Once you’re ready, jump into the blue pit to engage the first of many bosses.
Step 4: Chernabog
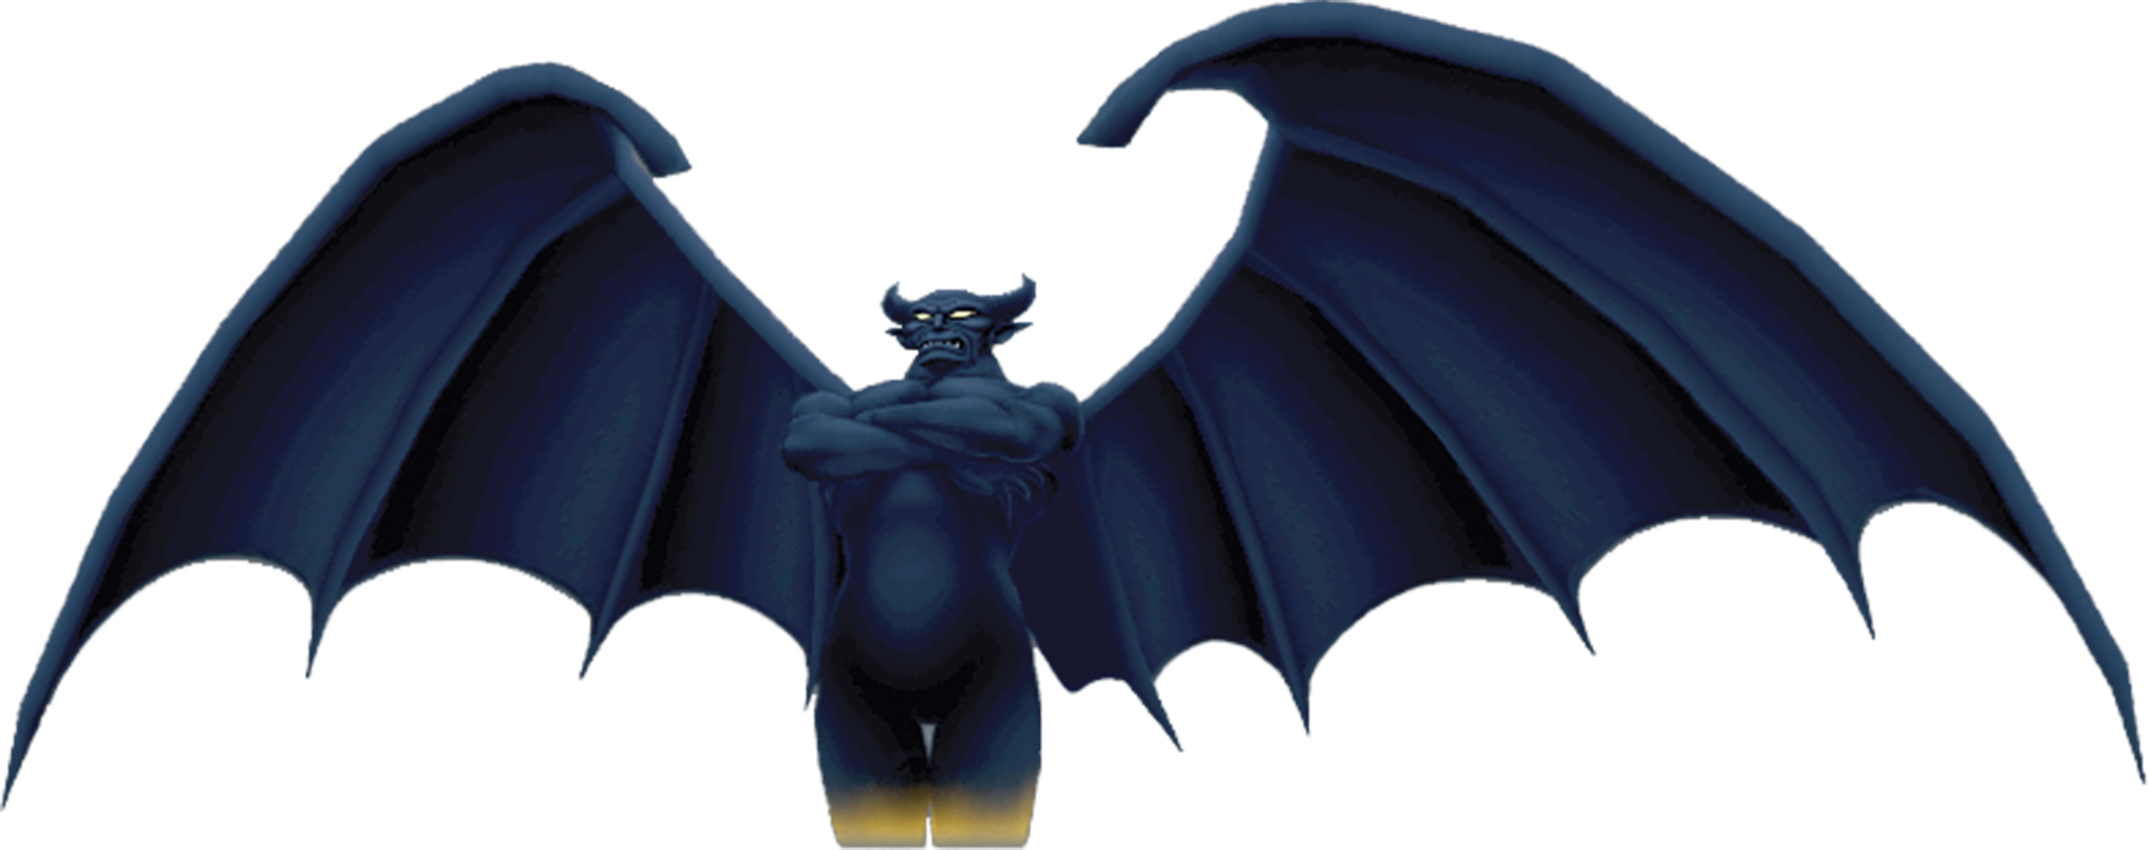
| HP | 1500 |
| Strength | 40 |
| Defense | 30 |
| EXP | 15000 |
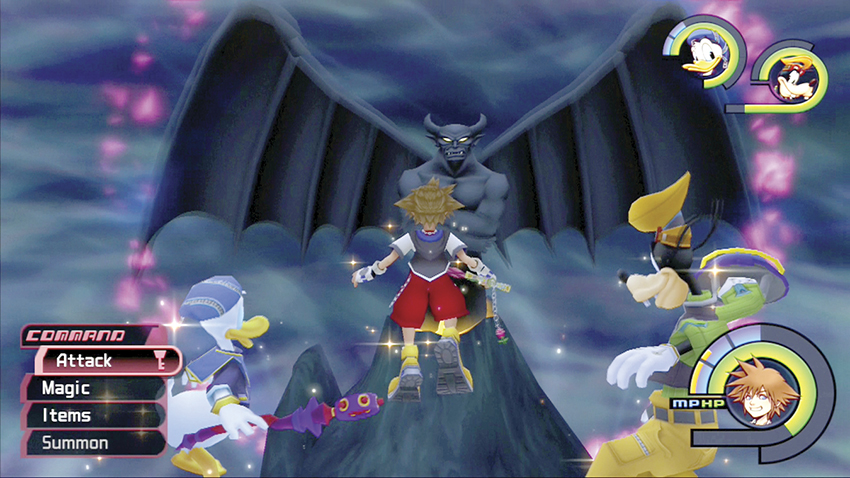
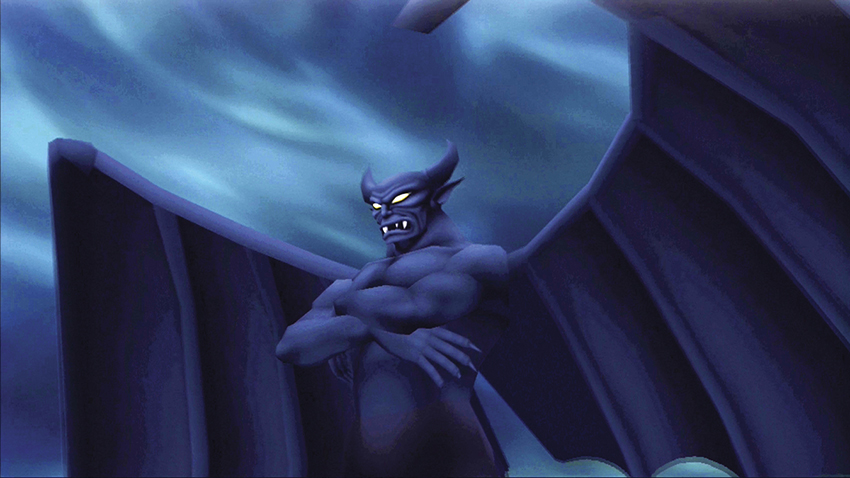
You face off against Chernabog, and you should adapt a similar strategy to when you battled the giant Ursula. Throw up your Aero spell for protection, and fly in and strike the side or back of Chernabog’s head to deal damage.
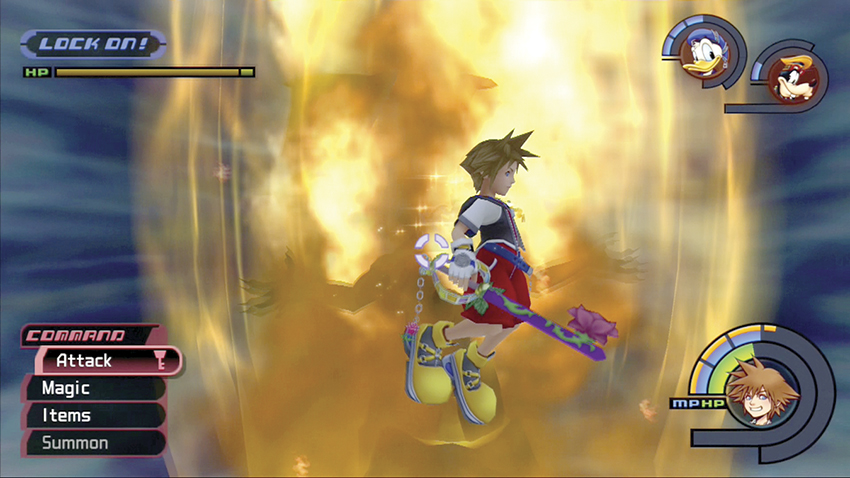
Chernabog counters with flame breath (he rears back) or bites when in close. He can also swat you and send you sailing away. Toward the end of the fight, Chernabog will cast energy spheres that lock onto you; dodge as best you can and fly behind his head to use it as a shield. His worst attack, though, is a flame barrier that shoots up around his whole body when he hunches forward. When he rears back to throw up the flame barrier, immediately fly away from him to escape the massive damage.
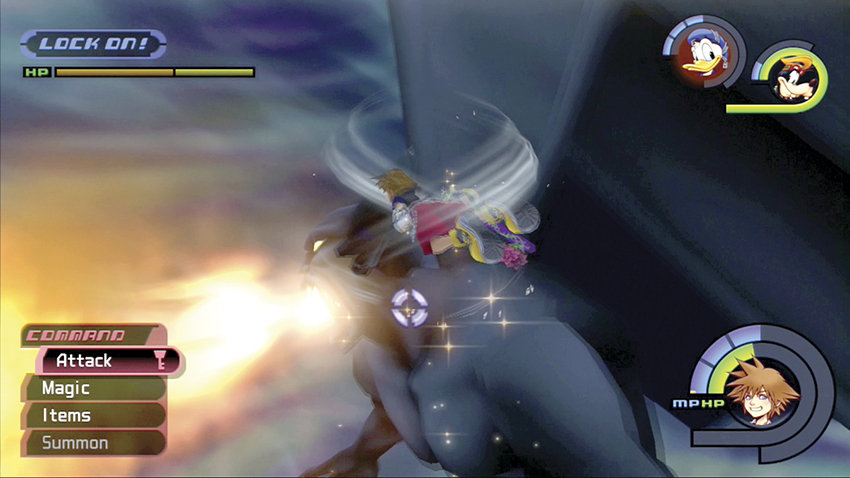
Keep pestering him with blows to the side and back of the head. If you play defense first—dash out when the flame barrier comes up and avoid flame breaths—you will slowly whittle this demon down to size. You earn the shared ability Superglide for beating him.
Step 5: Survive Till the Final Rest
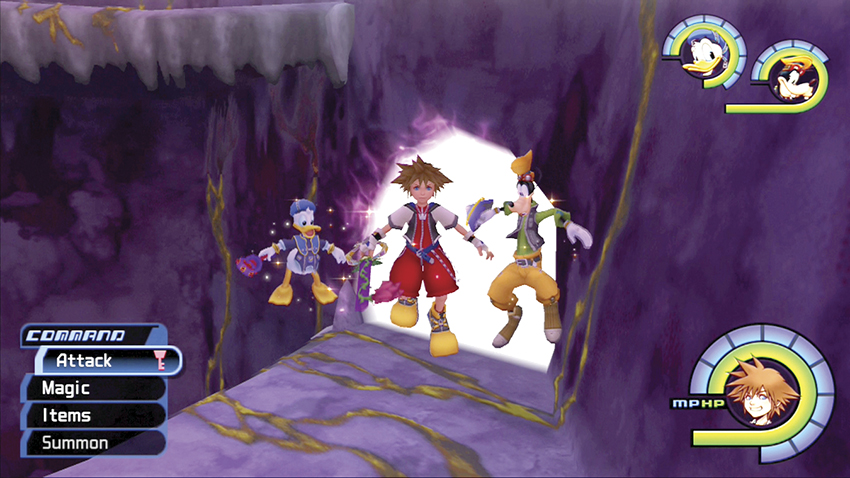
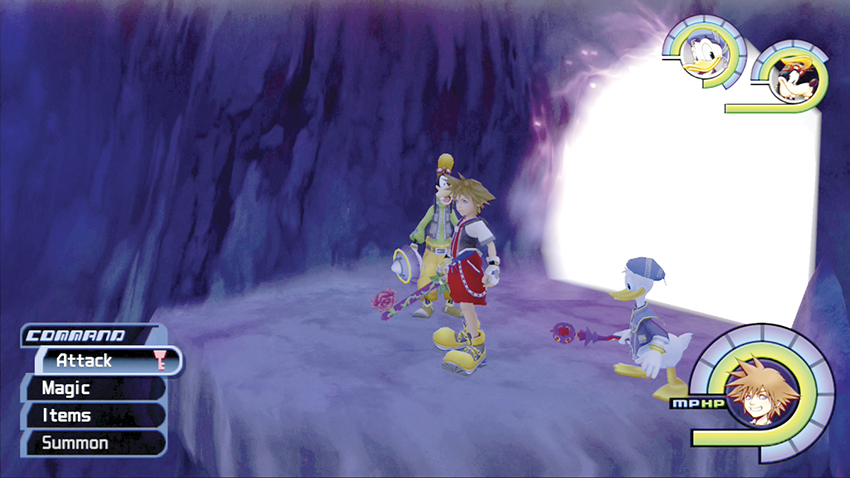
That was just the warm-up for the final showdown. Descend into the crater left by Chernabog’s demise and fly through the portal at the top. Jump from ledge to ledge down to the bottom of the crater and enter the next portal.
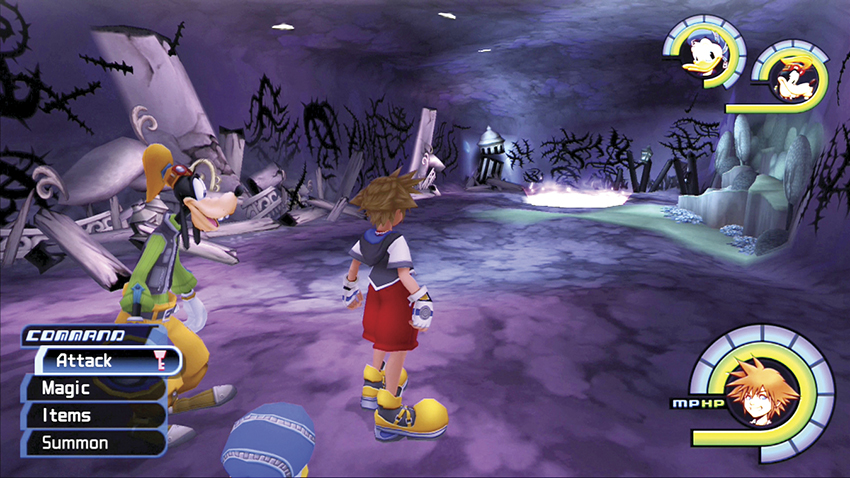
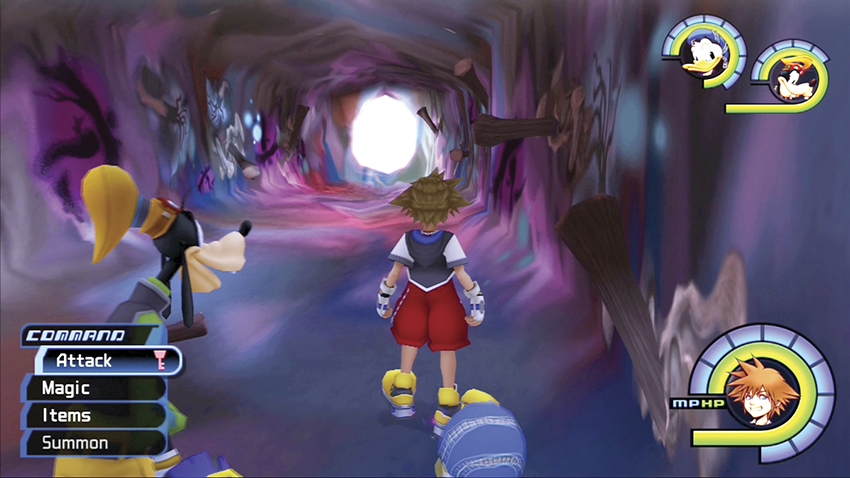
The Volcanic Crater shows world destruction of all kinds along the walls. Advance forward and drop through the hole at the end of the area. Continue on through the destruction and jump down through the next hole. In the final Volcanic Crater passage, jump through the portal in the far wall.
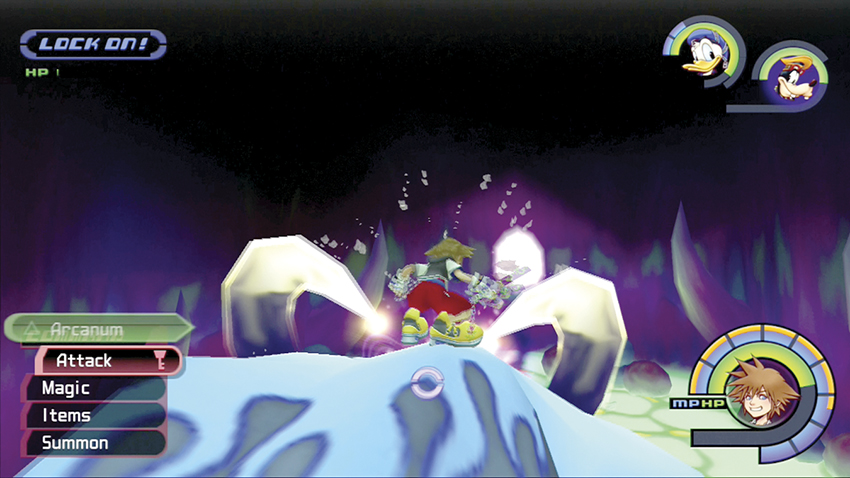
You land in the Linked Worlds chamber. Immediately a Behemoth attacks. Dodge behind it and attack per your standard tactics: avoid the Behemoth’s front, climb up on its back, and attack the horn until it’s defeated.
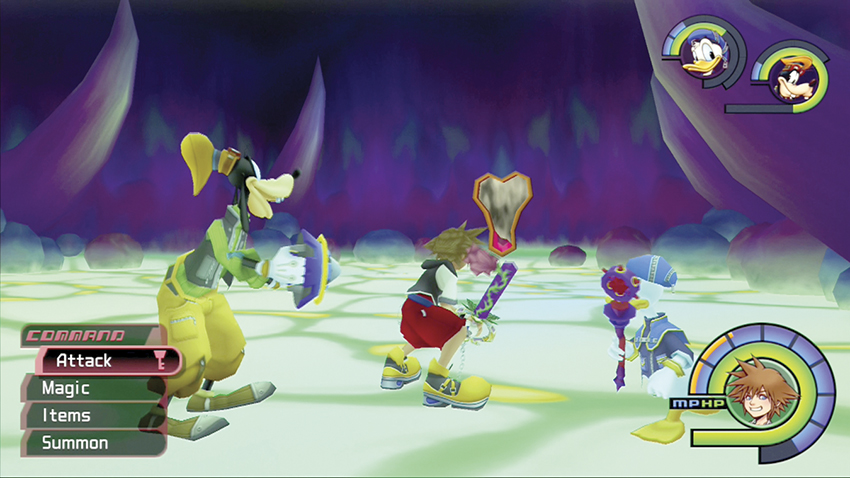
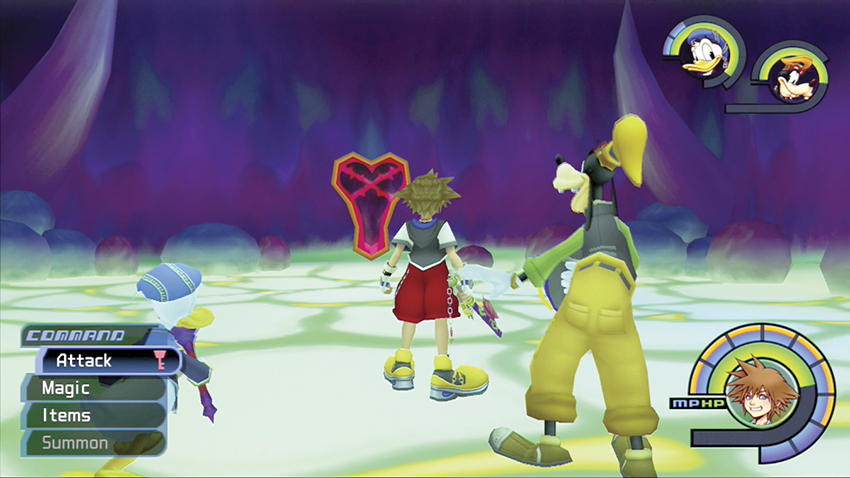
After the Behemoth falls, a series of really difficult battles occur against Invisibles, Angel Stars, and Darkballs. In the chamber, you can easily get overwhelmed. Watch your targets and finish off the ones with low HP before moving onto others. Each time you beat a Heartless wave, a piece of the Heartless symbol on the chamber wall breaks off. Once you break them all off, enter the new portal.
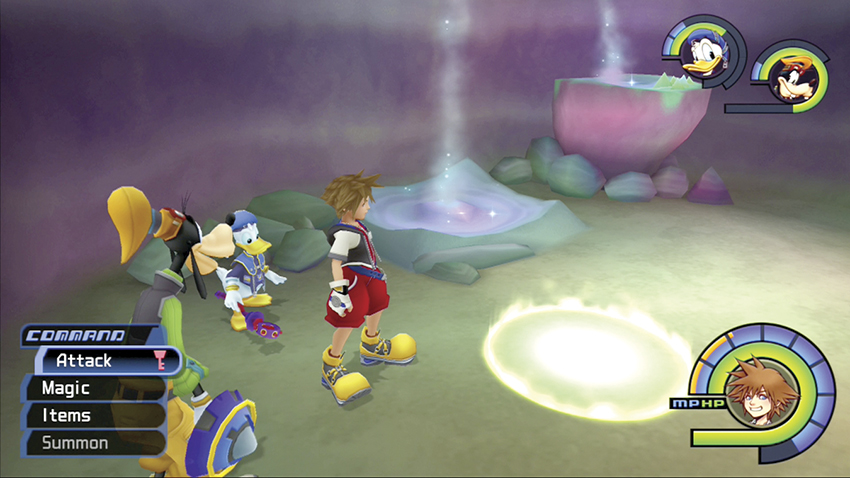
You’ve reached the Final Rest chamber. This is it—your final save point. Open the nearby blue chest for a Megalixir and restock all your items.
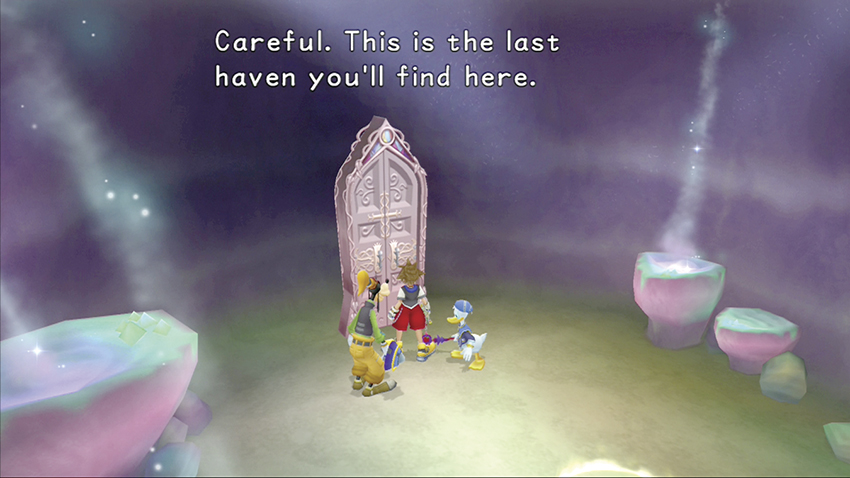
You may want to journey back to Traverse Town to spend the rest of your munny before continuing. When you are finally ready, open the familiar-looking door for the end game.
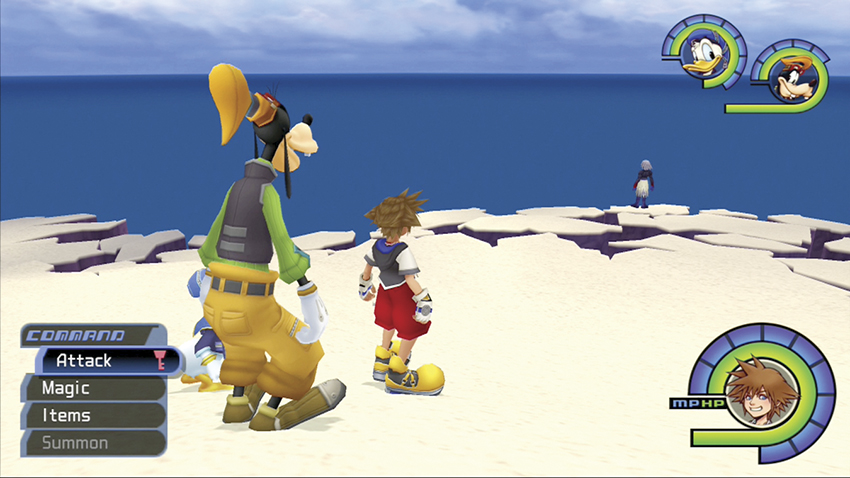
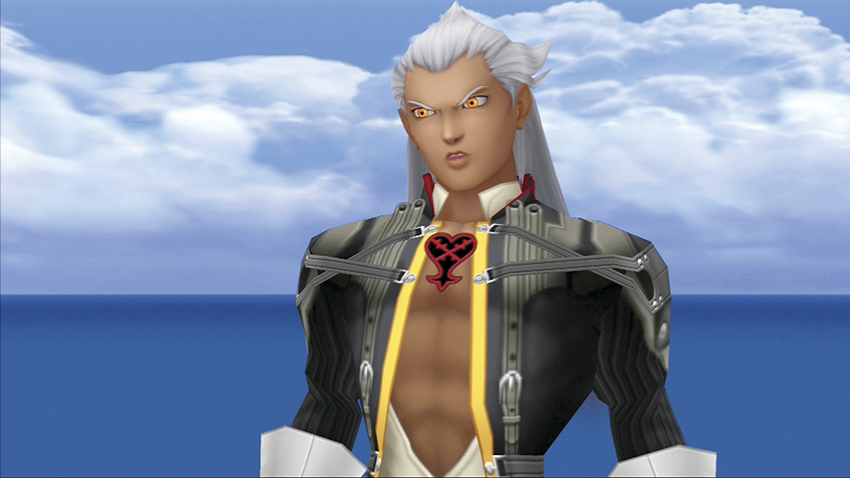
The door takes you back full circle to the beach on Destiny Islands! Try to enter the Secret Place and Riku will appear on the beach, now corrupted with cracks and dark energy. Approach him to begin your run of boss battles.
Step 6: Ansem
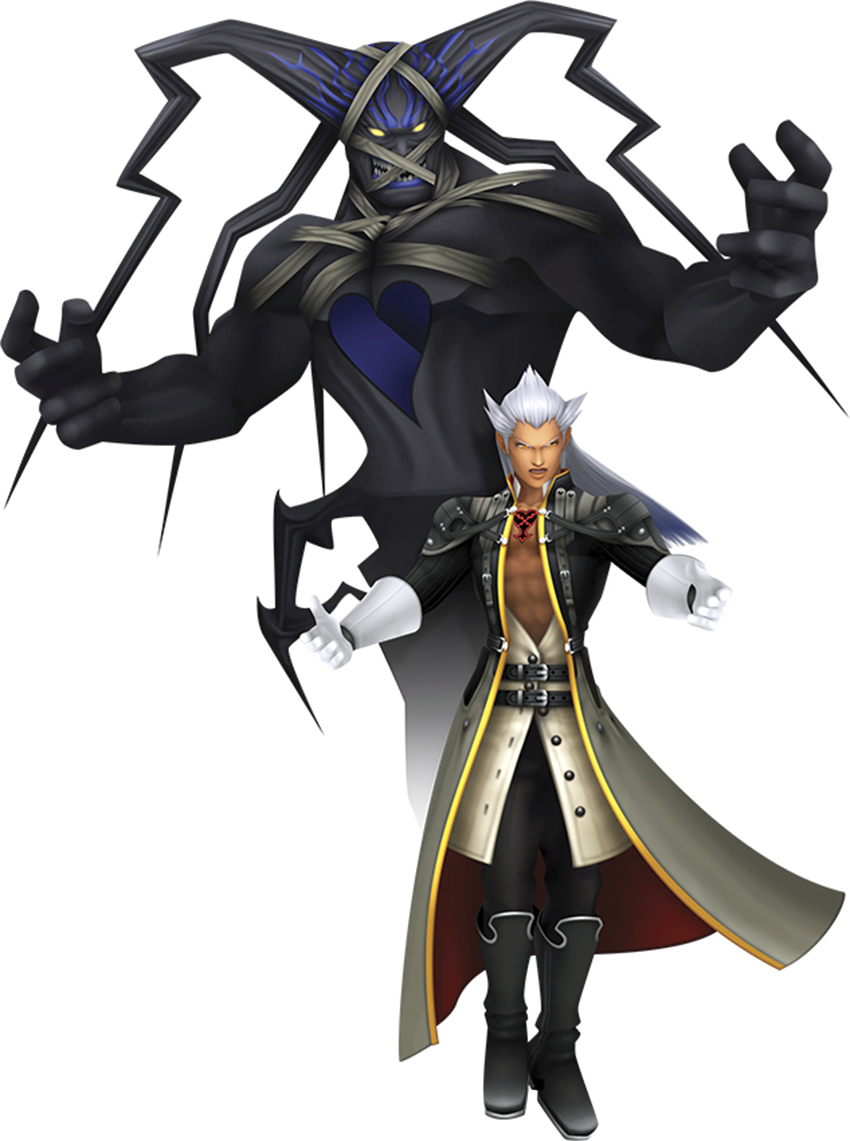
| HP | 1500 |
| Strength | 40 |
| Defense | 30 |
| EXP | 10000 |
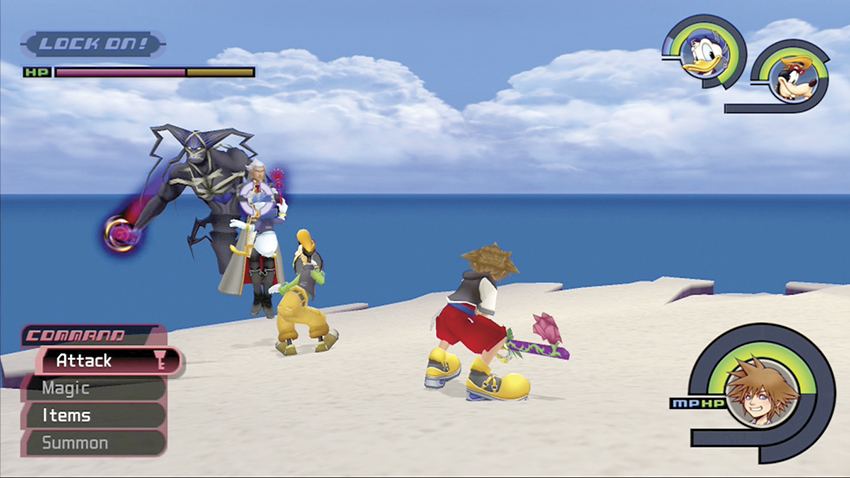
Your first run-in with Ansem is the easiest; you can use regular attacks and conserve on items. Magic won’t work well on him, so pound away as if he were one of the Heartless.
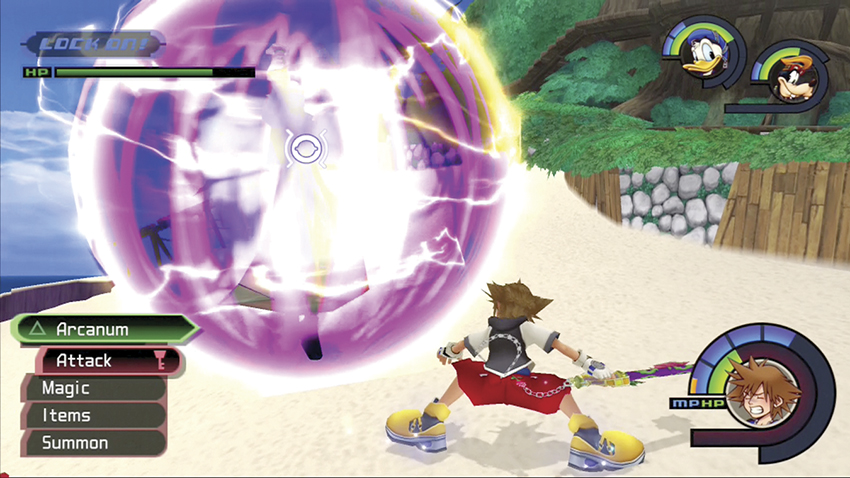
Early in the fight he will toss energy discs at you. Dodge these and counter whenever Ansem’s guardian isn’t defending. Back away when Ansem conjures a ball of darkness around himself; later he will begin flying and conjure a pink energy ball around himself, which gives him invulnerability. Occasionally, Ansem’s guardian will detach and hover over you. During this time a “Freeze” option will replace the normal “Attack” command. Counteract the guardian attack with a Curaga, but don’t attack—if you do, the guardian seizes hold of you and causes a large loss of HP.
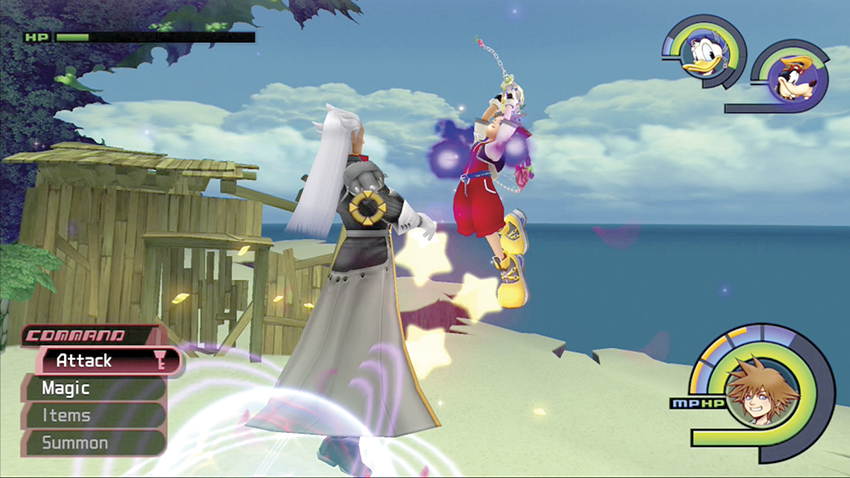
Keep after Ansem until he falters. When he retreats, restock your items and then follow Ansem into the crater.
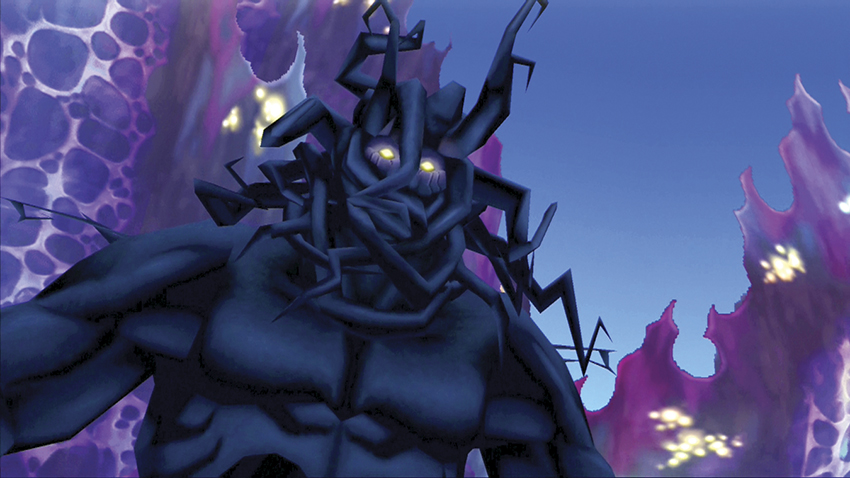
Step 7: Darkside
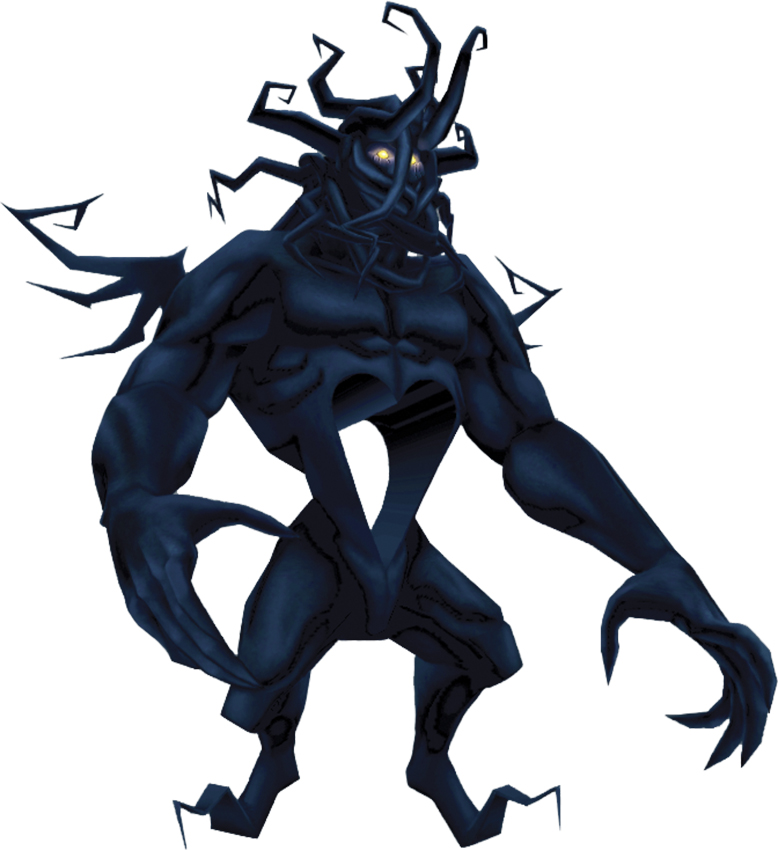
| HP | 900 |
| Strength | 40 |
| Defense | 30 |
| EXP | 8000 |
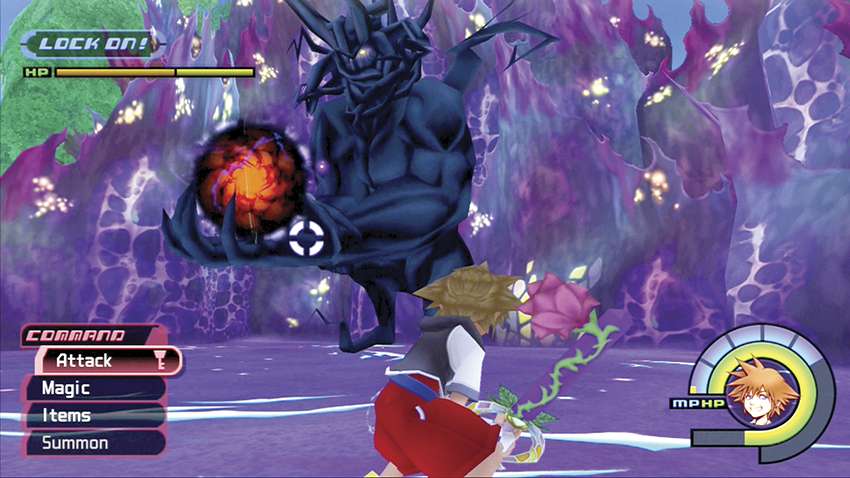
You are without Donald and Goofy for this battle; they get repelled away from the crater as you jump in. You shouldn’t be concerned, though, since you’ve fought Darkside a couple of times before.
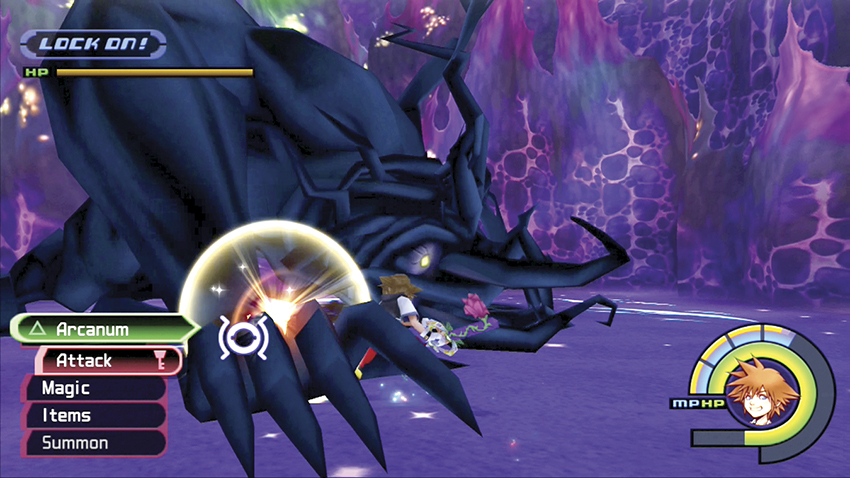
Use the same tactics to beat Darkside. Dodge his energy ball and shock wave attacks. If you need HP, smash the Shadows that spawn. When Darkside lowers his hand to the ground, lock on and relentlessly attack until you deplete his HP meter. With your new equipment and abilities, it shouldn’t take long.
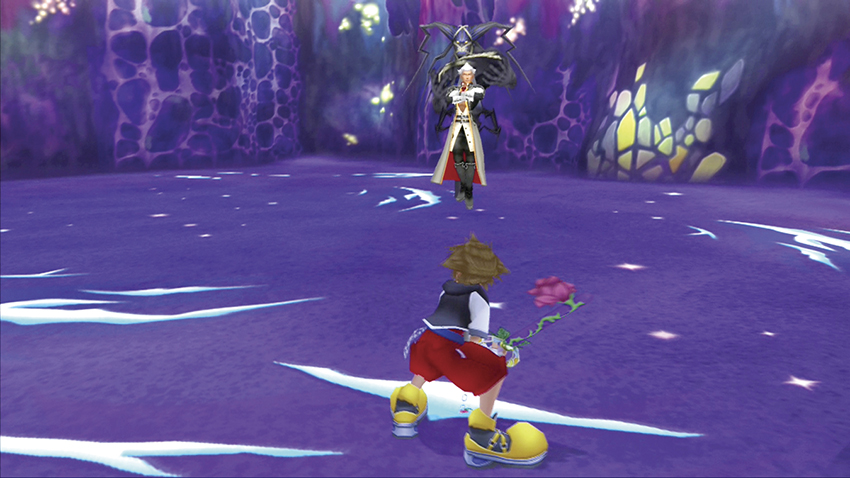
Step 8: Ansem II
| HP | 1200 |
| Strength | 40 |
| Defense | 30 |
| EXP | 20000 |
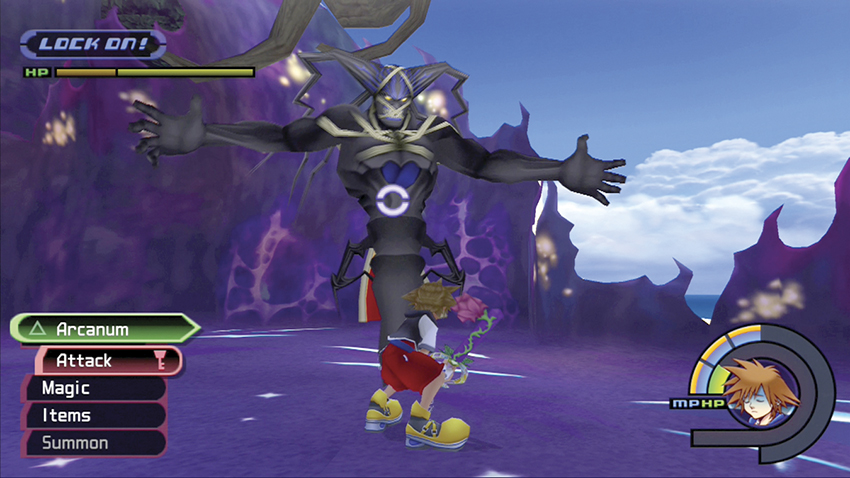
You meet up with Ansem again, only this time you don’t have Donald and Goofy’s assistance. Rely on the same tactics as the previous fight, though you will have to cast more Aero and Cure spells to keep yourself going.
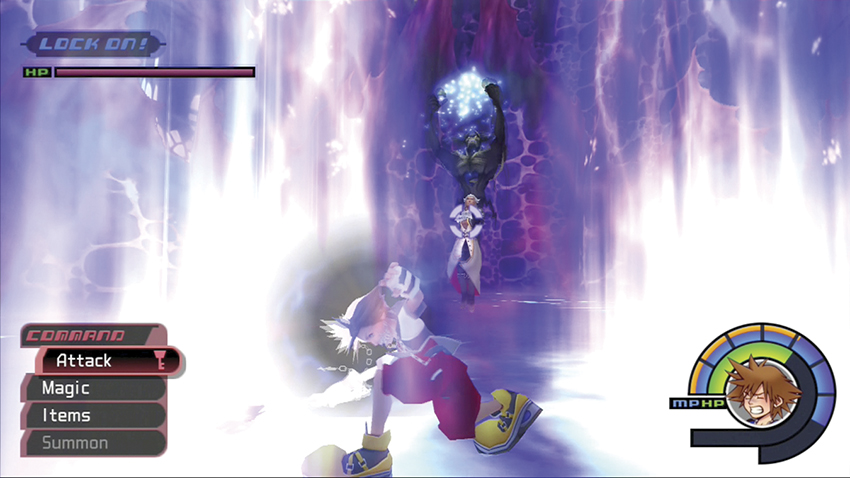
Ansem gains more attacks for this battle. At the start, he will zip around inside an energy ball, similar to Riku’s attack style, and destroy you in seconds if you don’t use Dodge Roll, High Jump, or Superglide to avoid it. If you have Aeroga, throw it up to deflect Ansem’s new attack and stop him from using it.
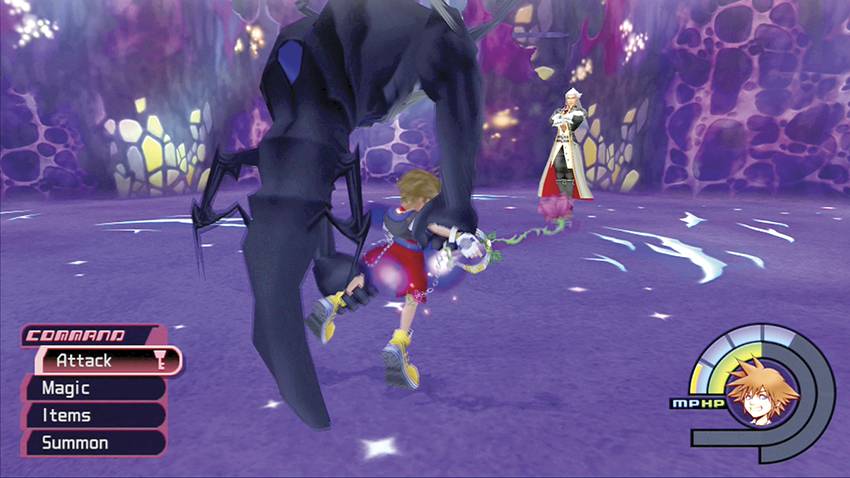
The guardian will cause you more grief in this second battle. He will try to grapple with you more often, and he will send pools of dark magic after you. Sprint away from them, or Dodge Roll, to prevent the damage. Whenever the guardian isn’t harassing you, go after Ansem. Special abilities like Ragnarok and Ars Arcanum can penetrate his defenses and inflict heavy damage. Continue the assault until Ansem retreats again.
Step 9: World of Chaos
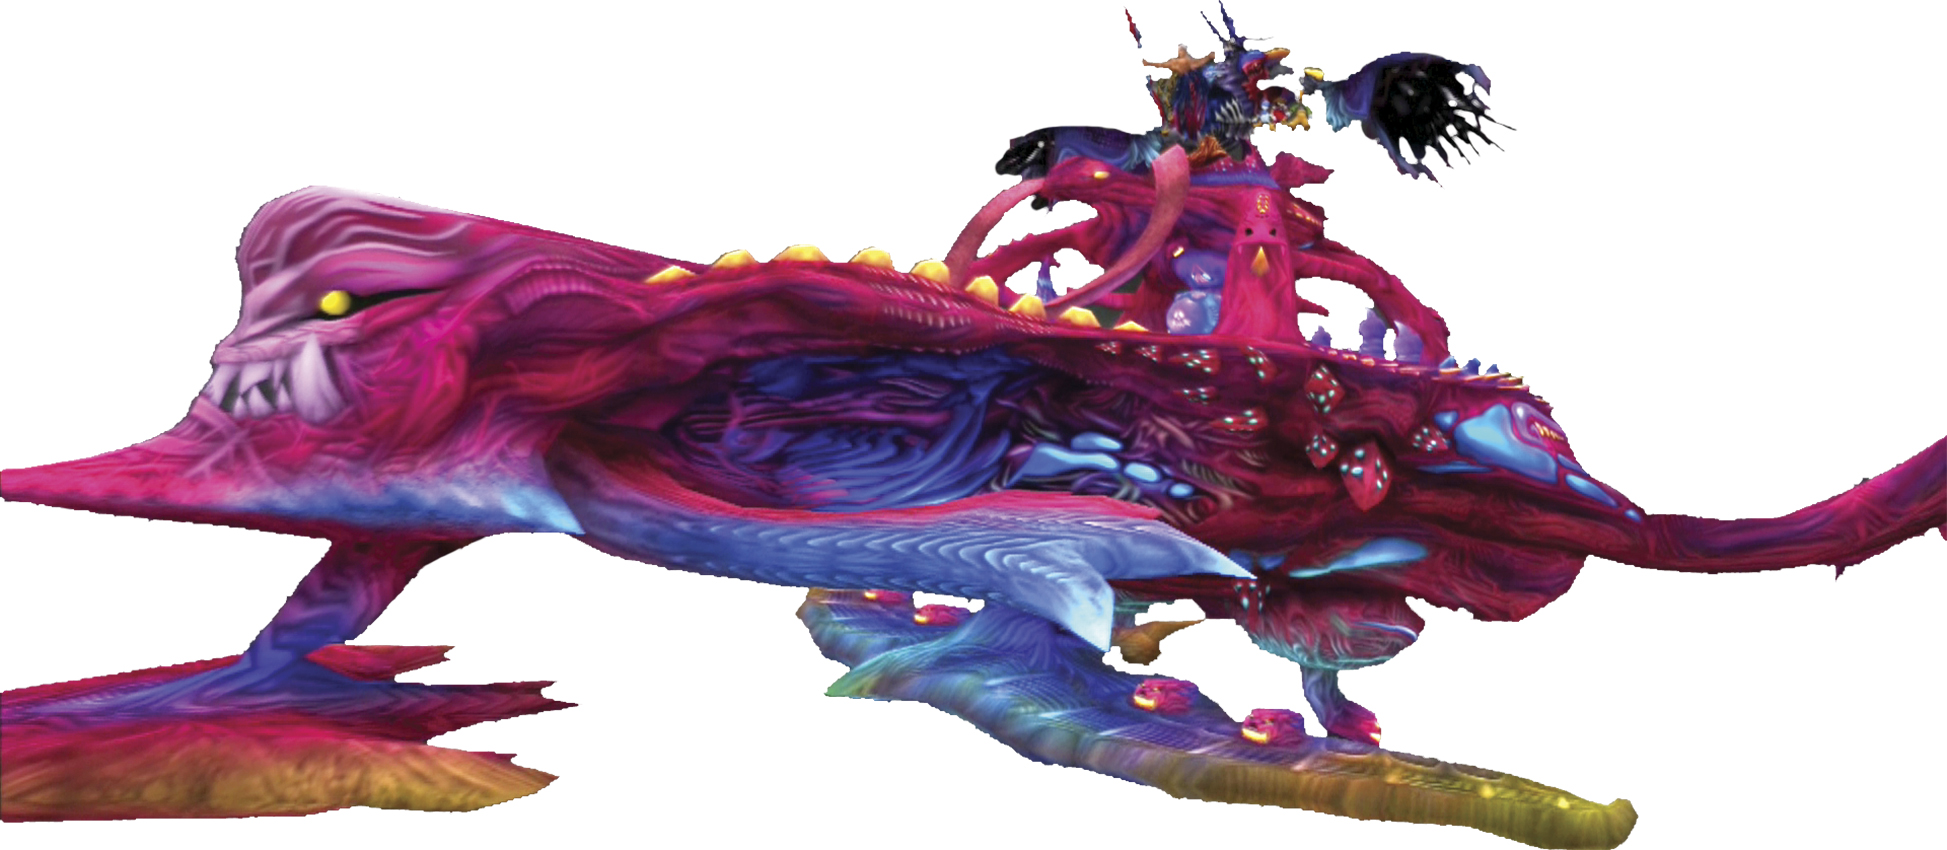
| HP | 1500 |
| Strength | 40 |
| Defense | 30 |
| EXP | 20000 |
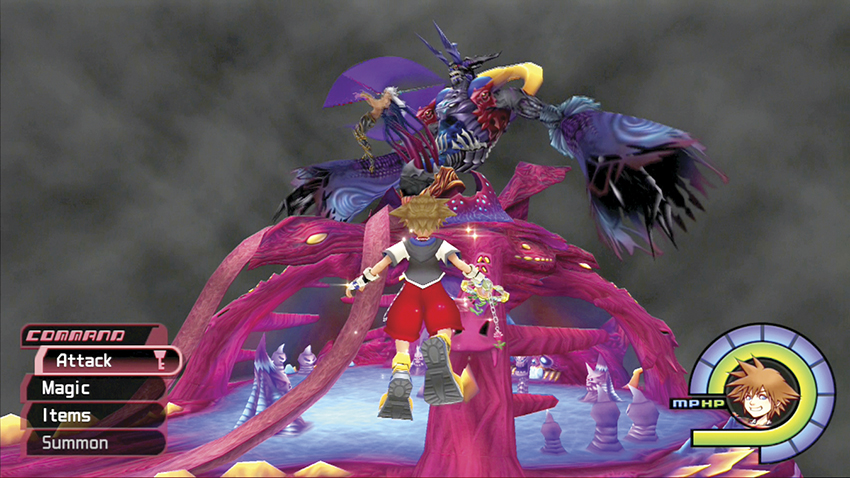
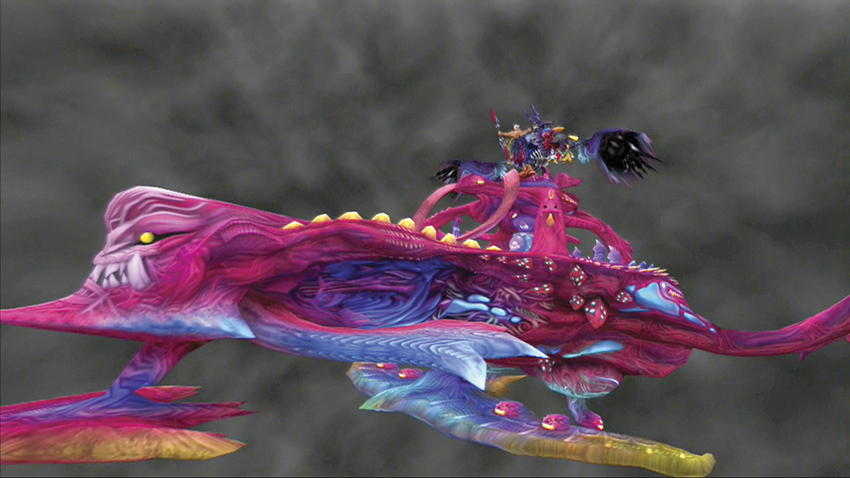
Ansem teleports you all to the World of Chaos ship for this battle. Once again you are without the aid of Donald and Goofy, who are imprisoned by the insidious Ansem. Treat this fight similarly to how you fought the other giant bosses, Ursula and Chernabog.
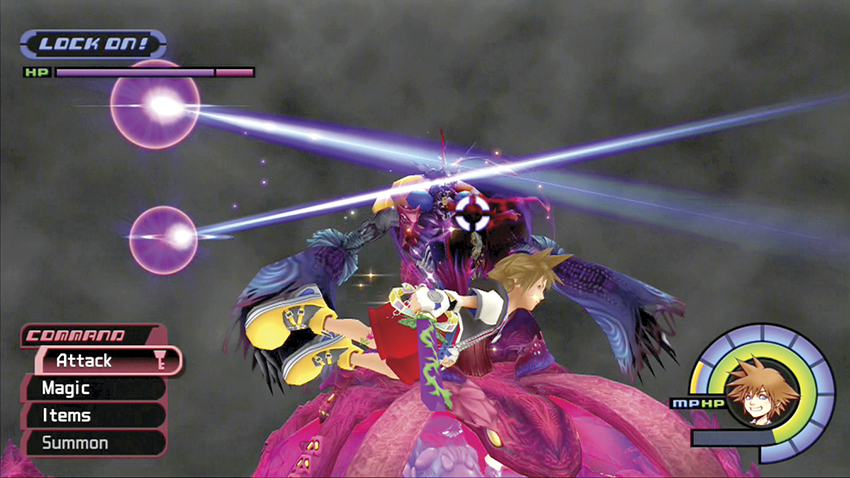
Fly in and go for quick strikes against Ansem before he can lock his focus on you. Ansem’s halberd can deal huge damage up close; luckily, he can only spin it in front of him, but when he does, it’s a priority to dodge it.
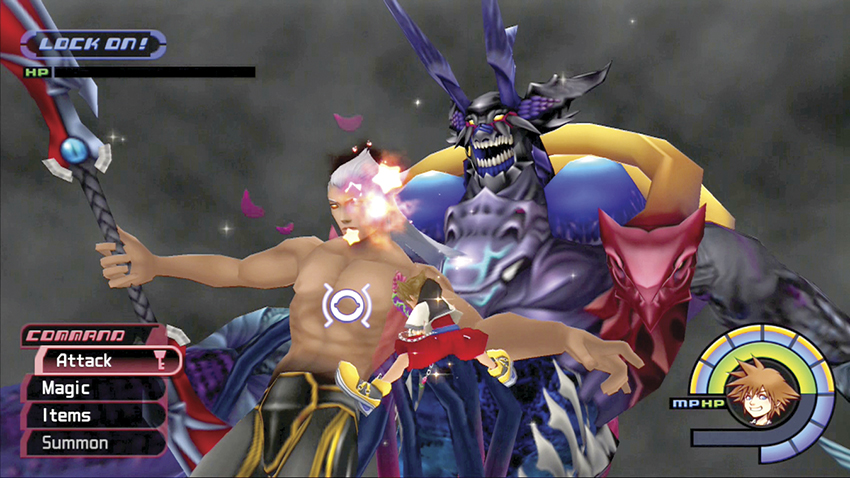
Your biggest threat, however: the lasers that emanate from the purple energy balls. You can be surrounded by laser beams if you aren’t careful. Fly away from them and exploit your three-dimensional environment to avoid them, moving up and down as well as left to right. Whenever the lasers aren’t locked onto you, zoom in on Ansem and let him have it. After countless combos, he will eventually succumb.
Step 10: Room Core
| HP | 30 |
| Strength | 40 |
| Defense | 30 |
| EXP | 0 |
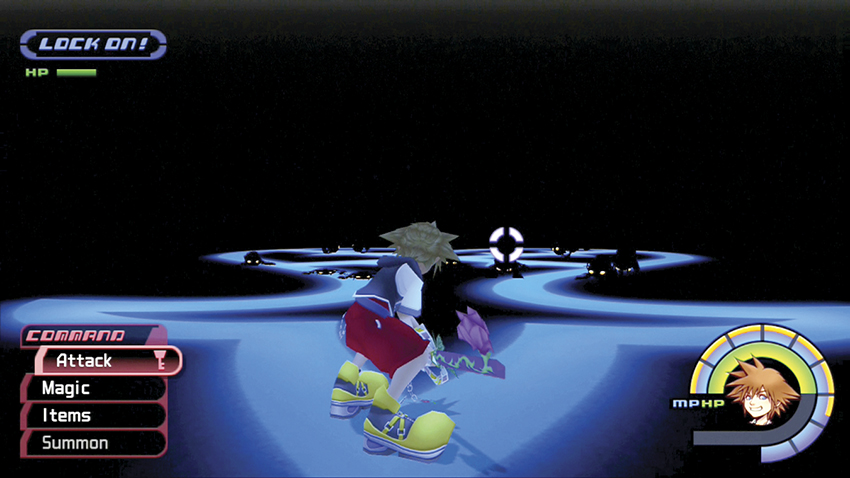
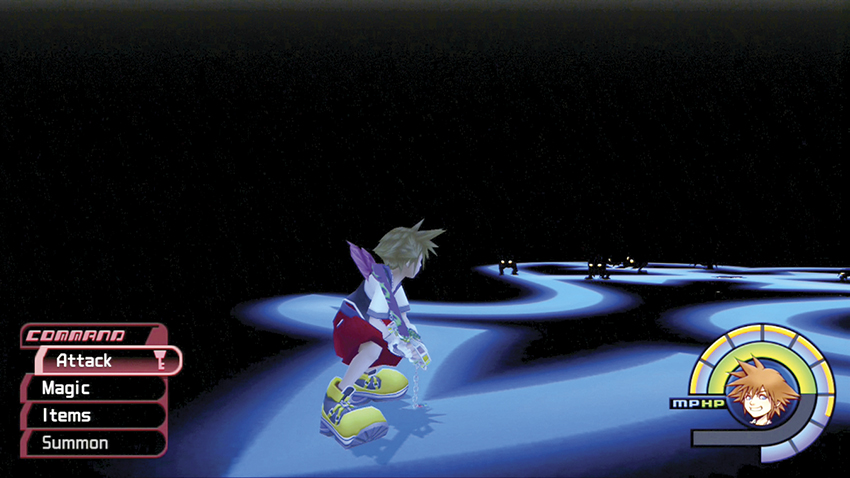
Ansem retreats into the ship and banishes you to a room of darkness. Use the eerie blue design and your target lock to spot the Shadows that soon swarm you.
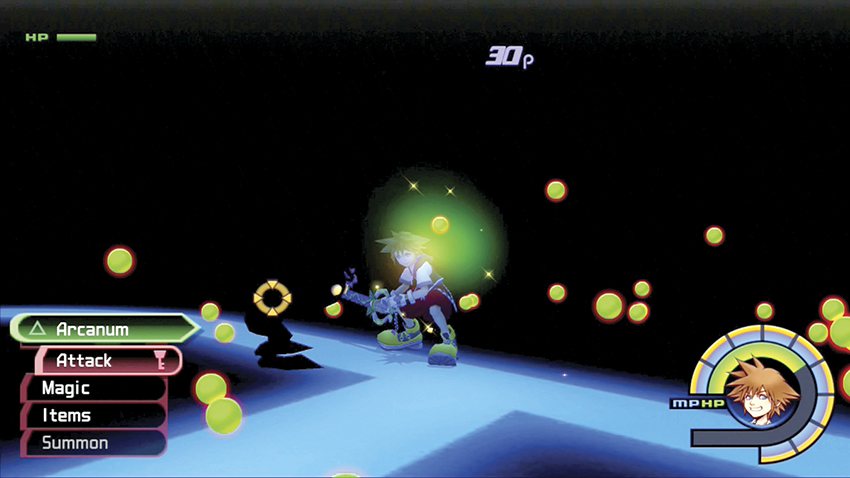
Don’t waste any items in here. The Shadows explode into more HP balls than you’ll need to fully heal. After you smash all the Shadows, an energy strand will appear in the air. Leap up and attack this Room Core to escape the room of darkness.
Step 11: Artillery
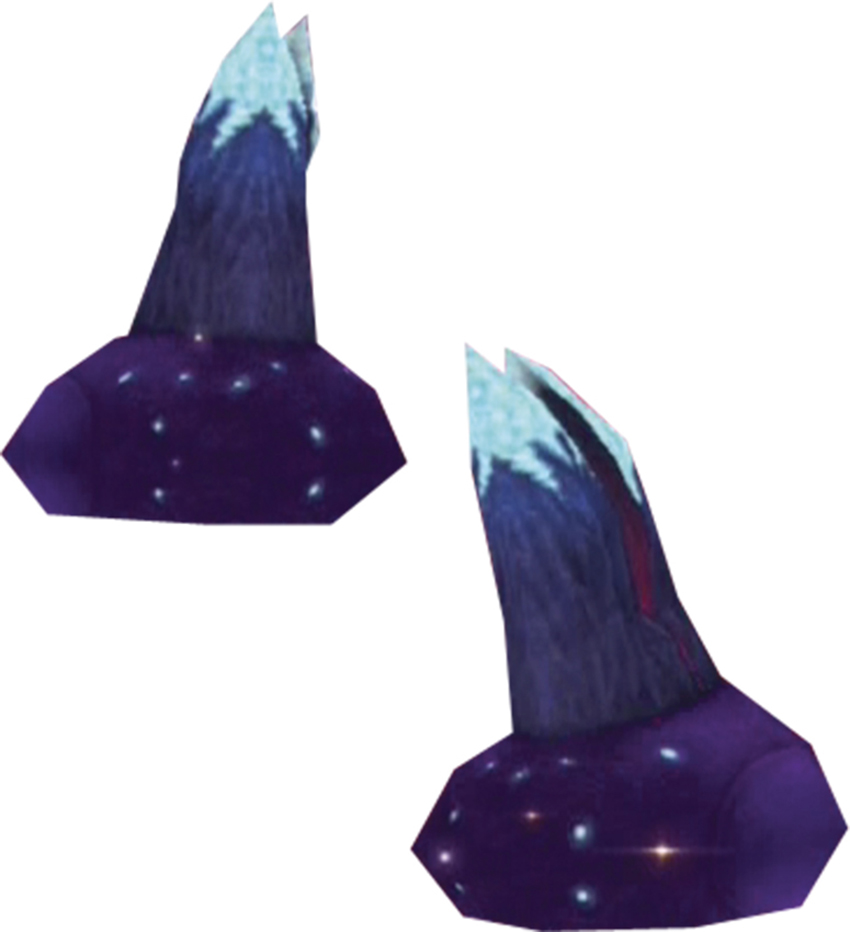
Large Cannon
| HP | 240 |
| Strength | 40 |
| Defense | 30 |
| EXP | 240 |
Small Cannon
| HP | 120 |
| Strength | 40 |
| Defense | 30 |
| EXP | 90 |
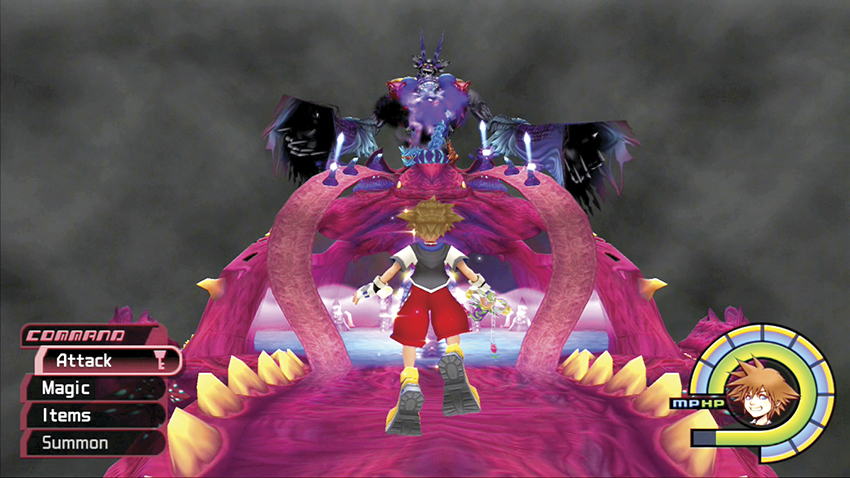
You’re expelled back outside the ship and face the full brunt of the World of Chaos’s Artillery. Small Cannons pelt you from the sides, while the Large Cannons spit out energy balls that will consume your HP if you aren’t careful.
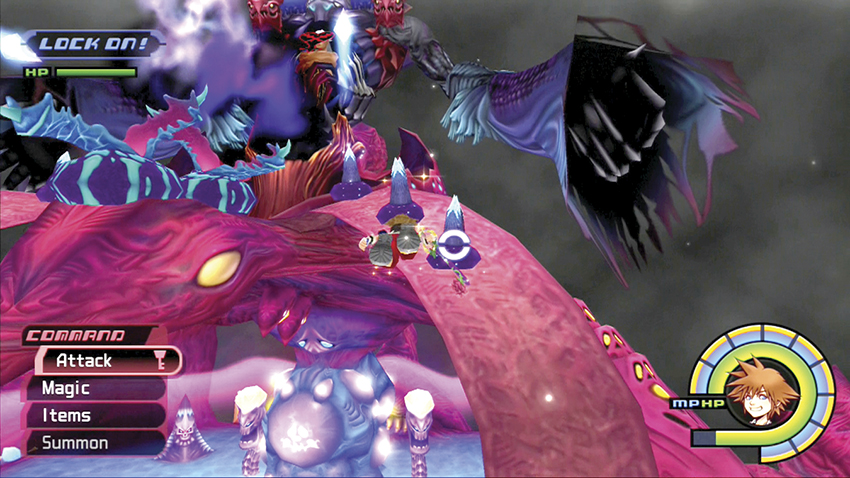
Fly in and attack the outlying Artillery Cannons first. Dodge the incoming missile fire and give each Cannon a few swats to destroy it. You shouldn’t have to use much magic in this fight; the side Cannons release HP balls and the middle Cannons release MP balls.
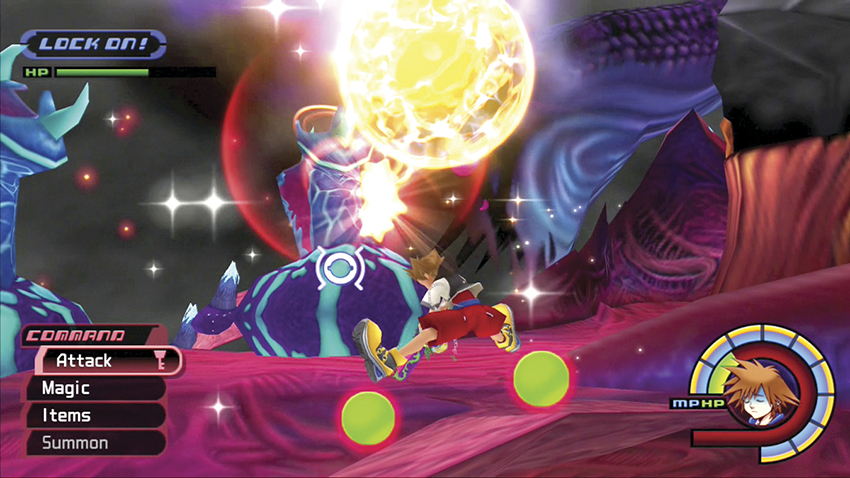
The huge guardian may look scary, but his swipes only send you flying backward and don’t cause damage. Continue to fly in and out, and as the Cannons dwindle from your attacks, your runs should get easier. When all Artillery has been eliminated, fly through the colorful Portal of Darkness to rescue Goofy.
Step 12: Room Core II
| HP | 30 |
| Strength | 40 |
| Defense | 30 |
| EXP | 0 |
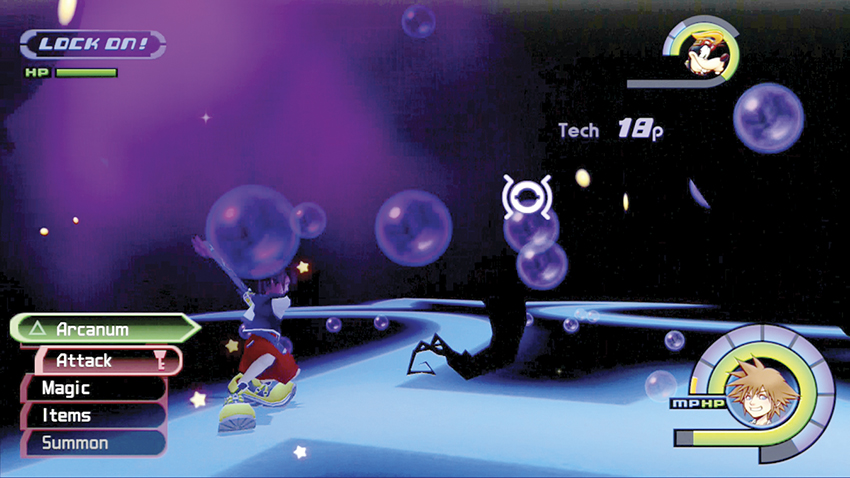
This fight is similar to your previous battle against the Shadows, only this time you have Goofy’s help and the enemies are upgraded to Invisibles and Darkballs.
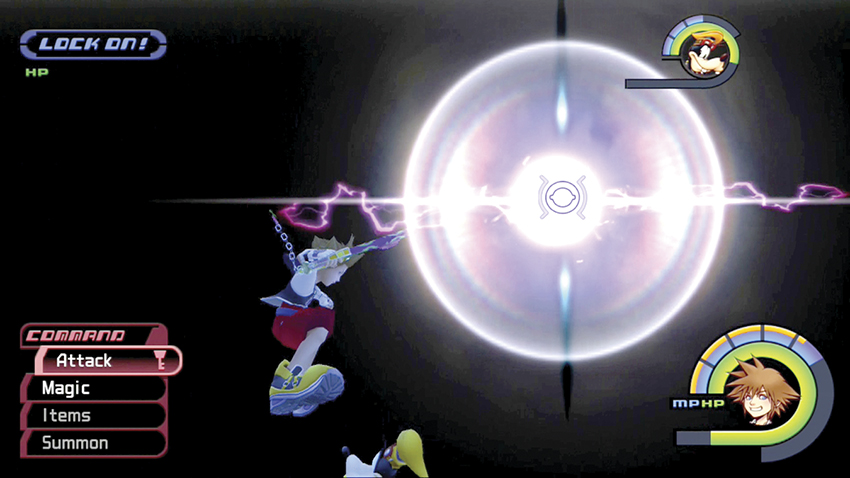
The Darkballs drop MP balls when defeated, so feel free to cast magic and use Curaga to heal up. After you destroy the final Heartless, swat the glowing Room Core in the center of the room to escape.
Step 13: The Face

| HP | 1200 |
| Strength | 40 |
| Defense | 30 |
| EXP | 3000 |
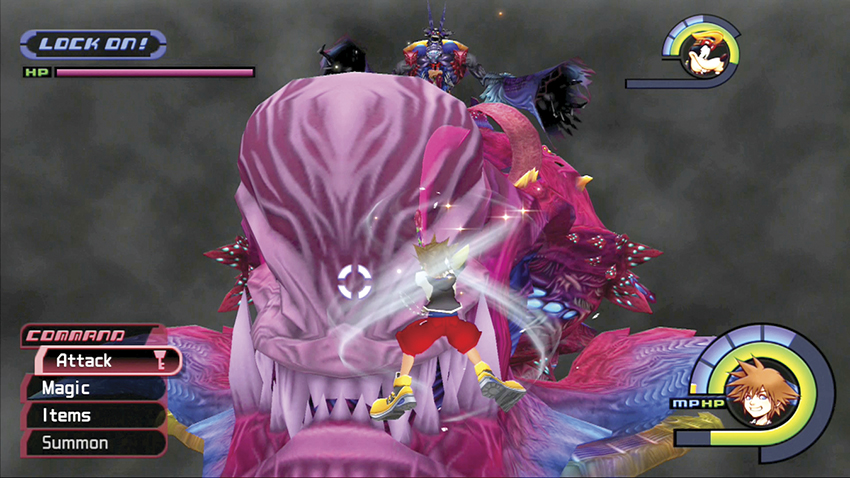
The Face is a big target, but it’s going to take a whole lot of physical attacks and magic healing to finish it off. With Goofy’s help, fly in and confront the Face directly.
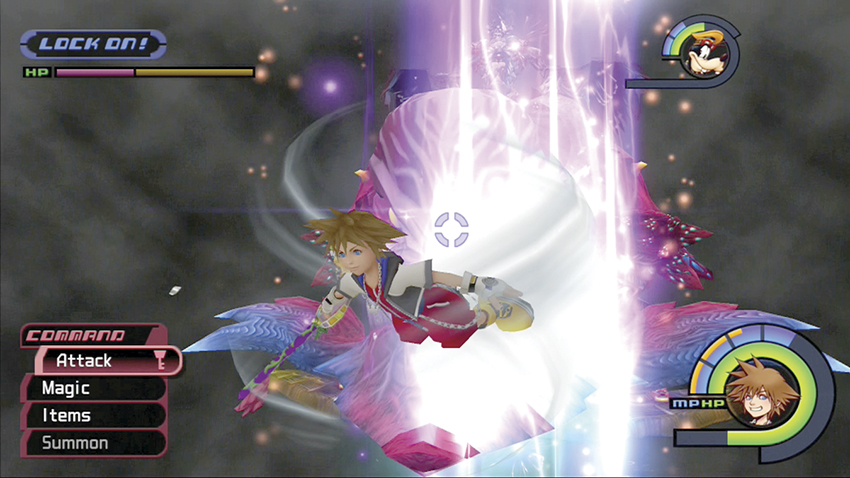
You will have to get close to land your combos, and when you do, the Face will respond with cascading white energy. Retreat when the white energy flashes, and only zoom back in for a counterattack when the space around the Face is clear.
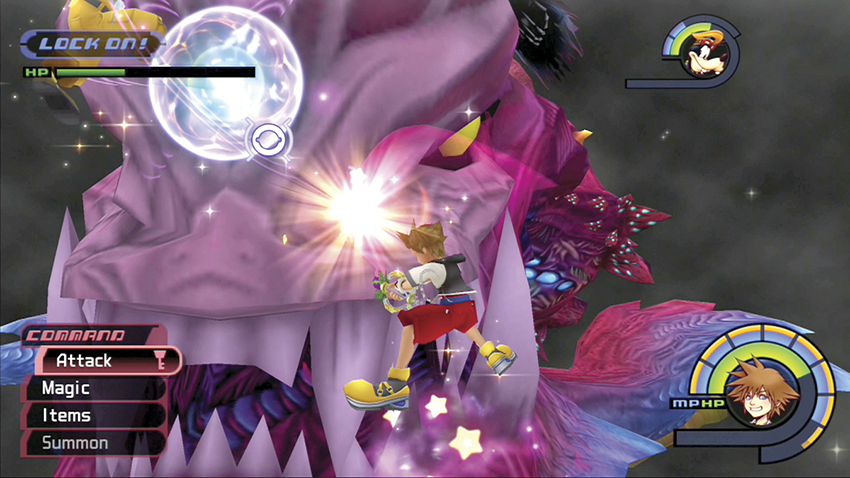
Cast Curaga and your Aero spell often to keep the damage from piling up on you. Unleash your combos one after the other on the giant head until it screams in agony and its jaw falls open. Fly inside the colorful portal to go rescue Donald.
Step 14: Room Core III
| HP | 30 |
| Strength | 40 |
| Defense | 30 |
| EXP | 0 |
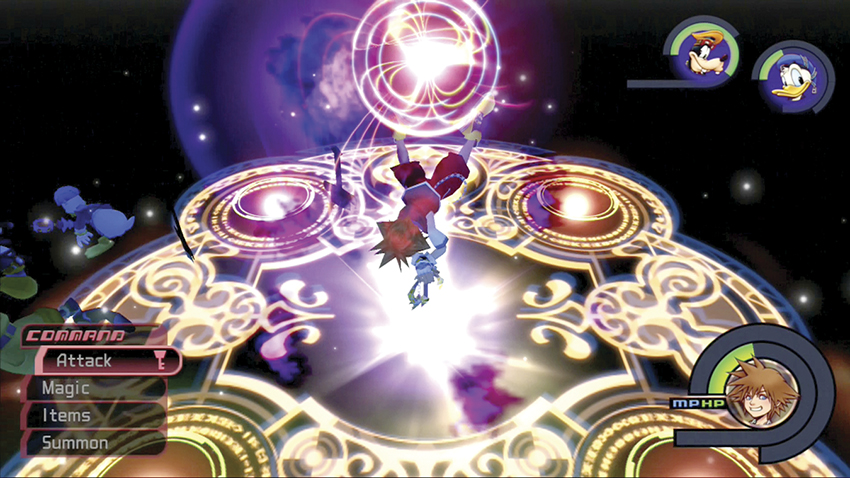
You’re confronted by a dark room full of airborne Invisibles. Fortunately, you have your full party back together. If you’ve managed to earn the Trinity Limit ability from the Hades Cup, or any similarly powerful area-effect ability, now is the time to use it.
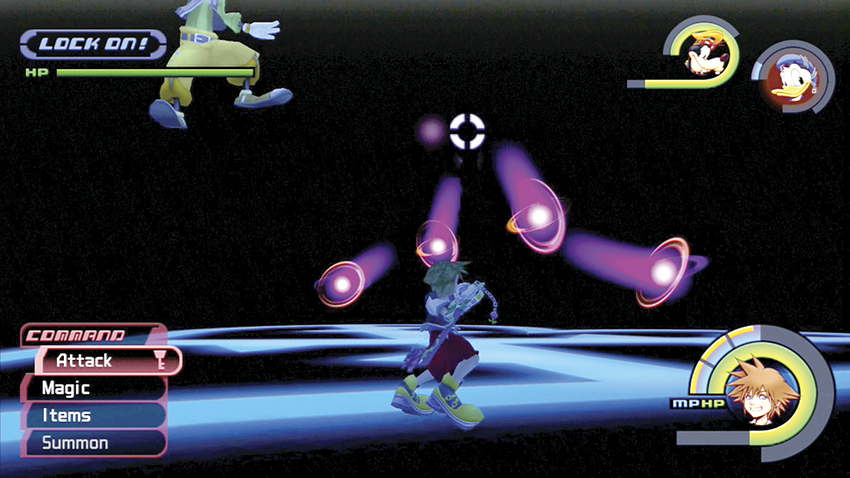
When you finally destroy all the Invisibles, look for the red Room Core near the chamber’s center. Strike the Room Core with a combo to escape.
Step 15: Main Core
| HP | 300 |
| Strength | 40 |
| Defense | 30 |
| EXP | 0 |
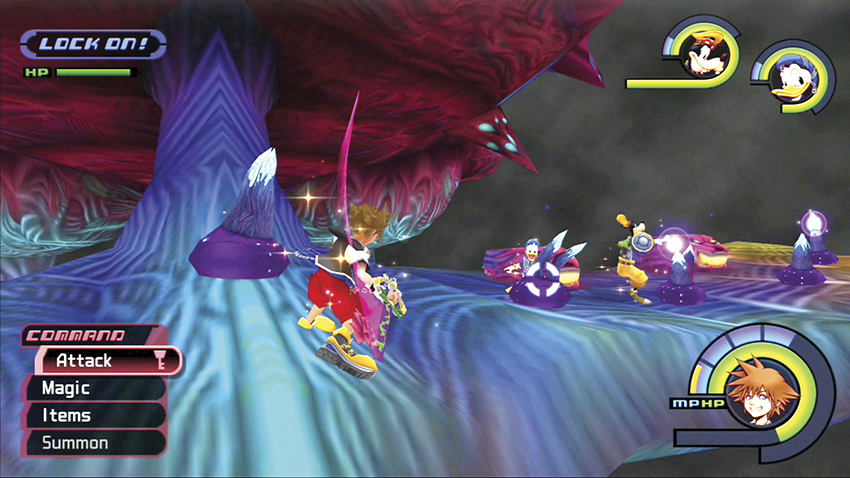
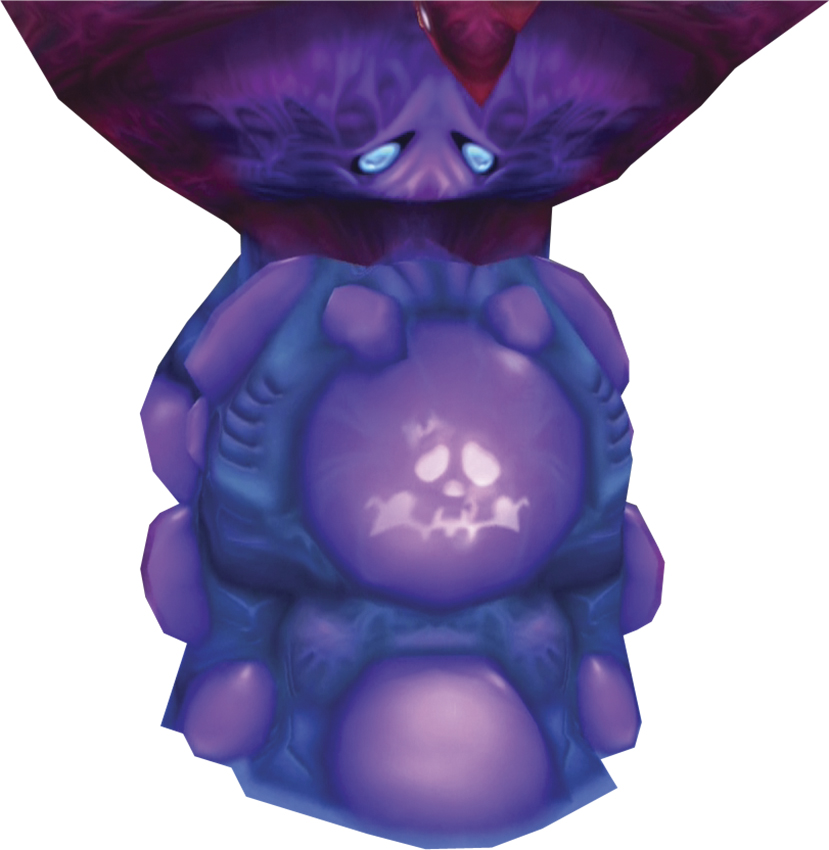
The heart of the World of Chaos is now vulnerable. Before you swoop in for the final blow, though, fly underneath and destroy all the Cannons. Cast your Aero spell and fly back up toward the center of the ship and destroy the tentacled Artillery Cannons.
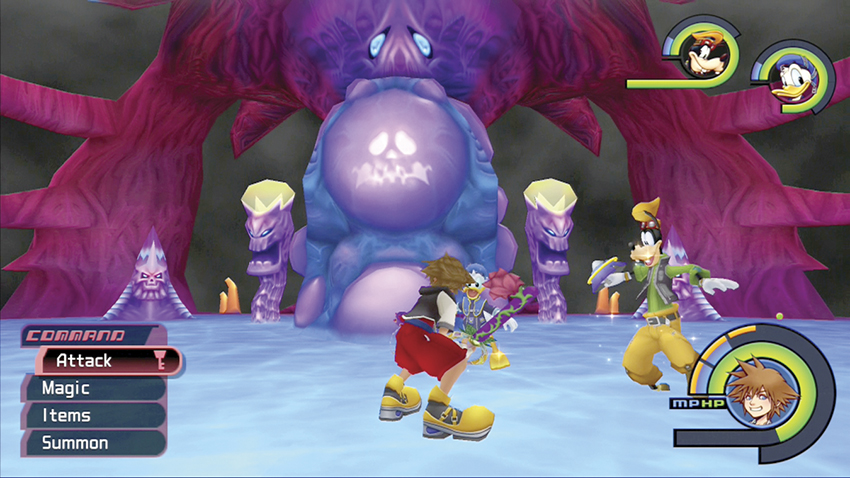
If you destroyed all the Cannons, the heart of the Main Core is nothing more than a punching bag; it has no defenses itself. Let loose to defeat the Chaos ship.
Step 16: Ansem III
| HP | 1200 |
| Strength | 40 |
| Defense | 30 |
| EXP | 24000 |
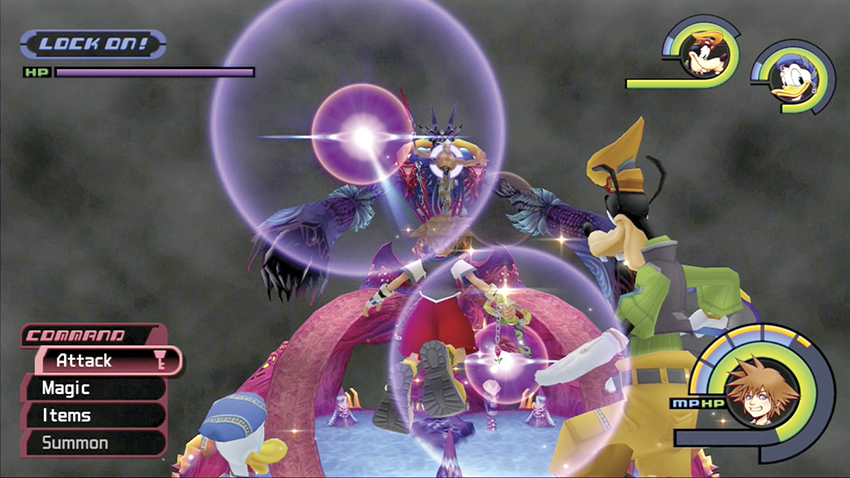
When you destroy the Main Core, Ansem unshackles from the ship for one last battle. He has all the same attacks as before, plus a new one that sends highly destructive white energy balls after you. Ansem also moves about much more in this final confrontation.
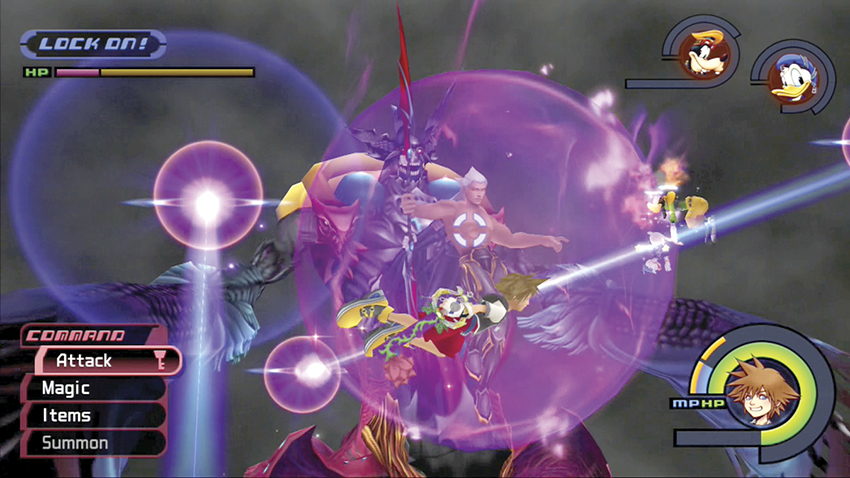
As before, dart in and out against Ansem. Strike when he has his guard down, and bolt away when he counters with his halberd, lasers, and the new energy balls. Goofy and Donald will aid you, but don’t hold back on your items—it’s now or never!
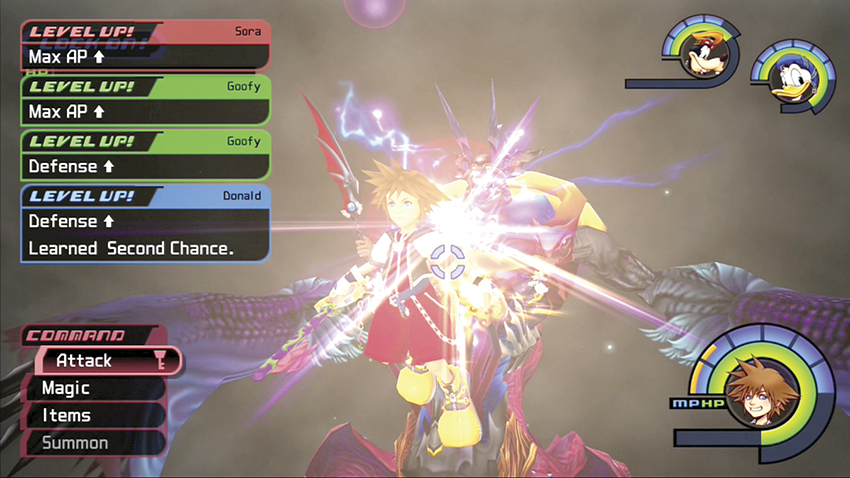
Keep your Aero and Cure spells going continuously. If you can stay on the move and land the crucial blows when they count, Ansem will finally fall for good!
Step 17: Complete the Game!
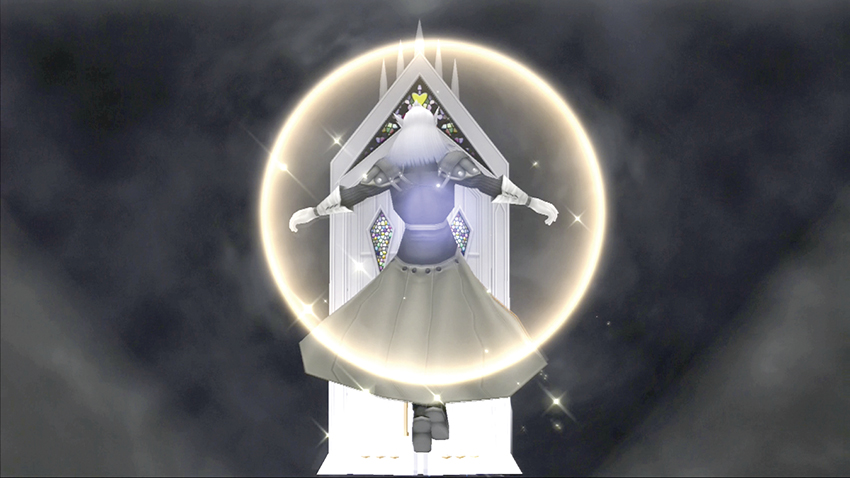
Through your heroics, Ansem succumbs to the light. Congratulations, you have beaten the game! But it’s not over. You can always go back and play through the mini-games or complete a side quest or secret boss you missed.
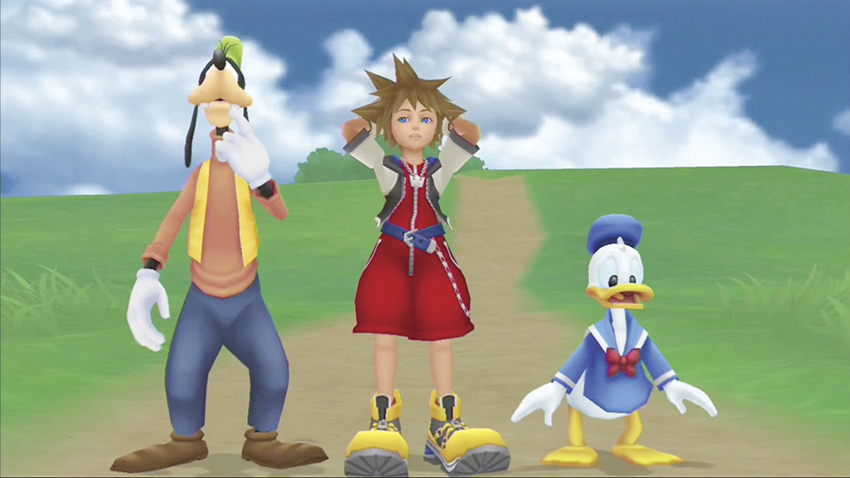
If you beat the game after finding all 99 missing Dalmatians, sealing all the keyholes in all the worlds, and winning the Hades Cup, you’ll be treated to a special movie. Sit back and relax as the game credits roll, and for a few good laughs, carefully watch the character reunions during the credits and the funny epilogue at the end.