
Kingdom Hearts HD 1.5 Remix Guide KHFM: Walkthrough Destiny Islands
Destiny Islands
Opponents
| Name | Shadow | Darkside |
|---|---|---|
| HP | 12 | 300 |
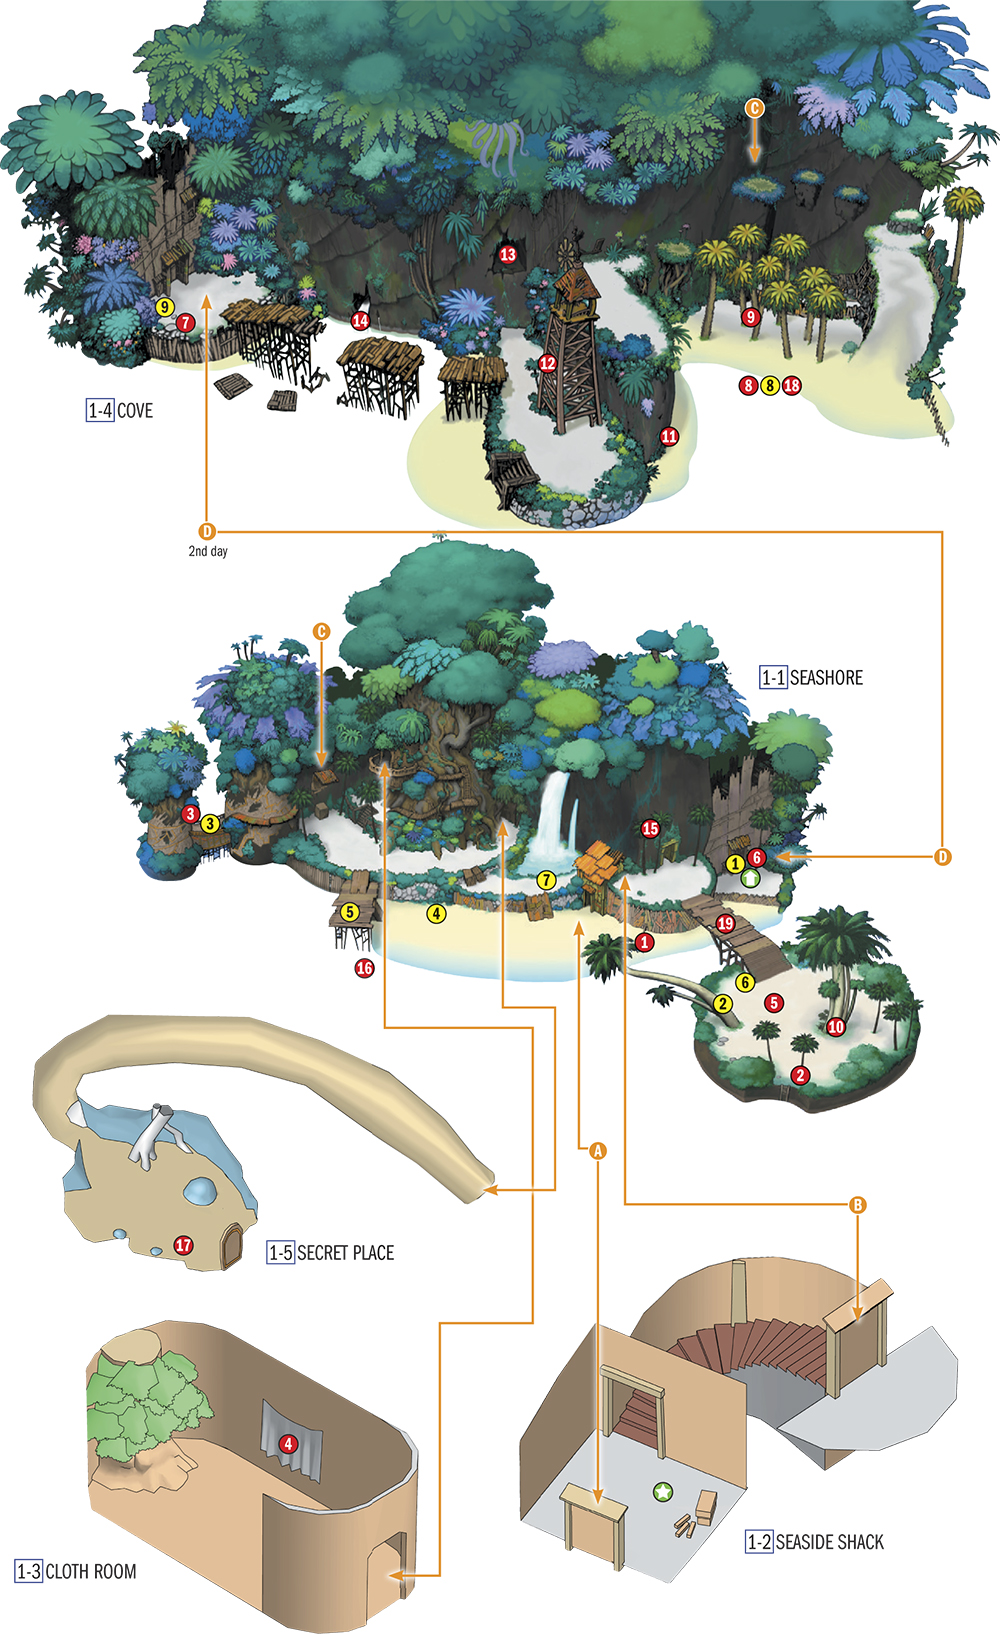
Items
| No. | Item | Location | Condition |
|---|---|---|---|

|
Log | 1-1 | Gather on 1st day |

|
Log | 1-1 | Gather on 1st day |

|
Rope | 1-1 | Gather on 1st day |

|
Cloth | 1-3 | Gather on 1st day |

|
Potion | 1-1 | Beat Riku |

|
Hi-Potion | 1-1 | Given by Kairi |

|
Pretty Stone | 1-4 | Beat Riku in race |

|
Empty Bottle | 1-4 | Given by Kairi |

|
Coconut | 1-4 | Gather on 2nd day |

|
Coconut | 1-1 | Gather on 2nd day |

|
Mushroom | 1-4 | Inside beach cave |

|
Mushroom | 1-4 | Behind tower |

|
Protect Chain | 1-4 | Inside cliff cave |

|
Drinking Water | 1-4 | Gather on 2nd day |

|
Seagull Egg | 1-1 | Gather on 2nd day |

|
Fish | 1-1 | Gather 3 fish on 2nd day |

|
Mushroom | 1-5 | Gather on 2nd day |

|
Hi-Potion | 1-4 | Given by Kairi |

|
Keyblade | 1-1 | Available on 2nd night |
Characters
| No. | Character | Location | Purpose |
|---|---|---|---|

|
Kairi | 1-1 | Meet on 1st day |

|
Riku | 1-1 | Meet on 1st day |

|
Tidus | 1-1 | Meet on 1st day |

|
Wakka | 1-1 | Meet on 1st day |

|
Selphie | 1-1 | 1st day & 2nd day |

|
Tidus | 1-1 | Meet on 2nd day |

|
Wakka | 1-1 | Meet on 2nd day |

|
Kairi | 1-4 | Meet on 2nd day |

|
Riku | 1-4 | Meet on 2nd day |
Objectives
1. Gather materials for the raft
2. Talk to everyone on the island
3. Return raft materials to Kairi
4. Race Riku to the star and back
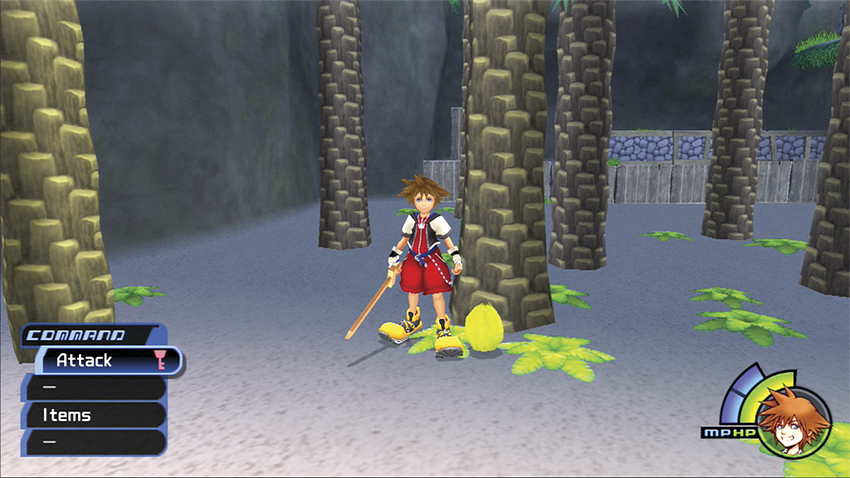
5. Gather food for the raft voyage
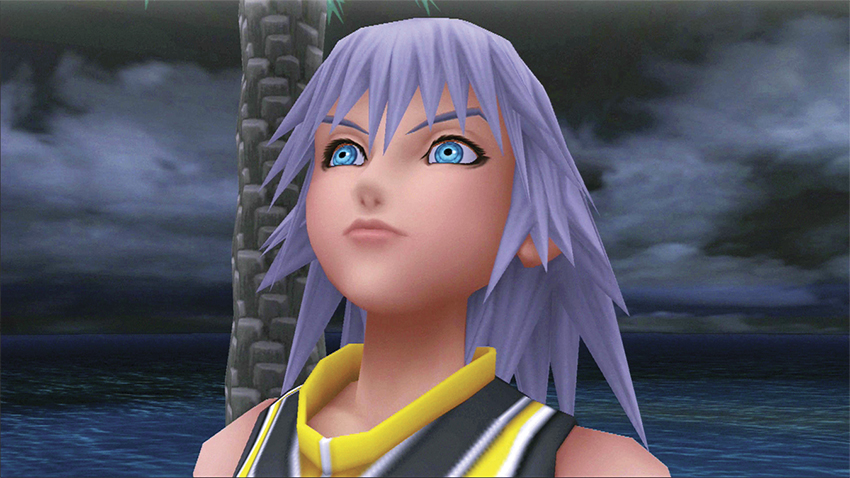
6. Recover the Keyblade and speak to Riku during the night storm
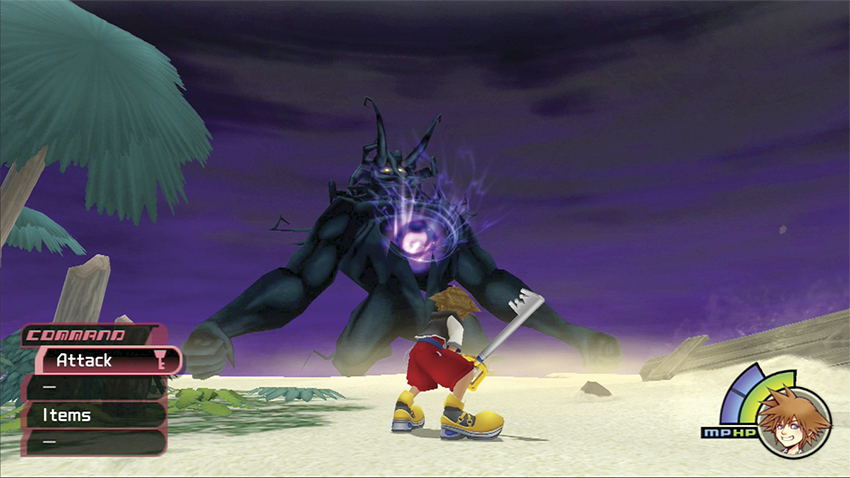
7. Defeat Darkside again
Step 1: First-Day Materials
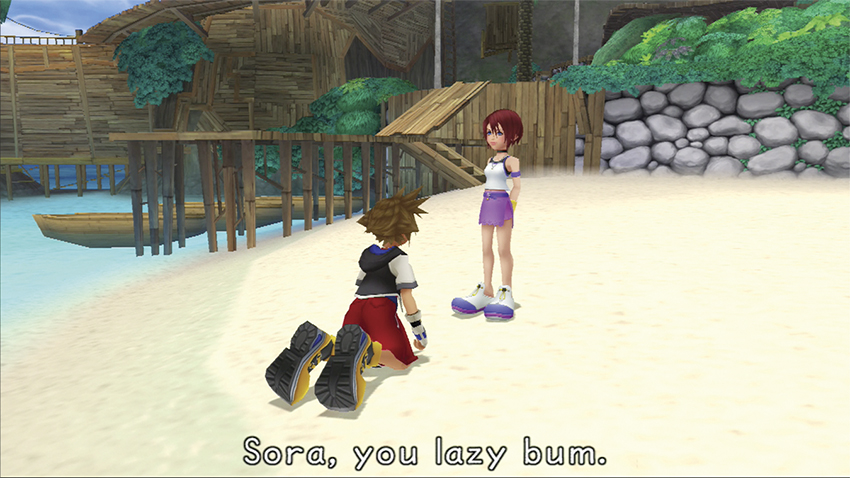
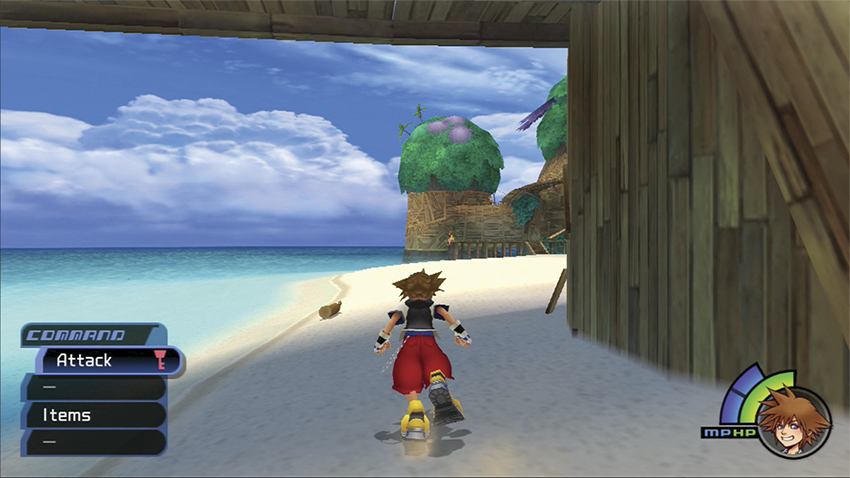
The aftermath from your battle with Darkside deposits you on the beach of Destiny Islands. You awake to the sweet voice of Kairi, one of your best friends. After you talk with Kairi and Riku, run across the beach with them and meet up with Kairi again in front of the door on Seashore’s east side.
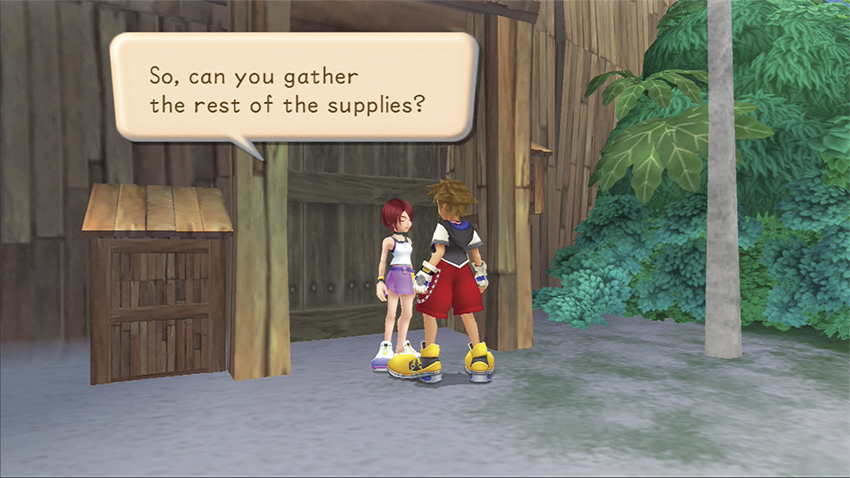
Kairi asks you to find provisions for the raft the three of you are planning on building to sail away from the island. She needs two logs, a rope, and a piece of cloth to get started on the raft design.
 Kairi
Kairi
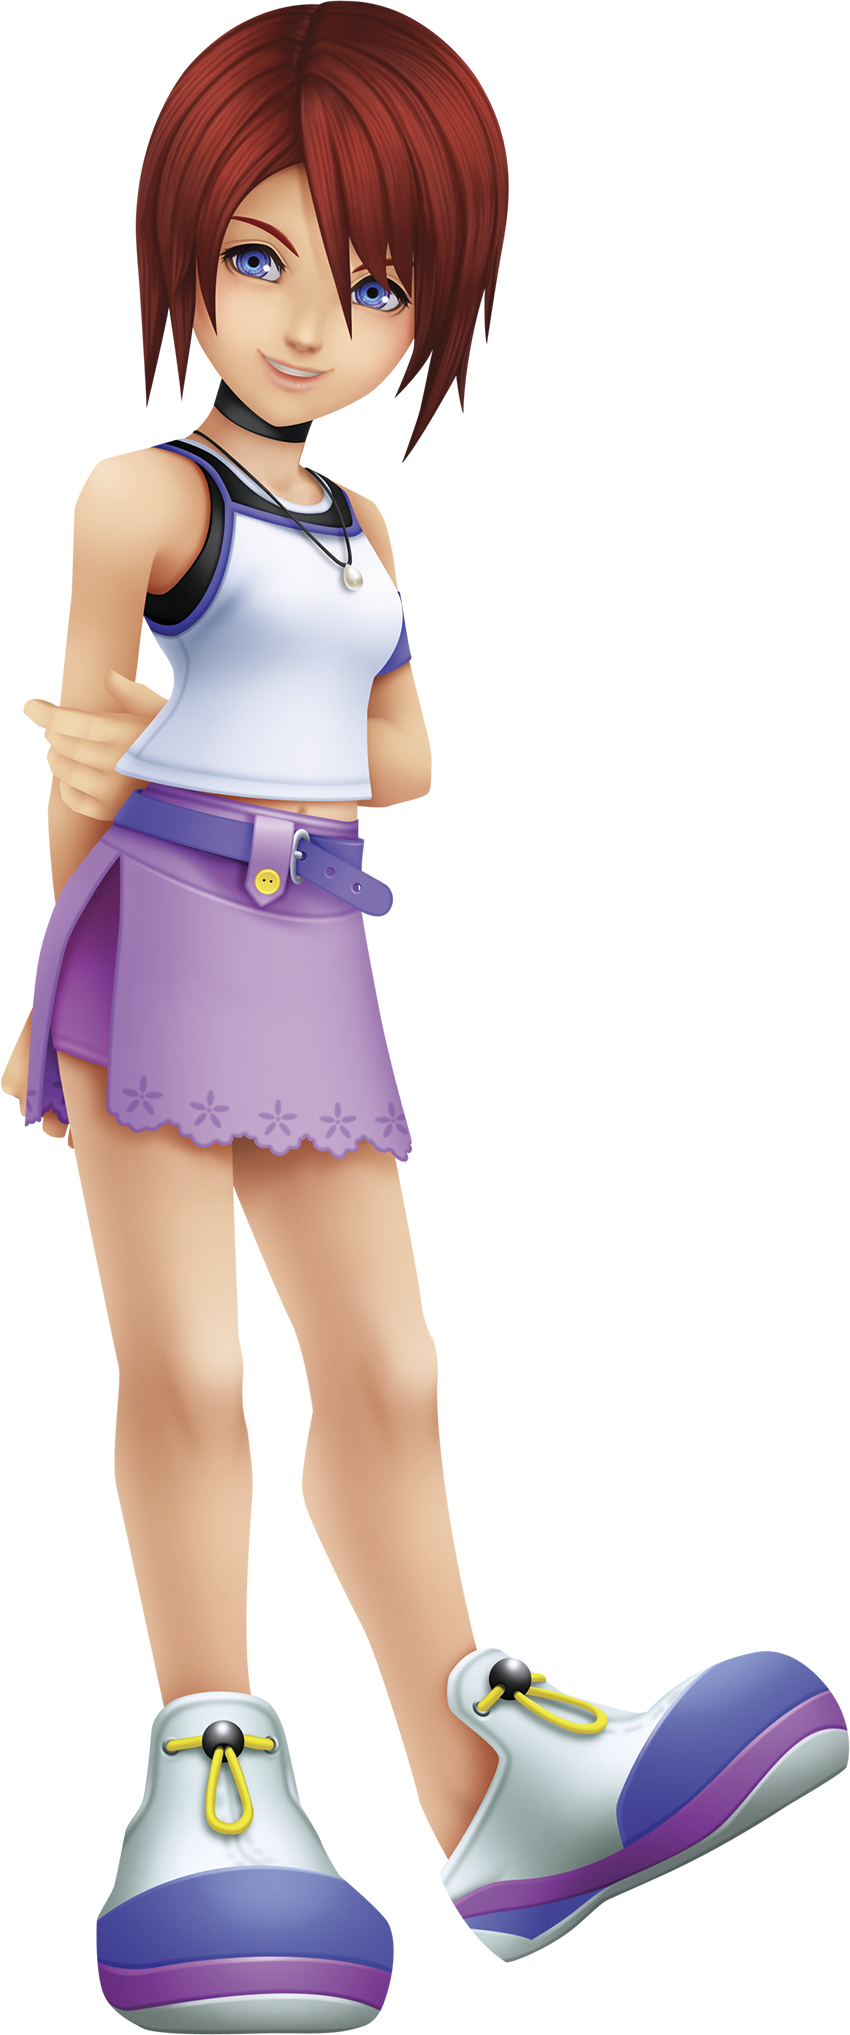
Best friends with you and Riku, Kairi has a big heart and is always trying to make things fun on the island. She has been friends with Sora from childhood, though now she hangs out with Riku just as much, which has caused the two boys to compete for her attention. Kairi plays a big part in your coming destiny.
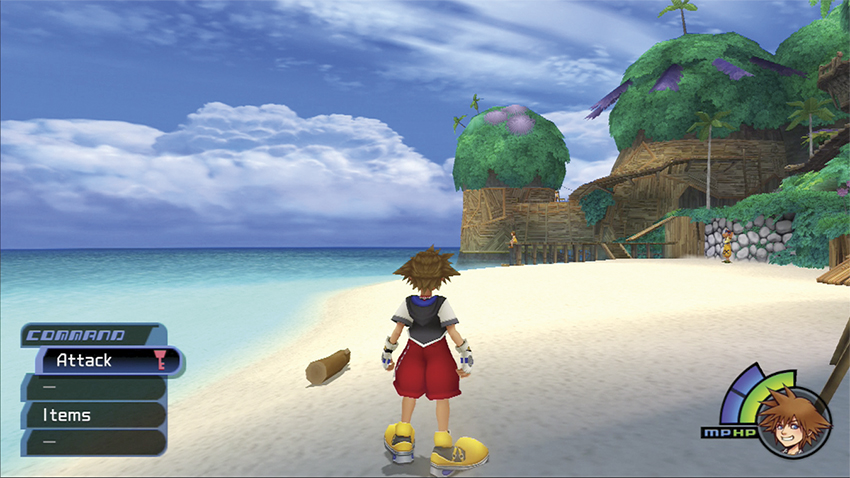
Jump off the short platform in front of the door and follow the beach until it curves under the pier. The first Log lies on the shore. To pick up any of materials, simply walk over and touch the object.
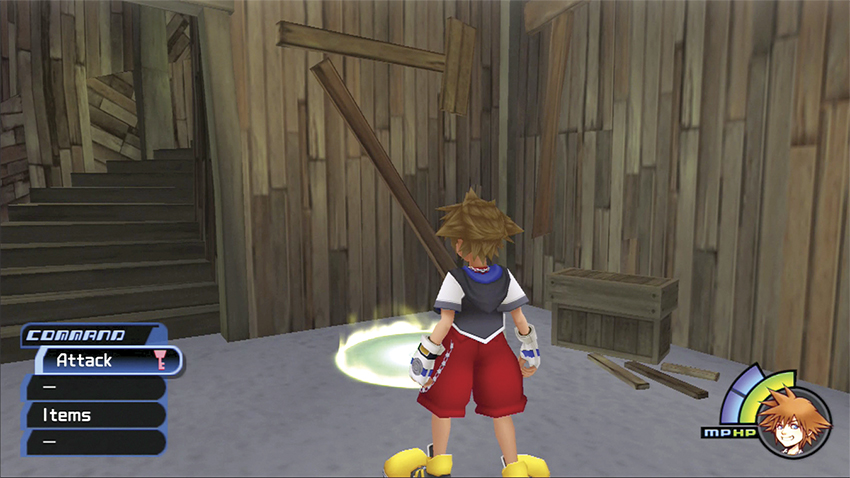
Now turn to your right and find the entrance to the Seaside Shack. Open the door and enter the first floor. Save your game at the save point in the corner and continue up the stairs. The second-floor door opens up to a platform leading out to the pier.
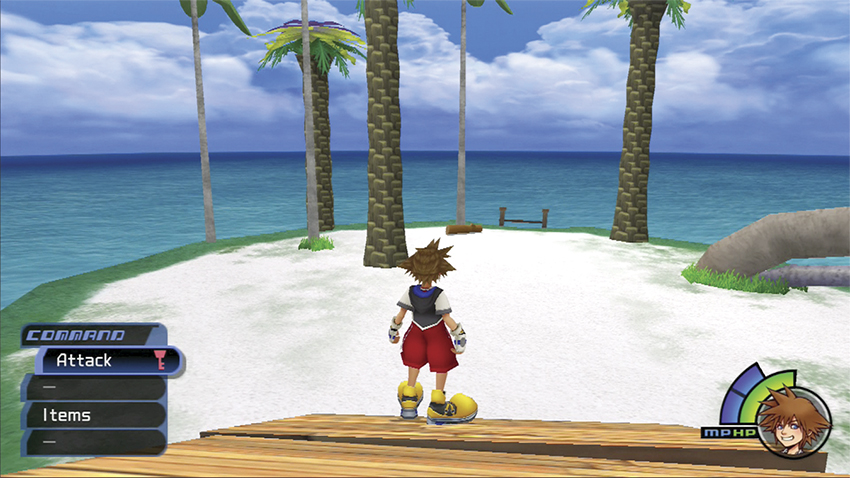
Take the pier out to the small islet. The second Log rests directly ahead among the palm trees. You’ll also see Riku sitting on the bent palm tree to your right, though leave him be for now until you’ve collected all your materials for Kairi. There will be plenty of time for dueling later.
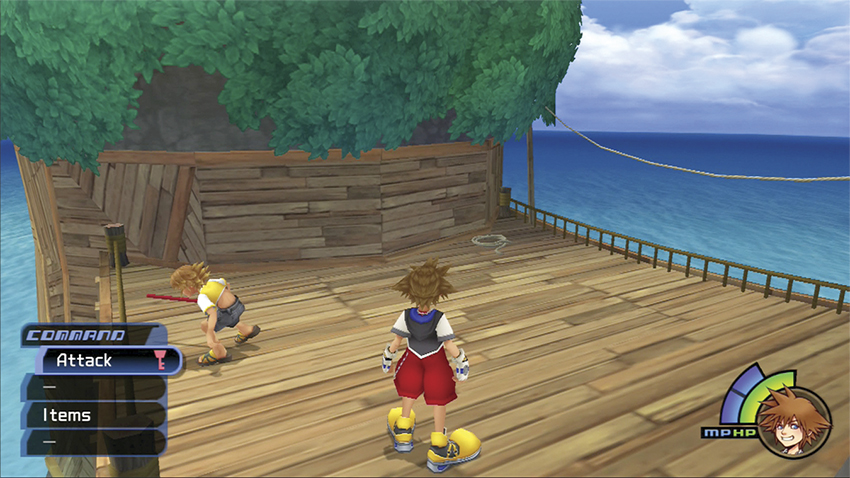
Leave the islet and run across the western end of the island. You’ll find Tidus practicing his moves on the farthest deck. The Rope lies curled up in the corner next to Tidus. As with Riku, you can talk to Tidus, but if you don’t want to lose track of what you’re collecting; wait a few minutes until you tussle with Tidus.
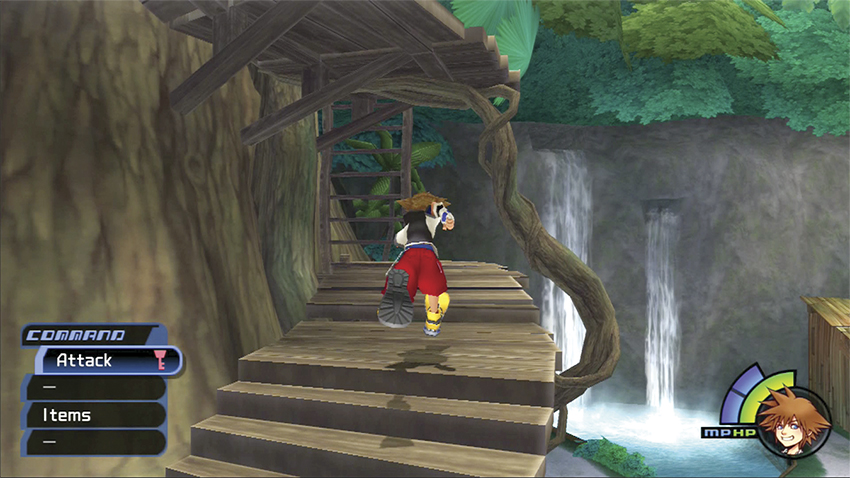
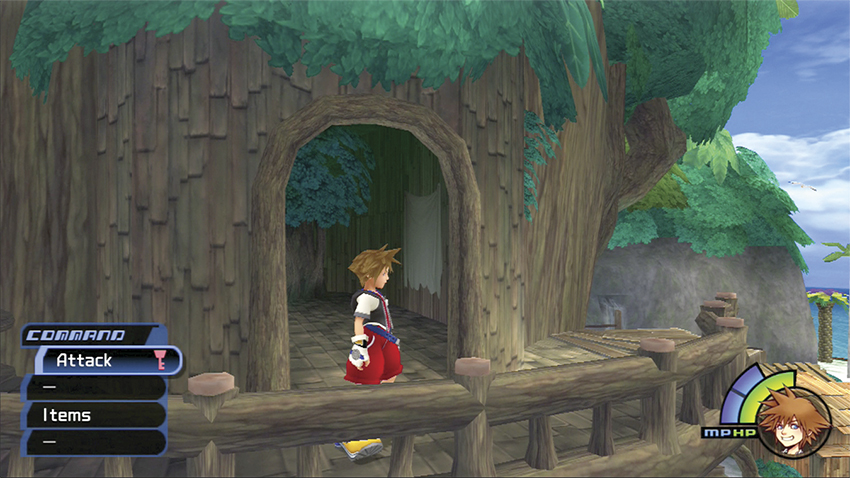
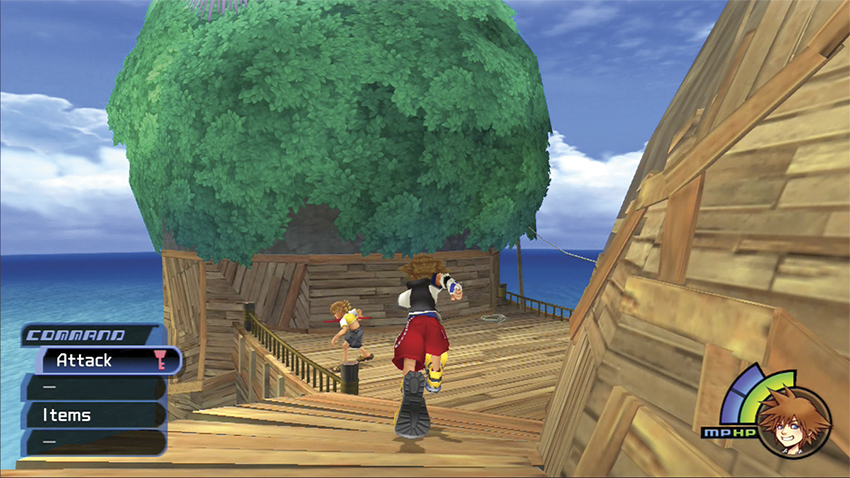
After collecting the rope, return to the section of land behind Selphie’s dock and climb the stairs. Look for the ladder that takes you up to the tree. Climb to the highest level and follow the walkway around the tree until you reach a doorway. Inside you’ll find the Cloth hanging on the wall to your right.
Step 2: Friendly Challenges
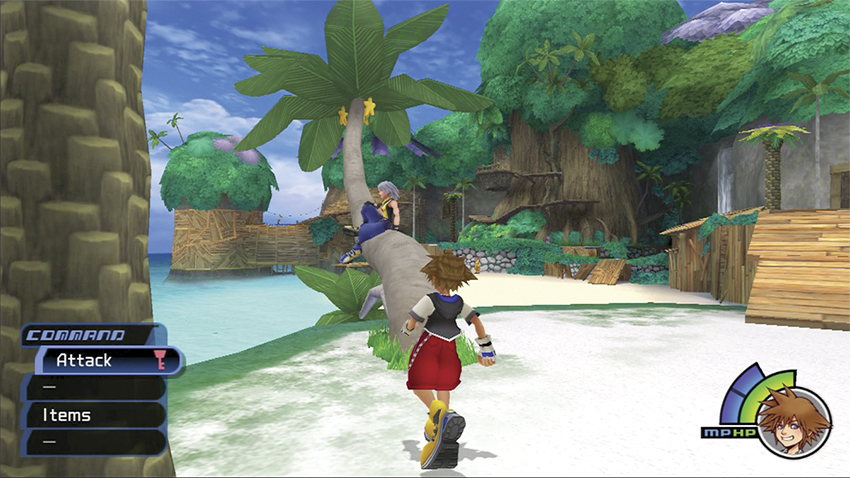
With all the materials collected, it’s time to speak with your friends before you go back and talk to Kairi. You can seek them out in any order. Each offers you a friendly duel to hone your skills without risk of losing the game; unlike most other battles, if you lose one of these duels, only your pride is hurt. The best part? You gain experience and possible rewards when you win!
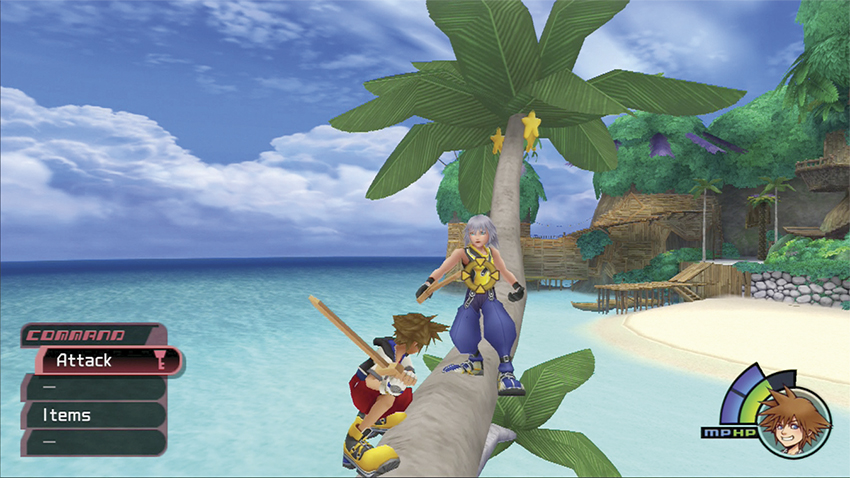
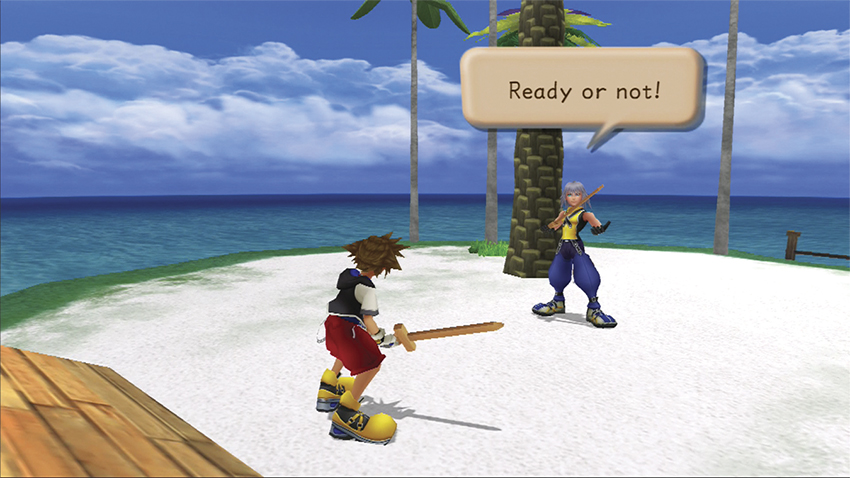
You can find Riku out on the islet past the pier. Although Riku is your strongest competitor, he also gives you a Potion each time you defeat him. If you have the skills, it’s worth repeating duels against Riku to stockpile Potions while they don’t cost you anything. Riku is very quick, so you’ll have to be equally fast. It’s rare to get off three shots in a row, so settle for one or two hits each engagement and dodge any retaliatory strikes. Should you knock Riku down, look out for his mighty counterattack—his most damaging attack occurs when Riku springs back to his feet. Immediately jump to one side so you don’t get caught in the rebound attack.
Riku
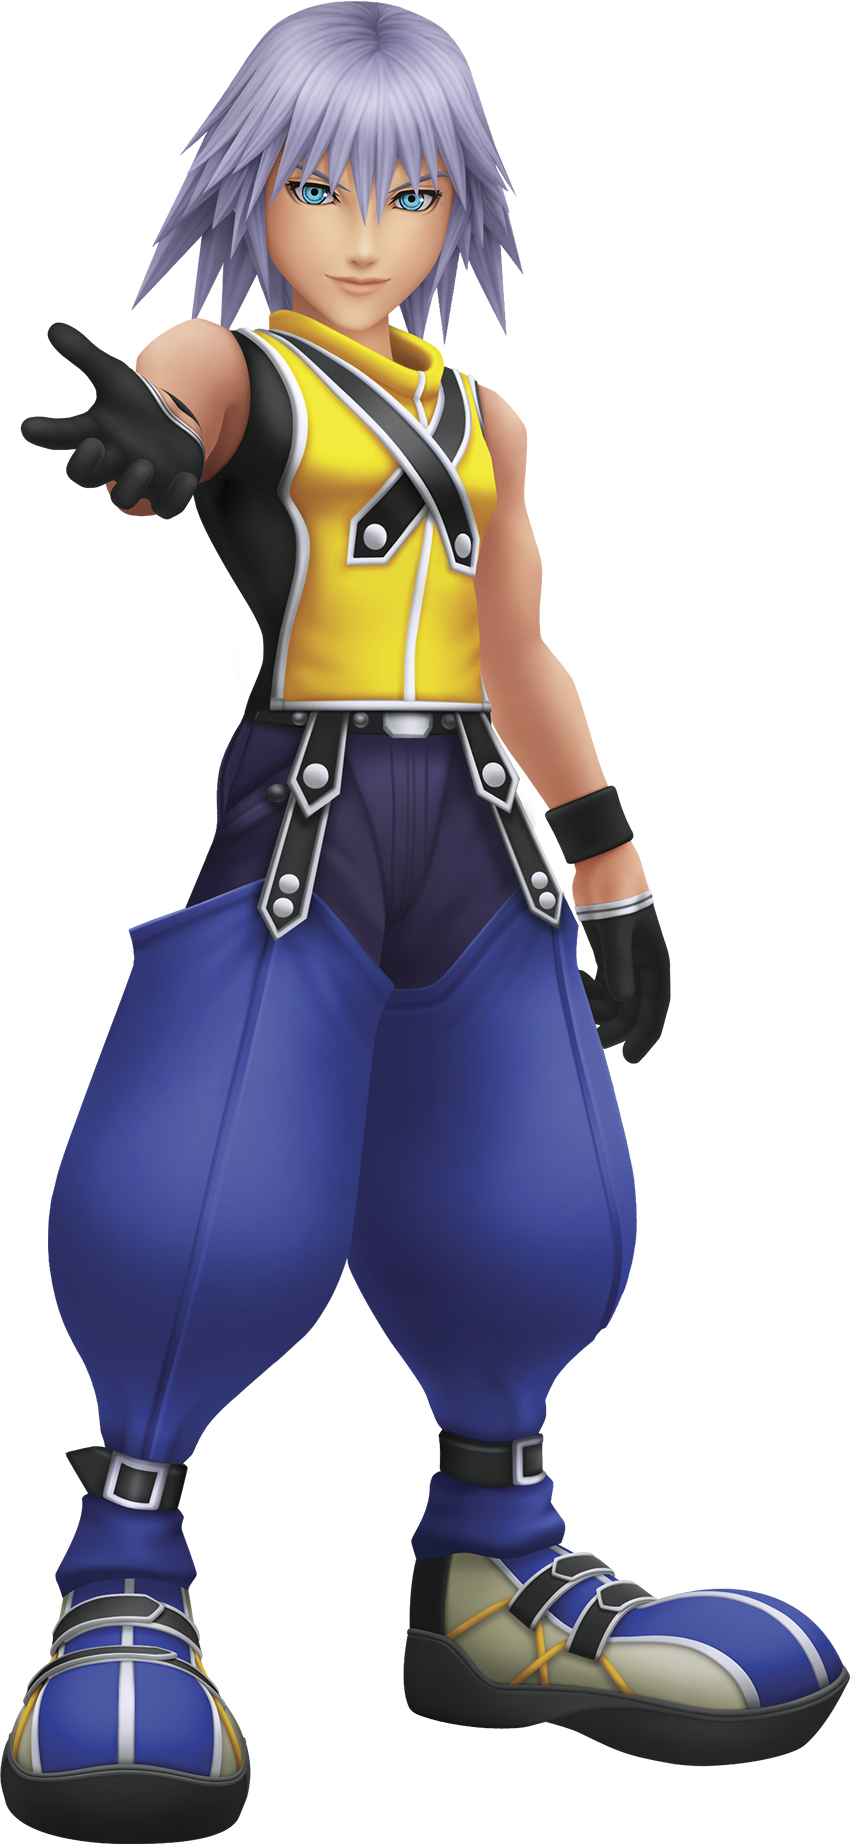
Riku loves to compete with Sora, whether it’s a competition to name the raft, a run across the island, or a contest to see who can attract Kairi’s attention more. It is Riku’s idea to build a raft and leave Destiny Islands behind for greater adventure.
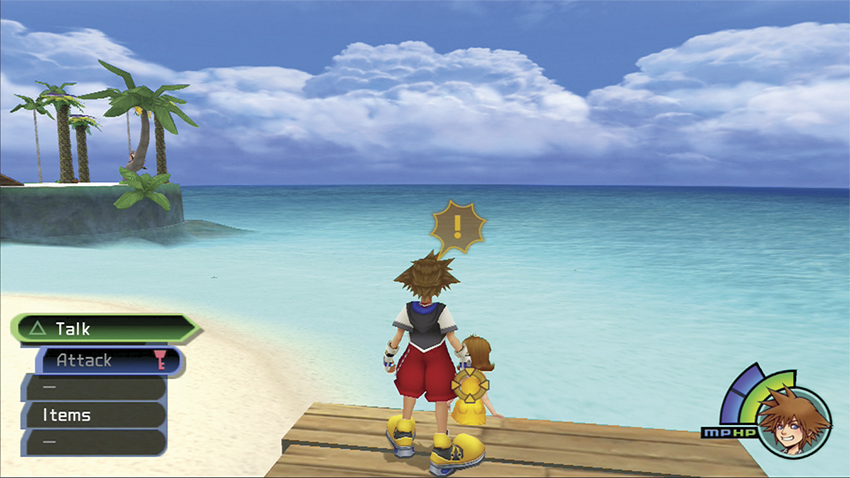
Selphie sits out on the dock. Speak with her when you want to start a duel on the main beach.
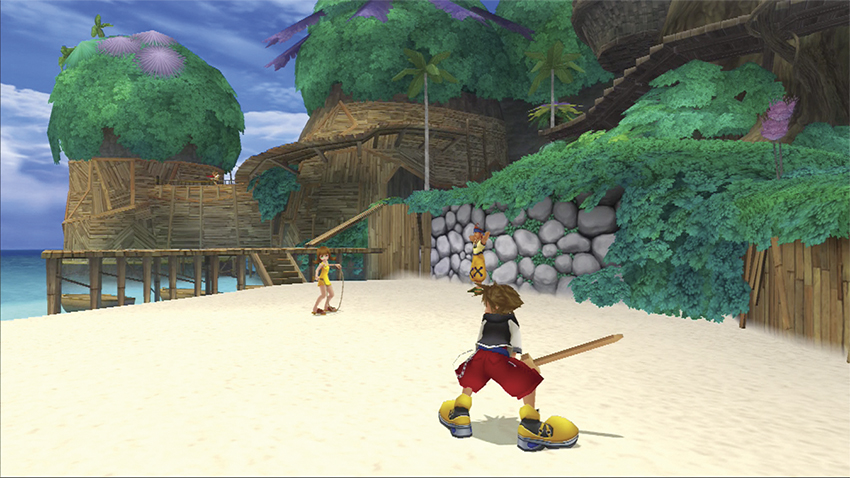
Selphie has a long reach with nunchaku; let her throw and then duck to the side for a few quick counterattacks, or jump over her and attack from behind. If you attack at the same moment she launches her nunchaku, her weapon will rebound into her own head and give you two tech points! Though she has fewer hit points than Wakka and Tidus, her range makes her formidable.
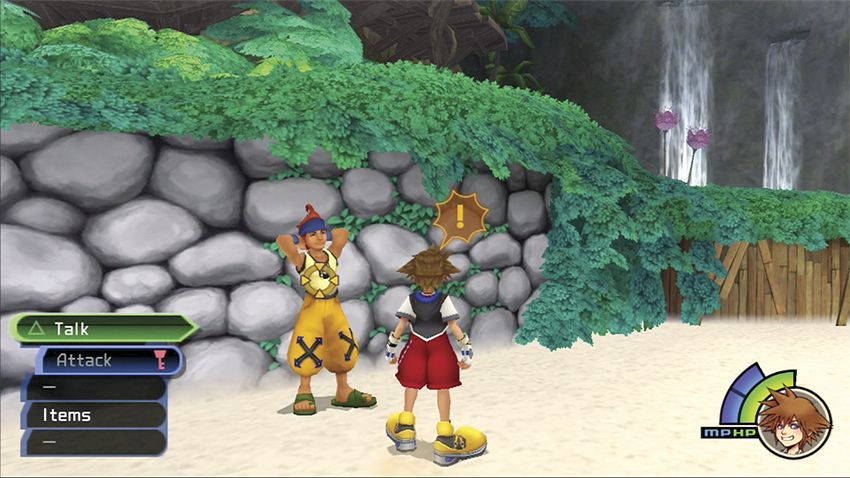
Wakka stands against the rock wall behind the main beach. He is the easiest to beat if you learn how to whack his blitzball back at him. Lock on to the ball, wait for Wakka to throw it, then time your attack so it ricochets the blitzball back at Wakka. This earns you tech points and stuns Wakka so that you get free shots on him. If you don’t want to take the chance of getting hit by the blitzball, simply dodge to the left or right when he throws and land some blows before he gets his ball back. Be careful of jumping over the ball; if Wakka throws his big attack, he launches the ball from up high and will strike you in the air.
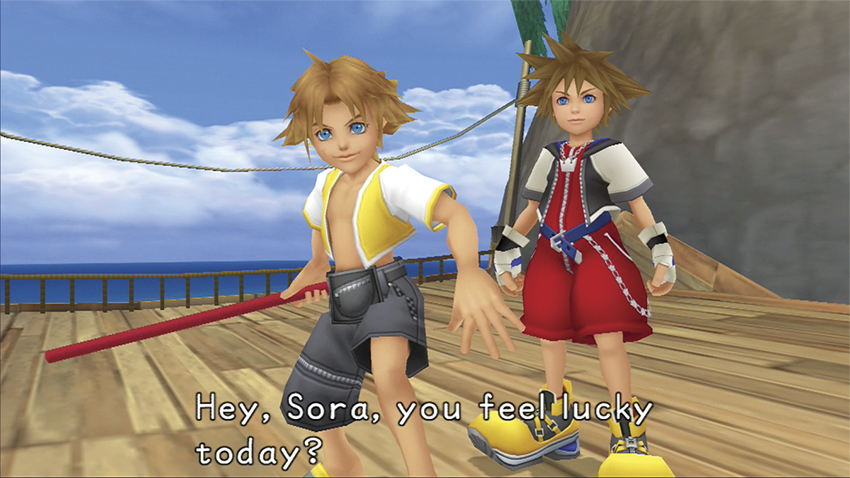
Track down Tidus on his perch on the western end of the island. Tidus fights similar to you, with a combination of attacks that can inflict major damage if caught in the middle of them. When he rears back to attack, scoot behind him for a quick counterattack that will disrupt his combat flow. If you’re feeling daring, time your attack to deflect Tidus’s sword swing and earn some tech points.
Step 3: Return to Kairi
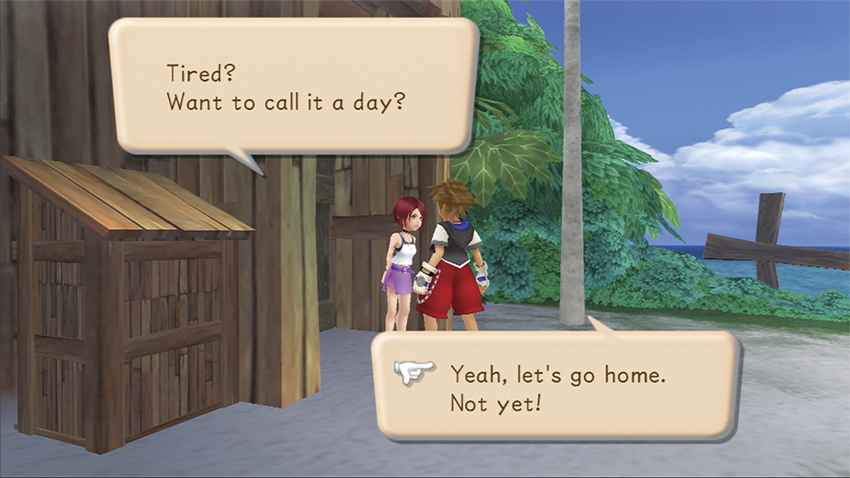
Once you’ve gathered all the raft materials and have had your fill of friendly challenges, return to Kairi on the eastern side of the Seashore. Your gathering earns you a Hi-Potion reward from Kairi. Choose the “Call it a day” option in the dialogue to end day one.
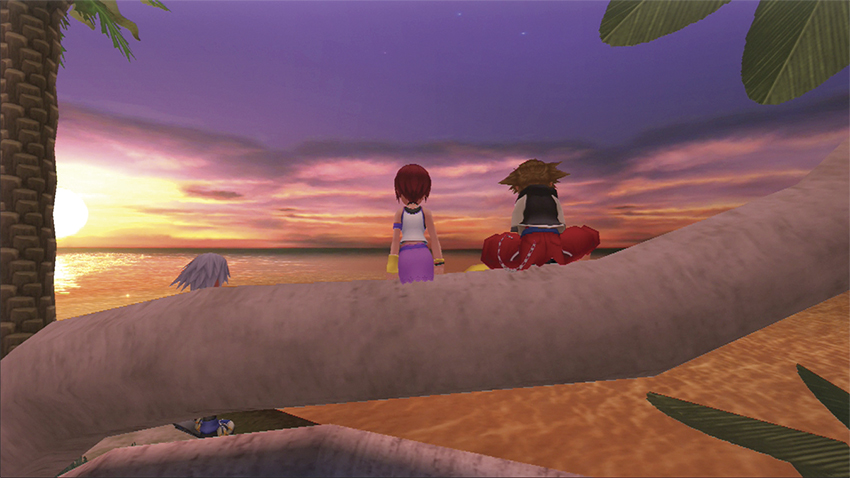
You witness a beautiful sunset with your friends Kairi and Riku as the day ends. Enjoy the moment of peace; trouble is on the horizon.
Disney Castle
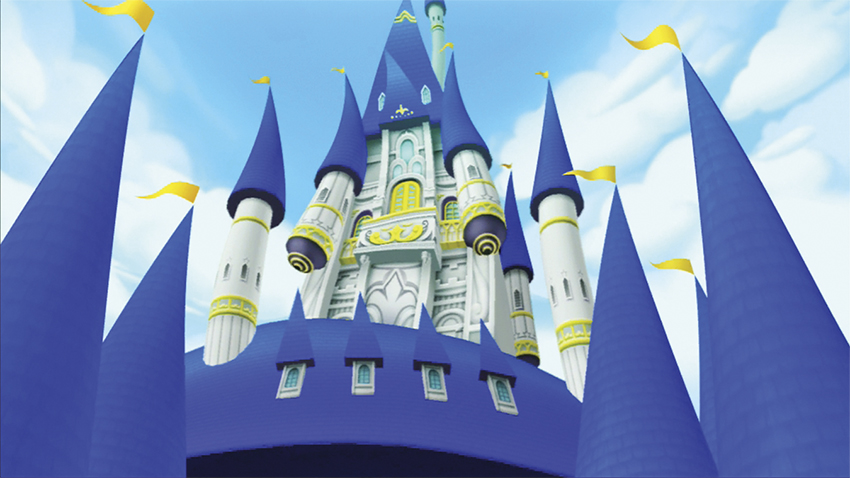
While you relax on the beach with Kairi and Riku, things are looking a bit more ominous in the rest of the kingdom. Back at Disney Castle, King Mickey has discovered some alarming signs.
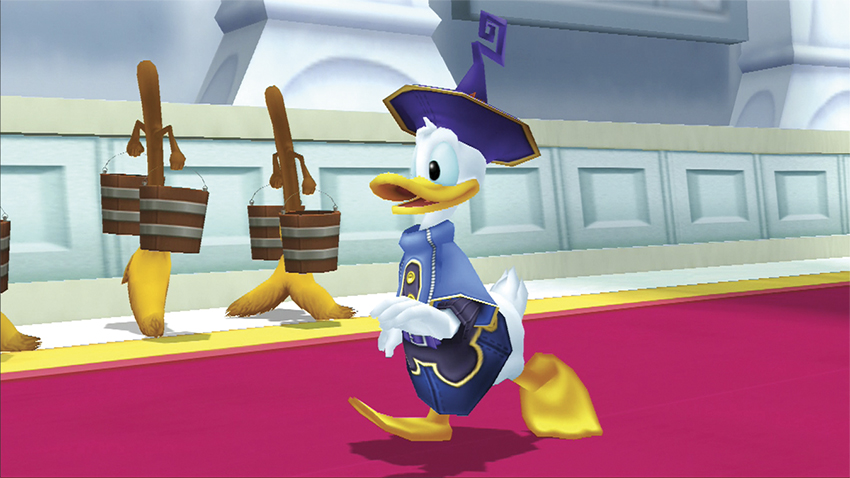
On his way to meet King Mickey, Donald Duck strolls by brooms carrying buckets of water. Harmless enough. What could go wrong with that, right?
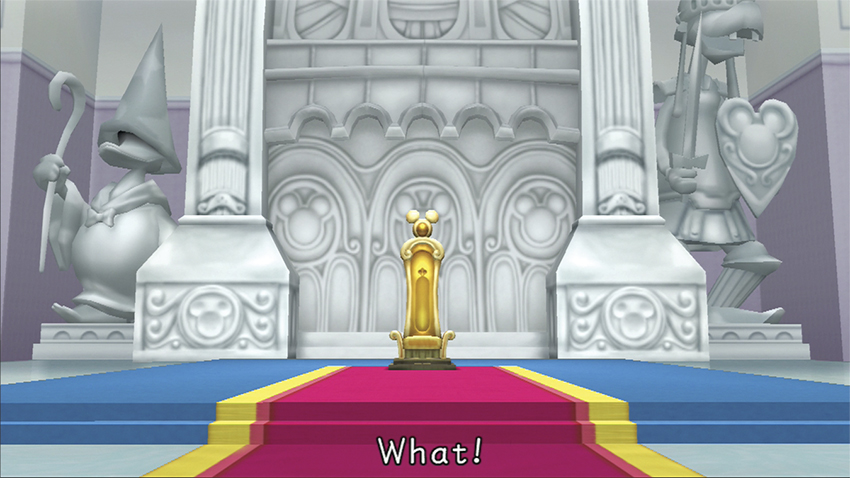
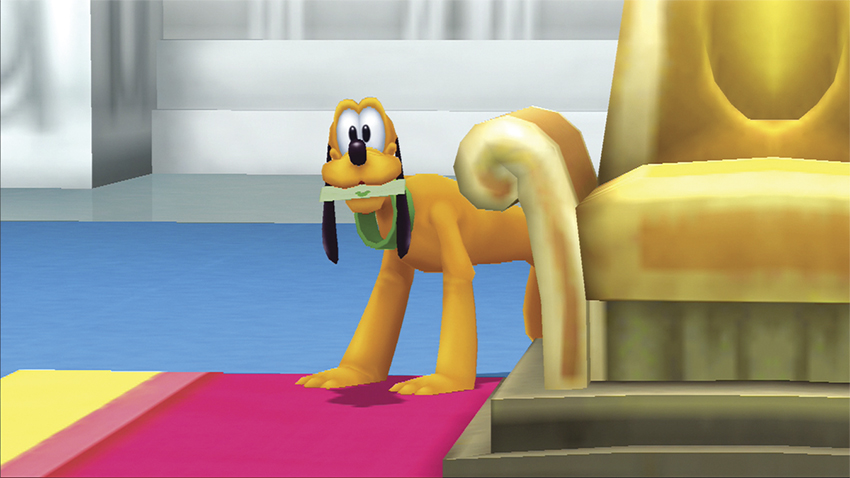
When he reaches the throne room, however, Donald finds King Mickey gone. In a hurry, the king has left to discover what is causing the stars to go out one by one! Pluto has a note that deputizes Donald and Goofy with finding the one with the “key” and guarding him, for he holds the answer to saving the kingdom.
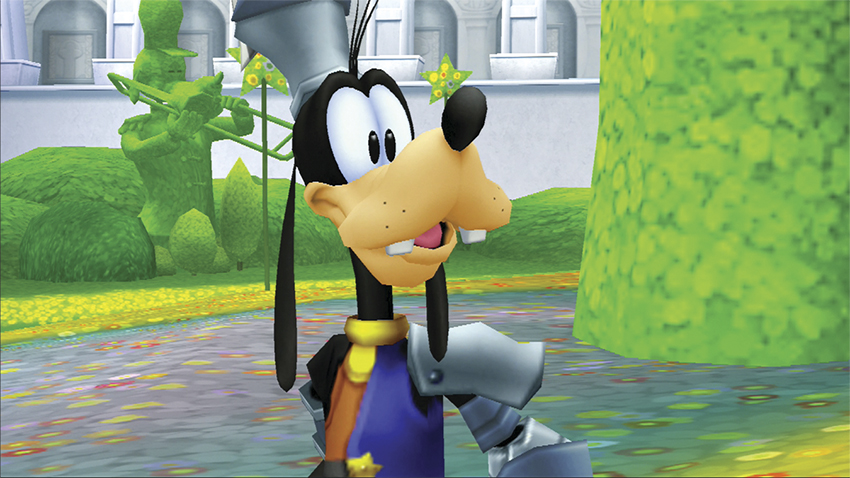
Donald rushes off to wake up Goofy. Donald and Goofy will eventually become valuable members of your party in Traverse Town. Donald excels in the use of magic, while Goofy is a great defensive warrior. See the “Heroes” chapter for more details on your companions.
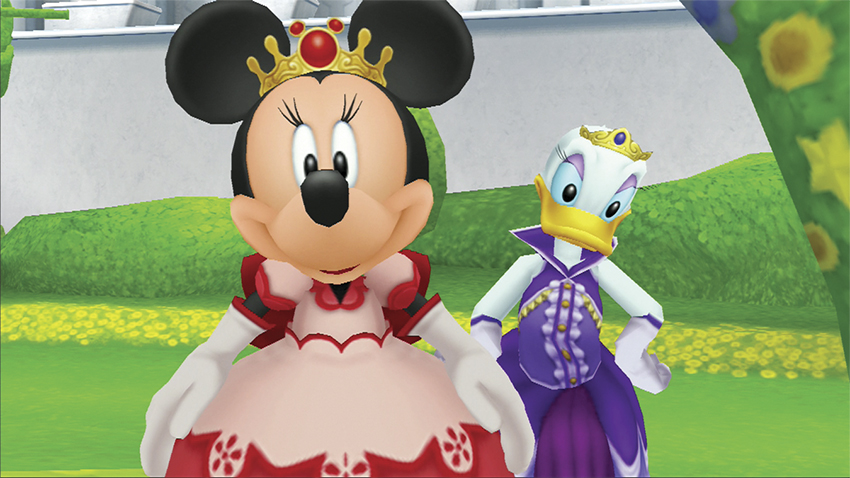
Not wanting to worry anyone, Donald asks Goofy to keep the secret of King Mickey’s disappearance, even from Queen Minnie and Daisy Duck. Just as he urges Goofy to keep quiet, Minnie and Daisy show up and hear everything. Now they all know, and Queen Minnie decides to send Donald and Goofy to Traverse Town to find a man named Leon and the mysterious “key.”
Step 4: Racing Riku
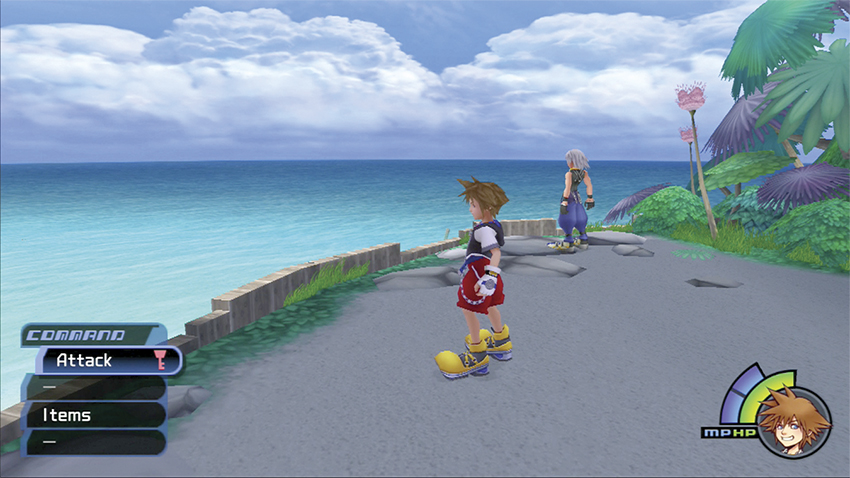
At the start of the second day, head to the door on the eastern end of Seashore that now connects to the Cove section of the island. Riku stands on the platform next to the door and asks you what you should call the raft. You can type in any name you like, but Riku will disagree with you and want to call the raft Highwind. To decide, you both agree to a race across the Cove and back. Before you accept, explore the Cove and plot your path to and from the giant star on the far side.
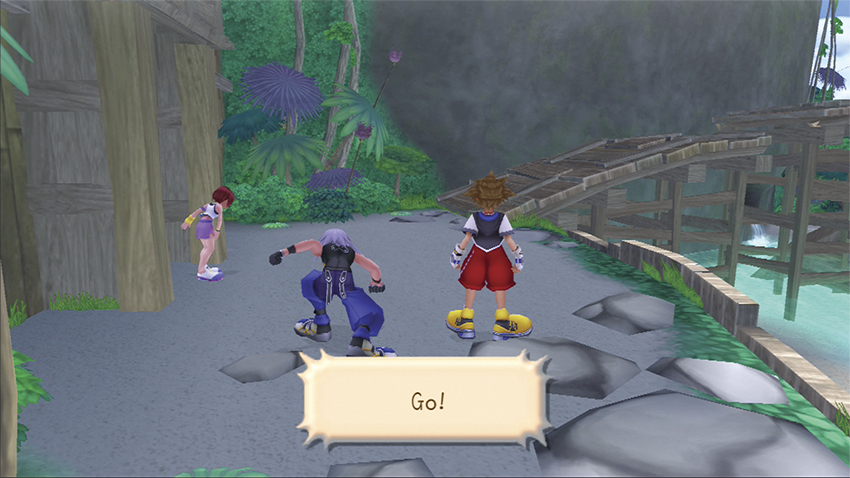
When you are ready to race, return to Riku. Kairi will be the referee, and when she says, “Go!,” sprint off the platform and up onto the wooden pier.
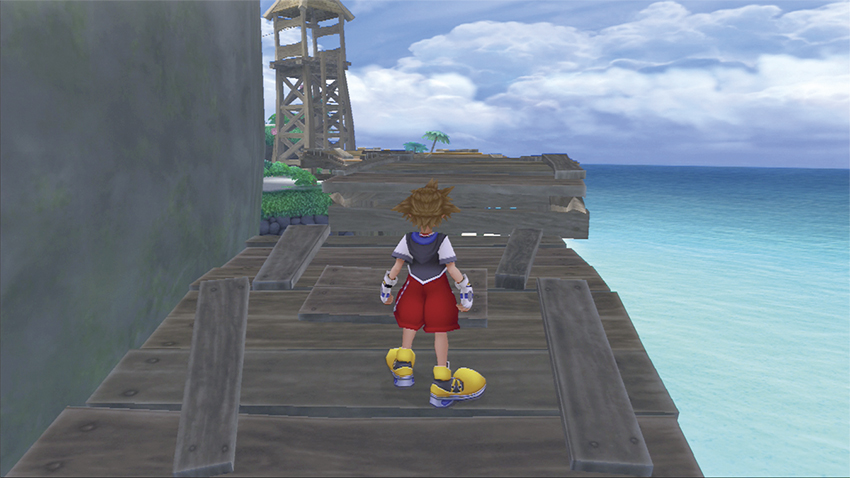
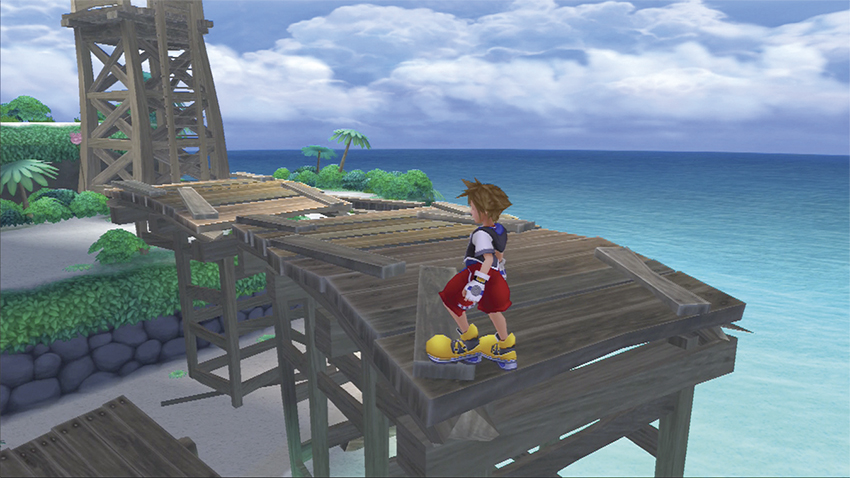
Be careful, as the pier is rickety and full of holes. Leap the first gap, then prepare to make another quick jump. A section of the pier will collapse, and if you’re unaware, you will fall down into the water and have a longer run. Make the jump after the collapse and quickly leap to the end of the platform and off.
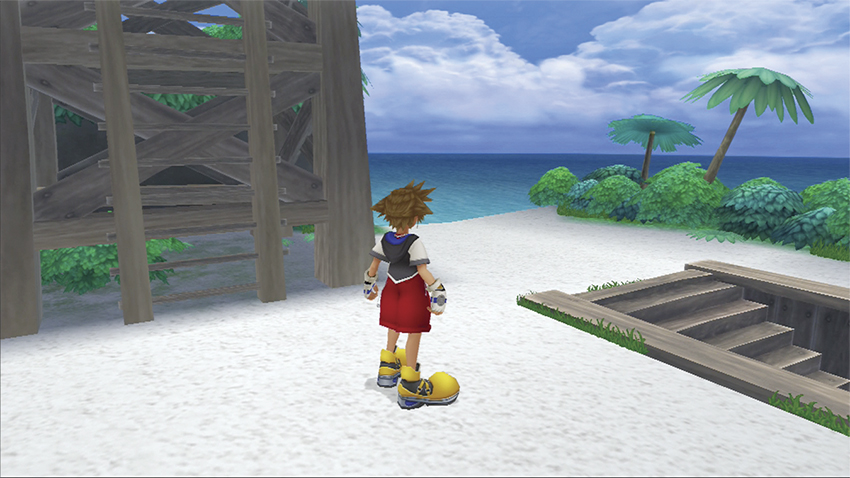
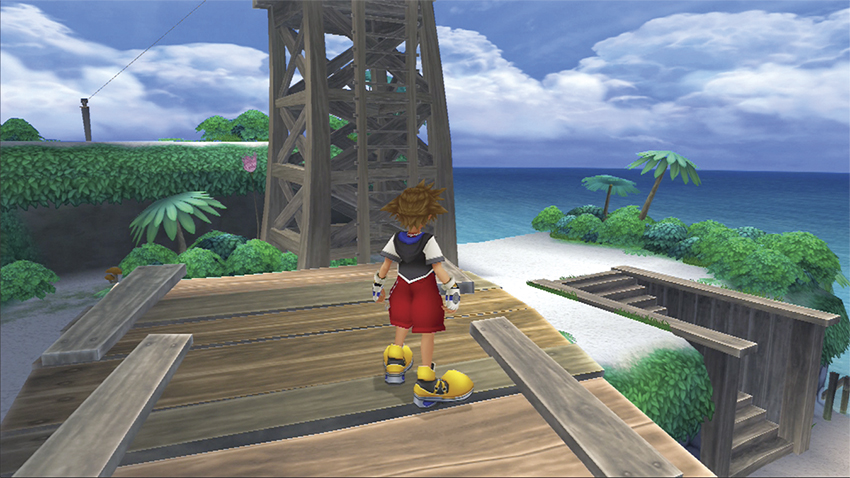
The tower lies ahead. You have two choices: veer right and skirt around the tower, or climb the tower and use the zip line. It’s safer and usually quicker to run around the tower, hop off the ledge, and run along the shoreline.
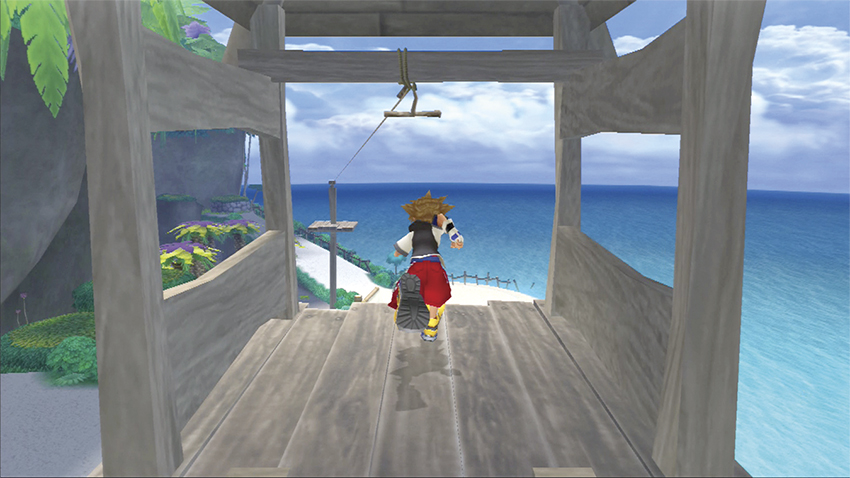
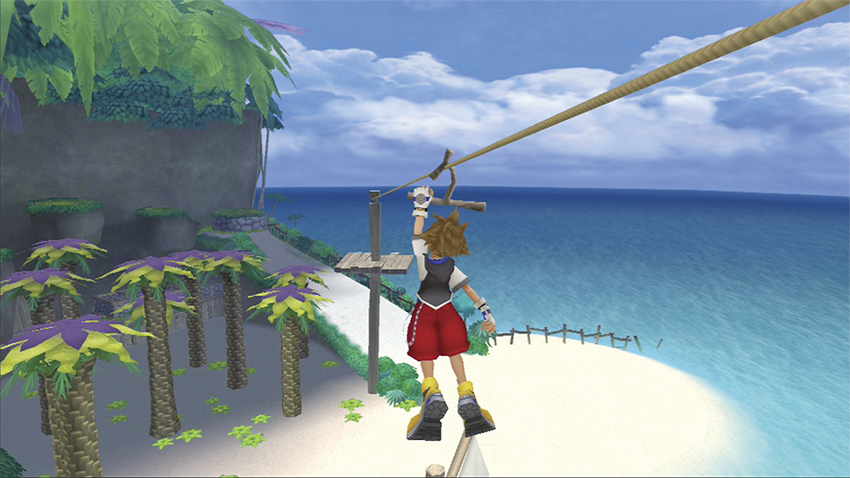
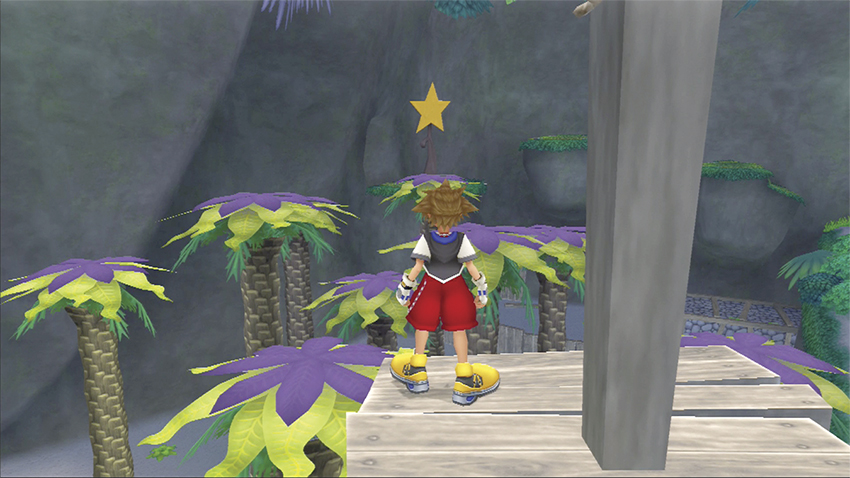
If you take the tower, you must successfully grab the zip line, slide down the line, then jump from the platform and cross the treetops to reach the star. One wrong jump, though, and you’ll drop to the beach below and fall behind.
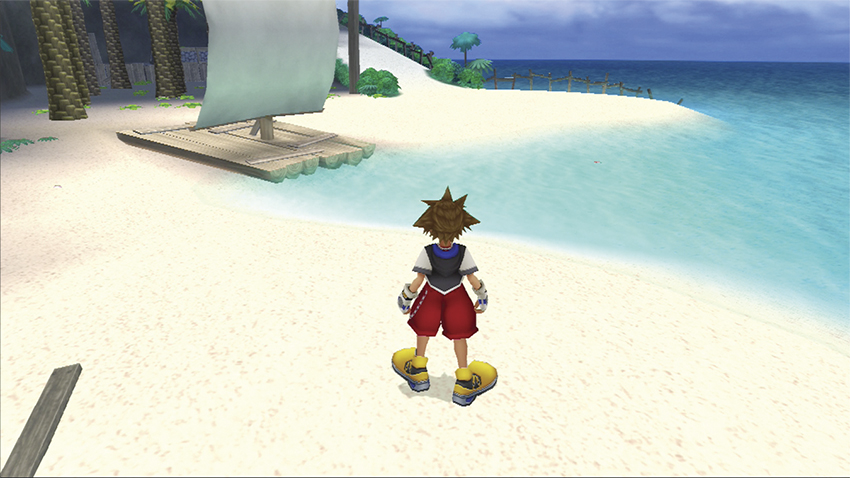
If you run around the tower, jump down to the beach and race through the water in front of the raft. Head toward the sandy incline on the far end of the beach.
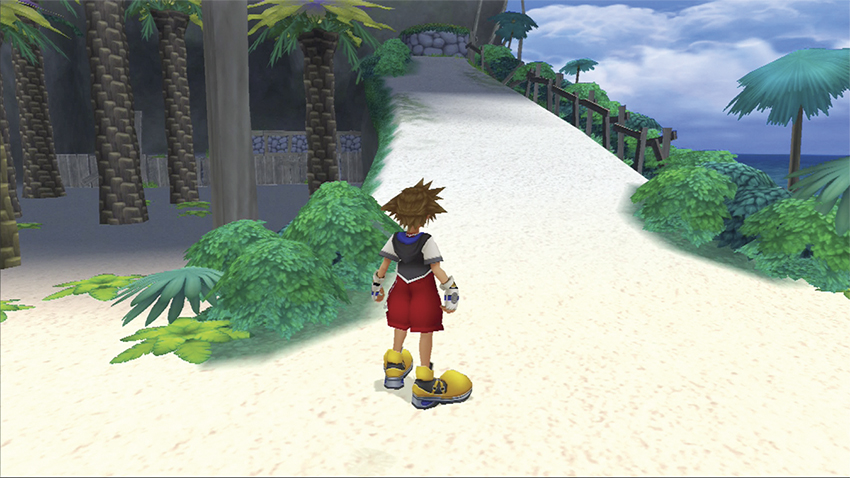
Continue up the sandy incline. When you reach the top, you’ll be at tree level.
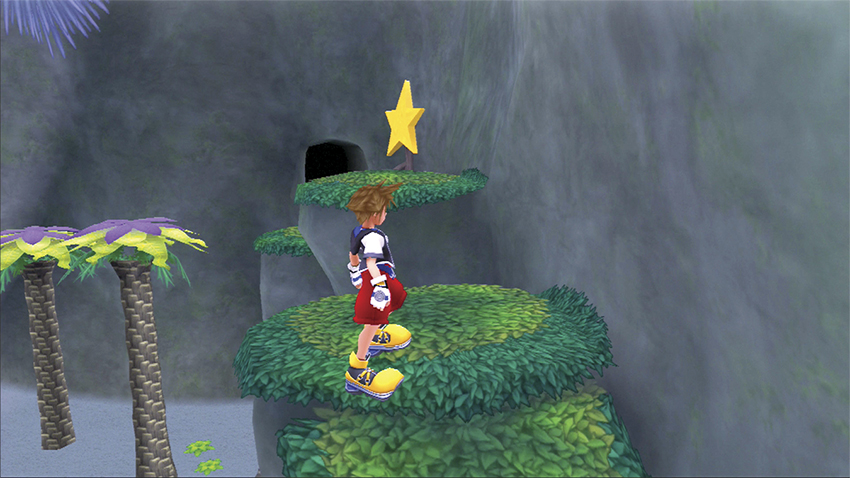
Jump from the sandy incline to the first grass-covered ledge. The star hangs on the cliff wall ahead. Make two more jumps and touch the star. You know you’re good when the star lights up.
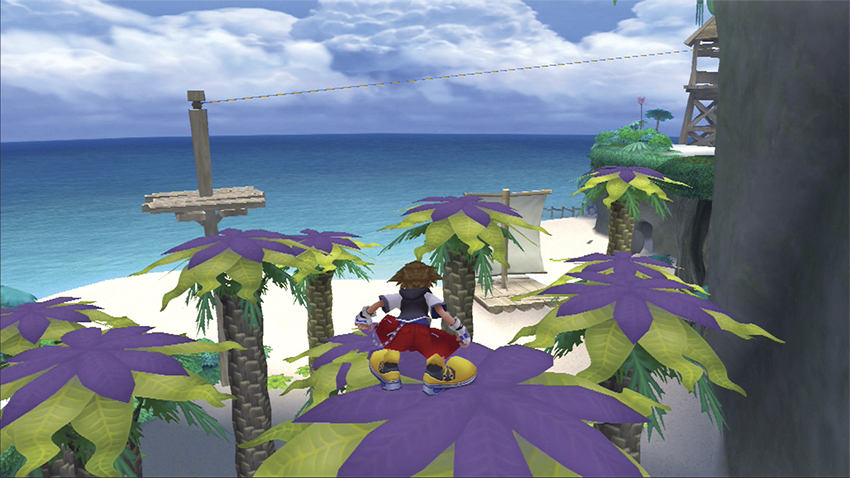
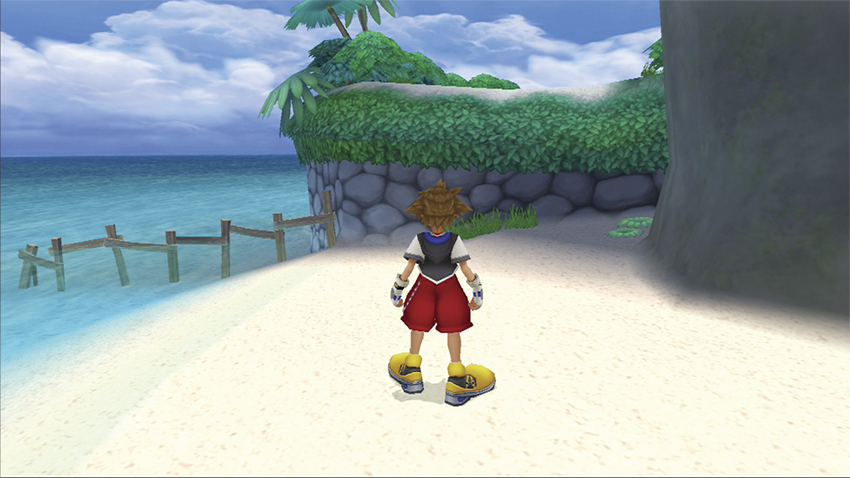
Now return back to the starting platform. You can leap across the tree tops to the tower ledge and then to the pier, or you can retrace your steps along the beach and leap back up the ledge alongside the tower. If you fall from the treetops, don’t give up; you can still beat Riku by scaling the ledge and continuing around the tower.
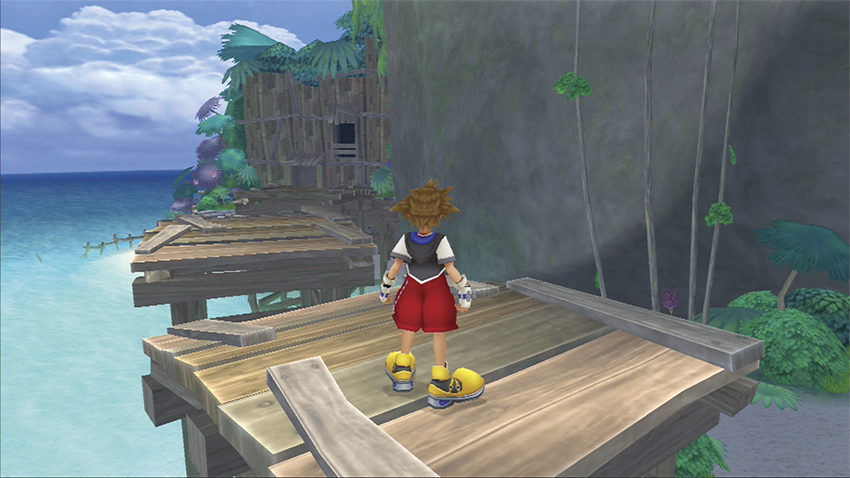
Get back to the end of the pier first and you win! A victory nets you a Pretty Stone. These will sell for good money in Traverse Town, and you can collect more as long as you keep beating Riku in the race.
Step 5: Second Gathering
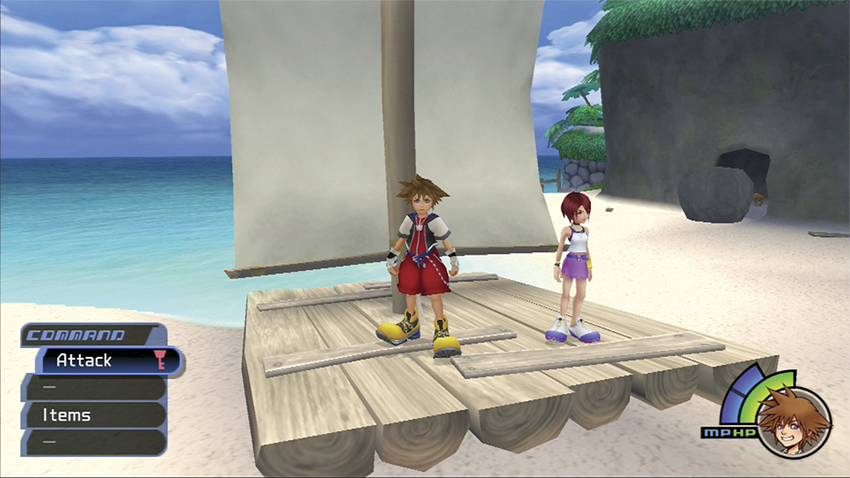
When you are finished racing, speak with Kairi by the raft. She needs food and water for the raft journey, including Drinking Water, two Coconuts, three Mushrooms, a Seagull Egg, and three Fish. The items are spread out between the Cove and Seashore. Before you leave on your gathering expedition, Kairi gives you the Empty Bottle to fill with fresh water.
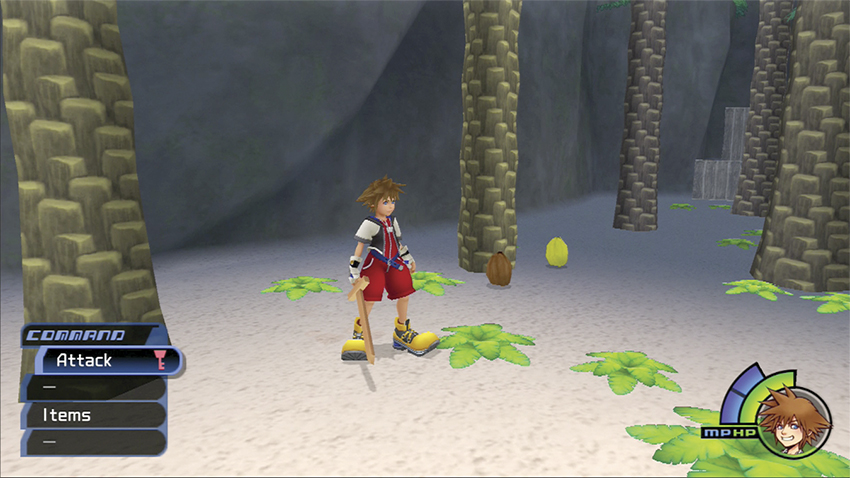
Check for Coconuts in the palm trees between the raft and the star. Attack each tree and wait for the yellow fruit to drop among the common brown variety. You can also find Coconuts in the other island palm trees, such as the palm trees on the islet next to where you found Riku.
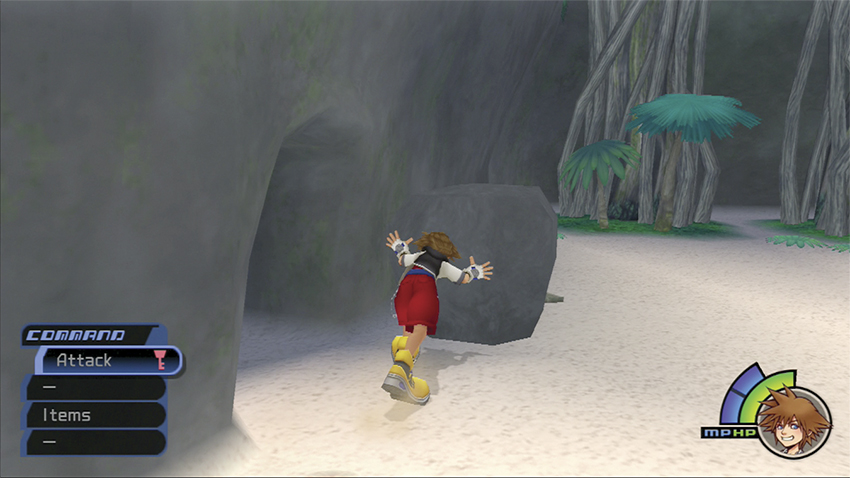
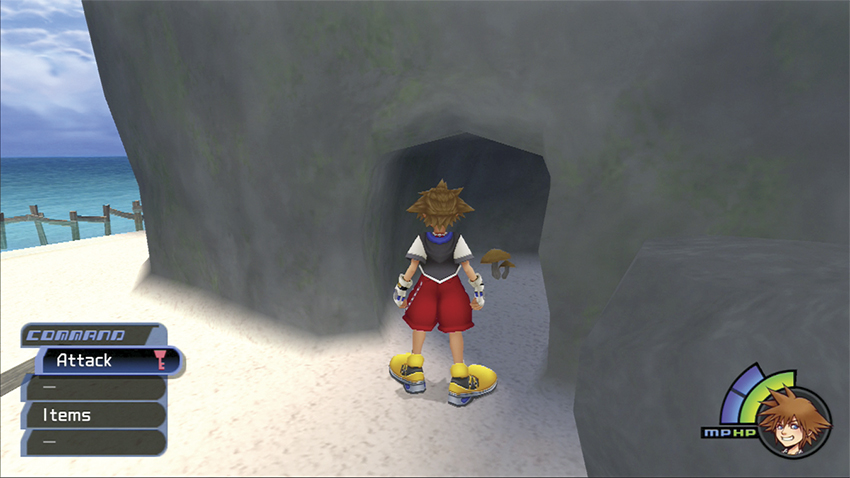
Next, track down the first Mushroom. Find the boulder in front of the hidden cave by the raft. Slide the boulder along the cliff until you reveal the hidden cave and the Mushroom within.
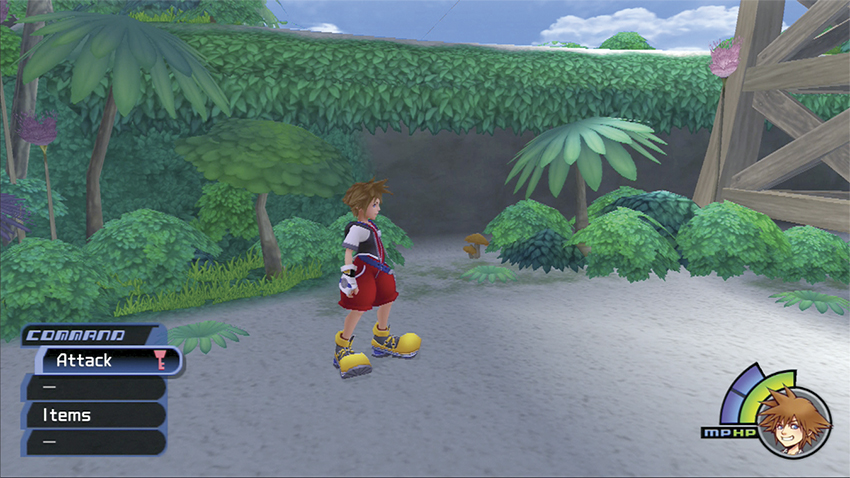
The second Mushroom grows in a small alcove next to the tower. Scale the ledge on the beach and run around the front of the tower until you spot the Mushroom sheltered by the taller green plants.
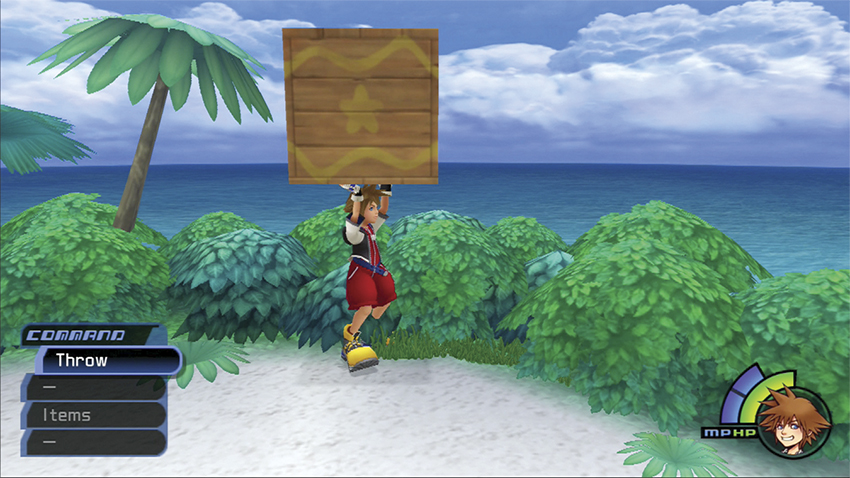
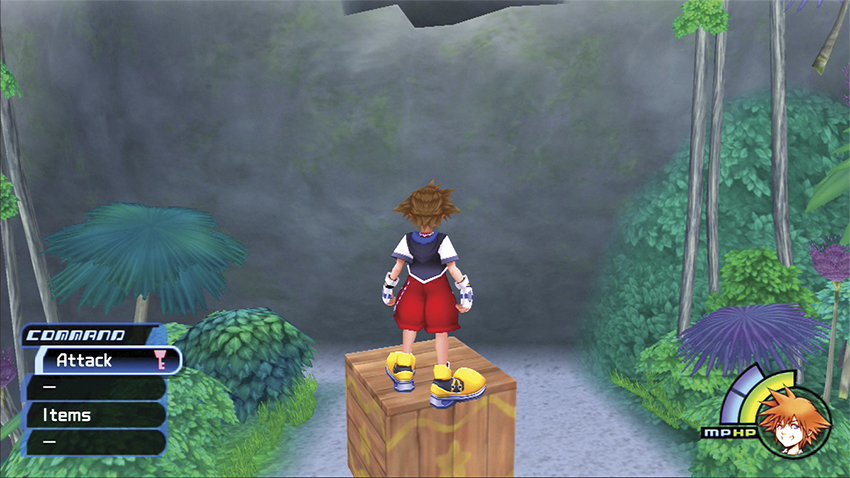
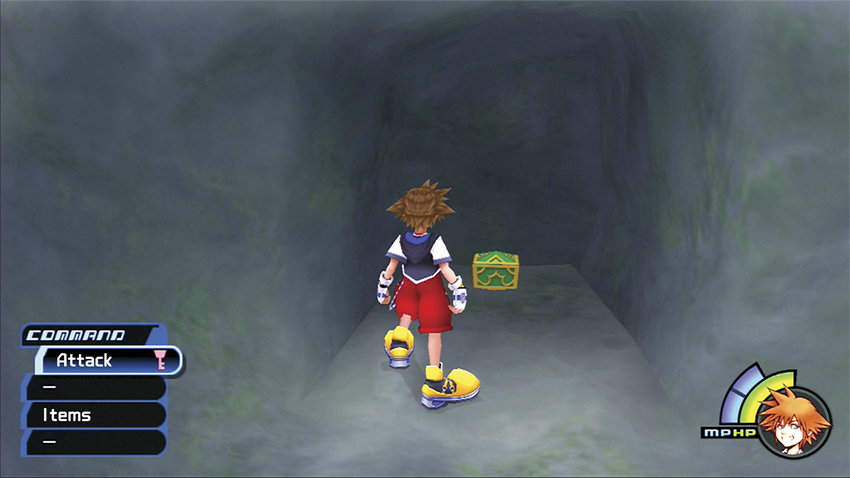
Take a short break from food gathering for a little prize for yourself. Lift the crate next to the tower and haul it back toward the cliff on the opposite side. Throw the crate so that it lands in front of the cliff but doesn’t shatter against it. Jump on the crate, then use your additional height to leap up and grab the lip of a hidden cave high up on the cliff. Swing inside for a Protect Chain.
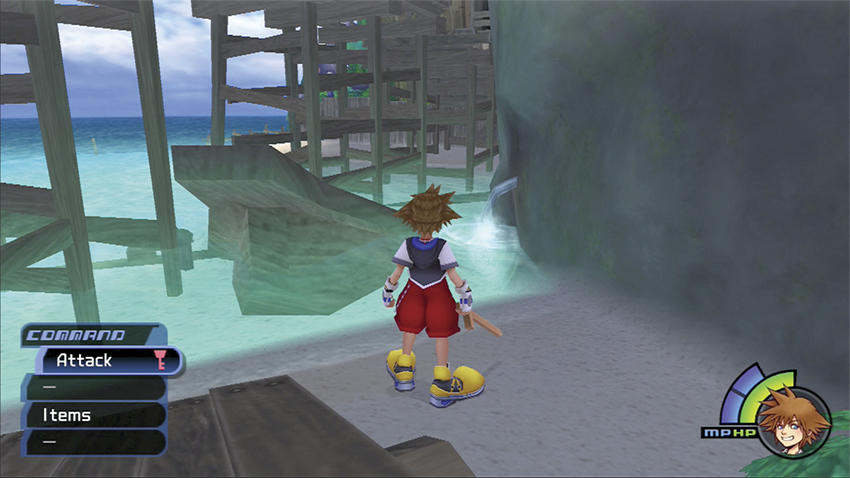
Follow the cliff down to the water. You’ll see a stream running out of the rock and into the ocean water. Though the ocean’s salt water isn’t fit for consumption, you can fill the Empty Bottle from this stream for Drinking Water.
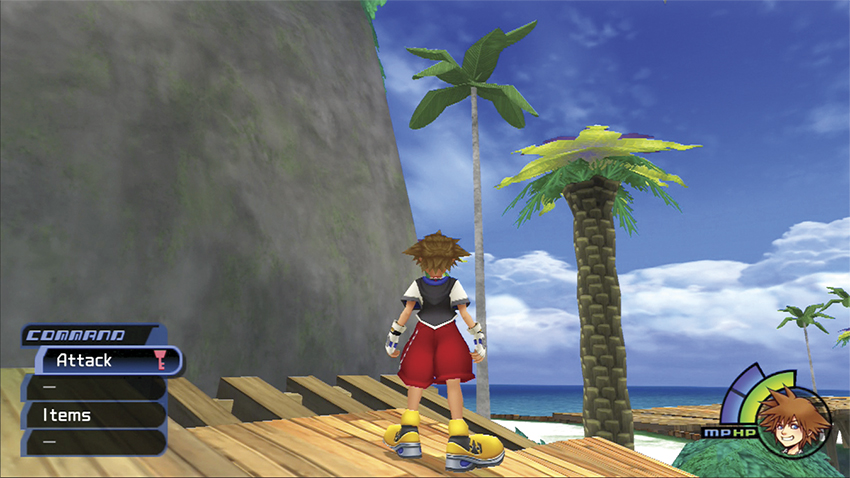
Exit the Cove and enter the Seashore. Look for your next food item atop a palm tree by the Seaside Shack. Jump up atop the shack to get a better look at the bird’s nest.
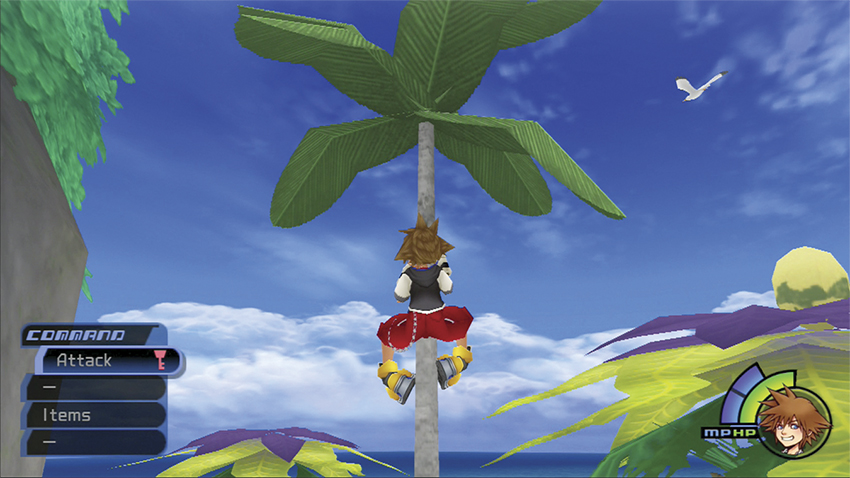
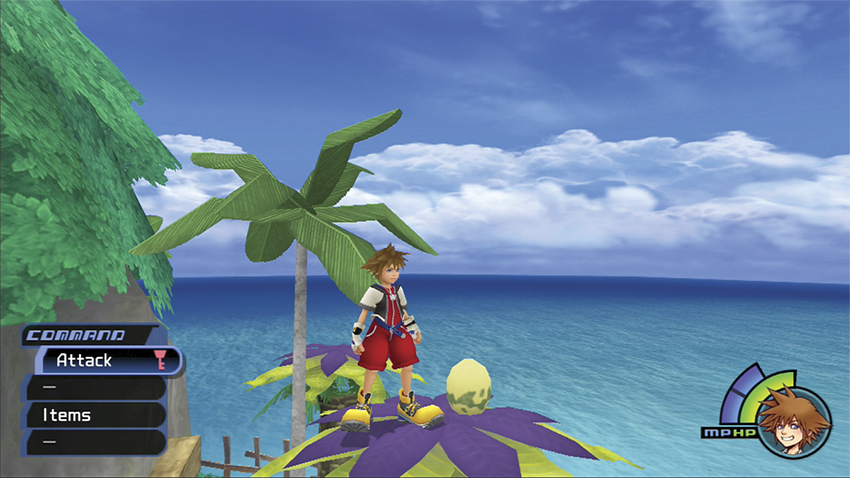
Fetch the Seagull Egg by climbing the skinny tree next to the palm tree with the nest. Shimmy up the skinny tree until you reach the top, then make the short jump over to the top of the thicker palm tree and grab the Egg.
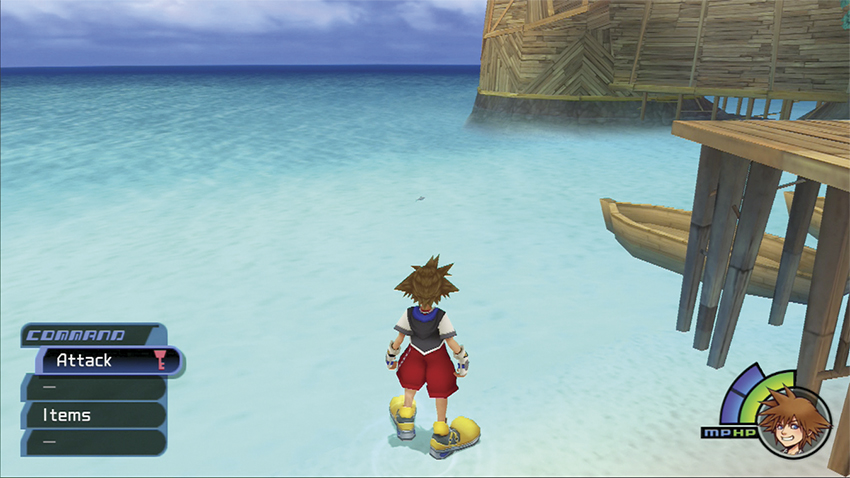
Now you need some food from the sea. Tread out in the waters in front of Selphie’s dock. You can find all three Fish in the waters along the beach. Watch for movement and then run over and catch the darting Fish one by one.
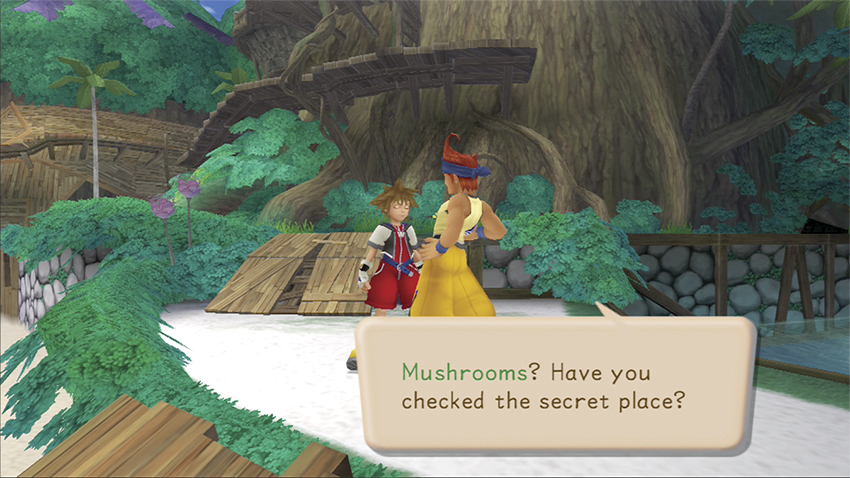
Speak with Wakka about the Secret Place. The final Mushroom is in this hole in the cliff wall behind Wakka. Hop up on the ledge behind him and enter the dark cave.
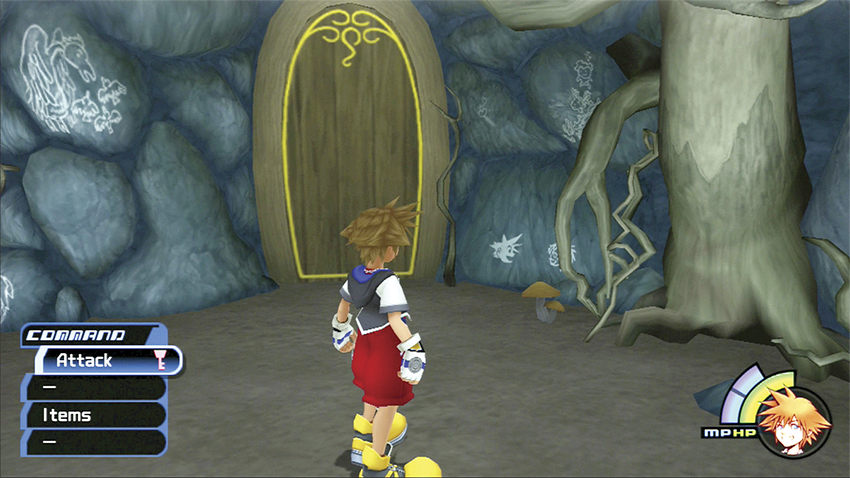
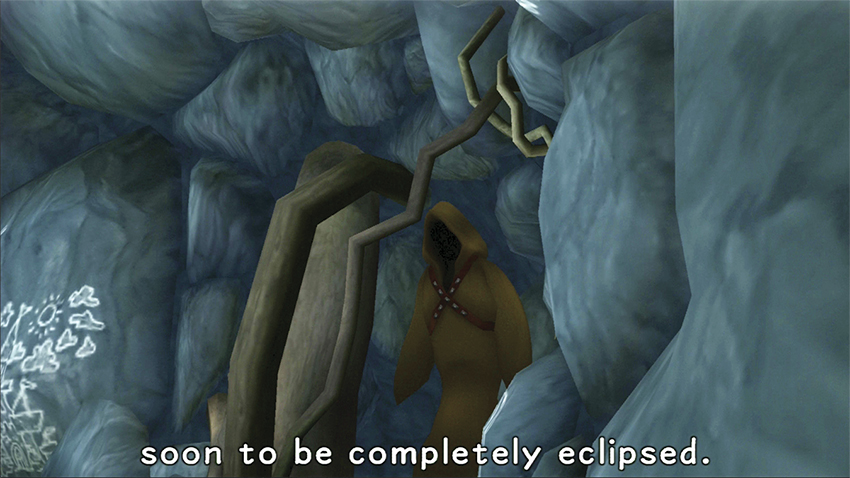
Look for the final Mushroom in the back of the Secret Place. You’ll find some wall drawings from your past and a mysterious door that can’t be opened yet. Also, an ominous hooded figure visits you in the darkness. Besides a chill, he offers you little explanation and you’ll have to wait to find out who he is and how he will alter your destiny.
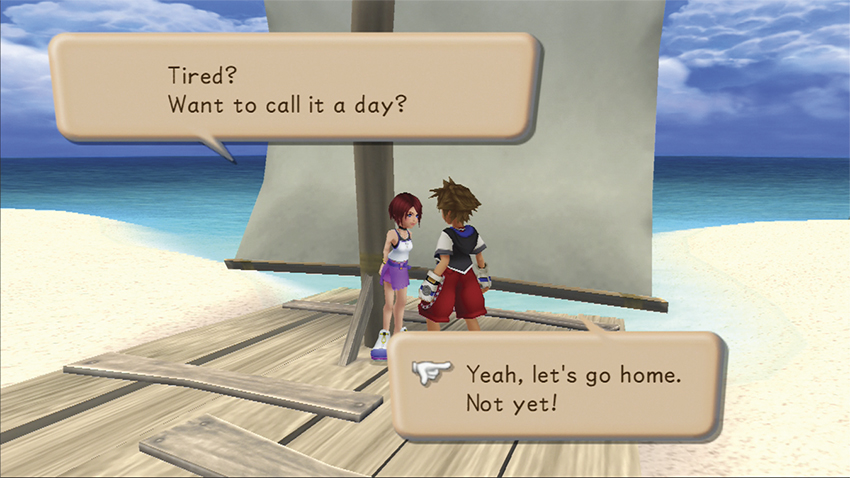
Return to Kairi back at the raft in Cove. She rewards you with a Hi-Potion for all your efforts. If you are all finished with the day’s activities, ask Kairi to go home and you’ll trigger the second night’s stormy events.
Step 6: The Keyblade
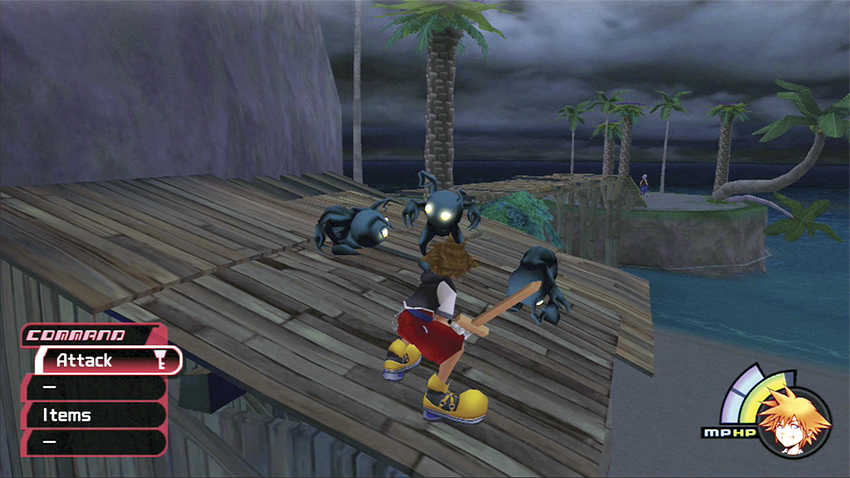
You awake that night to a big storm assaulting the island. Worried about the raft, you rush outside, but you have much bigger things to dwell on than how the raft is faring in the choppy water. Shadows suddenly appear and attack, and these Shadows are immune to your weapon!
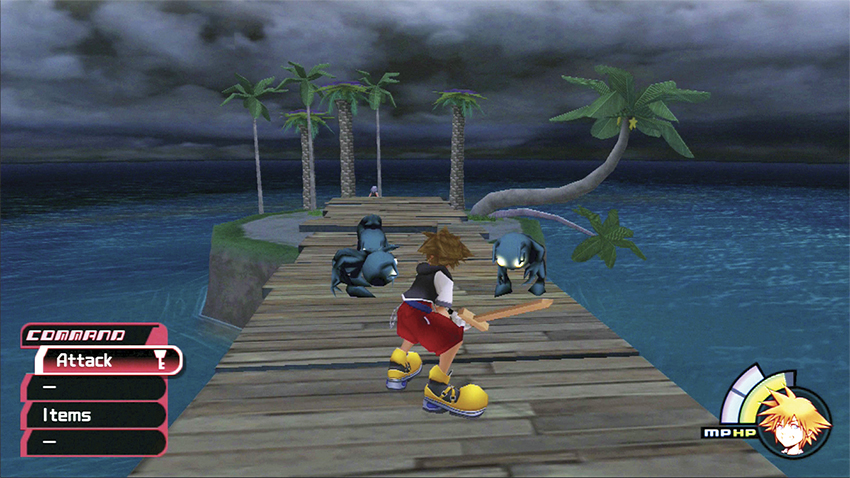
Avoid combat with the Shadows for now. Run toward the pier that reaches out to the islet. Here you’ll find Riku in a weird trance.
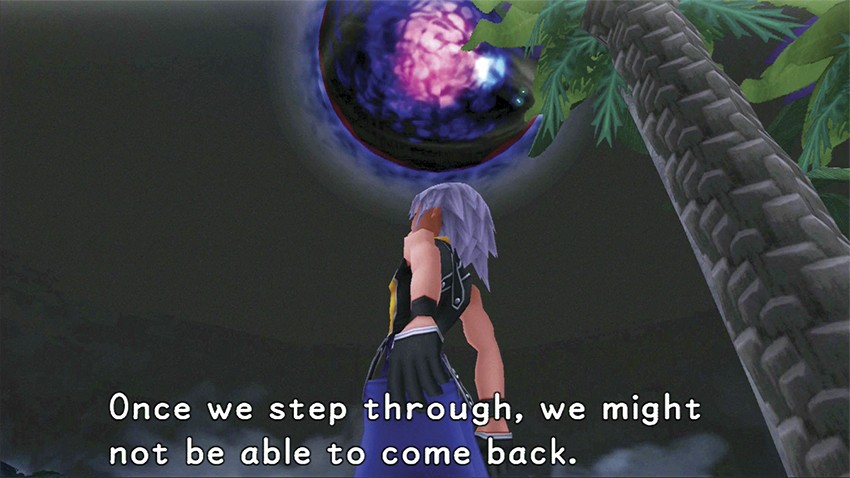
Riku seems mesmerized by the darkness that threatens the island. You try to shake him out of his trance, but the darkness envelops him and he disappears before you can grab him.
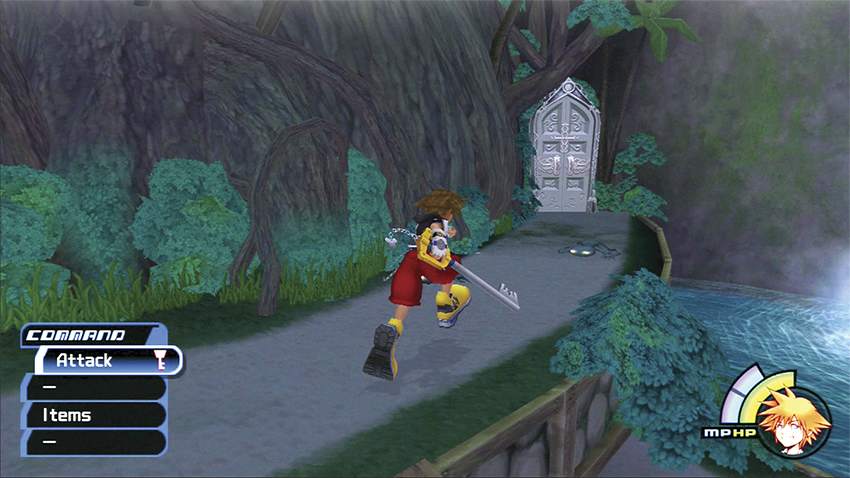
You collect Sora’s main weapon, the Keyblade, after Riku’s departure. Now you can punish the Shadows. Use your newfound weapon to obliterate wave after wave of the vile creatures. Shadows will keep materializing around the island; fight on for a few experience levels and, if you’re lucky, they may drop some Potions. When you are finished fighting, enter the Seaside Shack and use the save point before heading to the door that has appeared over the hole to the Secret Place.
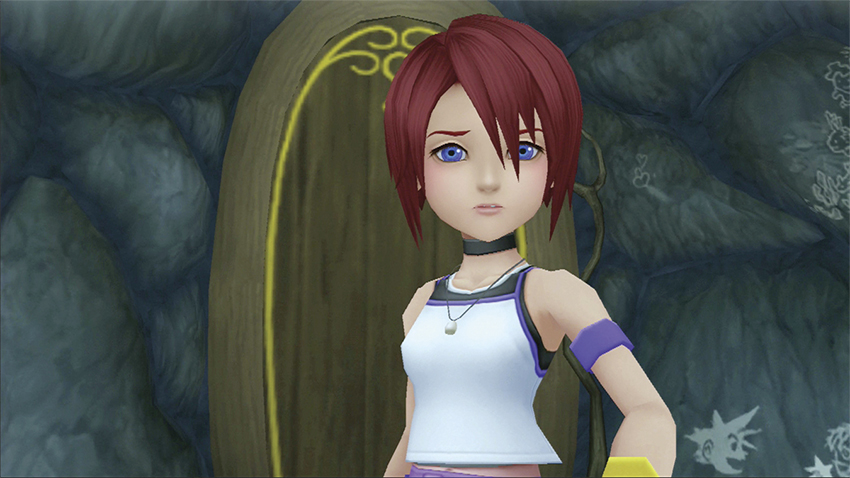
You enter the Secret Place only to find Kairi standing in front of the mysterious door. It opens and a blast of energy sends you back to the beach and the ghostly Kairi elsewhere.
Step 7: Darkside II
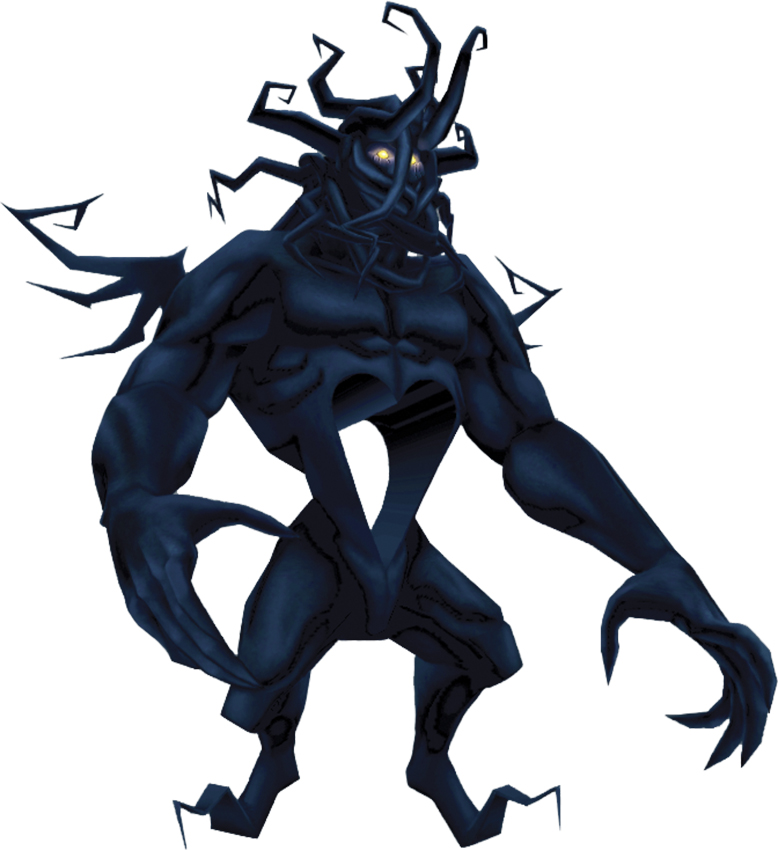
| HP | 300 |
|---|---|
| Strength | 6 |
| Defense | 6 |
| EXP | 60 |
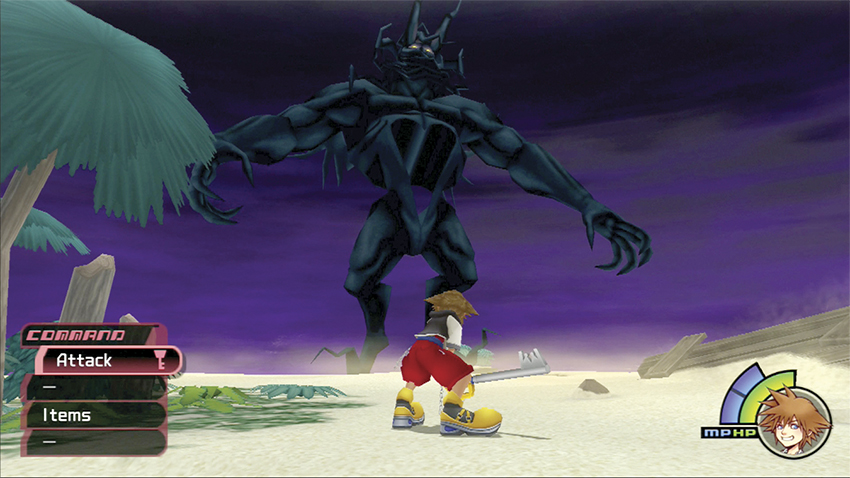
You climb to your feet on the beach only to discover that the Destiny Islands have been ripped apart and your chunk of rock is heading into a dark vortex in the sky. Even worse, Darkside is back for a rematch, stronger and meaner than before.
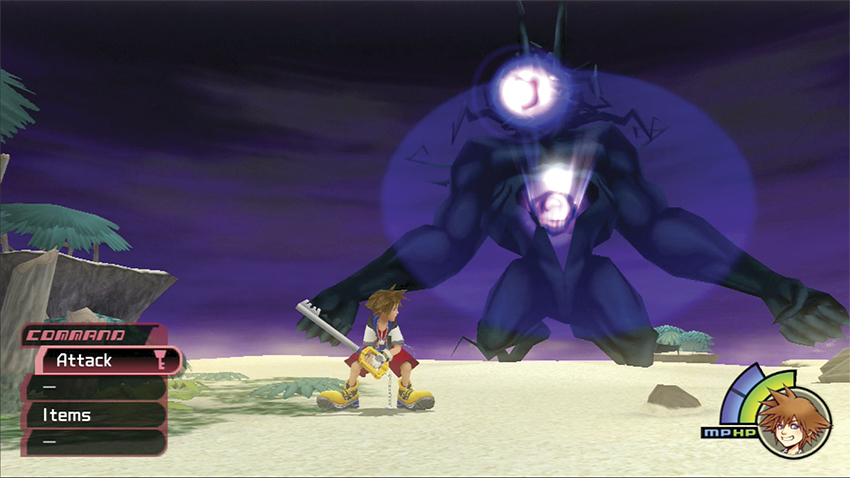
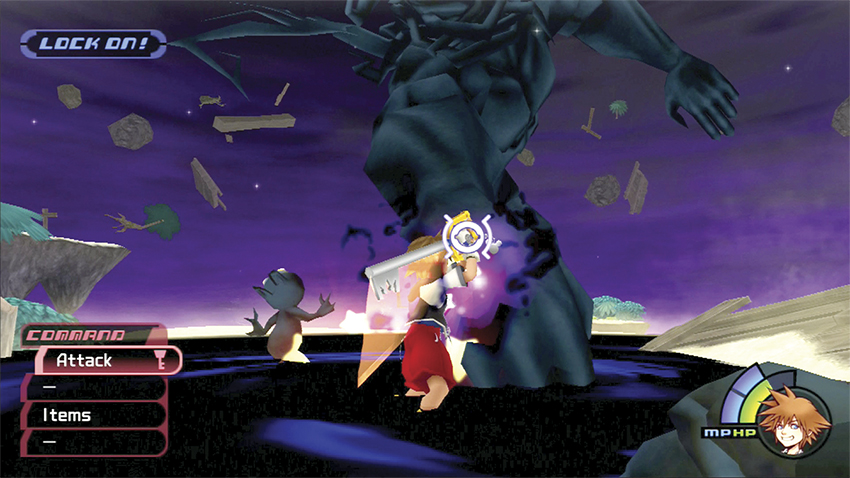
Follow the same tactics as your first battle with Darkside. When he lobs out energy balls from his chest, forget about attacking and jump left and right to dodge the damage. Wait for Darkside to strike the sand with his fist, then close in and hack away at his exposed hand. Pile on the damage while ignoring the Shadows that spring forth from the puddling darkness beneath your feet.
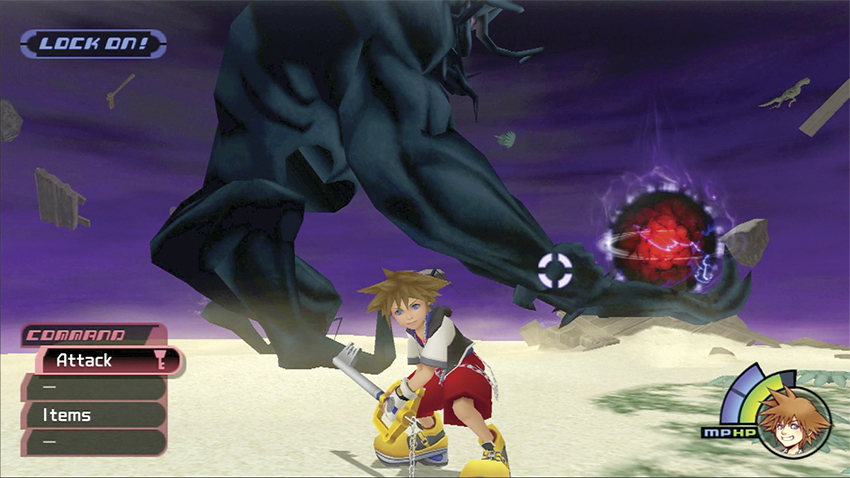
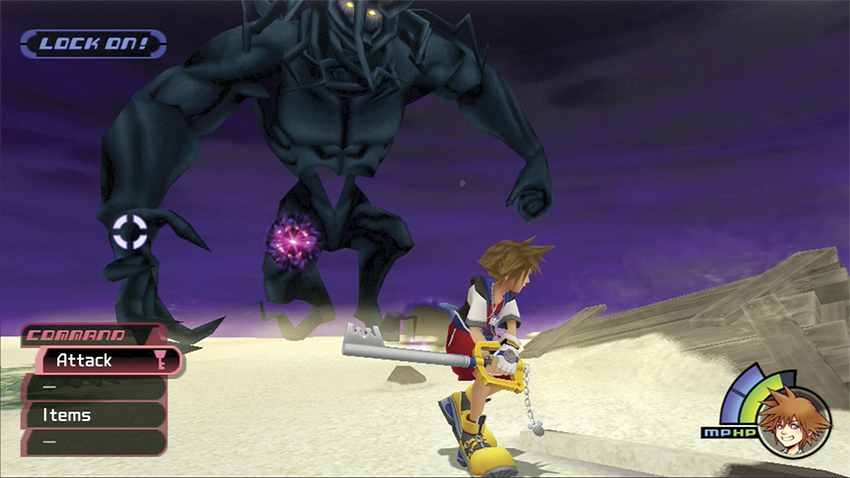
Darkside does have one nasty new attack. He will slam his right fist into the beach, sending a damaging shockwave toward you, and then he will pull up an energy sphere from the sand. When the energy sphere detonates, smaller spheres rain from the sky. Jump away from the initial shockwave, and dodge the raining spheres throughout their descent. Damage can mount quickly when the raining spheres combine with the energy balls that fire out of Darkside’s chest, so don’t hold back on a Potion if quaffing one will shoot you back to full hit points.
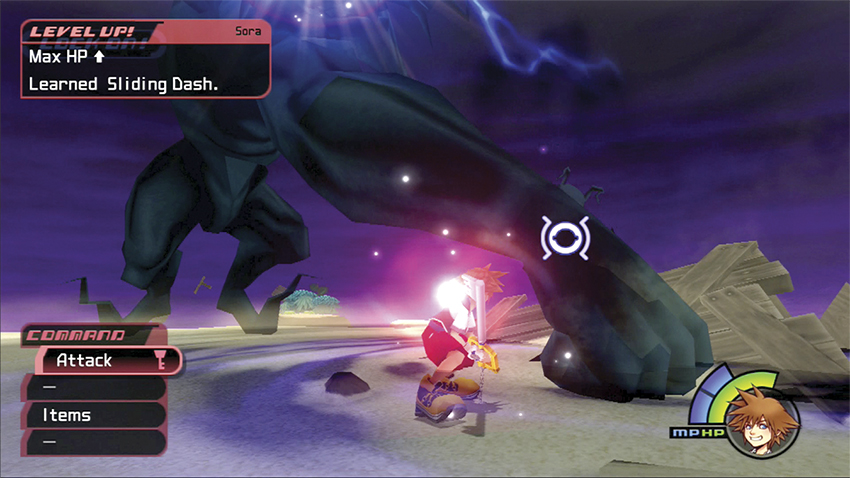
Patiently wait for your openings against Darkside and avoid wild assaults if it puts you at risk of too much damage. After three or four ambushes on his sunken fist, you should beat Darkside again.
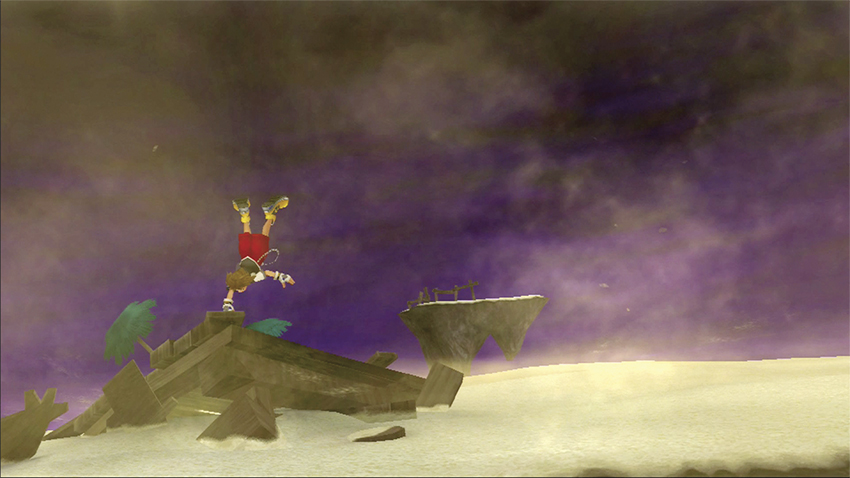
Unfortunately, dropping Darkside doesn’t end the destruction. The vortex sucks your world and you into an interstellar abyss. You aren’t dead, but you have no idea where you’re going.