
Dragon Age II Guide Walkthrough Prologue
Escape from The Blight
1.
After choosing your character’s class and watching the opening cinematics, you’ll be plunged straight into combat against darkspawn. You will always automatically target one enemy in the direction faced, but it’s worth noting that you can adjust this by moving the Camera stick, or using the Target Select buttons (D-pad) to cycle through assailants in order. On PC, you have to click on a target to select it. There’s relatively little danger in this opening fight, so it’s the perfect time to get a feel for the pace of combat.
Follow the onscreen prompts to try out a selection of abilities. Some of these require that you manually select a specific section of the battlefield. Once the targeting system activates, use the Movement stick to select a suitable group of opponents, then unleash your assault of choice (A/X to fire; B/circle to cancel).
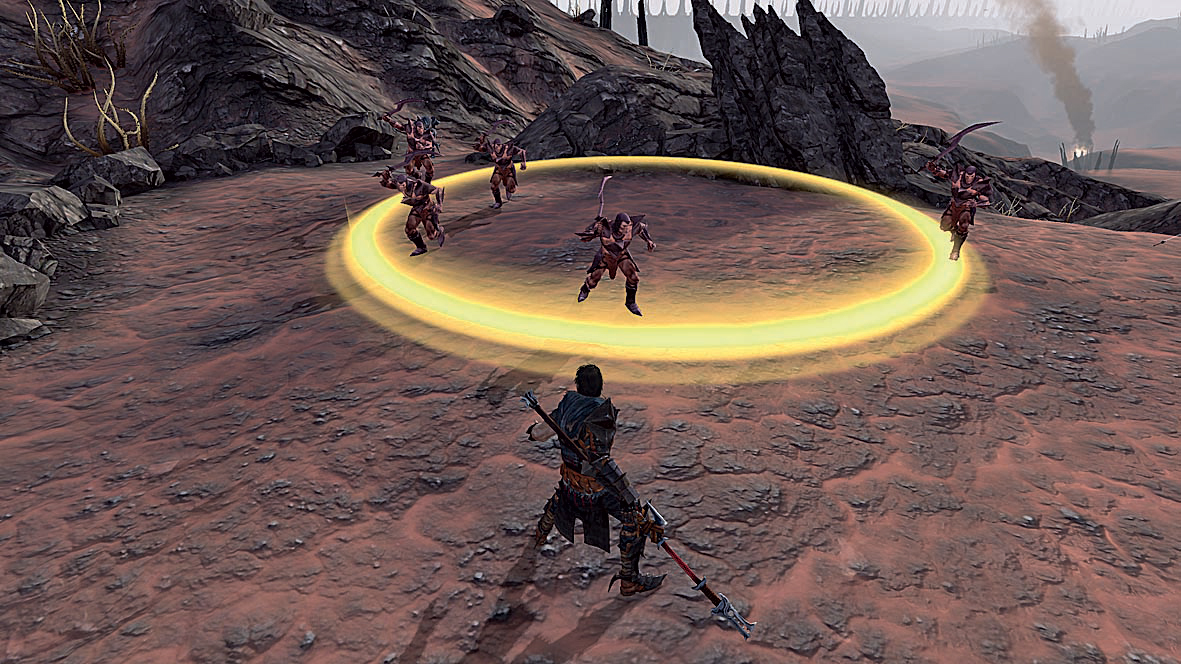
Targetting system activating
2.
All characters in Dragon Age II have two forms of attack. The first (and most important) is activated abilities. On PS3 and Xbox 360, these are selected via the Radial Menu or, more commonly, the Battle Menu Shortcuts displayed in the lower right-hand corner of the screen. Use the Shortcut button to toggle between the two available sets of three. On PC, you can simply use shortcut keys or the quickbar instead.
The second is a basic, standard assault with the equipped weapon, activated with a press of the Interact button (A/X). If you wish, there is an option in the Options ➝ Gameplay menu that forces your selected character to perform this attack automatically while not following other instructions.
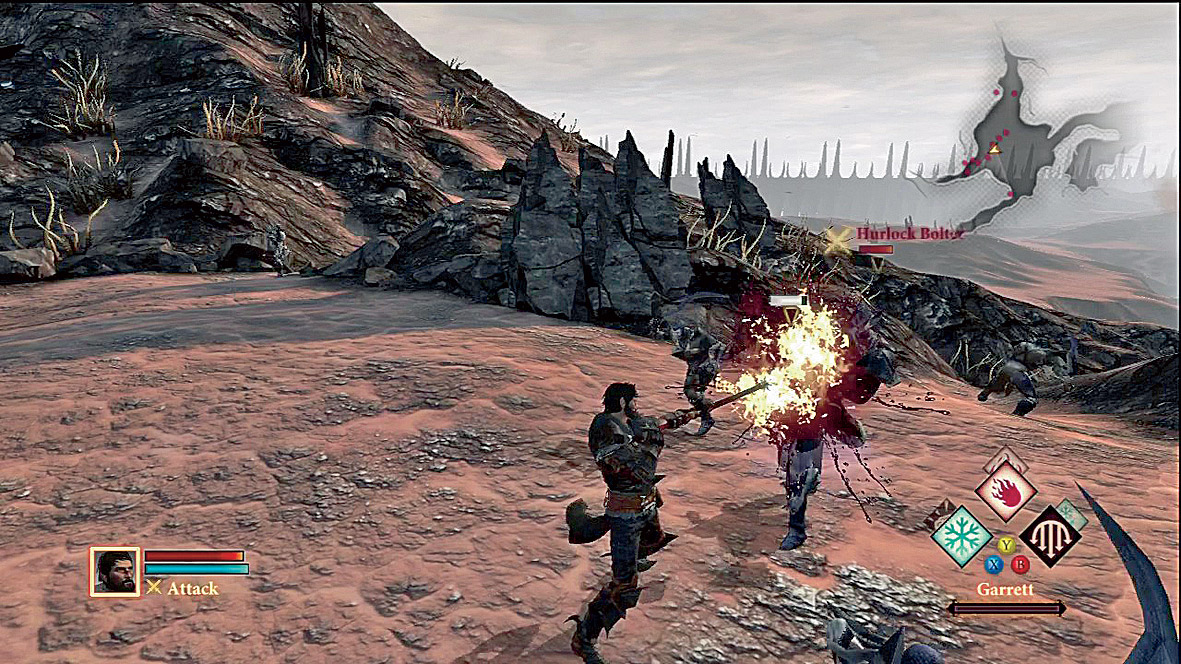
Battle Menu Shortcuts
3.
Unlike the infinitely replenished standard attack, the use of all activated abilities is governed by the Cooldown mechanism. It’s probably during your fight with the Ogre that this system will first become apparent. You cannot perform abilities (or repeat certain actions, such as using a potion) until the grey Cooldown transparency completes a full
360-degree refresh over the icon used to represent an ability or action (Fig. 3). As you will doubtlessly exhaust your stock of abilities before the Ogre and allies are beaten, this marks a solid introduction to Dragon Age II combat in its most rudimentary form. When enemies attack, this entry-level style of play sees you unleash every available activated ability, then switch to the standard attack while you wait for assorted Cooldowns to expire.
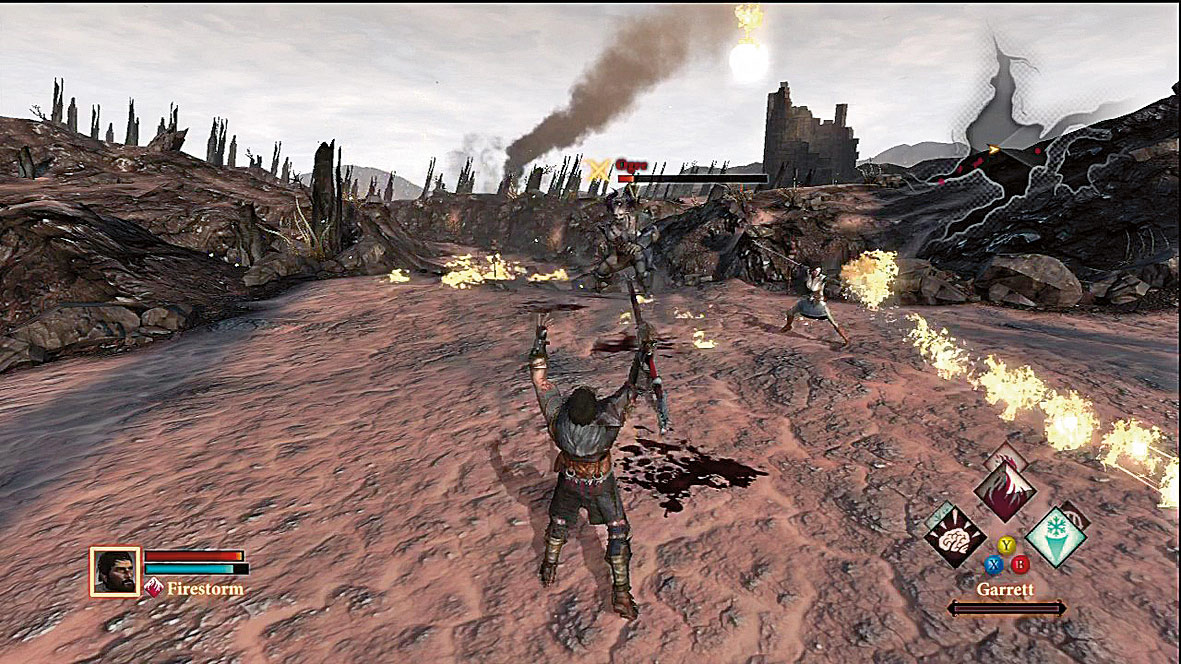
Cooldown transparency cycle
4. When play resumes after the narrative interlude, save your progress via the pause menu. Move along the path to trigger the arrival of a darkspawn party. Losing the stock of abilities at your disposal due to Varric’s narrative “flourishes” in the opening sequence can be a shock to the system, especially if you have chosen the mage class; in this instance, save the Mind Blast spell for moments where Hawke is in genuine danger. For all classes, it’s vital to ensure that your character isn’t surrounded. Even at this early stage, positioning matters. Hawke will level up after the battle ends: see XP & Level Up across the page for guidance.
5. Fight your way along the path until you reach Aveline and Wesley. In the battles that follow this introduction, be wary of darkspawn attacking your party from behind. There is a potentially nasty confrontation as you approach the waypoint marker, in which you face an Emissary Apprentice (a darkspawn mage) along with archers and melee warriors. For this reason, you might want to save your progress before the path opens out at the south of the map. Don’t climb the next slope until you have leveled up and scoured the area for collectibles (including a Codex entry – see “Miscellany” on the next spread). The locked chest here is a small reward for those who chose to be a rogue. If you opted for another class, you can sadly do naught but sigh and press forward.
6.
This fight with the Ogre and assorted darkspawn is more effortful and less fanciful than Varric’s original account, but don’t worry: if you fail, there is an autosave just before the confrontation begins. The best strategy is to clear darkspawn when they enter the fray, then refocus your energies on the principle brute in this flashpoint. Once again, this battle underlines the importance of good positioning. If the Ogre stands poised to charge (Fig. 4), quickly move your character out of its path.
Given the increased difficulty of this encounter, you may need to heal Hawke or his allies. To do so on the console versions, call up the Radial Menu, select the ailing individual and pick the Quick Heal option. This option appears on the quickbar on PC. During the closing dialogue sequence, defer to Aveline during an emotional situation to cement a new friendship.
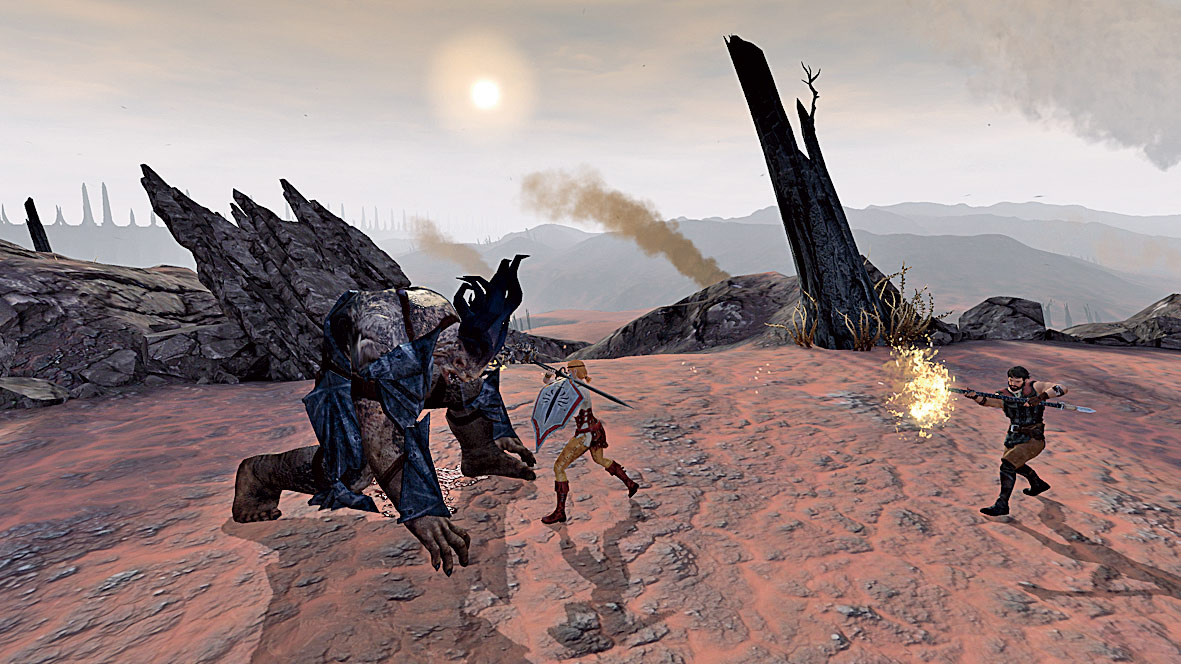
Poised Ogre
7.
Once you arrive at the Gallows in Kirkwall, push through the throng of Fereldans to trigger a cutscene, then head for the waypoint further into the Gallows Courtyard. Ensure that all party members have leveled up and save before you approach Captain Ewald, then defeat the waves of deserters in the ensuing battle. The initial group are ripe for an AoE attack from a suitably capable mage at the start, if you wish. As the affray develops, keep an eye on individual party members to ensure they are not surrounded by opponents as the fight spreads to cover the entire courtyard.
The only way to gain entry to Kirkwall is to follow Gamlen’s suggestion to enter indentured servitude with Athenril’s smugglers (northernmost waypoint), or Meeran’s mercenaries. Jump to 8 if you choose Athenril, or 9 for Meeran, though it’s worth reading both: there is an opportunity to gain greater rewards by betraying one of them. After honoring a task for either individual, talk to Gamlen to end the Prologue.
8.
Speak to Athenril and agree to attend to the job she offers. On reaching Merchant Cavril, you can resolve the situation in a number of ways:
To retrieve the money without conflict, speak to Cavril, tell him that Athenril sent you, then call on Aveline to mediate. Open the Merchant’s Chest, collect the coins, then return to Athenril.
The dialogue options “There’s no need for violence” or “You need to pay what you owe” both lead to conflict with Cavril’s guards. This solution leads to additional XP and the possibility of loot drops.
Extort money from Cavril then collect the sovereigns from the chest after he departs. On your return to Athenril she will be evicted from the Gallows Courtyard. You must now deal with Meeran instead. If you have previously betrayed Meeran (see 9), this option will instead lead to a battle.
9.
Speak to Meeran and agree to deal with Friedrich and his men, who can be found in the south of the area. As with Athenril’s equivalent task, you can take a handful of different approaches:
Select “I came to kill you” to begin combat immediately. This is a difficult battle, but there is a simple way to make it easier. As soon as combat begins, highlight all three character portraits at the same time (by pressing both Party Select buttons simultaneously on the console versions, or holding the SHIFT key on PC), then use the Move to Point option (available on the quickbar on PC, and via the Radial Menu on consoles). Select a position next to Captain Ewald at the base of the steps in the main courtyard area. Ewald and his templar allies will then lend their aid during the fight.
Select “I came to talk” then “Very well” to receive a substantial bribe. Friedrich will depart, but you must still fight his hirelings; use the same tactic outlined above. His absence makes this battle less demanding. Meeran will not take kindly to this course of action, so you must complete Athenril’s task to gain entry to the city.
If you have previously betrayed Athenril, there is no option to negotiate: you must kill Friedrich and his guards.