Dragon Age II Guide Essentials Inventory
Introduction
The rise and fall of civilizations has bequeathed a legacy of weapons and artifacts to the contemporary inhabitants of the Free Marches. This chapter provides advice, complete inventory lists and statistics for all items, with a focus on the unique ones, which are by far the most powerful. This will allow you to create custom combinations and strengthen your characters in their specialized roles for maximum efficiency.
Introduction
After character builds and companion selection, inventory offers the most efficient method of enhancing and tuning a party to increase resilience or meet a specific threat. Individual abilities can be promoted by equipping items with supporting buffs and bonuses. Resistances can be increased to overcome a known foe. And for the player who relishes difficulty, party equipment can be coordinated to underpin a strong but precise battle tactic.
Unique Items & Generated Items
Unique items are those with set attributes and prices. These are usually better and far more valuable than their randomly generated counterparts. This chapter lists every single unique piece of equipment available in the game.
"Generated items" refers to a system in the game that takes a weapon, accessory or armor, assigns attributes, then scales the associated values to the level of your characters. As there are literally thousands of random items and possibilities therein, this guide focuses on unique items.
Ratings and Bonuses
The five-star rating system is the first guide to the relative power and usefulness of an item. When equipping a new sword, for instance, a two-star rating indicates a weapon that is average for your level. One star means the weapon is underpowered for the foes you can expect to face. Weapons of three to five stars will grant an excellent advantage if used correctly.
While the star rating provides a rough guide that is derived from the raw potential of the item, it does not reflect context. For example an amulet with no stars at all may actually serve an excellent purpose if it raises a rogue’s 29 cunning to 30 cunning, thus enabling a complex grade of locks and traps to be tackled. Equally, a five-star item may be useless if it benefits talents that the character does not use, such as blood magic.
Weapon and Armor Attributes
Every weapon possesses a numerical base damage rating, which also indicates its elemental affinity. Swords, maces, bows, axes and daggers do physical damage – which is also an affinity, just like fire and cold – that can be countered by an enemy’s physical resistance, otherwise known as armor. The higher the damage, the better the weapon. The character’s total damage rating can be seen by the flash icon under Stats, and will be a higher number than the base rating if the character has bonuses to damage in effect. This is the theoretical amount of health that an attack would remove from an unarmored opponent.
Because characters can attack at different speeds, the figure in brackets provides a calculation of DPS (Damage Per Second) so that characters can be compared evenly on their basic weapon attacks.
Armor has a base protection rating that is added to all other items of armor being worn to create a cumulative armor value. This total is shown by the helmet icon under Stats and, again, may be higher if the character enjoys other bonuses. Armor is used to calculate the character’s physical resistance, shown in brackets as a percentage, which functions just like other resistances in describing the amount of damage that is disregarded from a physical attack. Whatever damage penetrates is removed from the character’s health.
Note that you will find a complete guide to attributes and resistances in the Strategy & Analysis chapter.
Requirements
Even if they possessed the muscles to pick it up, an untrained mage would have no idea how to swing a battle axe. A rogue would fare no better in guessing how to shake a spark from a staff of lightning. In other words many items simply cannot be used without the character meeting a set of minimum requirements that can relate to class, talent tree, level and attribute.
As a rule, the key requirements are down to two attributes that are essential for a corresponding class:
|
Armor Type |
Class |
Attributes Required |
|
Heavy |
Warrior |
Strength & Constitution |
|
Medium |
Rogue |
Dexterity & Cunning |
|
Light |
Mage |
Magic & Willpowe |
It is sometimes possible for a high-level player to achieve attributes that would allow equipping armor of a different class, but of such a lower level that the items would almost certainly be useless.
There’s a small trick that you may exploit which uses items that boost attributes. An accessory that boosts constitution, for instance, can be used to meet the minimum requirements of a piece of warrior armor, allowing the armor to be equipped. The accessory may then be removed and replaced with something else, but the armor will remain equipped (though grayed out) and its effects on stats will also stay active. In this way, you can equip items that the character couldn’t otherwise use.
Rune Slots
Weapons and armor with slots for Runes are rare and highly prized for customization. This is reflected in their price and those with more than one Rune slot are precious indeed. Even if the item appears ordinary in other regards, the addition of an uncommon nature damage bonus, for instance, through the process of enchantment creates a rare form of weapon that can give you a significant advantage against specific enemies.
A few Runes may be found or purchased directly, but to source the best ones you will need to craft them for yourself.
Default Items
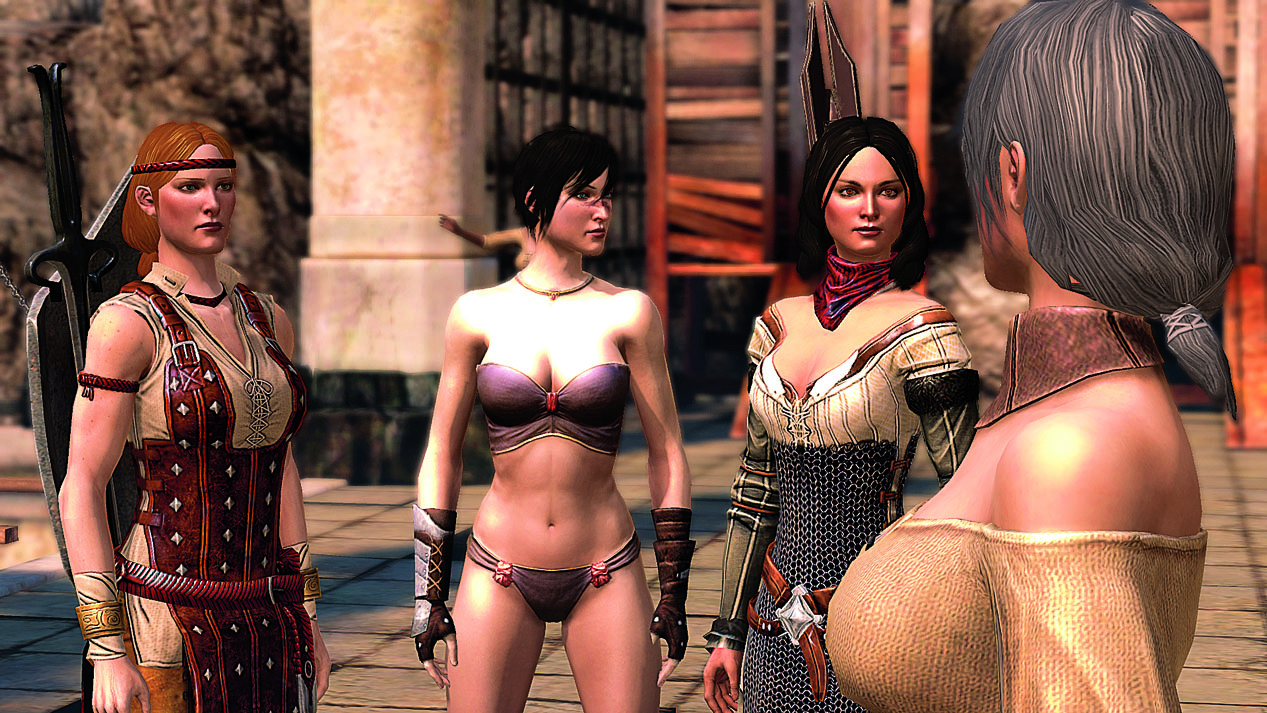
In case you fancied a spot of wrestling, you should be aware that it’s not possible to leave your characters undefended by removing their weapons. Every party member has a basic sidearm to call on if nothing else is equipped. For instance, the mage’s default stick is a Basic Staff of fire, doing just 4 points of damage. Basic weapons are extremely weak and do not scale with the character’s level.
If you decide to remove your character’s armor as well, a fetching set of underwear protects their modesty – but little else, as there is no default armor. And yes, the effect persists for engine cut scenes (Fig. 1).