
Dead Space 2 Guide Walkthrough Clarke's Log: Walkthrough
Chapter 9
Transportation Preparation
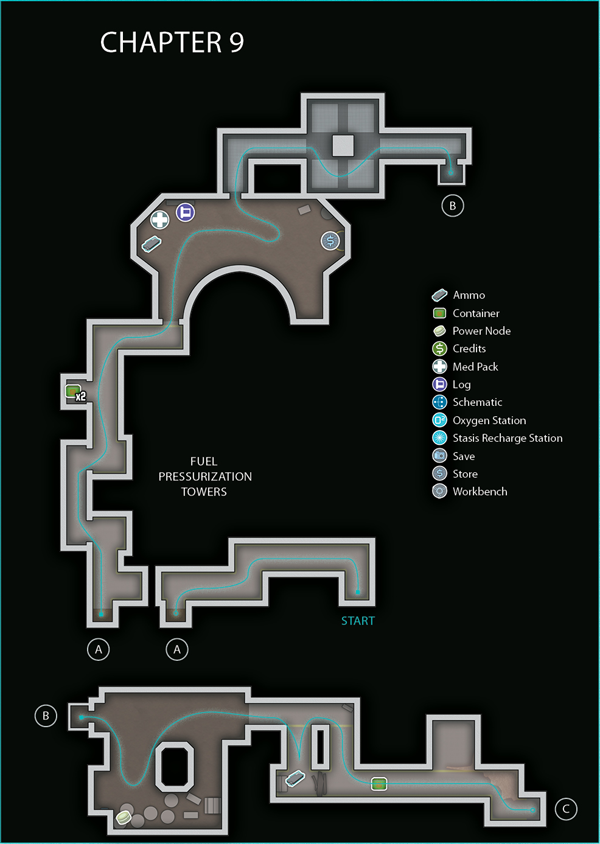
Fuel-Pressurization Towers
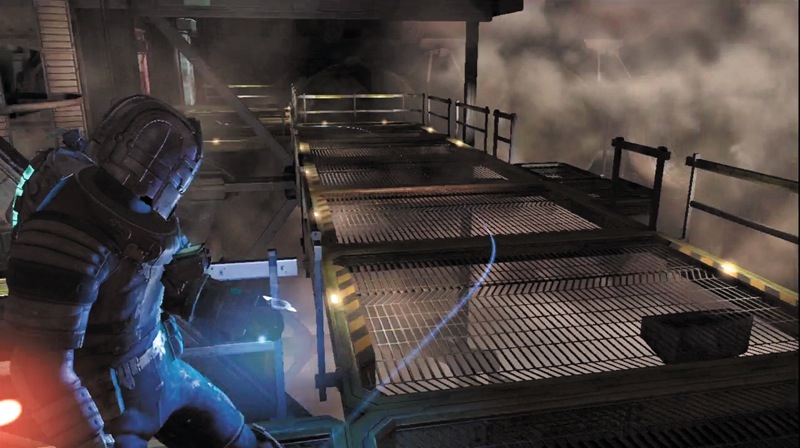
You start out on a metal catwalk. Make sure all of your weapons are fully loaded, then follow the catwalk around to the left.
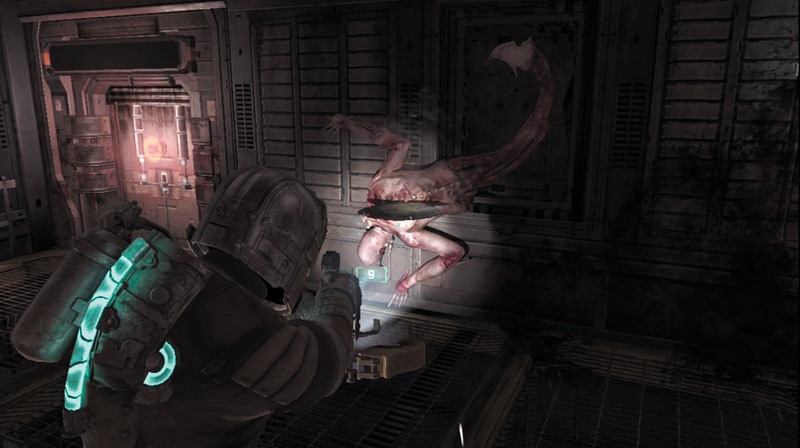
Be cautious as you pass by vents in the wall. A Leaper jumps out of this one. Have your ripper ready and cut into the Necromorph before it can attack you. Watch out, since two more will jump out at you from above, along with a Slasher. If you have the contact beam, use the alt-fire mode to push them all back and stun them. Then attack them with other weapons or the contact beam's normal attack. Stasis is critical here, as the Leapers can quickly attack you from all sides. When it is all clear, head to the cargo lift and take it up.
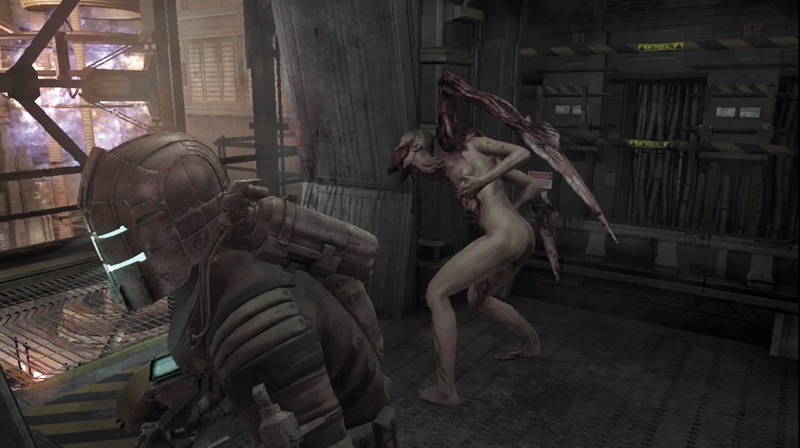
Follow the catwalk into an enclosed area. Be ready for a Spitter to jump out from the vent and attack you. Let loose with the ripper. If it grabs you, quickly break away from it.
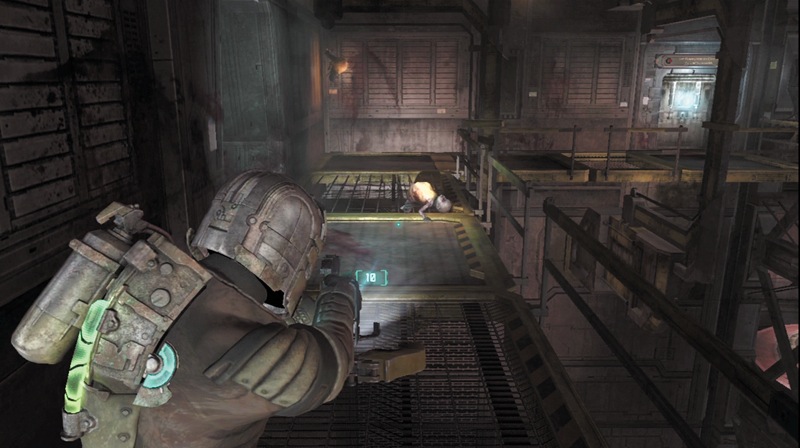
Continue through the enclosed area and back out to the catwalk. Watch out for several Crawlers that come at you from the far wall. Pick them off one at a time until you kill them all. Move into a side alcove to stomp a couple containers for items; then follow the catwalk to the door to Pressurization Control 2.
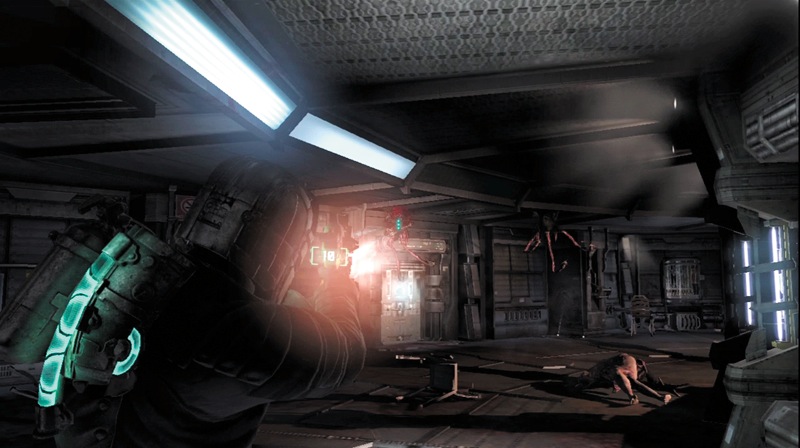
When you walk into the next room, get ready to hit a Puker with stasis and then kill it before it can fire acid at you. Immediately go after a couple Lurkers that are on the ceiling. Each Lurker has three tentacles. If you have the line gun, shoot off all three tentacles at once. Kill each of them this way. Shooting the Lurker in the body with a couple shots from the seeker rifle will also destroy them. Now search the room to find an audio log, and stomp on the dead Necromorphs to get some items. Finally, stop by the store and conduct any business you have.
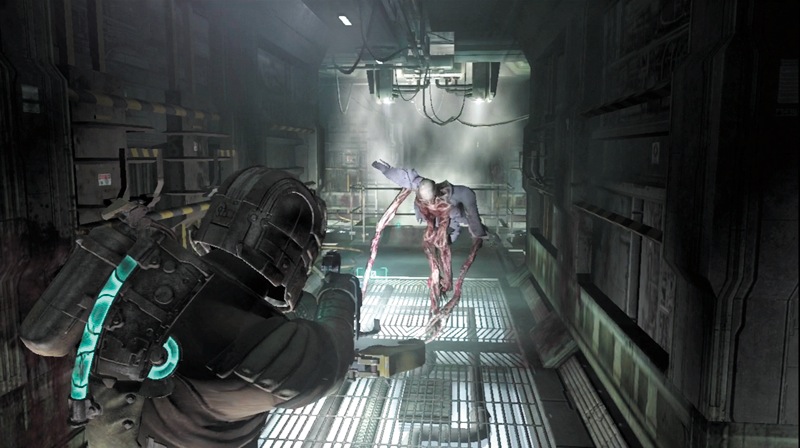
Head through the door in the middle of the room and follow a corridor to the right. Stop and wait for a Divider to come toward you. When you hear the music, deploy a devastator mine to where the walkway splits right and left. Then launch a couple more closer to you. The first mine should make the Divider break up into Divider Spawn, which are smaller, spiderlike Necromorphs. Then the explosions from the other mines should kill the Divider Spawn.
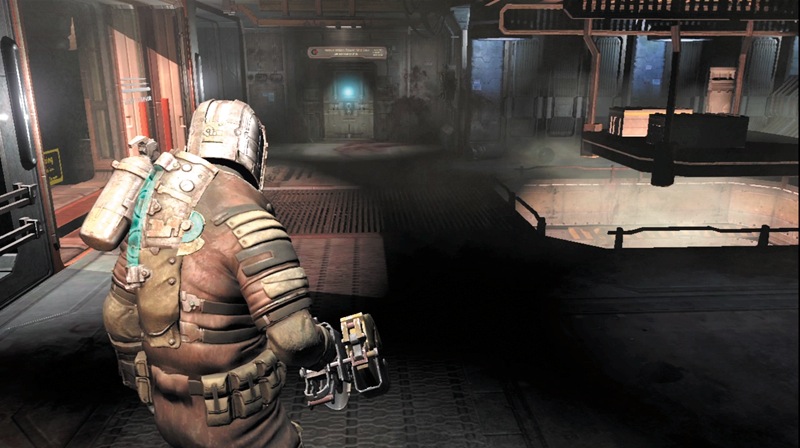
Ride the elevator to the next floor and get out. Quickly run straight across the room and turn right. Use kinesis to grab a cylinder; then turn around and wait for a Super Slasher and an Exploder to drop out of the ceiling. This is a tough room to use offensively because you don't have much time to shoot the lockdown switch. If possible, take out the Necromorphs without triggering the Exploder or breaking the decompression window. However, you can try using the window if you are feeling bold. Break the window with a cylinder and the Necromorphs will be sucked out. Quickly shoot the lockdown switch so you don't join them. Before heading out through the door, get a power node from a circuit box on the room's other side. Look over the railing of the pit in the room's middle to find another item.
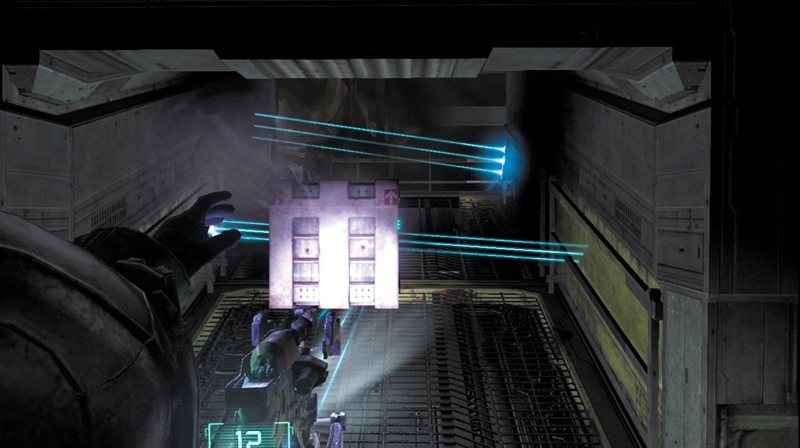
As you walk along a corridor, you will see a couple of mines on the walls to your right. Use kinesis to pick up a container, and launch it at the mines to destroy them. In addition, pick up an item from a container.
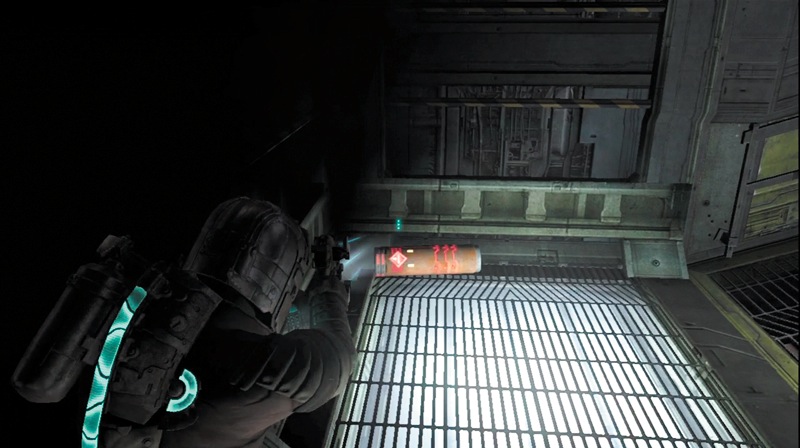
Pick up the explosive canister in the corridor, and head to the catwalk. As you turn left, you will see a Guardian. Quickly launch the cylinder into the middle of the Guardian to kill it.
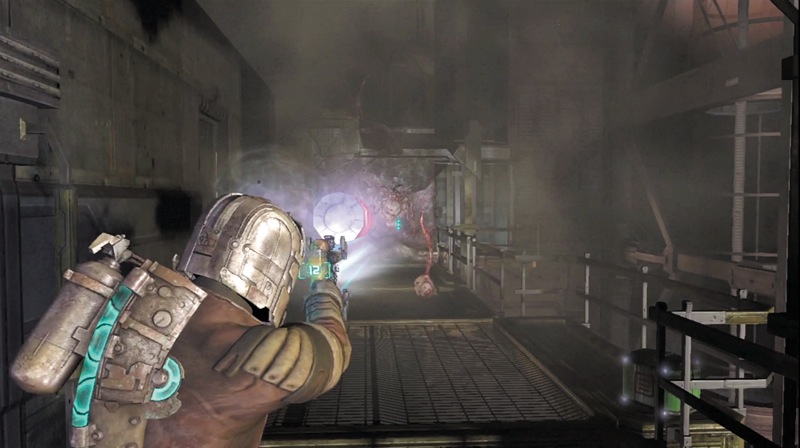
Then shoot off the tentacles of any pods it launched at you to kill those as well. If you miss with the first cylinder, there is another one. Just rush toward the Guardian and then move into an alcove on the left to grab it. Stomp on a container, and pick up a semiconductor from the Guardian before advancing to the cargo lift.
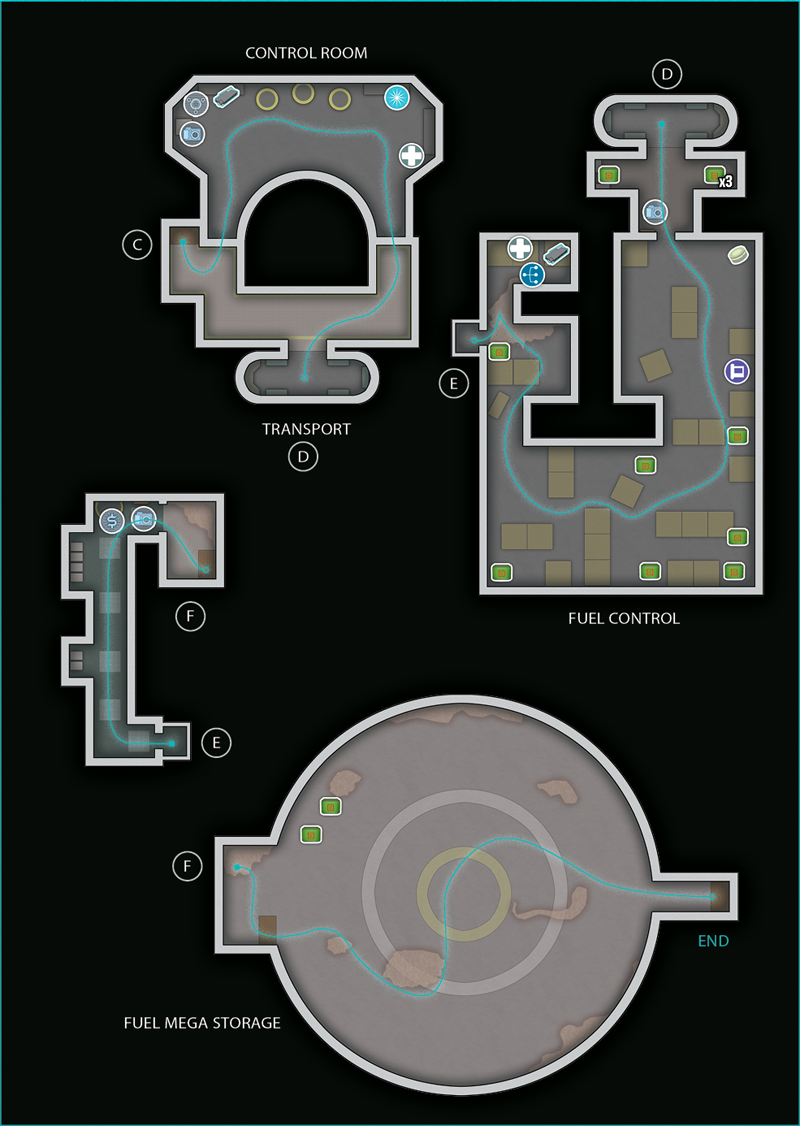
Transport Control Room
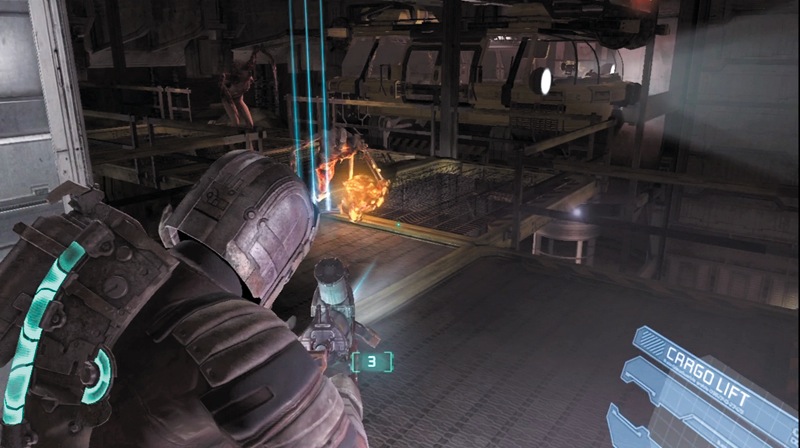
As you near the top of the ride, get your detonator ready and deploy some mines on the catwalk. The transport is up ahead, but so are an Exploder and a Spitter. The mines should kill both of them.
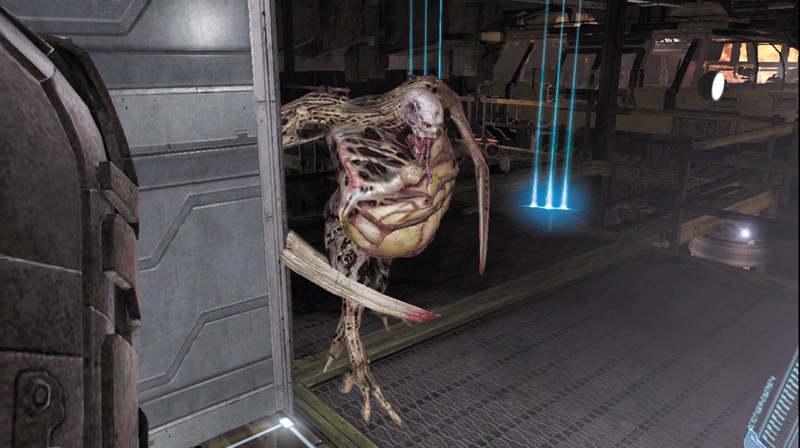
However, a Pregnant will come around the corner to attack. Quickly hit it with stasis to slow it down. Then move away and shoot off its arms and legs to kill it. You can also deploy some mines around the Pregnant to kill it and any Swarm. Watch out for another Spitter in this area and kill it as well. Use stasis if necessary, since there is a stasis station nearby.
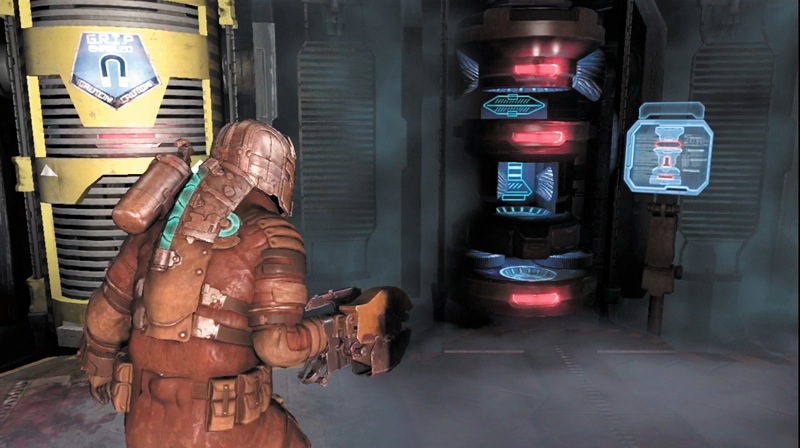
Advance into the transport mechanism control room. Pick up a med pack and some ammo, then go to the blue console to activate the transport. When you do, you get a message to check the gear box. Turn around and look at the gear box. There are places to put three gears. The console on the right of the gear box shows you where each gear must be positioned.
Move to the gear box's right and locate a large round gear on the side of the room. Use kinesis to pick it up. A small Divider Head will crawl out from under it, so drop the gear and kill the enemy.
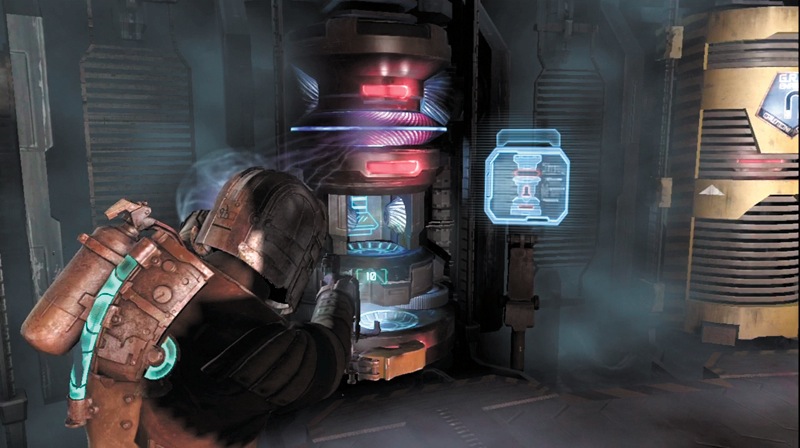
You can also use kinesis to launch the gear at the Divider Head a few times to kill it. Then pick up the gear again and position it in the top slot of the center gear box.
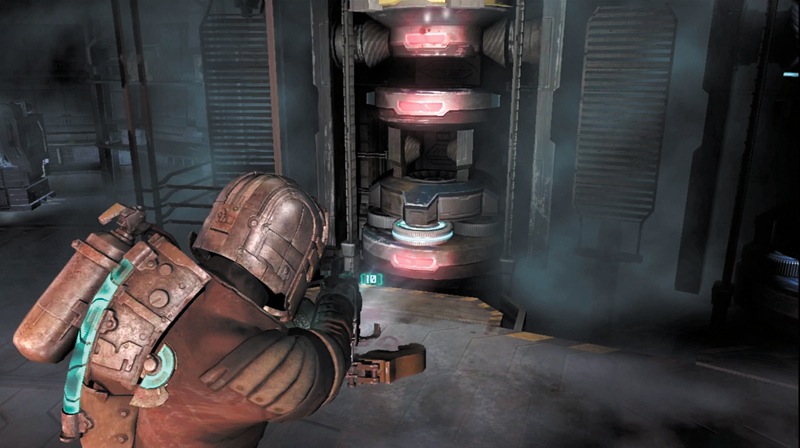
Now use kinesis to lift the yellow cover on the gear box on the left. Grab the small gear at the bottom and insert it into the bottom slot of the middle gear box.
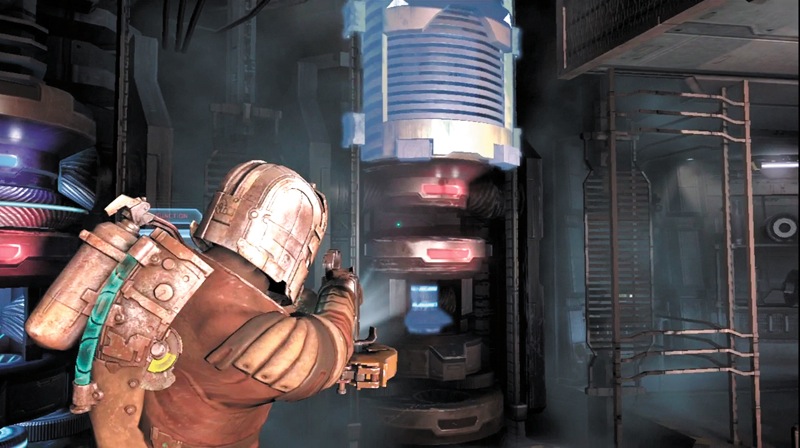
The last gear is in the box on the right. Lift up the yellow cover with kinesis and then hit it with stasis so it does not fall so quickly. Grab the gear and move it into the center gear box.
Now recharge your stasis. There is also a workbench in this area. Use it to upgrade your weapons and equipment if you want, and then record your progress at the save station.
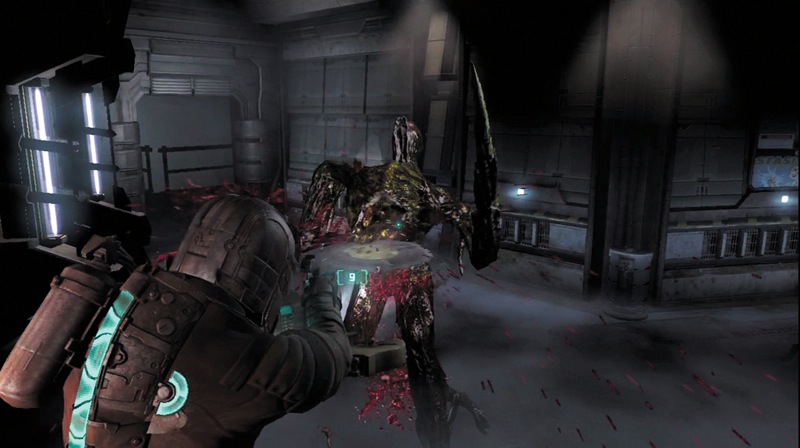
Walk to the console and call the transport into position. As you do this, a couple Super Slashers will rush in to attack—one through each entrance. If the mines don't kill them, finish them off with the ripper. Remember to use stasis. You can recharge it at the nearby stasis station.
Walk into the transport and activate the controls at the blue console. The transport will descend to a lower level. Now activate the console by the door to let Ellie and Stross aboard.
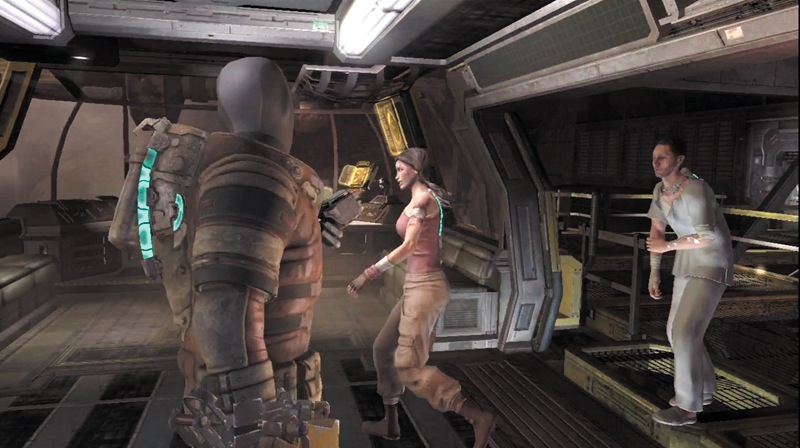
As you continue descending toward the track, you see the Ishimura is docked at the Sprawl. Suddenly, the transport stops. Something must be wrong with the track. Disembark from the transport to fix the problem.
Pressurized Fuel Control
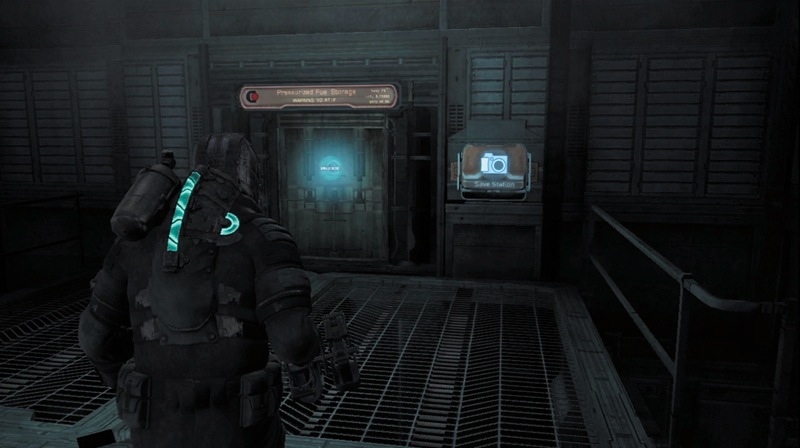
After getting off the transport, stomp on four containers on the platform to get some useful items. Then visit the save station before heading inside the pressurized fuel-control area.
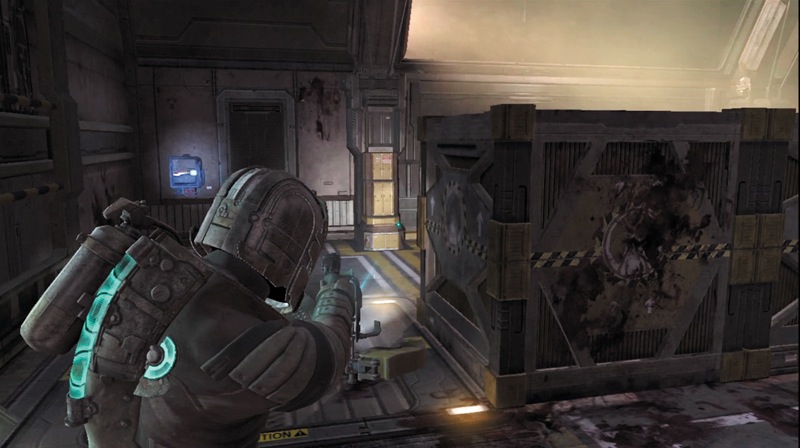
This room is filled with crates and Cysts. Move left to get a power node from the circuit box. Kill all of the Cysts except one, and look around for some ammo and an audio log.
In addition to the Cysts, there are also Stalkers in here. Position a few mines between these crates near the middle of the area.
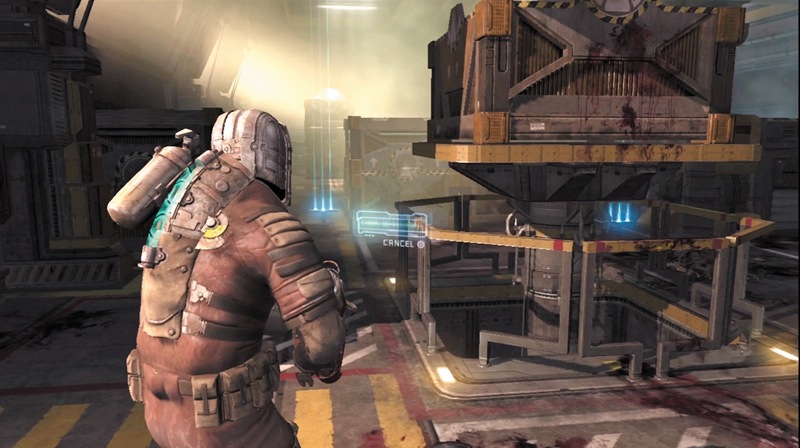
Also consider placing mines to the right since some Stalkers will try to attack by jumping over the wall of crates to the door's right. Stay back and be ready to kill any Stalkers that come toward you. Use the seeker rifle to get headshots on the enemies coming over the crates.
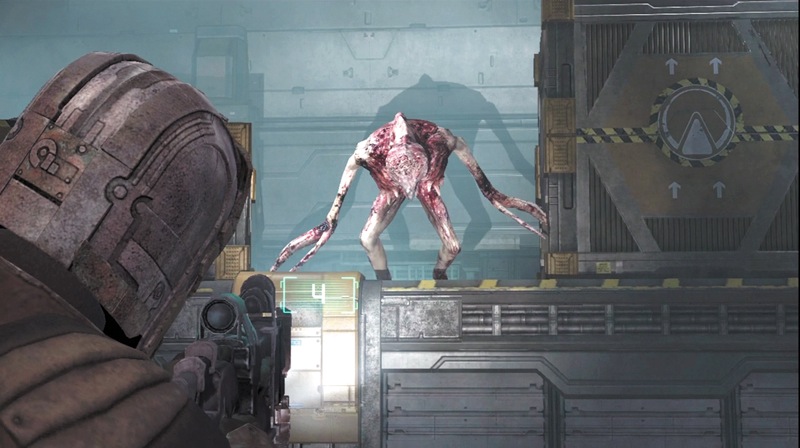
Since you left one Cyst alive, it will act as protection from a Stalker that gets close to it, and you can use it as a source of ammo. Just get close, then back up as it fires and grab the pod with kinesis. Use it against the Stalkers.
There are more Stalkers still in the area. As you advance out of this room's first section, deploy some mines in the gaps between crates and get a stasis canister to launch.
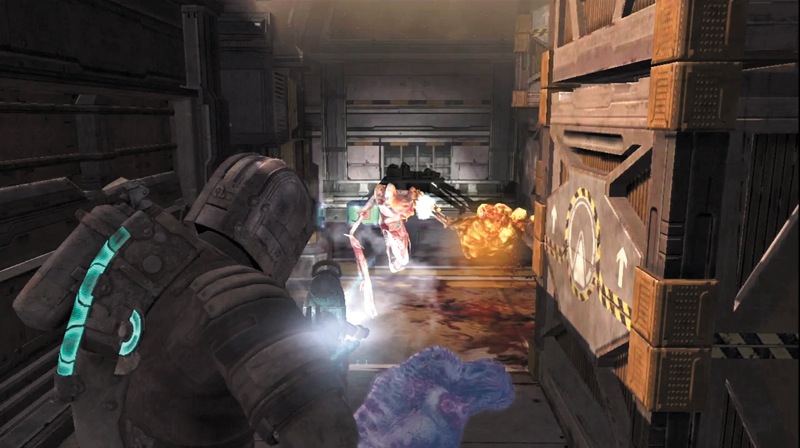
An Exploder will crawl out of the wall in the far left corner. Try to shoot off its sack and kill it. Then pick up the sack with kinesis and use it to kill a Stalker. Be sure to stomp on containers to get some ammo or other items that will help in this fight.
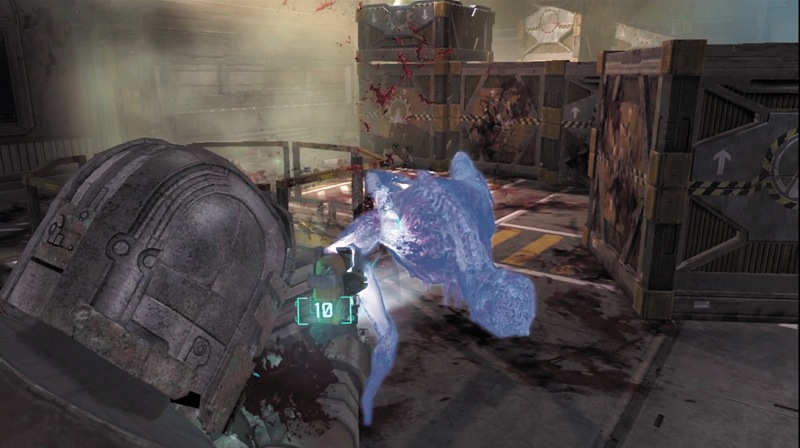
There are still more Stalkers in here as well as another Exploder. Use caution as you head to the room's far right side. As before, deploy mines and use the stasis canisters. Stay alert, because Stalkers don't give you much time to react to their attacks.
After you clear out the far right section, pick up a stasis canister and head toward the elevator in the near right corner; this will take you out of here. However, there is a Guardian blocking your way.
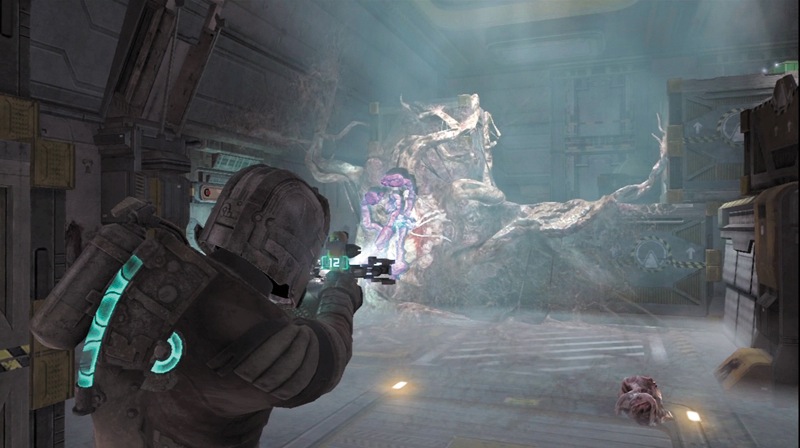
Quickly launch the cylinder at it to slow it down, and then pick up an explosive canister near the elevator. Launch it at the Guardian to kill it. Watch out for any pods it throws at you. Just shoot off their tentacles to kill them. Pick up the semiconductor it gives up, and then move through the gap to the Guardian's left. This leads to a back area where you can find ammo, a med pack, and a schematic for seeker shells. Now reload all of your weapons and enter the elevator.
Fuel Mega Storage
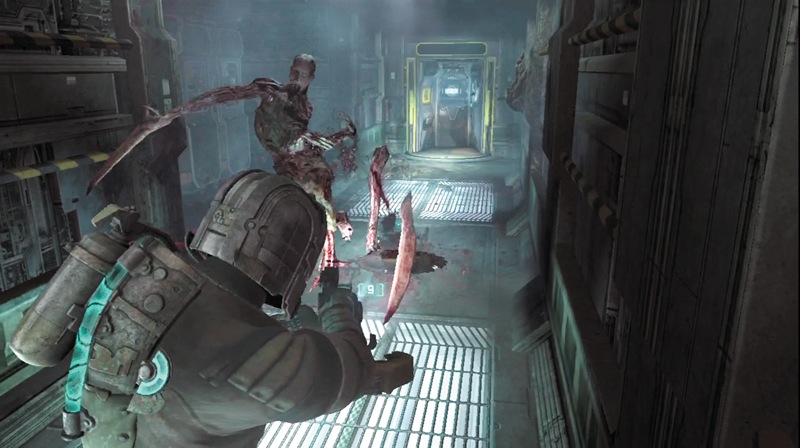
You exit the elevator onto a corridor with lots of Cysts. Kill them using the weapon of your choice. As you near the corridor's end, a Spitter jumps out to attack you. Cut it up with the ripper, or whichever weapon you choose. Then hit the store to sell a few semiconductors and to buy what you need. Finally, visit the save station before exiting through the round door.
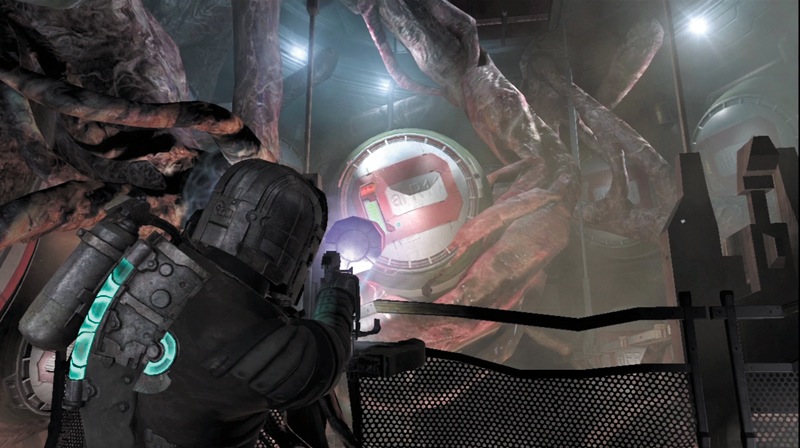
There is a gigantic Tripod Nest in the fuel-storage area. It is holding large fuel tanks. If they overheat, the tanks will explode. Luckily, you have a couple explosive canisters right next to you. Pick them up with kinesis and launch them at the fuel tank. After using the first two, get two more from the dispenser by the door. After the tank blows up, head down the cargo lift to reach this area's lower level.
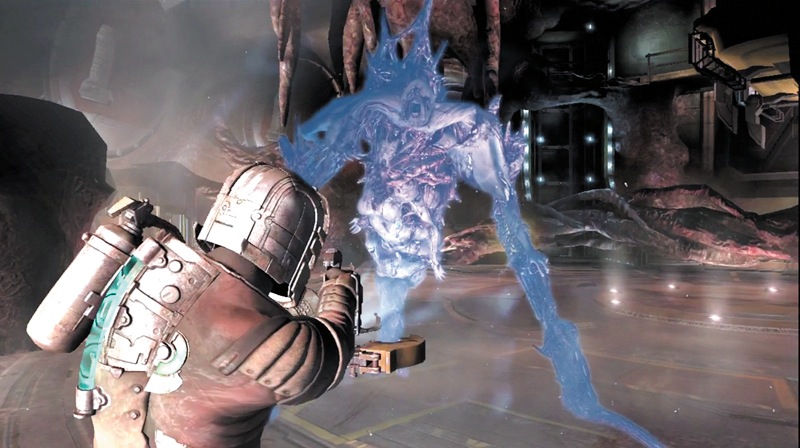
There is one more fuel tank you need to detonate. But before you do, look around and stomp some containers to get items. Pull an explosive canister from each of the dispensers. Don't try to stockpile them, though. The dispensers will not open again until the one you pulled out has been used. When you hit the tank for the first time, a Tripod will jump out and attack.
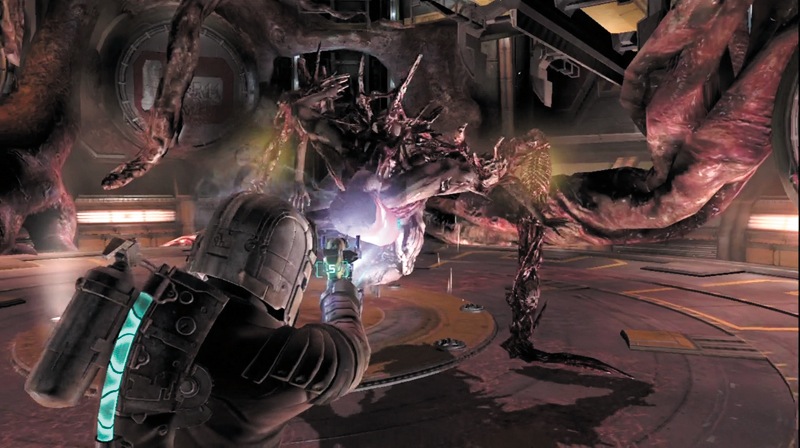
Hit it with stasis to slow it down; then launch an explosive canister at it. That will cause some damage. Keep shooting at the yellowish pods on its arms to kill it.
As soon as the Tripod is dead, another one attacks you. This will continue. The only way to stop it is to blow up that tank. Hit the Tripod with stasis and then focus your attention on the tank.
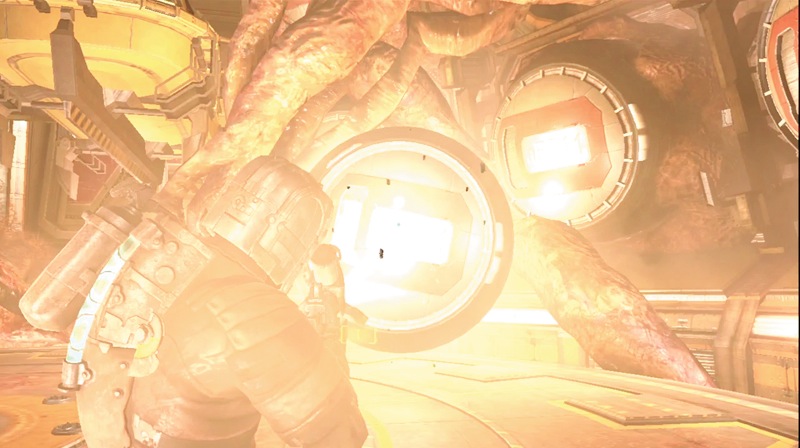
Remember that the Tripod moves more slowly and can no longer leap once you dismember one of its arms. Consider taking one arm off, then leave it alone. Maneuver around the room in a circle, grabbing and firing the explosive canisters, while the Tripod drags itself after you.
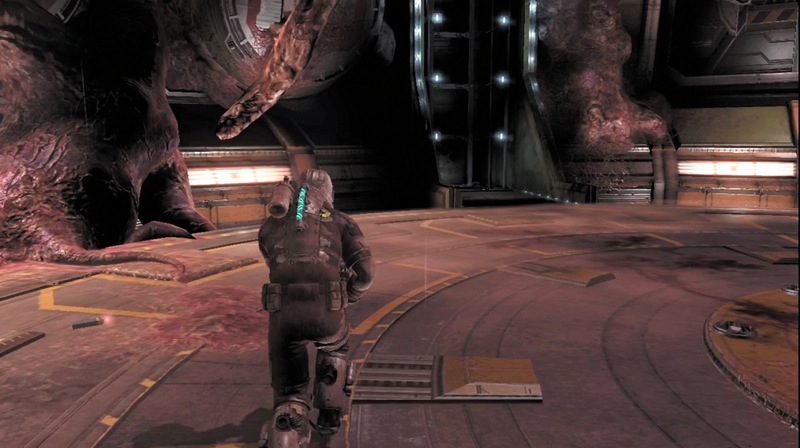
Once all of the bars on the tank have been reduced to zero, the entire place is going to blow. Follow your locator path to a cargo lift and run for it. The Tripod will be killed in the explosion, so just get out of there.
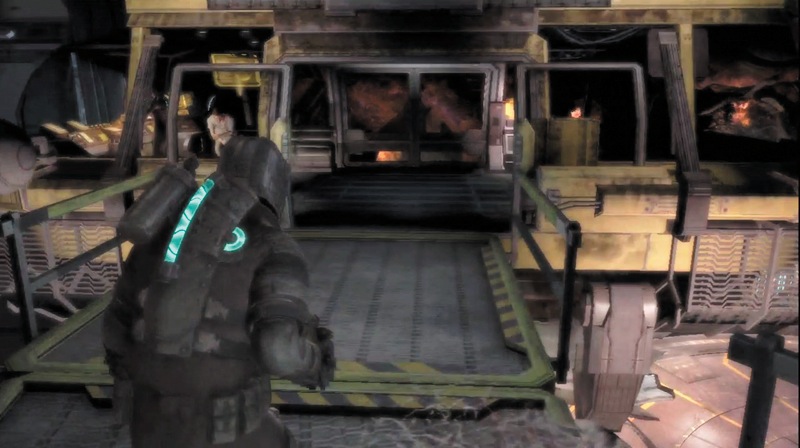
At the lift's top, run to the transport and climb aboard so Ellie can get it moving. As you escape the blast, Tiedemann contacts you. He is not going to let you get away and destroys the track ahead of you. Ellie reverses the transport to the last station you passed. It is time to visit the Ishimura to take matters into your own hands.
Docking Passageways
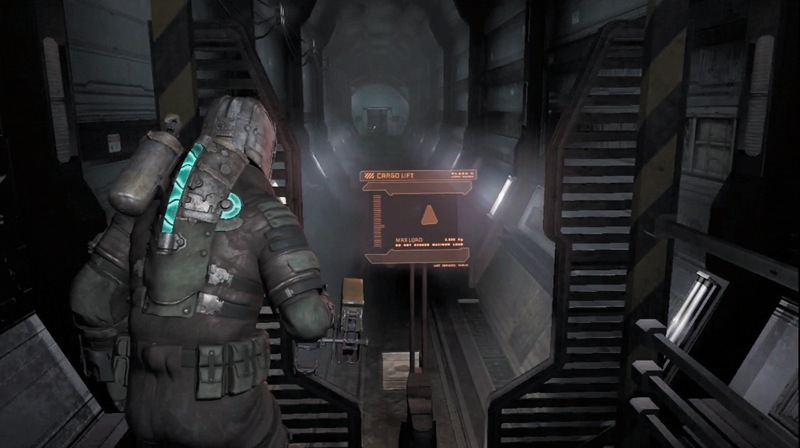
Walk through a passage and a couple doors to reach a cargo lift. Activate the controls and the lift will take you to your destination. When it stops, get off and continue through a doorway.
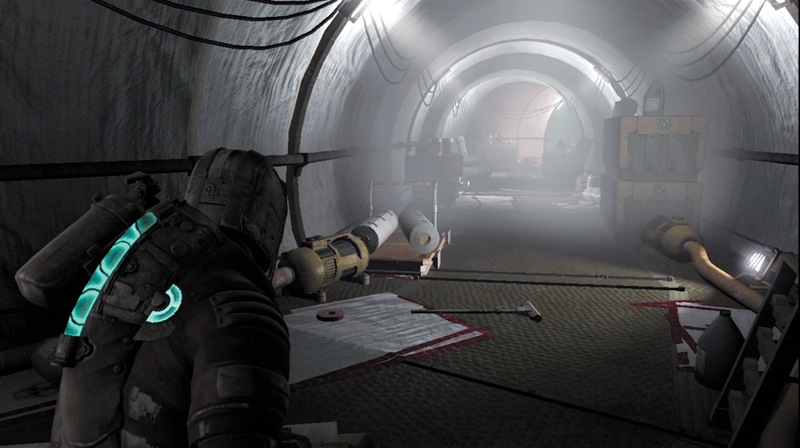
Advance through a docking tube to the end. Stomp any containers you find along the way. Climb onto a cargo lift at the tube's end and ride it up to a boarding platform to continue to the next chapter.