
Dead Space 2 Guide Multiplayer Multiplayer
The Maps
Escape
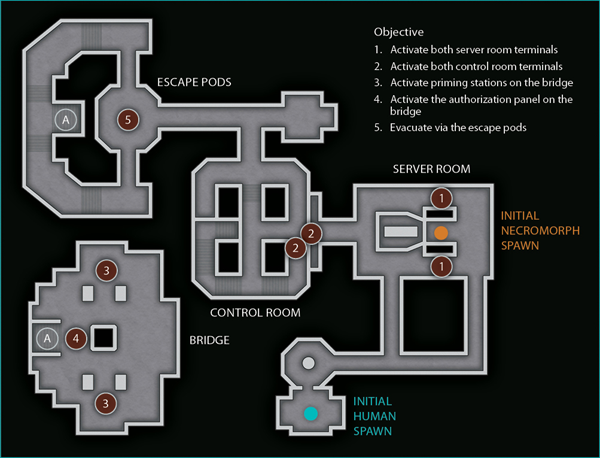
Docked near the Sprawl, the human team must evacuate the Ishimura via the escape pods.
Humans
| Objective | Time Limit (Minutes) |
|---|---|
| Activate both server room terminals | 4:00 |
| Activate both control room terminals | Time remaining + 2:30 |
| Activate priming stations on the bridge | Time remaining + 2:30 |
| Activate the authorization panel on the bridge | Time remaining + 2:30 |
| Evacuate via the escape pods | Time remaining |
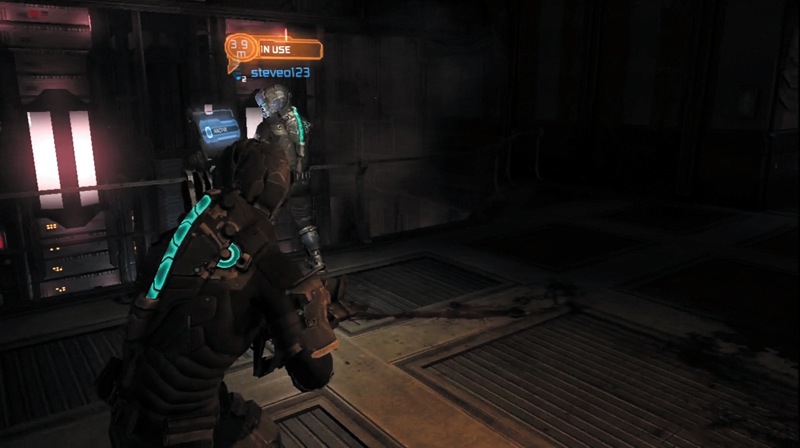
The humans need to reach the terminals in the server room as quickly as possible. There are two different terminals on opposite sides of the room. If there are only two of you, stay together and have one person activate the console while the other provides cover. However, if you have a team of four, send two humans to each terminal so you can quickly complete this first objective.
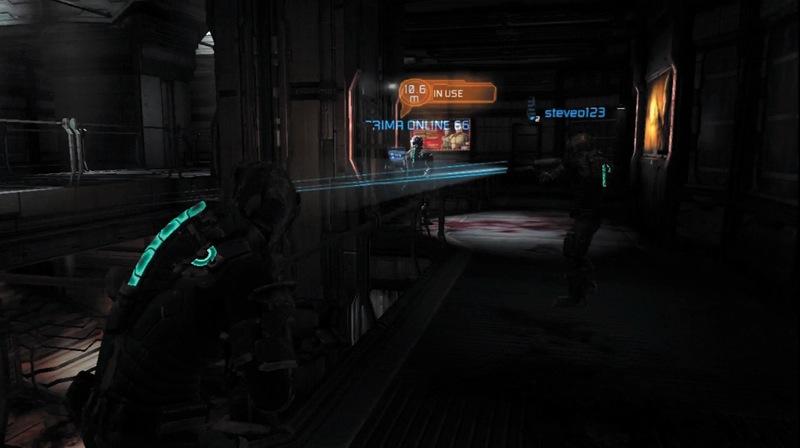
Stick together as you go for the control room terminals. While they are in the same general location, they are on different floors. One is on the ground level and the other is up above it. Activate the ground terminal first, then as a team head up some ramps to the top terminal and activate it.
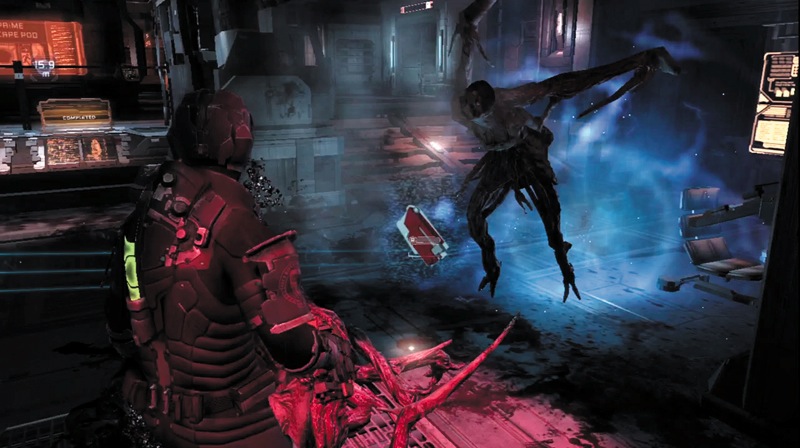
There are two priming stations located on opposite sides of the bridge. Expect a lot of Necromorphs here—there are several spawn vents that put them right next to you. There is plenty of time to activate the two stations, so stick together, even if you have four in your team, so you can protect the teammate working the station. Then move together to the next station and repeat the process.
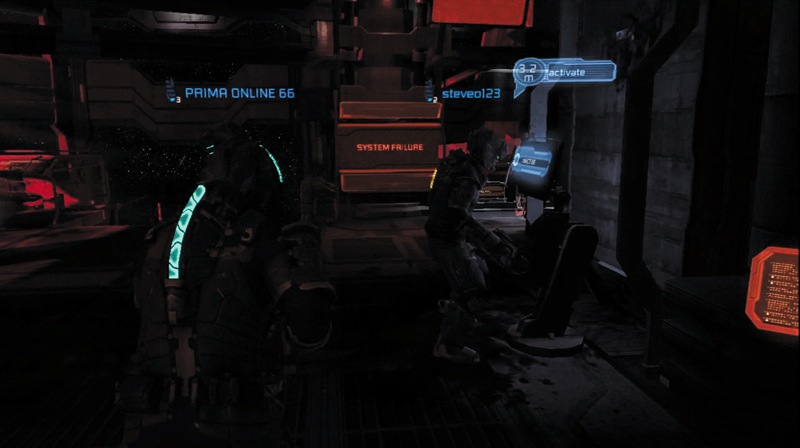
The authorization panel is located between the two priming stations on the bridge. You have plenty of time to reach it. Make sure your team stays together since the Necromorphs will be spawning and swarming this area.
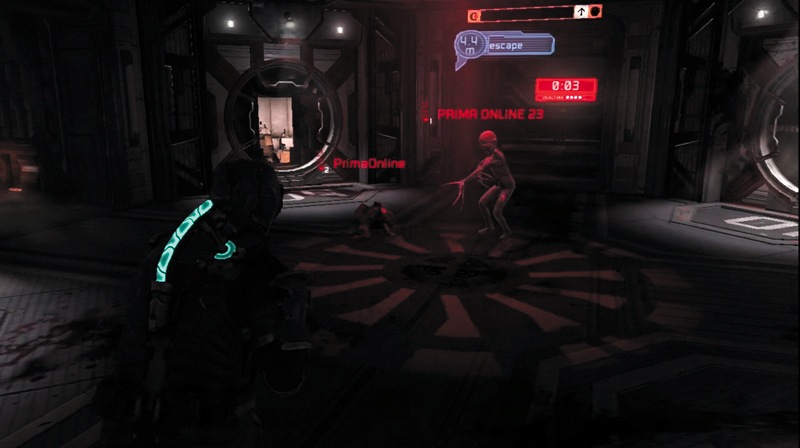
Stay together as your team leaves the bridge. It is not too far to the escape pods, and you have time to get there. However, when one human enters an escape pod, the timer immediately drops down to 30 seconds. If you get caught with only a few seconds left, just run for the escape pods and ignore any Necromorphs in your way.
Necromorphs
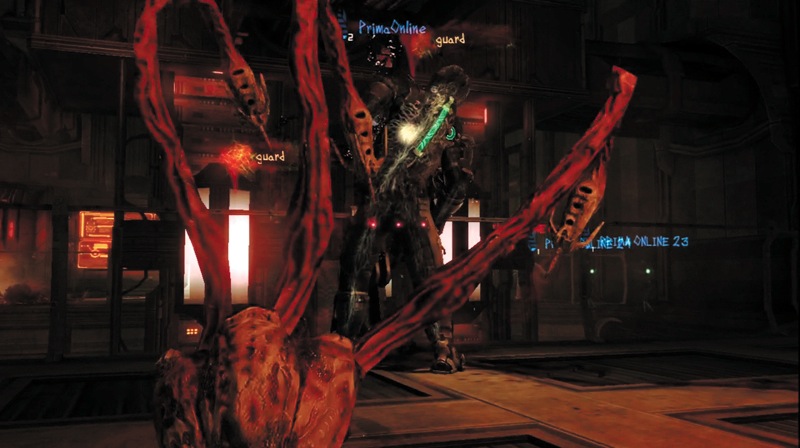
When playing as the Necromorphs, your best strategy is to cover the server room terminals. Watch for humans activating the terminals by themselves without any cover and sneak up and attack.
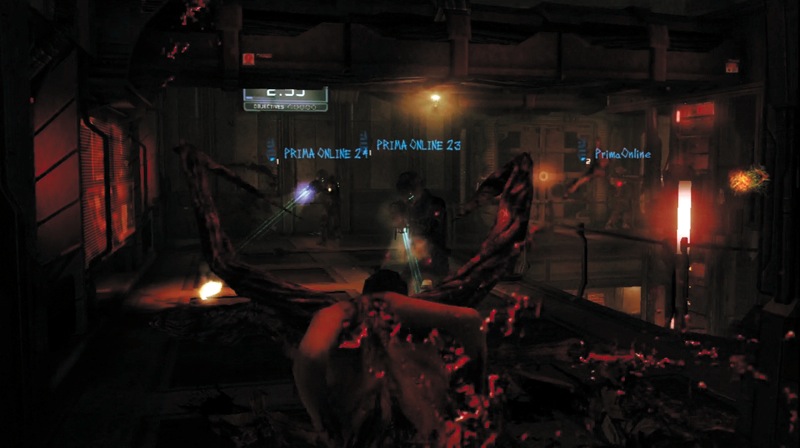
The best time to attack the humans is when one of them is at a console. That reduces the number of enemies that can attack your team. Rush at them from several different sides to try overwhelming them. If you die, quickly respawn nearby as a Pack or a Lurker so you can return to the fight quickly.
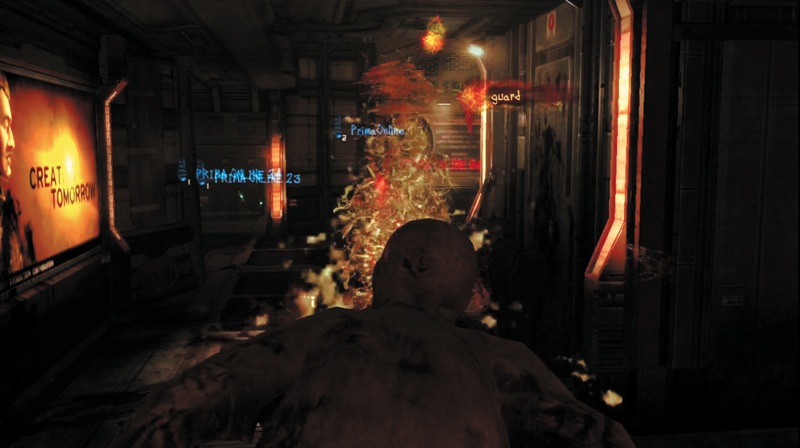
At the control room terminals, stay behind cover as the humans approach. When they begin accessing a terminal, move out and use a ranged attack as the Puker or Spitter. If there are two of you, attack from two different directions so the enemy providing cover fire will have to split up to attack.
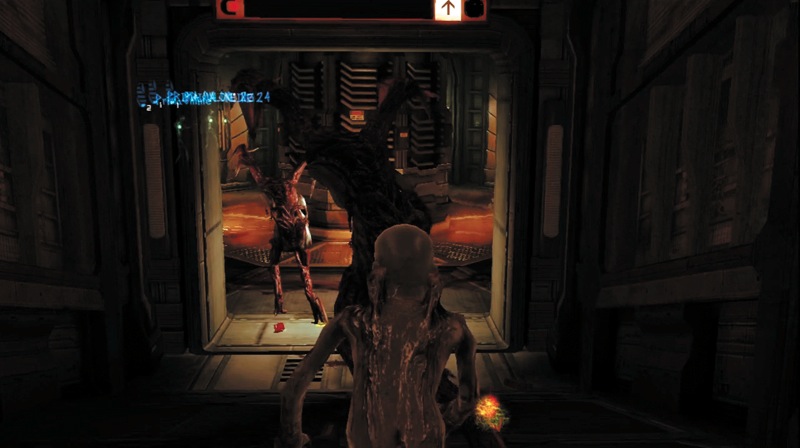
As you head to the next objective you need to defend, try sticking with some of the NPC Necromorphs. In fact, let them lead the attack. While the humans shoot at the NPCs, move in for a kill of your own. Remember, you just have to delay the humans and prevent them from completing just one of the objectives.
Fuel Core
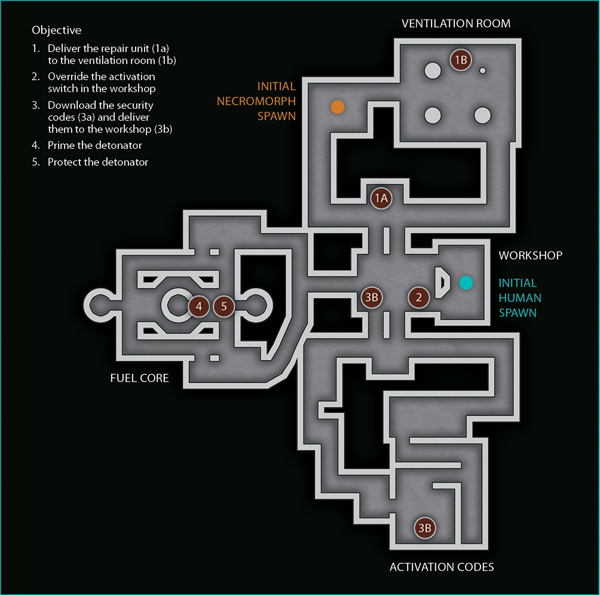
The human team is on a mission to eradicate the Necromorphs by detonating the fuel core.
Humans
| Objective | Time Limit (Minutes) |
|---|---|
| Deliver the repair unit to the ventilation room | 3:00 |
| Override the activation switch in the workshop | Time remaining + 1:00 |
| Download the security codes and deliver them to the workshop | Time remaining + 3:00 |
| Prime the detonator |
Time remaining
|
| Protect the detonator | 1:00 |
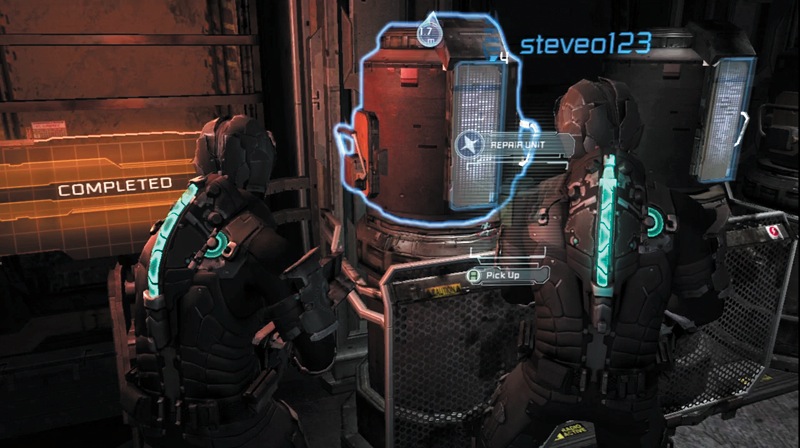
Right at the start, head to the first objective. Activate the console and then pick up the repair unit. The human carrying the unit can only walk, not run. So be sure to provide cover for that player. If the carrying player dies, the unit will drop to the ground and can then be picked up by another human.
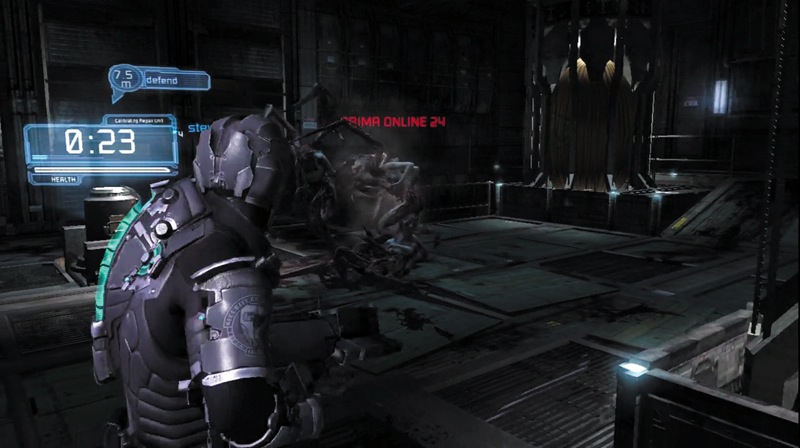
Once the repair unit is delivered, you then have to defend it against the Necromorphs for 30 seconds. Keep your team together in this spot. Once the timer is up, rush to the activation switch in the workshop. This is a large, open room, so while one works the console, the others defend.
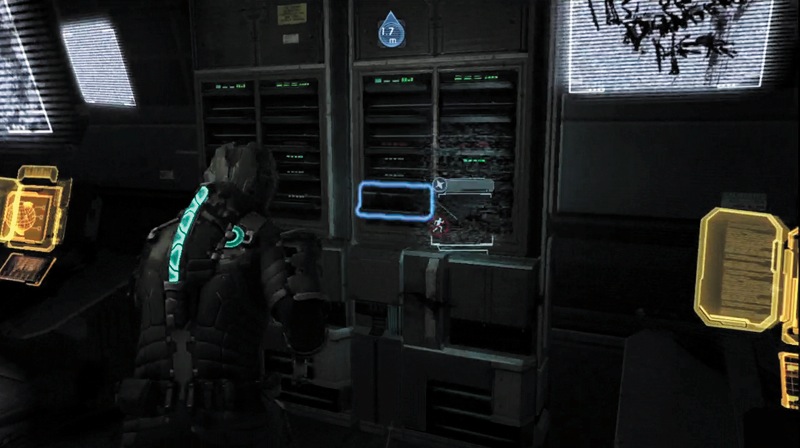
You must activate another console and then walk over to this computer to pick up the security codes on a data disc. While carrying them, you can't run.
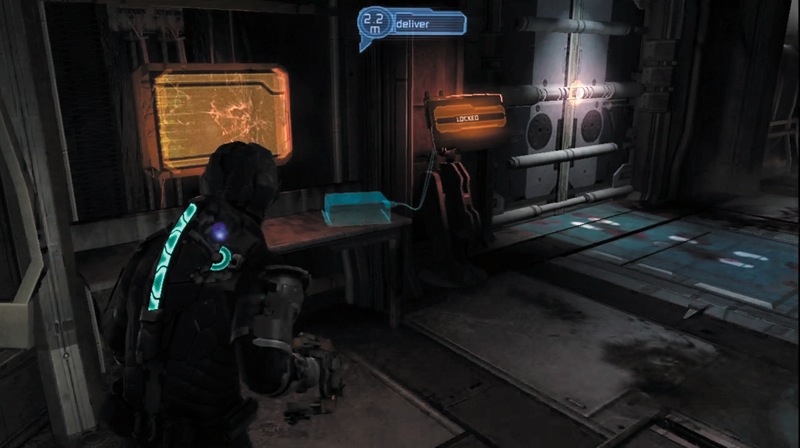
Deliver the data disc to this spot and activate another console. Be sure to have some cover while you are doing this.
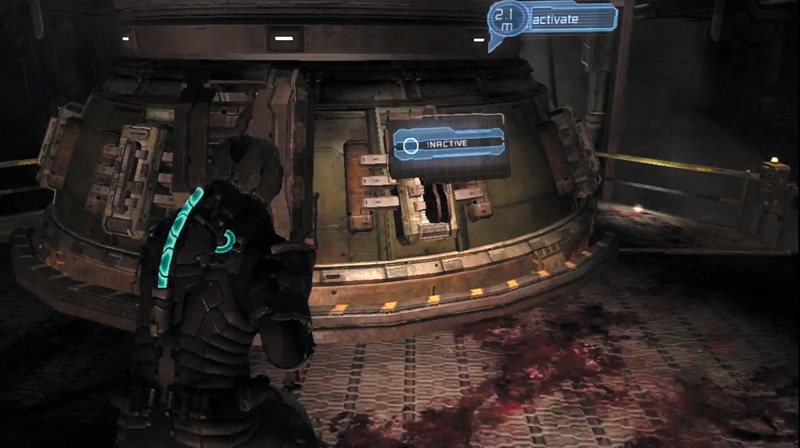
Get to the fuel core and prime the detonator. To win the round, you must defend the fuel core for one minute. Spread out around the fuel core so you can cover it against attack from different directions.
Necromorphs
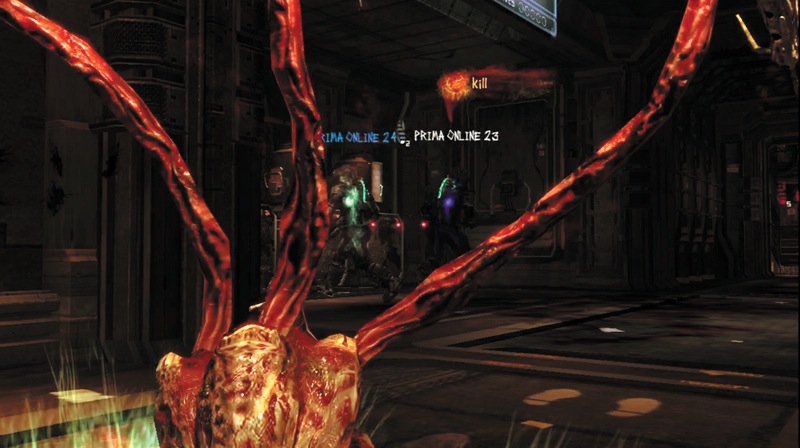
The human carrying the repair unit is highlighted in dark blue. The Necromorphs should focus on this human, since he can't run and has the objective. Kill this human and then try to prevent others from picking it up. Any time you can delay the other team is to your benefit.
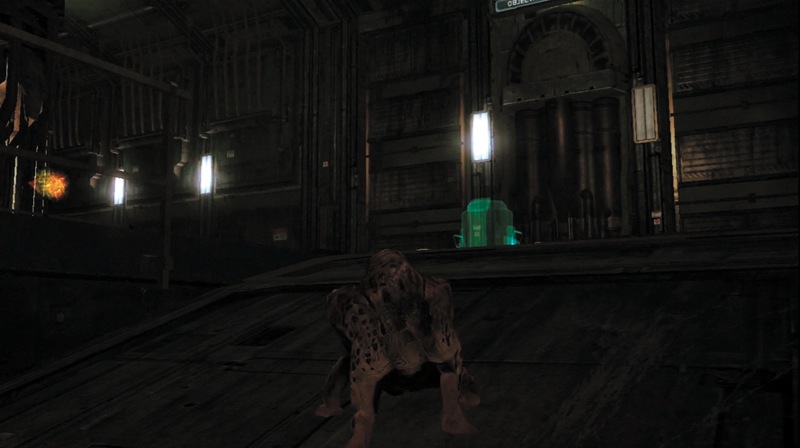
Since you know where the humans have to deliver items, set up an ambush to hit them as they approach. Lurkers can crawl up walls and onto ceilings where the enemy may not look for them.
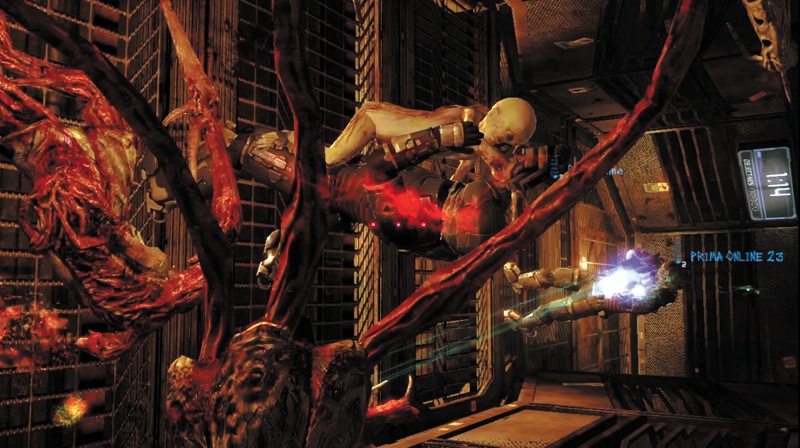
Gang up on the humans in the narrow corridors where they do not have a lot of room to maneuver. If you are killed, spawn at a vent nearby and continue the attack, never letting the humans get a break.
Marker Lab
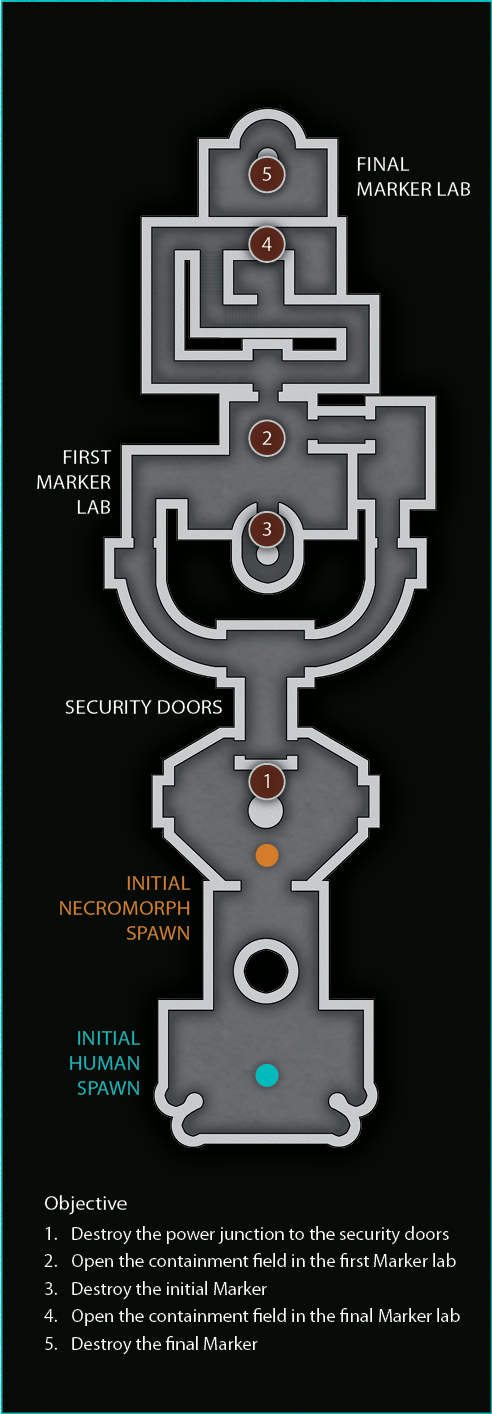
The Human team must destroy the Marker experiments to keep them from falling into the wrong hands.
Humans
| Objective | Time Limit (Minutes) |
|---|---|
| Destroy the power junction to the security doors | 3:00 |
| Open the containment field in the first Marker lab | Time remaining + 2:00 |
| Destroy the initial Marker | Time remaining + 2:00 |
| Open the containment field in the final Marker lab | Time remaining + 1:00 |
| Destroy the final Marker | Time remaining + 2:00 |
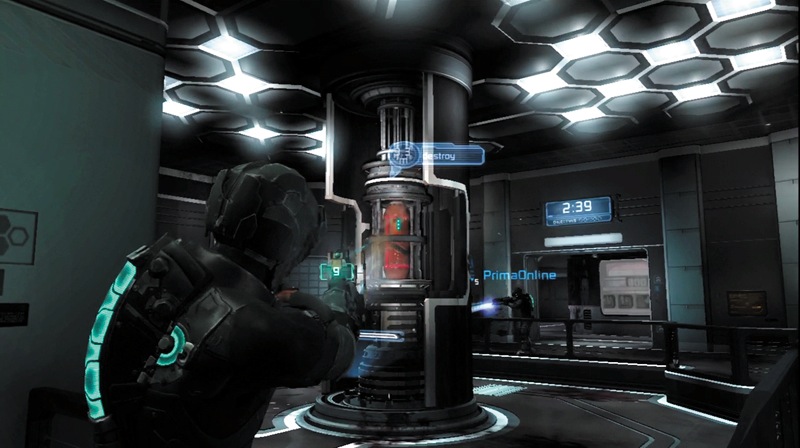
The first objective is actually one of the tougher ones. You don't have to go too far, but the red power junction can take a lot of damage. If you are limited to the pulse rifle and plasma cutter, it may take a while to destroy it. Use more powerful weapons if you have unlocked them.
While half of your team focuses on the objective, the rest need to kill Necromorphs that come to attack. Also be sure to watch your ammo since you can quickly run out while trying to destroy the power junction.
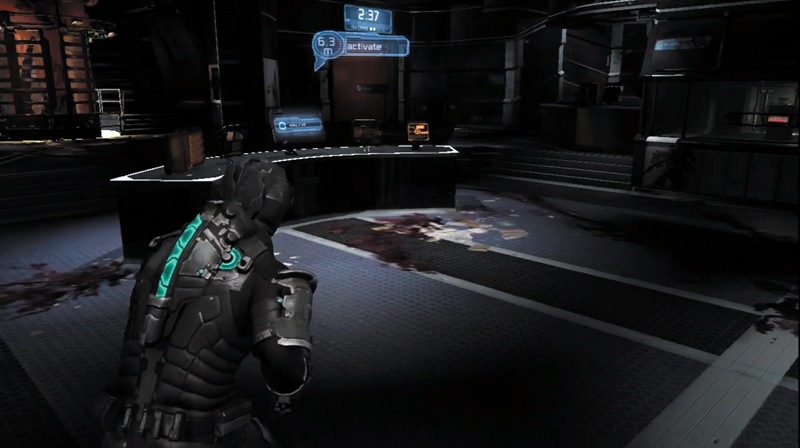
Get to this console to open the containment field. It is in the middle of a large, open room, so be sure you have cover to protect you while you activate the console.
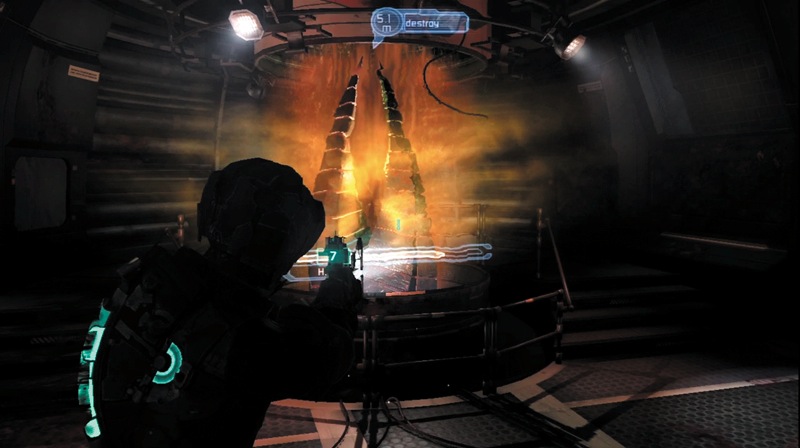
The initial Marker is in a small room next to the console for the containment field. Take up a position behind it as you are firing at the Marker so you can see any Necromorphs that come into the room to stop you. Then you can easily kill them and continue damaging the Marker until it is destroyed.
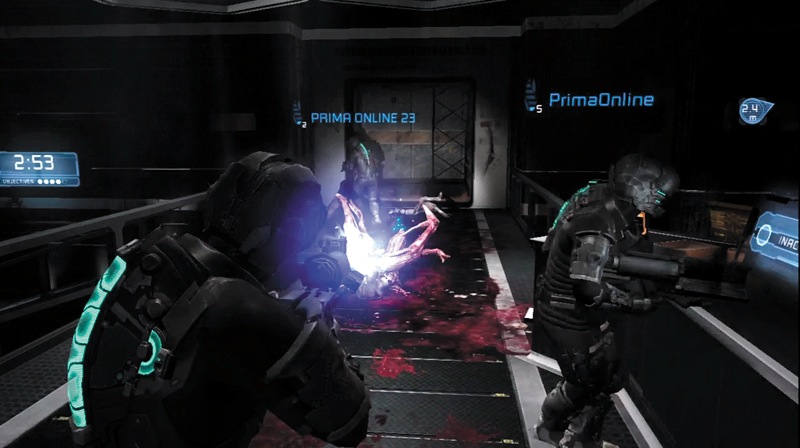
As one of your team uses a console to open the containment field, be sure to cover them and take out Necromorphs that come at you from two different directions.
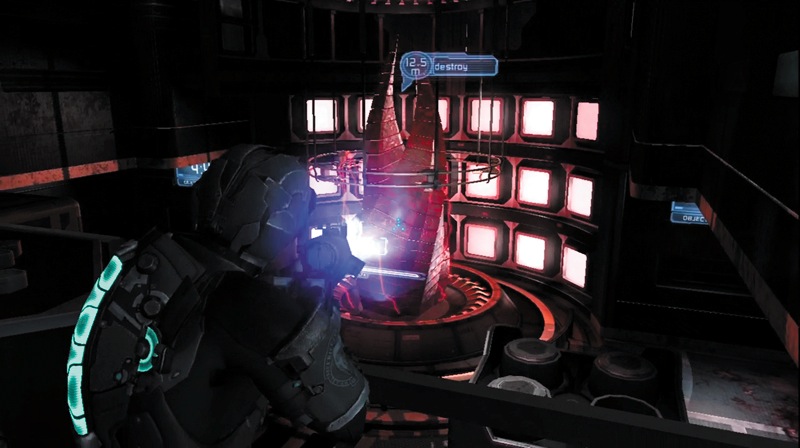
Just stay on the walkway by the console and fire on the Marker below. You still have to watch out for enemies coming at you from different sides. This lets you go after the objective without wasting time getting down to the lower level. Pick up ammo dropped by dead Necromorphs, since this Marker will take quite a bit of damage before it is completely destroyed.
Necromorphs
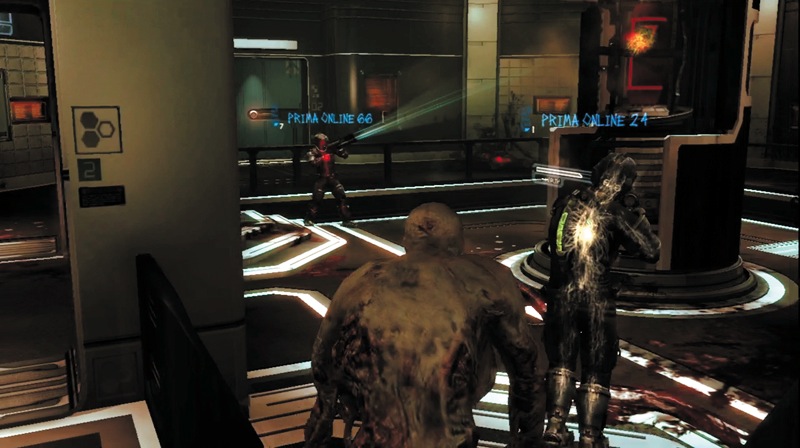
You can spawn right next to the first objective and begin attacking the humans. Even if you die, respawn right behind the enemy and move in for an execution attack.
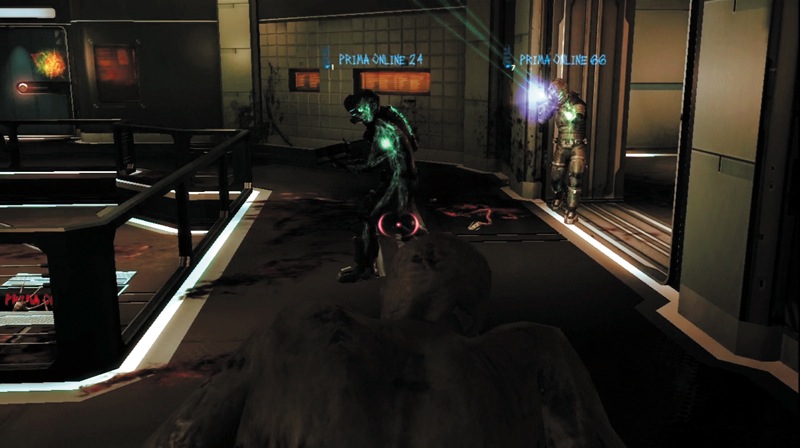
The best tactic is to hit the humans hard by the first objective. If you can prevent them from destroying the power junction within the first three minutes, you will win the round.
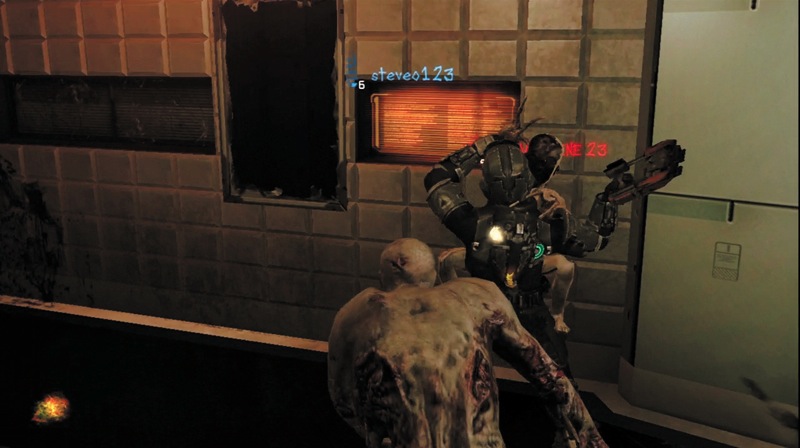
Double up on each human at a time to kill them and force them to respawn. Do this near each objective, since your strategy is to delay them until the timer runs out.
Solar Array
The human team has orders from Tiedemann to deliver the firing coordinates to the solar array.
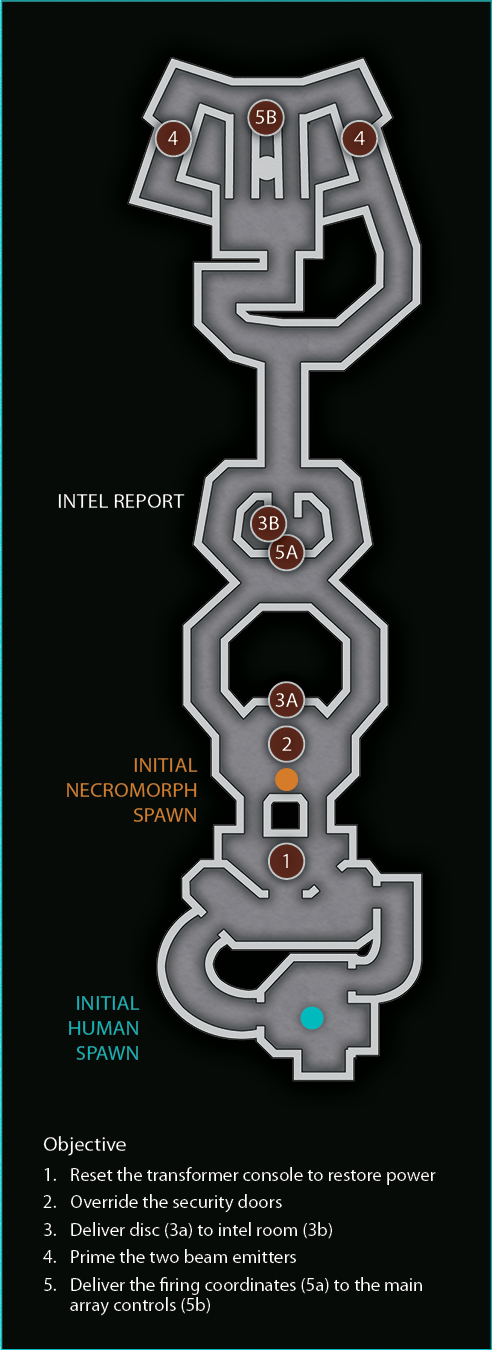
Humans
| Objective | Time Limit (Minutes) |
|---|---|
|
Reset the transformer console to restore power |
3:00 |
| Override the security doors | Time remaining + 1:00 |
| Deliver disc to intel room | Time remaining + 1:00 |
| Prime the two beam emitters | Time remaining + 2:00 |
| Deliver the firing coordinates to the main array controls | Time remaining + 1:00 |
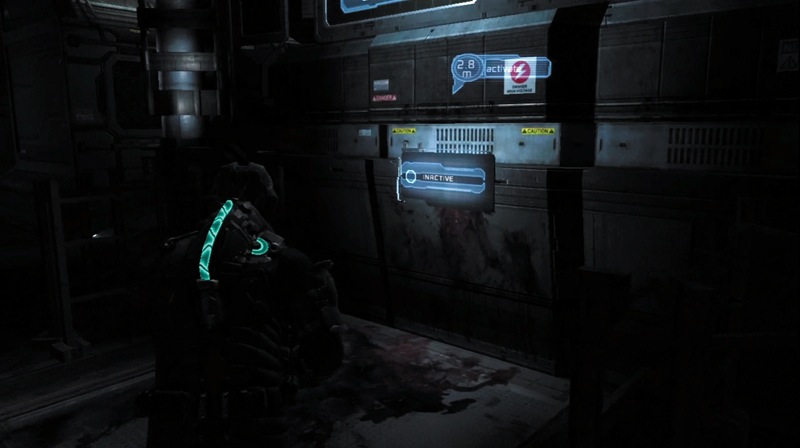
Fight your way to the first console and activate it to restore power. You must go through some rooms to get here, so stay together as a team. Even though you have three minutes, the faster you do this, the more time you have for subsequent objectives.
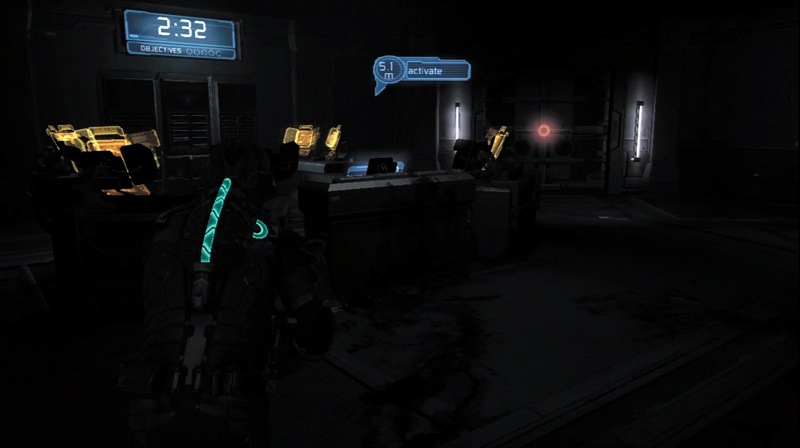
The console for the security door override is at one end of this room. While one human works the console, the rest can cover the corridors that lead to this position. It is actually fairly easy to defend. However, speed is of the essence.
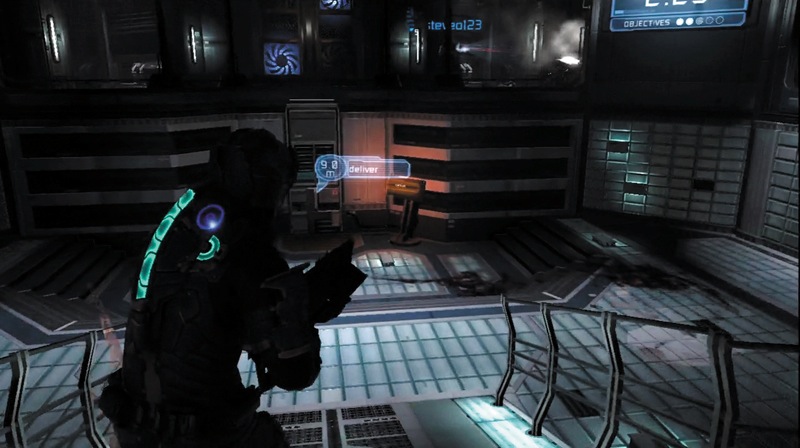
Pick up the disc located in the computer behind the console for the security door. Carry it through some corridors to this lower area, where you must insert it into another computer. Expect Necromorphs to attack all along the way. Remember that while you are carrying an item, you can only walk.
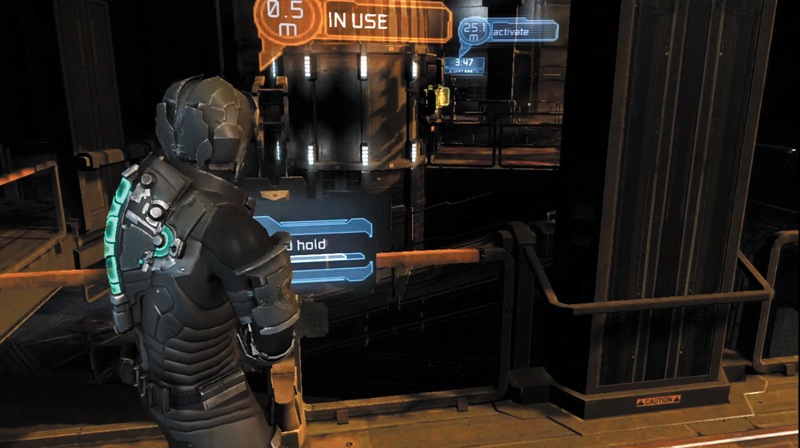
The two consoles for the beam emitters are located on opposite sides of this large room. You should have plenty of time by this point, so stay together as a team and activate one console at a time. This lets you concentrate your fire on any Necromorphs that try to attack.
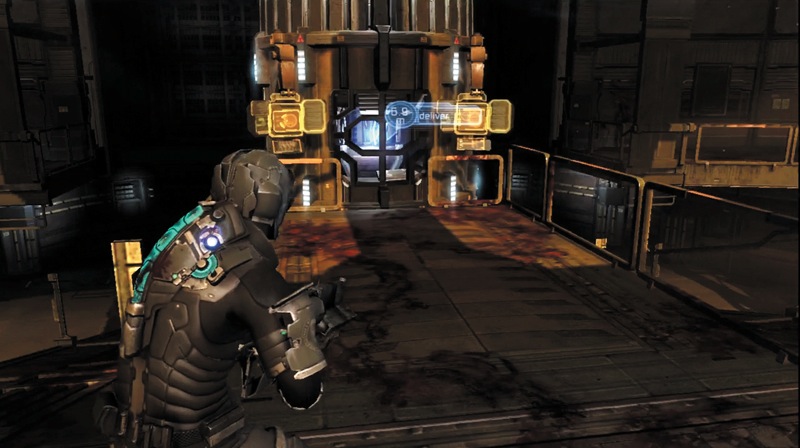
Head back to the intel room where you delivered the disc and activate the console again. Then grab the data disc and carry it to the main array controls to complete your objective. Move straight to the controls since you do not have to waste any time activating a console. When you get the disc to the slot, the round is won.
Necromorphs
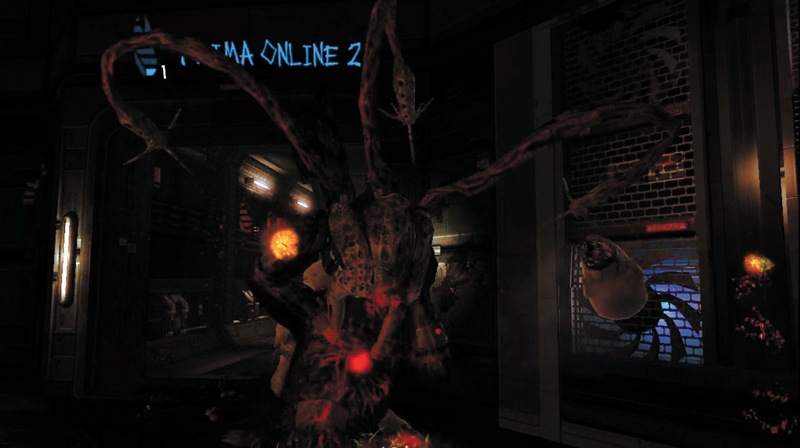
This map has some great locations for hiding as a Lurker. Stay up high and ambush enemies as they come into your sights. Fire at the humans, and as they walk under you, jump down and engage them in an execution attack. Target humans that are carrying the data disc, if they manage to get that far into the round.
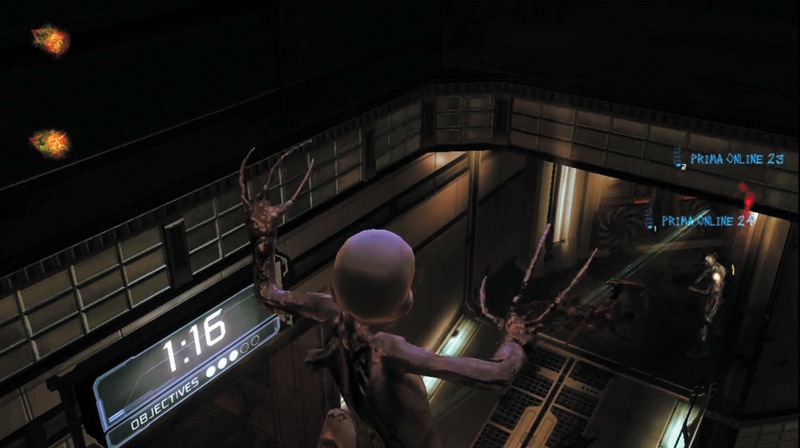
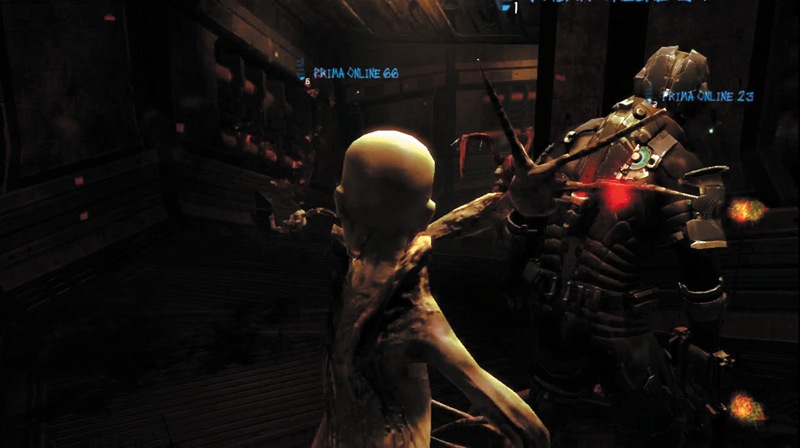
Pack are a great choice for this map. They can spawn at high vents and then jump down on humans so the enemy has little warning. Start slashing away or get into an execution attack. The best time to attack is when the humans are working at a console or carrying the data disc, since they are most vulnerable at those times.
Titan Mines
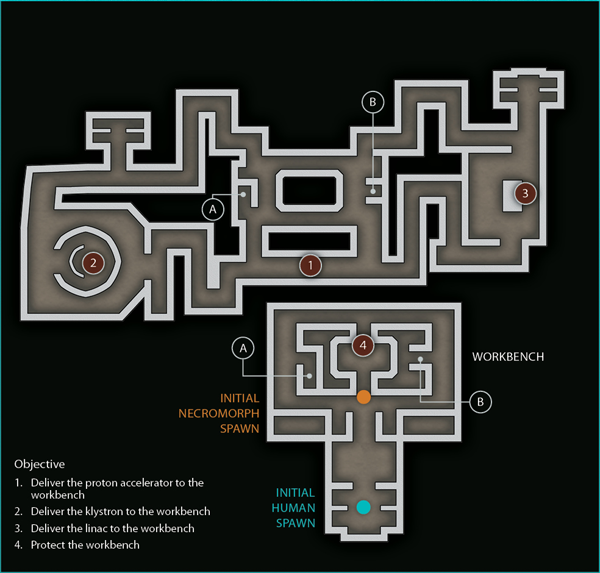
Trapped in the Titan Mines and surrounded by Necromorphs, Tiedemann's security forces attempt to stop the outbreak by constructing a shockmine.
Humans
| Objective | Time Limit (Minutes) |
|---|---|
| Deliver the proton accelerator to the workbench | 4:00 |
| Deliver the klystron to the workbench | Time remaining + 3:15 |
| Deliver the linac to the workbench | Time remaining + 3:15 |
| Protect the workbench | 1:00 |
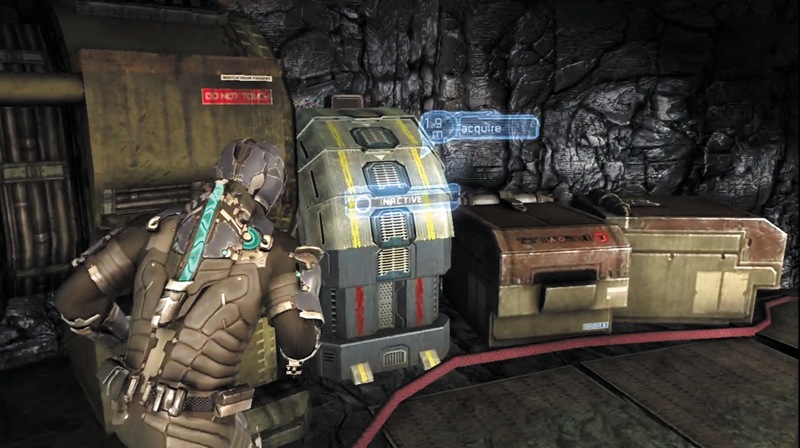
The workbench is near where the humans start the round. However, you must go down the ramps near the workbench to the lower level, where the proton accelerator is located. It takes a few seconds to open the locker the device is within, so make sure you have some teammates covering you. Once you have the device, walk it back up the ramps and take it to the workbench to complete the first objective.
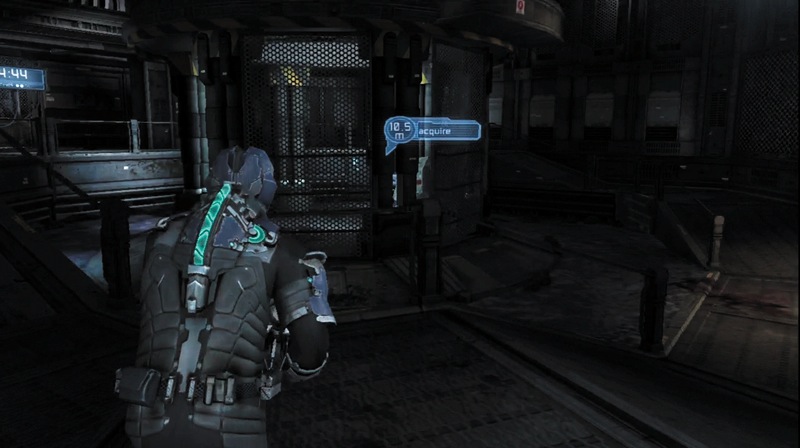
Head to the lower level again. Move through the mine tunnels to reach the location where the klystron is located. These tunnels can be confusing, so use the locator to find a path to your objective. This device is also in a locker, so open it up and get the klystron.
Getting it back to the workbench can be tough. You must traverse the narrow mine tunnels that will have Necromorphs just waiting to ambush you. Make sure you have teammates supporting you as you head back through the tunnels and up the ramps to the workbench.
You have some time, so don't try to rush off by yourself; you will likely be killed and someone will have to come pick up the klystron and continue. If you get into trouble, use stasis to slow down your enemies and get away.
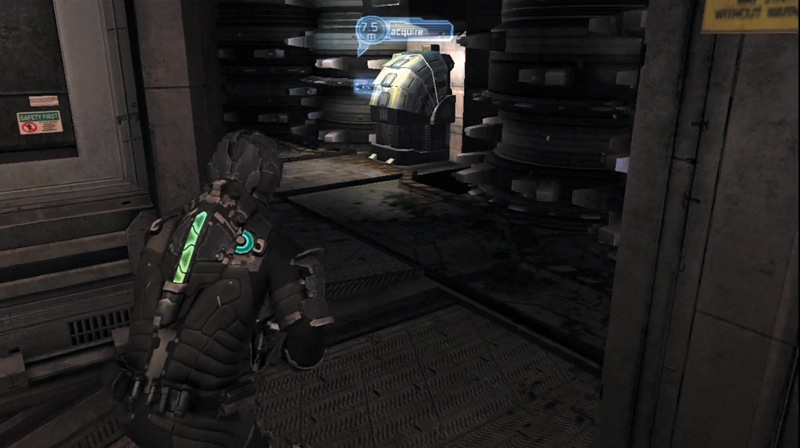
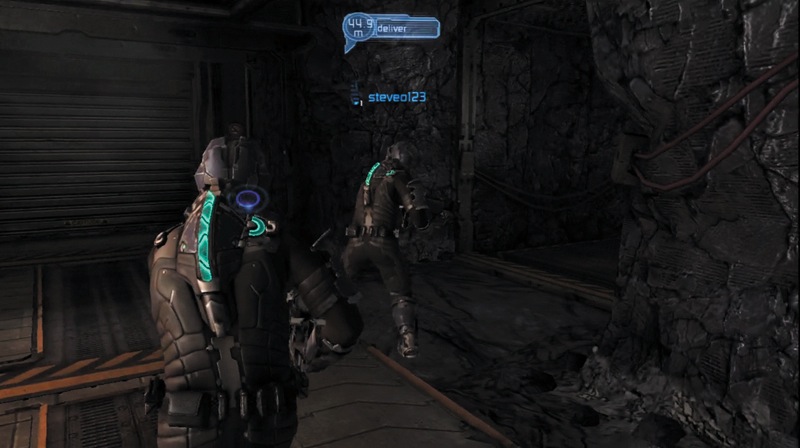
Return to the lower level and head through another set of tunnels until you come to rotating rock crushers. The linac is inside a locker within these crushers. Move carefully through here; you will die if you run into one of the crushers.
If there are Necromorphs here, use a melee attack to push them back into the crushers to kill them. A grenade from the pulse rifle will blow them back as well. Once again, you have to traverse the mine tunnels while walking with the linac back to the workbench. Have an escort to get you to the workbench safely.
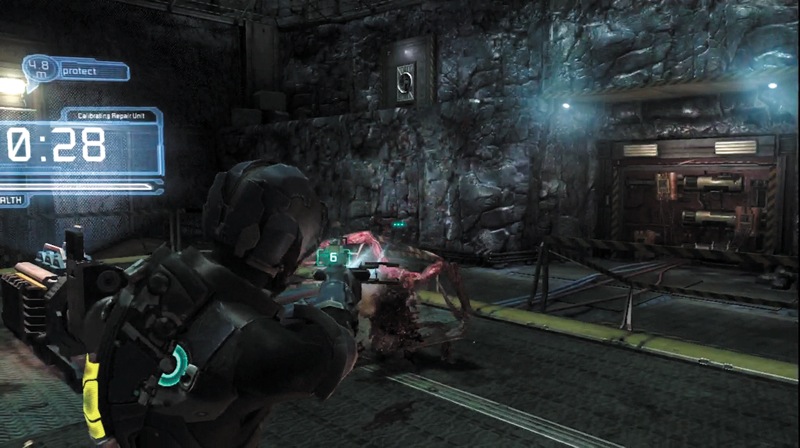
After delivering all three devices to the workbench, you must now defend the shockmine for one minute while it charges up. There are two ramps leading up to the workbench, so cover each of them and be ready for several Necromorphs to come charging at you. Also look for Lurkers up on the ceiling or walls; these will fire down on the workbench to try destroying the device. To win the round, hold out until the timer reaches zero.
Necromorphs
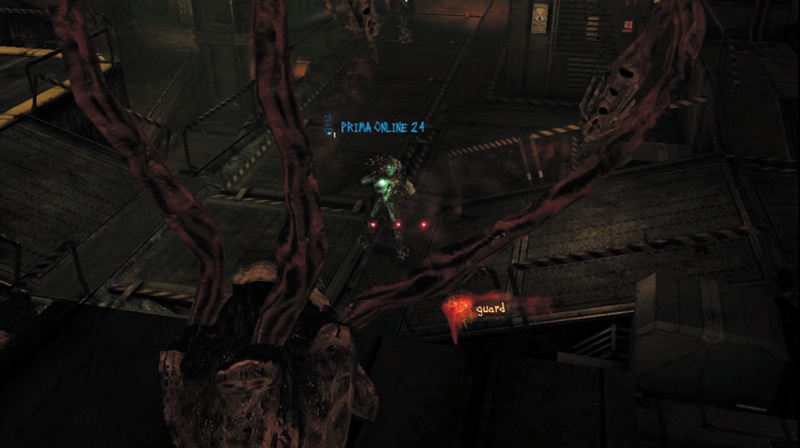
The Lurkers can do very well in the mines—especially if you get a couple working together. Start off on the ledges overlooking the workbench, and fire projectiles at the humans as they head down the ramps to get the first device. While you may not kill any, you can at least cause some damage and force them to use their med packs so that other Necromorphs can have an easier kill down on the lower level.
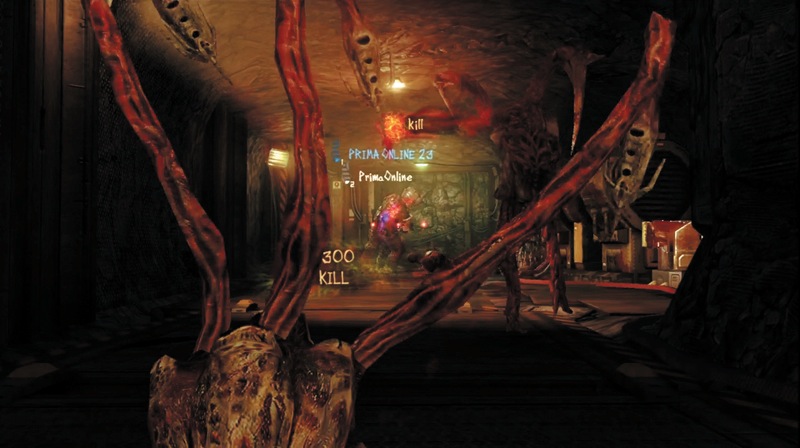
Get a group of Necromorphs together and charge into the humans to try overwhelming them. While the larger Necromorphs slash away, the smaller Pack and Lurkers can jump up and perform an execution attack.
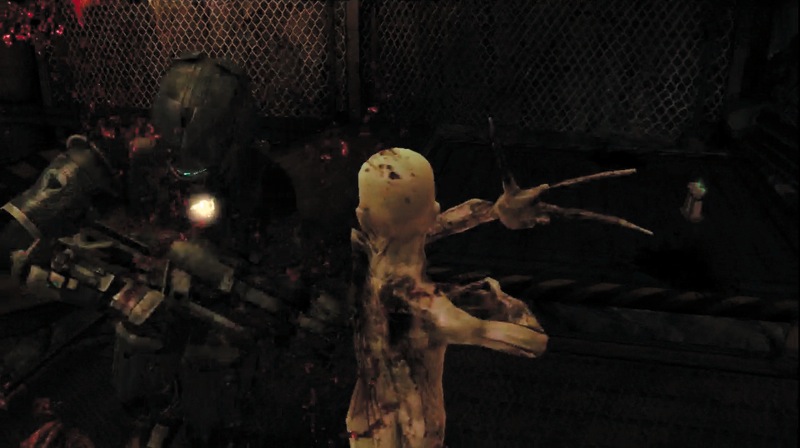
Pack are another good choice in the mines, since they can run fast and jump over railings to reach lower areas quickly. Rush up and slash away at humans already dealing with your teammates or the NPC Necromorphs.
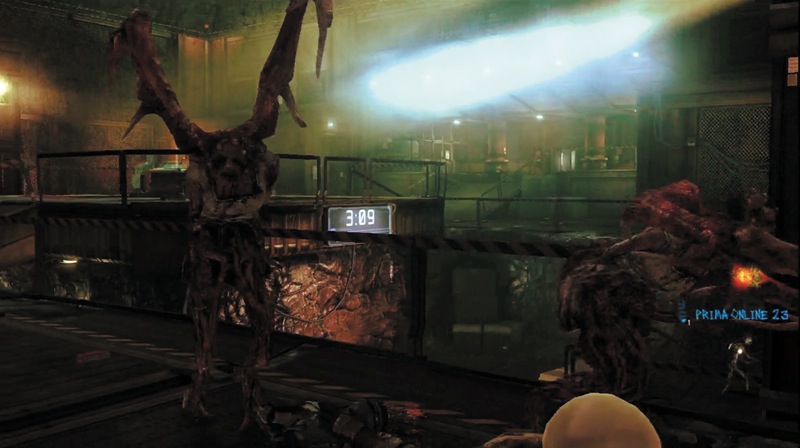
Since the humans always have to come back to the workbench, concentrate your forces around the ramps they must traverse. Since you can see their skeletons through the walls, you know which route they are taking and can set up ambushes.
Target the human who is carrying the device; after killing him, guard the device so no one else can pick it up. Avoid letting the humans reach the last objective, since it is tough to destroy the device in only a minute if the humans are putting up any type of defense.