
Dead Space 2 Guide Essentials Tools of the Trade
Weapons
Plasma Cutter
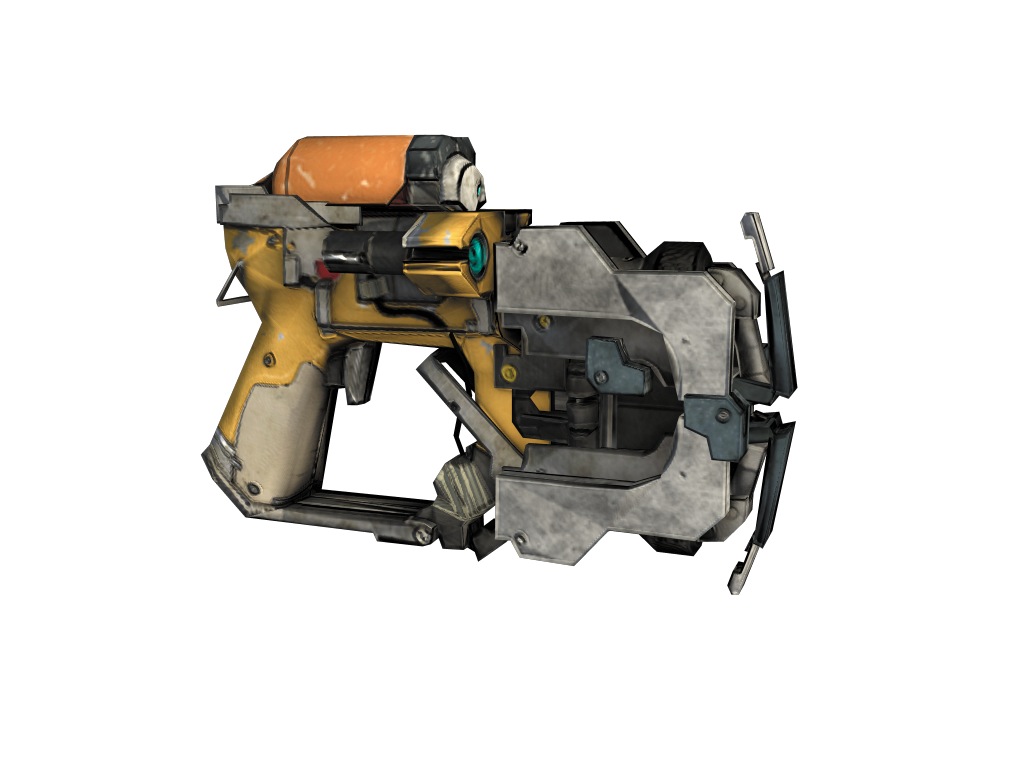
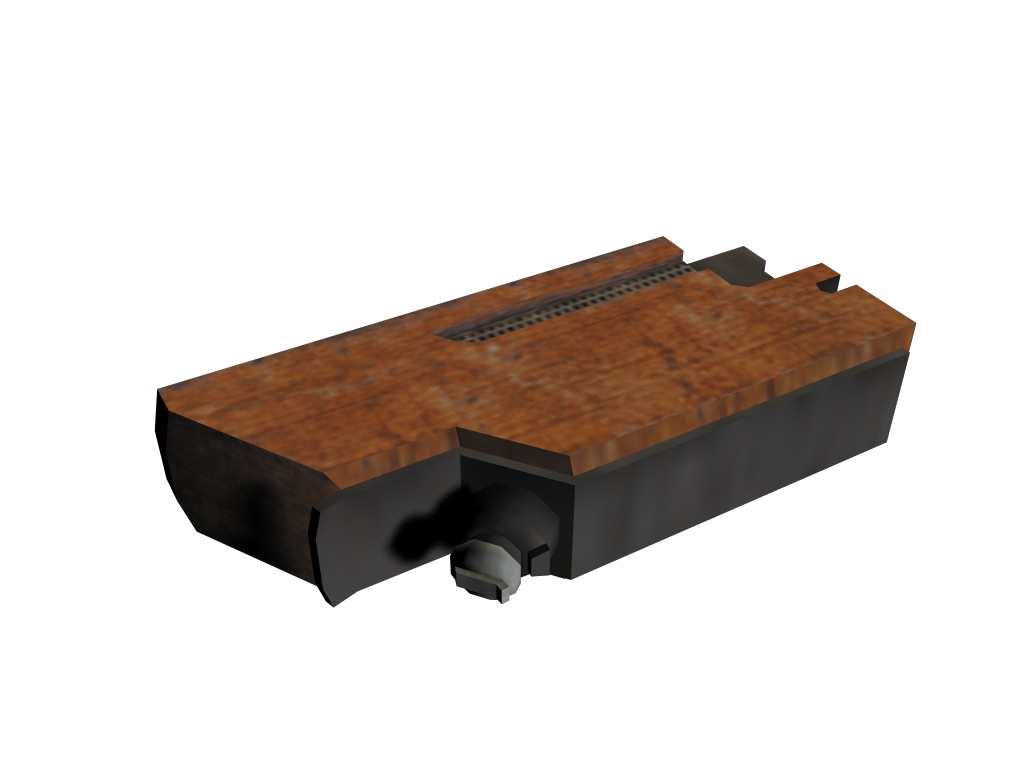
This high-energy tool is designed for cutting through minerals. Therefore, it will have no trouble slicing through Necromorphs. You pick up this weapon during Chapter 1. The plasma cutter fires three projectiles in a linear formation. You can change it from vertical to horizontal mode by pressing the Alt-Fire button. Use it in horizontal mode to cut off legs or tentacles. Vertical mode is best for cutting off arms.
Upgrading
It is also a good idea to upgrade this weapon as much as possible. As you encounter tougher Necromorphs later in the game, you want to make sure you have upgraded the damage and the capacity, since it is important to be able to fire more shots before you have to reload. With increased damage, you don't have to get as many hits. It is a good idea to work toward the special upgrade. This will leave a burning flame on the target that will last several seconds, inflicting damage. This is useful against large Necromorphs that require several hits in weak spots in order to kill them.
Line Gun
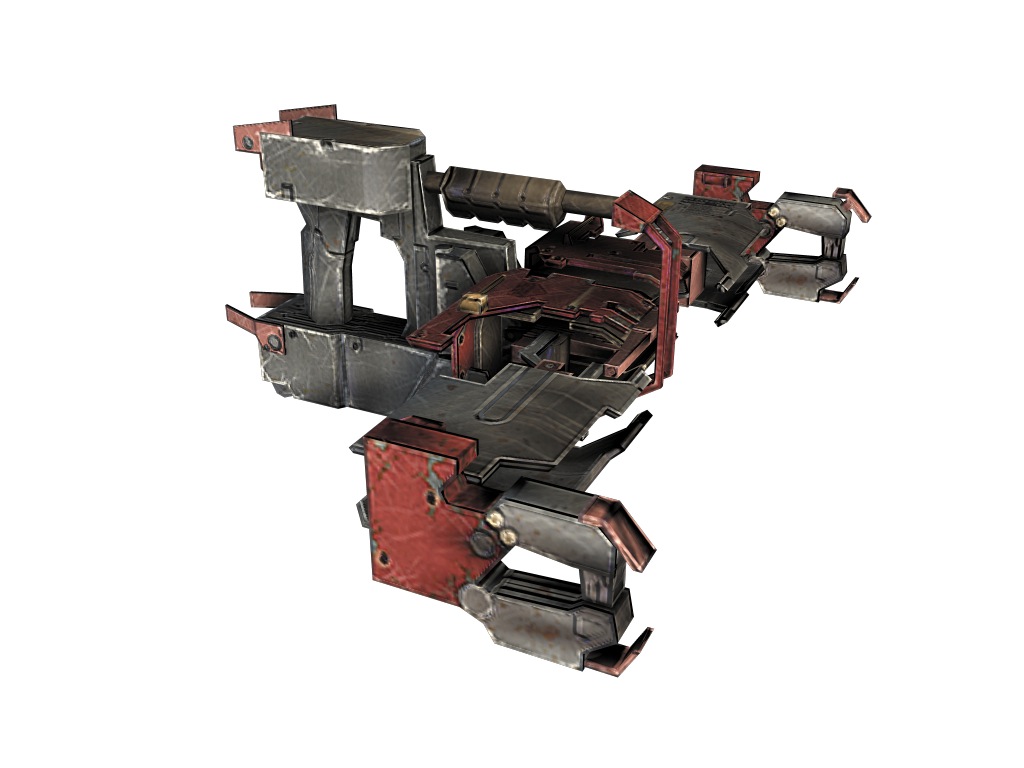
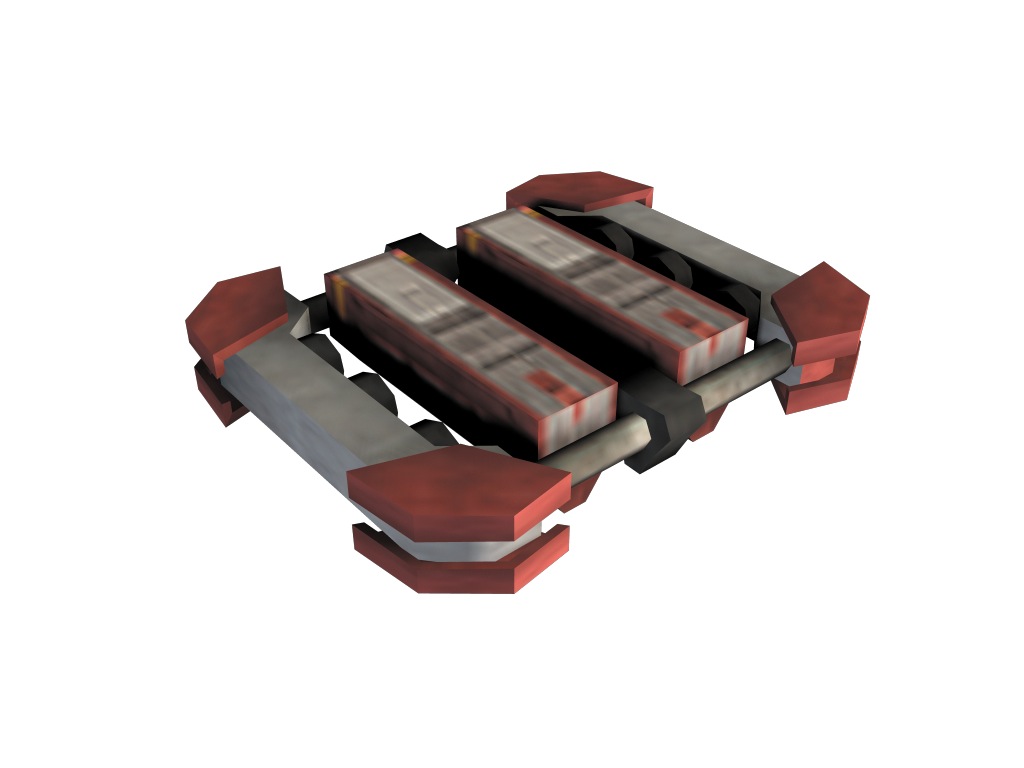
The line gun fires a wide horizontal beam. By upgrading this weapon, you can increase the beam's width. With the line gun, you can cut two legs off a Necromorph with a singe shot and is even great for firing at groups bunched together. The line gun causes more damage than the plasma cutter, which makes up for its slower rate of fire. The alternate mode deploys a timed mine. Just aim where you want the mine to go and then press the Alt-Fire button. The mine will shoot out and then detonate after a few seconds, causing lots of damage to all nearby Necromorphs. This is another weapon that comes in handy for much of the game. You can purchase this weapon at the store during Chapter 2.
Upgrading
The line gun has quite an extensive upgrade schematic. In addition to upgrading damage and capacity, it increases the beam's width and lets you cause more damage over a wider area. This makes the line gun more effective at taking down groups of enemies. However, also invest your power nodes in reload to counter this weapon's slow reload time. The duration upgrade can be useful since it reduces the amount of time it takes for the timed mine to detonate. If you like using the mine, upgrade the alternate ability to increase the damage and blast area of the timed mine.
Javelin Gun
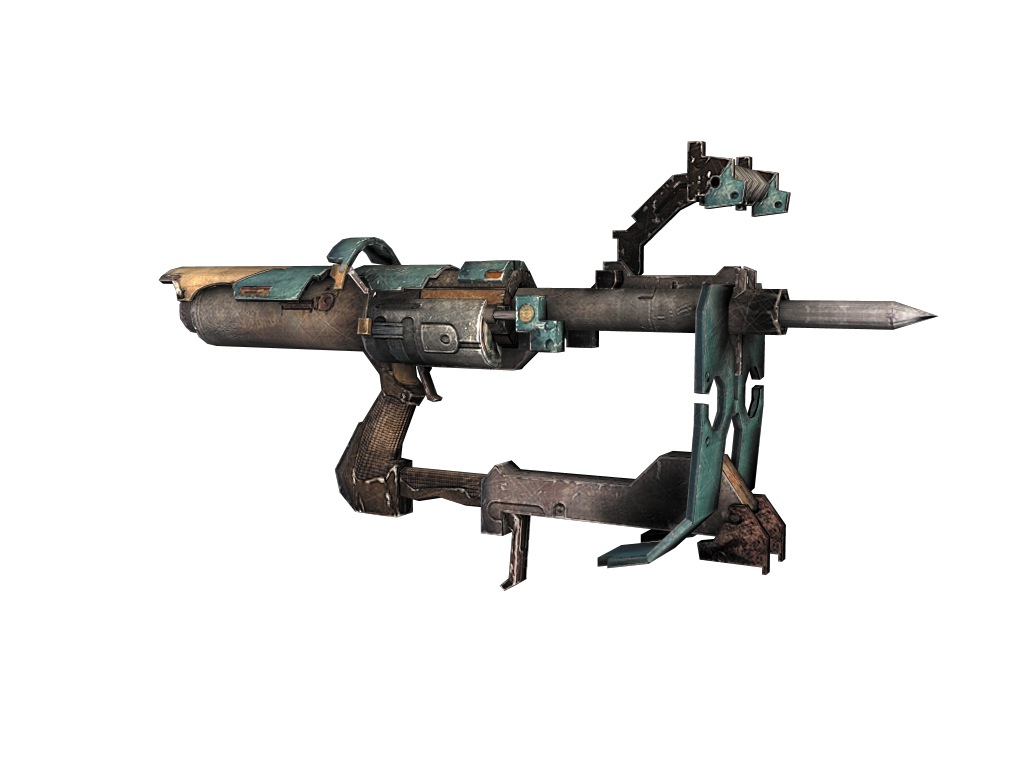
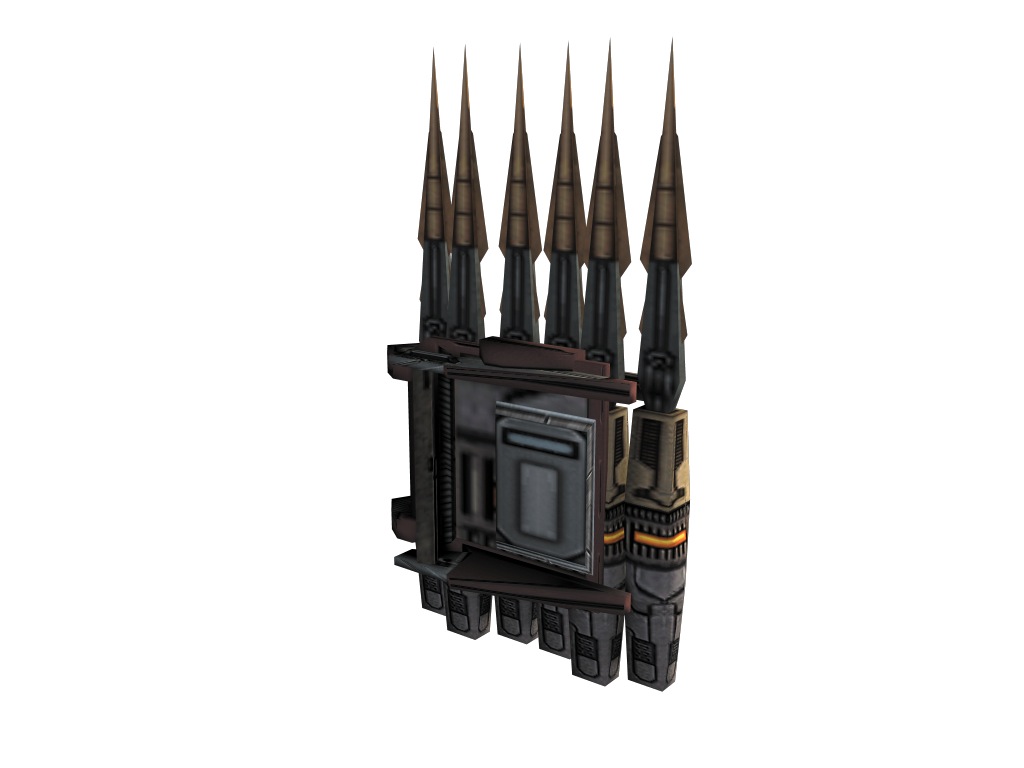
The javelin gun, a pneumatic spear launcher, is a new weapon to Dead Space 2. Fire it at a Necromorph and it will impale the target, causing considerable damage. Press the Alt-Fire button to make the recently fired javelin emit an electric charge that will usually finish off the target and will even damage nearby Necromorphs. This weapon is best used from medium to long range and has a slower rate of fire than the other weapons. However, a single shot with a zap of electricity will take care of most Necromorphs. You can purchase this weapon at the store during Chapter 2.
Upgrading
This is one weapon for which you want to upgrade the alternate mode and the damage. Capacity and reload are not quite as important as these first two attributes. It is a good idea to start at the top track of the schematic and work your way toward the special ability, picking up damage and alternate mode along the way. Once you have the special ability, the javelin will explode after releasing its electrical charge, causing even more damage to the target and anything nearby.
Pulse Rifle
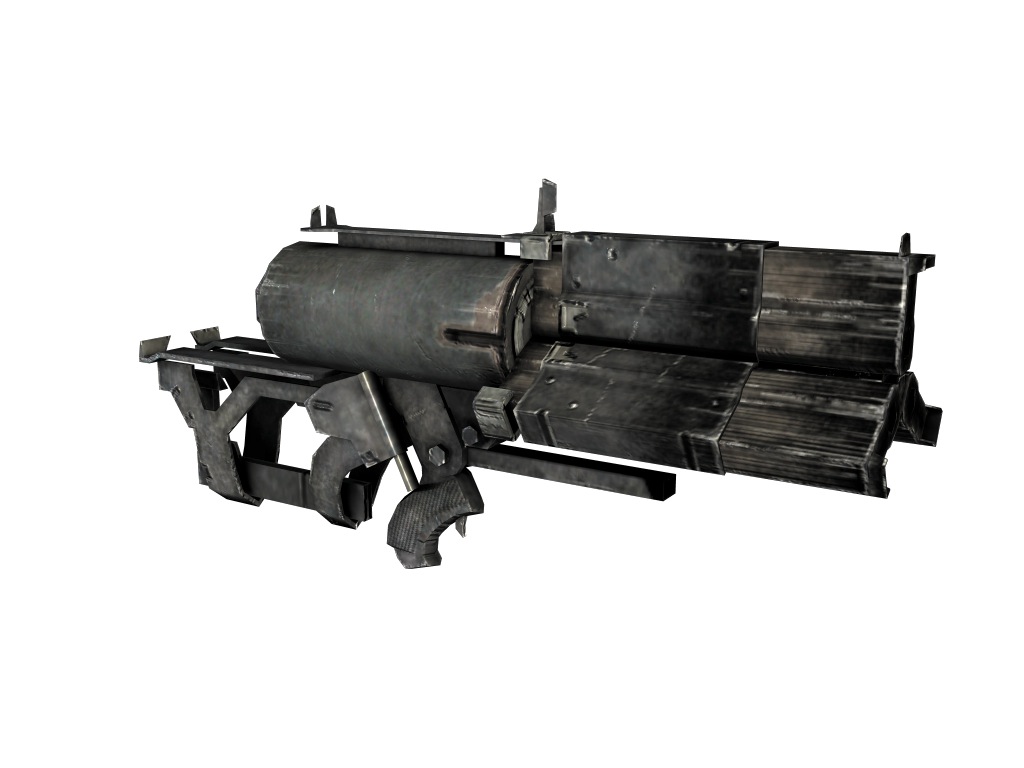
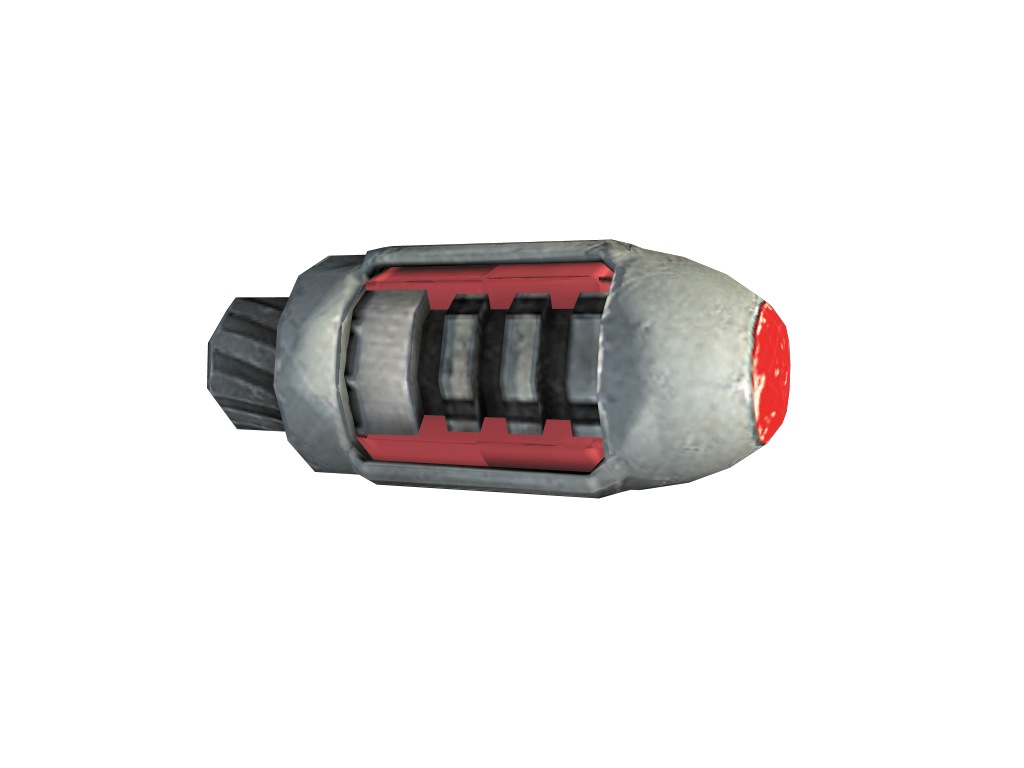
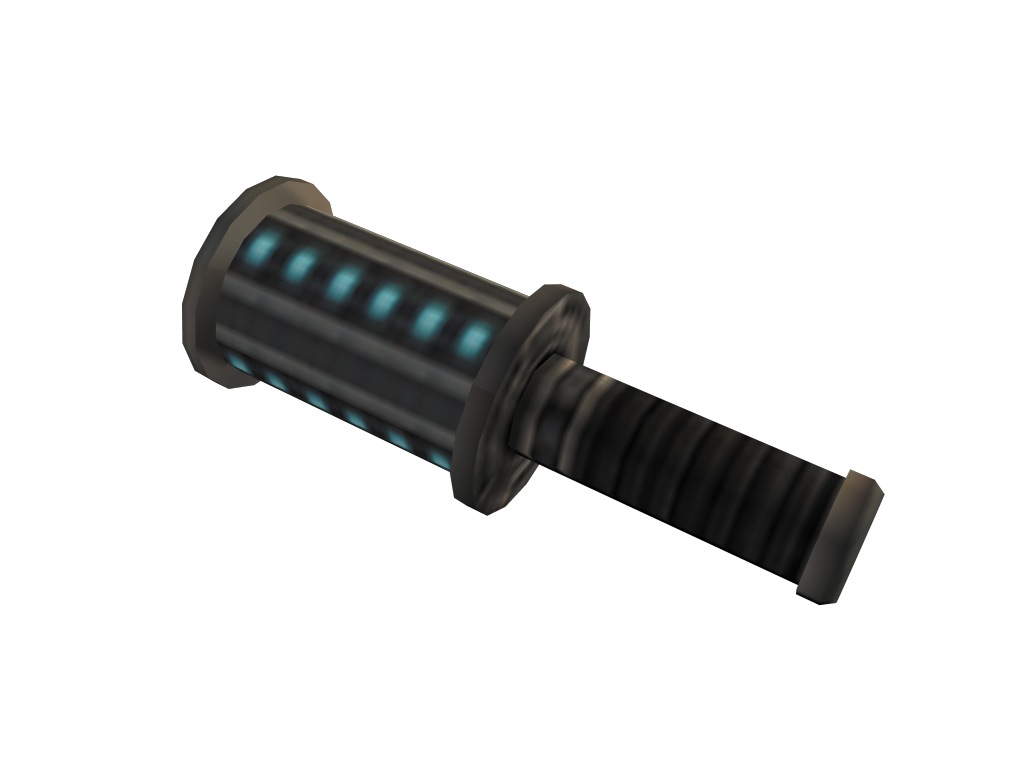
While many of the other weapons are tools, the pulse rifle is an assault rifle used by the military. This gun has a very high rate of fire and shoots small projectiles. Each round does not cause as much damage as a shot from the plasma cutter. However, when you have lots of small Necromorphs coming at you, the higher rate of fire and large ammunition capacity makes up for the lower damage inflicted. When you need an additional punch, press the Alt-Fire button to launch a grenade at your target. (Just be aware that each time you fire a grenade, it uses up several rounds of ammunition.) These grenades are great for clearing out groups of small Necromorphs. You can find the schematic for this weapon at the start of Chapter 3 and then purchase it at the store once you upload the schematic.
Upgrading
When upgrading the pulse rifle, concentrate on damage and capacity. Since it starts out holding only 50 rounds, those go quick and you will find yourself constantly reloading. By increasing damage, you help alleviate that problem since it takes less shots to kill enemies. The grenade launcher alternate fire is a real bonus for this weapon, so upgrade your alternate ability as well. Once you get this upgraded, a grenade will blow back most Necromorphs and cause more damage. A fully upgraded pulse rifle is a considerable weapon if you have plenty of ammo for it.
Detonator
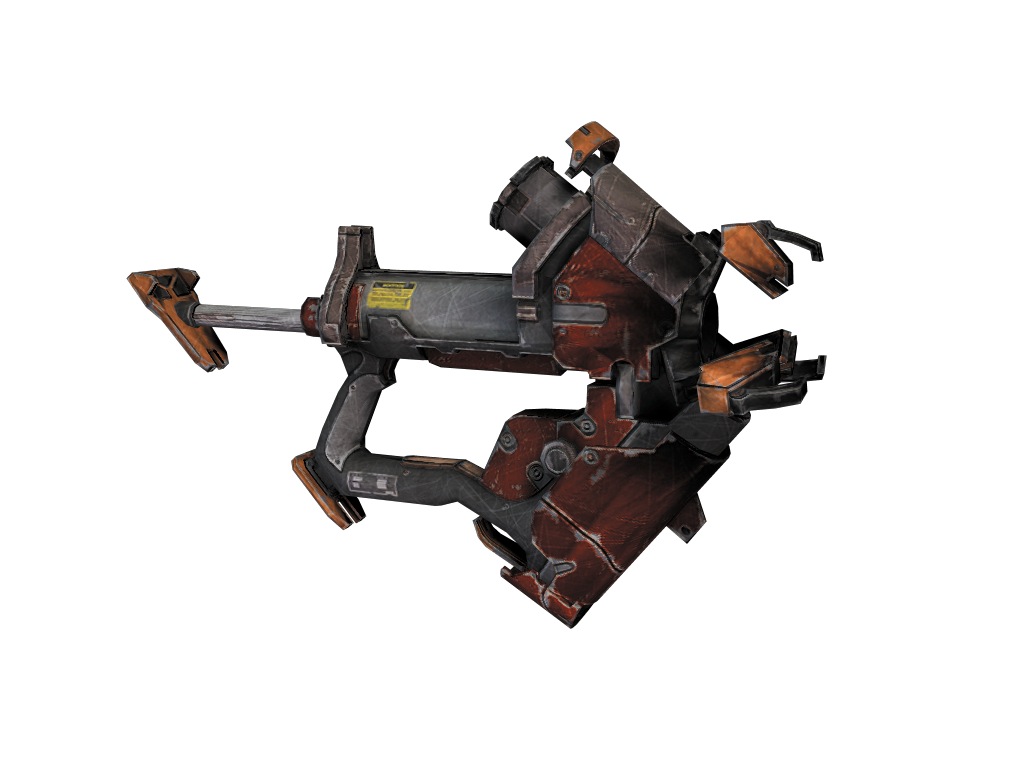
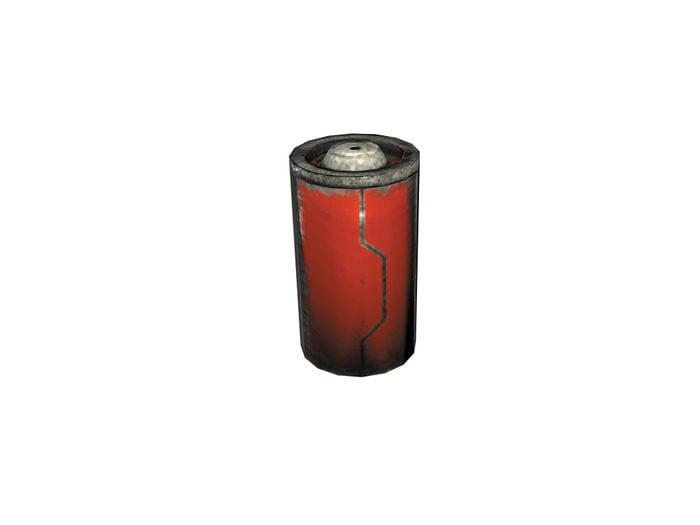
The detonator is one of the more unique weapons in the game. It launches an explosive mine that deploys laser trip wires. Anything that moves through these trip wires detonates the mine—including you, so be careful. Deploy mines on the ground so the trip wires go vertical, or you can launch them onto walls for horizontal trip wires. Detonator mines are very effective in narrow corridors when Necromorphs are coming toward you. Deploy them right in front of the enemy and they will walk into your mines. If you want to move on and do not want to leave any mines behind, aim at a deployed mine and press the Alt-Fire button to deactivate it. You can then pick it up and return it to your inventory. The schematic for the detonator is in Chapter 5.
Upgrading
The detonator is another weapon that requires a different style of play. You must think ahead to use it, since it requires some time to launch the mines and more time for them to deploy the laser trip wires. If you are going to use this weapon, it is important to upgrade its damage. The more damage you can add, the more effective each mine will be. A detonator fully upgraded with damage can cause a lot of devastation. Be sure to also upgrade the special ability and the radius of damage for the mine. A fully upgraded detonator in the right hands can wipe out a horde of Necromorphs.
Ripper
Upgrading
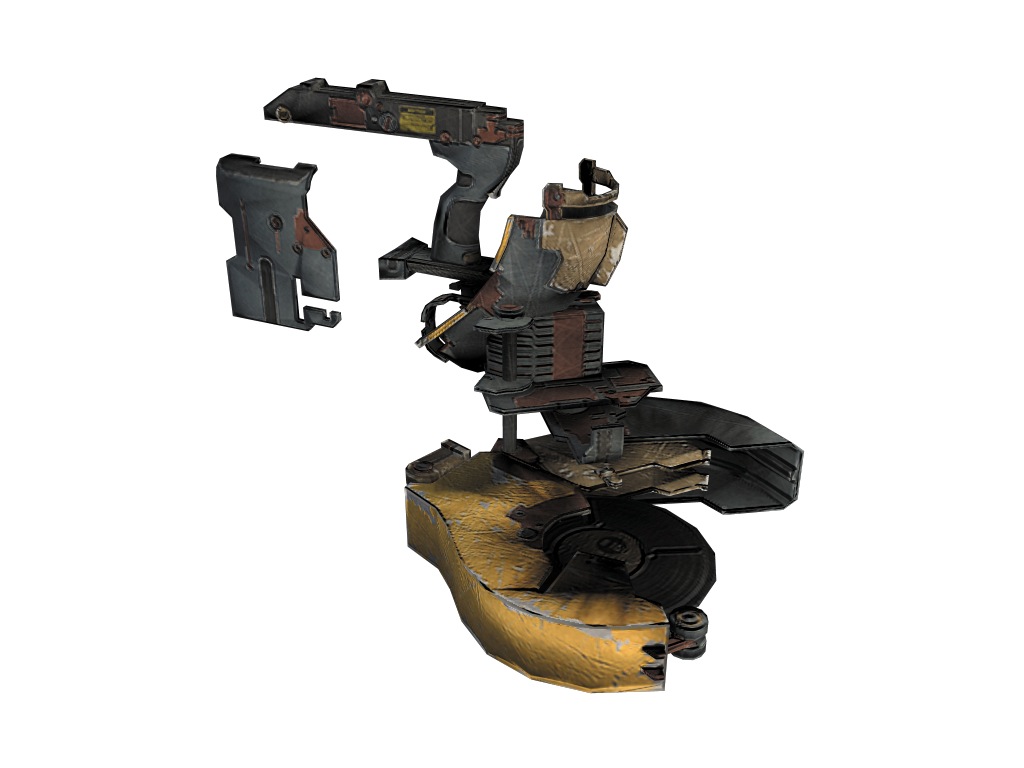
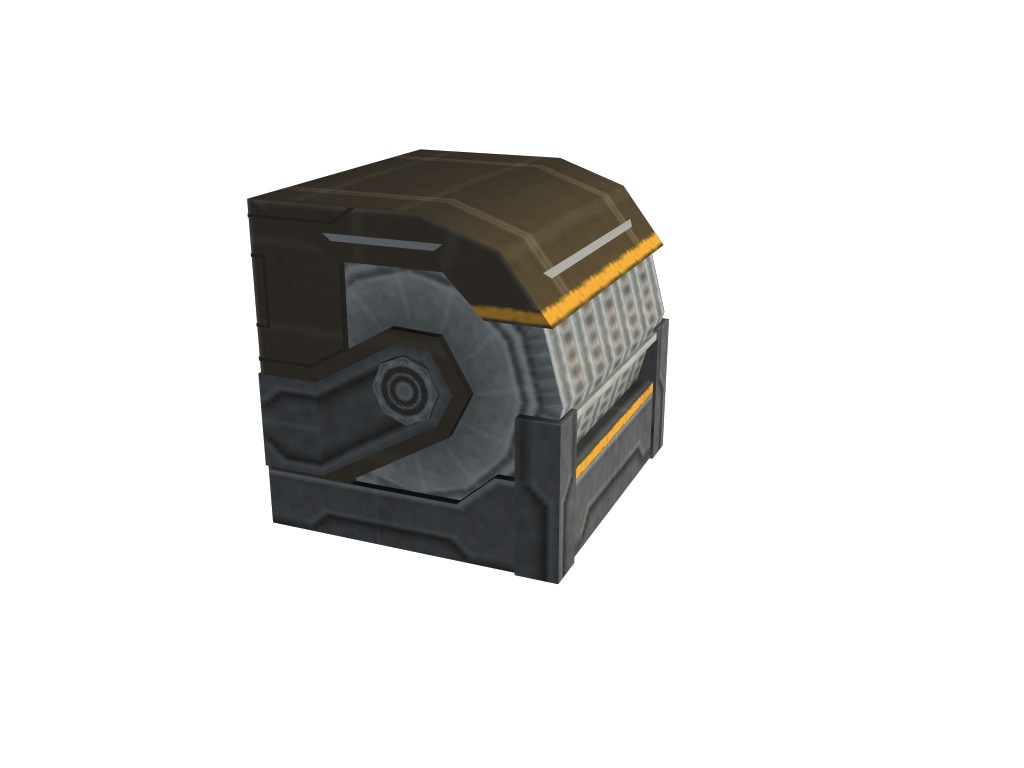
The ripper is an industrial saw that can cut through just about anything—especially Necromorph flesh. When you fire it, a saw blade shoots out and hovers, spinning, a short distance in front of you. As you move to aim, the saw blade moves with you. Step forward to cut into enemies or stay put and let them run onto your blade. Just keep the blade in contact with enemies to inflict damage until they die. For distant targets, press the Alt-Fire button to launch a saw blade. This can actually cut through several enemies. Look for the ripper schematic in Chapter 5.
Upgrading
The ripper is a great close-combat weapon. While it is quite effective as is, you can really cut through Necromorphs by upgrading the damage. It is also a good idea to upgrade duration so that each saw blade will last longer. It can be bad when you must fire another blade in the middle of sawing through an enemy. If you plan on using the ripper's alternate-fire mode, it is vital to upgrade the alternate nodes. These are all along the top path of the schematic. Once the ripper is fully upgraded, its blades will saw right through most Necromorphs at a distance. It also can wreak devastation on a group of enemies in a narrow corridor.
Seeker Rifle
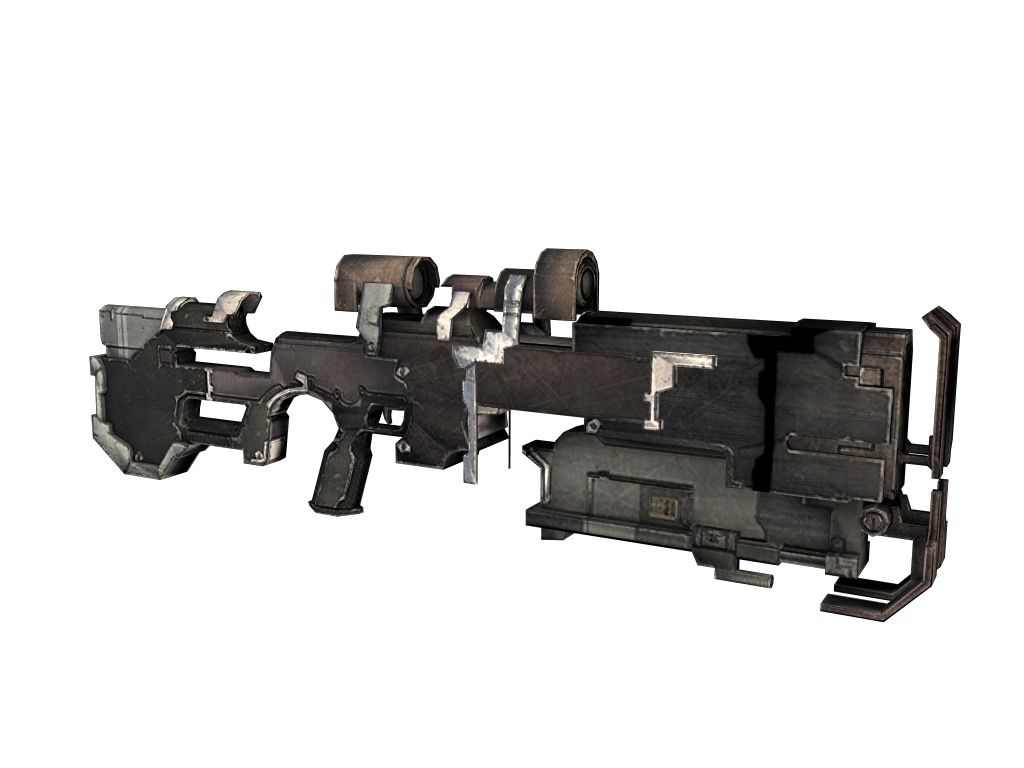
The seeker rifle is a long-range weapon. It fires a single round at a time. Press Alt-Fire to change to zoom mode. This gives you a closer view to distant targets. In addition, while in zoom mode, each round causes more damage. Therefore, when using the seeker rifle, it is always a good idea to use zoom mode. Don't use this weapon at close range, since other weapons are more effective in that role. The schematic for the seeker rifle can be found in Chapter 6.
Upgrading
The seeker rifle's upgrade schematic actually has two separate paths that do not connect. Upgrade the alternate path completely since this is usually what you will use when attacking with the seeker rifle. These are all on the top path. It is also a good idea to upgrade both damage and ammo capacity.
Flamethrower
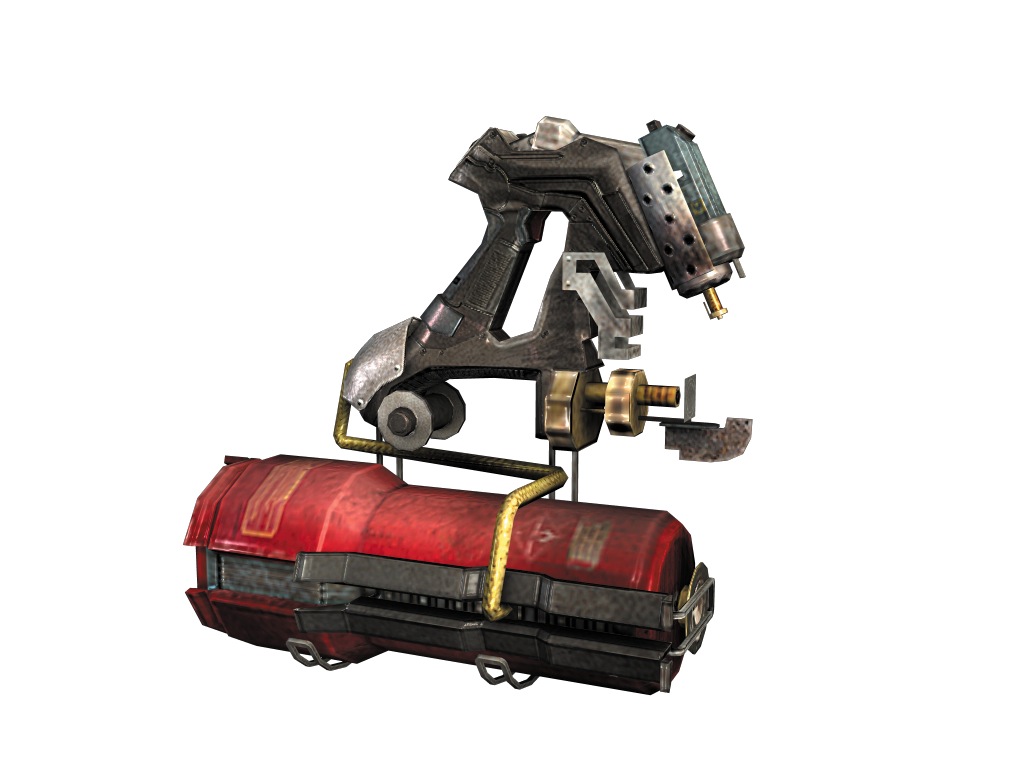
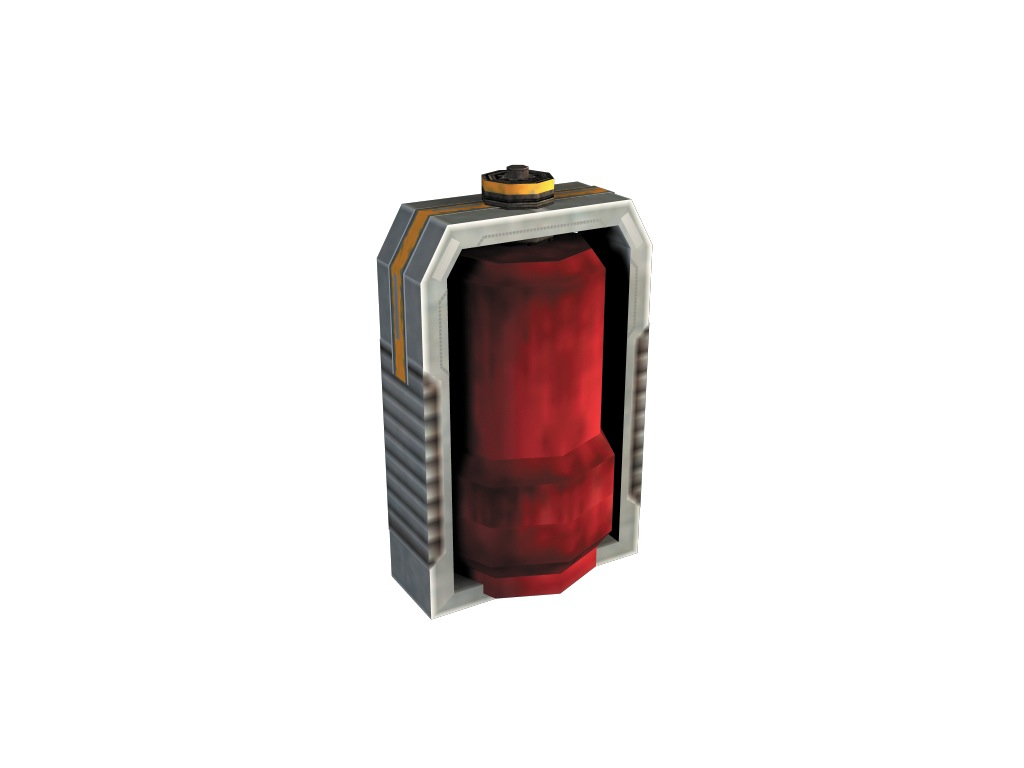
The flamethrower is actually a hydrazine industrial torch that you can use to set fire to several enemies with a streaming blaze. Unlike some of the other weapons, the flamethrower's range is limited. However, it is great for attacking lots of smaller Necromorphs as they come at you. The flame is wide, so don't use this for dismembering. Instead, fire it at an enemy's center to torch as much of it as possible. Fire it in bursts and then back away. The flames will continue to burn the target and inflict more damage. The alternate attack is great for causing a lot of devastation. It launches an entire fuel canister at the target that explodes on impact and damages not only the target, but also anything nearby. You can find the schematic for the flamethrower in the school toward the end of Chapter 6.
Upgrading
When upgrading, it is important to focus on damage and capacity, since these are the weaker aspects of the flamethrower. If you want to use the alternate fire, the top track of the schematic will let you max out the damage of the flame bomb with only six power nodes. The flamethrower requires a different style of play; therefore, it is a good idea to try it out. If it does not work for you, don't waste power nodes upgrading it and stick to other weapons.
Force Gun
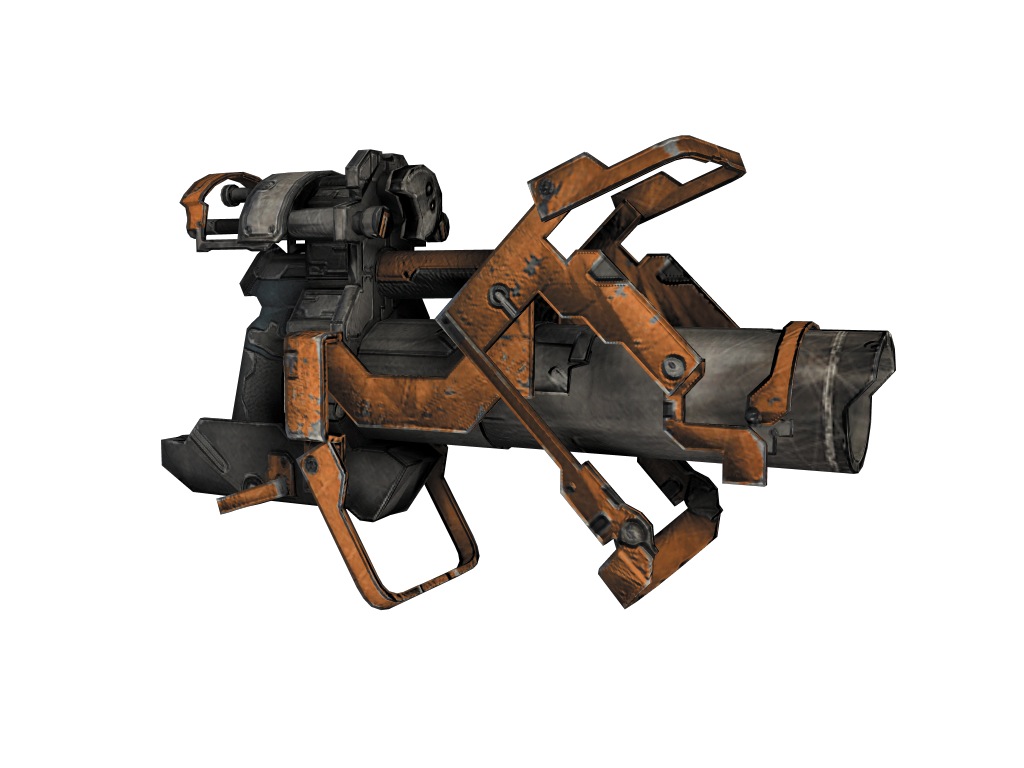
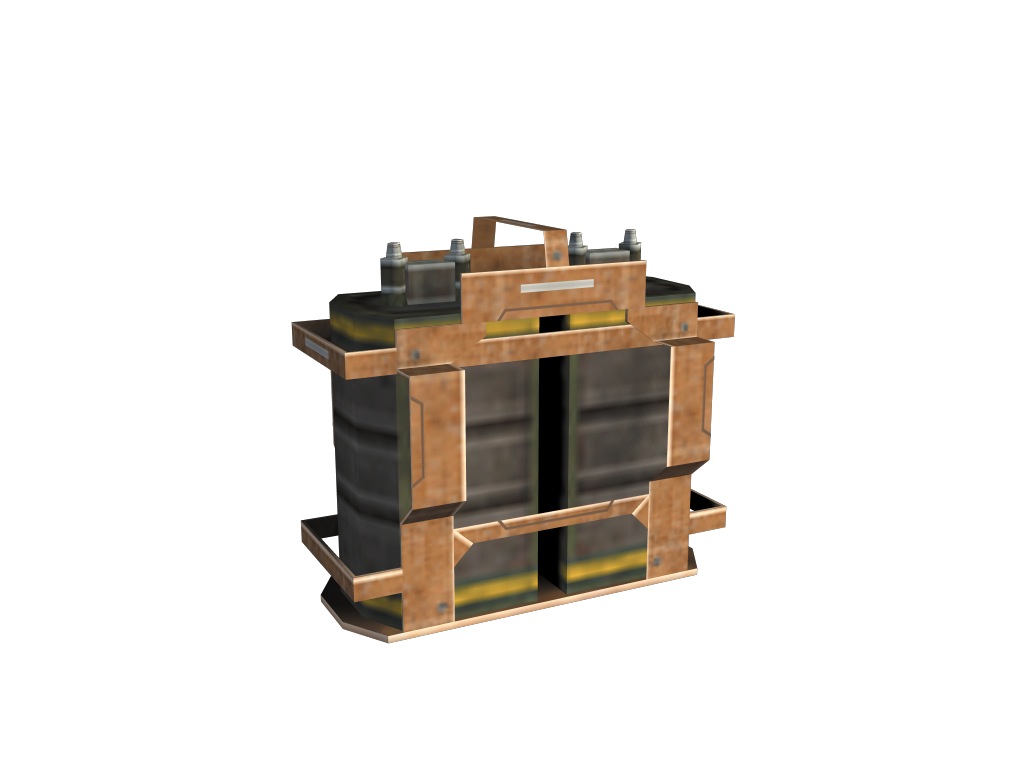
The force gun is a handheld graviton accelerator. It fires a short-range, high-powered blast of kinetic energy over a wide area. It acts as a blunt blow rather than a penetrating shot. Fire it at Necromorphs to push them back while causing some damage. This will affect not only the target, but also anything nearby. This is great for when enemies are charging at you. While it won't kill most Necromorphs, it is handy to blow back several enemies that are charging you in close quarters. Press the Alt-Fire button to fire the kinetic energy in a tight-radius energy projection. This causes more damage to the target and can be fired at longer ranges. However, it does not affect other things nearby. This alternate attack can blow an enemy to pieces. The schematic for the force gun can be found in Chapter 7.
Upgrading
Damage and speed should be your priorities when upgrading the force gun. As you increase the damage, your primary attack is more likely to kill enemies or severely damage them. The time between shots is one of the weapon's weak points, so by upgrading speed, you can help overcome that. Finally, upgrade the alternate attack, since it can be very deadly once fully upgraded. The upgrade schematic has three start nodes. Start with the middle node, which is damage; from there you can upgrade several attributes.
Contact Beam
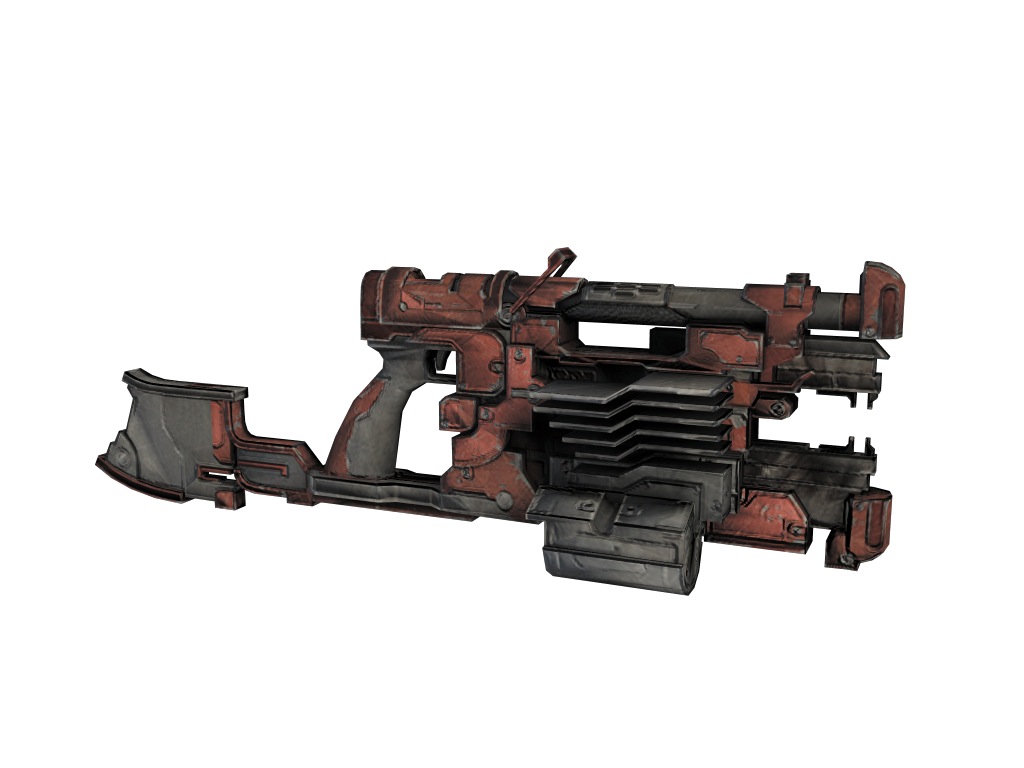
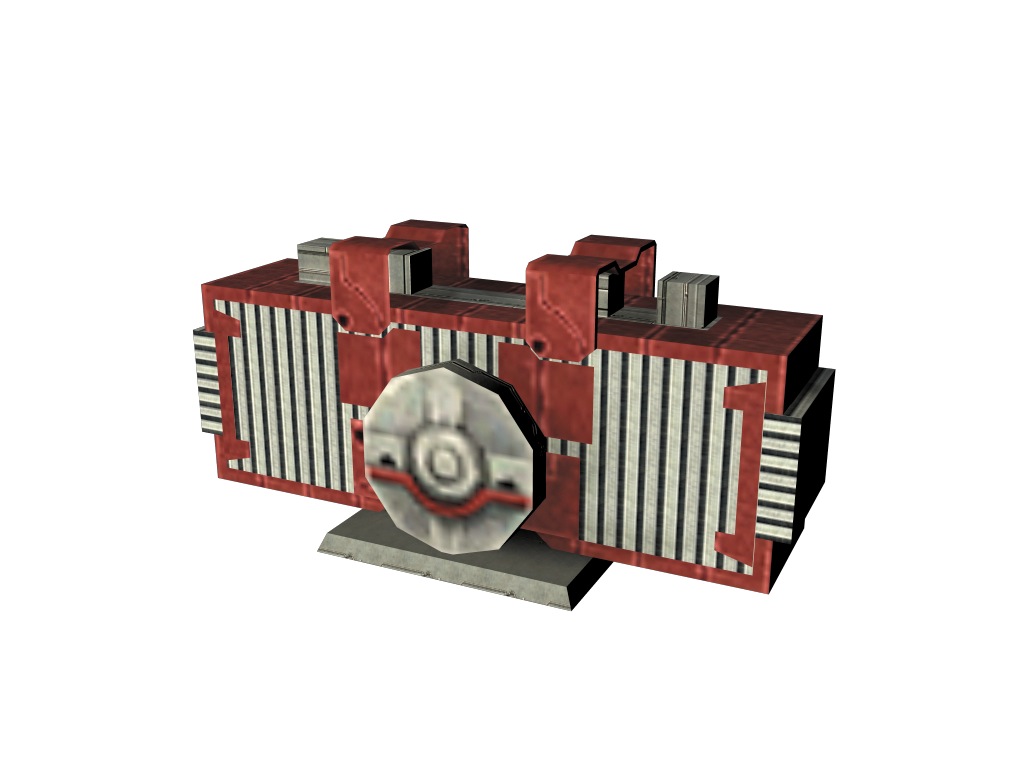
The contact beam is an energy projector that deals heavy damage. To use it, hold down the Fire button to charge a high-intensity blast. Then release the button to fire it at a target. This one blast will blow apart most Necromorphs. The downside is the charge time. The weapon's alternate attack is great for clearing the area around you when there are lots of enemies close at hand. Press Alt-Fire and you blast kinetic energy into the ground to push away all nearby objects. This can give you a chance to then use the primary fire. Look for the schematic for this weapon in a locked storage room in Chapter 7.
Upgrading
Place seven power nodes in the top path to access the special ability as quickly as possible. Along the way, you will increase the power of your alternate attack. The next priority is charge since you want to decrease the amount of time it takes to charge up your primary shot. Unlike most weapons, you can't upgrade the damage for the contact beam.