
Dead Space 2 Guide Essentials Dead Space: Extraction
Basic Training
Before the horrific events on the Sprawl and the terror that unfolds on the Ishimura, the Necromorph nightmare starts here with the Marker extraction. Ready yourself for survival by learning the ins and outs of combat and exploration.
Combat
Most of your time is spent battling enemies of all shapes and sizes. Familiarize yourself with the basics of combat to get the upper hand.
RIG
The Resource Integration Gear, or RIG, is the name of the protective suit that protects you from harm and monitors your condition. In other words, it’s your health gauge. Keep an eye on the glowing blue bar that runs vertically in the lower-left corner. It also tracks ammo levels for your currently equipped weapon. By default, the RIG appears only when switching, ring, or picking up a weapon; however, you can use the Options menu to set the RIG to display at all times. During cooperative games, your partner’s RIG is shown in the lower-right corner.
Attacking Enemies
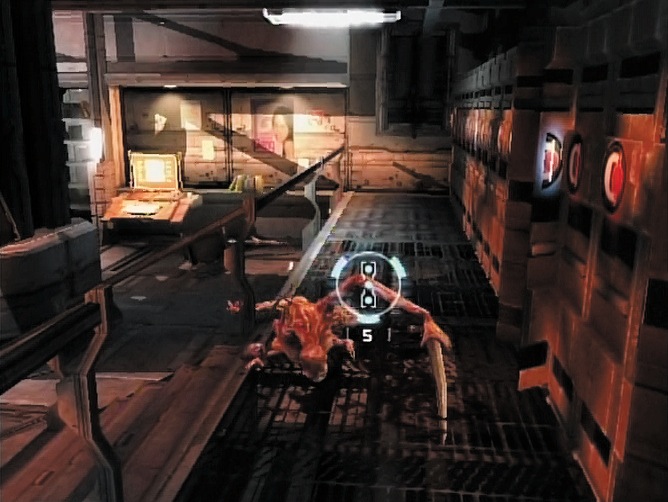
Every weapon comes with two ring modes: primary and alternate. Primary-fire is the default setting, triggered with a press of the Attack button. Alt-fire provides a second form of attack such as charged blasts and multiple simultaneous bullets. The ring reticule changes when you shift from primary to alt-fire. For instance, the plasma cutter’s primary fire launches a short horizontal energy blast, whereas its alt-fire issues a vertical blast that appears in your reticule as a vertical blast that appears in your reticule as a vertical line. Other weapons feature more dramatic differences between primary and alt-fire. Learn what works best for you and adapt your attack tactics for each situation.
Reloading
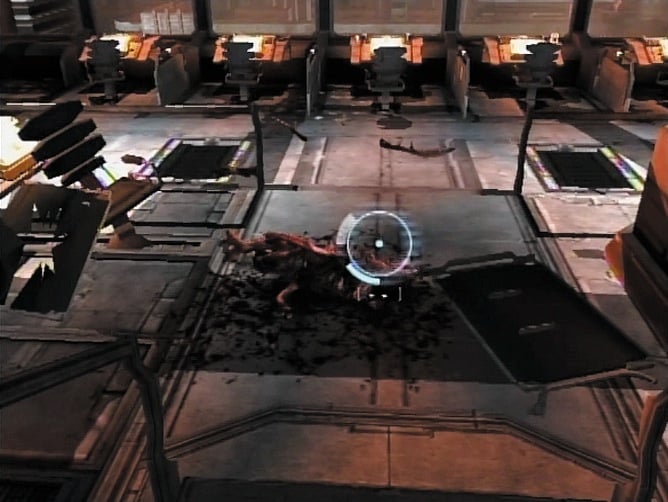
Reloading is a critical part of combat. Doing this frequently prepares you for the next fight, and it can help you keep momentum in the middle of a heated battle. Always reload before your clip empties to avoid wasting the extra time needed for an automatic reload. For manual reload, press the Reload button. To get an instant reload, tap the button a second time when the reload meter reaches the highlighted bracket on your reticule. Master timed reloads and you can issue a nearcontinuous stream of attacks.
Melee Attack
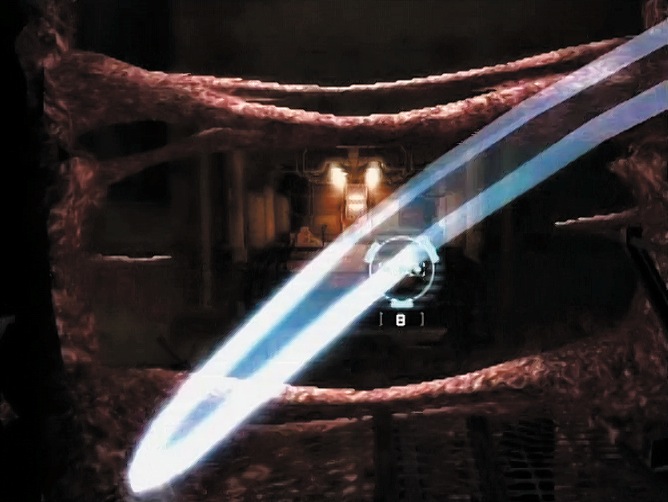
When things get hairy, you can rely on melee attacks to beat back encroaching enemies. Remember that this only works on enemies in close range. Along with serving as a last line of defense, melee attacks can be used to cut through obstacles.
Weapon Select
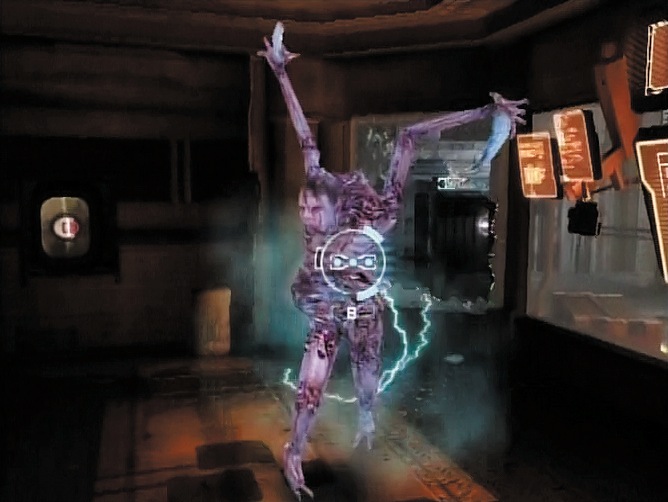
You can hold up to four weapons at any given time. This includes the rivet gun, which is equipped by default. You can switch among these four weapons at any time. If you run out of ammo for a weapon, you automatically switch to another. When you run across a new weapon, you're given the option of swapping out an equipped weapon and replacing it with the new one.
Stasis
An extremely useful time-slowing ability, stasis enables you to freeze enemies in place. Fire it at charging Necromorphs to slow their assault and make it easier to dismember their limbs. The number of stasis shots you can fire is limited—denoted by the solid sections surrounding your reticule—and must recharge over a short period of time.
Kinesis
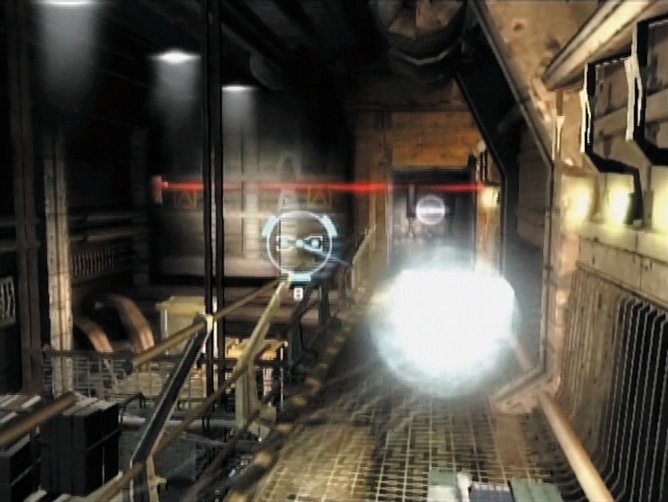
Kinesis enables you to pick up objects such as ammo clips, text logs, and weapon upgrades from a distance. Position the reticule and press the Action button to activate this ability.
Along with collecting useful items, you can use kinesis to interact with objects such as supply boxes, footlockers, and explosive canisters. Breakable items like supply boxes and canisters can be thrown—just pick up the item and press the Attack button.
Hacking Consoles
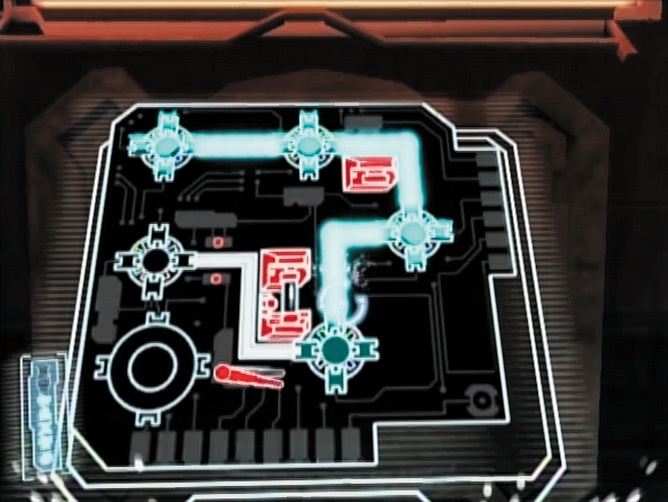
Restoring defunct computer consoles requires soldering circuits. Press and hold the Action button to begin soldering, then move the reticule to connect the circuits.
Move deliberately to avoid harmful red obstructions, electried gates, and moving switches. Click the illuminated power button when you complete the circuit to finish the hack.
Free-look
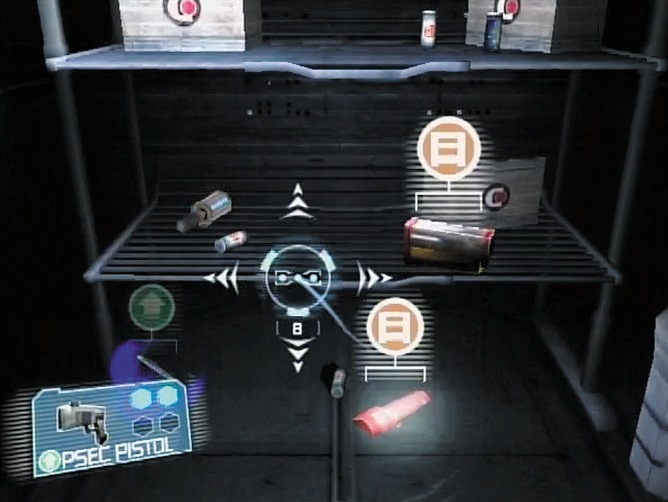
Although you’re guided through the Aegis VII colony and the Ishimura, there are times when you’re allowed to explore the surrounding environment. Called Free-Look, these short sequences enable you to explore by moving the reticule to the screen’s edges.
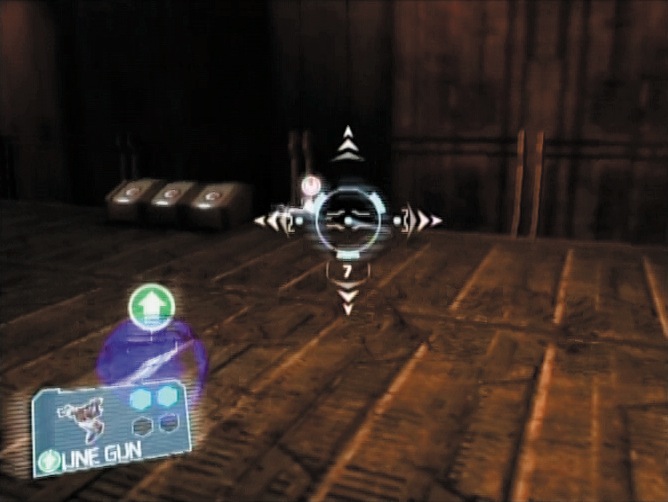
You know when you’ve entered Free-Look when arrows appear around the reticule. Make the most of this by quickly scanning the area for text logs, weapons upgrades, and ammo.
Weapon Upgrades
Hidden within Story mode are weapon upgrades. There are four upgrades for each weapon, each boosting attack power and clip capacity. Thoroughly scour every level to find these helpful bonuses, which are highlighted with a glowing blue aura. It’s rare to have a second opportunity to pick up an upgrade, so snatch them as soon as you see them!
Branching Pathways
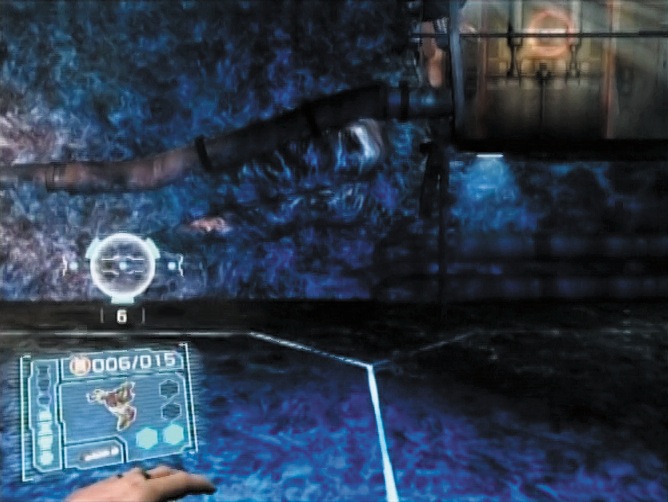
In certain Story mode chapters, the path splits. Select a direction—left or right—then press the Action button to proceed. Although each path difers, both ultimately converge back to a central route. Replay chapters to see what lies down each path.
Text and Audio Logs
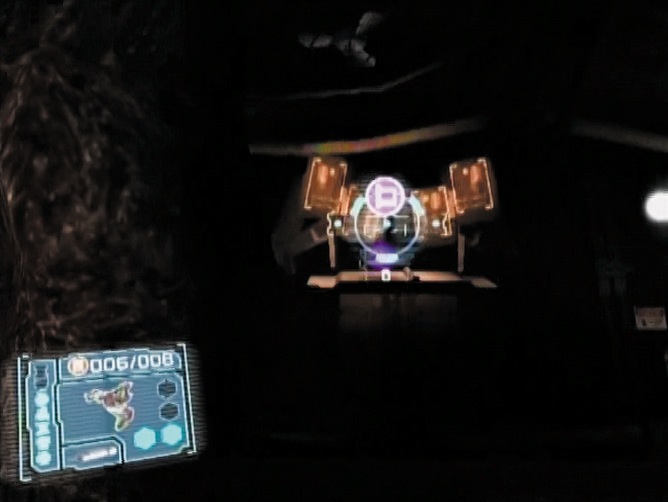
Learn more about the events surrounding the Marker extraction and the ensuing terrible descent into madness by collecting text and audio logs scattered about the Aegis VII colony and the Ishimura. Keep your eyes peeled for the purple log icon as you explore the colony and ship. Use kinesis to pick them up.
Mission Results
At the end of each level, your performance is graded on a ve-star scale. The more stars you earn, the more quickly you level up your RIG and unlock bonuses. Your star rating is based on several factors: how many times you die, how often enemies grab you, how much damage you take, the number of med packs and revival packs you use, and how long it takes for you to solve puzzles. Earning a five-star rating means killing enemies quickly, avoiding damage, and solving puzzles on the first attempt.
Cooperative Play
Drop-in, drop-out cooperative play means a friend can join you at any time by activating a second controller. A second RIG is displayed in the bottom-right corner. Note that you can’t issue melee attacks as the second player. Performance is tracked separately, and each player receives a five-star rating at the end of each level.
General Tips
Success comes from a combination of marksmanship, keen observation, and lightning-fast reactions. Hone your shooting skills by learning to dismember Necromorphs at range; furthermore, aim to kill enemies via dismembering rather than riddling them with bullets. Always be aware of what’s going on in the level around you to catch enemies sneaking in at the sides or to spot vital upgrades and ammo. Finally, learn to respond quickly to situations and to seize opportunities for weapon upgrades and other bonuses as they arise.