
Dead Space 2 Guide Walkthrough Clarke's Log: Walkthrough
Chapter 6
I Need Some Transportation
The Apartments
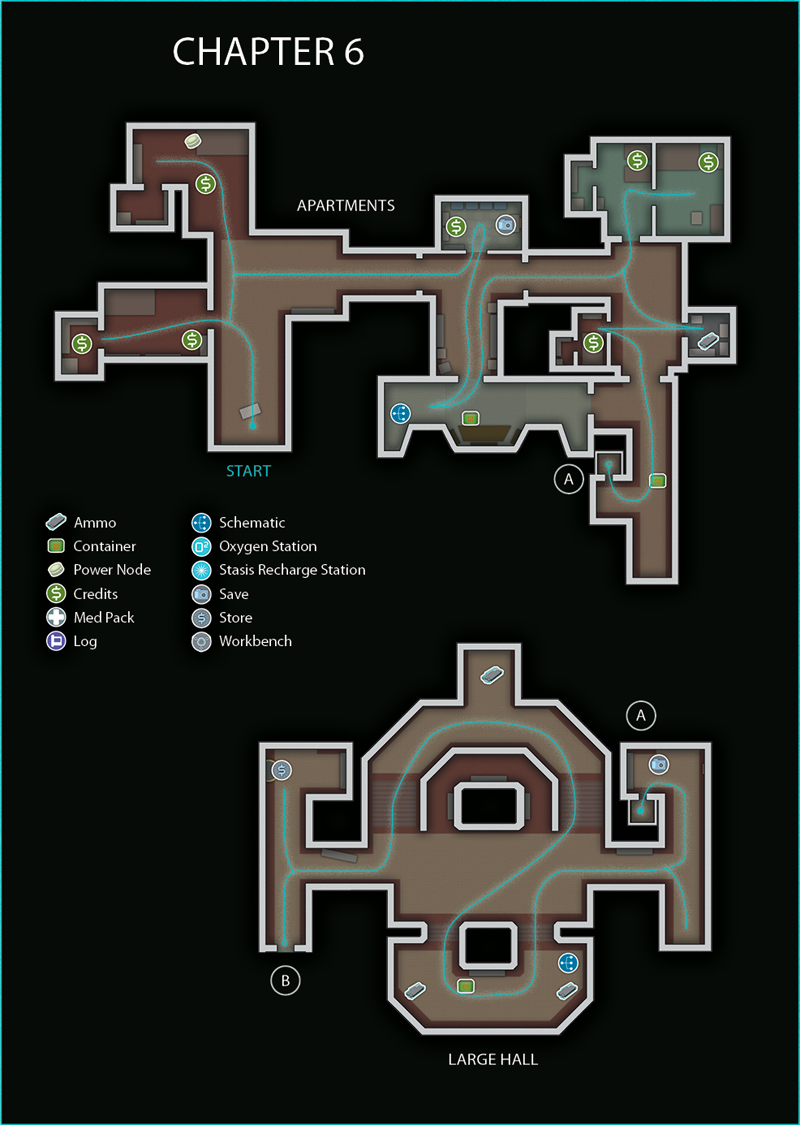
After receiving a communication from Stross informing you that you were the one who built the Marker in the Government Sector, take some time to search the open apartments. In the one near you are some credits and a power node. In the apartment across the hall, you can find more credits in two different rooms. Now follow the locator down the hall to the doorway and go through it.
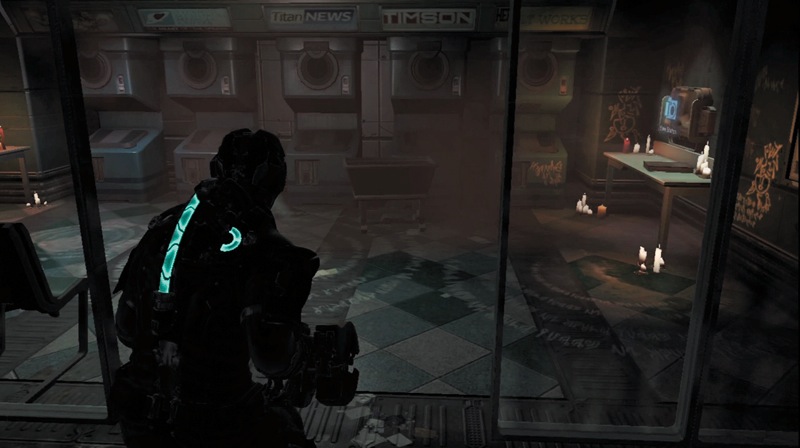
In the next area, go into the laundry room to find some credits and record your progress at the save station. Then head back into the hall.
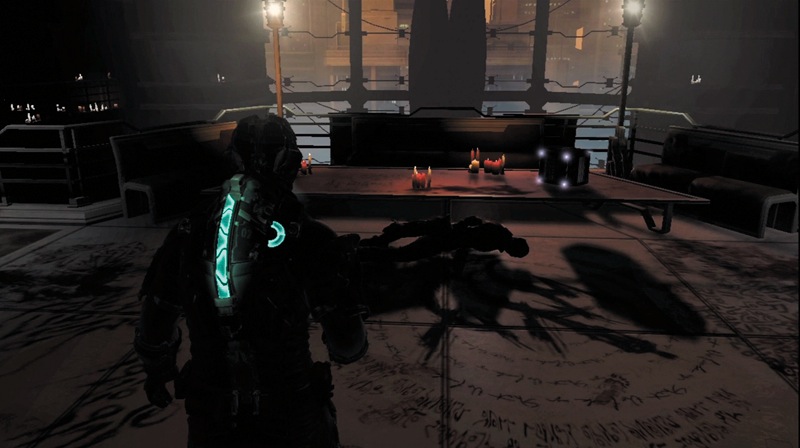
Head through the door across from the lobby to exit out onto a walkway overlooking a large room below. Stomp on a crate to get an item, and then move to the area's right side to find a schematic for the seeker rifle. Head back to the hallway. Now go through the door on the right to continue. Follow your locator if you are not sure where to go.
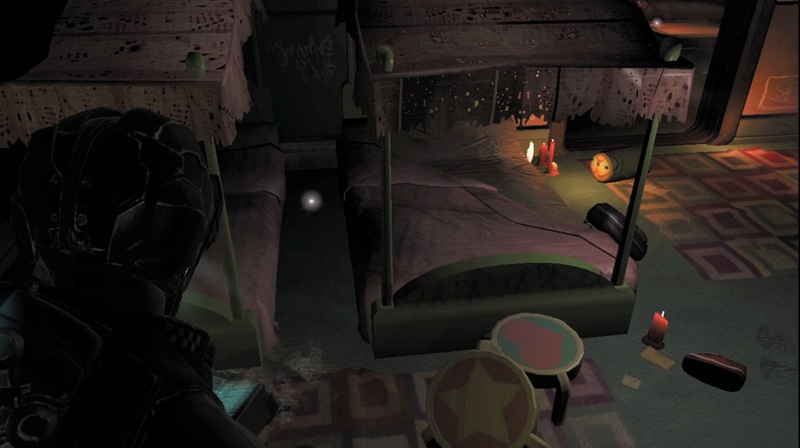
Continue down this next hallway. Turn left and enter the first apartment. You can find some credits between the two children's beds, and there are more credits on a table in the next room. After searching this apartment, exit and head down the hall. You can find some ammo in the storage room on the left side.
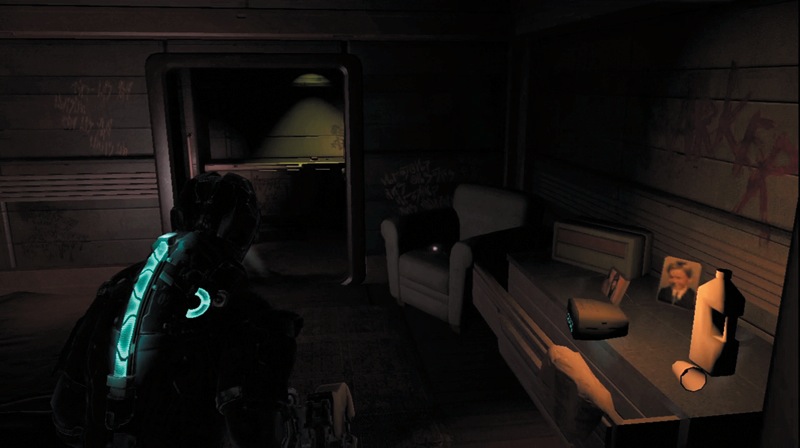
Head across the hall to another apartment, where you will find credits.
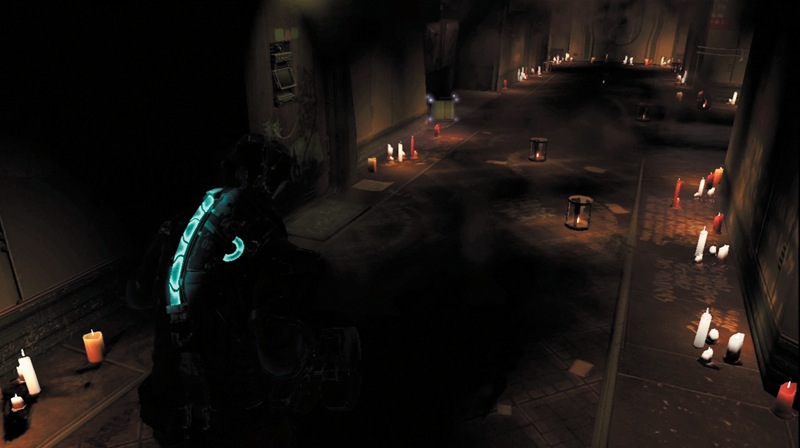
Open the door and continue into another hallway. Stross contacts you again. Stomp on the container to get an item and then enter the elevator. Take it down to the lower level.
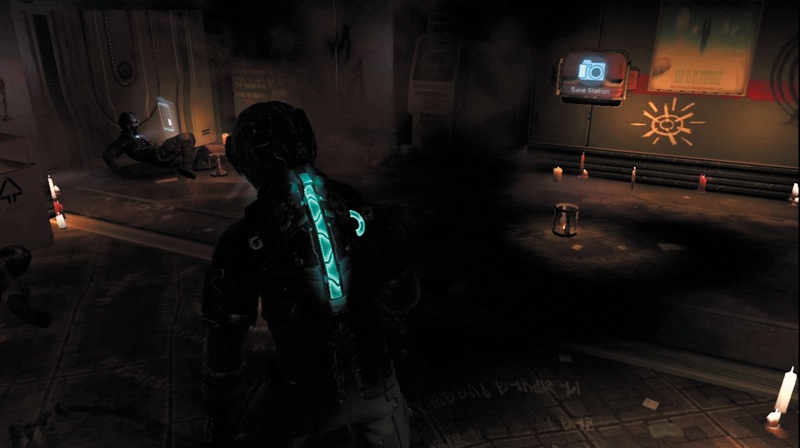
Once you reach the bottom, you find the bodies of dead soldiers and a save station. Record your progress, and then make sure all your weapons are fully loaded. Continue through the hall to the large, open room.
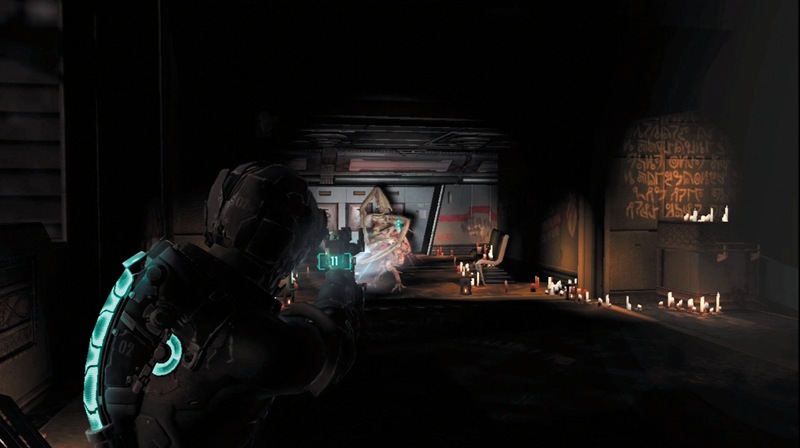
As you enter the large area, search around to find some ammo and a container. However, listen for trouble. You will hear a roar, and a Pregnant will enter the area from the opposite corridor. Sever its arms to kill it. Another Pregnant will enter from the corridor you just exited. Kill them both quickly, because there are more Necromorphs in the area.
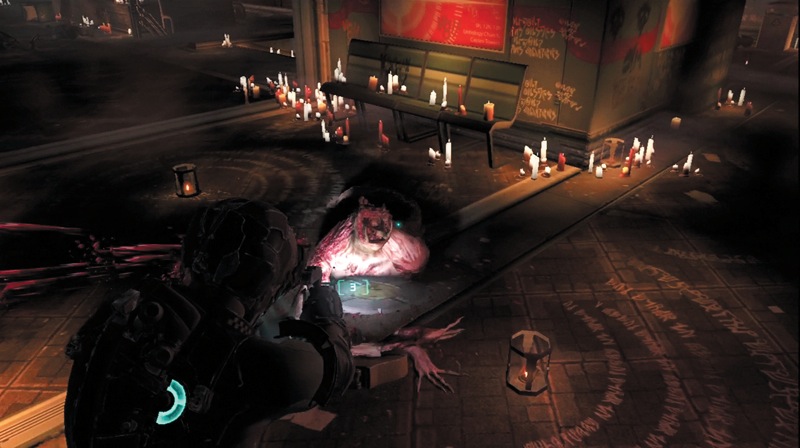
Leapers will come at you from different directions. Try to back up to a wall or go into a side corridor, and use stasis to slow them down. The ripper works well if you need to fight them up close. Otherwise, use the line gun to take them out. There are many Leapers that attack you here, so stay put until it gets quiet and you know you have killed them all. Then head back to the save station to record your progress so you don't have to go through this again.
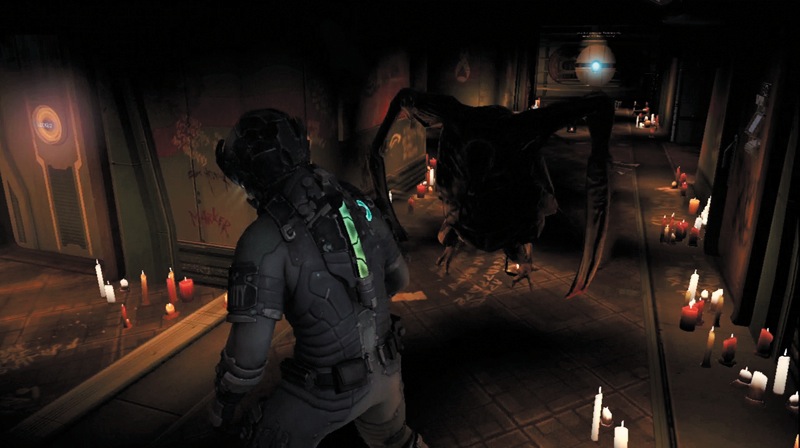
Search the large area for any items you can find, and then follow the locator into the next corridor. Turn to the right but be ready to fight. Another Pregnant drops in. Take off its arms and then visit the store. You can upload three schematics for some new equipment.
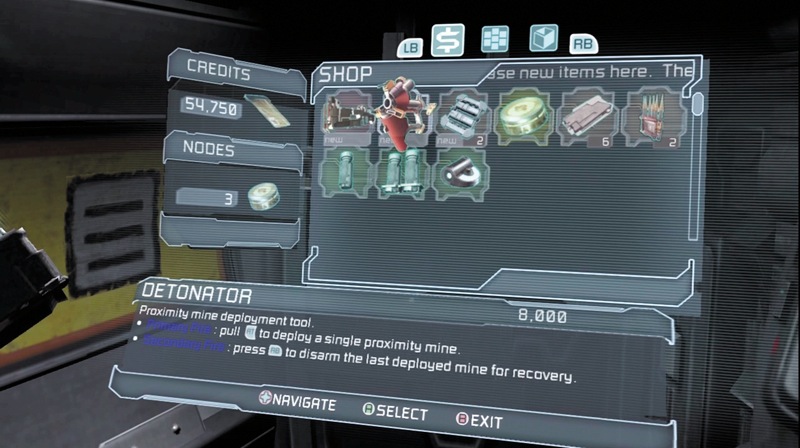
In the store, you can now purchase the detonator and the seeker rifle. These are both great weapons, and you should have plenty of credits to buy them. To make room for the new weapons, you must move two weapons from your inventory into the safe.
Keep your plasma cutter since it is effective against anything. In addition, make sure you have one weapon for close-range fighting and one for long range. That will allow you flexibility when it comes to fighting Necromorphs. After exiting the store, head to the doorway leading to the public areas and transport hub.
Maintenance Area
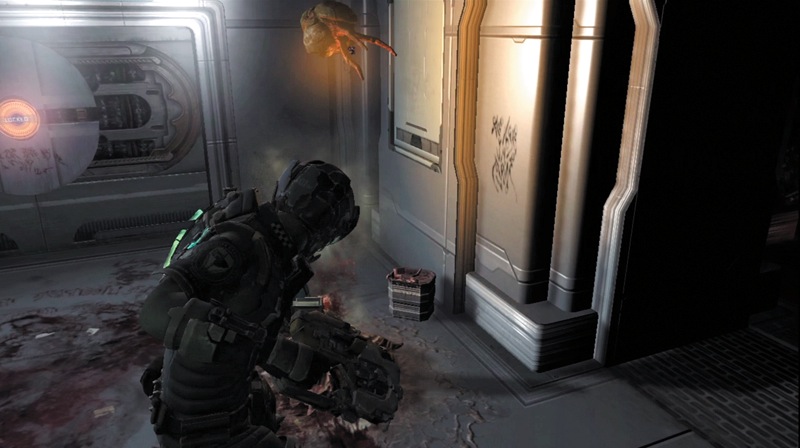
As you enter the next area, you will see some strange Necromorph creatures on the ground. These are Cysts, which will launch an explosive pod if you get too close to it. When the pod hits something, it blows up and causes damage to anything nearby. These Cysts are on the ground and on the walls. Shoot at them with the plasma cutter. A couple of hits will take them out.
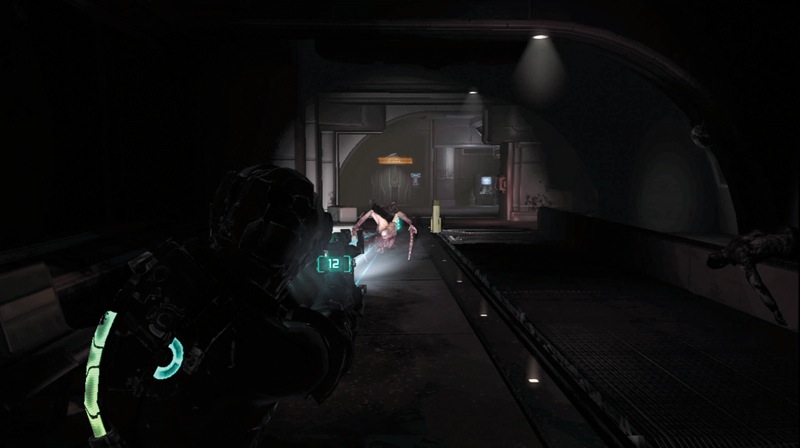
Advance cautiously down the corridor next to the malfunctioning moving sidewalk. There are Cysts on the walls, so watch out for them. A Slasher without legs will come at you from the opposite end. Shoot off its arms to take it out. You might also want to use this opportunity to try out the seeker rifle.
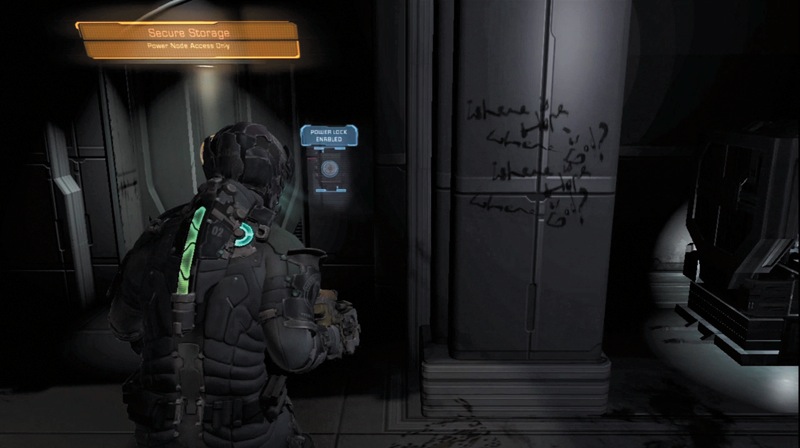
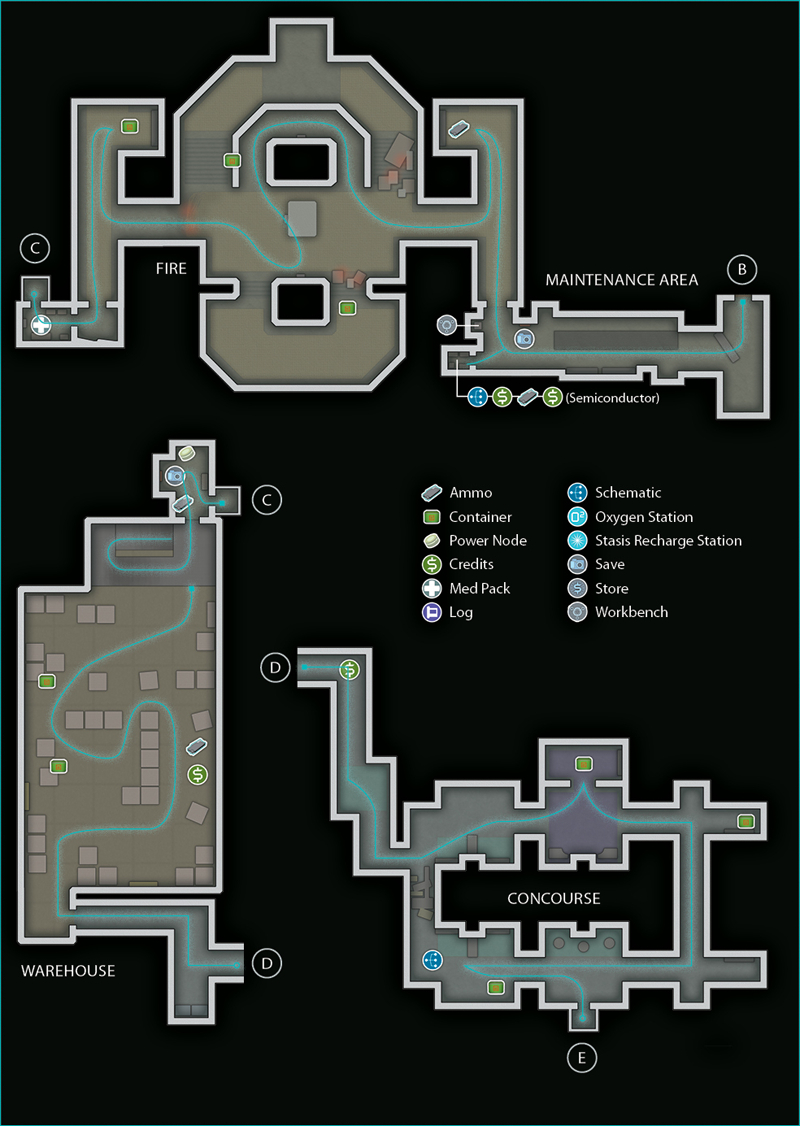
When you reach the area's opposite end, use a power node to access a secure storage room. Inside you will find some credits, ammo, a semiconductor, and a stasis pack. After exiting, you can use the nearby workbench and then record your progress at the save station.
Zero-G
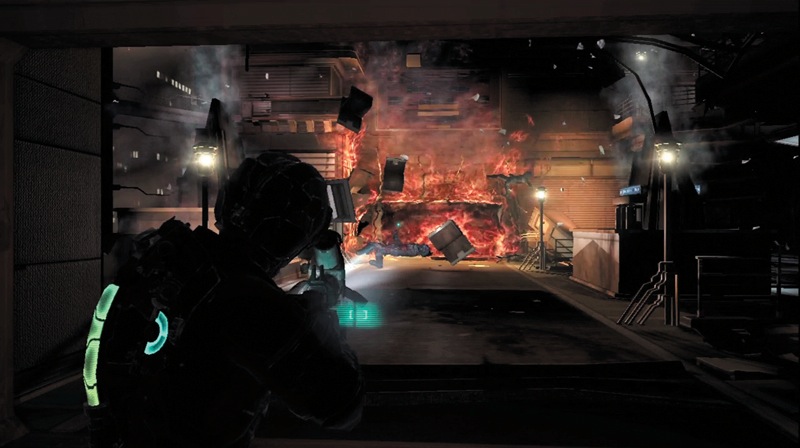
As you go through the next doorway, you enter an area without gravity. Move to the corridor's end to pick up some ammo, then head into the large room. A fire is blazing away at the opposite end, blocking your progress. Since the fire-suppression system is malfunctioning, you must find a way to put it out.
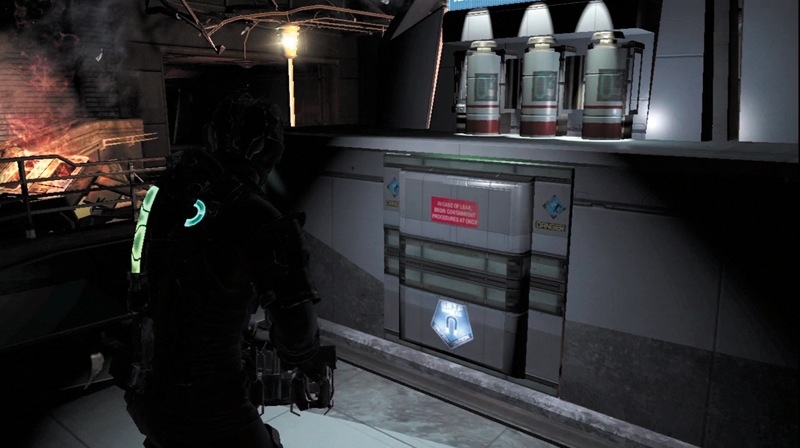
There are oxygen stations in this area. One has a panel already open. Use kinesis to pull out the power cell. The second station is also on the ground level. Use kinesis to pull off the panel and then pull out the power cell. Try to keep one of the power cells close to the fire, since you'll need it later.
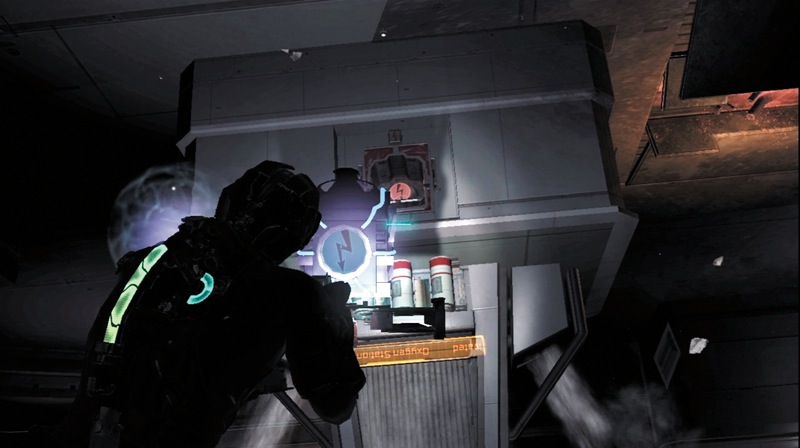
The third station is on the ceiling. Press the Zero-G Launch button and soar to the ceiling. Before removing the third power cell, explore the area to find an audio log and some helpful items. Next, head to the third panel and pull out the power cell, making sure you hold on to it.
As the oxygen supply is stopped, the fire will extinguish. Wait until it is out and then place the power cell back in the socket to provide oxygen to the room so you can stop using your suit's supply.
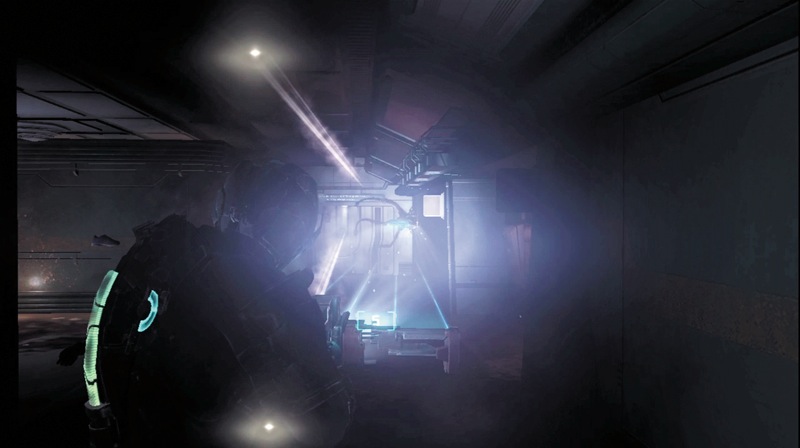
Head through where the fire was, into another corridor. As you approach, look to the left. There is a Lurker up on the wall. Kill it while trying to dodge its projectiles. Look for another container down the corridor's right side, then follow the locator path to the doorway that leads to the transport hub.
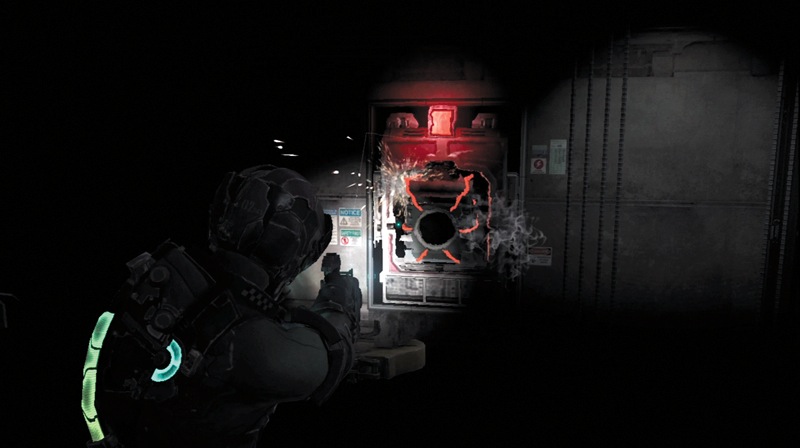
In the next room, pick up a med pack. The elevator you need to take is not functioning since it has no power. Pull out the red power cell and replace it with a good one. Return to the large area where the fire was and grab the power cell you left there. Carry it to the elevator power socket and insert it. Presto! The elevator now works. Call the elevator to your floor.
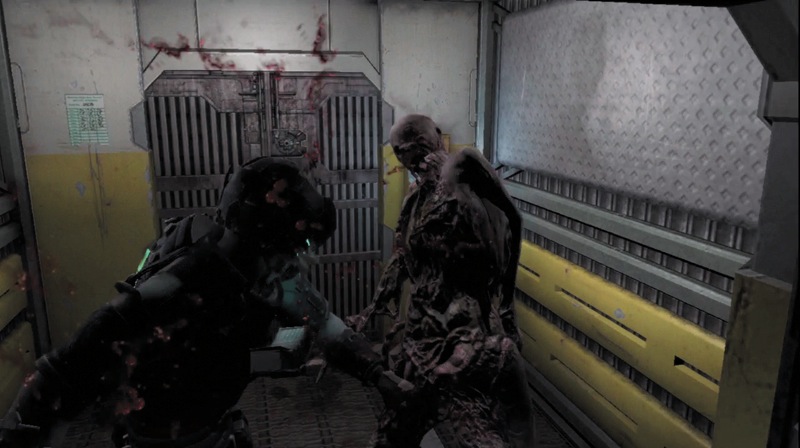
Have the ripper ready, because when the elevator door opens, you must attack the Puker inside. Either cut it with the ripper or lay into it with melee attacks to push it back and prevent it from preparing an acid attack. Activate the elevator and ride it to another level. Stross will contact you while on the elevator and talk about a dark machine.
Warehouse
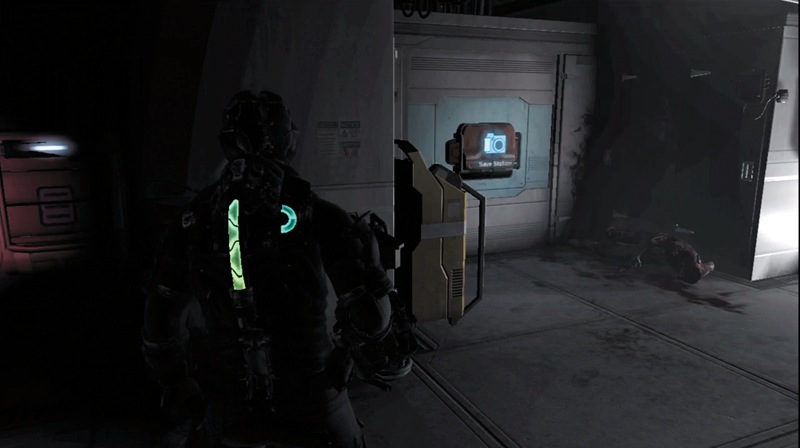
As you exit the elevator, open a locker on the wall and then use the save station. Open the blue box on the wall to the save station's right to get a power node. Finally, hit the fuse box next to the door to unlock it. Go through the door and into a large warehouse.
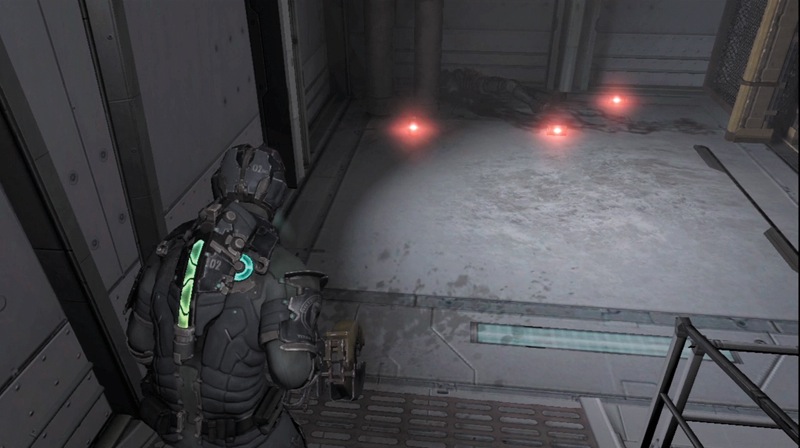
Walk down the ramp. At the bottom, pick up several mines to use with the detonator. This is a clue indicating which weapon you should try out here. As you enter the warehouse's main floor, turn right and locate a stasis station. This can come in handy as well.
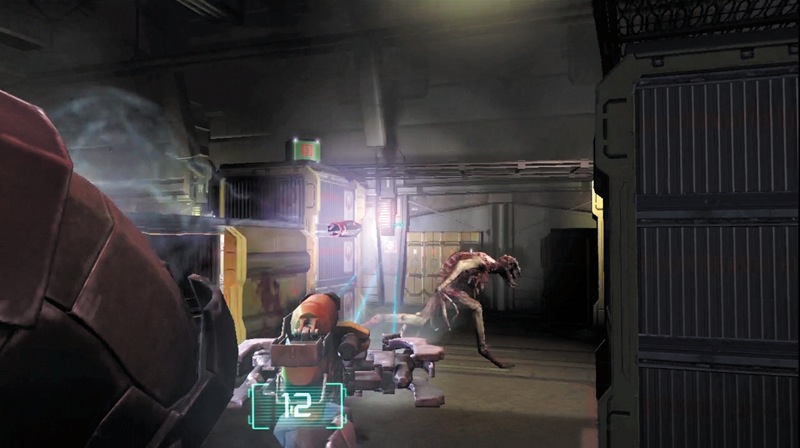
Advance cautiously through the warehouse. There are containers and lockers where you can find some items. However, don't search them just yet. There are several Stalkers in here. As soon as you see some moving around, begin deploying detonator mines between the Stalkers and you.
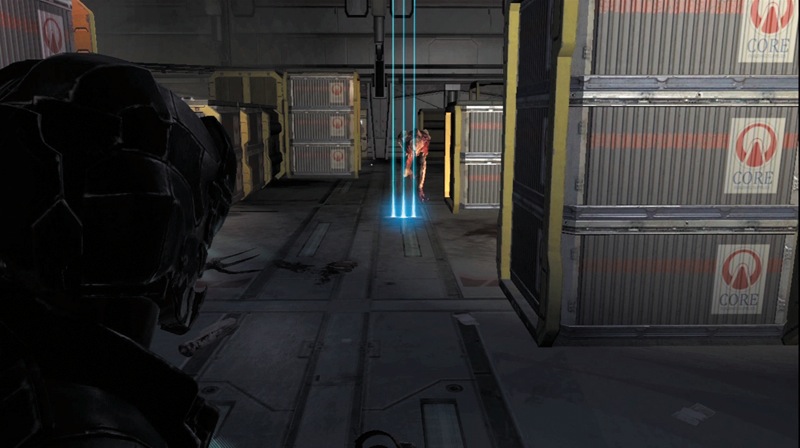
The narrow pathways between the large crates make this a great spot for using mines. As they run through the laser trip wires, the Stalkers will detonate the mines. It takes only one mine to kill a Stalker. As soon as you deploy some mines, switch to the ripper or another weapon in case the Stalkers get past your mines.
Don't stand too close to the mines you deployed or you could get hit by the blast. Also, don't trigger them accidentally during the fight.
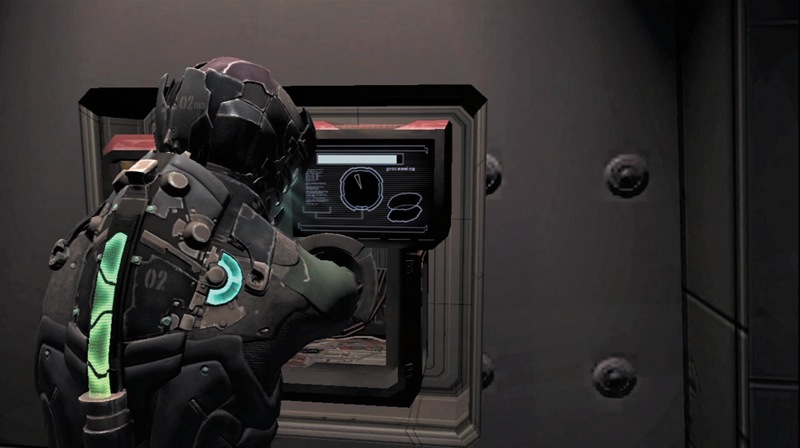
After you've killed all the Stalkers, search the lockers and stomp the containers to find some useful items. Then head to the warehouse's far end and hack your way through a locked door that leads to the concourse. Once it is open, head on through.
The Concourse
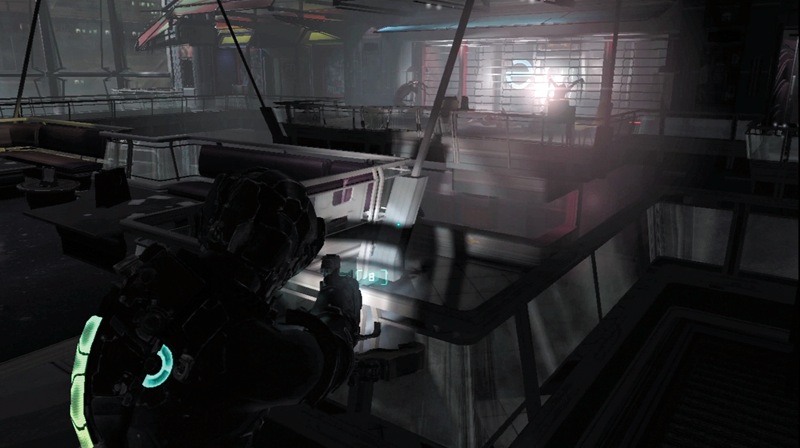
Move through a maintenance corridor, following the locator, and pick up some credits along the way. You will eventually emerge at the concourse. A woman is by the elevator, taking on several Slashers that are coming at her.
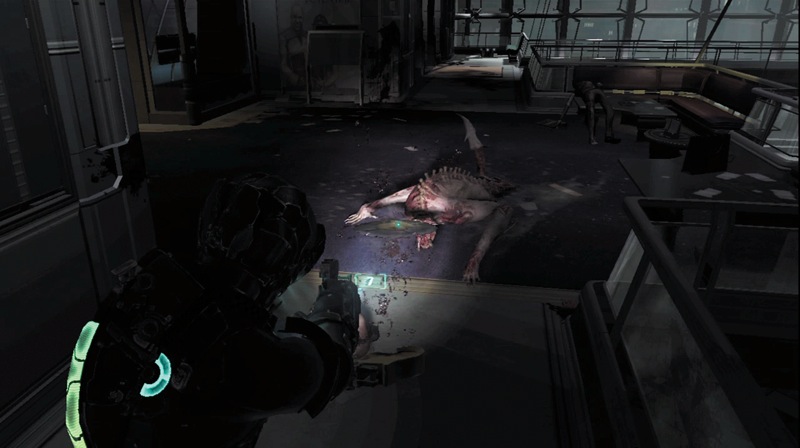
As you advance to help her, watch out for other Necromorphs, such as Leapers, that will attack you. Kill them and worry about yourself first. The woman can take care of herself. Don't spend too much time fighting, though, as Necromorphs will keep coming.
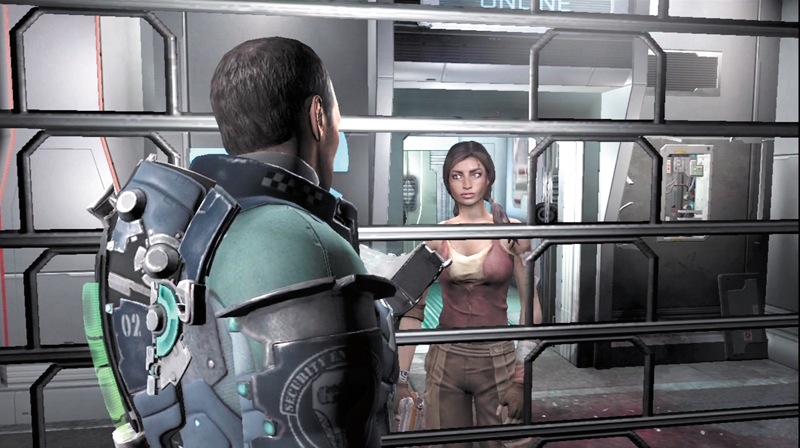
As you approach the woman, she warns you to stay back. Her name is Ellie, and she, too, is trying to get off the Sprawl. However, she does not want your help. As she enters the elevator, she opens the gate and tells you not to follow her. After she leaves, look around the area for useful items and then climb aboard the elevator.
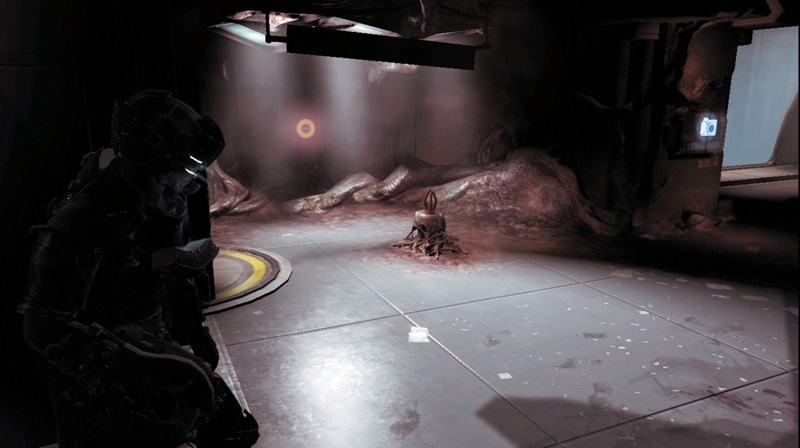
As you exit the elevator, you find yourself in the same area you were earlier when heading to the concourse. However, it looks like the Necromorphs have taken over. There are Cysts scattered about. Kill the closest one and then use the store and save station.
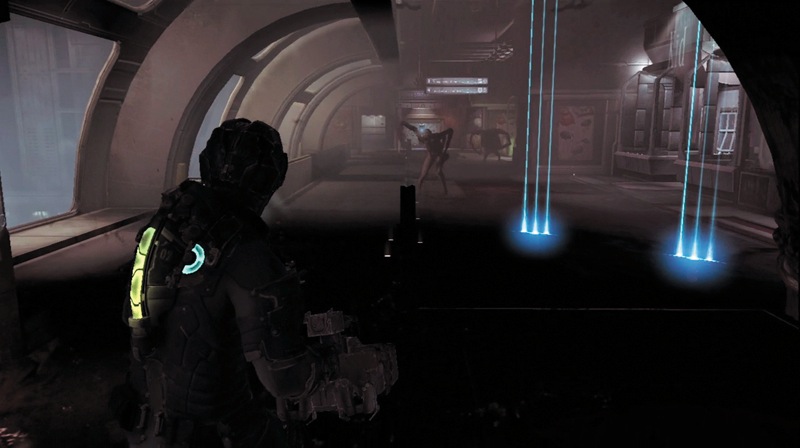
There are more Necromorphs in this area, so get out the detonator and deploy some mines across the area to stop anything that tries to come after you. The first attack is by a Pregnant and a Spitter. Place the mines and then get out of the way since the Spitter will launch acid at you. The Pregnant can survive a single mine, so create a second line of mines to make sure you kill it.
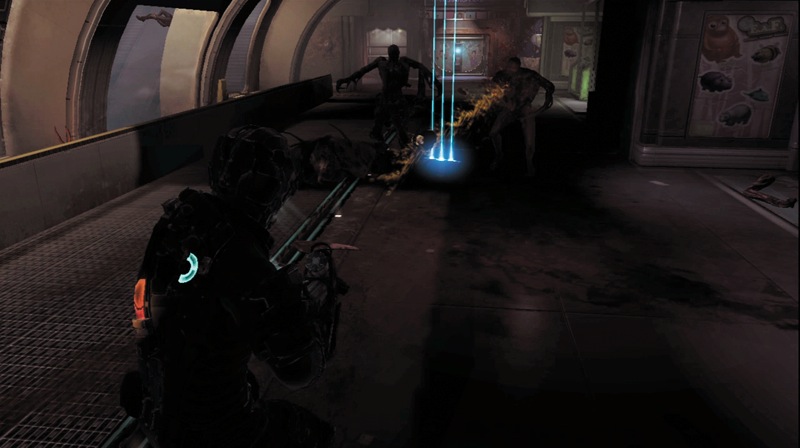
Once the first wave is dead, use kinesis to pull spikes off the dead Spitter and launch them at Cysts in the area to kill them. As you approach the middle, lay out another line of mines. A second wave of Necromorphs will attack. This includes a Puker and another Spitter.
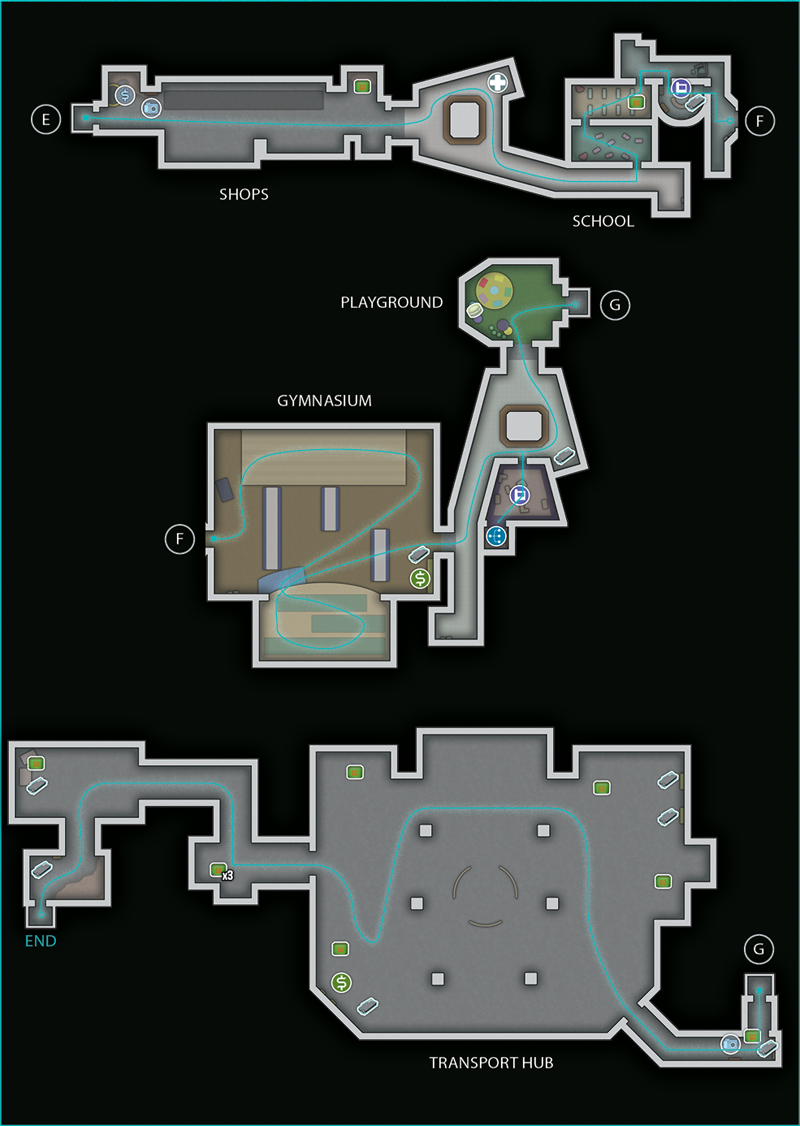
Once they are dead, head toward the opposite end where the school is located. Another Spitter and Puker will come at you from behind. Use stasis and then dismember them. Stomp on a container in a corner, and then enter the Titan Station Elementary School.
The School
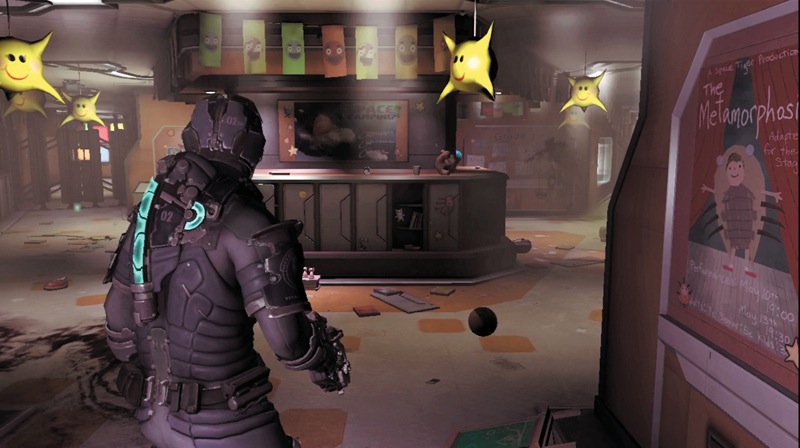
As you first enter the school, head left to pick up a med pack. The hallway in that direction is blocked, so make your way down the right hallway. As you pass by a classroom, look through a window. A woman is in there with a small Necromorph. As it approaches her, it explodes. Watch out for more of these Crawlers.
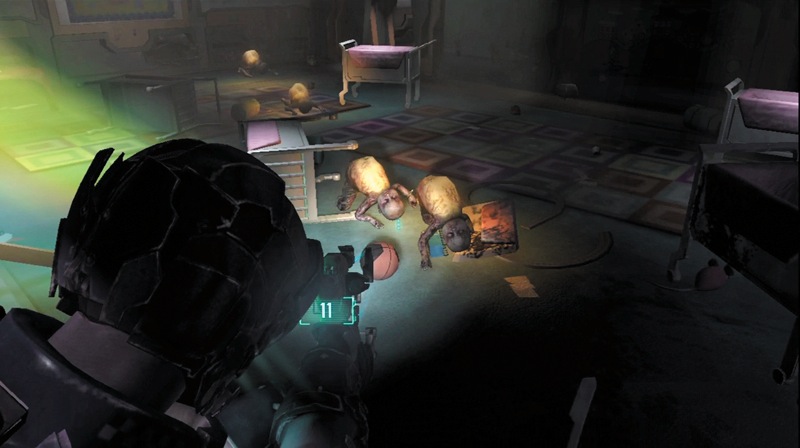
Go to the hall's end and then head through the door into the day-care classroom. Don't rush through the room. Crawlers will start coming out of a hole in the wall near the door to the next classroom. Shoot the Crawlers before they reach you. When you hit one and it blows up, it will often kill others near it.
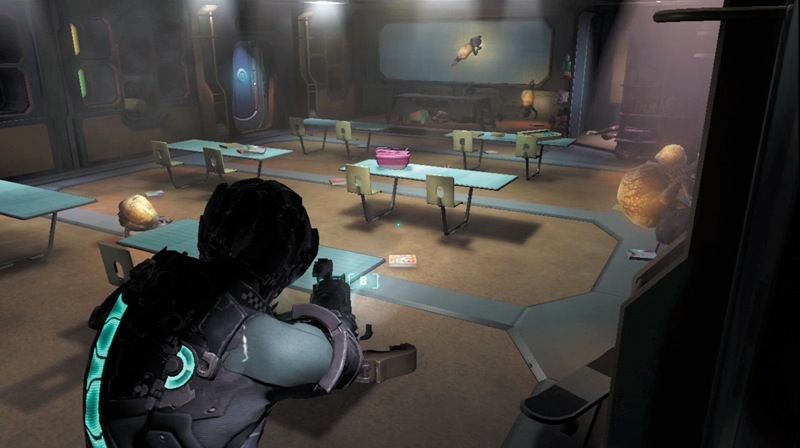
After they stop coming at you, walk into the next room. There are Crawlers all over in here. Pull back into the previous room and shoot at them as they come through the door. Finally, move in and finish off any remaining Crawlers. Stomp the container in the room to get an item, and then head through the next door into another hallway.
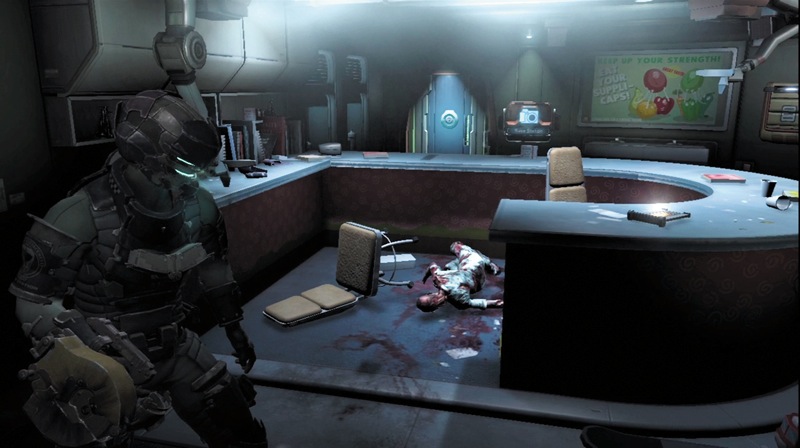
Continue into the school nurse's office. Pick up the text log on the counter. Check the lockers for some useful items, and record your progress at the save station. This is a good opportunity to max out your health and load all of your weapons.
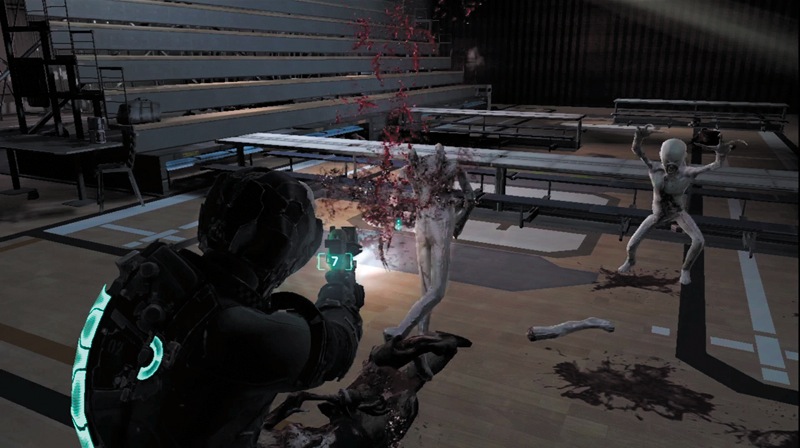
After exiting the nurse's office, go to the hall's end to pick up some ammo. You will experience a hallucination along the way. Go through the doorway into the gymnasium. As you start looking around, several Packs will come at you. There are only a few, so you can either shoot them or just hit them with melee attacks when they get in close.
Since the tables block your way, move around behind the bleachers to reach the other side. However, something will come at you from that direction, so deploy a few mines here. Shoot one to the path's end under the bleachers and two more closer to you. A Super Puker will come at you.
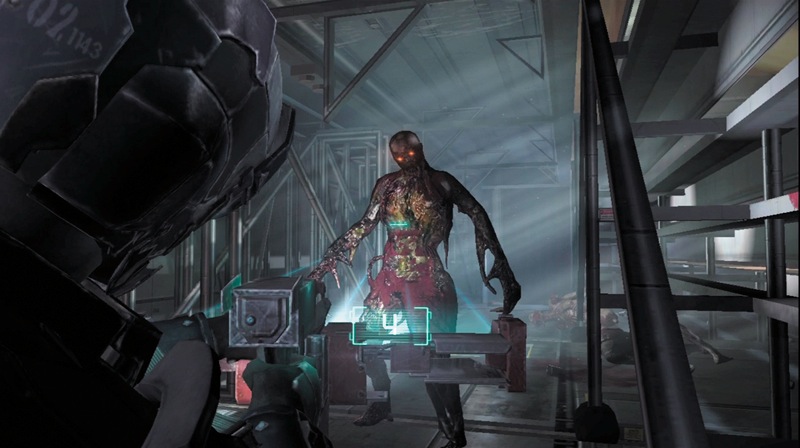
Back away to avoid its attack or try to catch it with kinesis and launch it back. The mines should kill the Necromorph, but be ready to hit it with stasis and then use weapon fire to finish it off. Watch out for the Pack that come at you from behind during this attack.
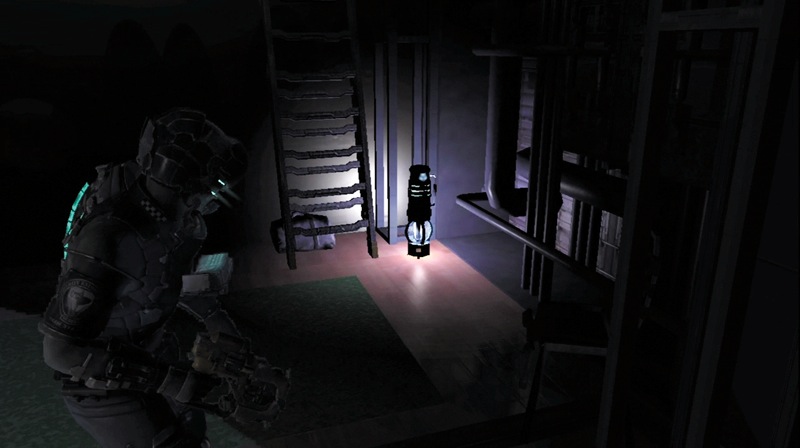
Follow the locator path onto the stage. Pick up this stasis container with kinesis and carry it to the console. Set it down, being careful not to launch it, and hack the console to lower the props and tables.
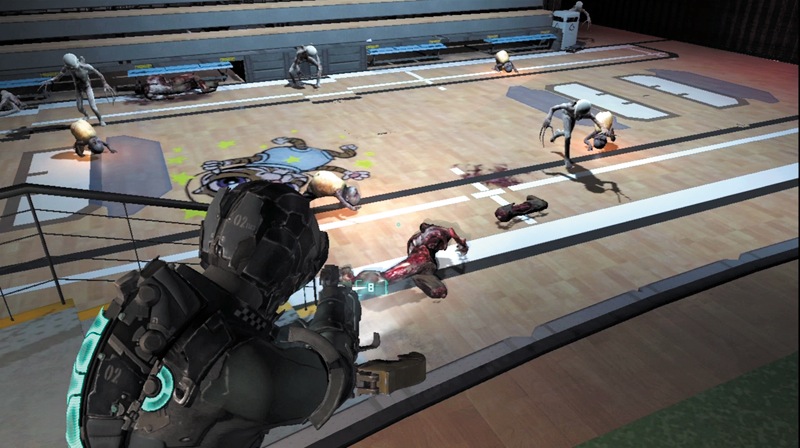
Don't leave the stage. Several Pack and some Crawlers start heading your way. Shoot at the Crawlers to blow them up, and take out some nearby Pack. Destroy all the Crawlers and then focus on the Pack.
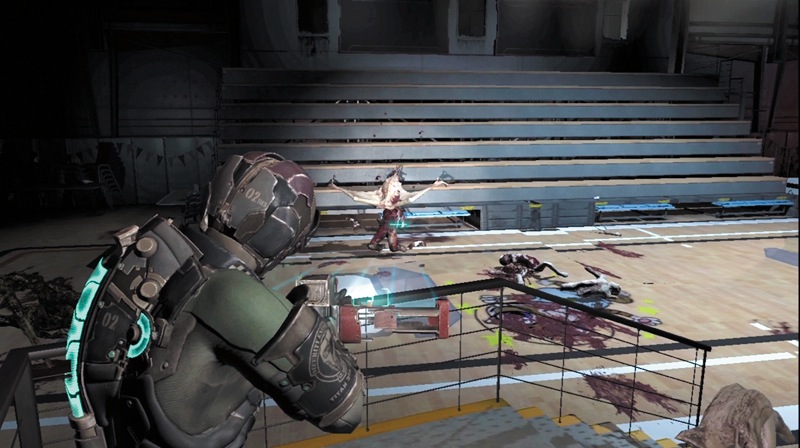
There are also two Infectors in the gym turning corpses into Super Pukers.
Launch the stasis container at the Super Pukers and then destroy them with your weapons. After you kill them all, pick up the ammo and credits left behind. Also, check the lockers along the far wall before you head out the door to exit the gym. You can really stock up here.
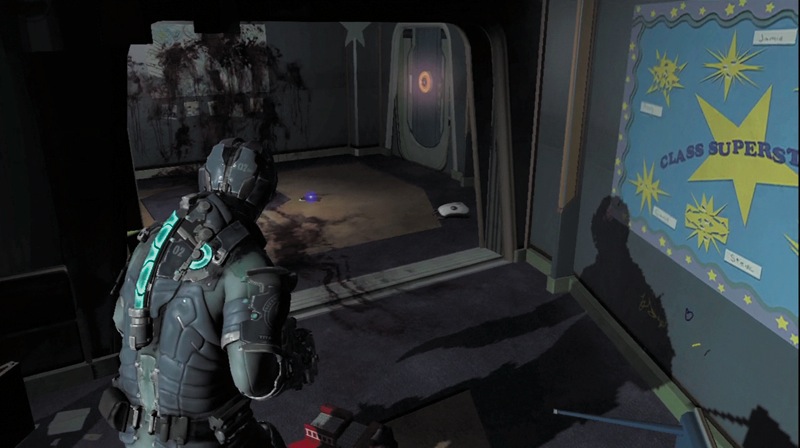
Follow the hallway around to the left. Looking through a window on the right, you can see into a classroom. It seems there is something on one of the desks. Enter the classroom to pick up a text log. Continue to the small area at the room's rear to pick up a schematic for a flamethrower. What kind of school is this? Exit the classroom and look around for some credits before heading through the doorway into the playground.
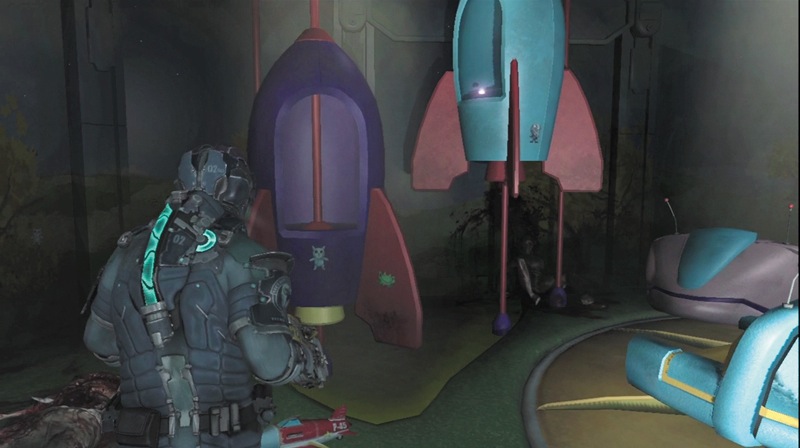
After having another hallucination, look around the playground. Check out the rocket ships on the left. One of them has a power node inside. Use kinesis to get it and bring it back to you. Now enter the elevator that will take you to the transport hub. As you are in the elevator, Ellie calls in. She has found Stross and will meet you at the hub.
Transport Hub
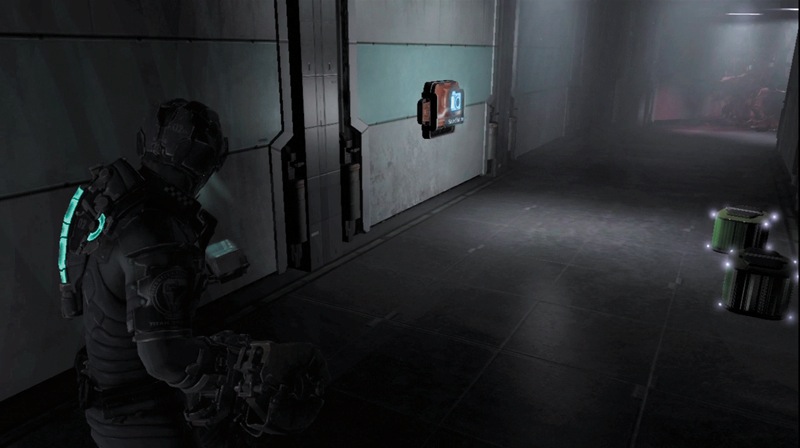
The elevator drops you off in a corridor. Stomp on the containers and check out the lockers on the wall to grab some items. Then record your exploits at the save station. Reload all your weapons before heading out through the door.
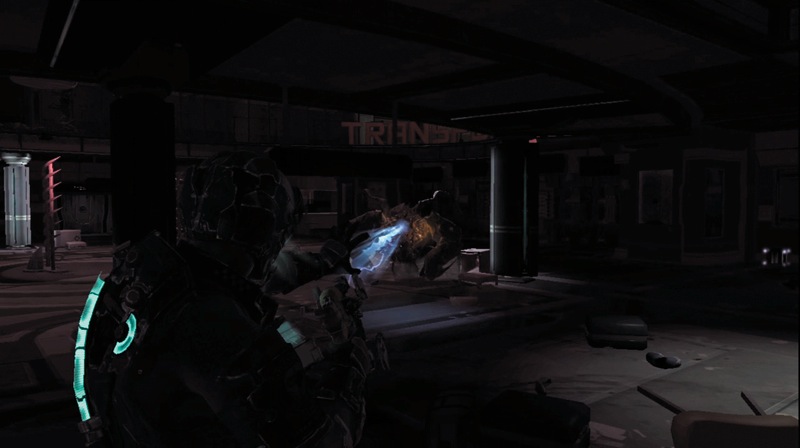
As you enter the transport hub, you see Ellie and Stross on an upper level. However, Tiedemann has shut off the power. If that wasn't bad enough, a large Necromorph called the Brute is loose on the floor. Grab a stasis container near a snack bar and launch it at the Brute. Then shoot at the yellowish infected flesh at its shoulders.
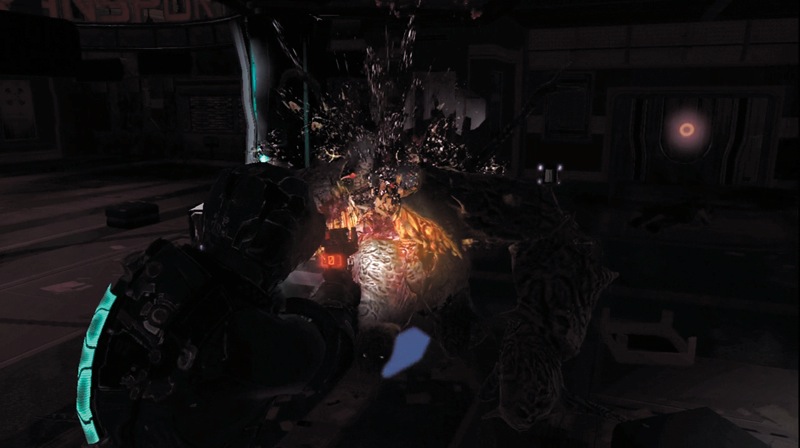
If you can slow it down from a distance, use the seeker rifle's alt-fire to get in some good hits from range. Then use your plasma cutter as it gets closer. Since you used the stasis container first, you still have at least two shots with your stasis module. If you upgraded your stasis module, you will have more than two shots.Keeping firing at the Brute until you shoot off one of its arms and it dies. Collect the semiconductor it drops, then search the lockers and stomp on the containers in the area.
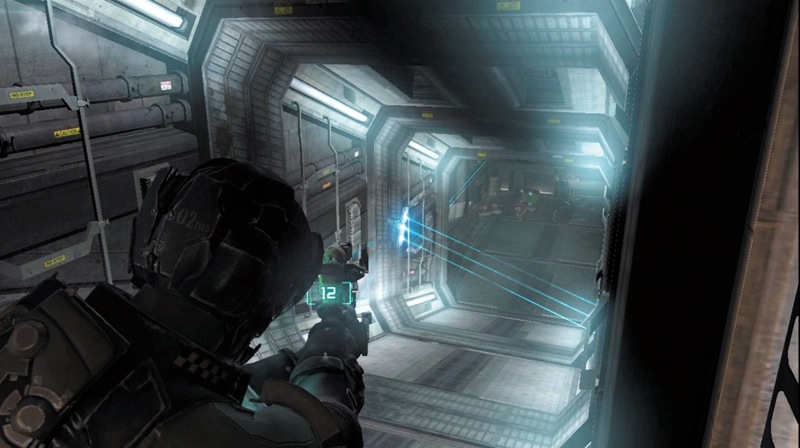
Once you have cleared out the transport hub, go through the doorway leading to the solar energy collector works. Stomp on the containers in the corridor to get some items; then head through the door on the left. As you follow this passage, you will see the blue laser trip wires of mines attached to the walls. Shoot at the mine to blow it up and clear the way.
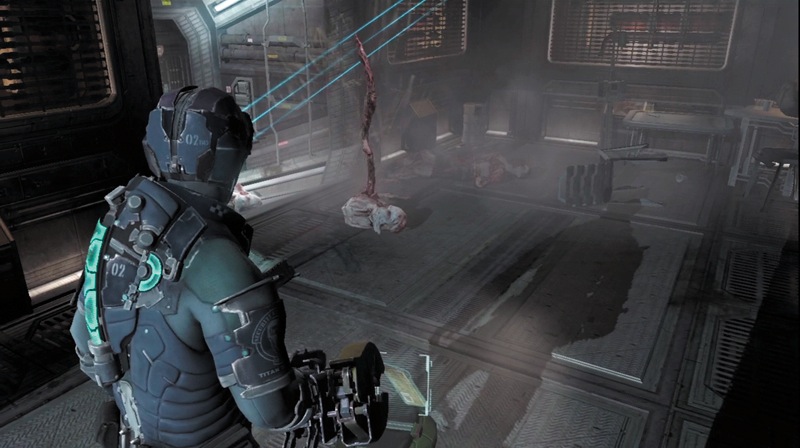
Head down the corridor to an area where you see another mine off to the left. Don't round the corner just yet. There is a new enemy down the passage—the Guardian. It will launch pods toward you that then fire projectiles from their tentacles. This Necromorph also has an instant-kill attack if you get too close, so keep your distance.
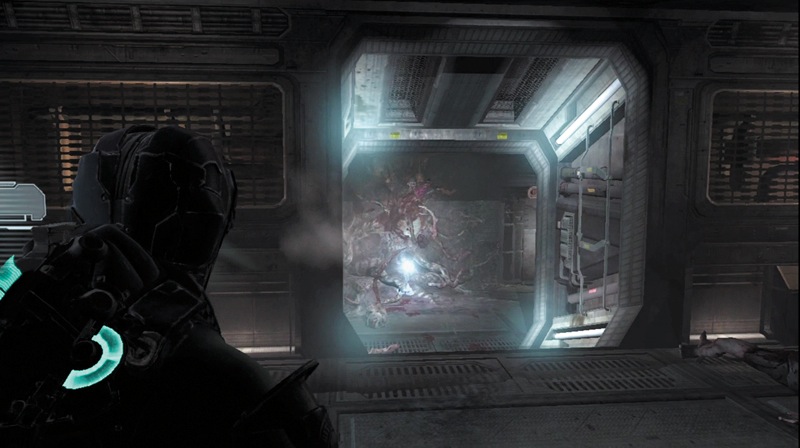
Shoot off the tentacles to get rid of the first few pods. However, you must kill the Guardian in order to get past it, and it will keep spitting out pods while it is alive; therefore, focus your attacks on it rather than wasting time and ammo on the pods. Hit it with stasis and then use the plasma cutter to shoot off its many tentacles. You can also shoot mines from the detonator so they land right next to the Guardian and blow up.
Once it is dead, pick up the ammo in the area and stomp on the container to get another item. Don't forget to pick up the semiconductor dropped when the Guardian dies. Check the locker on the wall as well. Finally, enter the elevator that takes you toward the solar array.