
Dead Space 2 Guide Walkthrough Clarke's Log: Walkthrough
Chapter 13
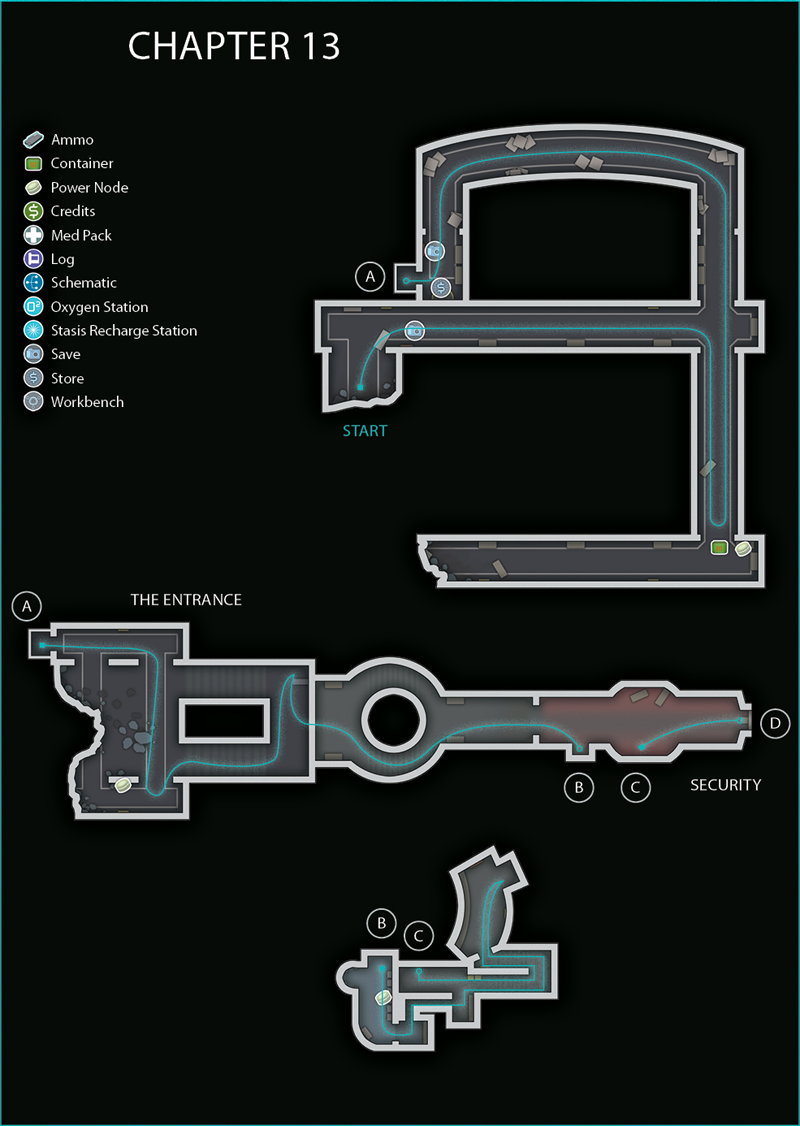
The Entrance
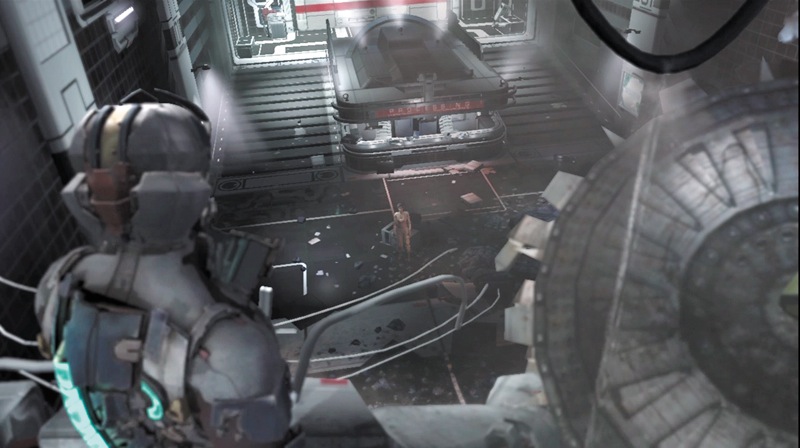
You have finally arrived at Government Sector. You are on an upper level while Ellie is down on the ground floor. Move out to meet up with her as she heads toward you.
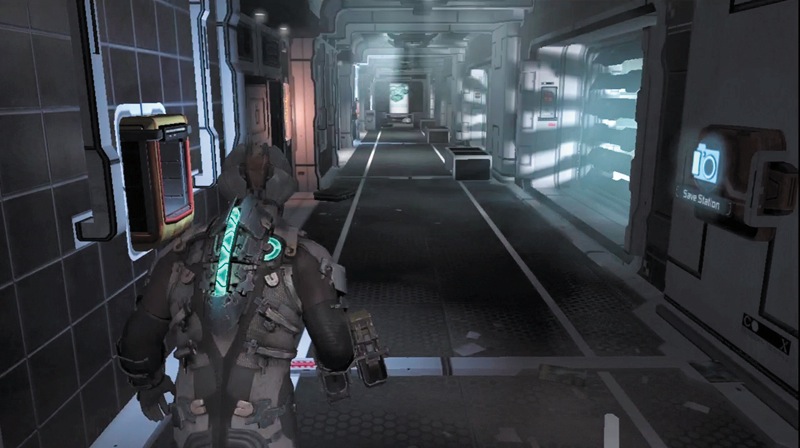
Enter a hallway and check a locker for an item. Use the save station to record your progress. Continue down the hallway, stopping to check another locker, then turn right down another hallway.
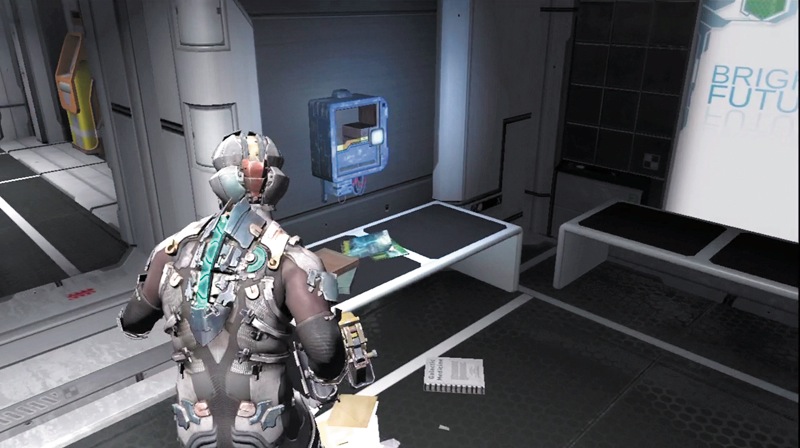
In the corner is a power node in a circuit box and a container. Head to the hall's end, getting some items from two more lockers. Next, backtrack to the large unlocked door. Use the locator to help you find it.
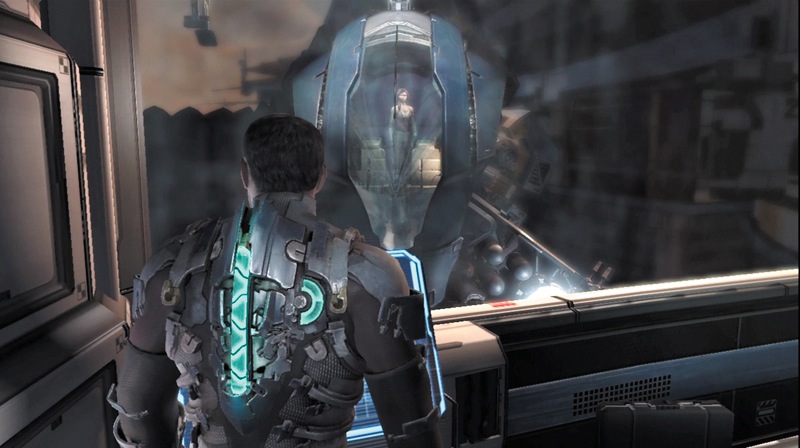
Go through a couple doors leading to the security gunship docking bay. Head to the blue console and activate it to send Ellie away to safety in the gunship.
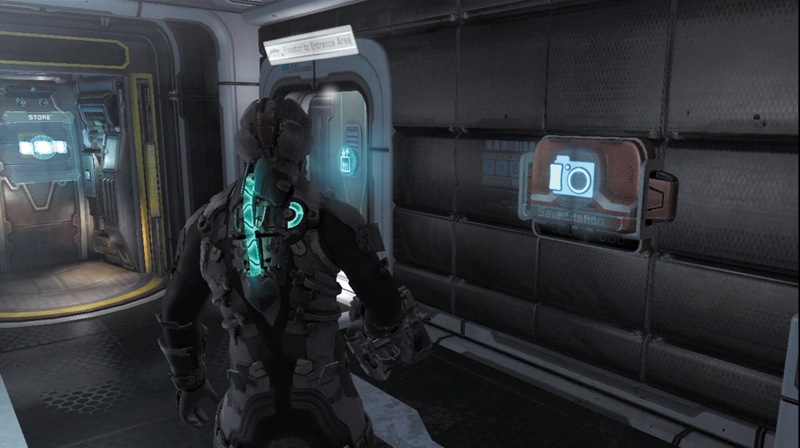
Follow the walkway to a save station and a store. Use both of them and then enter the elevator; take it down to the main floor.
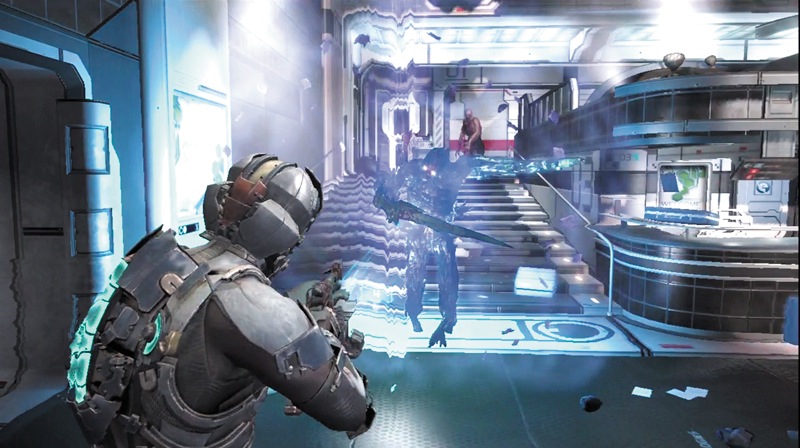
As you exit the elevator, a Super Slasher and a Puker move from the mine tunnel toward the entrance. Kill them and then note the stasis canister on the floor—you'll need it when things heat up.
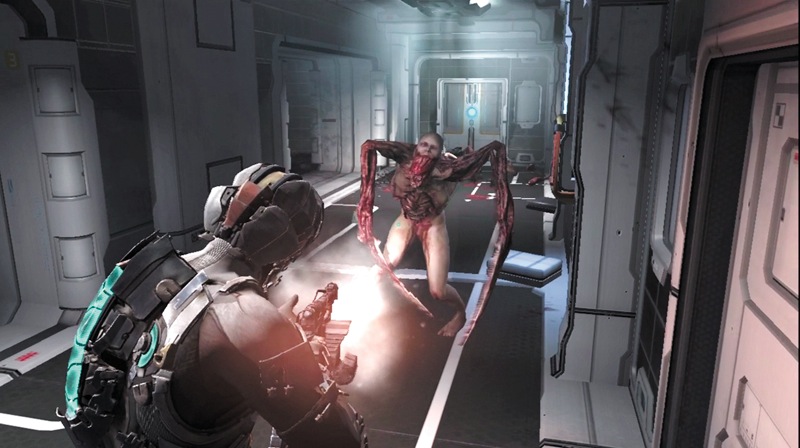
Unfortunately, these are not the only Necromorphs in the area. More Super Slashers, Spitters, and Lurkers pour out of the mine and into Government Sector. Move across the entrance area to a corridor on the opposite side. Pick up the stasis canister you saw earlier and launch it at a group of enemies.
Then hit them with a weapon that can affect several enemies within a small area, such as the line gun's timed mine. There is only one entrance to the other corridor. Barricade yourself in there behind some deployed devastator mines and shoot whatever comes through. Check the locker here and grab a power node from the circuit box.
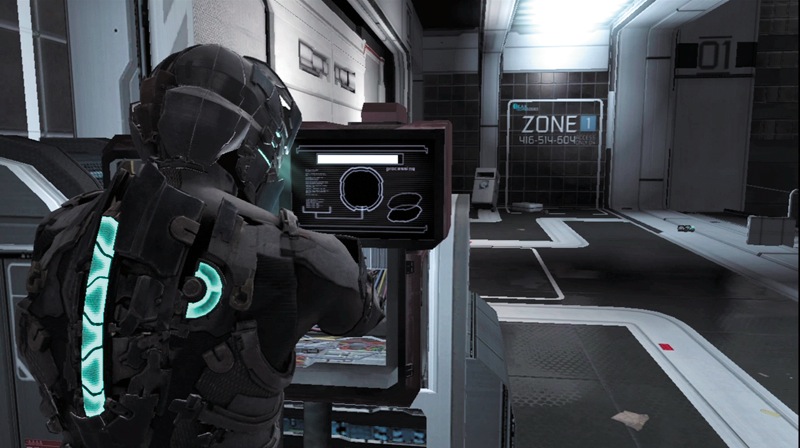
After you clear out the entrance area, move to the console to the large door's left and hack your way through the security. More enemies will show up if you hang around too long, so when you get a lull in the combat, go straight to the hack. After the door is open, rush through, head down some stairs, and continue along a corridor.
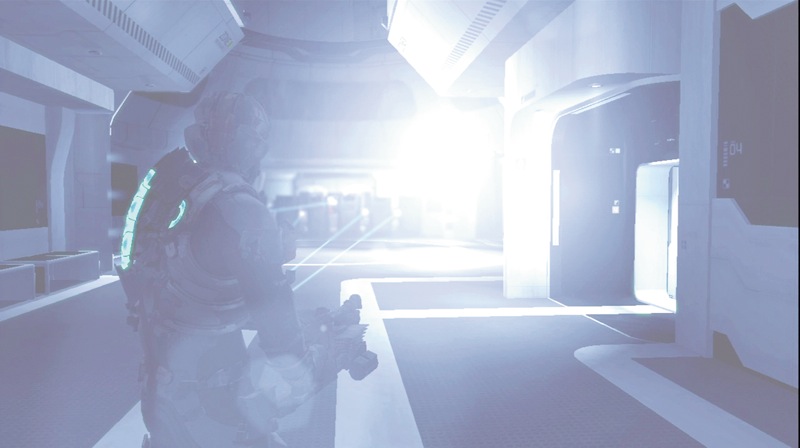
At the corridor's end, there are lots of EarthGov security troops with their weapons aimed at you. They call on you to drop your weapons. Instead of complying, run through the door to the right and enter a restroom. Pick up a power node by the sinks.
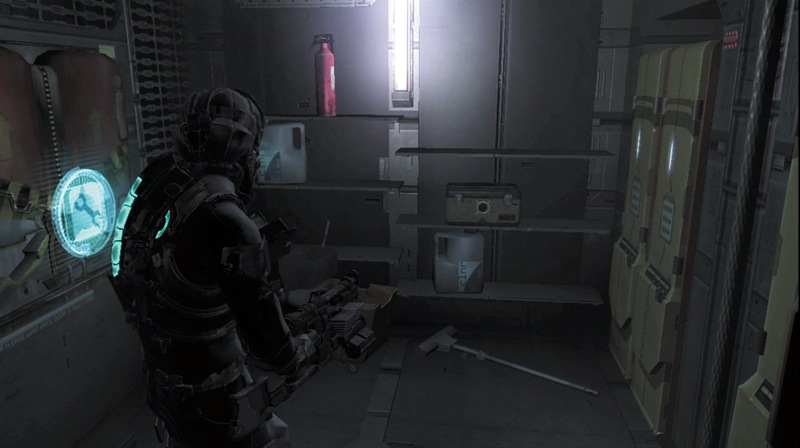
Enter the facilities access and search a couple lockers for ammo and credits. Then open the hatch and enter the access tunnel. Crawl through it to get past the security troops.
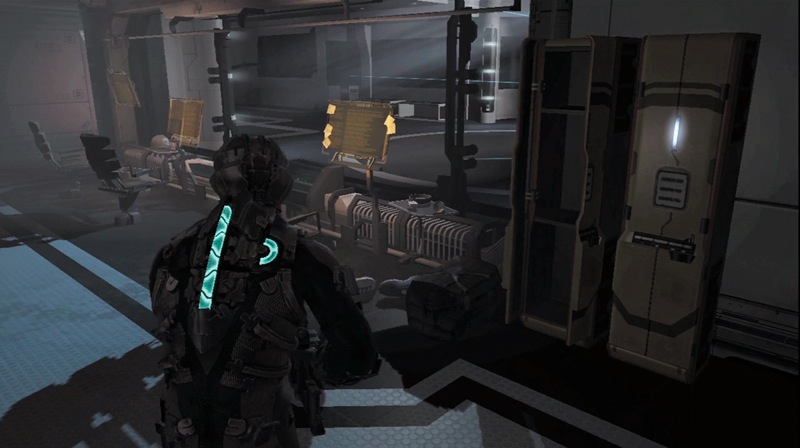
You emerge in a room to the side of the security force. You can see their laser sights waiting for you to emerge from the restroom. However, you have other plans. Search the lockers and then head up the stairs.
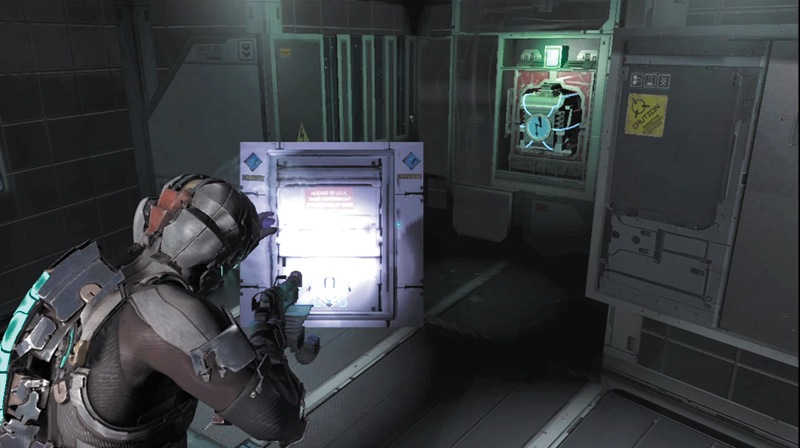
Enter a control room and search the locker before saving your progress at a save station. Now use kinesis to remove a GRIP panel and then pull out a power cell.
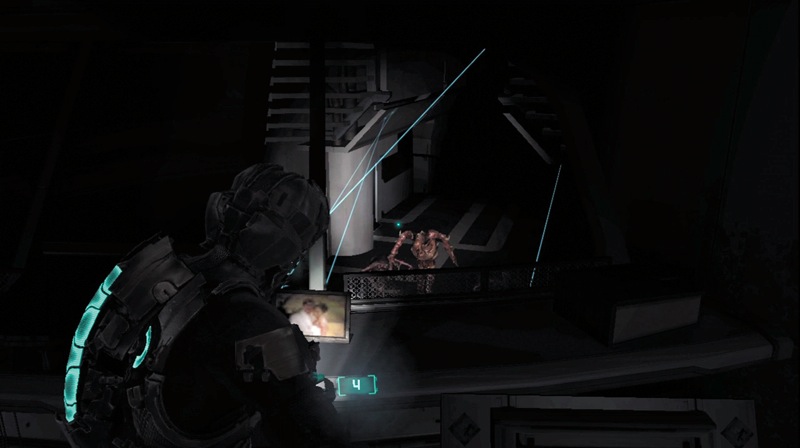
The power in the area goes out, leaving the security troops below in the dark just as several Necromorphs start charging in. There is a lot of fighting going on. You hear Tiedemann order the troops back to the Marker chamber. Wait until it is quiet and then exit the control room.
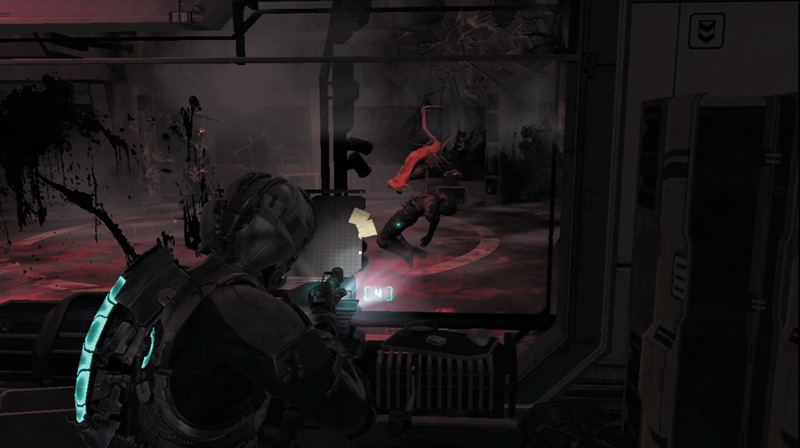
Head back down the stairs. Through the windows, you can see Necromorphs out in the large room. Pick up the stasis canister; when three Super Slashers charge in from the direction of the stairs, launch it at them.
Then blow them apart with the contact beam. An Infector will join them, so kill it as well. Once they are down, head through the door into the large room. There is an Exploder, a Puker, and Swarm out there.
Deploy a mine, then go back through the door. Try to lure them toward your mine. Once it detonates, move out and finish off any survivors. If things get too tough, just hit any nearby enemies with stasis and run for the door.
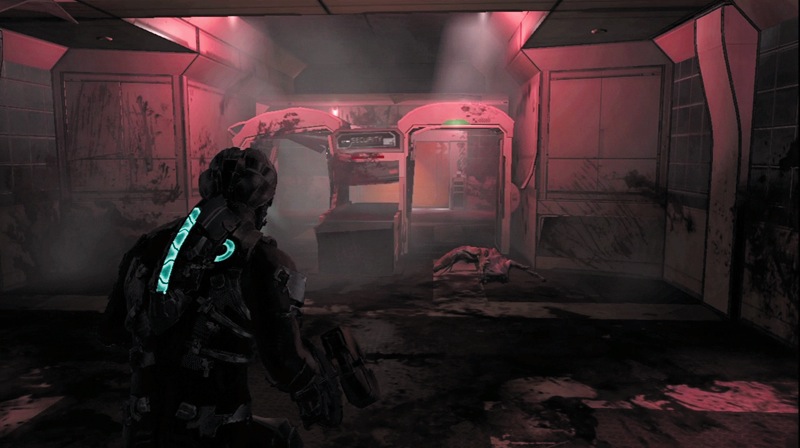
Now that the area is clear, reload all of your weapons, head through the security sensors, and enter the door into the next area.
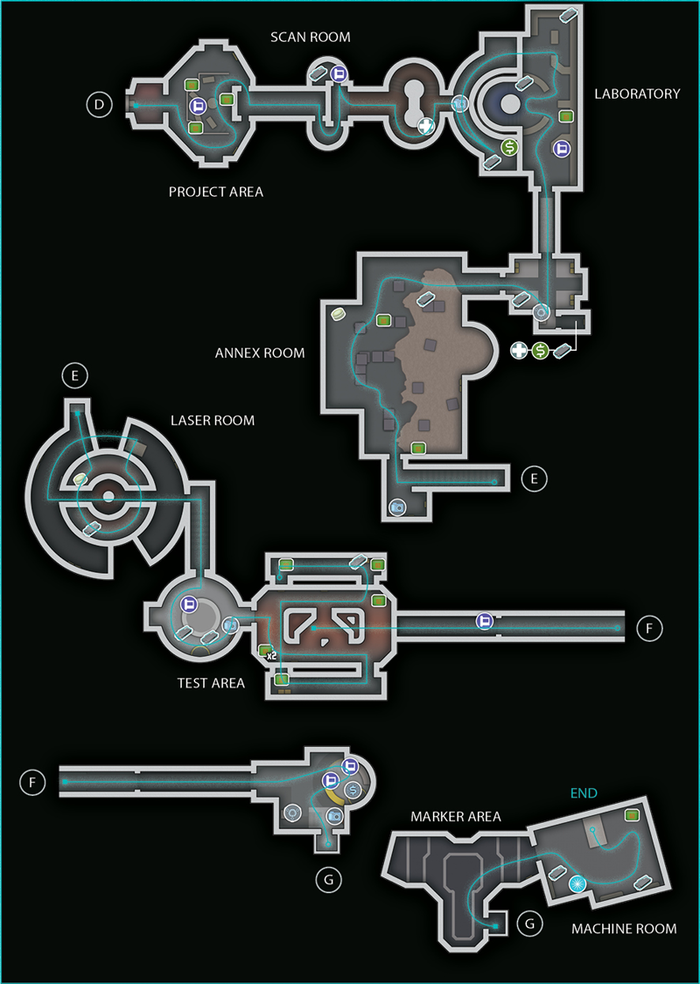
Project Area
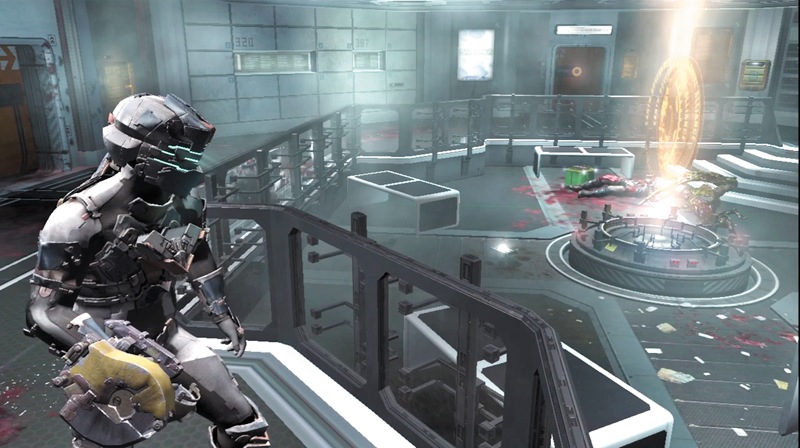
As you enter, Nicole tells you to go to the Marker. However, before you do, search the lockers and stomp on the containers and corpses to find ammo and credits. There is also an audio log in this room. Once you have everything, go through one of the two doors that lead to the project entrance scan room.
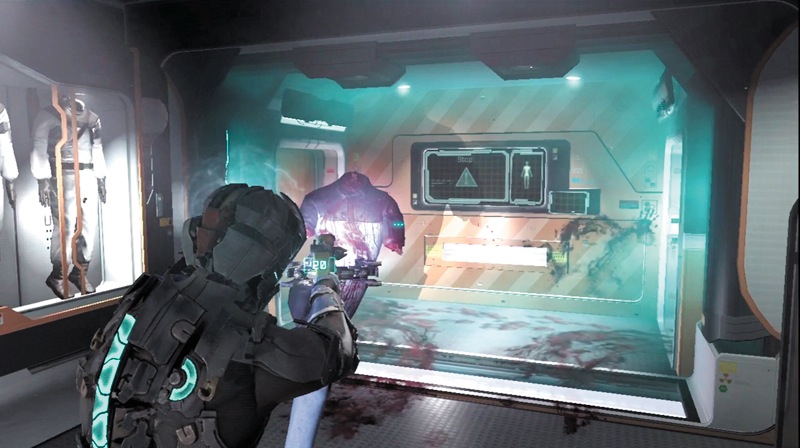
In the scan room, use kinesis to pick up the corpse on the ground and carry it toward the scanner. This will fool the security scanner into unlocking the door on the right. Head into the next room and grab the audio log and some ammo.
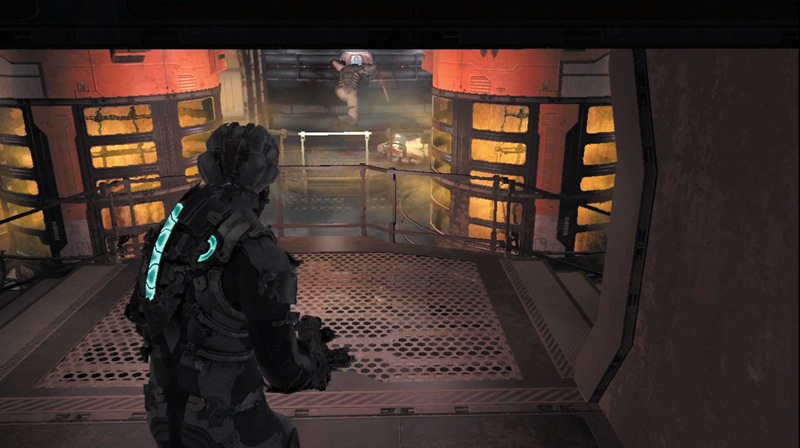
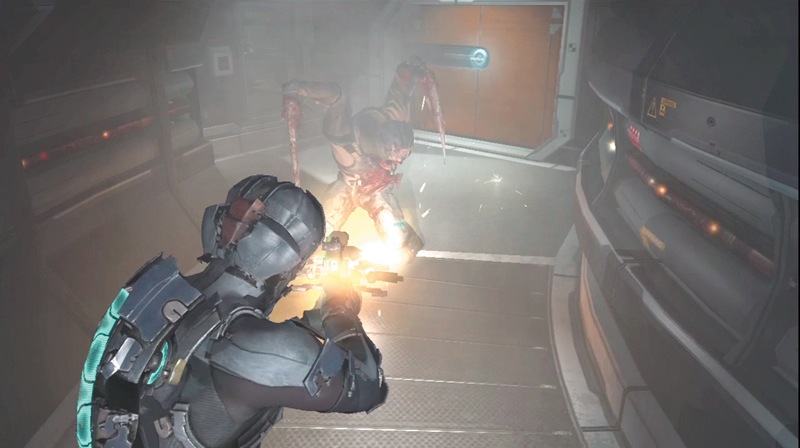
Head down the corridor to a room with some laboratory tanks. As you approach, you see something run away. Continue around the tanks and stop to record your progress at the save station. Search this area for a med pack, credits, and ammo. From the save station, go left. As you near a door, a Slasher appears from a duct in the ceiling. Shoot off a leg to drop it to the ground and then shoot off an arm to kill it.
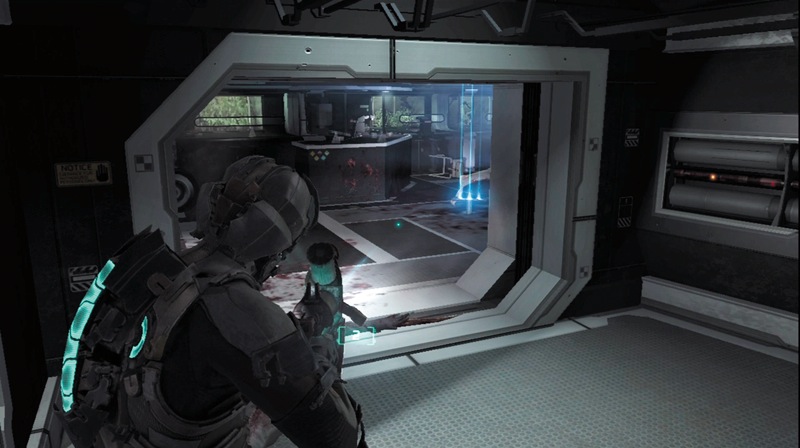
After opening the door, you can hear some Necromorphs inside. Deploy some mines into the next room on the right. When a Leaper crawls into it and blows up, deploy some more and move into the room's far left corner.
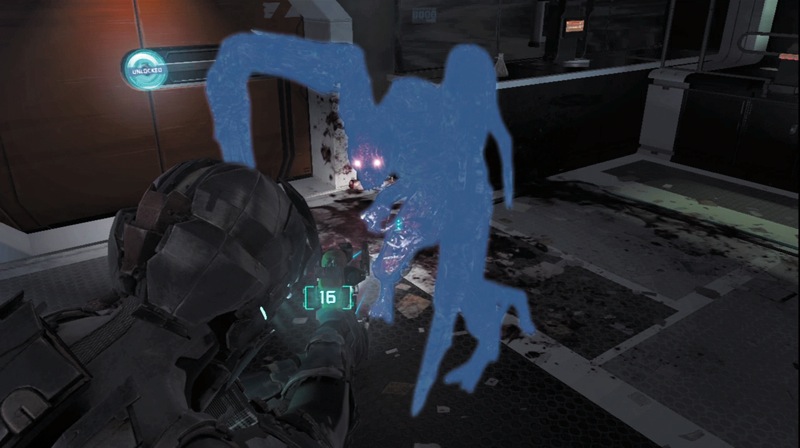
You must now face off against several Super Slashers, Slashers, an Exploder, and Pukers. Some come from across the room while others drop from the ceiling near the door. Use stasis on the Puker and Super Slashers; this makes it easier to kill them without getting hurt. When it is quiet, search for ammo, a container, and an audio log. Now exit the room through the other door, head down a ramp, and into the project annex.
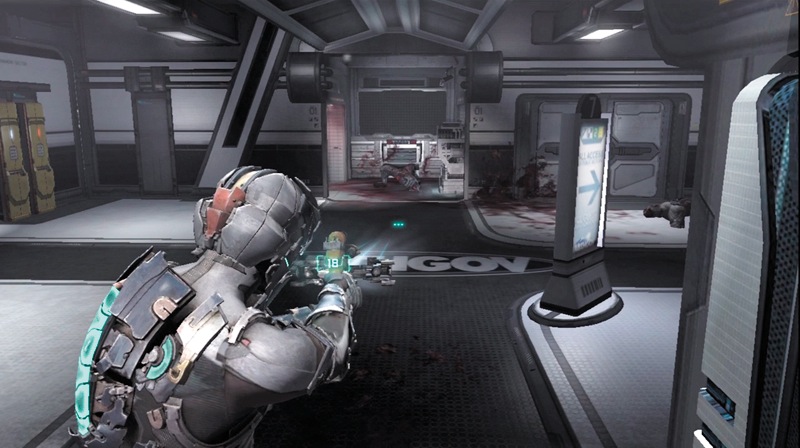
In the annex room, search the lockers for some ammo and then use the workbench. This room also has a locked storage room. Use a power node to get inside, where you will find credits, a med pack, a semiconductor, ammo, and a stasis pack.
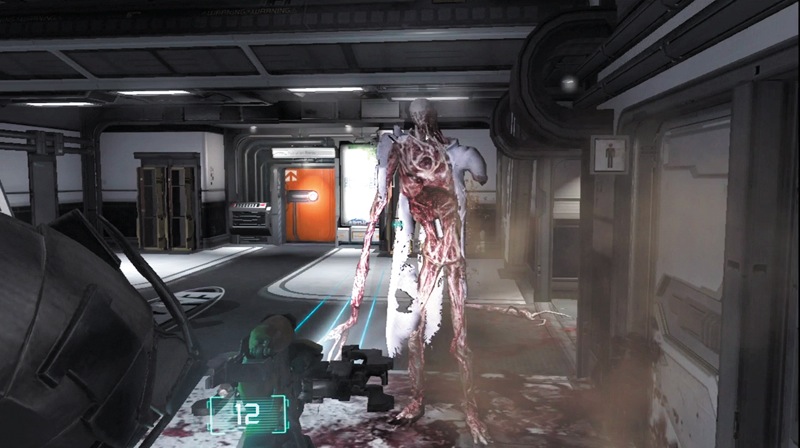
As you step out of the storage room, a Divider will attack you. Shoot it until it divides into smaller parts. Just as they drop to the ground, hit them with stasis and kill them individually with a weapon that can damage everything within an area of effect. Once they are all dead, head through a couple doors and into the core sample storage.
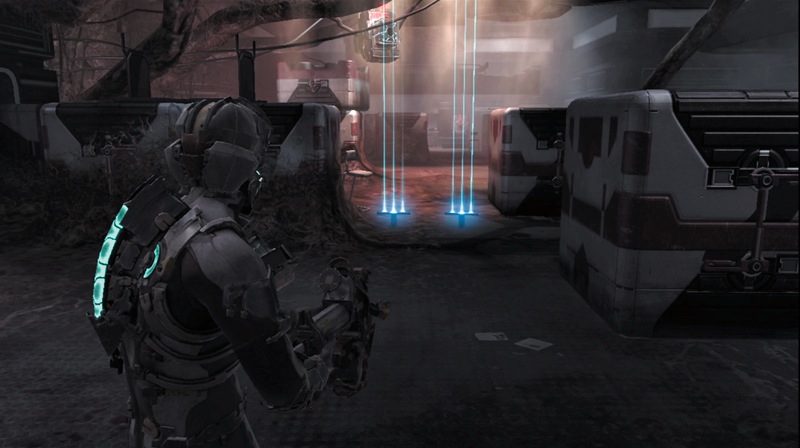
It looks like the Necromorphs have taken over this large room. Deploy some detonator mines at a gap between the crates to try to corral the enemies in the middle. There are several Stalkers in here, and some Pukers will come to join in the mayhem.
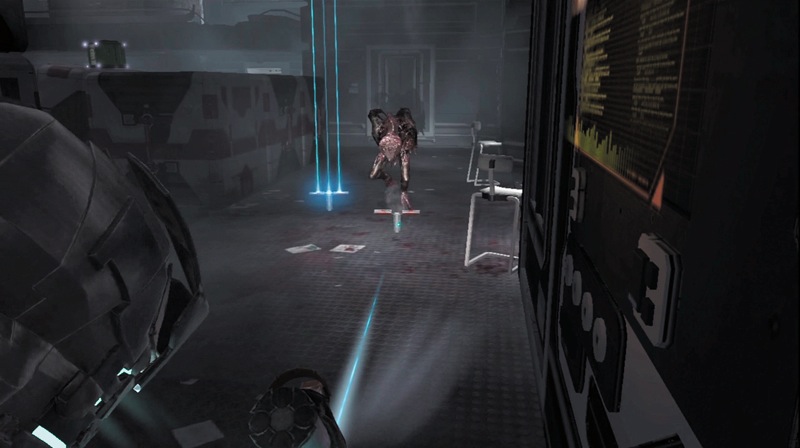
The mines will take out a Stalker with a single blast. However, they are working together. As one blows up by going through a mine, it creates an opening for others. After placing mines, get your contact beam or ripper ready to deal with anything that gets by your mines. Try to engage the Pukers from long range before they can get close enough to hit you with their acid. Use stasis if they get in close.
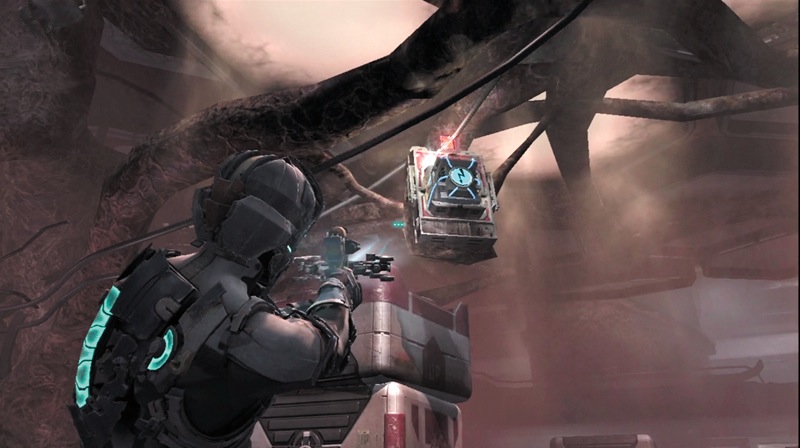
Search the containers and lockers for ammo and credits. Then use kinesis to get the good power cell and carry it to the door on the room's far side. Remove the bad power cell and replace it with the good one to unlock the door so you can continue.
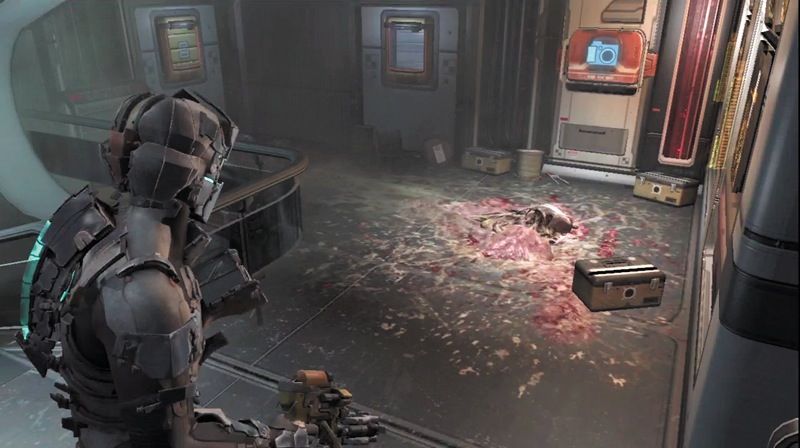
In this next area, kill the Cyst so you can search the locker and then record your progress at the save station. Also reload your weapons and determine the ammo you have for each. If you are getting low on ammo for a weapon, start using others more. Now head down the ramp and exit through the door at the bottom.
Rotating Lasers
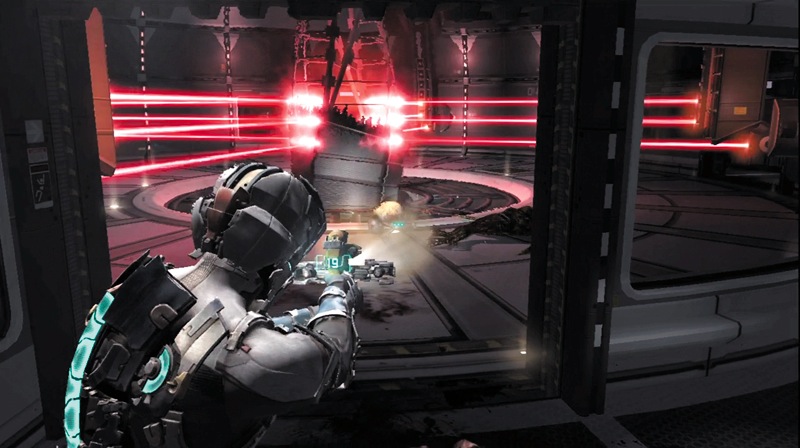
In this next area, you must dodge lasers in order to reach your destination. Before you try this, wait by the opening to the laser area and kill the Crawlers along the floor and the legless Necromorphs.
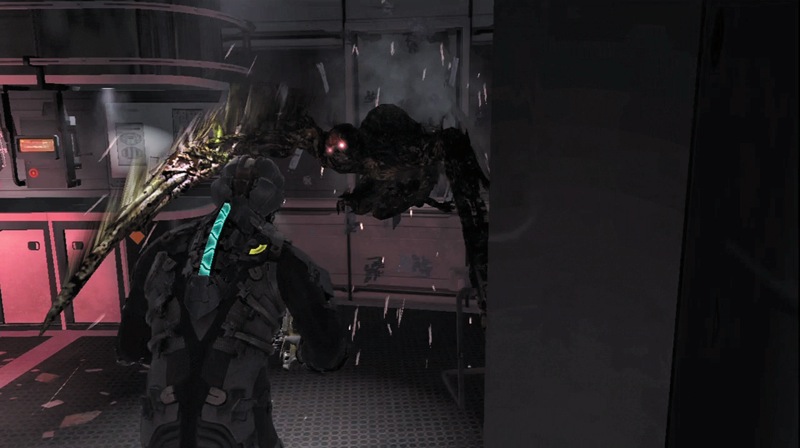
Get your ripper ready. Use stasis to hit the laser on one of the arms at the end. When one arm of lasers goes by, run to the right and duck into a side room. A Super Slasher immediately jumps out at you. Saw it to death and then back away from the door. There are several more Necromorphs headed your way—Slashers and Pukers. All of them are legless since they were damaged by the lasers. Once you kill them all, get a power node from the circuit box and check the locker.
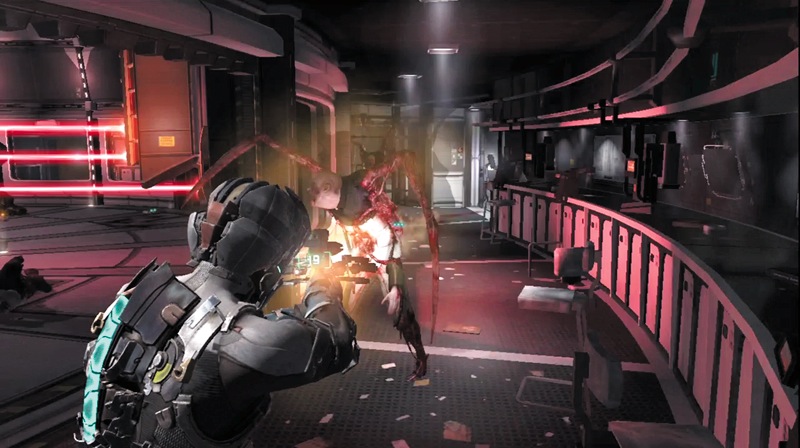
Use the same method to reach the next room on the right. Pick up the ammo inside and then be ready to deal with some Crawlers.
Continue around through the laser area to the third side room. Be ready to kill two Slashers that charge you as well as a legless one who comes at you from the laser area.
After checking the locker, head to the cargo lift and ride it to the top.
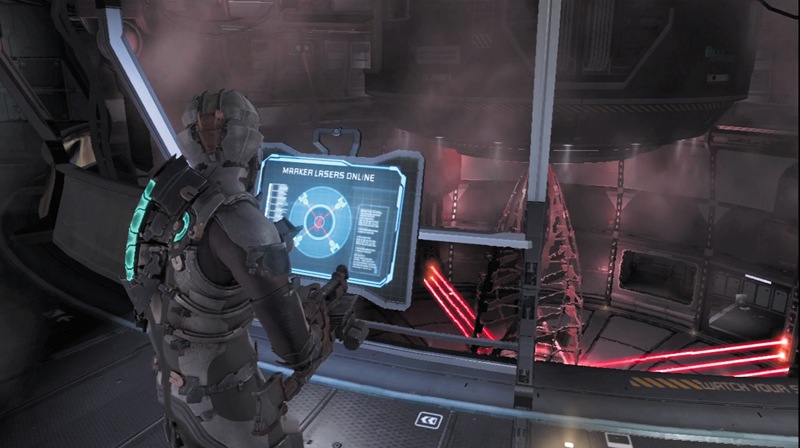
Follow the passage to its end. Search a couple lockers, then return to the blue console in the middle. Use it to turn off the Marker lasers. Then use kinesis to pull on a GRIP icon and lower a walkway.
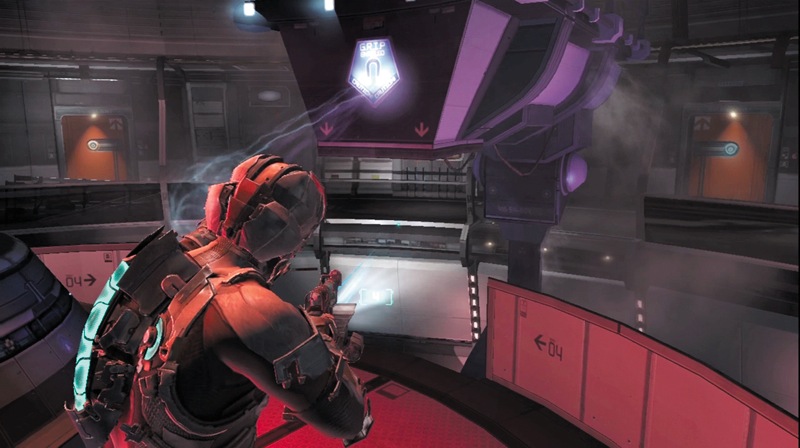
Move to the middle of the laser area. Use kinesis again to pull on a GRIP icon and move another walkway into position, allowing you to cross the room. On the other side, check lockers and a container, then pick up some ammo. A Slasher and Super Slasher drop from the ceiling to attack you. Kill them both and then head through the door.
Test Area
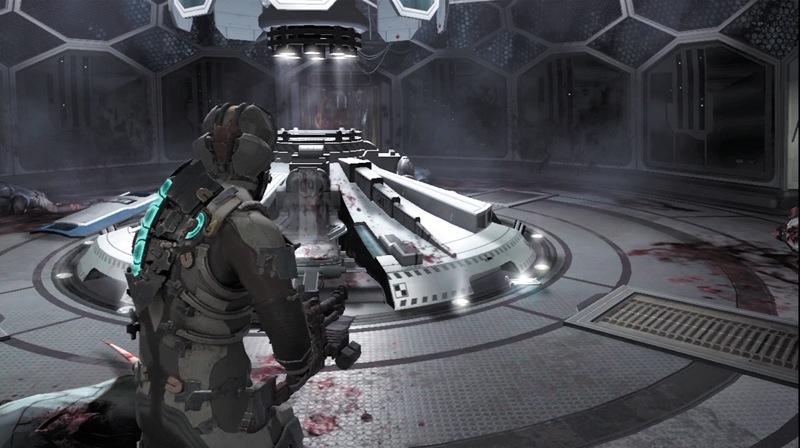
Advance down a ramp and go through another door to enter a circular room with several corpses. Pick up the ammo and an audio log. Stomp on all the dead Necromorphs to get even more items. Once you have what you need, record your progress at the save station and head through the unlocked door on the right side.
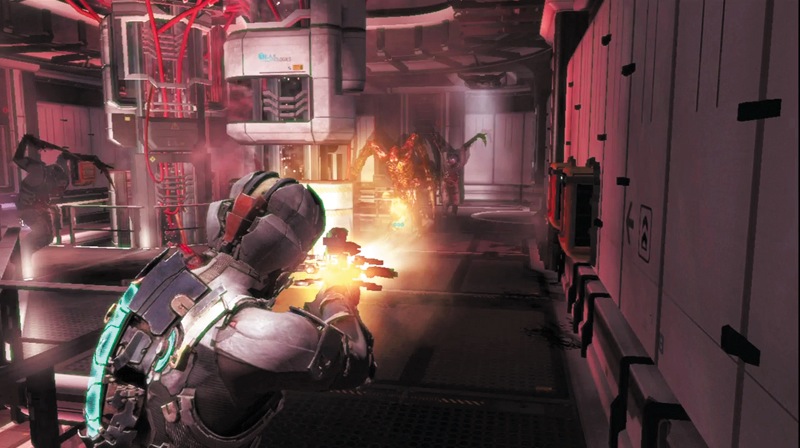
This walkway circles around a room. Down below you can see Necromorphs. While the walkway you are on is clear now, it is about to get very crowded. Deploy some mines along the left side, especially in front of the vents—Necromorphs like to jump out from these. Deploy more mines farther along the area's right side, then shoot the heads off the Crawlers so you can use the explosive sacks for other enemies.
About this time, a large group of Slashers, Super Slashers, and Pukers will start heading your way from the right side. Quickly deploy more mines in front of them to slow them down. Then start shooting off their legs or killing them outright with the contact beam.
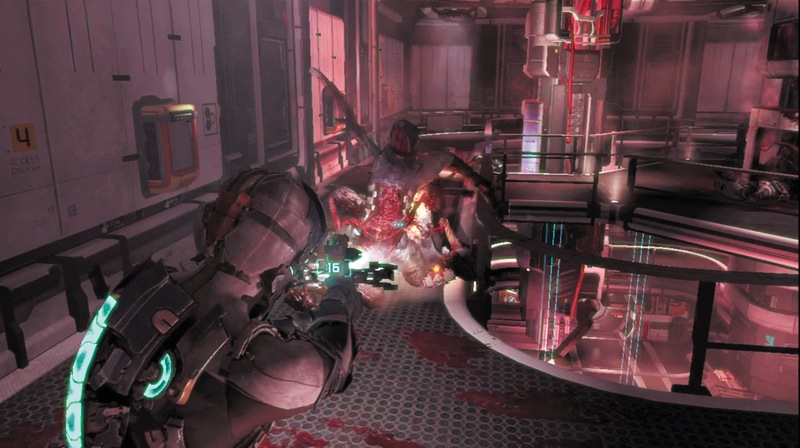
More Necromorphs will attack from the left side now. Hopefully your mines killed or wounded a few. Since there are no Pukers here, let them come at you. Use the ripper to cut them down or shoot off their legs with the plasma cutter to slow them down. Finish them off by shooting off their arms.
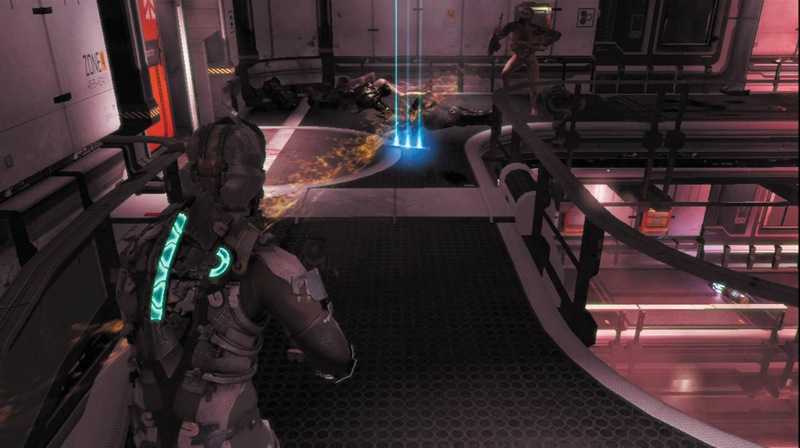
It really starts to get tough when a couple Pukers and two Spitters come at you. Use stasis on the Pukers since they are tougher to kill, and then go after the Spitters. Try backing away and dodging the acid as you deploy mines. Another tactic is to catch their projectiles and throw them back at them; this will cause significant damage.
They are followed by an Exploder, a Puker, and then a Super Slasher. After you kill them all, check the lockers in this area and pick up the multitude of ammo and other items left behind by the dead Necromorphs. Finally, go through the unlocked door.
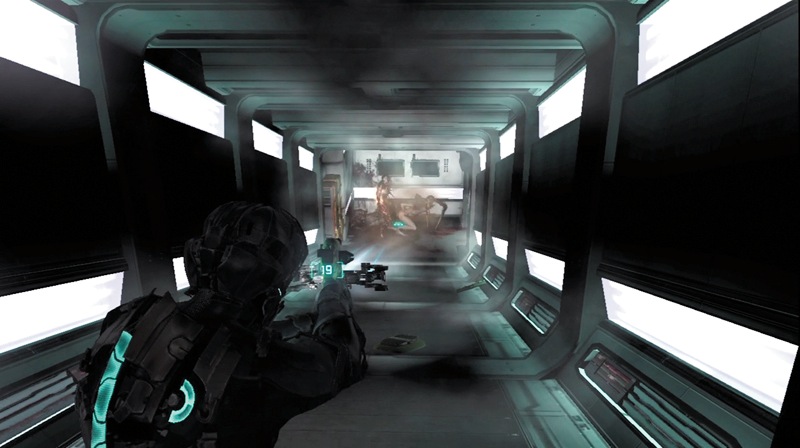
As you go down a corridor toward the lower level, watch out for a Spitter and Super Slasher that drop from the ceiling at the far end. Hit them with a blast from the contact beam or use another weapon to kill them. Then get the items from the crate as well as the locker before exiting through the door at the bottom.
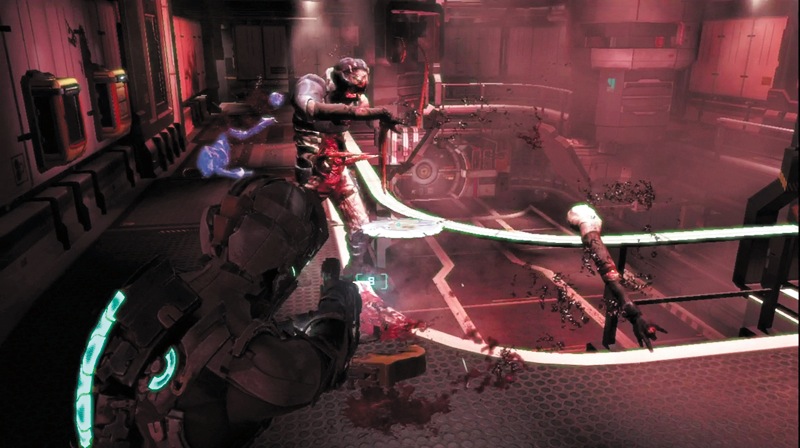
You emerge onto another walkway similar to the one you just left. As you head around to the other side, an Exploder will crawl out of the far wall. A Slasher comes out of the wall nearest the door through which you entered. Try to kill the Exploder to keep the sack intact and then deal with the Slasher. Use the sack to attack a Super Slasher that appears next.
You then must deal with two Pukers, another Super Slasher, and a Spitter. After killing them, check the lockers and stomp on the dead Necromorphs for items before heading through the door to the next area.
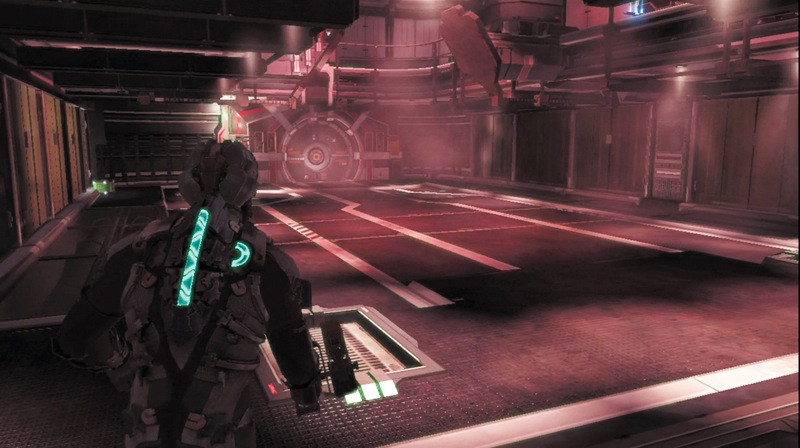
Check a container and lockers before going down another ramp. Grab an item from the container on the way down. Next, go through the door to enter the ground floor of the room below the walkways. Use kinesis to pull the containers toward you and then stomp on them to get the items inside.
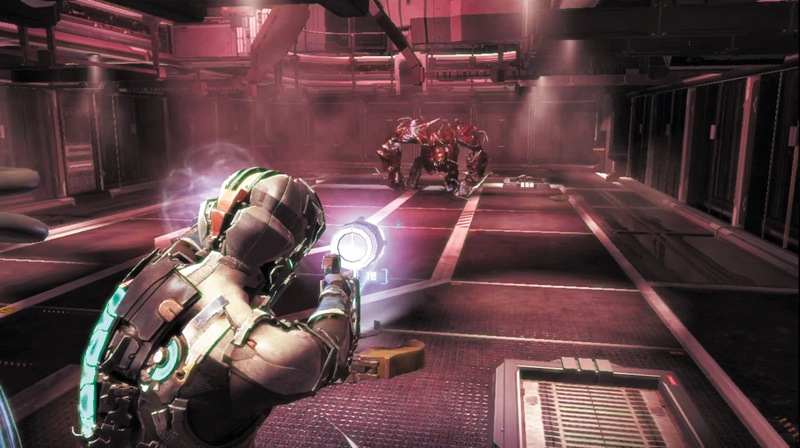
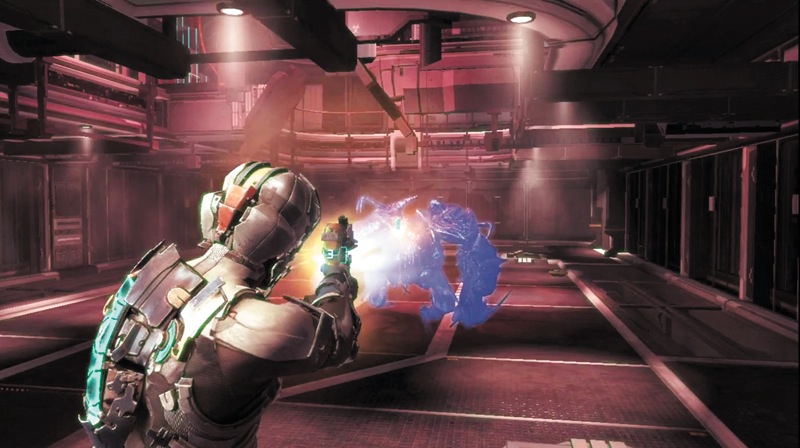
As you approach the large round door at the room's opposite end, pick up the stasis canister, which you will need as a Brute drops down from above. Launch the stasis canister at it and then aim at the yellowish flesh on one of the shoulders and start shooting. Use your stasis module to hit it as needed while you keep shooting until it is dead.
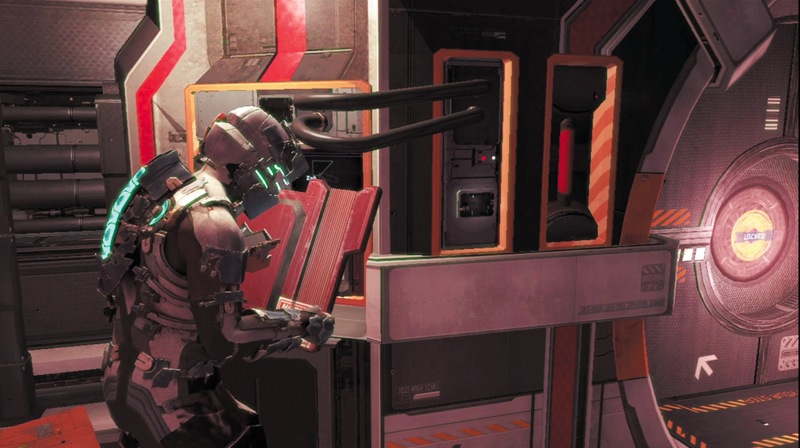
Now pull off the panel to the round door's left and hack the controls to open the door. Head down a ramp, picking up an audio log along the way, and go through another round door.
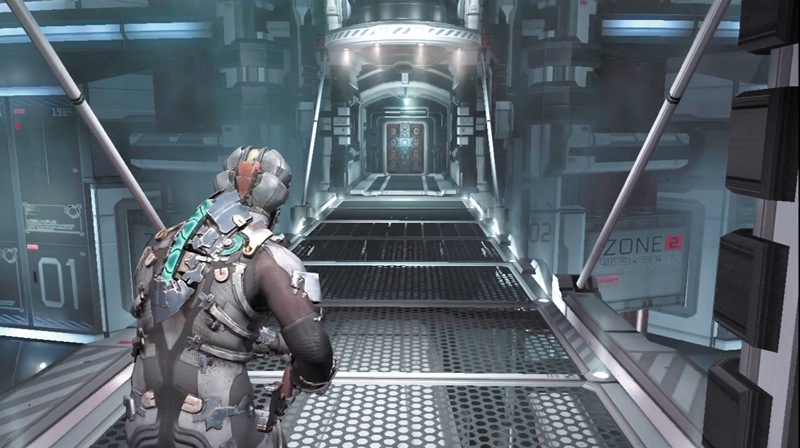
Cross a bridge and pass through another door. Continue along a corridor and then go through the door at the end to enter a new room.
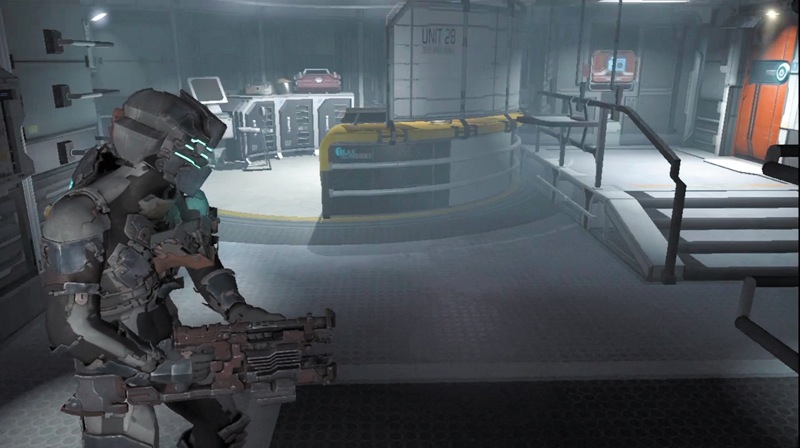
This room has a store, a workbench, and a save station. Pick up a text log on the counter near the store and an audio log on the cabinet across from the counter. At the store, sell any semiconductors you might have. Buy some power nodes and use them to upgrade your weapons and equipment. Use the save station before you leave. Board the elevator and take it up to another level.
The Marker
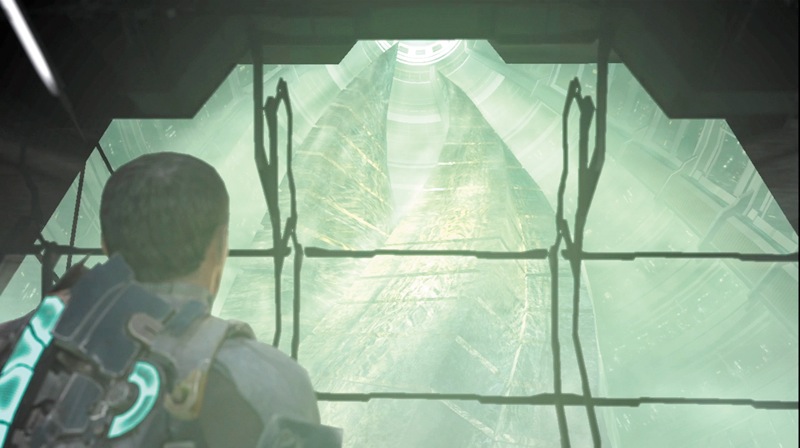
As you exit the elevator, you see a giant Marker up ahead. After Nicole talks to you, get a stasis pack from the locker and head through the door.
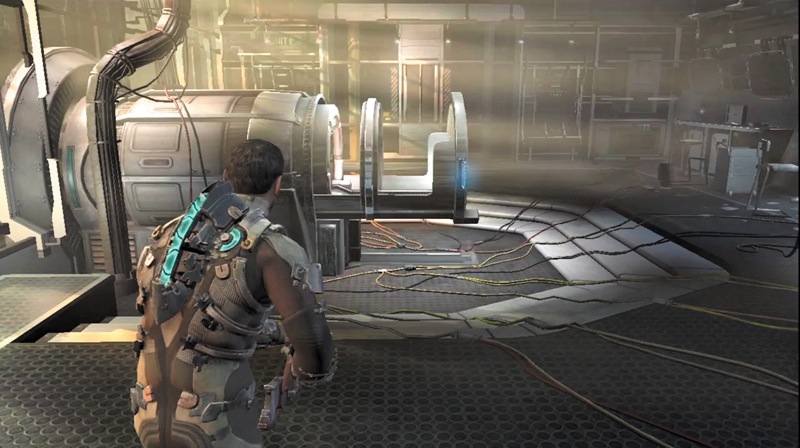
You enter a room with some type of device in the middle. Look around for a while. Recharge your stasis at the stasis station if necessary, then grab ammo from counters and from a container. Make sure all your weapons are fully loaded. When you're ready, activate the blue console next to the device.
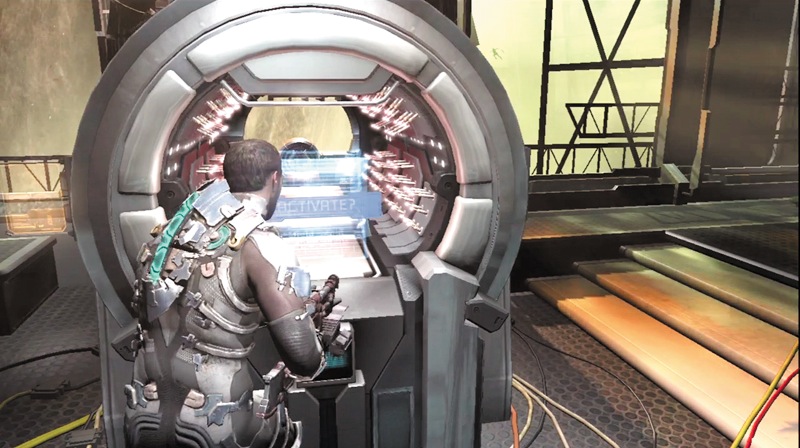
Nicole appears and explains that the device unlocks the part of your brain where the Marker code is stored. If you want to destroy the Marker, you will need to use it. Activate the machine to continue.
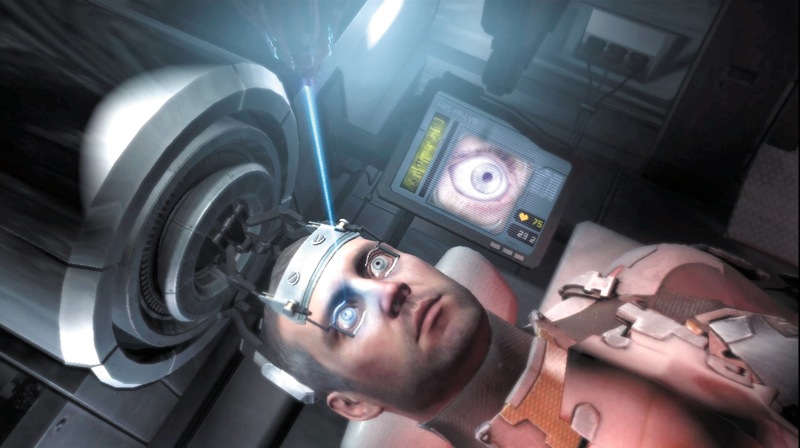
After you crawl into the machine and are secured, move the red laser so it is directly on your right eye and the laser turns blue. Then begin to move the needle down. As the view zooms in, keep the laser blue and centered on your eye. If the laser turns red, stop moving the needle down and recenter it. When you get close to the eye, the target will become increasingly more difficult to hit. So tap the needle a little bit closer and take your time.
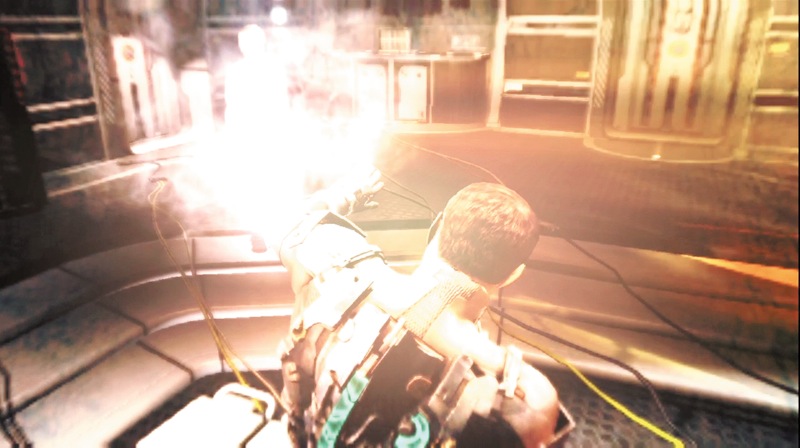
As you climb out of the device, Nicole tells you to follow the light—she will be waiting for you at the Marker.