
Dead Space 2 Guide Walkthrough Clarke's Log: Walkthrough
Chapter 15
It Ends Here
Get to the Marker
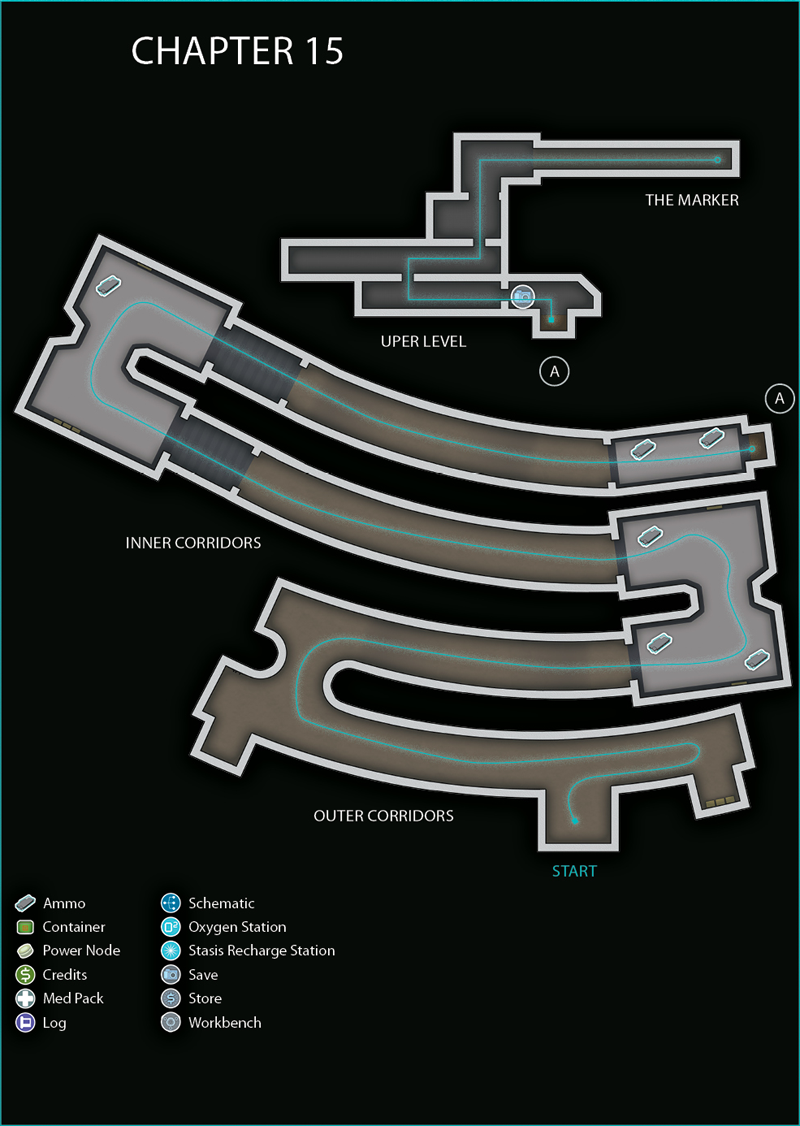
Outer Corridors
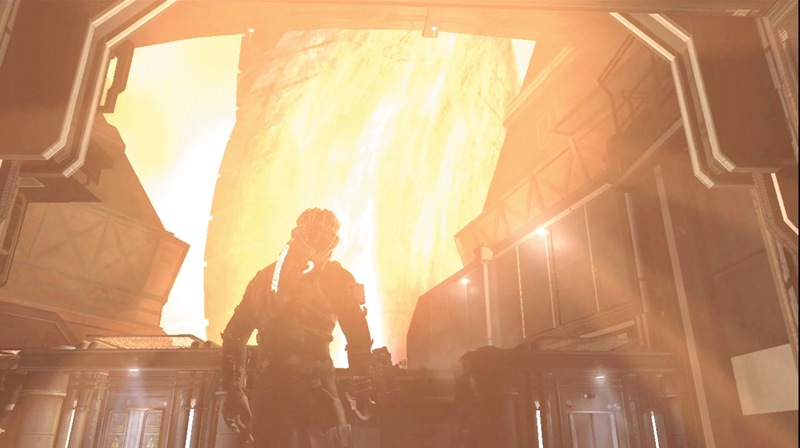
You have almost reached the Marker. It is right there in front of you. However, you must still pass through dangerous areas to actually reach the Marker and finish your job—whatever it is Nicole wants you to do.
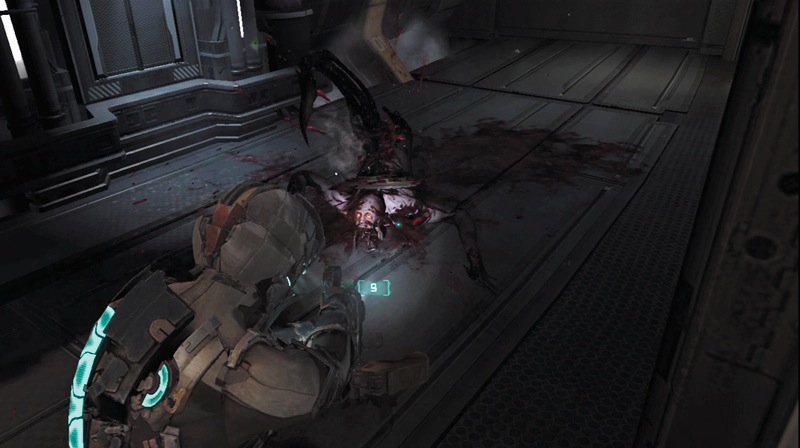
As you step forward to begin your advance to the Marker, a Leaper jumps out from the corridor's right side. Kill it quickly before it can hurt you. Then continue to the right to search some lockers for ammo. Now head left and watch out for another Leaper. As you advance, a Puker to the right starts attacking you from long range. Use the contact beam to take it out with a single shot.
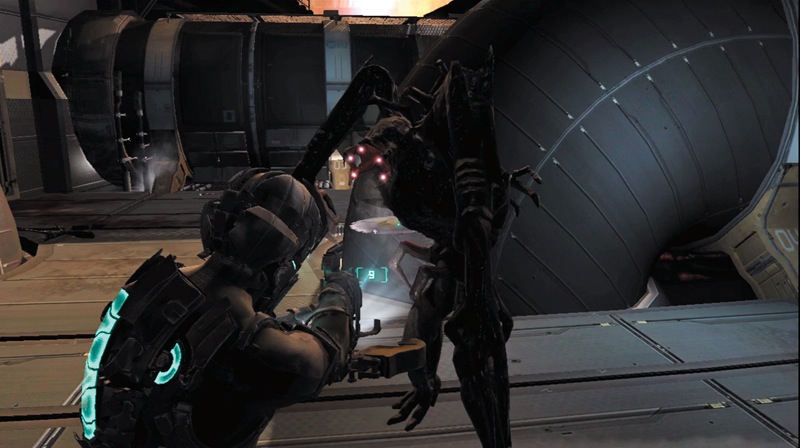
As you reach this corridor's end and get ready to turn, the Ubermorph jumps out and attacks. Cut off its legs and hit it with stasis. There is also a metal rod around here you can use to impale the Ubermorph.
Once it is down or at least in stasis, run to this corridor's end and get through the doorway. A Lurker will be shooting at you from above, but just ignore it for now.
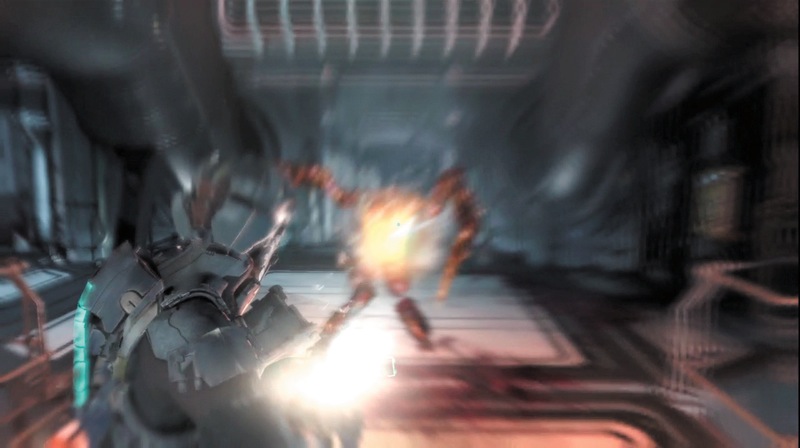
In the next room, a couple of Super Slashers will come at you. Use the contact beam to blow them apart with a single shot each. You may need to use its alt-fire mode first to push them back and put them in stasis. By this time, the Ubermorph will have caught up to you. Dismember its legs and hit it with stasis so you can search the lockers. Now get out of that room and through the doorway, making sure the Ubermorph is in stasis and can't immediately follow.
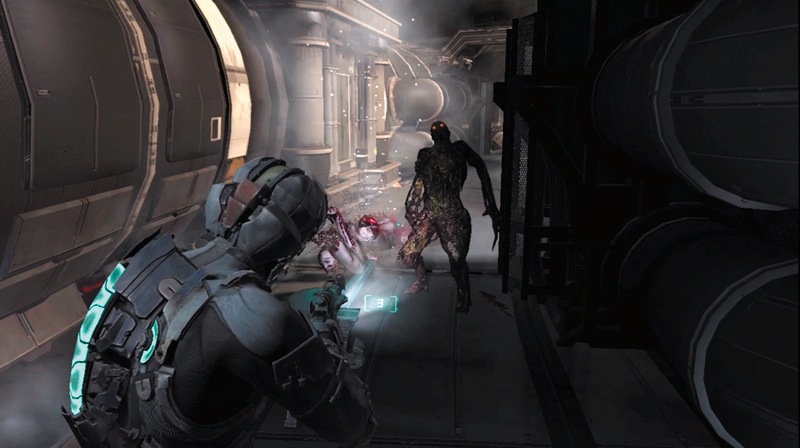
As soon as you begin advancing down this corridor, prepare for a Leaper and a Puker to attack you. Take them out quickly and continue to the next doorway since the Ubermorph is still after you. If necessary, deal with the Ubermorph before going through the door.
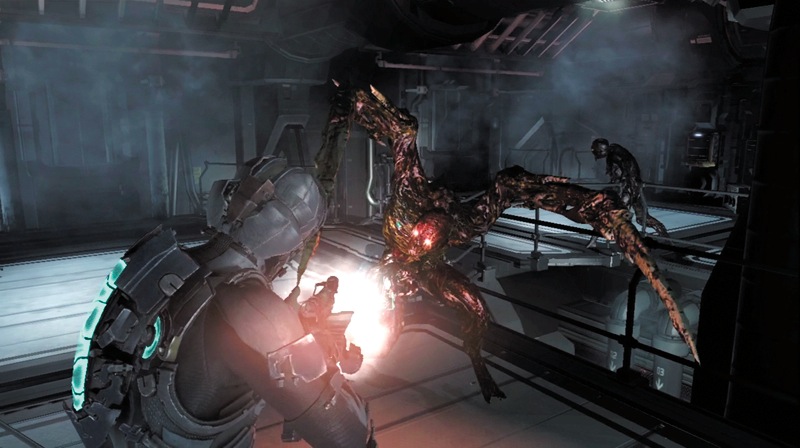
As you enter the room, be ready to deal with a Super Slasher and a couple of Pukers. Take them out quickly so you can then deal with the Ubermorph and another Super Slasher that drops in. There are metal rods in here, so use them. Search the lockers and pick up ammo dropped by the Necromorphs.
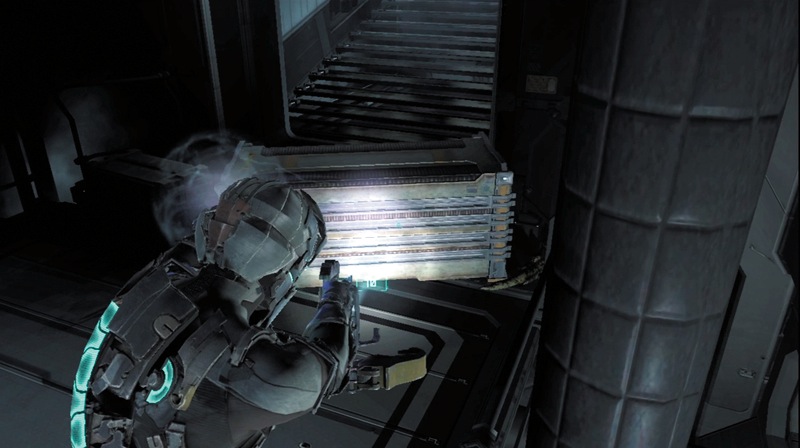
A metal object blocks your way out of this room. Use kinesis to move it or launch it at the Ubermorph to knock it back. Then head up a ramp and exit through a door and into the next area.
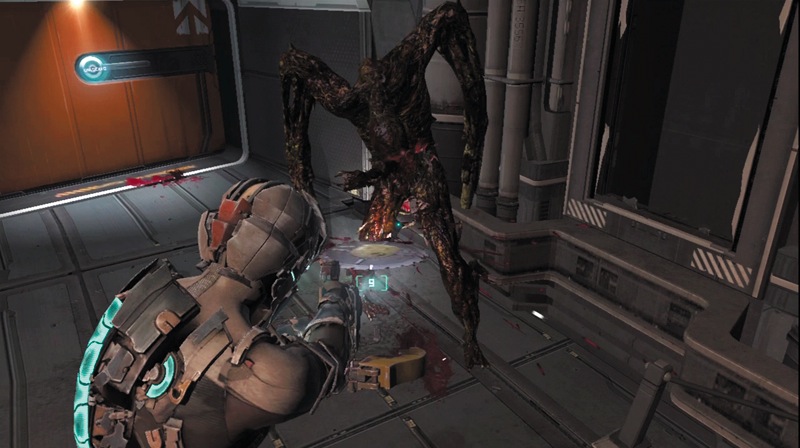
A Leaper attacks when the door opens. Kill it and deploy some mines behind you to slow down the Ubermorph following you. Run through the corridor. You can either ignore the two Lurkers on the sides or quickly kill them both. When you reach the corridor's other end, kill the Super Slasher that jumps out and then get through the door.
Upper Level
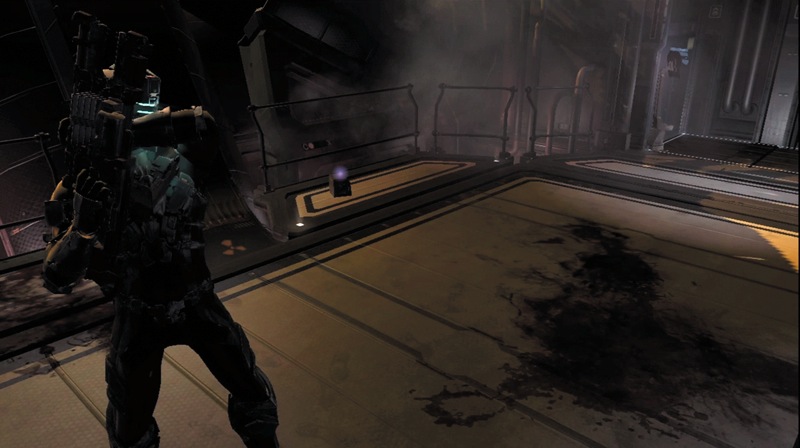
When you get into this room, pick up some ammo and a text log, then reload all of your weapons. Once you are ready to continue, climb onto the cargo lift and take it up to the next level.
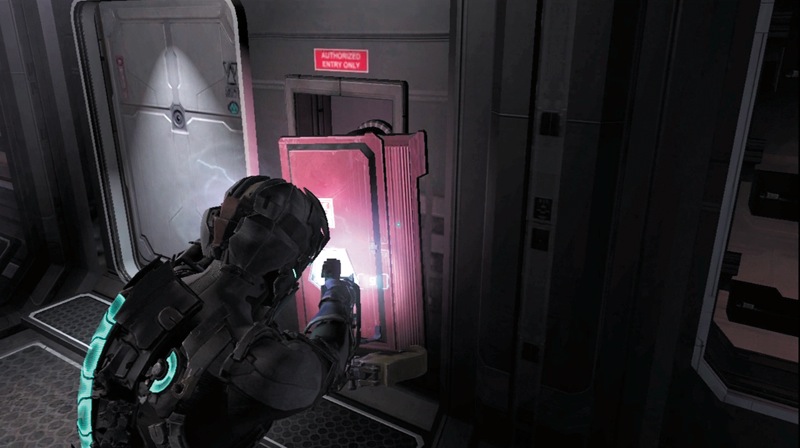
As you exit the cargo lift, head right and use the save station before continuing through the door. The Ubermorph will drop from the ceiling to attack you. Use the same tactics as before to put it down for a bit. Then use kinesis to pull a GRIP panel from the wall and expose a fuse. Break the fuse so you can unlock the door and continue.
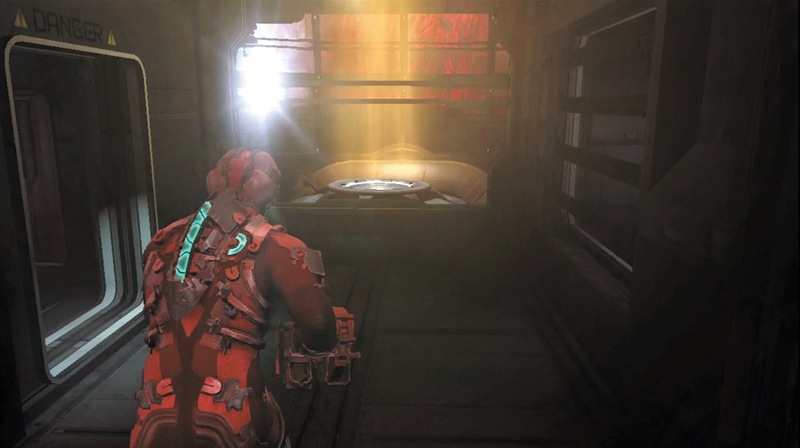
Rush to the right down a narrow corridor and go through the door on the left. Quickly remove a panel and smash another fuse to shut the door behind you and unlock another door. Advance into the test area.
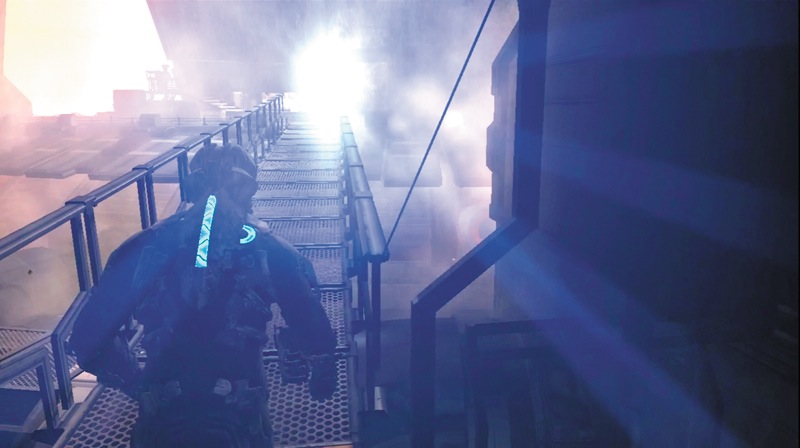
Run across the bridge to the Marker. Reload your weapons as you go.
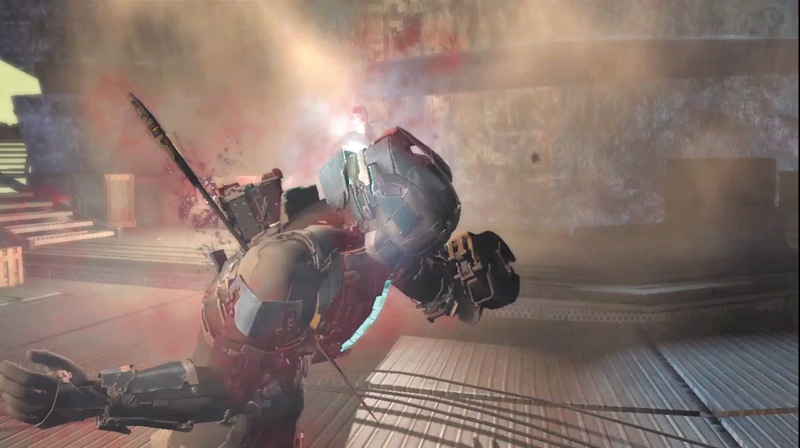
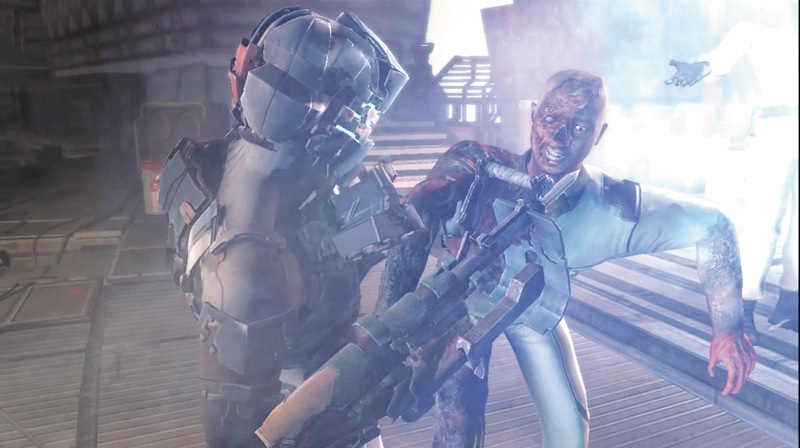
As you reach the end, Tiedemann shoots you with a javelin gun. Quickly pull the javelin out of your shoulder, as well as the second one he fires at you. Then end this fight and kill Tiedemann. You can dispatch him in a few different ways, or just let him die on his own.
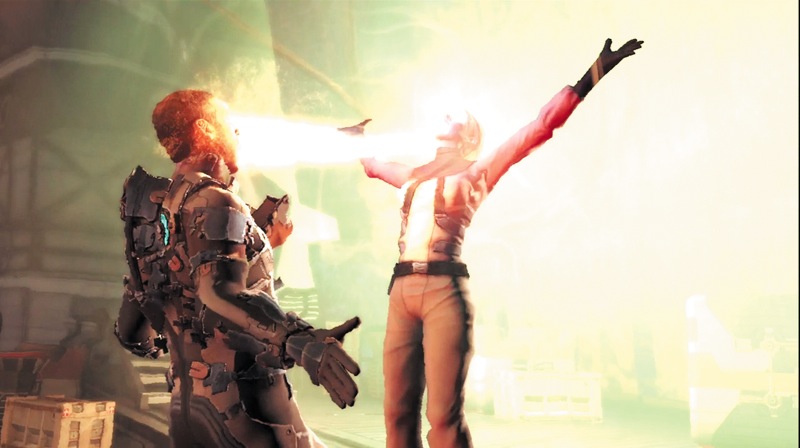
When Tiedemann is dead, you move up to Nicole. However, she is not what she appears. She is not going to tell you how to destroy the Marker. Instead, she wants the Marker to absorb you.
The Final Battle
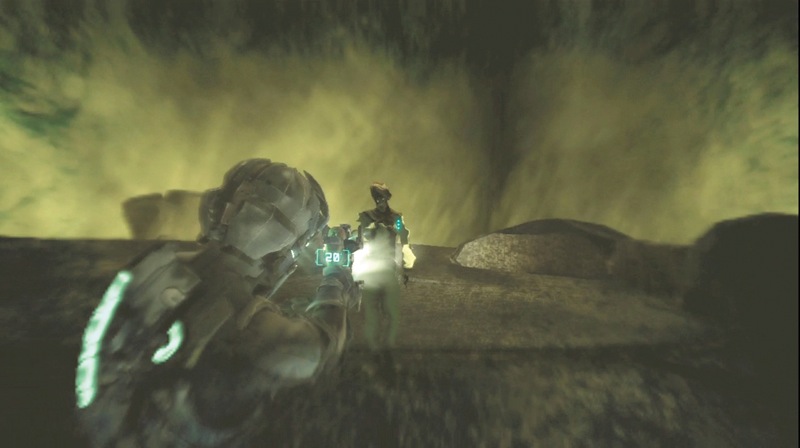
Nicole has brought you to a different dimension. You must destroy the Marker in order to survive. Start off the fight by shooting at Nicole. Keep hitting her until she disappears.
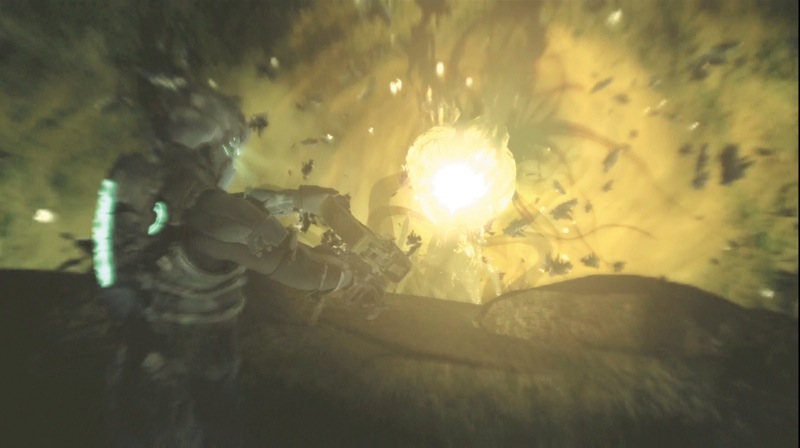
The heart of the Marker is in front of you. Shoot it with the contact beam to damage it and make it disappear.
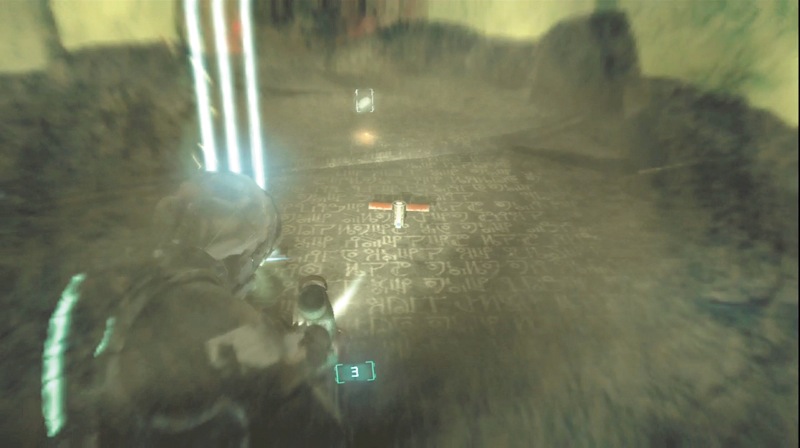
Nicole returns again—this time with a new type of creature very similar to the Pack. Back away and deploy several mines to blow up many of the Pack coming at you. Then finish off others with the ripper. The Pack will just keep coming, so your focus should be on hitting Nicole. Shoot her again to make her disappear, which will cause the heart to appear again. Shoot it as before.
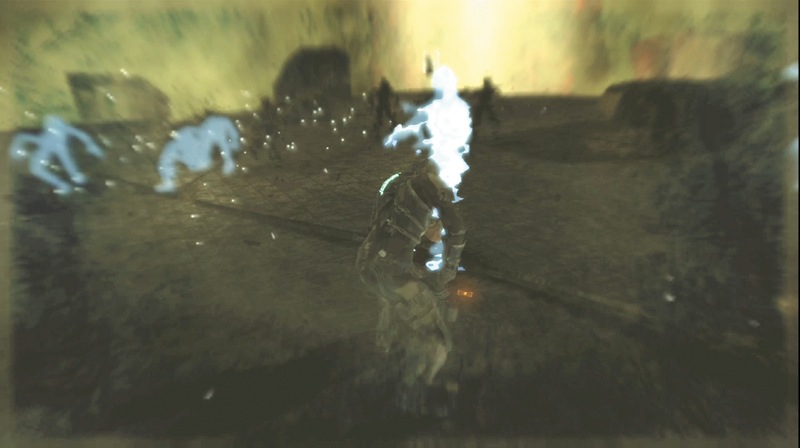
As more Pack and Nicole return to attack, stun them with the contact beam's alt-fire and then kill them. Again, make sure you focus your efforts on Nicole whenever you can. When the heart appears again, shoot at it to cause more damage.
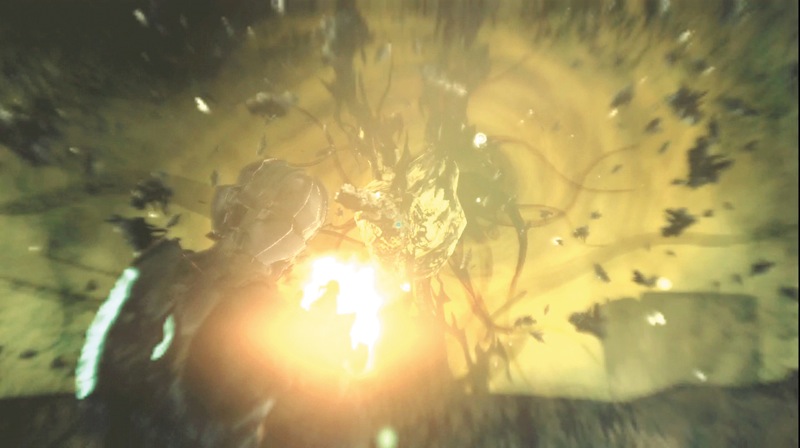
Fight off a fourth wave of Pack and destroy Nicole for the last time. Shoot at the heart and it will explode, sending you back to reality.
Escape
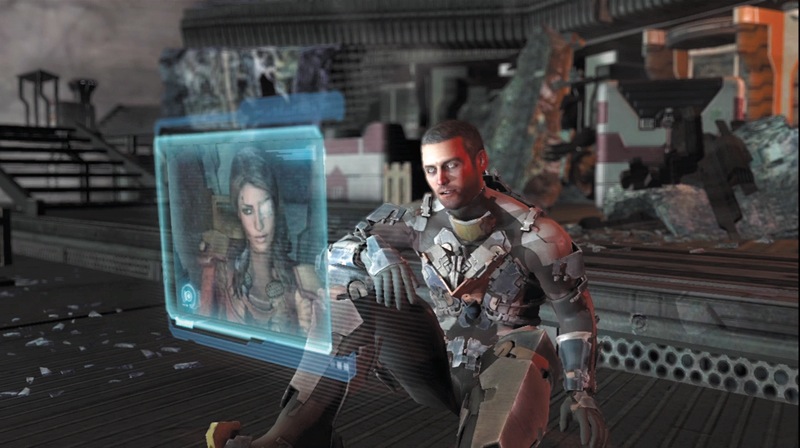
The destruction of the Marker has destabilized the containment fields of the reactor in this part of Government Sector. While Isaac is resigned to his fate, knowing that he destroyed the Marker and prevented the Necromorphs from spreading, someone else is not so fatalistic.
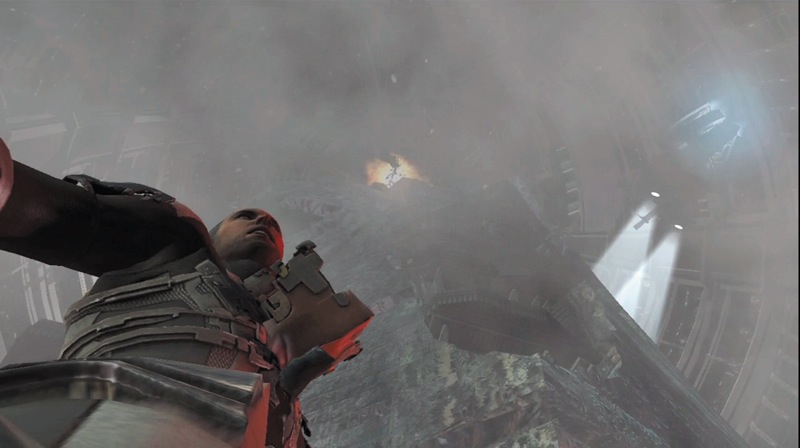
Ellie brings the gunship crashing through the ceiling, causing the Marker area to decompress. You get sucked into the air and start using your air supply.
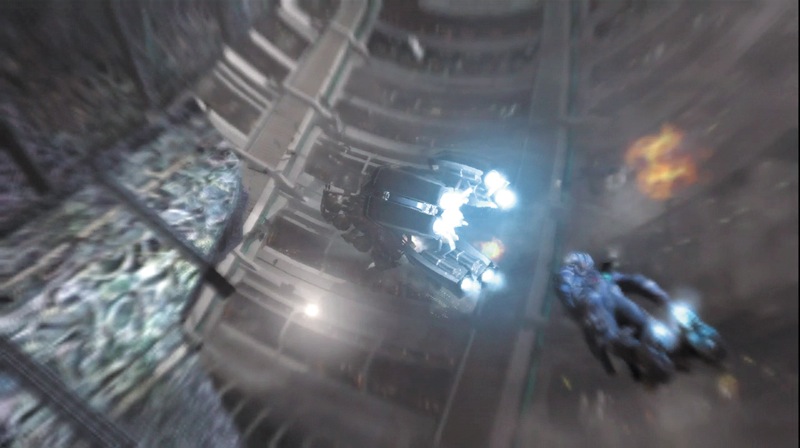
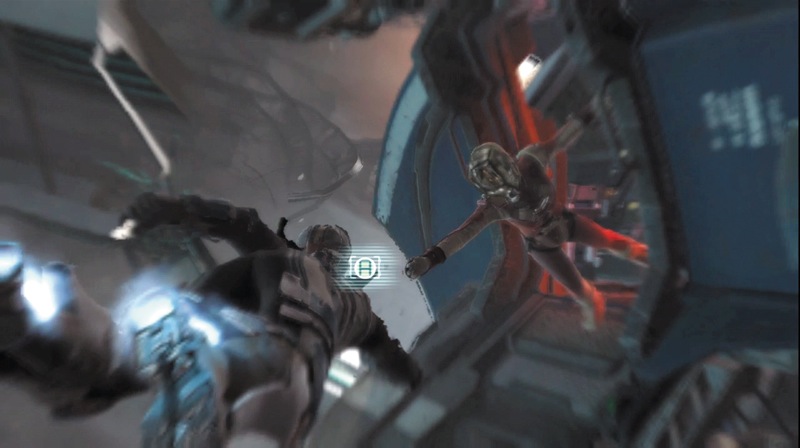
Use your thrusters to fly after the gunship. Avoid the debris as you try to catch up to Ellie. Once you reach the gunship, grab on to Ellie's hand so she can pull you inside.
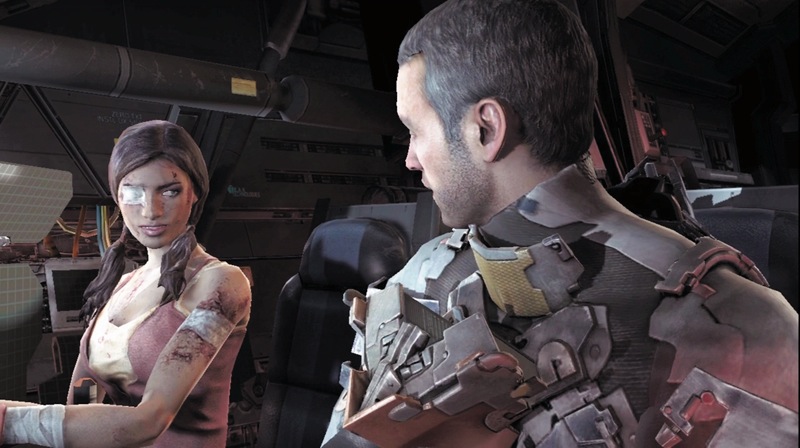
You have survived the Sprawl, destroyed the Marker, and, along with Ellie, headed toward safety. The Necromorph threat is finally eliminated—or is it?