
Dead Space 2 Guide Walkthrough Clarke's Log: Walkthrough
Chapter 8
Through the CEC
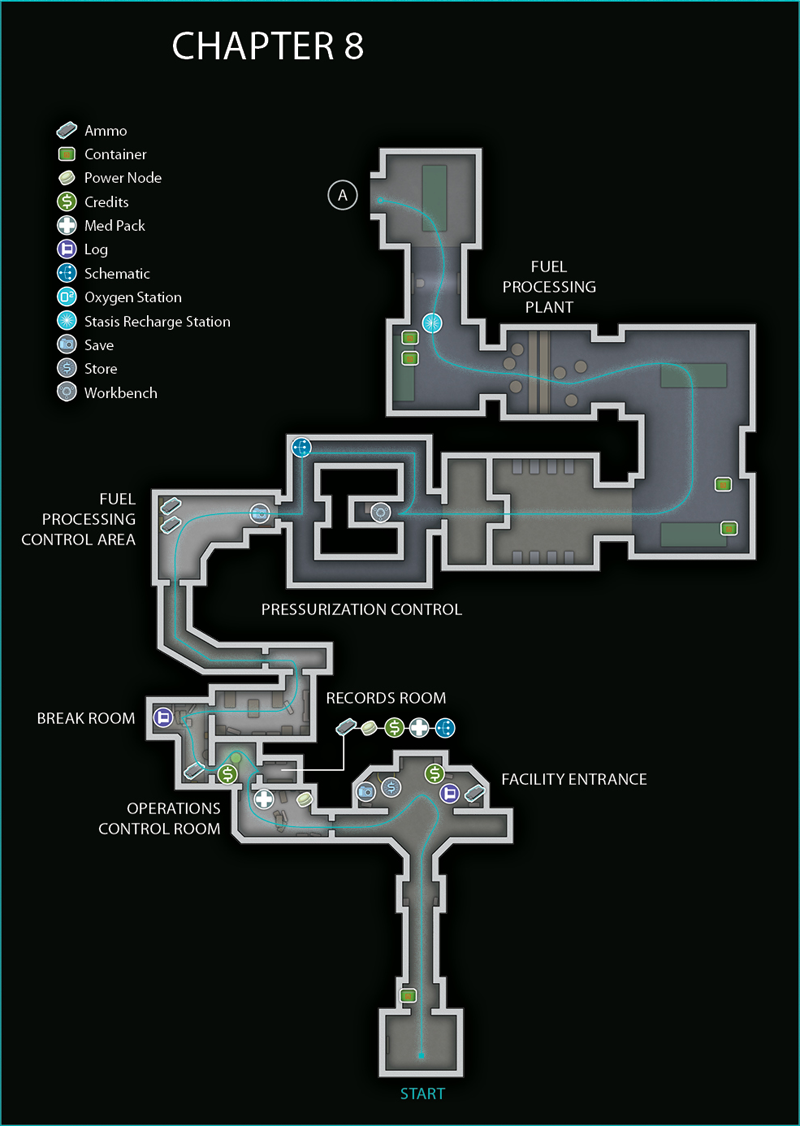
Facility Entrance
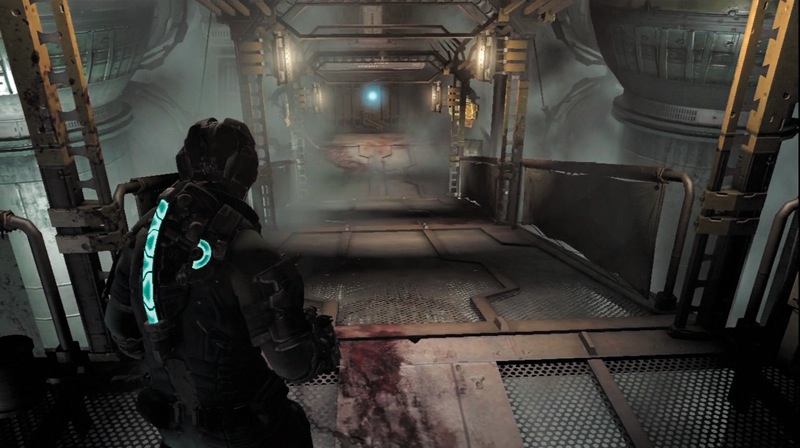
After leaving the transport hub, you escaped into the CEC complex. You now have to get through this industrial facility to met up with Ellie and Stross, then get them to the Government Sector. As you move through the main facility entrance, smash a container to get an item and then head down the ramp and through the door.
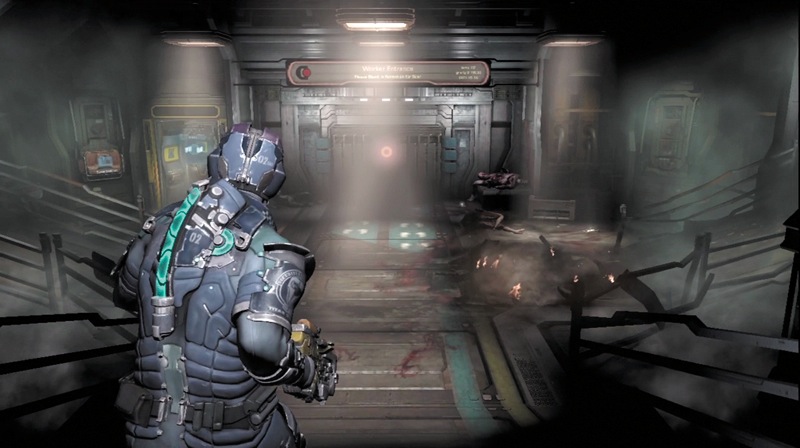
The entrance area has a store and a save station. Look around first to find an audio log, some ammo, and credits. Stop by the store if you need to purchase anything or drop off some items in the safe. Then record your progress at the save station.
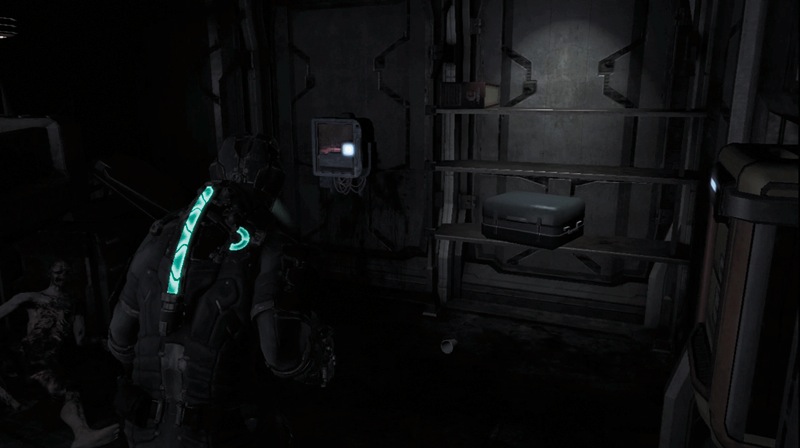
Make your way up the ramp and through the administration entrance since the work entrance door is locked. Get a power node from the circuit box and an item from the locker. There is also a med pack in there. When you are done, go through the door to the operation control room.
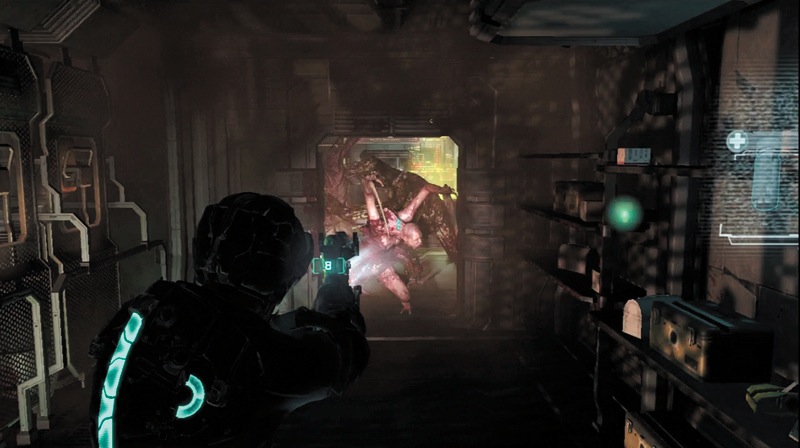
Use a power node to enter the locked storage room. However, don't start picking up things just yet. Deploy some mines outside the storage room and just inside the doorway. Then step back and select a weapon such as the contact beam, force gun, or line gun. A couple Slashers and a Super Slasher will come at you.
Take them all out and then search the room to find some credits, ammo, a med pack, a power node, and a schematic for the vintage suit. As you are looking around, be ready since another Super Slasher will drop down from the ceiling to attack you.
As you exit the storage room, stop by the locker in the control room to get an item, then backtrack to the store and upload the vintage suit schematic you just found. This suit is expensive, but if you have been picking up credits all over the Sprawl, you should have enough to purchase it. Also, consider the weapons in your inventory and select various ones so you are prepared for any threats you may face.
It is a good idea to take the ripper along for dealing with close-quarters fighting as well as the detonator—you will find plenty of ammo for each. The plasma cutter is always good to have on hand. Then pick another weapon of your choice. Select something for long-range combat, such as the seeker rifle or line gun. Leave ammo for other weapons in the safe and put the ammo for your current weapons into your inventory.
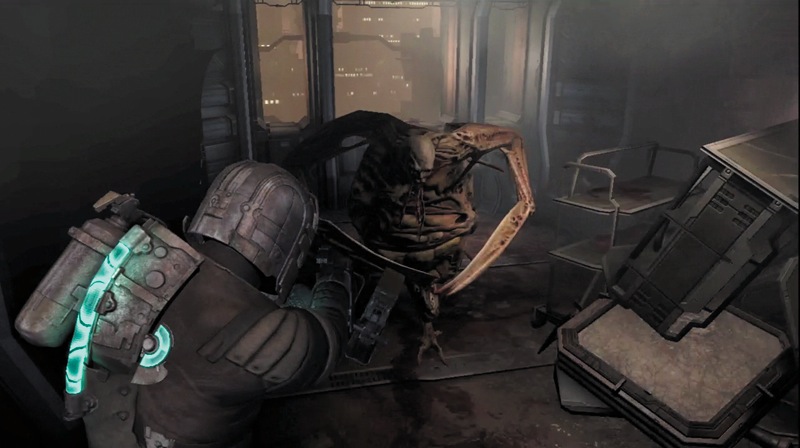
Head back to the control room and then continue to the break room. Check the locker on the wall for an item, and then be ready to take on a Pregnant farther in the room and around a corner. Shoot off its arms to kill it—avoid hitting its belly. As soon as it is down, be ready for a Slasher to come after you from behind. Kill it and then search the room for an audio log.
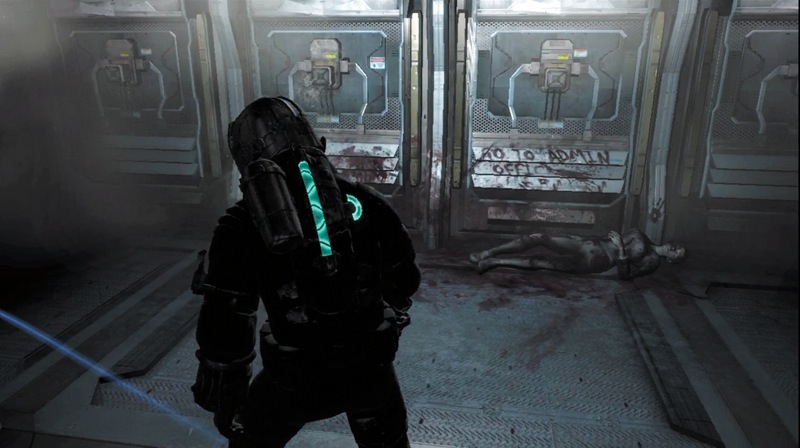
Continue into the records room, where you will experience another hallucination. Walk to the room's other side and exit through the door into a dark room. The lights will come on and you will see a message written in blood on one of the walls. It says, "Go to the Admin Office." Keep this in mind. Exit through the door and take a catwalk to the fuel-processing control area.
Fuel-Processing Plant
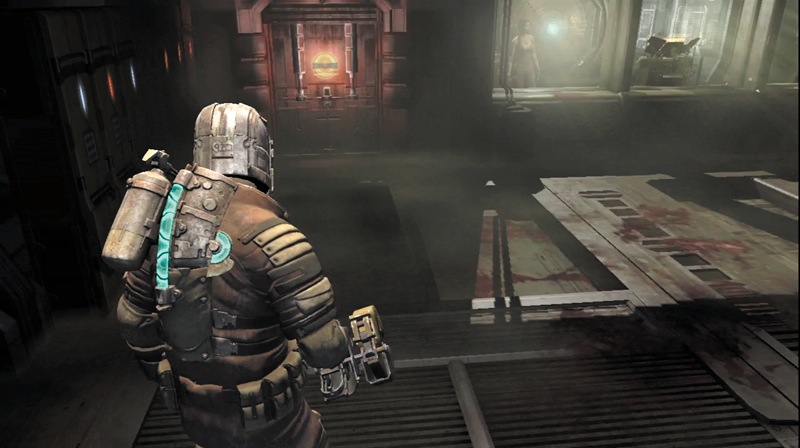
As you enter the room, you can see Ellie through a window in the next room. The door lock has been fused. You must go through the fuel-processing plant to reach her and Stross. After searching the lockers for items and recording your progress at the save station, head through the door leading to the pressurization control.
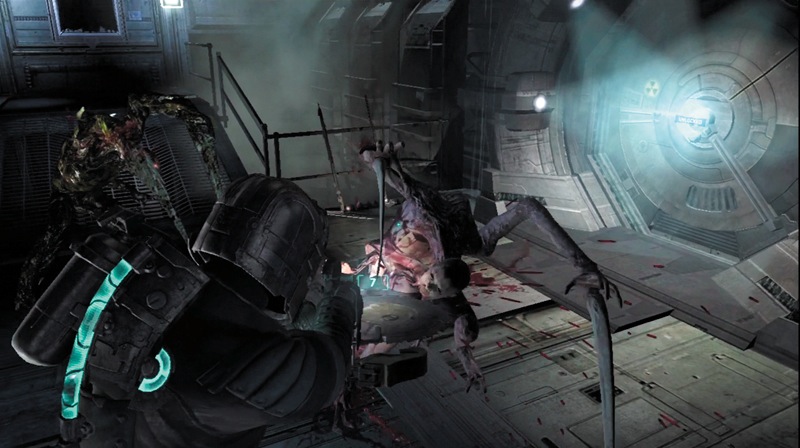
The next room has a catwalk running all around it. Head left to pick up a schematic for detonator rounds. Continue to the room's opposite side, where the other door is located. As the machinery starts up, get ready for an attack. Deploy several mines along the catwalk in front of you as you back away.
You must deal with a Super Slasher, a few Slashers, and a Puker. The mines will thin out some of these and will damage the Super Slasher. Finish off the remaining foes with another weapon. Don't forget to use stasis if you get into trouble. There is a workbench in the room, so use it if you want to upgrade some of your weapons.
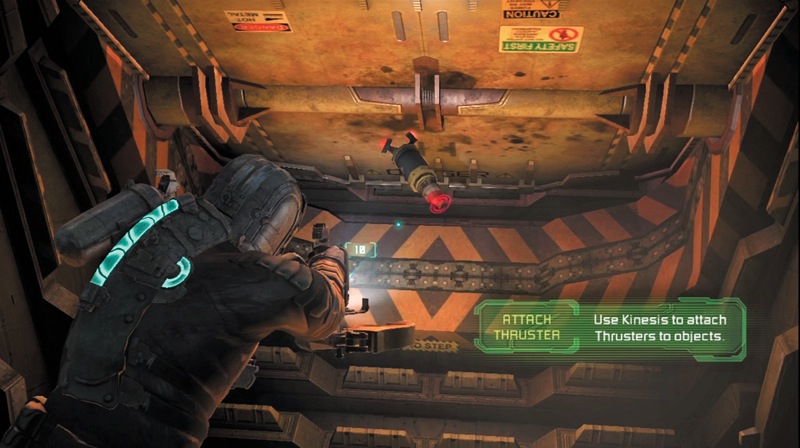
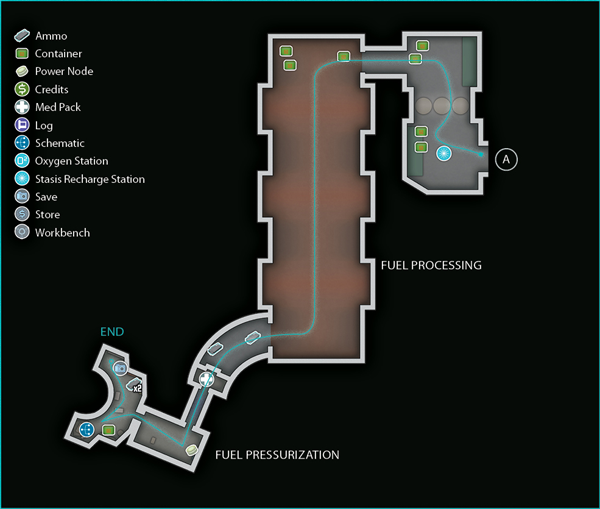
Advance through the round door into a Zero-G environment. There is a large door ahead that you must find a way to open. Start floating through the air toward the door and use kinesis to grab the thruster canister. Position it at the bottom of the door and then shoot the red tip to ignite it. The canister will open the door so you can fly through.
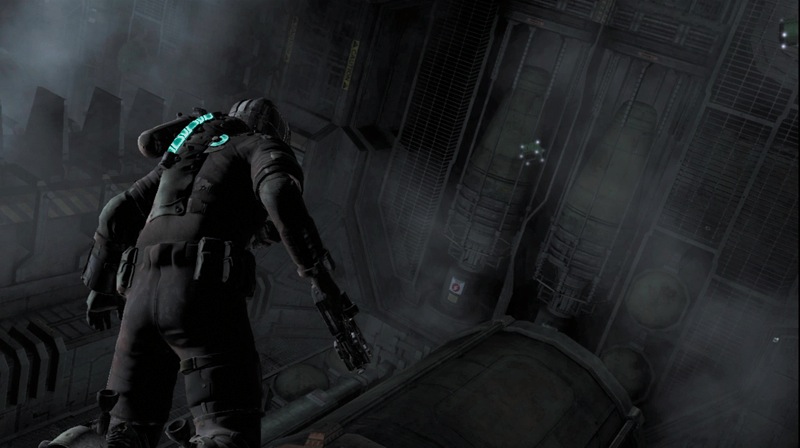
You find yourself in a large area, still without gravity. Shoot the containers in here and use kinesis to get the items inside. Since it is easy to get disoriented in Zero-G areas, remember to press the Reorient button as needed and use the locator so you know where to go.
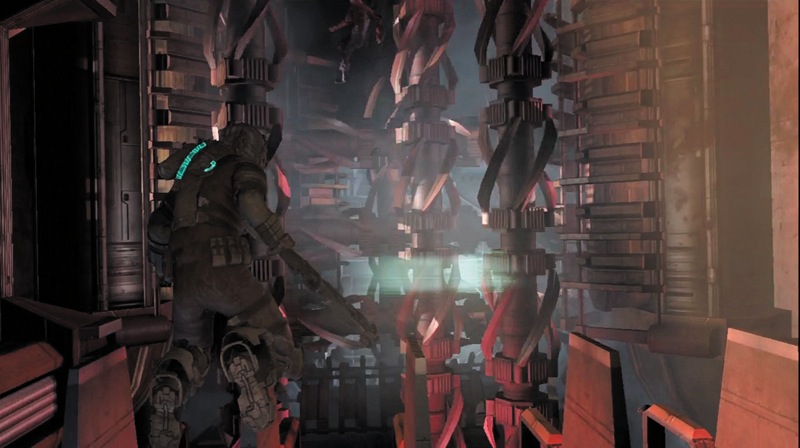
As you fly through this area, Tiedemann activates the machinery in the processing plant. Things are about to get a lot more dangerous. You must fly through some rotating blades.
Look for the gap between the vertical blades and then through some horizontal blades. Aim for the floating corpse, since this is where there is a gap. Then go through vertical blades and you safely navigate the first obstacle. You can use stasis on the spinning blades to make it easier to navigate the tight spaces.
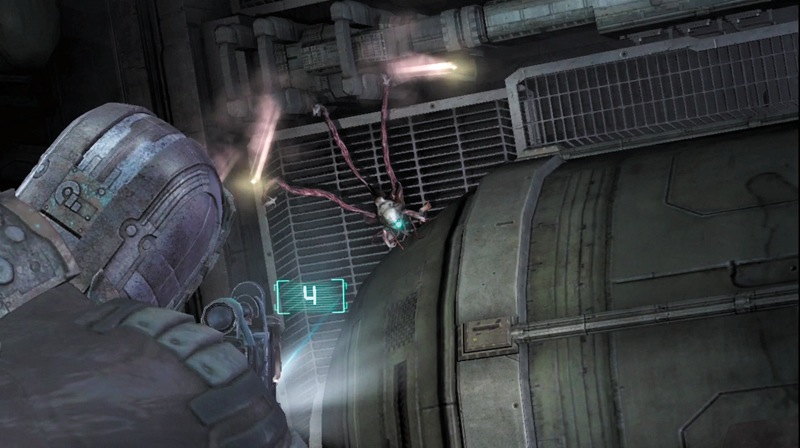
As you begin to move away from the blades, you will be attacked by a Lurker on the far wall. To locate it, follow the trajectory of its projectiles. Kill it with a couple shots from the seeker rifle in zoom mode, or use the line gun to slice off all of its tentacles with a single shot. Get some items from containers in here and then head toward the next obstacle.
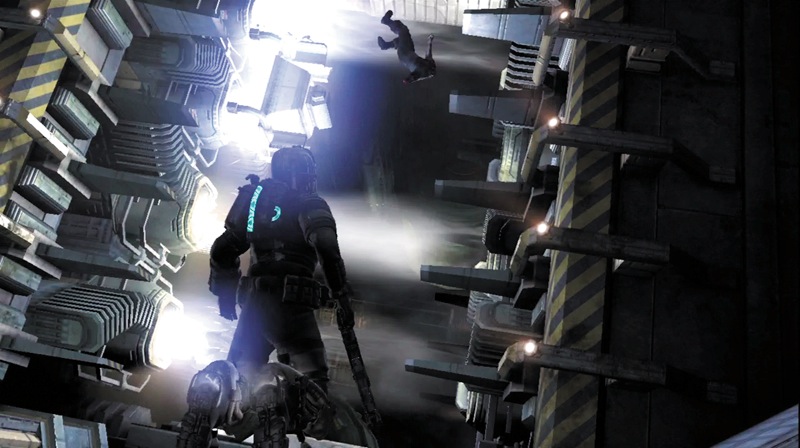
There are several flame jets blocking your path. A moving blast guard moves up and down to temporarily block the flame jets. Hit the guard with stasis to slow down its movement so you can fly through right next to it and avoid getting burned. If you need it, there is a stasis station on the ground right before the flame jets where you can recharge your stasis module.
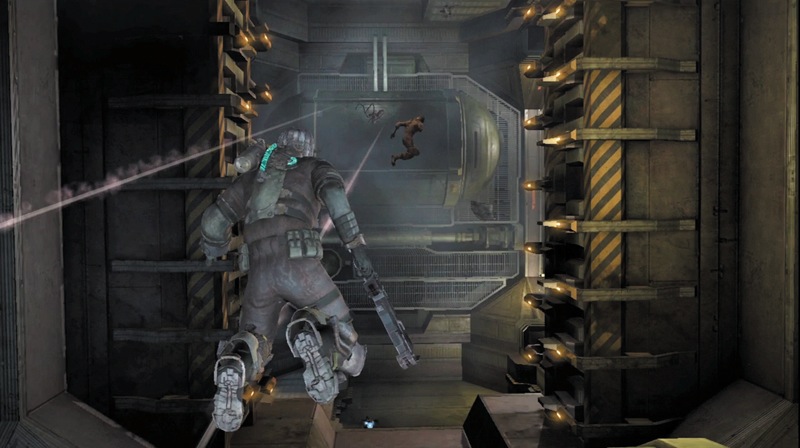
As you head around the corner to the left, a couple more Lurkers will start taking shots at you. Kill them as quickly as you can. Then recharge your stasis module at one of the stations on the ground or ceiling. You will need it to get through the third obstacle. Don't forget to check out the containers floating in this area. You might find some ammo or credits.
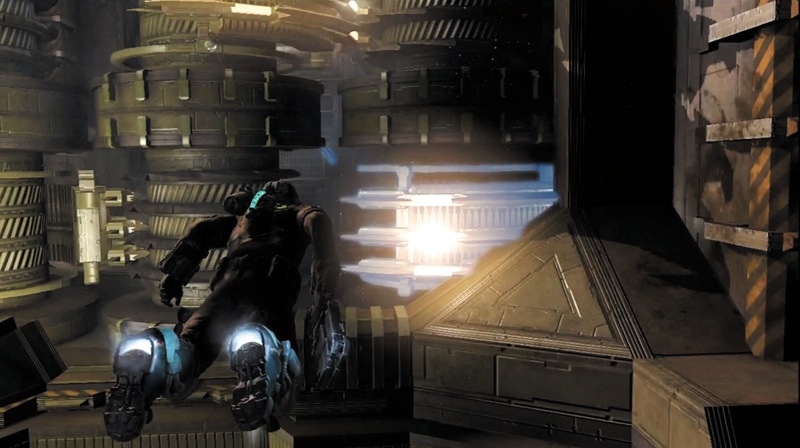
This obstacle has circular blades that spin around. Wait until one in front of you has just about passed and then hit it with stasis. Target one of the blades that is spinning away from you, as opposed to one that is spinning toward you. While it slows down, thrust through the gap before it speeds up again.
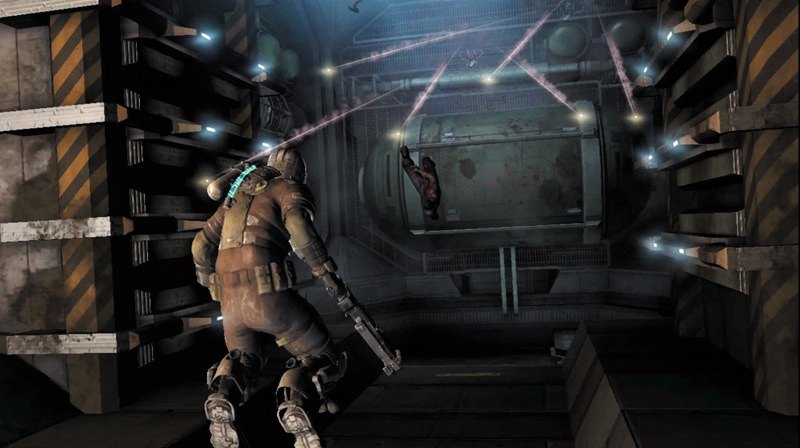
There are more Lurkers up ahead. Kill them at long range and then fly into the next area. There are more containers in here, so get some ammo or credits from them.
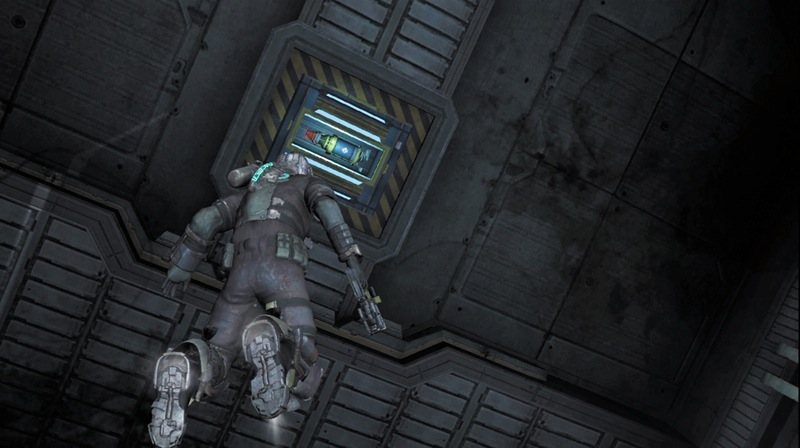
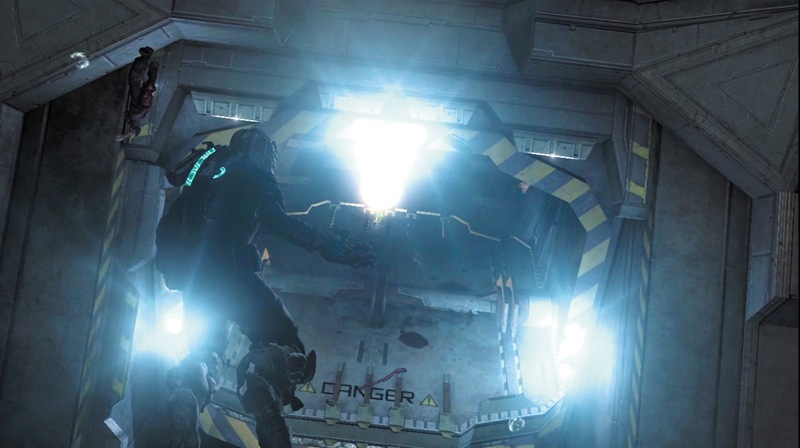
You must get through another large door that is closed. Locate a thrust canister dispenser and use kinesis to grab one. Carry it over to the door and place it at the top. Then shoot at the red tip to ignite the thrust canister and open the door. Now fly through the opening into the next area. Grab the items from the three floating containers.
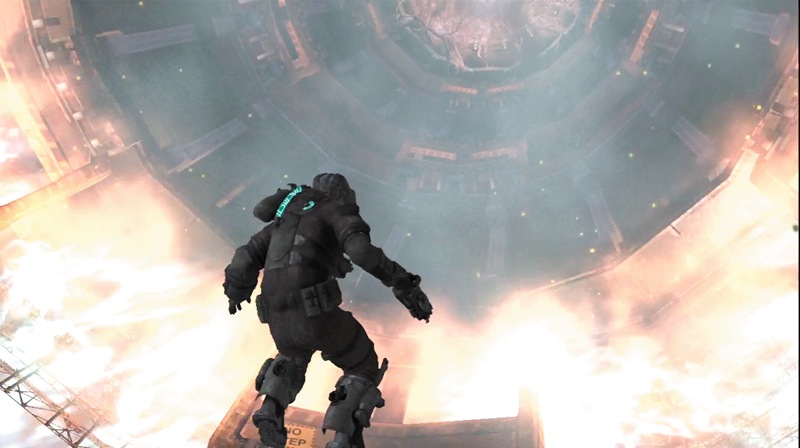
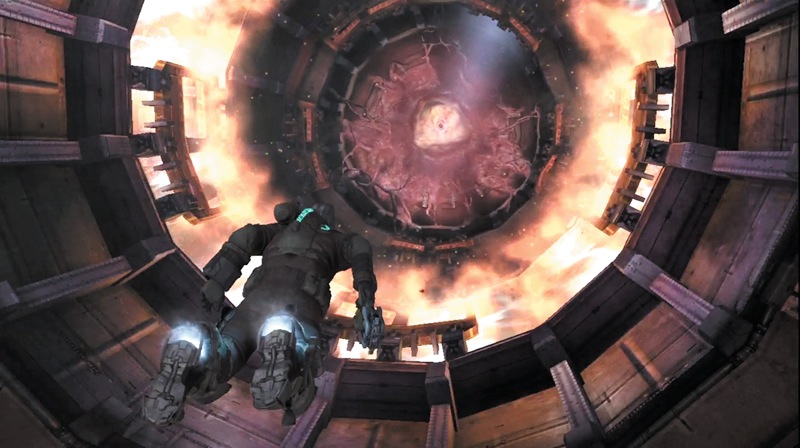
There is yet another obstacle to navigate. Three rings are ahead. Each one fires jets of flame in succession. Get close to the first and wait for it to flame. As soon as it stops, thrust through it and continue toward the second. Once you get between the second and third rings, stop.
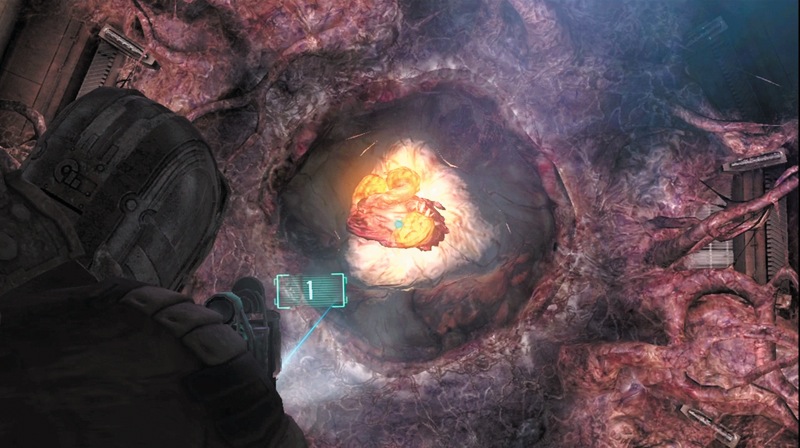
A Nest is located at this chamber's opposite end. As you fly through the second ring, it will start launching projectiles at you. Dodge them and then shoot at the yellowish pods on the ends of its arms. The seeker rifle is great for this. In zoom mode, one shot will destroy a pod. The line gun is also effective. Kill the Nest and then fly through the third ring of fire.
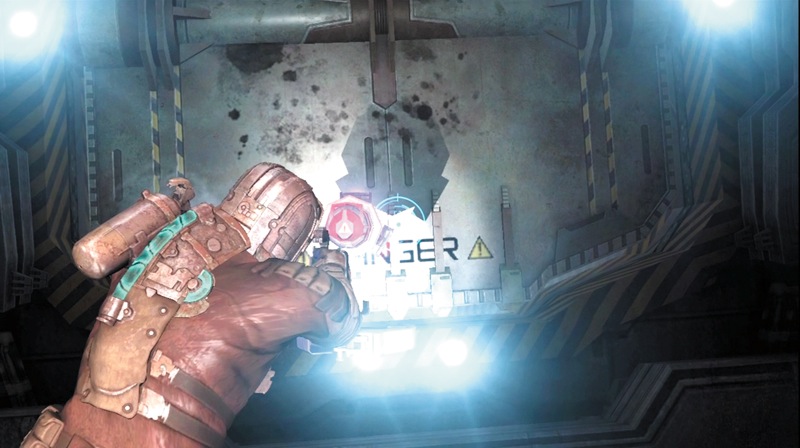
You now have to get through another large door. Get a thruster canister from a dispenser. Place it on the door to ignite it and open the door. Fly through and pick up some floating ammo and other items.
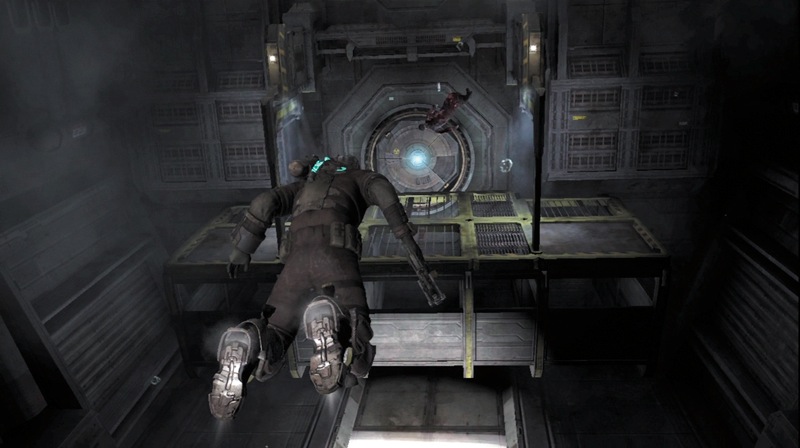
Thrust your way toward a platform and activate your magnetic boots by pressing the Zero-G Launch button. Once you are on solid ground, open the door and walk through a short corridor to another door. Before opening it, make sure your weapons are fully loaded and have your ripper ready (or another weapon for close-range combat.)
Back Together Again
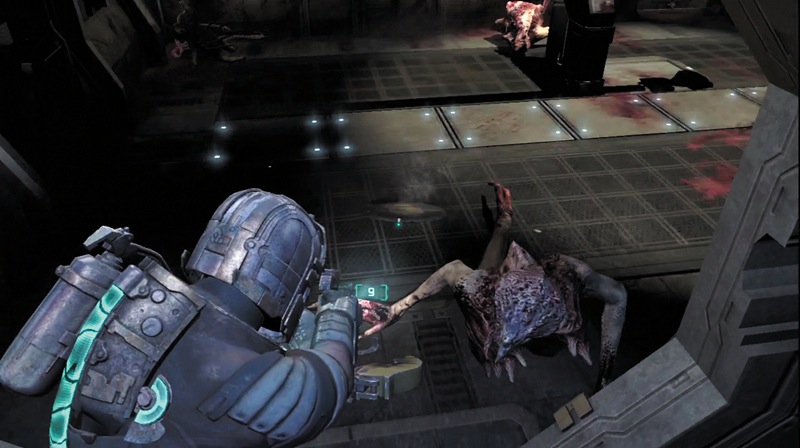
As you open the door, a Stalker will crawl toward you. Kill it and then get a power node from a circuit box on the wall. You are now in the room where Ellie and Stross were waiting for you. However, they must have left when the Stalkers showed up. It looks like Ellie killed one and wounded the other. Head through the door leading to the fuel-pressurization tower to try to find them.
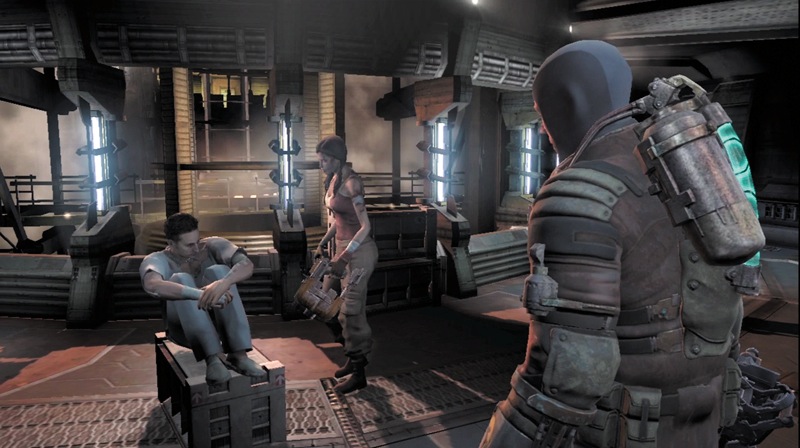
You finally find Ellie and Stross. After talking to them, search the room to locate a schematic for a large med pack. Also, stomp on a container and check the lockers before you use the save station.
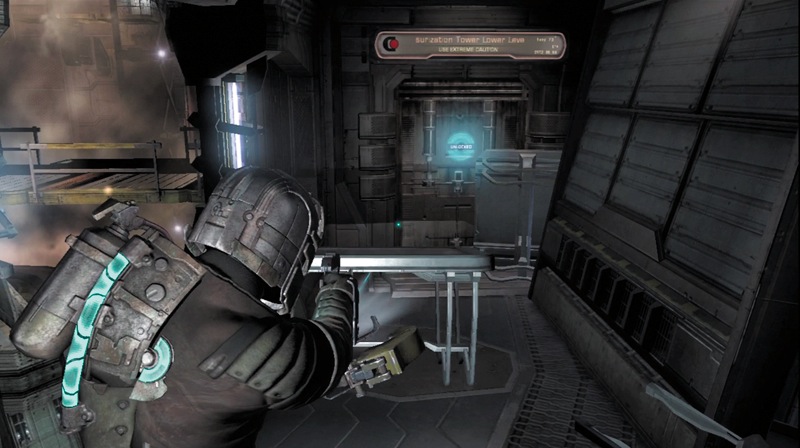
Finally, use kinesis to move some tables away from the door to the right. This leads to the lower level of the fuel-pressurization tower, which is where you need to go next.