
Dead Space 2 Guide Essentials Dead Space: Extraction
Story Mode
Chapter 1: World's Apart
NOTE: Dead Space: Extraction is on the PlayStation 3 and Wii only.
After a suggestive conversation with Sam Caldwell’s dapper girlfriend, Lexine, it’s time for a eld trip to the Marker. Crimson skies and fierce winds make for a hostile environment, but there’s work to be done, so as Sam Caldwell, put on a helmet and head out. As you’re walking and talking, stock up on ammo for the fight ahead by breaking the green supply boxes on both sides of the catwalk leading to the Marker. Bust them open with either the rivet gun or with kinesis (pick a box up, then ing it to break it). Before meeting up with the team preparing the Marker for extraction, feast your eyes on the thing itself.
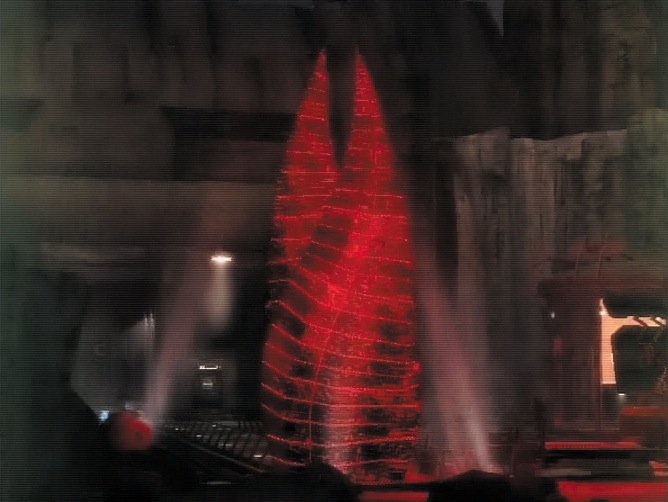
The pulsing red tower twists toward the dark sky like a bloodied knife.
A Riveting Start
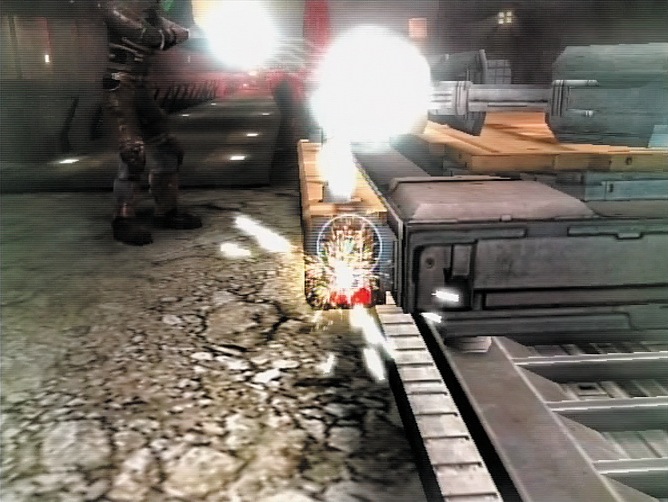
A quick chat with the crew reveals that the rolling track needed for moving the Marker isn’t functional, and a section needs to be riveted in place. Strut down the catwalk and fire at the two highlighted screws with your rivet gun.
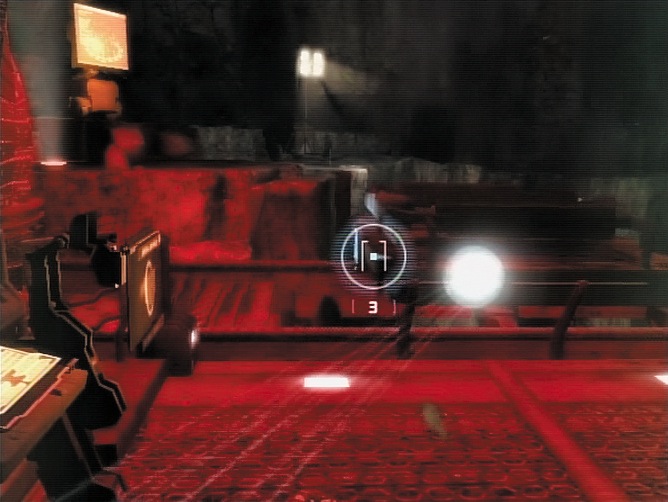
Finish the job by riveting a second pair of screws on the other side of the track. Next, piece together the loader on which the Marker is to be placed. Charge the rivet gun’s alt-fire and blast the highlighted joint. Do the same for the other side. After walking back to the Marker, use kinesis to drag the loader from the right side of the screen to the artifact on the left.
Activate the loader by tapping the computer console in front of you and brace yourself.
Colony in Chaos
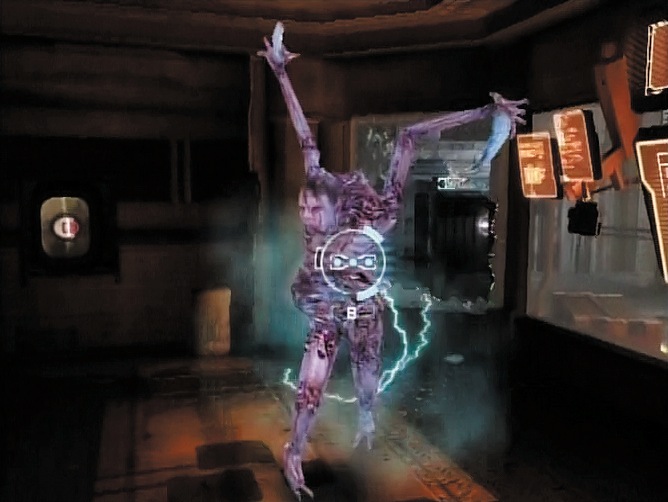
Something has gone wrong. The brilliant flash of light originating from the Marker has put the colony in disarray, and now everyone’s scrambling to get things back in order. Do your part by leaving the extraction site to reset one of the gravity tethers holding the planet cracker ship Ishimura in place above the colony. Enter the first half of the colony airlock, then activate the console inside to shut the bay doors.
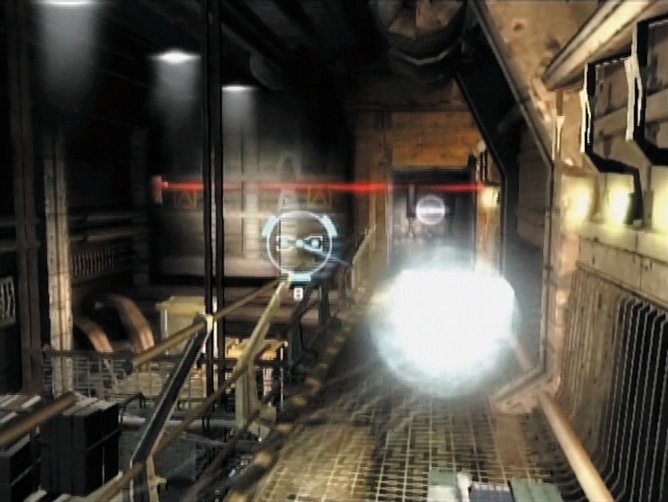
Move deeper into the facility by passing through the next door and nod in agreement as your coworkers complain about the darkness.
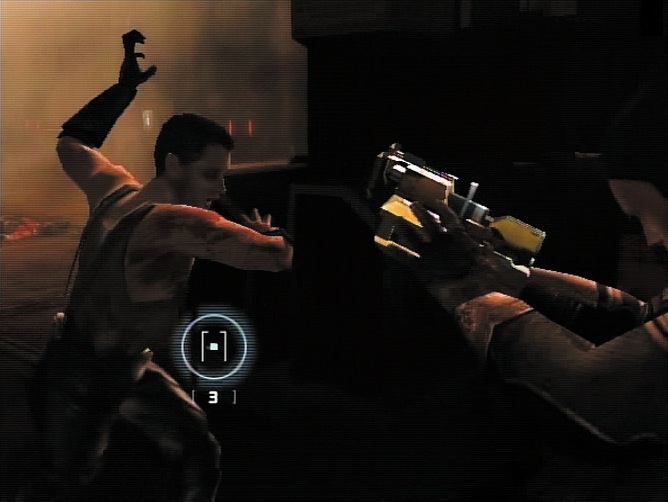
When you’re given control over the camera, pan to the left and pick up the glow worm in the box on the floor. Give your controller a hearty shake to light it up.
A few steps ahead, you’re granted a second opportunity to look around. Collect ammunition in a corner to your left. As you head across the track, note the purple text log on the floor.
TEXT LOG: Personal log: Dr. Kyne, T. (chief science officer, Ishimura) Check the floor in front of the door on the other side of the room after exiting the airlock.
Pick it up to learn more about the events leading up to the extraction, or ignore it if you just want to search for the gravity tether control room. If you’re desperate to load up on ammunition, check the locker on the wall to the right of the text log.
Descent into Madness
Finish the airlock cycle by accessing the console in the room ahead, but don’t breathe a sigh of relief yet. The moment your helmet comes off, you hear sounds of agony coming from deeper inside the colony. Rush through the door to discover the source: a man named Zochenko is mutilating a body with a rock saw.
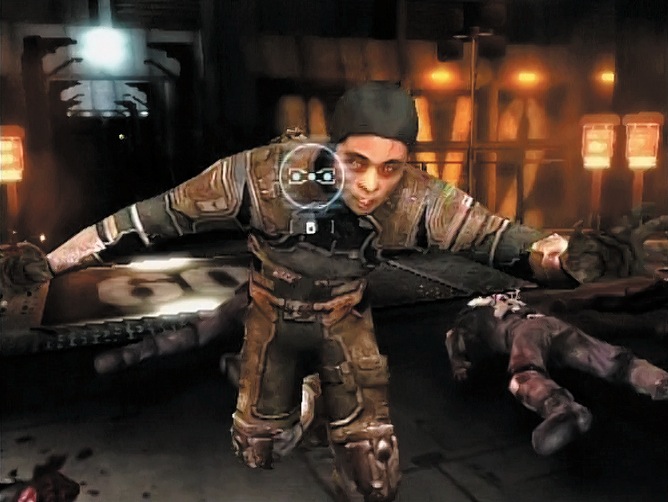
You’re given no option but to put him down after he lunges at you. Pick up the rock saw and the nearby ammo before advancing. A few more crazed workers attack before you reach the door, so stay sharp. The tether control room is down a couple floors, which means scurrying down the stairwell and searching the lockers for ammo and a text log along the way.
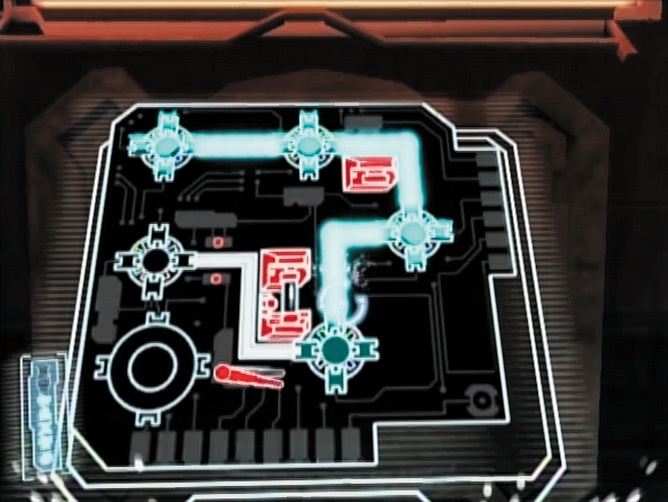
TEXT LOG: Who’s taking Team B’s equipment? Grab this text log as you’re running down the stairs toward the Megavent. It’s hidden in the second locker on the wall.
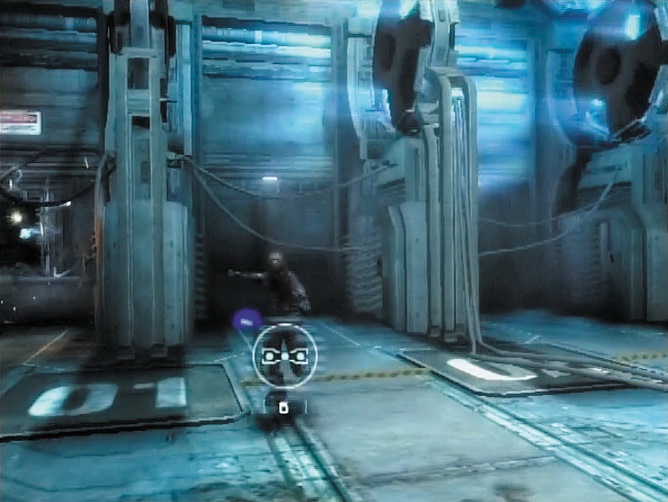
Break the barrier blocking the stairs with the rock saw to continue. After jumping over the gap in the floor, use the rock saw again to remove a second barrier. Before heading into the Megavent, you’re forced to witness an unfortunate act of self mutilation.
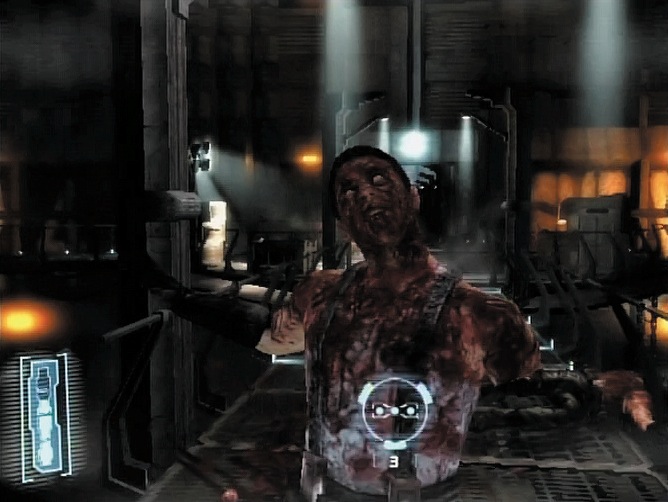
Restoring the Gravity Tether Inside the Megavent, the team splits up and fellow extraction team member Egan accompanies you to the gravity tether.
Grab the plasma cutter before climbing up to the platform above. This weapon is handy for dismembering the crazy coworker who jumps on your back when you reach the top. More enemies filter in before Egan loses grip with reality. Deal with him before heading to the tether control room.
Weapon Upgrade: When you enter the gravity tether control room, immediately grab the rivet gun upgrade on the floor.
Upon entering the control room, dispatch a pair of crazed workers, then collect supplies and the rivet gun upgrade during a Free-Look sequence. Next, pick up the stasis pack in the corner of the room.
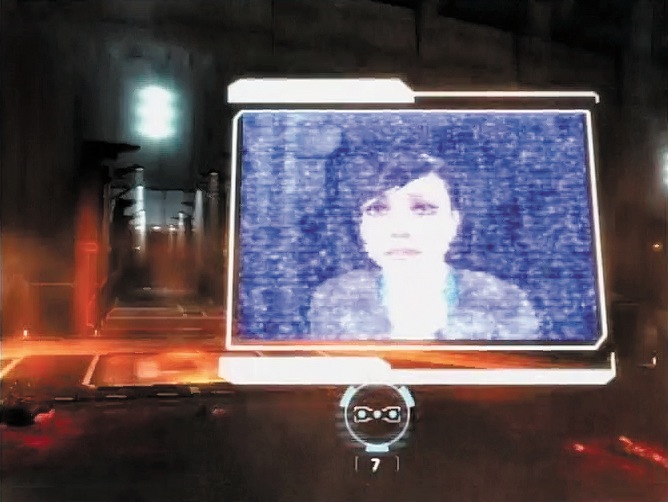
Use stasis to slow the electric wires in the corner—trigger stasis when the wires are high above the ground—then solder the panel by tracing the hollow line with your cursor.
Hit the activation button onthe console, and the gravity tether goes back online.
Now head off to the storage area to regroup with the Marker, as instructed by Cooper via comms. But you don’t leave without a fight
Several enemies rush you on the way, although stasis gives you the upper hand. As you clear the area, Lexine pings you to report that oxygen is leaking from the colony. It’s up to you to x life-support systems before regrouping with the remaining members of the extraction team. More crazed workers attack before your arrival to the life-support systems wing. Concentrate on nailing them with head shots for quick, clean kills.
Text Log: Planetary Mining: Earth’s Future Tucked behind some crates at the start of the walkway leading to Life Support is a text log.
Weapon Upgrade: Find the first plasma cutter upgrade on the floor in front of the door to Life Support.
Life Support
Restoring the life-support system is as simple as soldering a panel, but getting to that panel involves a jaunt in zero gravity.
Audio Log: During the Free-Look sequence, turn left to find the audio log. Alternately, you can spot it when exiting Life Support.
Upon entering Life Support, you can search for supplies and an audio log in Free-Look; however, your main objective is to jump toward the control panel on the room’s other side. Target the platform and press the Action button to jump toward it. Solder the panel, then return to the Megavent.
Things aren’t going well when Lexine contacts you to thank you for restoring life support. More enemies materialize on the route to storage, and hallucinations are making it di cult to focus. While there’s little you can do to combat the visions, well-aimed head shots are highly effective in putting down your enemies.
If you’re having di culty getting instant-kill head shots, try slowing enemies by shooting out their legs. With every enemy eliminated, you re one final bullet and the level ends.
Chapter 2: Another Day At The Office
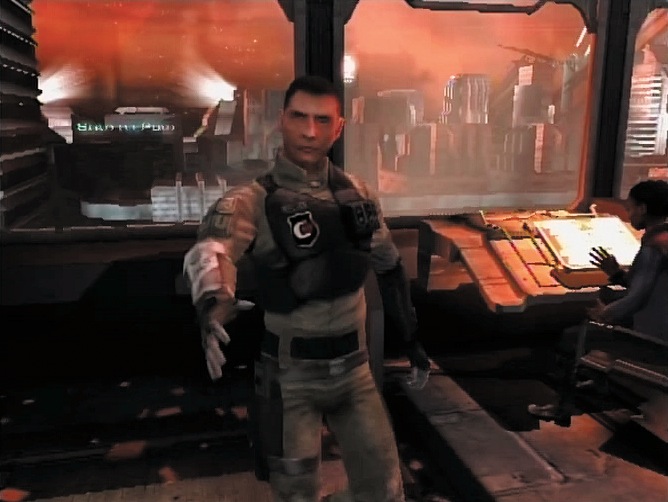
Several days have passed since the Marker extraction that ended in Sam Caldwell's tragic death, and anxiety is high in the colony. You’re now playing as Detective Nathan McNeill, who is particularly distressed, as it was his shot that ended Caldwell's life. His fire ections on the matter are cut short with the arrival of help from the Ishimura, a man by the name of Gabe Weller, who carries word of an important errand.
Weller wants you to accompany him to the morgue in order to examine the bodies of those who committed suicide in Union Square during the Extraction Incident. It's an unpleasant task, but it's better than ruminating about Caldwell's death. Shut down the computer, grab your trusty P-Sec pistol, and set out with Weller and his rookie Karklins. As you leave P-Sec, search the lockers lining the back wall for a plasma cutter and ammo.
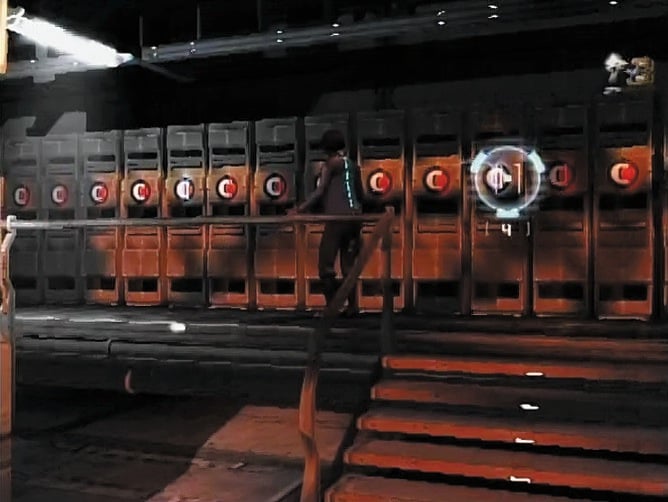
Text Log: Medical log: Dr. Warwick, B. (chief psych officer) Open the lockers along the back wall of P-Sec offices to discover an alarming report on one of the colonist's inability to sleep.
A Somber Errand
As you pass through the hallway en route to the elevator, stock up on plasma cutter ammo hidden in a pair of kiosks near a triangular bench. Weller refuses to believe that things are amiss in the colony, though word of a fight breaking out in the mess hall and an empty morgue are evidence to the contrary. The bodies of the suicide victims are strangely gone. Just as you start digging for information on the whereabouts of the bodies, a morgue technician stumbles in, shouting. Something's odd about this guy. Sure enough, you have to shake him o and shoot him after he makes a vicious effort to tear your throat out.
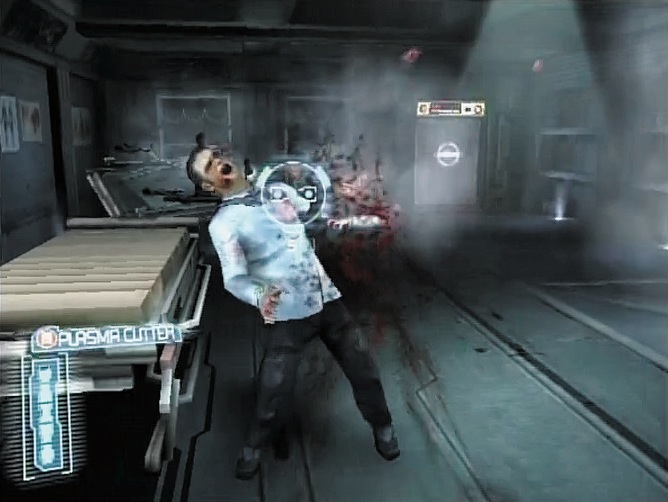
There's little time to figure out what's going on before the lights go out. What was already a creepy morgue becomes a terrifyingly dark one. Fortunately, you have a glow worm stashed for just an occasion. Light it, then load up on plasma cutter and P-Sec pistol ammo located on the shelves across the room as a precaution.
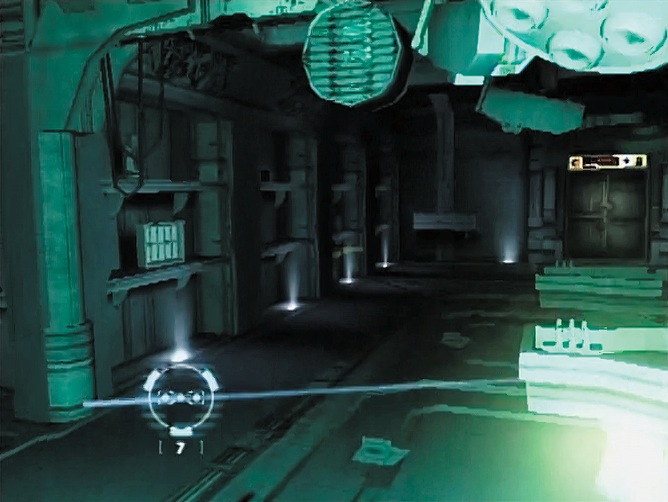
Leaving via the elevator isn't an option since the power has been cut, which means finding an alternate exit. However, before going anywhere, you have to contend with a group of psychotic morgue employees.
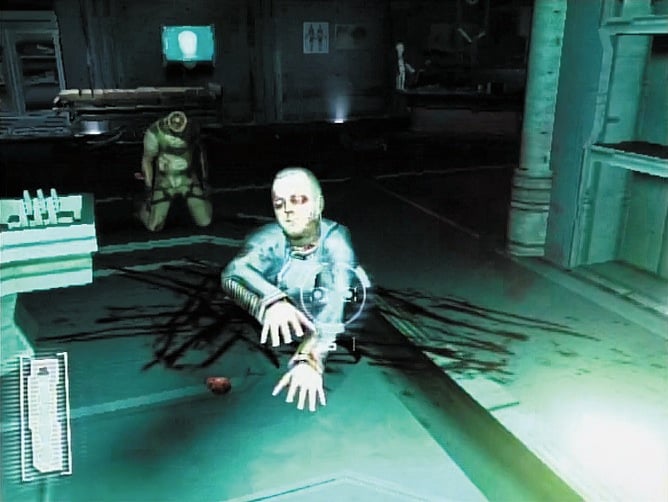
Keep your glow worm lit so you have enough light to aim your shots. Several enemies come around the corner, making it easy to focus your crosshairs to the right side of the room and unload on enemies as they appear. If any come close to you, knock them back with a melee attack and follow up with a kill shot.
With the morgue clear, proceed with finding a way to safety. Exit to the adjacent hallway amid the screeching of the emergency alarm. Weller's rookie, Karklins, isn't speaking clearly, but ignore him and focus on collecting the revival pack at the hall’s end, as well as the ammo scattered about.
Revival Packs: Unlike health packs, which instantly restore vitality, revival packs resurrect you when you’ve lost all your health. They automatically activate upon your untimely demise, restoring you to full strength. Grab one when you see it, as they're rare and extraordinarily helpful.
Hostage Negotiation
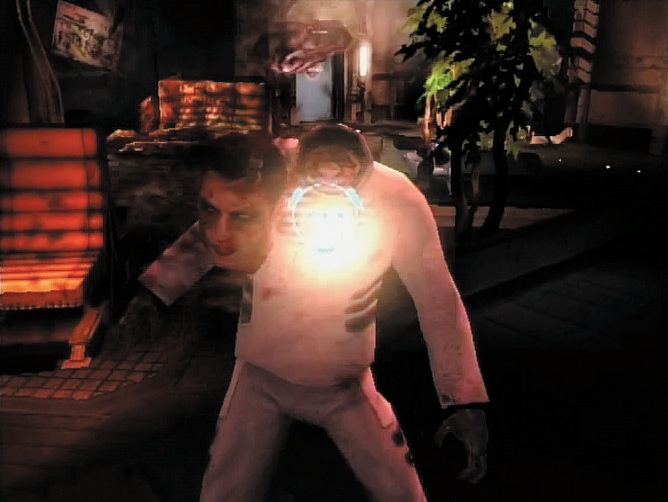
Head through the door and enter a tense hostage situation. A deranged man has two women at gunpoint, begging for their lives. Soothing words convince the man against harming the two women, although he has no problem lunging toward you. Defend yourself.
Send Weller and Karklins back to P-Sec and direct your attention to the victims.
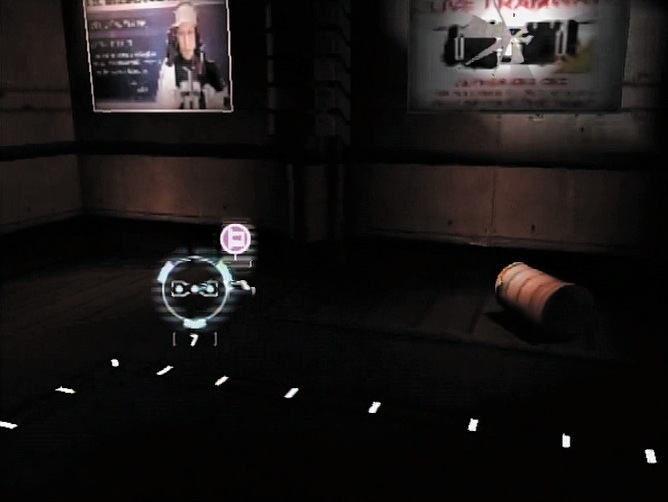
Unfortunately, with your backup gone, the women decide to make a victim out of you. Dispatch both of them and then catch up to Weller and Karklins to warn them about the spreading psychosis.
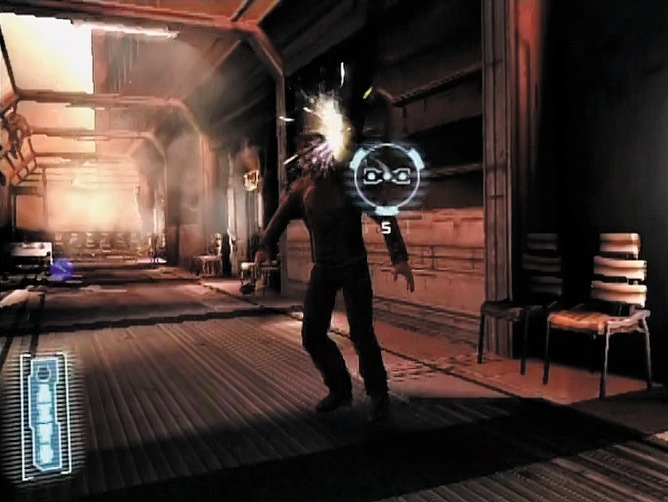
Text Log: Situation report: Sgt. Sizzle, J. (Precinct 12) File away this text log, which is located on the ground to the right of the exit.
Leave the gruesome scene and head down the adjoining hallway, shooting the crazed colonists trying to halt your progress. Two strungout colonists rush in from the first door on your right. Another pair of colonists comes at you from the next door on the right after you move forward.
Weapon Upgrade: Reach for the P-Sec pistol upgrade lying on the floor at the end of the hallway.
Watch your step as two unlucky fellows crash through the glass ceiling, falling to their deaths. Step over their bodies and continue around the corner through the door to the clinic.
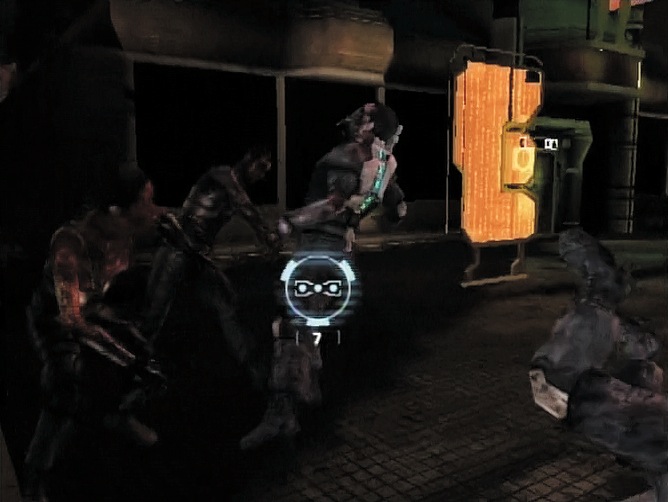
Prognosis Negative
Things inside the clinic are a mess: shards of broken glass everywhere, flickering lights, broken furniture.
Text Log: Science log: Dr. Kyne, T. (chief science officer) Pick up the log sitting on the ground directly opposite the entrance to learn about Dr. Kyne's request to speed up research on the Marker.
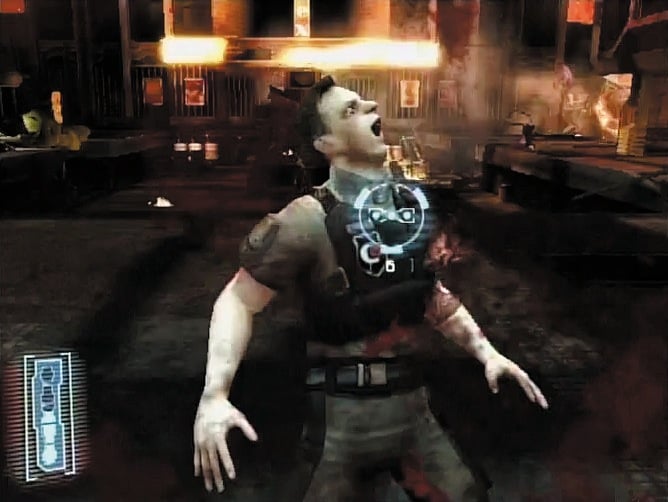
Inch past the information desk and note what sounds like someone eating. A double take at the disgusting scene behind the desk is certain to keep your own appetite in check.
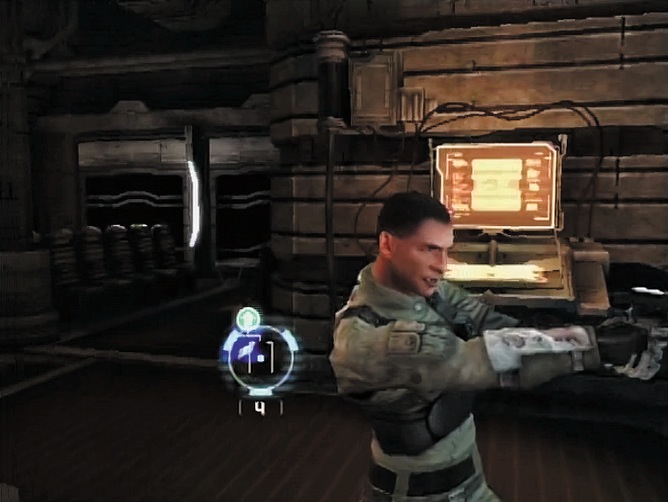
That's just as well because there are colonists hoping to feast on your remains, and you need to concentrate on killing them. Two foes shamble in from across the room, followed by a couple more as you take a defensive position in the corner. Exit to the main plaza, where a shocking scene involving a man stabbing himself with a pick unfolds the moment the door opens—it's only a taste of the insanity to come.
Colonial Pandemonium
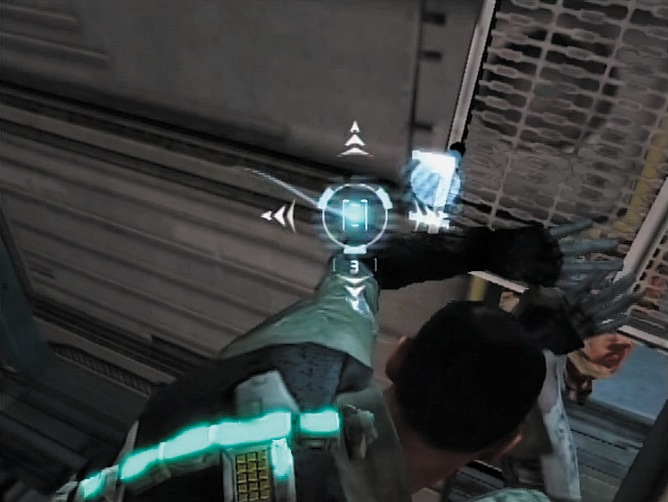
Colonists are brutalizing each other with guns, sharp objects, even their bare hands. You're forced to join in the bloodshed when three colonists attack you at the center of the plaza. These guys like to dart away from your shots, so steady your aim and hold your fire until they stop moving. Additionally, fire one shot at a time rather than several in quick succession to avoid wasting ammo.
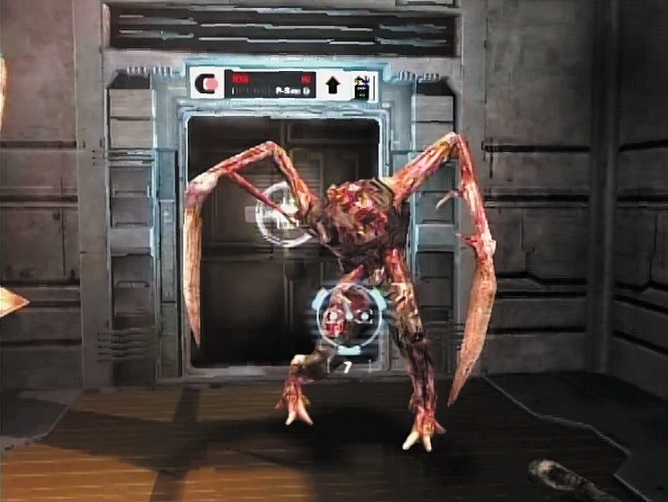
Advance up the stairs to P-Sec headquarters, taking out another wave of insane colonists. Weller calls out to you when you've cleared the steps, admitting he's stunned that the colony has so quickly descended into chaos. Karklins is with him, though the rookie looks like he's about to lose it.
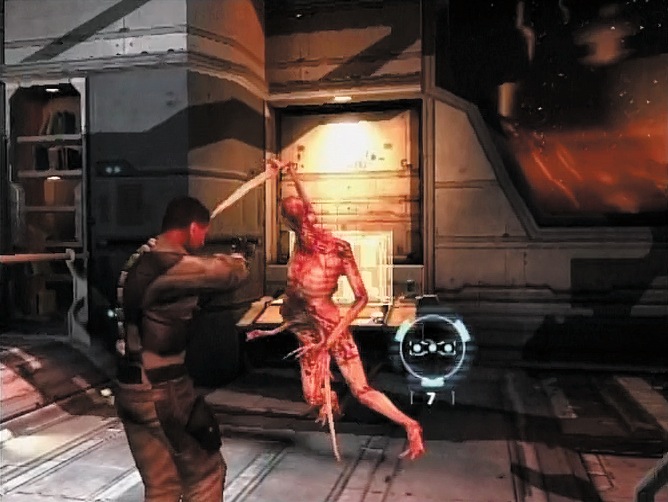
Before Weller can nish explaining that he has control of the situation, Karklins pistol-whips him. Now that Karklins has lost his mind, make sure he loses his head. The colonists assembling in front of P-Sec are too many for Weller and you to contend with, leaving you with no other choice but to hole up in P-Sec headquarters.
Weapon Upgrade: Grab the upgrade on the floor in the P-Sec lobby to beef up the power of your rivet gun.

The colonists, however, aren't going to let you go easily. Before Weller can get the doors shut, bloodstained hands stretch into the lobby in a desperate effort to claw at the two of you.
Work quickly to rivet a metal panel over the door while Weller holds the colonists at bay. Use the rivet gun's alt-fire to blast the six highlighted points on the panel.
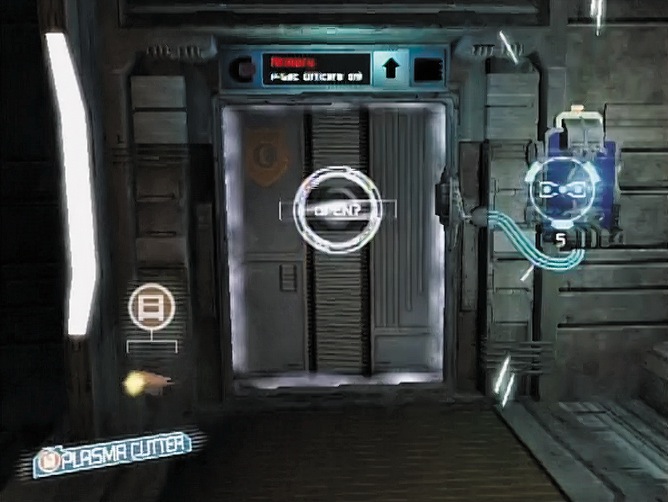
Hailing the Ishimura for Help Hunkering down inside P-Sec is only a temporary measure, and Weller suggests hailing the Ishimura for help. Lead Weller back to McNeill's office to place the distress call. Ride the elevator to the P-Sec offices, looking back quickly as you step off to make sure Weller is close behind.
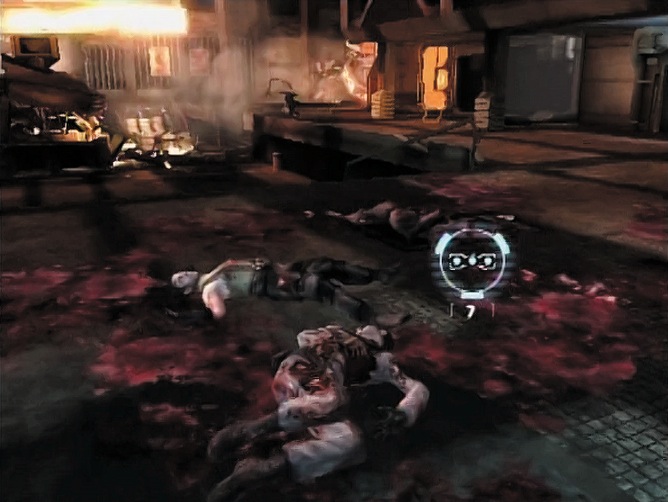
Instead of Weller, you're face-to-face with horror incarnate: a Necromorph Slasher. Dismember it, then proceed to McNeill's office.
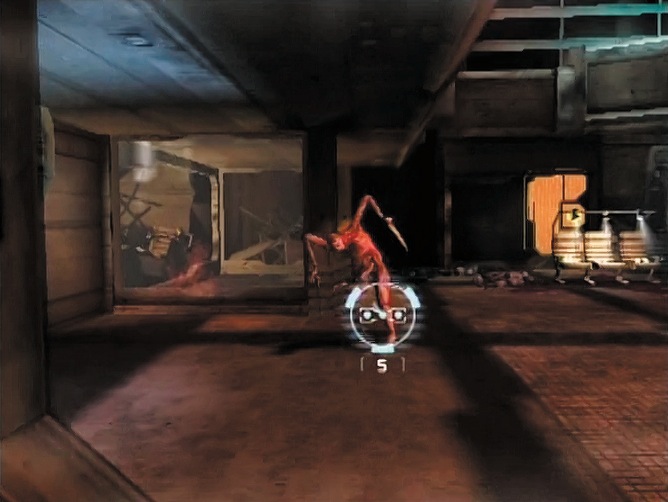
A Slasher appears as soon as you enter the office, a second one is at the bottom of the steps, and a third is near the windows. Weller handles a fourth on his own, allowing you to discover a young woman cowering underneath a desk. A stressed Weller tongue-lashes her for not helping to defeat the Necromorphs, but a cooler head prevails and McNeill asks her name.
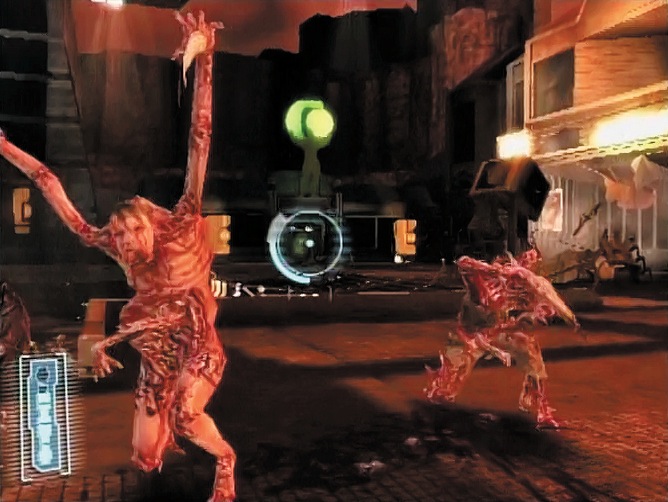
She's Lexine Murdock, the girlfriend of the deceased Sam Caldwell. Now her father's gone missing. Hoping to get P-Sec to investigate his disappearance, she found herself trapped inside the office. Weller's too busy failing in his attempts to communicate with the Ishimura, but he takes stock of Lexine's suggestion to flee the colony via shuttle transport. Despite Weller’s objections, depart from the office with Lexine in tow and make your way back to the barricaded P-Sec lobby.
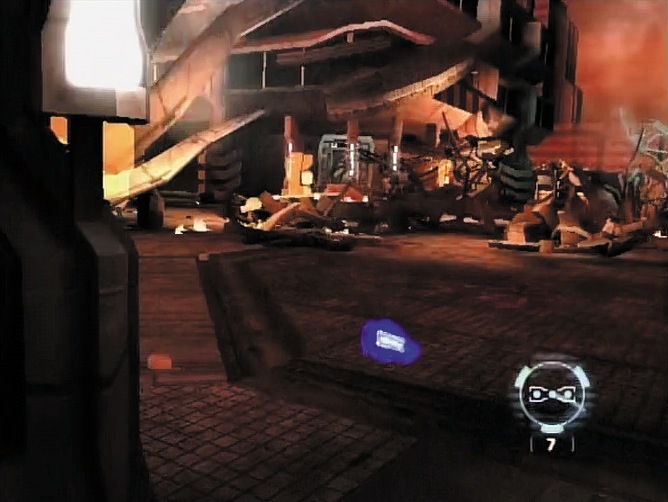
Raiding the P-Sec Armory: On the walk back, a Free-Look sequence grants you an opportunity to access the P-Sec armory for bonus supplies. Shoot the purple power box on the wall to the left and open the unlocked door. Inside is a pulse rifle and some ammo clips.
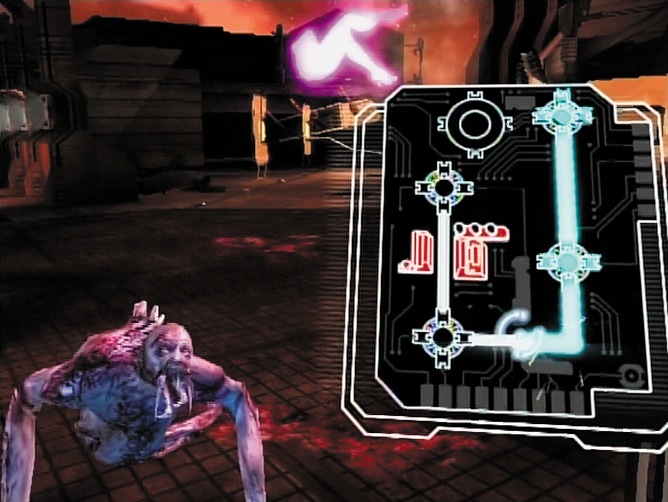
Public Dead Space
Using your rivet gun's primary fire, remove the metal panel blocking the door and prepare yourself for what awaits on the other side.
The metal floor of the plaza is slick with the blood of colonists, their lifeless bodies strewn about like rag dolls. Your examination of the scene is cut short with the arrival of a new enemy: the Infector. These Necromorphs are capable of transforming a human body—dead or alive—into a Slasher. Kill the accompanying Slasher, then quickly shoot the Infector in the background to prevent it from spawning another Slasher.
The route to the shuttle is blocked by heavy debris, but a small opening should be enough for you to squeeze through. The arrival of several Slashers makes it imperative that you move quickly. Take out the enemies as Weller and Lexine crawl through the barricade. Aim at the Slashers' legs, as that will cause them to drop to the ground and slow their advance. Stasis also comes in handy for halting one or two enemies.
Hurry through the crawlspace as soon as you clear the plaza.
Crash Landing
Weller's subordinates chime in to report they're departing on a shuttle, which Lexine observes passing overheard; however, rather than merely passing, the gigantic vessel is on a collision course with the colony. Brace for the impact, then rush to the crash site to search for any survivors.
// Weapon Upgrade: Collect a plasma cutter upgrade on the ground near the shuttle crash site in the square.
Lexine spots a man pinned under debris. As she and Weller pull him to safety, he identifies himself as Warren Eckhardt, executive director of colonial mining operations. He's got a chip on his shoulder, but also a backup plan. A shuttle in the maintenance bay could be a ticket out of the colony. Reaching it means traversing Megavent 12, which runs underneath the colony. A nearby lift will take the group down to it.
Use kinesis to remove debris from the lift doors. Next, solder the connected access panel to restore power to the lift. Work quickly to solder the panel, as Slashers and scorpion-like Leapers are relentless in attacking you during the process. Utilize stasis to halt their advances while you hack. If things get hairy, stop soldering and take a few enemies out before resuming. With power restored to the lift, the level ends.
Chapter 3: Return to the Megavents
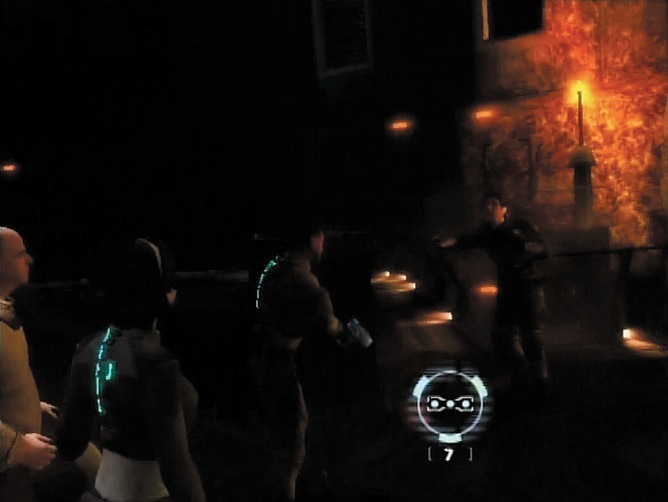
Eckhardt may take comfort in the imagined safety of the elevator descending into the Megavent, but the fill-lit tunnel seems anything but secure. The sickly orange tinge of organic matter lining the walls hints at something foul, and distressing sounds echoing through the dank air make it difficult to feel safe. Noise near the elevator thankfully turns out to be another survivor and not a flesh-hungry Necromorph.
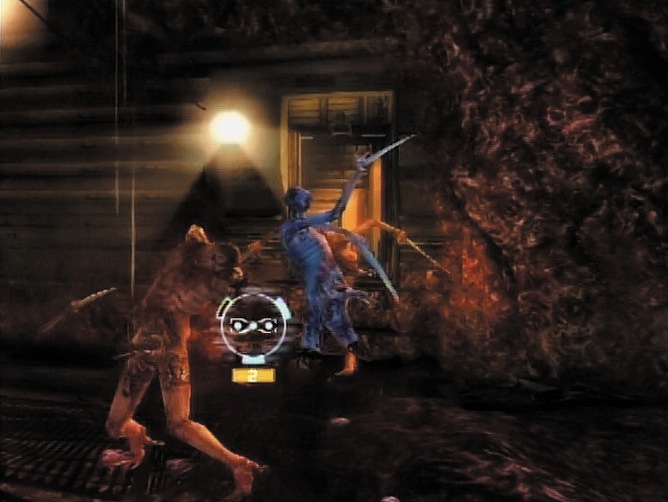
This poor man has been trapped down here, desperately hoping to remain out of Necromorph sight. Unfortunately for both of you, that hope is dashed when three Slashers emerge from a nearby vent. Dismember them using the rivet gun, or switch to the plasma cutter, which easily slices through limbs. Block the vent after you defeat the Slashers to prevent more from crawling through.
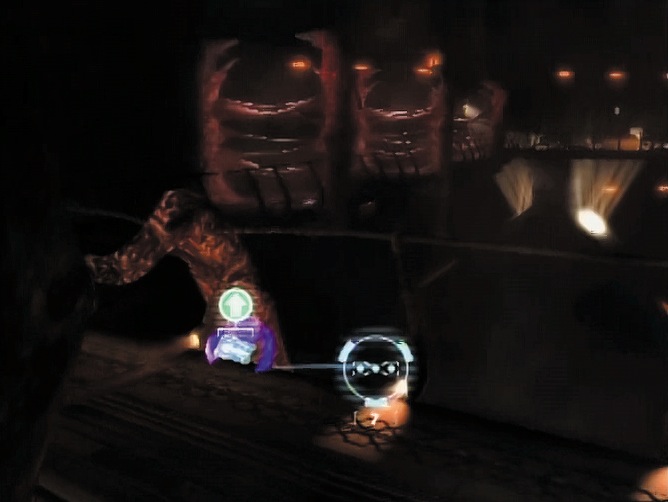
Switch back to the rivet gun if necessary, then charge up the alt-fire in order to nail sheets of metal over the vent. Rivet the four corners of a square panel over the vent, followed by three reinforcing strips to finish the job.
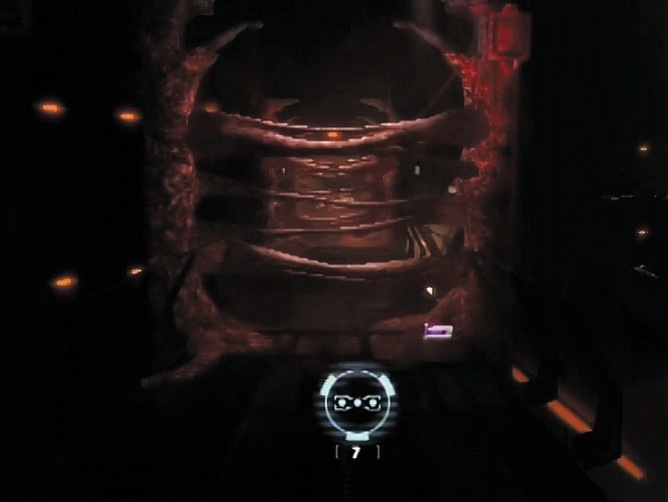
// Weapon Upgrade: Look to the ground on the left after riveting the vent shut to and an upgrade for your P-Sec pistol.
Living Walls
You’ve bought yourself some time, but not much. Move deeper into the Megavent, taking the opportunity during a Free-Look sequence to collect a few clips of plasma cutter ammo. Proceed along a narrow metal walkway until you come face-to-face with a fleshy fence. Hack through it with a melee attack.
// Text Log: Maintenance log: Denvers, Q. (MV24). Regarding organic growth in the Megavents Sitting on the walkway in front of the first fleshy wall is a maintenance log detailing the first report of organic growth in the Megavent.
A Necromorph flying high above startles the group, but it passes in search of an easier target. Slice through another fleshy obstruction before one of Weller’s men, Baines, crackles through on the radio. He somehow survived the shuttle crash, though admits he’s at a loss for a way off the colony. Weller explains that their only hope is to make it to the maintenance bay, where one last shuttle can be found. Baines signs off with a hint of renewed hope in his voice, even though his solo trek to the maintenance bay will be a dangerous one.
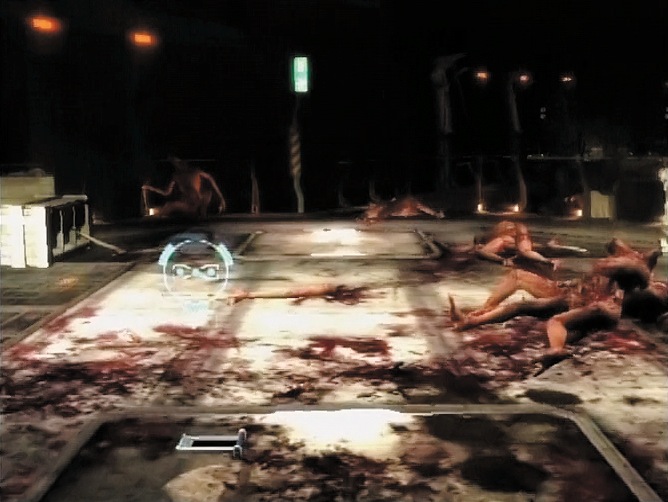
Surviving the Megavent
Continue to the platform ahead by cutting through another flesh obstruction. Lexine fearlessly runs up to collect an audio log amid the motionless bodies of several Slashers. Her bravery is rewarded with a recording by a female colonist named Amanda Castle, who theorizes that those su ering from dementia contracted it as a result of contact with the Marker. It’s a point that seems obvious to Weller and fascinating to Eckhardt, but utterly terrifying to the rest of the group. The new guy breaks up the debate by insisting on a hasty fight to the maintenance bay, which is interrupted by Slashers that are reanimating.
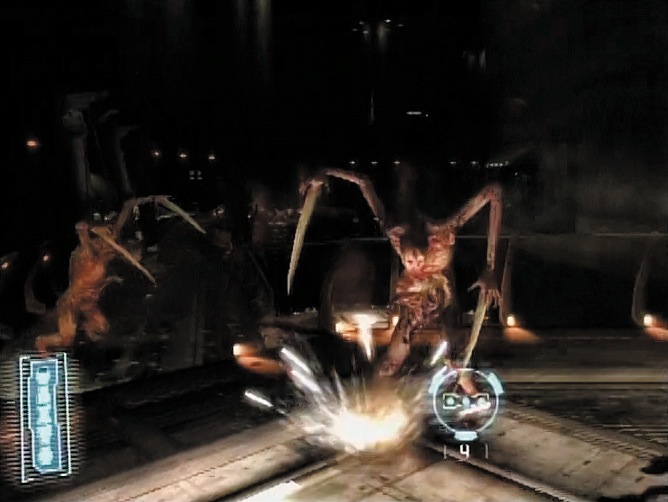
Protect the group by dismembering the two Slashers that awake, followed by a third that climbs over the guardrail. Use stasis to slow one Slasher, and focus your attention on the other if you’re having trouble dealing with both simultaneously. Resume fighting as a tram rolls underneath, taking on a Leaper and Slasher that scurry toward you. Deal with the Leaper first, since it’s more dangerous; then turn your attention to the Slasher.
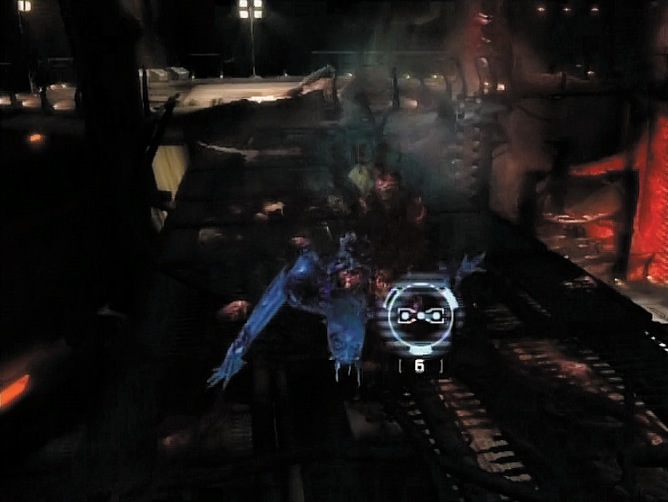
Another pair of Slashers await farther ahead. Get the jump on them by keeping your crosshairs low and firing at their legs as soon as they pop up. A Leaper comes in for the kill after you destroy the Slashers, so prepare to sever its arms before it has a chance to attack you with its sharpened legs. Walk to the illuminated platform ahead and check in with Lexine to see how she’s holding up. Stock up on plasma cutter ammo by opening two footlockers before reaching a fork in the path.
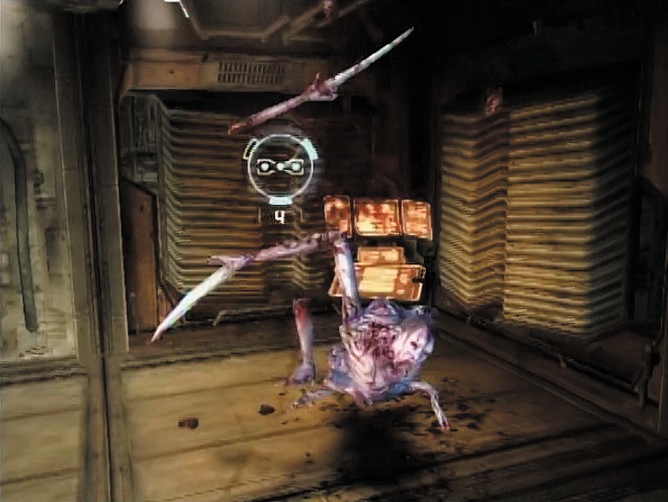
Fork in the Road
Head left to access a utility room filled with supplies. Alternately, you can skip ahead and take the righthand path, although you’ll miss out on a load of goodies. Break through two fleshy fences on the catwalk leading to the closet, grabbing the pulse rifle ammo when you stop to peer off the walkway’s side. Kill the Slasher that drops in from the ceiling in front of the door (ignore the dead decoy Slasher slumped on the floor); then hack the access panel in the corner to unlock the utility closet door.
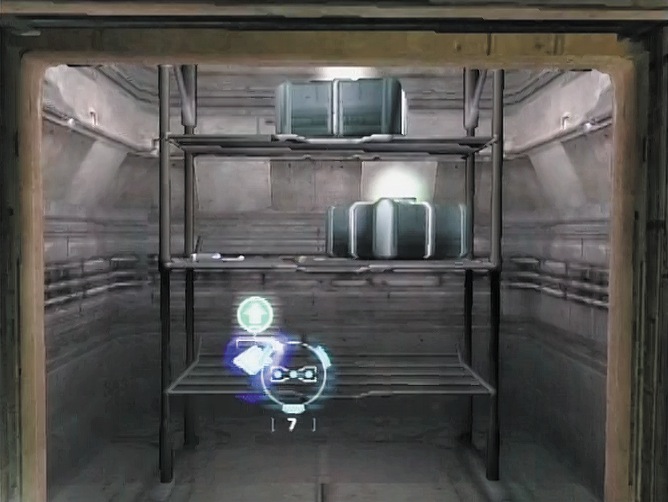
Inside are a few clips of ammo, a text log, and a helpful weapon upgrade.
// Text Log: United We…Ascend? (Part 1) From a shelf in the utility closet, pick up this article, which examines the unusual faith of Unitology.
// Weapon Upgrade: Check the floor of the utility closet for a pulse rifle upgrade.
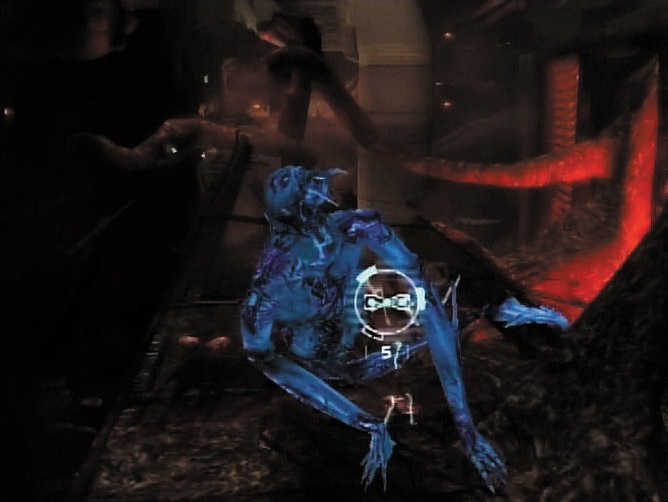
Rejoin the group when you’re done raiding the supply closet; then continue your descent into the Megavent by climbing down to a walkway below. Weller’s other subordinate, Hutchins, chimes in over the radio to inform you of the progress she and Baines have made in reaching the maintenance bay. They, too, have encountered the nasty-looking organic material growing on the walls. Cut through some of it to advance down a metal footbridge.
The Long Tentacle of Terror
Two Slashers greet you on the other side, along with a Leaper. Take out the Slashers before turning your attention to the Leaper, which hurls itself toward you once its compatriots are out of the picture. Using stasis against the Leaper is e ective in this situation, because it prevents it from attacking you and it makes it visible against the pitch-black background.
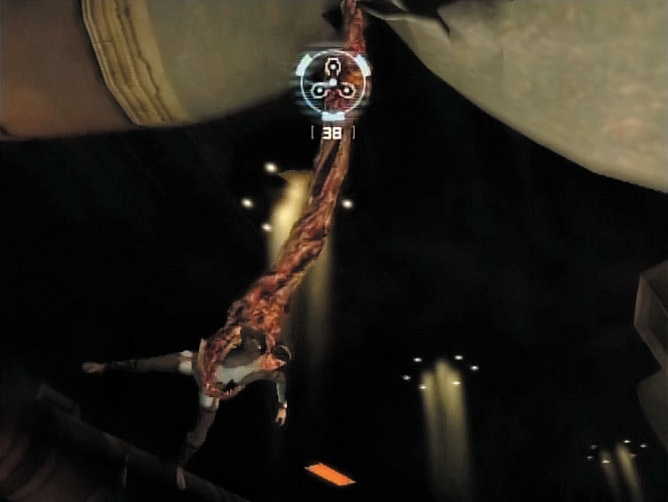
To proceed, climb over the Leaper’s remains and several large necrotic veins wrapped tightly around the bridge. Snatch the pulse rifle nestled in one of the veins; its high rate of fire will chew Necromorphs to bits. The click clack of another tram prompts Eckhardt to recommend hopping aboard one as an easy means of reaching the maintenance bay, but his suggestion is cut short by a tentacle smashing through the ceiling and snatching Lexine.
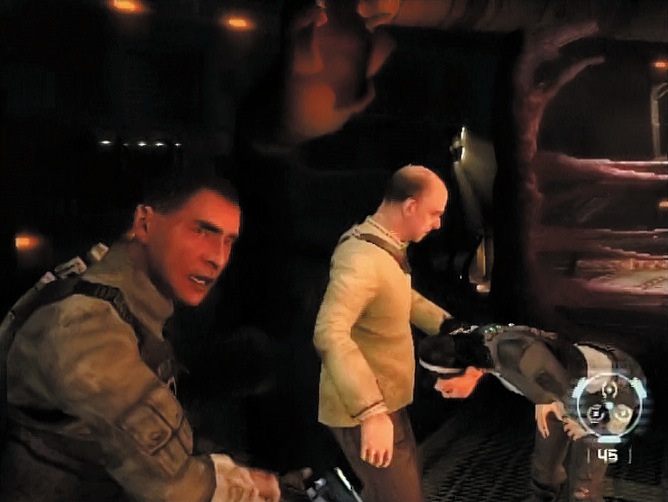
Prevent the creature, an enormous colony-wide monstrosity called the Hive Mind, from devouring Lexine by unloading a few rounds into its tentacle at the point where it meets the ceiling. It drops Lexine but then grabs the Megavent worker who joined you at the elevator—keep riddling it with bullets. The scared chap is holding on to Lexine for dear life without realizing that he’s putting her life at risk. Shoot the tentacle until it retracts.
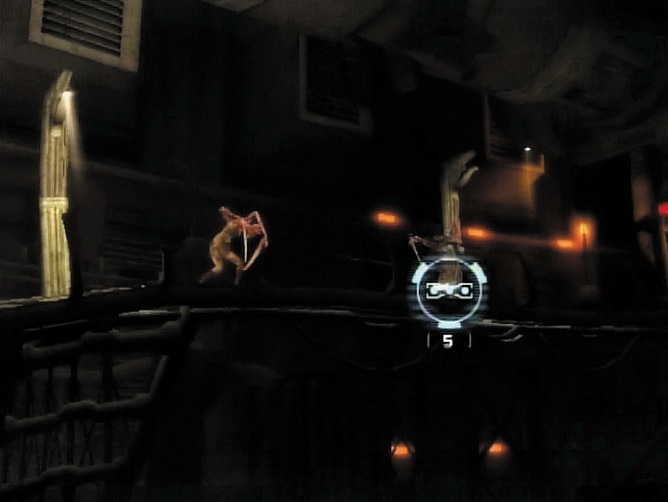
Lexine survives, but the Megavent worker wasn’t as fortunate. Soldier on by breaking through a flesh fence. Restock your ammo supply during a Free-Look sequence, making sure to pan up for a clip after breaking the green supply boxes.
Dismemberment at a Distance
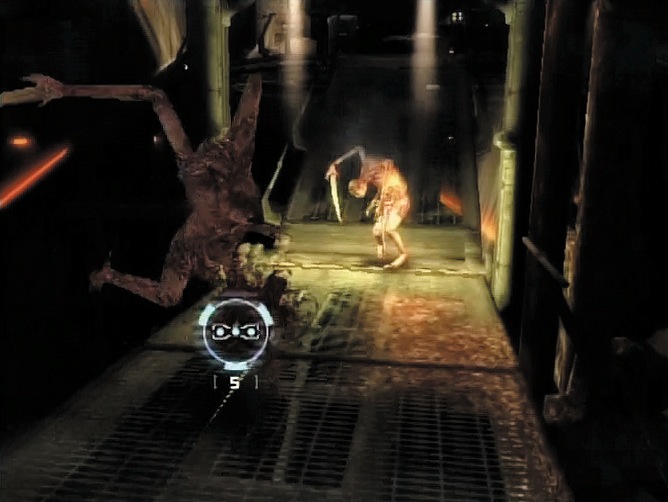
Move along the catwalk until blocked by debris. Use kinesis to move it out of the way, then step forward. Glance left to spot a couple of Slashers eyeing you from higher ground.
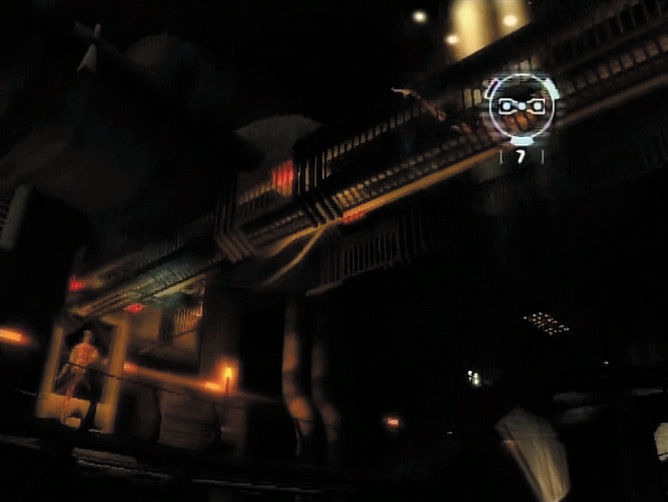
Dismembering them from a distance is challenging, although you can use stasis to make it easier to hit their limbs. The plasma cutter is essential here, primarily because too much precision is required when using the rivet gun when attempting to hit limbs at this distance.
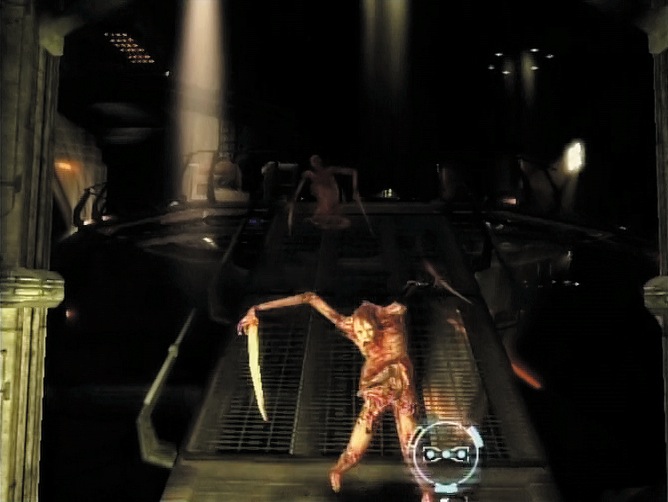
Turn back to the catwalk to confront more Slashers and a Leaper. Rid yourself of the Leaper first since it’s the most dangerous of the bunch, then deal with the Slashers. Walk forward a few paces and more Slashers pull themselves onto the catwalk.
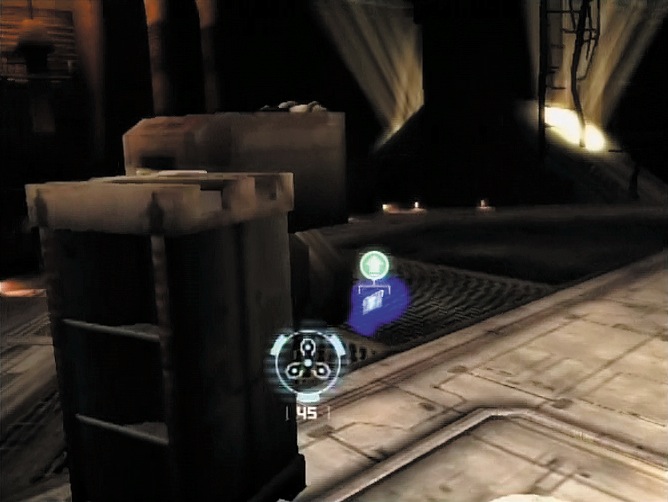
More alarming is the Leaper that defies gravity by skittering across the ceiling. Slow it down with stasis and cut its arms off before it can reach the walkway. Two more follow in quick succession. Work quickly to hit them with stasis and sever their arms. As soon as you destroy the Leapers, Slashers shamble down the catwalk. Kill them as quickly as possible before another Leaper rushes in to attack.
If you haven’t eliminated the Slashers, use stasis on them to buy some time while you deal with the Leaper. One final Slasher has to be put down before you can walk up the ramp to the next area.
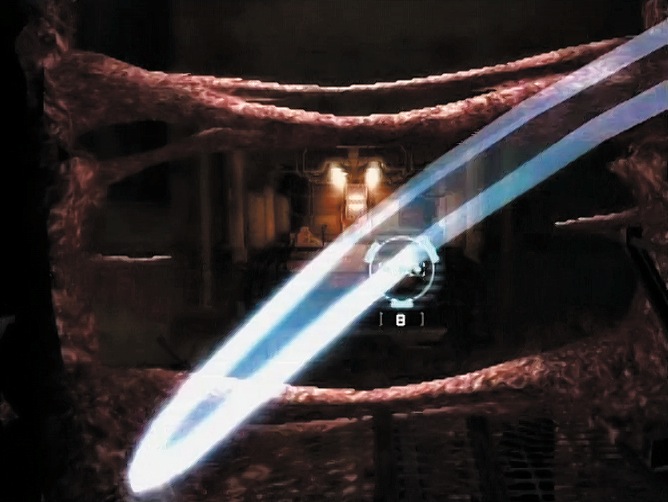
Return to the Air Vent
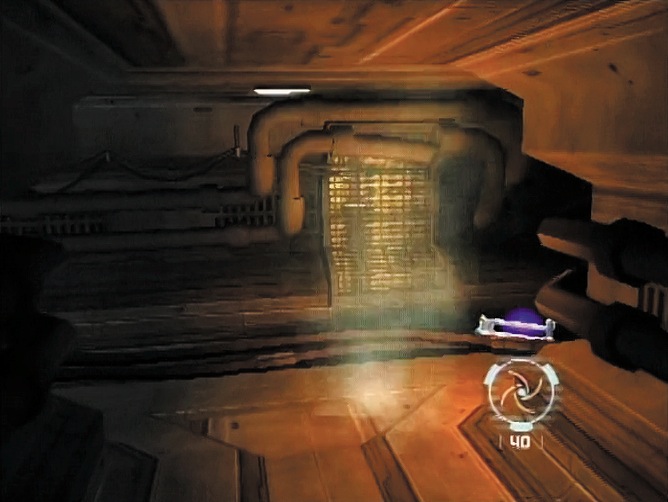
// Weapon Upgrade: Locate a plasma cutter upgrade behind a crate at the top of the inclined walkway.
Pick up some ammo to your right and press ahead. The stability of the path forward looks iffy, and when the bridge gives way, your suspicion is con rmed. After Weller rescues you from an assuredly fatal fall, Baines radios in with a status update. He and Hutchins are near the maintenance bay but have to battle a gang of Necromorphs guarding the entrance. Lexine suggests you shimmy through the colony’s ventilation system to avoid a similar confrontation.
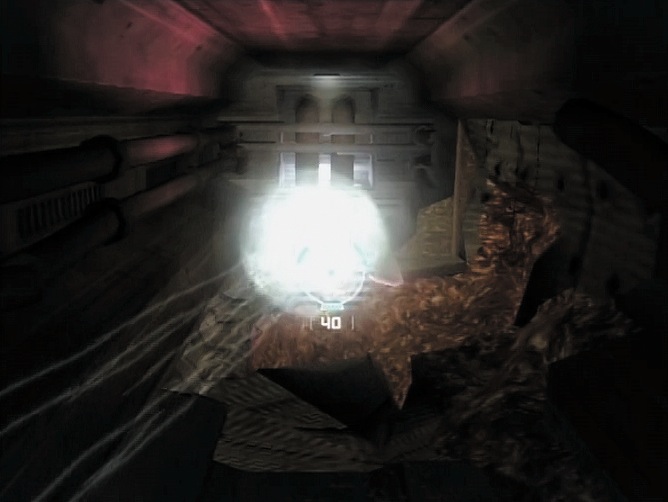
Ignore Eckhardt’s protest and cut through a series of fleshy obstructions to reach an air vent along the tunnel’s perimeter. Pick up the flamethrower on the floor near the vent and equip it—it’ll come in handy when exploring the vent. There are also a couple of footlockers with ammo. Hack the control panel at the right to pry open the vent. Squeeze through the opening and journey inside. Hack through a couple fleshy obstructions to reach a juncture in the vent.
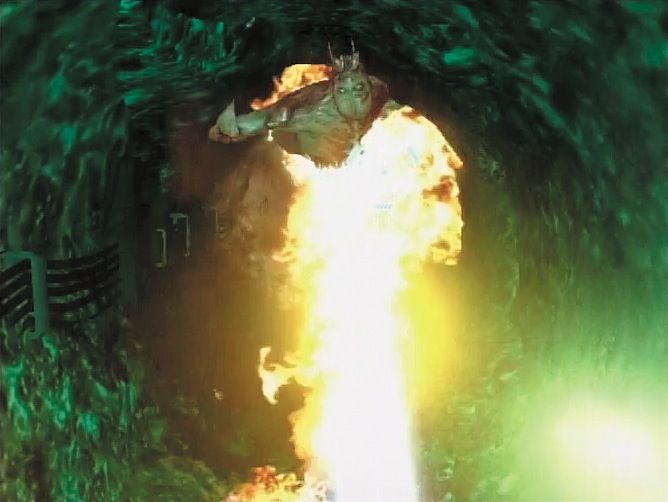
// Audio Log: Find this recording in a recess to the right after cutting through the first organic blockage in the air vent.
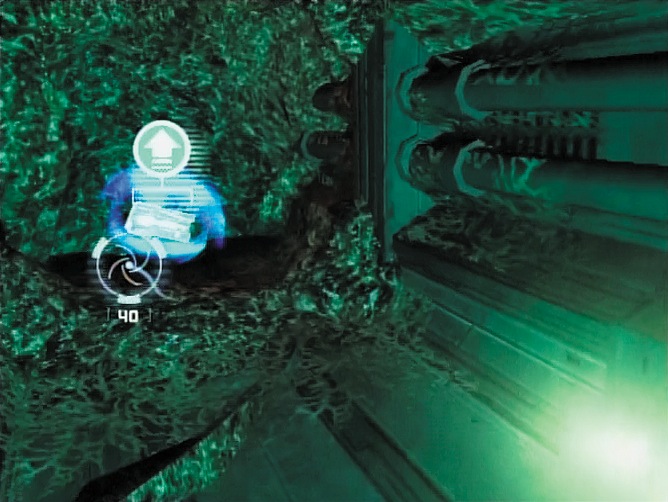
Select the left path since it’s the most direct route, though both paths lead to the same location. Avoid the spiked protrusions that puncture the vent as you take the left path.
// The Alternate Path: Head right and you run into what looks like a dead end. A gaping hole lined with organic growth prevents progress, but pull a metal grate over it with kinesis and you’re back in business. Hack through a couple fleshy walls and drop down a hole in the shaft floor to rejoin the main route.
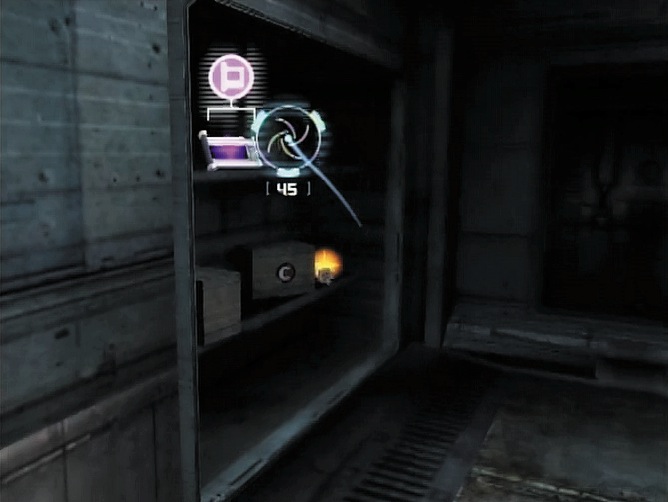
Chat with Weller as you warm up a glow worm to illuminate the shadowy vent. Under the green light, the goreslicked sides of the vent are visible. They’re so slick, in fact, that McNeill slides down the vent away from the group. Clear another organic blockage before you hear the rattling of approaching Leapers. Whip out your flamethrower and sear them.
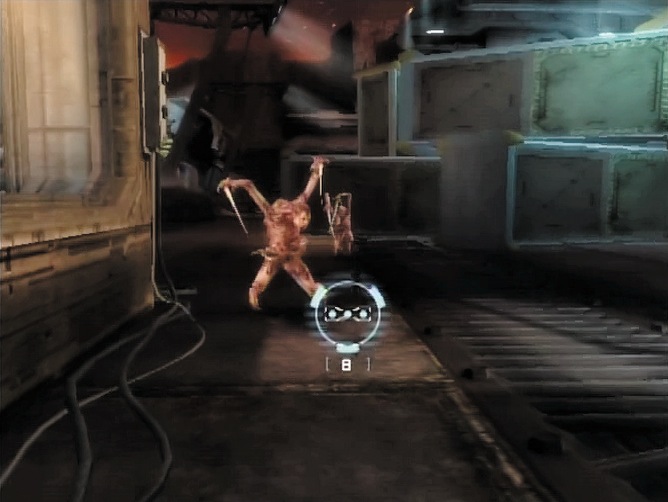
More Leapers lurk ahead. Search the side vents for ammo and enemies, keeping your flamethrower at the ready for any sign of danger. Douse with flames any Leaper that jumps at you.
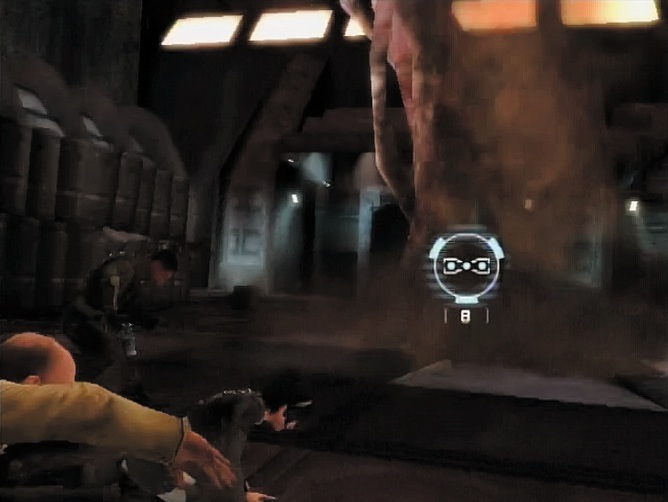
// Weapon Upgrade: As you head through the vent, grab the flamethrower upgrade nestled in the dead end to your left. Act quickly because you’re given a short moment to grab the upgrade before being pushed farther down the vent.
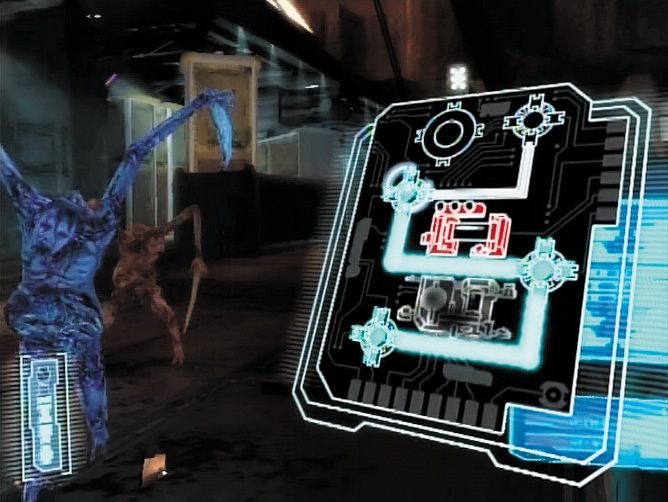
You have just a little bit to go when McNeill estimates the exit is nearby. As you leave the ventilation hub and turn right down a new section, broil a Leaper that tries to surprise you. It’s a good thing you’re near the end, because your glow worm runs out of juice. Slide down the nal section, cut through one last organic obstruction, and emerge from the vent. Open the footlocker to the left for a small health pack.
// Text Log: CEC: About Us. Grab the text log stored on a shelf next to the air vent. After you exit the vent, the camera pans left, allowing you to pick up the log.
Cut and Run
Exit the utility room to the maintenance bay—you made it! There’s no time to celebrate, though, as Slashers and Leapers are wise to your arrival. Prioritize Leapers since they move the fastest. Use stasis to slow one or two enemies if you’re feeling overwhelmed.
Baines and Hutchins are on the other side of the bay fighting off Necromorphs. They report the shuttle is locked, although Eckhardt is confident he has the necessary security clearance to access it. The plan is to meet with Baines and Hutchins at the control panel near the shuttle, then protect Eckhardt so he can unlock the doors.
Not even a moment after the plan is hatched, a massive tentacle erupts from the floor of the maintenance bay. It’s the Hive Mind again, eager to devour you. Weller yells for everyone to run to the control panel, leaving you to fight off a wave of monsters. As before, concentrate fire on the Leapers to eliminate them before you take on the Slashers. When you reach the control panel, a second round of Necromorphs attack before it’s safe enough for Eckhardt to unlock the shuttle.
Unfortunately, Eckhardt can’t get the shuttle to work, which leaves you to hack the panel. Solder it as quickly as possible. You’re vulnerable to attacks while hacking, so if a Slasher comes in for a swipe, kill it before resuming work on the panel. Stasis is great for slowing Slashers, which in turn yields extra time for soldering. Succeed and the door unlocks, allowing the group to take refuge inside the shuttle. After taking a few nal shots at the tentacle, Weller casually reports the creature’s demise, though it comes roaring back to life. A hasty lifto is all that saves the group from death.
Chapter 4: Rendezvous with Fate
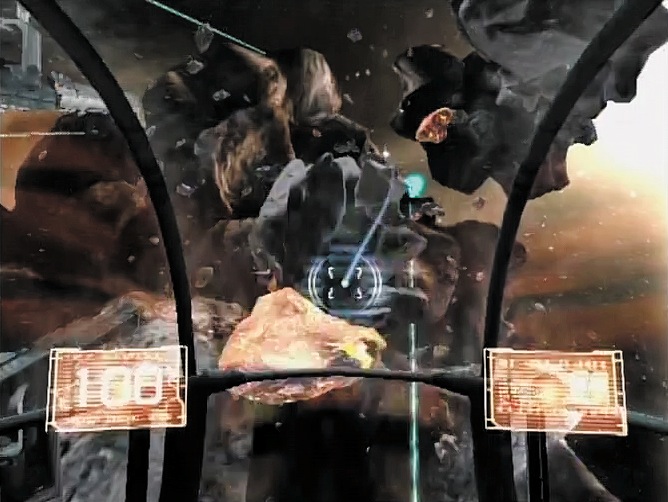
After narrowly escaping the clutches of the Hive Mind, the group is safe aboard the shuttle en route to the Ishimura. It’s not going to be a smooth ride, though, as tons of space debris threatens to break the shuttle apart. Man one of the turret guns and start blasting debris to spare the shuttle’s hull damage.
Look out for orange-tinted asteroids— these are the bits of debris you need to destroy. Ignore the other space junk and concentrate on shooting the orange bits. Pay particular attention to the screen’s edges, since debris has a nasty habit of sneaking toward the shuttle at the periphery. If too much debris hits the shuttle, the reinforced glass surrounding the turret begins to crack, a sign of imminent obliteration.
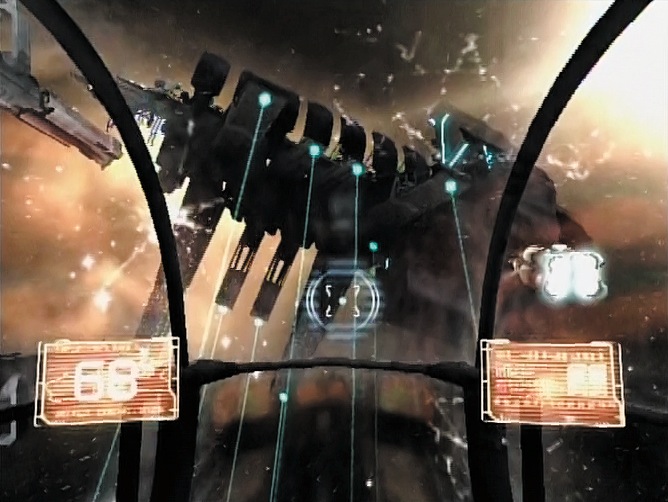
Soon the Ishimura comes into view. It’s an imposing sight—the segmented ship is tethered to the colony below like a parasite feeding o its necrotic energy. The ship’s crew issues an unanticipated warning: turn back or risk being red upon. Another shuttle from the colony soars in, insisting they be allowed to dock with the Ishimura. Even as Eckhardt recites his title in hopes of acquiring permission to dock with the ship, the other shuttle ignores the warning and goes in to dock. It explodes under a barrage of re from the Ishimura, leaving Weller to evade the ery pieces as they hurtle past.
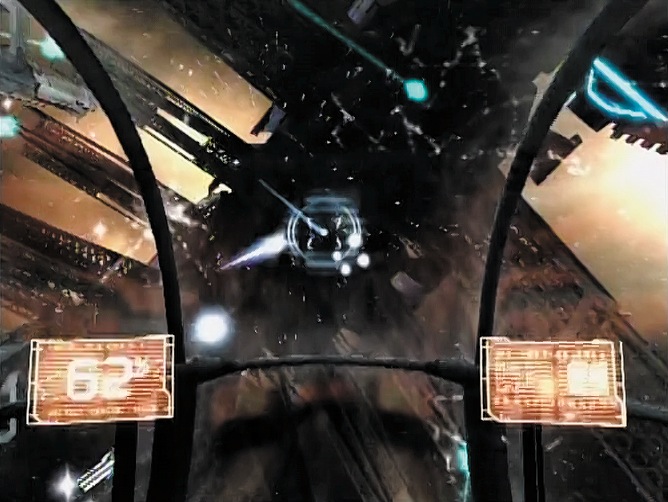
Into the Frying Pan
With no other option, Weller pilots the shuttle toward the Ishimura. Defend against the Ishimura’s attacks by shooting the white energy projectiles. They come in groups of four, with two sets usually red in quick succession. Countering the shots becomes more challenging as you approach the ship, but if you move your crosshairs in a circular motion, you can eliminate shots with greater ease. Once the attacks stop, Weller brings the shuttle to a jarring halt on the surface of the Ishimura.
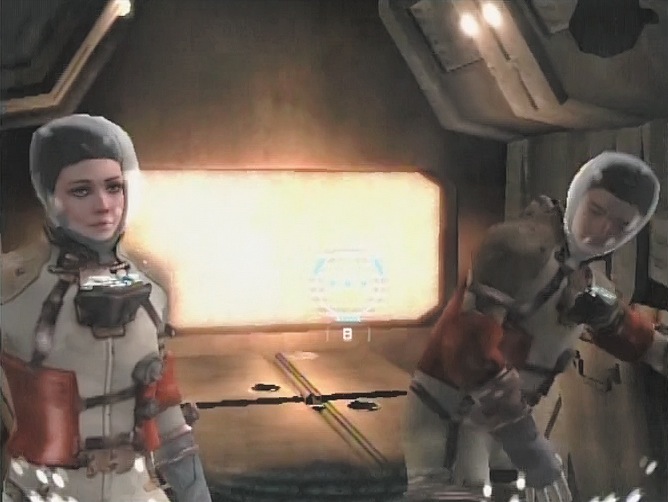
Shake yourself awake after the crash. Join the other survivors evacuating the shuttle. Weller explains that a maintenance airlock a few hundred meters from the shuttle o ers an entry point to the Ishimura. Suit up and step outside. Follow Weller by jumping toward the circular hologram.
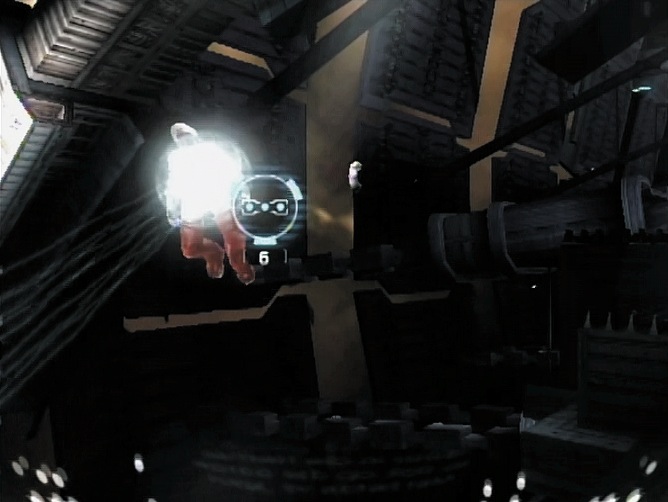
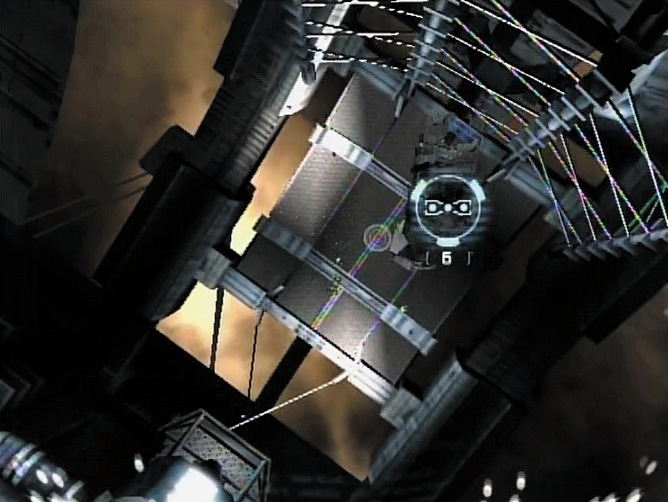
Watch for oating debris. Use kinesis to brush away any troublesome objects. Keep a sharp eye out for drifting small health packs, which can replenish any damage incurred if you get nailed by pieces from the shuttle wreckage. Three harrowing space jumps and you’re outside the maintenance airlock. Weller is having no luck gaining access, and Eckhardt is no more successful. Attempt to solder the access panel after a rather rude quip from Eckhardt about Lexine having the security-level clearance of a waitress.
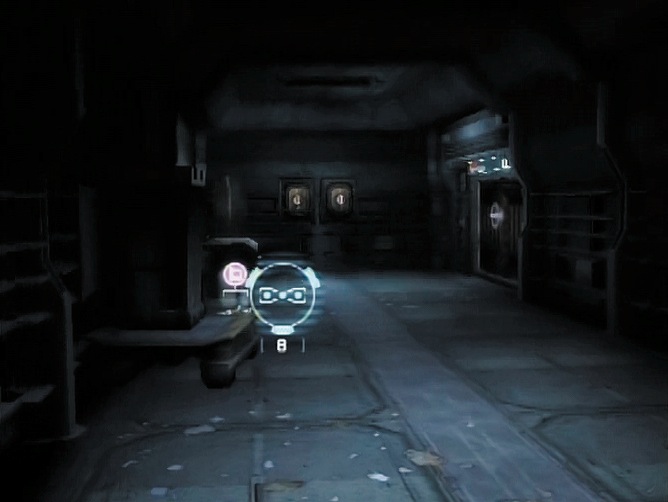
Opening the airlock causes a nearby pipe to burst, which knocks Lexine back. Use kinesis to reel her in before she drifts away to an agonizing death. End your spacewalk by joining Weller and Eckhardt in the airlock. Take your helmet o after the air cycles through, search the locker on the wall for a P-Sec pistol clip, then step into the adjacent corridor to begin searching for Ishimura crew.
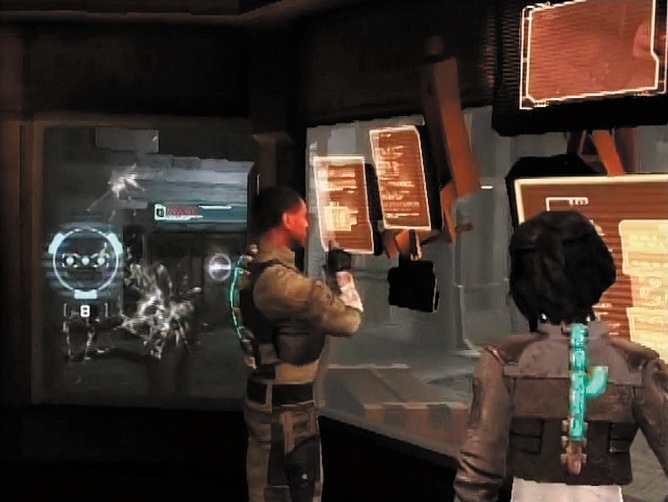
// Audio Log: Pick up this audio log left on a bench outside the maintenance airlock.
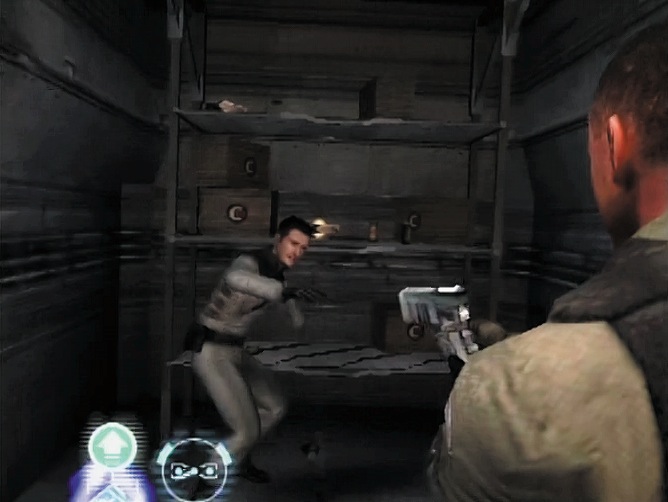
Welcome to the Ishimura Pass through the corridor on your way to the docking bay. Empty the two lockers on the wall before heading through the door on your left. Once inside the docking bay, collect more ammo by searching green supply boxes and a row of footlockers during the Free-Look sequence. Move through the quiet docking bay, meeting up with the rest of the group inside the control room when you nish surveying the area.
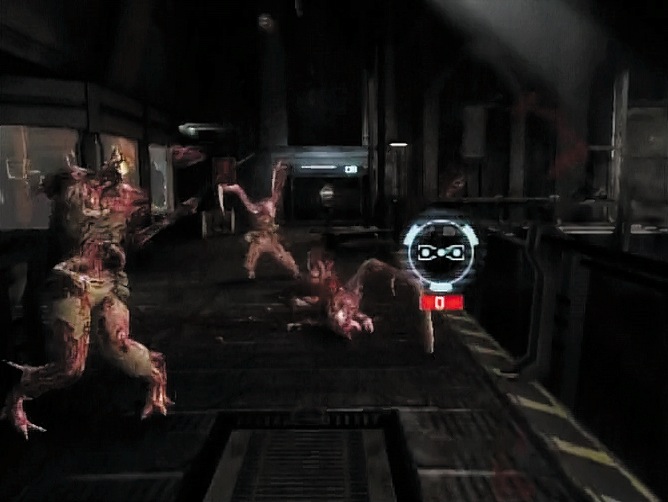
Hailing the bridge yields no response. Lexine notices a video feed showing a crew member being lleted by a Slasher. It appears that the Ishimura has fallen to the Necromorphs, too, leaving little hope for making it through this ordeal alive. McNeill o ers words of encouragement just as a Slasher crashes through the glass into the control room. Quickly dismember it.
Lexine is understandably spooked, and she insists that odd noises are coming from the control room supply closet. Open it with Weller at your side and discover one of the remaining docking bay crew members.
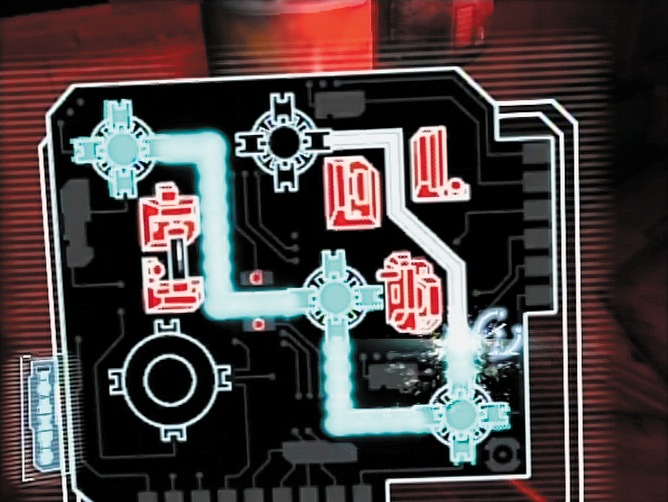
// Weapon Upgrade: As soon as you open the door, grab this upgrade for your rivet gun from the oor of the supply closet.
Having witnessed the slaughter of his colleagues, the poor man is at his wits’ end. Weller suggests having him tag along as the group makes its way to the bridge. Leave the control room and head for the docking bay exit.
Slashers emerge from hiding, intent on making sure you never leave the docking bay. Take them apart limb by limb, using up some of the ammo you amassed when surveying the room earlier.
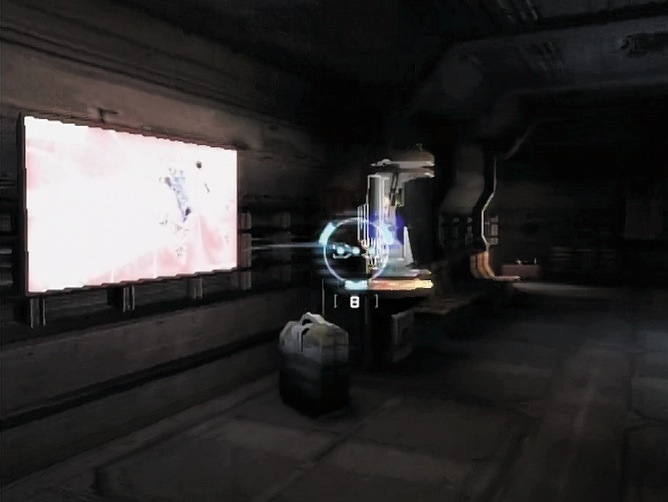
In Search of Survivors
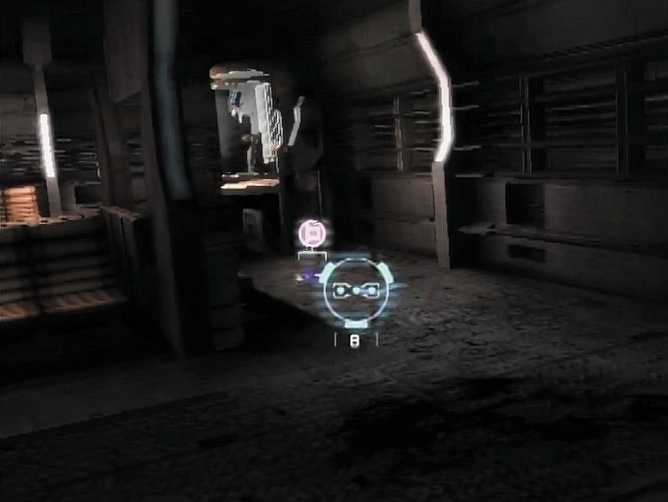
Exit the docking bay and watch your step as you enter the next area. A motion-sensing trap spans the width of the hallway, which you need to defuse before advancing. Disarm the trap, then continue. Inch forward down the hallway, equipping the pulse gun stored in the rst room on your right. The pulse gun is better suited to combat in wide corridors and rooms, so exchange it in place of the amethrower. During the Free-Look sequence, search the lockers against the wall on the right, then return to the hallway. Continue through the door at the hall’s end to reach the crew commons.
// Weapon Upgrade: Check the kiosk at the opposite end of the commons for a plasma cutter upgrade.
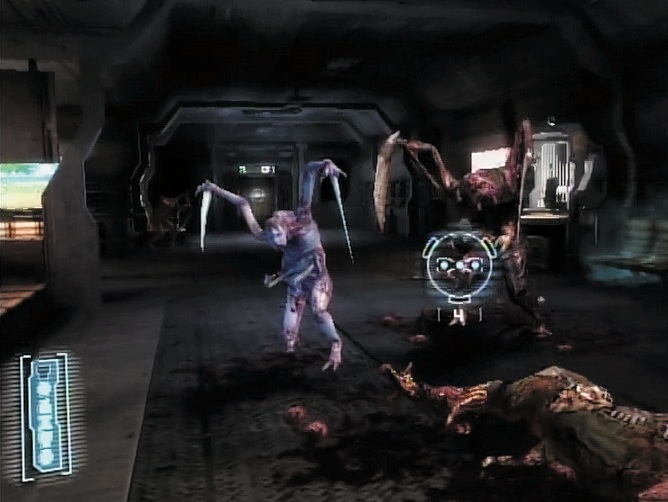
No sign of the crew is found amid the icking lights of the trashed commons. Tiptoe forward so as not to draw the attention of any lurking Necromorphs—like the one that emerges from the oor and jumps on you. Throw it o , then sever its limbs as it struggles to recover from the fall. After you dismember the Slasher, keep searching the area.
// Text Log: Captain’s log: Initial Infection Vectors. Pick up the text log lying on the oor of the commons to learn how the Necromorphs were able to quickly in ltrate the Ishimura.
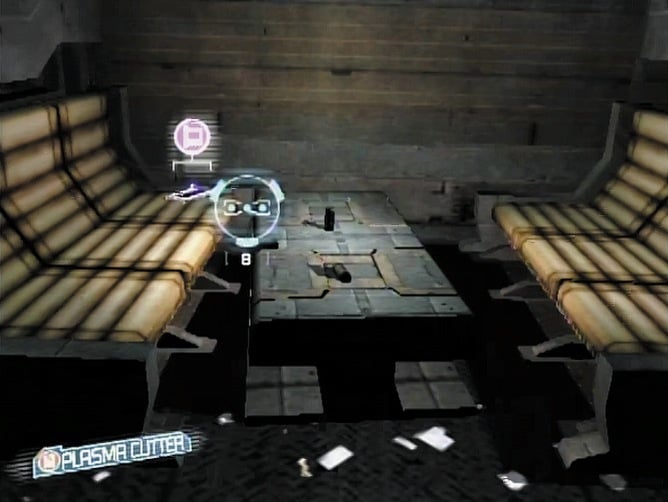
Crew Dismemberment
As you circle back to where you entered, Necromorphs materialize from the shadows. Take out the rst two Slashers, then direct your re toward a Leaper that rushes toward you from the lower left. Use stasis to slow it down. Alternately, if you didn’t defeat the Slashers before the Leaper arrives, use stasis on any remaining Slashers and dismember the Leaper before dispatching them.
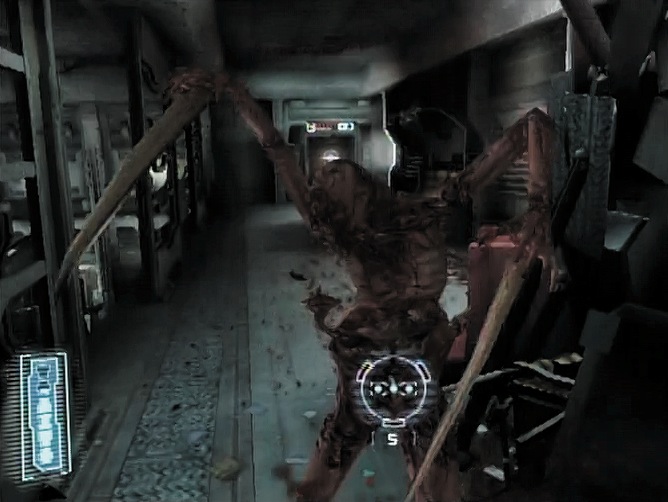
Things are just getting started. More Slashers put their grotesque appendages on display, making it easy for you to aim and dismember them with your weapon of choice. A Leaper complicates the battle. Stick to the aforementioned strategy: stasis any Slashers and focus on killing the Leaper.
TIP: Use the vertical alt- re on your plasma cutter to easily slice o Leaper arms.
Proceed to the main commons once the area is clear. It looks like a tornado ripped through the area— ickering lights, furniture tossed about, and dwindling ames from what appears to have been an explosion. Take advantage of the Free-Look sequence to collect ammo scattered about the room.
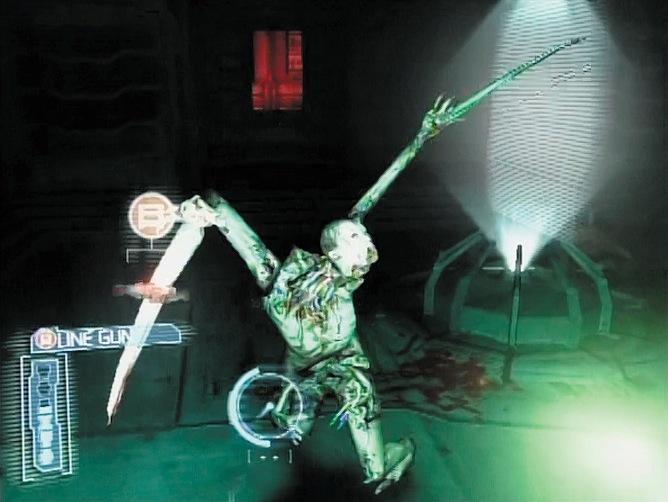
// Video Log: On a bench in the main commons sits a video log chronicling a Leaper attack against an Ishimura crew member. Pick it up when the Free-Look sequence ends.
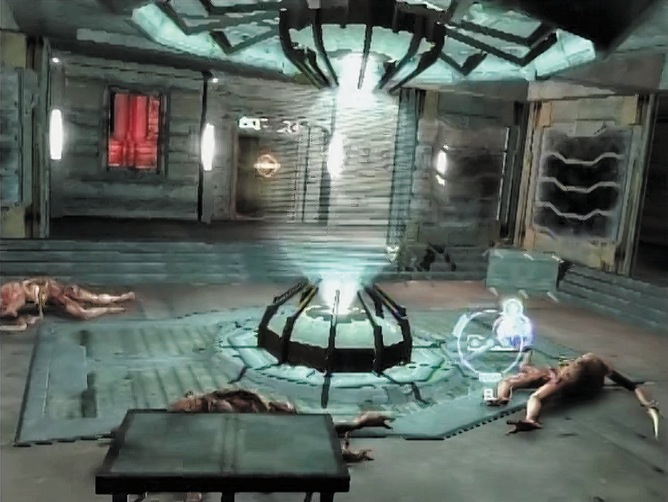
Finish searching for supplies, then select a path when prompted. The left path leads to the cargo lift, and the right path is a shortcut to crew commons.
Cold-Blooded Communication
Select the left path and ride the lift to the mezzanine where you’re greeted by three Leapers and a few Slashers. Stasis the Leapers as they crawl down from the ceiling; focus on dismembering them rst, as they’re more of a threat than the Slashers. Break the two supply boxes on the oor for ammo and pass through the door to communications. Pick up the line gun on the oor as you enter the communications waiting area. Proceed into the central room where you can stock up on plasma cutter ammo during a Free-Look sequence. Walk around the perimeter of room, noting the suspicious silence. Prepare for an in ux of enemies as the lights go out.
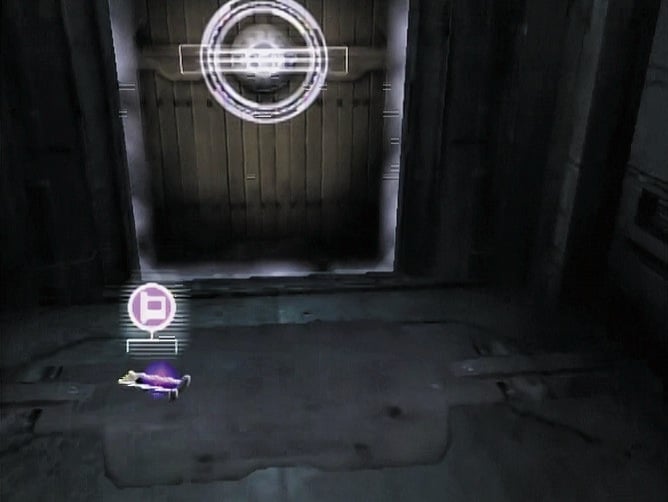
Shake your glow worm for a spot of light, utilizing stasis to target Slashers as they materialize from the darkness. It’s di cult to make out anything in the pitch-black room, but do your best to dismember the Slashers before they get close enough to attack.
// Weapon Upgrade: Boost the attack power of your amethrower by picking up this upgrade lying next to the communications display in the center of the communications room.
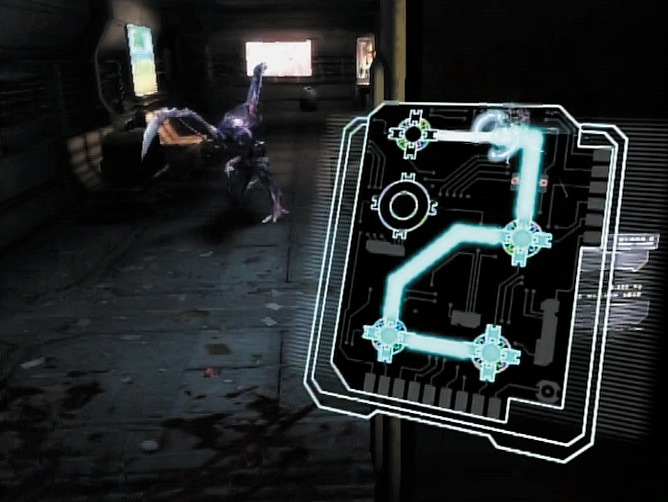
Slice the arms o a Leaper that scrambles toward you, then round the corner for another wave. Several Leapers skitter across the ceiling, granting you an opportunity to use your stasis module and carve them up before they even hit the ground. Leave their bodies behind and rejoin Weller, Lexine, and Eckhardt in the main commons.
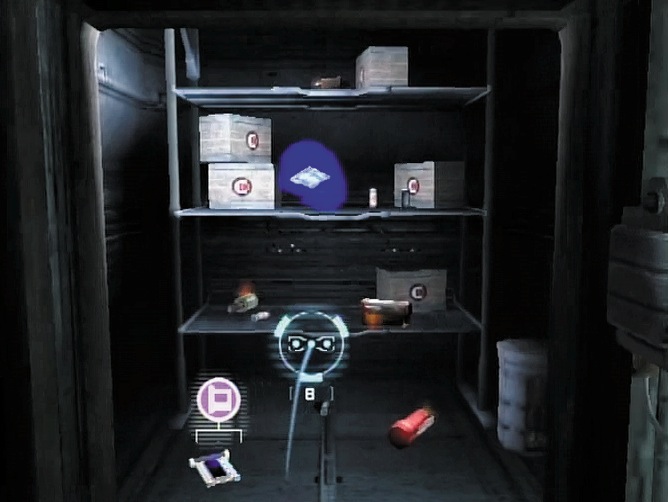
// Text Log: Deck log: Hallow, F. (AB) As you exit the communications room, locate this text log on the oor. It was written by a rattled crew member.
// The Shortcut: Instead of taking the detour to communications, the right path sets you on the fast track back to crew commons. Opting for this route allows you to equip a amethrower sitting on a table in the main commons, but it’s not the best weapon for battling Necromorphs in the large open spaces that lie ahead.
Manning Up
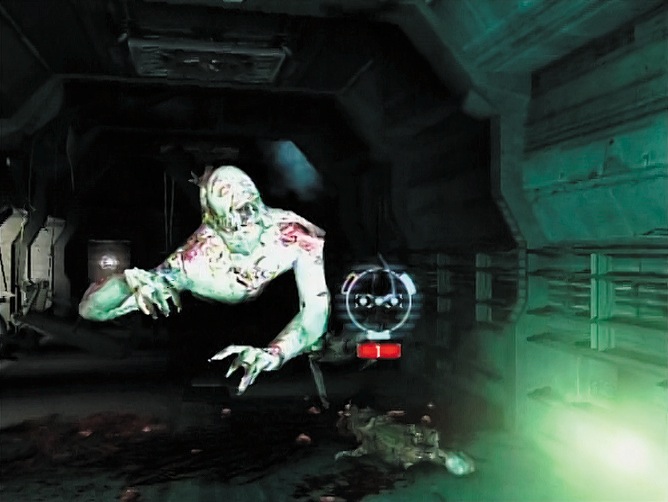
Return to the crew commons and start repairs on the elevator leading to the bridge. Soldering the panel is easy, thanks to a straightforward layout, but Leapers make it hard to concentrate. Eliminate them before attempting to hack the panel. Stasis is critical here, since both Leapers attack at the same time. Slow one Leaper, then dismember the other. Kill the remaining Leaper when the rst one is dead.
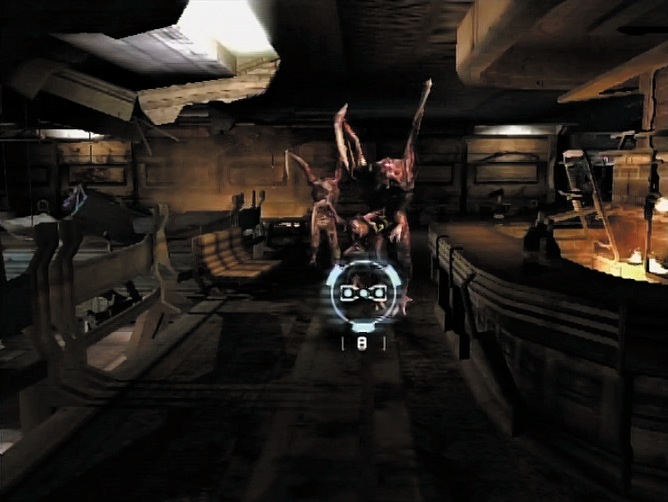
On the elevator ride up, Eckhardt complains that Lexine is being pushed too hard. This falls on deaf ears, and Weller insists that Lexine “man up” as the group steps into an extremely dark corridor. Step into the darkness, keeping your eyes peeled for any sign of Necromorph activity.
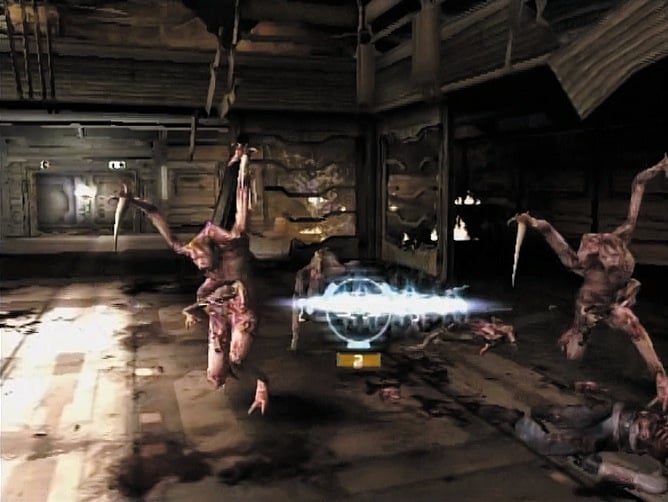
Shoot the purple power box on the wall to gain access to a utility closet lled with supplies.
// Weapon Upgrade Search the utility closet for a P-Sec pistol upgrade.
// Text Log United We…Ascend? (Part 2) Inside the utility closet, grab the second part of the news article examining the religion of Unitology.
Light up your glow worm as you inch down the pitch-black corridor. The arrival of Necromorphs should come as little surprise, and neither should the di culty of dismembering them in such a dark space.
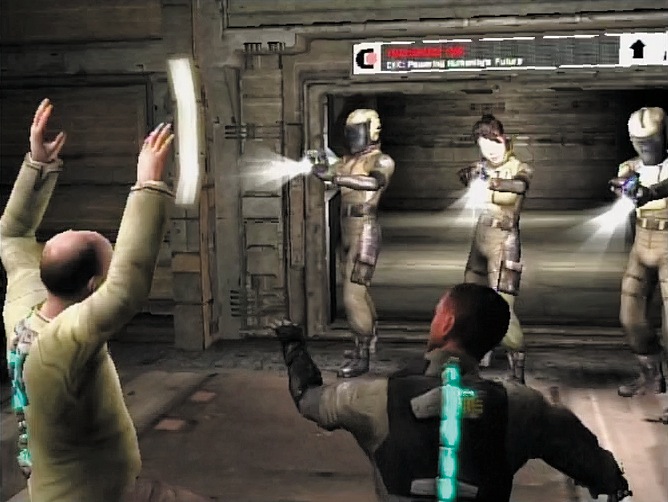
Your glow worm provides a little light by which to see the Slashers and Leapers that drop from the ceiling, so use stasis to turn enemies blue, making them easy to spot. Take refuge in the mess hall once you’ve cleared the corridor.
Dining on Flesh
The situation inside the cafeteria is no better than elsewhere on the ship. During a Free-Look sequence, search for ammo among the overturned tables and mutilated bodies; then battle two Slashers that attack when you look back at the entrance. Reinforcements appear immediately, pushing you into a corner. Hold your re for the moment, allowing McNeill time to escape the pack of Slashers by jumping down to the oor below.
It’s not much of an escape, though, as more Necromorphs step forward from the shadows of the mess hall. Use the alt- re on your plasma cutter to vertically sever the arms on a Leaper that scurries toward you; then switch back to primary re when dismembering the Slashers that attack. Fire at an Infector in the background to prevent it from reanimating a corpse (killing the Infector is much easier and requires fewer bullets than dismembering a Slasher).
Step to the left and defeat a second wave of Necromorphs. Dismember the Leaper that dashes across the oor, as well as the Slashers that follow. Regroup with Weller, Lexine, and Eckhardt in front of the double doors at the room’s other end. After debating whether the coast is clear, the doors open to reveal three armed security personnel. Before you even have a chance to explain yourself, you’re hit with a Taser and it’s lights-out.
Chapter 5: Emergency Care
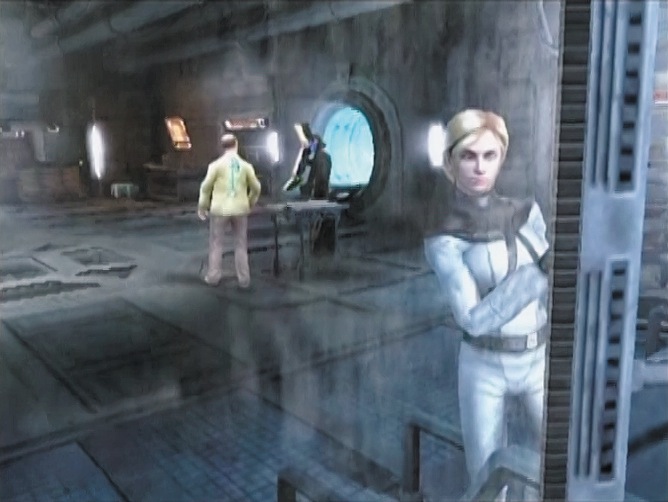
McNeill awakes to nd himself in some sort of containment chamber. A woman is poring over test results on a computer, instructing a test subject to put on her clothes. Lexine saunters by naked.
The scientist walks toward you, promising to free you after releasing Eckhardt in the adjacent chamber. She introduces herself as Nicole Brennan, senior medical o cer. Brennan explains that you were quarantined by Ishimura security in fear of the spreading Necromorph contagion. The din of an alarm cuts the conversation short, signaling a Necromorph attack elsewhere in the ship. Brennan assures you that everything is safe inside the containment room, but the group is wise to the ways of the Necromorphs—nowhere is safe. McNeill insists on overriding the security lockdown by traveling through a vent to reach the control panel at the room's perimeter. It's a risky plan, but given the alternative of sitting around waiting for the ends to nd some way inside, the choice is clear.
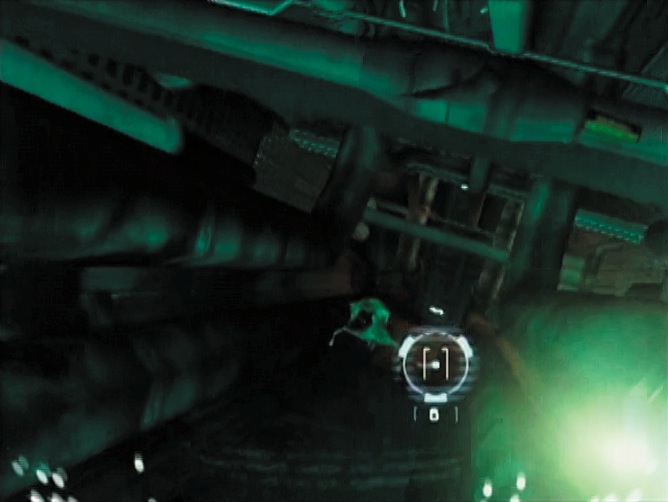
Slip into a spacesuit, then squeeze inside the vent. Give your glow worm a shake to light up the dark con nes of the ventilation shaft. There's not much to see at rst, just pipes and power lines.
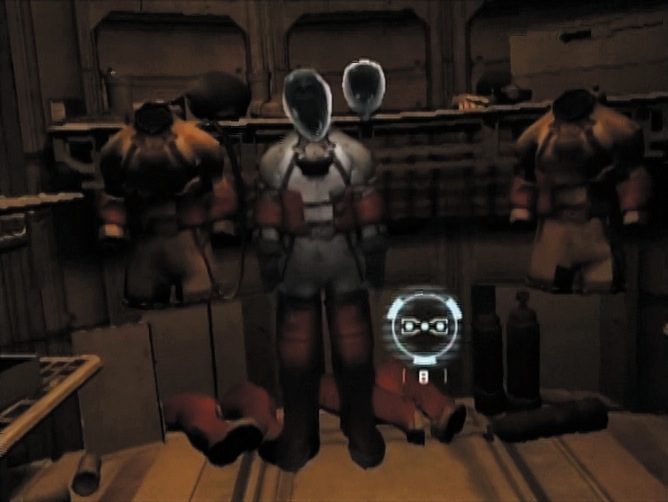
The sudden appearance of Necromorph Swarms—tiny creatures capable of scuttling about on four tentacles— turns a quiet expedition into a claustrophobic crawl. Shake them o and continue through the vent.
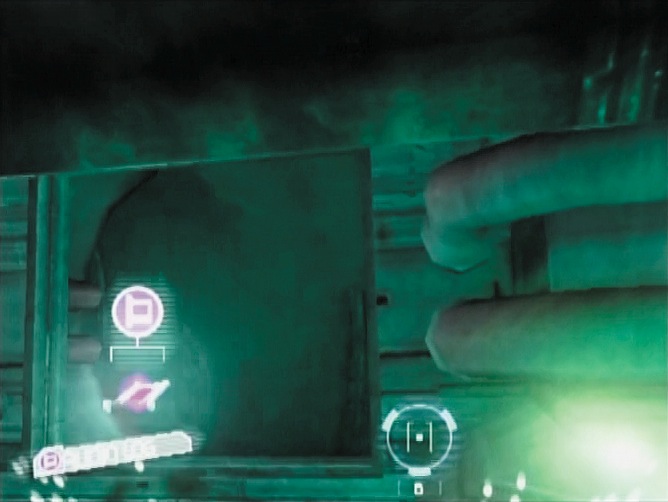
TIP: Remember to keep your glow worm lit by shaking your controller. Shining light inside the vent is a lot less frightening than inching along in total darkness.
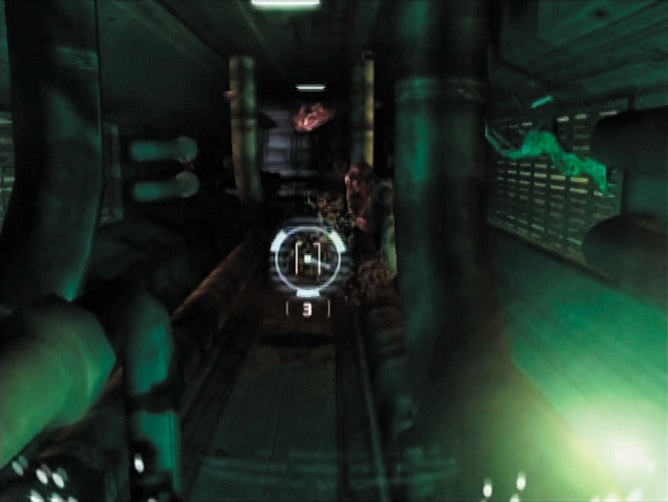
Ahead is a dip in the shaft, which McNeill tumbles down. Recover and advance, shaking o a pack of Swarms ahead.
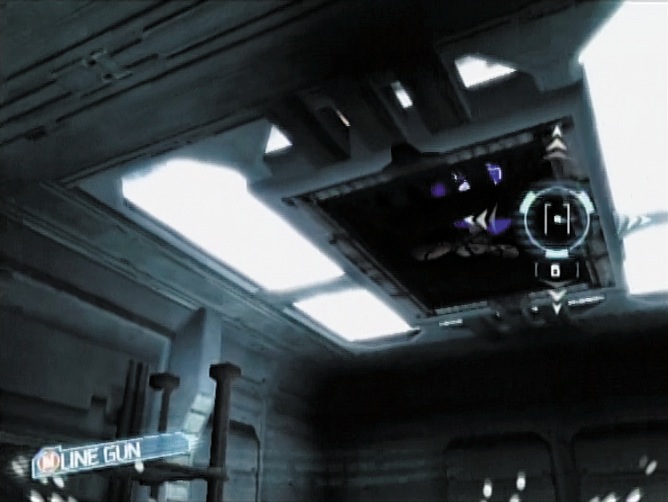
// Audio Log: In an alcove to your right, pick up an audio log detailing a crew member's decision to ee from the Ishimura.
Heave yourself up an incline and re a few rivets at a batch of Swarms trundling toward you.
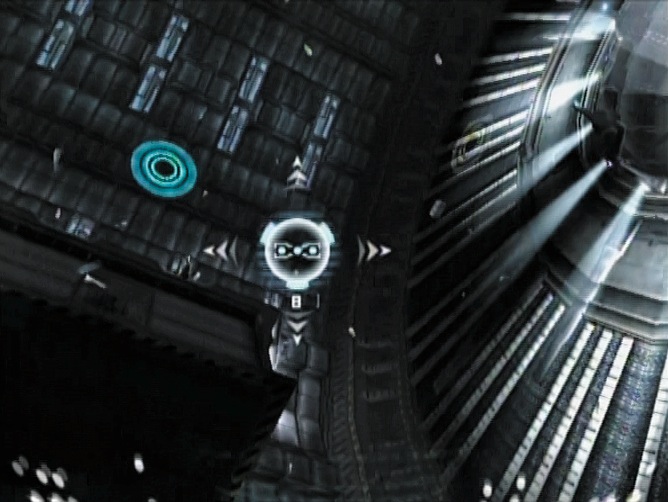
If you're fast and accurate, you can squish them before they have a chance to jump on your face. Miss them and you have to force them o before soldiering on. The vent drops into a storage closet where you can equip a line gun and collect some ammo during a Free-Look sequence.
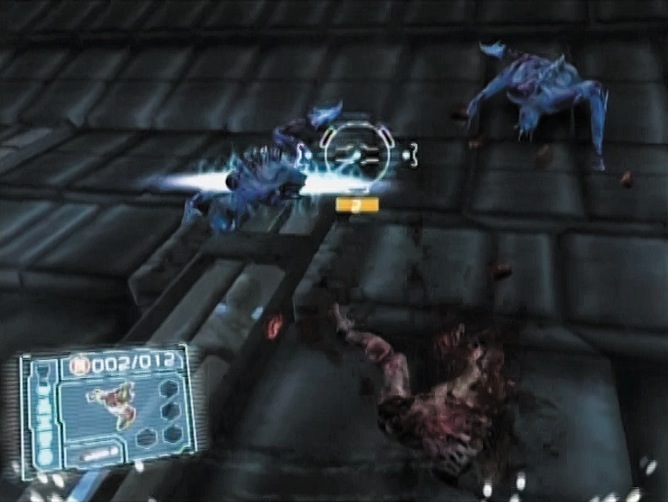
// Weapon Upgrade: Look up during the Free-Look sequence in the storage closet to nd a well-hidden pulse ri e upgrade.
Center of Gravity
Exit the closet and pass through the eld into the zero-gravity therapy room. Use Free Look to survey the space and to break the oating supply boxes for the ammo inside. When you're done, jump to either of two holograms: one on the left or another directly across from you on the oor.
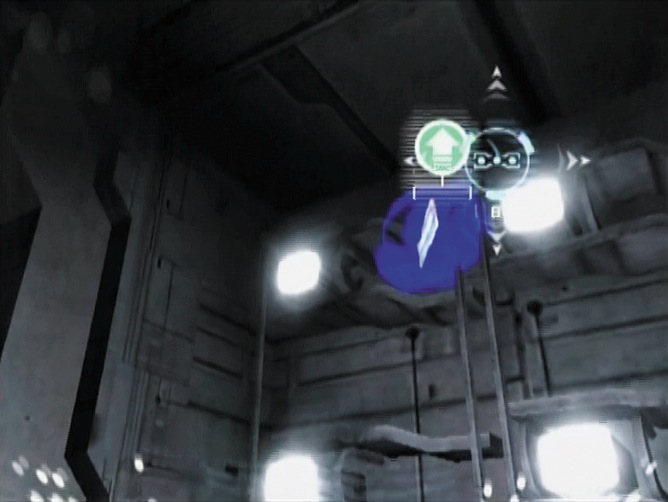
If you choose the hologram on the left, two Leapers scramble toward you. Dispense with them using the plasma cutter's alt- re and wellaimed stasis shots. If you choose the forward hologram, you face three Flyers. In either case, you have your choice of two destinations after you defeat the Necromorphs: a hologram on the ceiling and a second on the far wall. Jump to one and engage a pack of Leapers when you land.
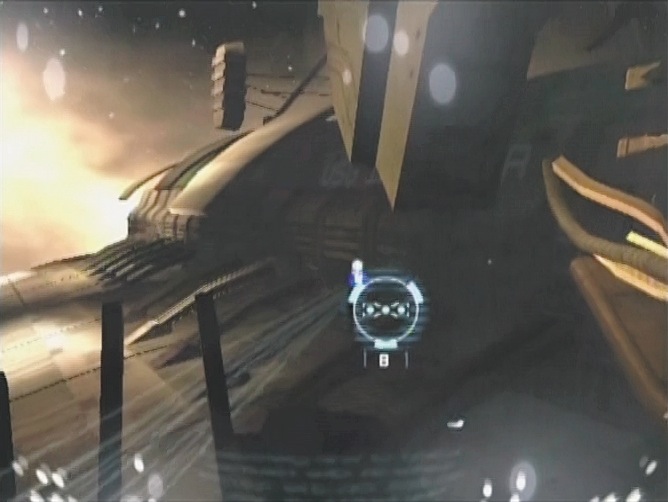
Repeat the strategy you used earlier in defeating the pair of Leapers. Use stasis to halt three of the Leapers while you kill the fourth. Dismember the remaining creatures, then leap to the nal hologram near the exit. Restore gravity by tapping the panel, then exit the treatment room. Head through the hallway to the imaging diagnostics area, stopping momentarily to collect supplies along the way.
// Weapon Upgrade: Collect the plasma cutter upgrade on the top shelf to your right in the room immediately preceding the zero-gravity therapy room.
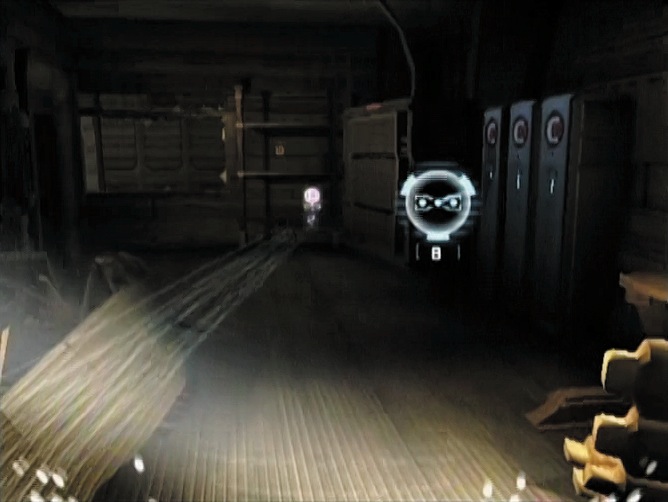
After entering the imaging diagnostics area, check in with Lexine and Brennan to let them know you've made it through unscathed. No sooner does Lexine express relief than the wall behind you gives way to the vacuum of space. Hold on for dear life as the air rushes out of the room, leaving you breathless but alive. Gaze through the torn hull at the glittering expanse of space before resuming your mission.
// Weapon Upgrade: Use kinesis to grab a line gun upgrade sitting far out on the Ishimura’s exterior hull.
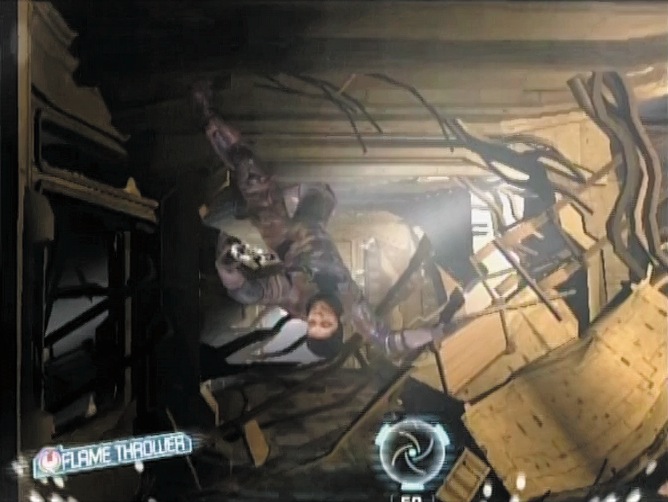
Ping Brennan again to let her know you're all right, then search for the security console.
// Text Log: Welcome to the Ishimura (Part 1) Kneel down to grab this informative text log from the oor of the imaging diagnostics room.
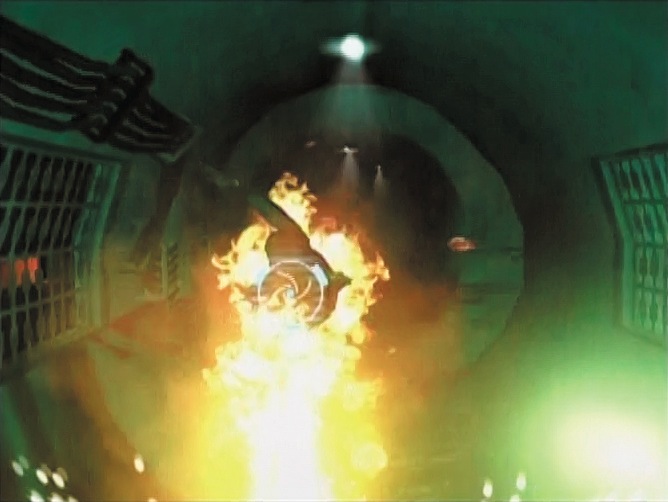
Step up to the console on the desk and hack the circuitry to override the security lockdown. Succeed and you're rewarded with a Free-Look sequence during which you can stock up on ammo from the lockers lining the wall. Walk through the doorway to the now-exposed hallway where a crew member's vacuum-su ocated body drifts. Locate the exit, which is locked, then return to the room with the security control panel to nd an alternate exit.
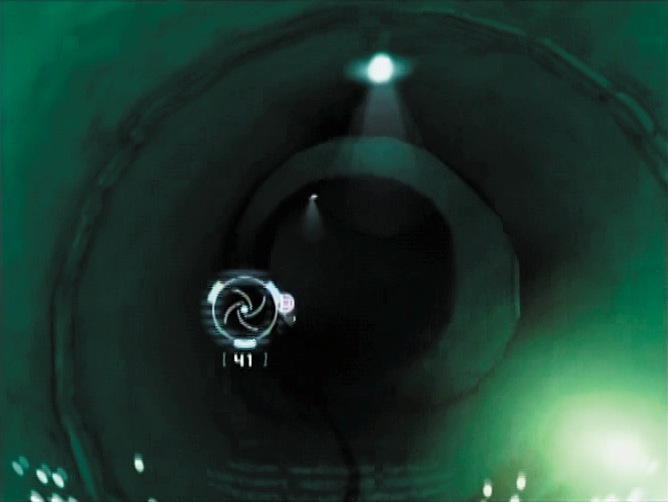
On the walk back, you catch sight of a Leaper's tail darting amid the rubble. Exterminate the two Leapers that rush you. When both Leapers are dead, climb into the air duct in the ceiling. Give your glow worm a shake to illuminate the round ventilation shaft.
Deadly Detour
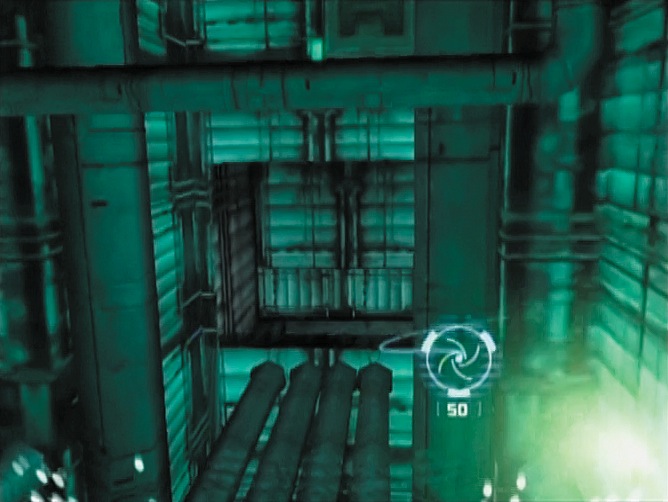
Slide down the shaft, listening for the chittering of any Leapers lurking in the darkness. At the rst sign of danger, use stasis to both slow down and expose your enemy. The blue tinge of stasis makes Leapers stand out clearly, making dismemberment much easier. Ahead, the path splits: the right path takes you back to the group, while the left diverts you to bonus items.
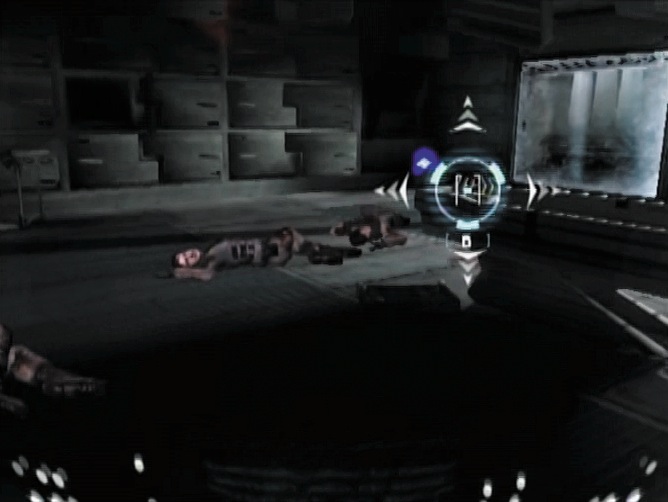
// Text Log: United We…Ascend? (Part 3) Lying inside the ventilation shaft of the left path is the third part of the Unitology exposé.
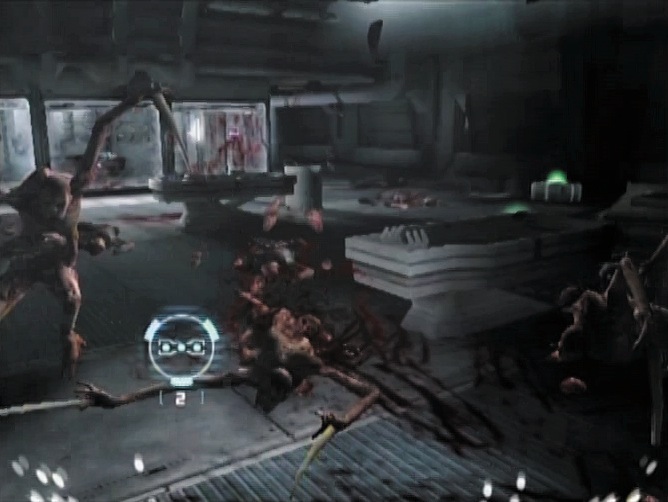
Progress down the right-hand path (if you opt to grab the items on the left, you automatically circle back). A warning pipes over the intercom instructing any surviving crew members to hustle to departing evacuation shuttles. No such luck for you, though, since you still need to override the lockdown so the others can leave quarantine. Climb up the shaft, using pipes as a ladder.
Swat away Swarms crawling about the vent before a pair of Leapers rush you. Slow their assault with stasis, using the alt- re on your plasma cutter to slice o their arms. Alternately, fry them with the amethrower if you picked it up back in the imaging diagnostics room. Crawl forward until you reach a metal grate that gives way, depositing you into the morgue below.
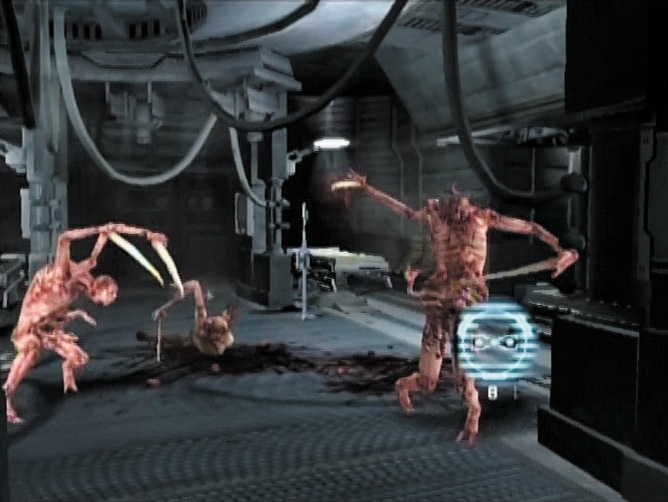
There's no time to get your bearings before Slashers surround you. Start by severing their legs to stall the assault, then nish them by breaking o their arms. The line gun is magni cent in this situation, enabling you to hit multiple limbs on multiple creatures with a single shot. Make sure you kill the Infector in the background before it has a chance to create another Slasher.
// Weapon Upgrade: As soon as you fall into the room, reach for an arc welding gun upgrade in the corner near the lockers. Grab it in anticipation of picking up an arc welding gun later in the level.
Snap up ammo from the supply boxes lying about the morgue as Weller radios you. His impatience is understandable— you're just as eager to nd a way o the ship. Brennan interrupts and tells you to stay put. The group is leaving quarantine and will meet you in the morgue.
Bizarre visions toy with your head, haunting you with distressing symbols and gory images. Some are gments of your imagination, whereas others are real, such as the Infector that straddles you in hopes of converting you into one of them. Push it o and nail it with a couple shots from your plasma cutter. Dismember the Slasher that follows.
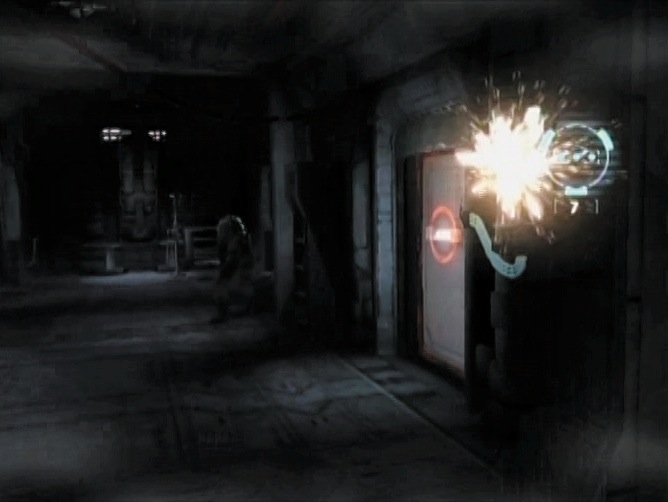
Together Again
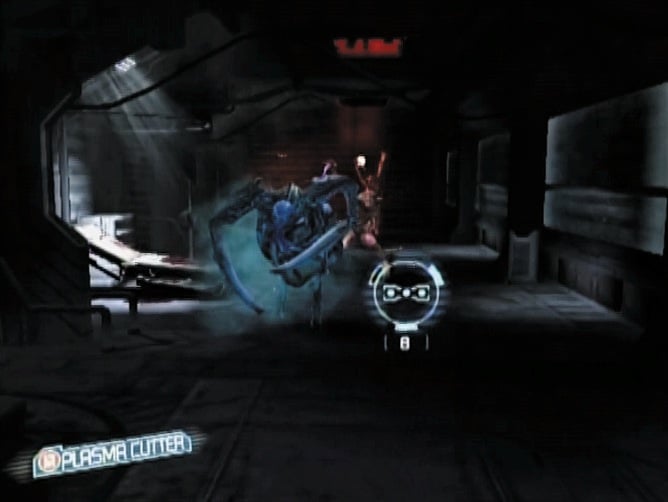
Weller, Brennan, Lexine, and Eckhardt arrive shortly thereafter. Plans to meet with the ship's captain are abandoned when the body on the operating table in the adjacent examination room is revealed to be Captain Matthius. Before Weller has a chance to articulate a backup plan, Eckhardt pleads that they move to a more secure location. Leave the morgue and take the elevator to the emergency room as Brennan suggests.
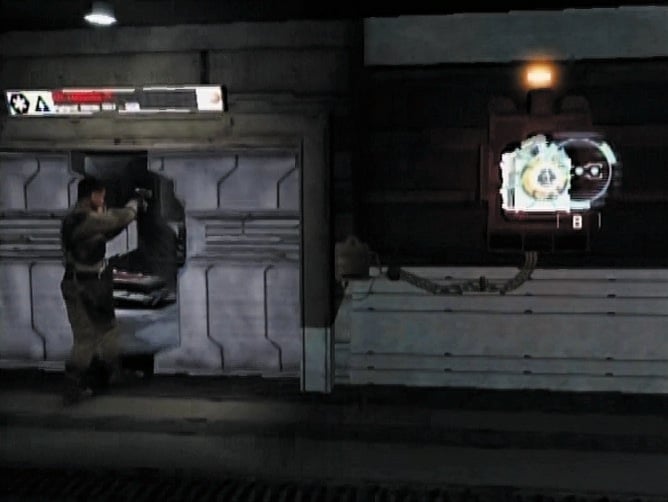
// Weapon Upgrade: Grab the rivet gun upgrade sitting directly across from the elevator in the emergency room.
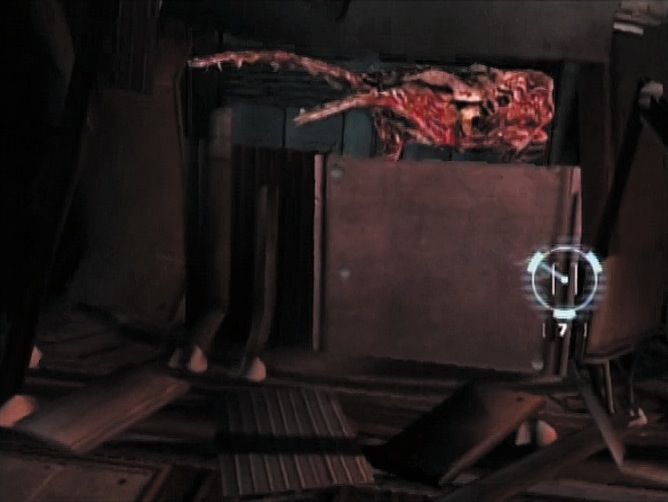
Nearly every bed is lled with an ailing crew member, and the only medical sta to care for them is a man named Perry. He tells you he hasn't slept in almost 24 hours but pushes himself to work, given the dire situation. The tinny patter of Necromorphs in the ventilation system disrupts the conversation.
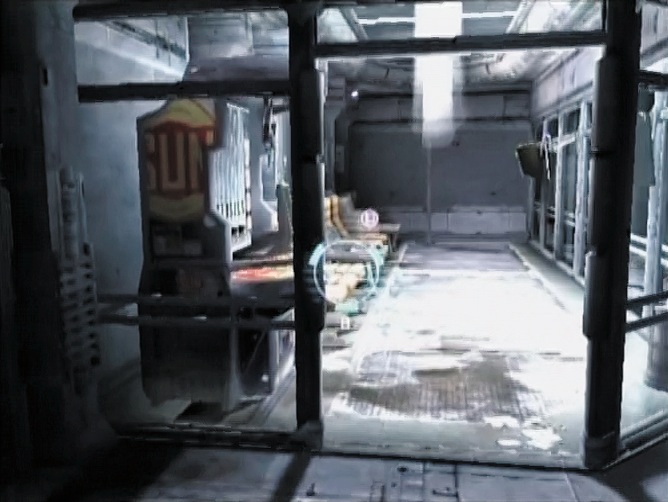
Weller shoots you a knowing glance before a Slasher drops in and decapitates poor Perry. Exact vengeance on the Slasher, then dispatch two more that appear to the left. Circle around the column and take out more Slashers that come in via a vent on the wall. Load up on ammo before directing your crosshairs at more Slashers that materialize at the other side of the emergency room. Note the appearance of new acidspitting female Slashers. To avoid the caustic balls, catch them with kinesis and throw them back for damage. Turn around to execute a nal set of Slashers. Brennan suggests abandoning the emergency room via the adjoining hallway to escape the Necromorph onslaught.
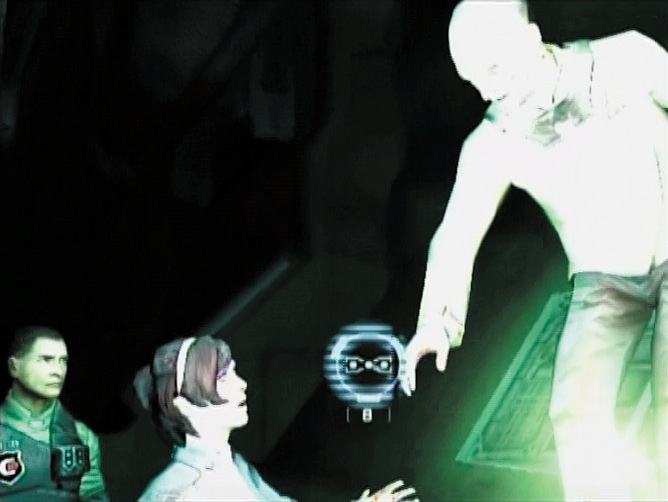
// Emergency Firepower: Fire at the purple power box on the wall to unlock a closet lled with ammo and an arc welding gun.
It seems like a good idea until halfway down the hallway a new enemy appears: the Pregnant. Shooting the creature's enlarged abdomen results in an explosion of Swarms that attack en masse.
Avoid this by severing the Pregnant's limbs. Stasis is essential, because unless you're an ace shot, the Pregnant's jerky movements make dismemberment tricky. Another Pregnant appears with a Slasher entourage immediately thereafter. Use stasis on the Pregnant to buy yourself enough time to deal with the Slashers. Dismember the Pregnant when you've defeated the Slashers, then hightail it back to the emergency room.
Disable the door by using kinesis to pull the power core from the wall. Weller advises heading to a nearby security station. Flee the emergency room through the door near Perry's body. Hack apart the Slasher that falls from the ceiling in the adjacent waiting room. The security station is just through the next hallway.
Insecurity
McNeill sarcastically greets security personnel, who are struggling to x a jammed door. Weller isn't pleased with their progress and orders you to rivet the door shut. Work fast, unless you want to be food for a creature whose tentacle slithers through the door.
In the relative safety of the barricaded station, Weller contrives a new plan. The two of you will respond to a distress call in engineering, while everyone else stays put. Lexine isn't having any of it and insists on joining. Eckhardt relents and decides to tag along, too, but not without a sharp remark from Weller. Proceed to the tram station.
// Text Log: Autopsy Report Grab the text log sitting on the bench in the waiting area. You're given a short moment to pick it up, so grab it quickly.
Service has been interrupted, leaving you with the option of waiting until trams start running again or footing it to engineering. Amid Eckhardt's insinuation that such an idea is nuts, step down from the tram platform to the track below. Almost immediately, Necromorphs attack.
A new enemy, the Exploder, drags its glowing orange appendage toward you. Its intent is suicide: to shamble within range and detonate its volatile arm, harming you in the process. Do yourself a favor and euthanize it by shooting its explosive arm. This kills the Exploder and damages any nearby creatures. Eliminate the Slashers that run toward you (use stasis to illuminate them in the dark if you're having trouble spotting them) before continuing down the track. As the group proceeds, McNeill blames the Marker for their dilemma, which Eckhardt declares nonsense. The track gives way just as the debate heats up, sending you tumbling into the sewers.
Chapter 6: Nowhere To Hide
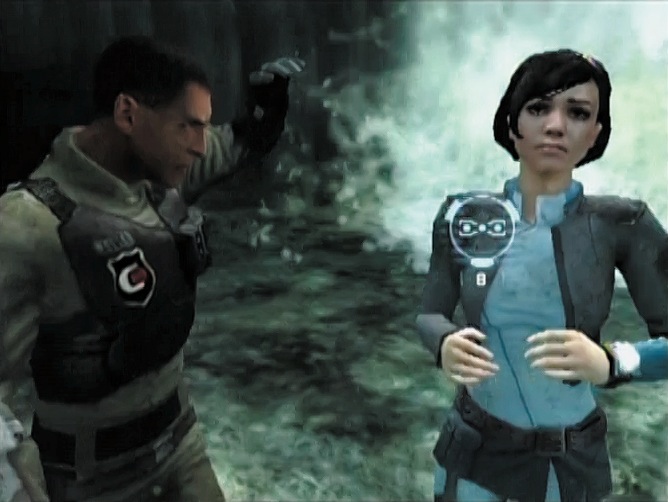
Walking to engineering wasn’t such a good idea. With the oor collapsing beneath their feet, McNeill, Lexine, Weller, and Eckhardt take an unwanted dive into the ship’s aqueduct system. Everybody’s all right, just wet and cold. Buck up and search for a route to engineering.
Crouch under the steaming pipe, then wade through the murky water with glow worm in hand. Lexine comments how she always wanted to visit the Ishimura but not like this: chilled to the bone from the dank water and freakish Necromorphs. When you reach the T-junction, glance at the rotting body oating in the water to your left.
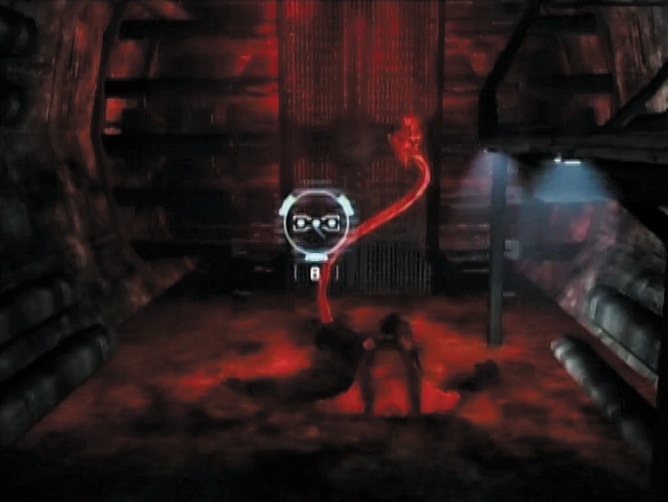
Shoot the tentacle that sprouts from the head. Eckhardt makes an unsettling observation: The Necromorphs are adapting to the moist environment and are breeding a new creature called the Leecher. It’s enough to unsettle Lexine, who yelps as something plops into the water behind you. Thankfully, it’s nothing and you can continue sloshing your way through the aqueduct.
// Text Log: Chem Lab Report. Break the grate on the ceiling above the locked door on the right to expose a text log hidden in the air vent.
Something sinister does lie ahead, though, and Lexine senses it.
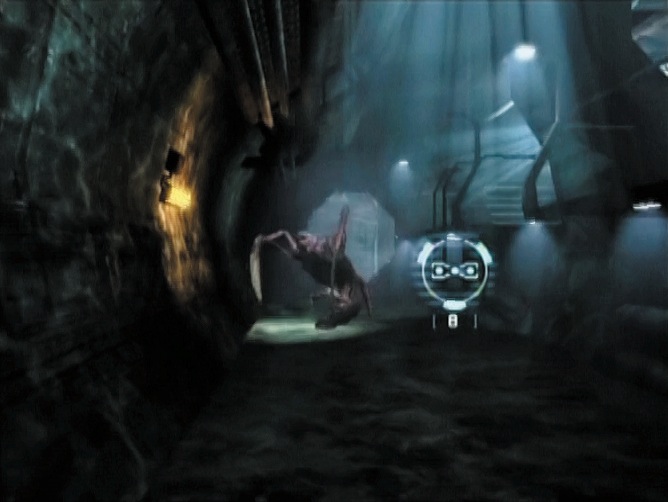
A Super Slasher—a hardier, tougherto- kill version of the standard Slasher—splashes into view, struggling to move toward you with its spindly legs submerged. Slice o its arms before severing the legs. If you cut o its legs rst, its arms will be submerged, making it di cult to line up a clean shot. Pick up the line gun on the platform to the right as you press forward.
Blood in the Water
The path splits, although since both routes immediately converge in the room’s center, there’s no advantage in choosing one over the other. Opt for the left path and you battle Slashers and Exploders, whereas the right path pits you against Leapers and Super Slashers. Concentrate on taking out the visible limbs before trying to sever those underwater. Supply boxes can help keep you stocked on ammo, but you want to minimize wasted shots by dismembering what you can clearly target before shooting at what you can’t see underwater.
TIP: Hurl supply boxes at enemies to both break them open for ammo and damage your target.
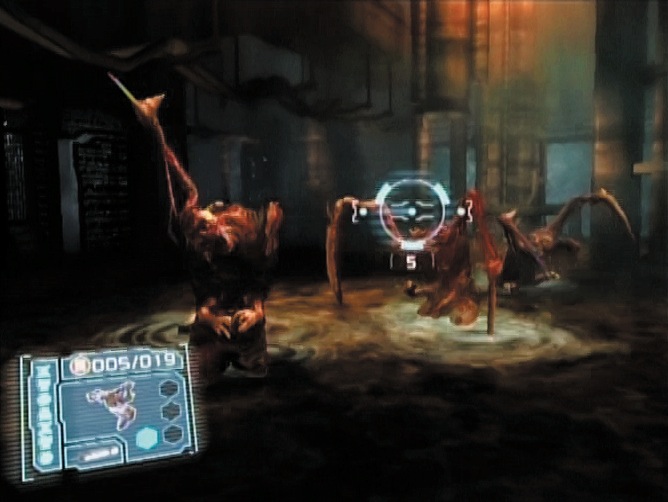
Arrive in the room’s center to ght Leechers. Shoot them as they pop up from the water or risk getting whipped by their tentacles. When the battle ends, collect any dropped ammo clips and break open supply boxes during Free Look. Obliterate the Slasher that attacks on your way out of the room.
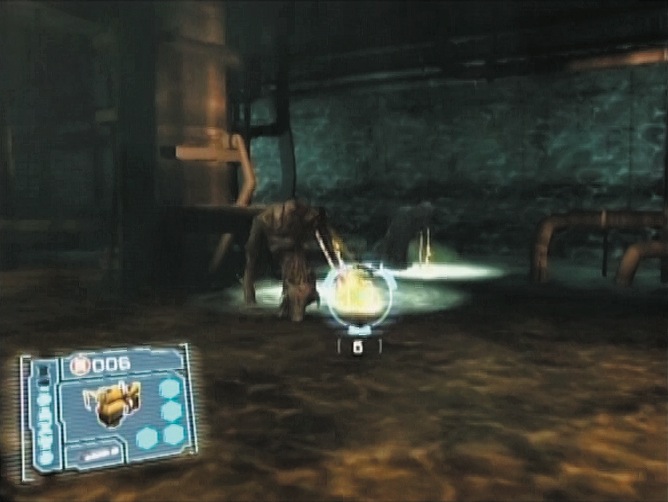
More dangerous foes await in the tunnels ahead. Two Exploders inch down the tube, along with a few Super Slashers and a Lurker on the platform to the left. Trigger a crippling blast by ring at the Exploders’ orange appendages. That ought to kill them and take out one of the Slashers, if not at least sever a limb or two.
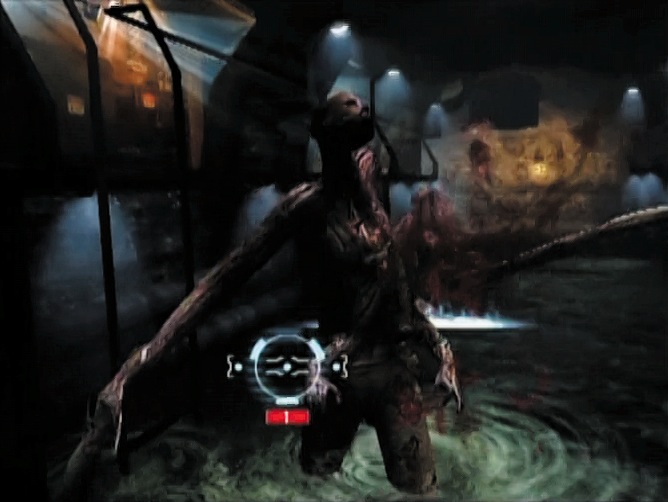
Killing the Lurker demands more skill. Plucking the three tentacles on its back is one way to get the job done, but it’s easier to wait for the creature to throw a projectile at you, catch it with kinesis, and throw it back for damage. It’s possible to save ammo by using these projectiles against the Slashers wading in the water. Move forward once the area is clear, grabbing the arc welding gun on the platform to your left.
Drowning in Fear
Light up your glow worm as you pass through the gated sewers. You’re spared the horror of battling Necromorphs for a brief moment. The sound of rushing water prompts Weller to surmise that you’re near the water treatment center. Climb the ladder to the metal walkway and watch as two Super Slashers gut a worker.
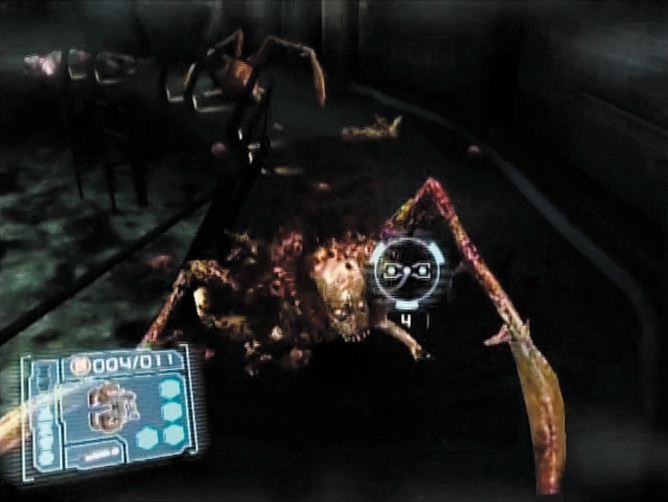
They’re intent on making you their next target. Whip out your line gun and aim for their heads for a quick kill. If you’re unsuccessful, focus on taking out their legs to slow their assault, then slice o their arms as they drag themselves on the ground. An Infector commandeers the dead worker’s body during the ght, yielding a third Super Slasher. Defeat it and you’re granted a Free-Look sequence, during which you can collect ammo from the supply boxes bobbing in the water.
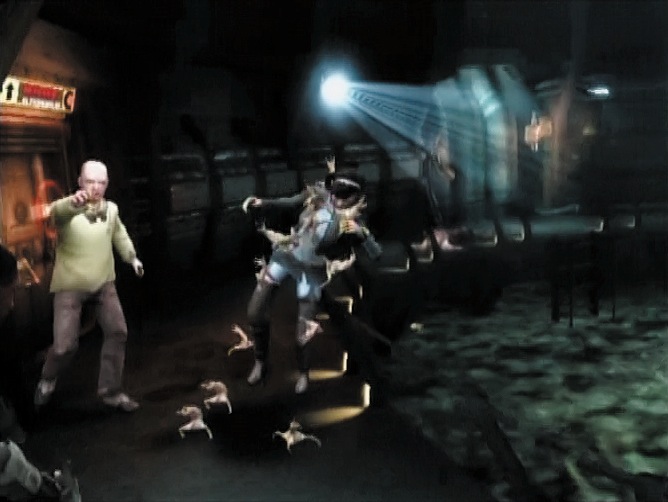
Circle around the treatment center and listen for an odd hissing sound. It’s a pack of Swarms, and they’re rushing toward Lexine. In an instant, the creatures overrun her, and she ails her arms in a desperate attempt to brush them o .
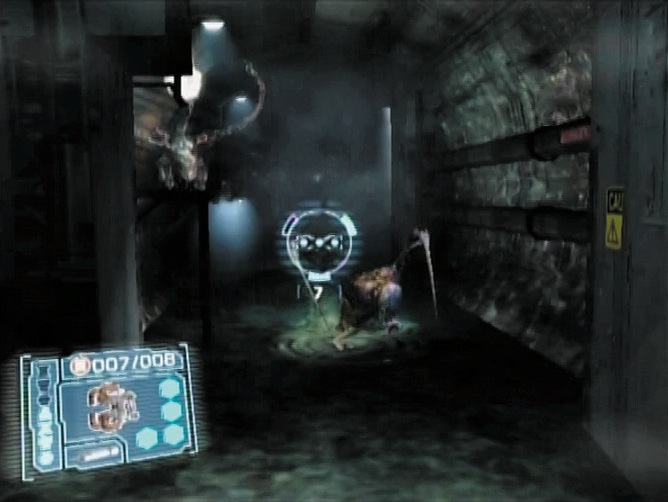
The poor woman falls into the water, jolting McNeill and Eckhardt into action. The two men dive into the water in search of Lexine, but she’s nowhere to be found. Weller claims nothing can be done and they should move on. McNeill relents and the group—one person fewer—continues in the search for a route to engineering.
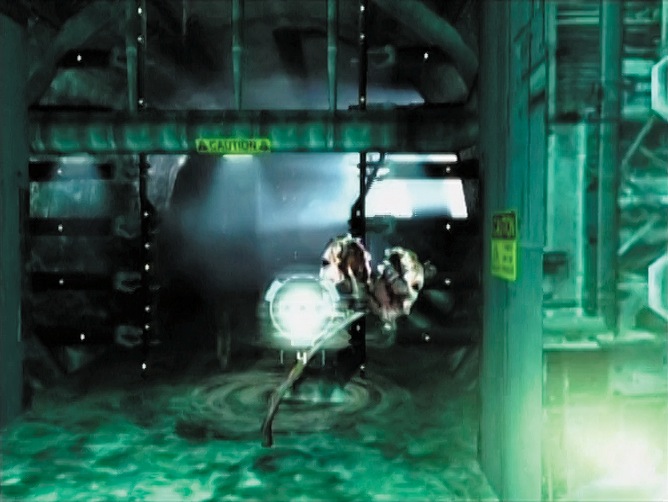
Drop back into the water at the entrance of a tunnel leading away from the treatment center. A Lurker hisses at you, joined by a Super Slasher. Stasis the Slasher, then wait for the Lurker to re a projectile at you. Grab it with kinesis and shoot it at the Slasher. Destroy any remaining limbs to nish it o . Turn your attention to the Lurker, slicing o its tentacles for an easy kill.
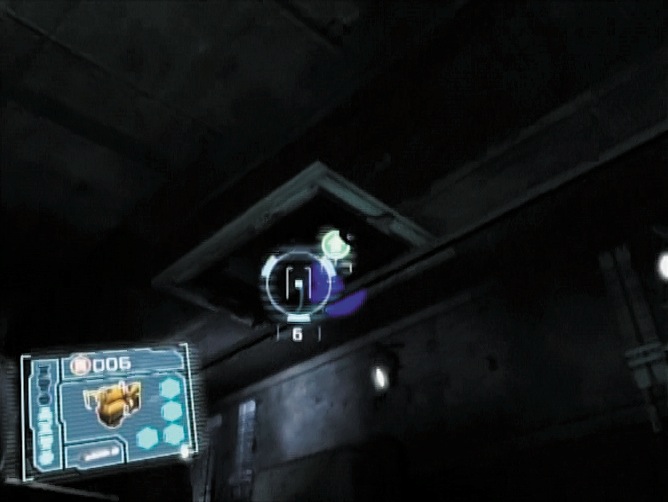
Continue down the pipe, using your glow worm for light. Eckhardt scolds Weller and McNeill for not leaving Lexine with Brennan back at the security station, implying that it’s their fault that she’s missing.
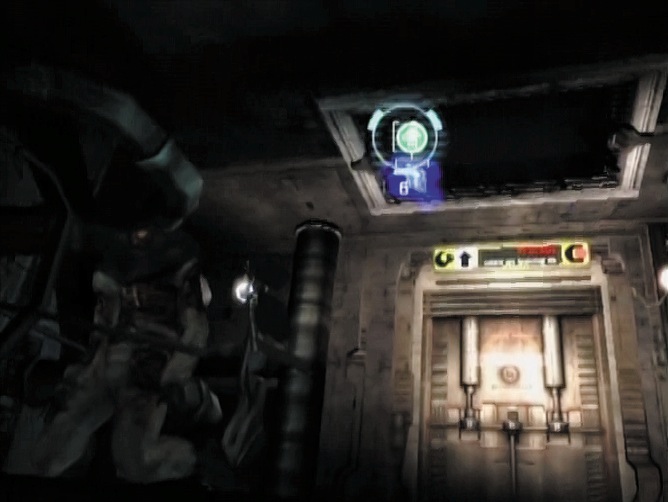
McNeill reminds him that Lexine may not be dead, just as he stumbles upon a body ravaged by a Leecher. Kill it and continue forward.
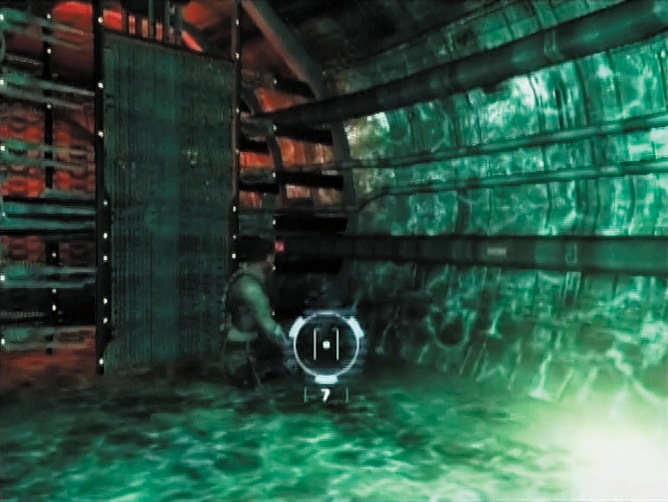
// Weapon Upgrade: Destroy the grate on the ceiling above the locked door on the right in order to grab a line gun upgrade tucked away in the air duct.
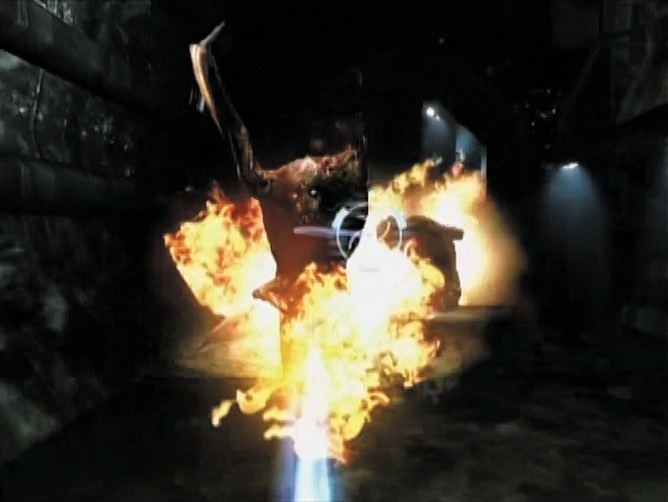
// Weapon Upgrade: Search for a P-Sec pistol upgrade in a ceiling air vent located on the second platform, to your left.
Dead End
Tensions are running high, and running into a dead end doesn’t help the mood. Eckhardt states the obvious: You’re lost. Turn around and walk back the way you came.
A Super Slasher greets you on the platform to your right. Dispatch it with a couple quick shots. Super Slashers appear on the left and right, pressing you from both sides of the tube. Retreat and wait for them to turn the corner; then re your line gun for an instant-kill decapitation. If you miss the head, your shot should still slice o their arms, leaving you to amputate their legs to permanently put them down.
After you defeat the Super Slashers, two Leechers extend their tentacles above the water. Slice the protrusions, then step forward. Use stasis on the Slasher that tries catching you by surprise and then behead it before turning the corner.
Another Super Slasher is waiting for you, accompanied by a Lurker and Leecher hiding in the water. Use stasis on the Slasher, then grab a projectile from the Lurker and re it at the Slasher. Repeat until the Slasher is dead. By then, the Leecher will extend its tentacle above the water’s surface; destroy it before focusing re on the Lurker. Once the area is clear, step onto the platform and examine a nearby shaft as a potential escape route.
Shimmy through the narrow space and exit to an aqueduct lled with noxious gas. Weller notes that the ventilation system isn’t working. Rush over to the computer terminal—pick up the pulse gun on the oor on the way—and hack the ventilation system into working condition. Catch your breath, then hop down from the walkway into the water.
// Audio Log: Note the audio log located under the metal walkway. Grab it after you jump down from the walkway.
Still Searching for an Exit
Head down the aqueduct, with Weller and Eckhardt following close behind. As you approach a platform on your right, McNeill has an alarming vision of a Lurker. Unfortunately, it’s not just a gment of his imagination. Fillet the creature’s tentacles using the line gun or knock it into oblivion with your newly upgraded force gun.
// Weapon Upgrade: Check the air vent directly above the Lurker for a force gun upgrade.
March on and kill a Super Slasher that drops in from a pipe overhead. One well-aimed shot with the line gun is all it takes. Press forward until you reach a split in the path.
// Weapon Upgrade: Break the ventilation shaft above the platform where the path splits, and grab the contact beam upgrade. Pick it up in advance of nding a contact beam later in the level.
Ignore the left-hand route; it leads to a dead end. Opt for the right-hand path and give your glow worm a shake to light the way. Shoot the Leecher that splashes into view, then cut through the organic growth blocking your advance.
// Weapon Upgrade: After defeating the Leecher, collect a amethrower upgrade from the air vent situated above the platform on your left.
At the Water’s Edge
Being lost in the waterways is starting to unravel nerves. Weller and Eckhardt are hearing things in the abject silence. Their loss of sanity is nearly as distressing as the Necromorphs, but there’s little time to stop and ponder their mental health. Clear another organic obstruction to reach a platform on which rests a contact beam. Equip it in place of any weapon that is low on ammo; otherwise, pass it up.
Confront two Super Slashers and a Lurker on the platform ahead. Fire o your line gun to do away with the Slashers’ extremities. Finish them using one of the Lurker’s projectiles. After the Slashers are dead, continue to catch the Lurker’s projectiles, throwing them back at their creator instead. A few throws is enough to put it down.
// Text Log: Welcome to the Ishimura (Part 2). Pocket the second part of the introduction to the ship sitting on the computer console near the Lurker.
Trudge through the water, making sure to gather ammo from the supply boxes sitting on the walkway to the right.
// Text Log: United We…Ascend? (Part 4) On the right is a platform with green supply boxes. Shoot the ceiling above the platform to nd a fourth text log examining the bizarre faith of Unitology.
Go around the bend in the pipe and look back to make sure Weller and Eckhardt are keeping up. There’s a small waterfall to climb before arriving in a massive chamber. McNeill remarks about the stench to which Weller reminds him that the crew’s bodily waste has to end up somewhere. The gutter talk is interrupted by a female voice.
The woman introduces herself as Dr. Karen Howell from agricultural engineering. She’s quick to correct Weller, identifying the putrid smell as derived from plant matter—not that it makes it anymore bearable. Howell insists that you head upstairs and dry o , although you’re not given much of a choice by the monster that emerges from the slimy water.
The Slug
Killing the Slug takes quick re exes and smart tactics. Avoid its initial attacks by ring at the yellow interior of its thick tentacles as it raises them in preparation for a swipe. You know you’ve succeeded when the tentacle coils back; expect to get smacked hard if you miss.
After hitting the tentacles a few times, skirt over to the walkway on your left. Stick to the same tactic of shooting the yellow insides of the tentacles to prevent the creature from attacking you. Use stasis as soon as you glance behind you at the rotating fan. Lure the creature into the fan shaft by stepping inside. Once the tentacle stretches in, the fan starts back up and shreds it to pieces.
Return to the chamber’s center and parry the creature’s attacks with shots to its yellow soft spots. Since you’ve chopped o the left tentacle, you need only to concern yourself with the remaining right arm. Race over to the walkway on the right after a few successful attacks. Weller shouts for you to use stasis on the fan; do as he says during the Free-Look sequence that follows.
// Weapon Upgrade: Collect the arc welder upgrade on the right-hand metal walkway during the Free-Look sequence.
Step behind the fan to attract the tentacle, then watch as it gets chewed up by the blades. Pick up the medium health pack at the rear of the vent before heading back into the main chamber.
It’s not giving up yet. Two more tentacles remain, and chucking explosive barrels is the only way to sever them. Use kinesis to heave the rst barrel that surfaces in the water and throw it at one of the tentacles.
If you miss, the creature curls around your legs and drags you toward its mouth. Unload a few clips into its jowls to make it relinquish its grip.
The beast continues to ght after all of its extremities are gone, hurling explosive projectiles from a rear organ. Catch these and ing them back, aiming for the oscillating yellow organ at its anterior. For an easy victory, zap it with the arc welding gun, if you picked it up earlier in the level. Once you’ve dealt it enough damage, the creature’s body falls limp into the water. Don’t expect any praise from Weller or Eckhardt—the two are back to bickering as the level comes to a close.
Chapter 7: Life and Death
As McNeill, Weller, and Eckhardt endeavor to nd a way to engineering, you now take control of Dr. Karen Howell, who ed during the battle against the Slug. Escaping to her o ce, Howell faces the grim reality of having to battle the Necromorphs on her own. Fortunately, she’s packing a rivet gun and a new weapon called the ripper, which launches rotating saw blades capable of cutting through limbs like a hot knife through butter.
As Howell nishes recording a video log, watch for a Slasher stalking her in the background of the video. She whips around to confront it, only to realize it’s an illusion. Suddenly a Super Slasher drops through the ceiling. Fire up the ripper to saw o the Slasher’s limbs. A Leaper appears moments later. Switch to the rivet gun and blast the creature’s arms o . The ripper isn’t as e ective against the Leaper since the creature moves out of range when attacked.
Another Leaper, along with two Slashers— one standard and the other a Super—joins the assault. Use stasis on the Leaper, then slice the legs of the two Slashers to slow their movement. Next, kill the Leaper before stasis wears o . Use the ripper to nish the two remaining enemies, then set out for the shuttle bay.
// Text Log - Welcome to the Ishimura (Part 3) Before leaving the o ce, search the row of lockers on the right for this text log.
Unnatural Growth
The hydroponics lab is choked with organic growth, the necrotic esh covering the walls. Several Leapers and Slashers emerge from the growth, charging you at full speed.
Quickly use stasis on the Leapers to halt their advance, then use kinesis to pick up the red explosive barrel against the wall and throw it at the wave of Necromorphs. Carve up the remaining creatures using the ripper.
// Weapon Upgrade - After clearing the rst wave of enemies, reach for the contact beam upgrade at the far end of the room.
Step forward and search the other half of the lab. A Leaper pounces from out of nowhere, forcing you into a ght. Shake it o , then dismember it out of existence. Turn around to confront a second wave of Necromorphs.
Leapers lead the charge, crawling from the ceiling down to the oor. Use stasis to stop them in their tracks, taking advantage of this time to hack o their limbs. Slashers approach from behind, aided by explosive projectiles hurled by a Lurker in the background. Grab the projectiles and ing them at the Slashers. Lob one at the Lurker too; otherwise it will run over and swipe you with its tentacles.
A nal wave of Necromorphs follow. Two Leapers race in to attack. You can easily kill them by drawing a ripper blade over their arms. A Slasher and Exploder to the right are trickier to deal with. Avoid hitting the Exploder’s swollen arm because the explosion will end up hurting you due to the creature’s close proximity. Instead, aim to break both creatures’ legs, then shoot their heads to nish them o . Dash for the door on the lab’s other side, exterminating the Leaper that crawls from the overgrown vent in the wall.
Appalling visions toy with your mind as you journey down the neighboring hallway. Ride the elevator to another hallway where you can collect a pulse ri e. Hold your re amid Howell’s hallucinations. As vivid as the visions may be, they aren’t real and you’ll just waste ammo if you shoot at them.
Never a Second Chance for a First Impression
Go through the door to the cooling systems room. Lexine is lying on the oor across from the door, recovering from her harrowing swim in the ship’s waterways. Hurry over and help her up.
// Weapon Upgrade - Upon entering the cooling systems chamber, look to the far corner for a ripper upgrade. If you miss it on this rst visit, you’re a orded another opportunity to grab the upgrade later when you revisit this room.
Walk to the nearby medical station and inject Lexine with antibiotics to speed her recovery. Collect the health packs and ammo on the shelves as Lexine pleads with you to return to the aqueducts in search of McNeill, Weller, and Eckhardt. Howell proves to be a pushover and agrees to Lexine’s plan. Exit the medical station, grabbing the contact beam in the corner on your way out.
Rather than backtracking through Howell’s o ce, you take a di erent route through cooling systems. It proves to be a poor choice when a Necromorph Brute ambushes you and Lexine, smacking Lexine against a wall and then rushing toward you. Forget ring at the creature’s hardened front; instead, use stasis to slow it down, then run behind and shoot the eshy yellow rear. Time your stasis shots so that you freeze the Brute right before it slams you.
Use the pulse ri e for maximum damage, as well as the contact beam you grabbed in the medical station. If you hear the sound of ricocheting bullets, you’re not hurting the Brute. Watch for blood splatter as an indication of a successful hit. When the Brute howls and hurls acid at you, catch it with kinesis and throw it to the side.
It takes several loops around the chamber before you deal enough damage to enrage the beast. Shoot its yellow shoulder joint when it roars and lifts its arms up in pain. If you land a hit, one of its arms falls o .
The Brute then hobbles along spitting globs of acid. Grab these caustic balls and chuck them right back. Three or four hits are all it takes to put this foe out of commission. When the Brute’s body collapses, ee from the chamber with Lexine. Howell has a change of heart after the intense battle and wisely decides against searching for the others in the ship’s waterways. Instead, she decides that riding a tram to the shuttle bay is the best chance for survival.
Welcome to the Jungle
Pass through the wide door into the hydroponic grow room. The tiered chamber is lled with plant life cultivated as food for the ship’s crew, as well as for scienti c research. It’s turned into a Necromorph jungle, however, and the foliage provides cover for the unrelenting hunters as they stalk their prey.
// Weapon Upgrade Immediately in front of where you enter the grow room is the nal pulse ri e upgrade. Max out your weapon by grabbing it.
Before the inevitable battle ensues, take advantage of a Free-Look sequence to stock up on supplies. There’s an arc welding gun in a locker to your right, a line gun on the oor to your left, and ammo scattered about.
// Weapon Upgrade - Look up during Free Look to nd a line gun upgrade on a catwalk in the grow room.
// Text Log - United We…Ascend? (Part 5) Turn right to scour a set of lockers for this text log on Unitology.
Move deeper into the room and listen for the sound of approaching Necromorphs. A Pregnant peeks out from behind the corner, heralding the start of a tough battle. Use stasis on the Pregnant and shoot o its arms. Do the same to the Leaper that races toward you, acting quickly so as to re on a Flyer that swoops in. Turn to see Lexine trip over herself in an e ort to escape a Leaper sliding down the wall. Prevent it from reaching the ground, then direct your sights to the pitch-black alcove on your left, where a Slasher emerges.
Jog to the middle of the room and face a wave of violent Leapers. Wait for them to reach the ground before ring; an Exploder limps into view, providing an opportunity for you to blast the Leapers by detonating the Exploder’s arm. Defeat the remaining Leapers, and a Super Slasher arrives, which you can easily dismember after hitting it with stasis. Take a few steps back and slay a Super Slasher.
Erase yet another wave of unrelenting Necromorphs from existence. Switch to the line gun, and decapitate a pack of Leapers that scurry toward you on the oor. Sever the limbs on the Slashers that follow close behind.
Rejoin Lexine in the shadows along the room’s perimeter, where an Exploder climbs through a vent. Nail its arm to blow it to pieces, then kill the Slasher and the pack of Leapers ambling toward you. The line gun and ripper work beautifully together here. Use the line gun to sever limbs as enemies approach from a distance, and use the ripper for close-quarters cutting.
Don’t Retreat—Reload
Head for the wide door across from the lift. A particularly nasty wave of Leapers halts your progress. Fire your line gun to quickly chop them up, paying close attention to the dark-skinned Super Leapers capable of stabbing you for serious damage. Ignore the Flyer circling above until you destroy every Leaper, since the Leapers will quickly drain your health. More Leapers dart toward you from the right, forcing you to ee down the adjacent hallway.
// Audio Log - As you turn back to look at Lexine running down the hallway, snatch the audio log nestled next to the rotting column of esh.
Ride the lift down to the oor below, keeping your line gun at the ready. One by one, re your line gun to dismember a small pack of Leapers. Move toward the door on the room’s opposite end, using Free Look to search for supplies in the closets along the left wall.
// Weapon Upgrade - Look between the amber-colored vats on the right for a pulse gun upgrade.
// Text Log - Mining log: Dallas, A. (supervisor, 2nd engineer) In the last closet on the left, break the supply boxes to nd the text log on the shelf. Grab it.
Pass through the hallway, open the door to the hydroponics control room, and brace yourself…for a warm greeting. It’s McNeill, Weller, and Eckhardt! Lexine’s elated to see everyone alive, although Eckhardt holds a grudge against you for refusing to help them ght the Slug. McNeill shuts him up, then asks Howell to tinker with the control mechanisms in order to trap the Necromorphs inside hydroponics. You are more than happy to oblige. McNeill, Weller, and Lexine head out to engineering, leaving Eckhardt with Howell. It’s a fateful decision. Howell reveals Eckhardt as a ruthlessly devout Unitologist, an enabler of the nightmare that surrounds them.
Before Eckhardt has a chance to rebut her claims, a tentacle smashes into the control room. The coward ees, leaving Howell to su er a horrible death.
Chapter 8: In The Hearts Of Men
Weller’s re ection lls the glass window looking into the tram station waiting area—you’re in control of him now. McNeill and Lexine pace anxiously, eager for Howell and Eckhardt to nish up in the hydroponics control room. Weller tells them to be patient, assuring them that nothing bad has happened to them.
// Weapon Upgrade: Grab the amethrower upgrade on the ground next to the bench as you turn to look at McNeill and Lexine.
McNeill raises his gun, expecting Necromorphs to trundle in when the doorway to the tram station slides open, but instead it’s Eckhardt. He’s hysterical over Necromorphs chasing after him, but McNeill points out the obvious: There aren’t any creatures in sight…yet.
Weller pushes Eckhardt against the wall, scolding him for failing to protect Howell. Eckhardt insists that she chose to stay behind, but before Weller can continue his interrogation, three Slashers amble down the connecting hallway. Options for engaging the creatures are limited since you have access to only two weapons—the rivet gun and the P-Sec pistol—but the arrival of an Exploder through a vent in the wall makes things a little more manageable. Blast the Exploder’s swollen arm, killing the creature and catching the Slashers in the resulting explosion. Finish them by shooting o any remaining limbs. Turn right to face another Slasher before taking refuge in the tram.
A Slasher raps its sharp appendages against the tram as the door shuts. Everyone catches their breath, thankful to have escaped with their lives yet again. Weller suggests the group split up in order to speed up the search for an escape shuttle. It’s a risky idea but one he insists will get them o the forsaken ship sooner than if they stick together. The others agree and McNeill heads o with Lexine to the ight deck, while Eckhardt joins you in scouting the maintenance bay.
In Search of an Escape
The rst stop is yours. Depart from the tram with Eckhardt, and leave the station using the elevator down the hall.
// Text Log: Recovered le, from Dr. Eando Dukaj to General Ambrose Caiden When you turn around to look at Eckhardt, reach for the text log resting on the pipes above his head.
Eckhardt complains of exhaustion, but Weller orders him to hold it together until they nd a way o the Ishimura. Right before the elevator stops, Eckhardt bitterly retorts that he’s not a soldier like Weller. There are names for people like Eckhardt, though now isn’t time to consider them as you explore the dark corridors of the maintenance level.
// Text Log: Recovered le, personal log: Dr. G. Abernathy, automated transcript Check a recess in the wall for an appalling report on the bodily transformation of one of the scientists that researched the Marker.
Jostle your glow worm for a light, then peek into the adjacent rooms for supplies. There’s a force gun in the rst room, an arc welding gun in the room to the right, and a amethrower at the hall’s far end. Since you can’t carry all three without relinquishing your trusty P-Sec pistol, opt for the force gun and the amethrower.
Tread lightly down the corridor, keeping your wits about you after mistaking Eckhardt for a Slasher. It’s only a vision, but perhaps there’s some truth in seeing him as a monster. Real Necromorphs emerge from the darkness moments later. Wait for them to approach and use your force gun to obliterate them. The force gun is particularly potent against Leapers, a few of which will scamper toward you on the oor. Move up and take out a second wave of Slashers and Leapers before passing through the door into maintenance bay 47.
Routine Maintenance
The moment you enter the room, you’re given the option to equip a ripper lying on the lift to the right. Replace the famethrower in your inventory if you prefer, although both are equally e ective in close-quarters combat. In addition to nding the ripper, you discover a shuttle— you’ve found a way o the ship!
// Audio Log: An audio log is sitting next to a pillar near the shuttle. Pick it up as you turn and walk left.
Hurry to the maintenance bay control room to run pre ight checks and make sure the shuttle is t for use.
// Weapon Upgrade: Look inside the shuttle entrance for an arc welding gun upgrade.
Inside is a survivor, one of the remaining maintenance bay workers who locked himself inside the control room in a desperate attempt to protect himself from the Necromorphs. Weller insists that he open the door, but he won’t capitulate.
There are more pressing matters at hand—several Slashers force you to back away from the control room. Issue a few blasts with your force gun to soften them up, then nick o any remaining limbs using your P-Sec pistol or rivet gun. If any of the Slashers hurl acid at you, grab it with kinesis and throw it back.
// Weapon Upgrade: Reach through the guardrail to snap up an upgrade for the contact beam.
Continue to retreat as a wave of Leapers crawl over the shuttle to attack. Rely on your force gun to blast the limbs o their bodies. Turn left and watch three Slashers stagger past the control room. Wait for them to come within range, then hit them with the force gun. Face the shuttle and watch as more Leapers scuttle down its sides. Reload your force gun and knock them back as they approach.
Walk back a few paces and take a defensive position in the corner. From here, you can easily dispatch the small pack of Slashers and Leapers that attack. Rely on your force gun to put them down as they come in to attack. With the coast clear, head back over to the control room. The frightened soldier still refuses to unlock the door, despite Weller having cleared the maintenance bay.
If You Want Something Done Right...
It isn’t until an Exploder drops in from the ceiling and kills the soldier that you’re able to access the room. Step over shards of broken glass and blown limbs to reach the control console. Two Slashers fall through a vent in the ceiling; introduce them to your force gun. Unfortunately, the control console is busted, meaning the shuttle requires a manual start. McNeill radios in to report that there’s not a single aircraft in the ight deck, leaving Weller’s shuttle their only means of escape. Tell Eckhardt to stay put while you head below to manually release the shuttle from the dock. Race over to the cargo lift by the entrance and ride it down to the level below.
Activate zero gravity and step o the lift. You need to shoot four fuse boxes in order to undock the shuttle.
// Weapon Upgrade: Look in the upper left of the docking chamber for a ripper upgrade.
Begin by sliding a metal plate up to expose the purple fuse box underneath. Break the fuse with a shot from your rivet gun. Chittering warns you of two Leapers heading your way. Switch to the force gun and blast them as you turn to your right. Jump to the second fuse box, picking up the line gun on the oor next to it.
Repeat the process on the second fuse box, then confront a Leaper and Lurker to your left. Use the force gun to obliterate the Leaper, then switch to your newly acquired line gun and re to slice o the Lurker’s tentacles.
When nished with the Lurker, leap toward the third fuse box across the room. Bust the fuse box, then deal with a pair of Super Leapers from the left, stopping their squealing with your force gun. Finish by breaking the fourth fuse box. Another Leaper and two Lurkers attempt to punish you for completing the job, but a few wellaimed shots from your line gun quiets them. Return to Eckhardt in the bay above.
Revelations
As you approach the control room, listen as Eckhardt nishes recording a secret message. Weller startles Eckhardt, who claims the message was an important CEC matter and none of his business, but Weller knows better. He plays it back: Eckhardt admits to killing Howell, reveals himself as a Unitologist adherent, and advises his spiritual superior on capturing Lexine for their own perverse ends. It’s an abominable plot that Weller is dead-set on stopping, but Eckhardt shoots him before he has a chance to protest.
Eckhardt drones on and on about Unitology as Weller struggles to stay conscious, watching as a Leaper stalks an oblivious Eckhardt. The Leaper’s sharp hind protrusion pierces through Eckhardt’s back, killing him. Use kinesis to grab the pistol on the oor before the Leaper comes at you. Kill it and fade into unconsciousness.
Chapter 9: Escaping The Ishimura
Things pick up with McNeill and Lexine in the tram. Having just spoken with Weller over the radio, you’re back in McNeill’s shoes as you make your way to the shuttle in maintenance bay 47. Lexine is visibly downtrodden over the death of Dr. Howell, but there’s still hope that they can make it o the Ishimura alive.
Disembark from the tram and access the computer terminal on the left to pinpoint the location of maintenance bay 47. McNeill notices an outgoing distress message—it’s from Brennan! Watch in horror as she grips a syringe and injects herself with some unknown, though clearly fatal, agent. Lexine can’t bear to watch and crumples into a ball. Help her to her feet and go to the elevator; take it to the maintenance bay.
It’s so dark it’s di cult to see the weapon you’re holding. Whip out the glow worm and give it a shake for some light.
TIP: Rather than waiting for the glow worm to fade and then shaking to relight it, give it a shake every few seconds to keep it lit.
Lexine worries that something’s wrong, that Weller should have contacted them again by now. She’s right—a Pregnant runs out of the supply closet on your left. Immediately hit it with stasis, then cut o its limbs with the plasma cutter. Alt- re is e ective for slicing its lanky arms. Two Leapers appear shortly after. Throw supply crates at the Leapers for damage and some ammo. Finish them by cutting o any remaining limbs.
Turn the corner and confront another Pregnant, which is accompanied by a Slasher, a Leaper, and two Lurkers. Kill the Leaper rst, nailing it with a line gun shot. Next, deal with the Pregnant by slowing it with stasis and dismembering it with the plasma cutter. Aim carefully so as to avoid popping its distended belly and unleashing a barrage of Necromorph Swarms.
TIP: Reload whenever there’s a momentary break in the battle—you don’t want to get caught with an empty rearm!
Work quickly since the Slasher and two Lurkers on the ceiling will attack as you battle the other Necromorphs. When the Leaper and Pregnant are destroyed, execute the Slasher with shots from your plasma cutter. Finally, catch the Lurkers’ projectiles and throw them back to whittle away their health. In between projectiles, use your line gun to break the tentacles jutting from their backs.
More Necromorphs wait around the next corner. Decapitate the Leaper that rushes toward you, then use stasis on the Pregnant that appears to your right, severing its limbs. Another Leaper runs up while a pair of Lurkers farther down the hall hurl projectiles. As if that weren’t enough, two Exploders shu e your way. Hit the Exploders in the arm to trigger a blast; the sooner you do this, the better, since it damages any creatures within the blast zone. Eliminate the Leaper with your plasma cutter, then nish o the Lurkers on the ceiling.
Nonroutine Maintenance
Check to make sure Lexine’s all right, then hurry down the remainder of the hallway to reach maintenance bay 47. Step through the door and call out for Weller. Search the right side of the shuttle bay while Lexine goes left. Grab a pulse ri e and some ammo on the ground during a Free-Look sequence that triggers when you step to the right.
// Weapon Upgrade: During the Free-Look sequence, collect the line gun upgrade lying on the ground to your right.
Weller. Sprint to the control room on the other side of the maintenance bay.
// Weapon Upgrade: On your way to the control room, pick up the force gun upgrade on the oor to your left.
On your way to meet Lexine, pass Eckhardt’s bloody remains lying amid broken glass. Weller’s breathing, but his gunshot wound is serious. Weller explains the circumstances of Eckhardt’s death and how the coward shot him in an e ort to steal the shuttle. McNeill asks if the shuttle is ready to depart. Weller acknowledges the hatch has been opened, but the defensive cannons on the Ishimura have to be disabled if they want to avoid being blown to bits. McNeill volunteers to head to the bridge to take the cannons o -line. Backtrack through the adjoining hallway to the elevator and take it up to the next area.
Crates and Barrels
Exit the elevator and advance down the darkened corridor. Pick up the amethrower in the corner next to the elevator; equip it in place of your pulse gun, if you want.
// Weapon Upgrade: Look down after stepping o the elevator to nd a contact beam upgrade.
Farther down the hallway is a stack of crates on which you can climb to peek into the vent running the length of the ceiling. Check it out, but don’t be surprised by what’s inside. Recover from the fall, then unload on the Leaper that hops down from the vent.
More Necromorphs step forth from the shadows: an Exploder, a Slasher, a Pregnant, a couple Leapers, and a few Lurkers. Obliterate the Necromorph entourage by focusing on one creature at a time, always prioritizing the enemy closest to you. Before dismembering the Leapers that rush toward you, hit the Exploder’s bulging arm; this will kill, or at least weaken, the surrounding creatures. Eliminate the Pregnant next— but do so carefully, because Swarms will force you to waste time shaking them o while the other Necromorphs attack. Finally, take out the Lurkers on the ceiling using their own projectiles in concert with your line gun.
Take a few steps down the hall and face a second wave of Necromorphs. Thankfully there aren’t any Pregnants, but you still have to defeat several Leapers, an Exploder, a Slasher, and a Lurker hanging from the ceiling. The line gun is extremely e ective here, especially against the Leapers. Detonate the Exploder’s arm from a distance as soon as it appears; otherwise you’ll su er in the explosion.
Once you’ve cleared the hallway, turn left and throw yourself down an open shaft. You land in a tightly sealed room on the oor below. Bodies are strewn around and the exit is blocked. Use Free Look to collect supplies and eye the ventilation chute near the oor.
// Text Log: Recovered le, from Dr. Eando Dukaj to General Ambrose Caiden Search the corpses in the room for a text le reporting work on a transmitter that will boost the Marker’s signal.
Step toward the chute. A Slasher jumps up from among the corpses. Cut it to pieces before crawling into the vent.
One-Way Chute
Use light from your glow worm to navigate the narrow chute. Organic membranes block sections of the vent, which you can swipe away using melee attacks. Upon breaking through the second membrane, bat away Swarms and continue. Brace for impact as you take an unexpected tumble.
You land on a web of necrotic tissue, hovering over an active fan with enormous spinning blades. As the tissue begins to break apart, use stasis on the fan to avoid being hacked to bits.
CAUTION: Avoid using stasis on the fan too far in advance of the tissue giving way. If you do, the stasis may wear o as you fall, resulting in your body being chopped up by the fan.
A second eshy membrane breaks your fall, saving you from another whirling fan below. Take advantage of a Free-Look sequence to collect supplies before applying stasis to the fan and dropping down. One nal fan lies between you and the oor. After another Free-Look sequence, stasis the fan, and hit the ground.
Stand up and head toward the illuminated tunnel. Pick up any supplies you may have missed during a nal Free-Look sequence, then clear the organic growth blocking the tunnel entrance and go inside.
Lexine radios in to report sounds of Necromorphs approaching the maintenance bay control room. McNeill tells her to stand her ground and use Weller’s pistol if necessary. Continue down the tunnel until stopped by a scurrying Super Leaper. Dismember it, then do the same to two more Leapers that follow.
Proceed with caution. Super Leapers attack when you peer down the tunnels branching out at the sides. Keep your trigger nger at the ready. The force gun, line gun, or amethrower are ideal, any of which will quickly kill at close range.
Slice through another membrane to reach the nal stretch of tunnel. More Super Leapers lash at you from the shadowy side tunnels. Stay sharp as you look down the side vents, shooting at the rst sign of Necromorph movement—any hesitation and you’ll su er damage.
// Audio Log: Check an alcove on the tunnel’s left side, near the exit, for an audio log.
Before you exit the tunnel to the freight train station, hold fast against three Super Leapers that come in quick succession.
Minecraft
Crawl from the vent into a small room guarded by laser mines; you can’t proceed without disabling them. Grab one of the metal boxes on the oor and aim for the mines on the opposite wall. You know you’ve scored a hit when the box explodes and one of the red lasers disappears. After you destroy the forward set of mines, move up a few steps and take out the remaining two before heading through the door.
Enter the freight train station, pausing to collect supplies—including much-needed health packs—during a Free-Look sequence.
// Weapon Upgrade: Search a crate on your right during Free Look to nd an upgrade for the ripper.
With no other means of reaching the bridge, hop aboard the freight train. Note the dispenser on the right. Use kinesis to throw the canisters that roll out. This is critical because you need to use these canisters to destroy the laser mines rigged within the tunnel.
Tap the control monitor to get the train rolling. Mines are positioned at regular intervals in the tunnel. Aim for the tunnel wall to destroy the mines. One hit is enough to take out an entire array. Once you clear the nal set of mines, you arrive at the station nearest the bridge.
// Weapon Upgrade: As you roll into the train station, reach for the arc welding gun upgrade amid the crates. Alternately, you can wait to grab it after leaving the train during a Free-Look sequence.
Step o the train and note the bodies littering the station oor. As you collect supplies and equip the arc welding gun to your right, ping Lexine for help in unlocking the station doors. Unfortunately, she has her hands full keeping the Necromorphs at bay and making sure Weller stays alive. Luckily there’s a vent in the corner that you can shimmy through to reach the bridge.
Stress or Psychosis?
Crawl inside and watch as your sight lls with strange symbols and markings. Upon exiting the vent to the bridge tram station, McNeill’s hallucination grows even more vivid. You can see people waiting calmly for the next tram behind the glass enclosure. They stare blankly at you, oblivious to the horror that surrounds them. The vision is over in a ash and you’re back to scouting a path to the captain’s nest. Go through the door and head down the corridor to the bridge.
// Text Log: Recovered le, from Dr. Eando Dukaj to General Ambrose Caiden More details on the construction of the Marker transmitter can be found in this text log hidden in the ceiling of the corridor leading to the bridge.
The bridge’s towering glass atrium is stunning and ominous. Light from a nearby star beams through the windows, casting stark shadows across the metal deck. Lexine hails you, desperate for good news. Weller has lost a lot of blood and time is running out. Fortunately, the captain’s nest is directly ahead.
After amassing a nice cache of ammo from the supply boxes scattered about the main atrium, walk toward the captain’s nest at the far end. Three Flyers swoop in, prompting a battle. They’re tough to hit from a distance, although they’re not particularly dangerous. Conserve your ammo and re only when you’re con dent you’ll hit their thin bodies.
All Hands on Deck
The Flyers were the rst of many Necromorphs to come. A Super Leaper slides down the wall and attacks with full force. Dismember it, then turn your attention to a pair of Super Lurkers skittering across the ceiling. Fling their toxic projectiles back at them before they scamper down to the oor. Use stasis to prevent them from jumping on you, working quickly to shoot them out of existence.
Spin around and use stasis on an angry Pregnant preparing to give birth to a pack of Swarms. Slice o its limbs to abort it. Turn your attention to a wave of Super Slashers and Exploders approaching from behind. Use the Exploders to your advantage by detonating their in amed arms to damage the surrounding Super Slashers.
TIP: Save time by picking up ammo clips with kinesis while you’re reloading.
Stasis any Slashers that come within close range, then hack o their limbs. Hitting the creatures with the combustible red canisters leaning against the wall is a good idea, but be careful to hurl them far enough away that you don’t hurt yourself.
Run across the atrium to ght another wave of Necromorphs. A pack of Super Slashers races toward you, backed by an Exploder, a Pregnant, and a Flyer. Use stasis on a couple of the Slashers to buy yourself enough time to nail the Exploder’s arm. Dismember the Pregnant weakened by the Exploder’s blast, then destroy the remaining Slashers. Save the Flyer for last, since it’s the least dangerous of the bunch.
Circle around the central column and face the captain’s nest on the atrium’s other side. A nal wave of Necromorphs appears. As before, use stasis on the Super Slashers that charge at you, then hit the Exploders for widespread damage. Deal with the Pregnant as soon as possible, being careful to avoid its engorged abdomen. Level the remaining Slashers with your line gun, then dash for the captain’s nest.
Ride the elevator down and walk past the escape pods to enter the captain’s nest. Hack the console at the right to take the ship’s cannons o -line. Radio Lexine and ask for Weller, who explains that not all of the cannons have been disabled. You need to manually shut down the remaining defenses.
Manual Override
Return to the atrium and call the elevator in the central column. A Super Slasher greets you as the doors open; immediately use stasis on the creature and sever its limbs. Step into the elevator and take it up a level. It proves to be a bumpy ride— the elevator breaks down, leaving you stuck between levels. There’s enough space to wiggle through the doors to the oor above, but not until after you shake o the Swarms that crawl through the opening.
Squeeze through the elevator doors and head into the adjacent hallway. There’s a contact beam near a bench that you can pick up if any of your currently equipped weapons are running low on ammo; otherwise, skip it. Light up your glow worm and hurry to the airlock down the hall.
// Text Log: Recovered le, from Dr. Eando Dukaj to General Ambrose Caiden Locate this e-mail exchange on the oor in the dark hallway leading to the starboard trench.
Two Super Slashers hiss at you when the door opens; silence them with a couple shots from your line gun. Enter the storage space at the middle of the hall to access a space suit. Is that Lexine in the corner? Approach her and watch in disbelief as she turns to face you—it's only a hallucination. Clear your head and dress yourself in one of the suits hanging against the wall.
Return to the hallway and step into the airlock elevator. Flip around to dismember a Pregnant that attacks with its sharpened limbs. Kill it before taking the lift up. Snatch the line gun and plasma cutter ammo on the ground before exiting through the airlock doors.
Outside on the ship's hull, you're given a choice between jumping to either of two holograms: one on the left wall and another on the right. Select one and jump; regardless of which one you choose, prepare to encounter two Lurkers when you land. The creatures re projectiles at you as you oat toward the hologram. Soften up the Lurkers by grabbing these projectiles and chucking them back. When you land, use your line gun to nish them o .
TIP: Use the rivet gun to kill Lurkers if you’re running low on ammo for other weapons. Since Lurkers are slow to attack, the rivet gun’s reduced ring rate isn’t an issue.
Make a second leap to either of two holograms farther up the trench. Three Lurkers await your arrival. As before, return their projectiles during the jump, then kill them with the line gun when you land. Jump to one of another set of holograms up ahead. Two Lurkers are joined by a pair of Super Leapers that rush you when your feet hit the hull. Exterminate the two Super Leapers before targeting the Lurkers. One last leap and you're at the defensive cannon.
Pass through the airlock to access the cannon, which is ring madly into space. Shut it down by hacking the computer console on the left wall. As soon as you nish soldering the panel and hit the power button, the cannon stops ring and you're free to return to Lexine and Weller. Hop your way back through the trench to return to the bridge.
From Limb to Limb
Your trek is cut short by tremors that bounce you o the ship's hull. Plant yourself back on the ship's exterior and gaze in astonishment as a tentacle slithers into the trench. A gigantic Necromorph moves into view, its crimson tentacles writhing in space as they prepare to squeeze the life out of you.
Deny the creature its meal by ring at the yellow nub at the tip of its tentacle when it raises up to swat you. Succeed and the attack is thwarted. The pulse gun works nicely here, enabling you to re a barrage of bullets quickly and accurately.
TIP: When attacking the tentacles, avoid using the plasma cutter and line gun since they’re too slow to catch the appendages as they wriggle in space.
With one tentacle damaged, the creature lifts a second one. Shoot the yellow weak point at the tip until it recoils in pain.
Abandoning its attempt to grab you with its tentacles, the creature opens its mandible to unfurl a tubular mouth, which sucks you up. Destroy the yellow pustules that appear inside the mouth—if you miss, they explode, damaging you in the process. Once you’ve popped enough pustules, the creature spits you out into the trench.
From its mouth comes a line of explosive sacs that must be popped with gun re. Aim for the sac closest to the creature, as this will trigger the entire line to explode at once. Super Leapers emerge from the explosion. Switch to the line gun and take them out, using stasis to pick them o one by one.
At this point, the creature has been su ciently weakened into displaying its vital organs. Nail the eshy yellow bit—it only ashes for a brief moment, so shoot it quickly—to make it reel in pain. If you succeed, the ght begins anew: repeat the attack on the tentacles, followed by an assault on the pustules that surround the creature's mouth, then the string of orange sacs that give birth to Leapers (the number of sacs and Leapers that appear decreases by one each time), and nally the vital organ. The gargantuan beast retreats once you've hit its vitals ve times.
Do not waste time by darting toward the airlock. Glance over your shoulder to make sure the creature has truly retreated, then open the door. As soon as you do, large spikes slam into the hull near you. Turn and watch as the creature launches a urry of spikes. One hits your right arm, pinning it to the ship. With no other way of pulling yourself up, hack your arm o using melee attacks. Stumble through the airlock door and collapse in shock of having sawed o your own arm.
Chapter 10: Secrets and Salvation
Weller and Lexine anxiously await McNeill's arrival, eager to escape the ship. Lexine is losing hope, though, upset after failed attempts to radio McNeill. She presumes him dead and insists on leaving just as a Leaper and Slasher break into the control room.
Despite being critically wounded, Weller has some ght left in him. You're in control of him now, intent on clearing the maintenance bay of Necromorphs so that you and Lexine can board the shuttle and depart. Kill the two Necromorphs, then use Free Look to survey the trashed control room before making your way to the shuttle.
// Weapon Upgrade: Glance up during Free Look to nd a ripper upgrade.
// Text Log: Eyes Only—Priority Black: from Chief of Sta , Earth Defense ATTN: Commander Cadigan, F. On the oor of the control room is a text log detailing Earth's response to the Marker extraction operation. Grab it as you exit.
Fight or Flight
The shuttle's ready to go, but a pack of Leapers and Slashers hope to deny your escape. Kill the Leapers with your line gun; position your crosshairs just right and you can sever each Leaper's head and arms in a single shot.
Flip around to face the other side of the maintenance bay; several Slashers approach from here. Wait for them to come closer and bunch up as a group, then nail them with the line gun. Should any of the female Slashers spit acid at you, catch it with kinesis and throw it back. A Leaper scampers in too; eliminate it before it whips you with its rear appendage.
TIP: Sever the sharpened hindquarters of a Leaper for an instant kill. It’s tough to pull o , but the reward is satisfying.
Skirt around to the back of the shuttle and clear another wave of Necromorphs. More threatening Super Leapers and Super Slashers amble toward you and Lexine. Concentrate on dispatching the Leapers rst, then take out the Slashers that come in succession. After you've cleared the wave, check on Lexine and watch as she delivers the nishing blow to a Slasher.
Run back to the area in front of the control room to witness a mob of Pregnants and Exploders racing toward you. Yell at Lexine to hit the maintenance panel to lower the oor, then jump to the other side. Pull yourself up and aim at the Leaper and Slasher that crawl from the vent in the wall.
No Easy Escape
Advance along the side of the shuttle. A large wave of enemies moves aggressively across the maintenance bay: a couple Pregnants, several Slashers, and two Exploders. Target the in amed arms on the Exploders rst in an e ort to damage the assembled pack. Use your line gun to slice the limbs o the Slashers, which clears space for you to use stasis and dismember the Pregnants. Throwing the combustible red canister to the left is helpful in clearing the overwhelming number of Slashers, but it also has the nasty side e ect of breaking the Pregnants' bellies and unleashing the Swarms within.
// Weapon Upgrade: When you turn to look at Lexine behind you, act fast to grab the contact beam upgrade on the ground to the right.
Hustle to the front of the shuttle where a Leaper and Slasher emerge from the vent in the wall. Take them out before checking the corner for supplies, then proceed to the shuttle doors.
// Audio Log: Snatch this last audio log as you turn to look in the corner near the front of shuttle.
Slay the Pregnant that rushes you, severing its legs and arms to avoid inducing an unwanted birth of Swarms.
// Weapon Upgrade: Pick up at force gun upgrade on the ground in front of the shuttle. A Pregnant initially blocks it from view, so kill it or wait for it to shamble past.
The Final Push
Flyers dive in to prevent you from boarding the shuttle. Switch to the force gun and blast them when they swoop in to attack. Dash into the shuttle, grabbing the contact beam to use in place of any weapon low on ammo. Lexine heads to the cockpit to re up the shuttle, leaving you to hold the Necromorphs at bay.
From left and right, dozens of Necromorphs race in to attack. Slashers and Leapers come rst; pick them o easily with the force gun at close range or the line gun from a distance. The arrival of Pregnants and Exploders complicates the battle, requiring greater precision to prevent a burst of Swarms and to ensure that you detonate the Exploders from afar to avoid damage.
Keep beating them back, checking with Lexine on her progress in starting the shuttle. When you hear the roar of thrusters, Lexine comes to the door to help you beat back the last of the Necromorphs. She's hesistant to leave without McNeill, but they have no choice. Weller notes the sound of a contact beam and curses the thought of the creatures being able to use one. But he's wrong—it's McNeill!
Pushing through the pain, McNeill somehow managed to trek back to the maintenance bay just in time to hop aboard the shuttle and escape. Shut the doors and ee from the nightmare that has overcome the Ishimura.