
Dead Space 2 Guide Walkthrough Clarke's Log: Walkthrough
Chapter 10
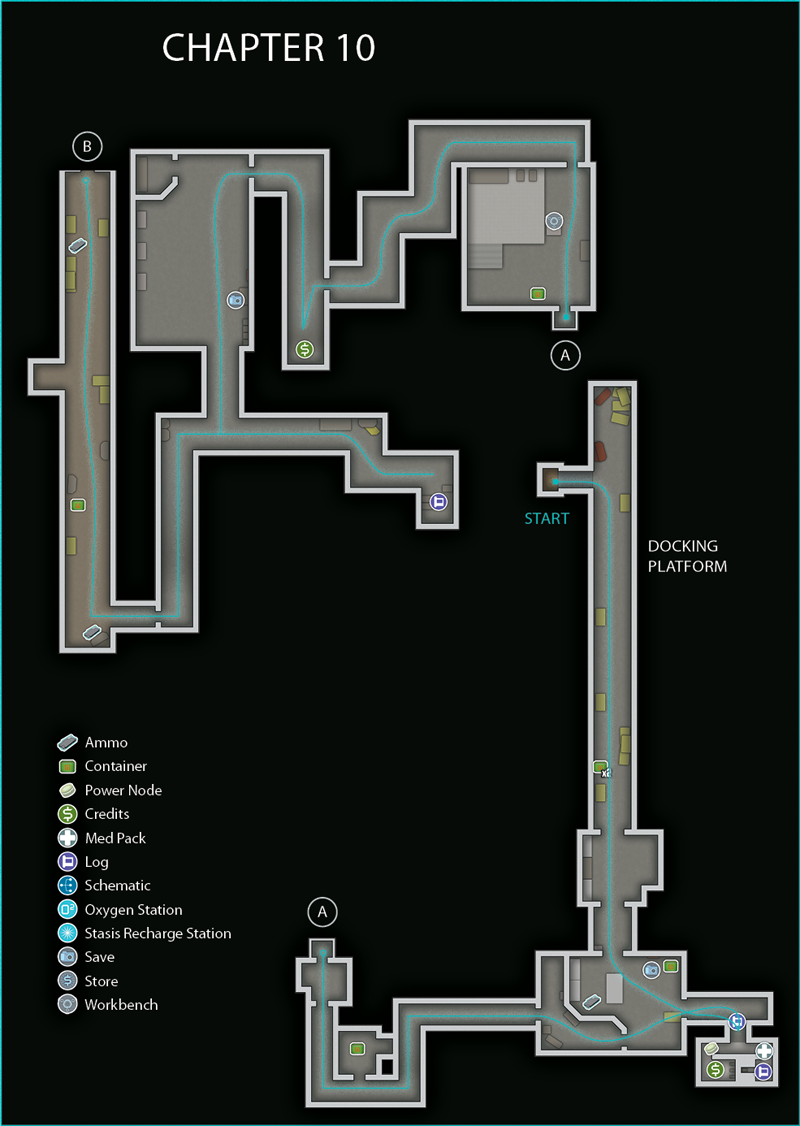
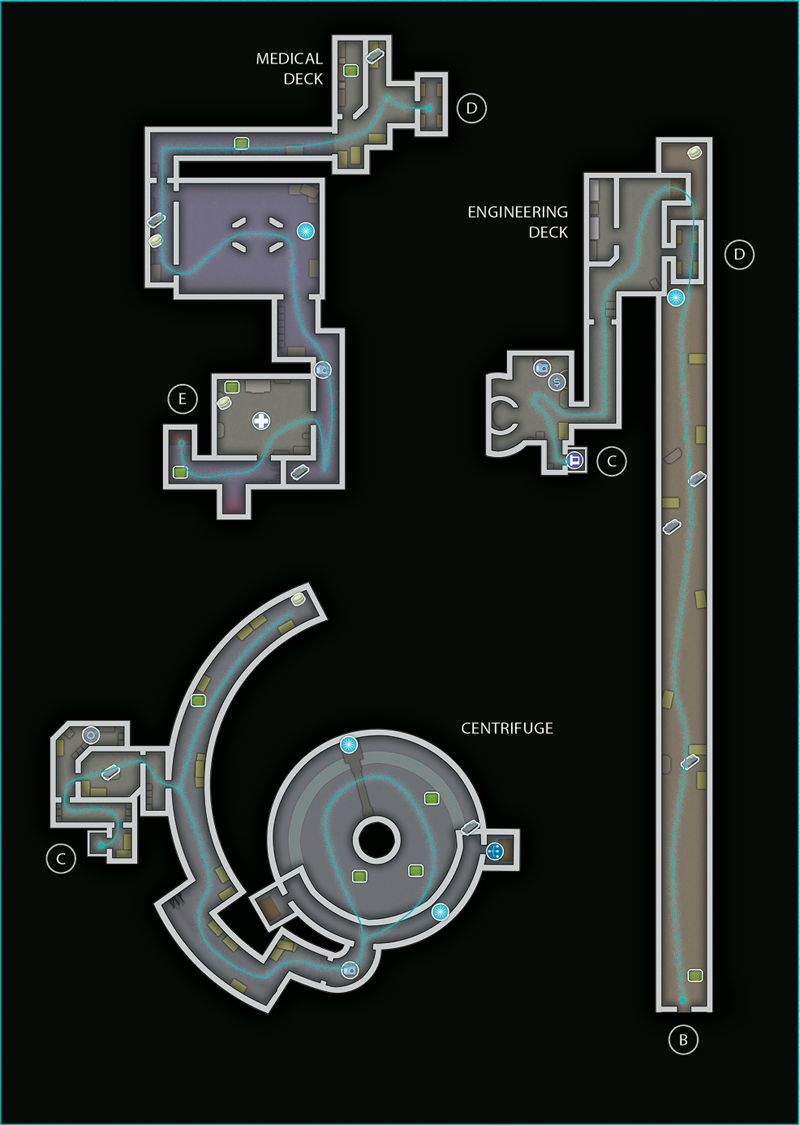
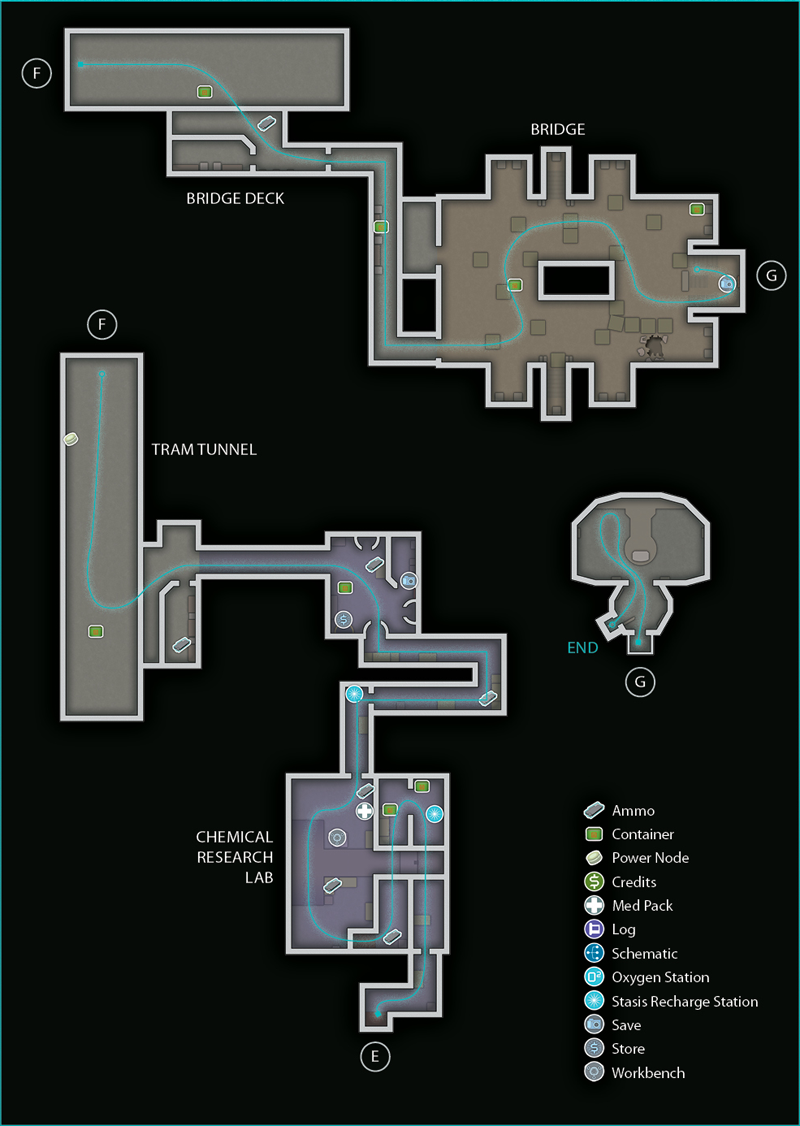
Déjà vu on the Ishimura
Entering the Ship
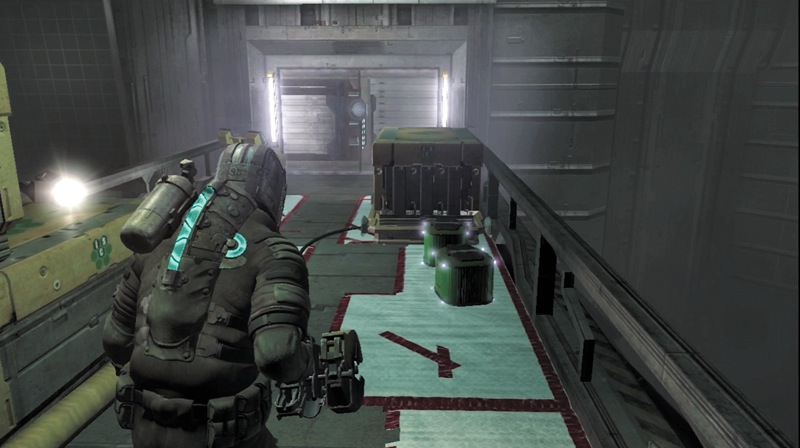
It is time to head aboard the Ishimura. Climb onto the docking platform and go right. Along the way, stomp on a couple containers to get some items. Enter the ship through the door, and then head through a second door into a room that is undergoing cleaning.
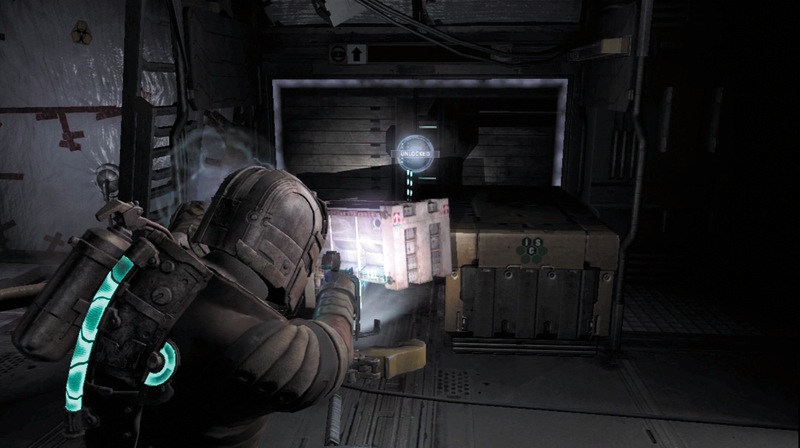
Turn left inside the room and use the save station. Then walk around to stomp on a container and pick up some ammo. Use kinesis to pull away crates that are blocking an unlocked door.
Move into a small corridor and pick up a text log. Pass through the nearby door to enter a restroom. Get a power node from a circuit box and some credits near the stalls before backtracking to the main room.
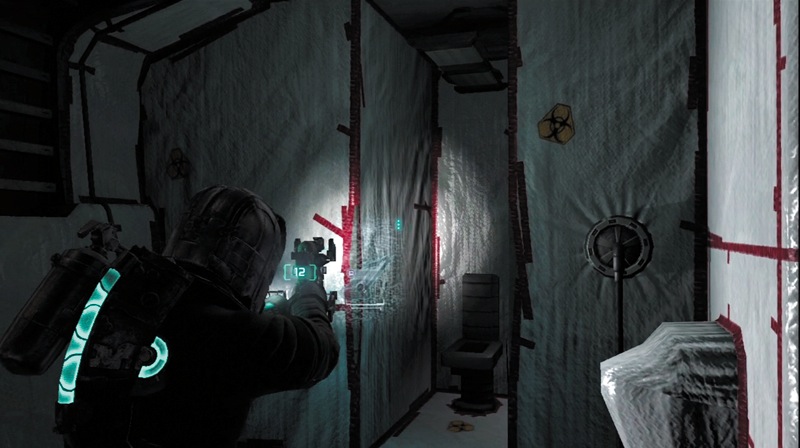
Move around to the restroom's other side, where it is padded in white material. You find a med pack and an audio log.
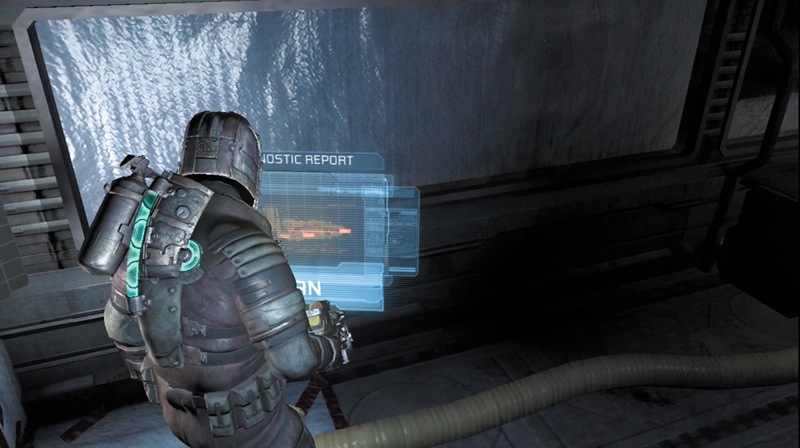
Follow the locator path into another area, where you can find a blue console. Activate it to run a diagnostic report of the ship. Looks like you have your work cut out for you.
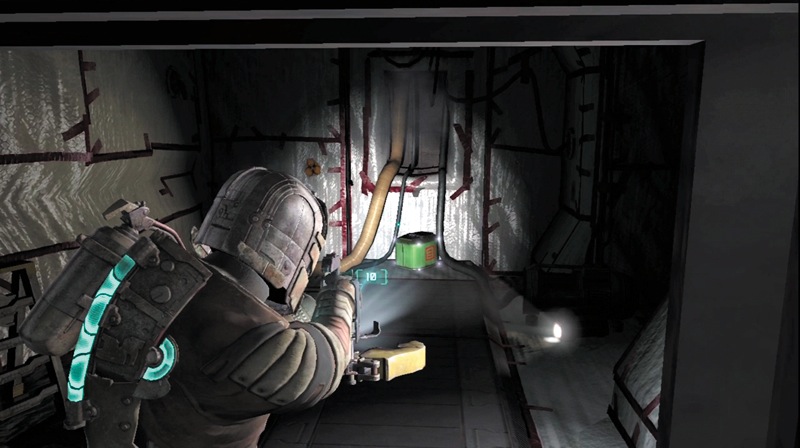
Head through the nearby doorway and into a corridor that leads farther into the ship. As you advance, stop in a side alcove and stomp on a container to get an item. Then continue through another door and enter an elevator.
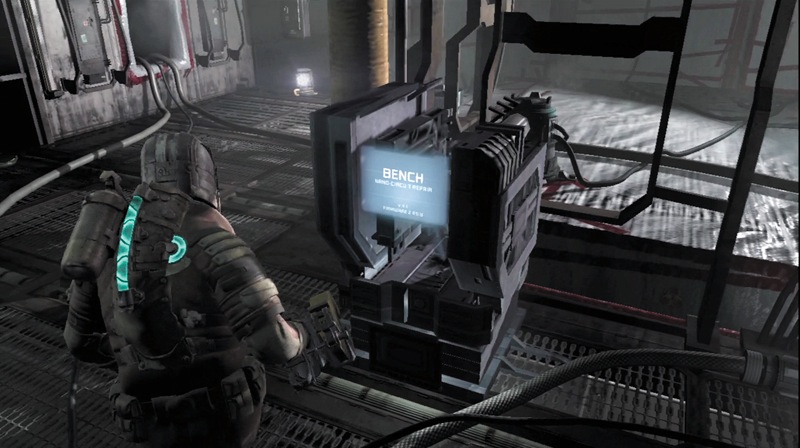
The elevator carries you down into the ship. When it stops, get off and search the room here. There is a container and a locker, each with an item inside. If you have some power nodes, use the workbench to upgrade your weapons and equipment. Exit through the door and follow a corridor to yet another door.
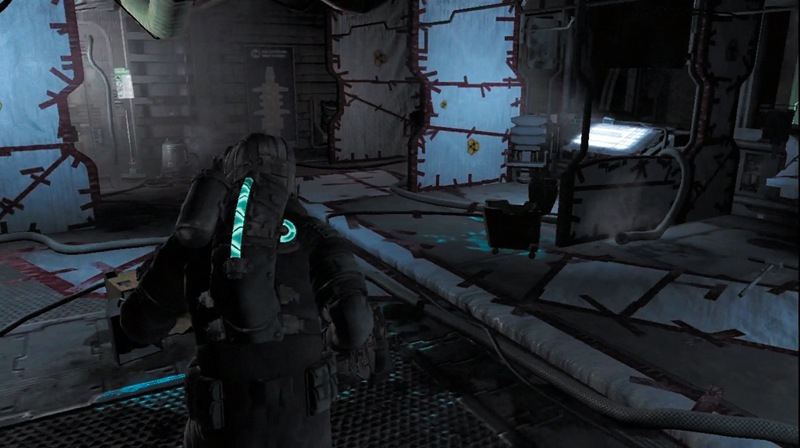
Turn left into a dead end to find some credits. Next, follow this corridor in the other direction and go through a door. Search the lockers in this room for an item, then use the save station before continuing through the next door.
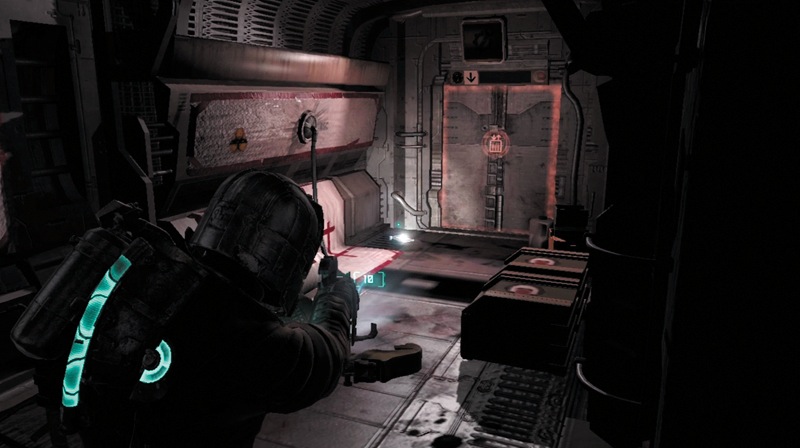
Follow the short corridor and head through a door into a longer corridor. The locator points to the right, but go left so you can find an audio log. Pick it up and then take the corridor in the other direction. At its end, you pass through another door.
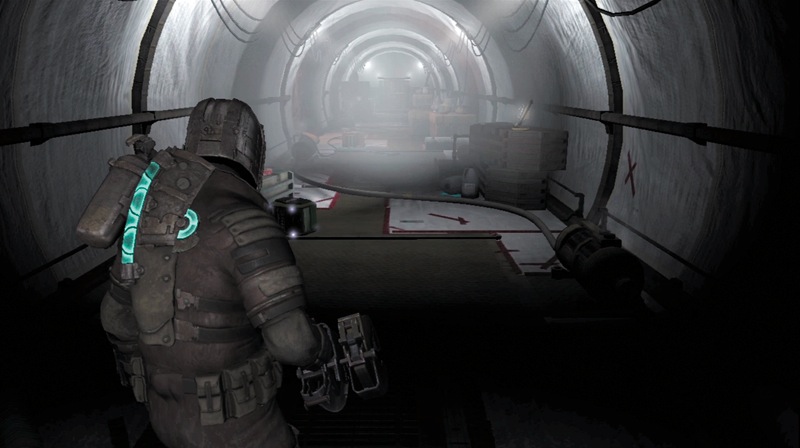
Grab the ammo to the left in this small room, then advance down the long tunnel. There is a container and more ammo along the way. When you reach the end, go through the door.
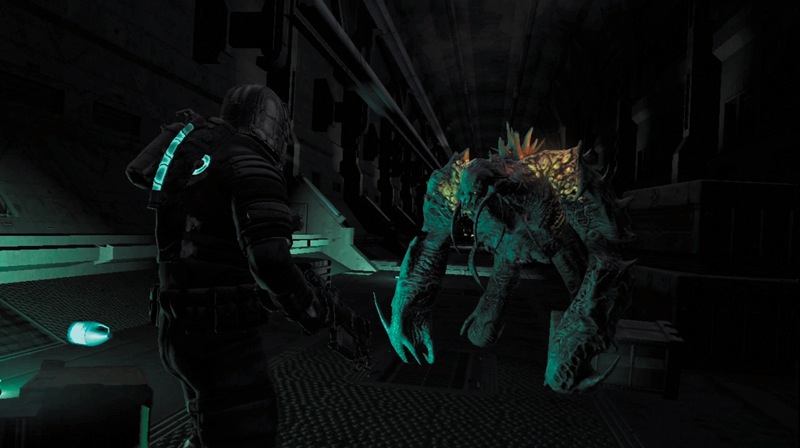
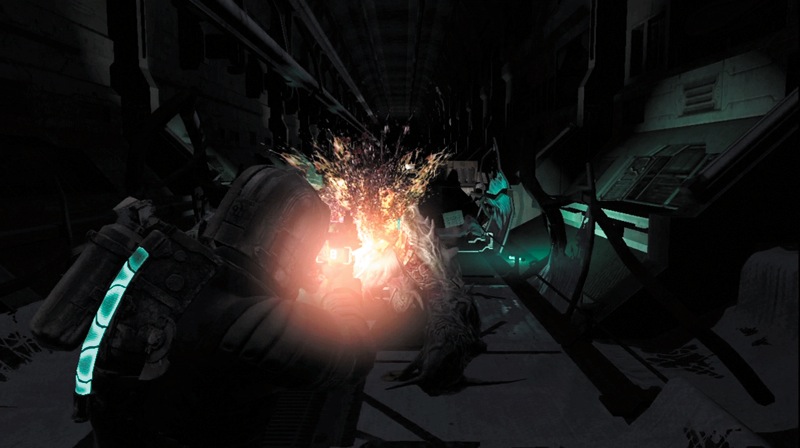
You are now in a long chamber. Stomp on the nearby container and keep moving. As you approach some crates and cleaning supplies, a Brute jumps out. Hit it with stasis and then start shooting at the yellowish flesh on its shoulders to sever an arm and kill it.
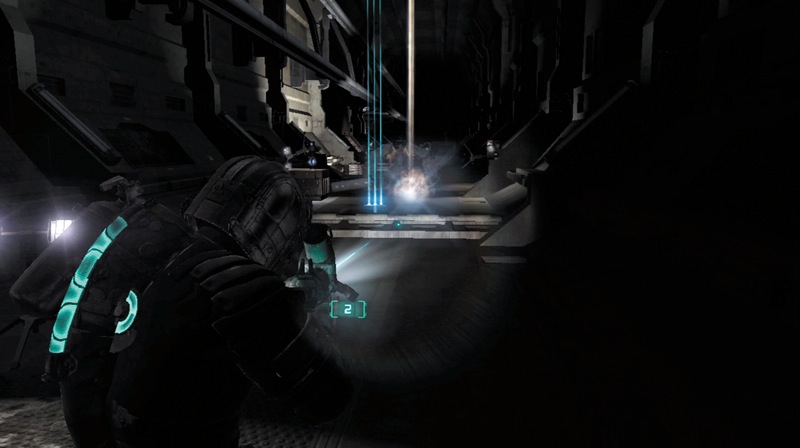
Continue down the chamber to find a stasis pack and some ammo. Another Brute will come toward you from the chamber's opposite end. Back up, deploying a string of mines in front of the Brute. It must pass through these to reach you. As it gets in close, hit it with stasis and shoot at the yellowish flesh. After the damage from the mines, it should take only a few shots to kill it now.
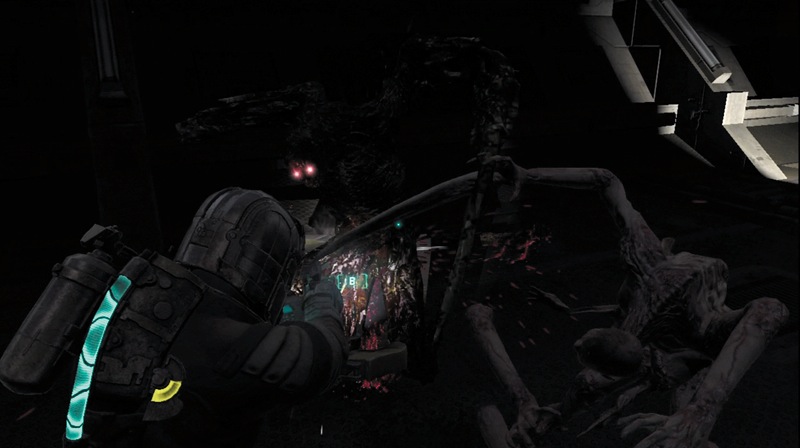
After you eliminate the second Brute, Ellie calls in to tell you Necromorphs are swarming into the ship. She is not kidding. You immediately get attacked from two directions by a Super Slasher and several Slashers.
Back up toward a wall and saw away with your ripper. Hit some with stasis so there aren't too many coming at you at once. After you destroy them all, pick up the items they drop and head to the chamber's end.
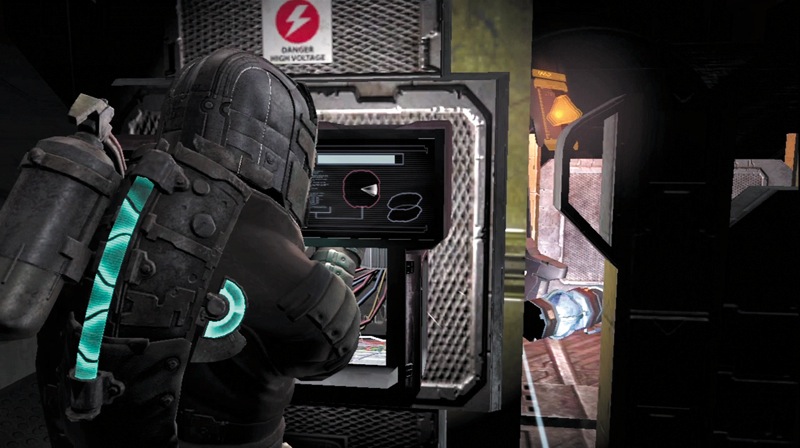
There is a stasis station along the way, so stop and recharge your stasis module. Also get a power node from the circuit box at the chamber's end before hacking the cargo lift. Once you are done, climb onto the cargo lift and ride it up.
Engineering Deck
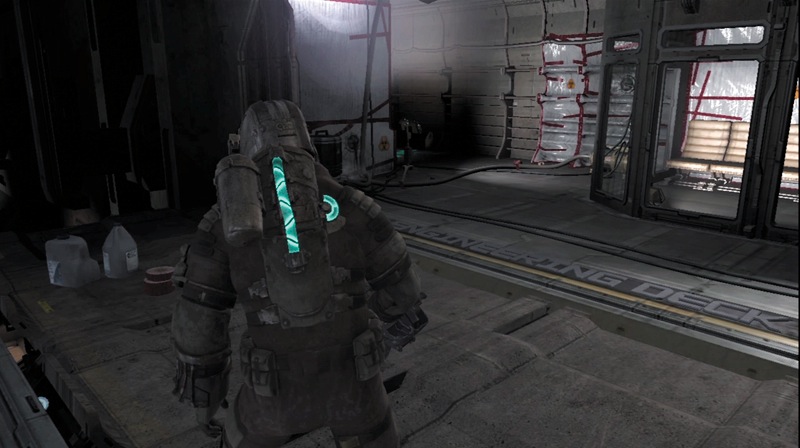
When you reach a platform, search four different lockers for some useful items. Then head through the door and down a corridor.
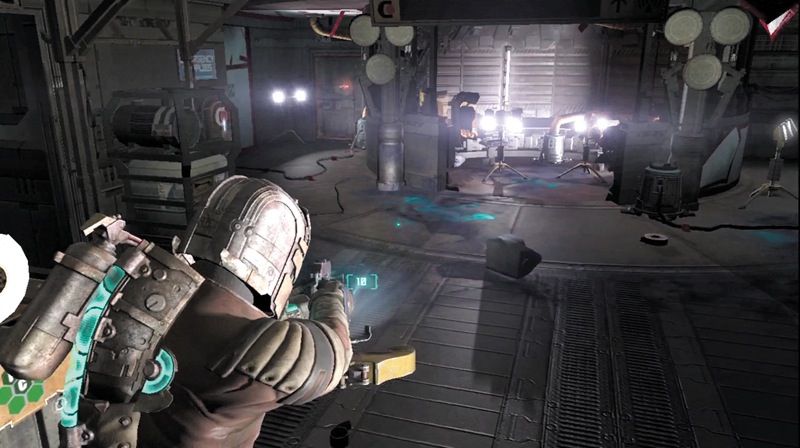
Upon arriving at this next room, search a couple lockers for items and stop at the store. Record your progress at the save station. Next, take the elevator to the next level. On the elevator, you will find an audio log.
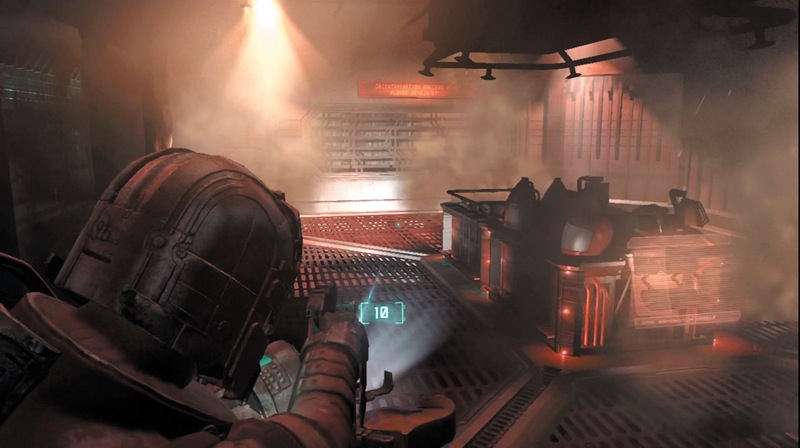
After leaving the elevator, move into a small corridor and search a locker. Then continue through a door and into another corridor with a locker to search and a workbench. Upgrade any weapons and items and then enter the decontamination room. Pick up a stasis pack in the middle of the room. Wait for the decontamination process to complete so you can exit through the other door.
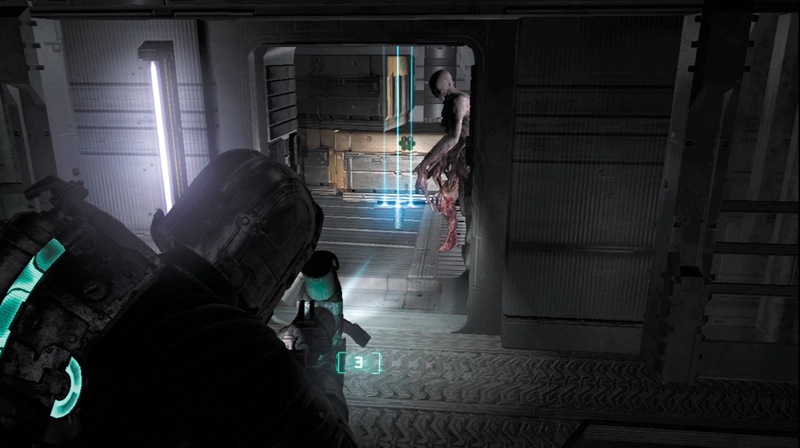
As you leave the room, check the lockers outside and then enter a door into a large corridor. Quickly deploy some mines in either direction and then duck back into the area by the lockers. There is a Puker and a legless Stalker headed your way. The mines will kill or damage them. Deploy more mines by the door and then get ready to finish off whatever survives.
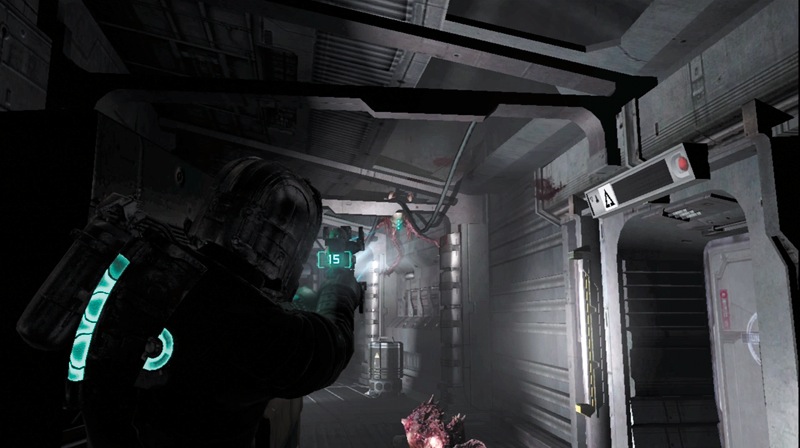
As you head back into the corridor, look right and shoot the Lurker on the ceiling. Go down the corridor to the left to find a container as well as a Super Slasher and a Pregnant. Kill them both with a combination of mines and ripper blades. Deploy a few mines behind you so nothing sneaks up on you. Head to the corridor's end to get a power node from a circuit box.
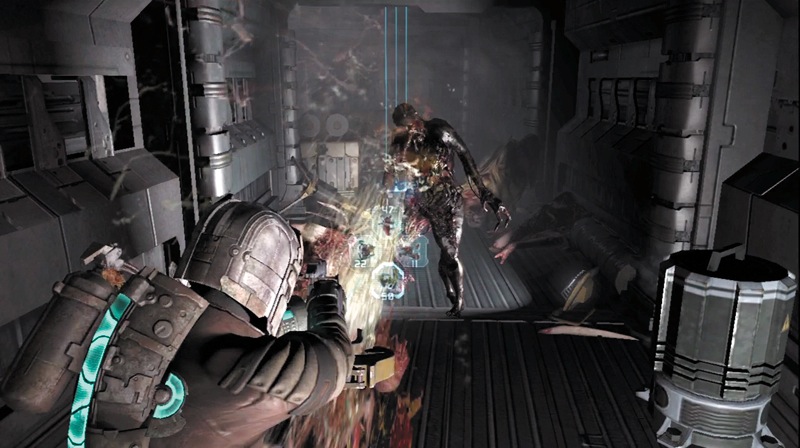
As you head back in the opposite direction, a legless Stalker, a Slasher, and a Super Puker come at you. The mines will take care of some, but be ready to hit the Super Puker with stasis and kill it before it can hit you with acid.
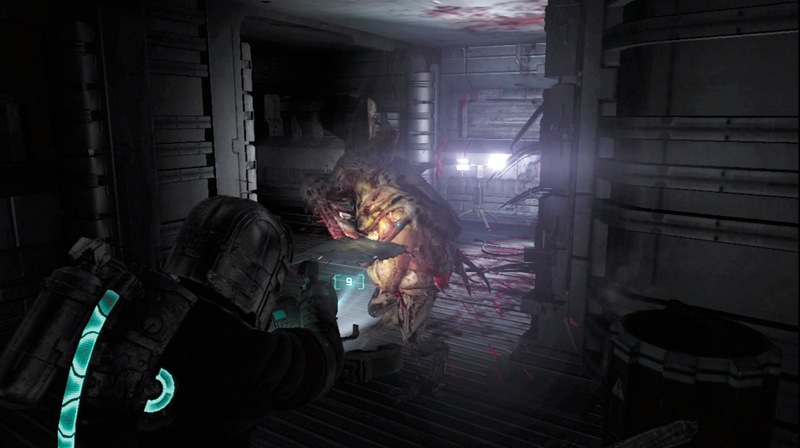
When the corridor makes a couple short turns, you will be attacked by more Necromorphs. Expect Stalkers, Slashers, Lurkers, a Puker, and even a Pregnant. Use your variety of weapons to deal with them. Head to the corridor's end and go through a round door. Use the save station and take a moment to catch your breath. When you're ready, move through another round door into the centrifuge.
The Centrifuge
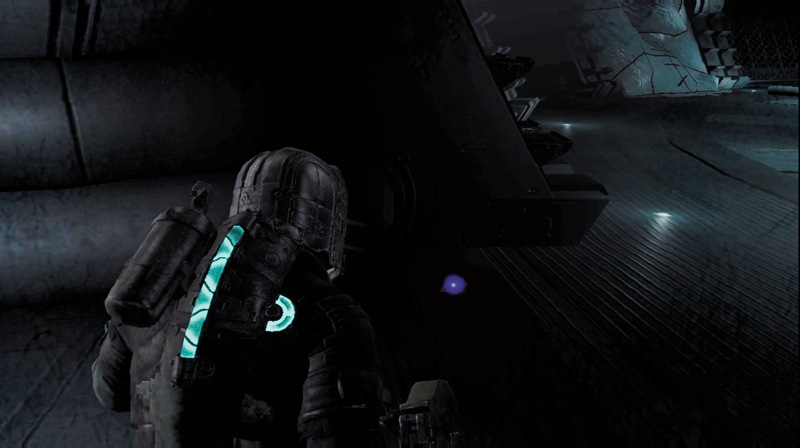
This is a Zero-G area. There are many containers and items floating around in here. Before you start fixing the centrifuge, search the area to find items and learn the layout. In the area below the control console, you can find a schematic for force energy.
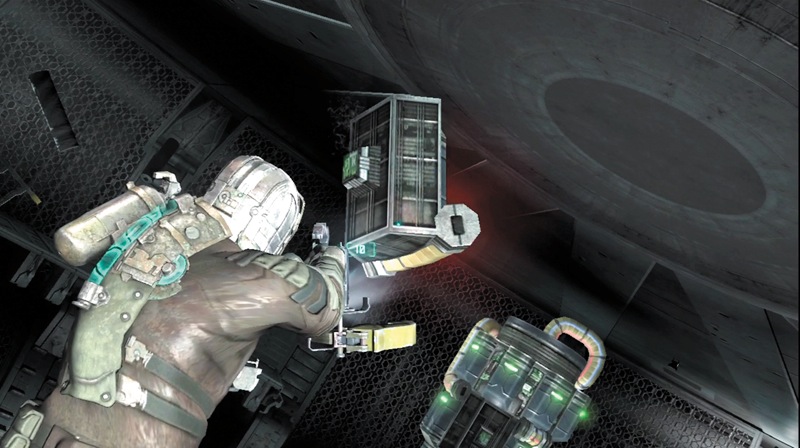
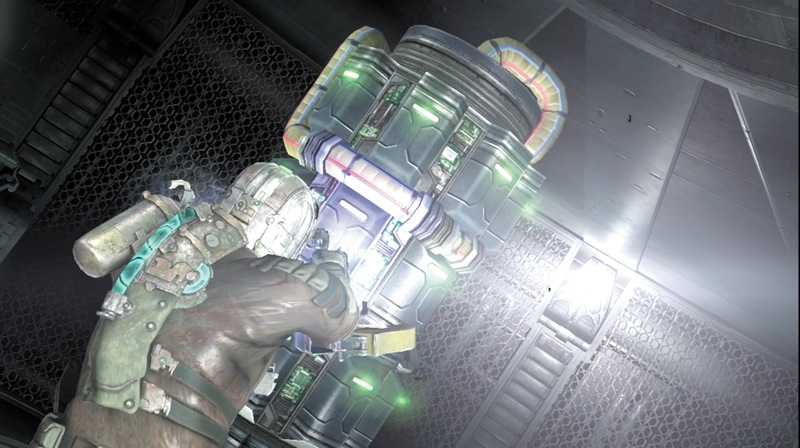
Press the Zero-G Launch button to begin flying around. After you collect all the goodies, get to work. Find the pieces of the centrifuge cooling core that are floating around and grab them with kinesis. Some pieces are hidden behind other structures, but they are all in the room. You must then position them in the correct slots on the centrifuge. Match the cooling tube on the piece with the tubes on the cooling core.
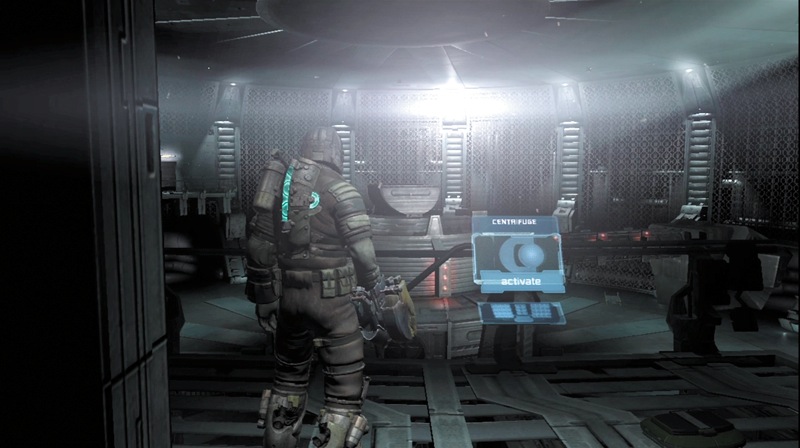
After you put all the pieces into place, fly to the console and press the Zero-G Launch button to activate the centrifuge. This will create gravity here. Now follow the catwalk back to the round door and exit the centrifuge. Stop and use the save station before heading back into the long corridor.
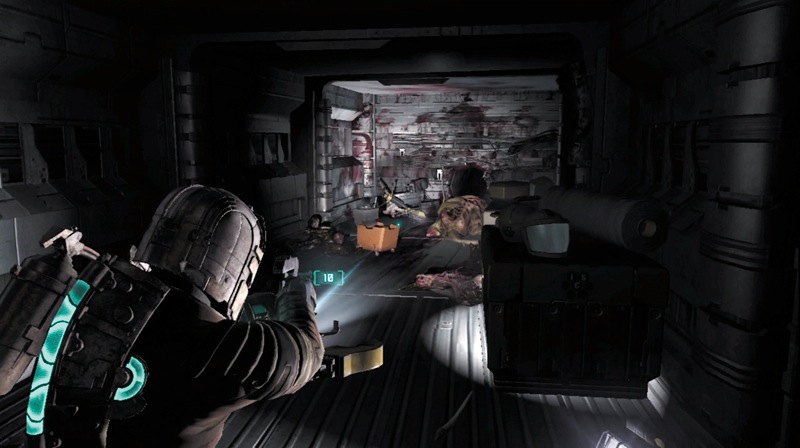
Make your way back through the carnage in the corridor to the decontamination room. Once inside, wait for the decontamination process to begin. This is a good time to make sure all your weapons are fully loaded.
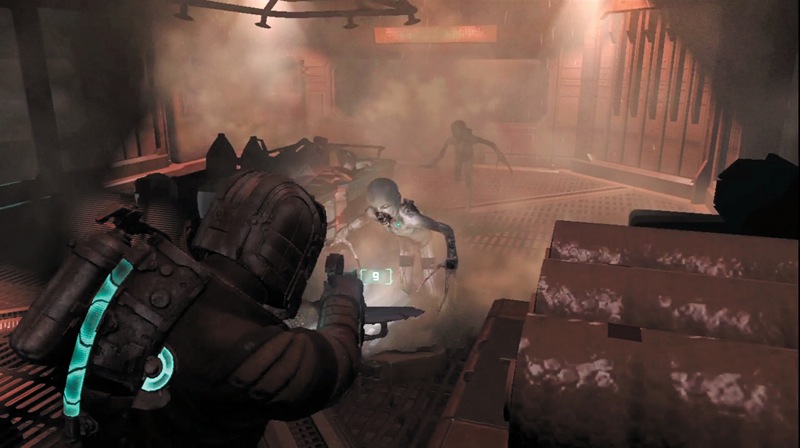
Packs will start entering the room while decontamination is still taking place. Use the ripper to keep them off of you. Back into a corner so you can't be surrounded. Eventually some Super Slashers and a Puker will drop in.
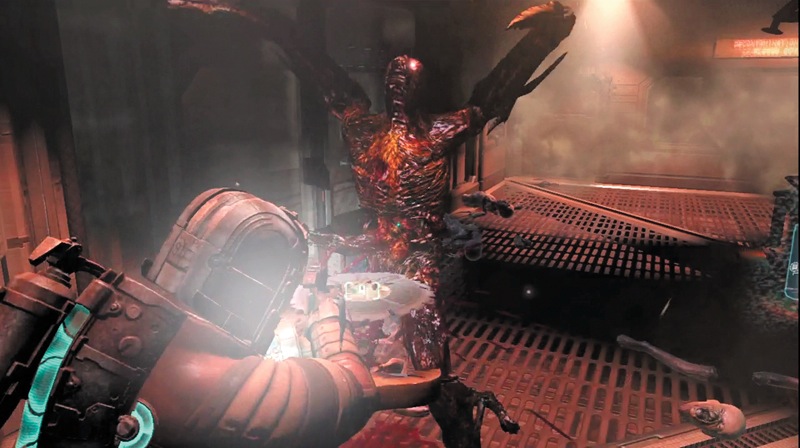
Quickly hit the Puker with stasis while cutting up the Super Slashers with the ripper. Eventually a Super Puker will drop in as well. This is also a good time to pull out the contact beam. Use the alt-fire mode first and then hit the Necromorphs with the full-power blast.
Once they are all dead, collect the ammo and items they leave behind and exit the room. As you approach the elevator, a Super Slasher playing dead jumps up and attacks. Kill it and then board the elevator.
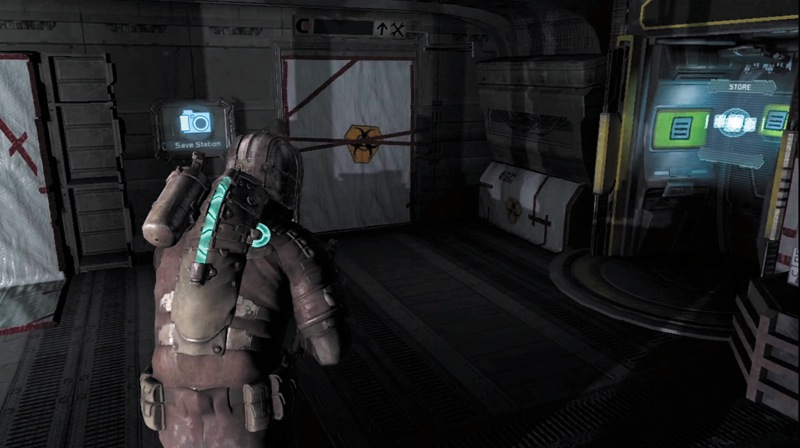
When you exit the elevator, stop by the store to upload the schematic and save your progress at the save station. Next, follow the locator path through the corridor.
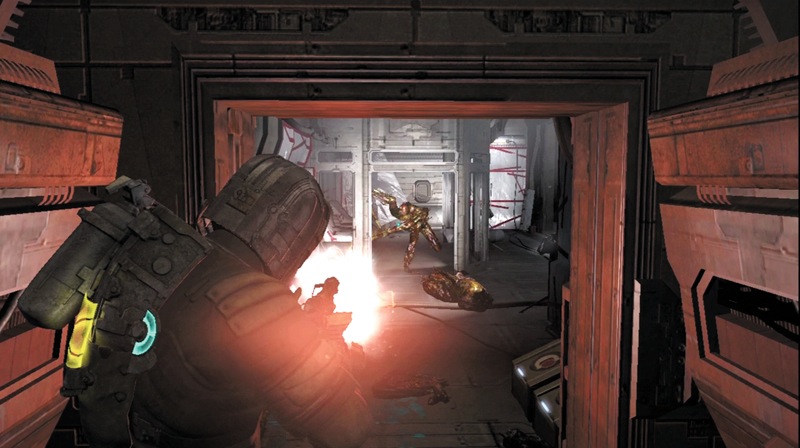
As you open the door to the platform, a Super Slasher comes rushing toward you. Hit it with stasis, and then kill it with the contact beam. A second Super Slasher comes out of the wall as well, so just repeat the same tactic to keep yourself alive.
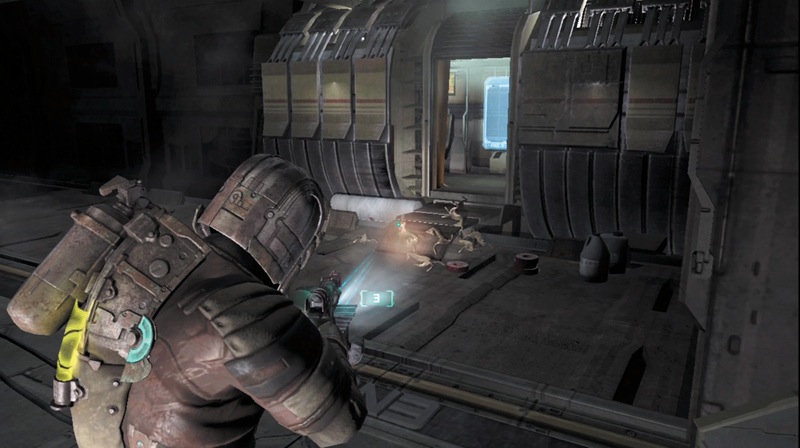
As you step out onto the platform toward a tram, be ready for a Slasher. Drop a mine in front of it and place one by the tram door to kill the Swarm that come crawling out. Once it is clear, climb into the tram and activate the blue console to get it moving. Ellie will call in and talk to you. However, there is an obstruction ahead so the tram stops at the medical deck.
Medical Deck
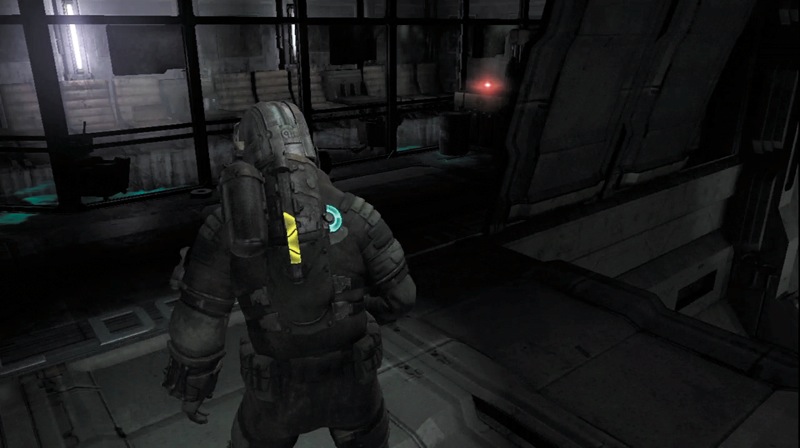
Step off the tram onto the medical deck, and search the area for some ammo and a container. Then head through the door and into some dark corridors with glowing fluid spilled everywhere.
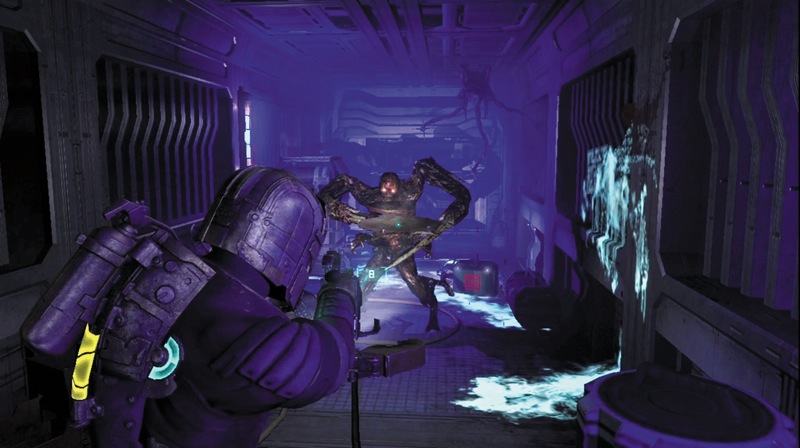
Deploy some mines far ahead of you in this corridor. A Super Slasher, a Puker, a Spitter, and a Lurker will come out of the ceiling and charge toward you. For those that get too close, use stasis on them as you back away and then shoot them with a higher-power weapon. At the corridor's end, go through the door.
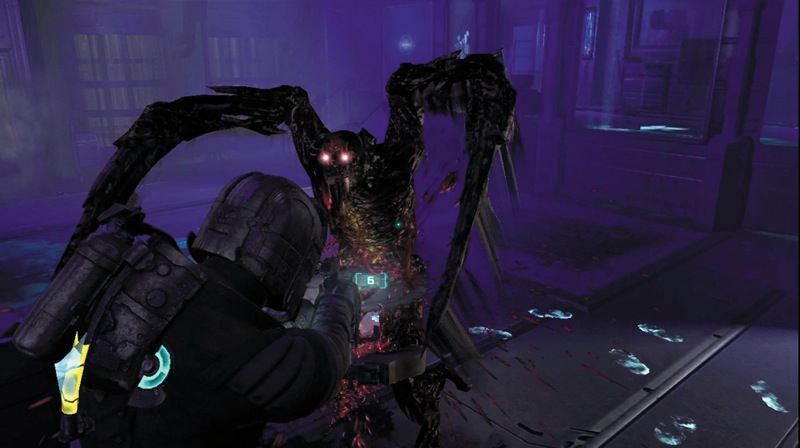
Pick up a stasis pack and a power node before passing through another door into a medical room. A Super Slasher attacks you here. Use stasis and then cut it with the ripper. Recharge your stasis at the stasis station and then hack a console to open a locked door.
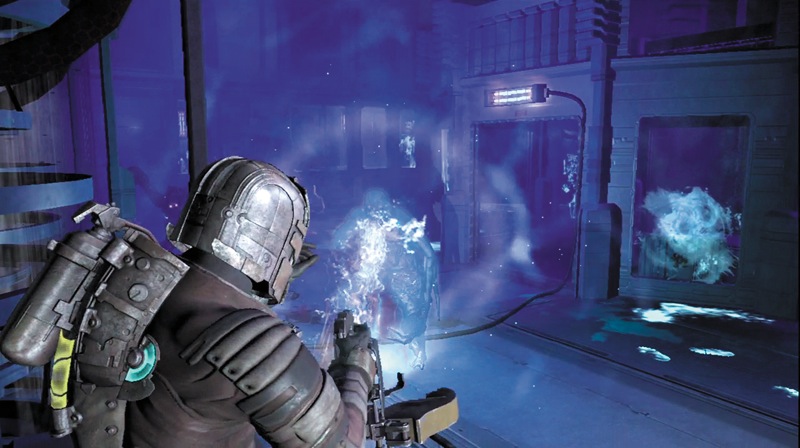
Immediately after you complete the hack, you will be attacked by a Super Puker, a Super Slasher, and a Slasher. Hit the Super Puker with stasis and then start the slaughter. Kill them all and collect the goodies they drop.
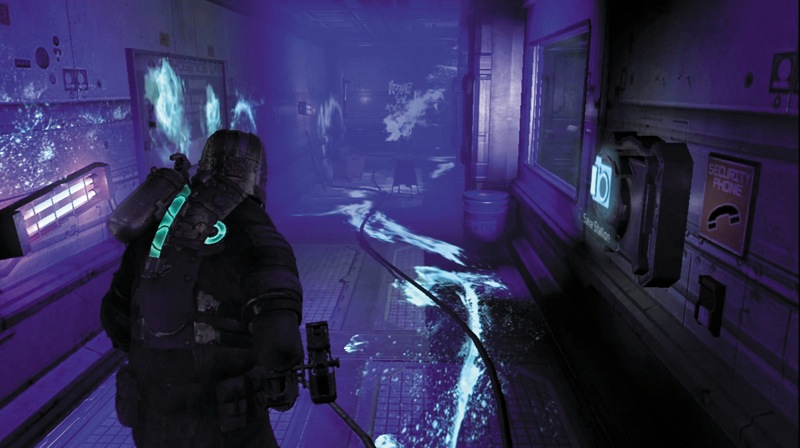
Go through the now-unlocked door and check some lockers. Then follow the corridor to its end to find some ammo. Return to the save station and record your progress before entering the next room.
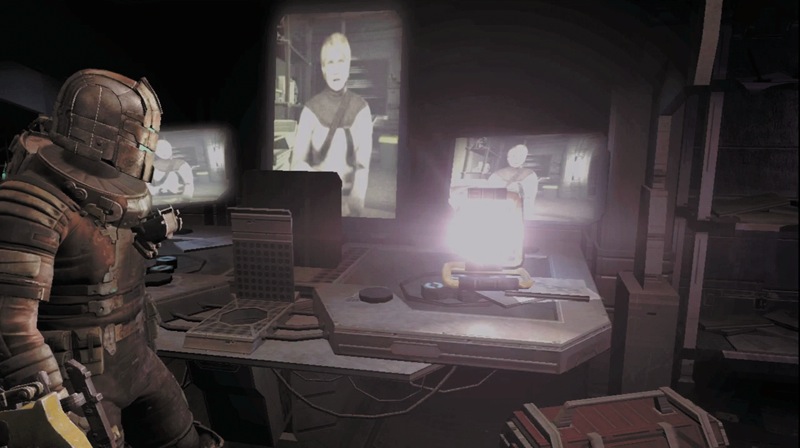
As you walk into the room, you hear a recording of Nicole playing. It's her final message to Isaac when she was still alive on the Ishimura. Grab some items here, including a power node, before exiting into a corridor. Follow it around to a cargo lift, stopping to stomp a container along the way.
Chemical Research Lab
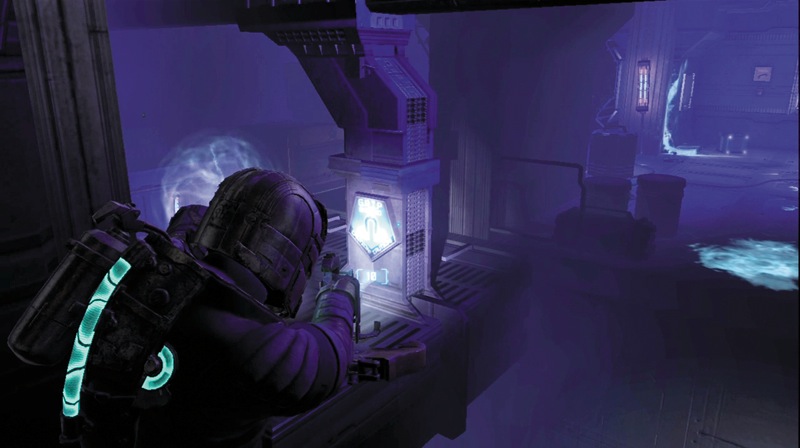
When you reach the next level, use kinesis to move some objects out of your way and advance around a corner and through a doorway. Continue until you get to a gap. Use kinesis on the GRIP icon to move a metal walkway into place so you can keep moving.
Recharge your stasis at the corridor's end if you need to, but watch out for a Lurker that jumps up from below. Kill the Lurker and then stomp on a couple containers for items.
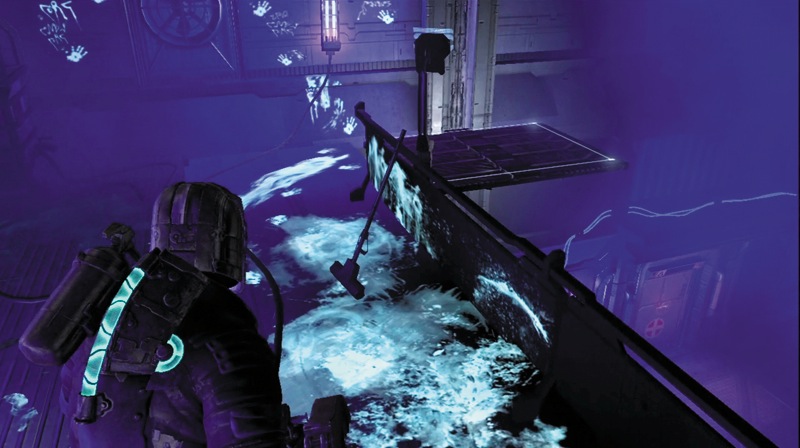
Follow the locator to another gap in the pathway. You must go back and use kinesis to move the walkway to its original position. Advance to a cargo lift, grabbing some ammo as you go. Take the lift down to the lab's main floor.
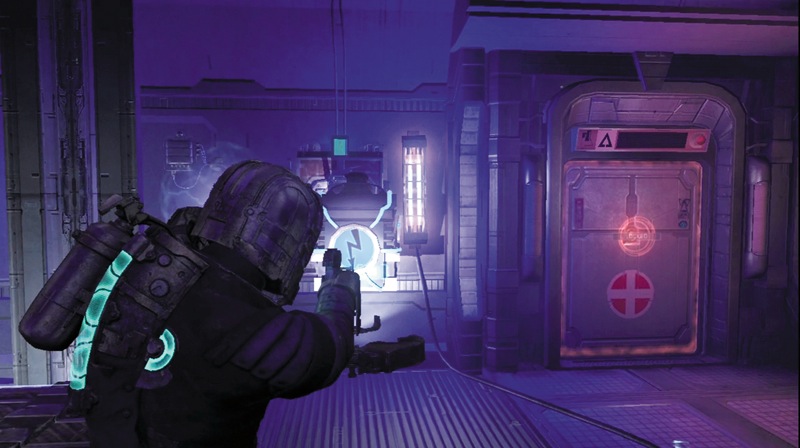
Kill a couple Leapers that attack you, then head right into a small room where you find a container, ammo, and a power node. Exit the room and then use kinesis to remove a power cell from the socket in the wall. This will disable the electrical field in the middle of the room so you can move to the other side. Make sure you place the power cell close to the socket.
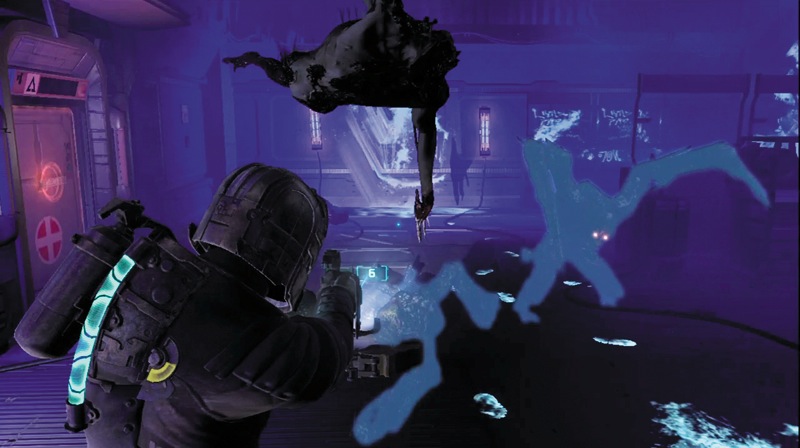
As you begin to advance, you will be attacked by a Slasher, some Leapers, and a couple Super Slashers. Run back to the power cell and place it in the socket. The electricity will turn back on and will deal out some serious damage to any Necromorphs caught in it.
Hit any remaining enemies with stasis and then kill them. On the room's other side is a workbench and a locked storage room. You need a power node to get in and retrieve some ammo and several health packs.
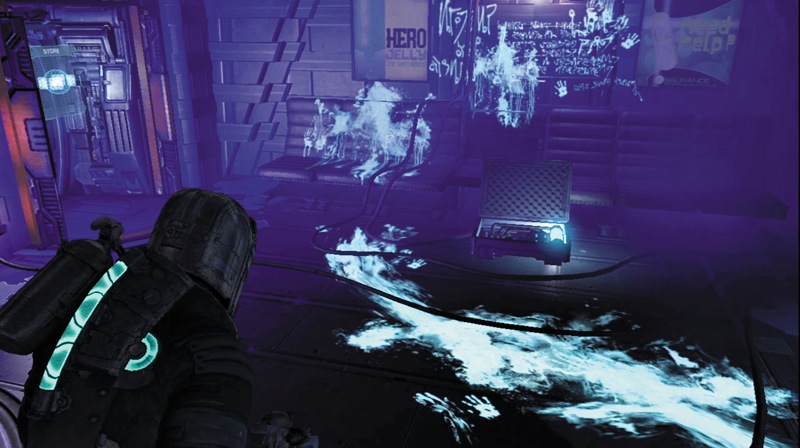
Exit the lab through a door on the side. Use the stasis station in the corridor and then advance through a door. Continue along another corridor where you can find some ammo. Then enter a room with a locker, a store, and a save station. When you're done, head through a corridor to another area.
Tram Tunnel
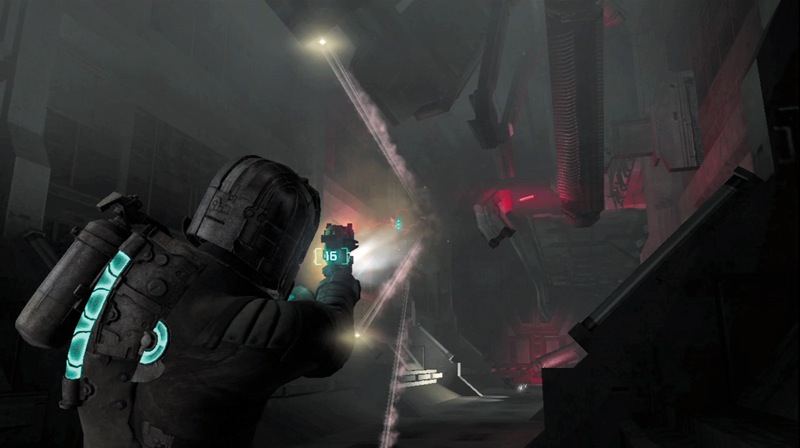
You emerge on a tram platform. This area is Zero-G, so things are floating around. Pick up some ammo and then press the Zero-G Launch button to start floating. After passing the first tram car, turn around to pick up a power node. Fly down the tunnel and shoot the Lurkers that come out to attack you. They are up high, down low, and on the sides of the tunnel.
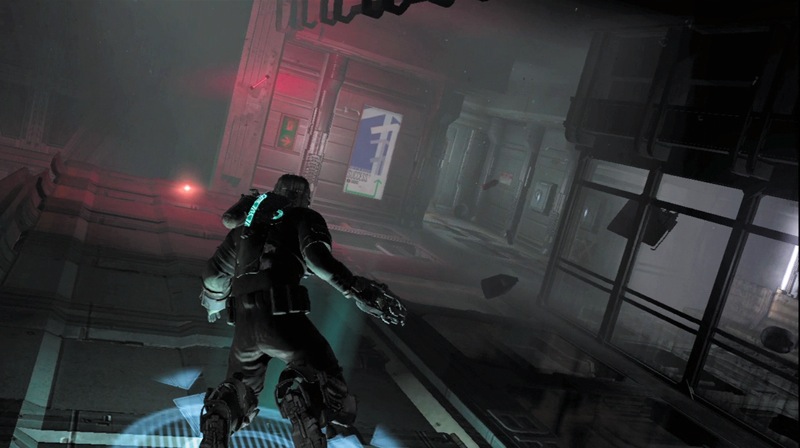
Keep going until you reach another platform. Land on it as you press the Zero-G Launch button again. Snag some ammo and search a couple lockers here before heading through the door to the bridge deck.
Bridge Deck
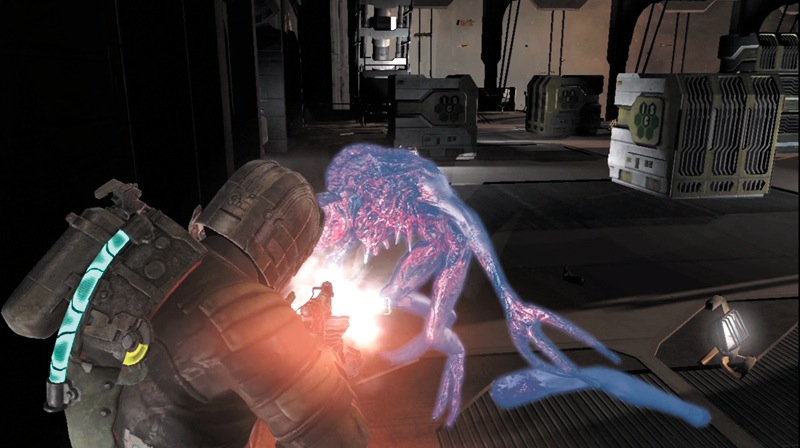
Advance along a corridor to the bridge. A Leaper and some Swarm will attack immediately when you enter. Quickly deploy some mines to stop them. A Super Stalker will also charge you. If a mine does not get it, hit the Stalker with stasis and then blast it with the contact beam.
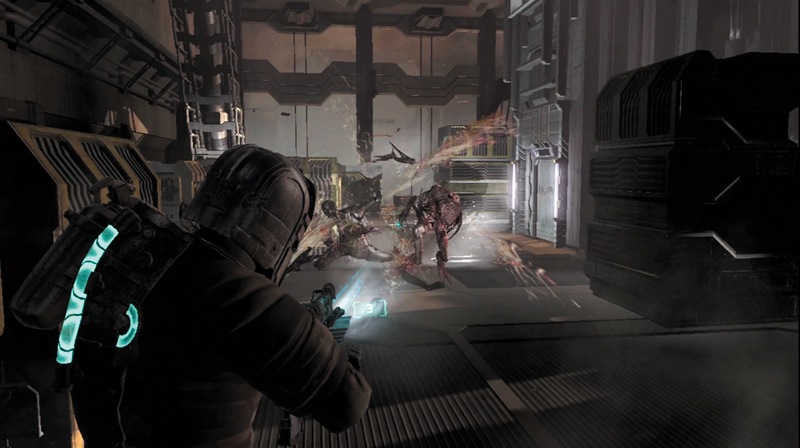
Keep deploying mines, especially to your left. There are still some Super Stalkers and Super Pukers on the bridge. Kill them and keep following the locator path.
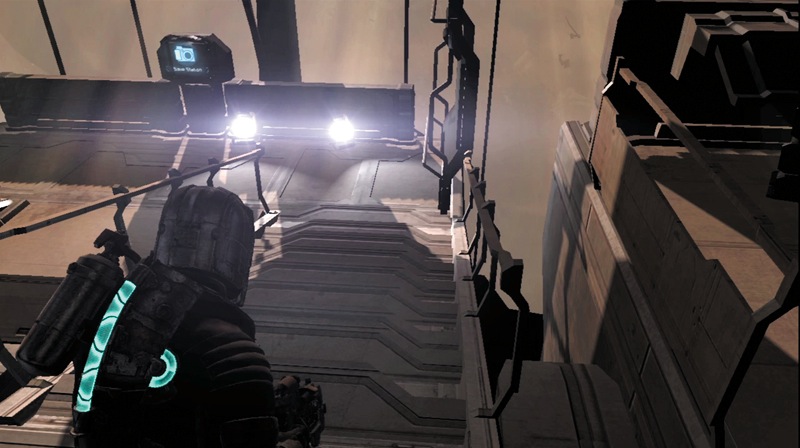
You reach the stairs leading down to a save station. Record your progress there, then head down more stairs. Take a cargo lift down to the captain's command area.
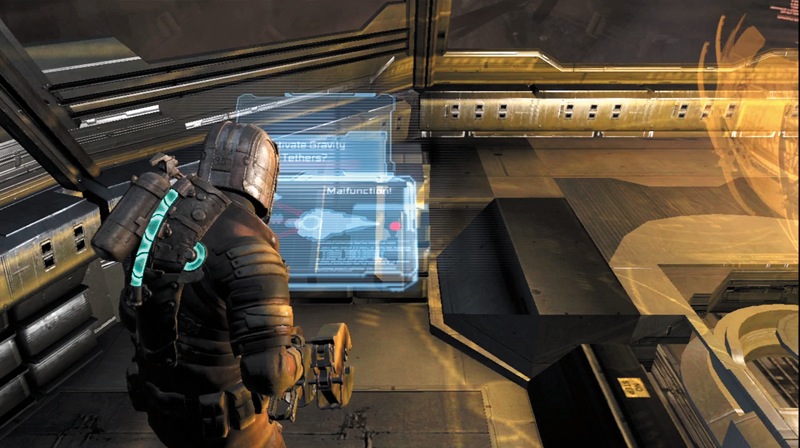
Once you are at the captain's controls, search a locker and move to the blue console. Activate the gravity tethers.
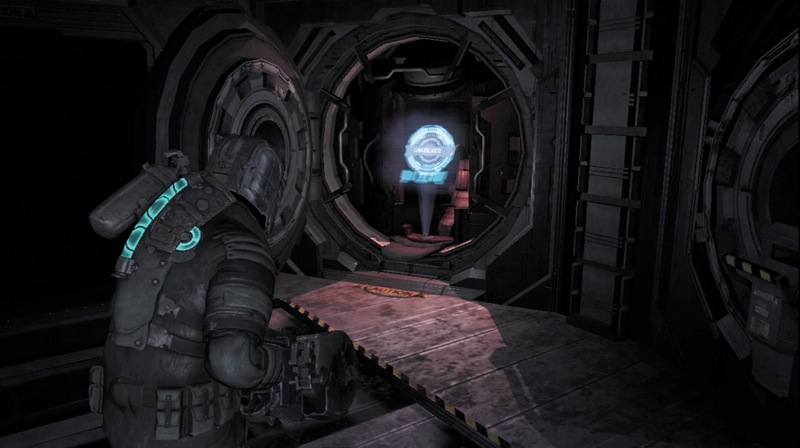
Now exit through the door and head for an escape pod. You have made it off the Ishimura; however, your pod takes some damage from all the debris in the area and you crash-land somewhere in the Sprawl.
After leaving the elevator, move into a small corridor and search a locker. Then continue through a door and into another corridor with a locker to search and a workbench. Upgrade any weapons and items and then enter the decontamination room. Pick up a stasis pack in the middle of the room. Wait for the decontamination process to complete so you can exit through the other door.
As you leave the room, check the lockers outside and then enter a door into a large corridor. Quickly deploy some mines in either direction and then duck back into the area by the lockers. There is a Puker and a legless Stalker headed your way. The mines will kill or damage them. Deploy more mines by the door and then get ready to finish off whatever survives.
As you head back into the corridor, look right and shoot the Lurker on the ceiling. Go down the corridor to the left to find a container as well as a Super Slasher and a Pregnant. Kill them both with a combination of mines and ripper blades. Deploy a few mines behind you so nothing sneaks up on you. Head to the corridor's end to get a power node from a circuit box.
As you head back in the opposite direction, a legless Stalker, a Slasher, and a Super Puker come at you. The mines will take care of some, but be ready to hit the Super Puker with stasis and kill it before it can hit you with acid.
When the corridor makes a couple short turns, you will be attacked by more Necromorphs. Expect Stalkers, Slashers, Lurkers, a Puker, and even a Pregnant. Use your variety of weapons to deal with them. Head to the corridor's end and go through a round door. Use the save station and take a moment to catch your breath. When you're ready, move through another round door into the centrifuge.
The Centrifuge
This is a Zero-G area. There are many containers and items floating around in here. Before you start fixing the centrifuge, search the area to find items and learn the layout. In the area below the control console, you can find a schematic for force energy.
Press the Zero-G Launch button to begin flying around. After you collect all the goodies, get to work. Find the pieces of the centrifuge cooling core that are floating around and grab them with kinesis. Some pieces are hidden behind other structures, but they are all in the room. You must then position them in the correct slots on the centrifuge. Match the cooling tube on the piece with the tubes on the cooling core.
After you put all the pieces into place, fly to the console and press the Zero-G Launch button to activate the centrifuge. This will create gravity here. Now follow the catwalk back to the round door and exit the centrifuge. Stop and use the save station before heading back into the long corridor.
Make your way back through the carnage in the corridor to the decontamination room. Once inside, wait for the decontamination process to begin. This is a good time to make sure all your weapons are fully loaded.
Packs will start entering the room while decontamination is still taking place. Use the ripper to keep them off of you. Back into a corner so you can't be surrounded. Eventually some Super Slashers and a Puker will drop in.
Quickly hit the Puker with stasis while cutting up the Super Slashers with the ripper. Eventually a Super Puker will drop in as well. This is also a good time to pull out the contact beam. Use the alt-fire mode first and then hit the Necromorphs with the full-power blast.
Once they are all dead, collect the ammo and items they leave behind and exit the room. As you approach the elevator, a Super Slasher playing dead jumps up and attacks. Kill it and then board the elevator.
When you exit the elevator, stop by the store to upload the schematic and save your progress at the save station. Next, follow the locator path through the corridor.
As you open the door to the platform, a Super Slasher comes rushing toward you. Hit it with stasis, and then kill it with the contact beam. A second Super Slasher comes out of the wall as well, so just repeat the same tactic to keep yourself alive.
As you step out onto the platform toward a tram, be ready for a Slasher. Drop a mine in front of it and place one by the tram door to kill the Swarm that come crawling out. Once it is clear, climb into the tram and activate the blue console to get it moving. Ellie will call in and talk to you. However, there is an obstruction ahead so the tram stops at the medical deck.
Medical Deck
Step off the tram onto the medical deck, and search the area for some ammo and a container. Then head through the door and into some dark corridors with glowing fluid spilled everywhere.
Deploy some mines far ahead of you in this corridor. A Super Slasher, a Puker, a Spitter, and a Lurker will come out of the ceiling and charge toward you. For those that get too close, use stasis on them as you back away and then shoot them with a higher-power weapon. At the corridor's end, go through the door.
Pick up a stasis pack and a power node before passing through another door into a medical room. A Super Slasher attacks you here. Use stasis and then cut it with the ripper. Recharge your stasis at the stasis station and then hack a console to open a locked door.
Immediately after you complete the hack, you will be attacked by a Super Puker, a Super Slasher, and a Slasher. Hit the Super Puker with stasis and then start the slaughter. Kill them all and collect the goodies they drop.
Go through the now-unlocked door and check some lockers. Then follow the corridor to its end to find some ammo. Return to the save station and record your progress before entering the next room.
As you walk into the room, you hear a recording of Nicole playing. It's her final message to Isaac when she was still alive on the Ishimura. Grab some items here, including a power node, before exiting into a corridor. Follow it around to a cargo lift, stopping to stomp a container along the way.
Chemical Research Lab
When you reach the next level, use kinesis to move some objects out of your way and advance around a corner and through a doorway. Continue until you get to a gap. Use kinesis on the GRIP icon to move a metal walkway into place so you can keep moving.
Recharge your stasis at the corridor's end if you need to, but watch out for a Lurker that jumps up from below. Kill the Lurker and then stomp on a couple containers for items.
Follow the locator to another gap in the pathway. You must go back and use kinesis to move the walkway to its original position. Advance to a cargo lift, grabbing some ammo as you go. Take the lift down to the lab's main floor.
Kill a couple Leapers that attack you, then head right into a small room where you find a container, ammo, and a power node. Exit the room and then use kinesis to remove a power cell from the socket in the wall. This will disable the electrical field in the middle of the room so you can move to the other side. Make sure you place the power cell close to the socket.
As you begin to advance, you will be attacked by a Slasher, some Leapers, and a couple Super Slashers. Run back to the power cell and place it in the socket. The electricity will turn back on and will deal out some serious damage to any Necromorphs caught in it.
Hit any remaining enemies with stasis and then kill them. On the room's other side is a workbench and a locked storage room. You need a power node to get in and retrieve some ammo and several health packs.
Exit the lab through a door on the side. Use the stasis station in the corridor and then advance through a door. Continue along another corridor where you can find some ammo. Then enter a room with a locker, a store, and a save station. When you're done, head through a corridor to another area.
Tram Tunnel
You emerge on a tram platform. This area is Zero-G, so things are floating around. Pick up some ammo and then press the Zero-G Launch button to start floating. After passing the first tram car, turn around to pick up a power node. Fly down the tunnel and shoot the Lurkers that come out to attack you. They are up high, down low, and on the sides of the tunnel.
Keep going until you reach another platform. Land on it as you press the Zero-G Launch button again. Snag some ammo and search a couple lockers here before heading through the door to the bridge deck.
Bridge Deck
Advance along a corridor to the bridge. A Leaper and some Swarm will attack immediately when you enter. Quickly deploy some mines to stop them. A Super Stalker will also charge you. If a mine does not get it, hit the Stalker with stasis and then blast it with the contact beam.
Keep deploying mines, especially to your left. There are still some Super Stalkers and Super Pukers on the bridge. Kill them and keep following the locator path.
You reach the stairs leading down to a save station. Record your progress there, then head down more stairs. Take a cargo lift down to the captain's command area.
Once you are at the captain's controls, search a locker and move to the blue console. Activate the gravity tethers.
Now exit through the door and head for an escape pod. You have made it off the Ishimura; however, your pod takes some damage from all the debris in the area and you crash-land somewhere in the Sprawl.