
Dead Space 2 Guide Walkthrough Clarke's Log: Walkthrough
Chapter 14
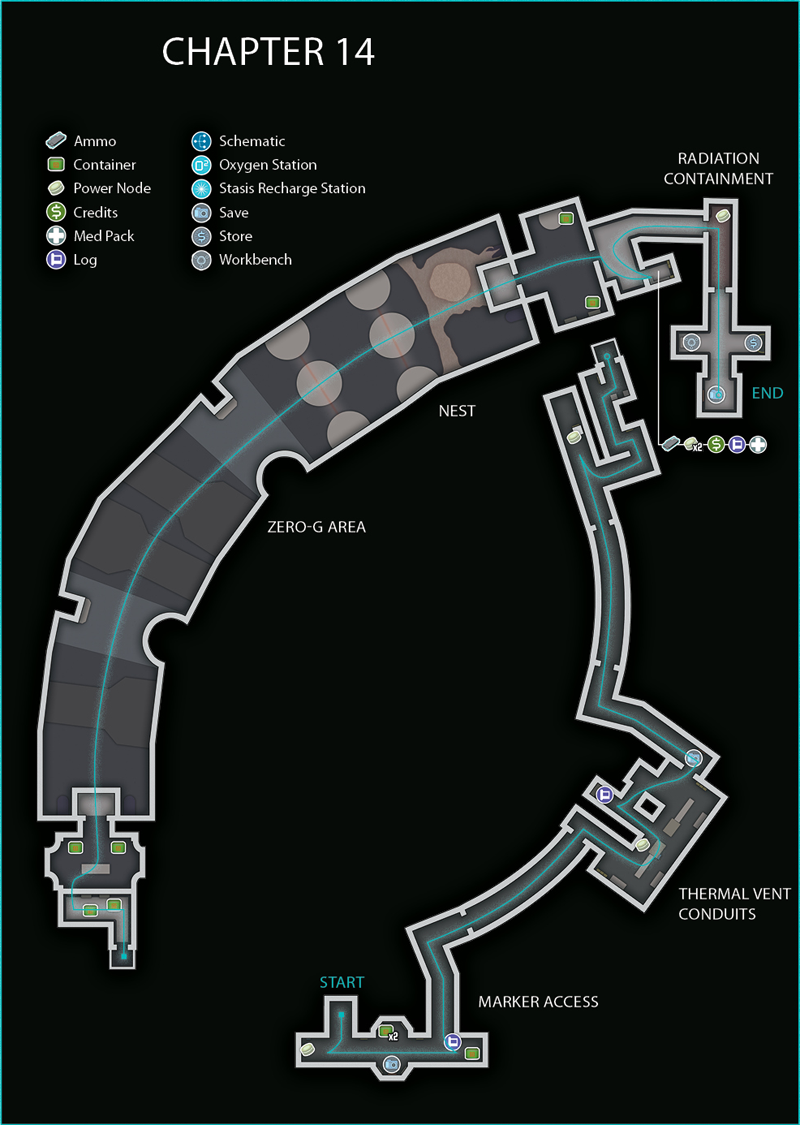
Marker Access and a New Threat Get to the Marker
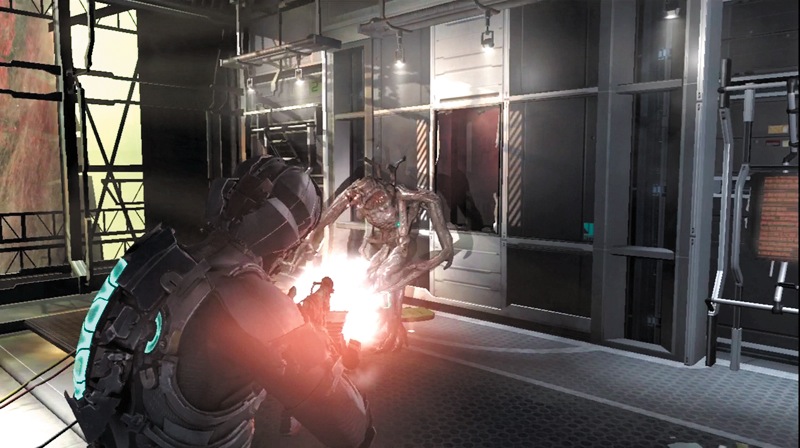
Once you have completed the needle-in-the-eye process, a new type of Necromorph climbs into the room—an Ubermorph. Shoot off its legs and arms or use whatever weapon you want to destroy it.
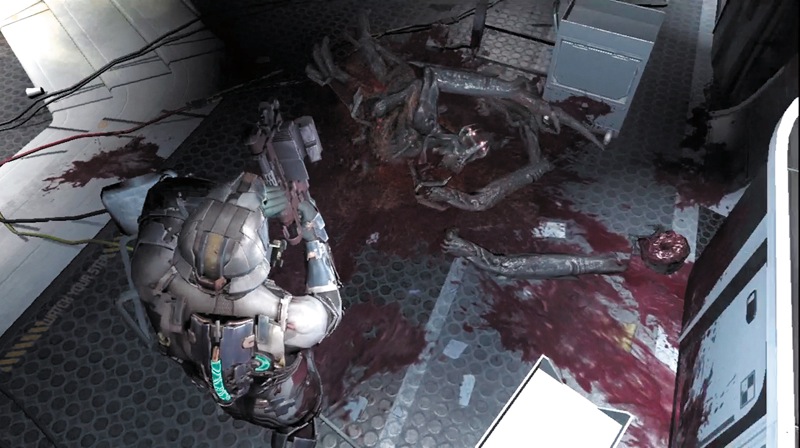
However, this Necromorph won't die. Within about five seconds, it will regenerate lost limbs and go on the attack again. One strategy for dealing with the Ubermorph is to dismember it, then put it in stasis so it slows down the regeneration. From now on, while there is an Ubermorph around, you are never safe.
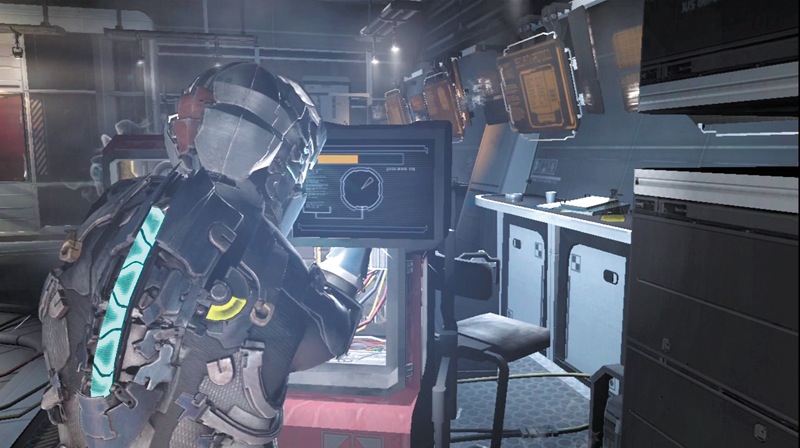
Luckily there is a stasis station in this room. Use it to recharge your stasis module so you can keep the Ubermorph down and slow its regeneration process. However, before you can get out of this room, you must hack a console. Make sure the Ubermorph is down and in stasis before you begin hacking. Maybe even deploy a few mines around it so it will take some damage after it gets up and starts coming toward you.
You can't stop the hack process and resume it in the same place later—you must start it all over again. Therefore, try to get it right the first time, then deal with the Ubermorph one more time. However, if the Ubermorph does get close to you, back out of the hack so you don't take damage from this enemy.
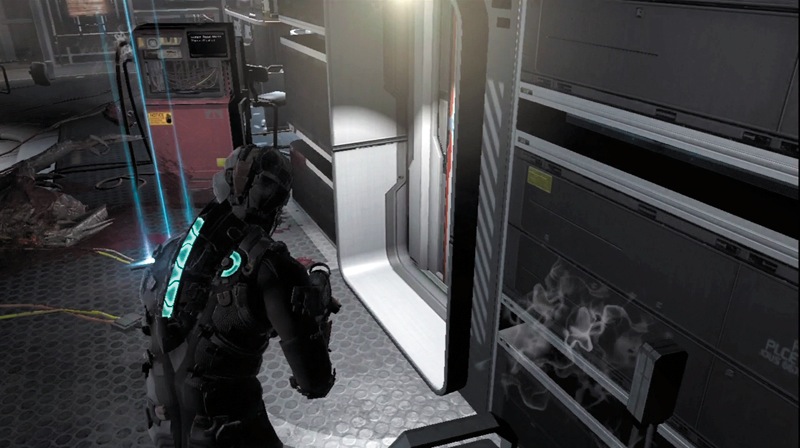
After you unlock the door, destroy the Ubermorph so it can't follow you. Then recharge your stasis and head into a corridor. After the door closes, reload all of your weapons before continuing.
Marker Access
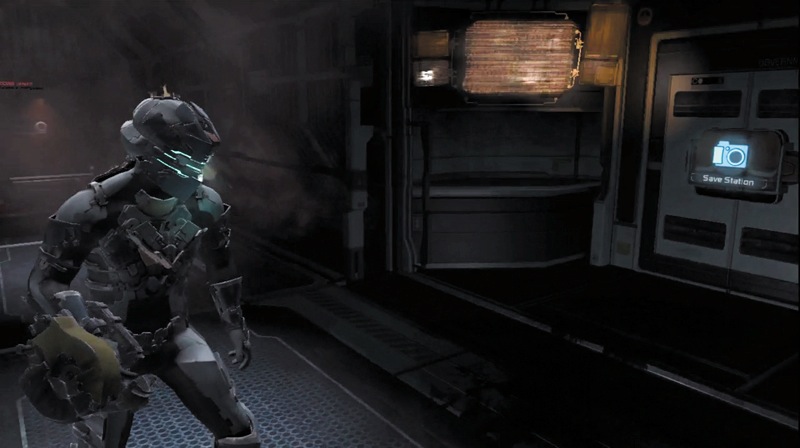
Check to the right at the first intersection and get a power node from a circuit box. Then advance down the corridor. Check the lockers and containers for useful items. Since you don't get anything from the Ubermorph (because you don't kill it), you need to get ammo wherever you can find it.
There is also an audio log in this corridor. After you clean out the area, record your progress at the save station. At the corridor's end, turn right and go through a door into another corridor. Follow it to the end and enter the area with the thermal vent conduits.
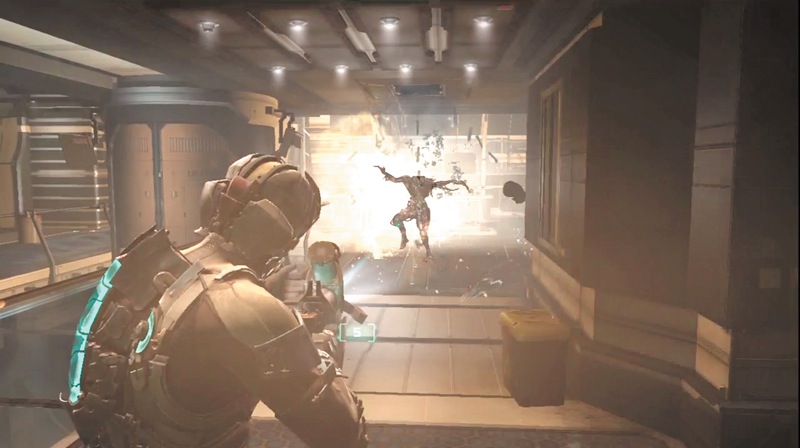
As you enter the next room, turn right and grab the explosive canister with kinesis. As a Puker comes toward you, launch the canister and damage it. You will probably need to shoot off a limb or two to kill it. Now look around the room. You can find ammo and credits in lockers and a power node in a circuit box.
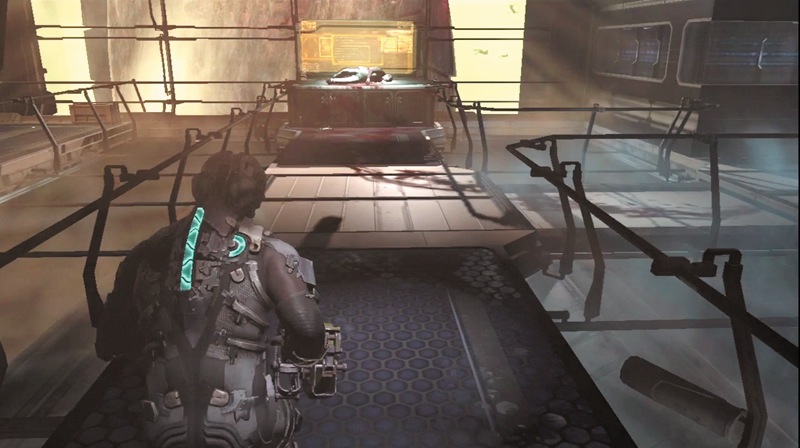
Check by the console with a corpse on it to find an audio log. Take note of this body—you will need it in a bit. Head right to find a metal rod and another explosive canister.
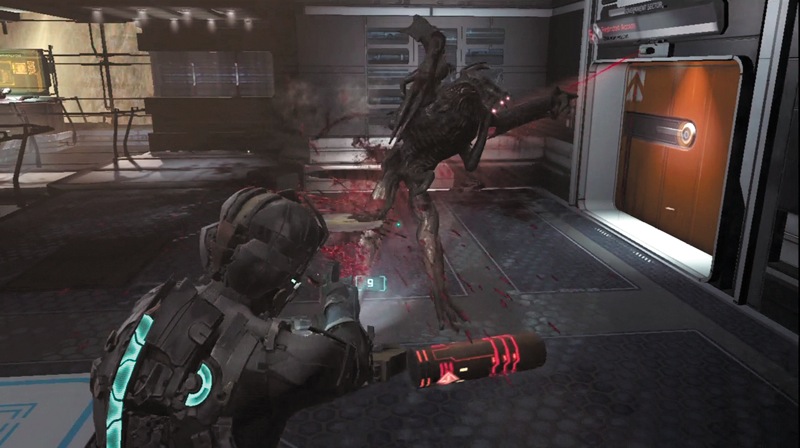
As you approach the door, an Ubermorph drops down from the ceiling and attacks. Launch the objects on the ground at the Ubermorph to take it down and then hit it with stasis. A Puker, followed by a Super Slasher, will also drop into the room, so be ready to deal with them as well.
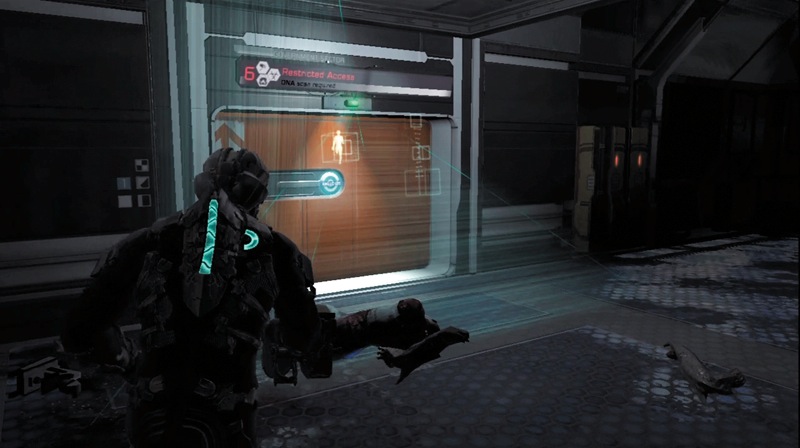
After you deal with the Necromorphs, grab the body on the console and carry it with kinesis to the door to a restricted access area. The door has a DNA scanner, and the body has the right type of DNA to unlock this door. Before you leave, drop the Ubermorph again.
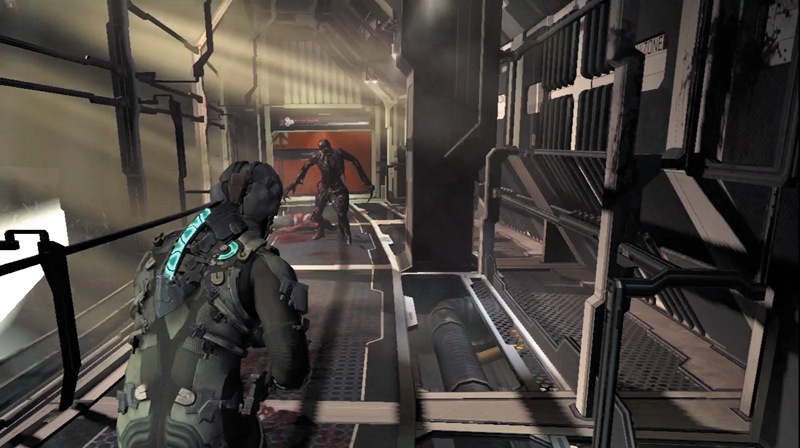
As you step out into another corridor, stop and use the save station. Then follow the corridor around to the right and go through a door into yet another corridor. Blast the Puker in here with the contact beam and head through the door behind it.
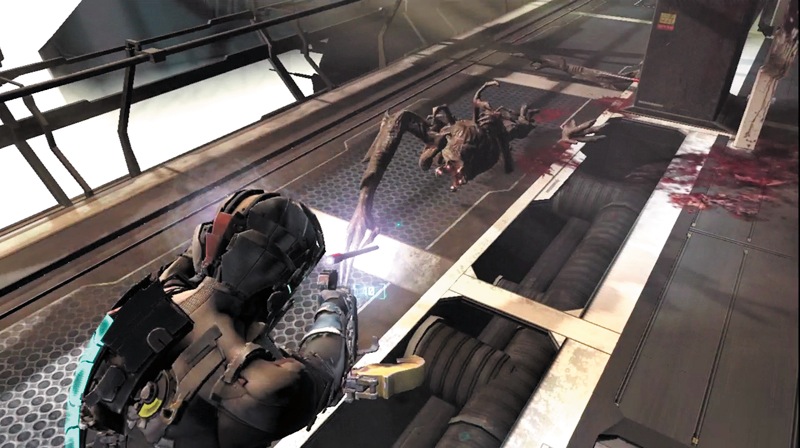
In the next area, move to the corridor's end to check out a locker and pick up a power node. Then grab a metal rod as you move back to the side corridor; follow it, as shown by your locator path. The Ubermorph will jump out of a duct in the wall, so launch the metal rod at it or cut off its legs with the ripper. Hit it with stasis and then continue.
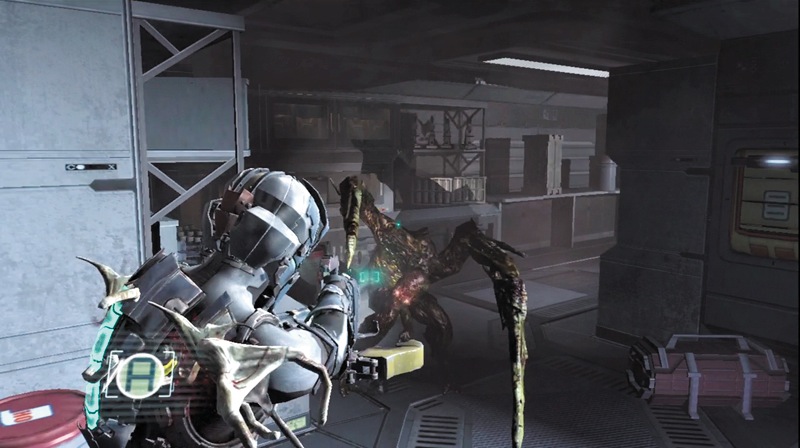
As you round a corner, Swarm will jump onto you and a Super Slasher will attack. Use the contact beam to deal with the Super Slasher, then shake off and kill the Swarm. Be quick because two more Super Slashers will join the fight. Reach the end of this area and use the stasis canister on these enemies. Remember, the Ubermorph will join the party as well. Search the lockers and then call the elevator. While you are waiting for it, deal with the Ubermorph one more time so it can't follow you into the elevator. Then climb aboard and rise to another level.
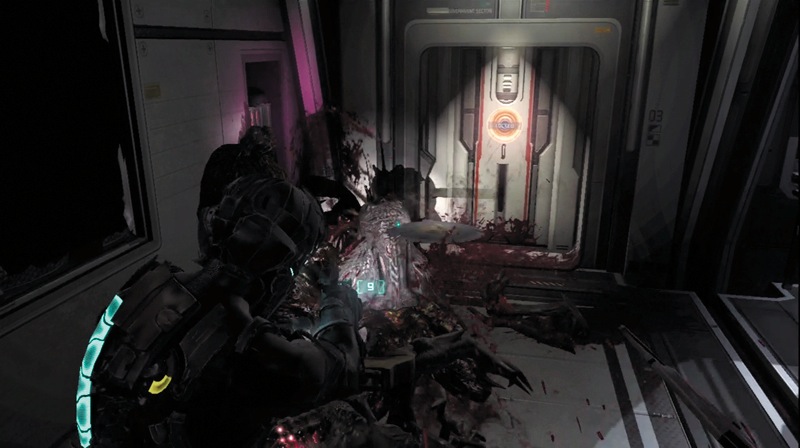
Reload all your weapons while in the elevator. In the next room, be ready for a fight. The Ubermorph drops into the room, along with a couple of Super Slashers and an Infector. Get into one corner of the room and deploy a few mines in front of you, but not too close so the blast gets you.
This will damage the attackers. Also try using the contact beam's alt-fire to push the enemy back if they get too close. Whip out the ripper and start sawing into Necromorph flesh to clear out this room.
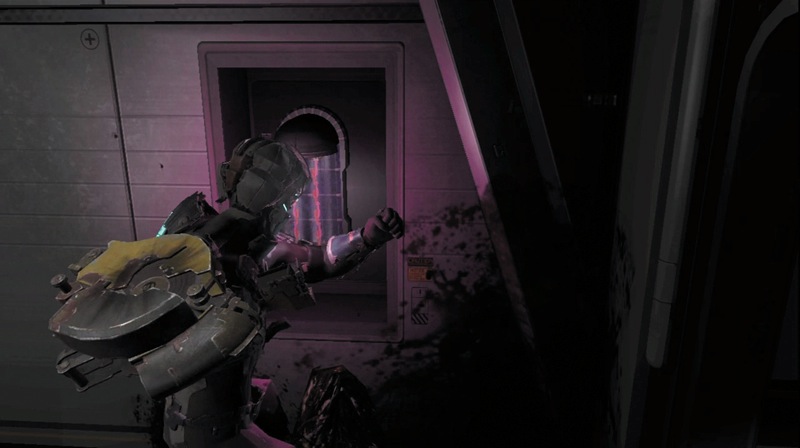
Check the containers here for items you will need. Deal with the Ubermorph again, then break out the fuse by the door with a melee attack to unlock it. Exit this area and go into the next room. Get some items from containers and fight the Ubermorph once again as it emerges from a duct in the wall. There are several metal rods in this room, so put them to use and then advance through the round door.
Zero-G
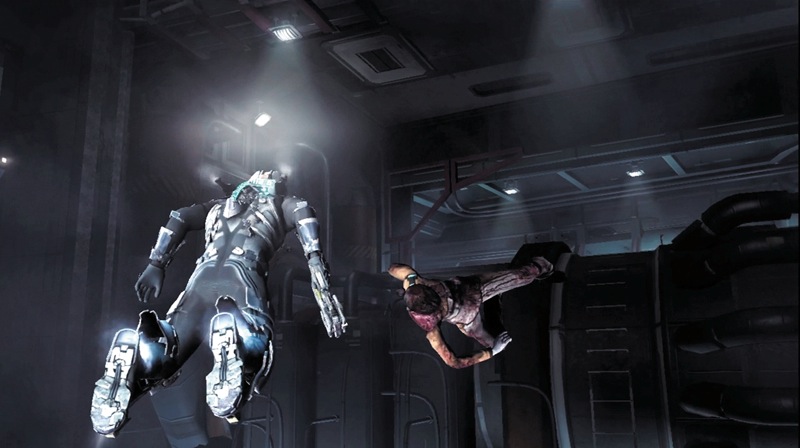
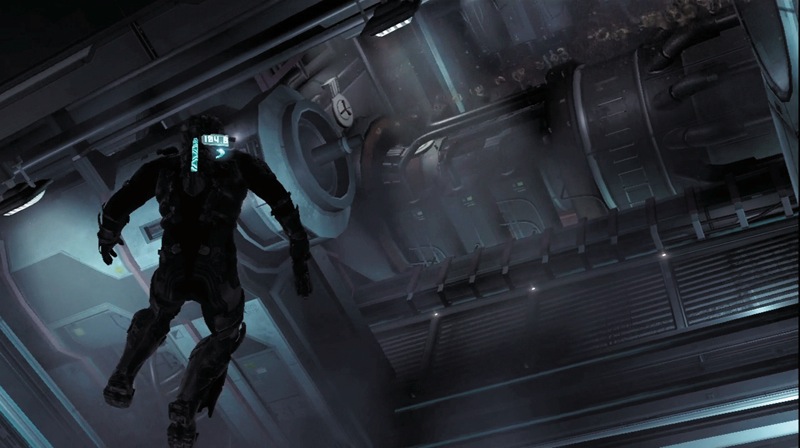
Having left the Ubermorph behind for now, walk up to the console and deactivate the gravity in this area. Then thrust up and forward. Use the locator path to help keep yourself on the right track. As you reach a sliding piece of equipment, move to the right side. When it starts sliding left, thrust to the other side. You can also hit it with stasis when it moves left to give yourself some more time to get past it.
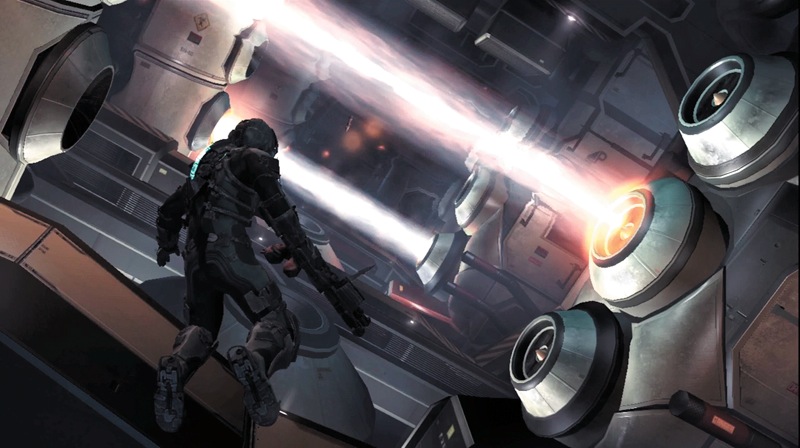
Continue past another piece of sliding machinery, and then you will have to get past three sets of fusion beams. Watch the timing, as each set of three beams ignites in order. Then thrust through a spot right after the beam shuts off. While you are doing this, a Nest launches projectiles at you.
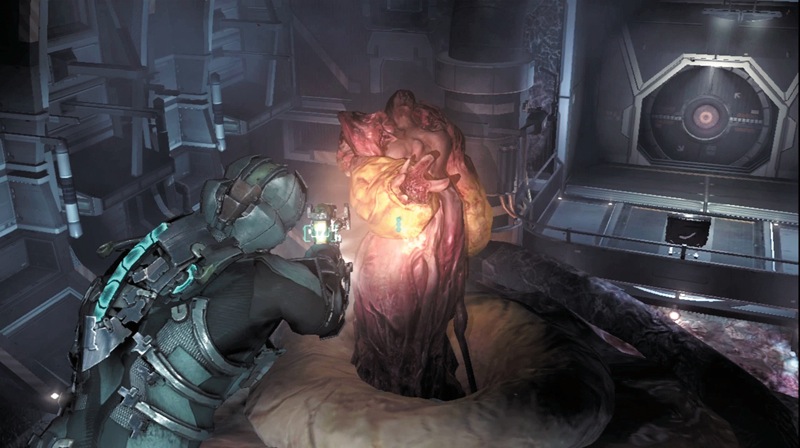
Get through the plasma beams first while dodging projectiles; then hit the Nest body with stasis. This will slow it down and stop the projectiles from launching so you can shoot the three yellowish pods and kill it. Now quickly thrust to the platform and reengage the gravity and atmosphere.
Back in the Corridors
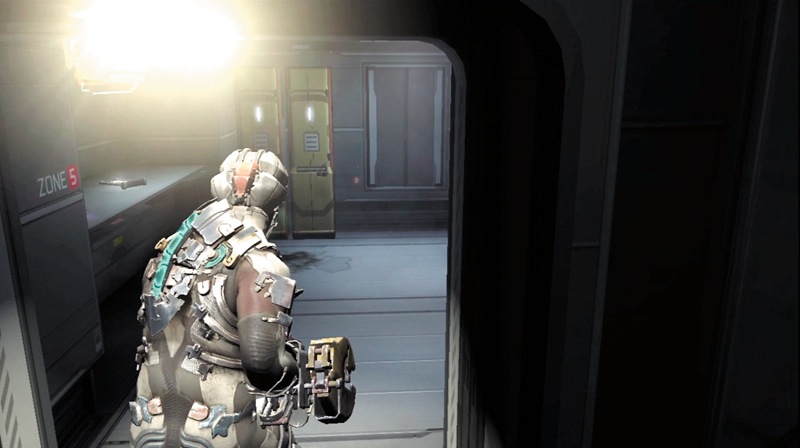
Head through the round door into a room where Nicole talks to you. Reload all your weapons and then find more items in containers here. Continue through the next door. Use a power node to enter a secure storage room.
Inside you will find a semiconductor, a power node, an audio log, and a couple lockers with ammo and a med pack. Exit the room and continue to the door leading to radiation containment.
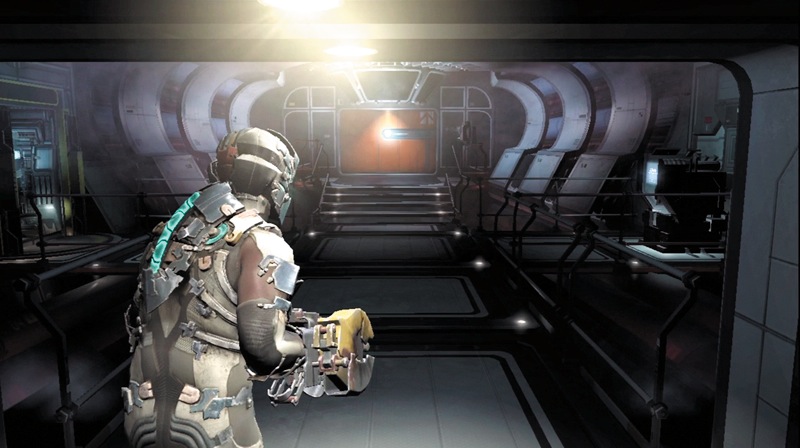
Upon entering the next area, get a power node from a circuit box by the door and then continue through the next door to direct Marker access. In the next room, visit the store and sell the semiconductor.
Buy as many power nodes as you can afford, and use the workbench to fully upgrade the weapons you are currently using. Finally, record your progress at the save station before exiting through the other door.